


![How To Paint Moonstone’s Nanny | Goblin King Games [7 Days Early Access]](https://images.beastsofwar.com/2024/12/3CU-Gobin-King-Games-Moonstone-Shades-Nanny-coverimage-225-127.jpg)


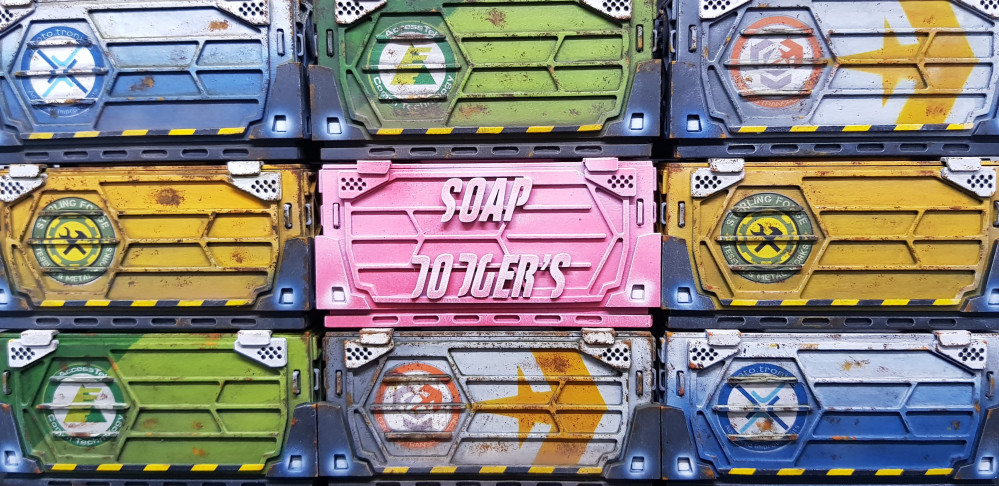
Infinity Terrain


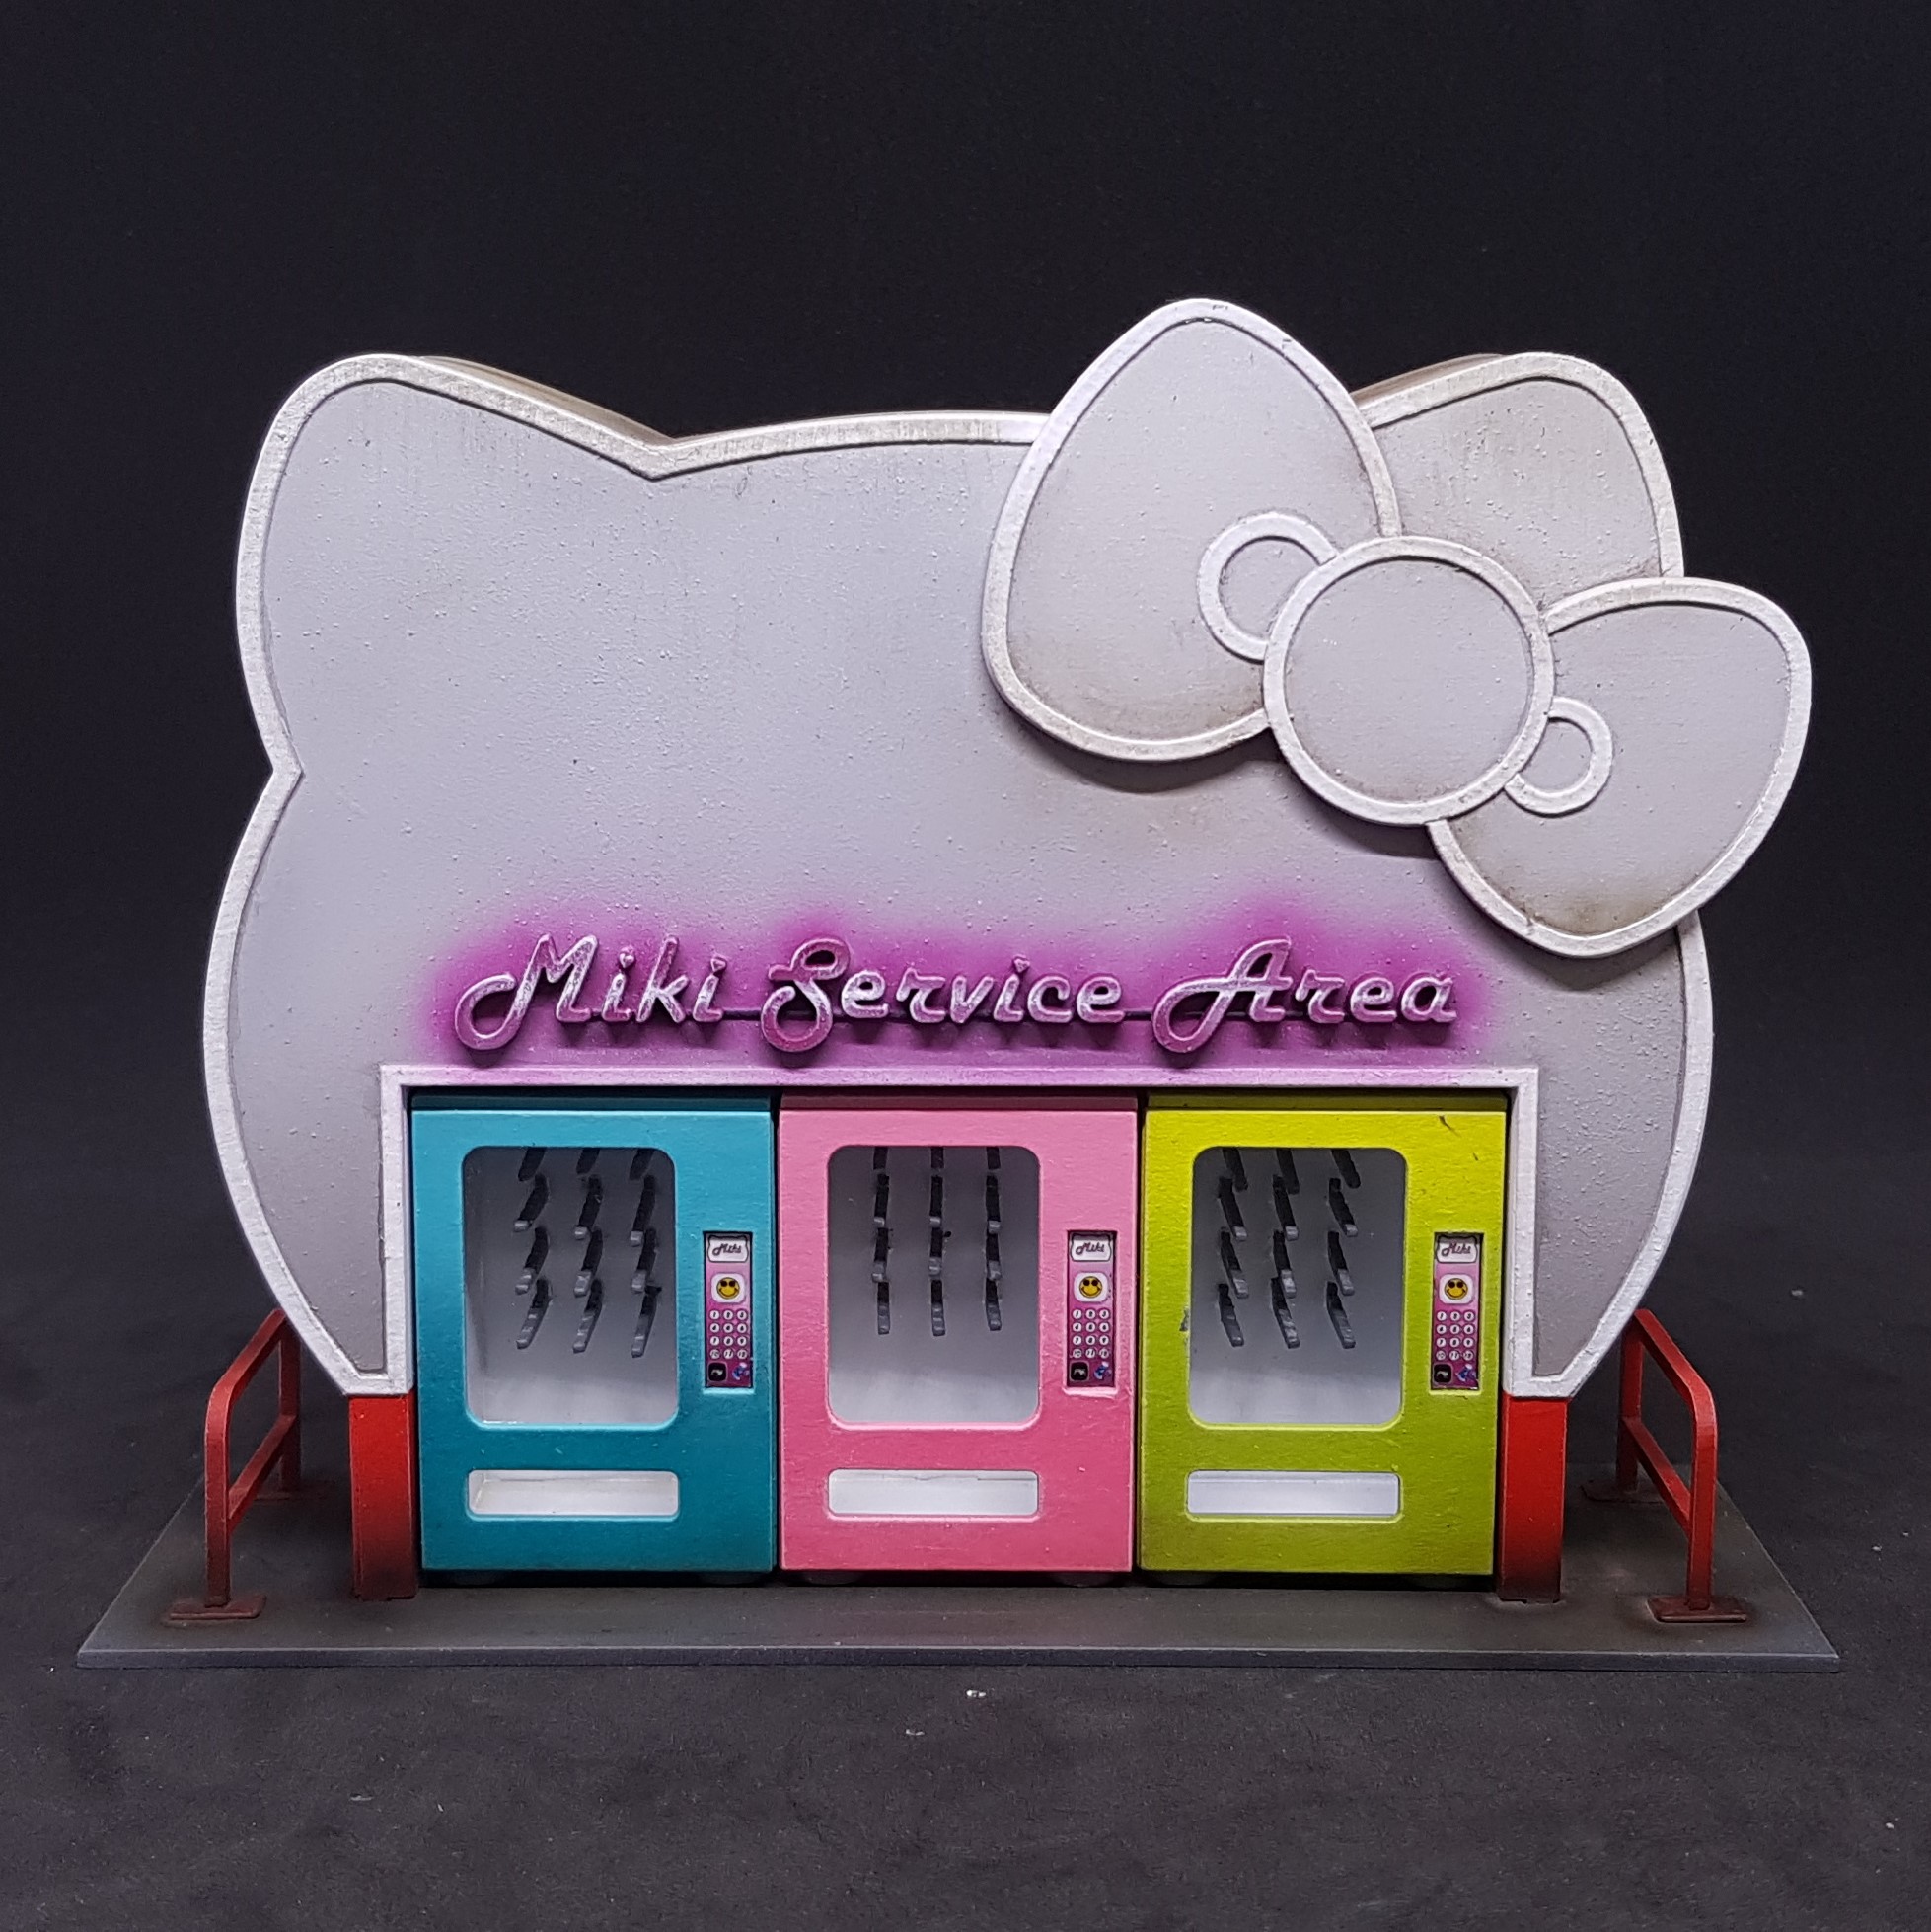
Finishing the service area.
Fun afternoon finishing this up.
Glad this is done. The project was supposed to be faster than this. but I am now the proud owner of some more infinity terrain.
My aim was to make something used but not in disrepair and failing. I looked at roofs around me. Good thing about living in flats and looked at some of the sheet metal roofs around.
Here is what I done.
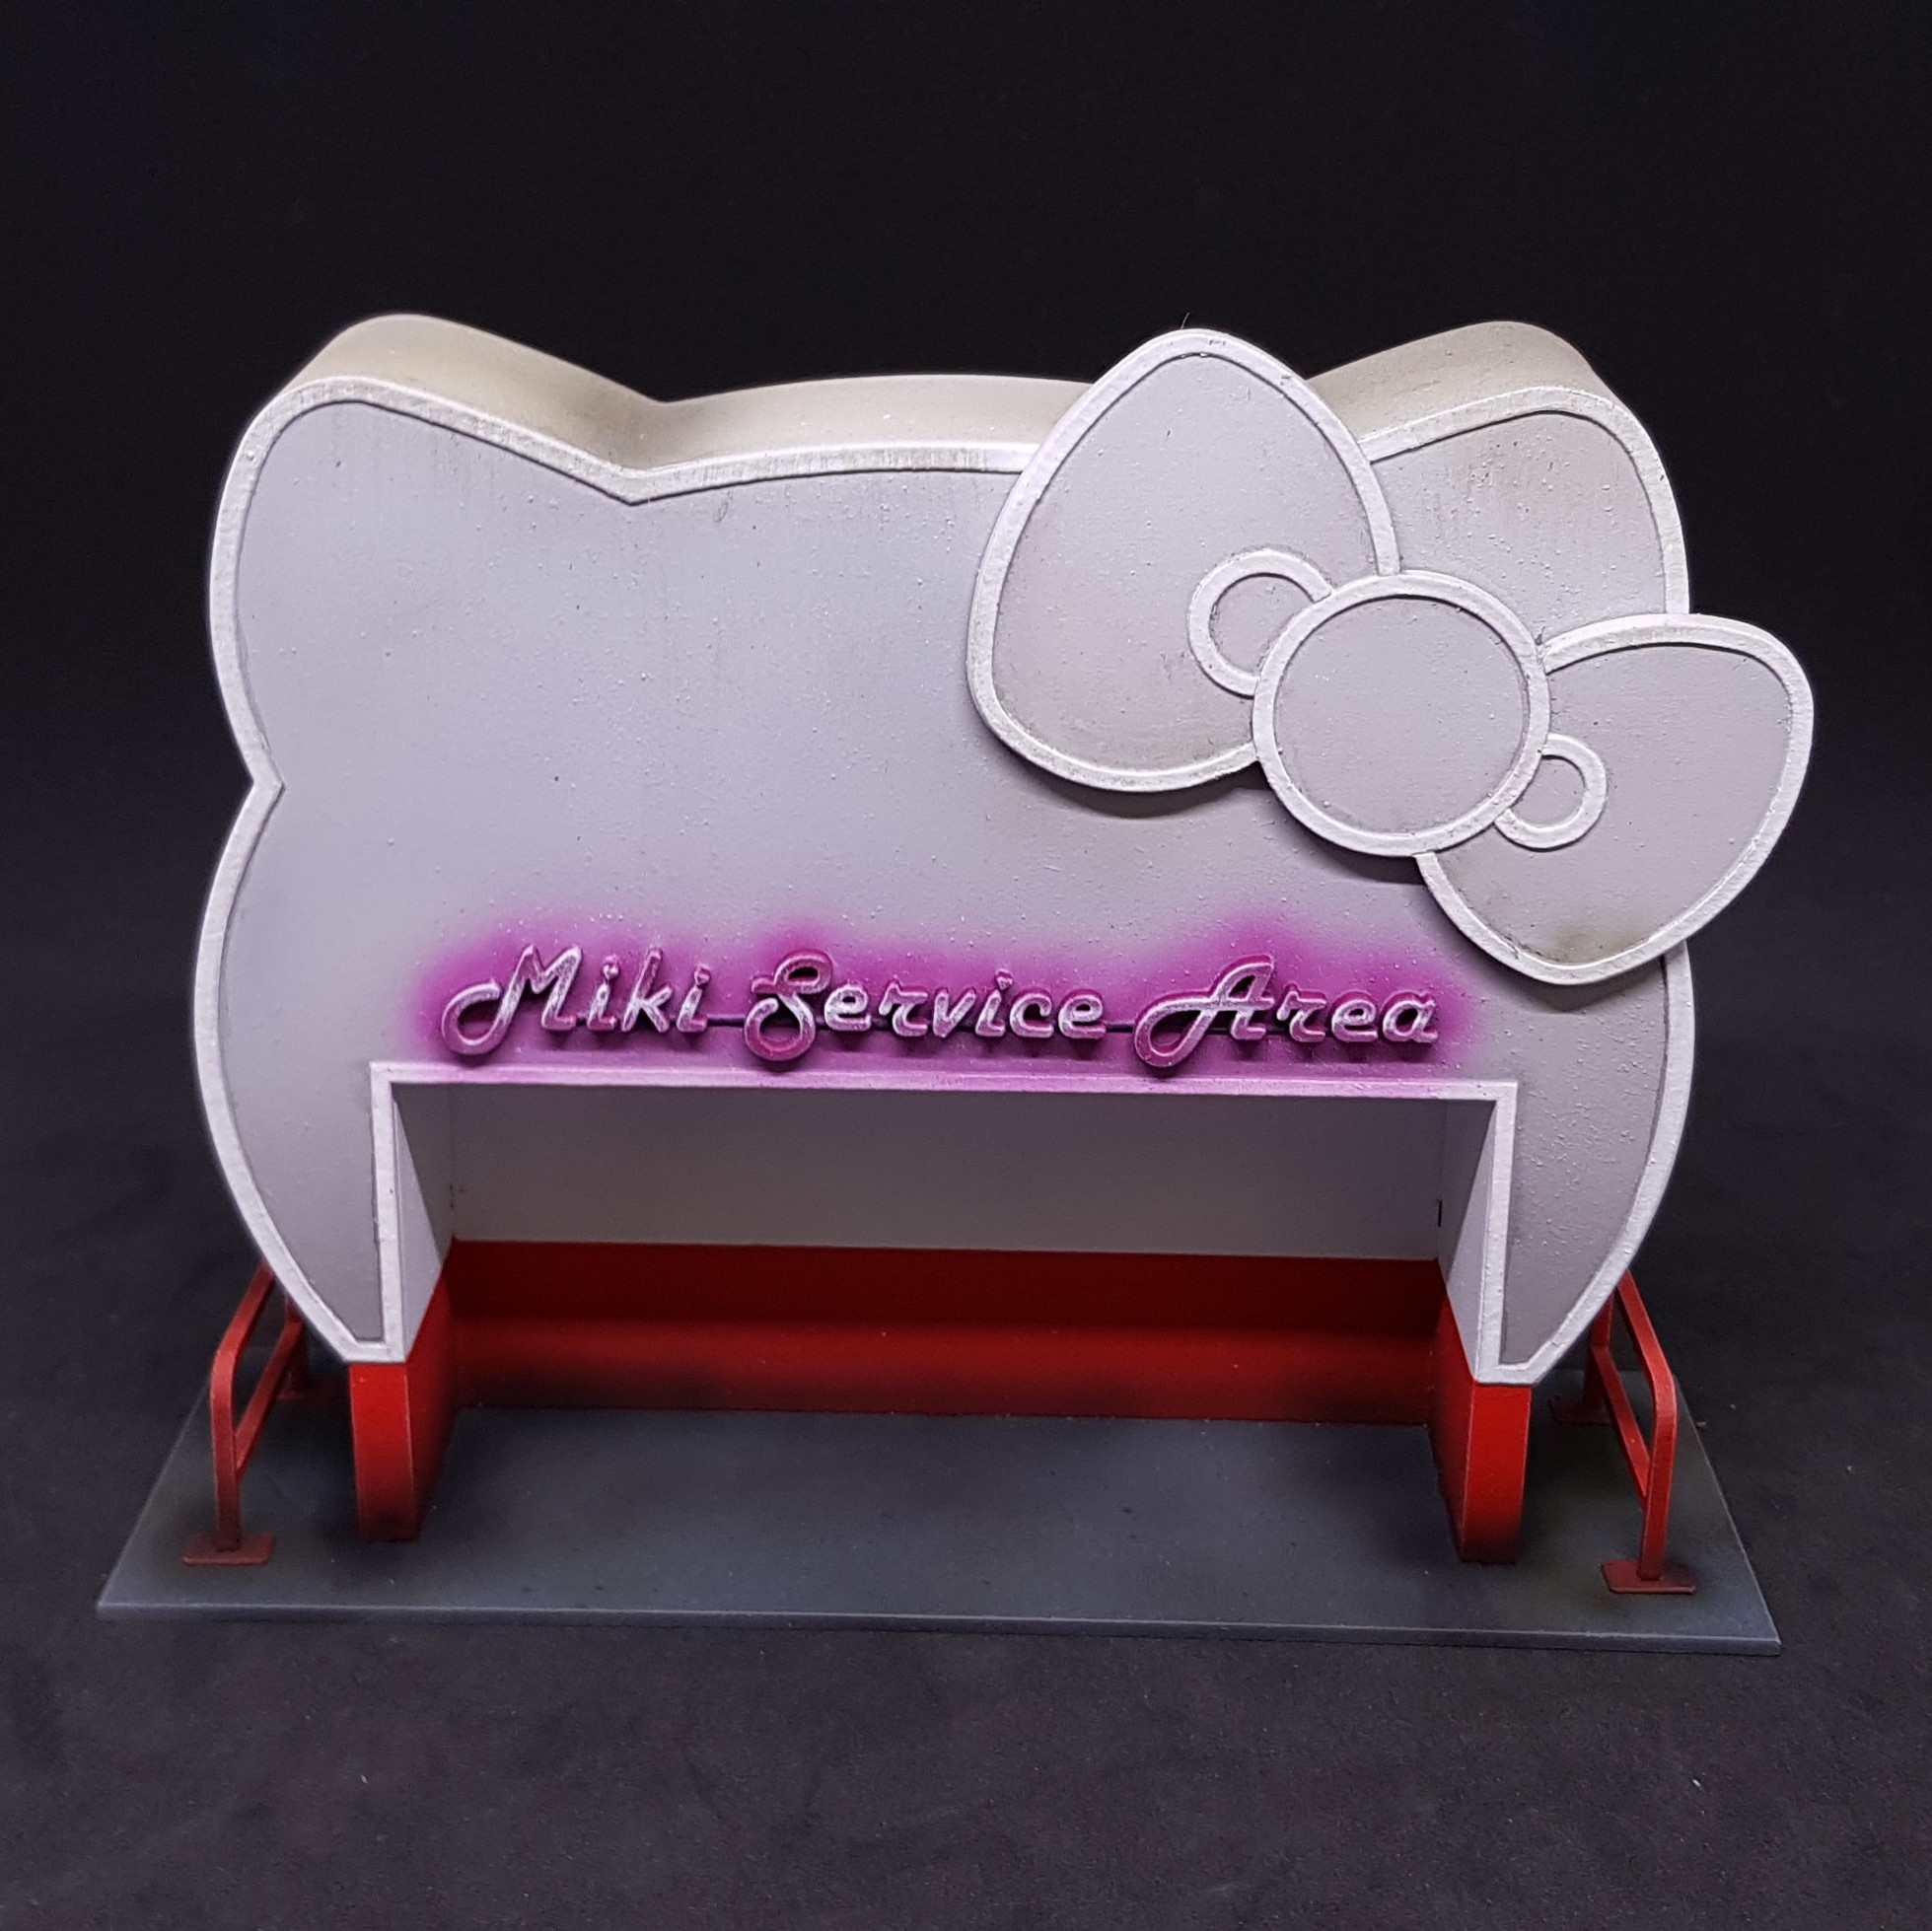 I glued and done all the wet painting I wanted to do. I started on the roof by spraying brown from afar just on the top and a very thin dusty coat. I then went back in and used Vallejo streaking grime again from afar. This gave a good base to work from I then dried this with a hair dryer and then sprayed water on the top and then again with streaking grime. I then used an old dry brush to streak the sides. I then used some medium to water down the pink and sprayed around the lettering I lightened this with white and done the same finer this time. I then went in with a drybrush to try and give it that 80’s neon glow effect. Not as good as I have seen, but I like it.
 I went on to take some black wash and spray round the base I knew I would be using grey industrial weathering powder and this tends to lighten things so wanted to go in with something dark before this.
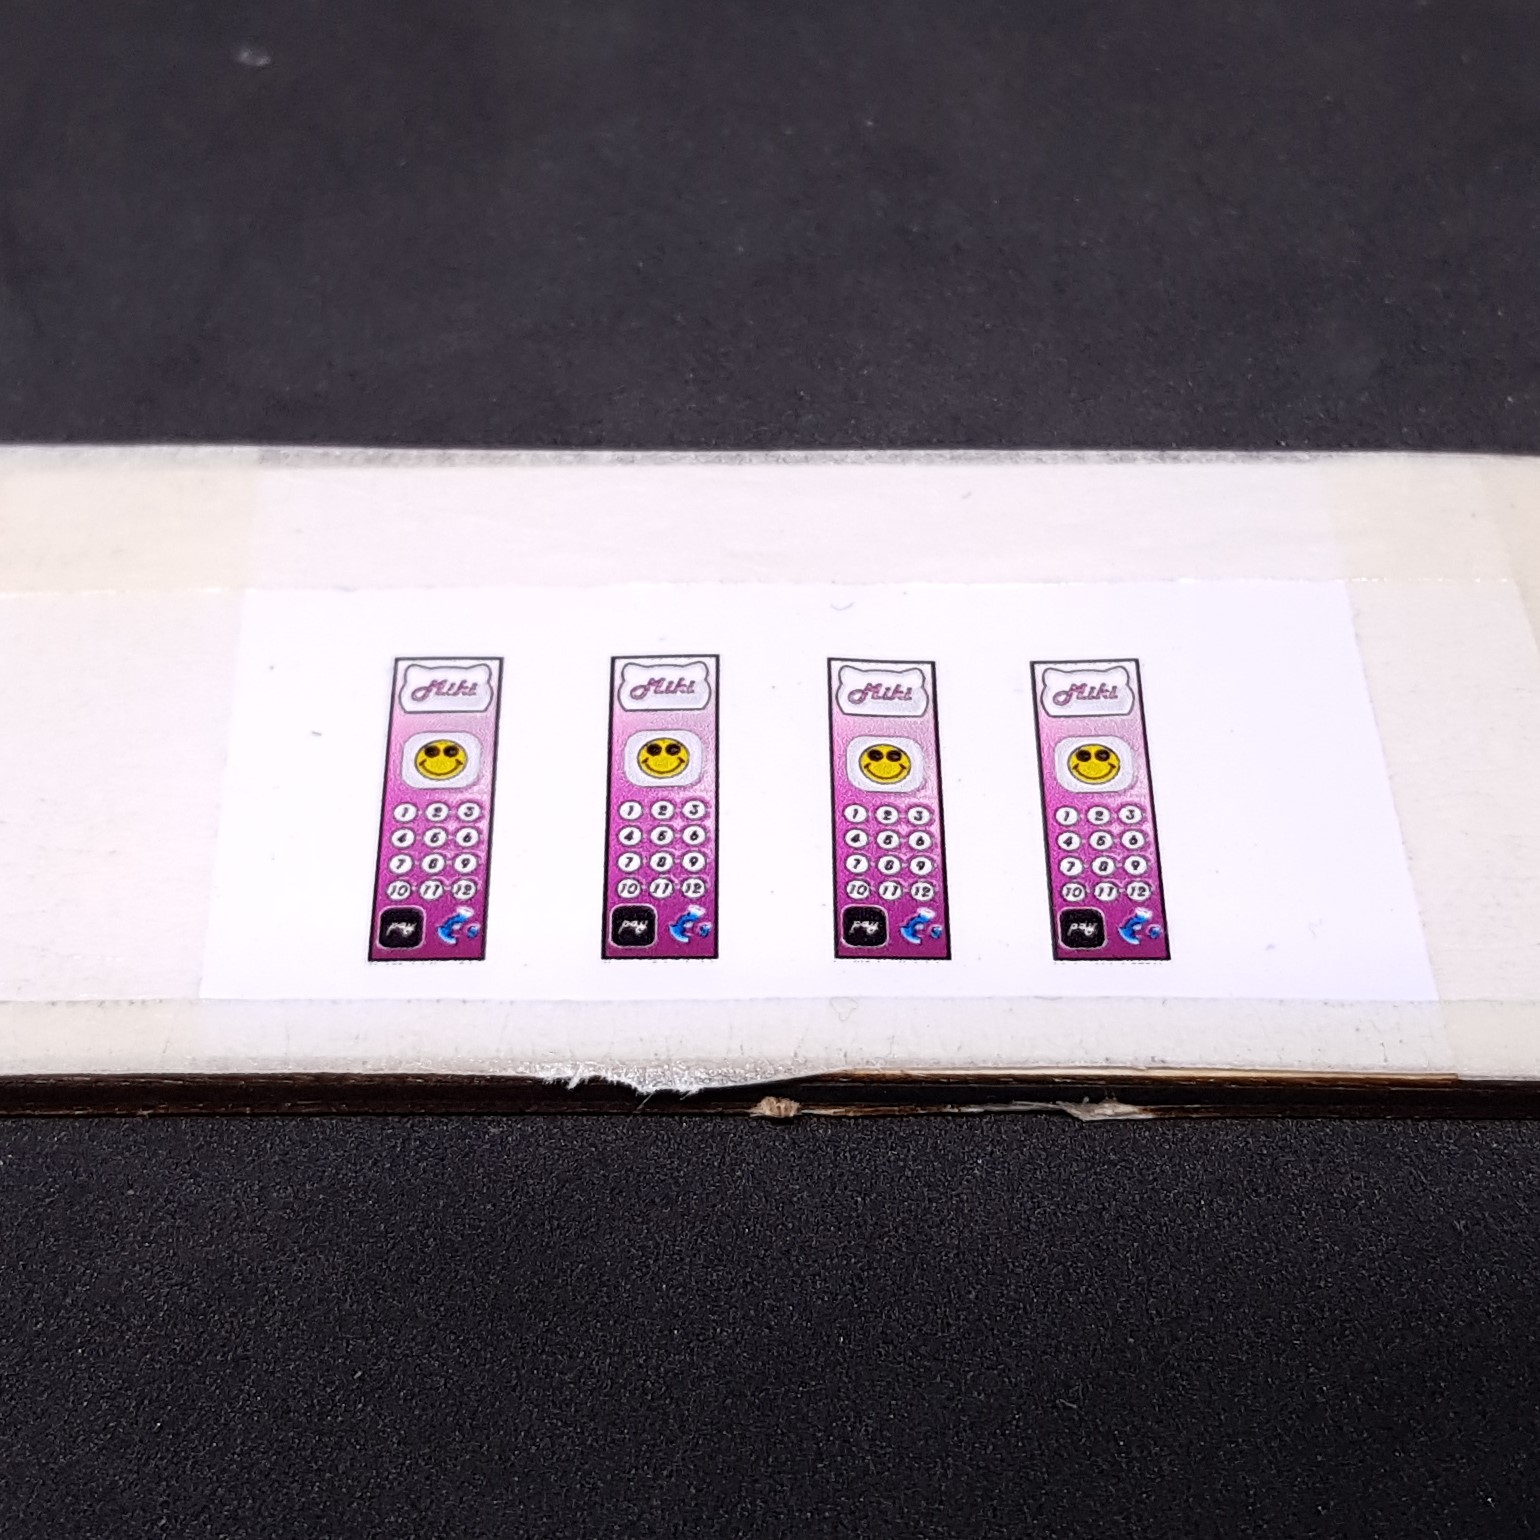
 I designed the panel in CAD again. I don’t know why this this is so much faster than trying to create with any other drawing programs I have. Also, I can ensure the scale is correct and it will fit.
I then put this in some photo editing software and coloured it. I wanted to match the neon colour of the sign to make them stand out.
I then prepared as I did for the power hub with gloss varnish then cut to size ready to apply.


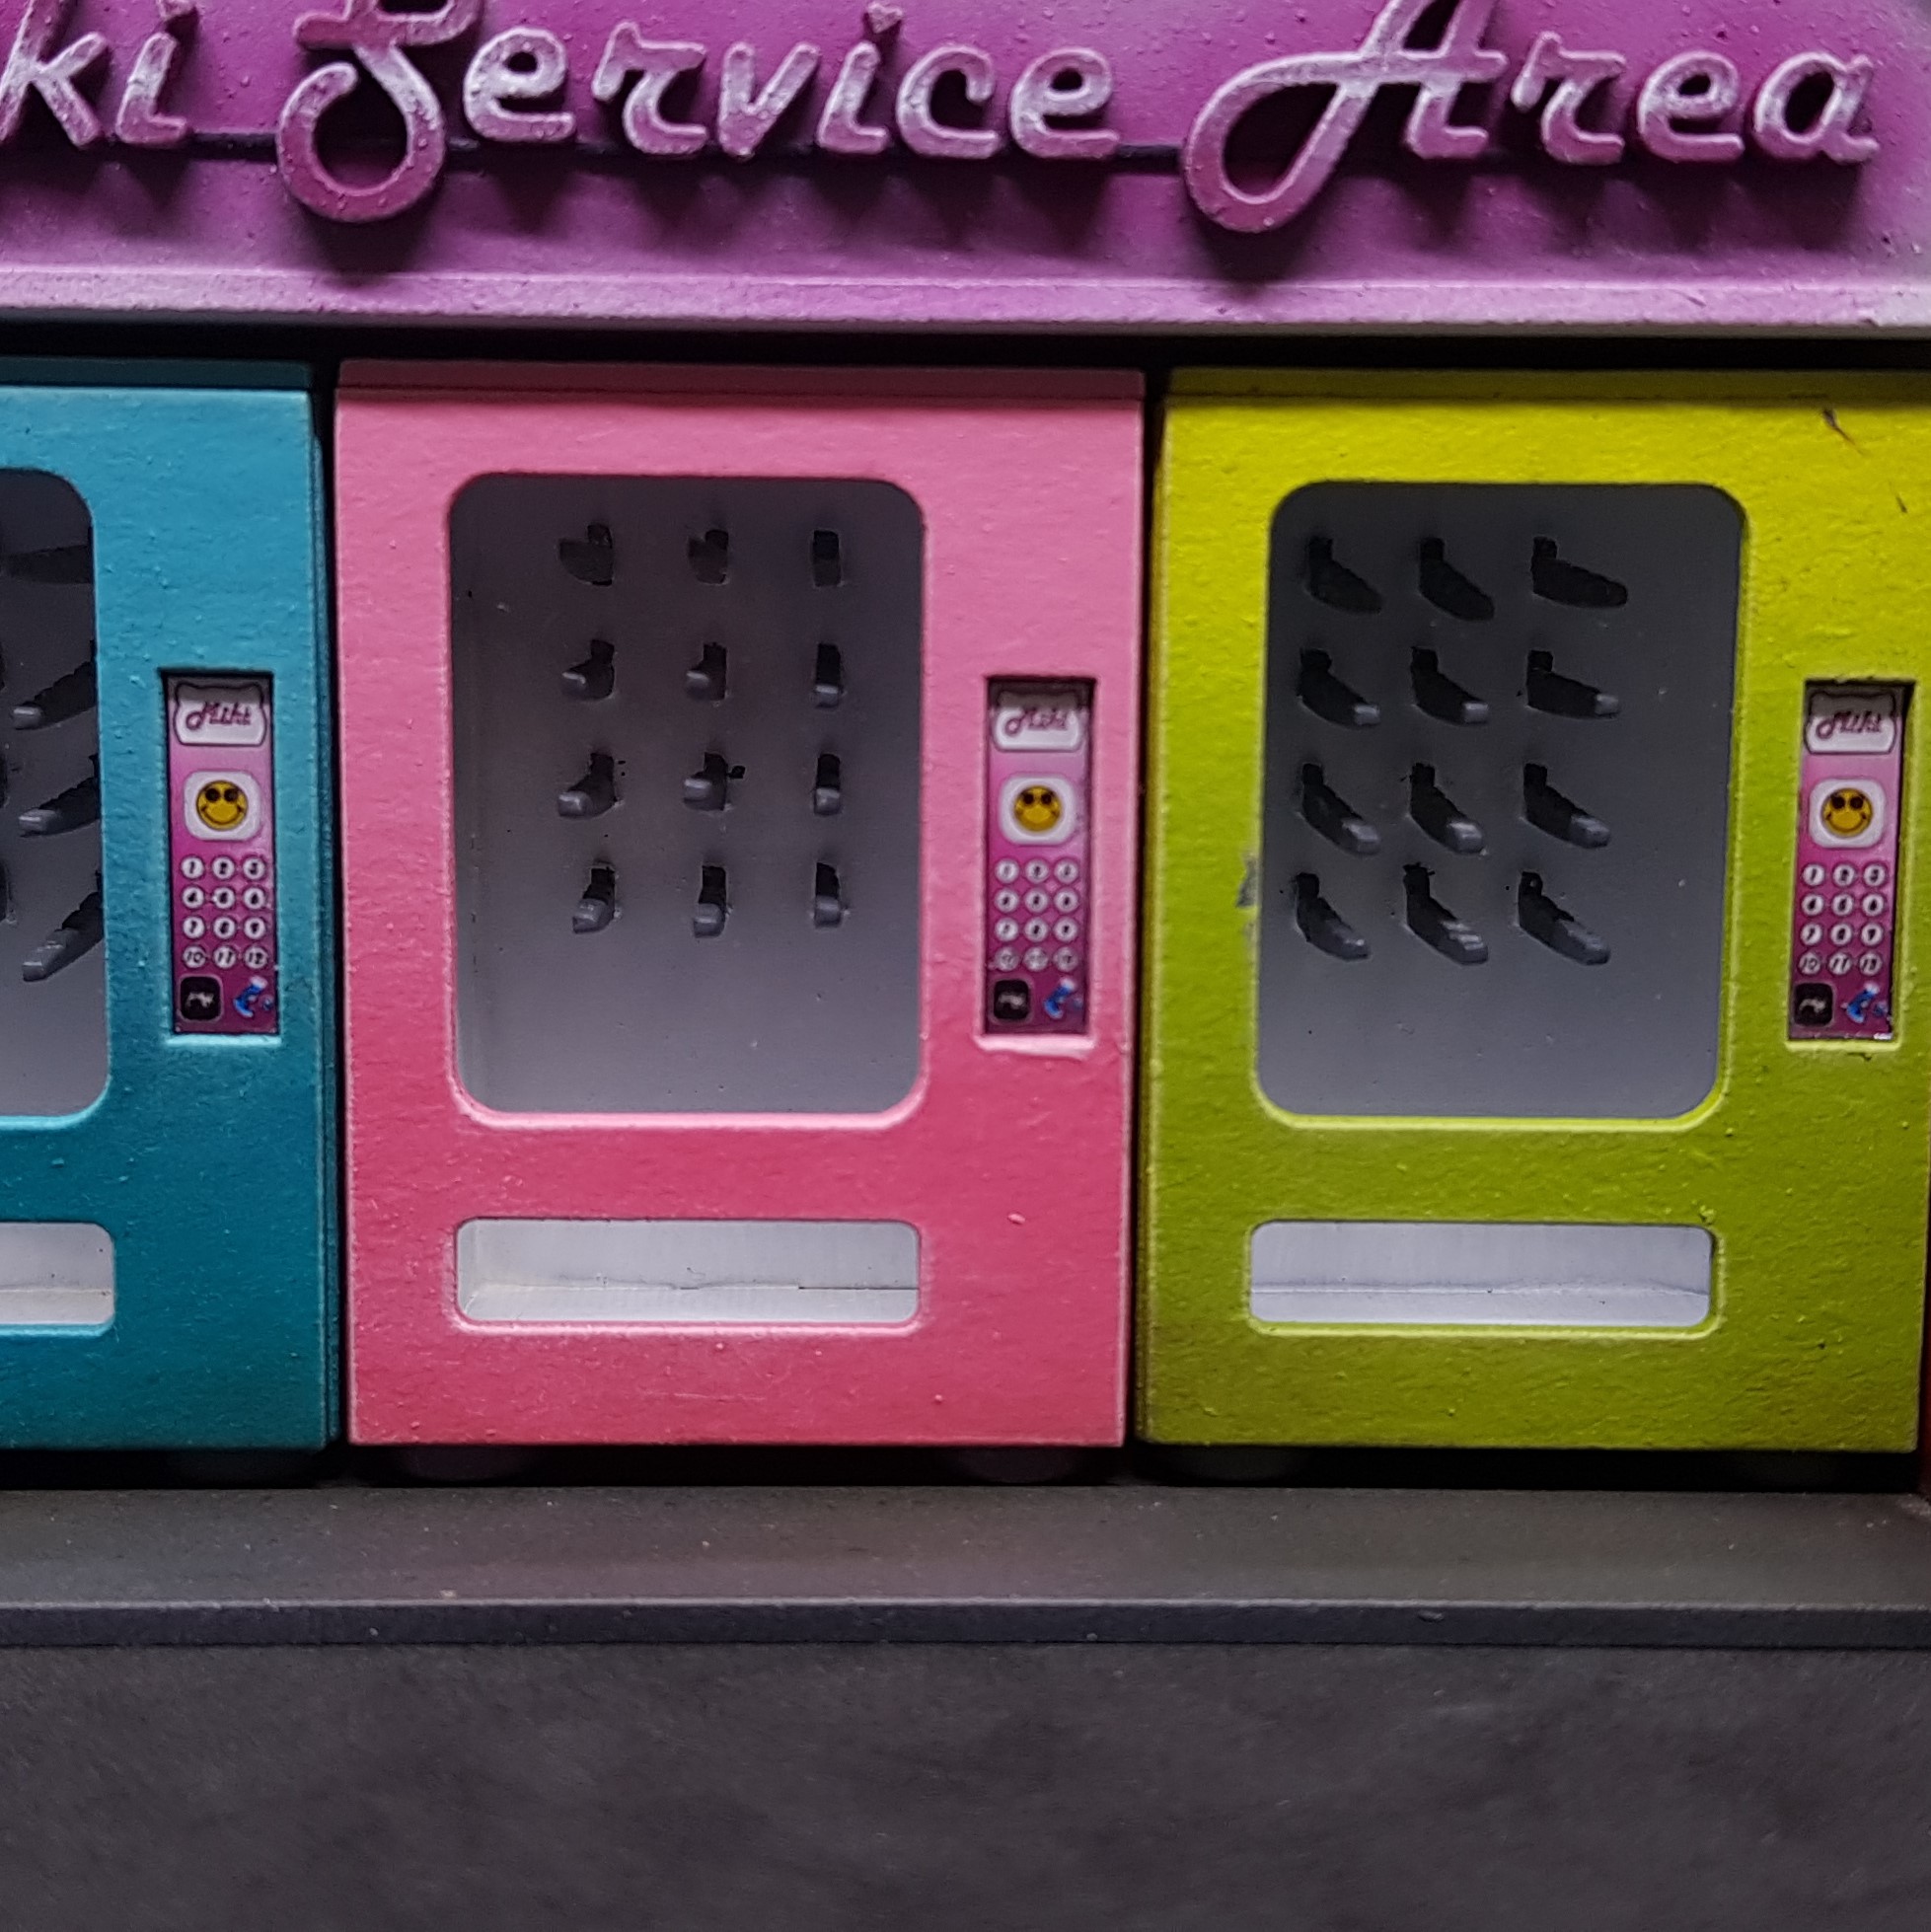
 Some weathering powder and I am done. I do like this and I tried to think out where to weather. I think the machines would be in good condition, but the housing would just need a deep clean. Most of the muck is on the top as most buildings are.
 The back ddosnt look as plain as I though it would. The white line and the red break this up enough for me not to feel it needs more.
 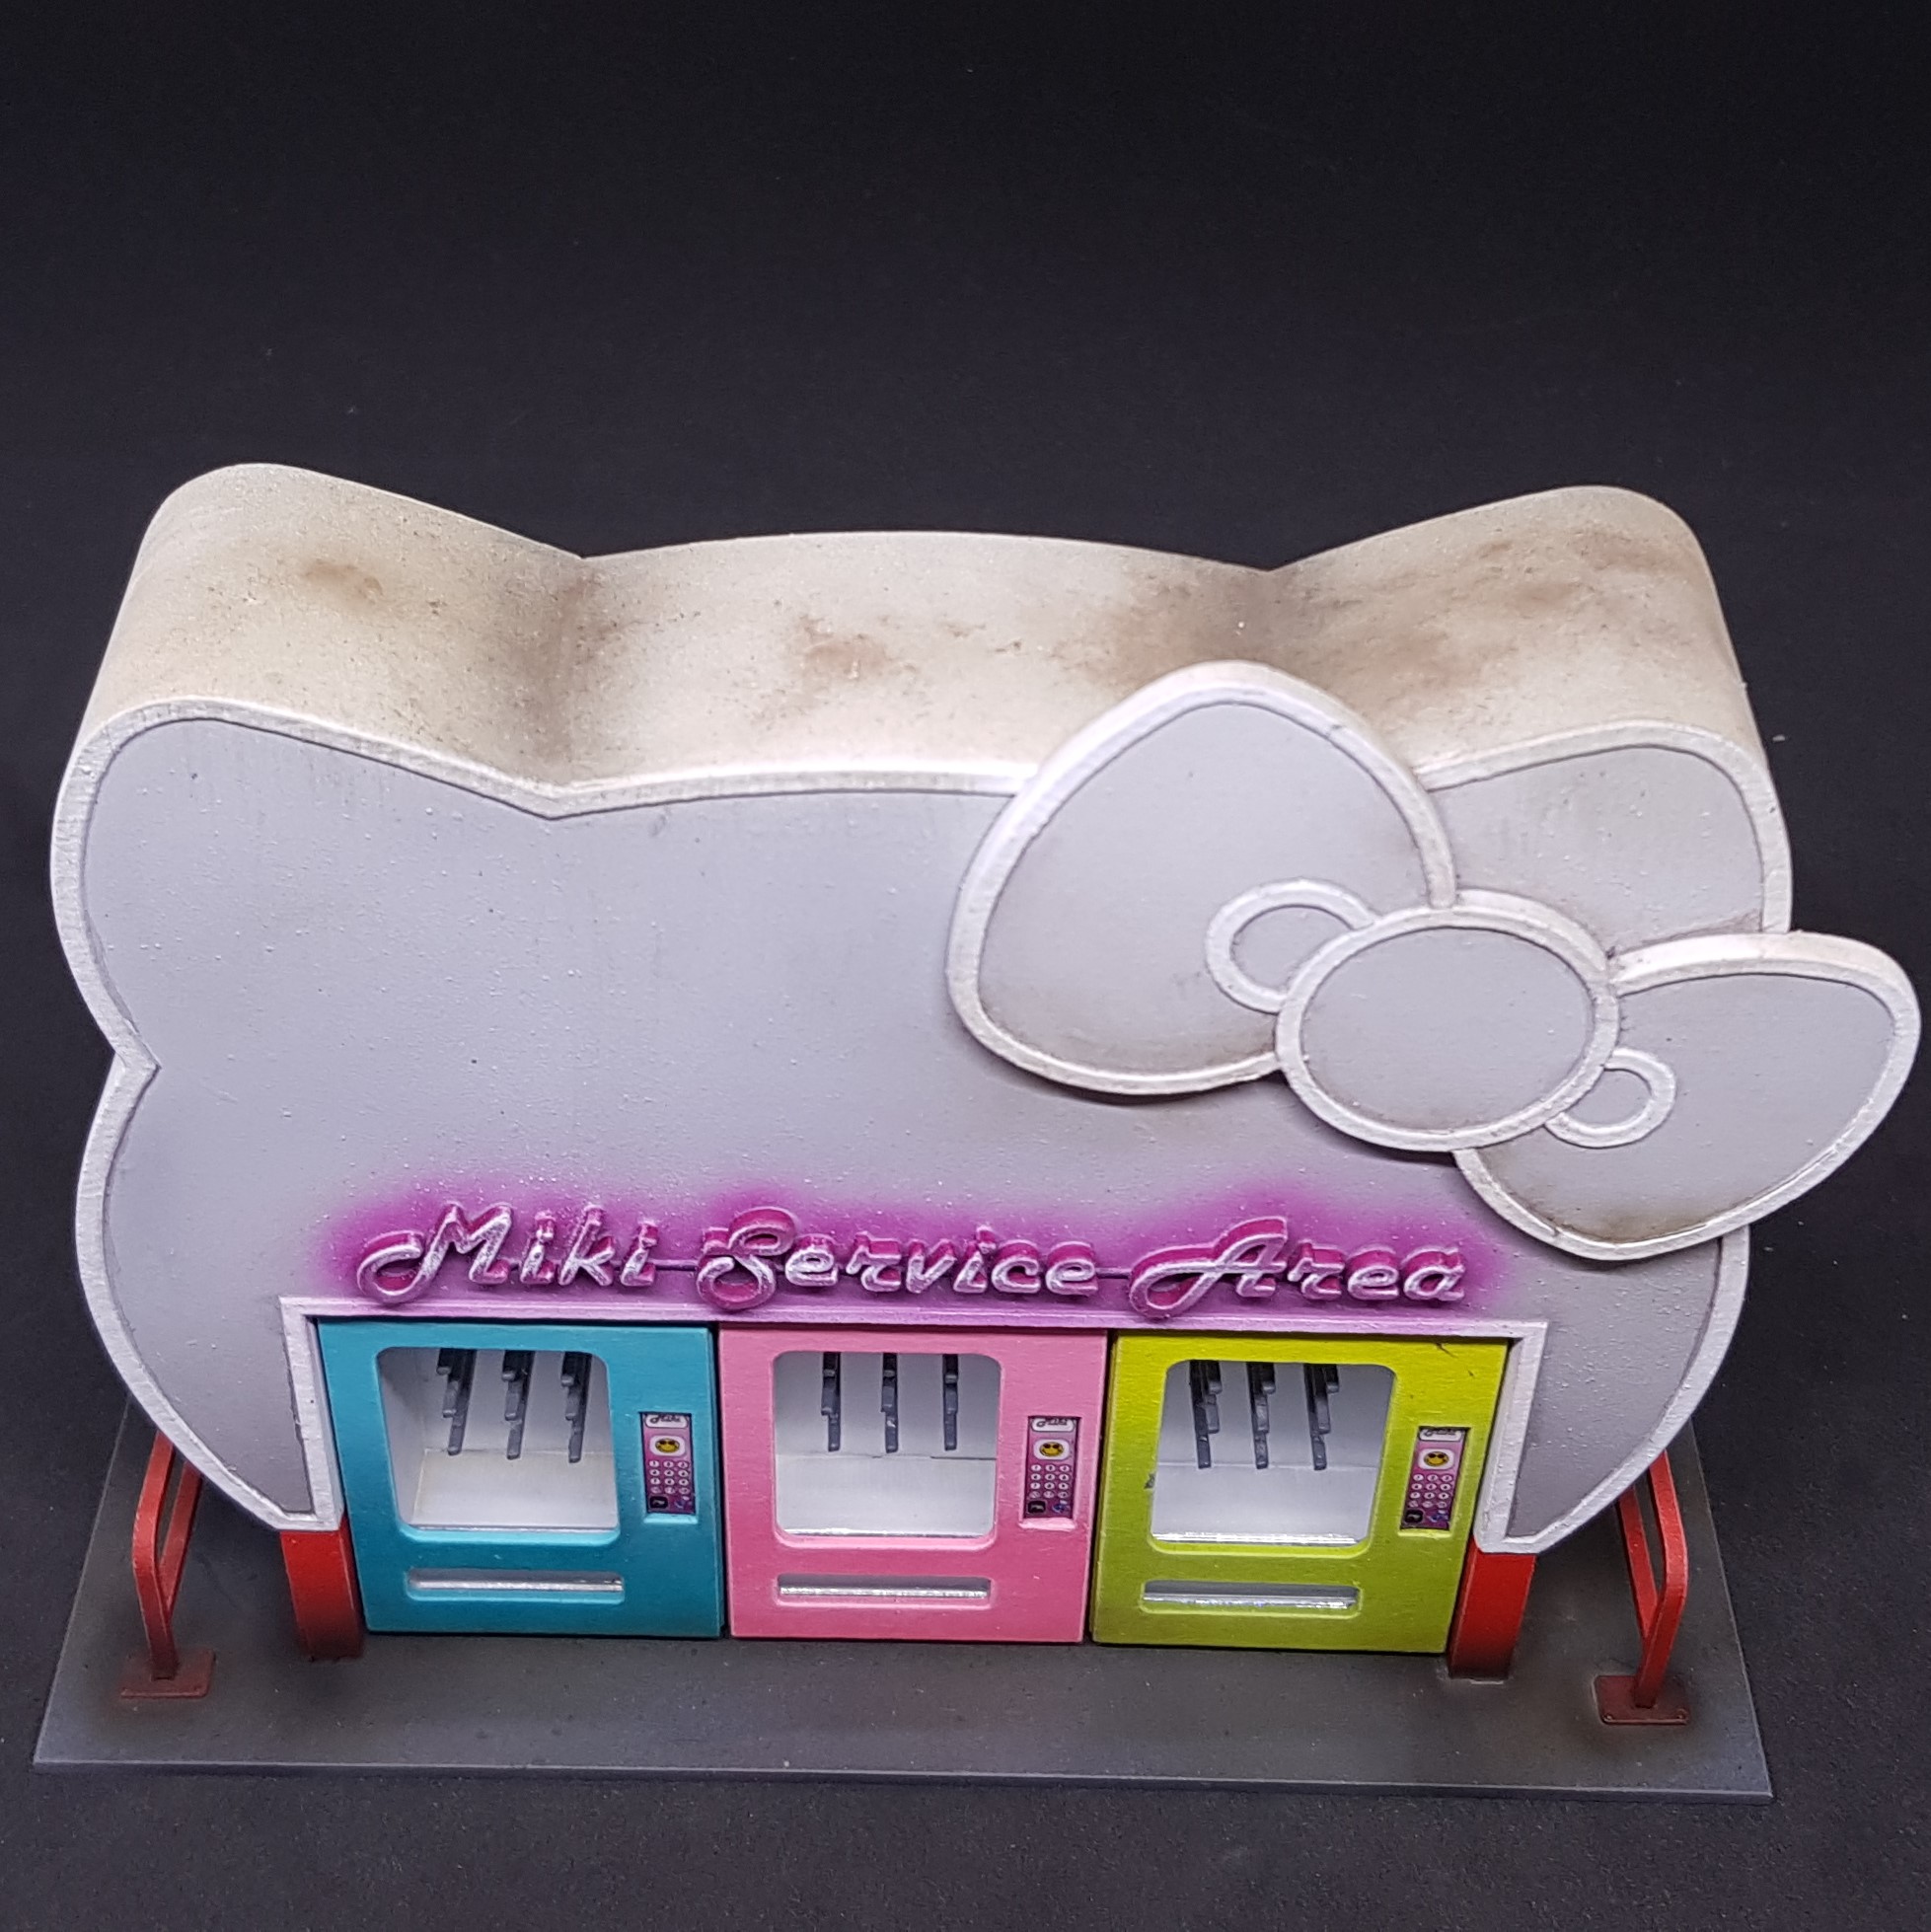 I think the roof looks like the one I can see from my window. You can still see some white but it's dirty where the rain would have pooled and ran.
 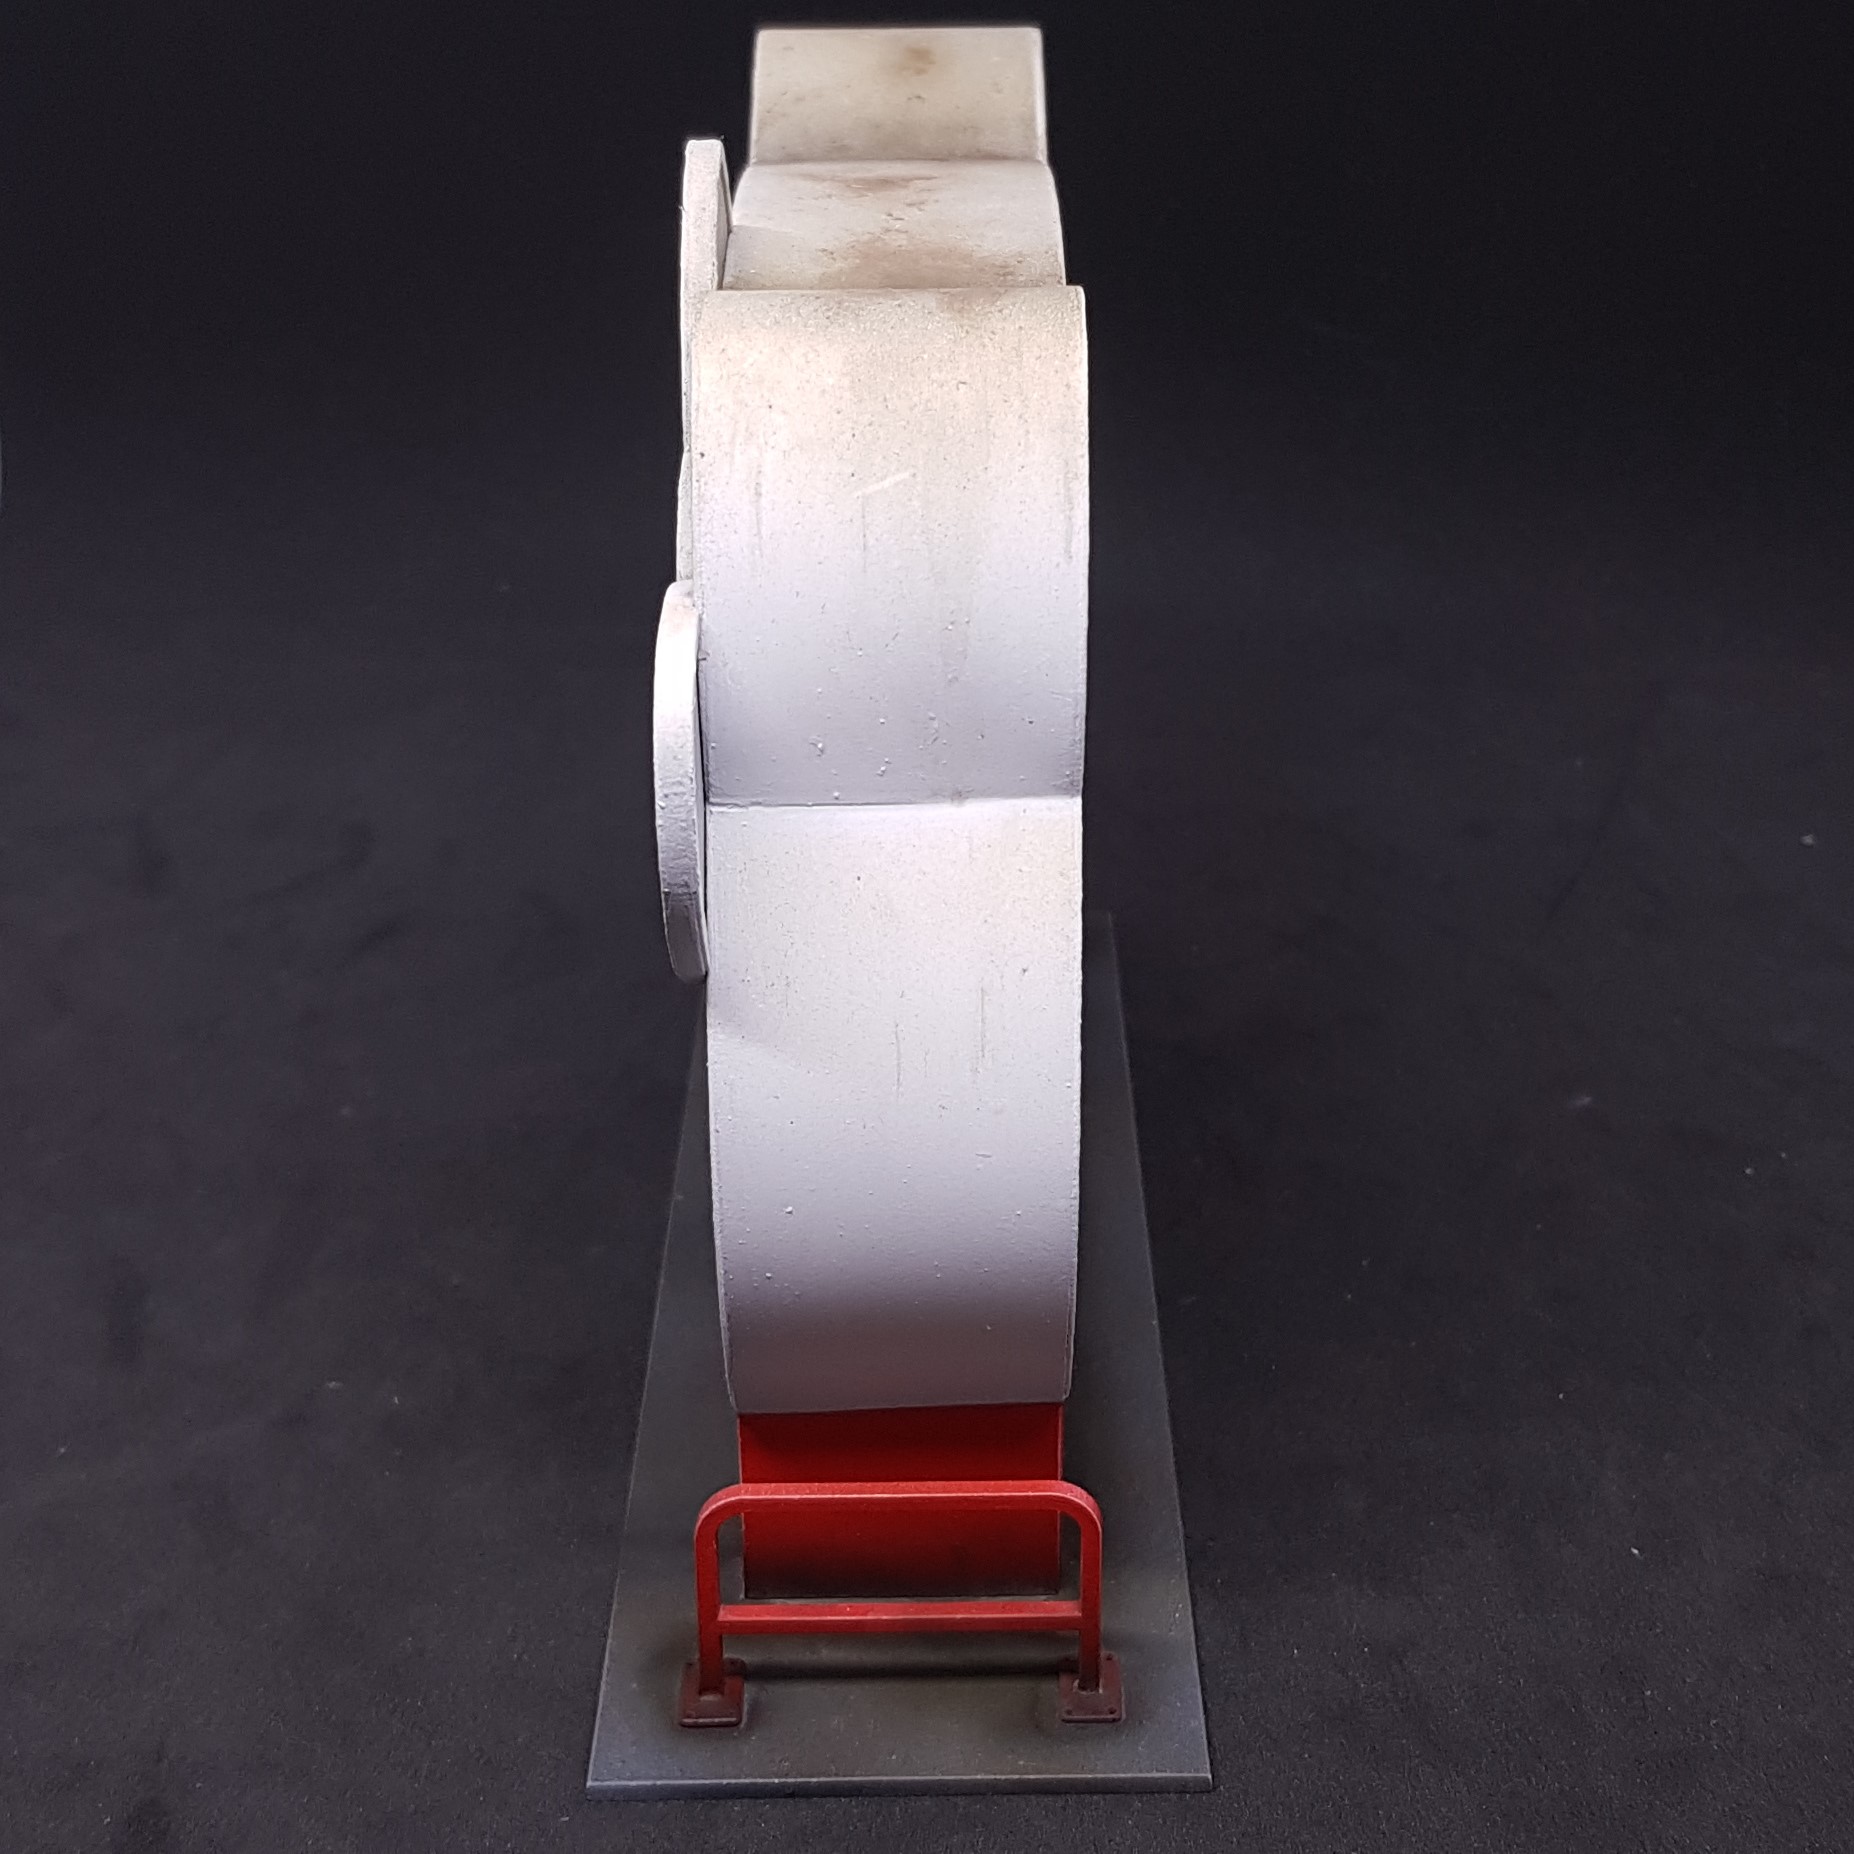 I have decided I do not like acrylic streaking effects. I perhaps do not know how to use them but the oil ones I have used in the past are far superior.
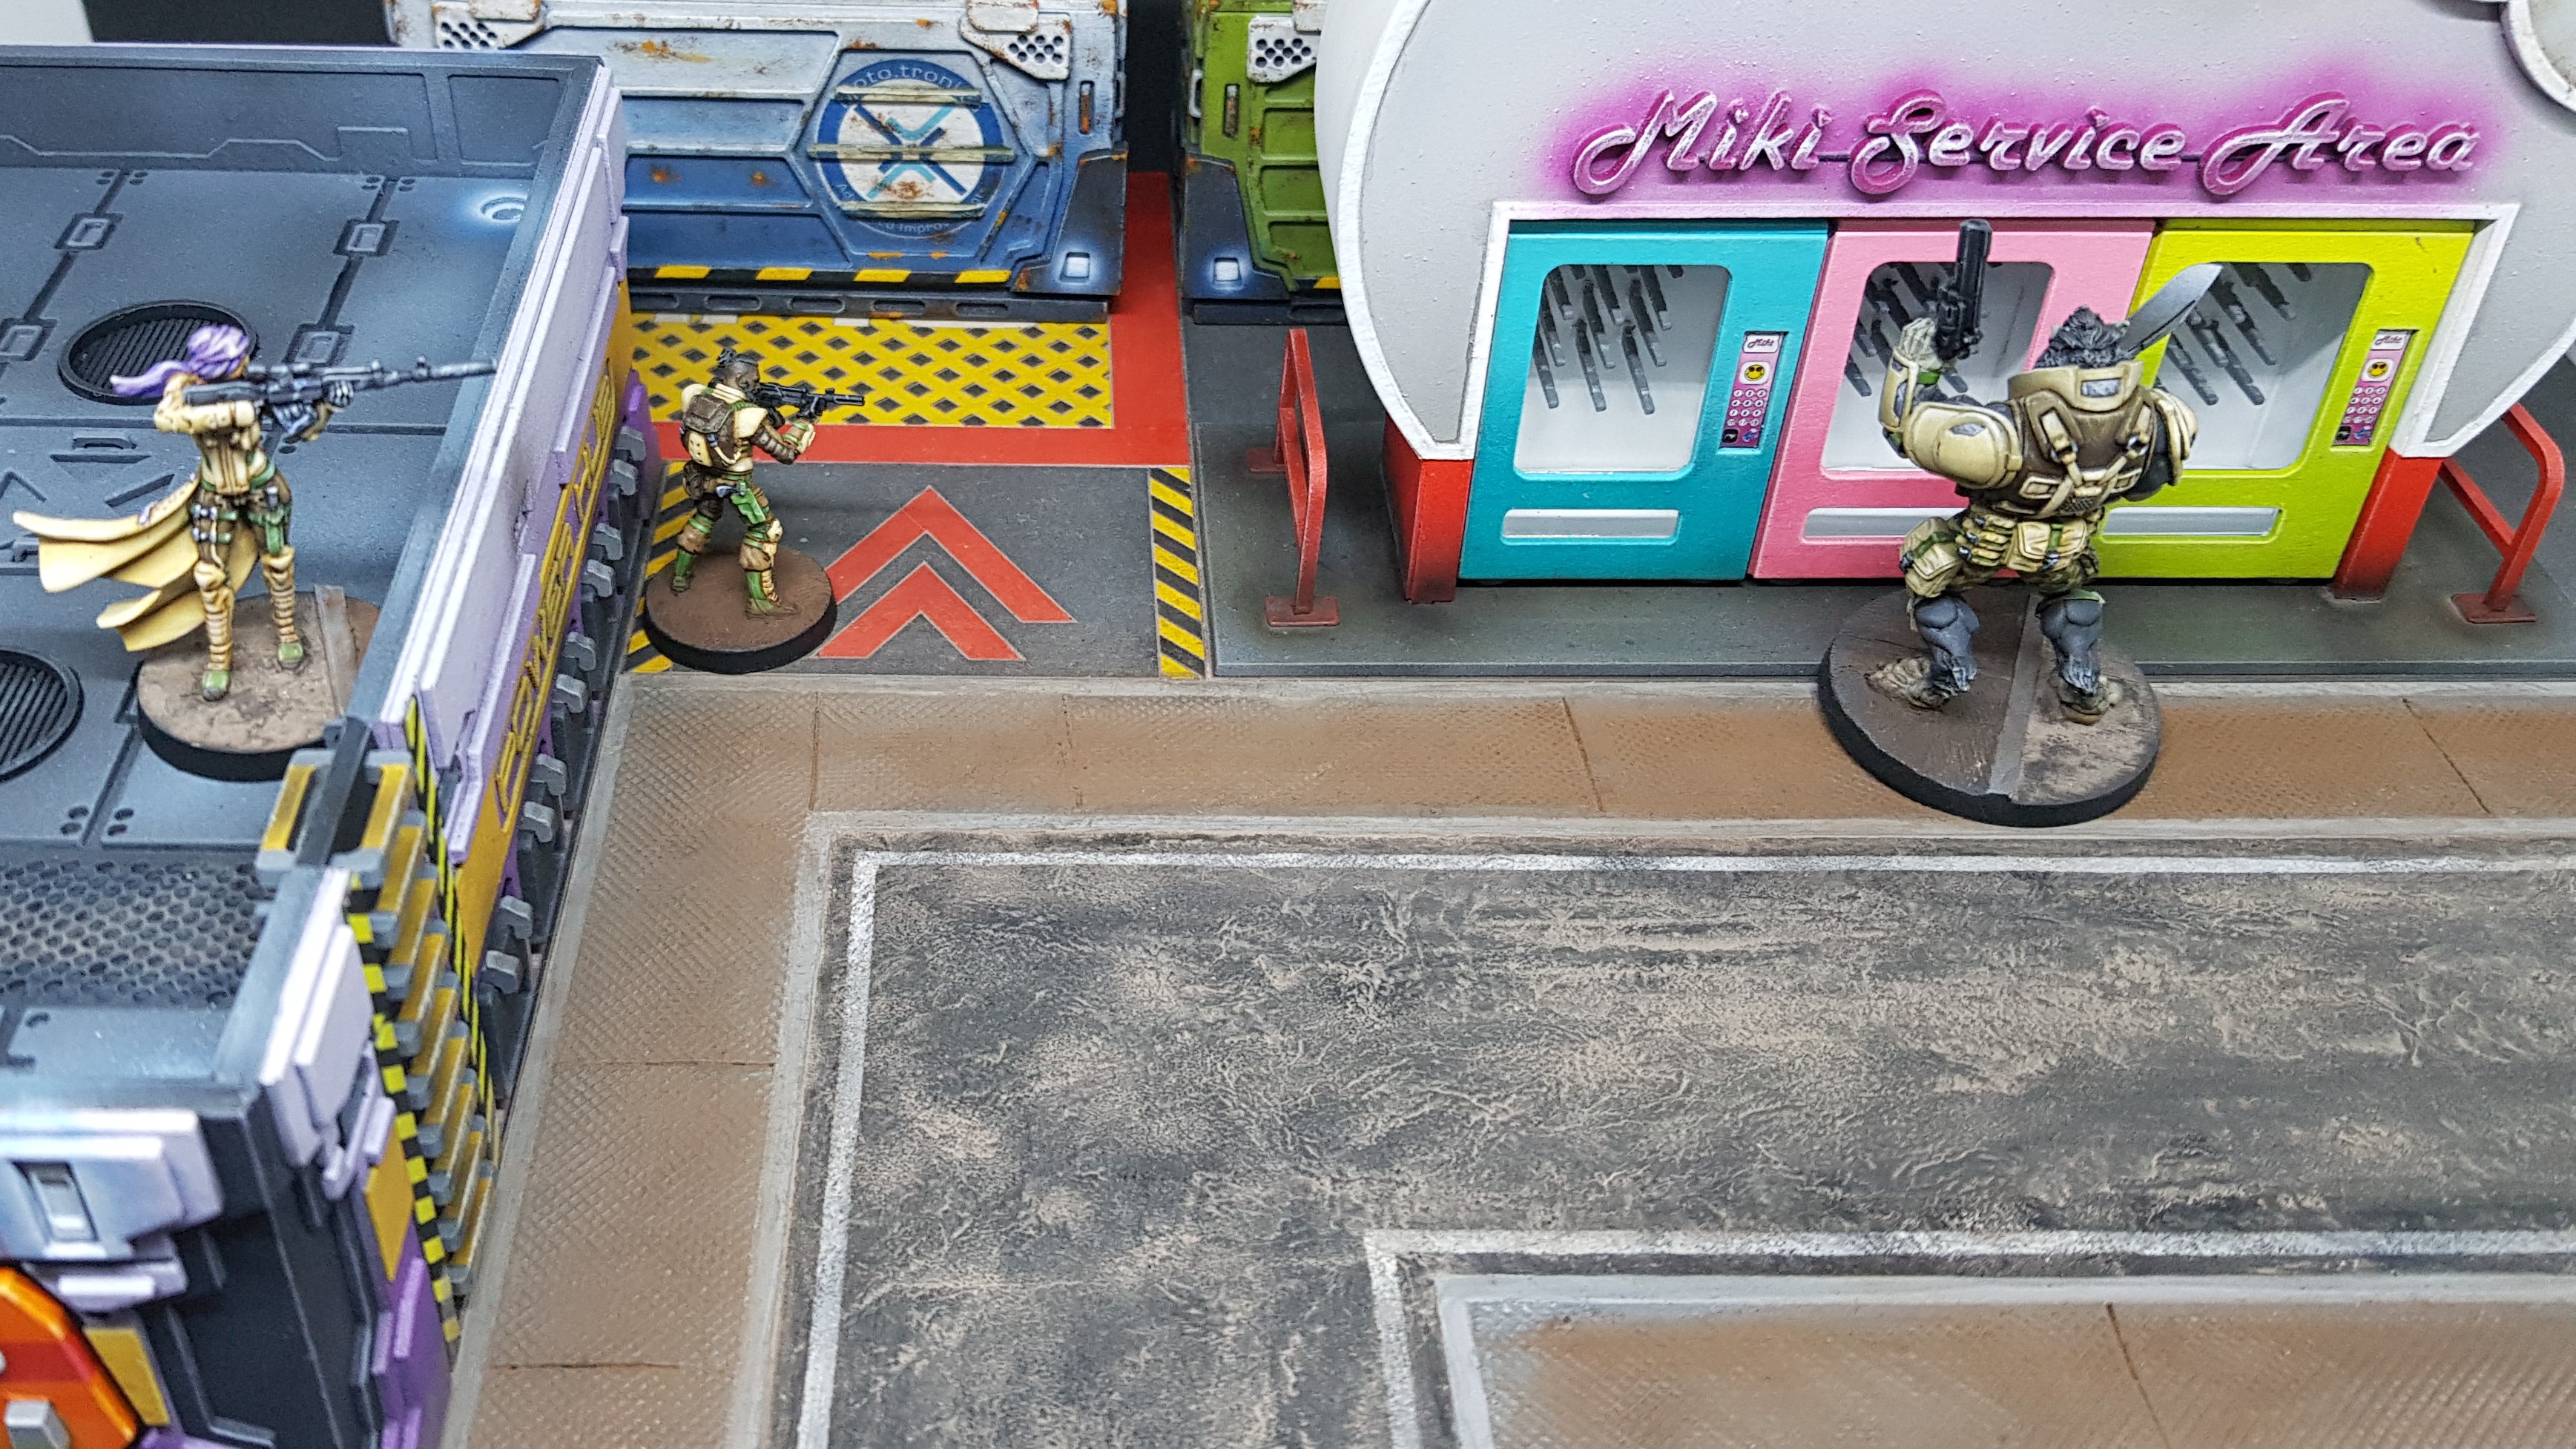 A hungry Devil Dog looking for food only to be disappointed. His bad day turns out to be an ambush!
And that’s it done. I have a lot of non hobby work coming up (I hope) and the hobby challenge is going to keep me busier still. Thinking about what to do…
This project is not going on hold as I know I will still be doing things even though I am busy. I have a management module to do after all. It may be a little longer between updates.
Hope you think this is as fun as I do. Was good to take a break from reality and make a cat shaped building.
More to come, soon-ish…


I think the weathering on the roof looks very realistic. The neon effect is a perfect tribute to almost an 80’s style neon CG effect as opposed to actual neon lettering. The control panel for the vending machines is an incredible piece of tiny precise detail that adds another layer of polish.
Overall, another beautiful piece of work, can’t wait to see what you decide to tackle next.