


![How To Paint Moonstone’s Nanny | Goblin King Games [7 Days Early Access]](https://images.beastsofwar.com/2024/12/3CU-Gobin-King-Games-Moonstone-Shades-Nanny-coverimage-225-127.jpg)


Lloyd's Varangians / Kevin Rus' Army Build


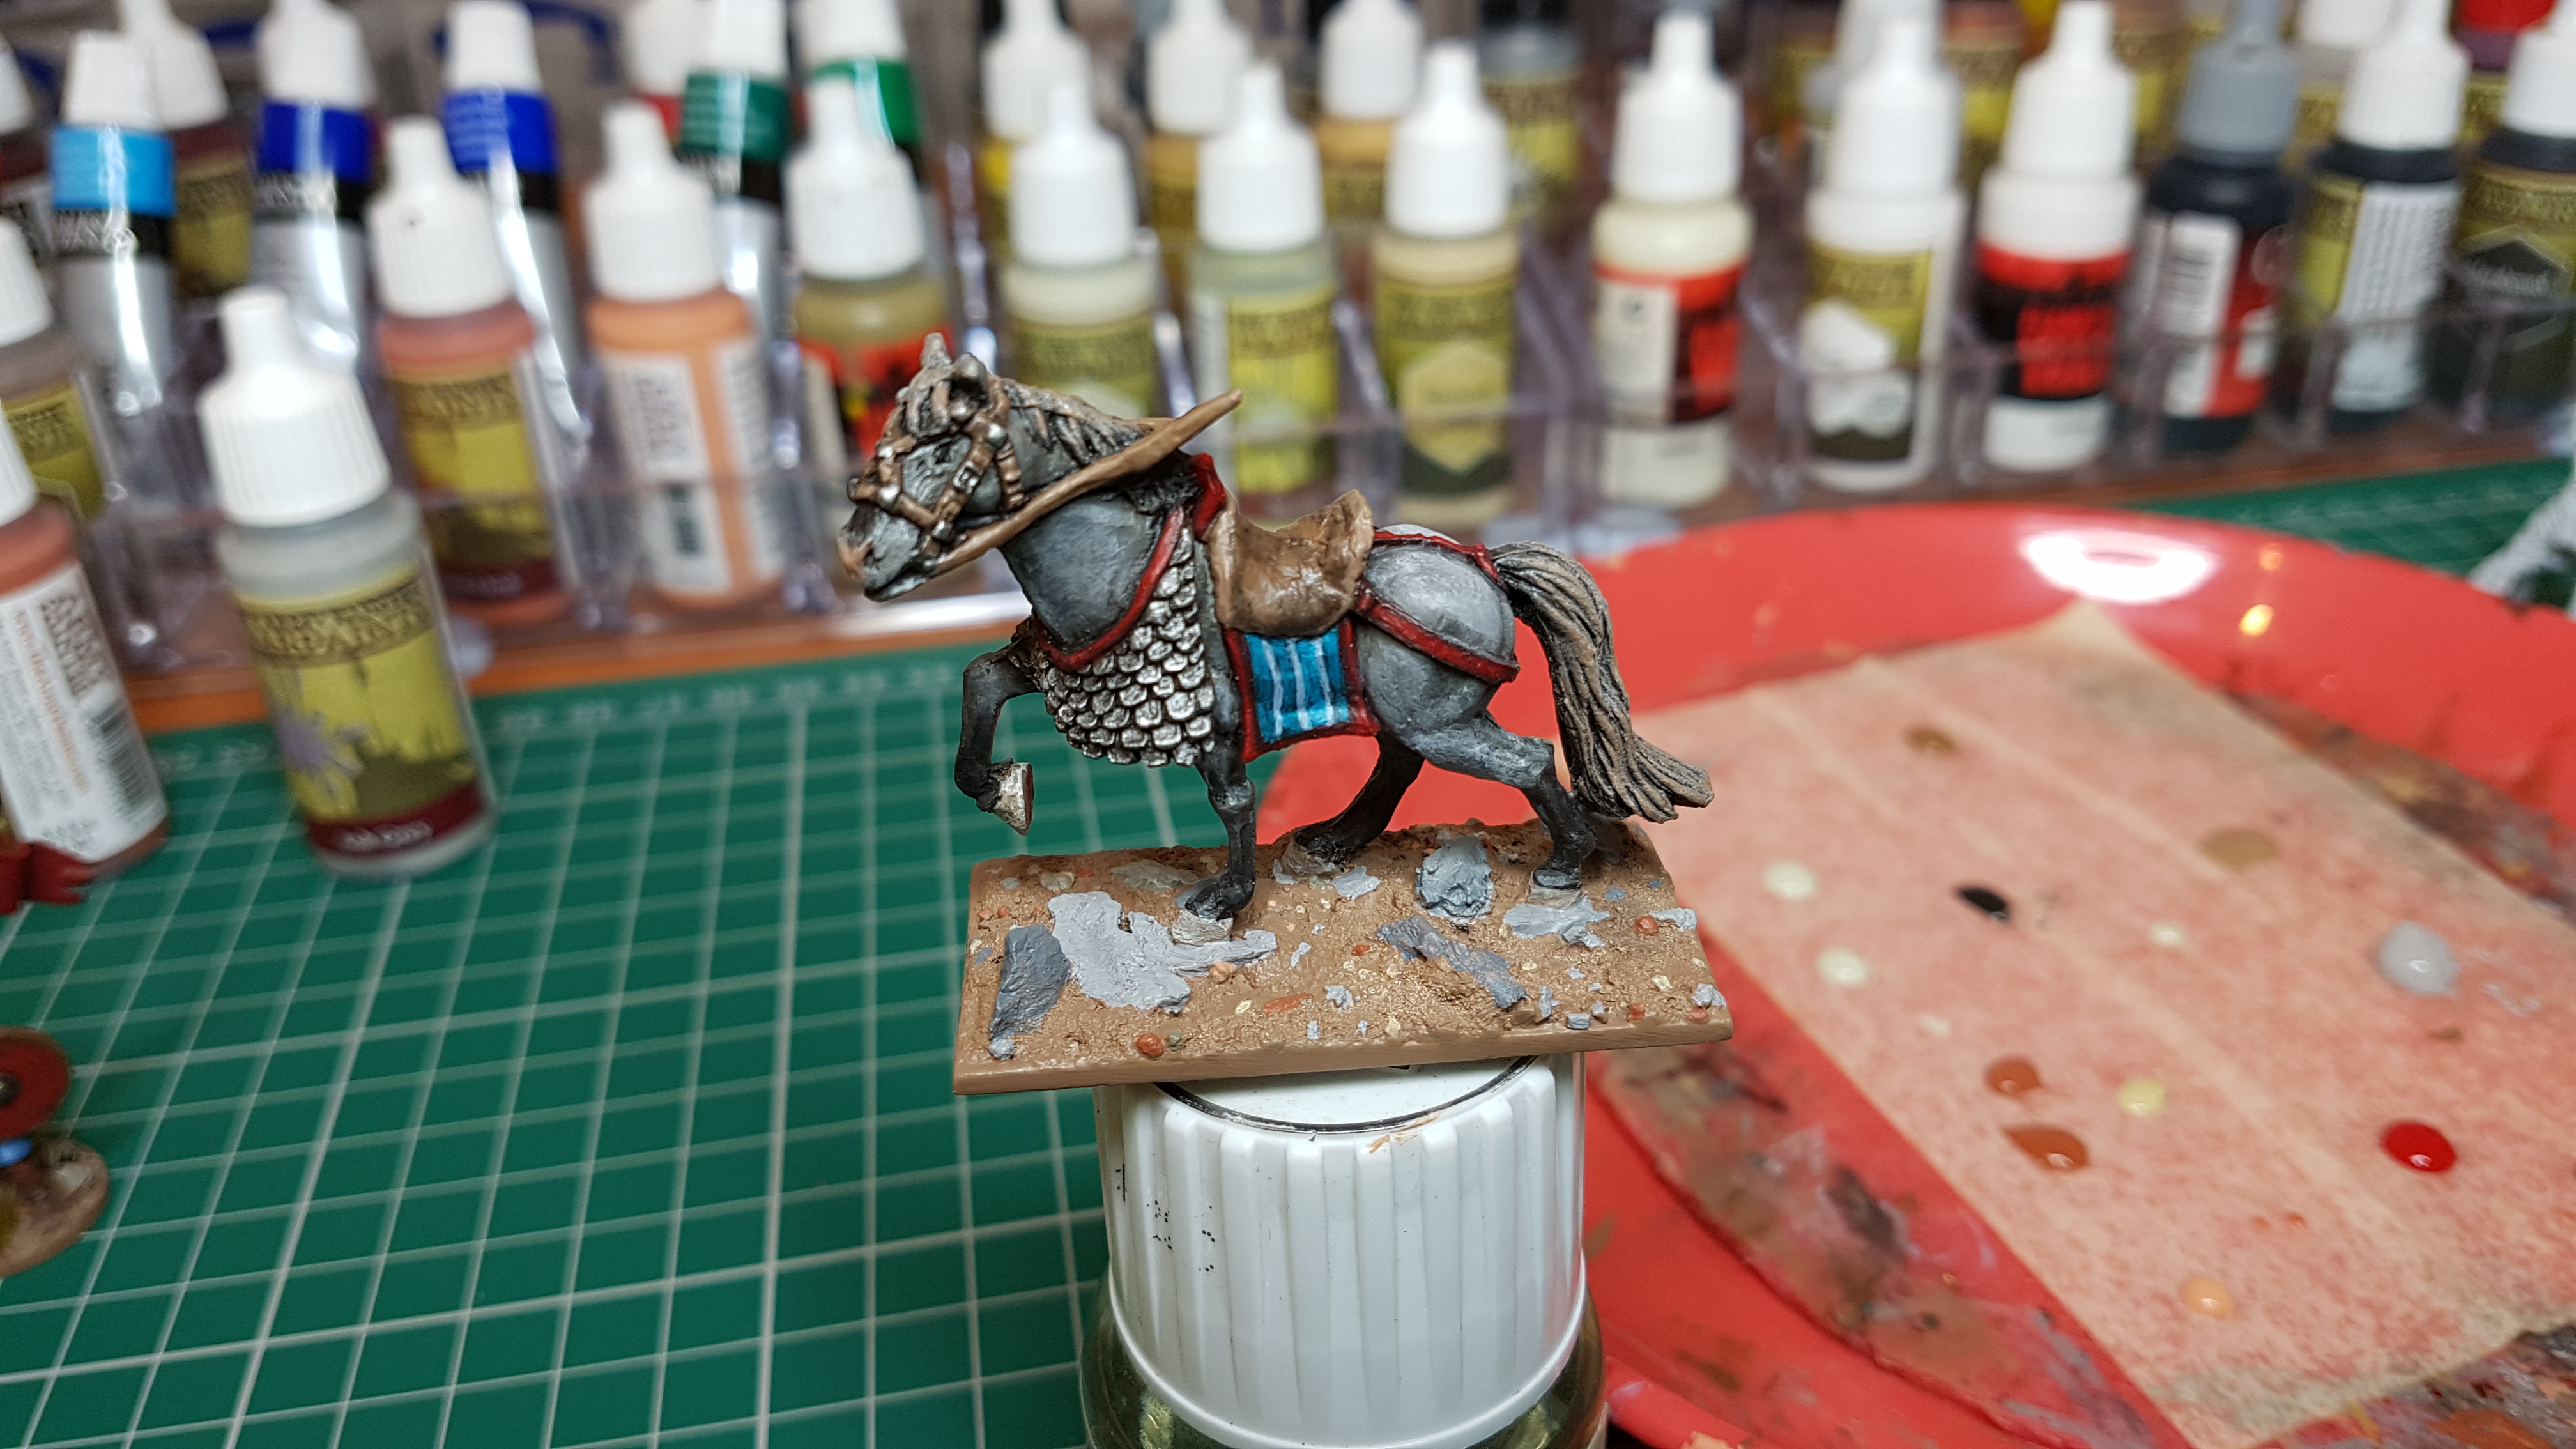
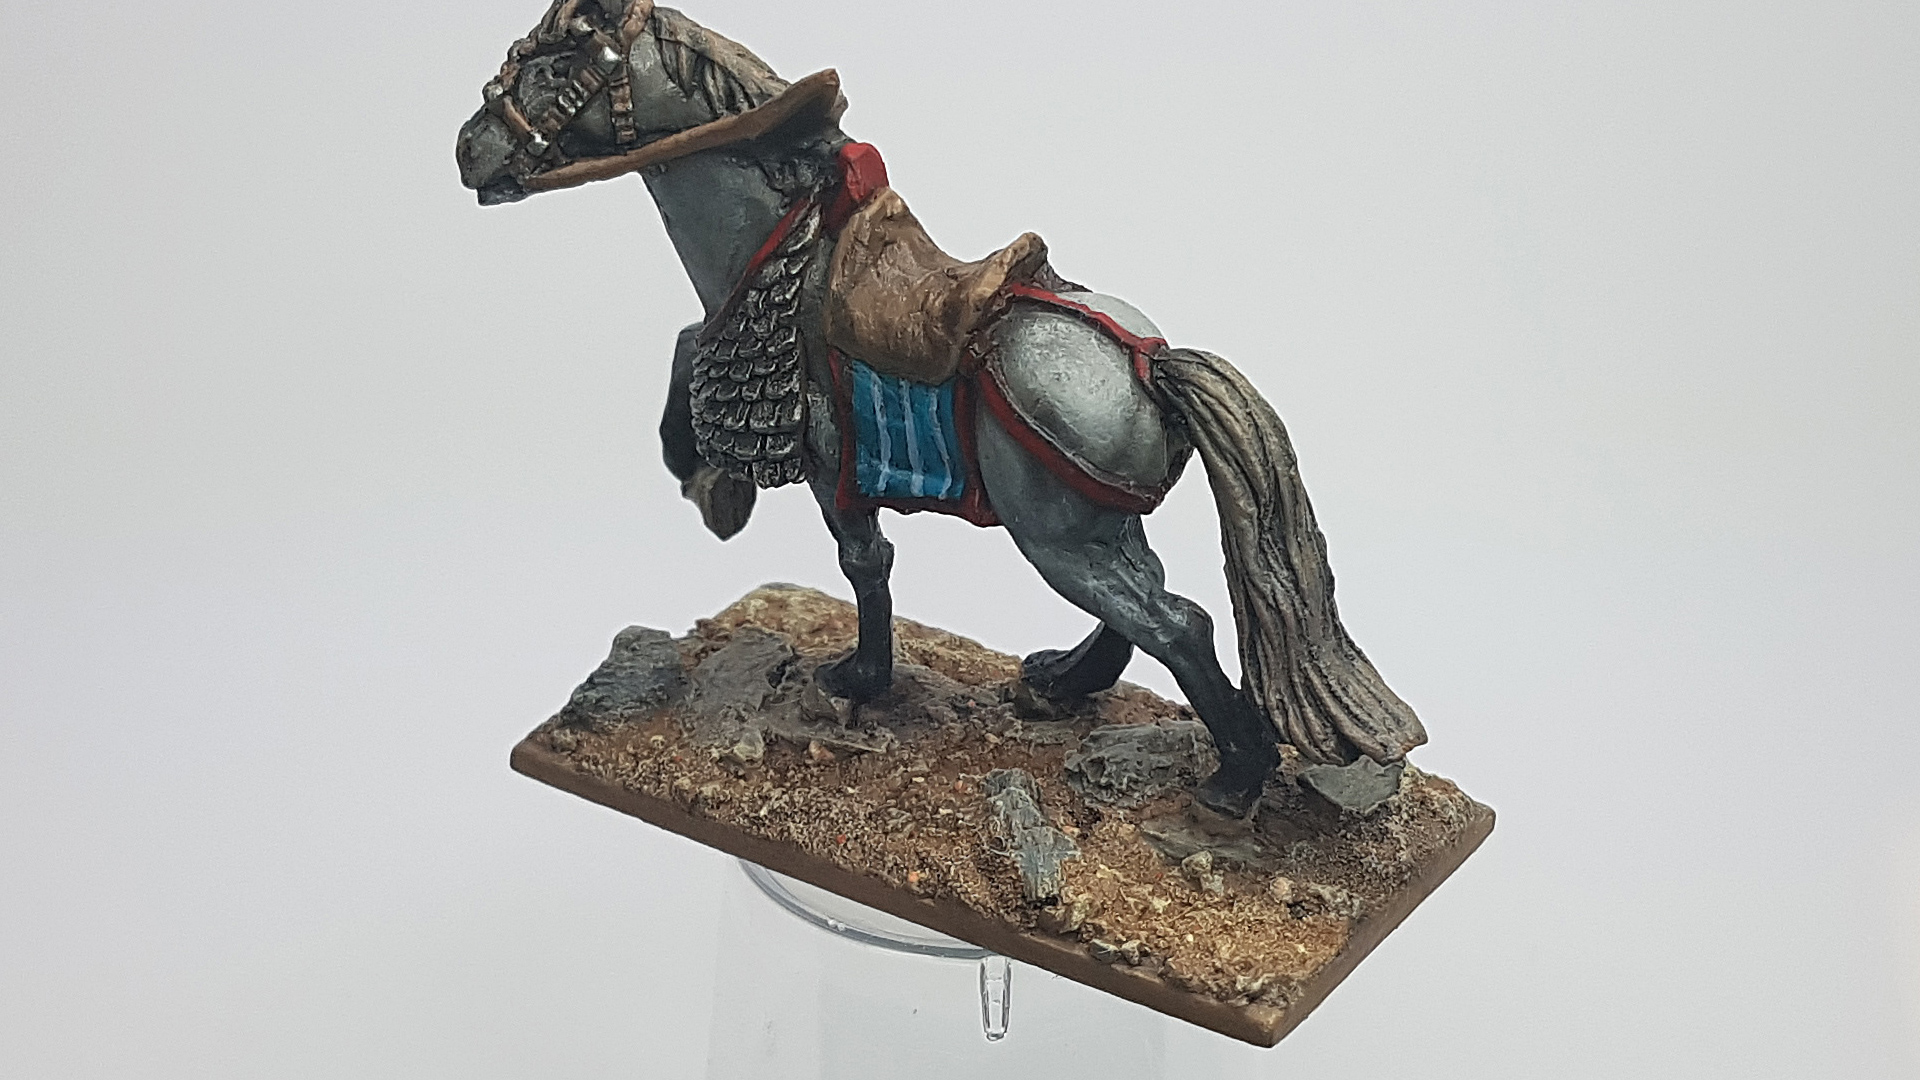
Finishing the Base on the Warlord's Mighty Steed
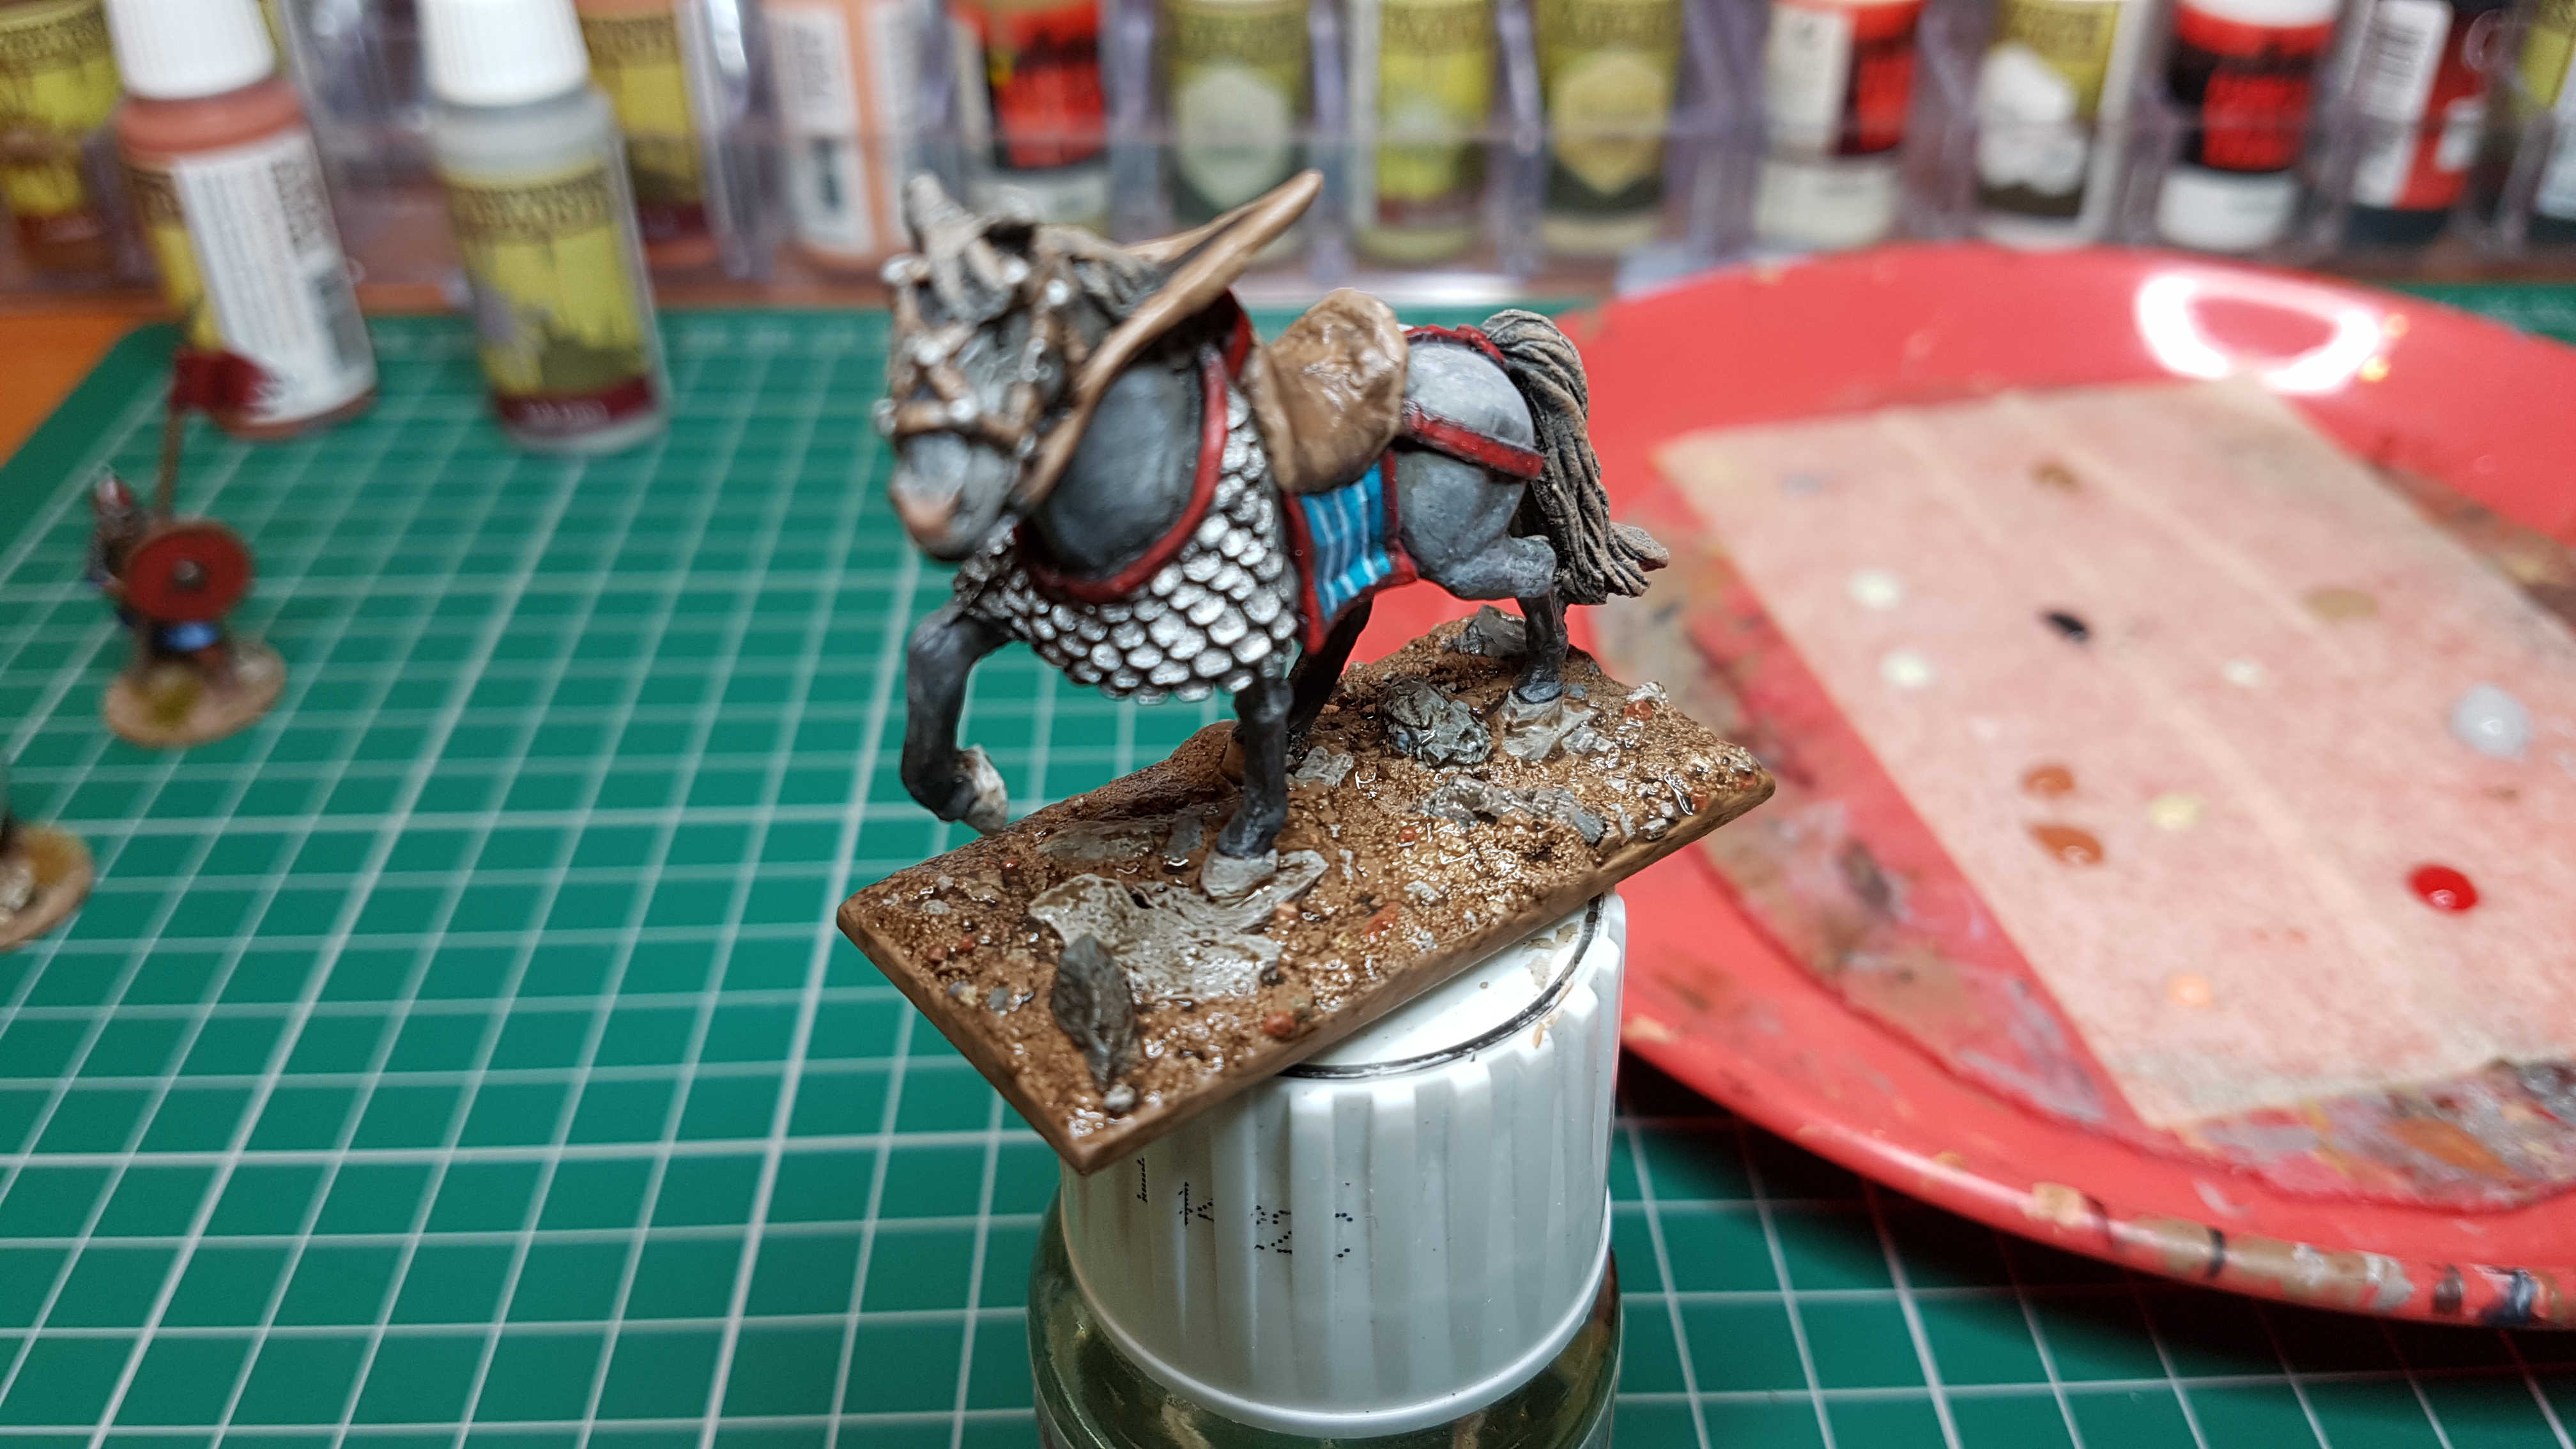
With the horse pretty much done (I might highlight a few edges etc.) it’s time to get the base painted up. In the previous post you seen the base get it’s first lick of paint which is Monster Brown from Army Painter. One of my favourite colours, which might seem a bit weird as it’s just a brown but I find it to be a very useful colour and great for my basing scheme.
Painting More Colours on the Base
If you look at any patch of ground you will see lots of colour/shades. If you leave a base painted one flat colour it’s going to look very strange, because you just don’t see that in the real world/nature.
With this in mind it’s time to get some colours going on, so this base looks more interesting. Here’s a list of paints I used and pic so you can see most of the colours (all from The Army Painter).
- Monster Brown
- Uniform Gray
- Green Gray
- Fur Brown
- Ash Gray
- Barbarian Flesh
- Skeleton Bone (not pictured below)
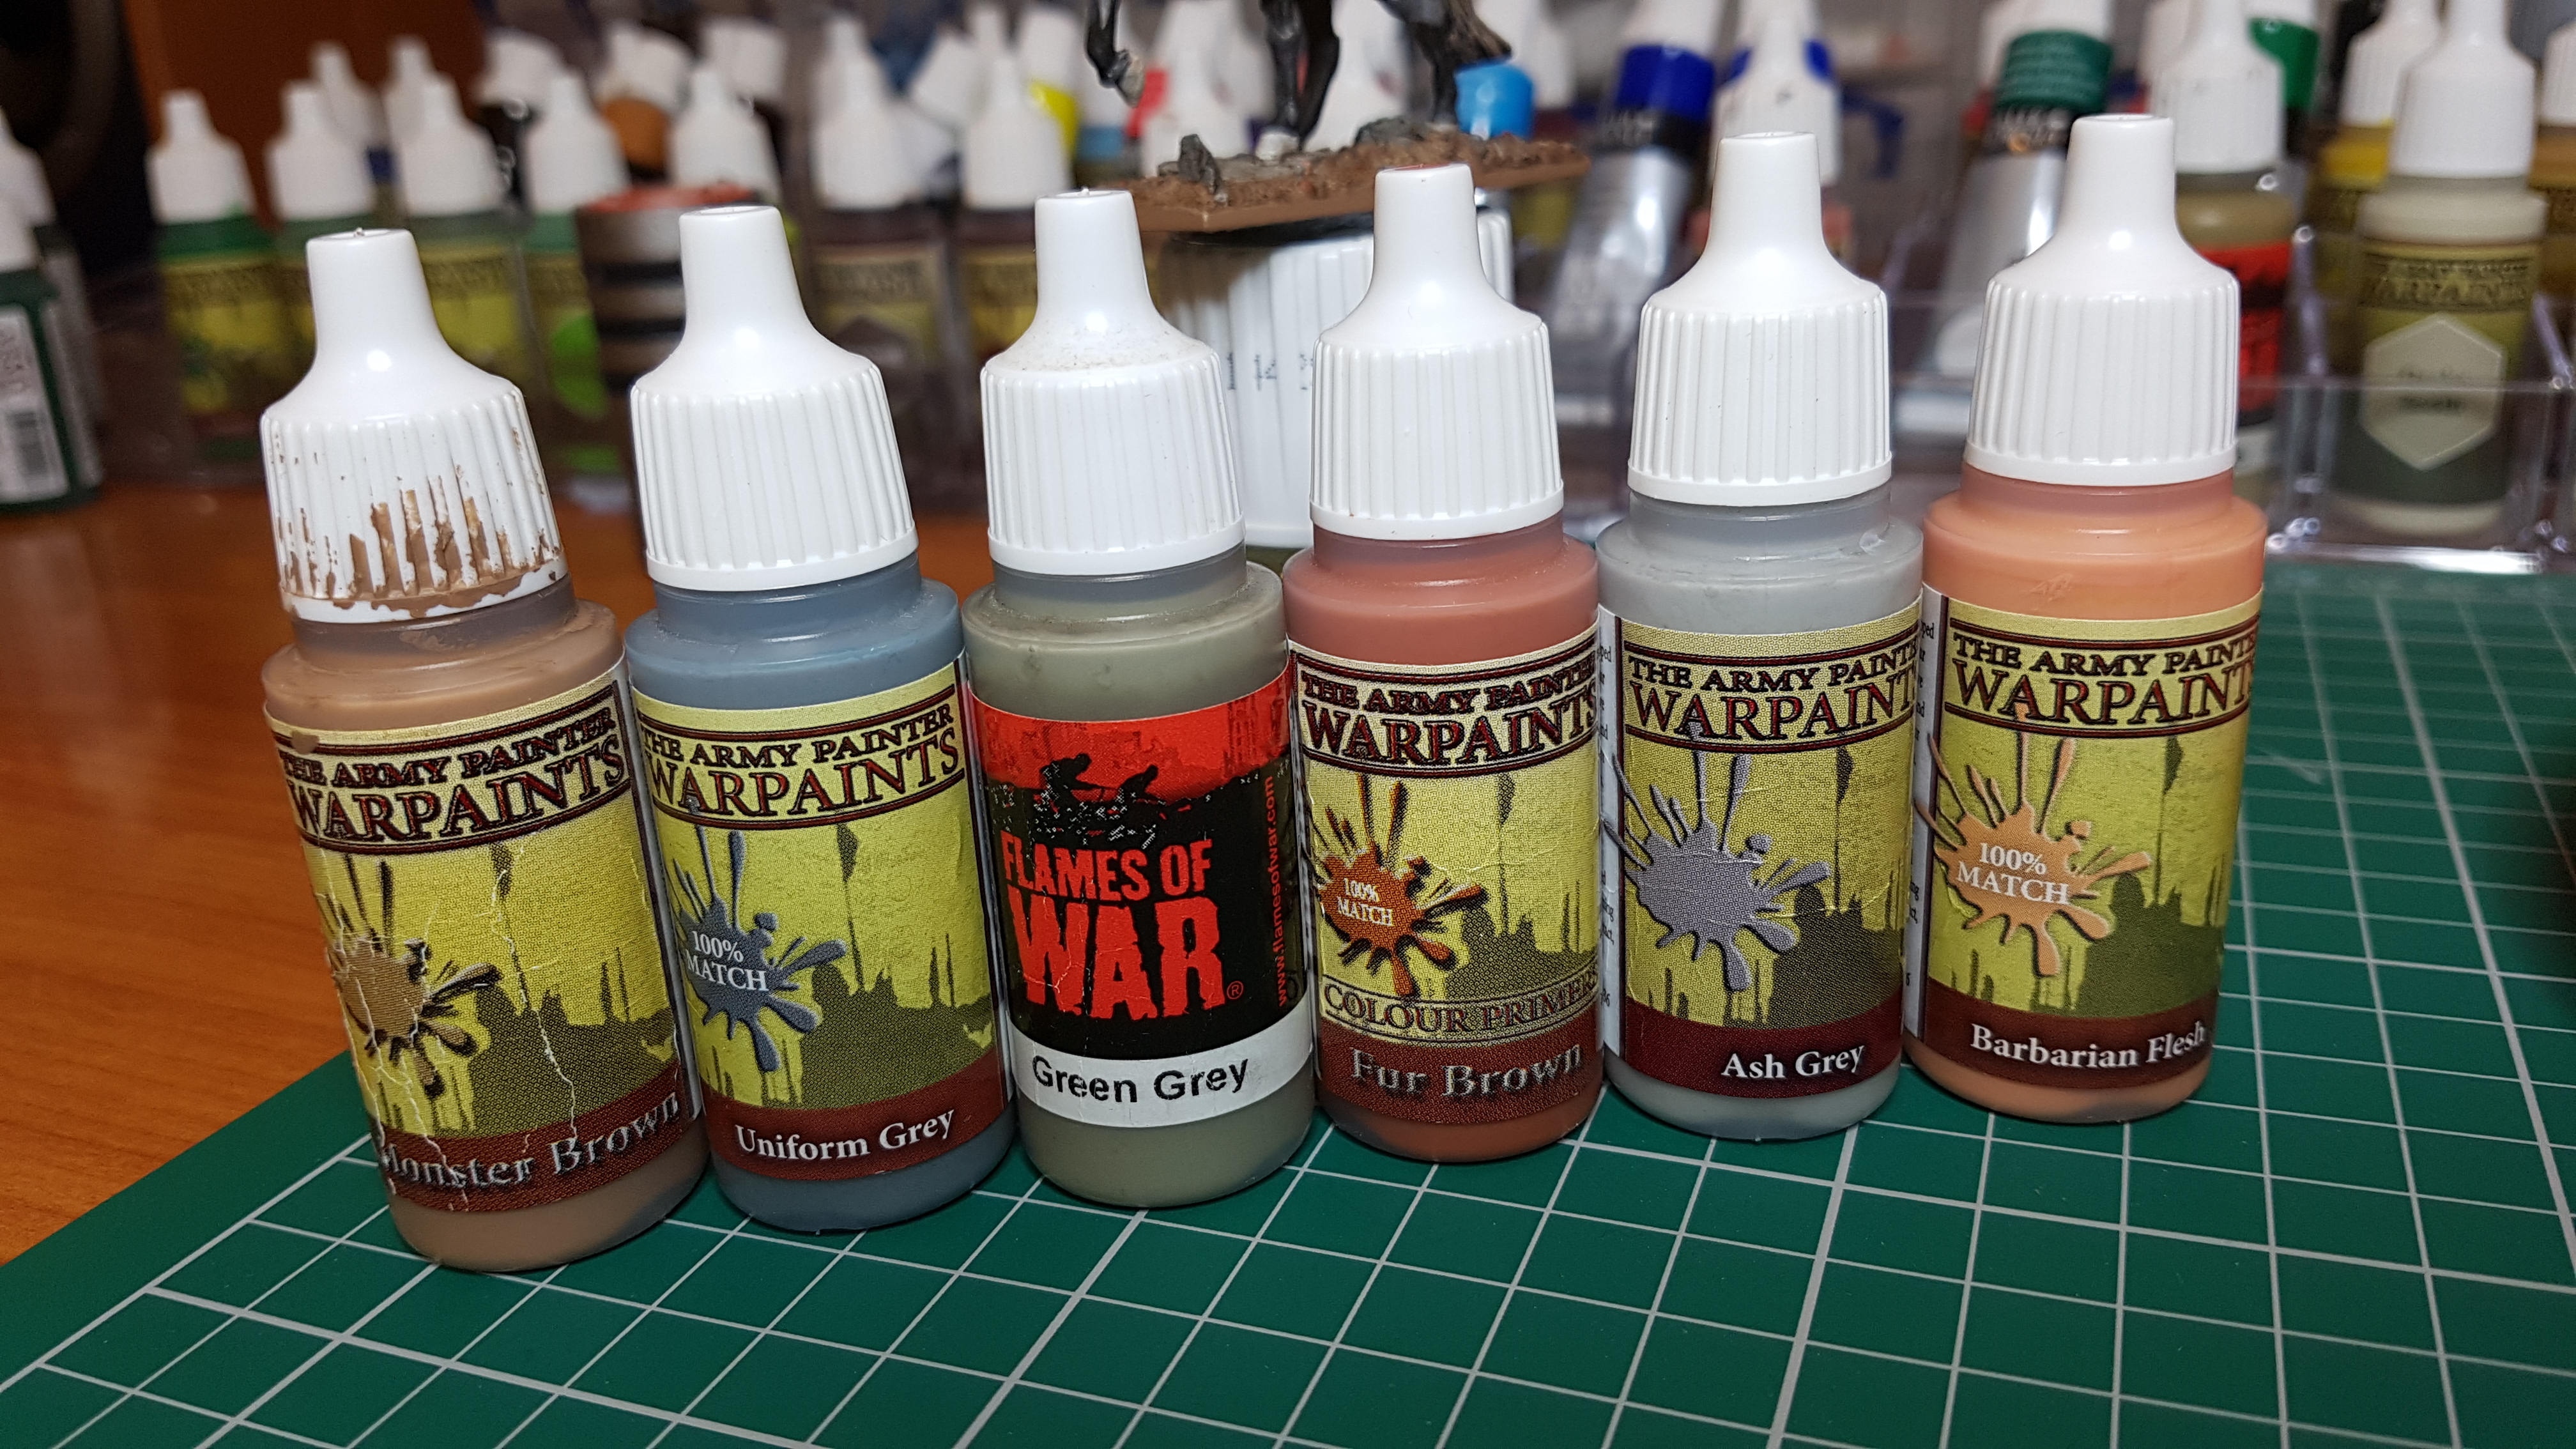
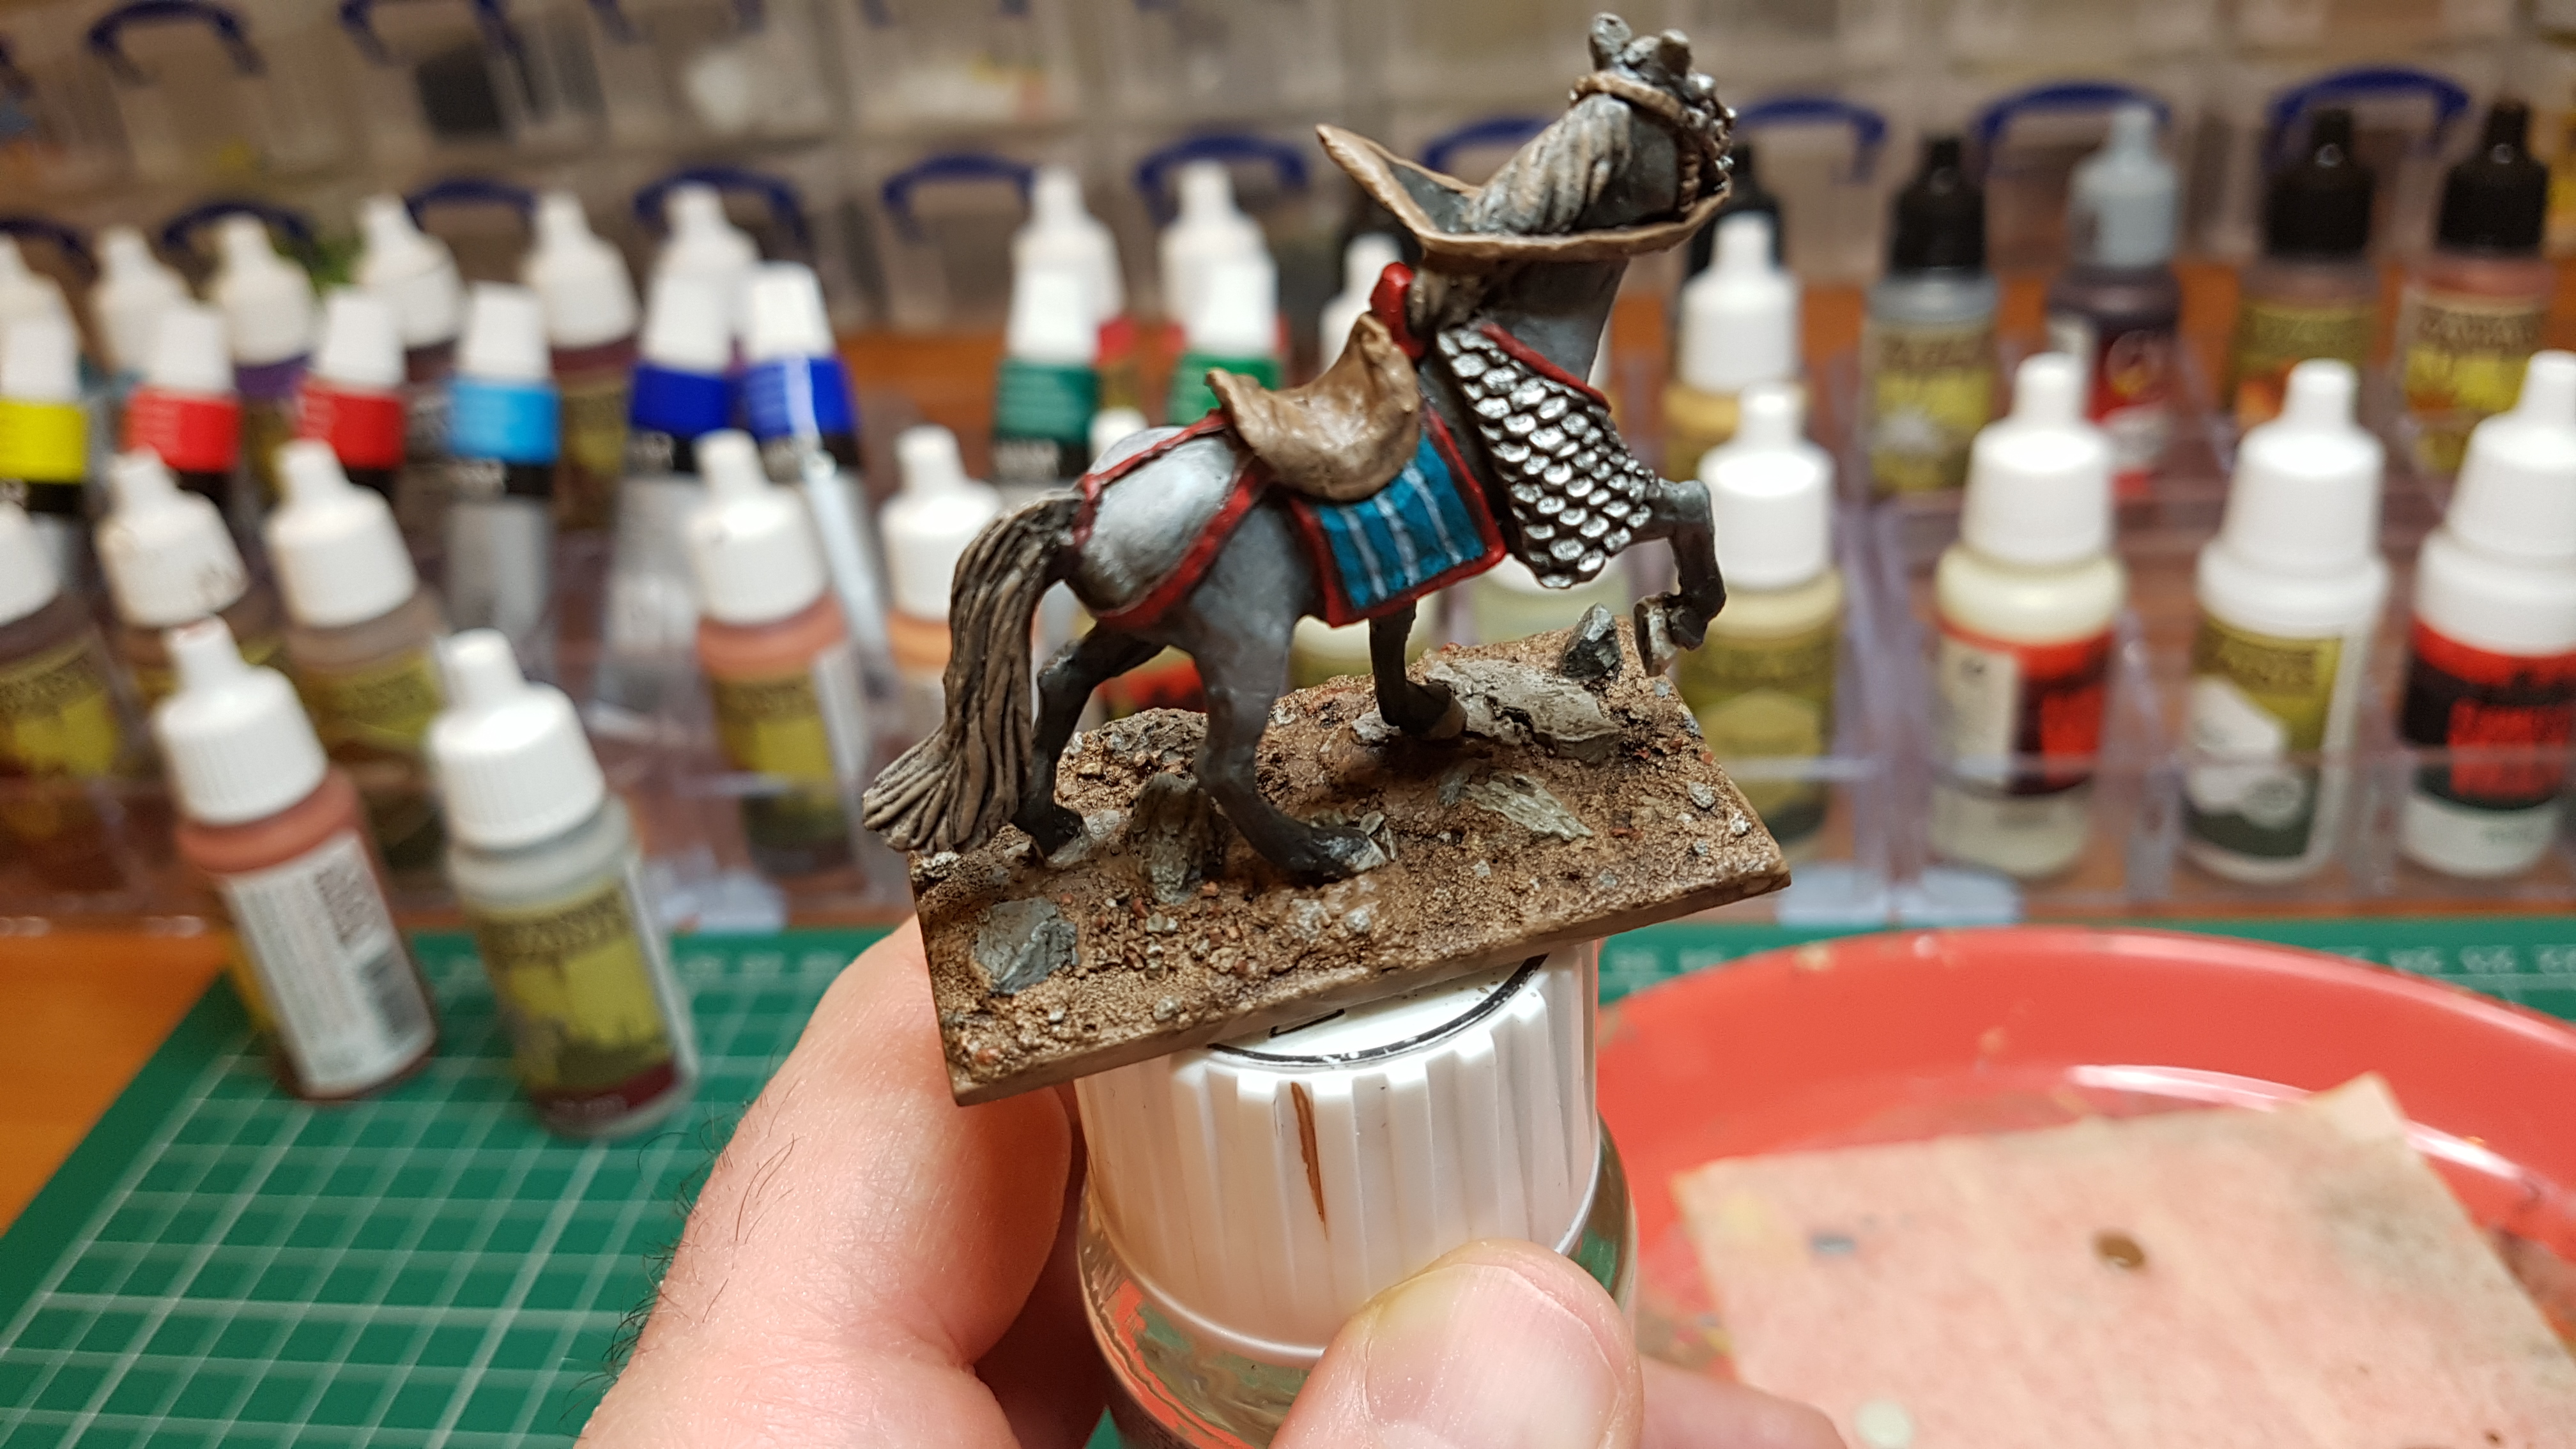
With my colour set I started picking out individual rocks using Uniform Gray, Green Gray and Ash Gray on the large rocks and Fur Brown, Barbarian Flesh and Skeleton Bone on smaller rocks in amongst the large one.

Time for a Wash and a Dry Brush
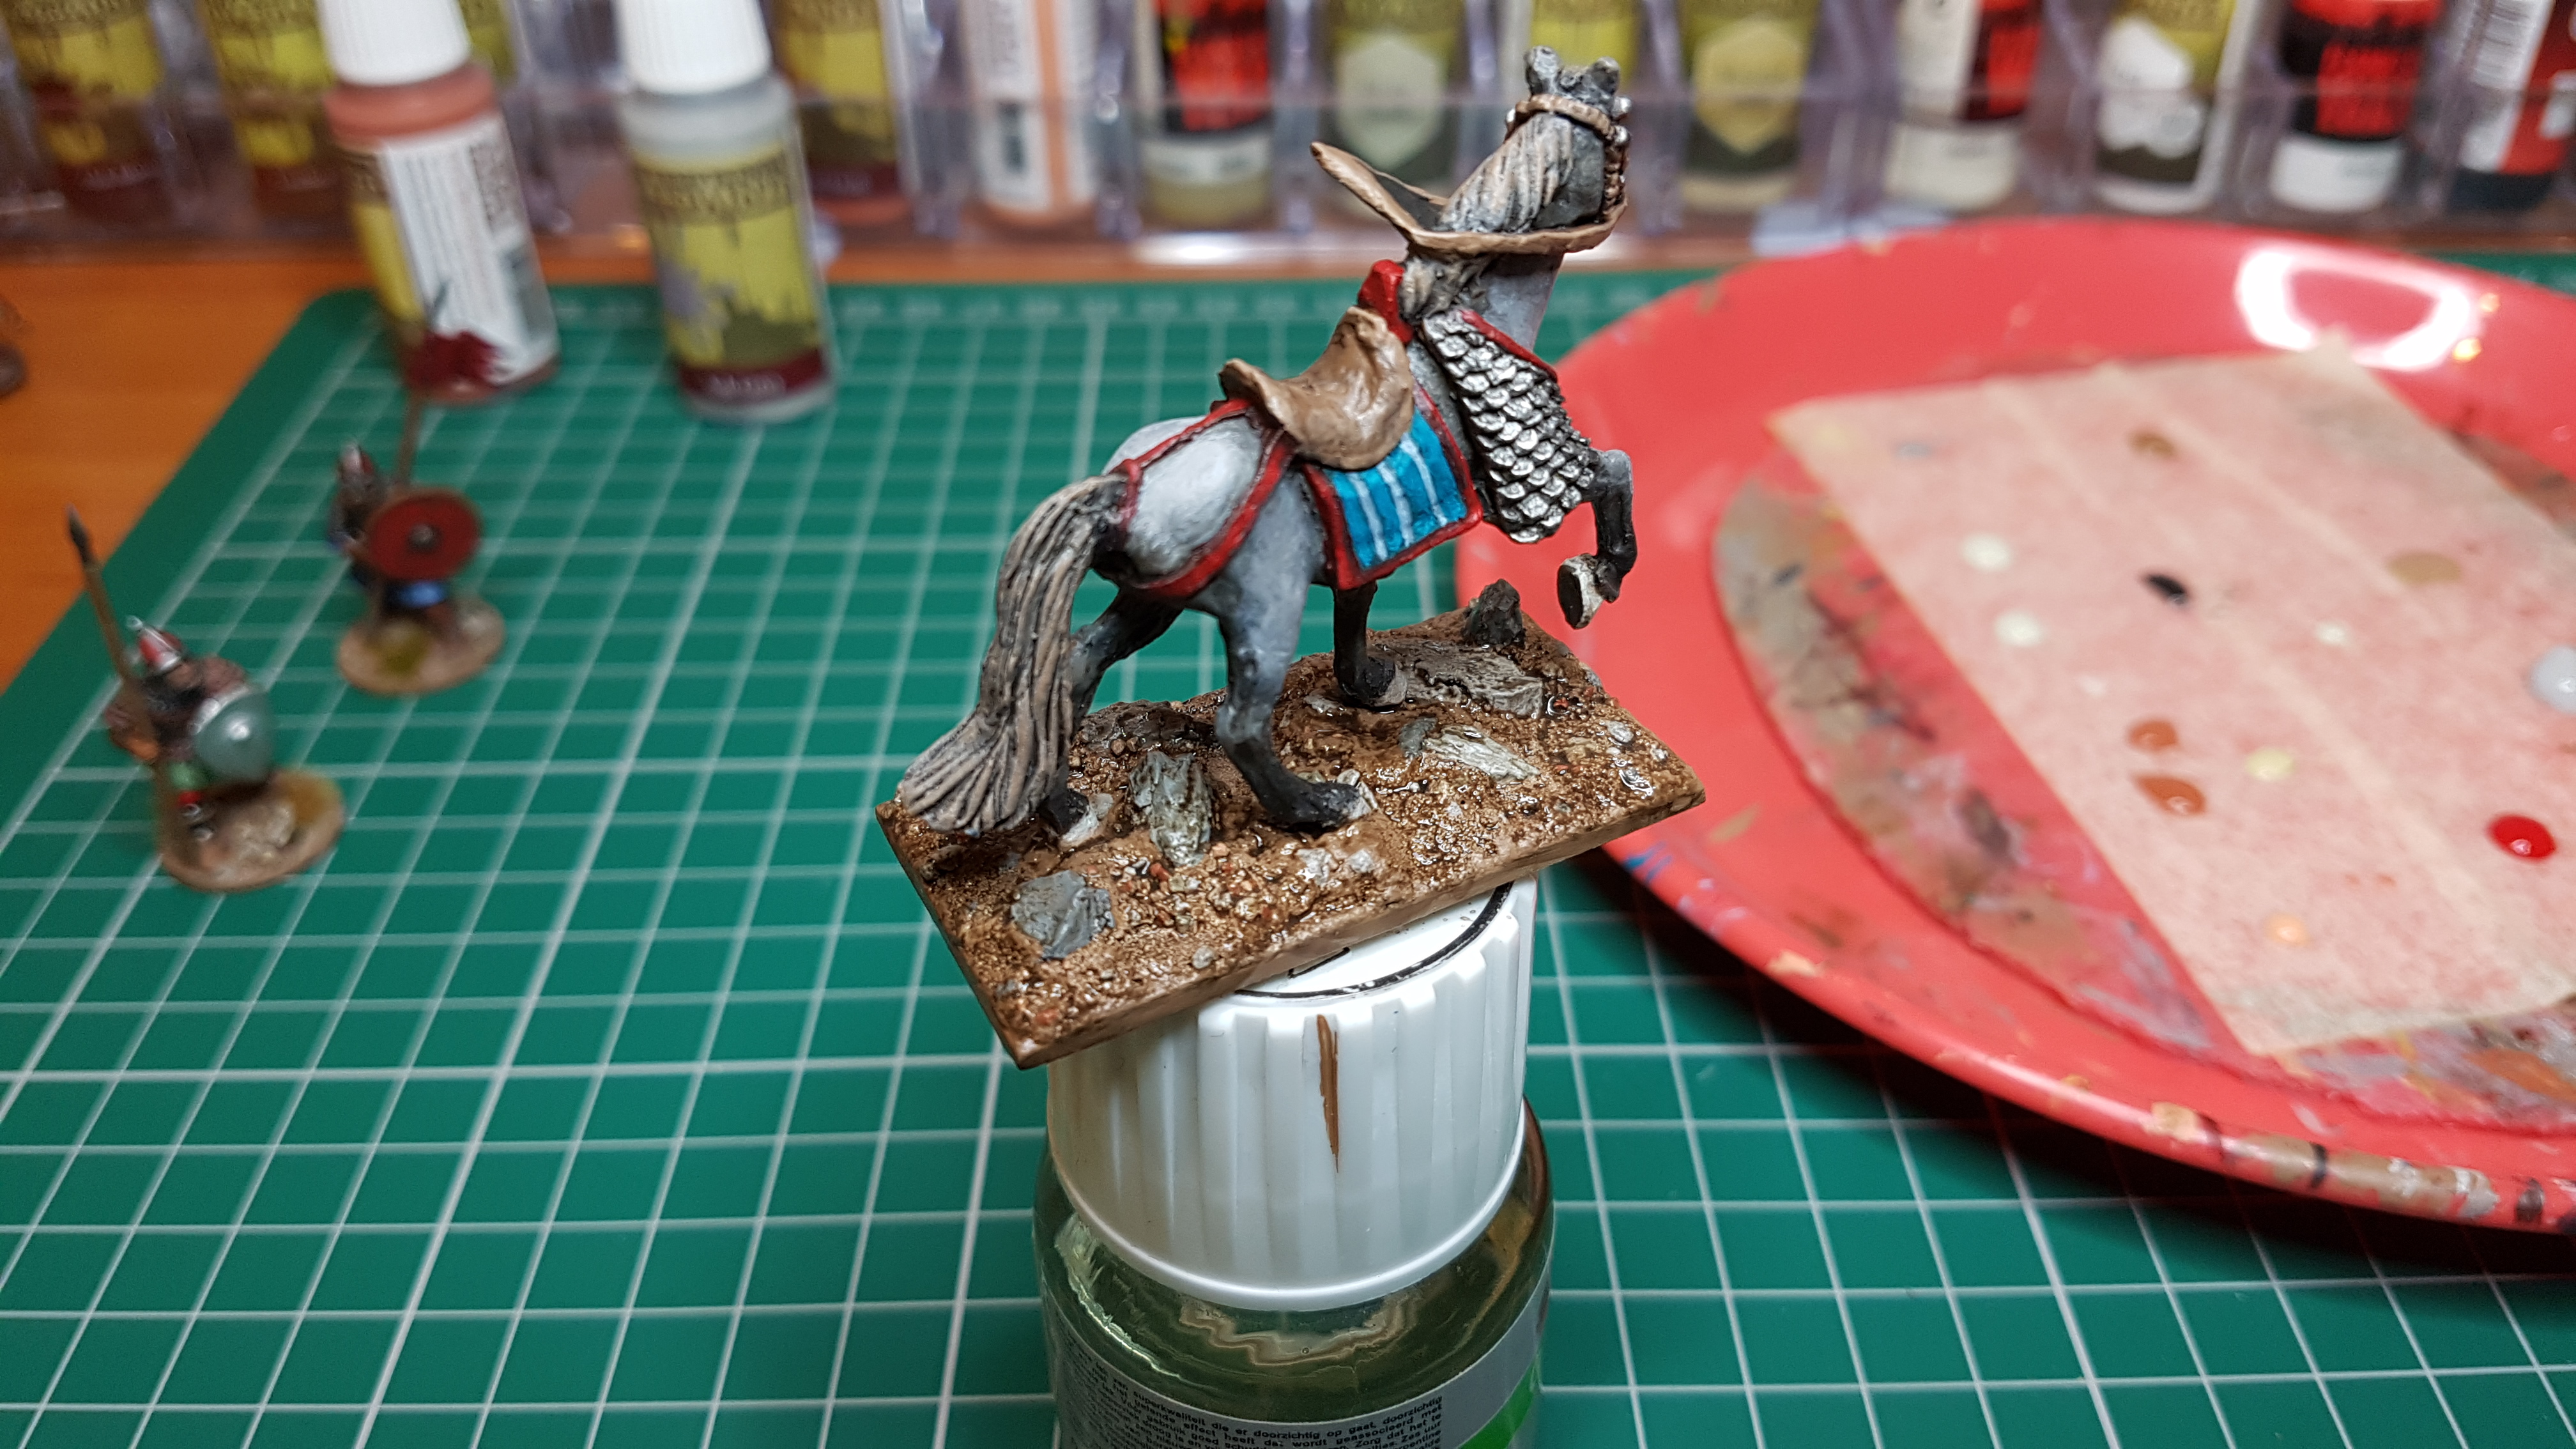
I gave the whole base a wash so the rocks would get some shading and all the little gaps etc. and the base would end up with an array of different shades on it.
For this you can use a Soft Tone or Strong Tone from The Army Painter but pretty much any sepia colour wash will do the trick (there’s loads on the market).
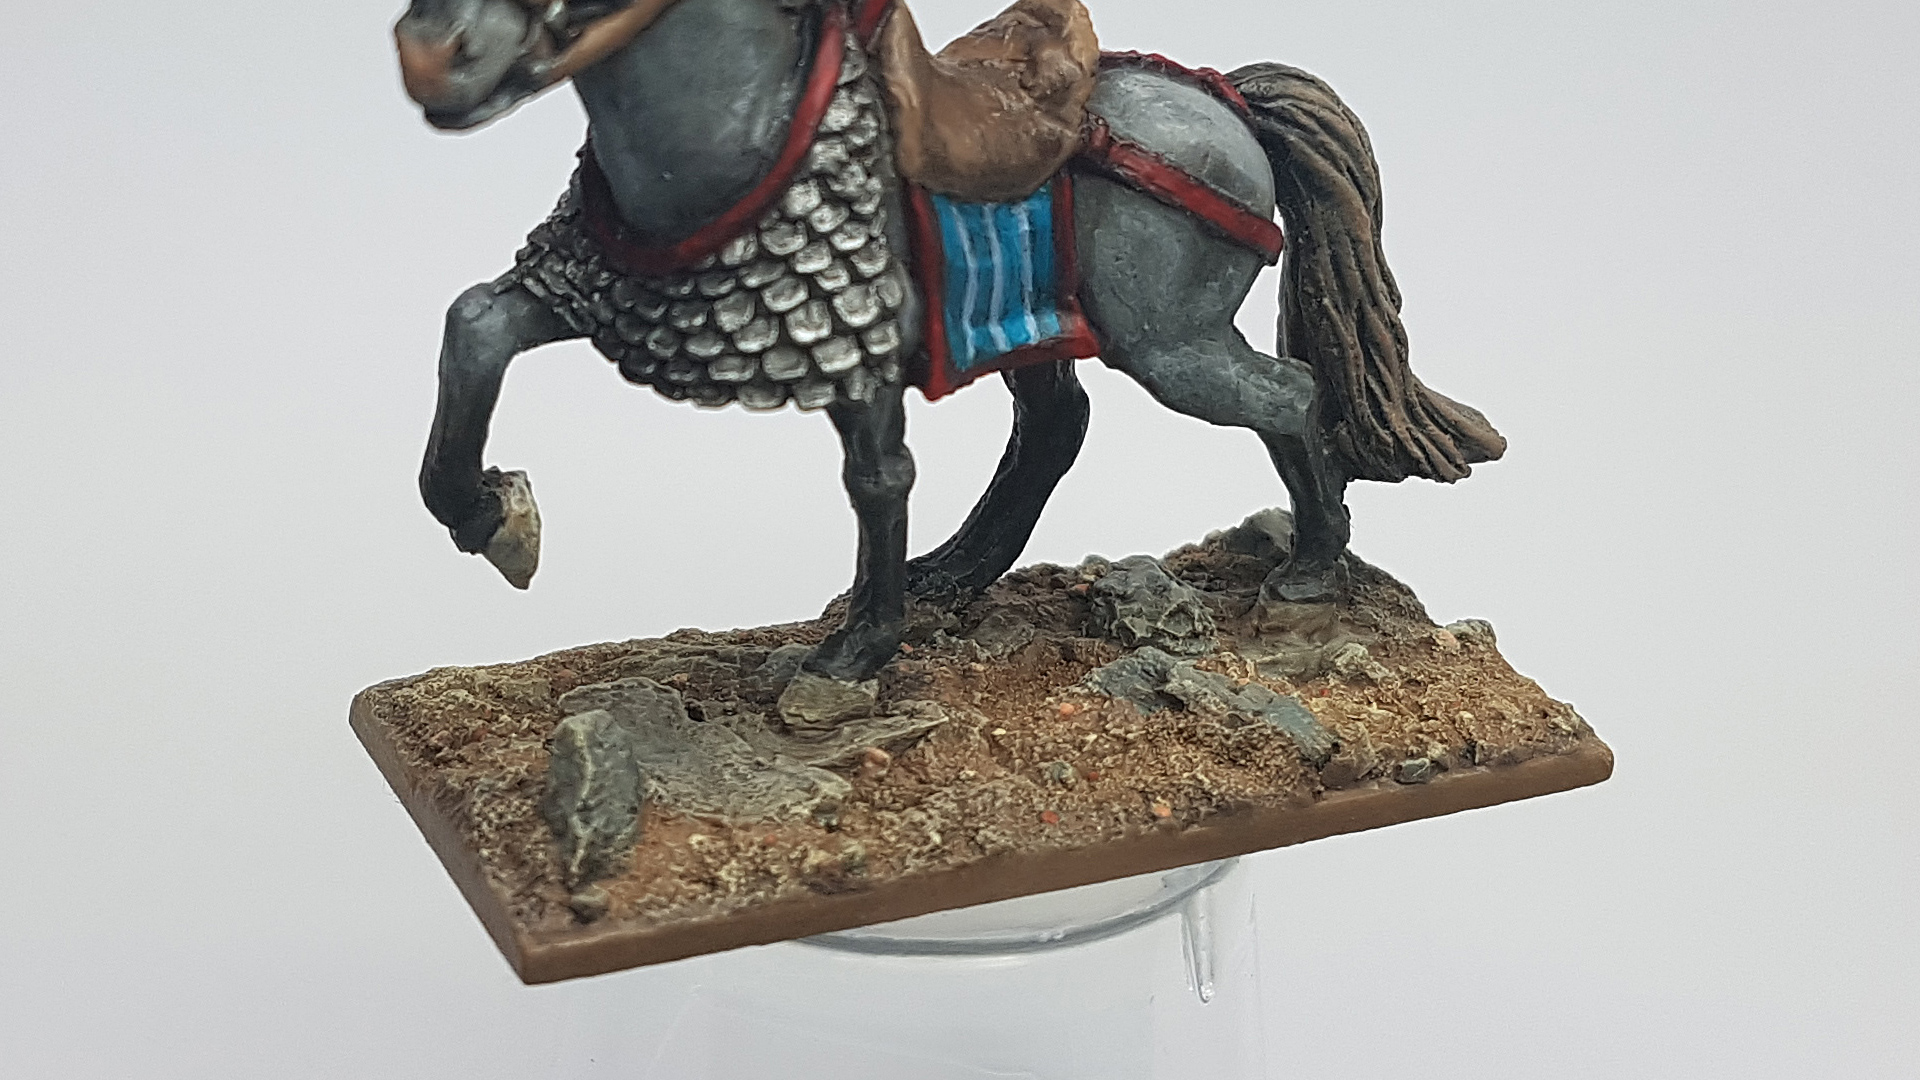
Once it’s dry you have a base that you could call done as it will have lots of different colours and nice shading which helps blend the whole thing together and stops the coloured rocks sticking out like a sore thumb.
 You could call this done.
For me there’s two more steps to finish the painting.
- Dry brush the whole base with Skeleton Bone
- Paint some of the colours back on to some of the rocks
Step 1 – Picks all the high points out so you can see them blending the look of the whole base together even more and makes the base look a lot more like dry ground.
Step 2 – Is to boost the colours on some of the smaller rocks so they pop little more but I just do the smaller ones or this step would undo some of the work of step 1.
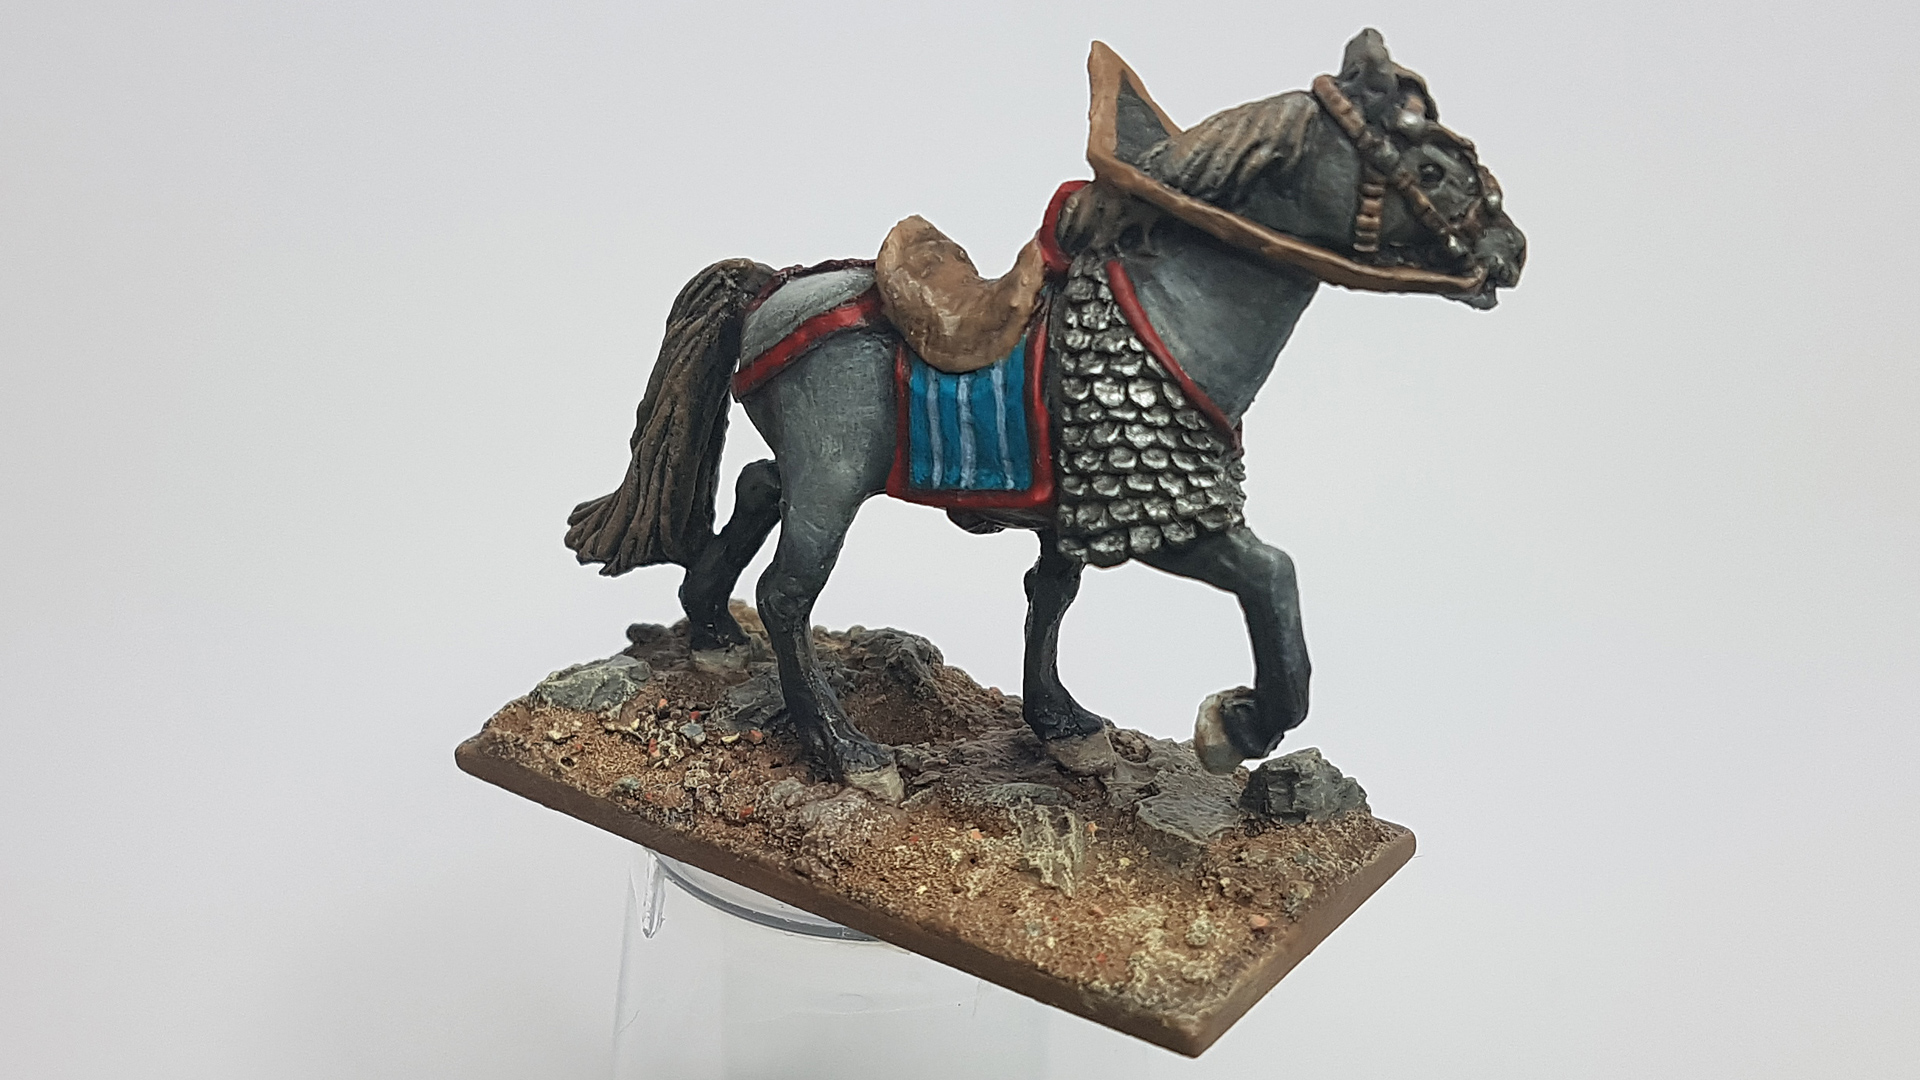
Anyway that’s the painting done and to finish up I will be painting on some gloss varnish around the edge of the base, usually two coats and once dry one coat of Anti-shine Matt Varnish all over the base.
Oh and I will also be adding some tufts of grass here and there too.


Leave a Reply