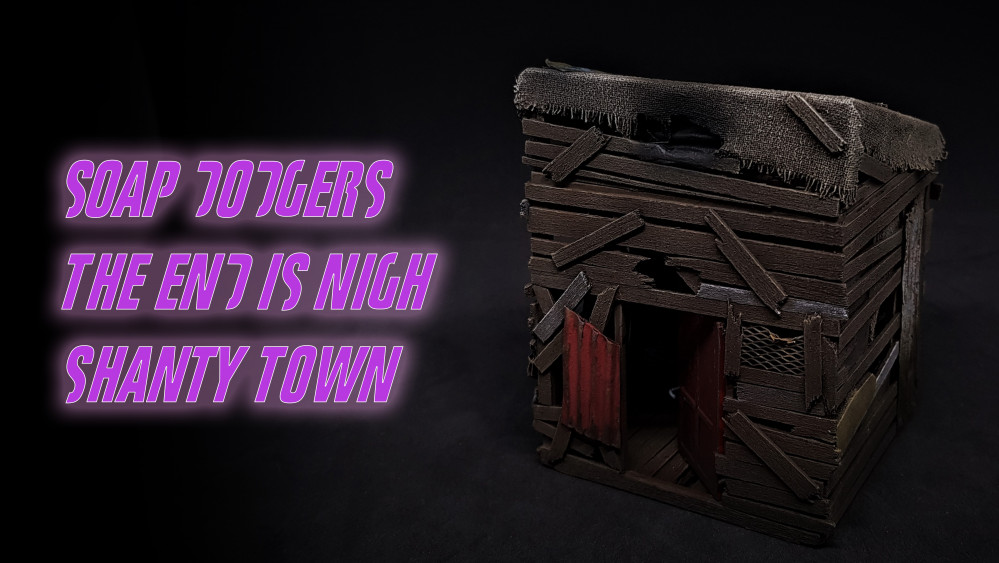
Terrain Challenge – Shanty Town
Rusted corrugated sheet
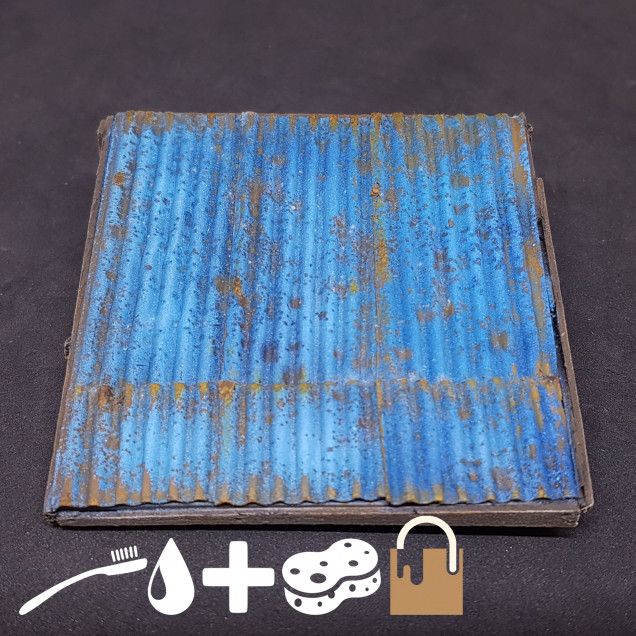
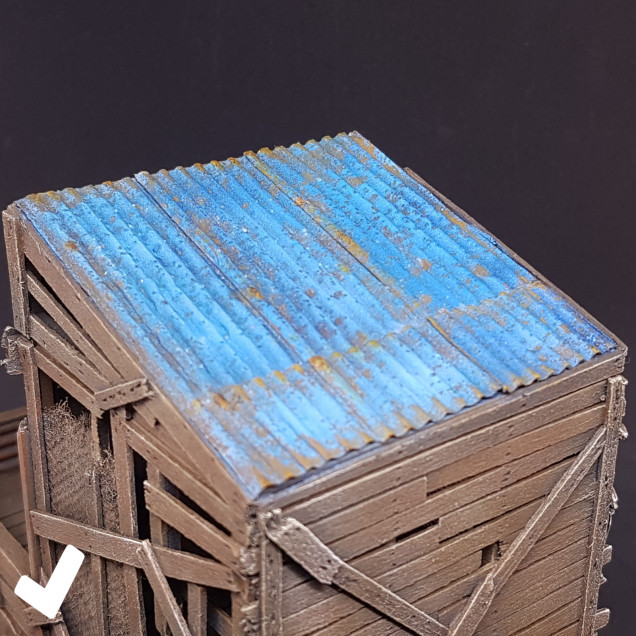
As I said before I stole this from the scale model people. It’s not new but I have not seen it used much in wargaming I like the effect a lot and it adds so much into post apocalyptic terrain.
A few things before I start you can get rust effect paint and rust texture paint or even both. If you are only doing a small piece or looking for the best quality I suggest doing this for the rust. This is almost a quick and dirty version of something that can look even better!
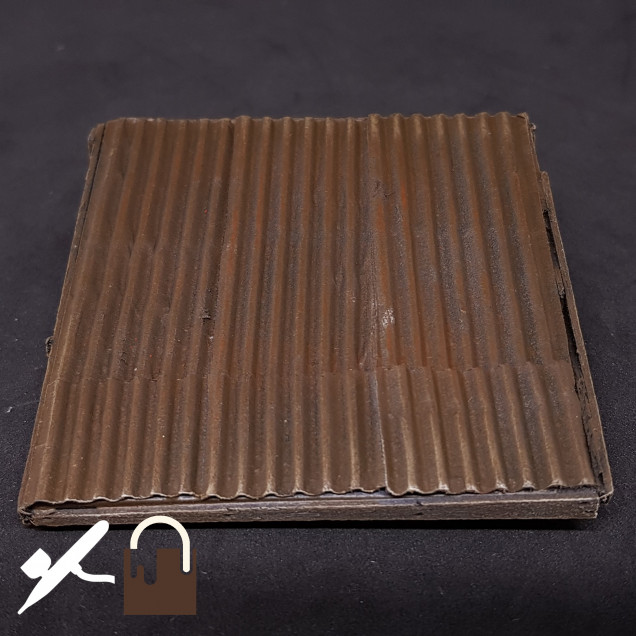 I started by using the base brown I used on the entire building. I didn’t re-spray this as it was good enough for a base coat.
 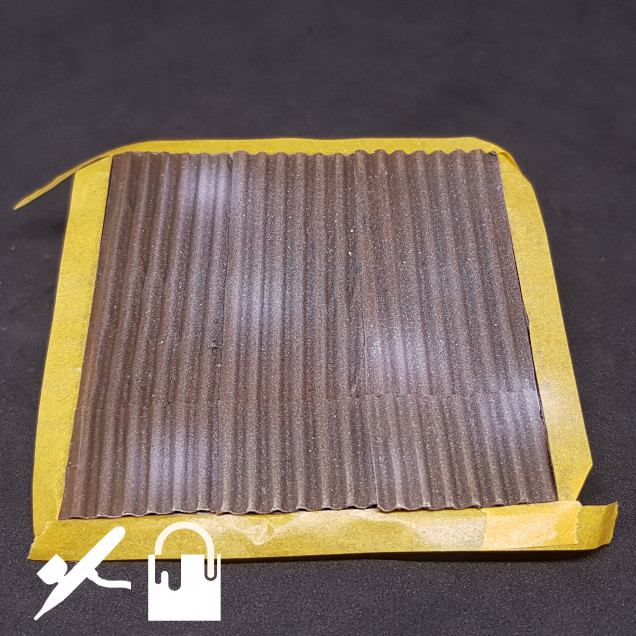 I airbrushed white spots I wanted this to be a bit brighter on these locations and the paints I use next are not fully opaque.
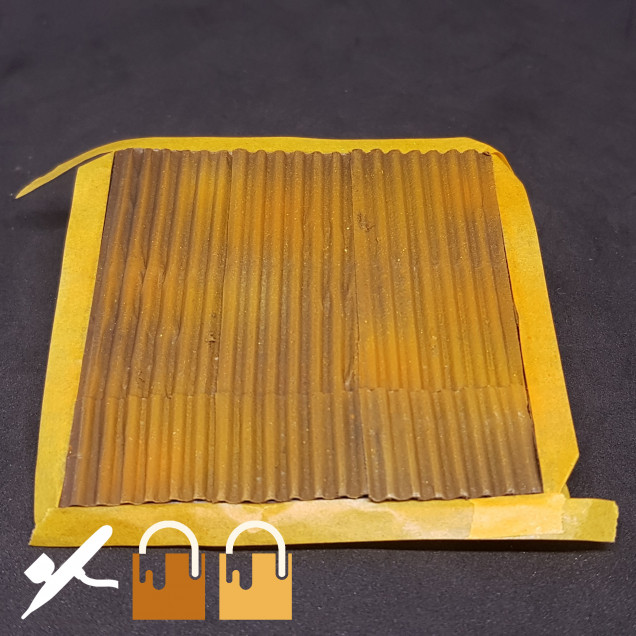 I sprayed orange and yellow over everything again trying to be patchy and get a rusty looking colour.
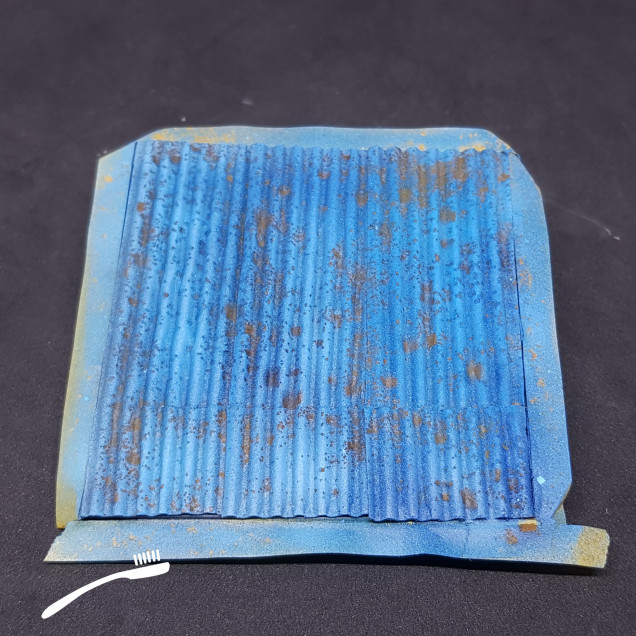
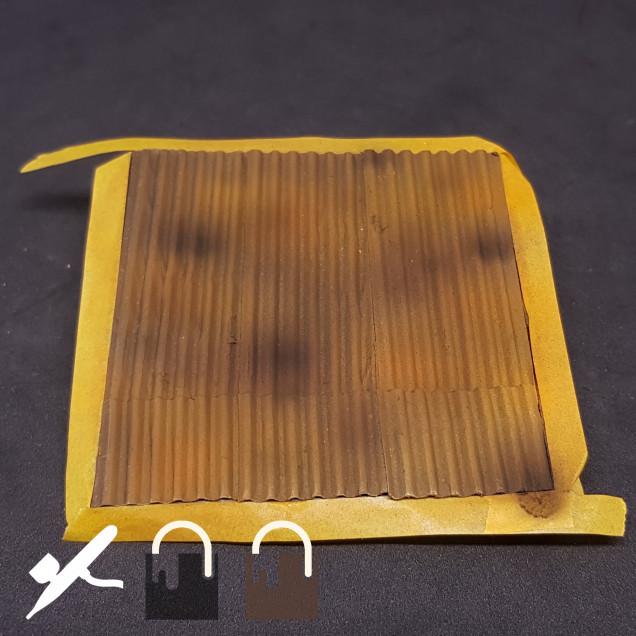 I then went in with brown and black wash. I airbrushed this on to finish the rust. This does not look very rusty just now but the colours are about right.
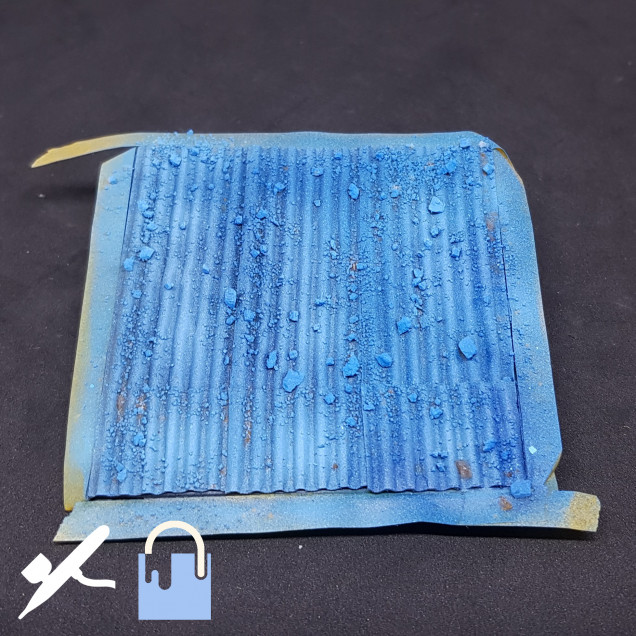
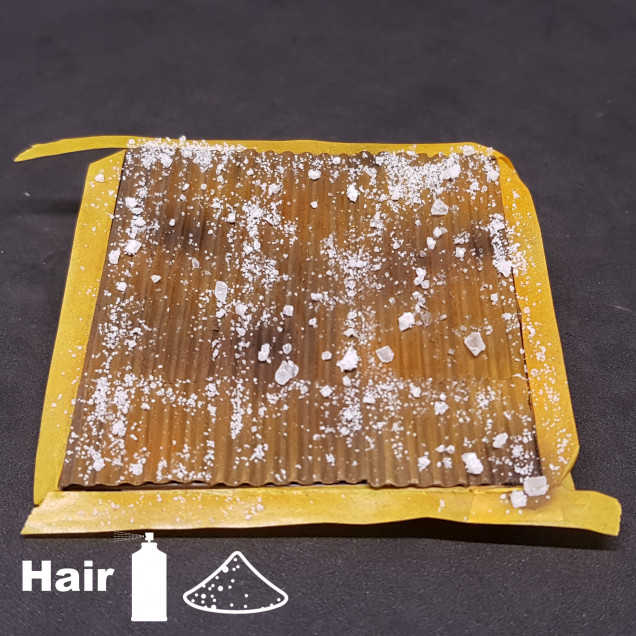 I sprayed the cheapest possible hairspray onto everything and sprinkled with various salts (table, rock etc) and baking powder. Like on all steps I used a hair dryer to speed up the process.





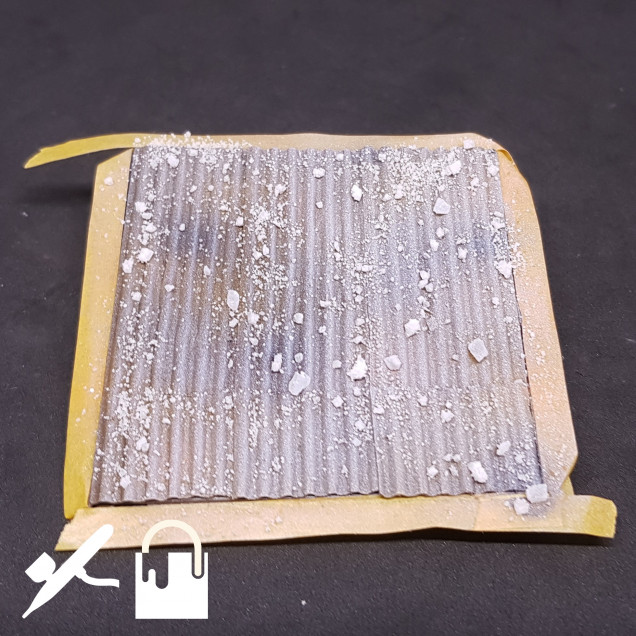
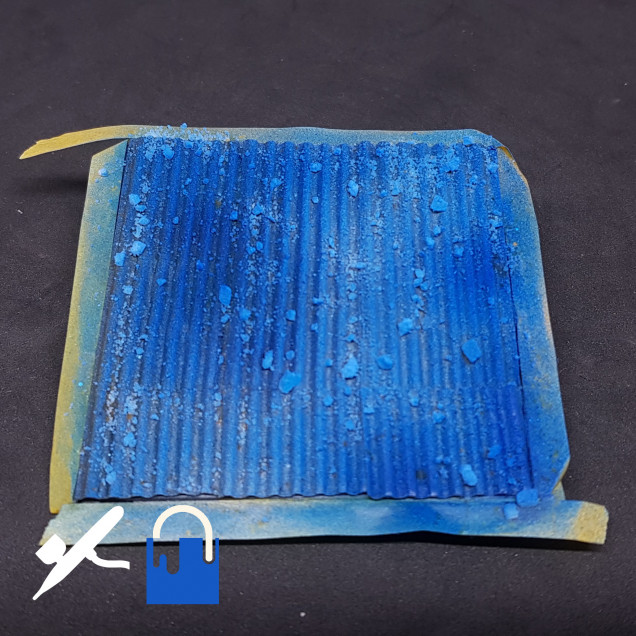


Morning! Just watched the Hobby Hangout and decided to post here with some ideas?
I want to say awesome work dude! Lovely stuff! In answer to further possibilities? How about some road signs? Or car doors, or maybe a fridge/freezer?
Or just to challenge the hobby mind…how about mattresses? Not a traditional building material…but potentially good insulation?
Dammit!….now I can’t stop thinking about how to make 28mm mattresses!
As some ideas I have two buildings left for this build so it’s time to push the boat out after the next. Loving the signs idea, thats getting done. I may try to do mattresses as I think I will need some for the inside anyway and I can mount the not so good ones. Car doors and fridge freezer are good idea though the latter may be more achieveble. Cheers!
Awesome**
Looking forward to seeing the results!….Speaking of mattresses….latest Hobby Hangout had some possibly 3D printed mattresses…on Wilco92’s thread I think? Anywho, keep up the good work fella!