


![How To Paint Moonstone’s Nanny | Goblin King Games [7 Days Early Access]](https://images.beastsofwar.com/2024/12/3CU-Gobin-King-Games-Moonstone-Shades-Nanny-coverimage-225-127.jpg)


40k Space Wolves & Daemons Boot Sale Bargain - Help Lawnor identify and fix please (Spring Cleaning)


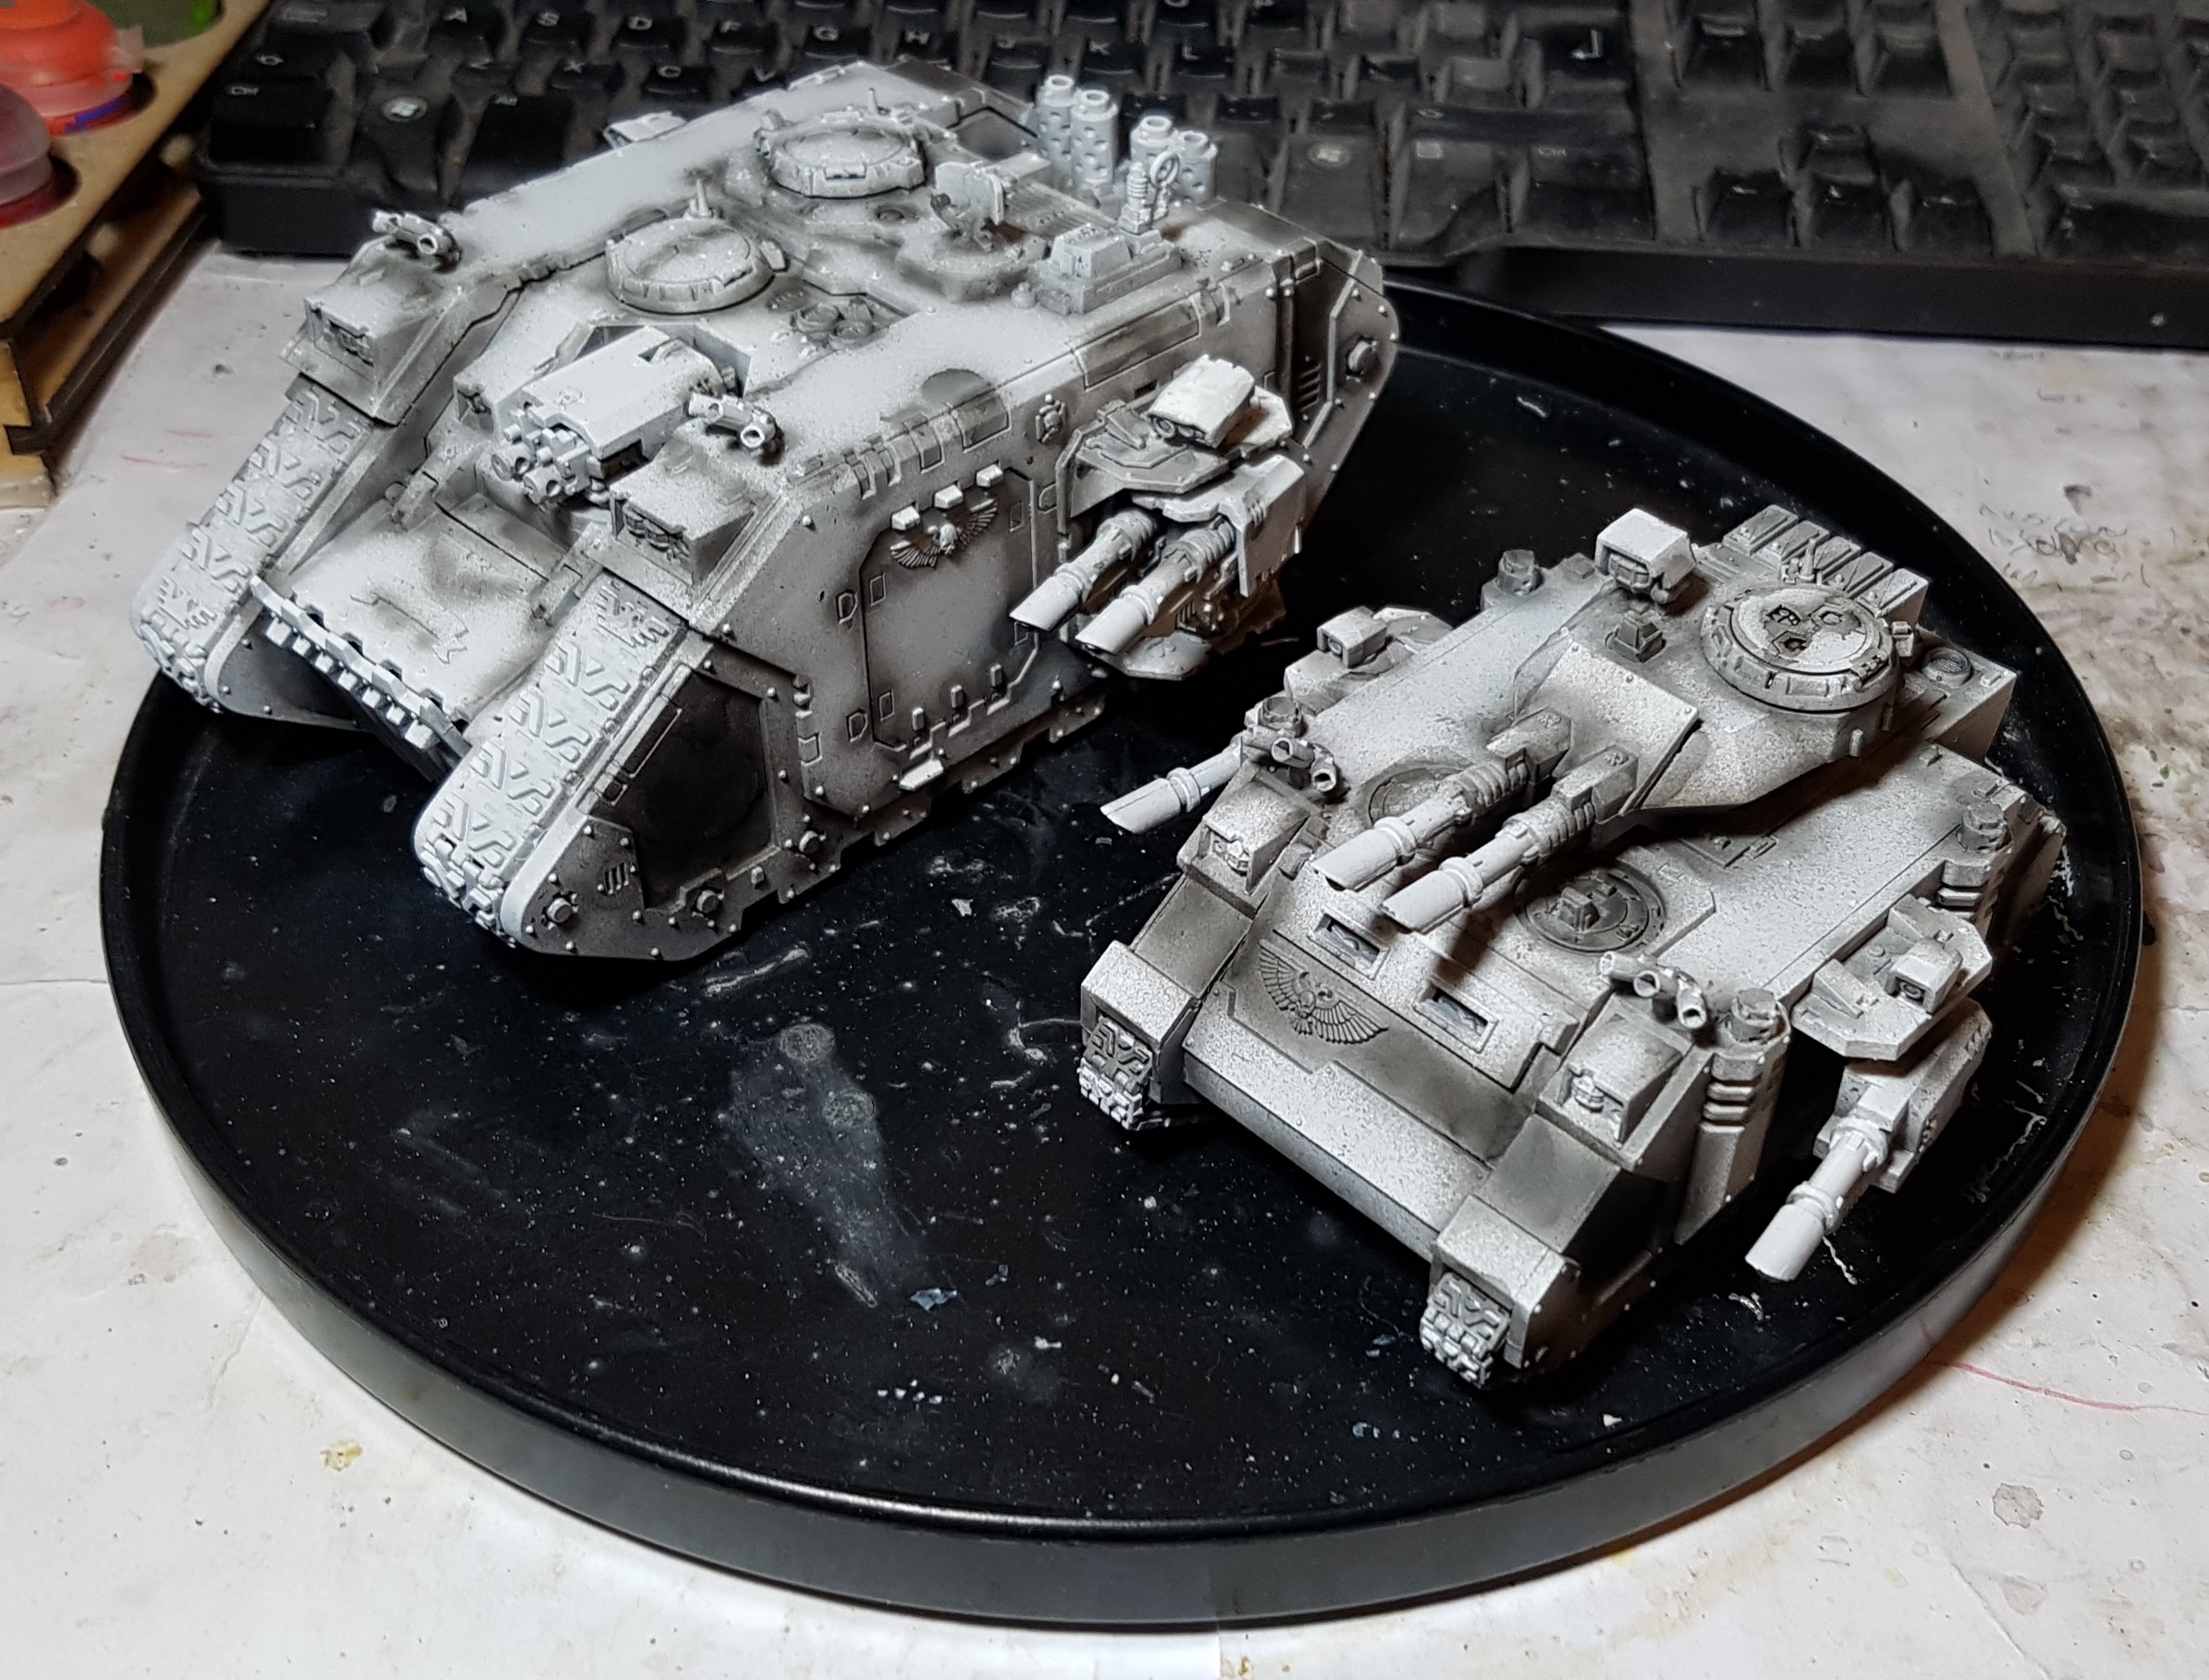
Tanks
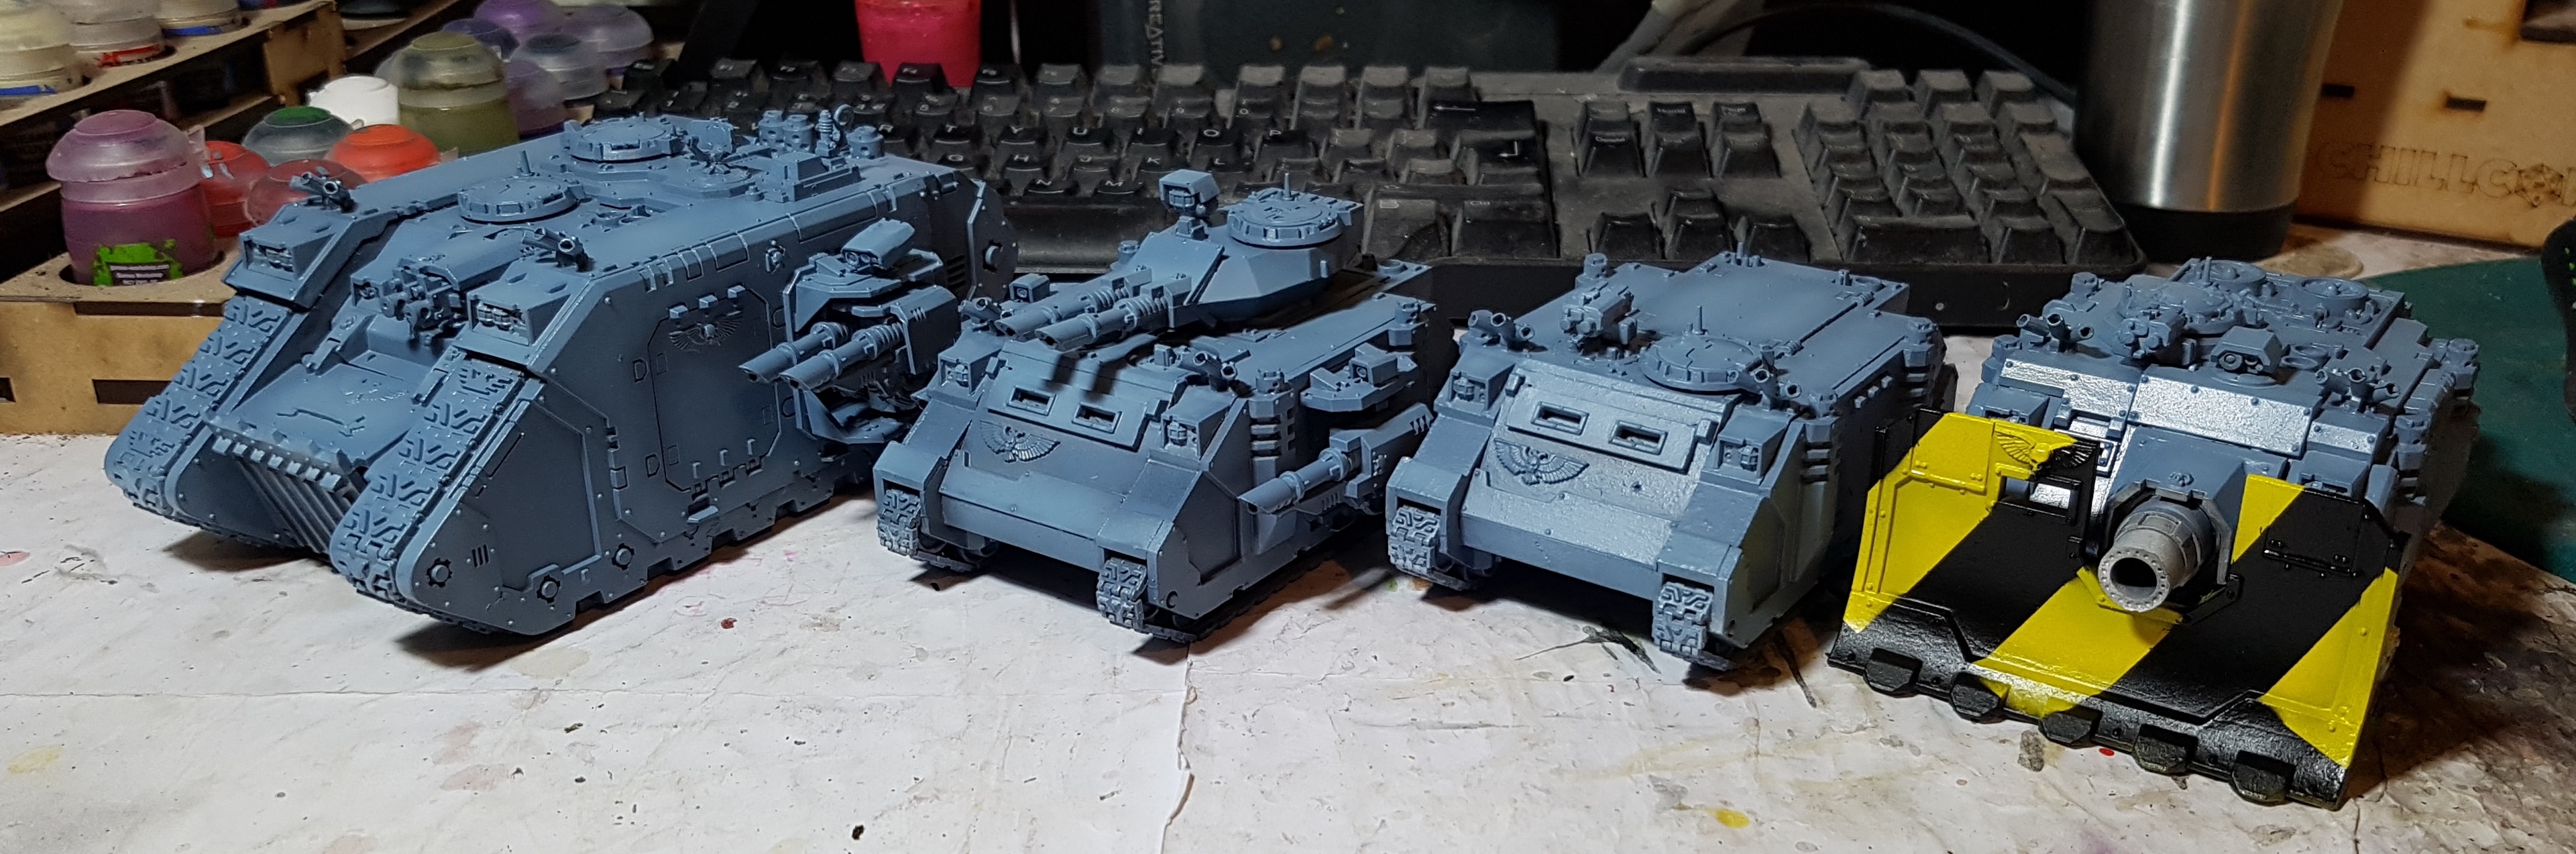
I normally paint Warmachine which is normally a game without tanks so this is my first time painting 28mm tanks since I got my airbrush many years ago and figured out preshading. As such I chose to look online for guidance and found this video. I based all my work on it. I started working on these guys the night before I put the snow on all my bases. I planned ahead and primed their bottoms black. This way they could sit upside overnight to dry thoroughly. The bottoms remained black throughout the priming, but otherwise I tried to follow the steps in the video.
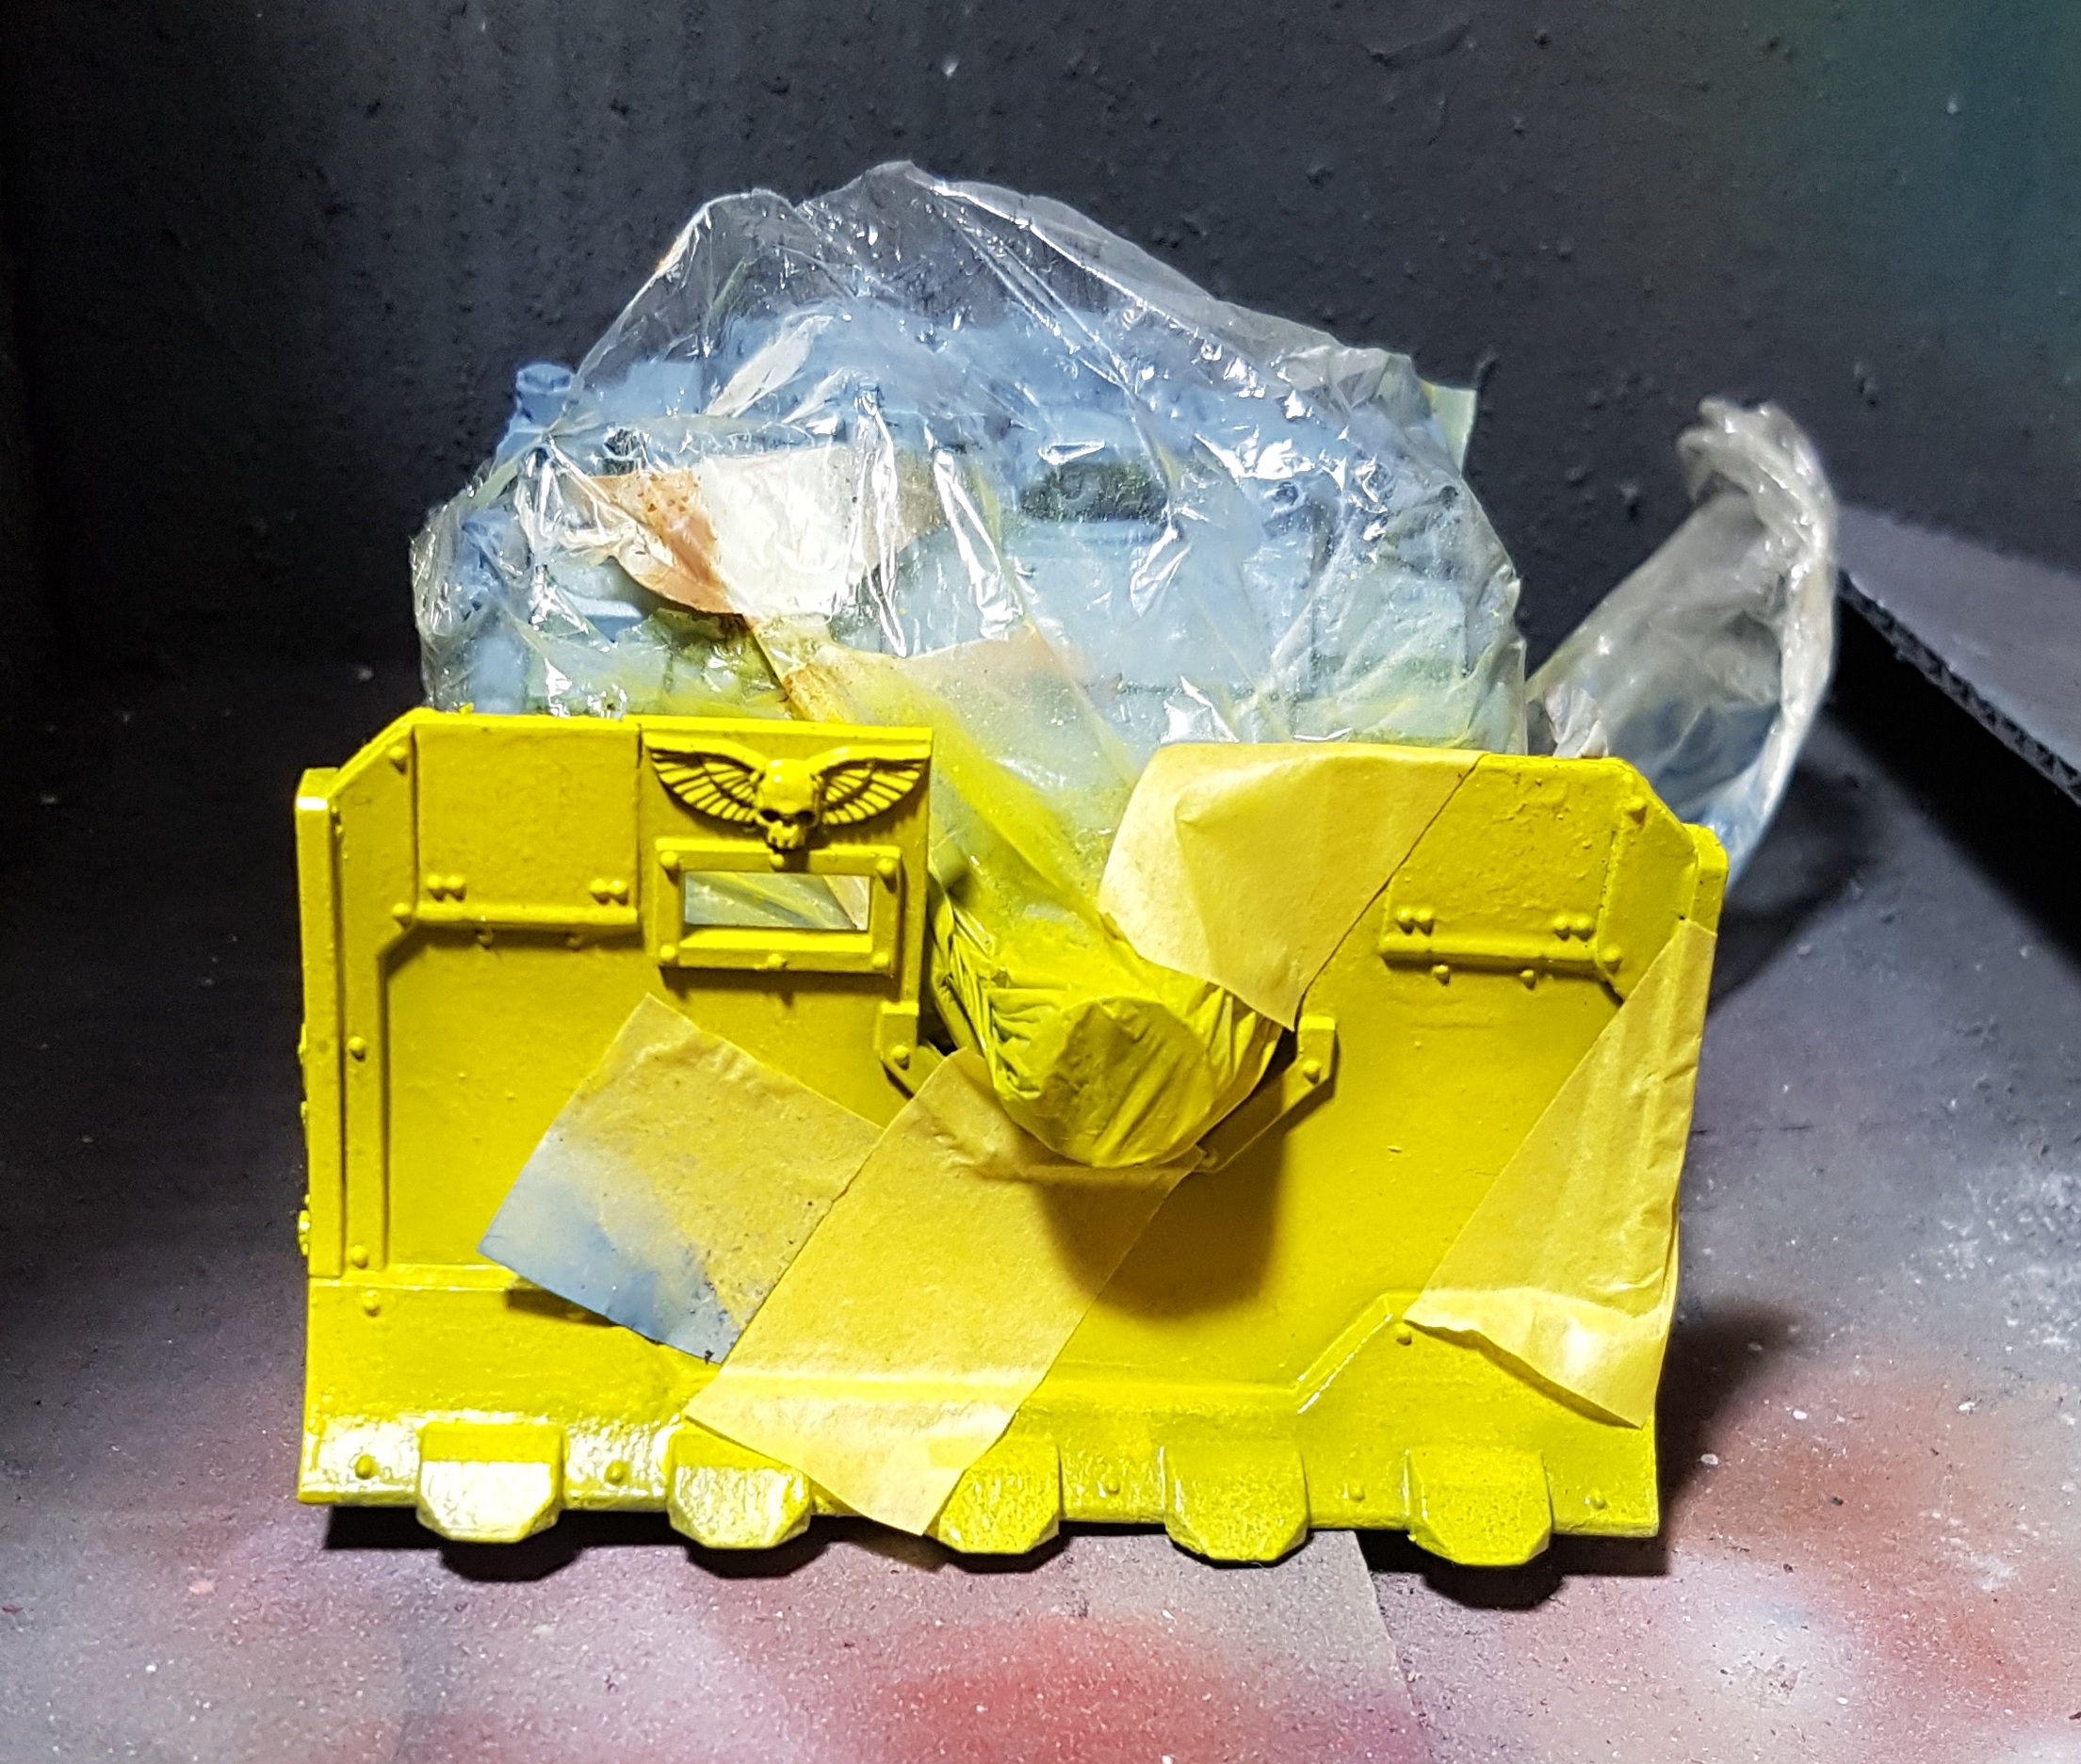
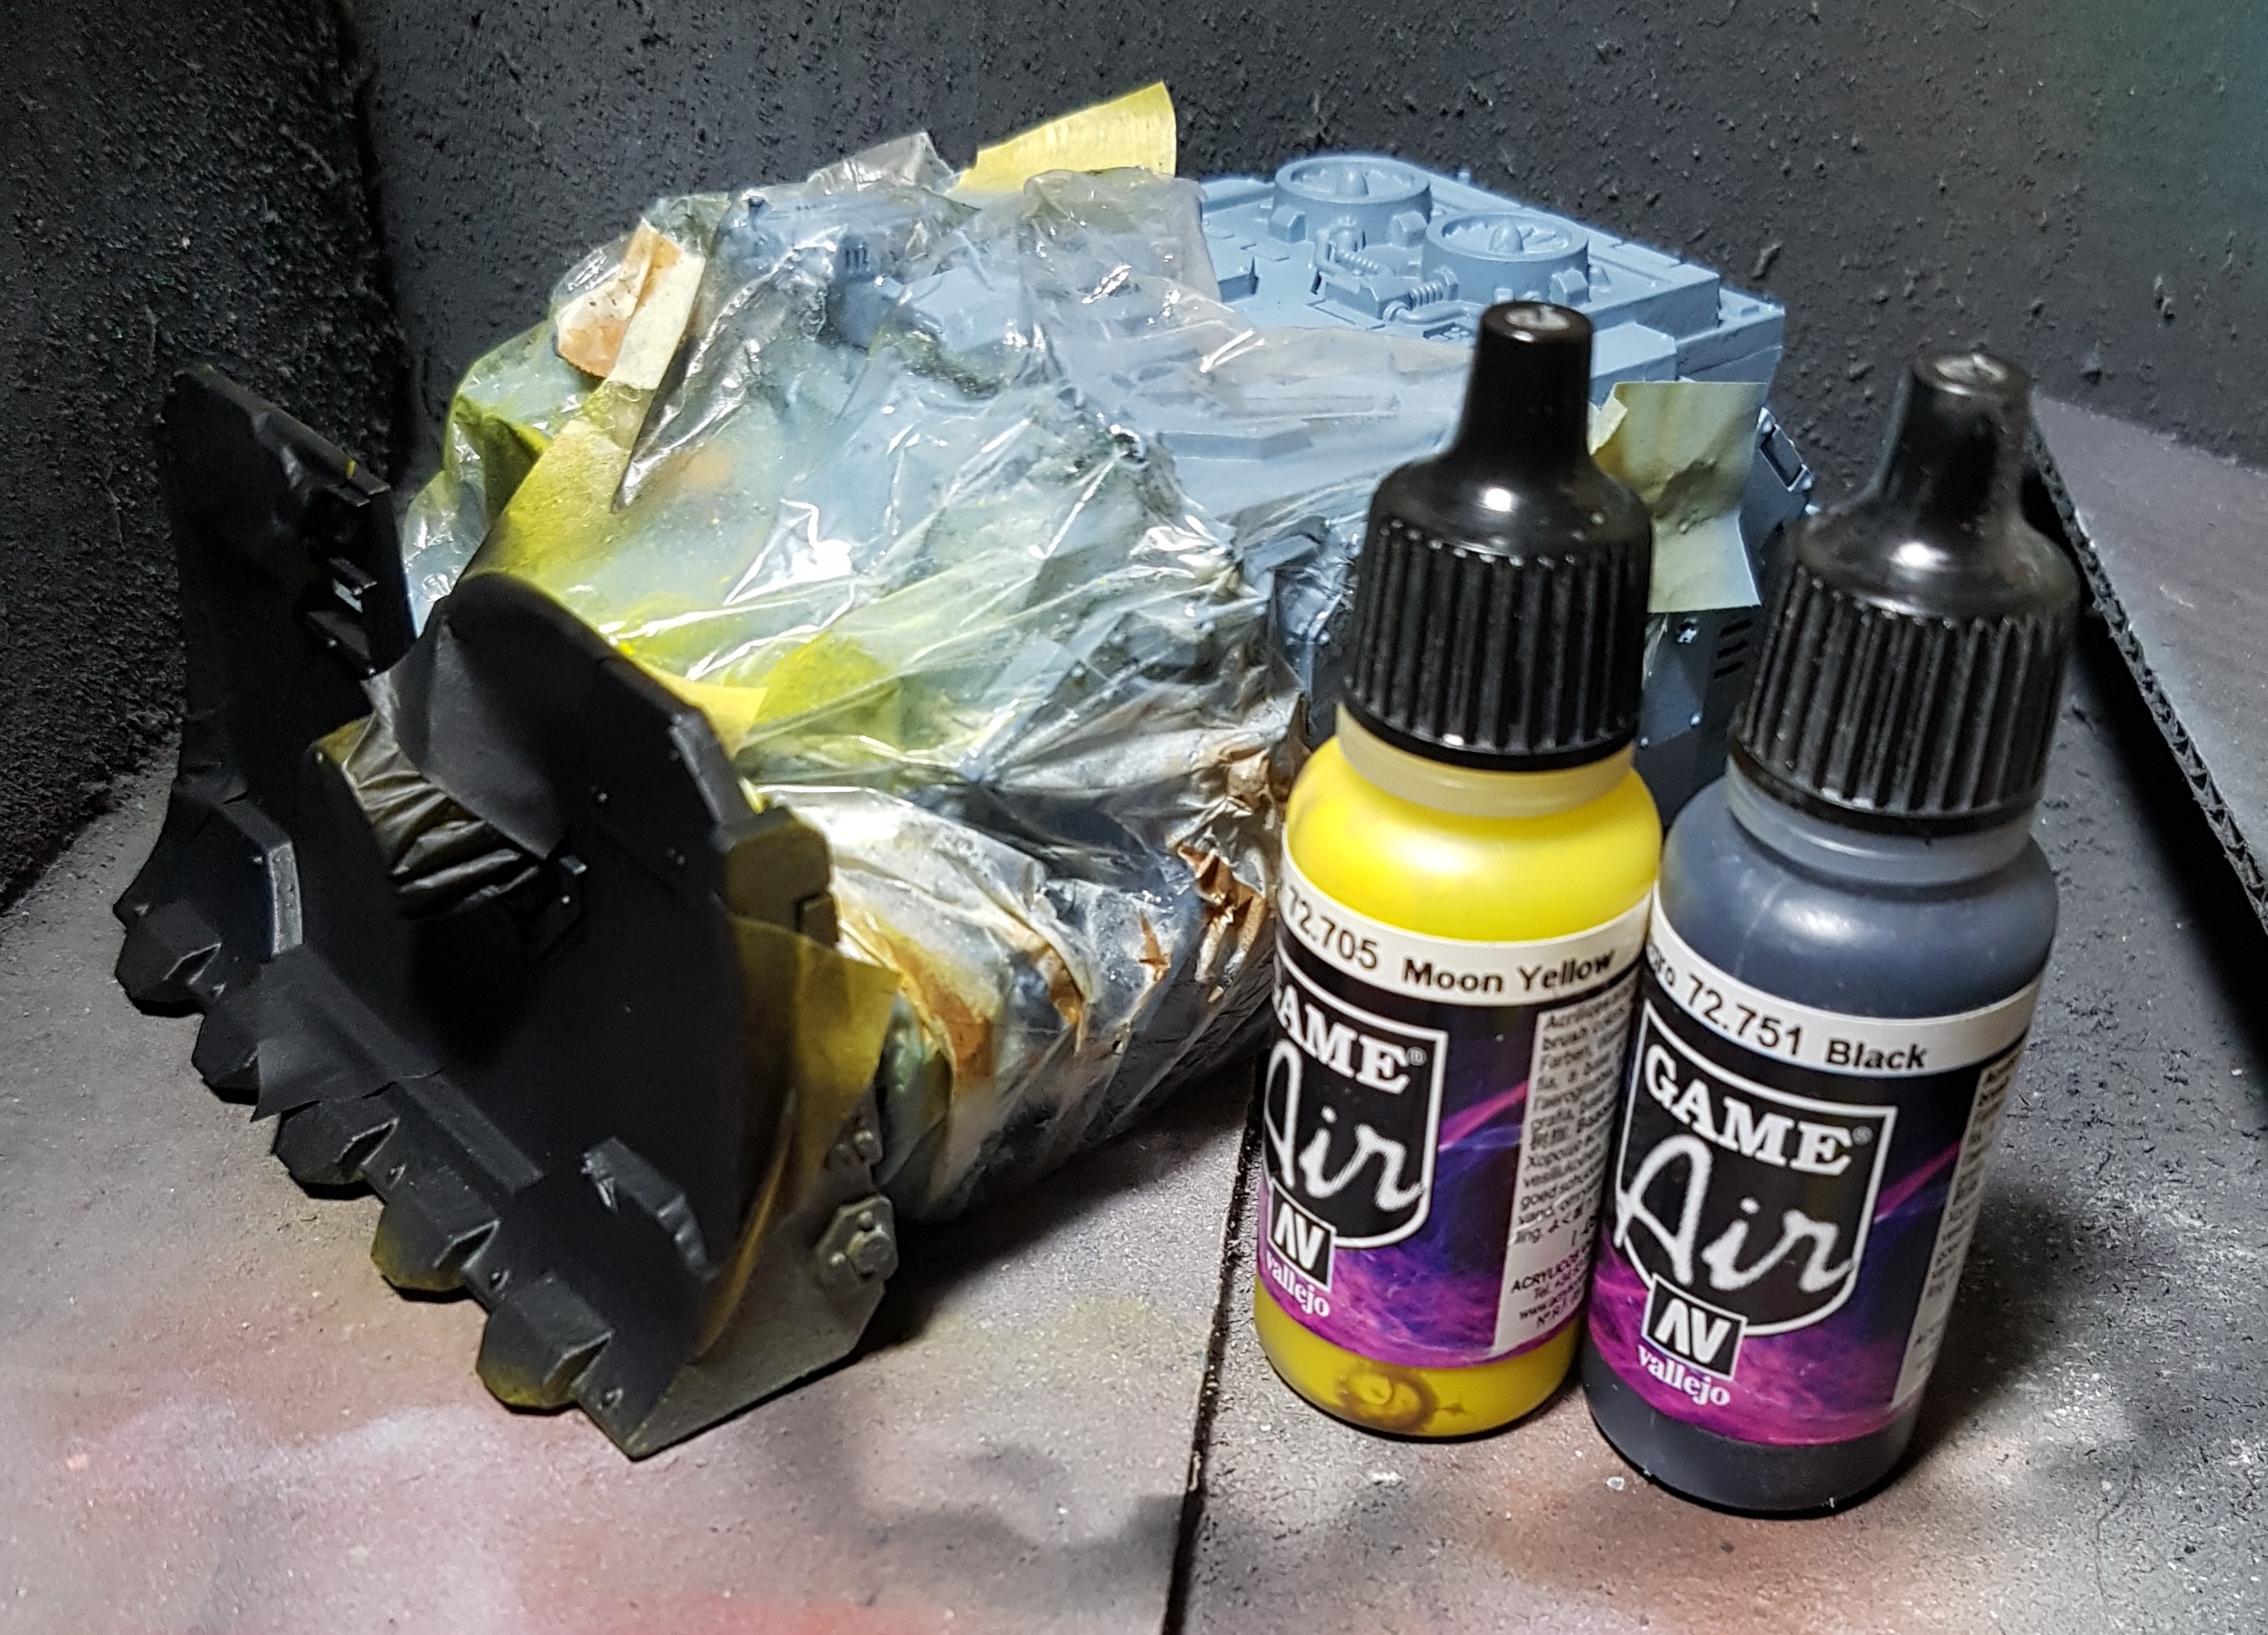
The dozer blade on the vindicator will have hazard stripes painted on it so I masked it with cling film before proceeding.
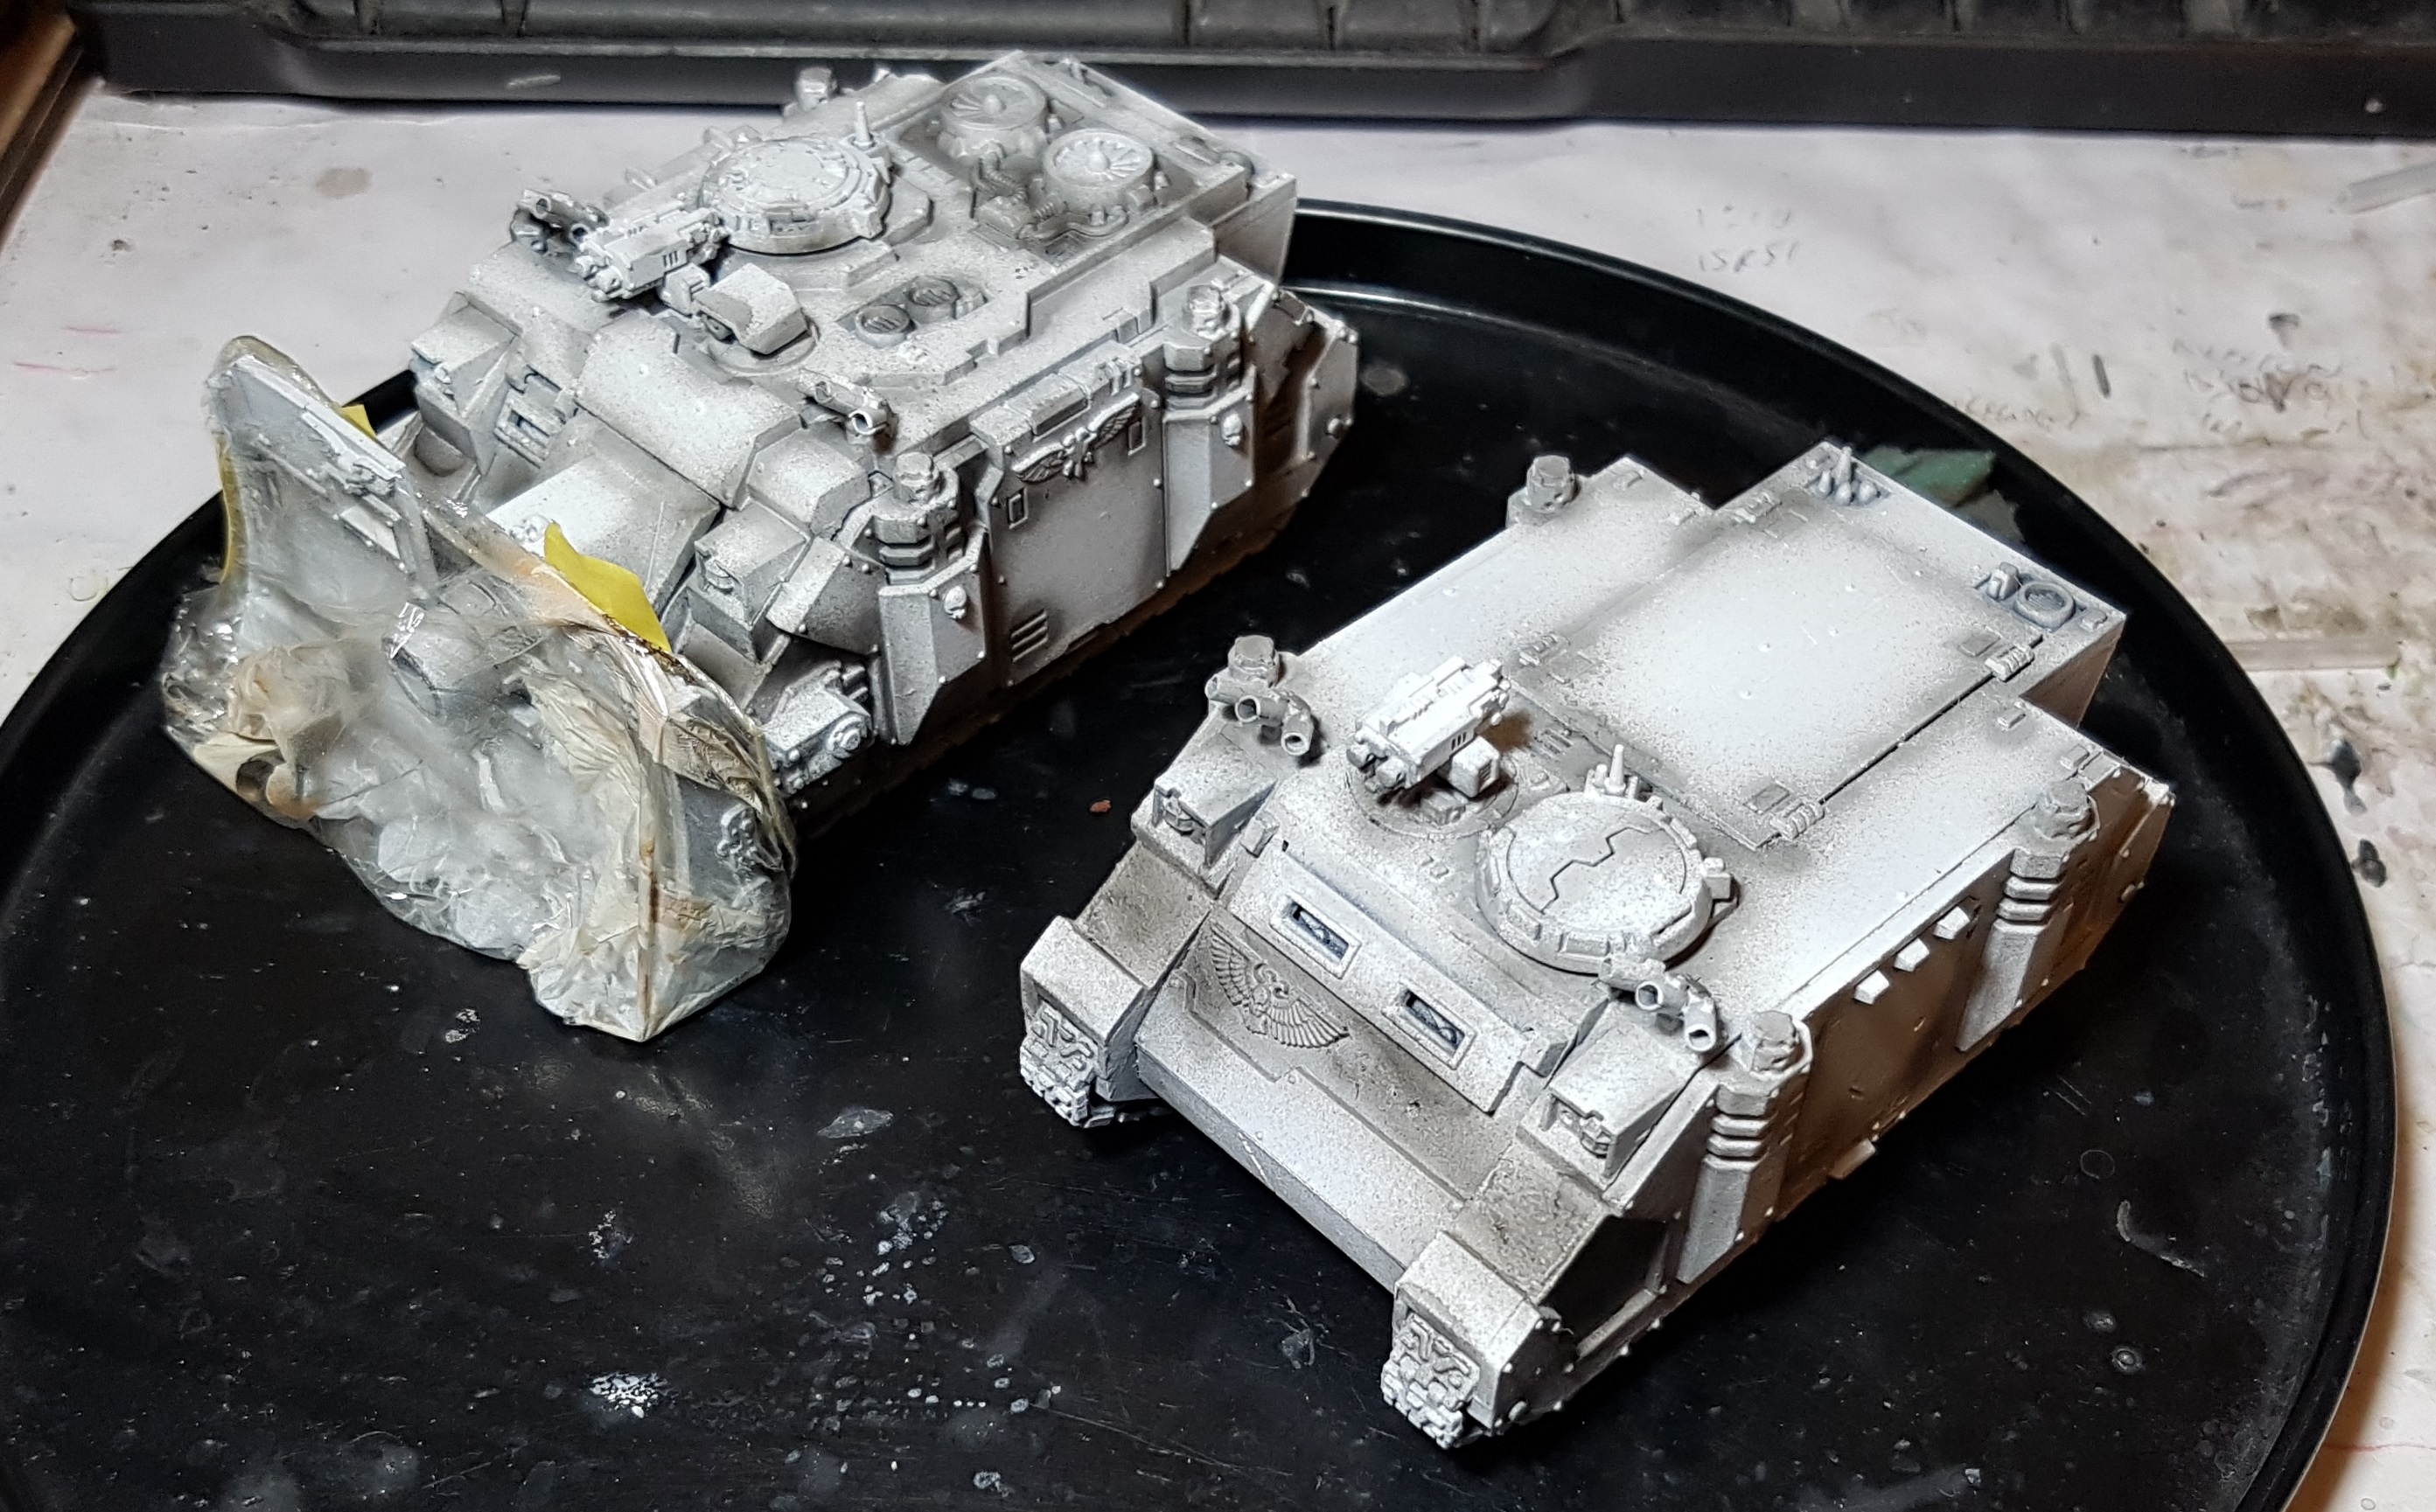
Once again, I started with the bottoms. They got 2 quick coats of GW The Fang and given a little time to dry so they would be safe to handle. I then used GW Russ Grey as my main tone across the body. Everything was given 2-3 thin coats as needed, as per the video. The final highlight colour was GW Fenrisian Grey. These are the paints used on the marines.
With the blues done, I put everything but the Vindicator on one side to day. I applied extra shielding with a piece of paper and then painted the blade yellow with 3-4 coats of VGA 72.705 Moon Yellow. Once dry I gave the blade and the top half of all the tanks a coat of gloss varnish to protect them, and because the next stage on the blue is a pin wash.
Once the varnish had dried I masked off diagonal lines on the blade. I used a small section of the tape to help space out the lines evenly and ensure they are as parallel as I could get. once I had worked the tape in to every corner and flattened as bast as I could I went over it once more with the yellow. I have heard this ensures the edges stick down flat. While this might be unnecessary for masking tape I saw no harm in playing it safe. Once dry the blade got a couple of coats of black. Once dry, the tape was removed and the blade and the remaining areas of all the tanks was gloss varnished.

I am focusing on the predator first and doing these one at a time. I need a break from bulk painting for the moment.
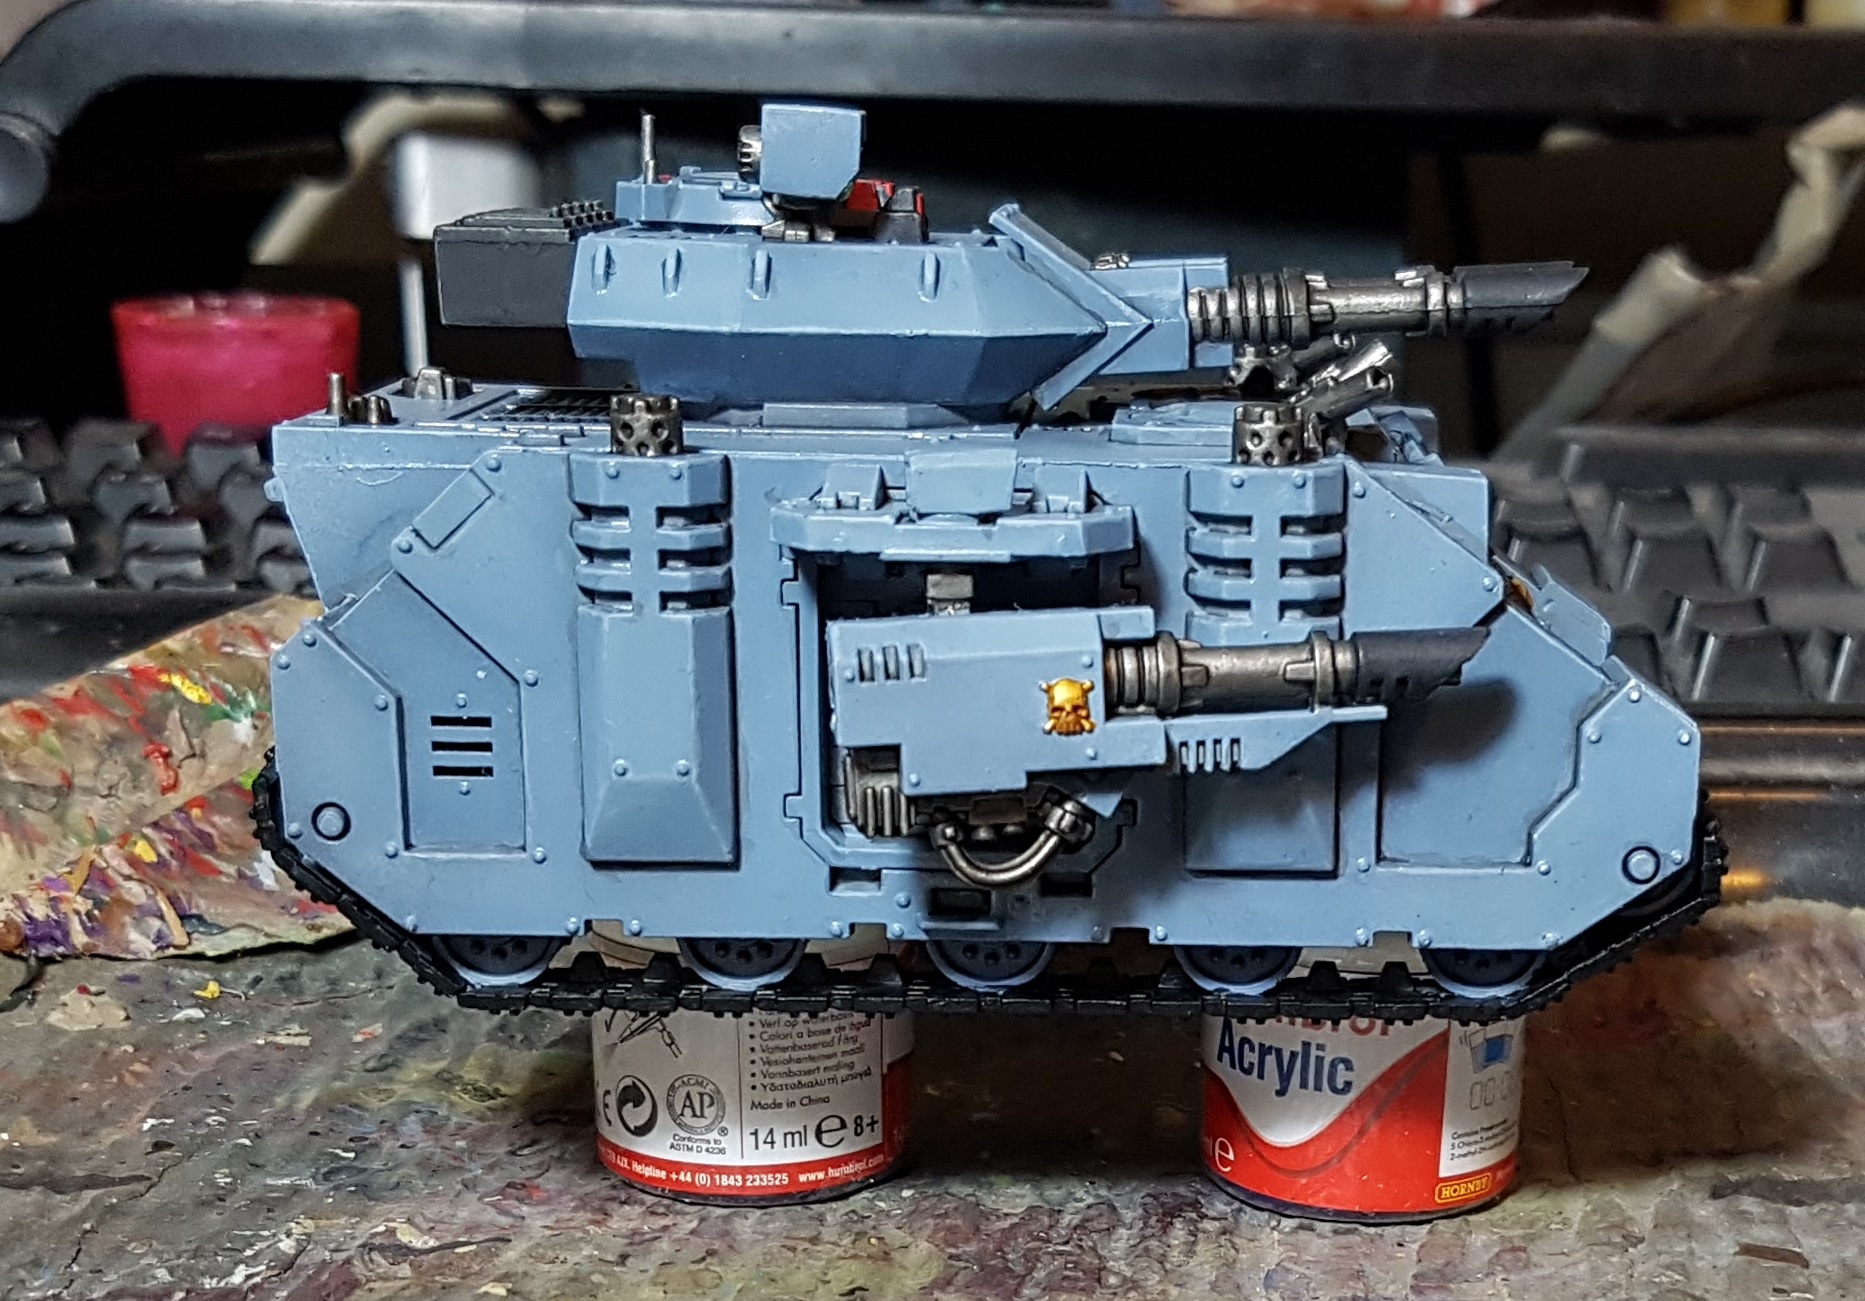
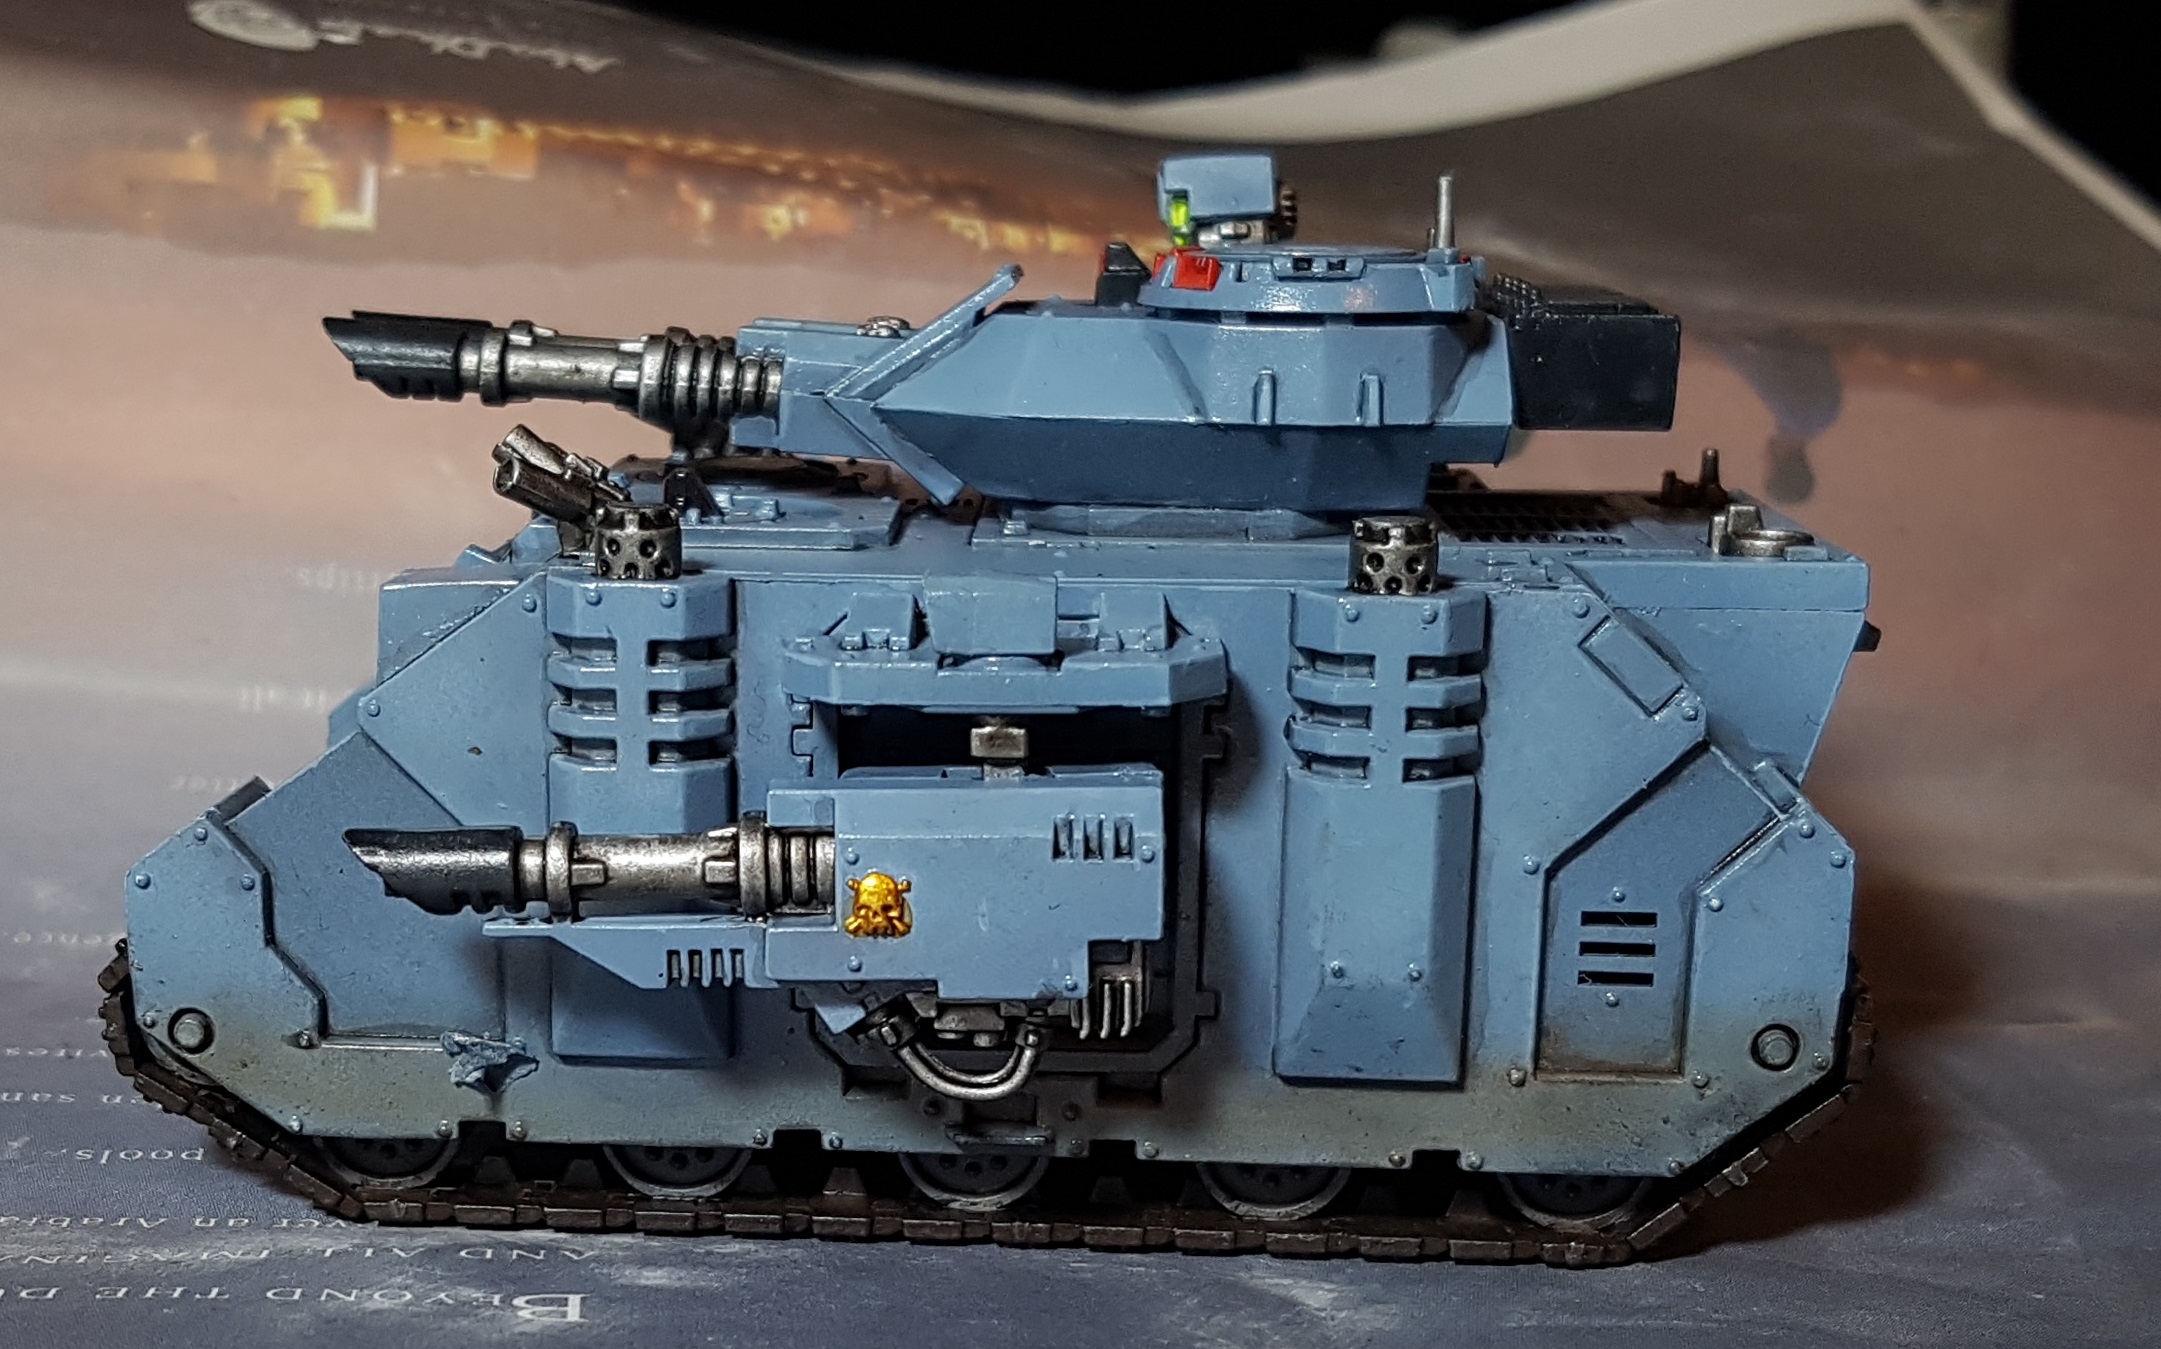
With the airbrushing finished, the next stage is to pin wash every edge, corner, and recess with GW Nuln Oil. Once dry, everything got an edge highlight with Fenrisian Grey. The rest of the tank was painted the same as the troops except the headlights, which I painted VMC Fluro Yellow because it is the brightest paint I own. The only other change as that the red “screens” or lenses were given an upwards glaze of Nuln oil once I had painted them.
The tracks have been picked out in black and I plan on working on them tonight. It is currently suspended off the ground on 2 pots of paint so the tracks can safely dry. Once the metal has been highlighted and the tracks are done, the tank will be complete, at least until the transfers are ready. It looks crisp and fresh from the factory right now. I am undecided if I should weather the tanks or not. What do you think?
With the tracks undercoated black and the last of the highlighting finished, the next colour is Ammo Mig Jimenez Dark Tracks. This wasn’t painted on though. I got an old drybrush and blotted it all over the tracks, covering almost all of it but not worrying if a little black showed through. Next I mixed some Colours of War Motherland Earth into the Dark Tracks and put a single blot of this on to each section of track.
Once dry, I started work with Alcad II Warpigs Mud Pigment. I got a second drybrush and rubbed this on to the tracks and around the bottom edges of the tank body. This was applied dry straight from the pot. I worked over a fresh sheet of newspaper so I could recover the excess safely, and I was careful not to overload the brush.
Now comes the odd part. Applying Ammo Mig Jimenez Gun Metal pigment WITH MY FINGER. This was almost a drybrush. with a little on the end of my finger I gently rubbed along the tracks allowing the peaks to pick up a little shine. I was even able to rub over a few rivets on the blue body and get just the rivet somehow. I rubbed along a couple of blue edges where I thought it might get worn as well. This stuff is like graphite pencil dust. These paints and steps all came as part of September 2018’s AssetDrop box and work quite well.
Once I had finished working with the pigments and washed my finger I was sure to put a coat of Gloss Varnish over the whole tank, but especially the pigmented sections to hold the pigment in place. It previously had no fixative applied and would wear off or blow off. It was left raised off the ground overnight to safely dry, and currently awaits transfers while I start work on the next tank. With the dust and graphite effects applied I think I’m happy with its level of weathering and probably won’t proceed any further. let me know if you think otherwise.
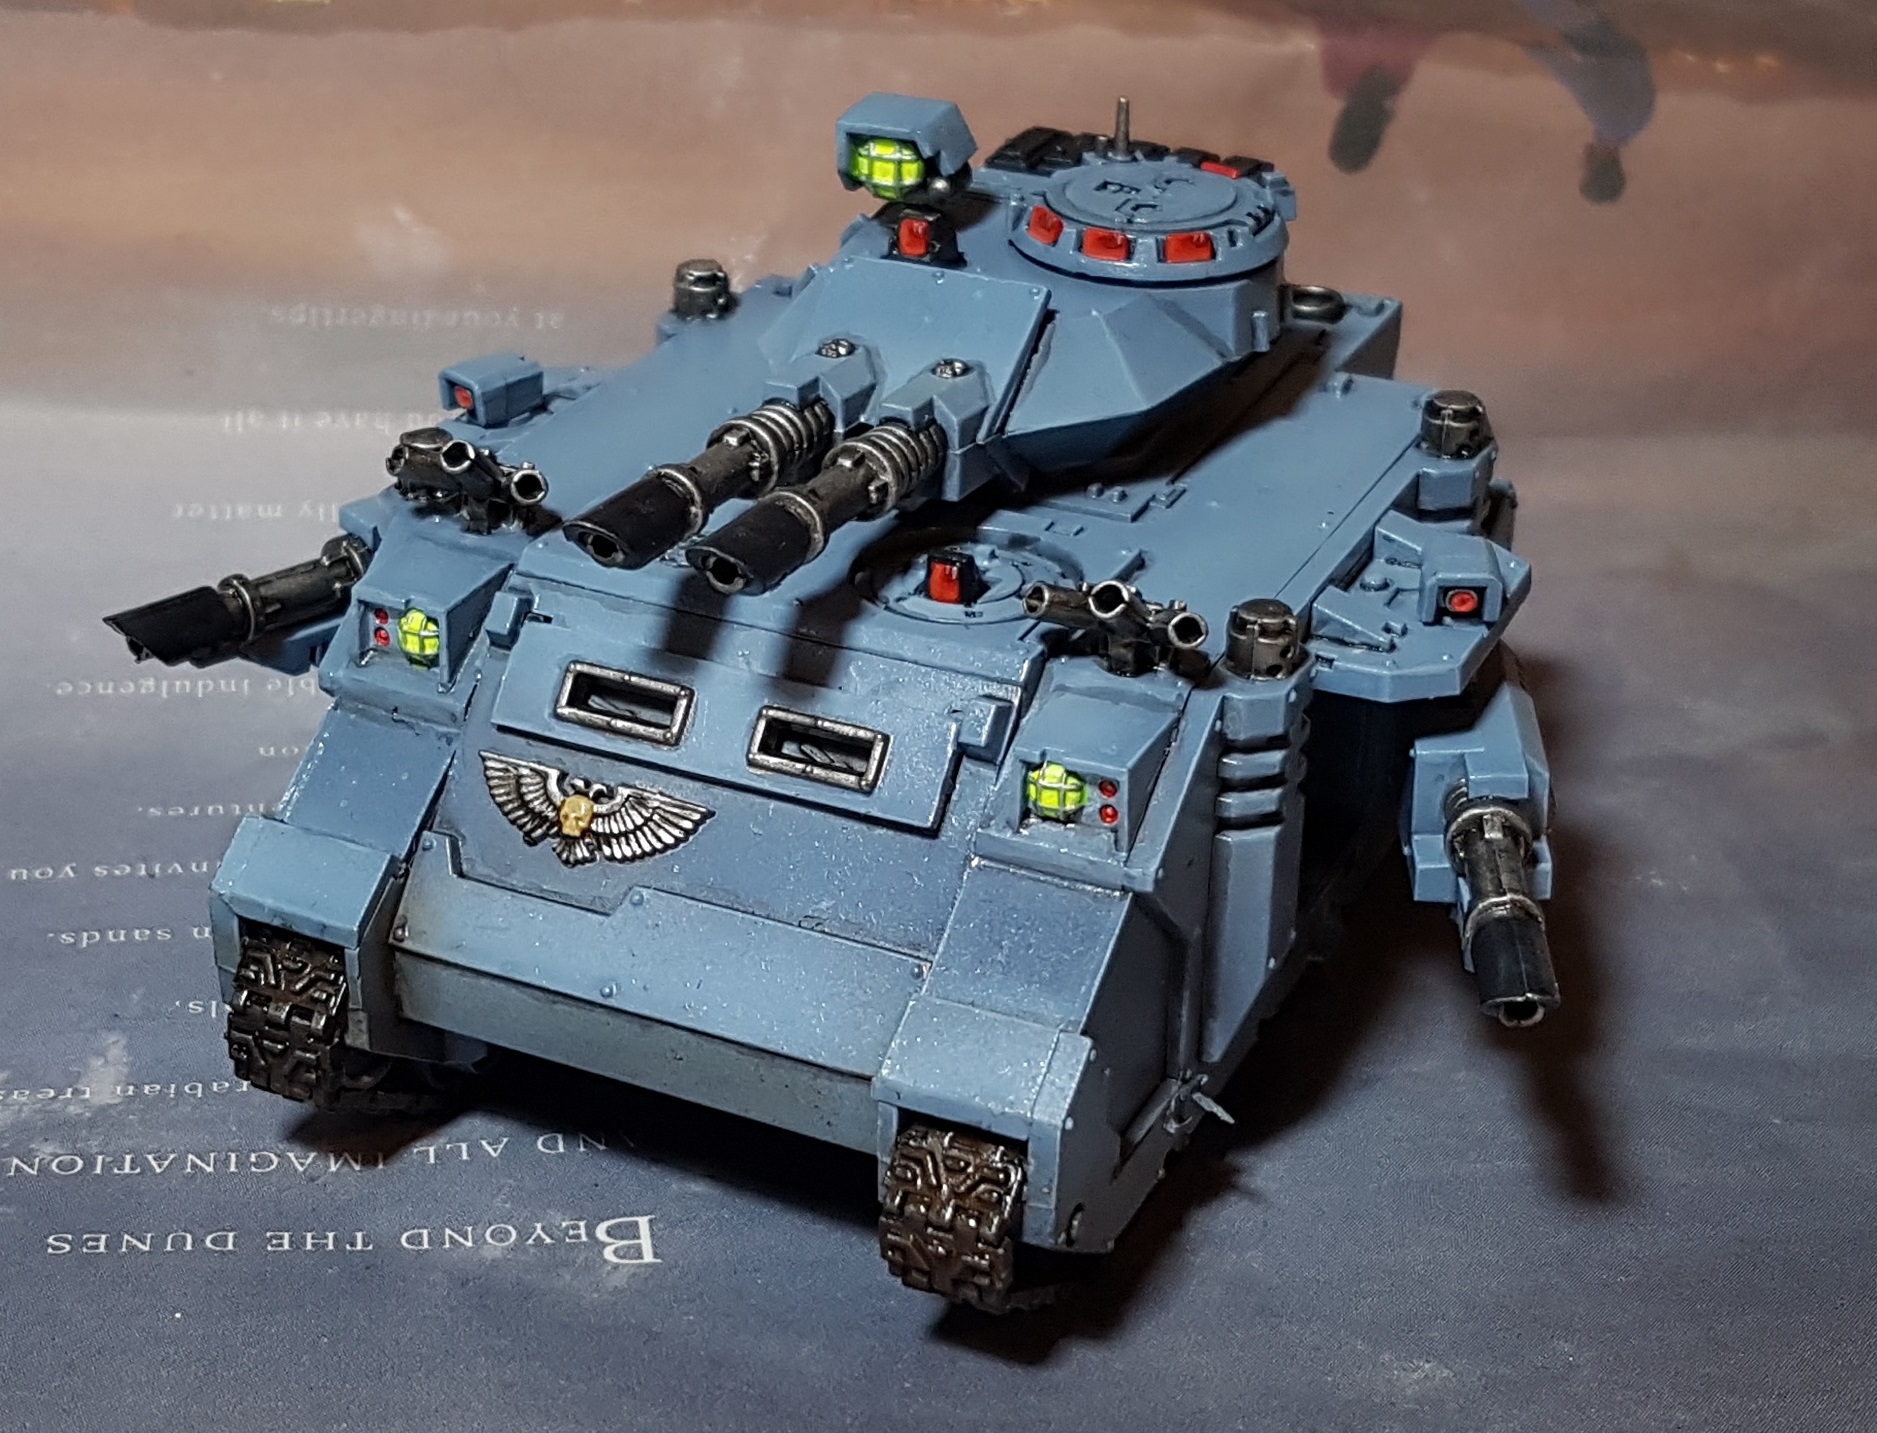


What the hell is that stuck to the front left side of the Predator and why didn’t I see that last night???
Looks like a bit of sprue
I don’t know. It was smooth once so its not sprue that wasn’t cut off. Go back to the primed shots and it appears clean. I’m thinking its paint gunk cleaned out from the rim of a paint pot. I’ll find out tonight, along with finding out if I can clean it off without damaging the paint work.
It could be masking tape that got sprayed blue and didn’t quite make it to the bin?
When I airbrush I wear a latex glove on the hand being sprayed. I’ve been using the same glove for a while and paint has built up on it thick enough to crack and let me peel it off, but remain flexible like the latex. Somehow a flake of this got stuck to the varnish. It’s never happened before. it came right off without issue. Time for a new glove I think.