


![How To Paint Moonstone’s Nanny | Goblin King Games [7 Days Early Access]](https://images.beastsofwar.com/2024/12/3CU-Gobin-King-Games-Moonstone-Shades-Nanny-coverimage-225-127.jpg)


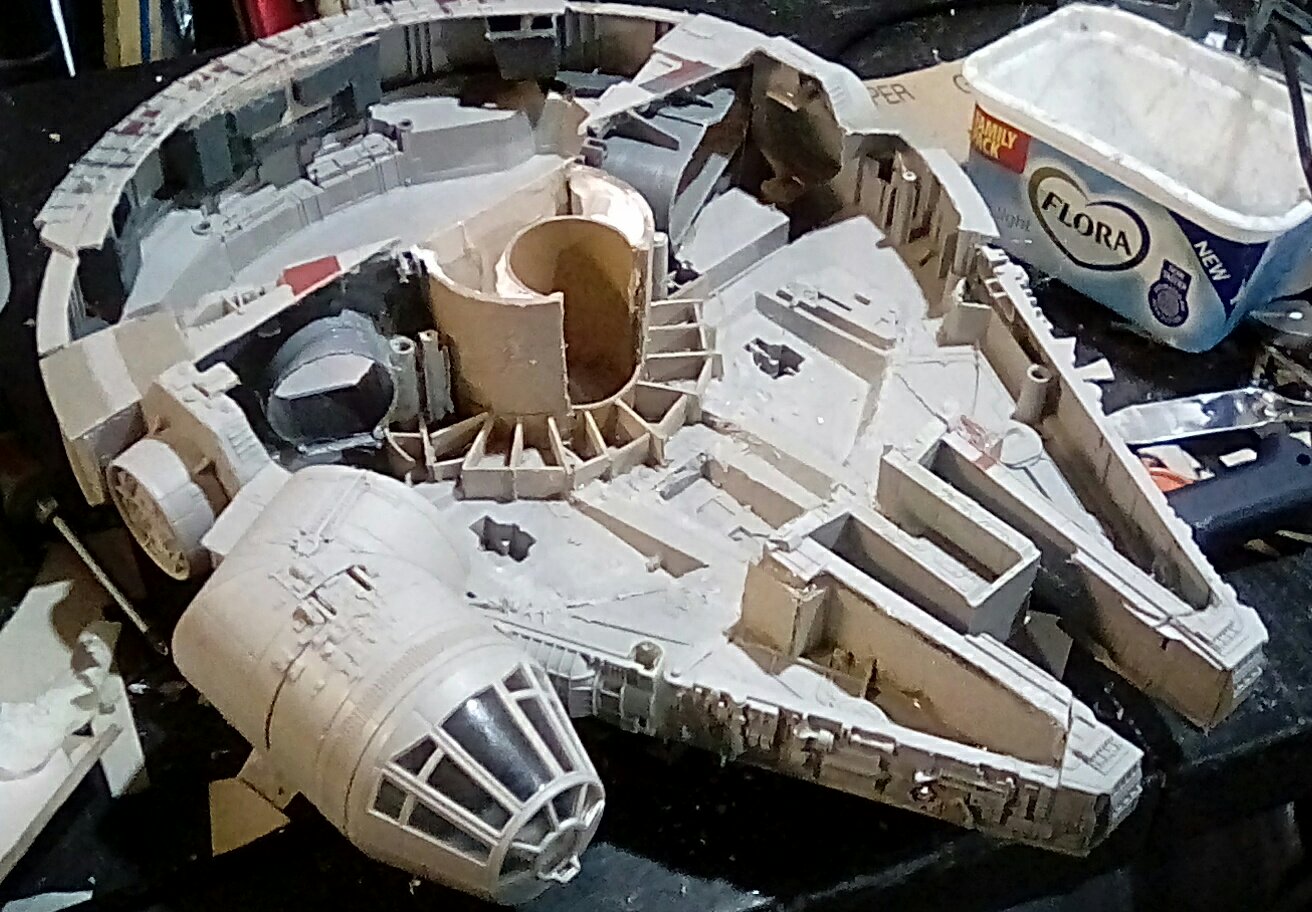
The Millennium Falcon


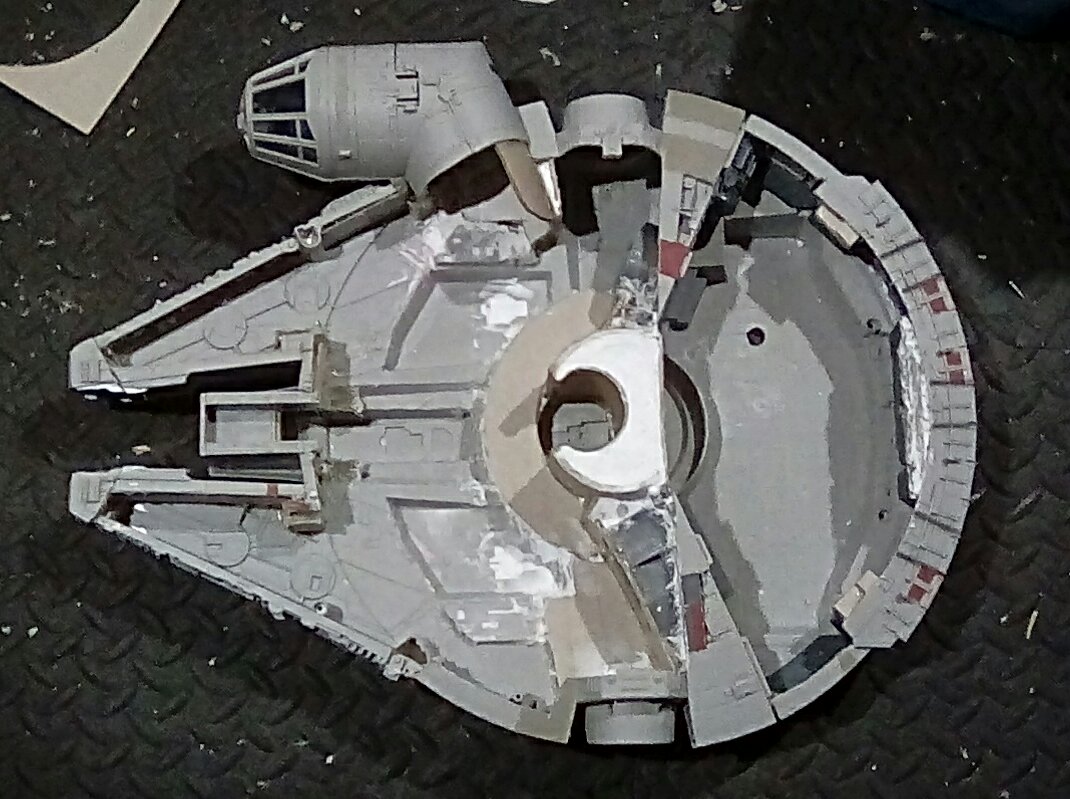
Putting it back together...
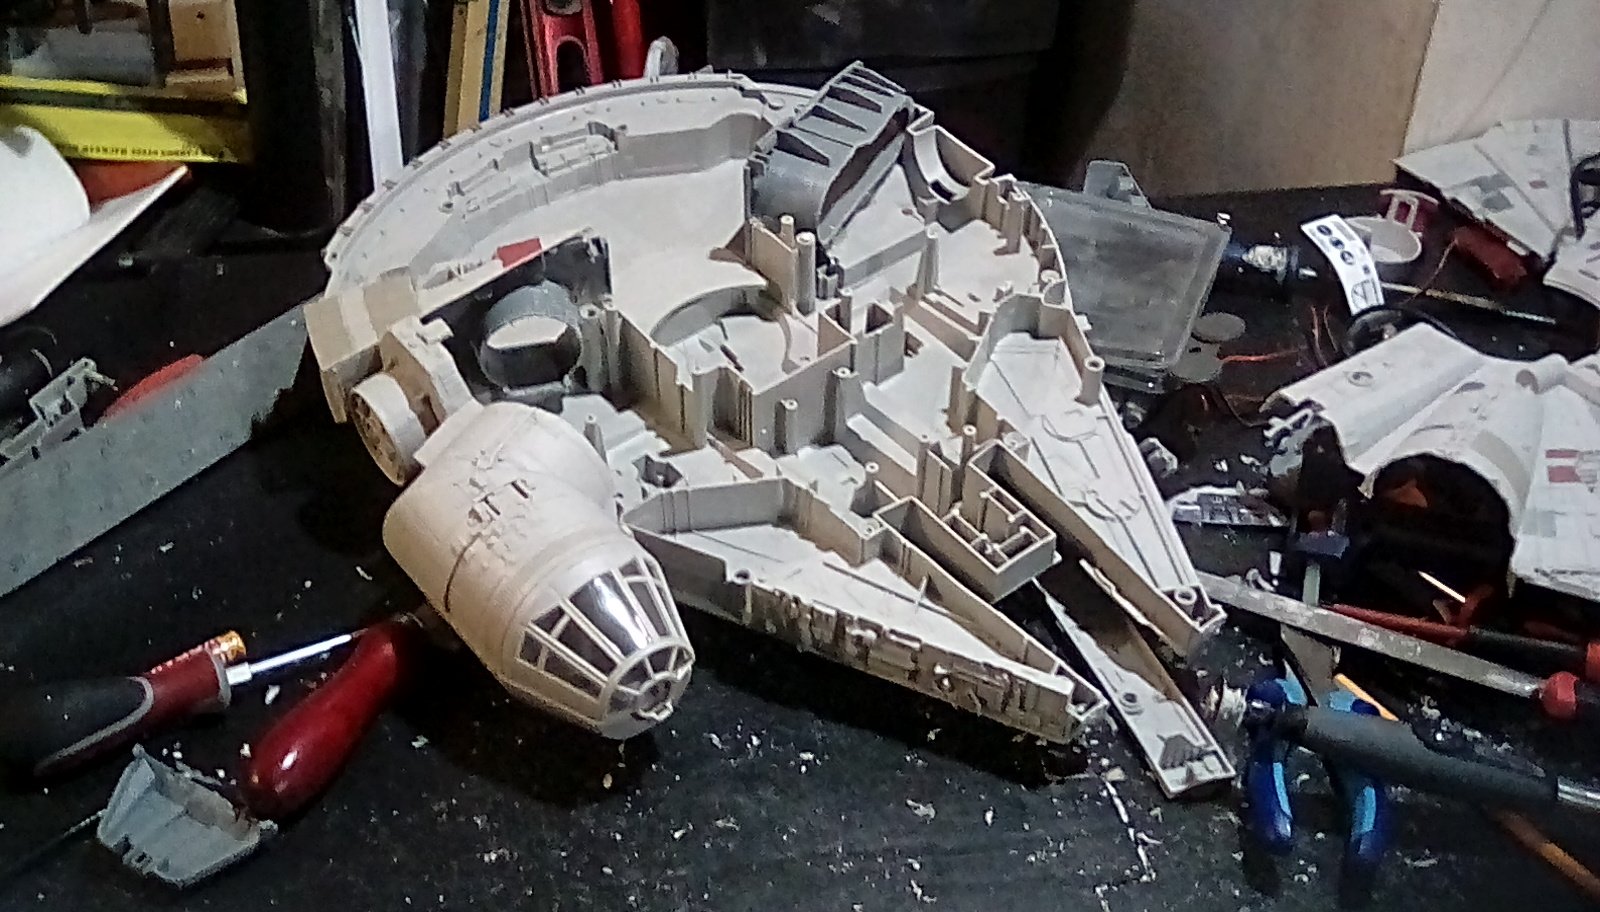
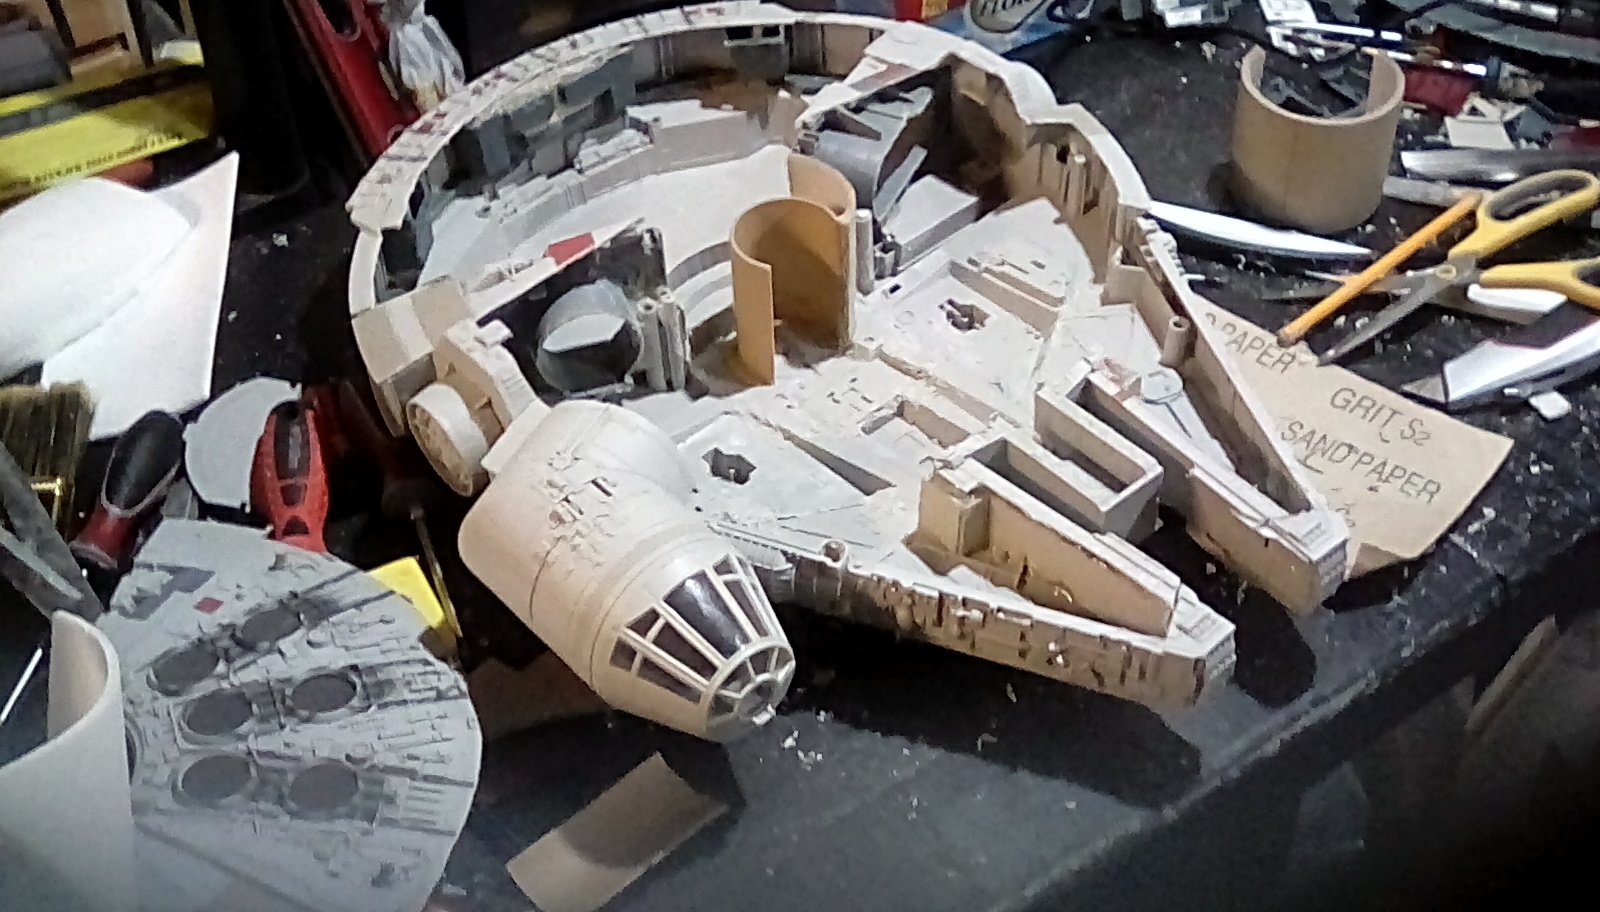
When rebuilding something like this, there is a balance between what you want to do, and what is sensible. I decided to put the 2 grey plastic inserts back in their original position so they could strengthen the now quite flimsy hull, and act as supportable the removable roof later. I did cut the backs off them so they will now act as doorways to the rest of the ship instead of being alcoves. As I fix elements into the ship, I also cut away any plastic supports that are no longer needed with a dremmel, then smoothing down with a file and then sandpaper.
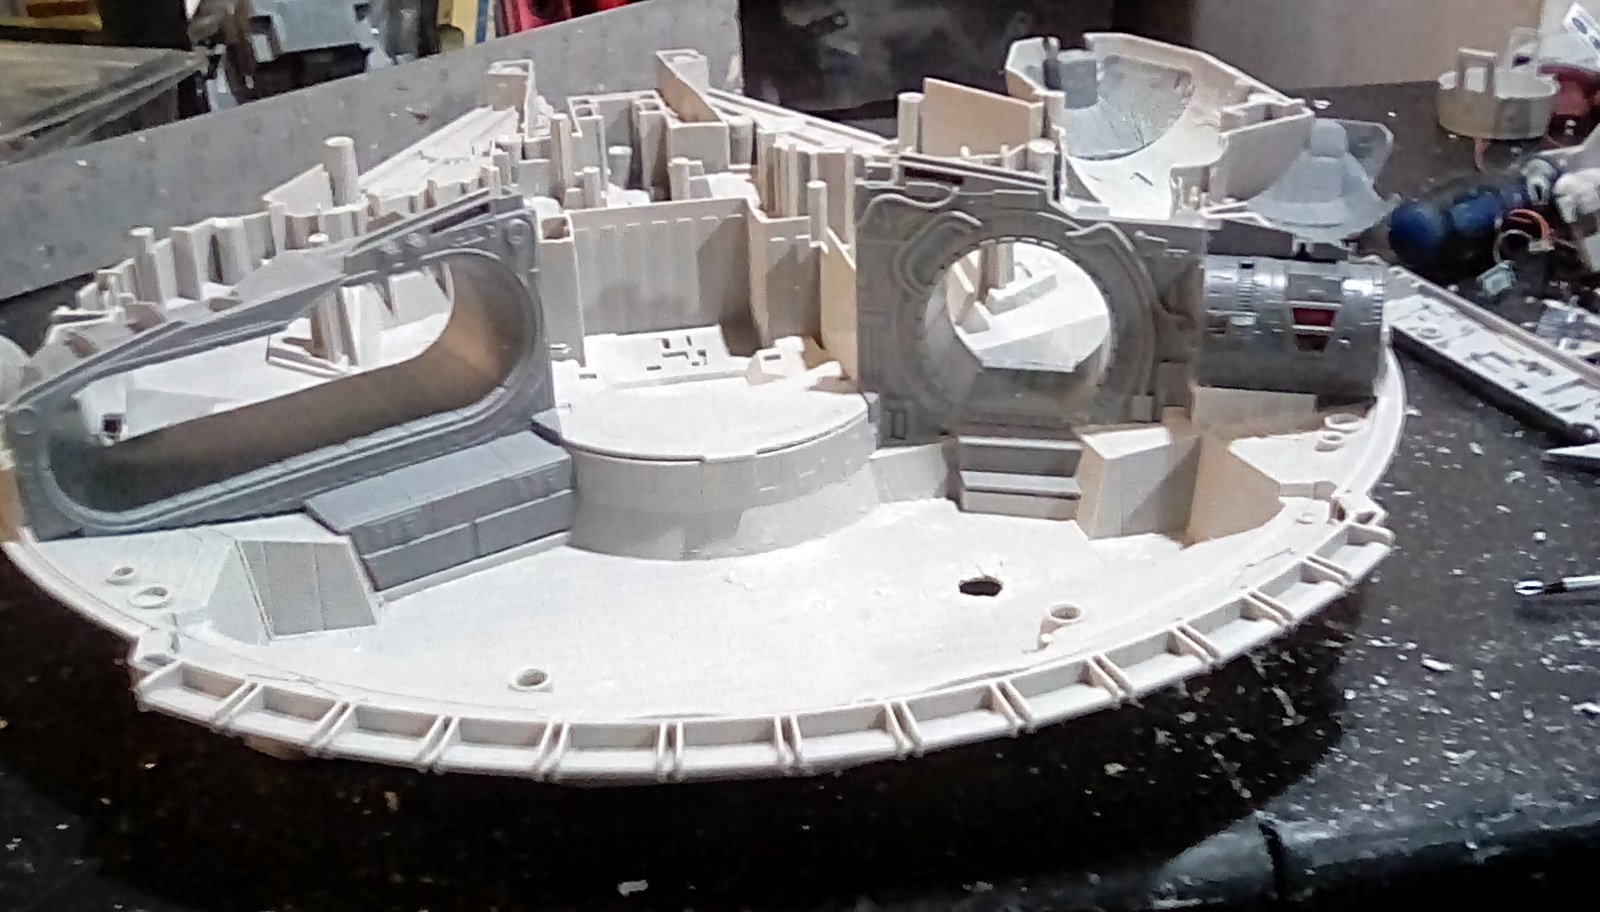

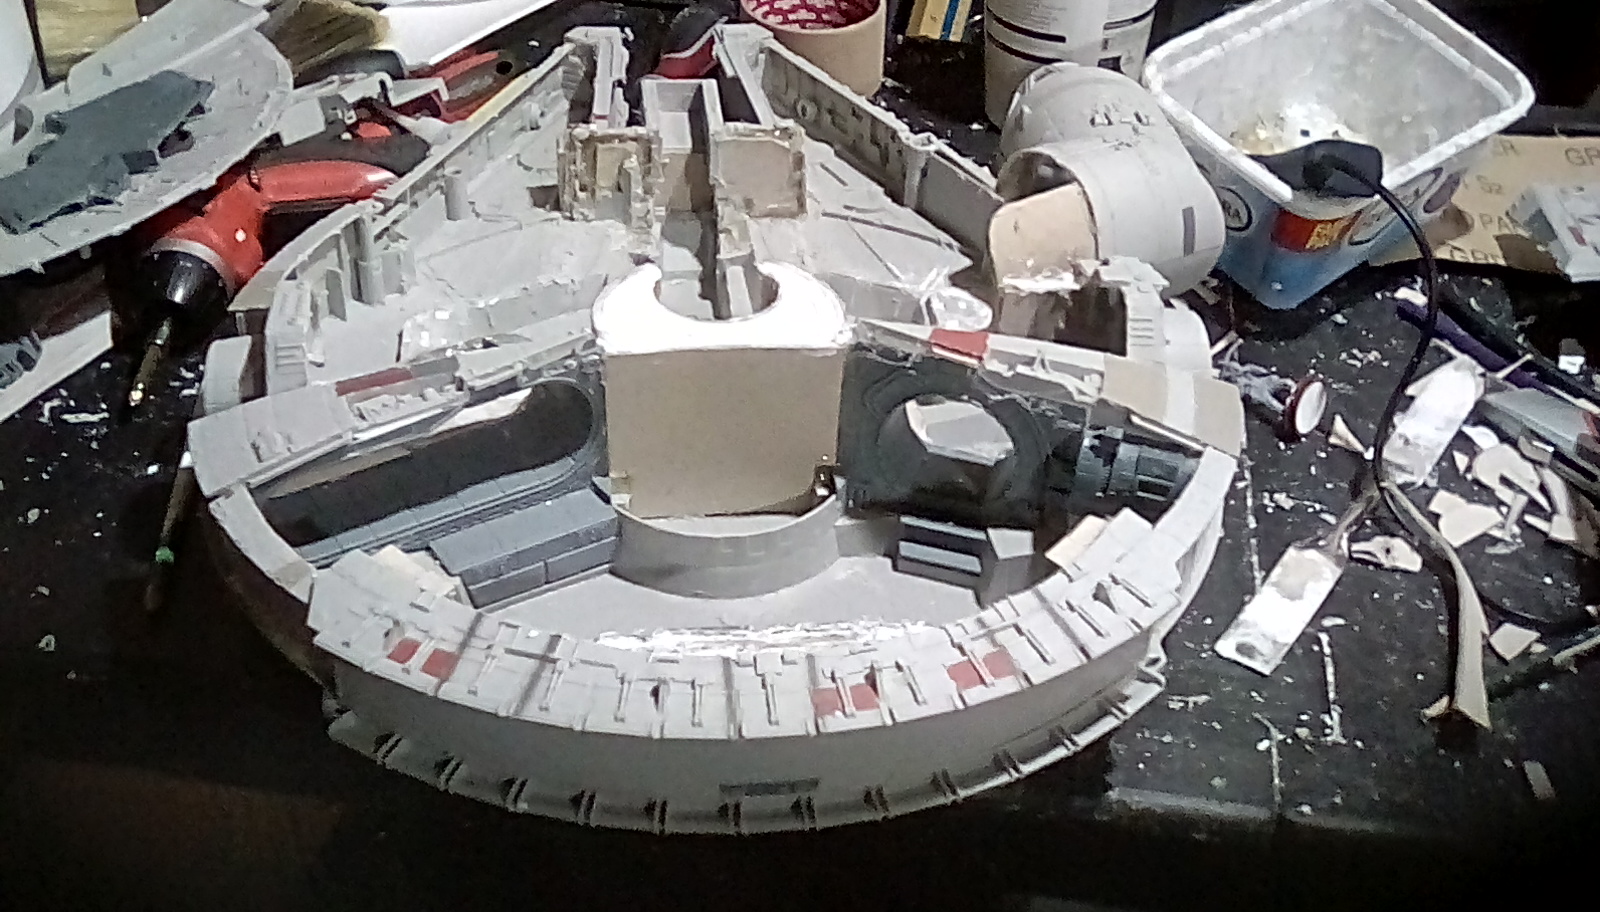
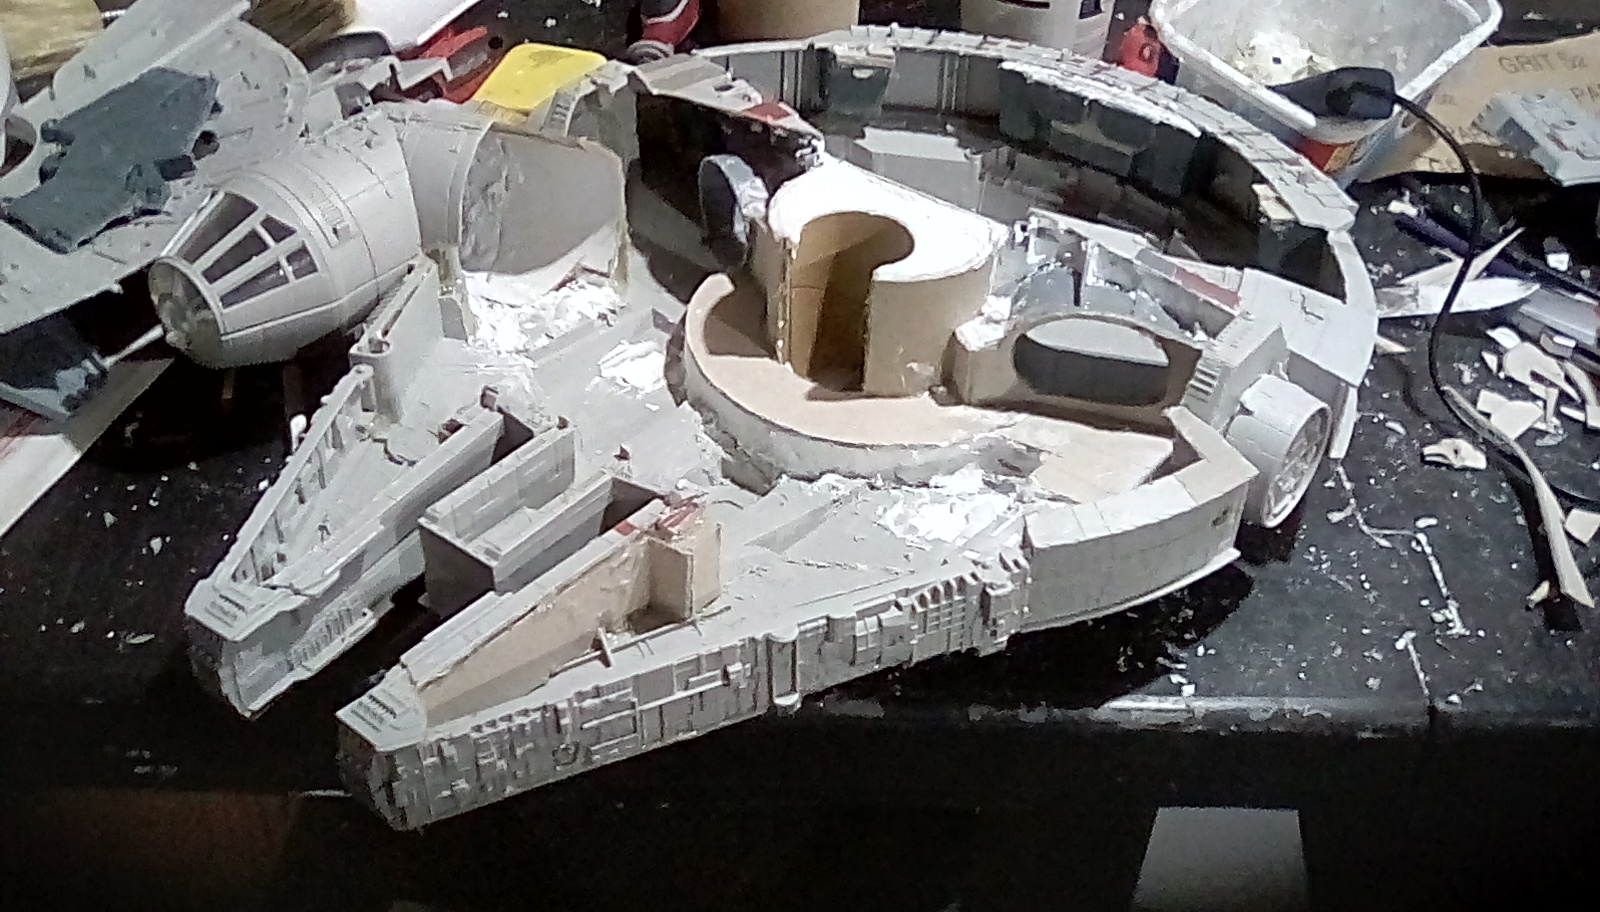
Next I rebuilt the side walls of the falcon. This involved cutting the top half of the walls away from the top half of the hull. A hot glue gun turned out to be the best way to fix this in place, as it also can be used to fill voids and gaps, and when dry adds some strength to the hull. The sections with the cockpit and the round docking hatches are cut into a shape that will cover the top of the previously fixed grey inserts. I decided to leave a “lip” of hull round the top edges of the walls, as I want the ship to be recognisable as the Millenium Falcon even when the lid is removed.

I’m quite glad with the way the curved corridor to the cockpit is shaping up – I consider that quite an iconic part of Han Solo’s ship so I wanted to include that in my model.
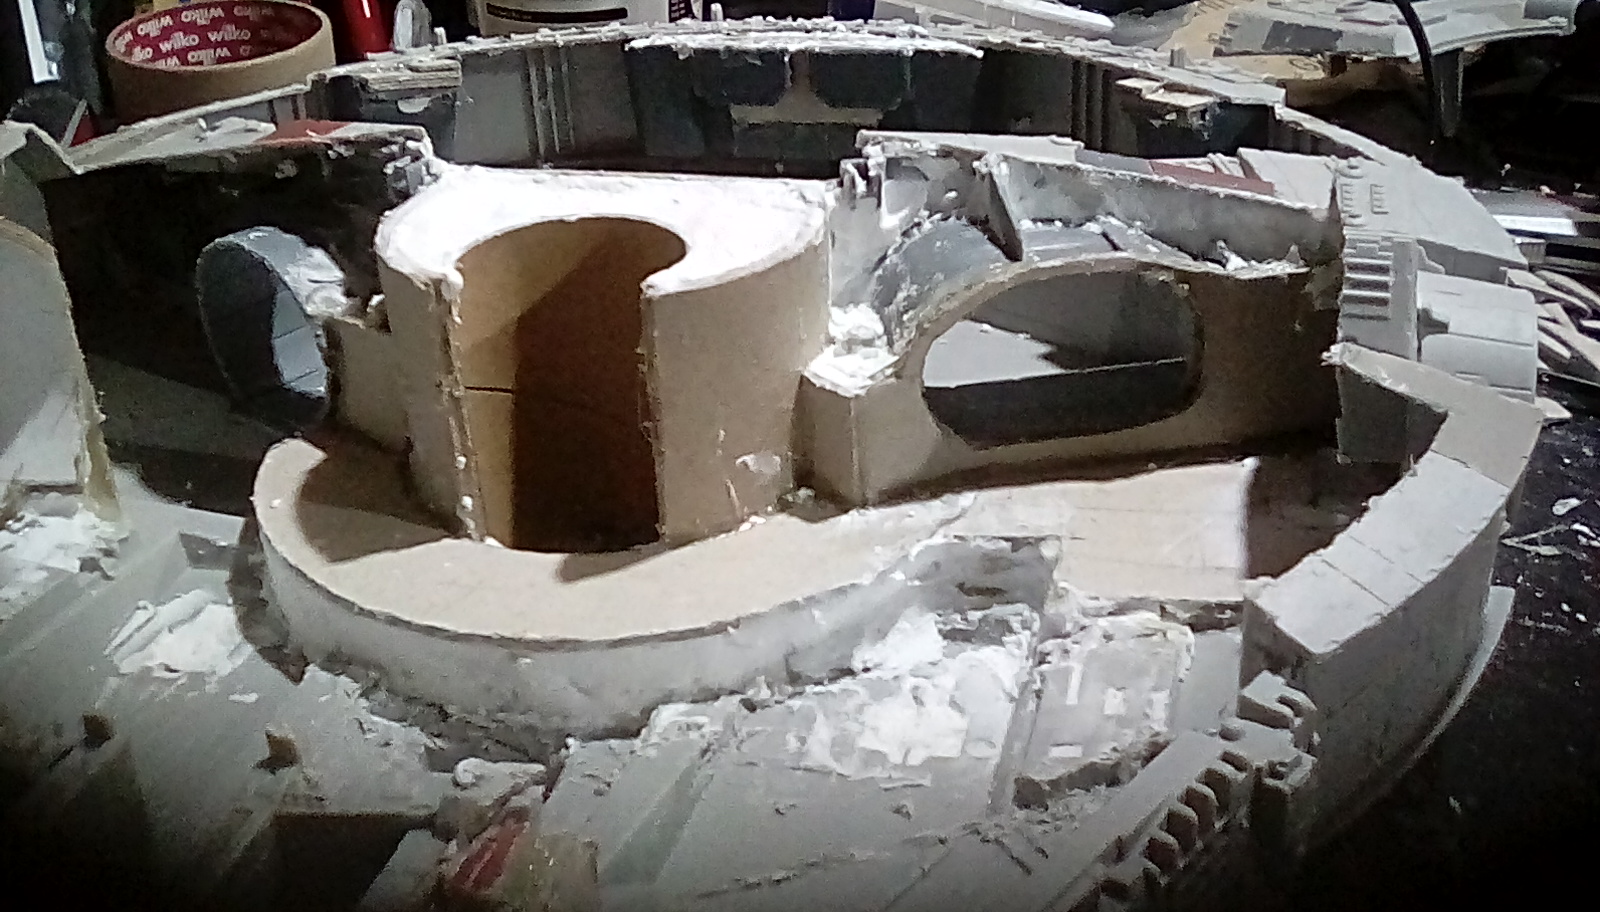
The next thing I feel any Millenium Falcon needs is a central tube leading to the guns, and a circular passageway around that. This is done using some thick cardboard tubes and grey board hot glued into place. I make a cardboard frame to support the walkway, and lightweight filler is used to.fill that frame before gluing on a.cardboard top. It doesn’t need to be a perfect fit, as later stages should cover up.any small gaps. I decided to raise the corridor not only to give a nice flat surface for my figures to stand on, but also so the central column could drop down deeper as if descending to the bottom hull gun. I’m quite keen to have lots of changes in level, as I think this will make the finished model feel like a cramped freighter with the rooms shoe horned in between the mechanics of the ship.
Grey card is quite strong, especially if layered, but the lightweight filler is important as it ensures he eventual shapes are solid and can’t cope or crease. For the time being I’m adding “vital ekements” – later I will decide on the layout of other rooms when I see how much space is left. I decided on a half-circular corridor, rather than fully encircling the central pillar, to save space. I can always add the other half of the corridor later if I decide if will fit.
(Grey card is the thick card you can buy from picture framers as it’s used as the backing to framed pictures. It’s a lot stronger and cheaper than foam board, and comes in bigger sheets. As always, it might have a different name in different parts of the world).


Leave a Reply