


![How To Paint Moonstone’s Nanny | Goblin King Games [7 Days Early Access]](https://images.beastsofwar.com/2024/12/3CU-Gobin-King-Games-Moonstone-Shades-Nanny-coverimage-225-127.jpg)


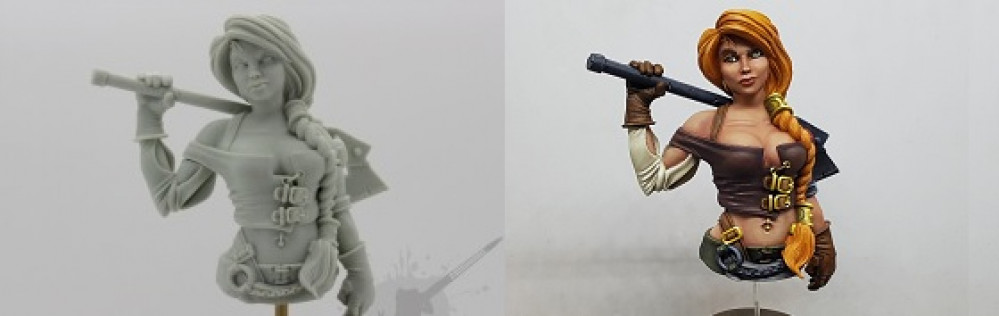
Brisket Bust by Broken Toad: Lawnor's first ever bust (& a cheeky attempt at winning the Spring Cleaning comp)


Starting the flesh
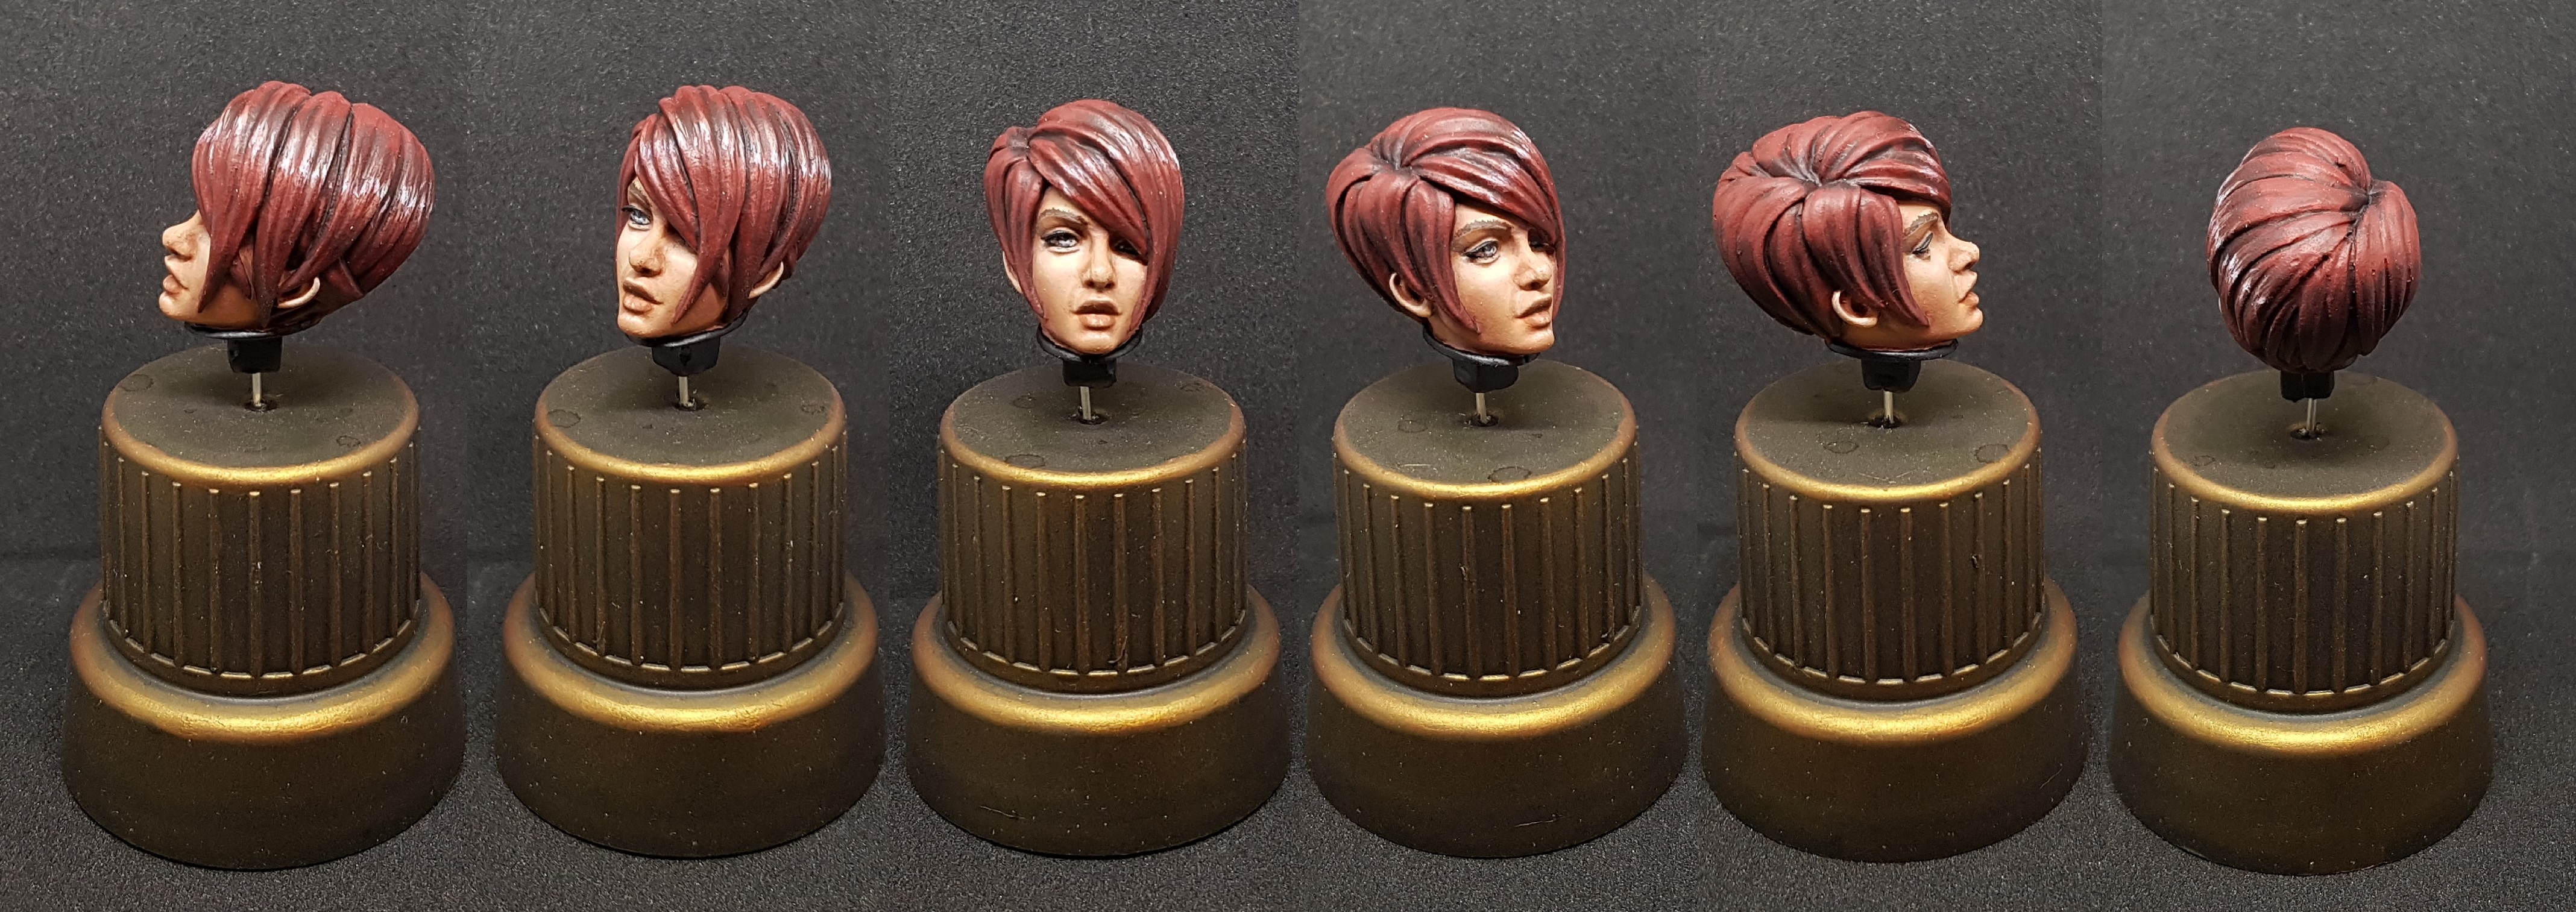
A while ago I took part in a bust painting class online at MonkeysWithFire on Twitch, lead by Pascal Rooze . We got the head from a bus, a few paints and 2 classes on painting the flesh and the hair. I’ll be following the classes again while working on Brisket:
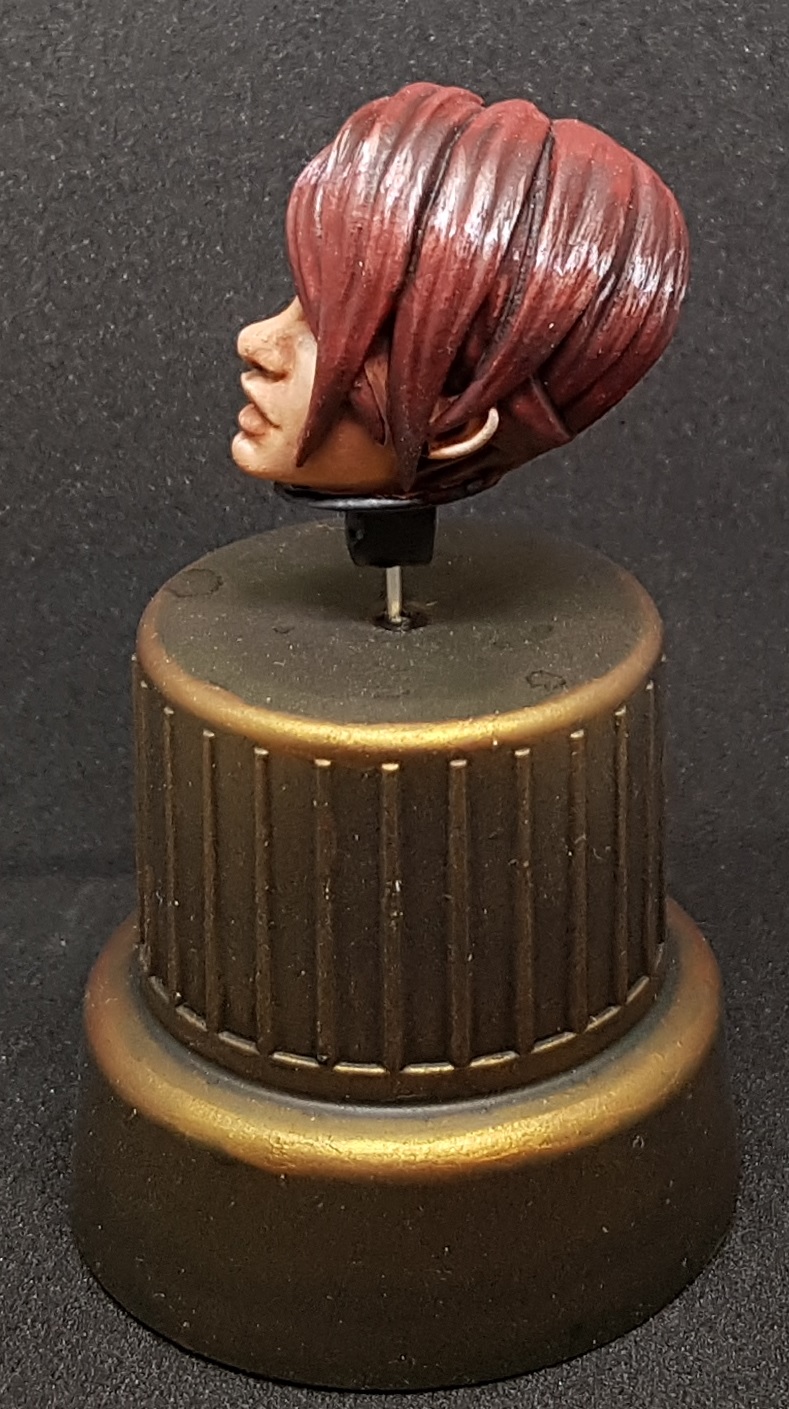
My results from the class:
I’ll be using the same paints for the flesh:
Instar Sunburnt Flesh
Instar Caramel
Instar Golden Sand
My base tone was a mix of 4:1 Caramel: Sunburnt, mixed up on a Redgrass Wet Pallette. I’m also new to wet pallettes so my dampness might not quite be right at times. I think I applied around 4 coats, only applying extra coats where they were needed, allowing it to dry fully between coats.
 Skin basecoat applied
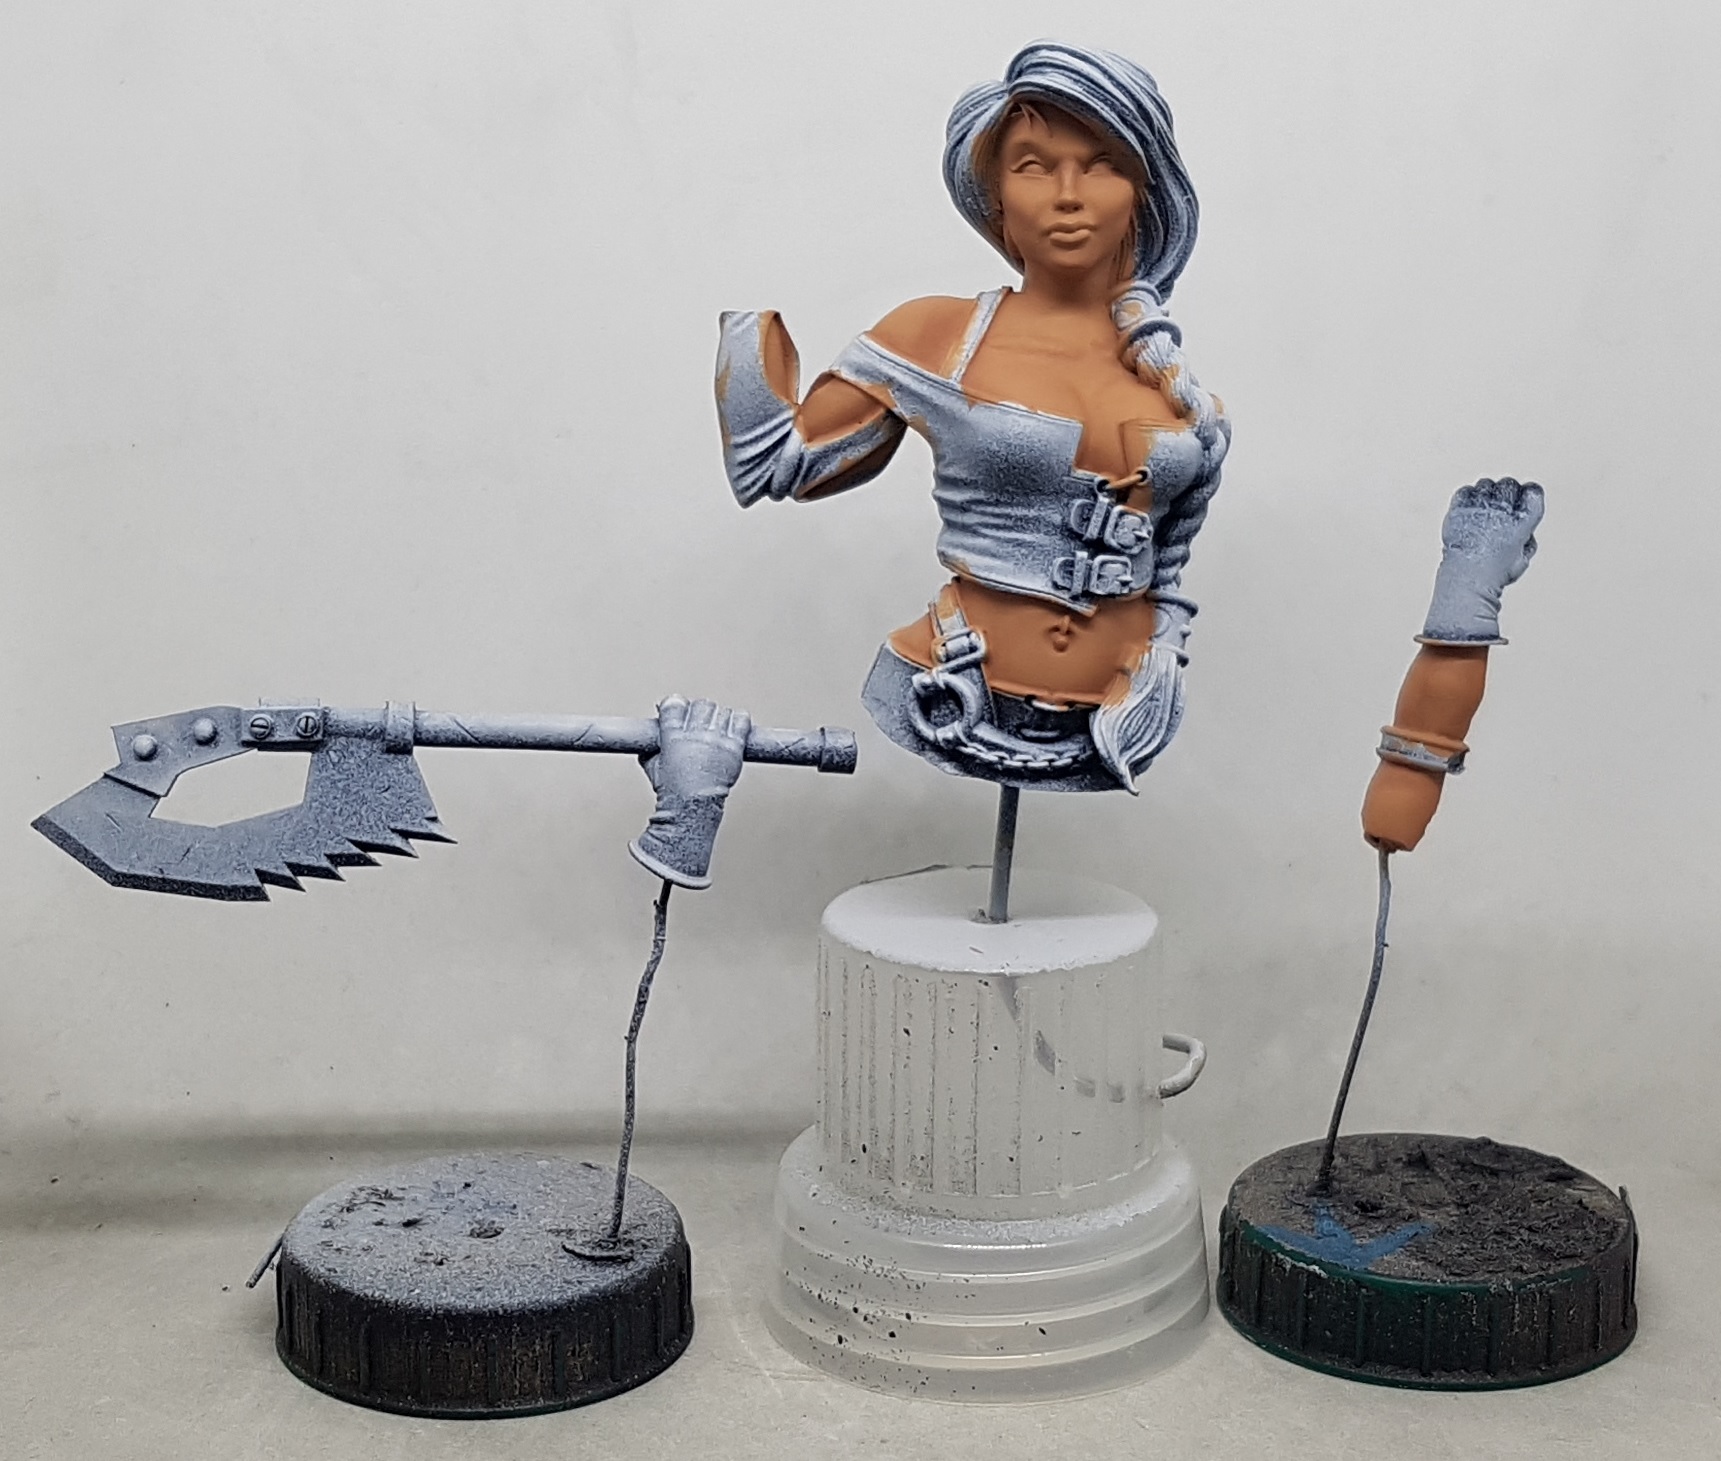 First shade applied with 2:1 mix of Caramel:Sunburnt. I'm not sure I'm using the wet pallette correctly. How do you tell if its wet enough or working right? My dinner has just gone in the oven, so a short break, then back to work.
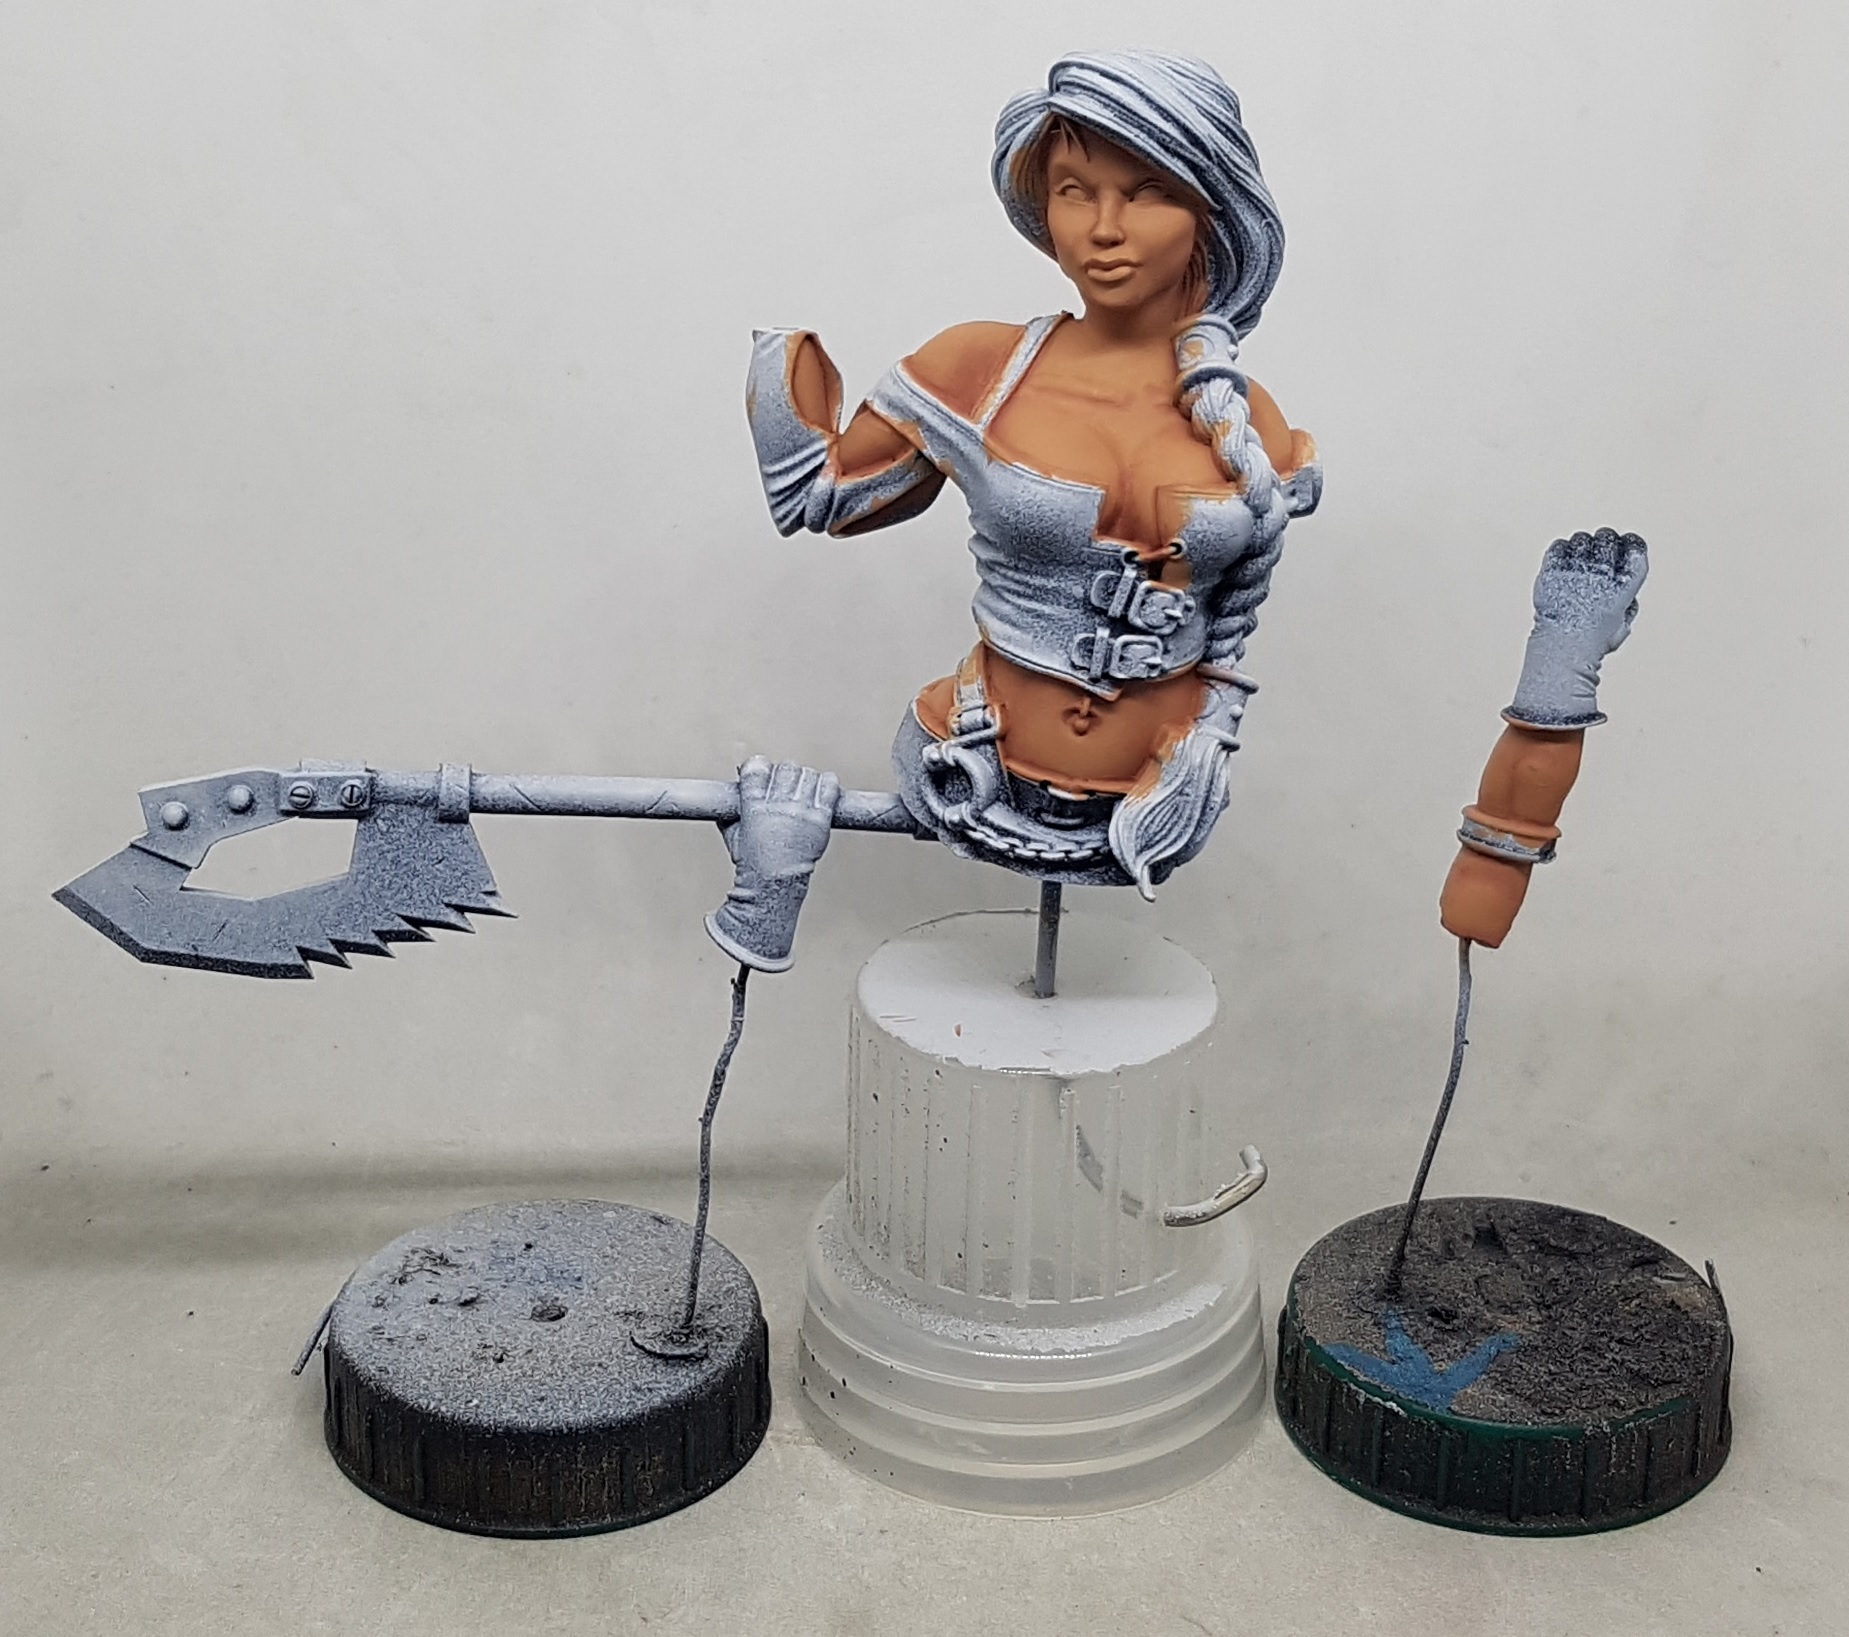 Second Highlight applied. Almost entirely Sunburt with just enough Caramel to just alter the colour. I've started realy blending the layers with a second licked brush. Depth is appearing, but it is a little messier than I'd like.
 The line between the two shades was then blurred with a dilute mix of the first shade. I imagine after the highlights are done the line between the base and the shades and higlights will be similarly blurred with the base colour. On to highlights.
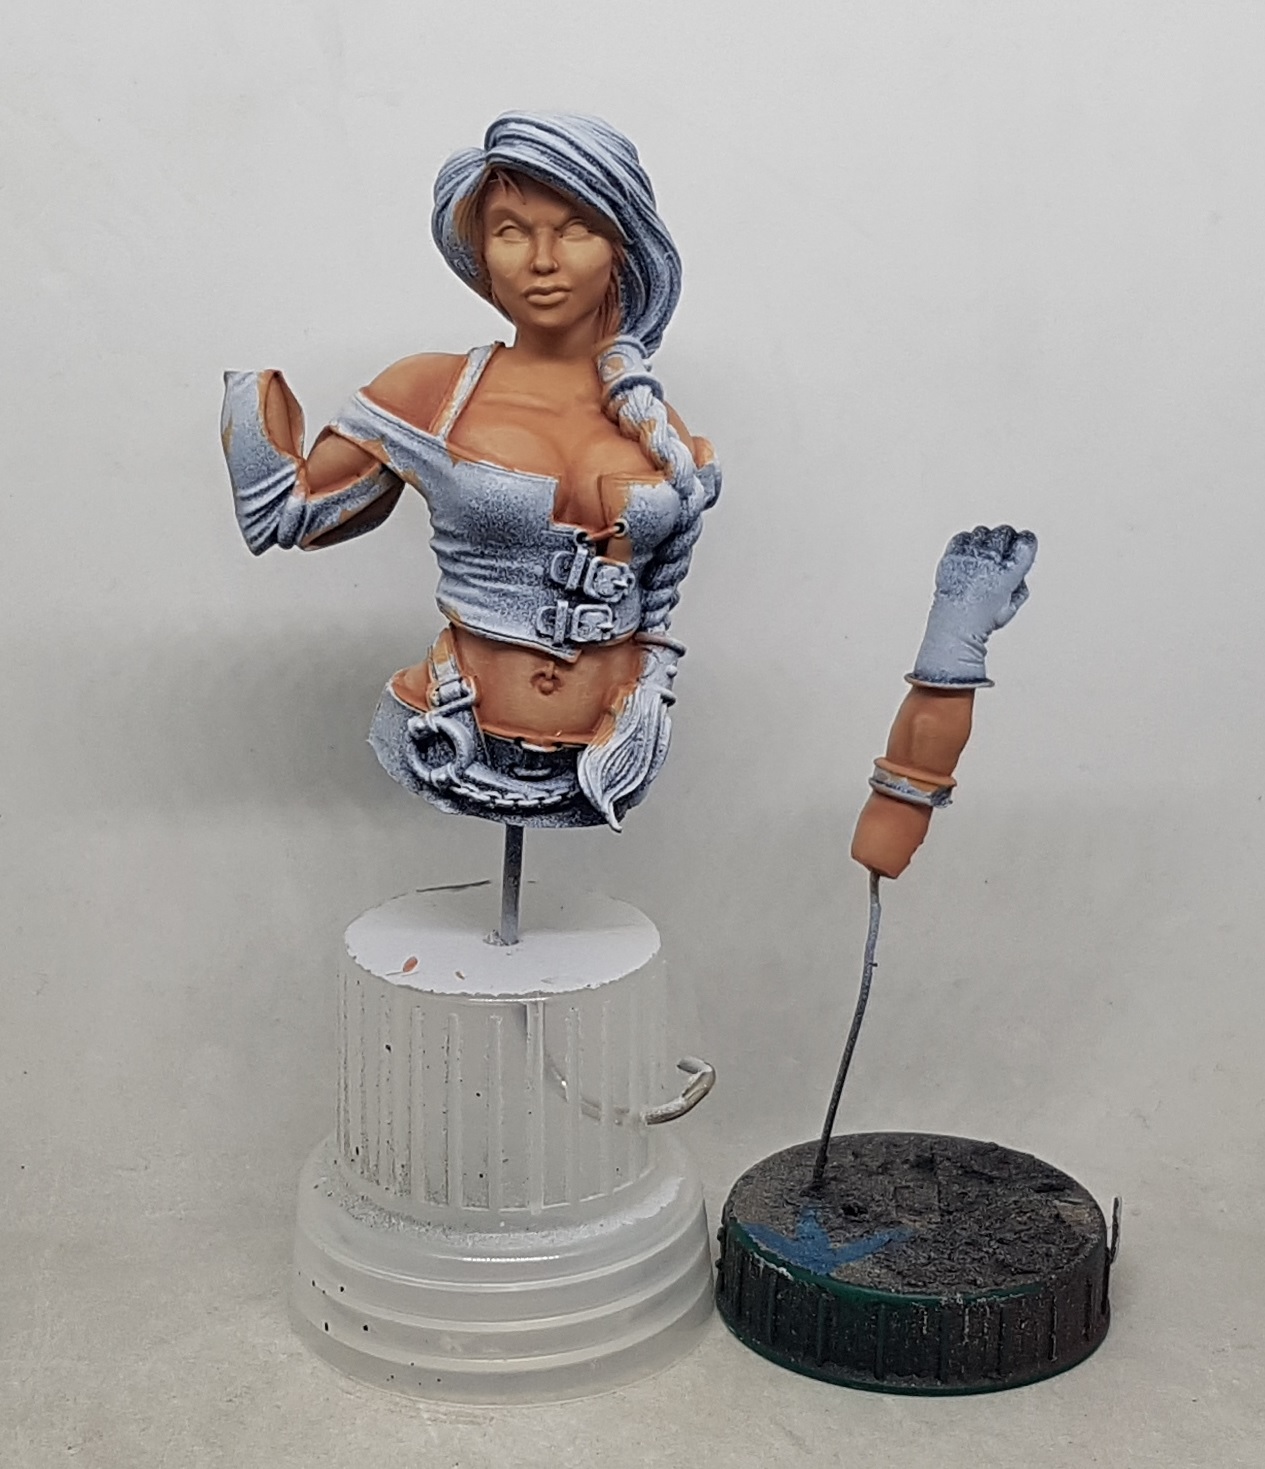 First highlight applied with Golden sand with just the tiniest amount of the base colour. It looks a little stark and blotchy but I'm assured this will be fixed later, and if not, I can glaze over it to smooth it all out. I was having isuses with the transitions on the rounded surfaces, but I had better success with painting them, giving them a moment to dry a smidge and then dabbing them with my finger to remove/smudge it all. Using a licked brush to moisten the surface before applying the paint helped at times. I ned to work on my paint consistency. At the end there I hit the magical "milky" everyone talks about and I finally got it. I need to aim for that next time.
 Second highlight is the first with some white added. Once this is done a little of the first highlight and the base colour were mixed together and thinned and used to soften the edges of the highlights.
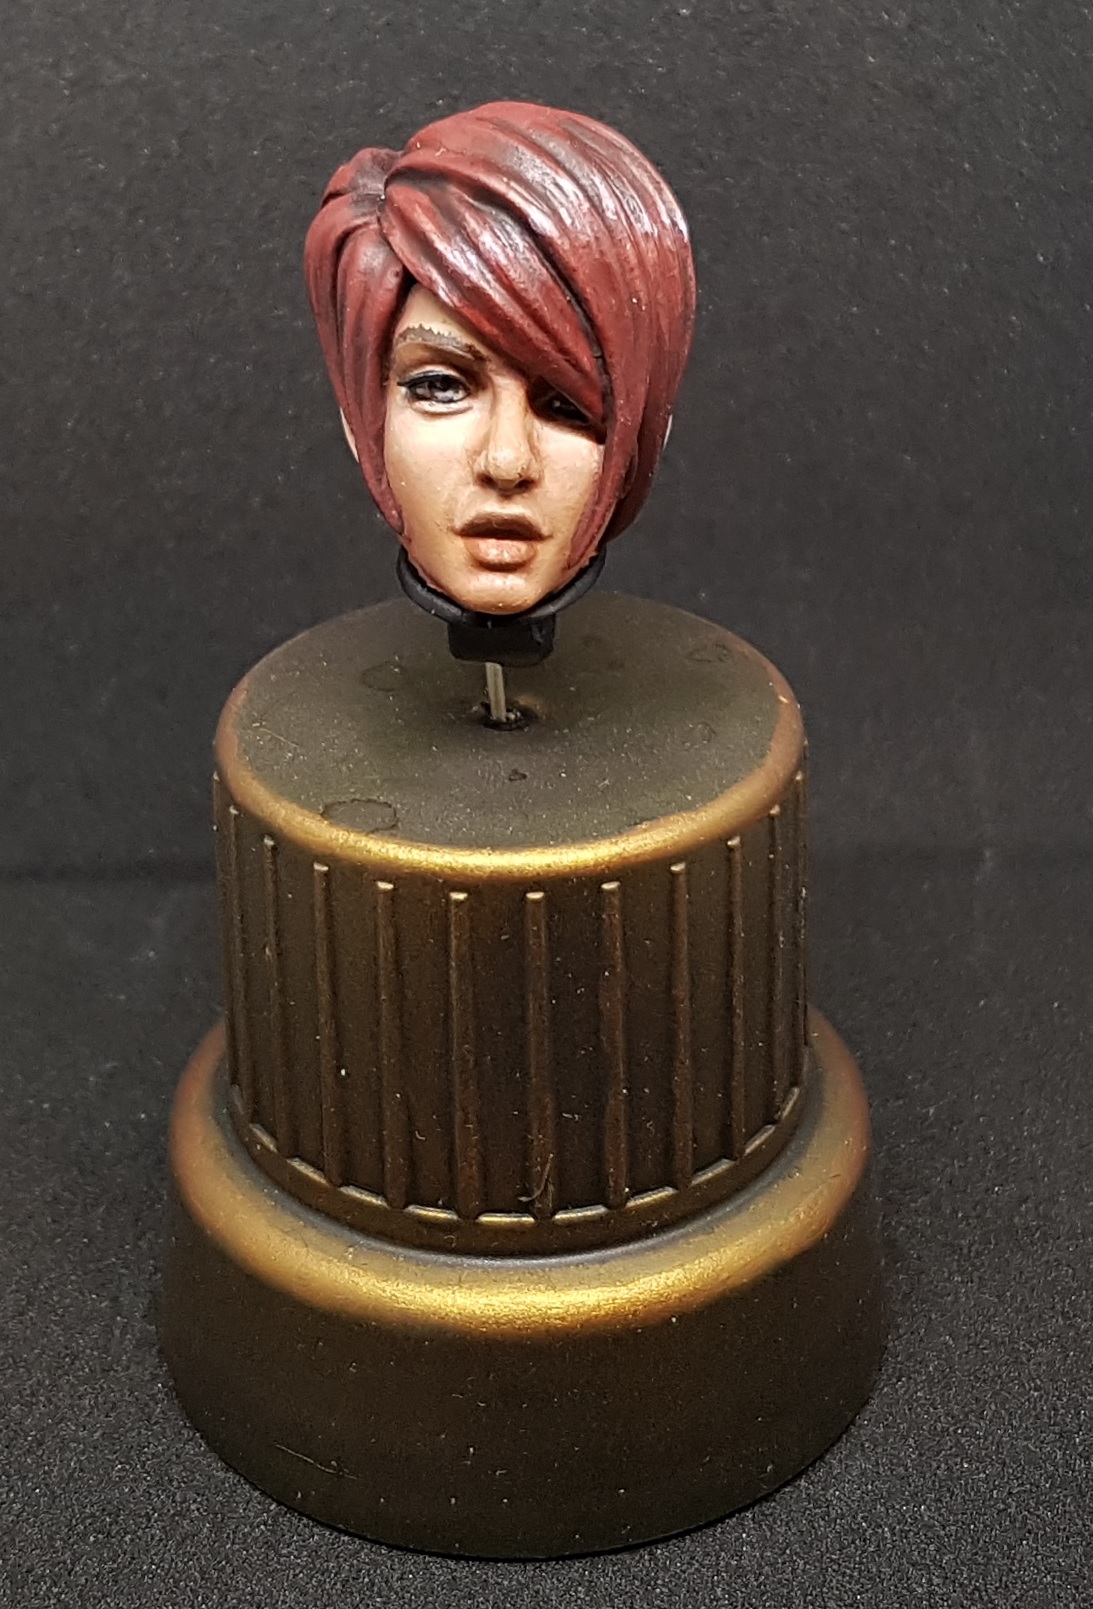
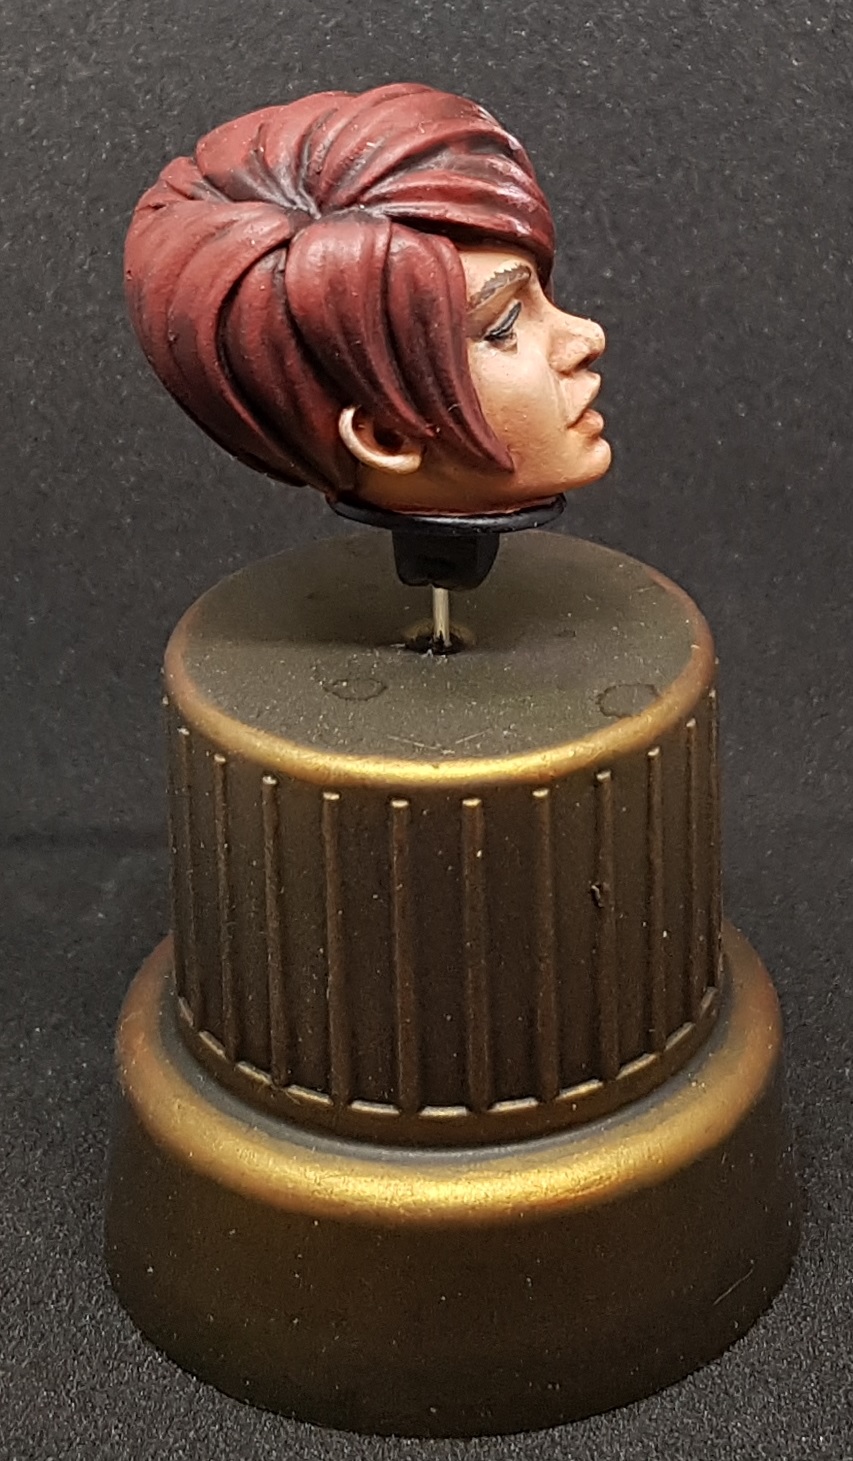
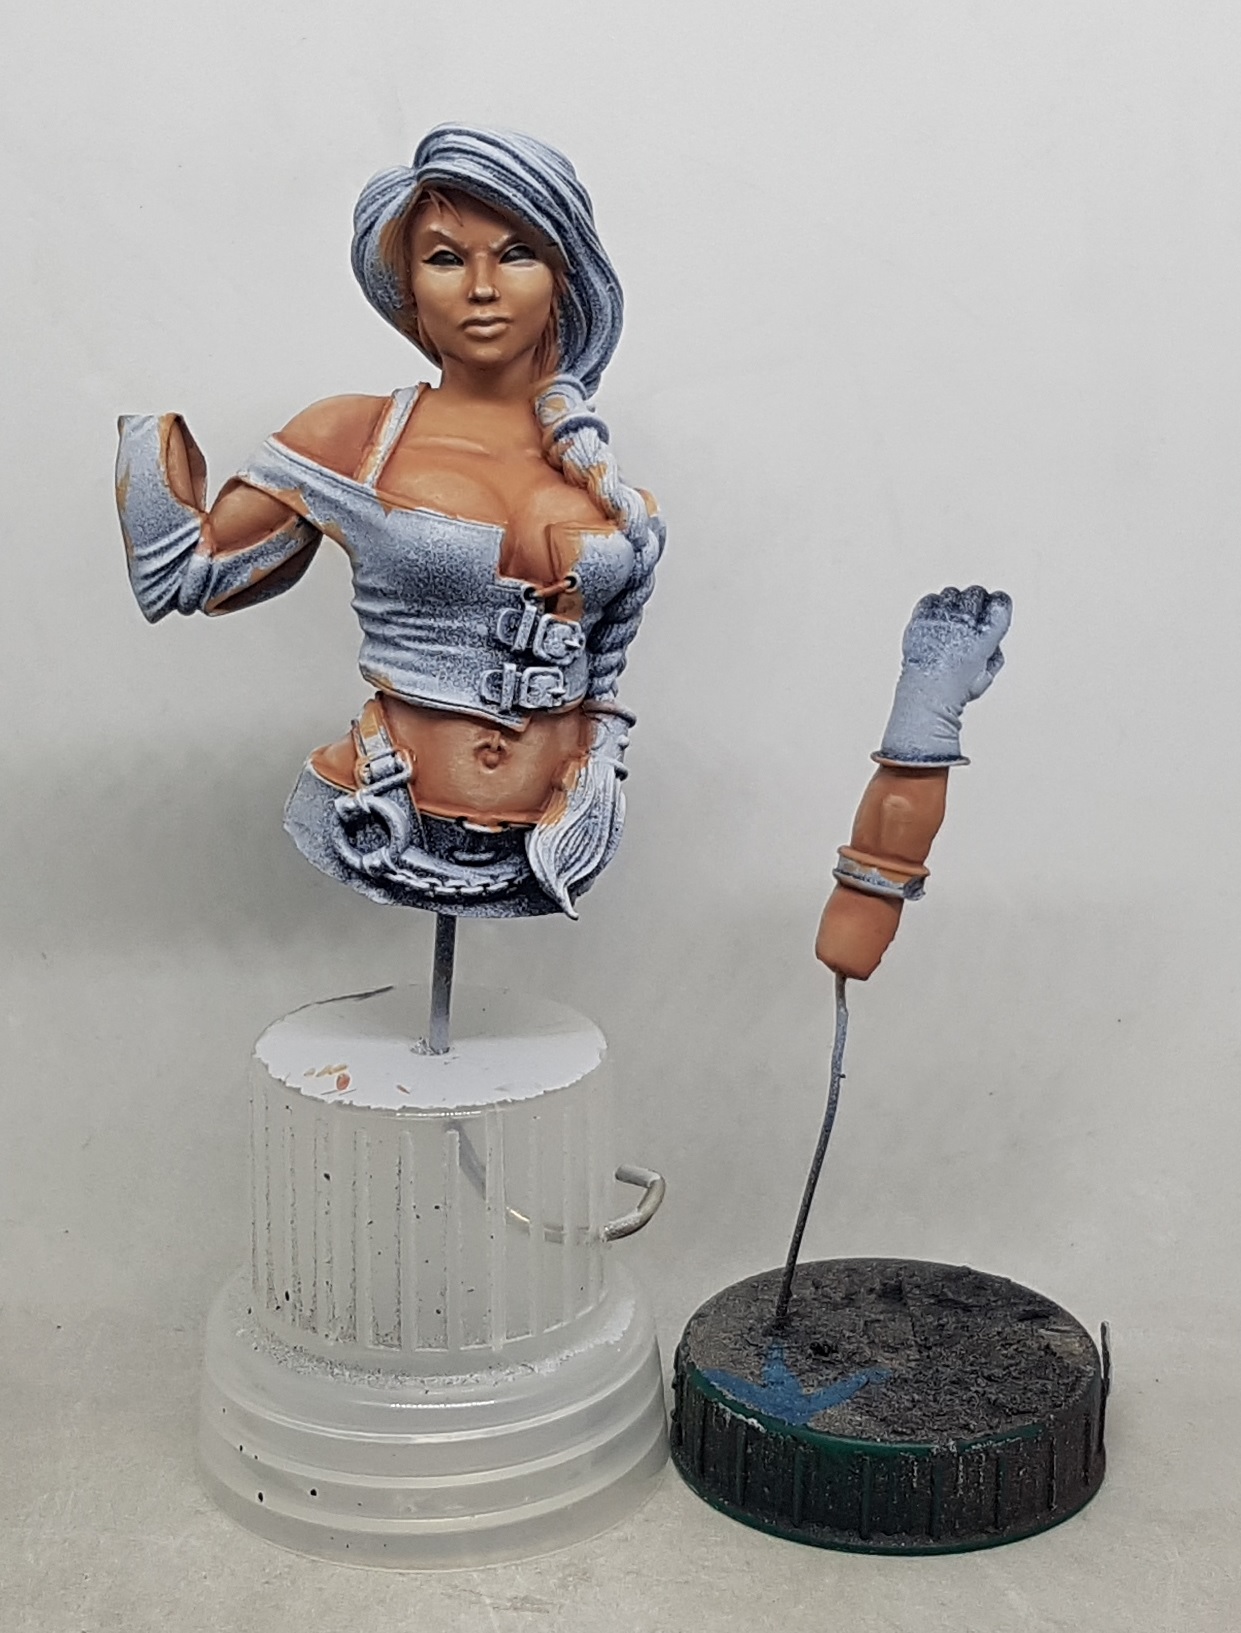 A final spot highlight of almost pure white was applied to the end of the nose and the edges of the eyebrows. Deep shade of 5ish:1 Sunburt:black was applied to the underside of the chin and other dark areas. A little more plack was added and applied only to the deepest regions. The eyes were picked out in black (And the excess was painted over again with flesh tones). This takes us to the end of video 1
 For anyone playing along at home, here are all the paints used so far. Any time I was applying a shade or highlight I mixed in a little Lahmium Medium in the hopes of enhancing its transparency


Leave a Reply