


![How To Paint Moonstone’s Nanny | Goblin King Games [7 Days Early Access]](https://images.beastsofwar.com/2024/12/3CU-Gobin-King-Games-Moonstone-Shades-Nanny-coverimage-225-127.jpg)


Blitzkrieg Project


Step 6: Painting Armor
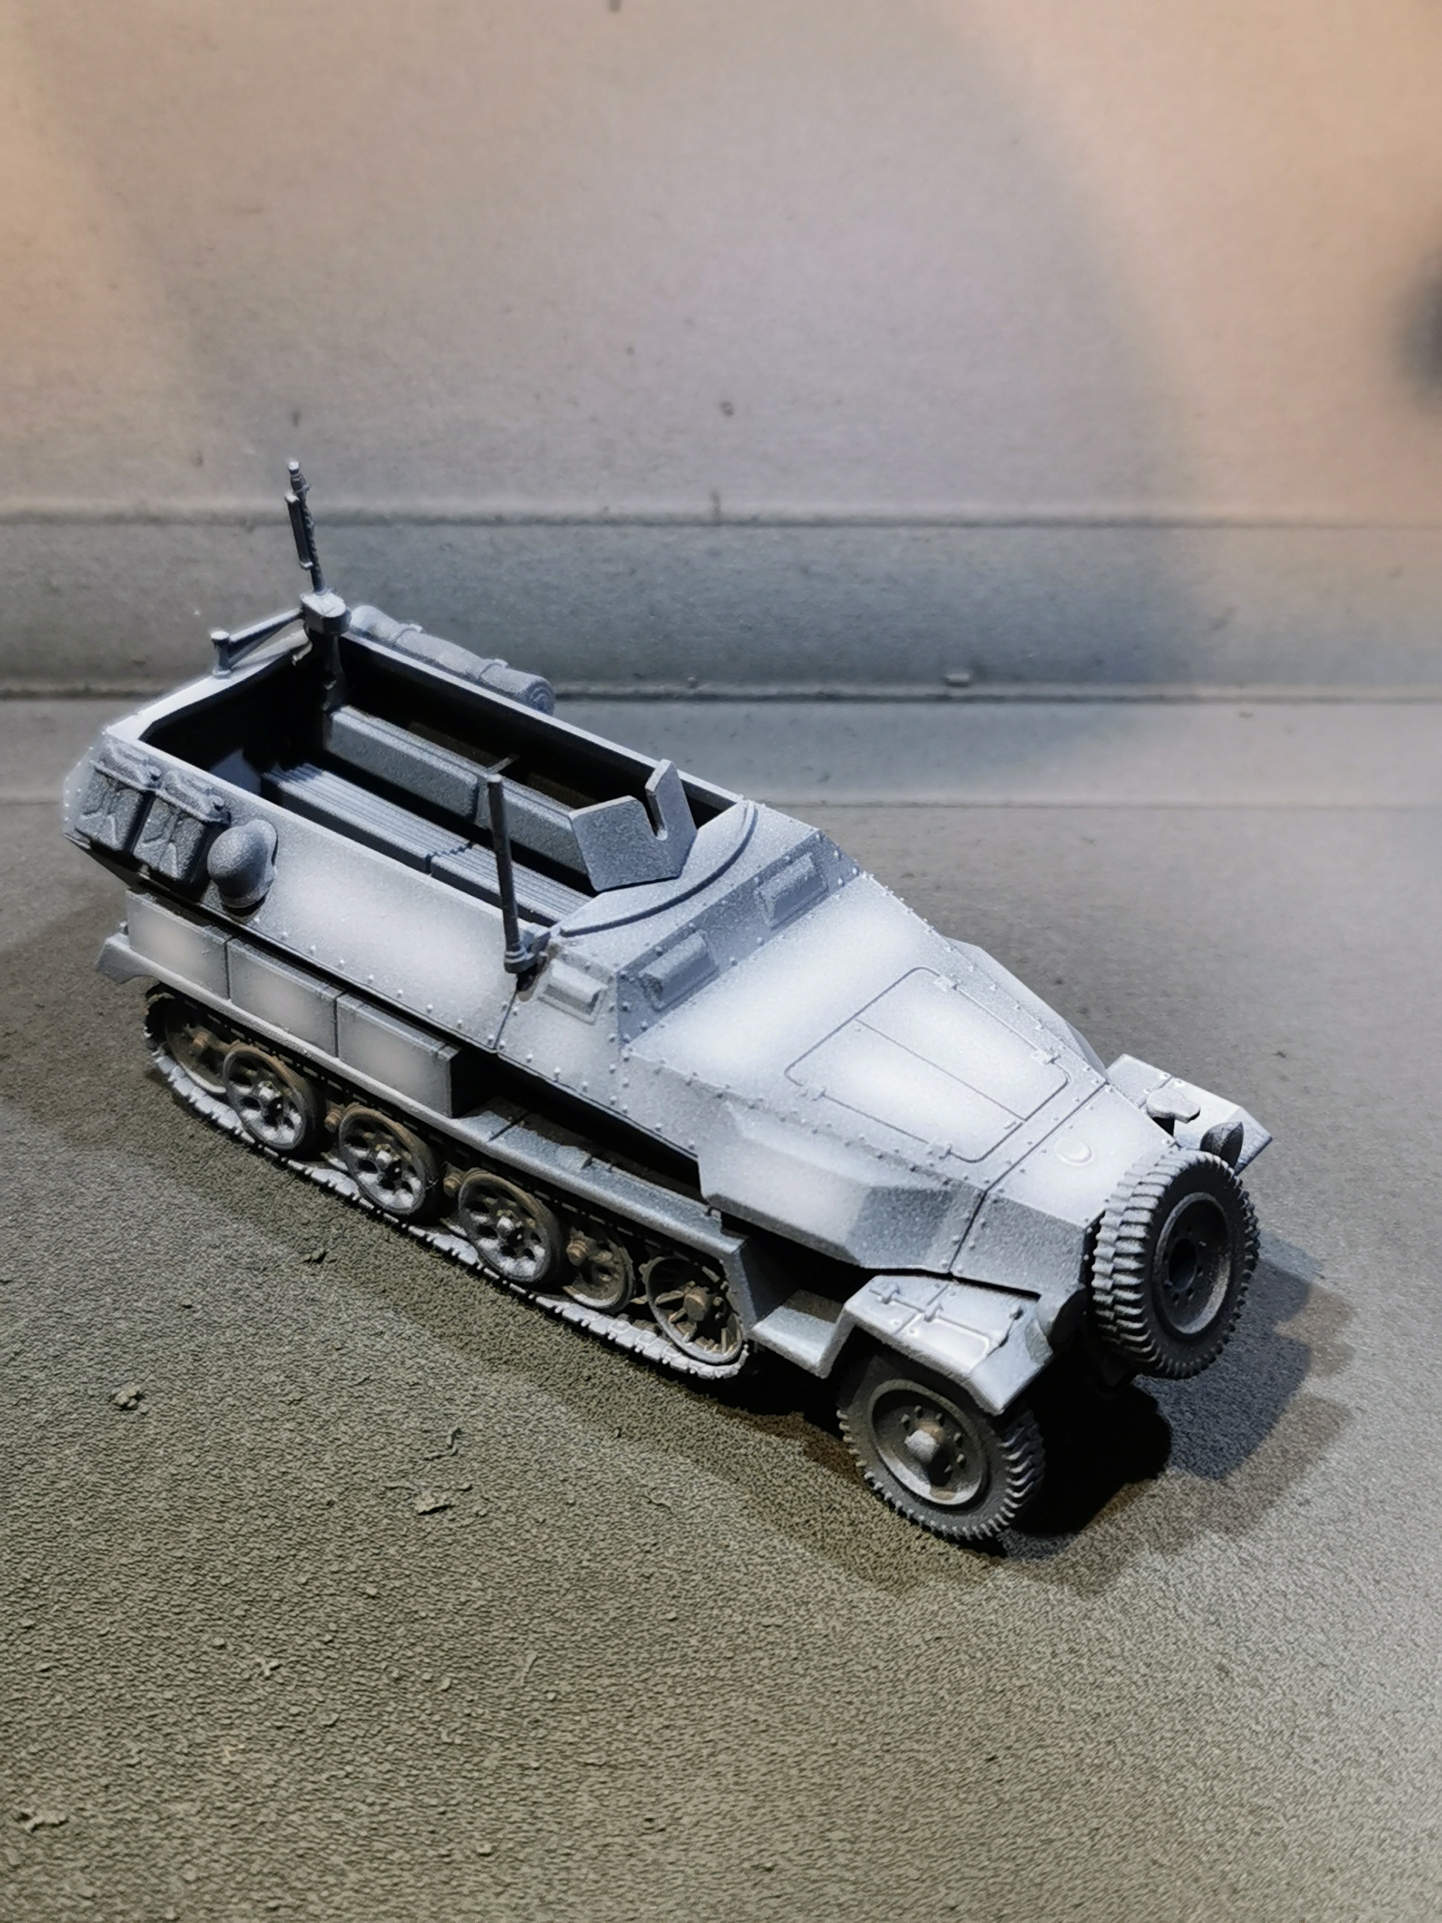
As I progress with the infantry I must not forget about the support vehicles which will be the backbone of my fast advancing Blitzkrieg force. I decided to start with the halftrack first and deal with the tank later on.
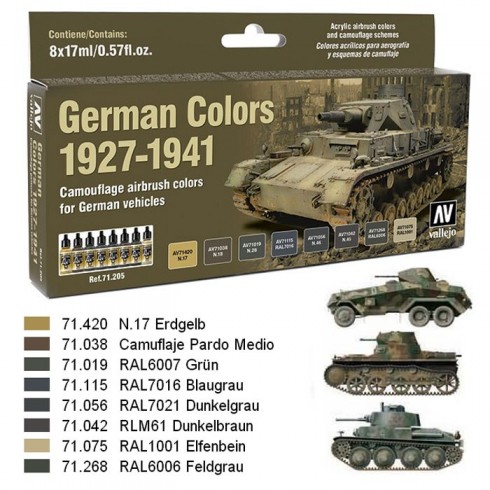
The research for the appropriate colour scheme was quite easy due to the fact that in early war almost all german vehicles were in various shades of grey (no movie or book reference intended). I therefore picked up a vallejo air colour painting set called ” German colors 1927-1941″.
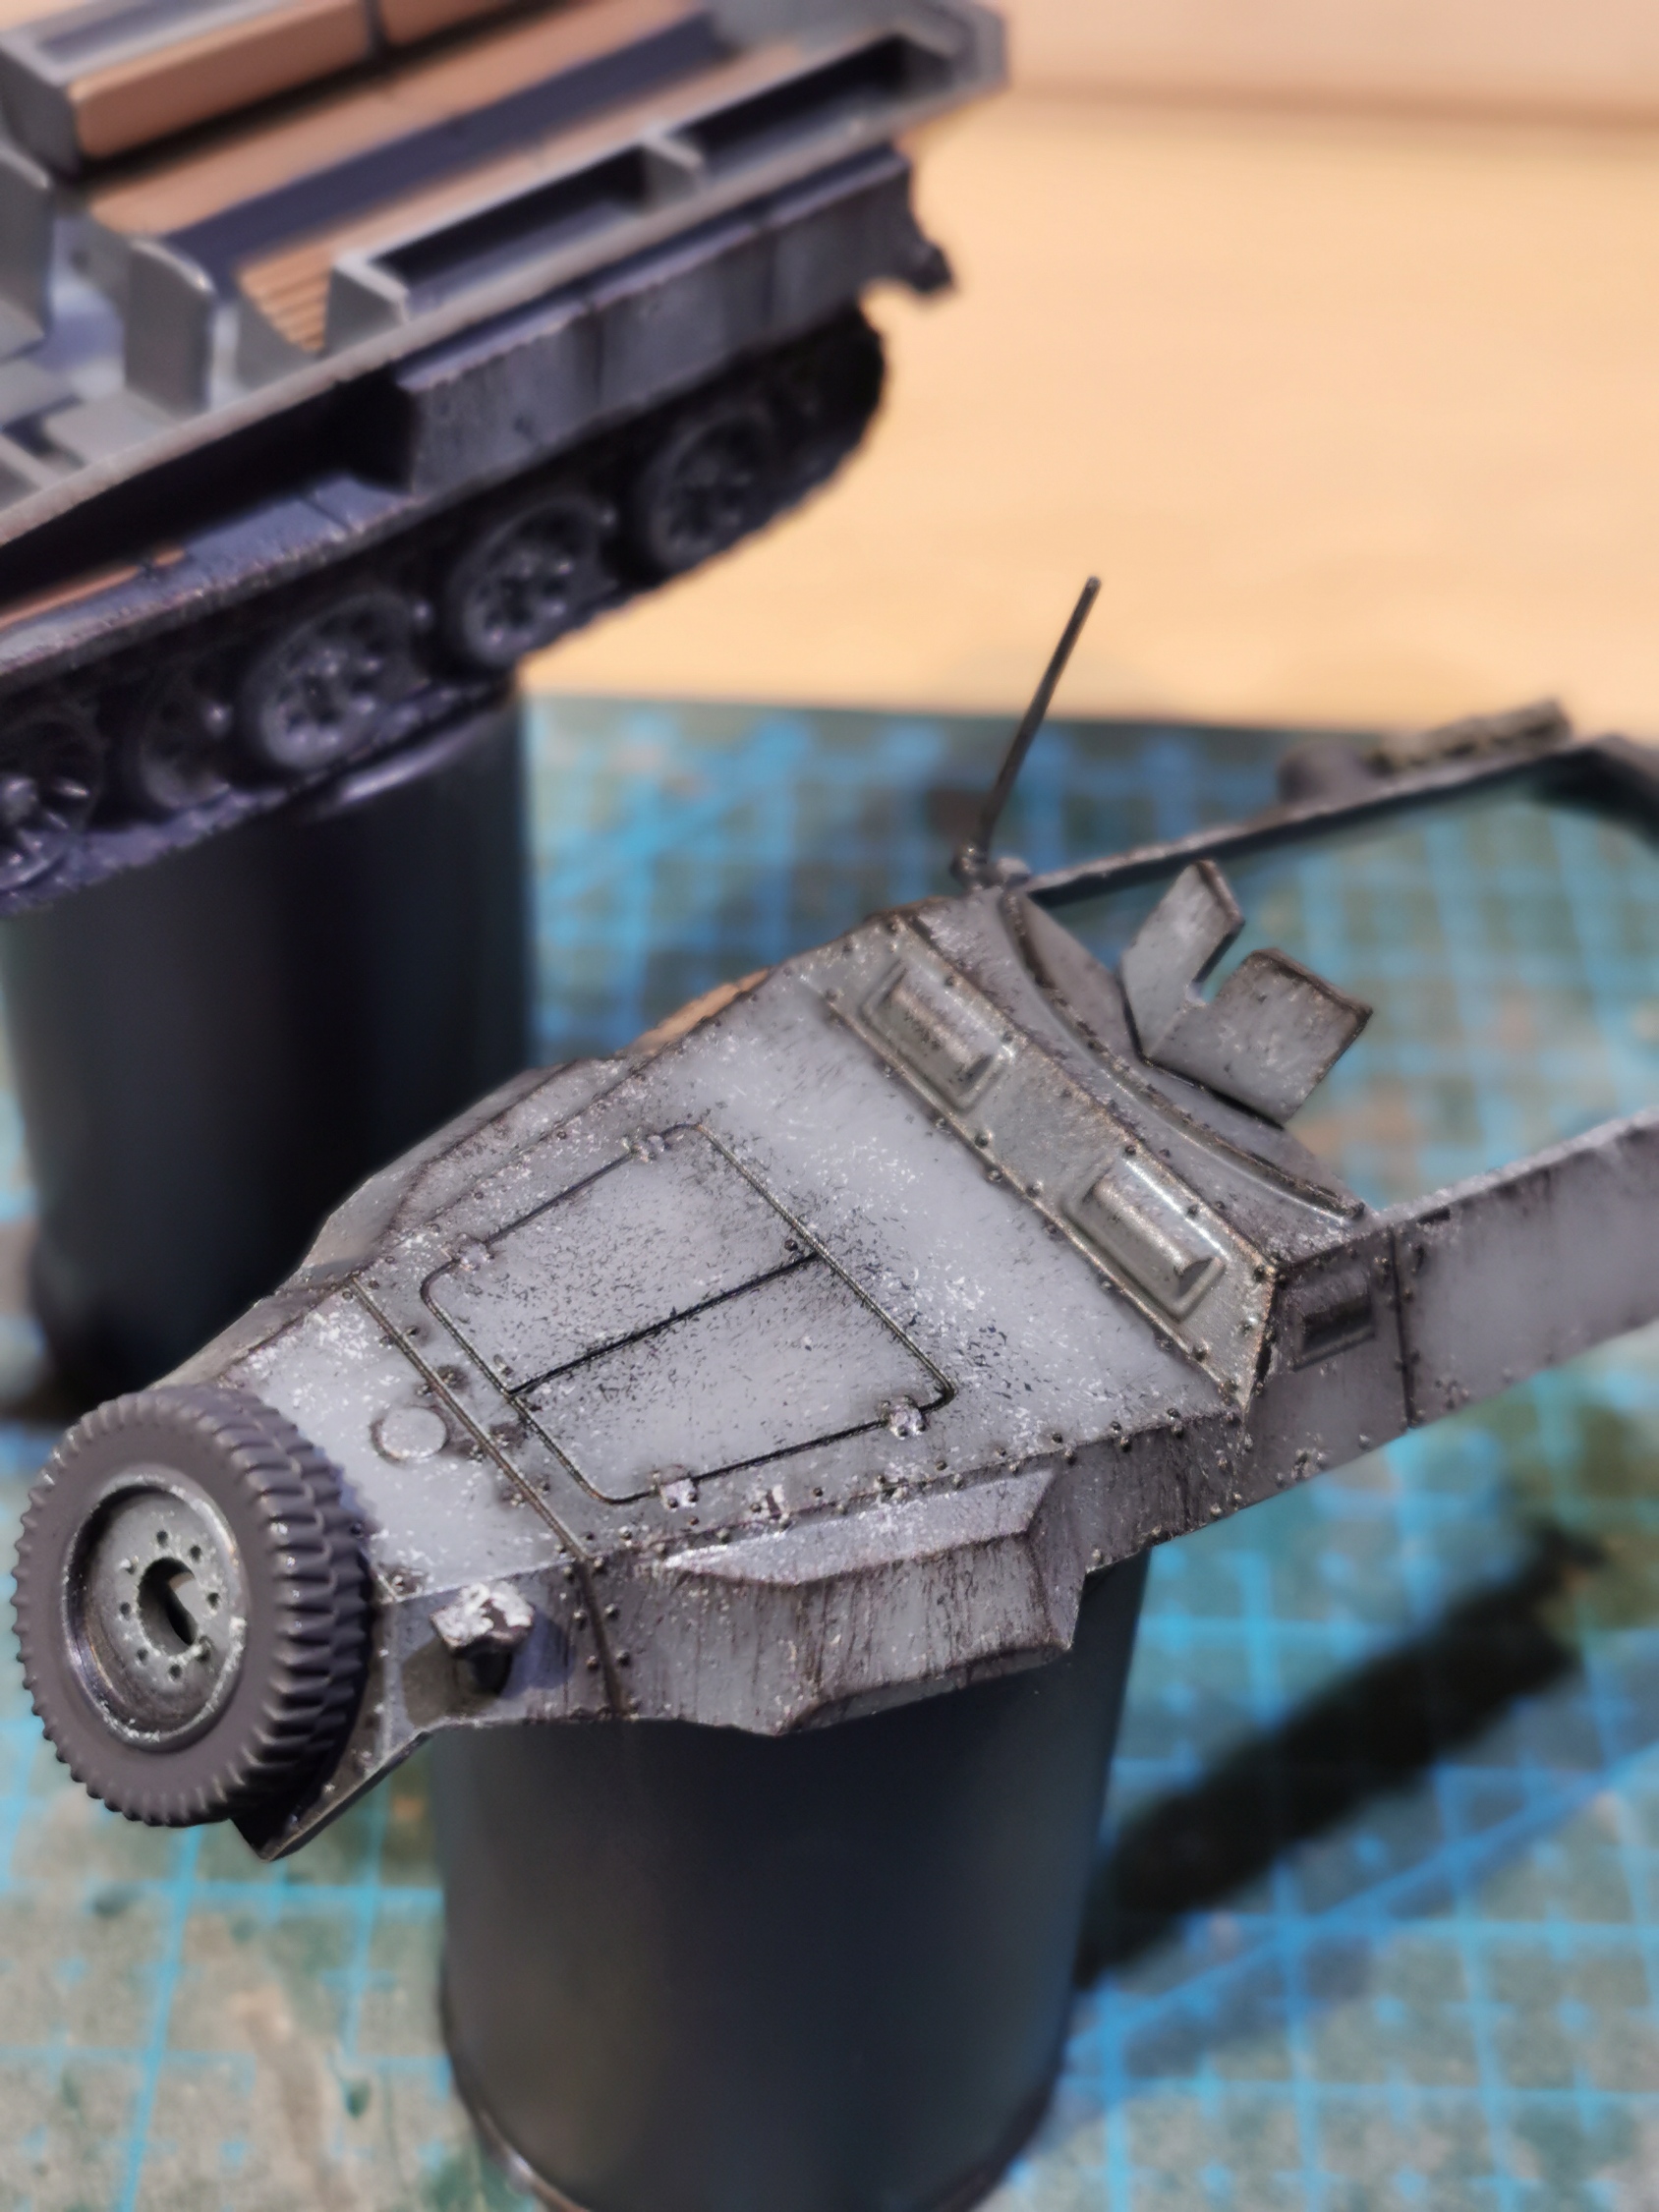
I started with a black prime followed by very subtle zenithal highlight. I then did a panel highlight over the whole miniature.
I used the colour Vallejo model air AV7115 Blaugrau (bluegrey) as basecoat and repeated the panel highligting with the base colour mixed with an increasing amount of white ink.
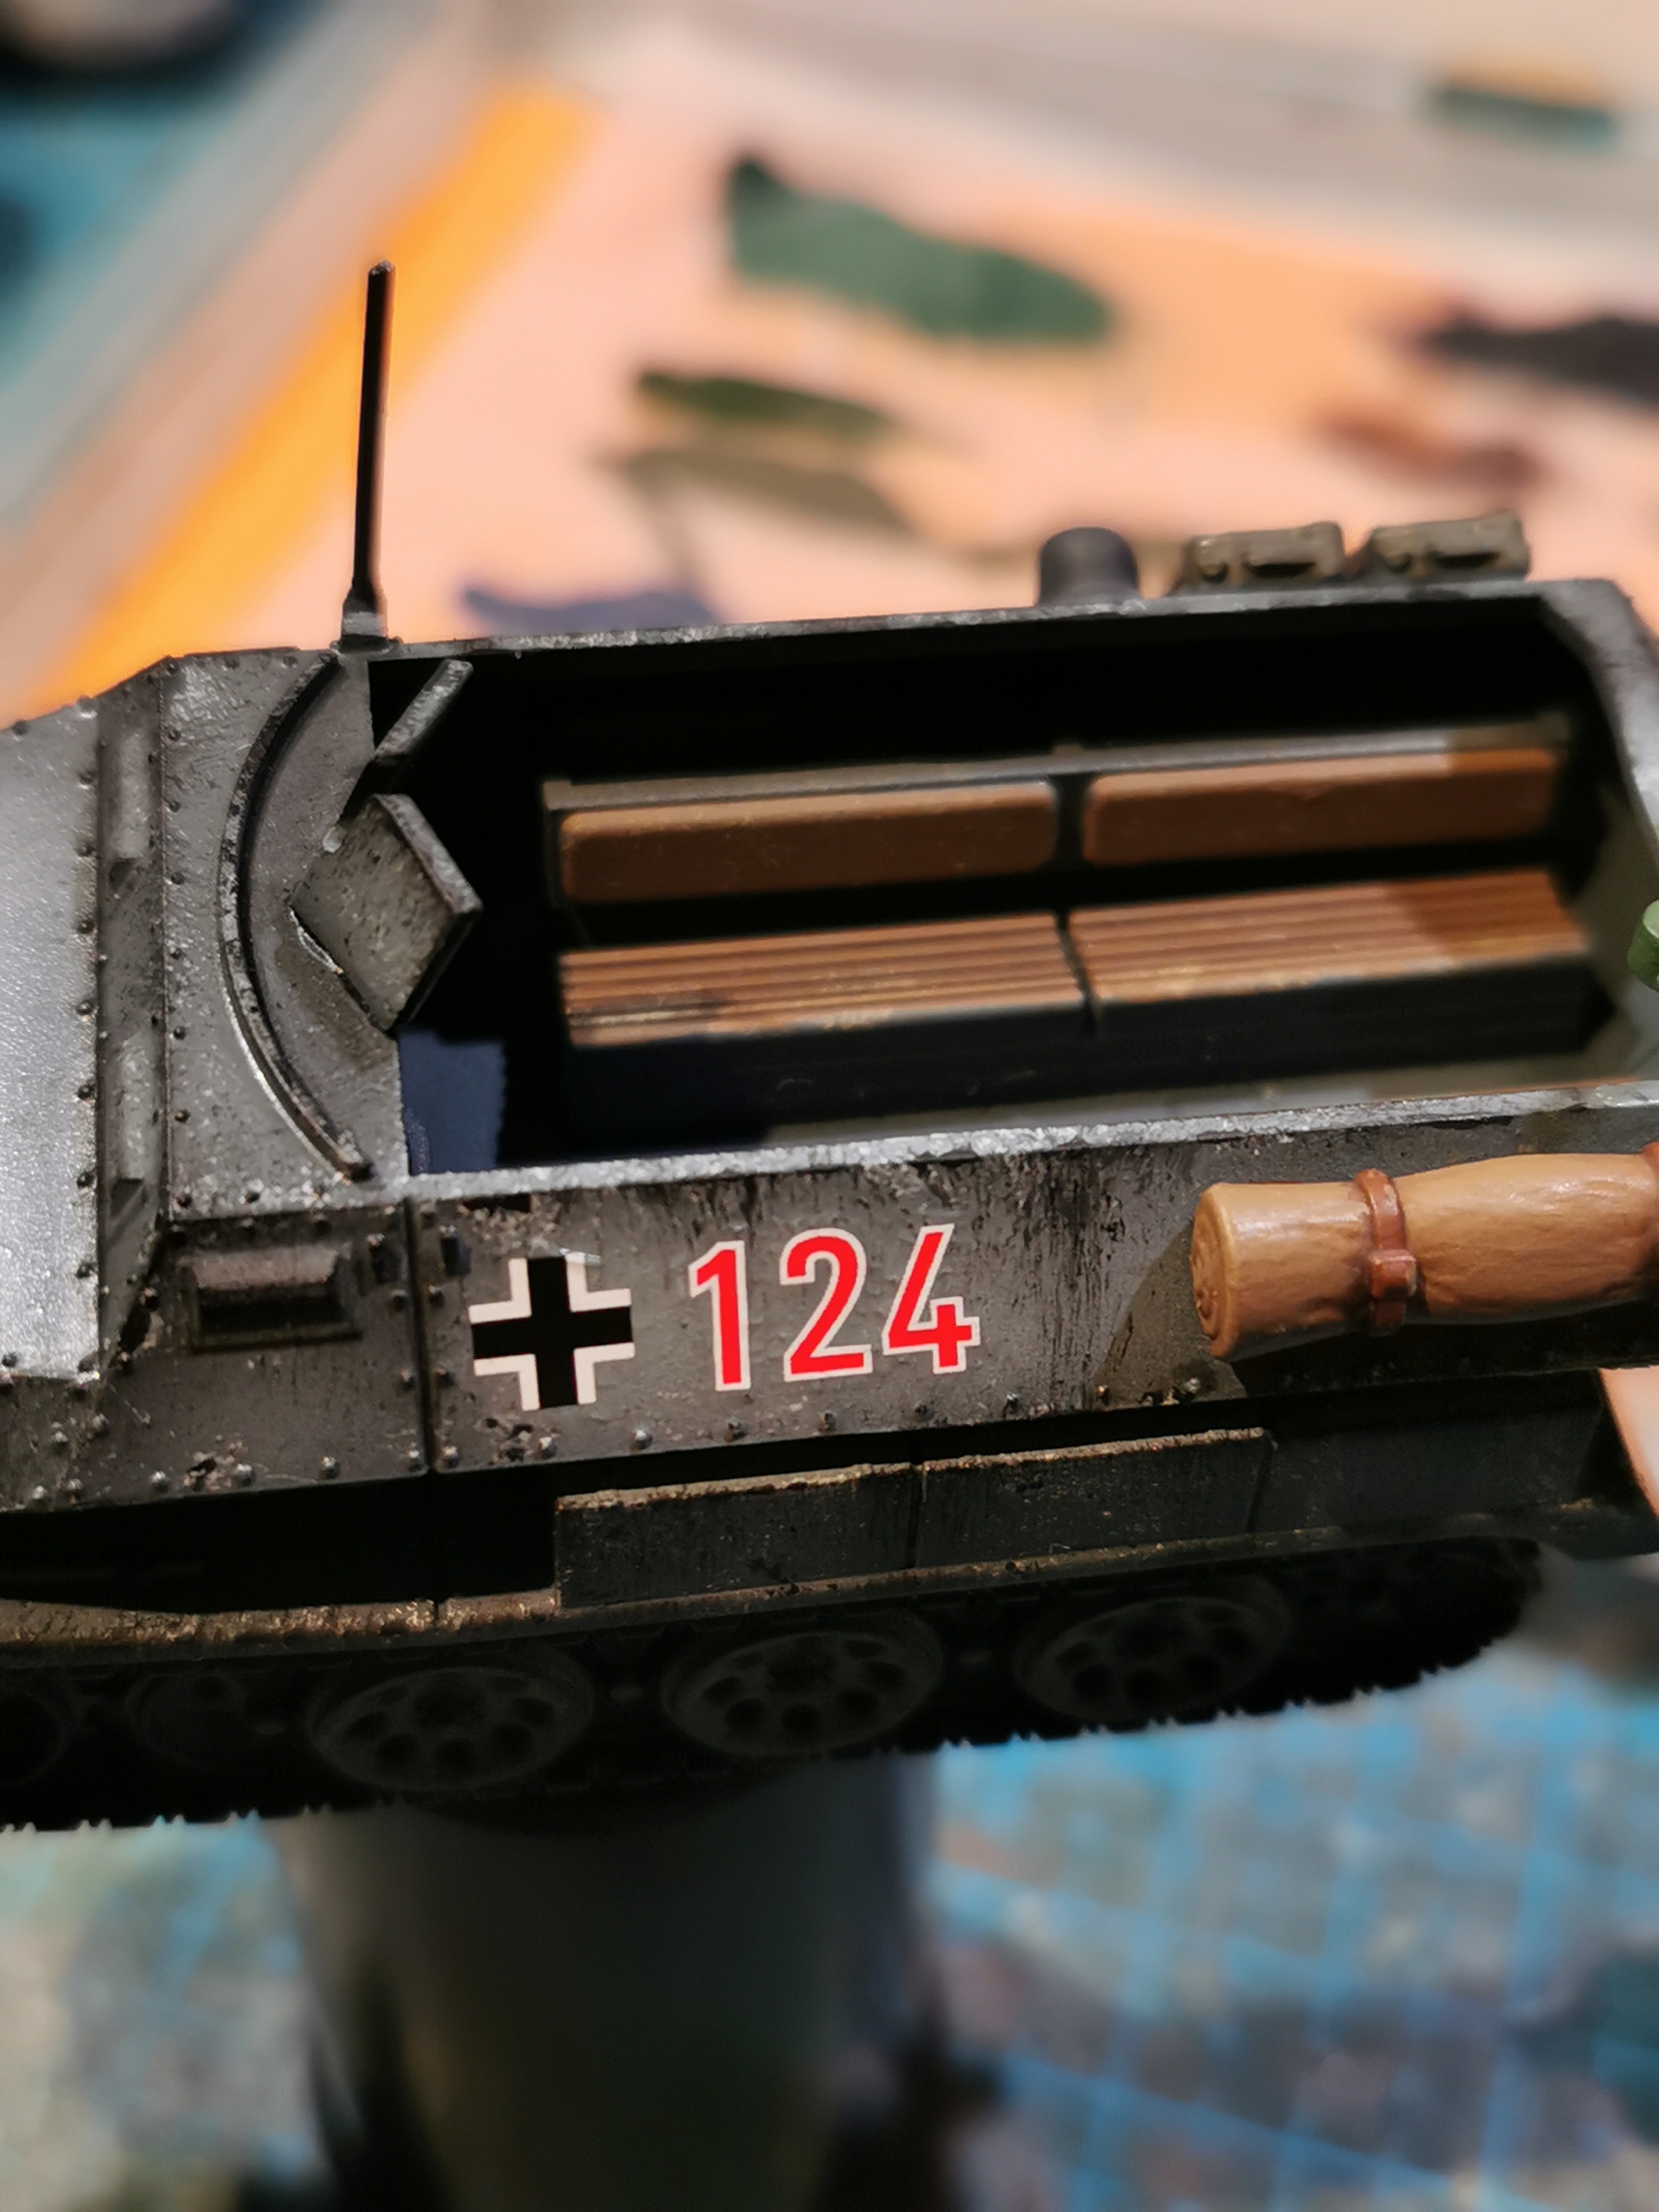
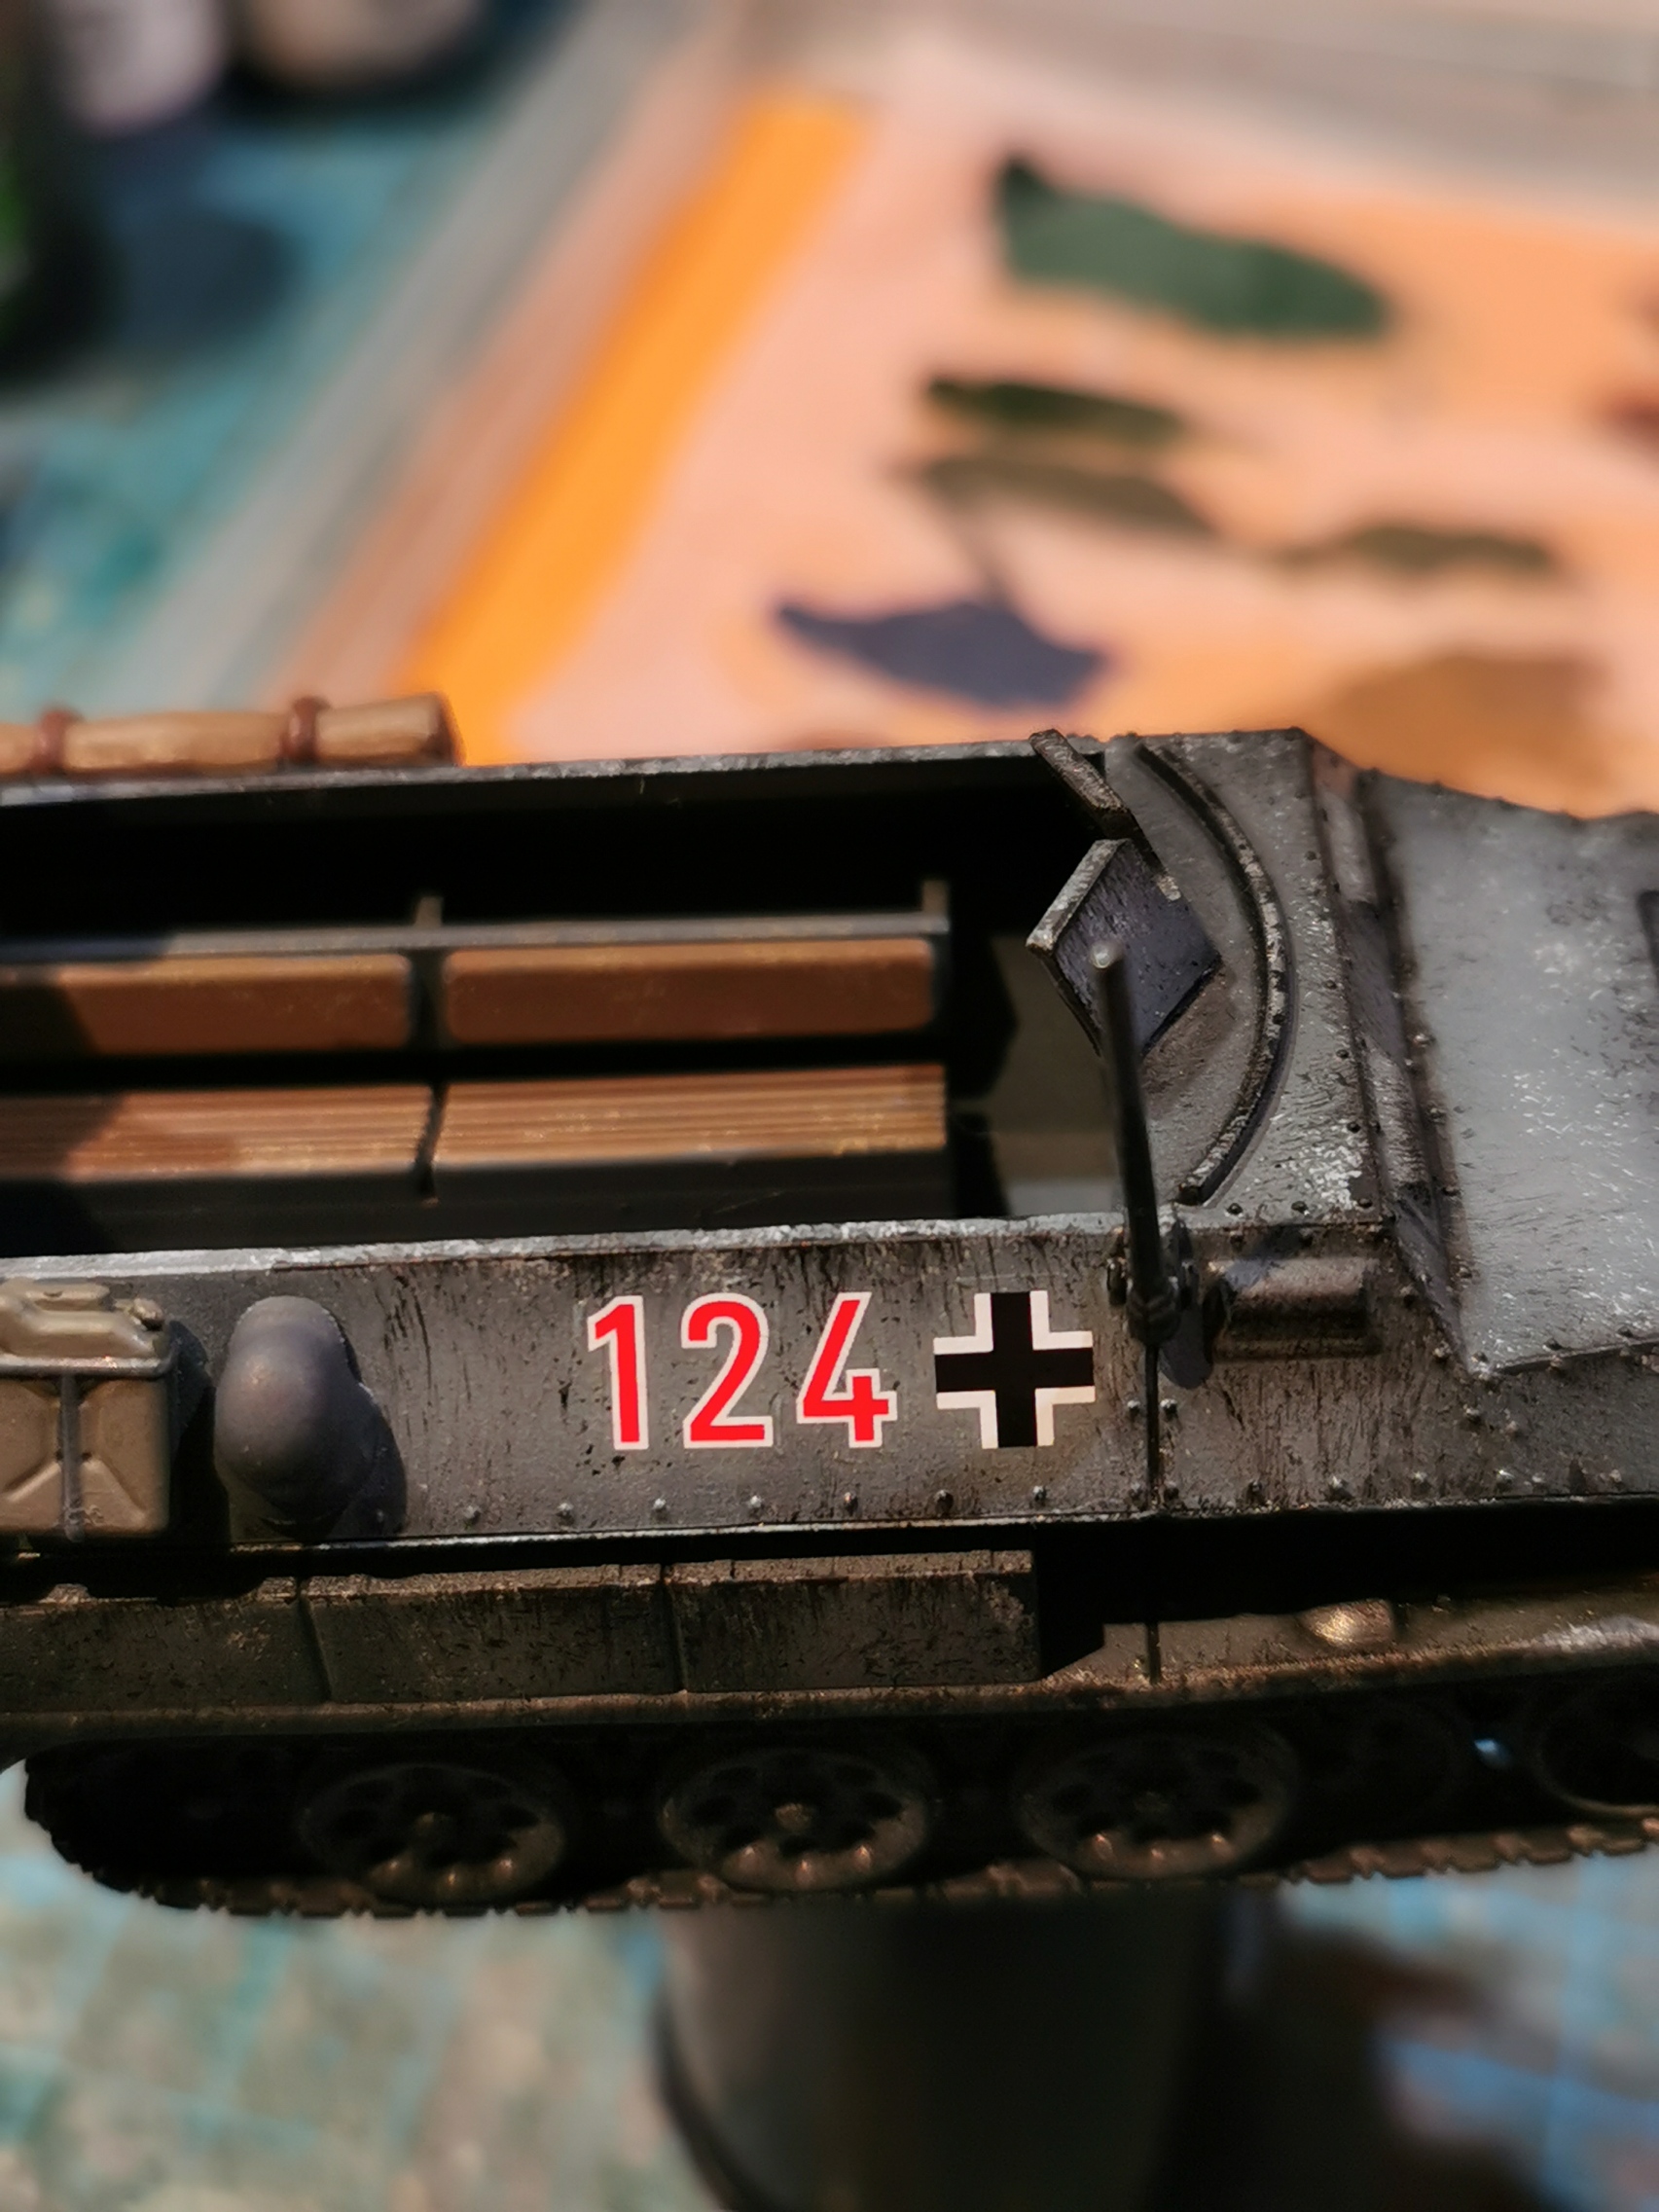
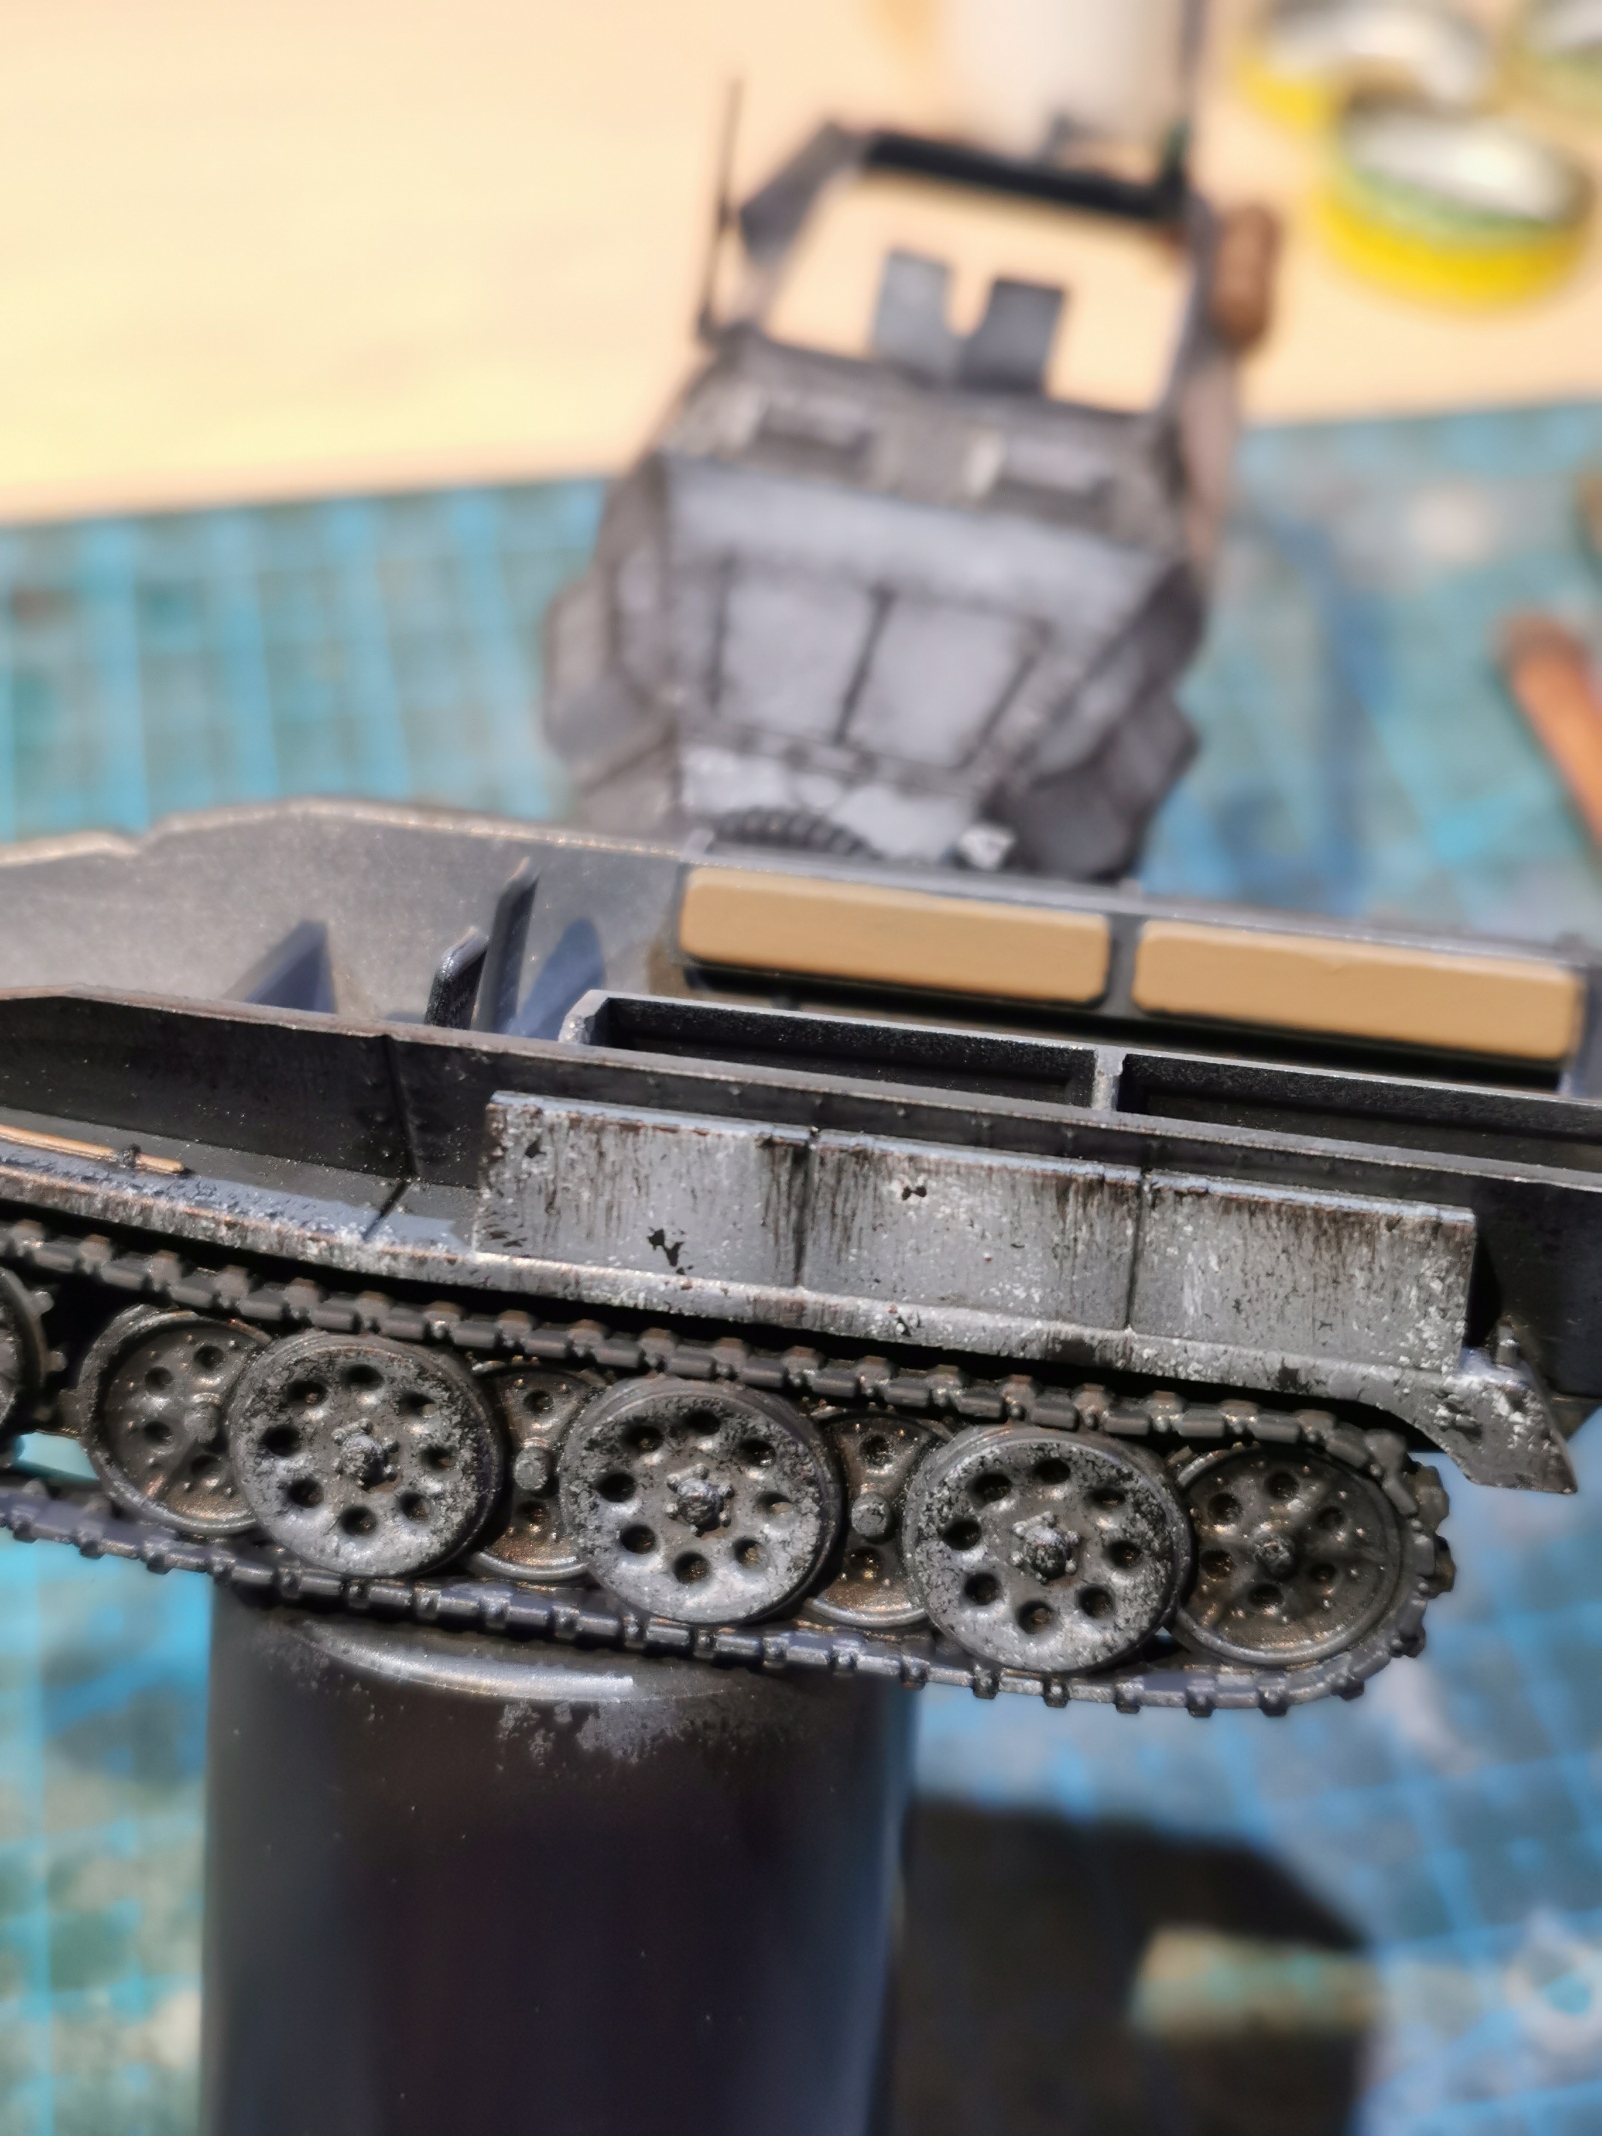
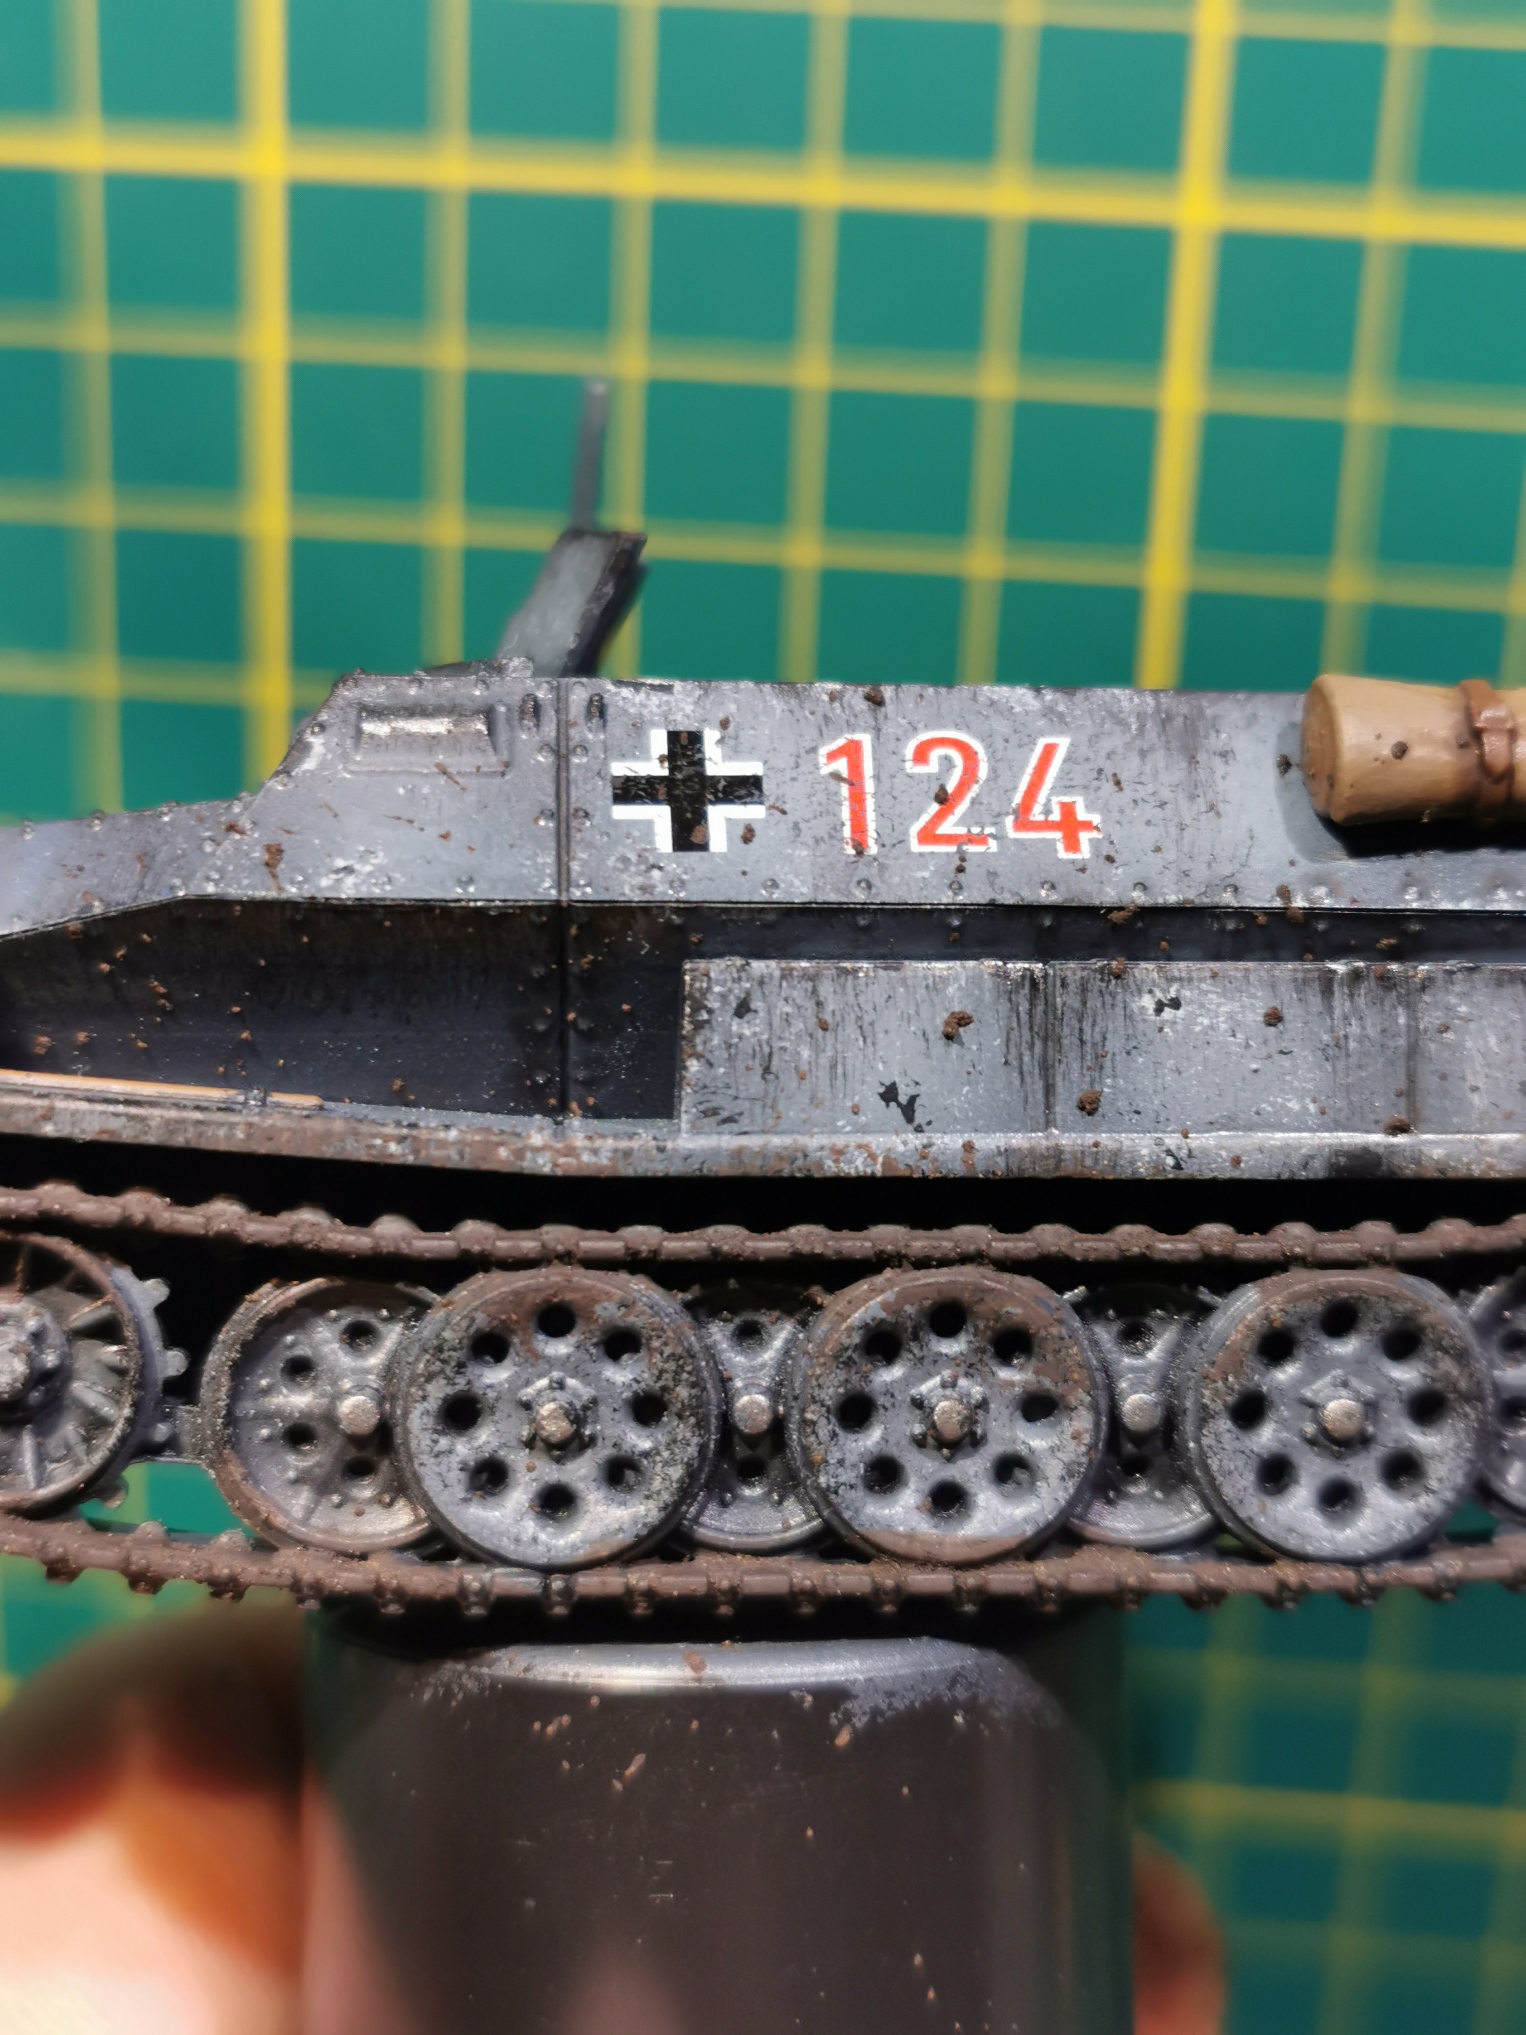
After basecoating was done I gave the model a drybrush with Citadel Administratum Grey. I sponged on some chipping effects using Citadel Ulthuan grey and filled some of the spots with Vallejo Model Colour German Grey. I then painted the details on the vehicle such as the MGs, the tools, the jerrycans and the tires and tracks.
I continued by covering the whole mini in gloss varnish and then did a panel wash with black oil wash.
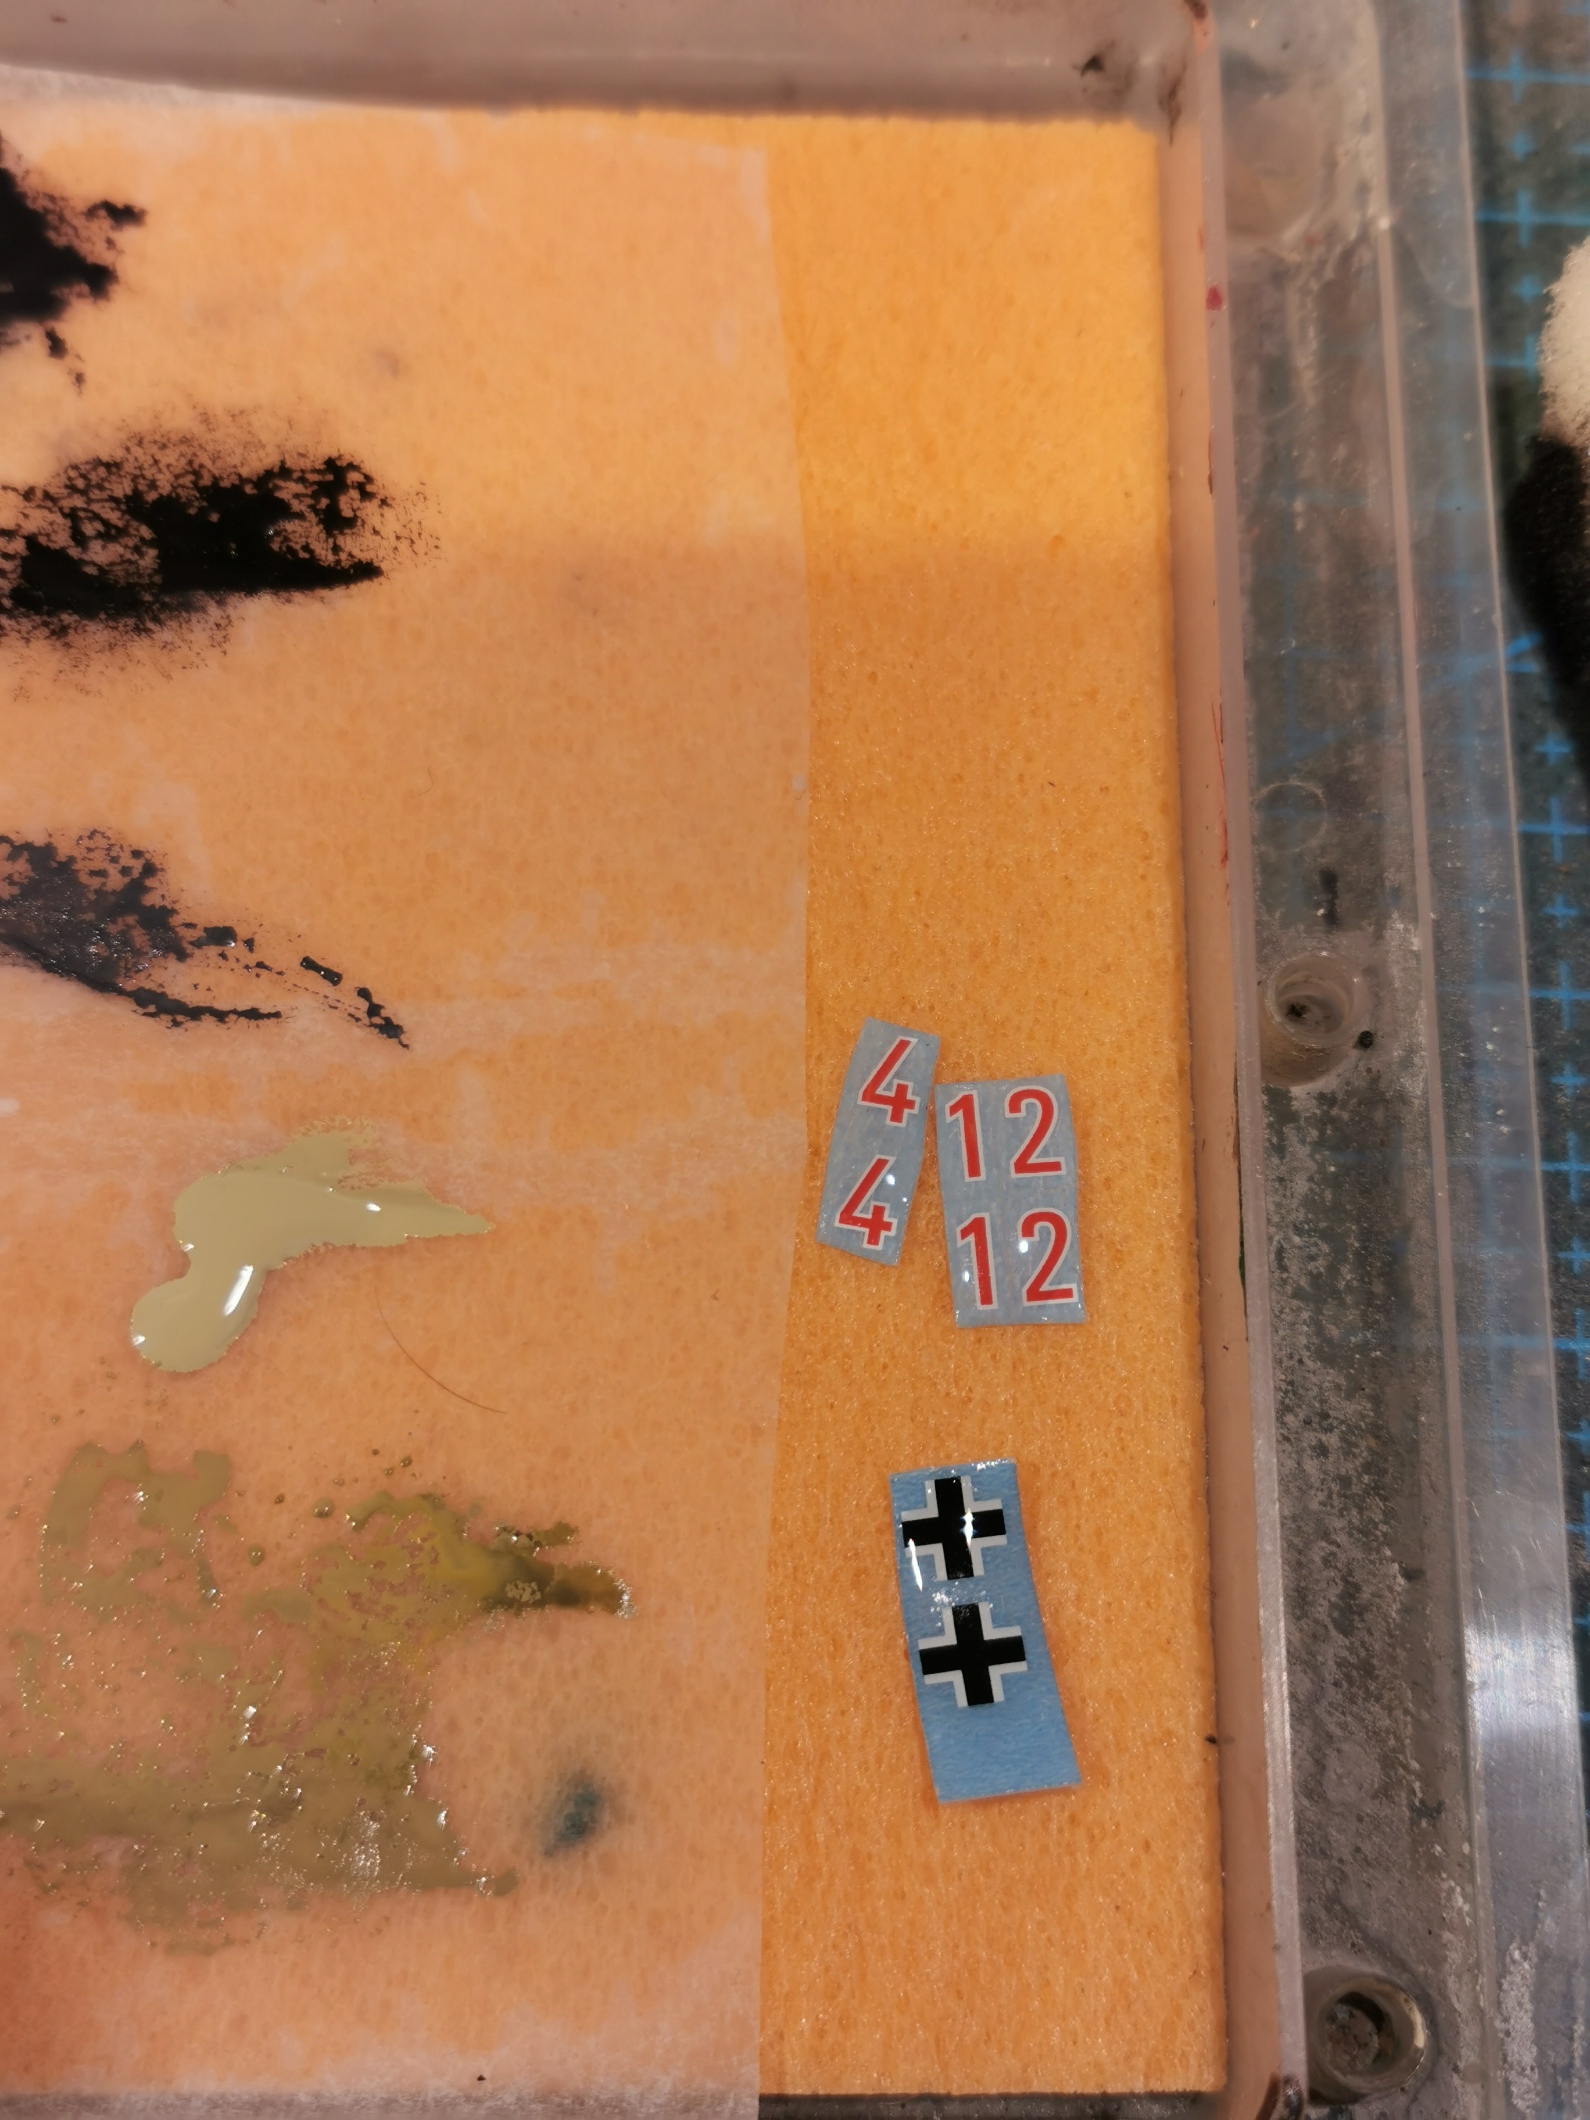
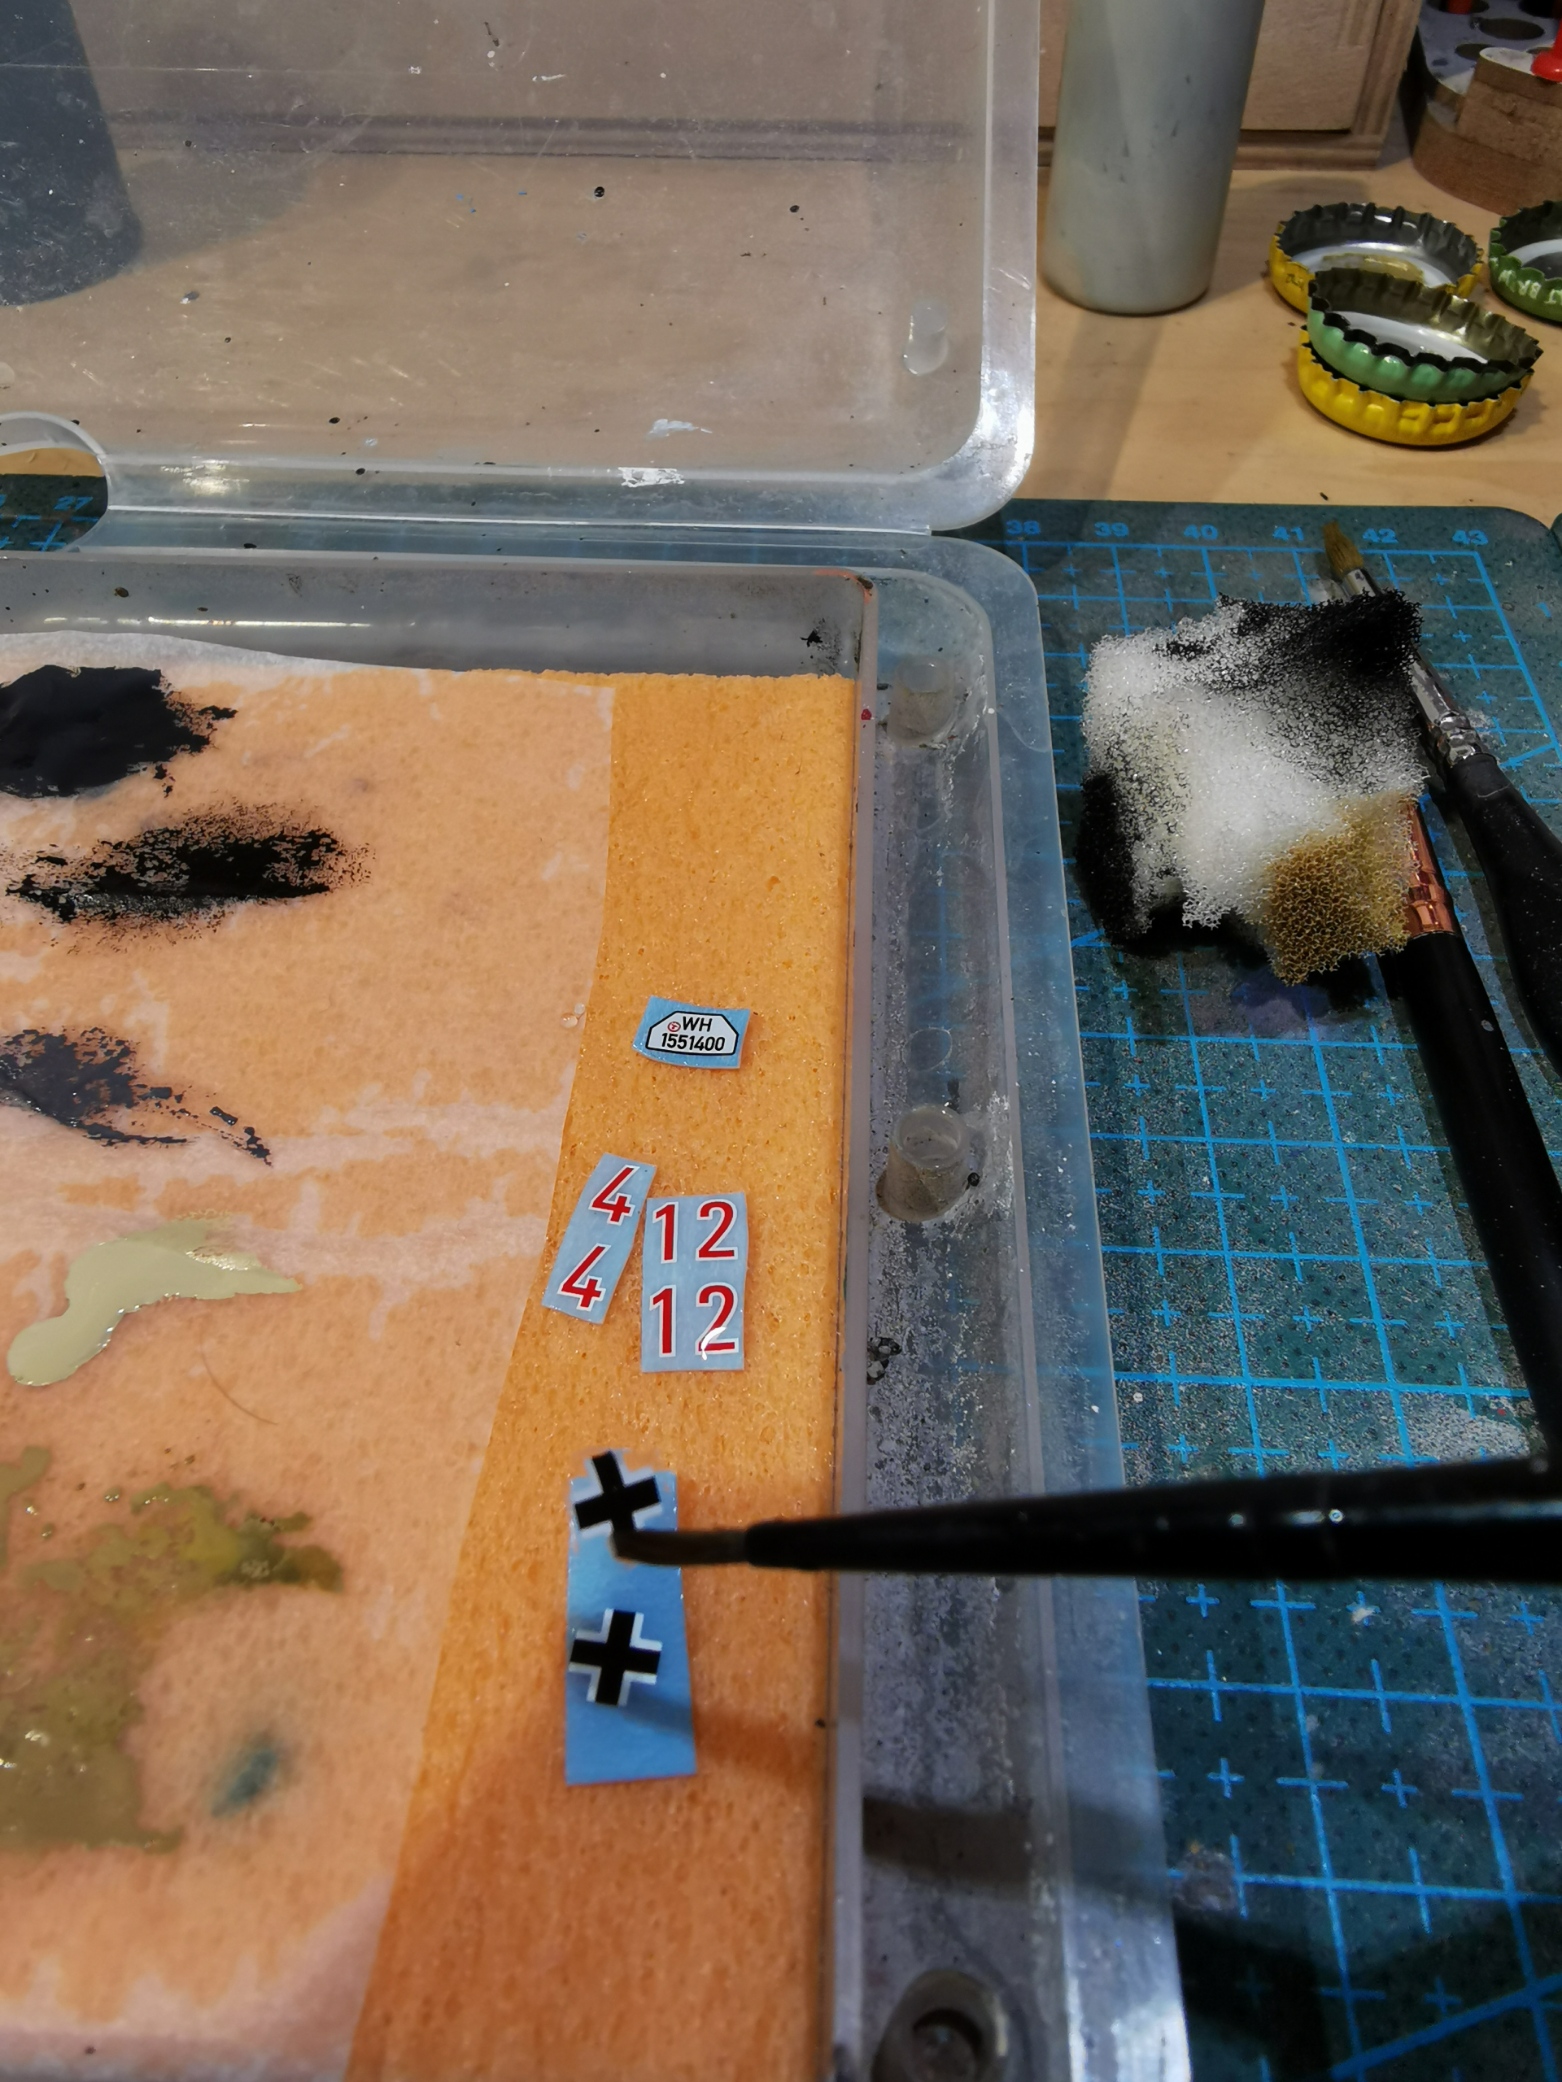
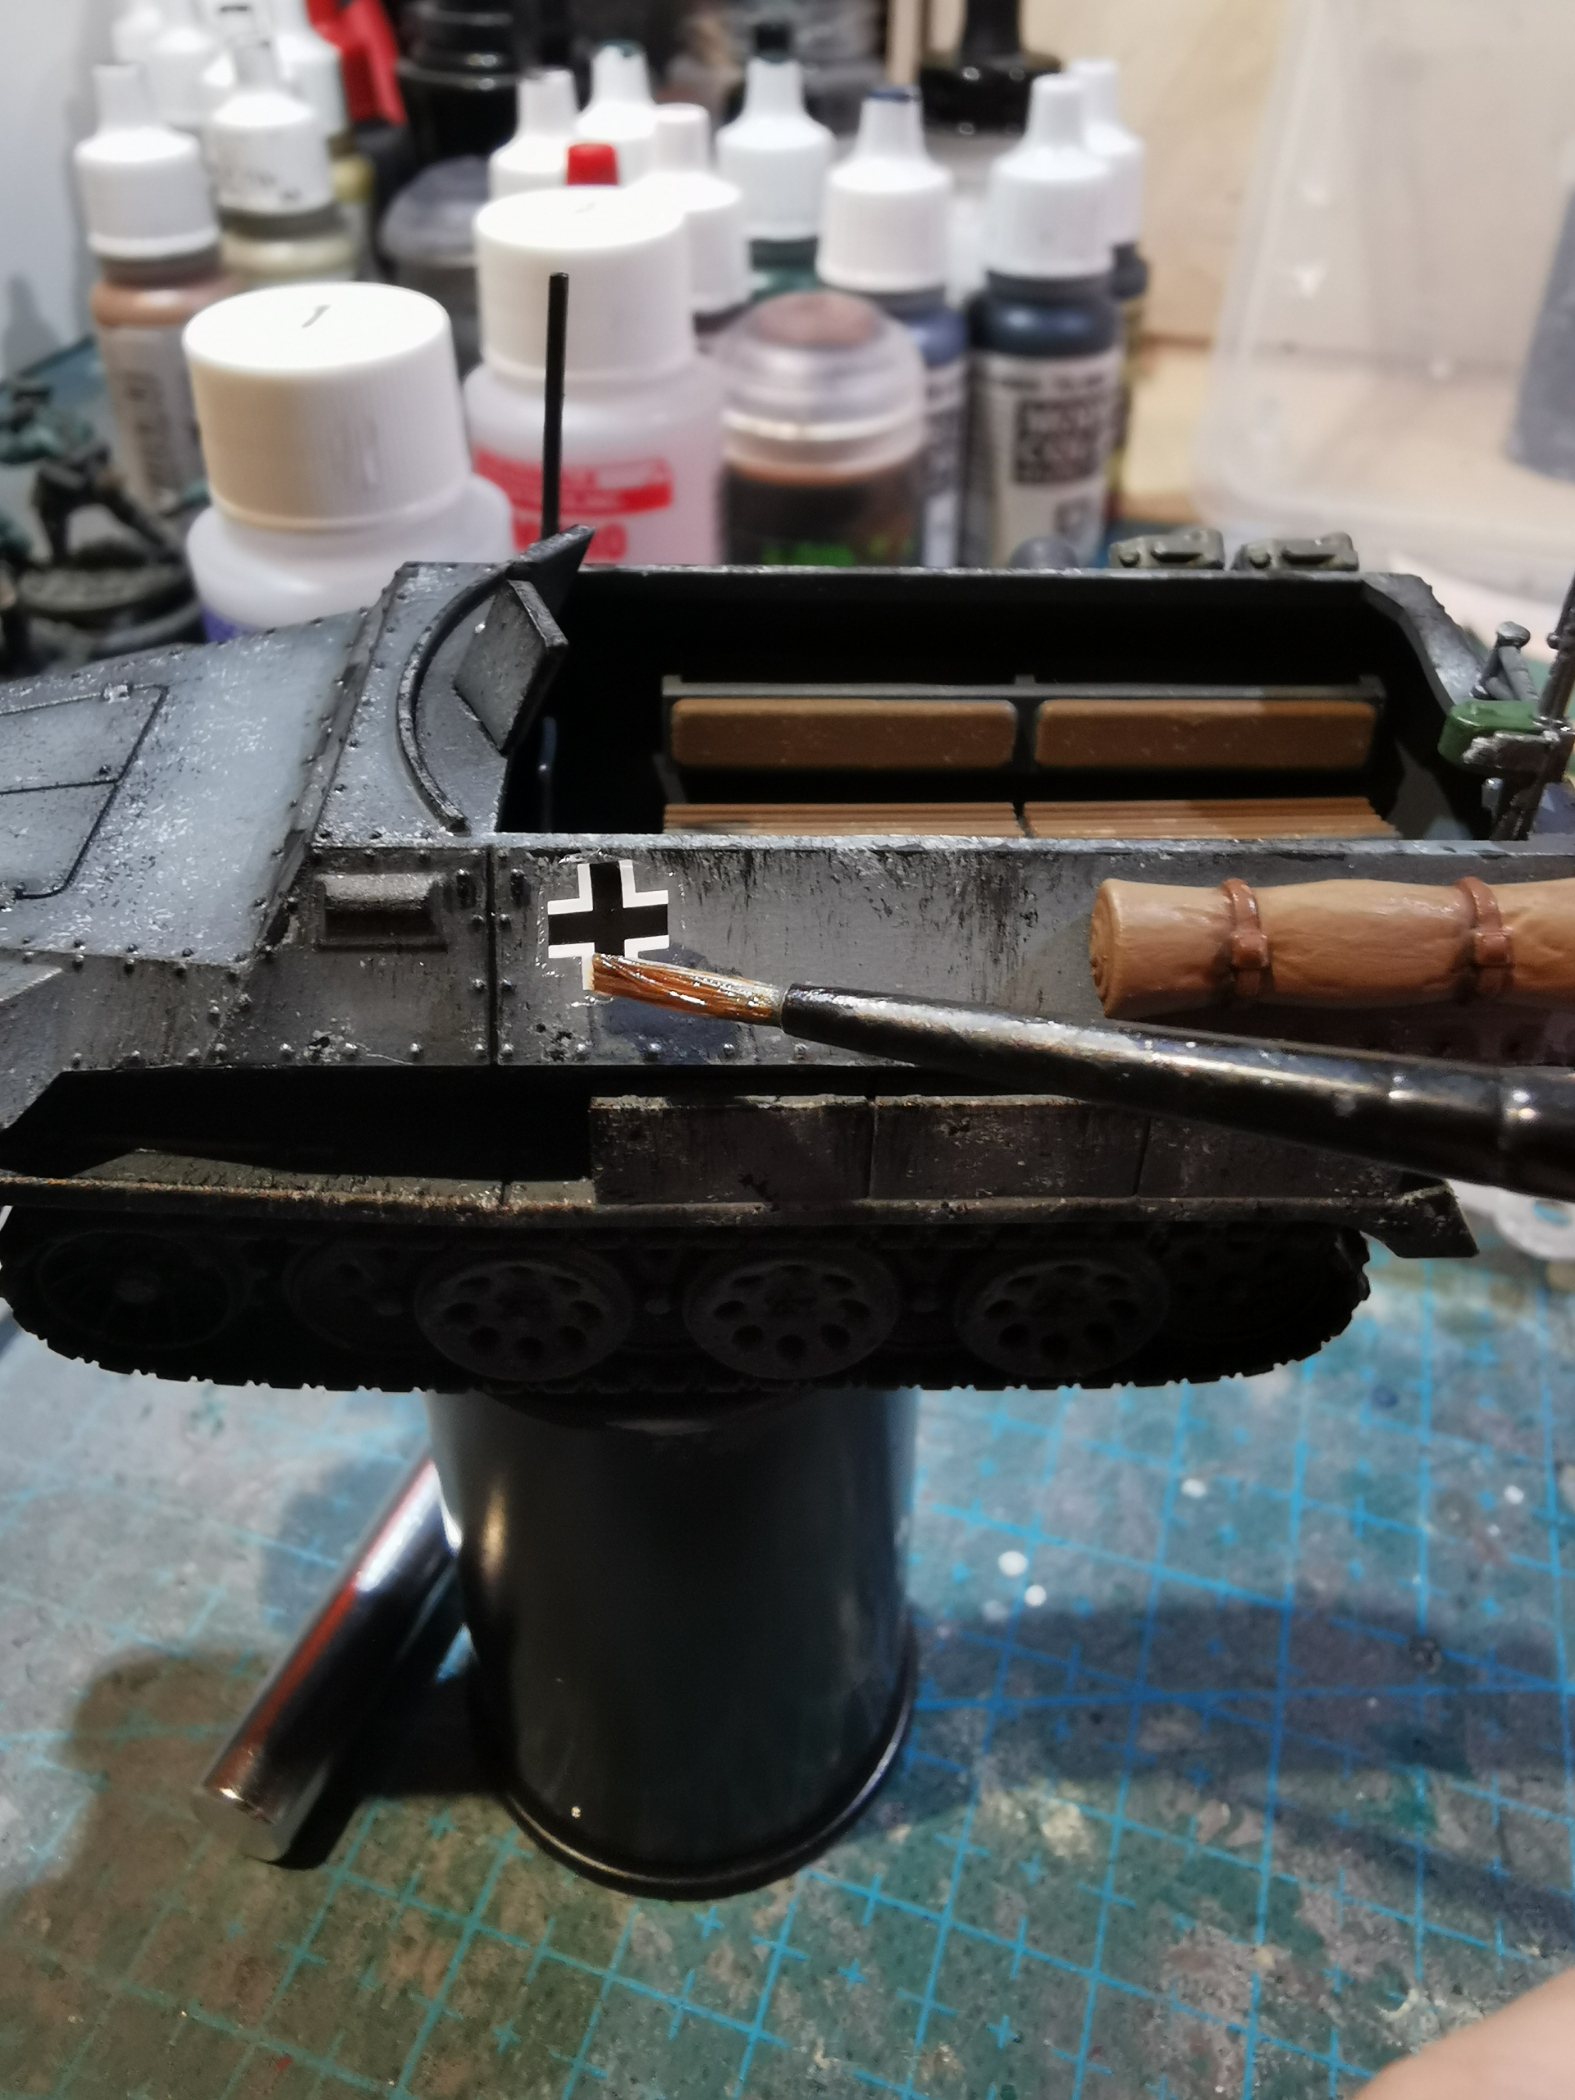
The decals were first put on the moist sponge of my wet palette as using this method it won’t float away or drown in a glass of water. I use Micro Set to prepare the surface for the decal on the mini, then put on the decal with a most brush and let it sit for a while. After that I put on Micro Sol to achieve a “painted on” look.
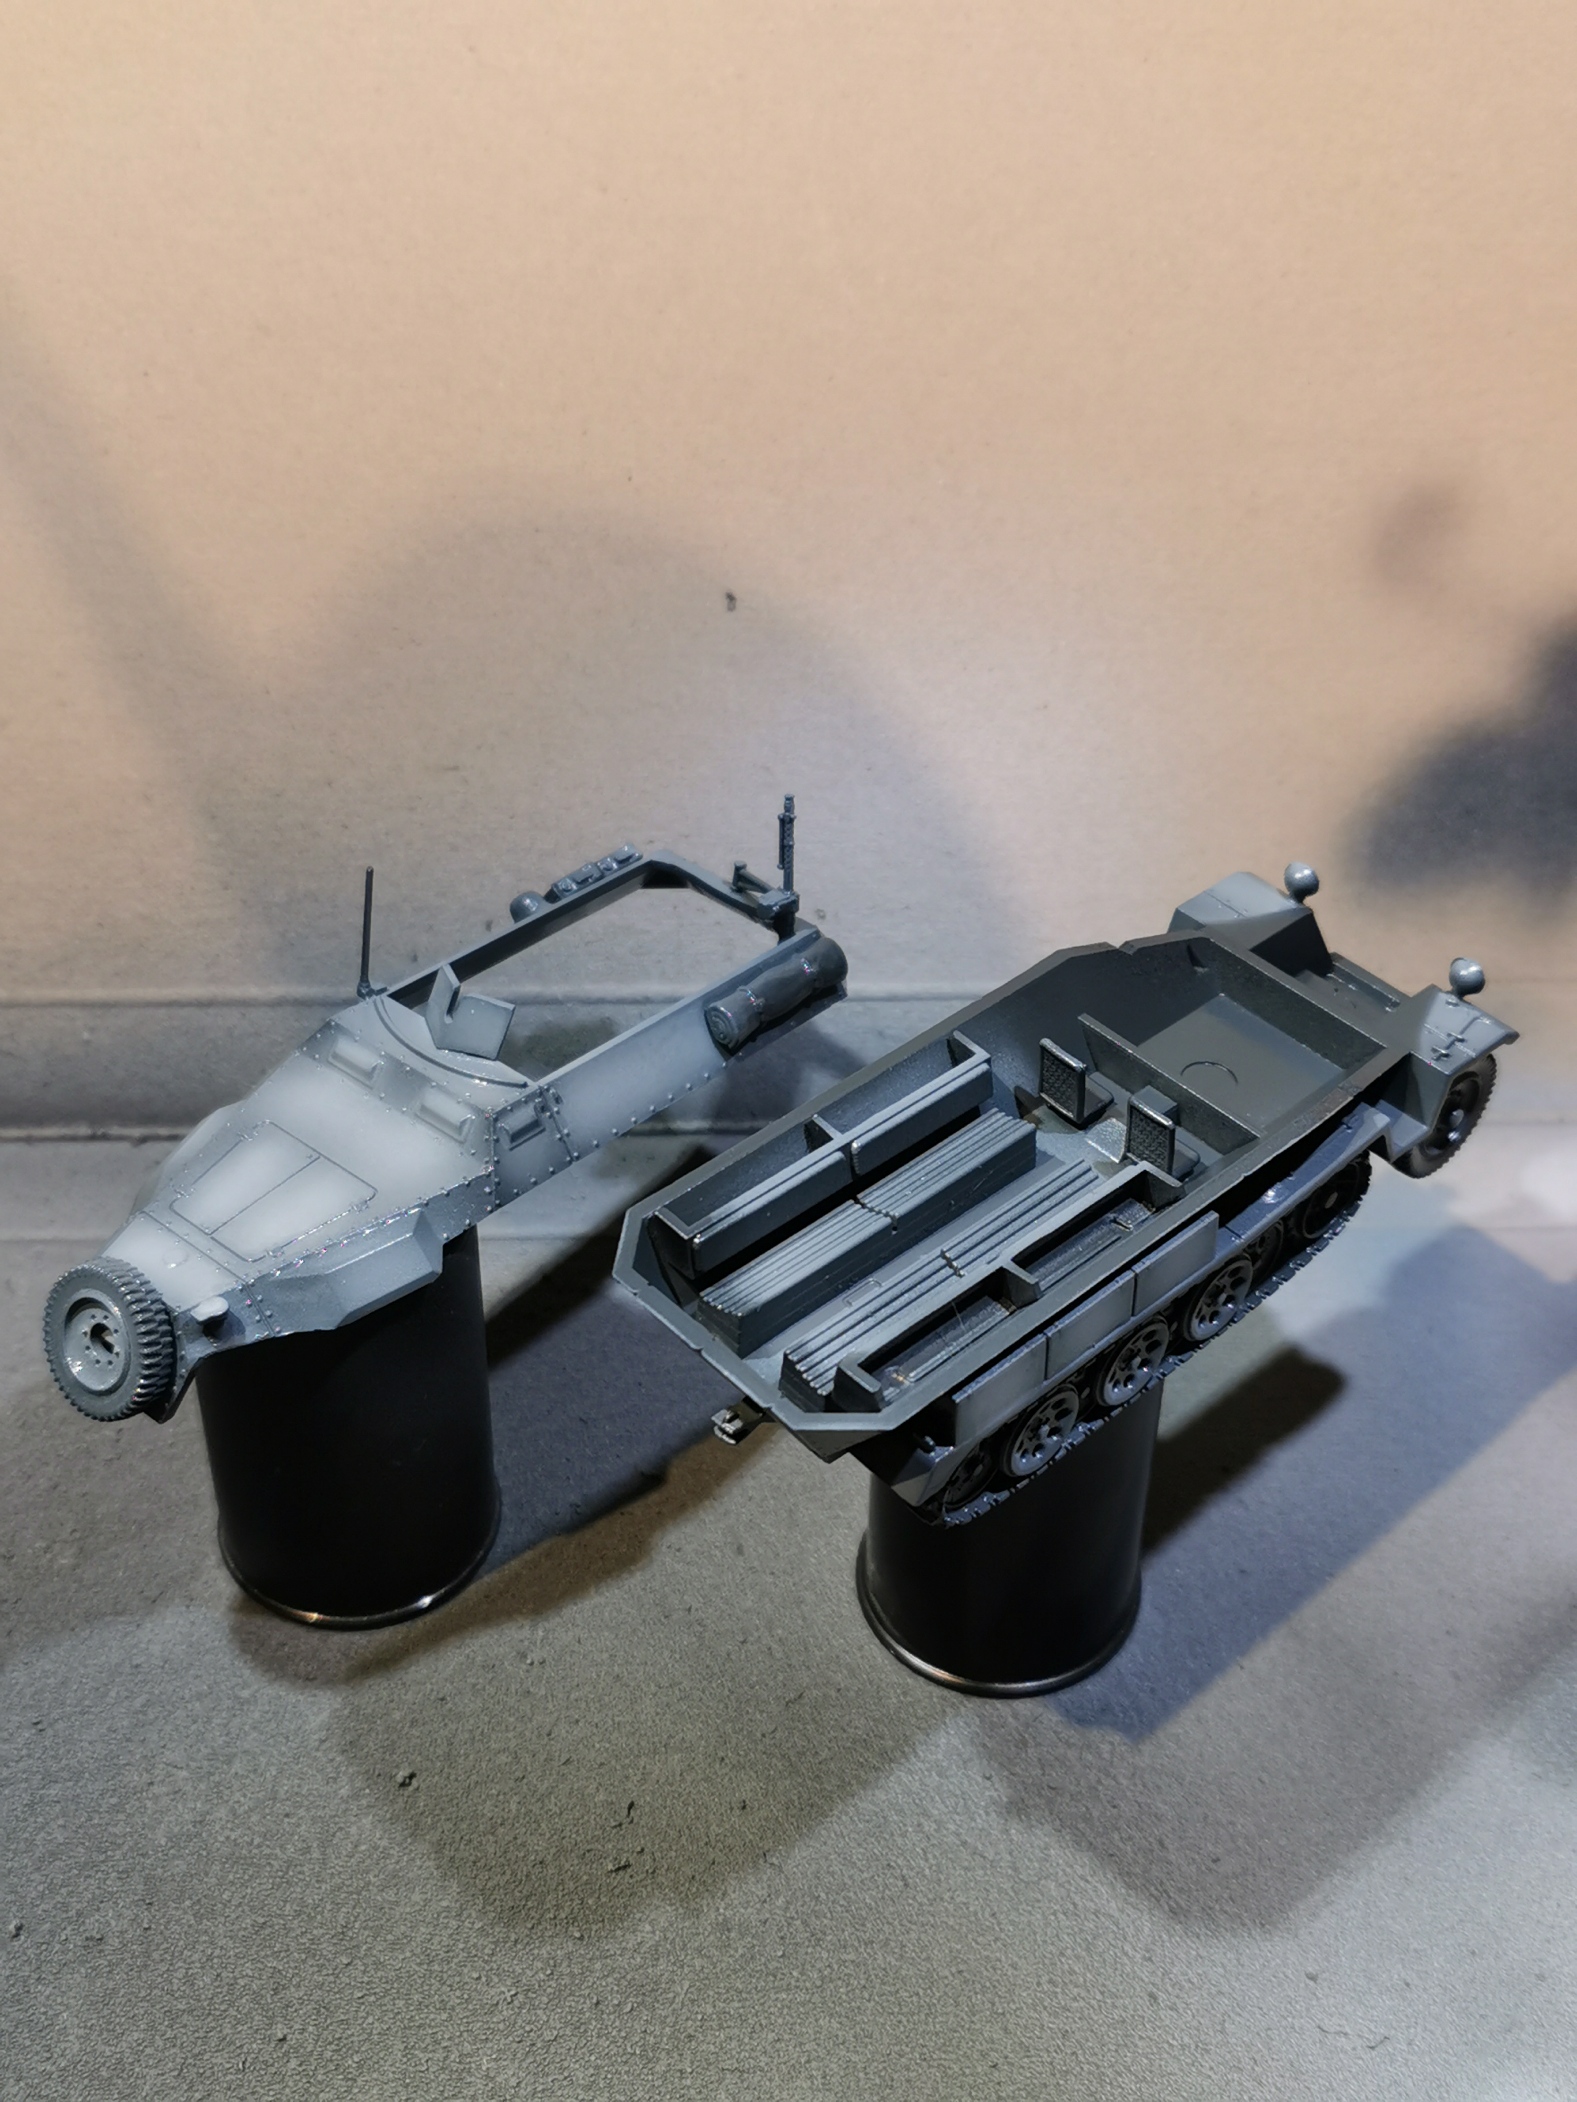
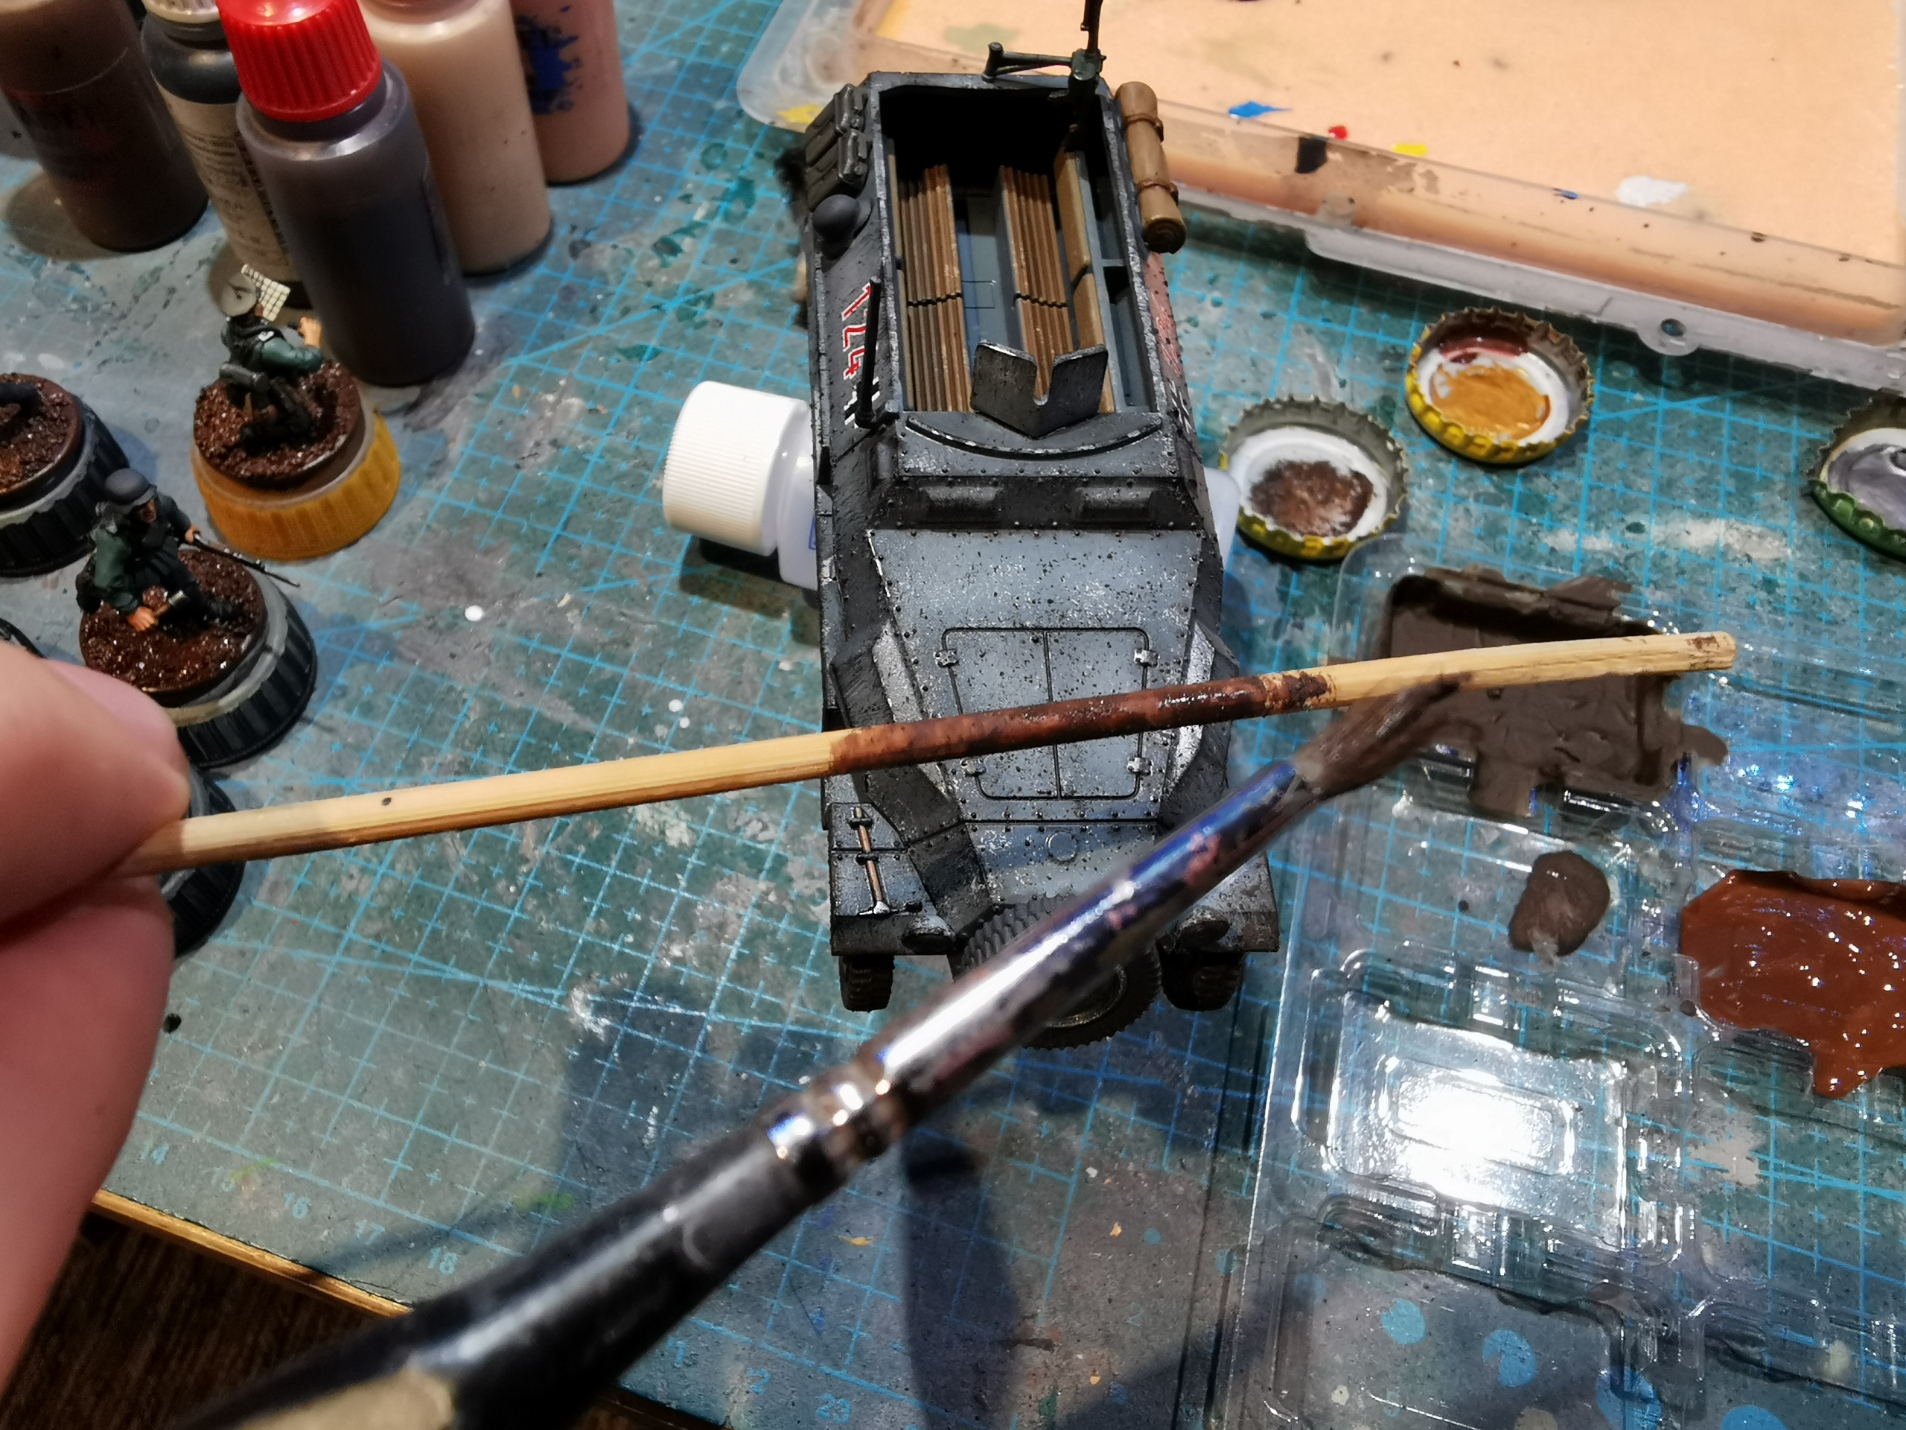
The last step was the streaking grime done by a sponge using black paint and wiping it from edges vertically downwards. I then covered the tires and the tracks with Citadel Typhus Corrosion and sprinkled it on the vehicle from an upward angle by pushing a brush loaded with typhus corrosion against a small cocktailstick at a 90 degree angle as shown below.
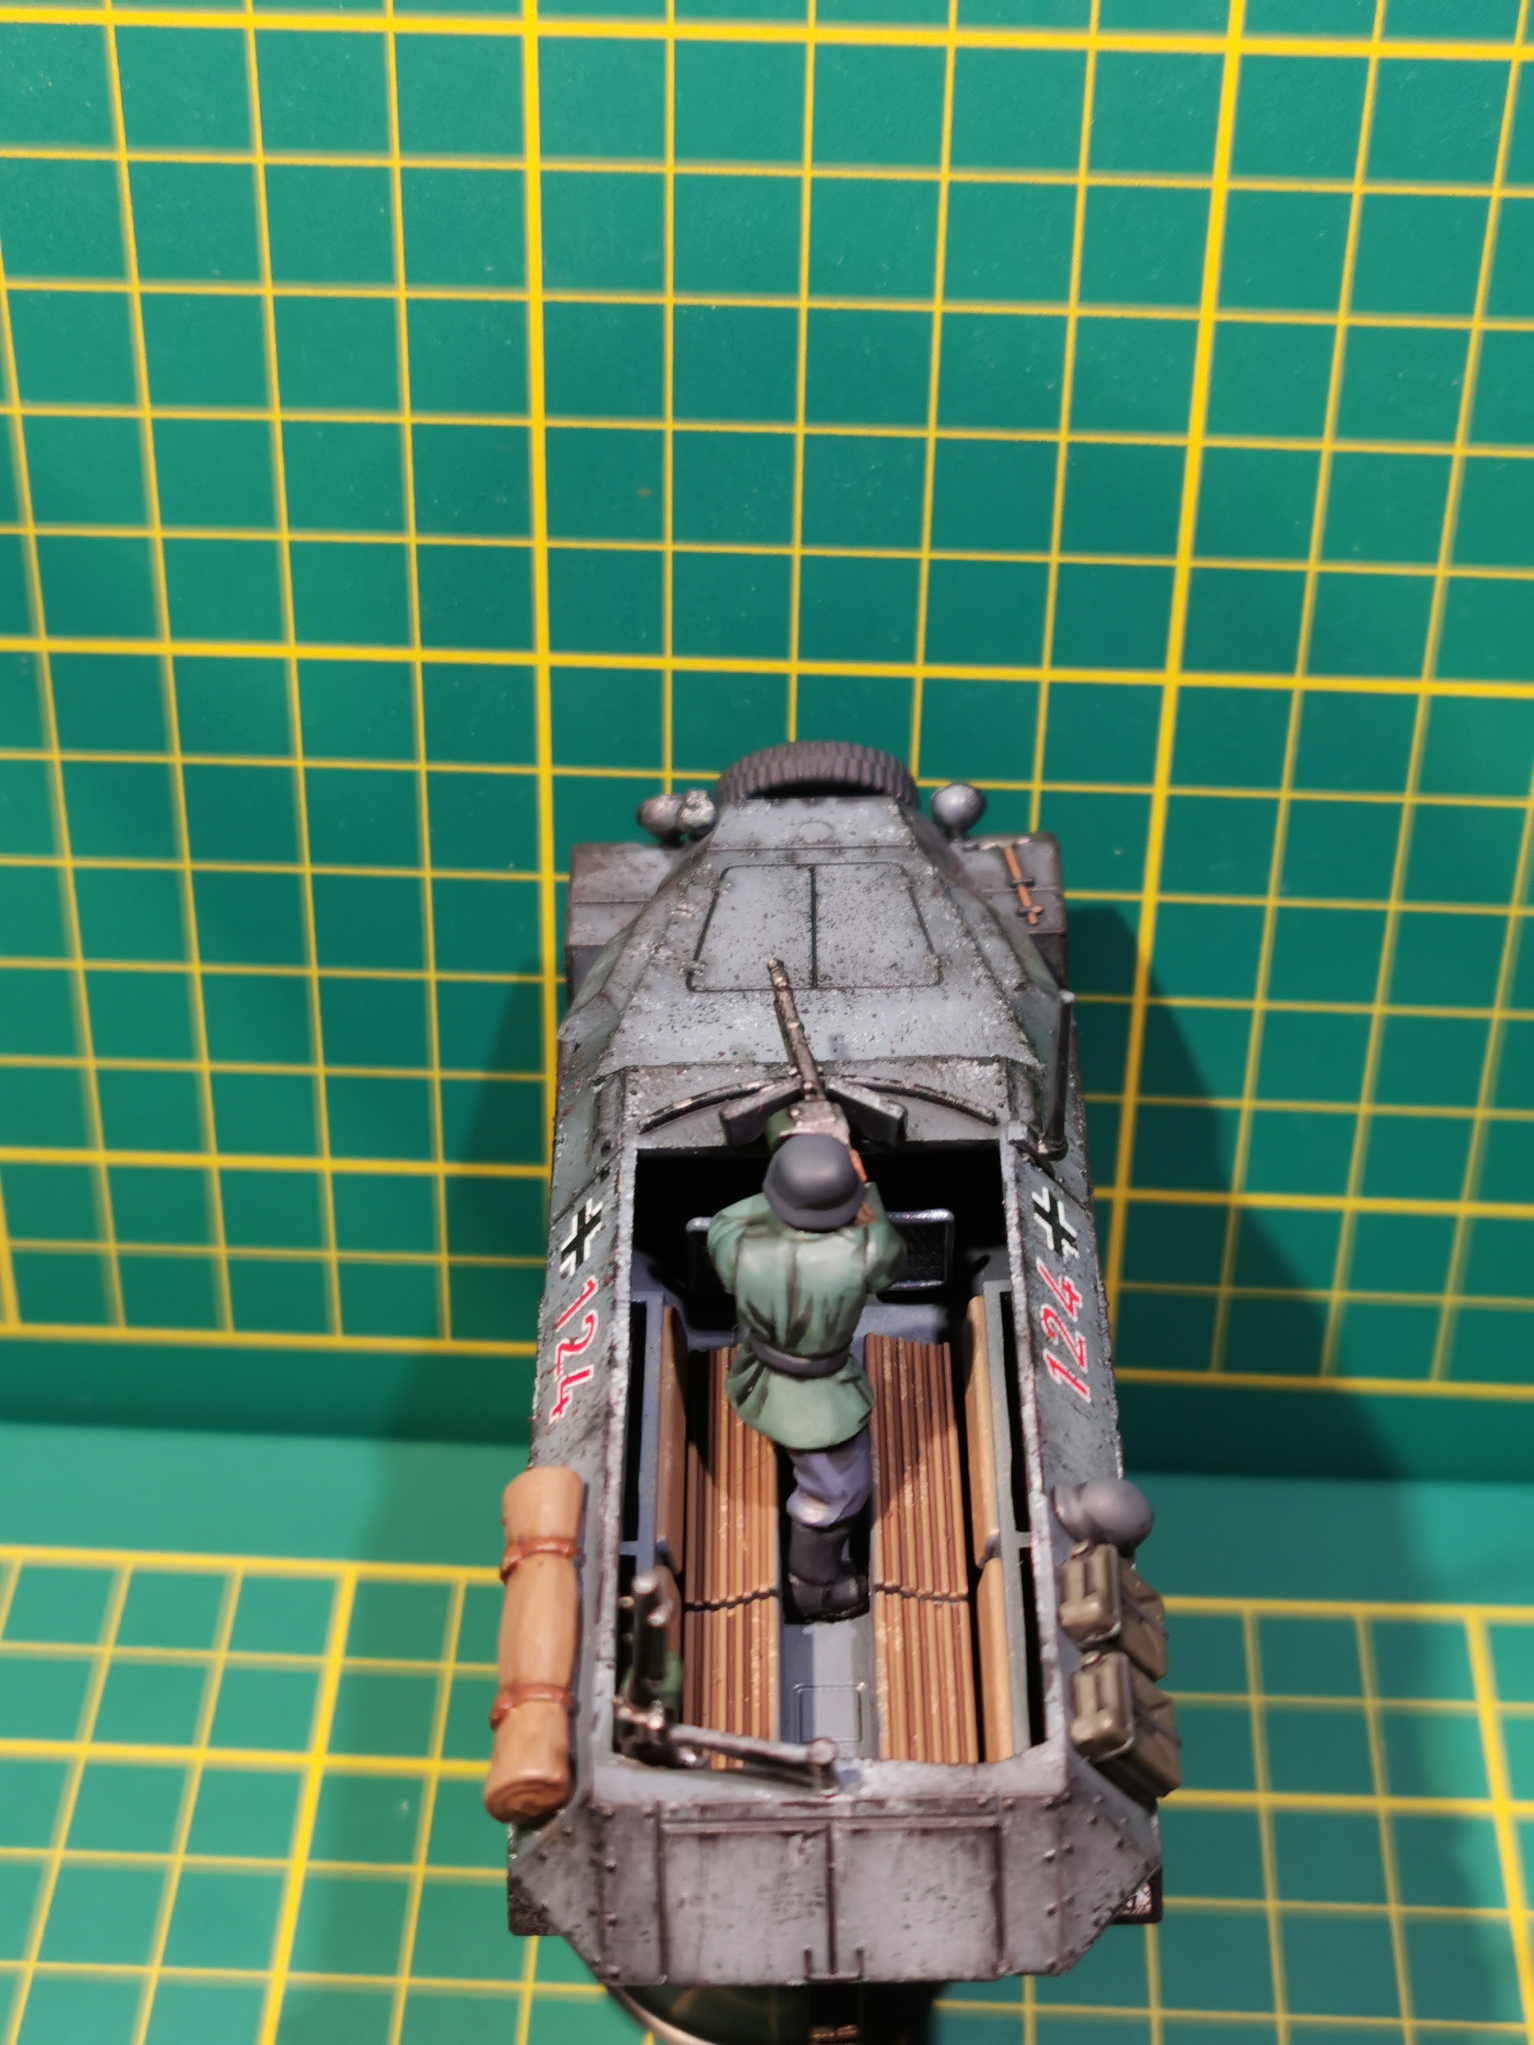
The last step was a coat of mat varnish and inserting the MG gunner.


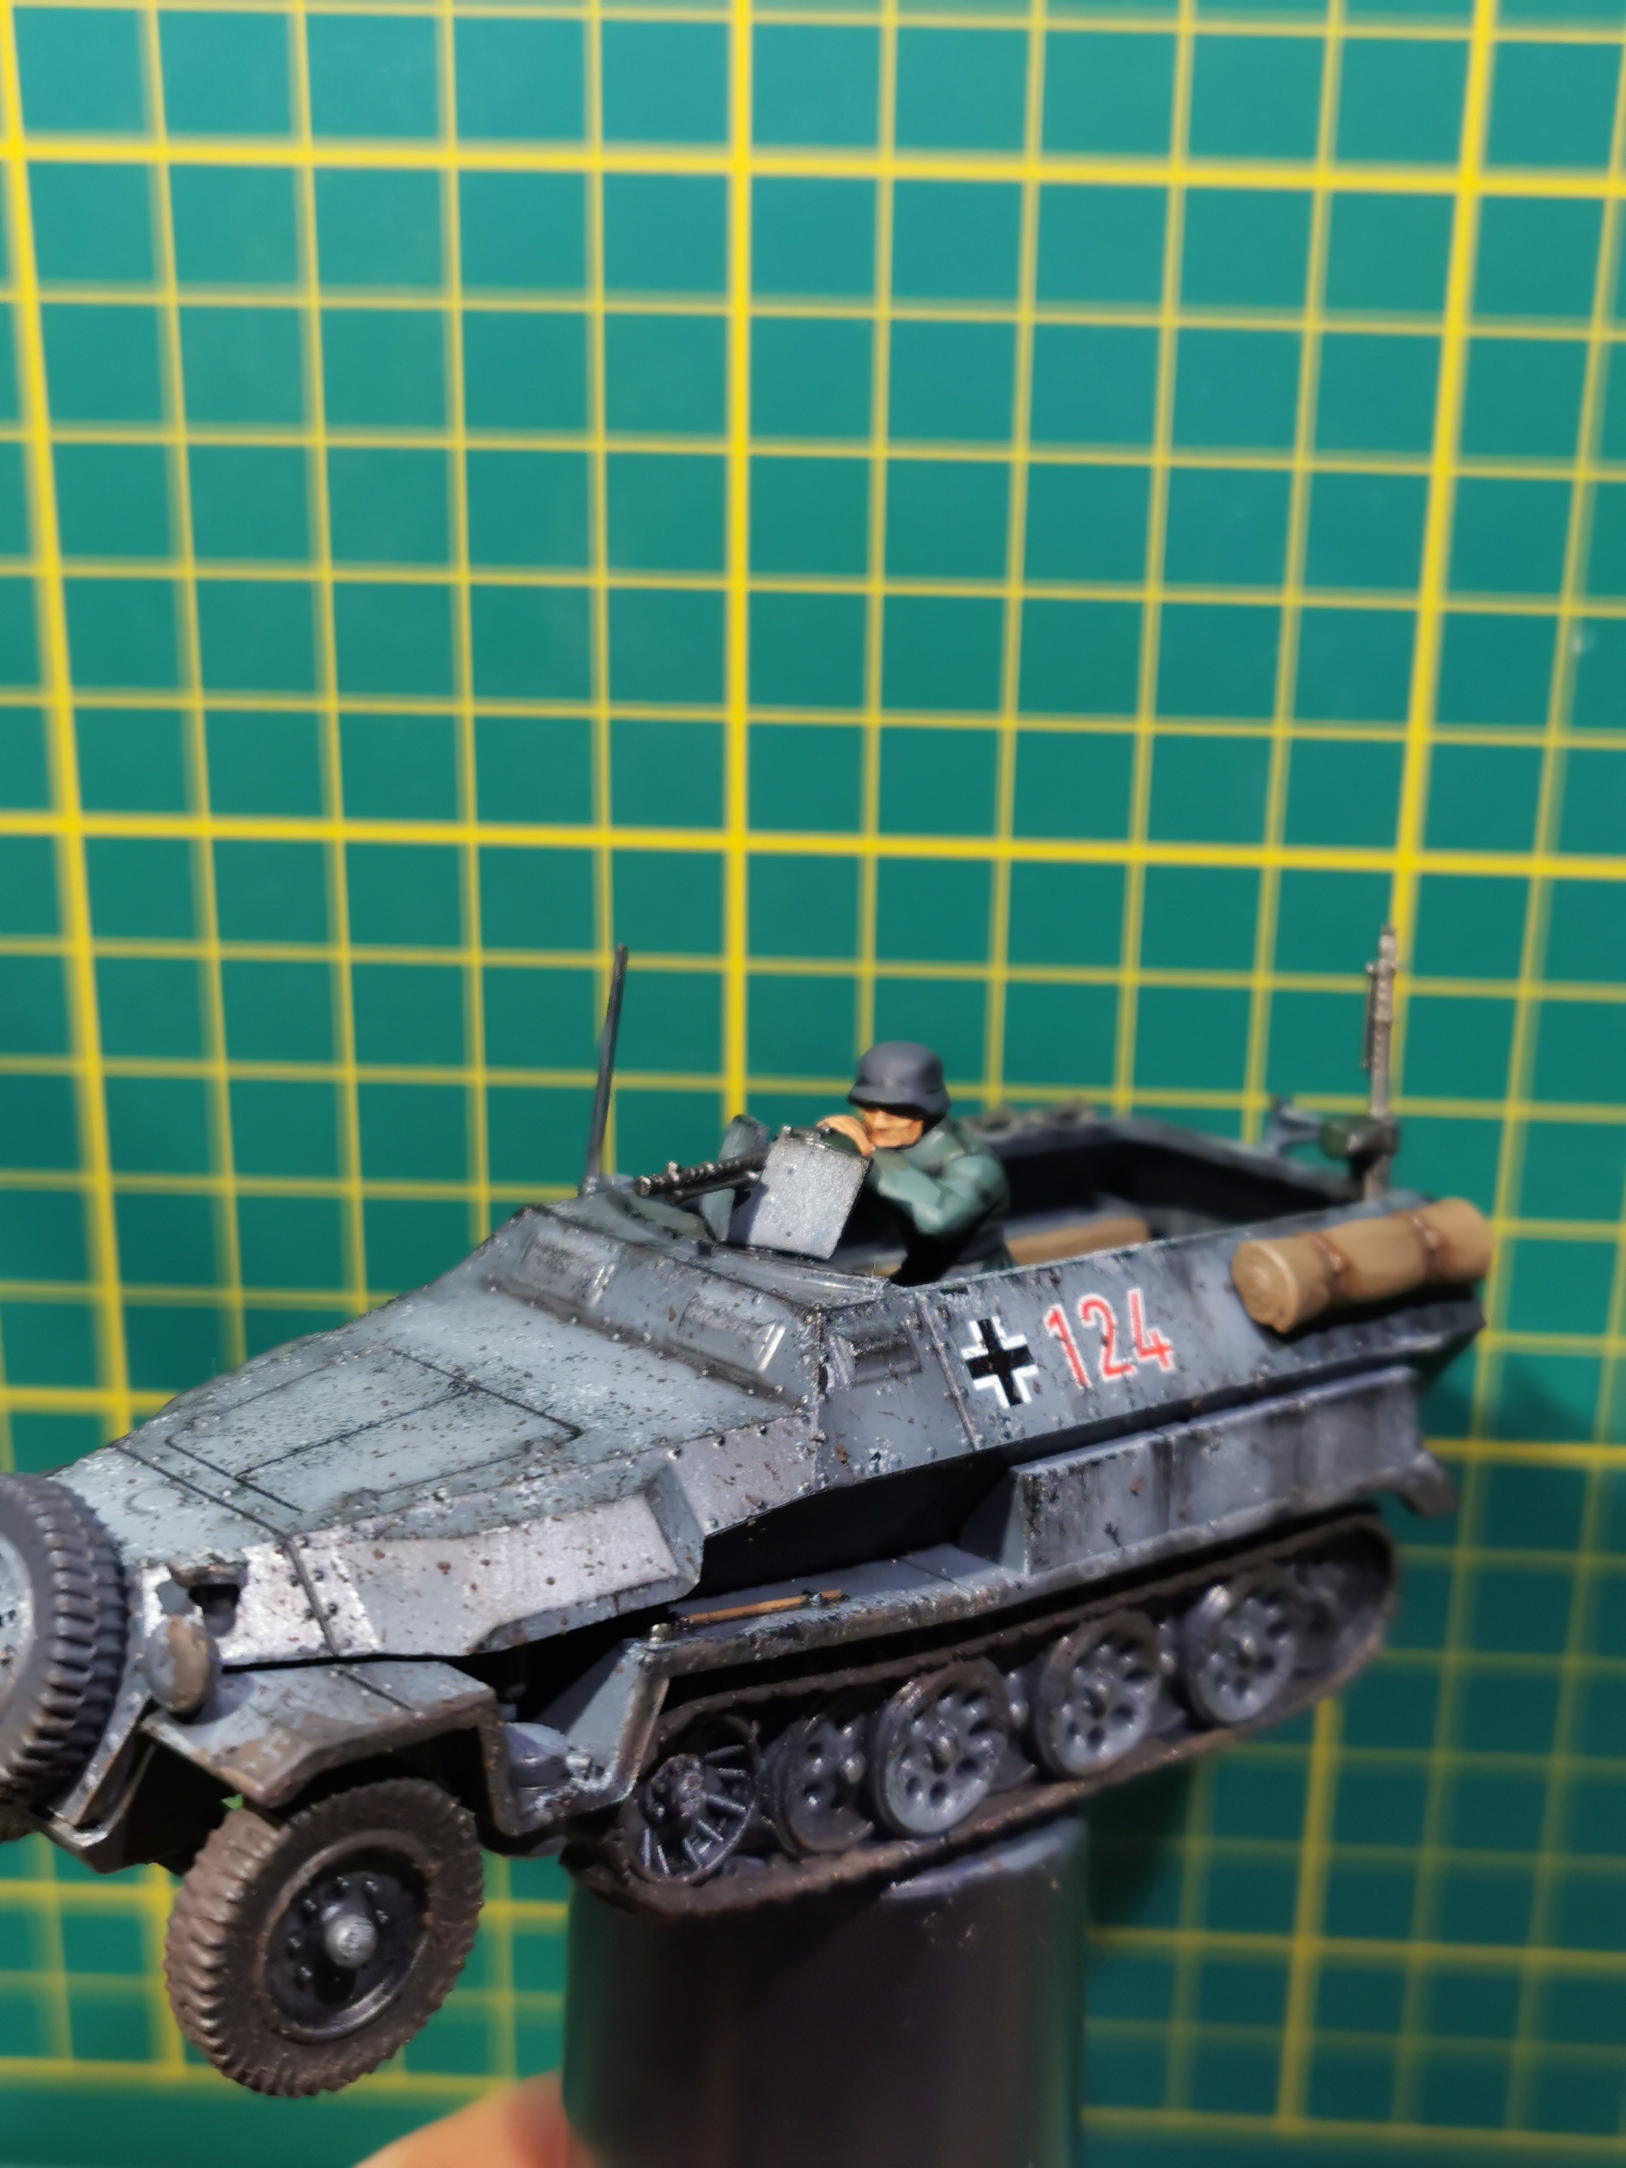


Fantastic paint job on that Hanomag!