


Raiding the Dusty Wastes


Nope, not toasted quite enough yet
Getting about to the pain of working Photopea was not as bad as initially conceived. I started into the process of inverting the black and white for the netting layer with Ctrl+I. I then went on to changing the color of the lettering with the Magic Wand tool (W a couple of times and you’ll see the icon change under the lasso tool) to select a general area of the script. The program already lacks a background to worry about as I have already erased it from the layer.
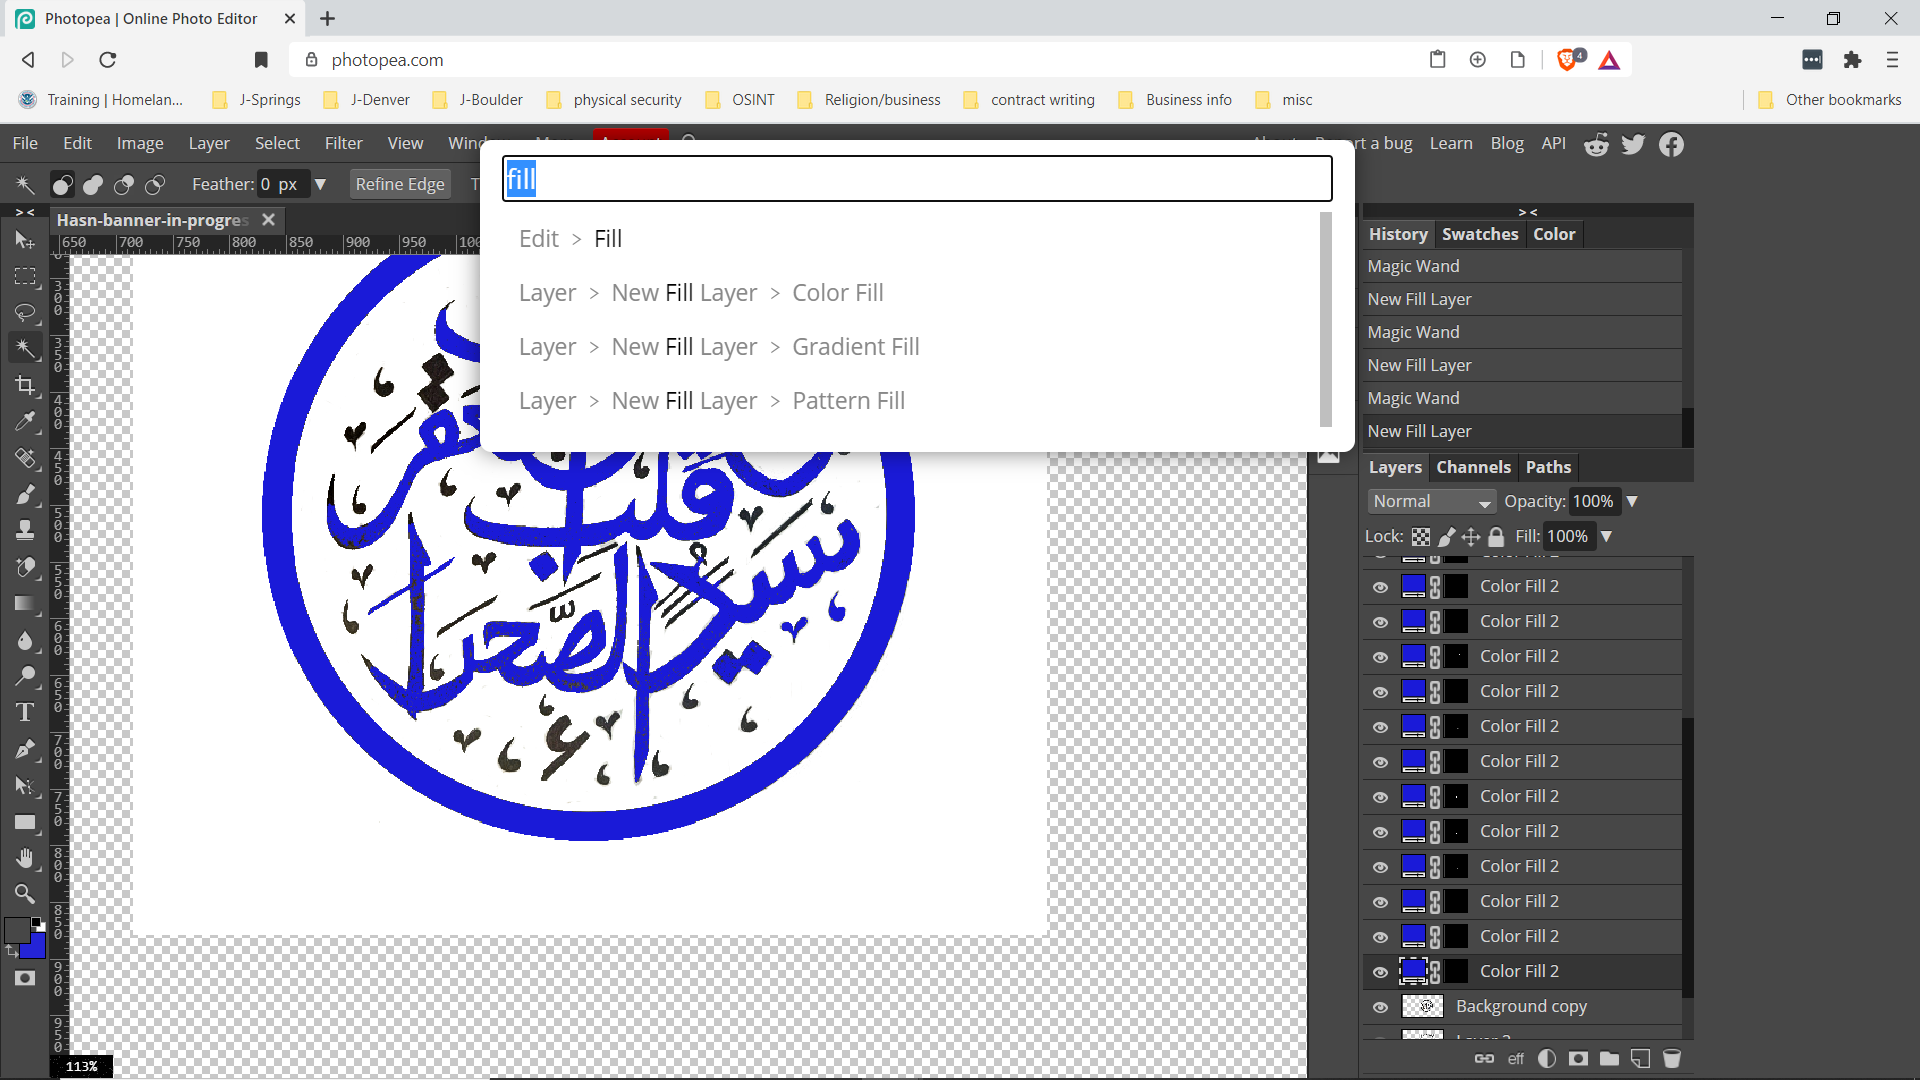
A portion of the image gets selected and I jump into the search area for Fill. I don’t need to retype the command I want as Photopea has saved it.
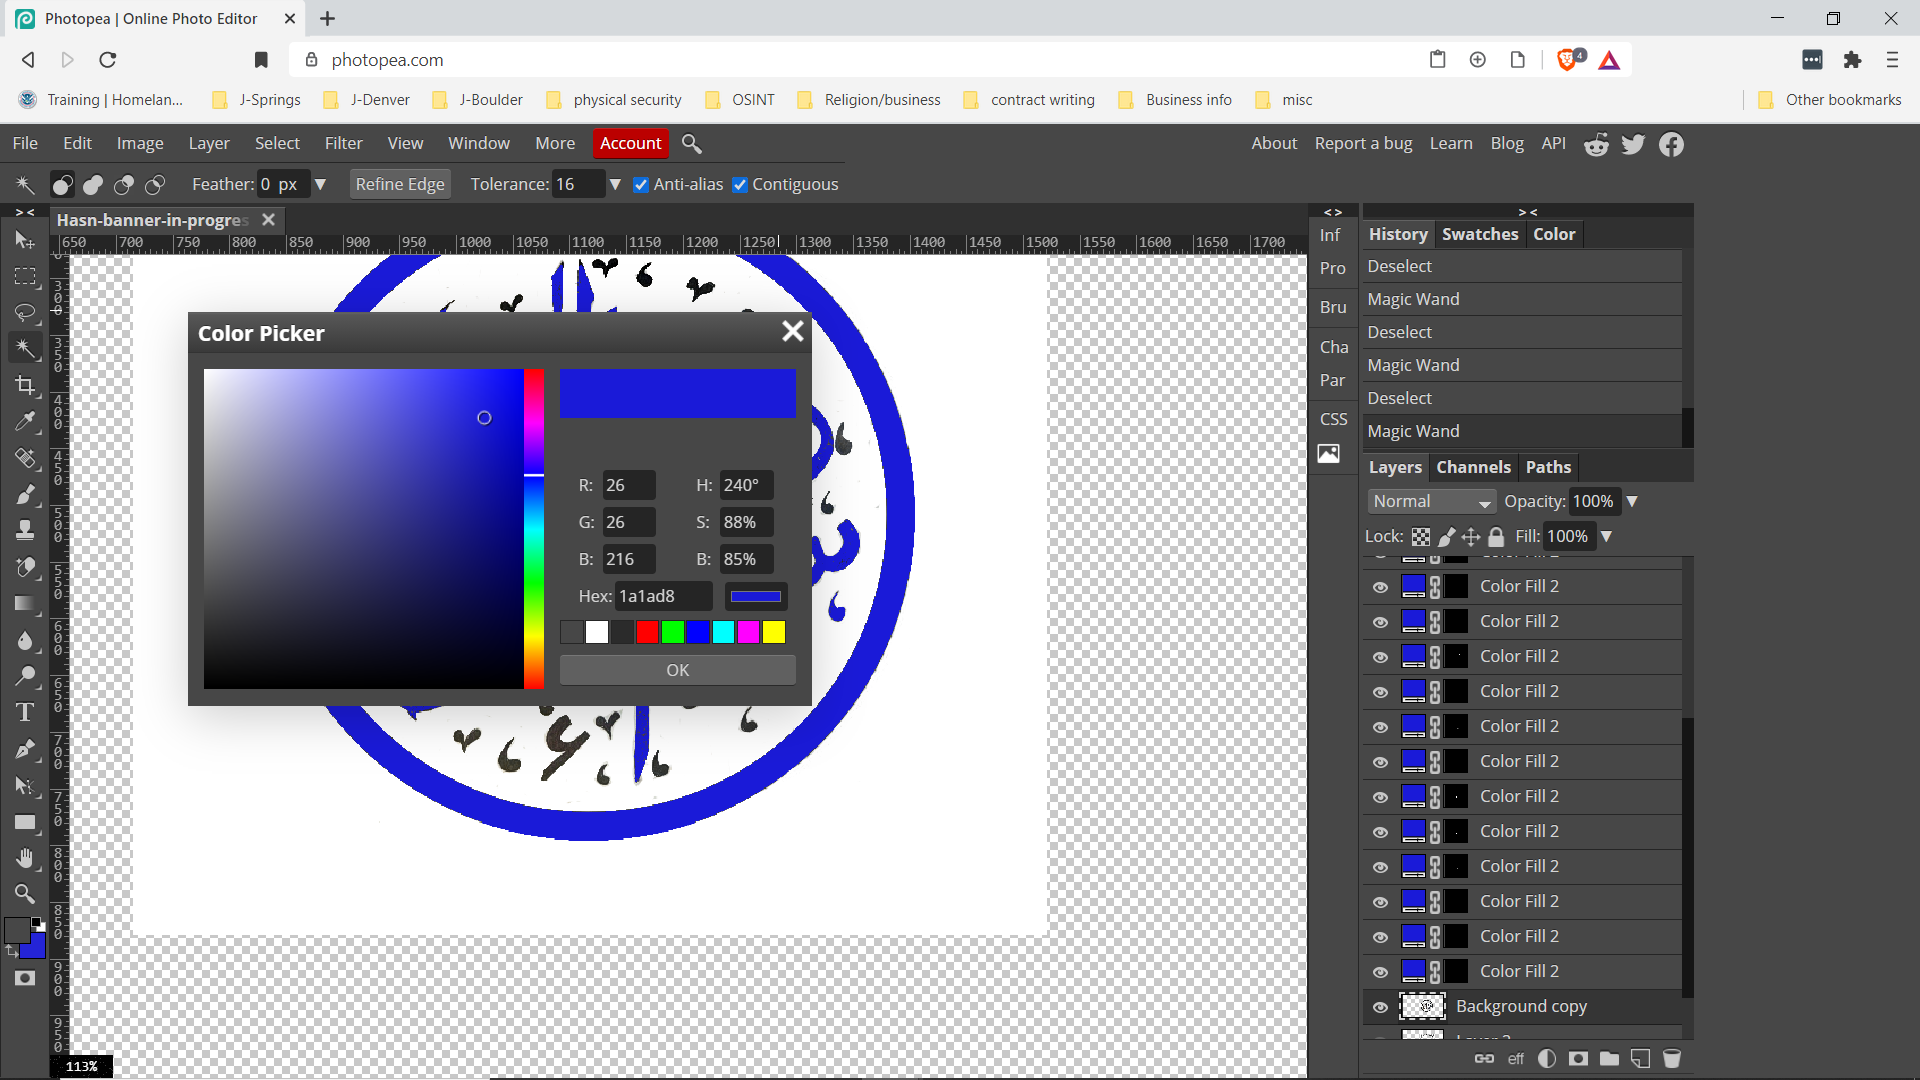
I saved the Hex code for the specific color(1a1ad8) as I got tired of entering the rest of the value information. This is definitely something that copy/paste comes in handy for. With that all done the area is filled with the appropriate color and a new layer is created in a growing list of entries. I’ll merge these all down later to create a cohesive image.
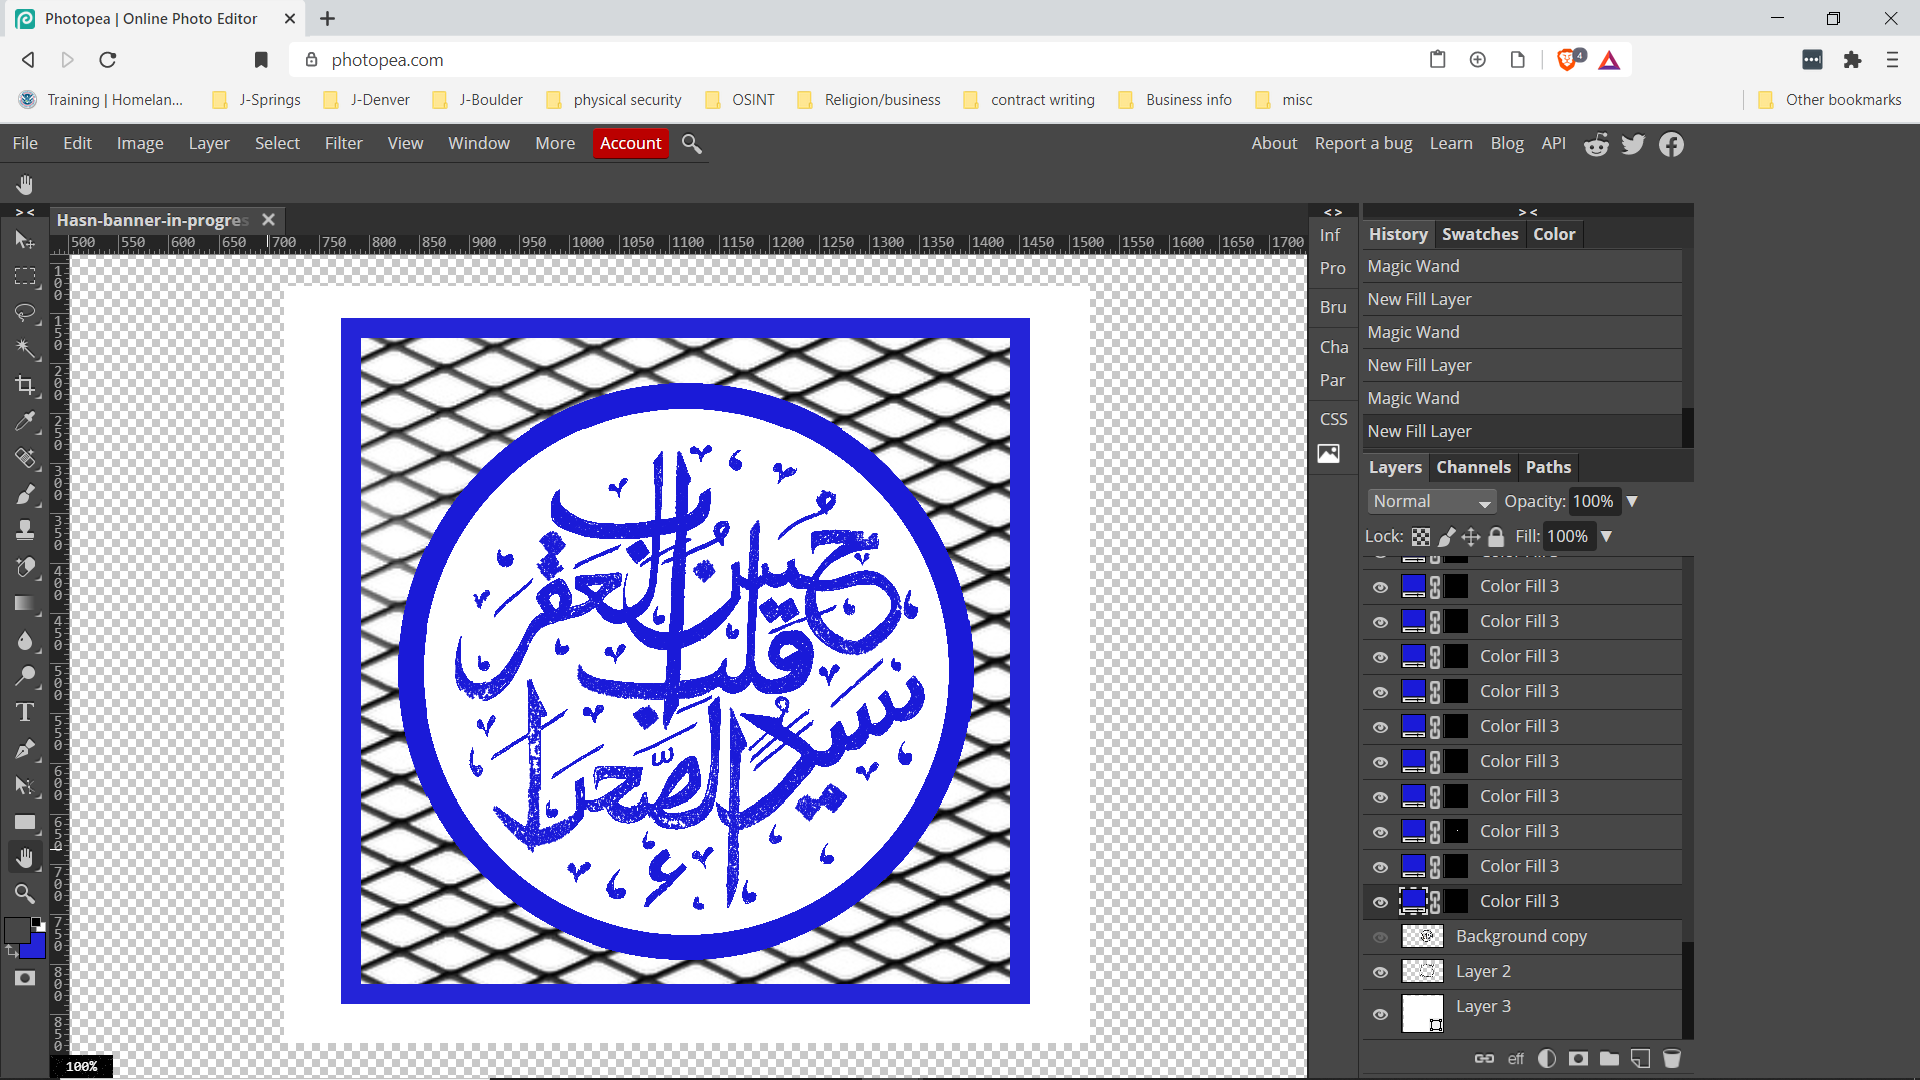
A happy accident from all this is that the script does have defects from the program not completely filling in the shapes. When I remove the underlying layer of initial black it shows some fading that I might just keep running with. The circle was done with another tool that lacked variance as the pigment image did so I’ll manually add the effects there if I do.
This seems to have come out well and I have a few more ideas to run with in order to create the banner with serrations to flap wildly in the breeze.


Leave a Reply