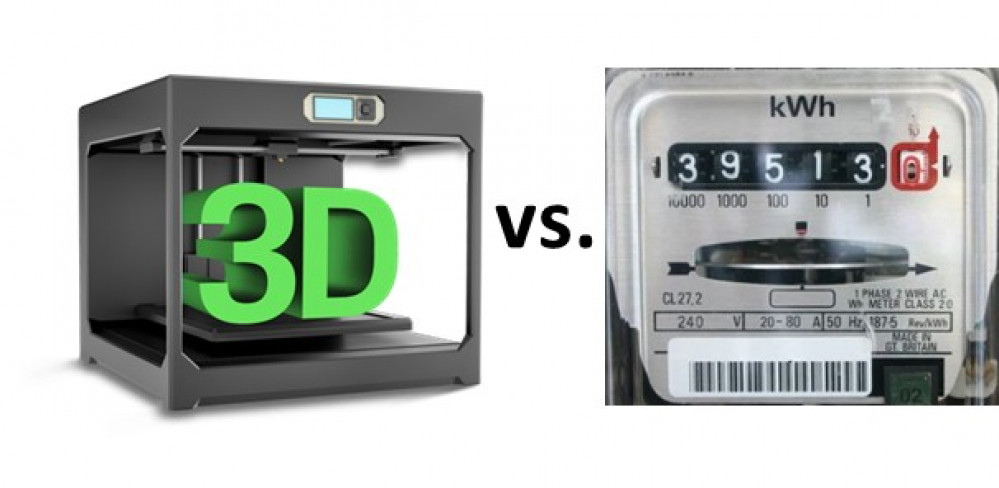
What’s the cost of a 3D print?
OK Spanky, so what's the bottom line?
Conclusion
The above information should give you the ability to calculate some of the costs of producing a 3D print. Note the use of the word some.
There are other factors that should be taken into consideration when it comes to costing a print if you intend to charge someone for it and do not want to be left out of pocket in the long run. Namely:
- Wear and tear on the printer – This includes all physical/mechanical parts.
- Any additional consumables – Glue sticks, hairspray, sandpaper, filler/primer, bed covering, etc.
- Sourcing of file – The cost of buying/licensing it or possibly designing it.
- Your time – Yes, I know the printer is doing the heavy lifting, but still, you must load/slice the file and make sure it prints OK as well as any of the manual stuff we tend to forget. Basically, if it takes you time to do something, it should have a cost associated with it.
- Failed prints – Unless you can find a way to recycle/repurpose them, then the wasted power/materials need to be at least marginally factored in.
- Postproduction/finishing (if required).
- Postage & packaging (if required).
- All applicable taxes – trust me, you don’t want the man on your ass for non-declaration or non-payment.
- As a follow-on to the point above, you may need to pay an accountant. Sheesh, doing business sure sucks the fun out of things!
- Whatever else it is that should be on this quick list that I’ve completely forgotten about. Basically, if it costs cash, can wear/run out or takes time, then factor it in somehow.
Luckily, most online costing programs/websites nowadays have these things well covered. Just do a Google search for “calculating 3d print costs” and you’ll be fine.
Finally, it should be noted that there are several factors that can affect the power usage on an FDM 3D printer:
- Print bed temperature – This accounts for roughly 70% of the power draw, so lower it (or even turn it off altogether) if you can still get print adhesion. Most PLA filaments can be printed on a ‘cold’ bed, just apply some glue stick or hairspray first. Better yet, use a coated bed surface such as the ones made by Lokbuild.
- Slicer settings – Try a higher printing speed, a lower amount of infill and shells, and use the tallest layer height possible. However, overall, this will give the print less detail and strength (which is why these settings are normally used while prototyping), but the model will sometimes print in half the time and therefore use half the power.
- Nozzle size – Most printers come with a 0.4mm nozzle but swapping that out to a 0.6mm or even a 0.8mm will drastically improve print speed (see above), and therefore reduce your power consumption.
If you’ve made it this far, hopefully, you’ll have found something useful (and/or cured your insomnia), either way, I hope this adds a little more insight into how cheap/cost-effective it can be to 3D print things, not just for our hobby but in general too.
Final Note
This was written from an FDM (Fused Deposition Modelling) or filament printer point of view, but the same basic principles apply to using a resin (Stereolithography/Digital Light Processing) printer. You’ll just be measuring/costing your printable medium in litres and millilitres instead of kilograms and metres. I may cover this in another project.


![How To Paint Moonstone’s Nanny | Goblin King Games [7 Days Early Access]](https://images.beastsofwar.com/2024/12/3CU-Gobin-King-Games-Moonstone-Shades-Nanny-coverimage-225-127.jpg)


Leave a Reply