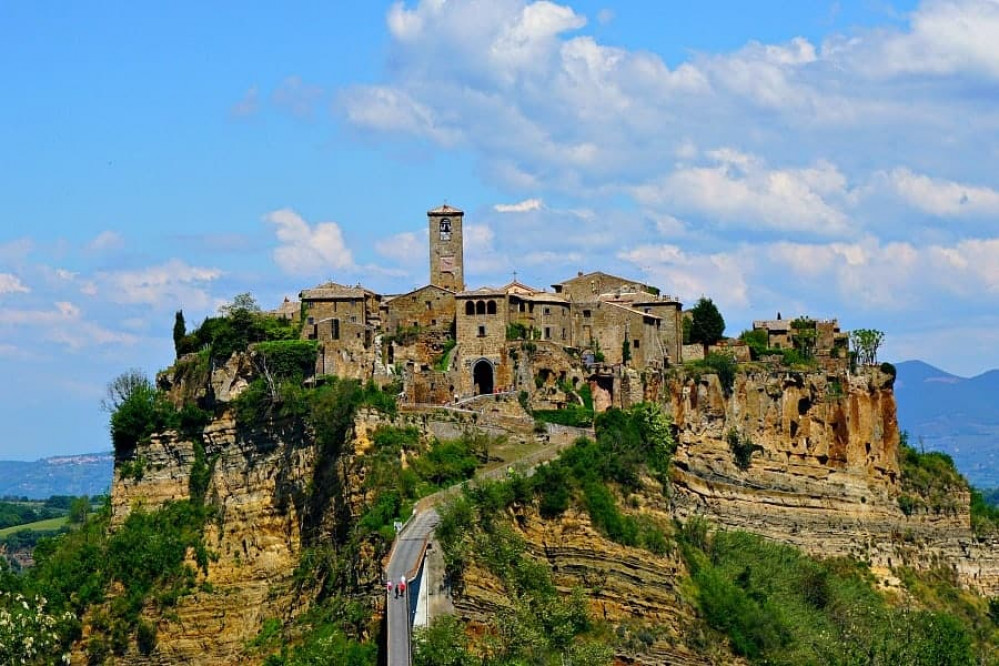
Tuscany Hill Village Terrain Build
Real World Stuff
Been a while for this project. Probably time to get it moving again.
With the buildings designed in digital format ready for 3d printing (I’m hoping for a printer for Christmas), it’s time to do something in the real world. The buildings will need a hill to be a Tuscany Hill village. So I can get on with making that while waiting for a 3d printer.
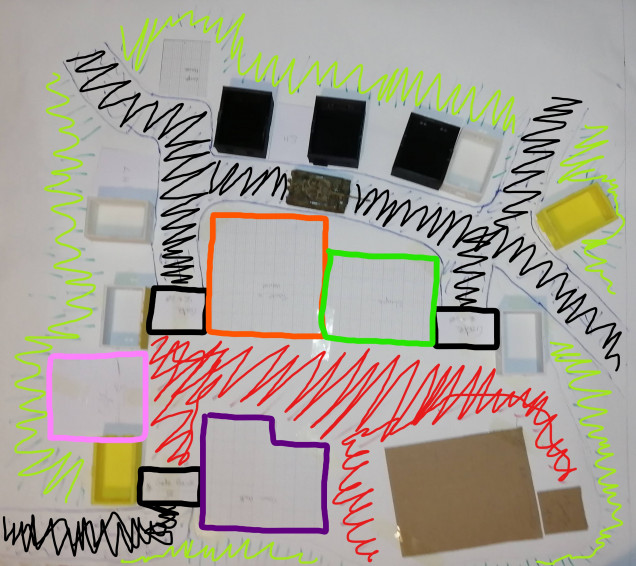
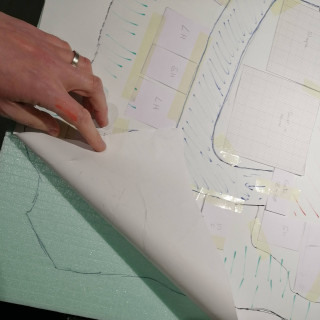
In a previous entry, I had designed the village on paper with a top down view, but for reference, here’s a reminder, expertly annotated with what I’m aiming for.
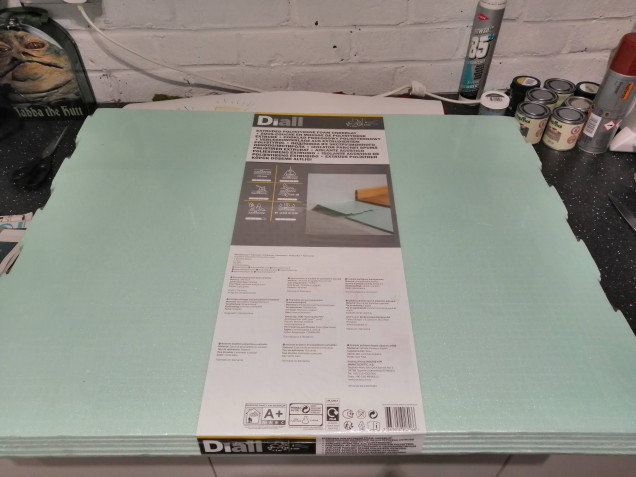
I’m going to make the base out of shower tray insulation foam. This has the benefit of being very cheap and comes in large sheets that are only around 5mm thick. This has the benefit of being able to create ‘layers’ but does require a lot of gluing together. Here’s the stuff:
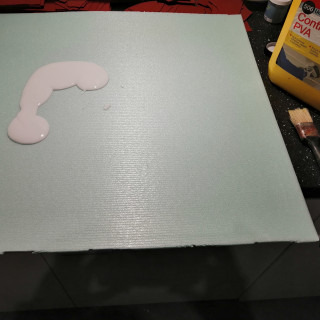
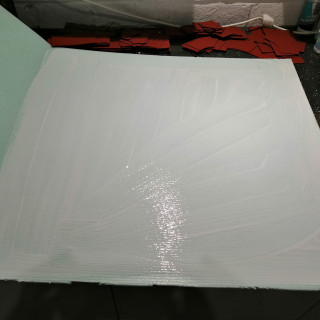
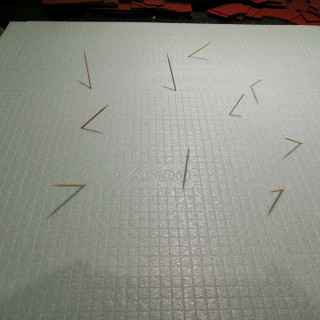
First step is to glue the layers together using PVA to get the right height. This takes quite a lot of glue. I also use cocktail sticks shoved through at various angles to hold it all in place. This also takes a long time to dry – up to a week!
It’s important to trim the cocktail sticks to avoid stabbing yourself with them!
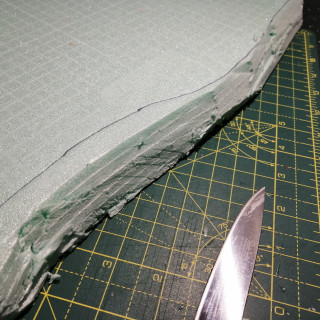
Once everything dried, I was able to begin carving. I don’t have a hot wire cutter but I do have a very sharp kitchen knife, so I used that.
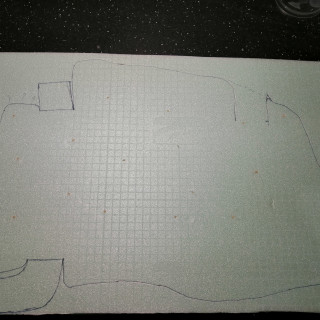
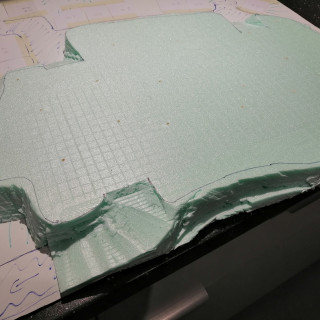
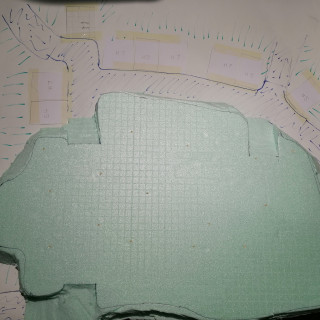
My village has two levels which I will build as two separate foam parts. This is the top layer, which after tracing out the design from the plan, I was able to cut out.
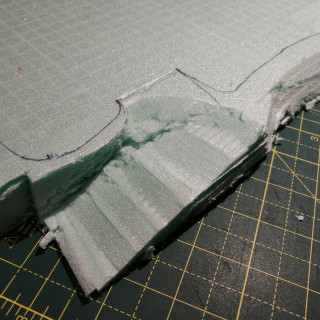
Adding the ramps where the roads up into the village will go was the hardest part, requiring some fine cutting. But as I plan to use some polyfilla over the top to smooth it out before adding the cobblestones, it doesn’t need to be too accurate. Here’s the top layer carved and ready to go.




Leave a Reply