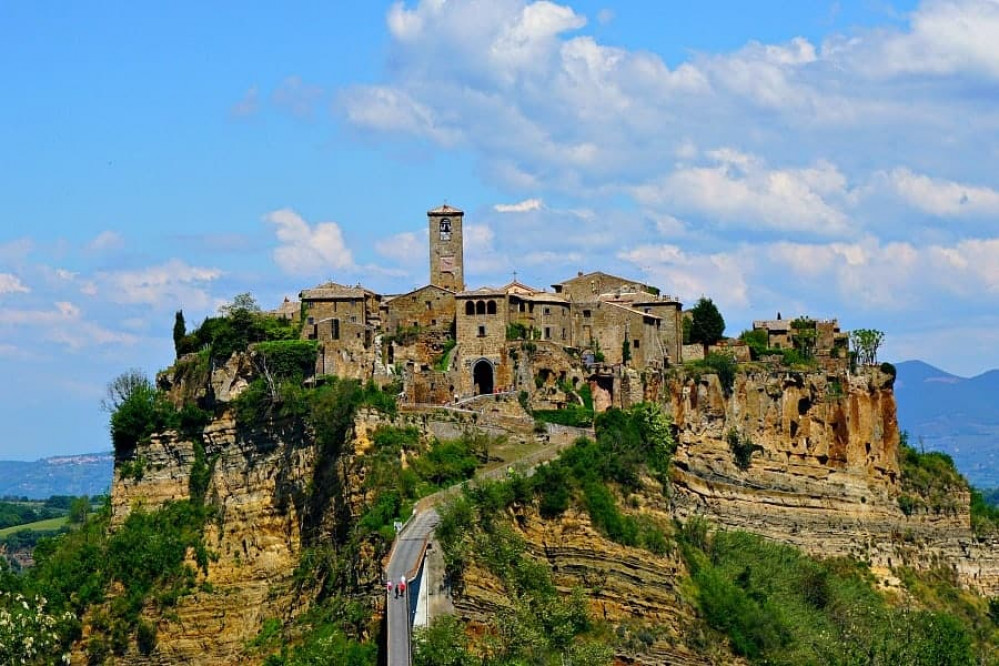
Tuscany Hill Village Terrain Build
Continuing to piece together the sub-structure
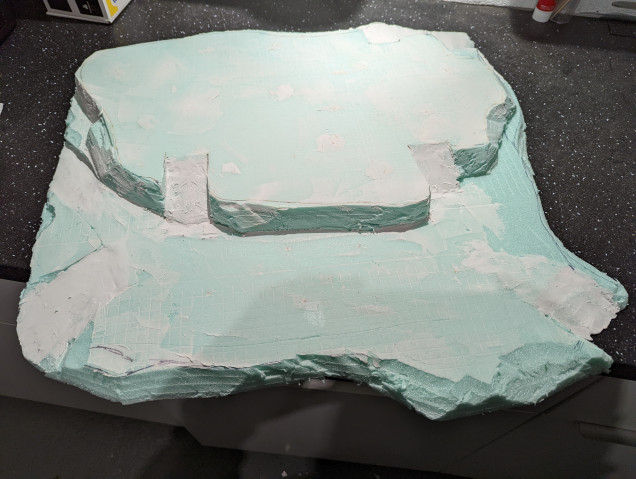
I want the hill village to have two levels to try to create the image of the village being perched atop the hill. In the last update, I created the top level using the plan that I drew up some time ago.
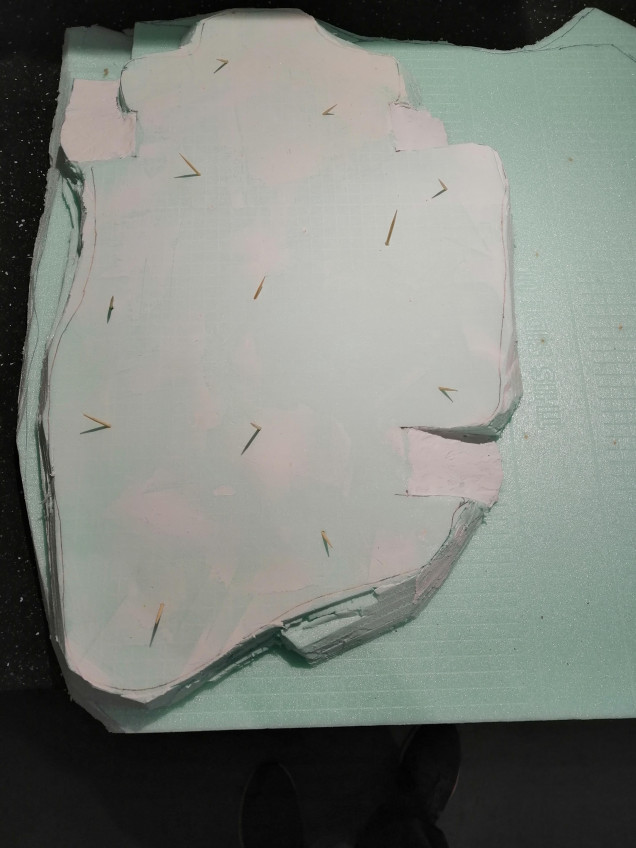
Using the same method of gluing the foam sheets together, I created a much larger area for the lower part of the village. Once dry, I glued the top layer (from the last update) to the bottom layer. This was done using PVA and cocktail sticks to lock everything in to place.
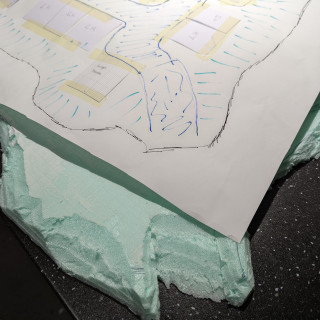
Once the glue had dried (it takes several days with this foam), I got to work tracing out the lower level from the plan and began cutting.
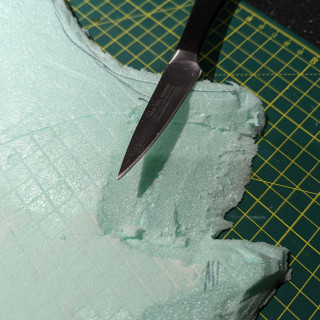
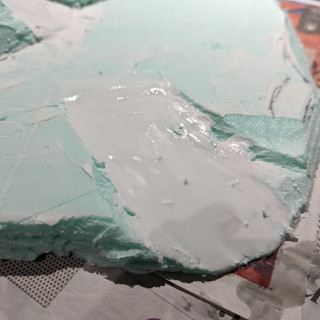
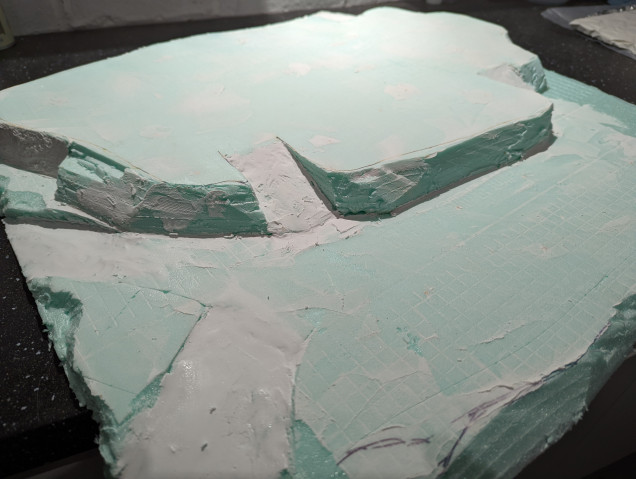
As I don’t have a hot wire foam cutter, I resorted to using a very sharp kitchen knife and applying a lot of patience. For the most part, this worked reasonably well however cutting out what will become the roads up into the village was a real pain in the arse. This took a lot of time and effort to get right, but once I was happy with the cut and the gradient, I applied polyfilla over the top to ensure that it was smooth.
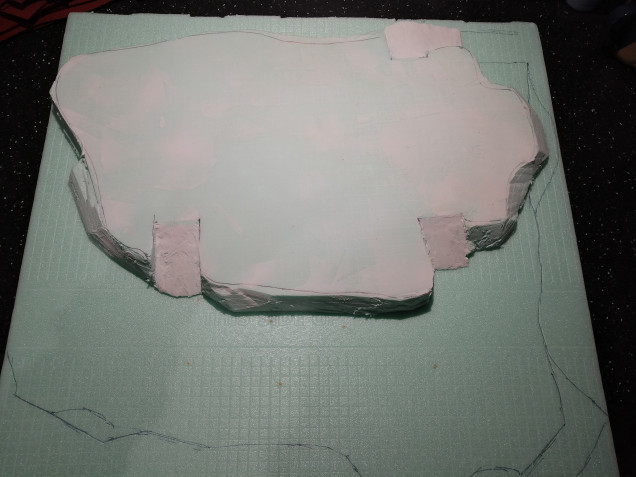
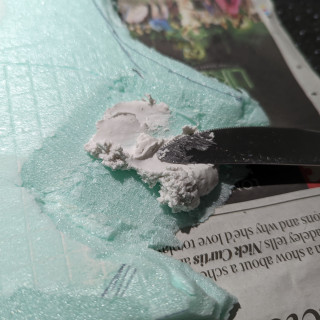
To finish off the substructure, I applied polyfilla around the sides. My thinking here was to use the filla to create a rock appearance by rolling a ball of crushed up tin foil over it. This didn’t really work so I smoothed it out and just used the filla to do what it is supposed to do – fill cracks. I also applied a layer to the top surfaces as this will give me a flat base to work with when I start building the roads.
Here’s how it looks currently




Leave a Reply