


![How To Paint Moonstone’s Nanny | Goblin King Games [7 Days Early Access]](https://images.beastsofwar.com/2024/12/3CU-Gobin-King-Games-Moonstone-Shades-Nanny-coverimage-225-127.jpg)


It takes a village to....


Doors and windows
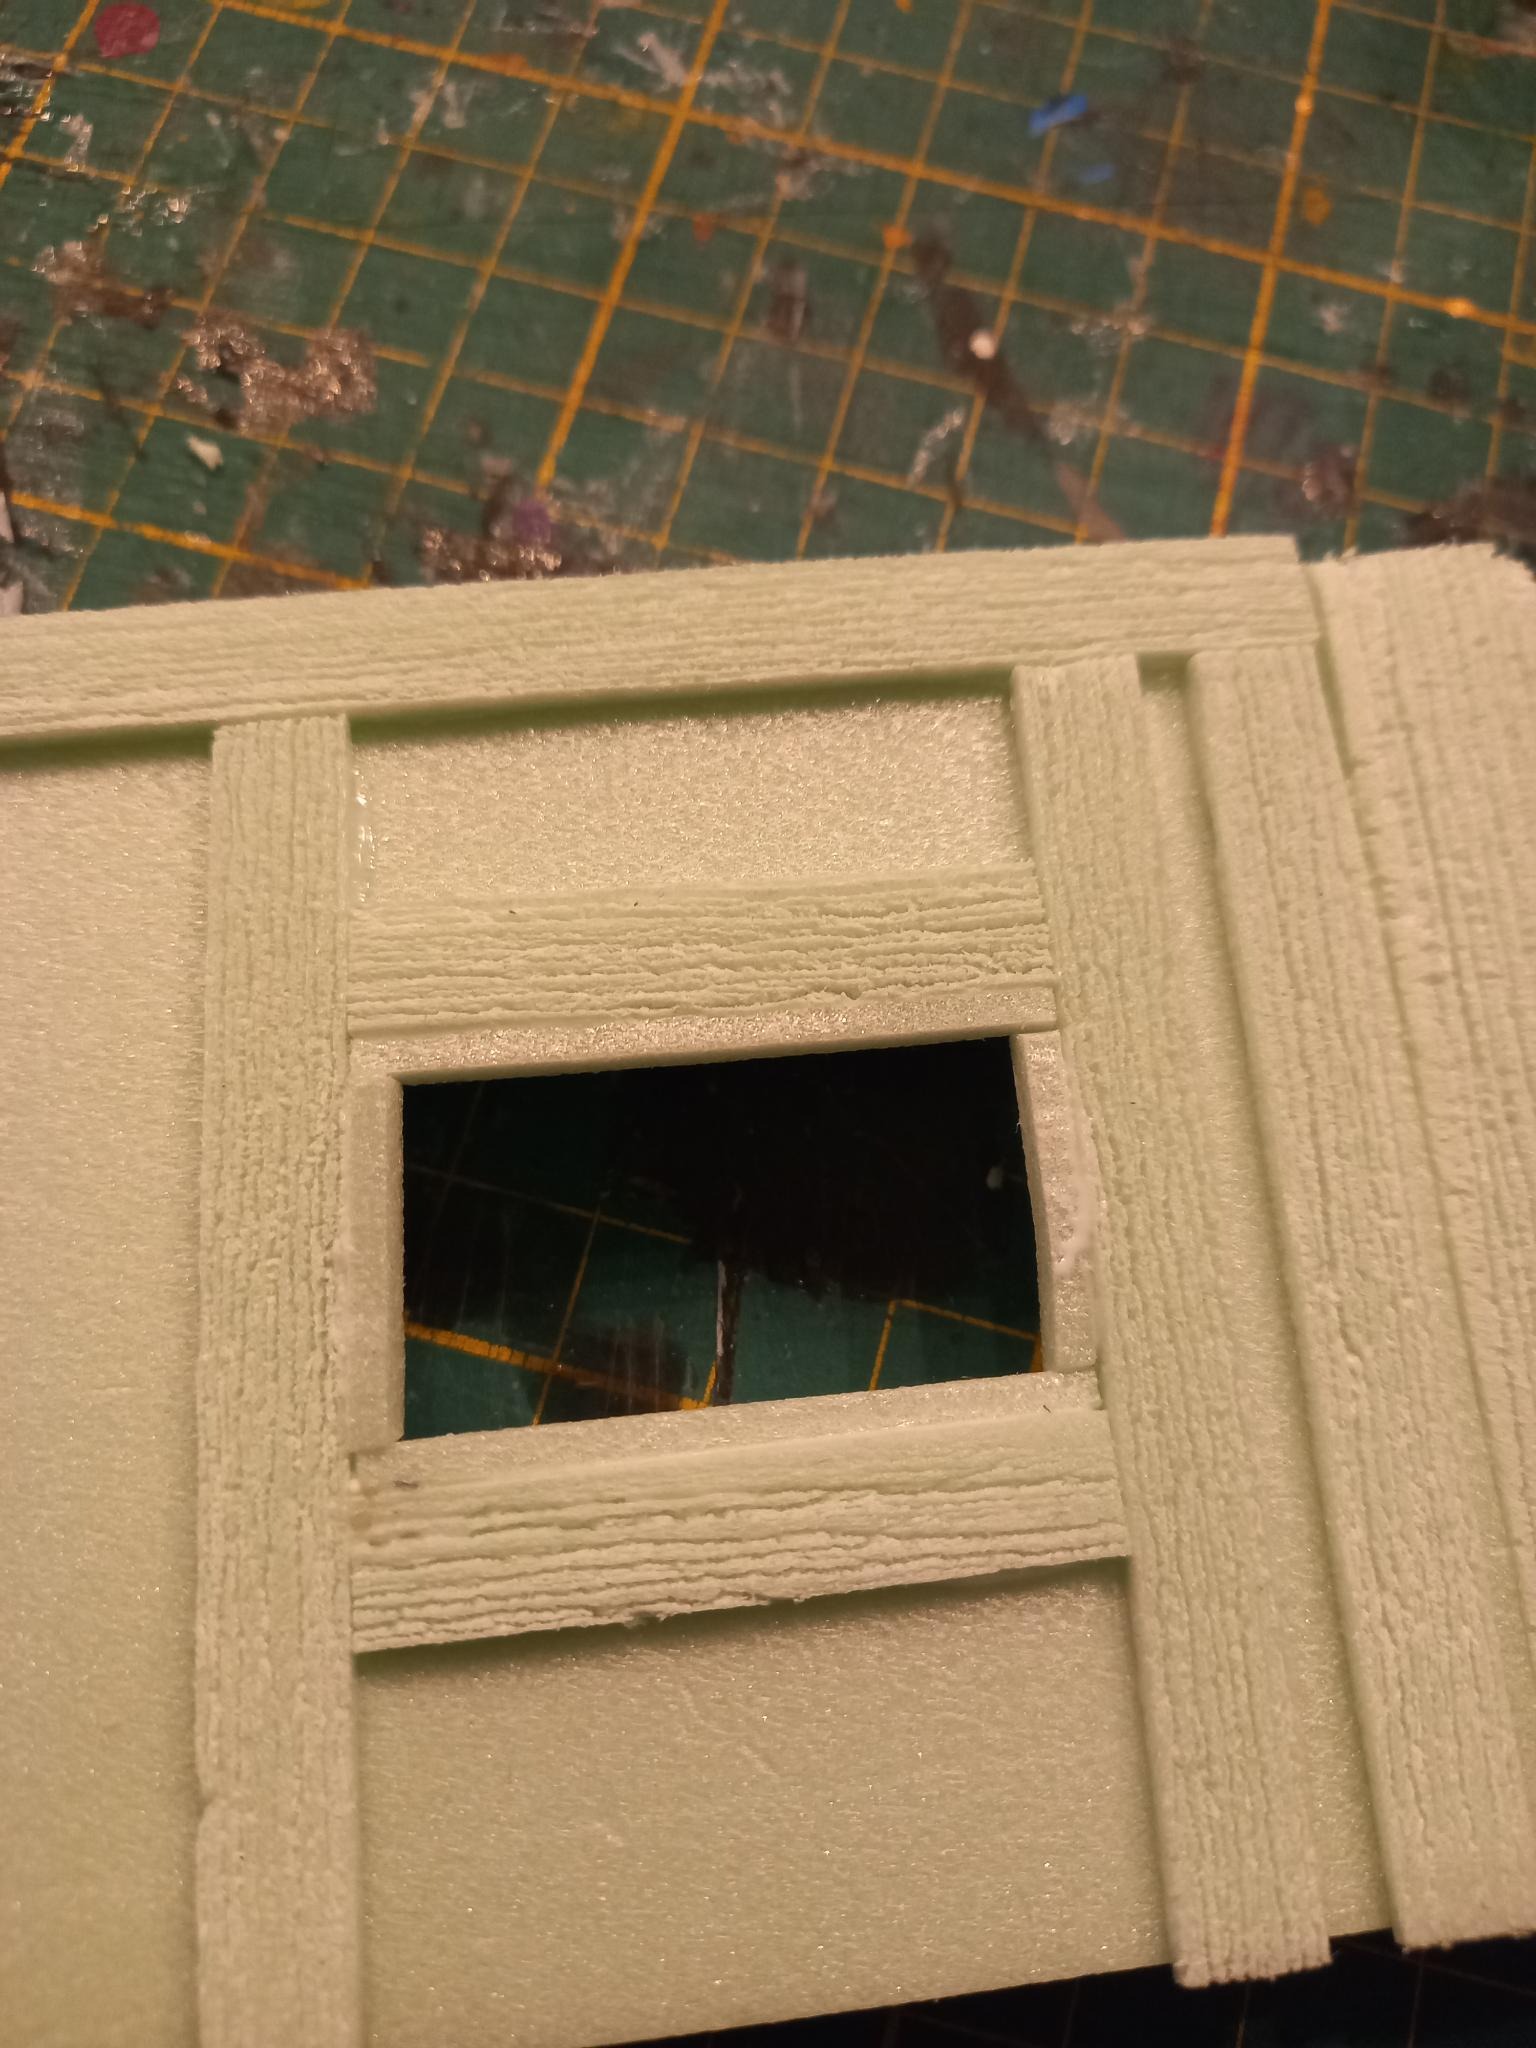
Now, to close up the doors and window-shutters
I made window frames, which I could stick them against. This will create the illusion of slightly small windows, as a small part will be covered by the frame and window-sill, allow very precise placement and prevent any creaks between the house and the shutters/doors.
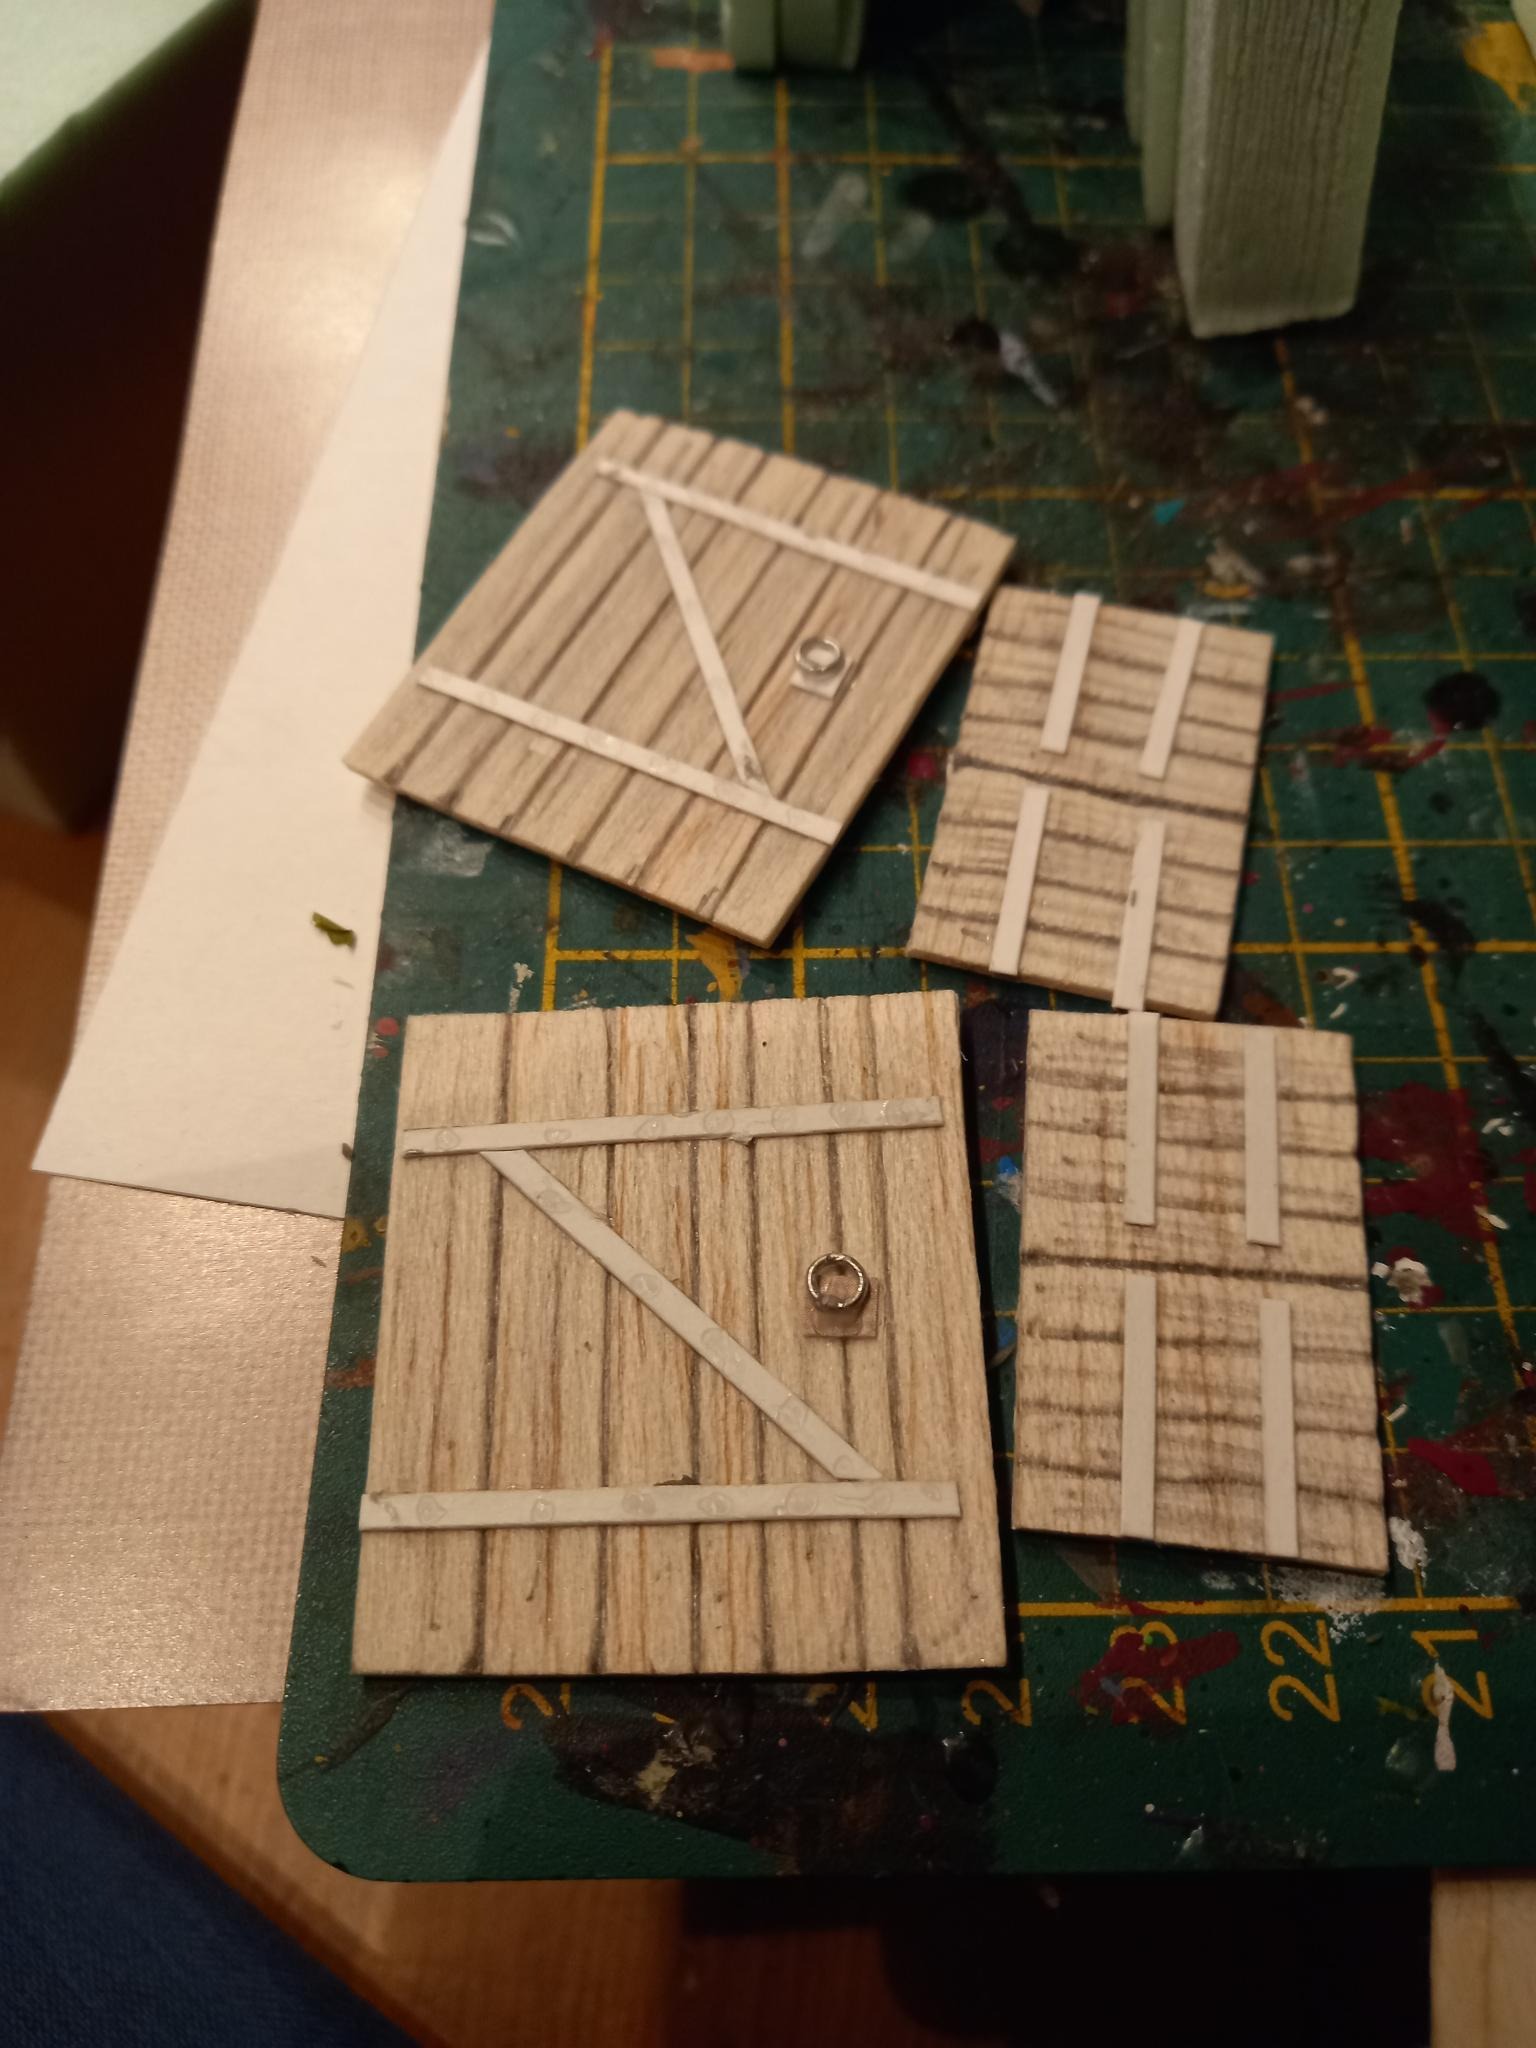
The shutters and doors themselves where made from balsa, for several reasons. These will be the thinnest, thus moste fragile, parts of the build and balsa is slightly more durable.
More importantly: I’m going to work with superglue a bt here and that reacts with the XPS foam, melting it. Probably not eating up the build, but it’ll destor detail.

After cutting the required pieces, I started on the detailing.
Using a pencil I drew some wooden boards. Using quick movemenst with the point I then made some more shallow markings to represent the wood grain.
Learning point: make sure to work with the natural grain of the balsa, as I didn’t do this with the windows. It’s not a huge problem, but it’s easier to work with.
Using PVA and ceral-card (equivalent) I stuck small strips to simulate some iron workings to keep the door together and look like hinges (a detail will be added at a later time).
I then dotted some superglue on the “board” so it appears like there some nails (not overly visible on the pictures, but I’m hoping it’ll show up better when I start painting).
A small piece of card and a little metal loop (a donation from my wife’s hobby-box. These are used to make necklaces with beads. I mooched a little more from her collection, but this’ll show up later).
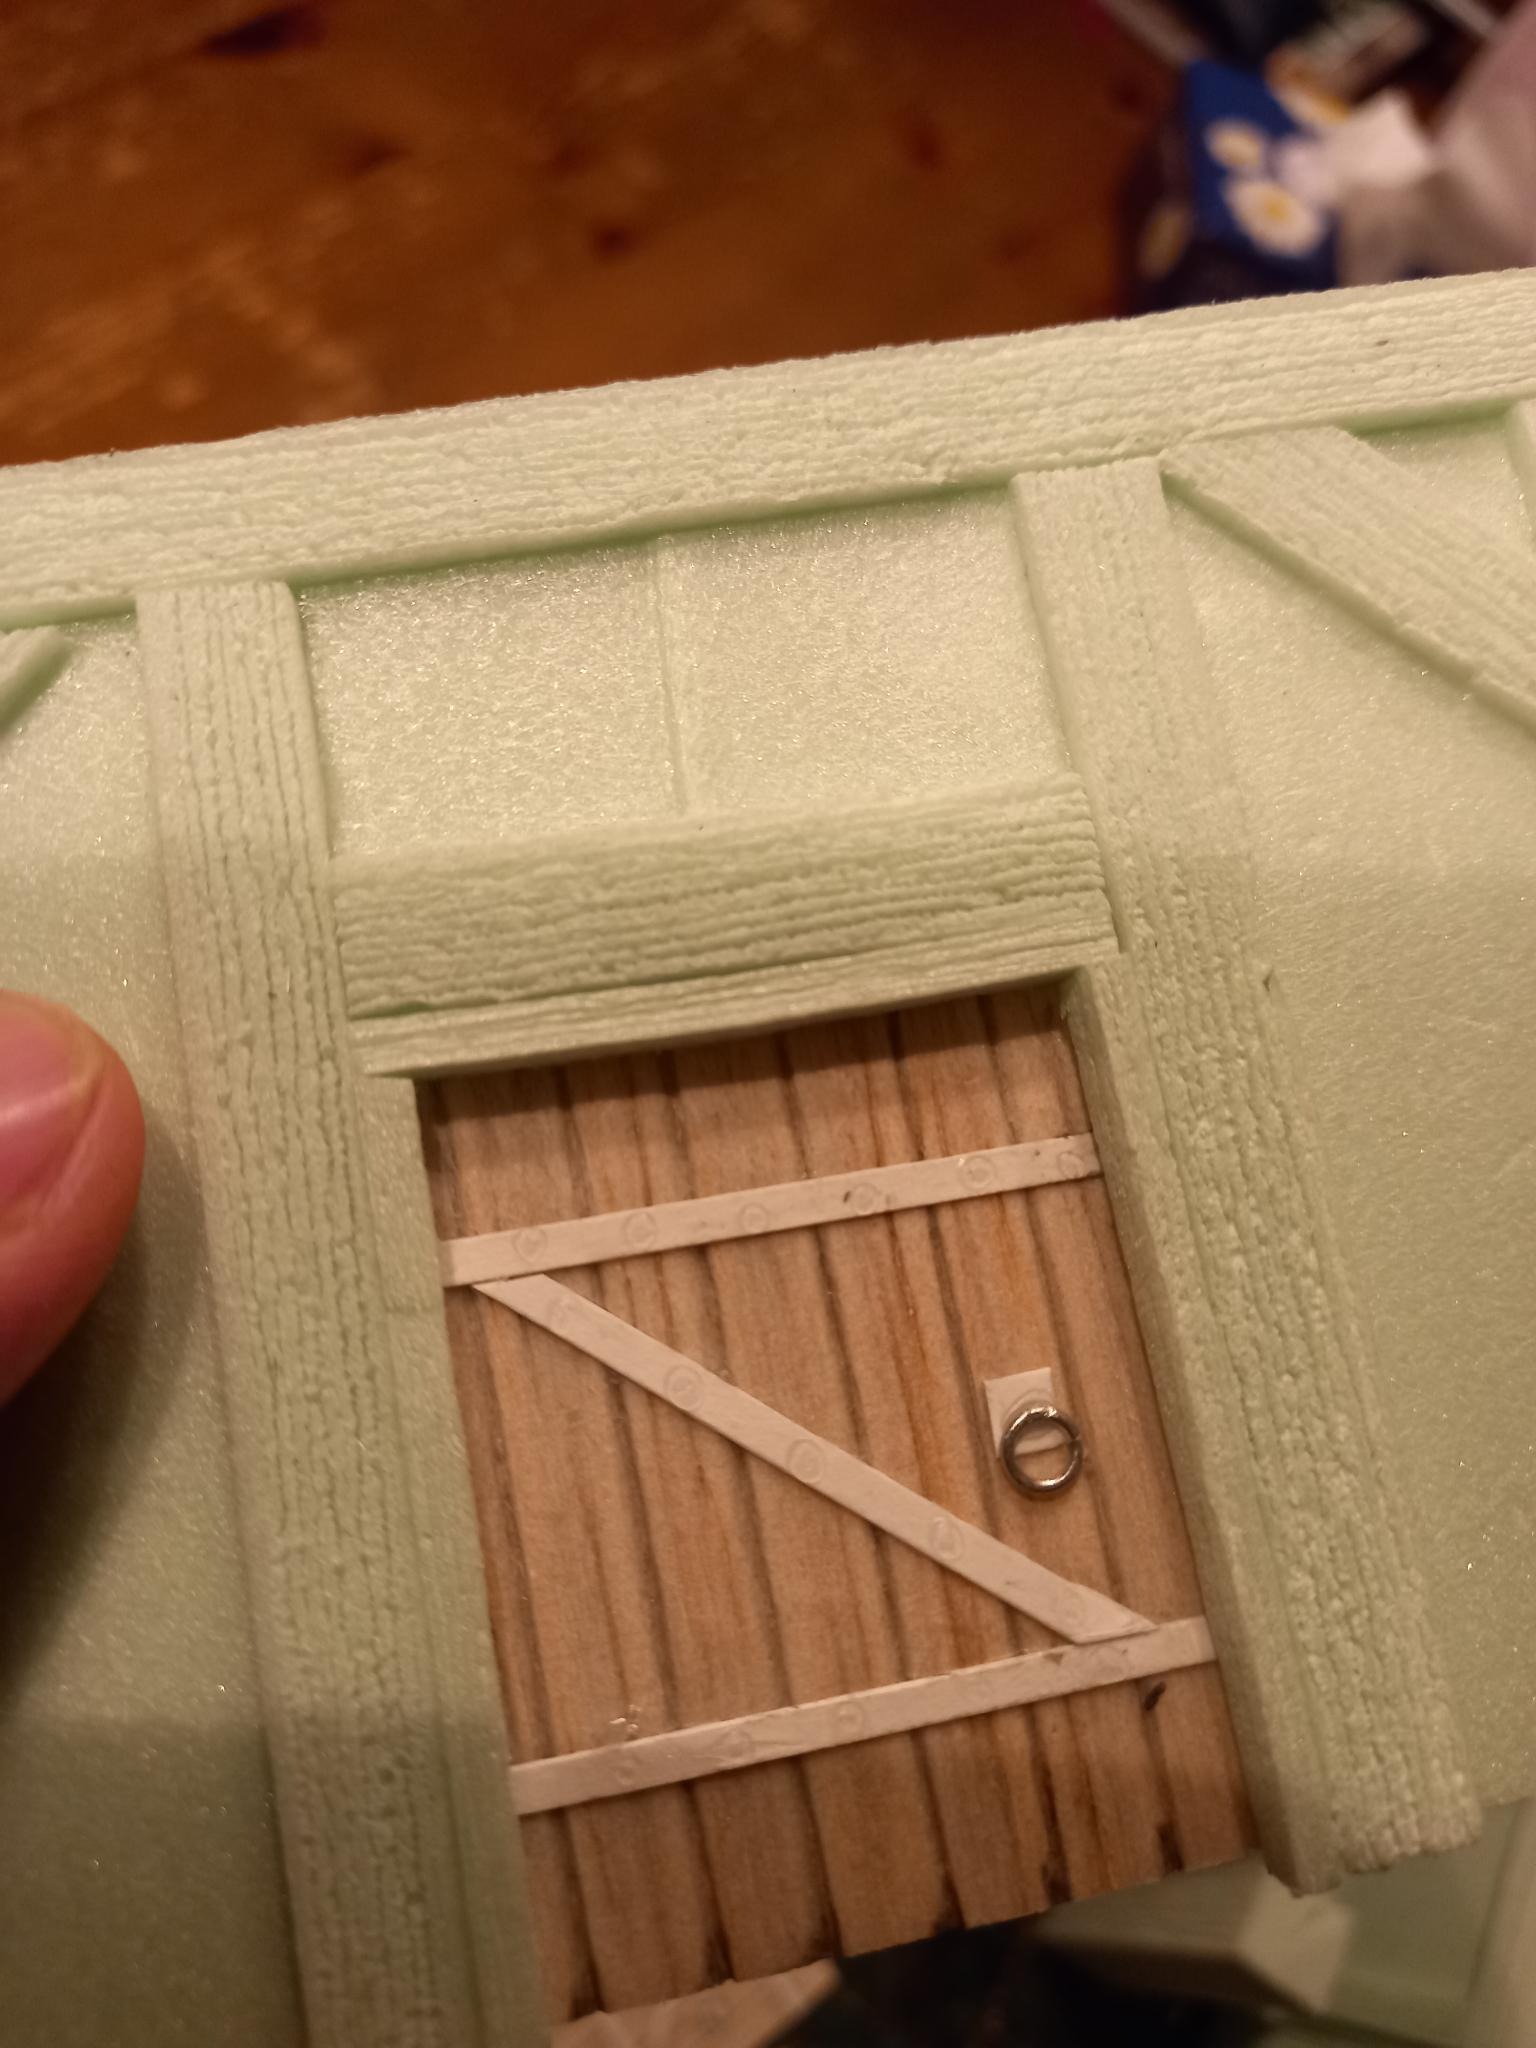
I then started putting the pieces into place. Next steps are creating the frame on the other side and closing a few gaps.


Leave a Reply