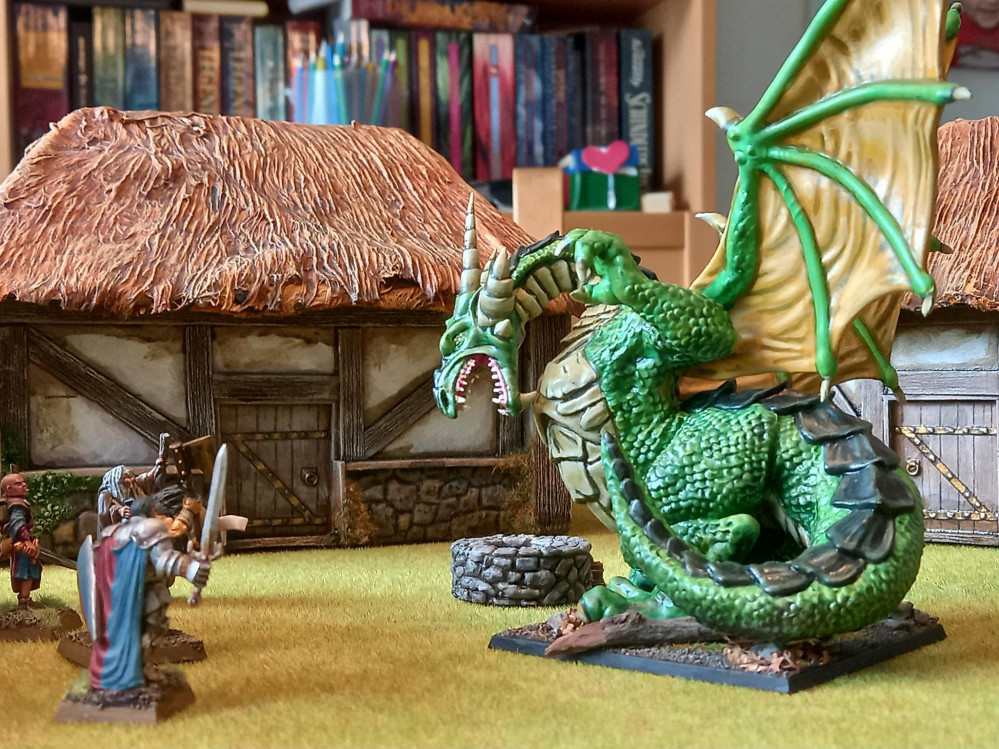
It takes a village to....
Wait, what?
It is done!?
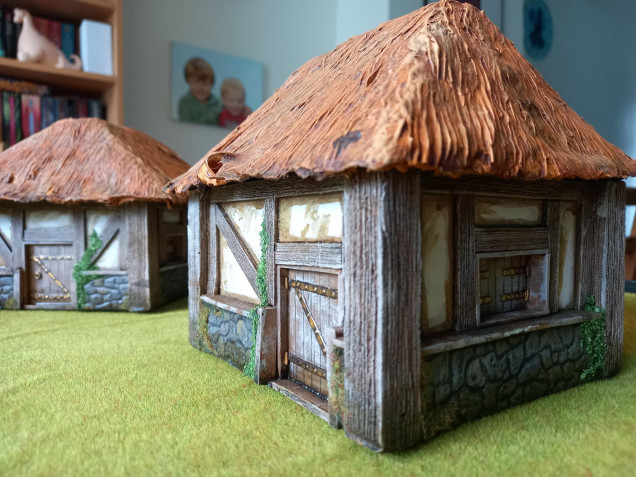
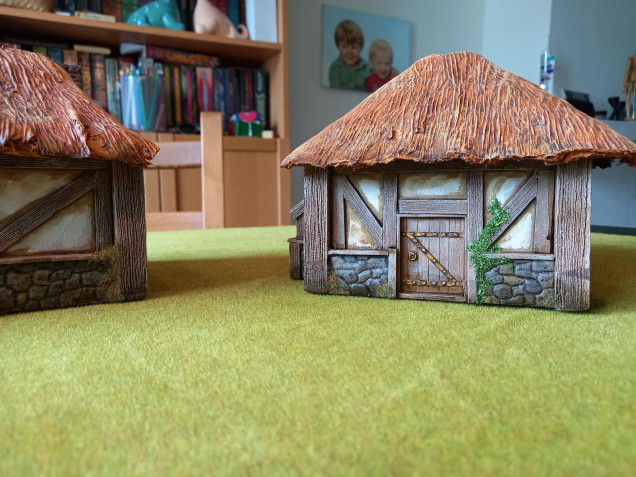
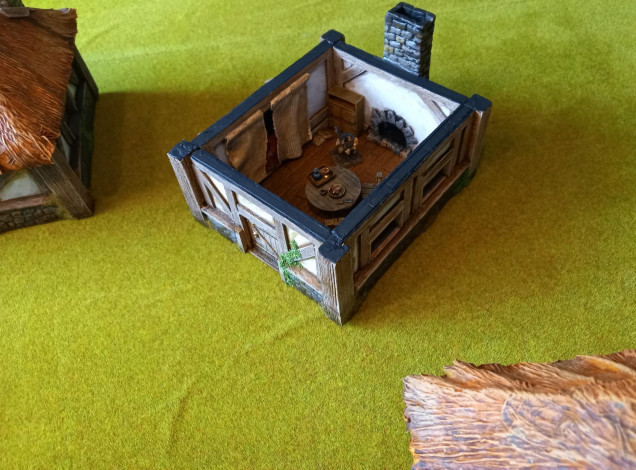
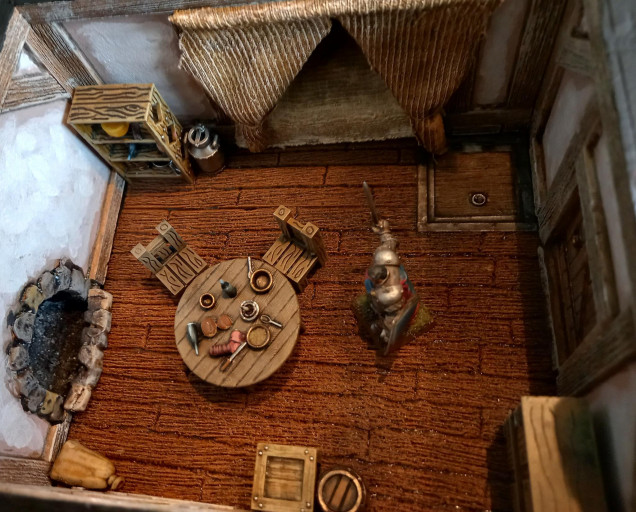
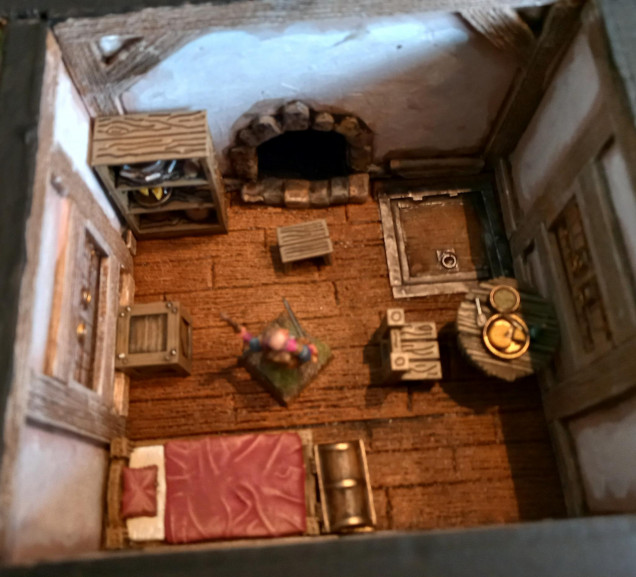
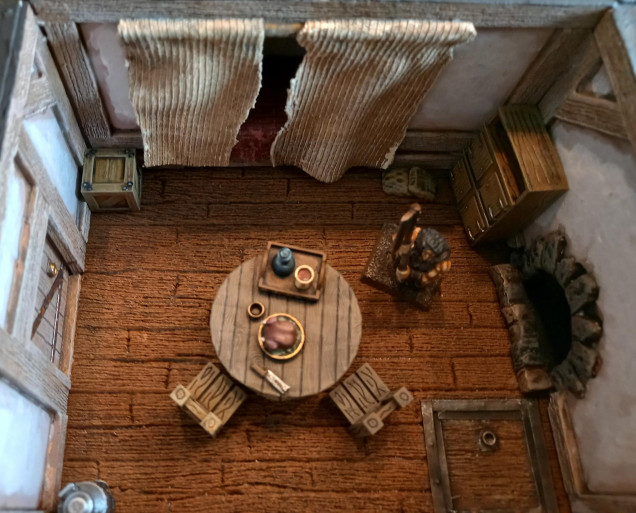
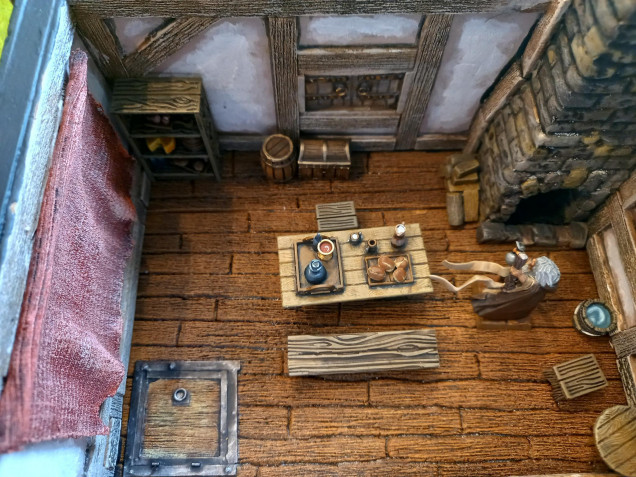
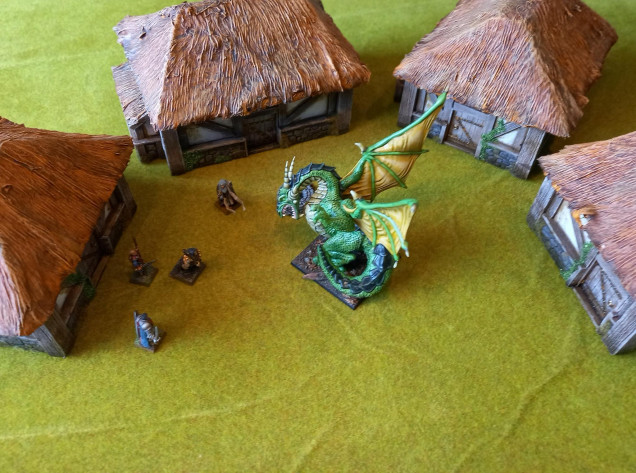
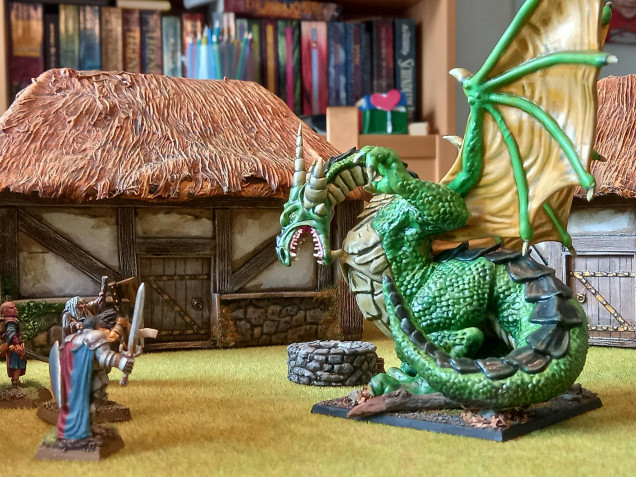
Unbelievable, but I plowed through it and I now have 4, highly detailed, completely furnished fantasy buildings.
It was somewhat frustrating at times, but I’m allready itching to build a hag’s hut for the outskirts of the village, so I must have enjoyed myself. I am very pleased by the results and there’s plenty of plans to add to the set. The smithy, Inn, a windmill and plenty of greenery, both woodlands and farmland. So much more to add to this..
I got a comment I’m crossing over into dollhouse territory and I’m sure there’s some truth to that statement. This is certainly much more detailed than I’d ever dreamed I’d make something when I started all thos years ago. It might not be to realistic, but this is the ammount of detail I am dreaming of now. Playing on a table that looks like it’s lived in.
Not to surprising as I’ve spend some evenings talking to the mom of one of my wife’s friend, who did make dollhouses, and we had plenty of tips and tricks to learn one another. I though it was pretty cool how such different interests still had such a huge overlap.
There wasn’t a whole lot of exciting things to add, since last update.
I added some green and moss on the outside. For this I made a mix of watered down PVA and static grass. I made sure to fill amy cracks where the wall pieces didn’t properly fit as much and then scattered one of 2 materials over it. Some static grass on the lower parts and some bright flock to the green that would go higher on the buildings.
I made the pva/grass mix, so I could both fill the gaps, but also have an already green base for the greenery, making sure I would get a good, visible coverage.
Then it was just painting all that I had printed. I basecoated everything in one of two browns. After this I gave it all a wash (I started brushing, but ended up just dunking it all in the pot of the home-made wash I used for the entire project. So much faster and a definite plus on making such a huge batch)
A quick drybrush with the origional brown mixed with some bone and light grey and most of the wood was done. I picked the metal on the simpler pieces and gave this a black wash. The goal was to set aside as many finished pieces in every step to make each next step less daunting. Seeing the pieces that remained required more and more colours.
I then tried and paint as many small details in one go as possible. All the cheeses, all the botltles and so on. Making sure as to not overdo it. Some pieces only got one highlight, but It’s more an overall look I am going for here. If I paint this all up as if I am painting for a competition I’ll never be done and I doubt it’ll be scrutinized that hard.
So, now I just have to post the glamour shots.
And with that….
I’m done.
I’m done?
Now, if just the heroes can get rid of that pesky dragon before it torches the place, that’d be great.


![How To Paint Moonstone’s Nanny | Goblin King Games [7 Days Early Access]](https://images.beastsofwar.com/2024/12/3CU-Gobin-King-Games-Moonstone-Shades-Nanny-coverimage-225-127.jpg)




nice work mate!
A great journey and a fine read – thanks for sharing with us all!
A brilliant looking village & figures @darkvoivod congratulations on the gold button.
Great final result! and well deserved Golden Button 🙂
Very nice work. It inspires me to get back to terrain building. Well deserved Golden Button.
2023-01-31 Your project has been visited by the unofficial Hobby Hangout. Huzza!