
Marvel Crisis Protocol by Lawnor
South Point View Complete
Diablo 4 came out about the same time this arrived and ate up all my free time, but I finally made a start on this project. I’ve built other MDF kits before (2 paint racks, the Gloomhaven box inserts and a couple of basic uncoloured buildings) so I had some idea of how this was going to go: Apply some PVA, walk away for a few hours while it dries, come back for the next stage, repeat until done. Looking at the store photos I assumed this was going to be 2 boxes, 4 walls and a roof each. A quick and simple build.
WRONG!
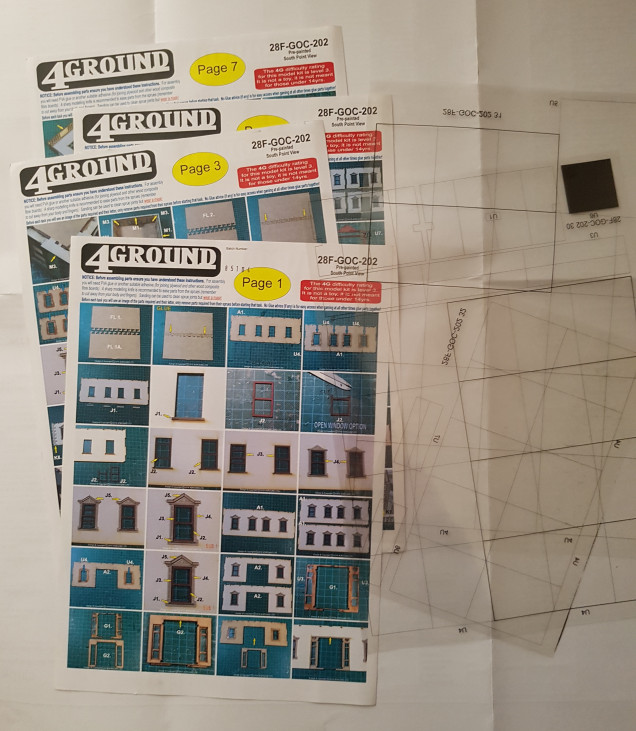
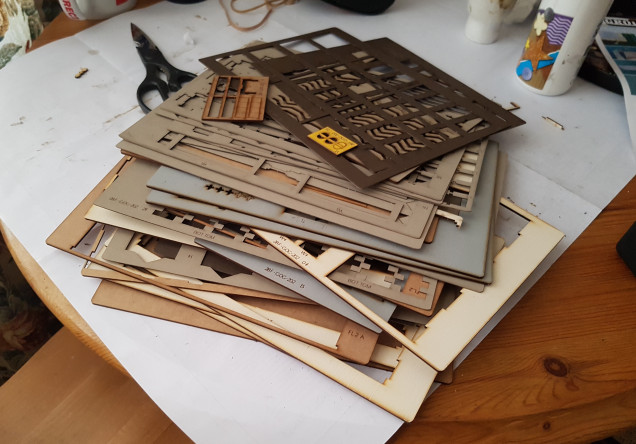
Simple! How laughable. I’ve always thought 4Ground terrain was too expensive. It looks great, but £130 for 2 boxes that make up one piece of terrain? That’s insane. I get it now. These kits are on a par with Gundam model kits and high end gaming pieces. Building 4ground terrain pieces could be a hobby in itself. I’m not saying it was hard, or overly complicated. It was detailed and had lots and lots of parts. There were 8 sides of instructions for it. It’s so detailed each window is made of 6 parts (not including the wall) and the first half page of instruction is on building a window.
I started work Thursday evening after work. I’d apply some glue, then go run a few dungeons in Diablo 4 while the glue dried. I got 2-3 building cycles in on Thursday and Friday evenings, and continued this across the whole of the weekend. It did take the whole weekend to build it, and the glue was still drying when I went to be on Sunday. It may have taken longer than it needed to as I was easily distracted by Diablo 4 (Spoiler: Diablo is currently not in Diablo 4. At least, I’ve not found him). If I was building another I could see ways to speed it up if I had table space to work. I could do all the windows at once, if not be working on all 6 sections (2 storeys and 2 roofs) at once. That would require a lot of flat space though. I don’t think I have enough I can free up for a whole weekend.
It’s all built now and I quite enjoyed the process. Here’s some extra bits I did not stated in the instructions for anyone doing something similar
- Lay down a ground sheet. You’re gonna drip glue everywhere. Put down some newspaper to catch it, and put down some newspaper under that so when the glue soaks through it sticks to the second sheet and not your table
- I ran a line of PVA straight from the bottle alone the inside corner anywhere two walls or a wall and floor joined together. This will provide extra strength. Also, PVA shrinks as it dries so it might even help pull everything together
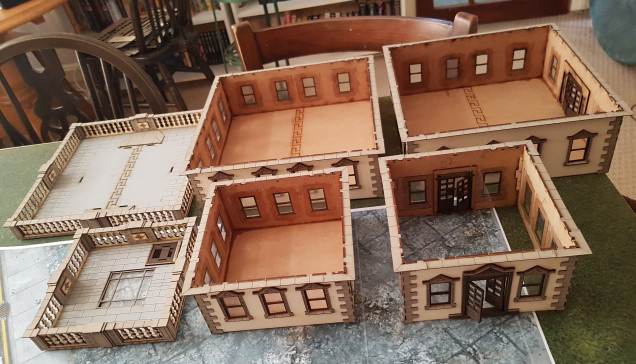
- One of the storeys does not have a ceiling or floor to provide structural integrity to the walls. To help prevent them from collapsing I took some old MDF sprue and glued that in to the corners after doing the above step. Hopefully this will add some strength.
- However much glue you think this will need, it’ll need more. I’ve had the same 500ml bottle of PVA for years. I use it for basing minis. I’ve never noticed the volume drop. I could feel it getting lighter all the time. I’d squeeze enough out to brush on for the current step only to find out I needed 4 times as much as I thought. There’s still plenty in my bottle, but if you’re running low have a spare bottle on standby before starting a project like this
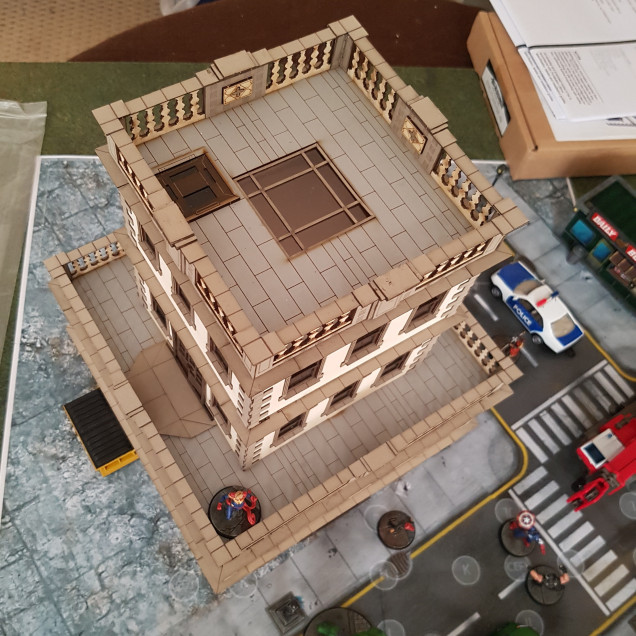
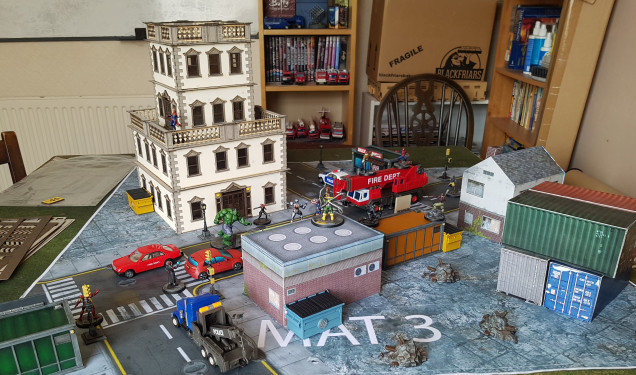
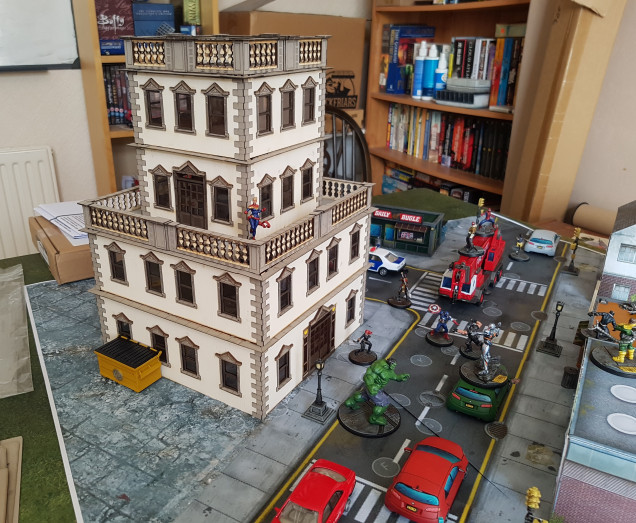
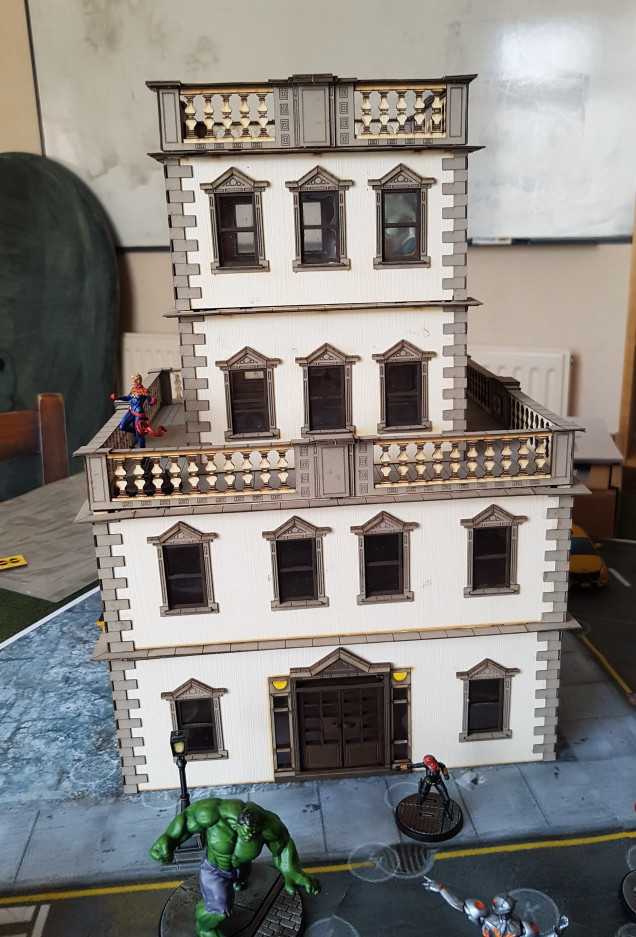 The scale on this is good for MCP. I though tit might be a bit small as it says its 28mm, and I believe MCP is built more towards 40mm. It looks right though.
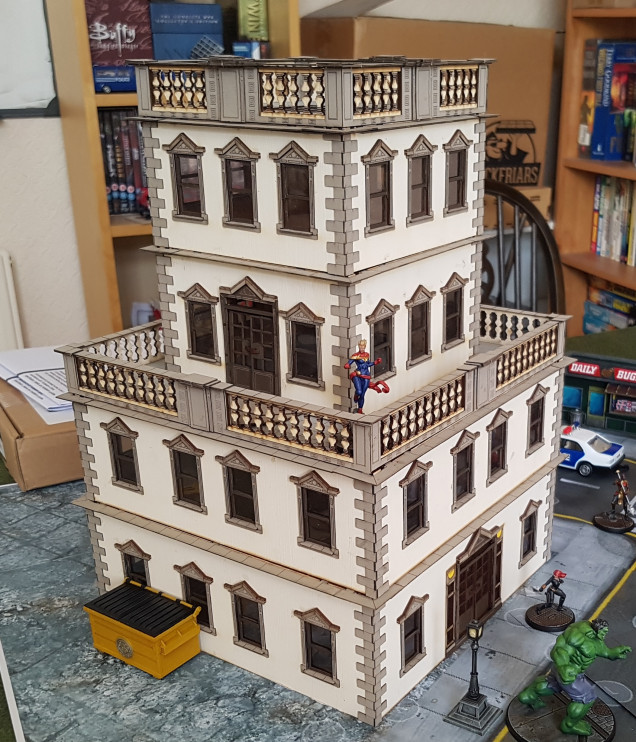
They said it was 360mm tall. I thought that’s barely bigger than a full size ruler. Not that big at all. In reality It’s about 380mm tall and it feels a lot bigger. This thing is huge. It also comes apart in to 4 separate levels. This means you could spread it round the table as the footprint for multiple buildings if you needed that. It wouldn’t look 100% authentic. You could definitely split it in to two building and no on would notice.
That’s this project done. I’ve built and painted everything I currently expect to get for this. I hope to one day get in a few games and then I might come back once I’ve bought more stuff. Until then, this project is complete.


![How To Paint Moonstone’s Nanny | Goblin King Games [7 Days Early Access]](https://images.beastsofwar.com/2024/12/3CU-Gobin-King-Games-Moonstone-Shades-Nanny-coverimage-225-127.jpg)




Leave a Reply