A Long Time Ago...(A TerrainFest 2023 Blog)
Episode II: Enter Sandman
Before starting this entry, a little update on the previous entry regarding the texture paste…
Did anyone else know that texture paste shrinks as it dries? I sure didn’t. It isn’t a big deal, but it sure was annoying to see.
Alright, for this entry (which will be the third time I’ve posted it because the project system hates me for some reason) I added some additional texture to the bases prior to the priming step. I was planning on priming immediately afterwards but time got away from me.
Supples I used for this portion of the build:
- Woodland Scenics: Fine Ballast
- Woodland Scenics: Medium Ballast
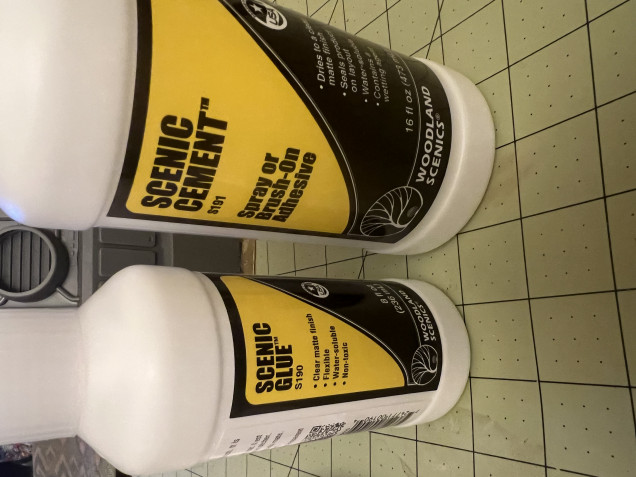
- Woodland Scenics: Scenic Glue
- Woodland Scenics: Scenic Cement
One thing of particular note here is that I had the Scenic Glue/Scenic Cement on hand from another project. Some regular old PVA glue would have down the job just fine. I was just too lazy to dig around the closet for it.
Step 1: All Paths Lead Home
-Adding texture to the paths leading to/from the doors-
If you looked at the photos from the previous entry, it probably seemed strange to leave the paths in front of the doors of the two buildings empty. I did this because, narratively in my mind, I imagine these would be worn down from people coming and going. With that in mind, I add a layer of Fine Ballast to break up the texture paste.
Lesson Learned! Something I stumbled across when doing this is that, for some reason, the Scenic Glue did not want to hold the Ballast perfectly to the Polystyrene sheet. I’m not sure if the sheet was too slick and couldn’t get a good enough grip, but I had to add some extra after the first layer dried. For the later terrain pieces, if I need to do this again, I’ll either rough up the sheet or had a thin layer of something to make sure the materials stick better.
Step 2: Imperfections Make It Perfect
-Adding visual interest via texture-
While the texture paste looks nice, I wanted to add some visual interest with the Ballast.
To begin with I mixed the Fine and Medium Ballast in a small container. My preferred mixture was 1 tablespoon of Medium to every 2 tablespoons of Fine. While there isn’t a strong visual difference between the two, I wanted the Fine grains to be more dominant.
As with the outlining/cutting of the bases originally, I did not want the placement of the mixture to be symmetrical. Nature is weird (even in a galaxy far, far away). This also allowed me to cover up some of those awkward spots from the paste drying.
This was definitely a spot that felt like I did a lot of work but, at the same time, didn’t do a lot of work. They say trust the process, but I don’t trust myself (lol).
Anyways, what is next?
I’ll get these three primed and dry brushed before sending them over to my painting table. I’m still not 100% on my color scheme yet. I have some ideas, including maybe some various details, but we’ll see. One step at a time, Tim.
I’ll catch you all next time, take care!
Why do lawsuits against sand and silt never make it to court? Sediment always settles.


Leave a Reply