Russians Are Coming – A 6mm Plog by CommodoreRob
Recommendations: 50
About the Project
This is my Project which I started in the old forum but did not get very far before BoW.2.0
Related Game: Field of Glory
Related Genre: Historical
This Project is Completed
In the beginning
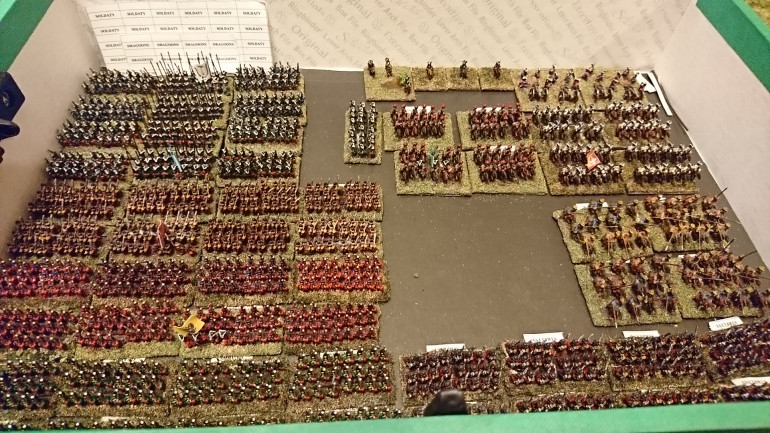
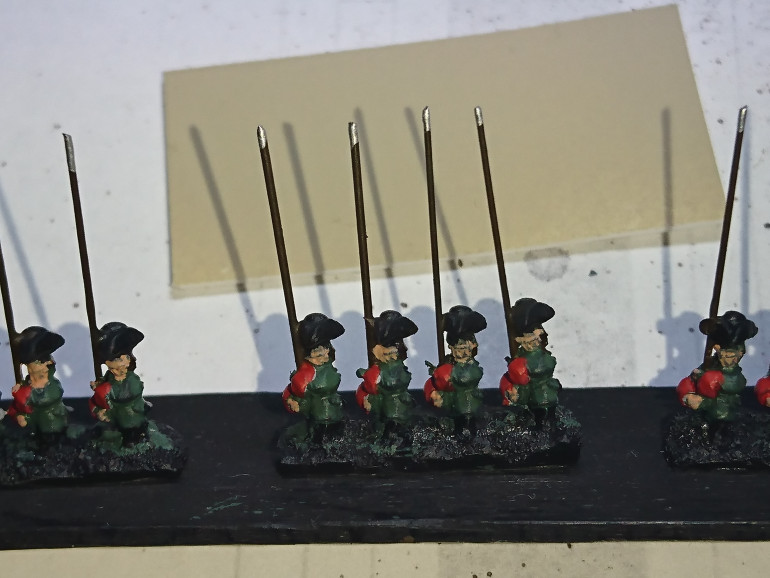
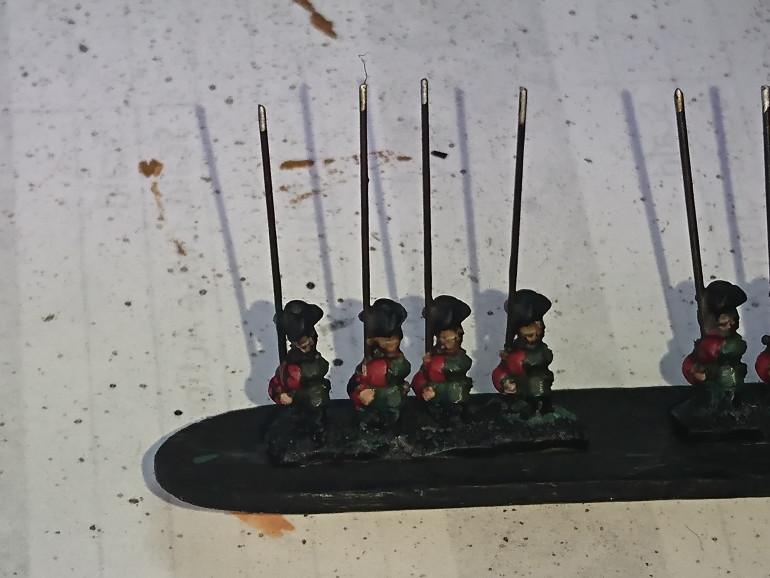
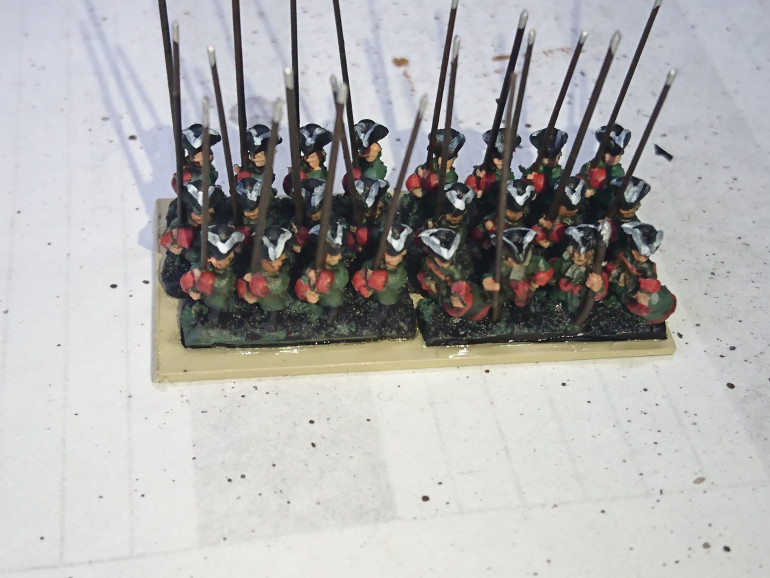
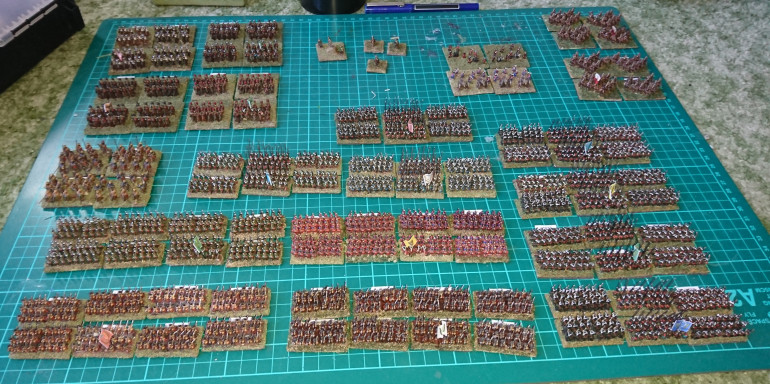
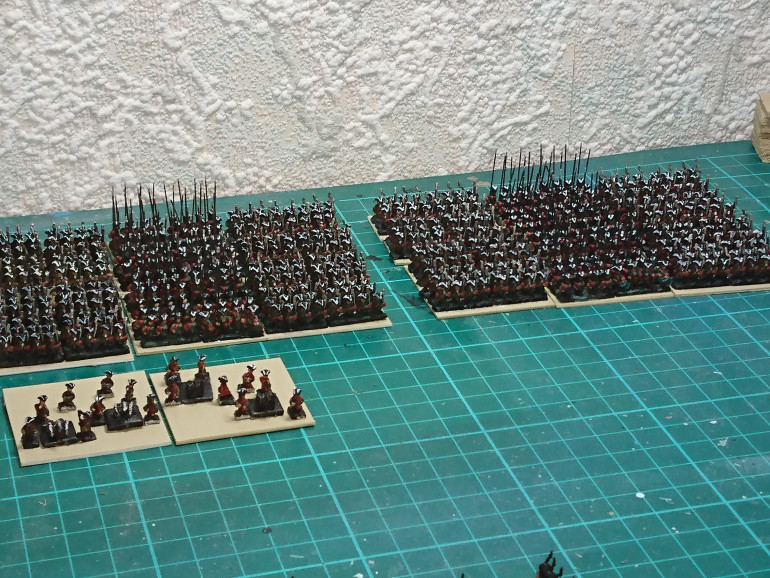 I have been somewhat slow in the updates for this project because I have had to plough on and get them finished. Anyway so here is a picture of progress so far, four brigades of Soldaty and two artillery batteries painted and stuck into bases. I have also finished another couple of Brigades of dragoons.
 6mm is not hard -Part 1
Ok so you think that 6mm is difficult…it’s too small to paint. Well actually it is easier to paint then a larger figure.
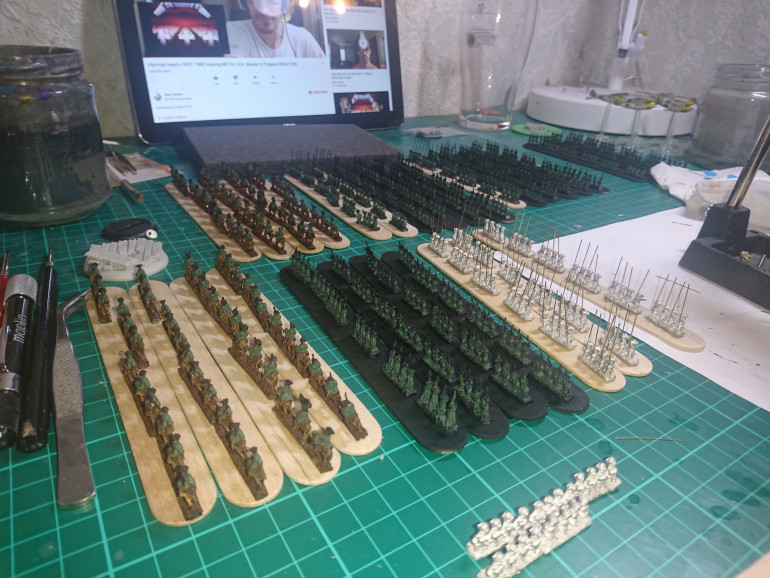
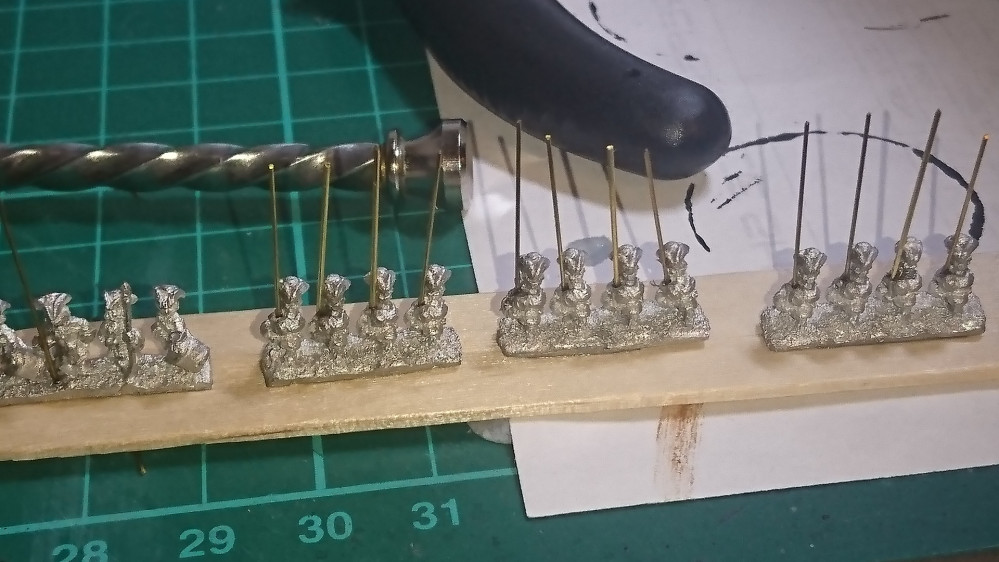
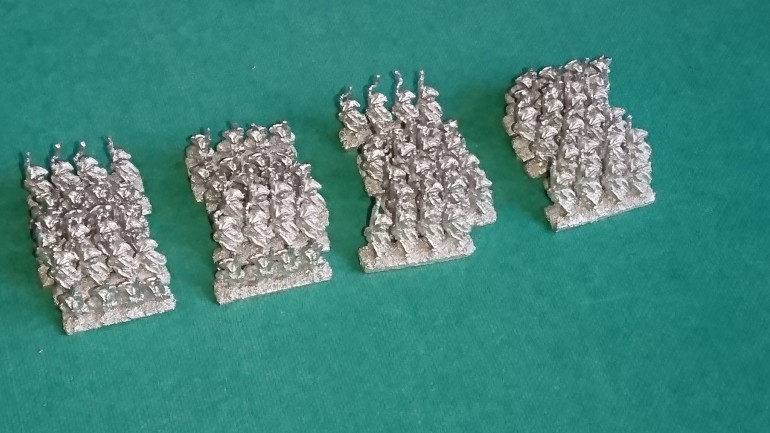 First off you start by cleaning up the figures these are Baccus and they come in strips of 4. These are basic Russian Musketeers
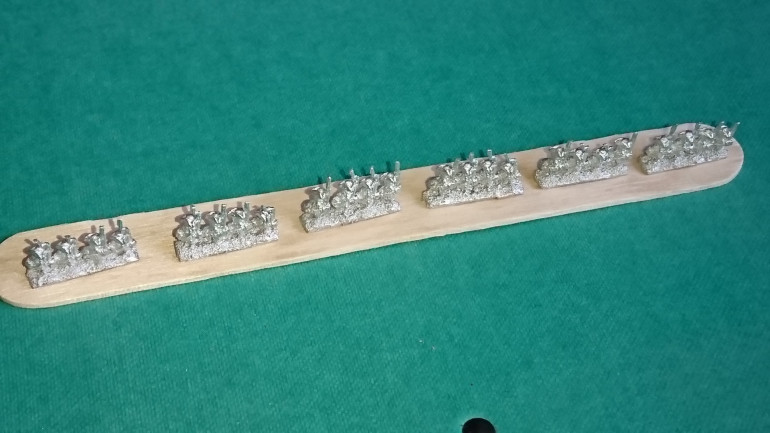 Next you stick the strips for the unit to a convenient lolly stick/ coffee stirrer /tongue depressor
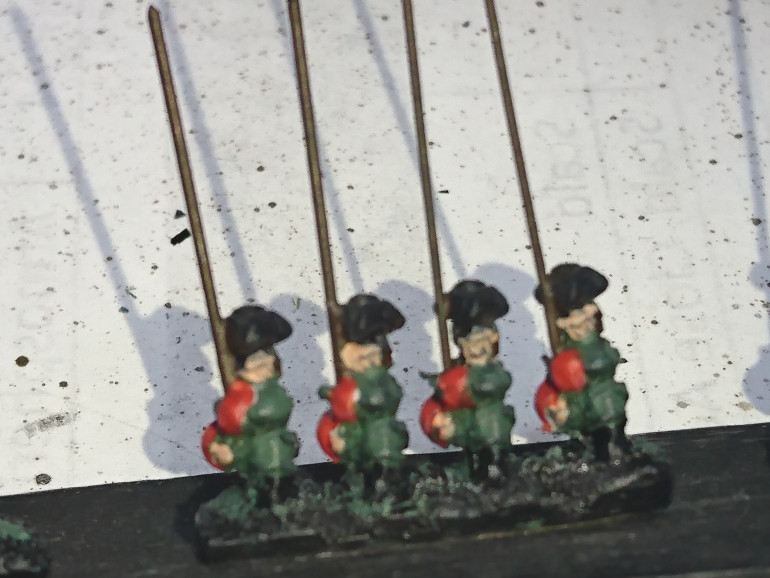
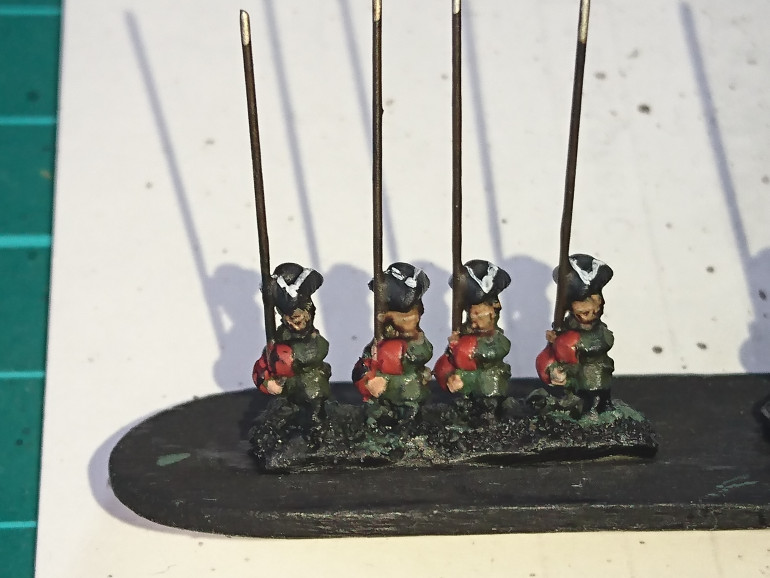
 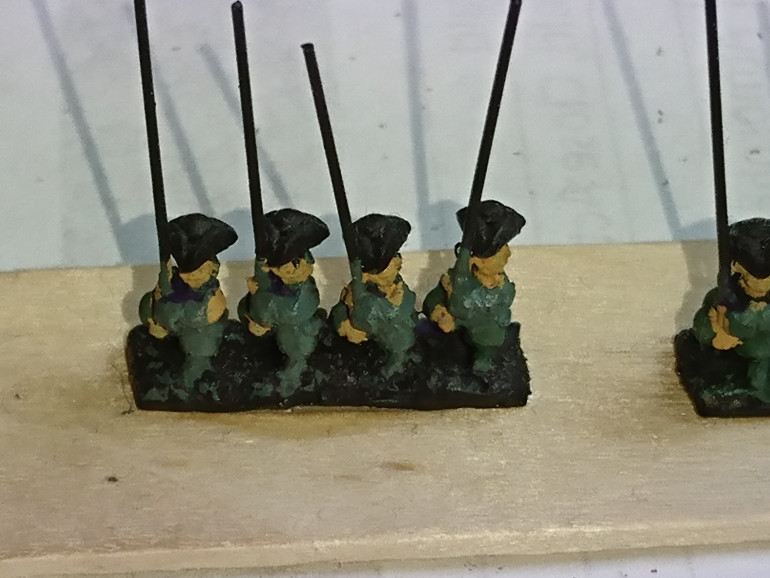 Then comes the faces using a basic flesh colour, as you can see it's all a bit rough and ready. There is nothing hard yet. ( Note these were moved to a new tongue depressor)
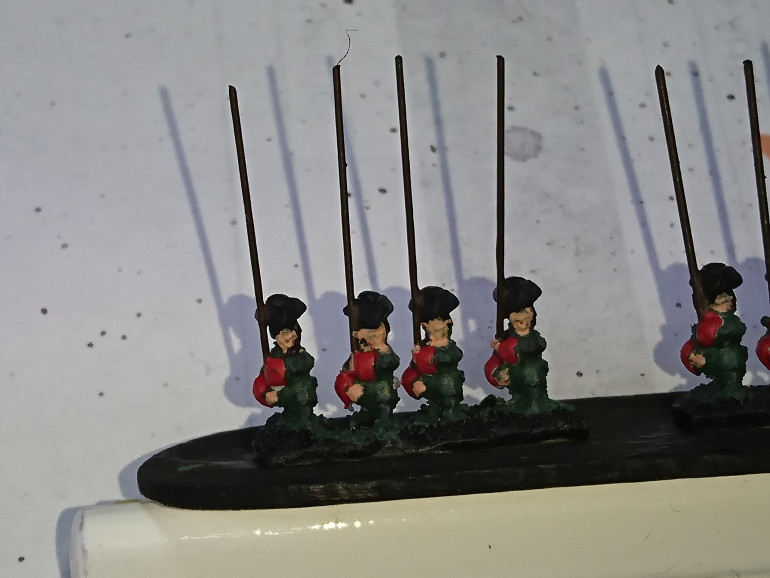
 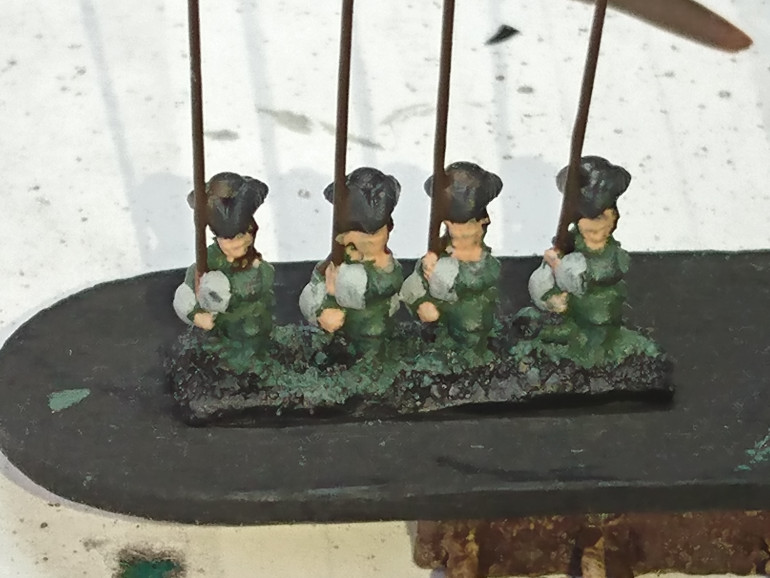 The weapons are then base coated in a suitable brown I used burnt umber for this. After the weapons I have used a stonewall grey to do the cuffs as a preparation for the later colour.
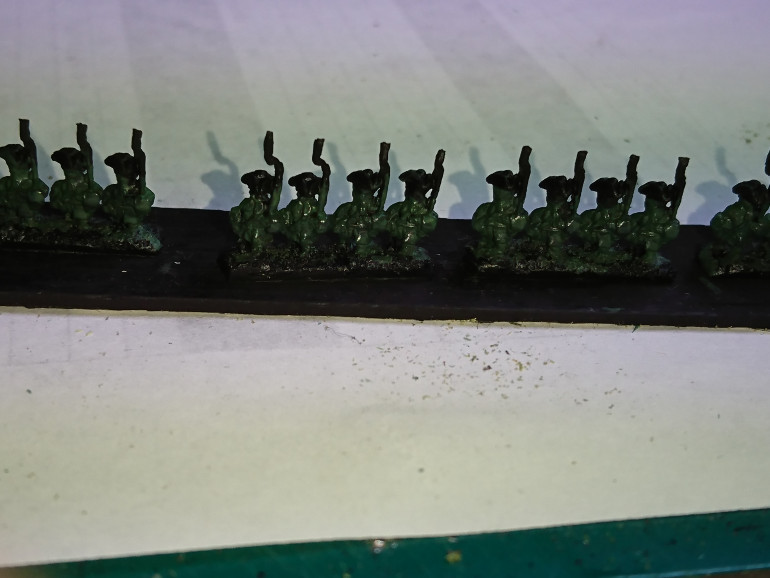
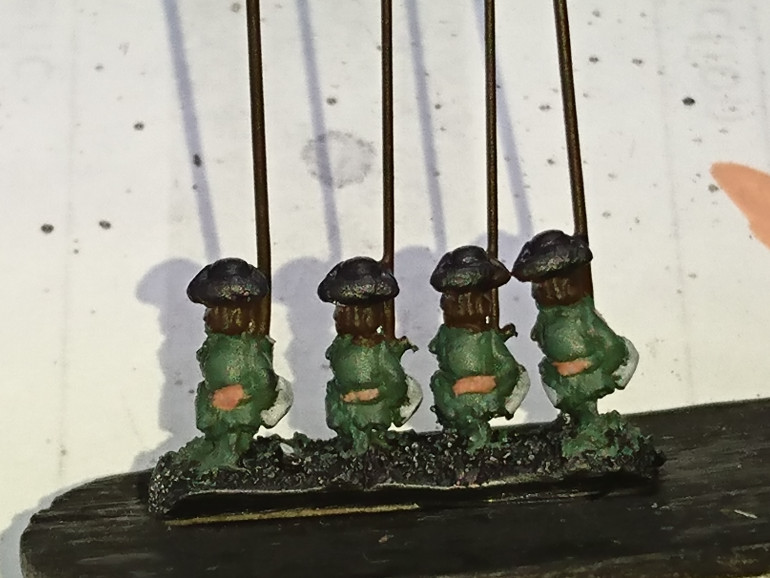 Next up the hair was done using the same colour as the weapons, this is for convenience, the aim is not to individualise each figure but to give them a good look. I have also used Vallejo game Colour Tan to pick out the belt.
6mm is not hard -Part 2
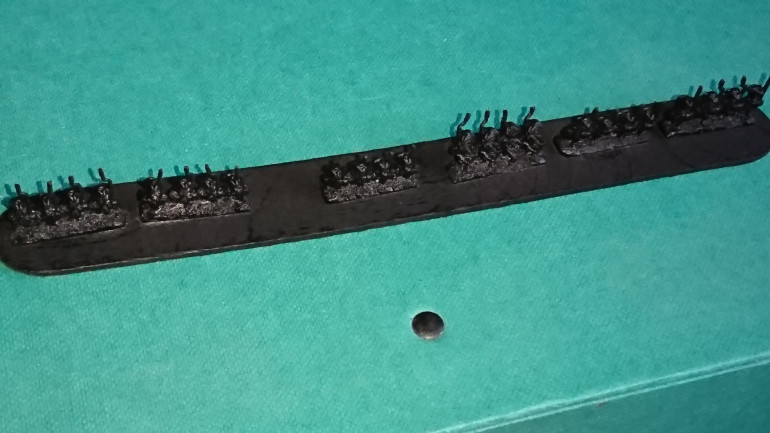
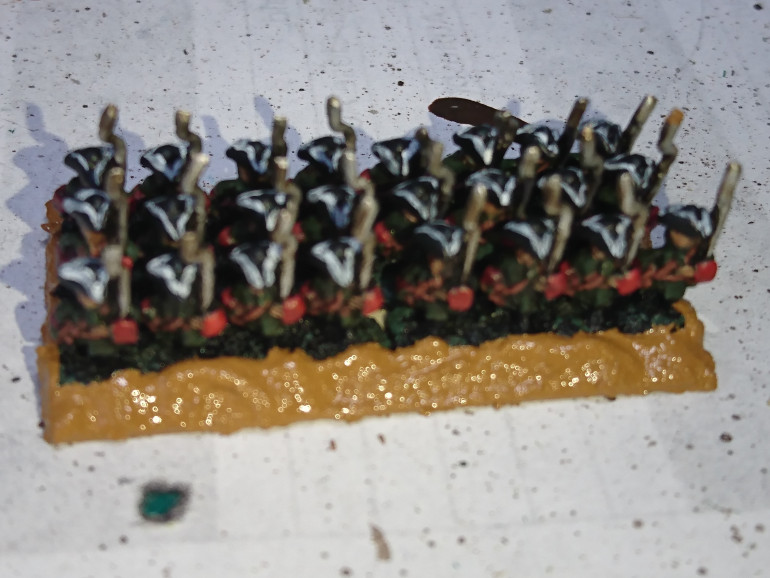
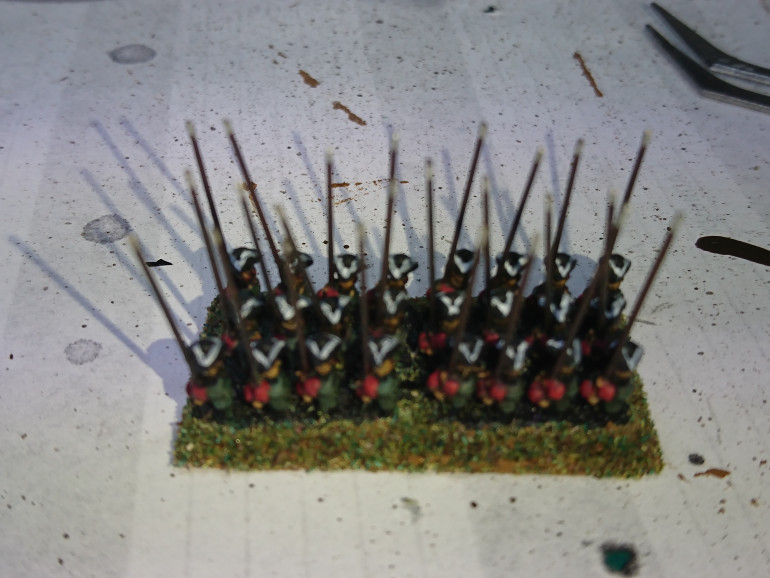
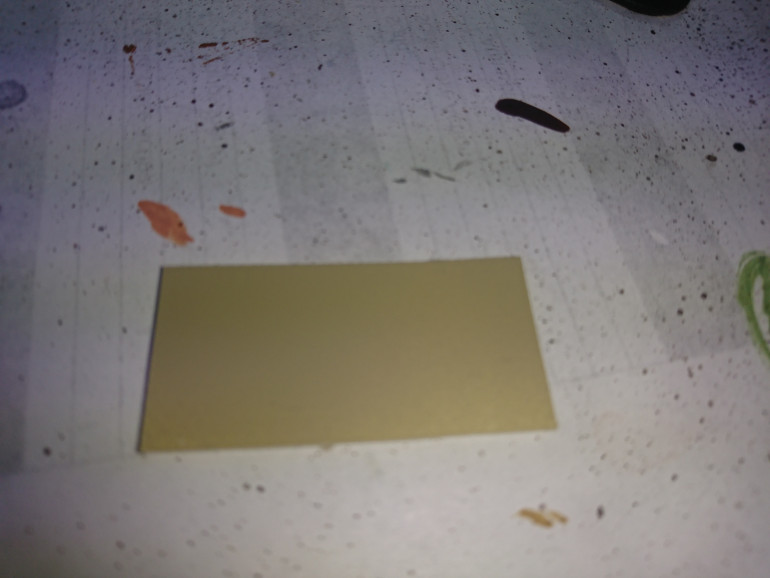 Next stage is basing I use plasticard to base all my 6mm figures, this is just preference, you can get laser cut wooden bases or just use thick card. The game rules I will be using these figures for is Field of Glory Renaissance. And because the base size is the important thing here not the number of figures we agreed on using the recommended bases size for 15mm. So here is 4cm x2cm infantry base. That has been primed using Army Painter Skeleton bone spray.


![How To Paint Moonstone’s Nanny | Goblin King Games [7 Days Early Access]](https://images.beastsofwar.com/2024/12/3CU-Gobin-King-Games-Moonstone-Shades-Nanny-coverimage-225-127.jpg)


