


![O-12 Infinity Fast Response! Firebat Attack Wing Unboxing & Review [7 Days Early Access]](https://images.beastsofwar.com/2026/01/unboxing-corvus-belli-infinity-firebat-attack-wing-coverimage-225-127.jpg)


Soldado’s Burrows and Badgers terrain – Part the second! The Mansion of Marneous Blackwick!


Recommendations: 914
About the Project
This project started out as me building some terrain for use at home to get my wife and daughter into gaming, now its become a bit of a monster part one (the village of Nutting Hill) went to Salute '19 and because people liked it, it has spawned part 2 "The Mansion of Marneous Blackwick!" Im hoping that I will again be able to take this to Salute for 2020.
Related Game: Burrows & Badgers
Related Company: Oathsworn Miniatures
Related Genre: Fantasy
This Project is Active
Stone the Crows!
Well maybe not given the size of Ravens in B&B unless you happen to have trebuchet!
To provide some variety on the non salute game table I have been making some stone walls.
These arent my idea I used the tutorial at the crooked staff blog here
http://crookedstaff.blogspot.com/2015/06/cheap-and-easy-to-make-stone-walls.html
Mine dont look quite so nice as theirs I think because the gravel they used is finer chips than the stuff I have. ho hum Im happy with mine, and I’ll be building more soon enough.
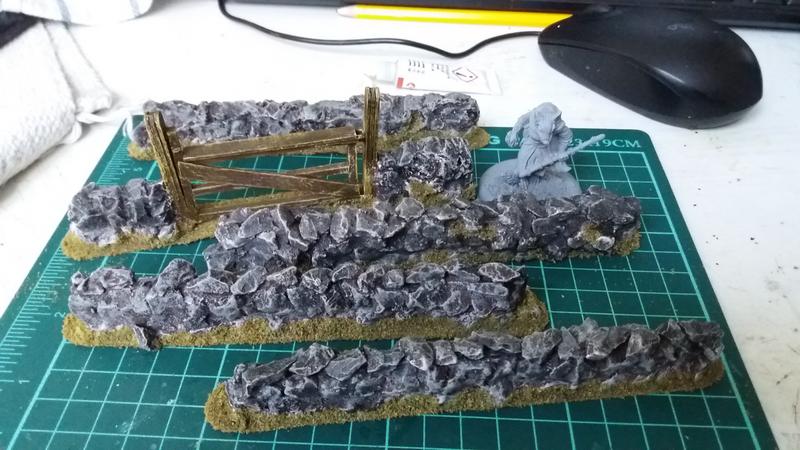 Undercoated mini for scale, burnt umber undercoat, heavy dark grey drybrush, black wash, mid grey drybrush, thin brown wash, light grey very light edging drydrush.
Flocking heck!
I was asked elsewhere about the flower tufts as I make them myself (Im way to much of a cheap skate to buy them, and yes it shows :D)
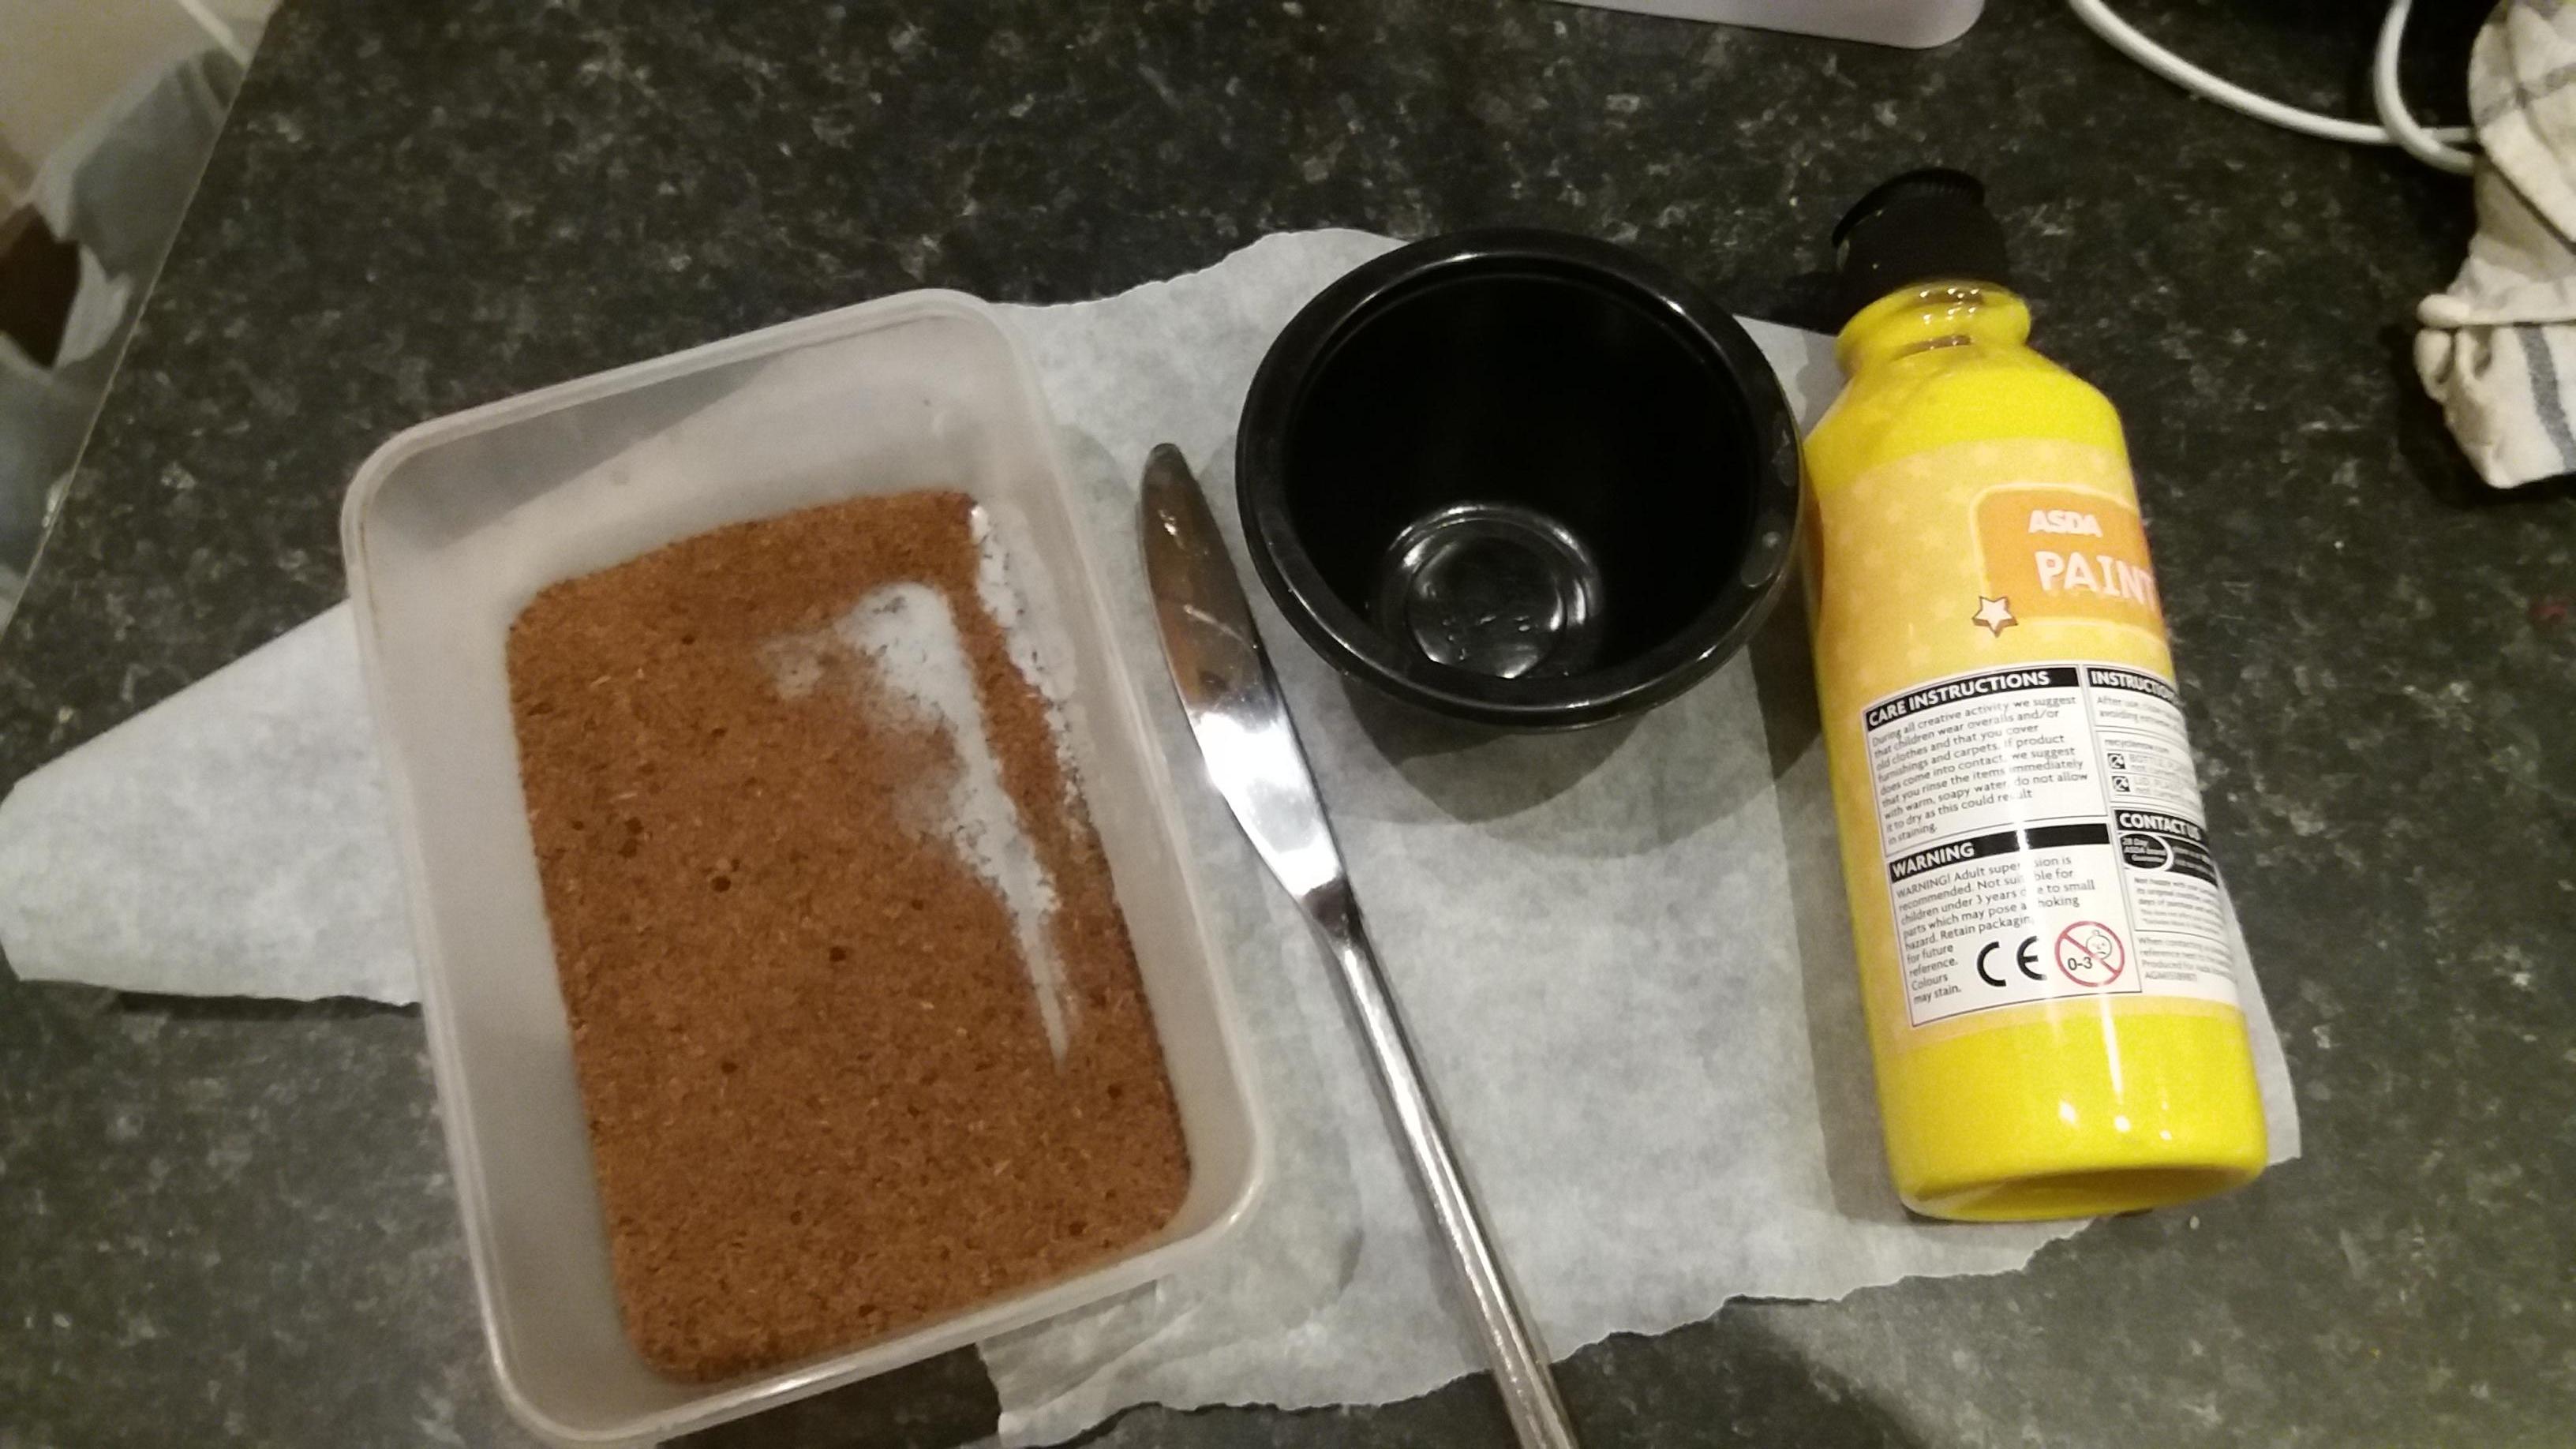 Ingredients: cheap kiddies paint, dried tea (wash and empty out used teabags and leave to dry in a tub on a radiator), a mixing pot and stirrer and baking paper, User the cheap poster paint rather than artists acrylic as thats to thick and glues the dried tea together into large balls which cant be broken up.
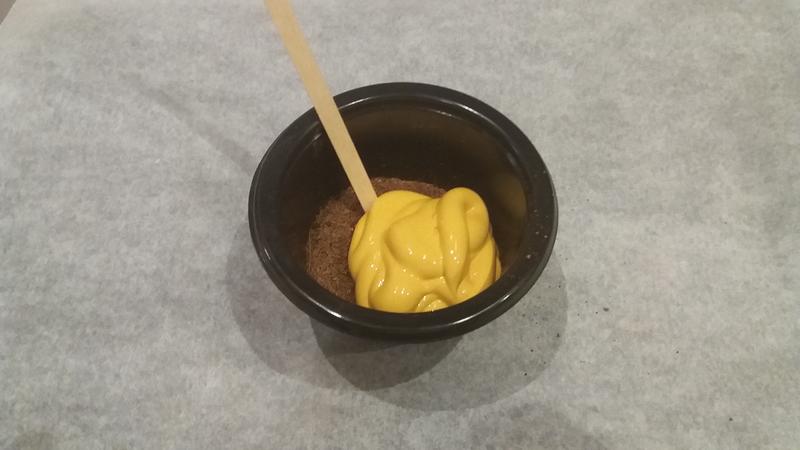 Some tea and a large glob of paint
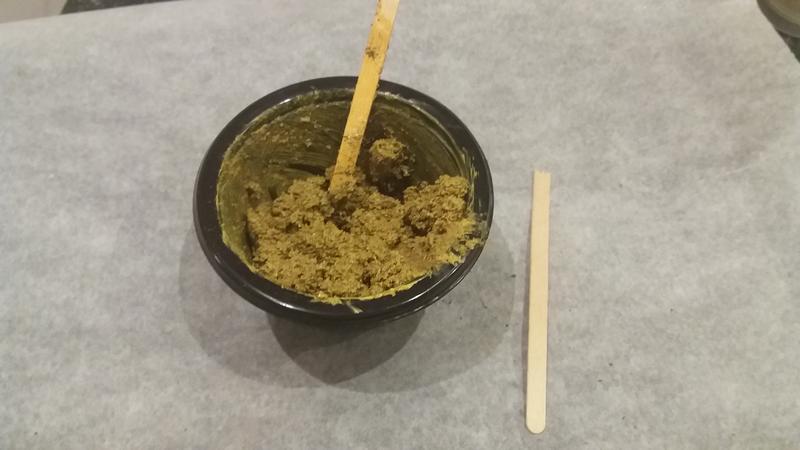 Mix it up, my missus frowned at me using the knife so I used a coffee stirrer, it broke so i went back to the knife :)
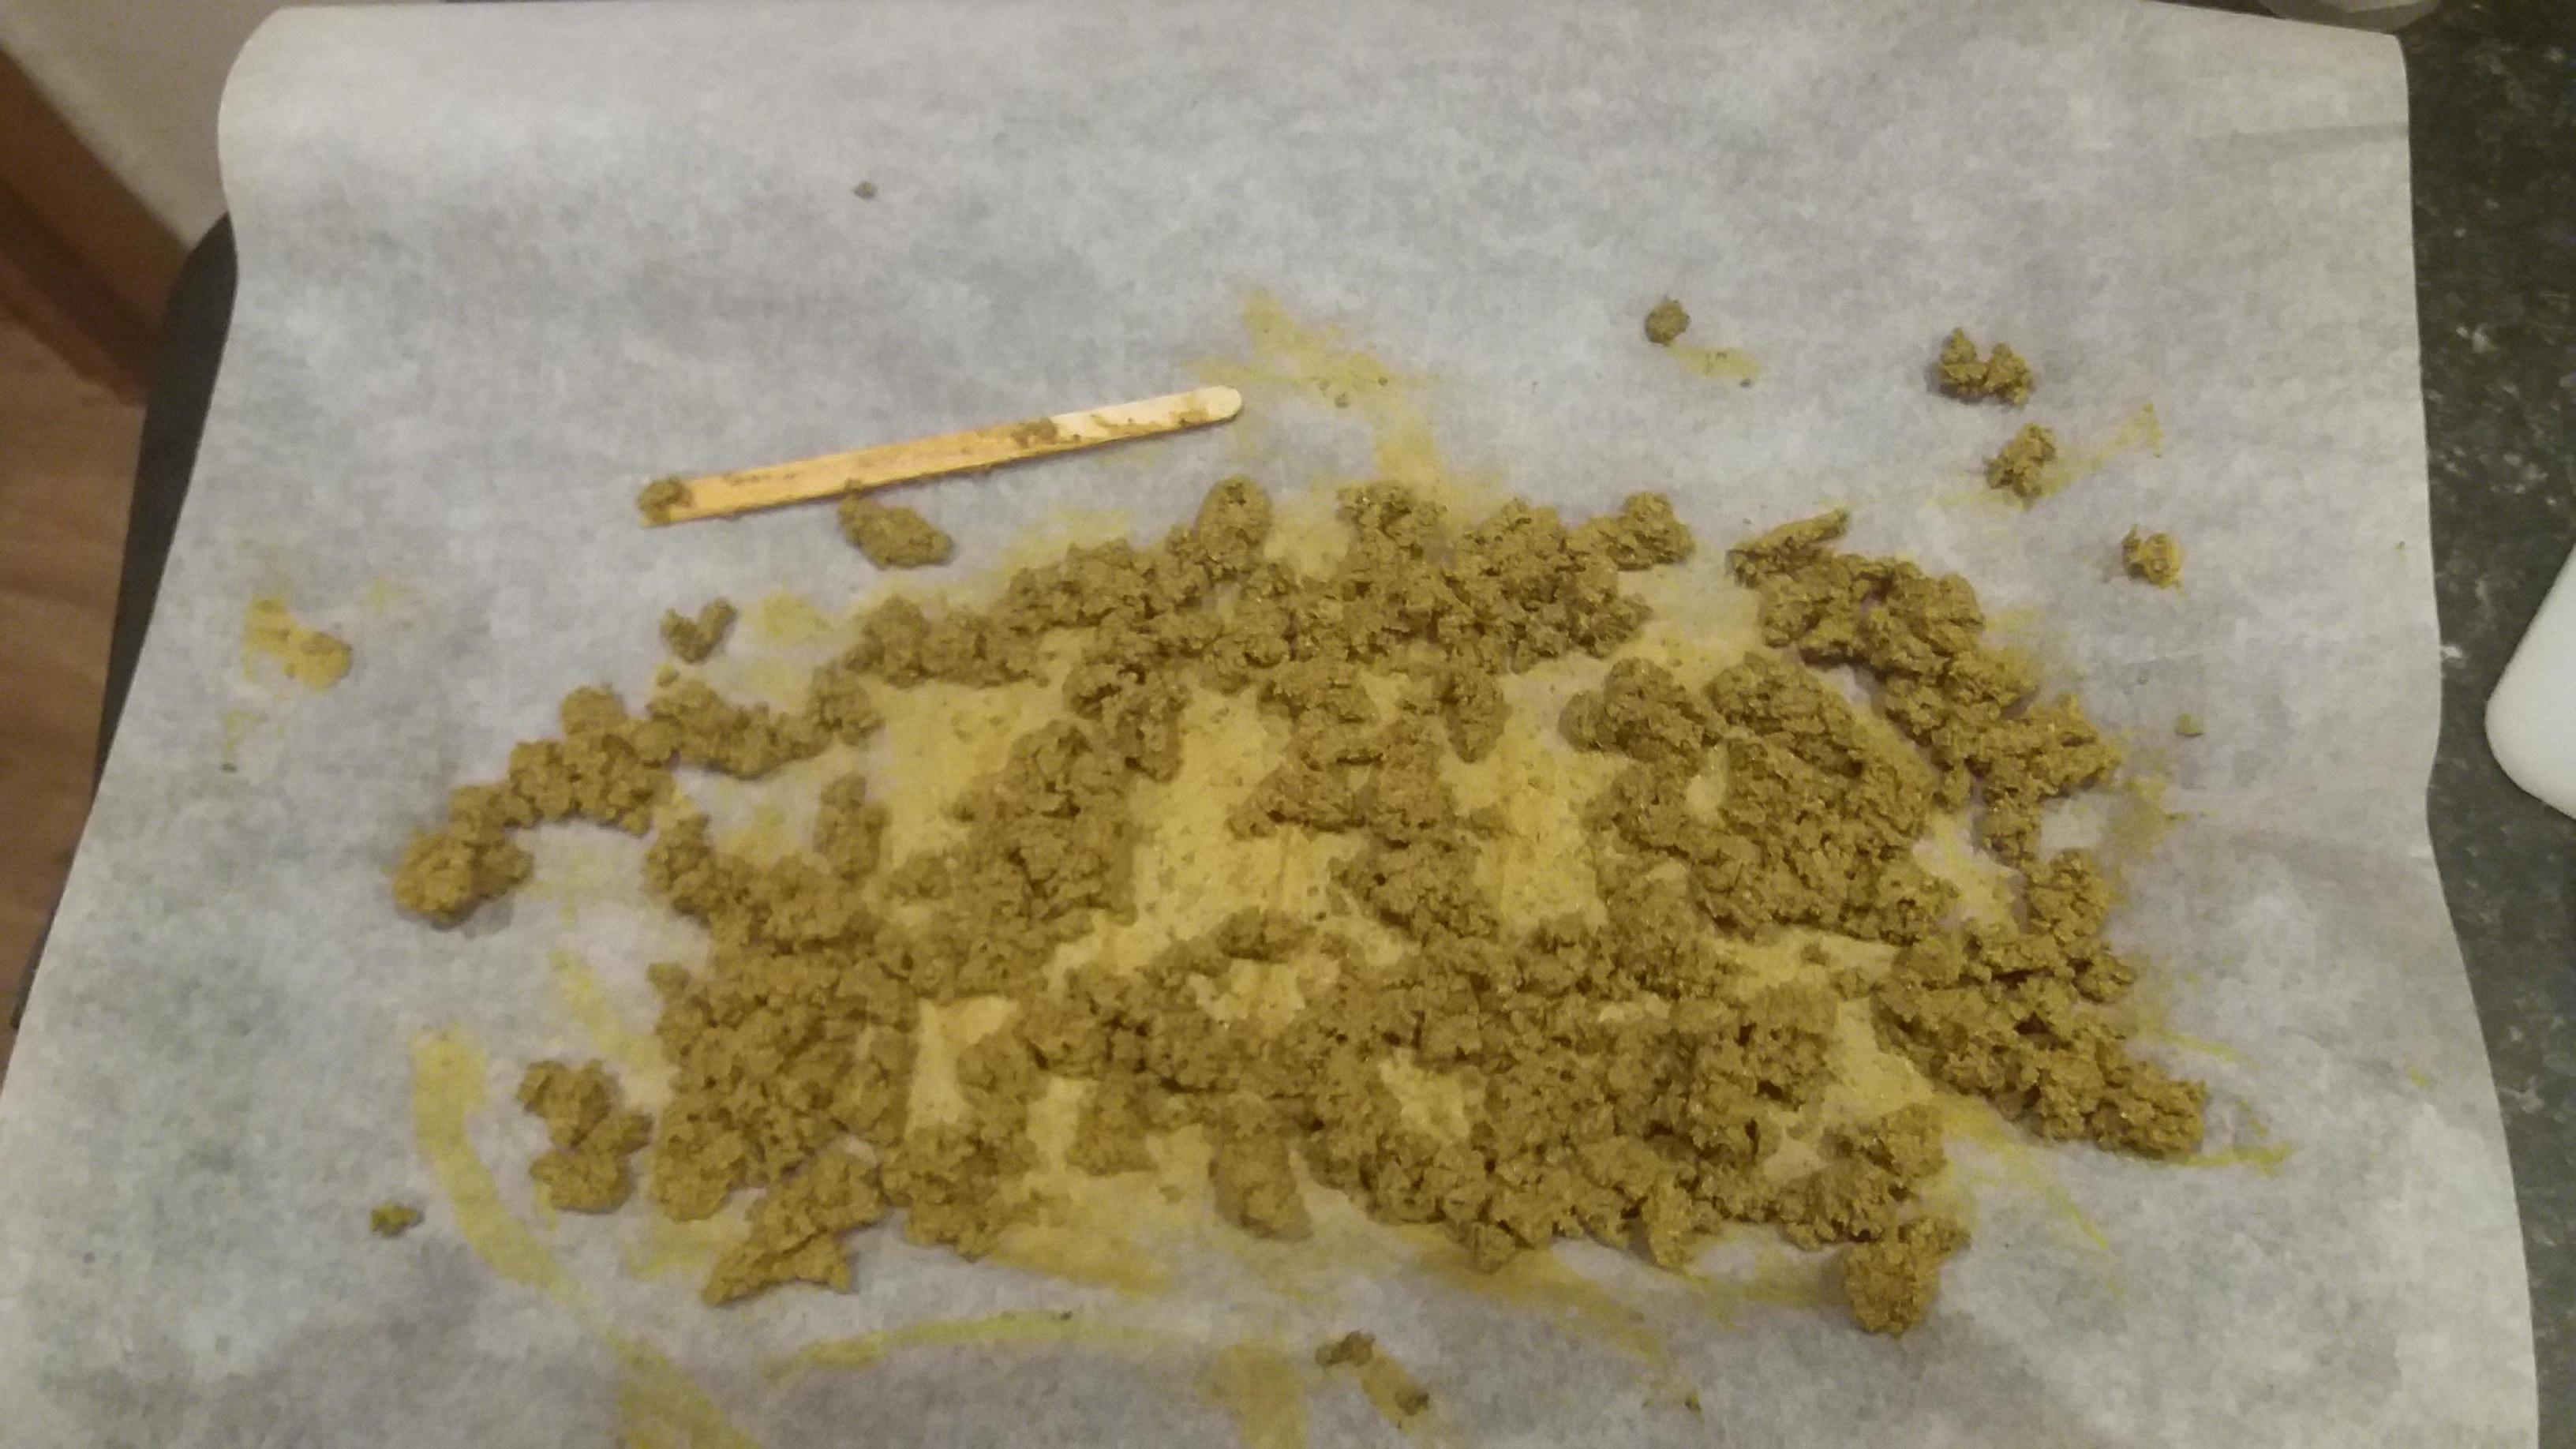 Once mixed spread out on the baking paper try and spread it out and keep doing that as often as you can over the next 24hrs until it dries
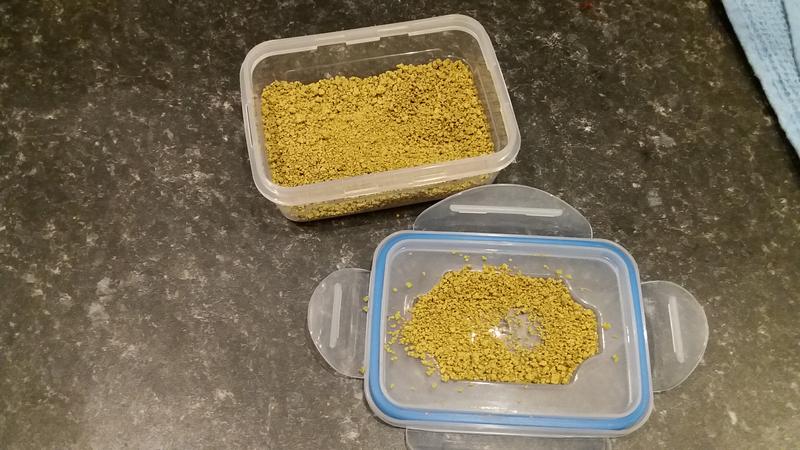 And heres the result ready to make flower tufts or add to bushes, are gorse bushes counted as difficult terrain?
Use any colours you like, Ive made Yellow, Red, Blue and purple dont be put off that while its being mixed and while its drying that it looks a little brown, the pigment will be dominant once the paints dried out.
Does it work for you?
ooooh, look whats turned up!
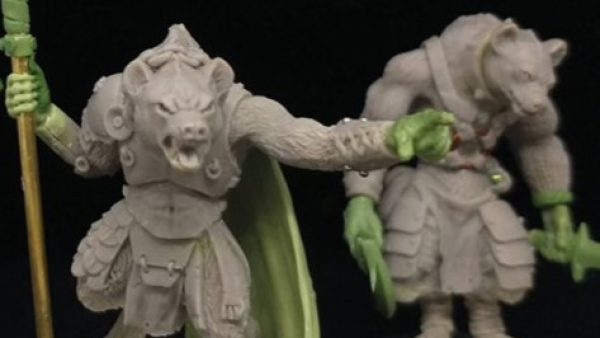
Oathsworn have delivered the most recent KS.
Also included are a couple of older minis I need but mostly its the latest KS.
crisp casts, and the resin badger and beaver are stunning, very little flash and no mould lines at all.
This gives me all the minis I need to complete the 4 warbands I need at salute.
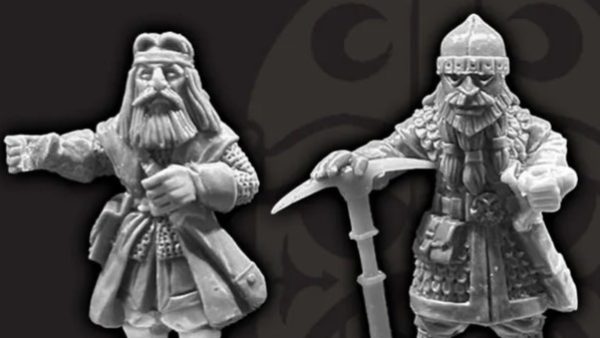
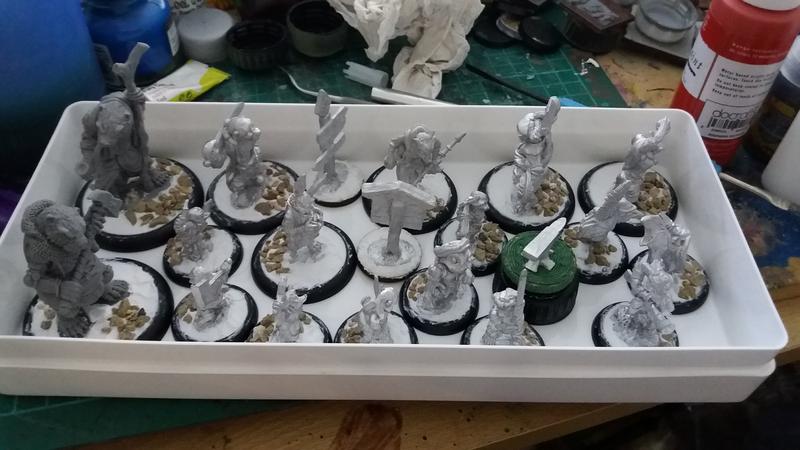 minis, cleaned and based, I used hard as nails to " fill" the bases, its cheaper than milliput and I had some to hand. the signs and anvil were put on mdf 25mm bases and the anvils base was textured to look like a log plinth.
Its done!
eh, how’d that happen? so after faffing around for so long, the table came together in such a rush that I didnt realise it was so close until I sat back and thought “what next? Oh, thats it then!”
Nutting Hill is ready for Salute 19, now theres a scary thought 😀
Whats left? well I need a few more minis from the latest kickstarter that Oathsworn ran and the main objective cart. but other than that im good, I can sit back and read the rule book and even get some games in so that I dont look like a real pleb in front of everyone on the day.
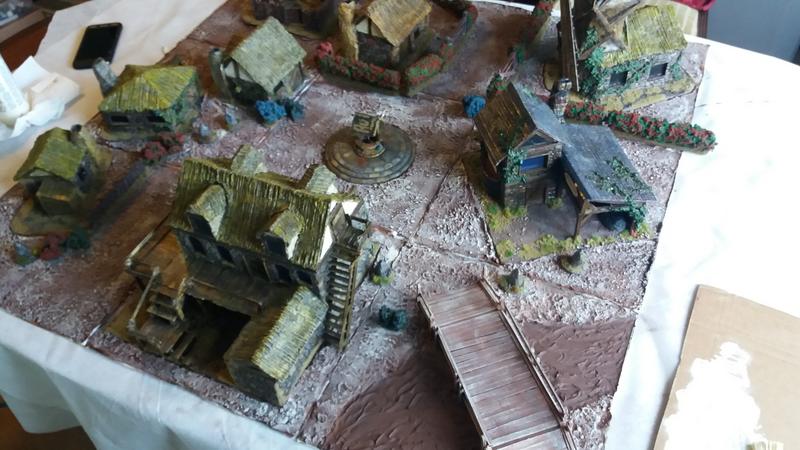
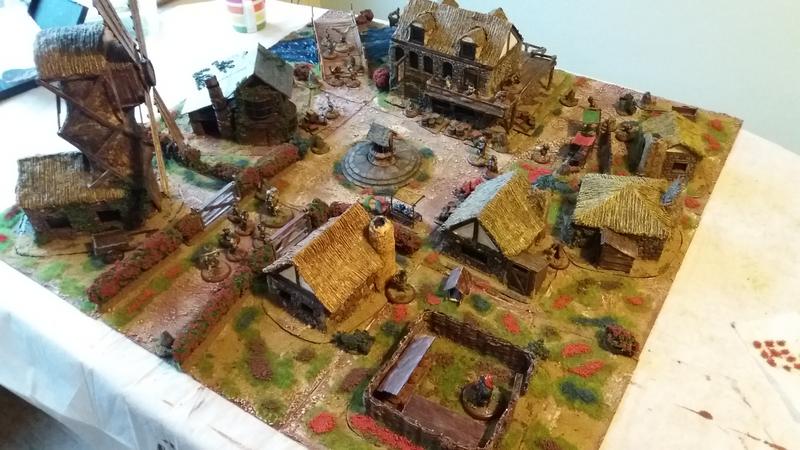 A high view of the whole board
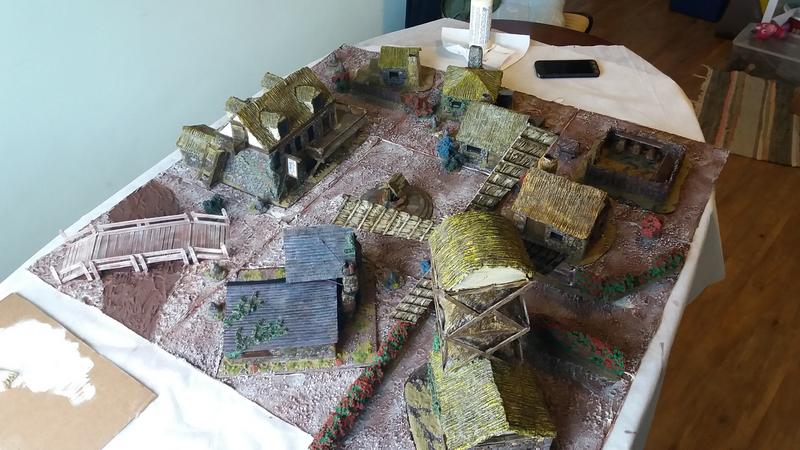
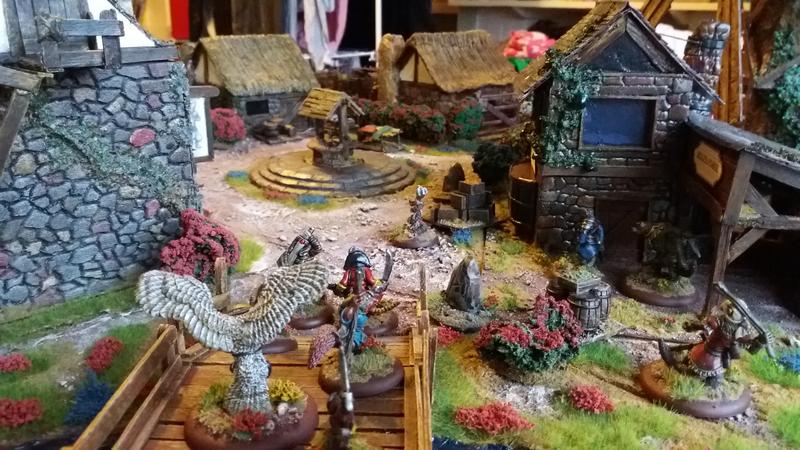 A view from the river
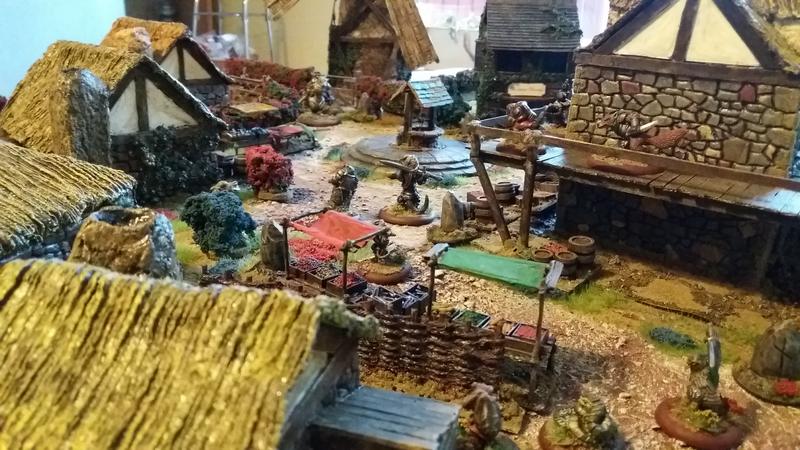 It must be market day
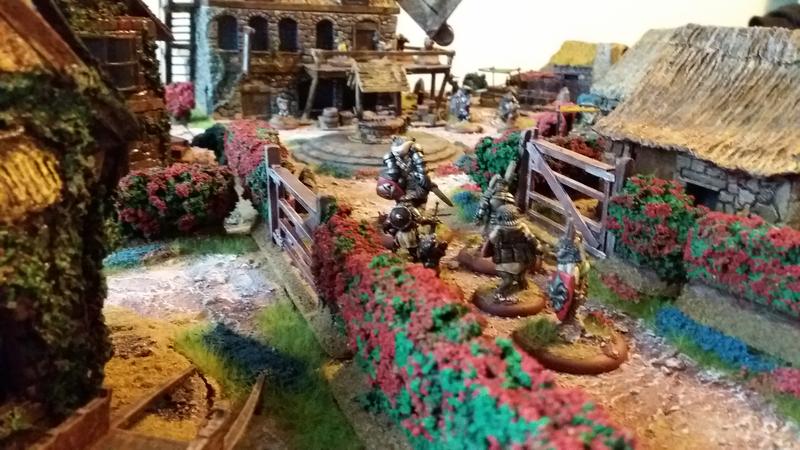 uh oh, here comes the fuzz!
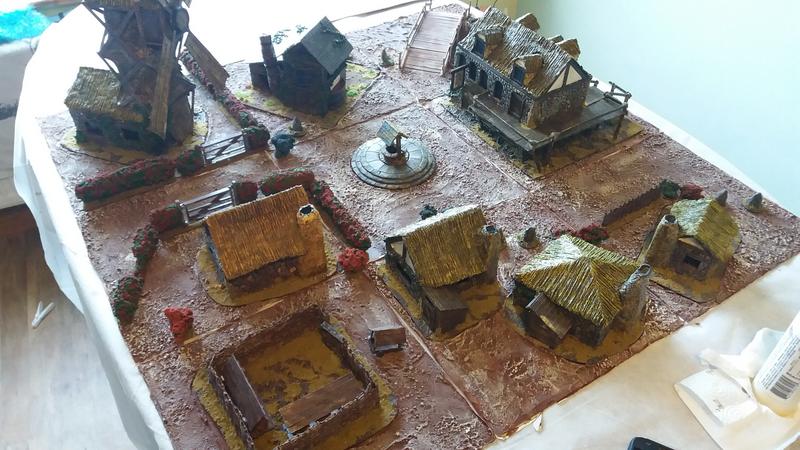
 Village square
Where next?
After salute I may well start expanding the terrain types, theres also the treehouses to finish, ideas of what to build next are always welcome.
Another day and another step closer to..
..sort of completion.
Whats left? well trimming the board edges so they sit neatly, tidying up the edges around the terrain elements so they sit nicely. Then start on the greenery.
Oh yeah and paint the river section!
—————————————————————————

Were baking now!
So the forge/ bakery is all done…
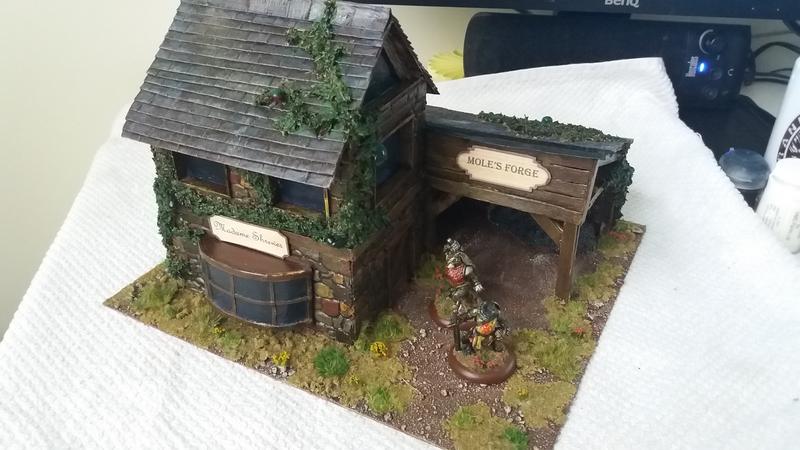 Here it is from the front, just awaiting a baker and a smith oh and the anvil :)
 and the obligatory gratuitous rear view
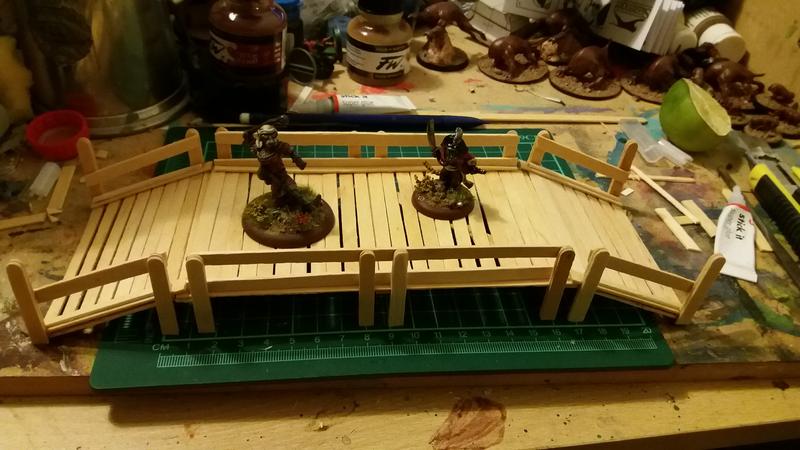 and a new bridge or the salute table, for 2 reasons 1 the original is to damn big and 2 it got damaged in the house move, not badly but i dont think its fine for the show also see point 1
 Its been a while....
5 weeks give or take…
between xmas and another project taking over this needed to be sidelined, but here we go again.
Sorry, This entry has been edited for typos and putting the correct description below the fotos, really should proof read what I write when Im half asleep 😀
 drybrushed the stones a light grey and highlighted random ones to add interest.
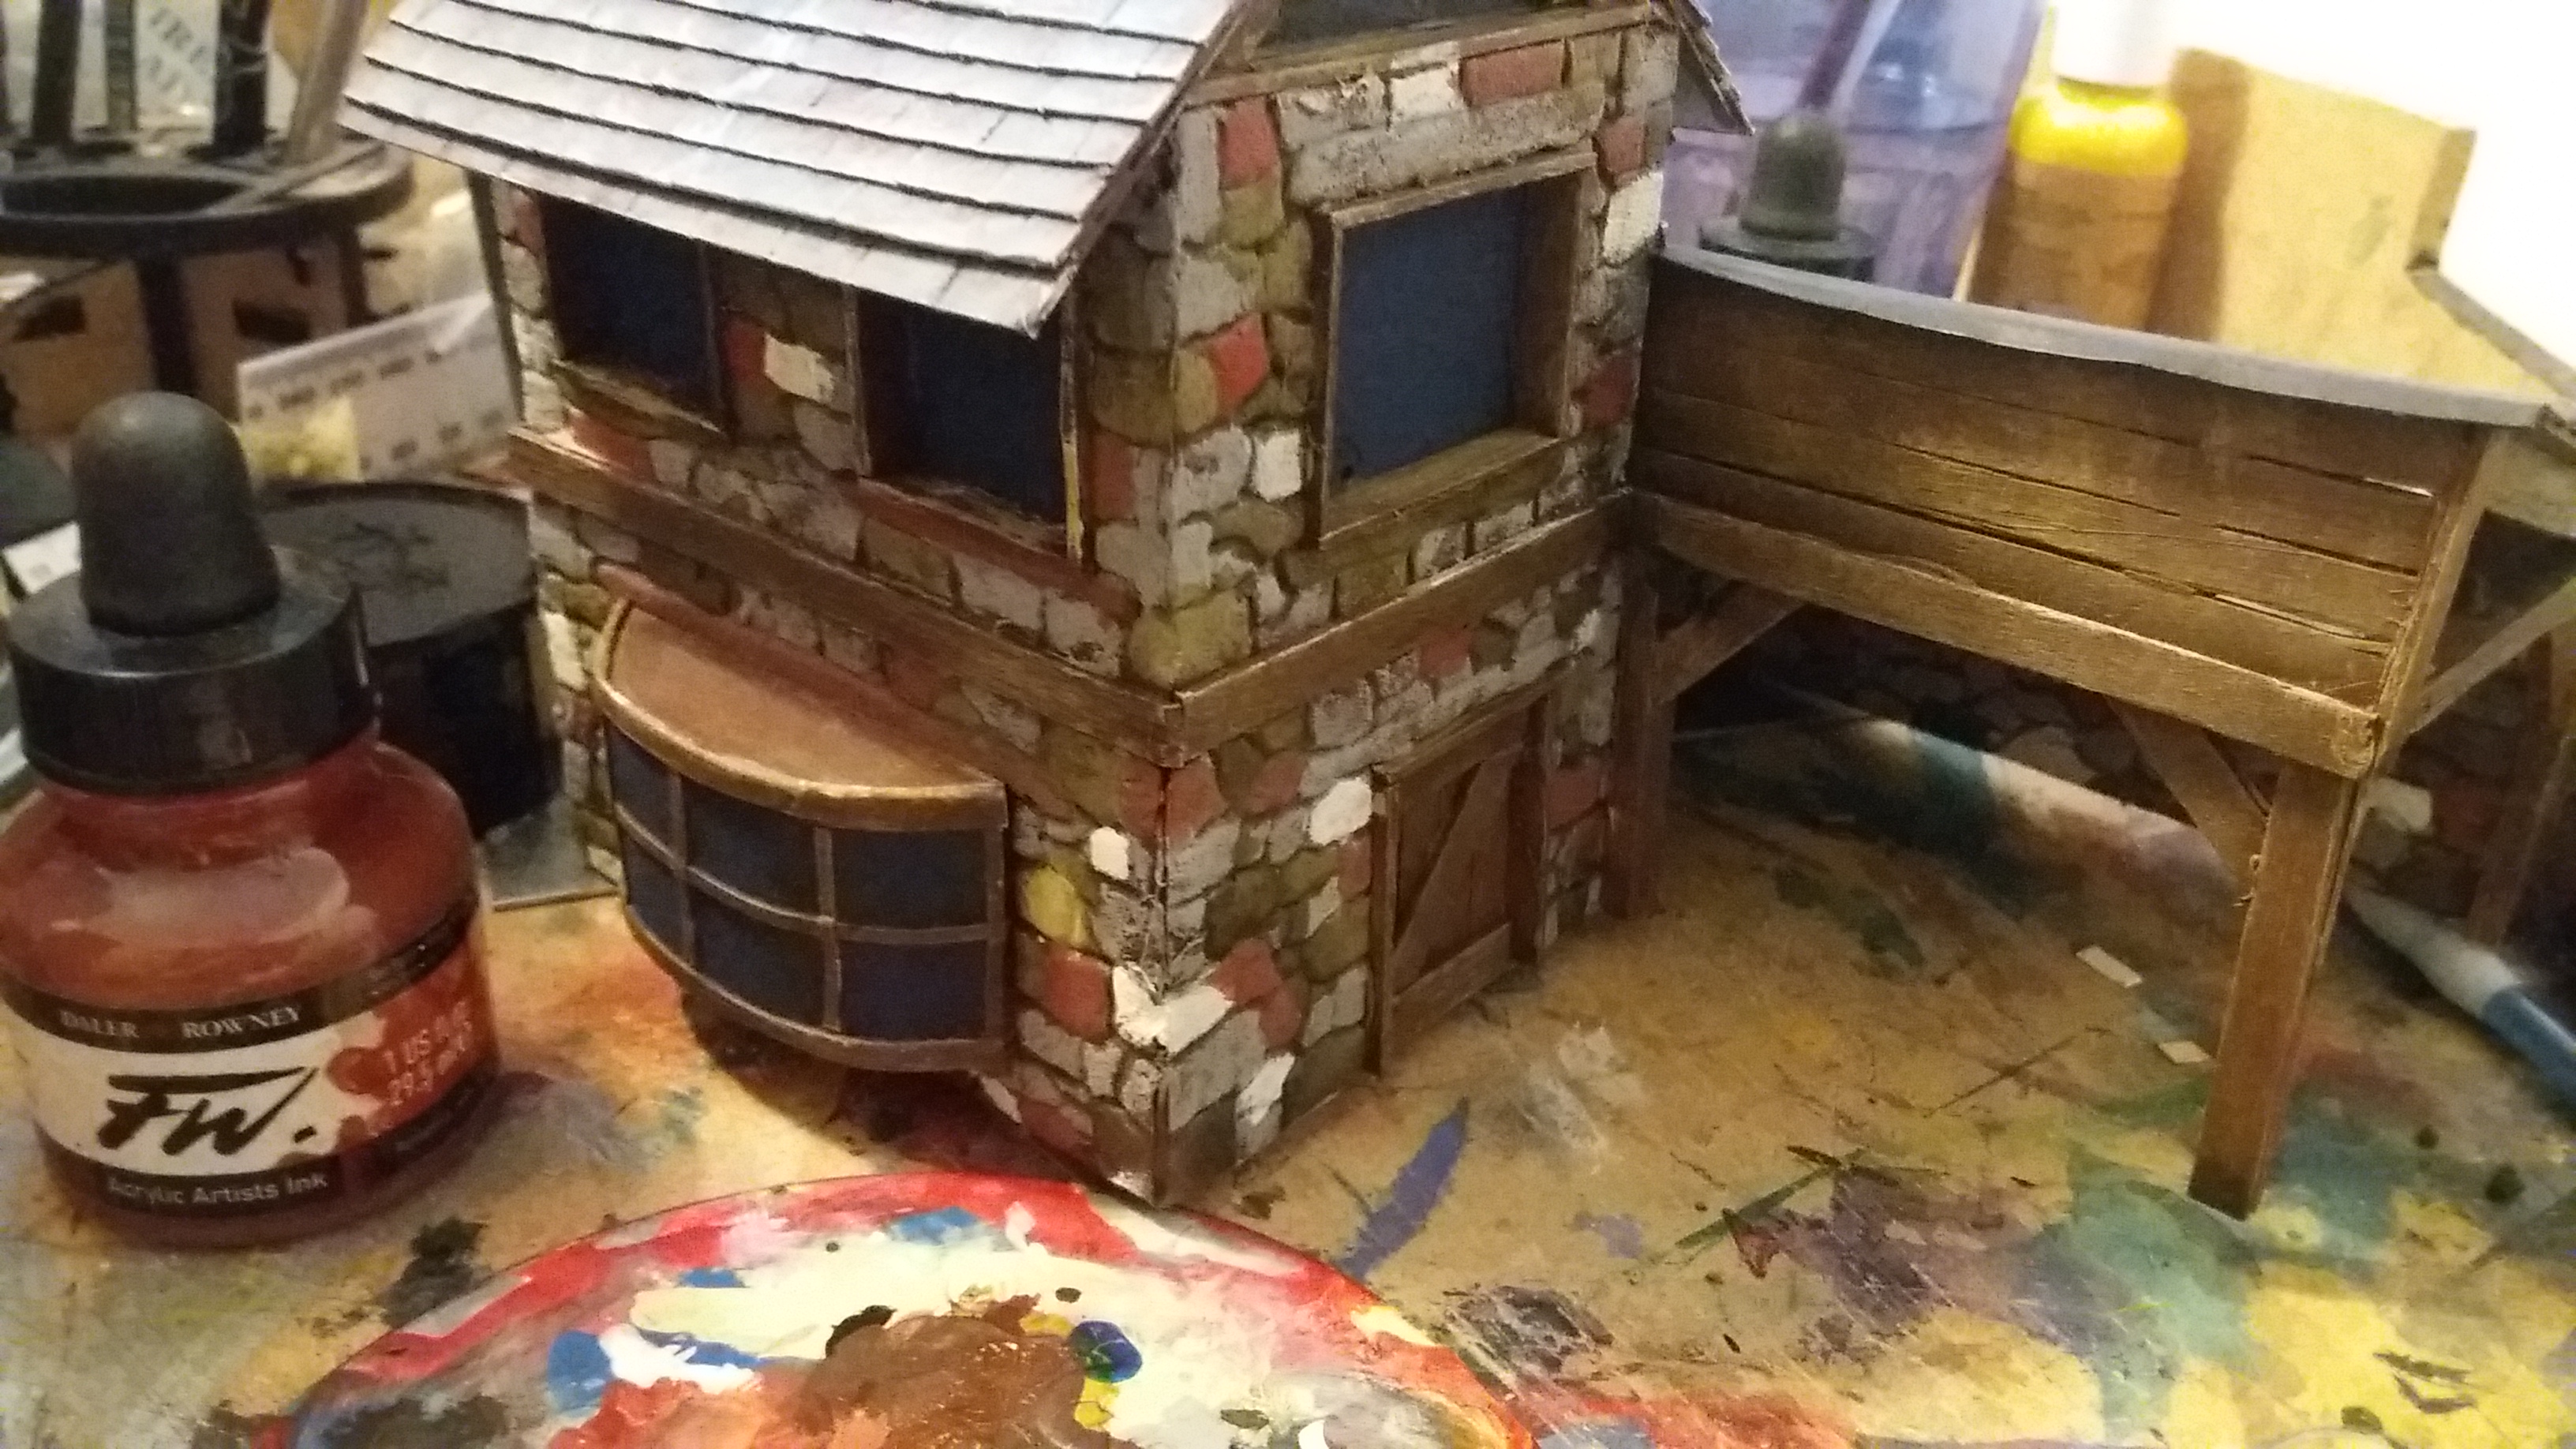 Started adding various coloured inks, Red earth, burnt umber, raw sienna and antelope brown.
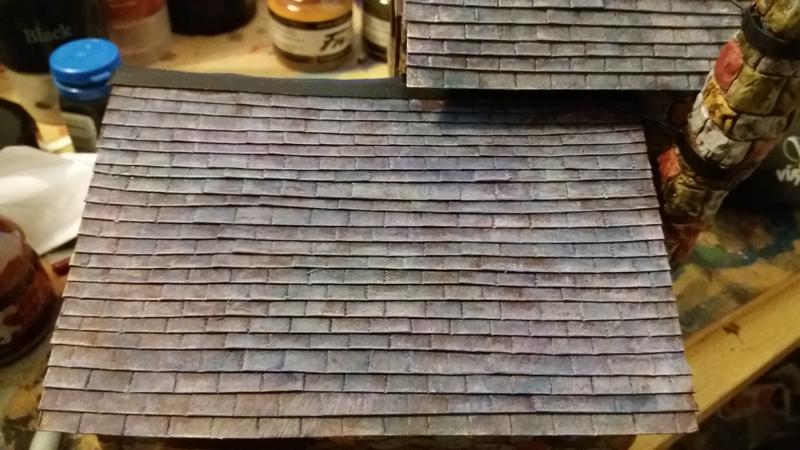 painted the slates, blue, purple and green washes, came out better than i expected :)
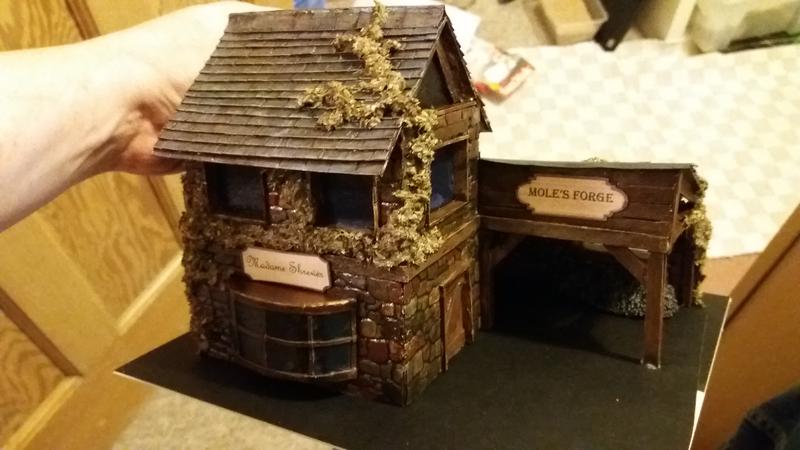 A dark oak varnish covers the whole thing,then dried herbs mixed with pva to create the vines. and then hot glued to a poster board base. The signs were made in Word (other word processors are available) printed out and stuck on with PVA (I cant freehand for diddly)
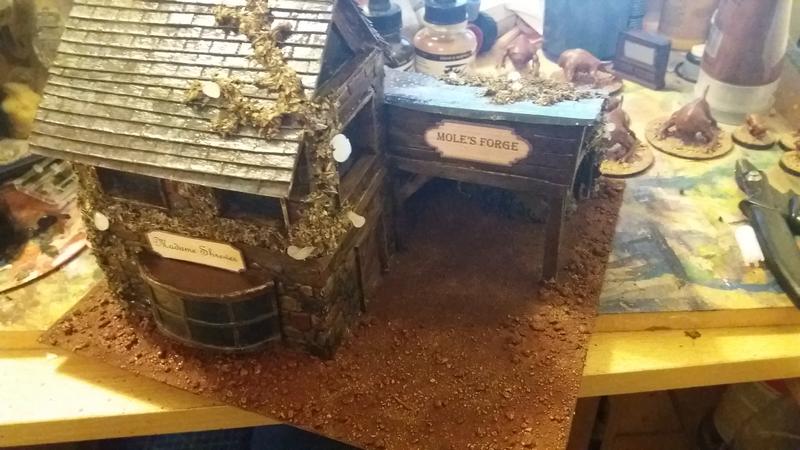 sand added to the base and painted, hot glue drips added to the vines as fruits.
Hmmm, chocolate...
well not really..
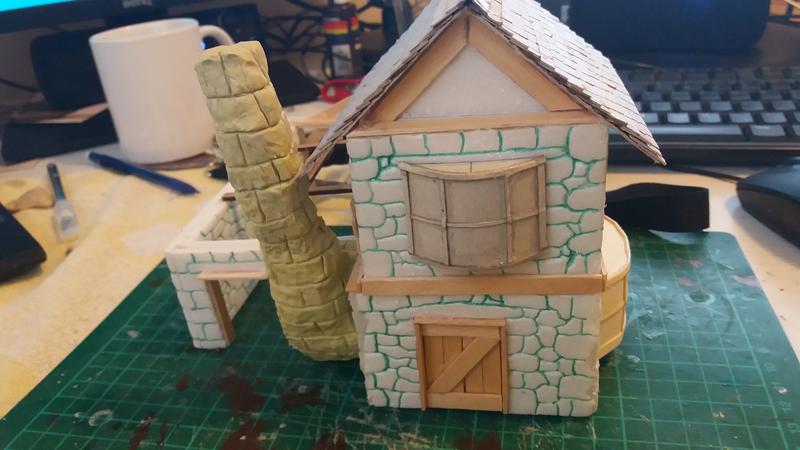 Chimney all done
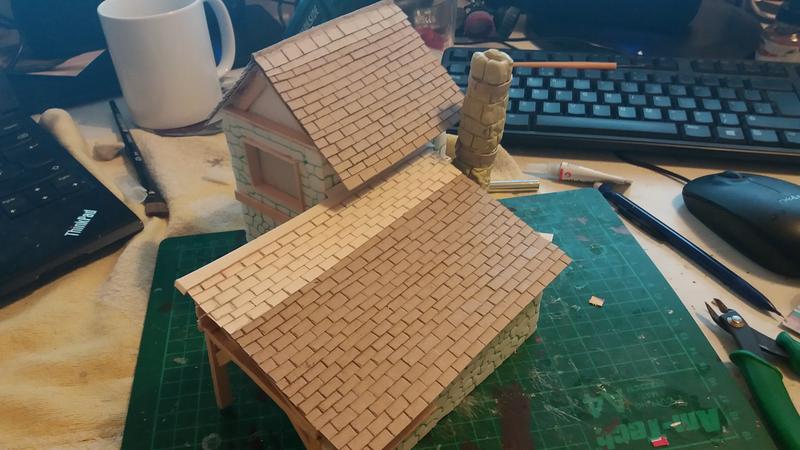 Forge roof all complete
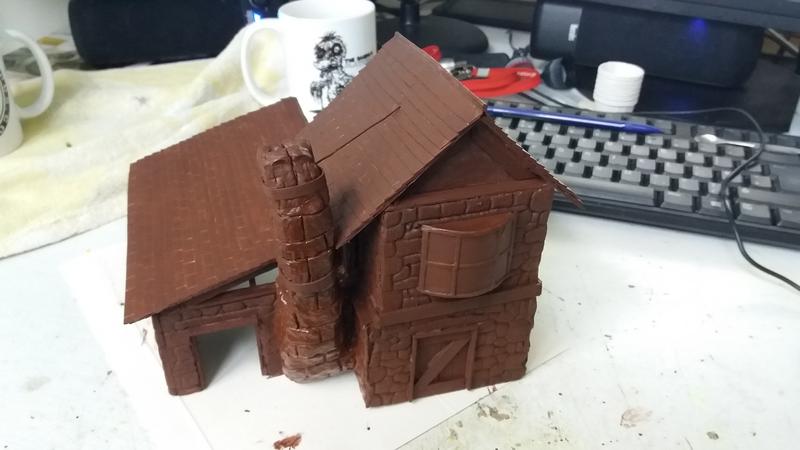 And a very chocolatey looking base coat