


Ugleb’s Gotham City Gallery


Recommendations: 111
About the Project
A home for all my Batman/DC Universe works in progress. Sometimes the colour schemes will be traditional,sometimes less so! I consider myself to be a tabletop standard painter but will be sharing what and how I am doing things. Maybe it will be useful to you, maybe you can help me to improve! Thanks for checking it out.
Related Game: Batman Miniature Game
Related Company: Knight Models
Related Genre: Pulp
This Project is Active
Colour test 2 - Toning it down
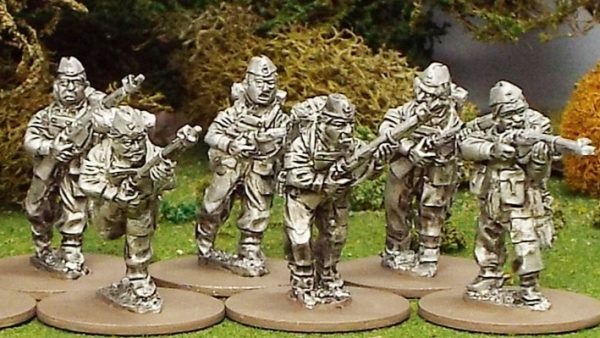
I left things sit for a couple of days and came back to consider on my direction. On reflection I think the green is too vibrant so decided to try something more muted. I have started another test piece using military greens for a more realistic look. I feel on much firmer ground here so will be pressing ahead with these base colours for the crew.
The new basecoat in Vallejo Model Color German Fieldgrey WWII with a rough highlight of VMC Russian Uniform WWII.

Colour Test
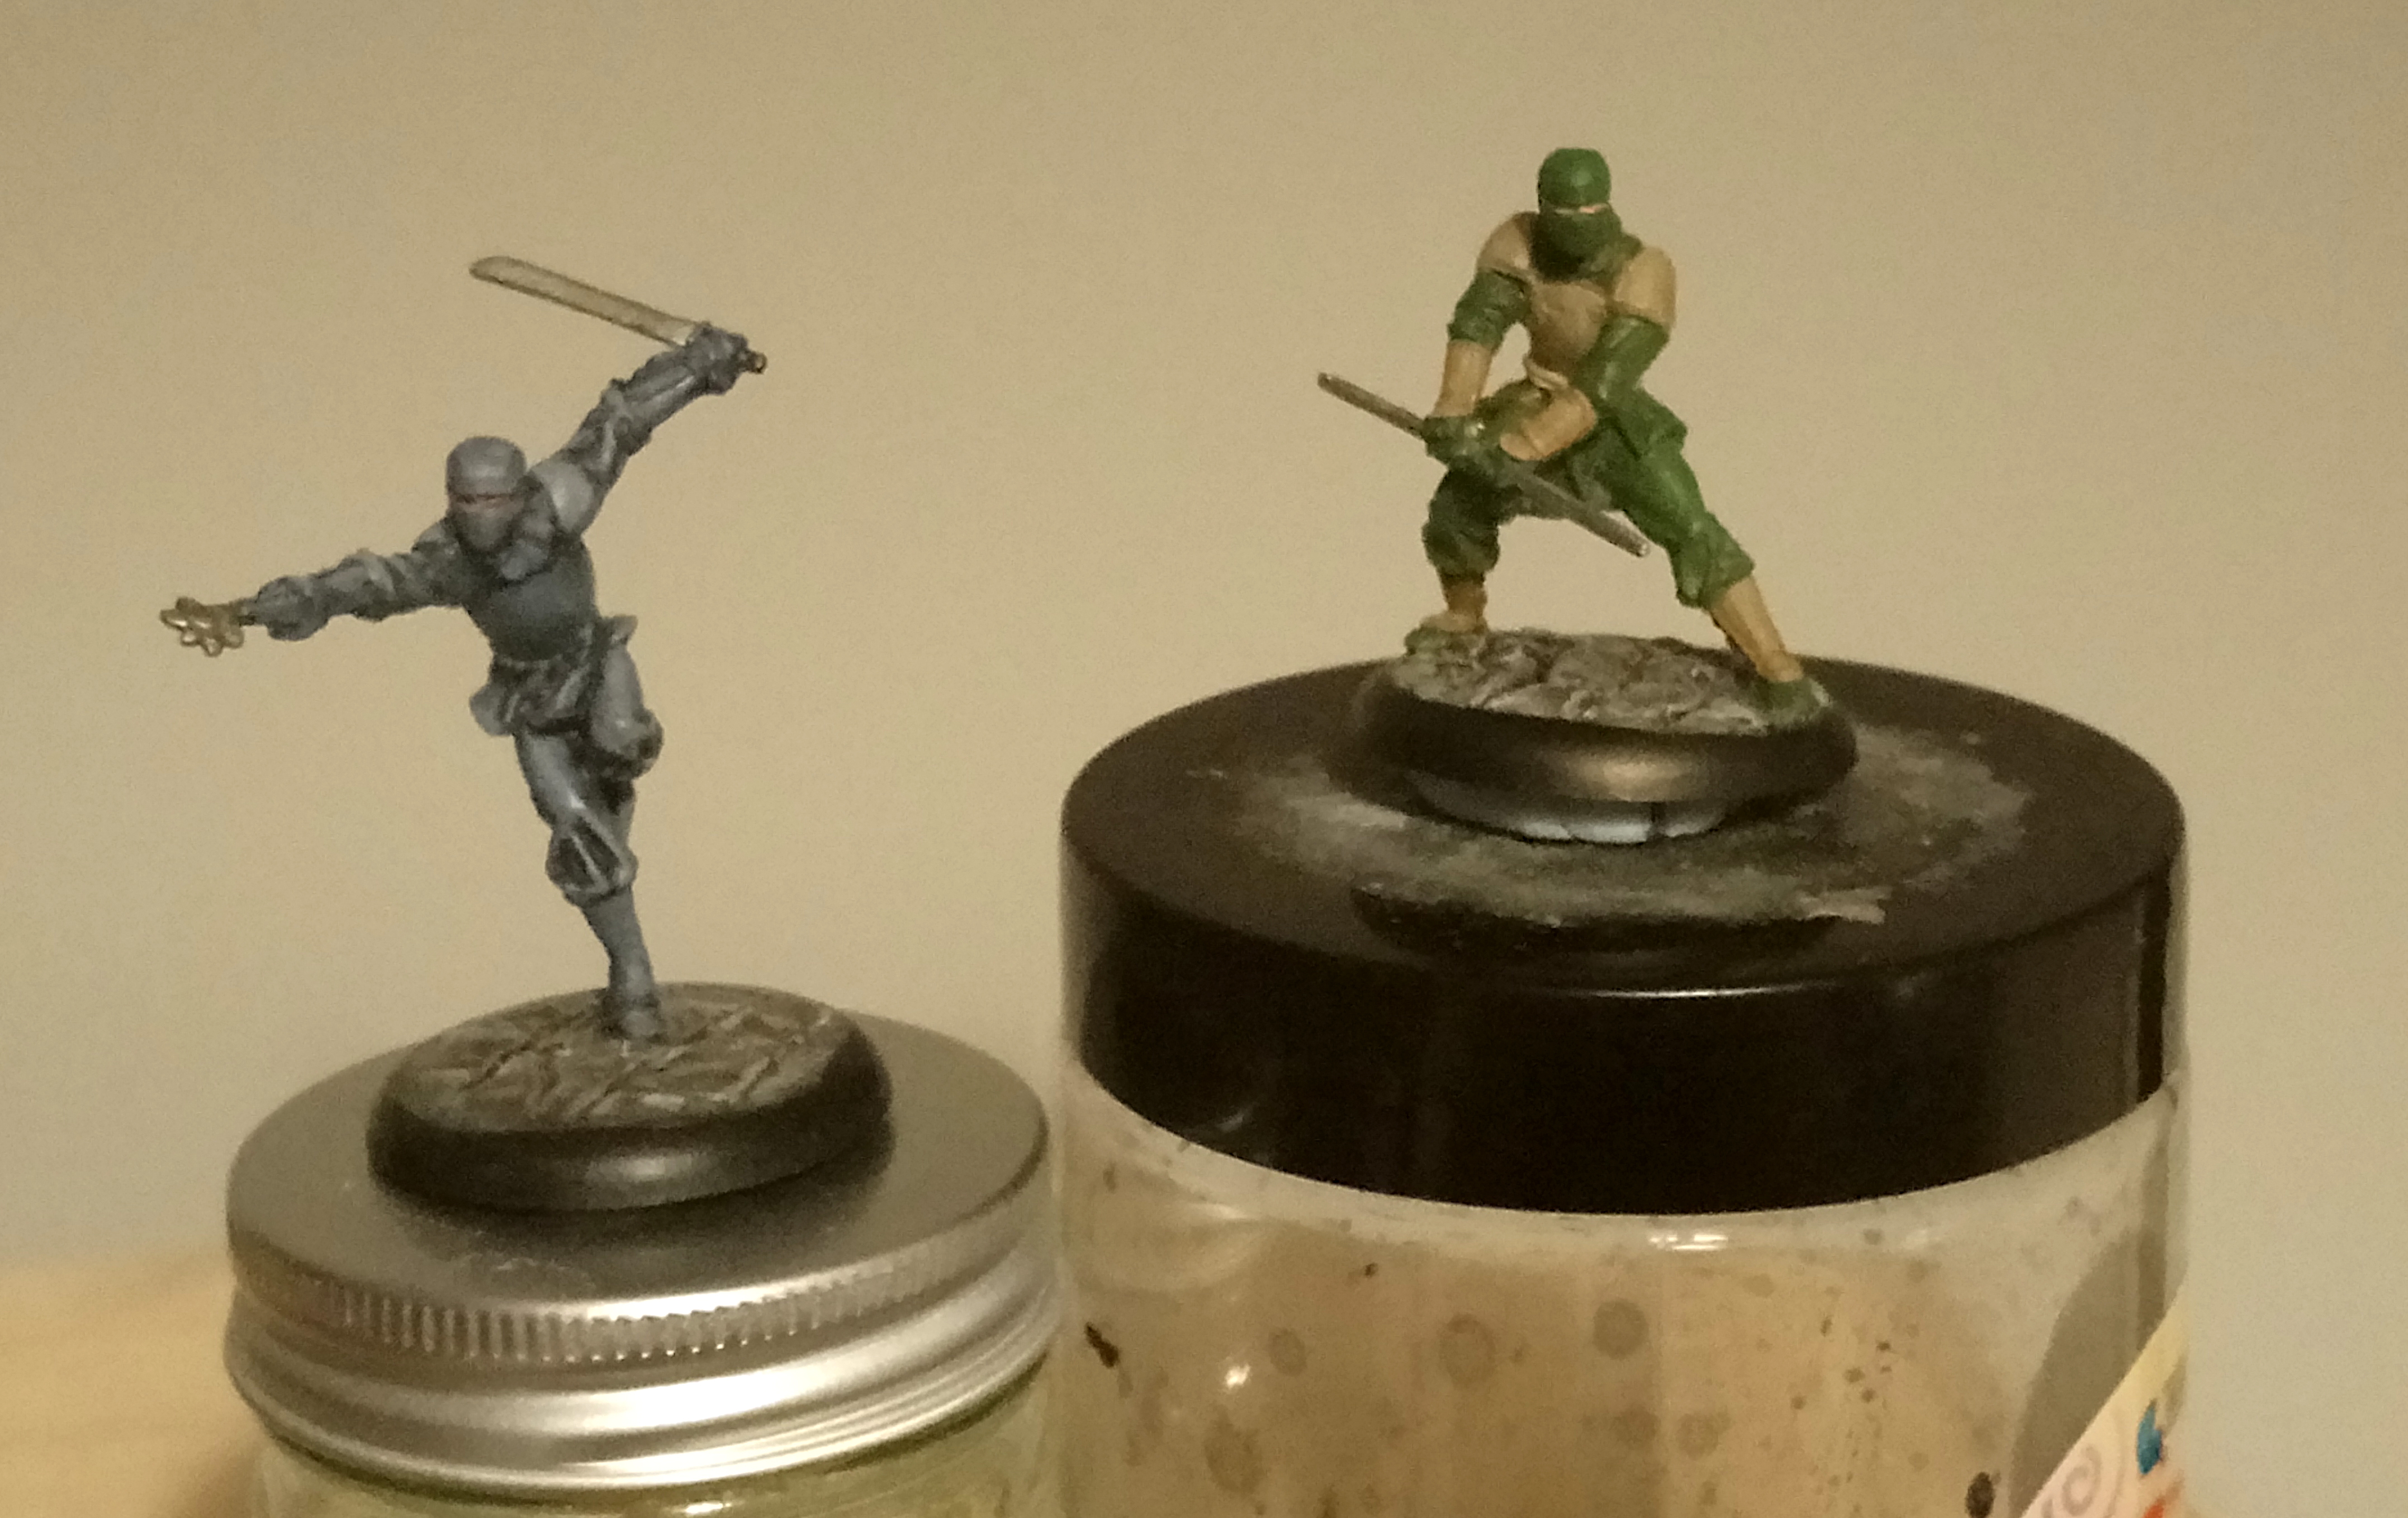
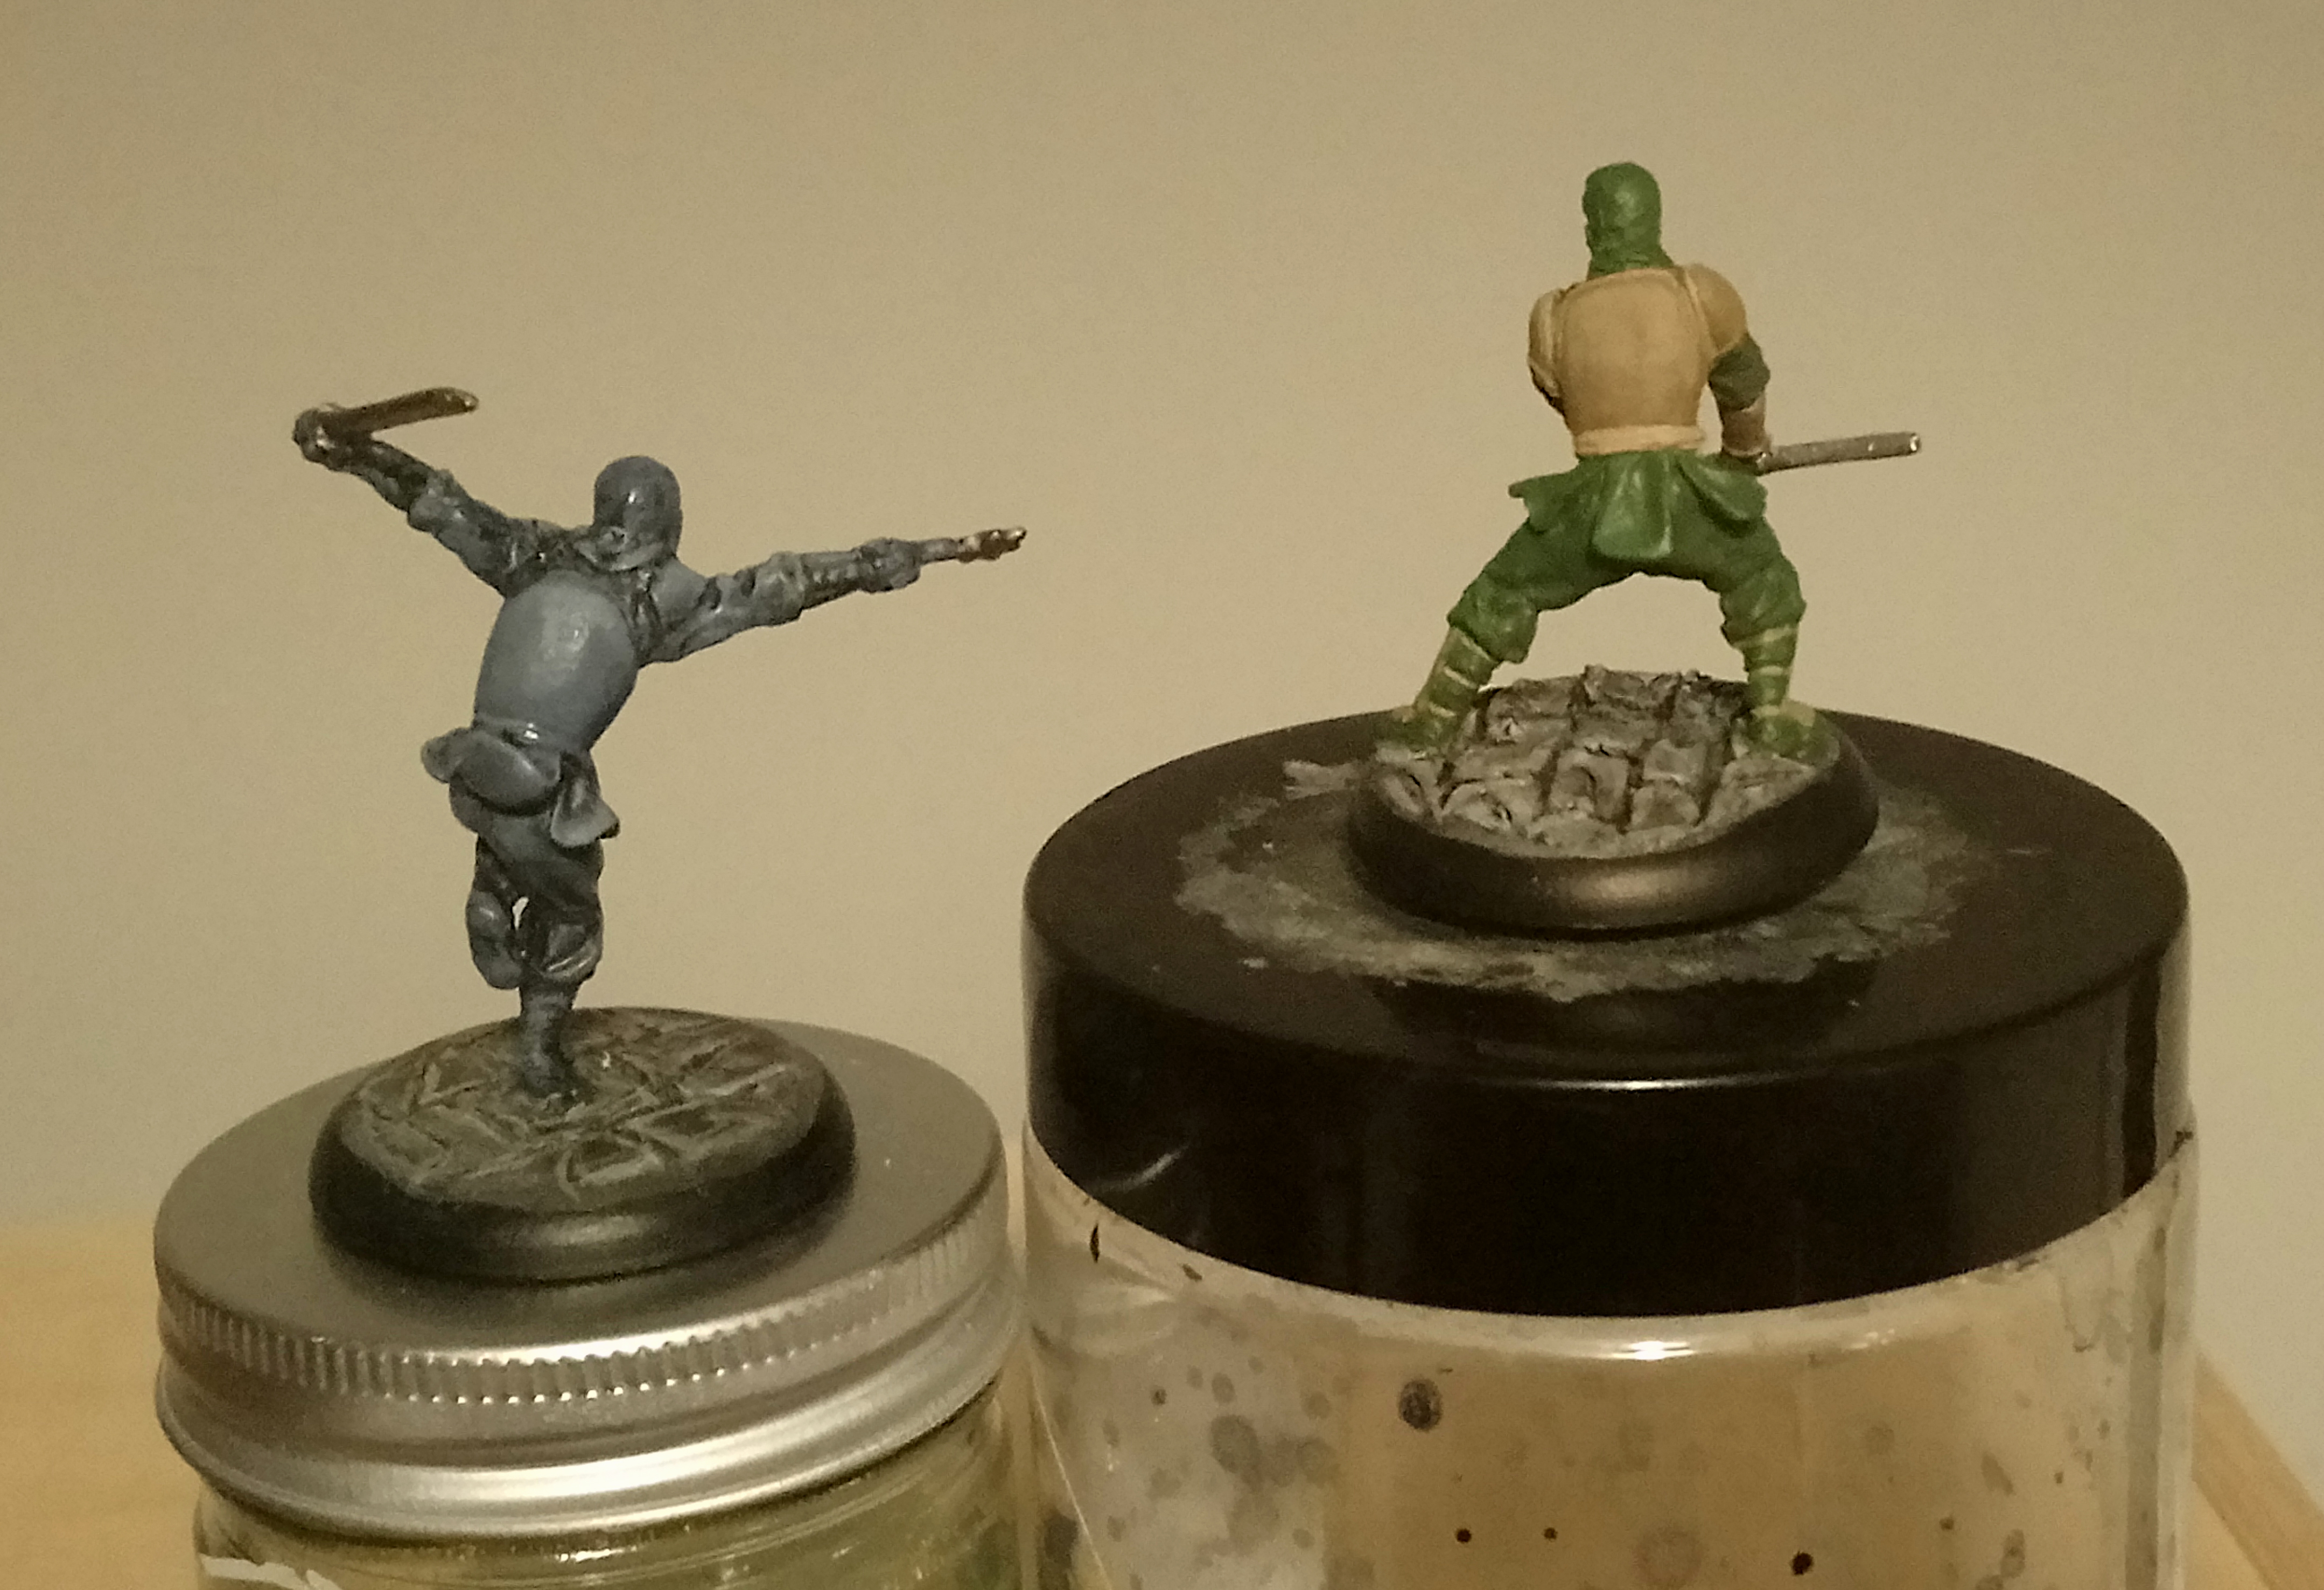
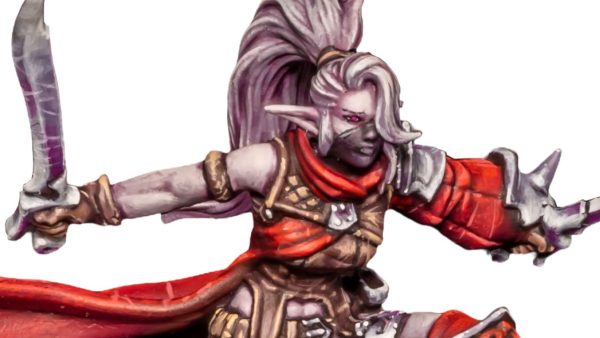
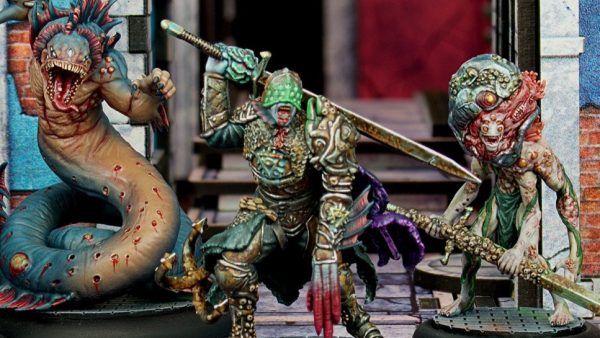
When I first picked up some League of Assassins ninjas I went with the Batman Begins movie colour scheme of blue-gray all over. That was a couple of years ago now and I have been reconsidering that decision and wondering how I could be more creative.
So in that spirit, I am colour testing! On the left is my old movie scheme, while on the right is my new scheme. It is a less ‘realistic’ look but I think more comic book. Most importantly, I haven’t seen anyone else paint their League ninjas in this way so I would have a more distinctive crew which appeals to me.
I still have a lot to do on this mini of course and may go lighter or darker in places. I have considered picking out the belt sash in a different colour but I’m undecided as to what would look good.
Basing! (Part 2)
Today I am finishing up the basing process on my League additions. By the end we should have some grubby Gotham paving!
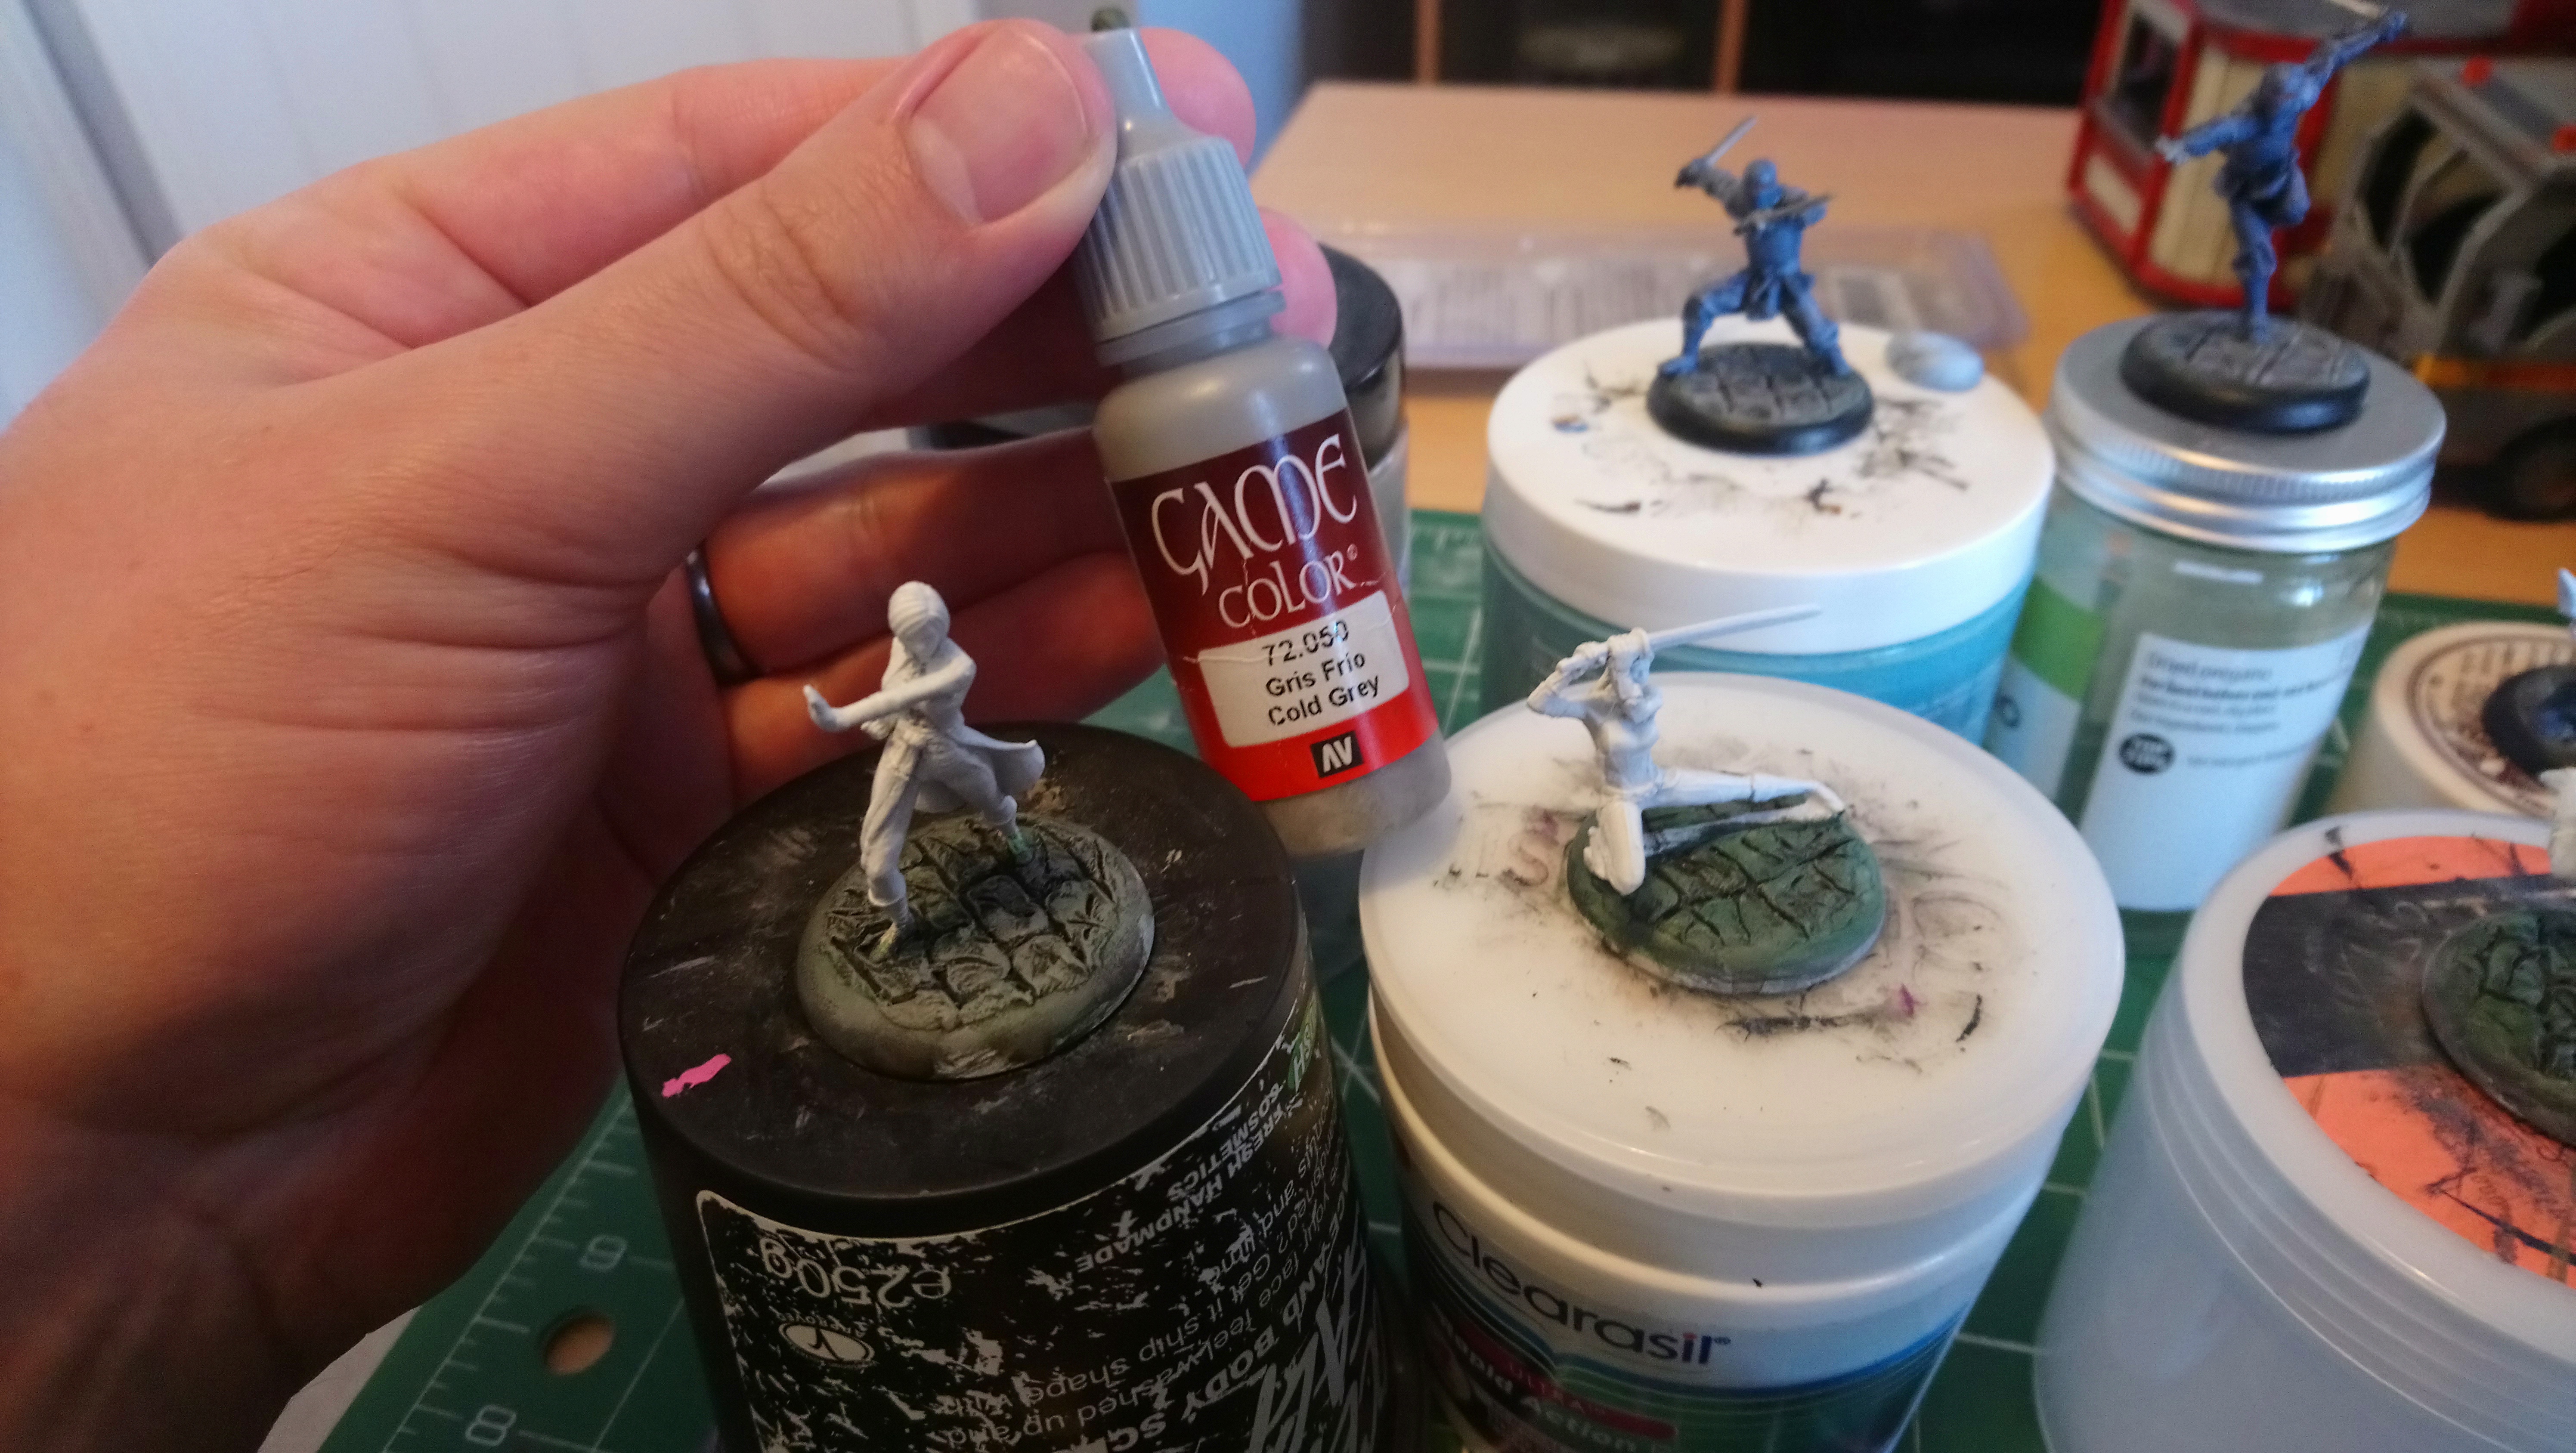 Here I drybrushed Cold Grey lightly over the washes to knock them back, but not so much as to obliterate them altogether. Hopefully the pic captures that!
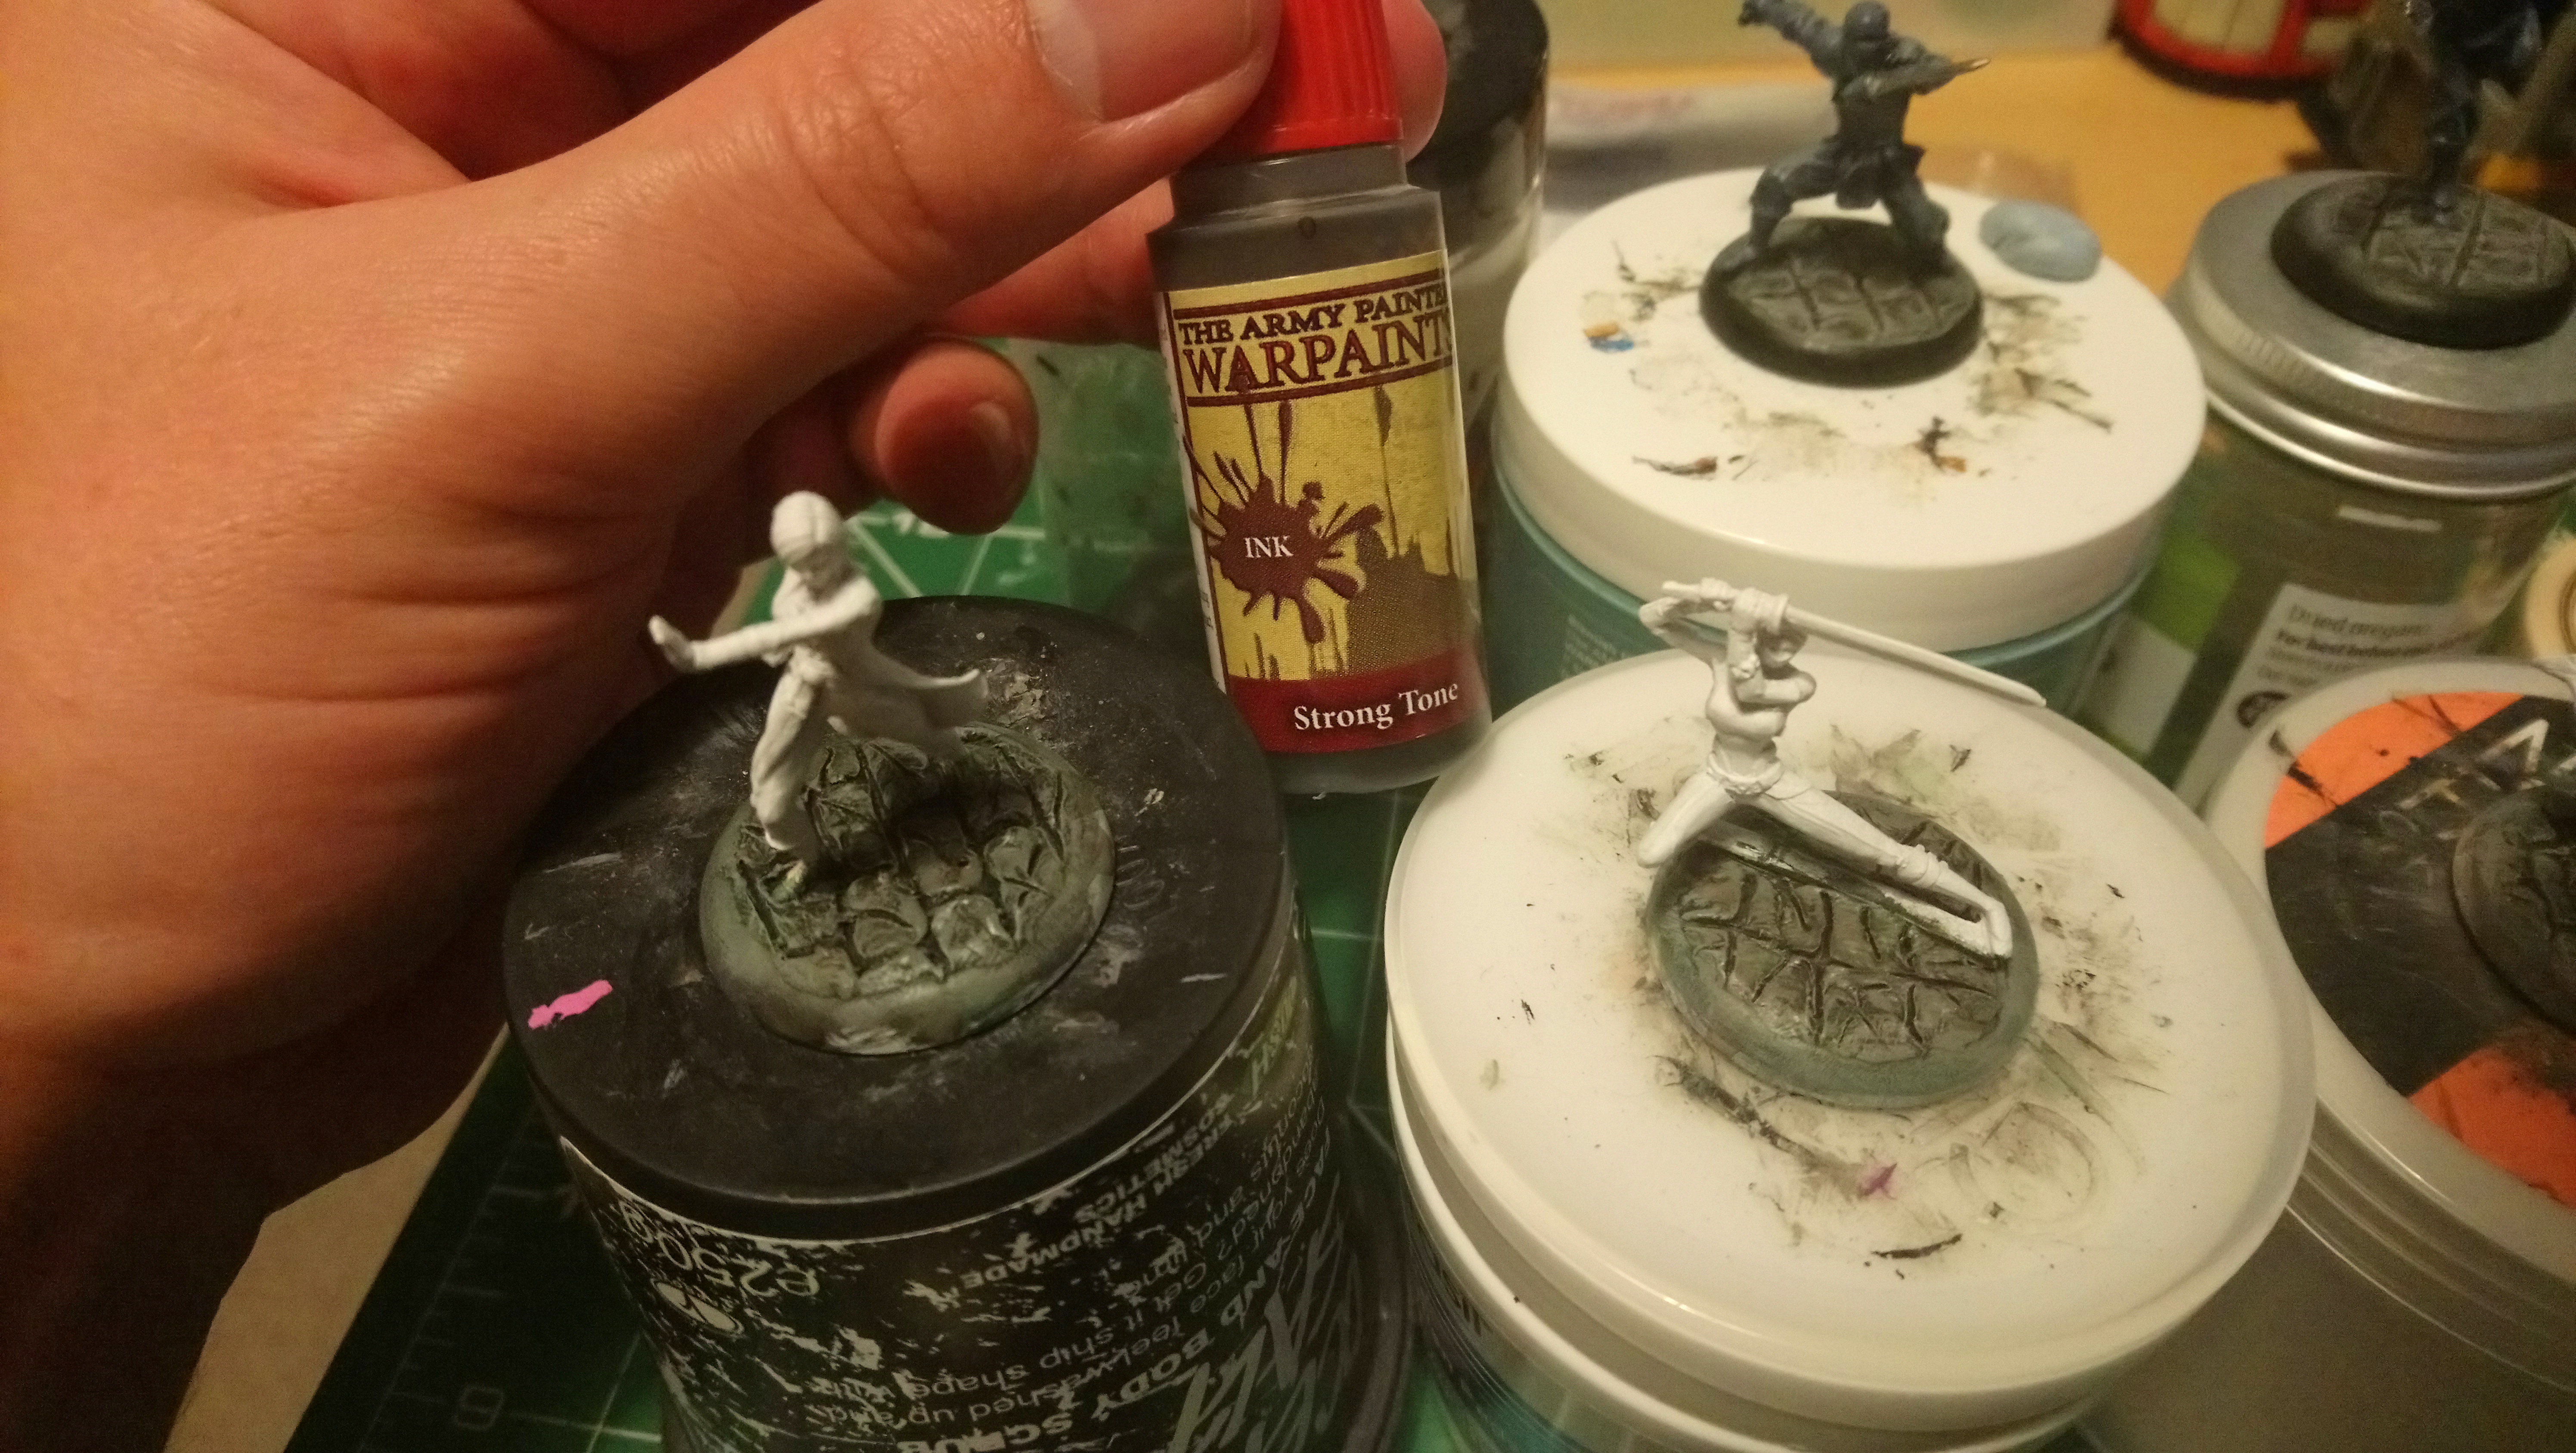 Now I have hit the bases with a liberal Strong Tone wash to darken the recesses.
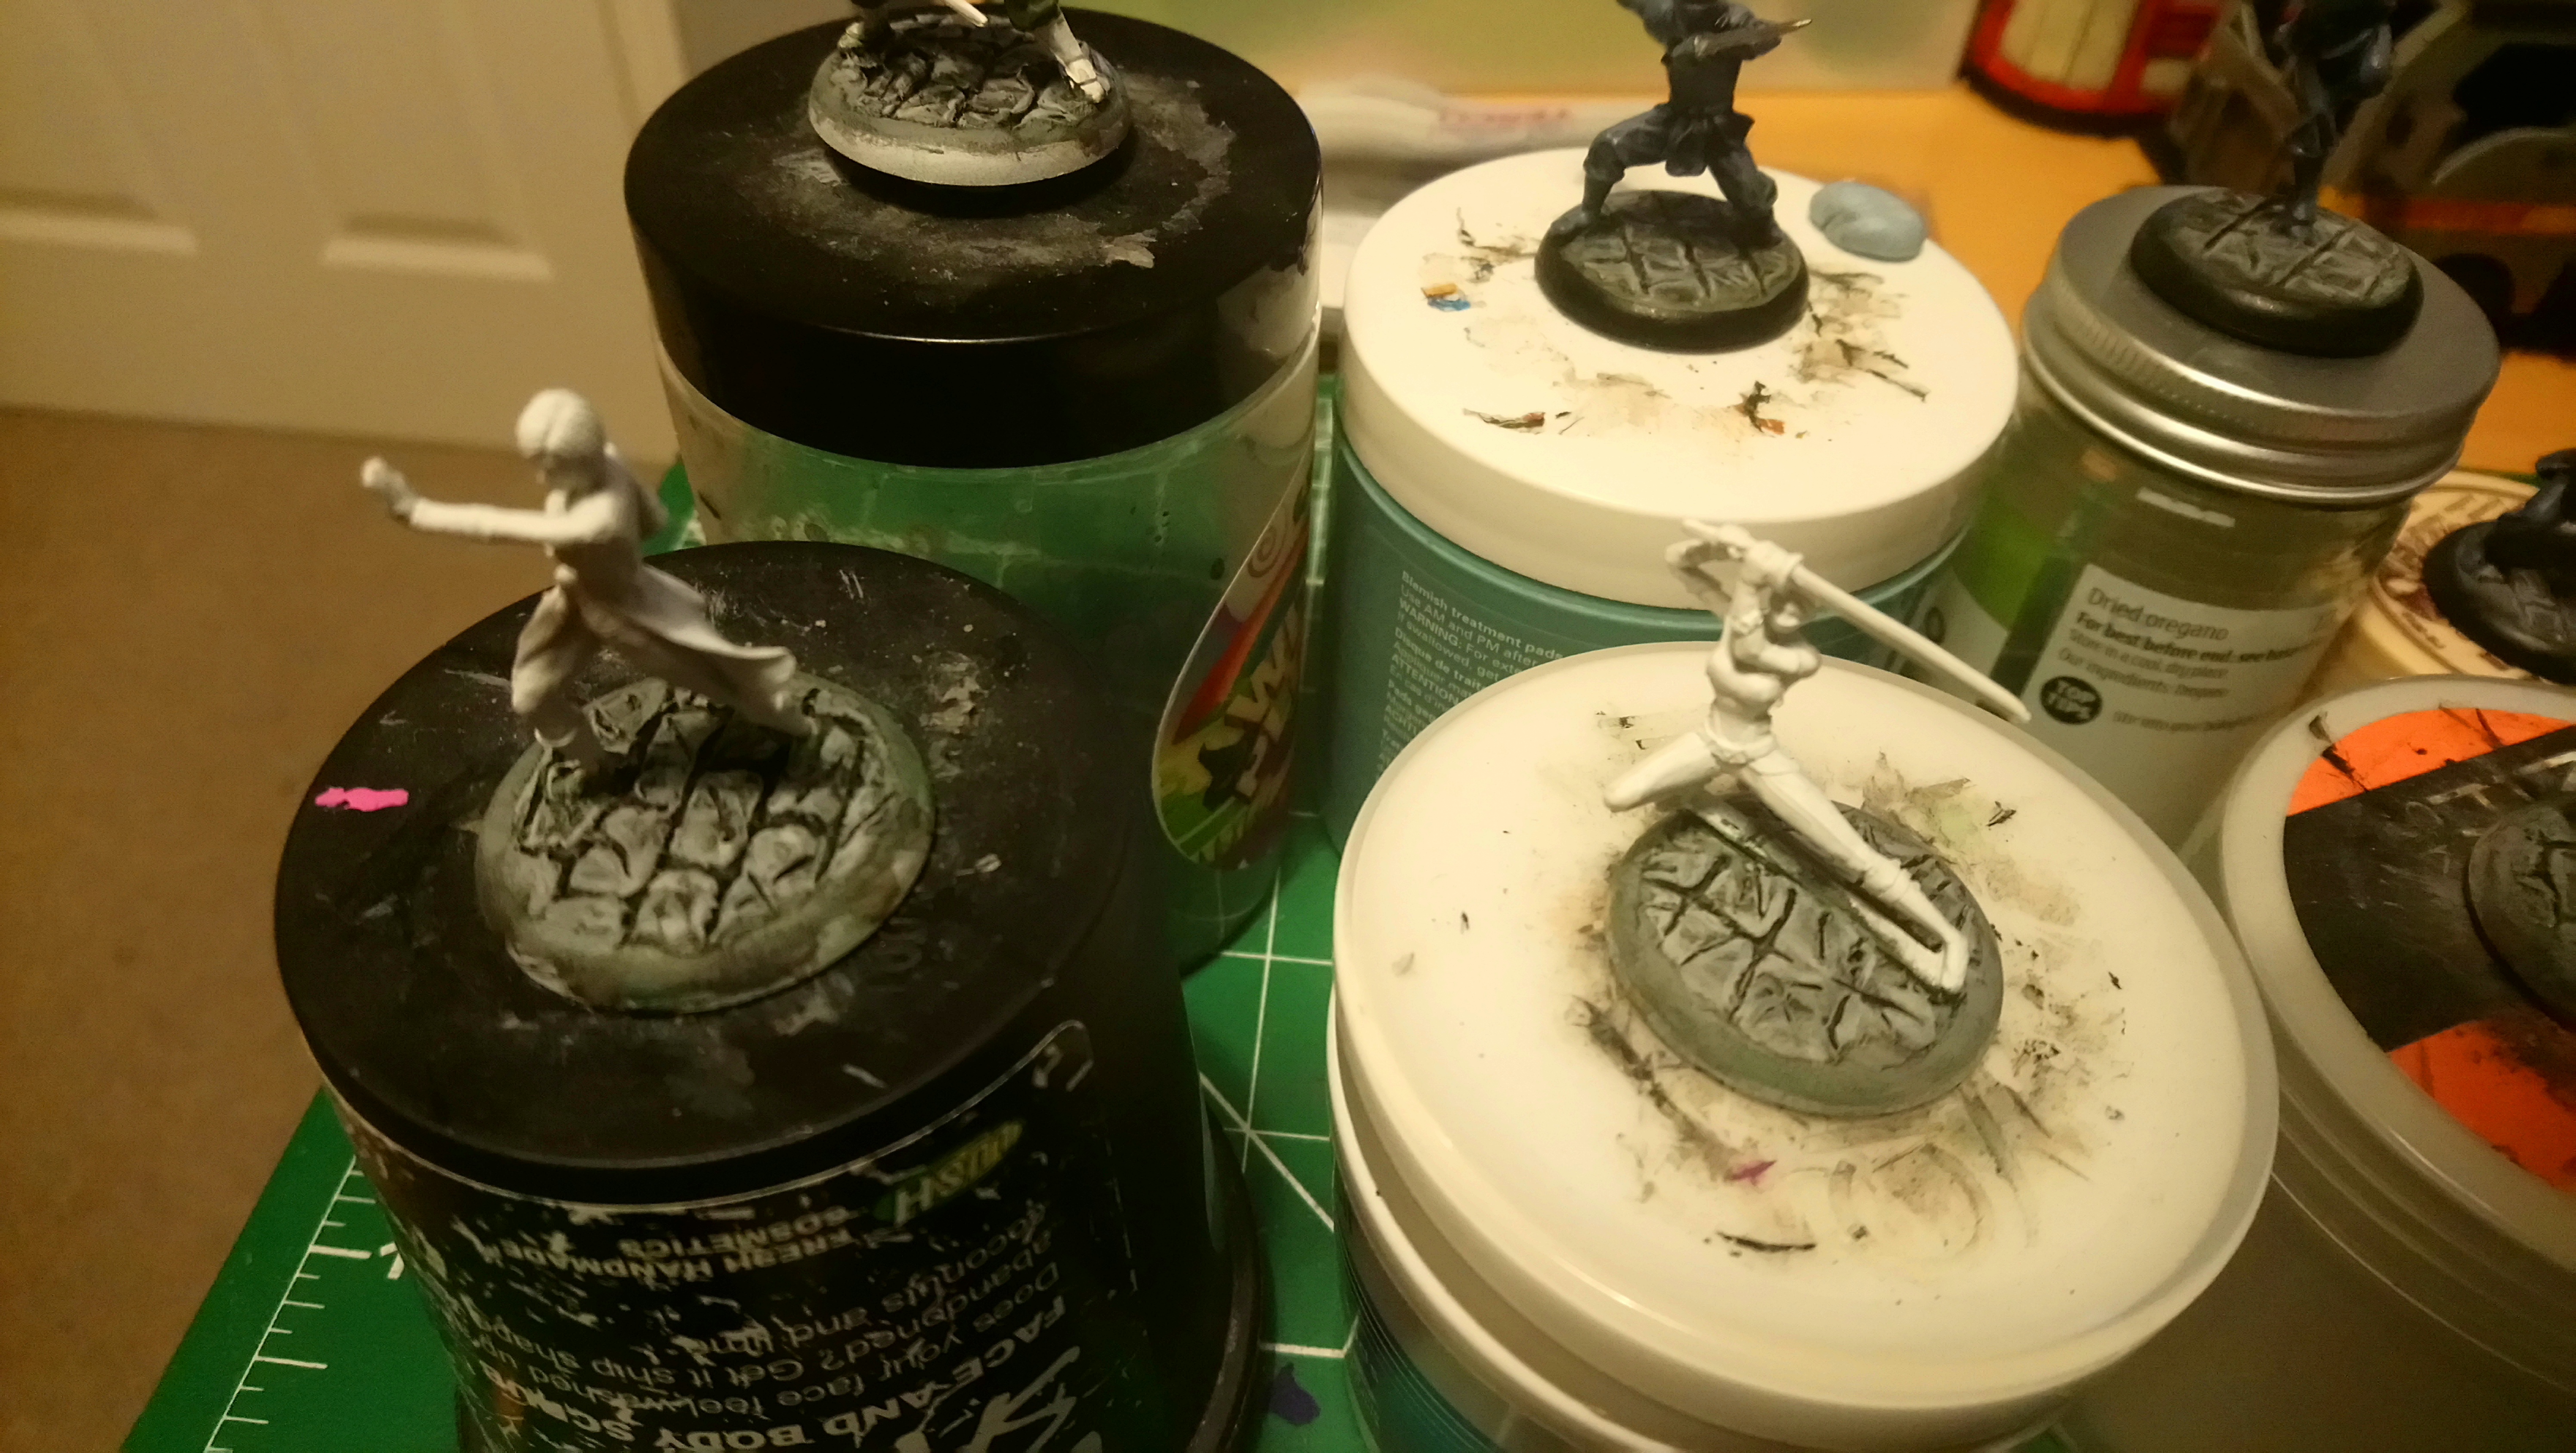 ...and here I have highlight the more prominent edges with VGC Stonewall Grey. I try not to highlight all of the edges as this quickly overwhelms things.
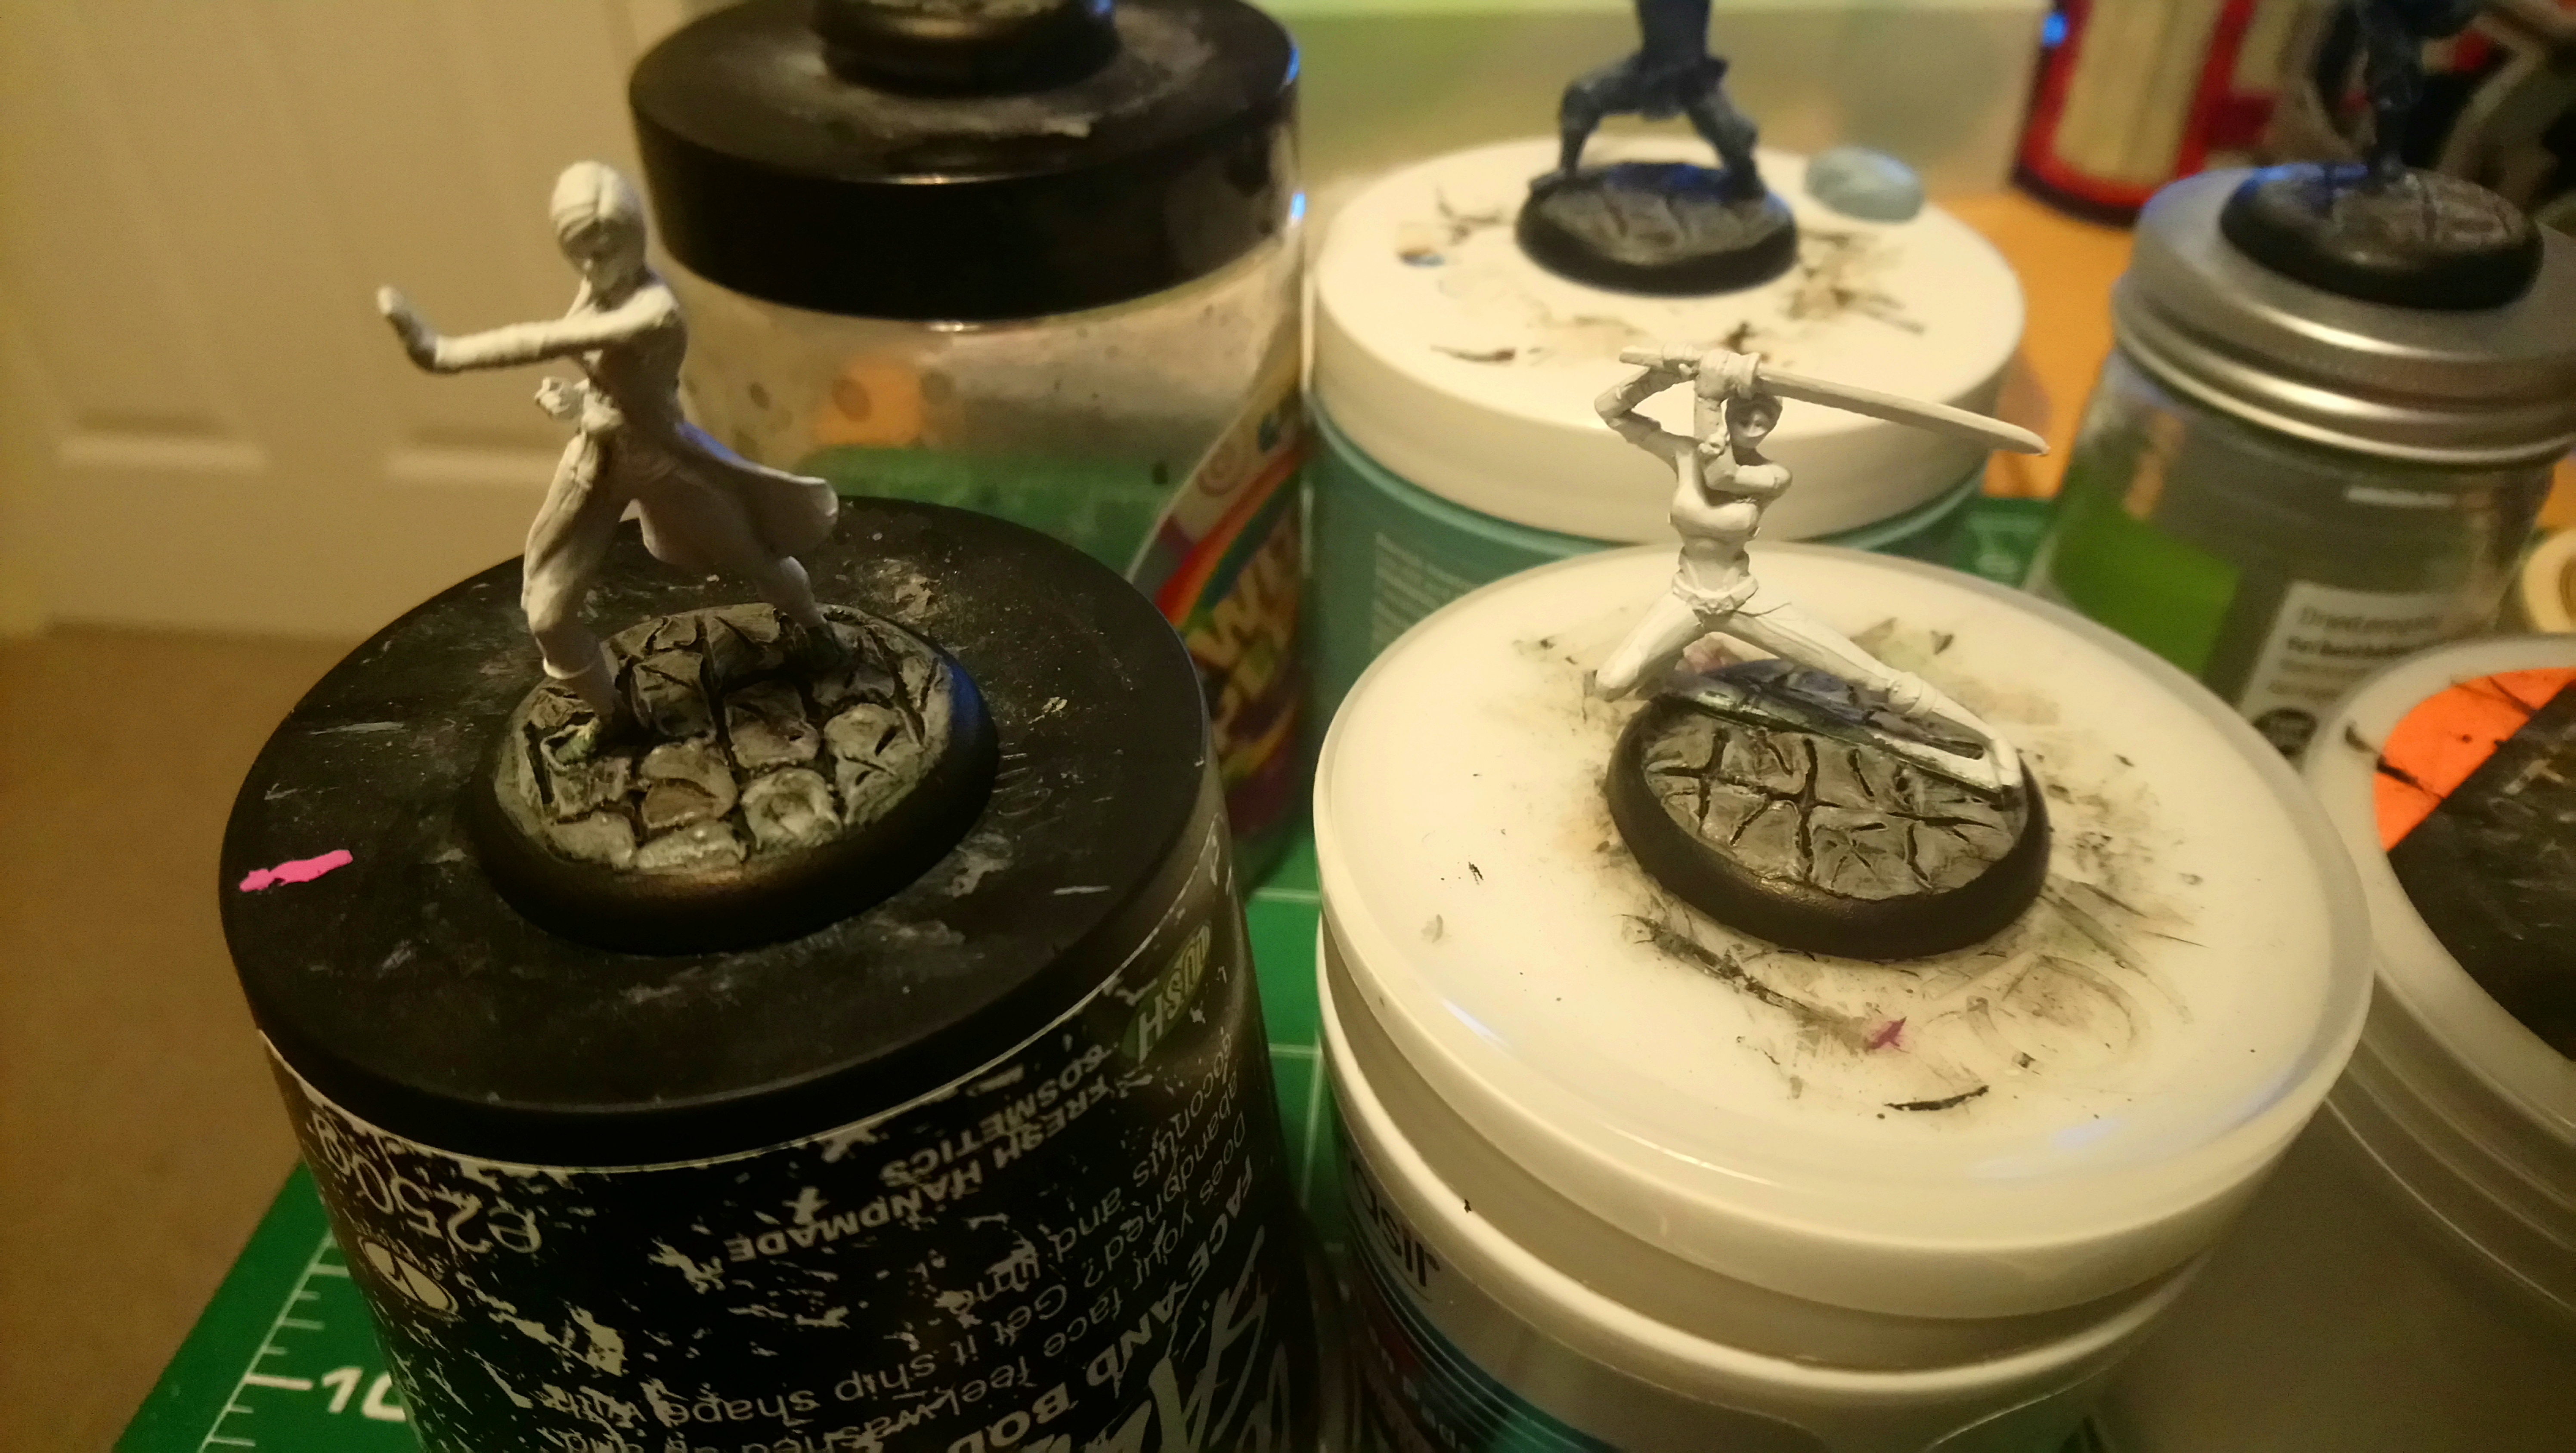 And finally I go back in with a light wash of Strong Tone to dirty the bases up again then went ahead and used matt black on the base rims to finish up..
 And that is the bases done for now! With the messy part done I can now focus on the minis themselves.
The next stage will be to finish base coating a League Ninja with the new colour scheme I have in mind. I am trying to put my own stamp on the League and move away from the default movie blue look. Time to experiment!
Basing! (Part 1)
This month I am tackling my League of Assassins back log and maybe looking at updating the paint scheme of some older models.
To start with though, I always paint the bases of my Batman models first as I do a lot of dry brushing that can easily overflow onto the feet and legs of the model. I am taking WIP pics step by step to show how I do this.
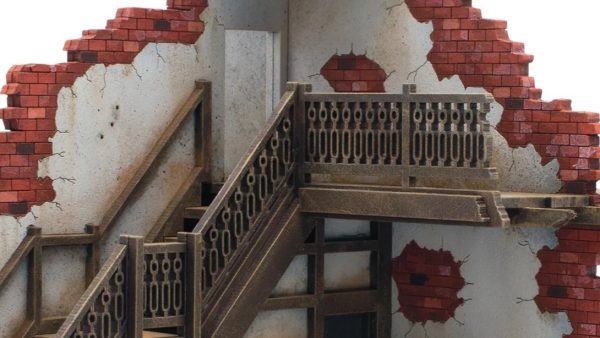
My bases are lipped slotted bases that I greenstuff over and sculpt in stonework to look like an old broken paved/cobbled street you might find somewhere in old Gotham. I started doing this before Knight Models began to supply their minis with textured bases and have persisted with it for consistency across the collection.
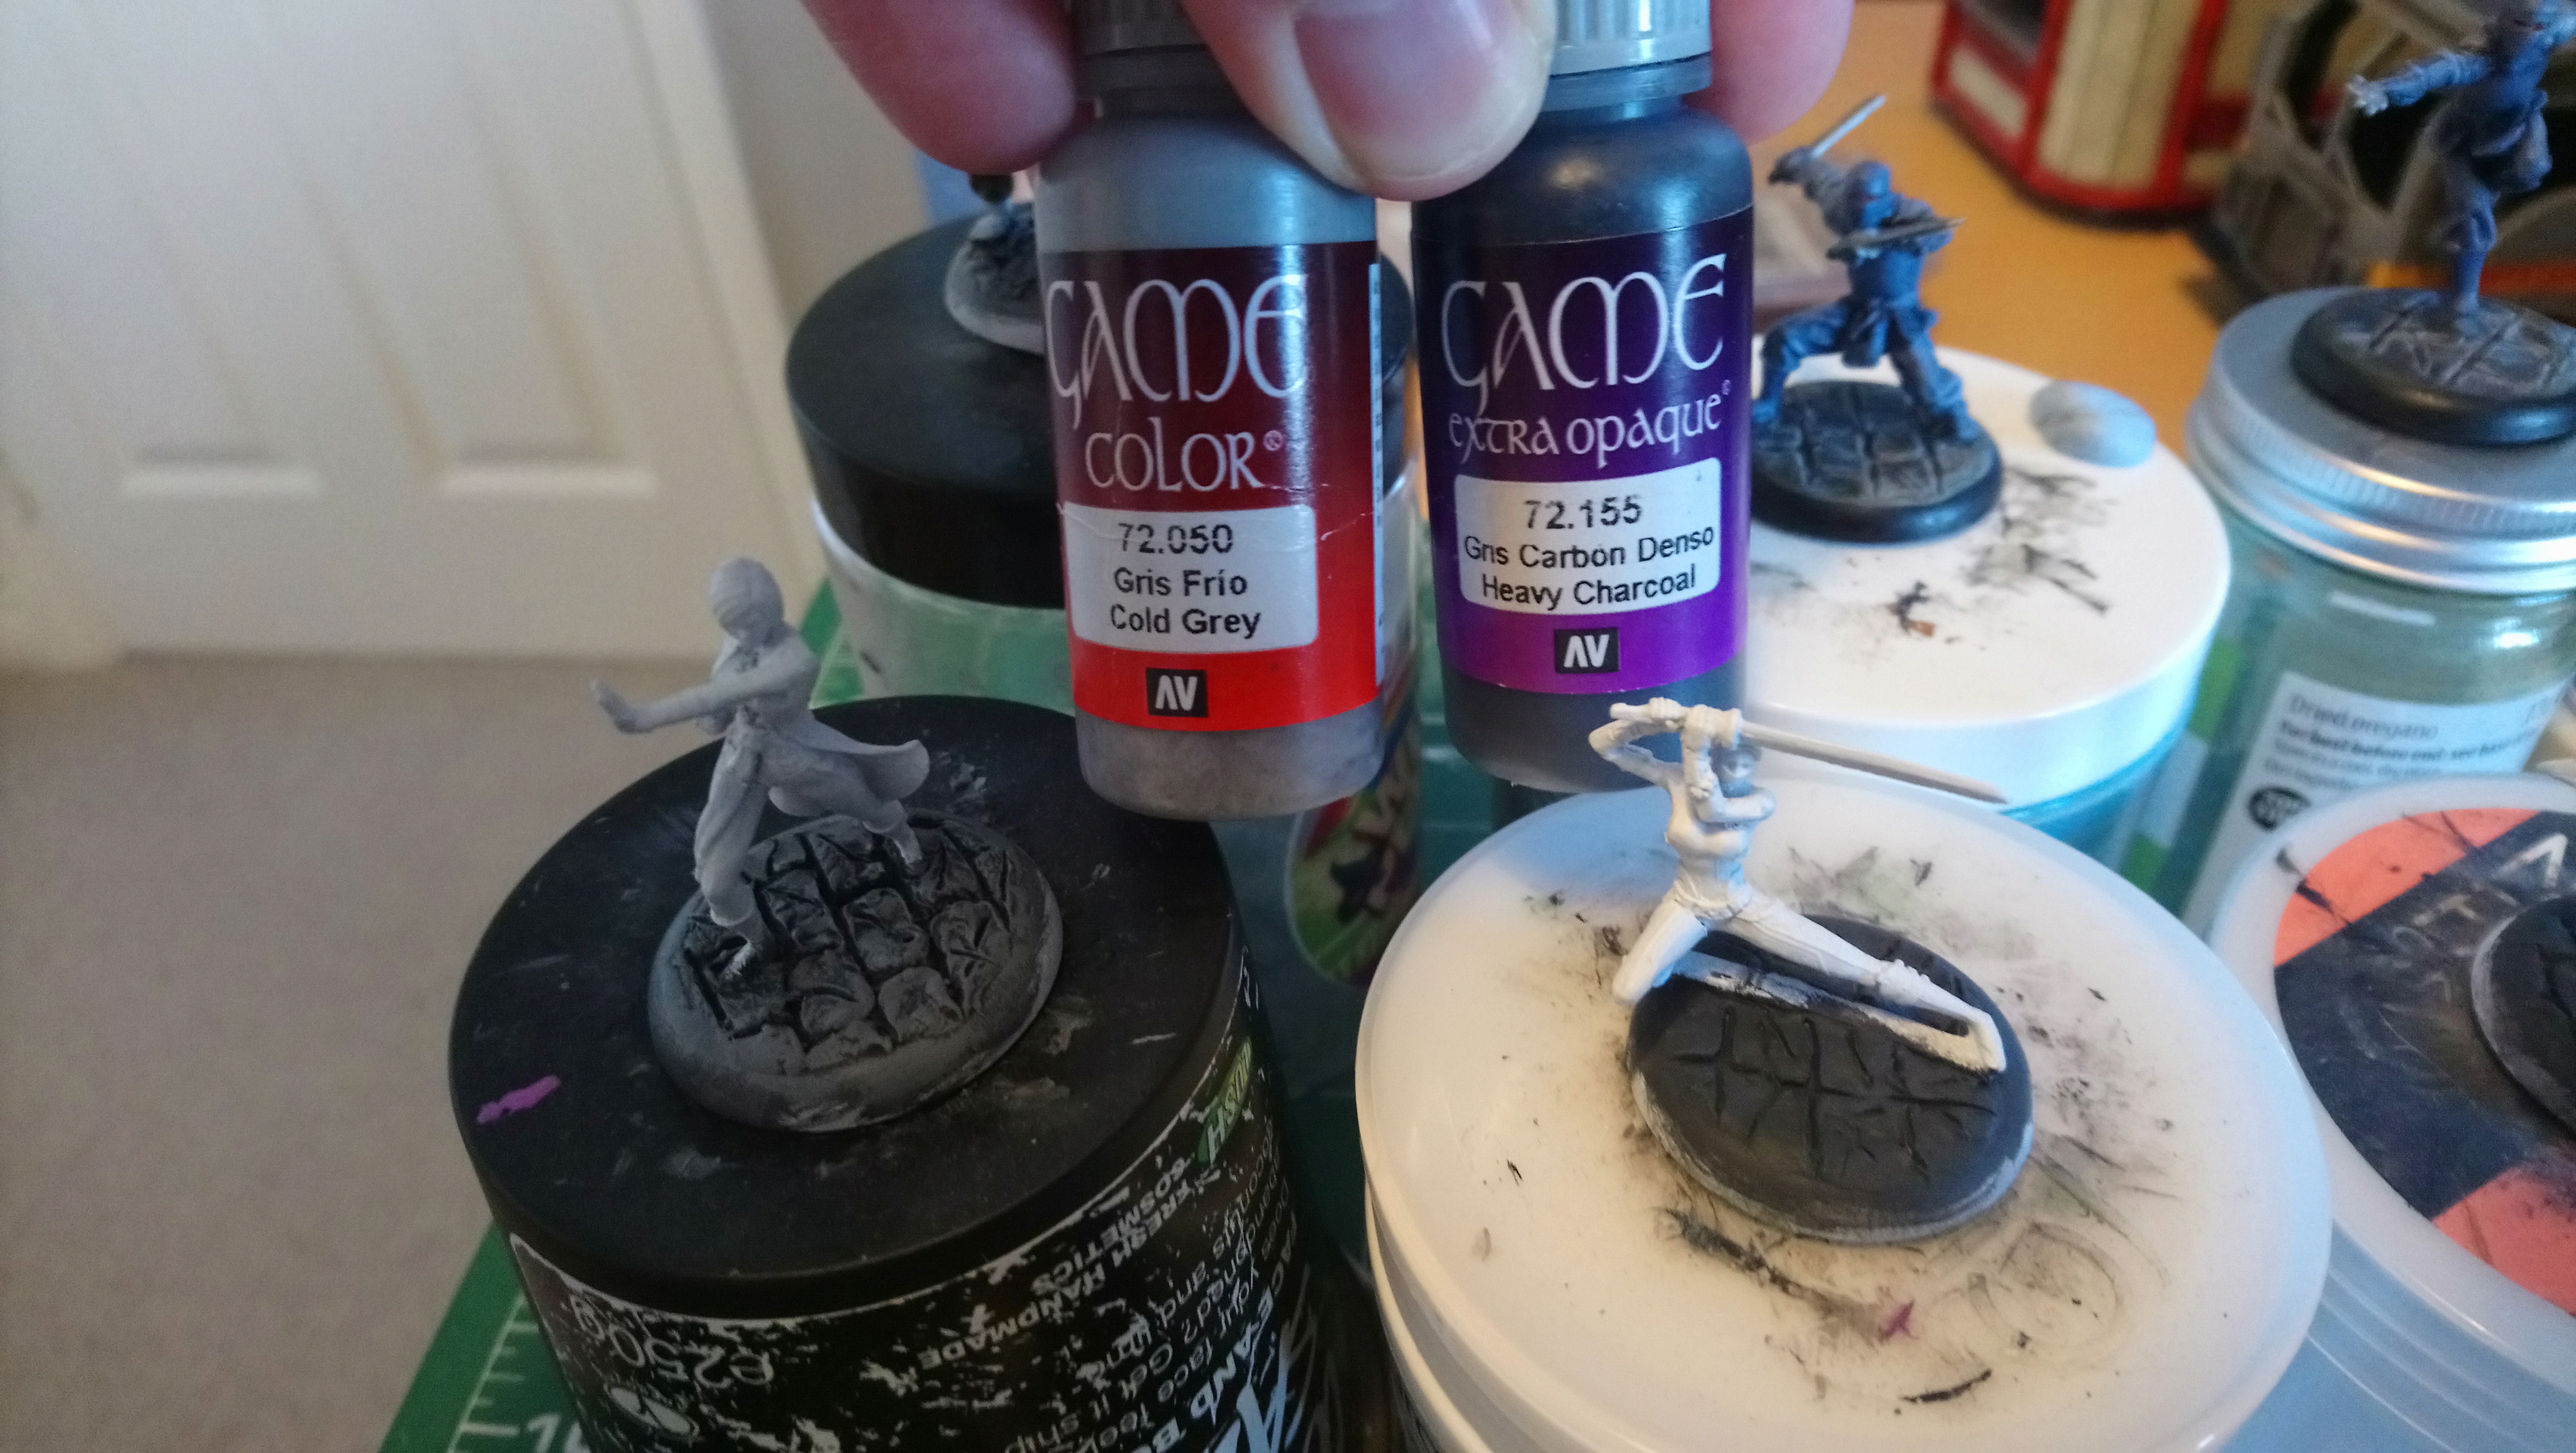 First I basecoat the bases charcoal grey, then apply a heavy dry brushing of cold grey to begin shading up. You can see the first two steps side by side here, with the basecoat on the right and a drybrushed base on the left..
  Next I hit the base with a green wash. I do this to try and add a bit of colour variation to the base so that it isn't only shades of grey.
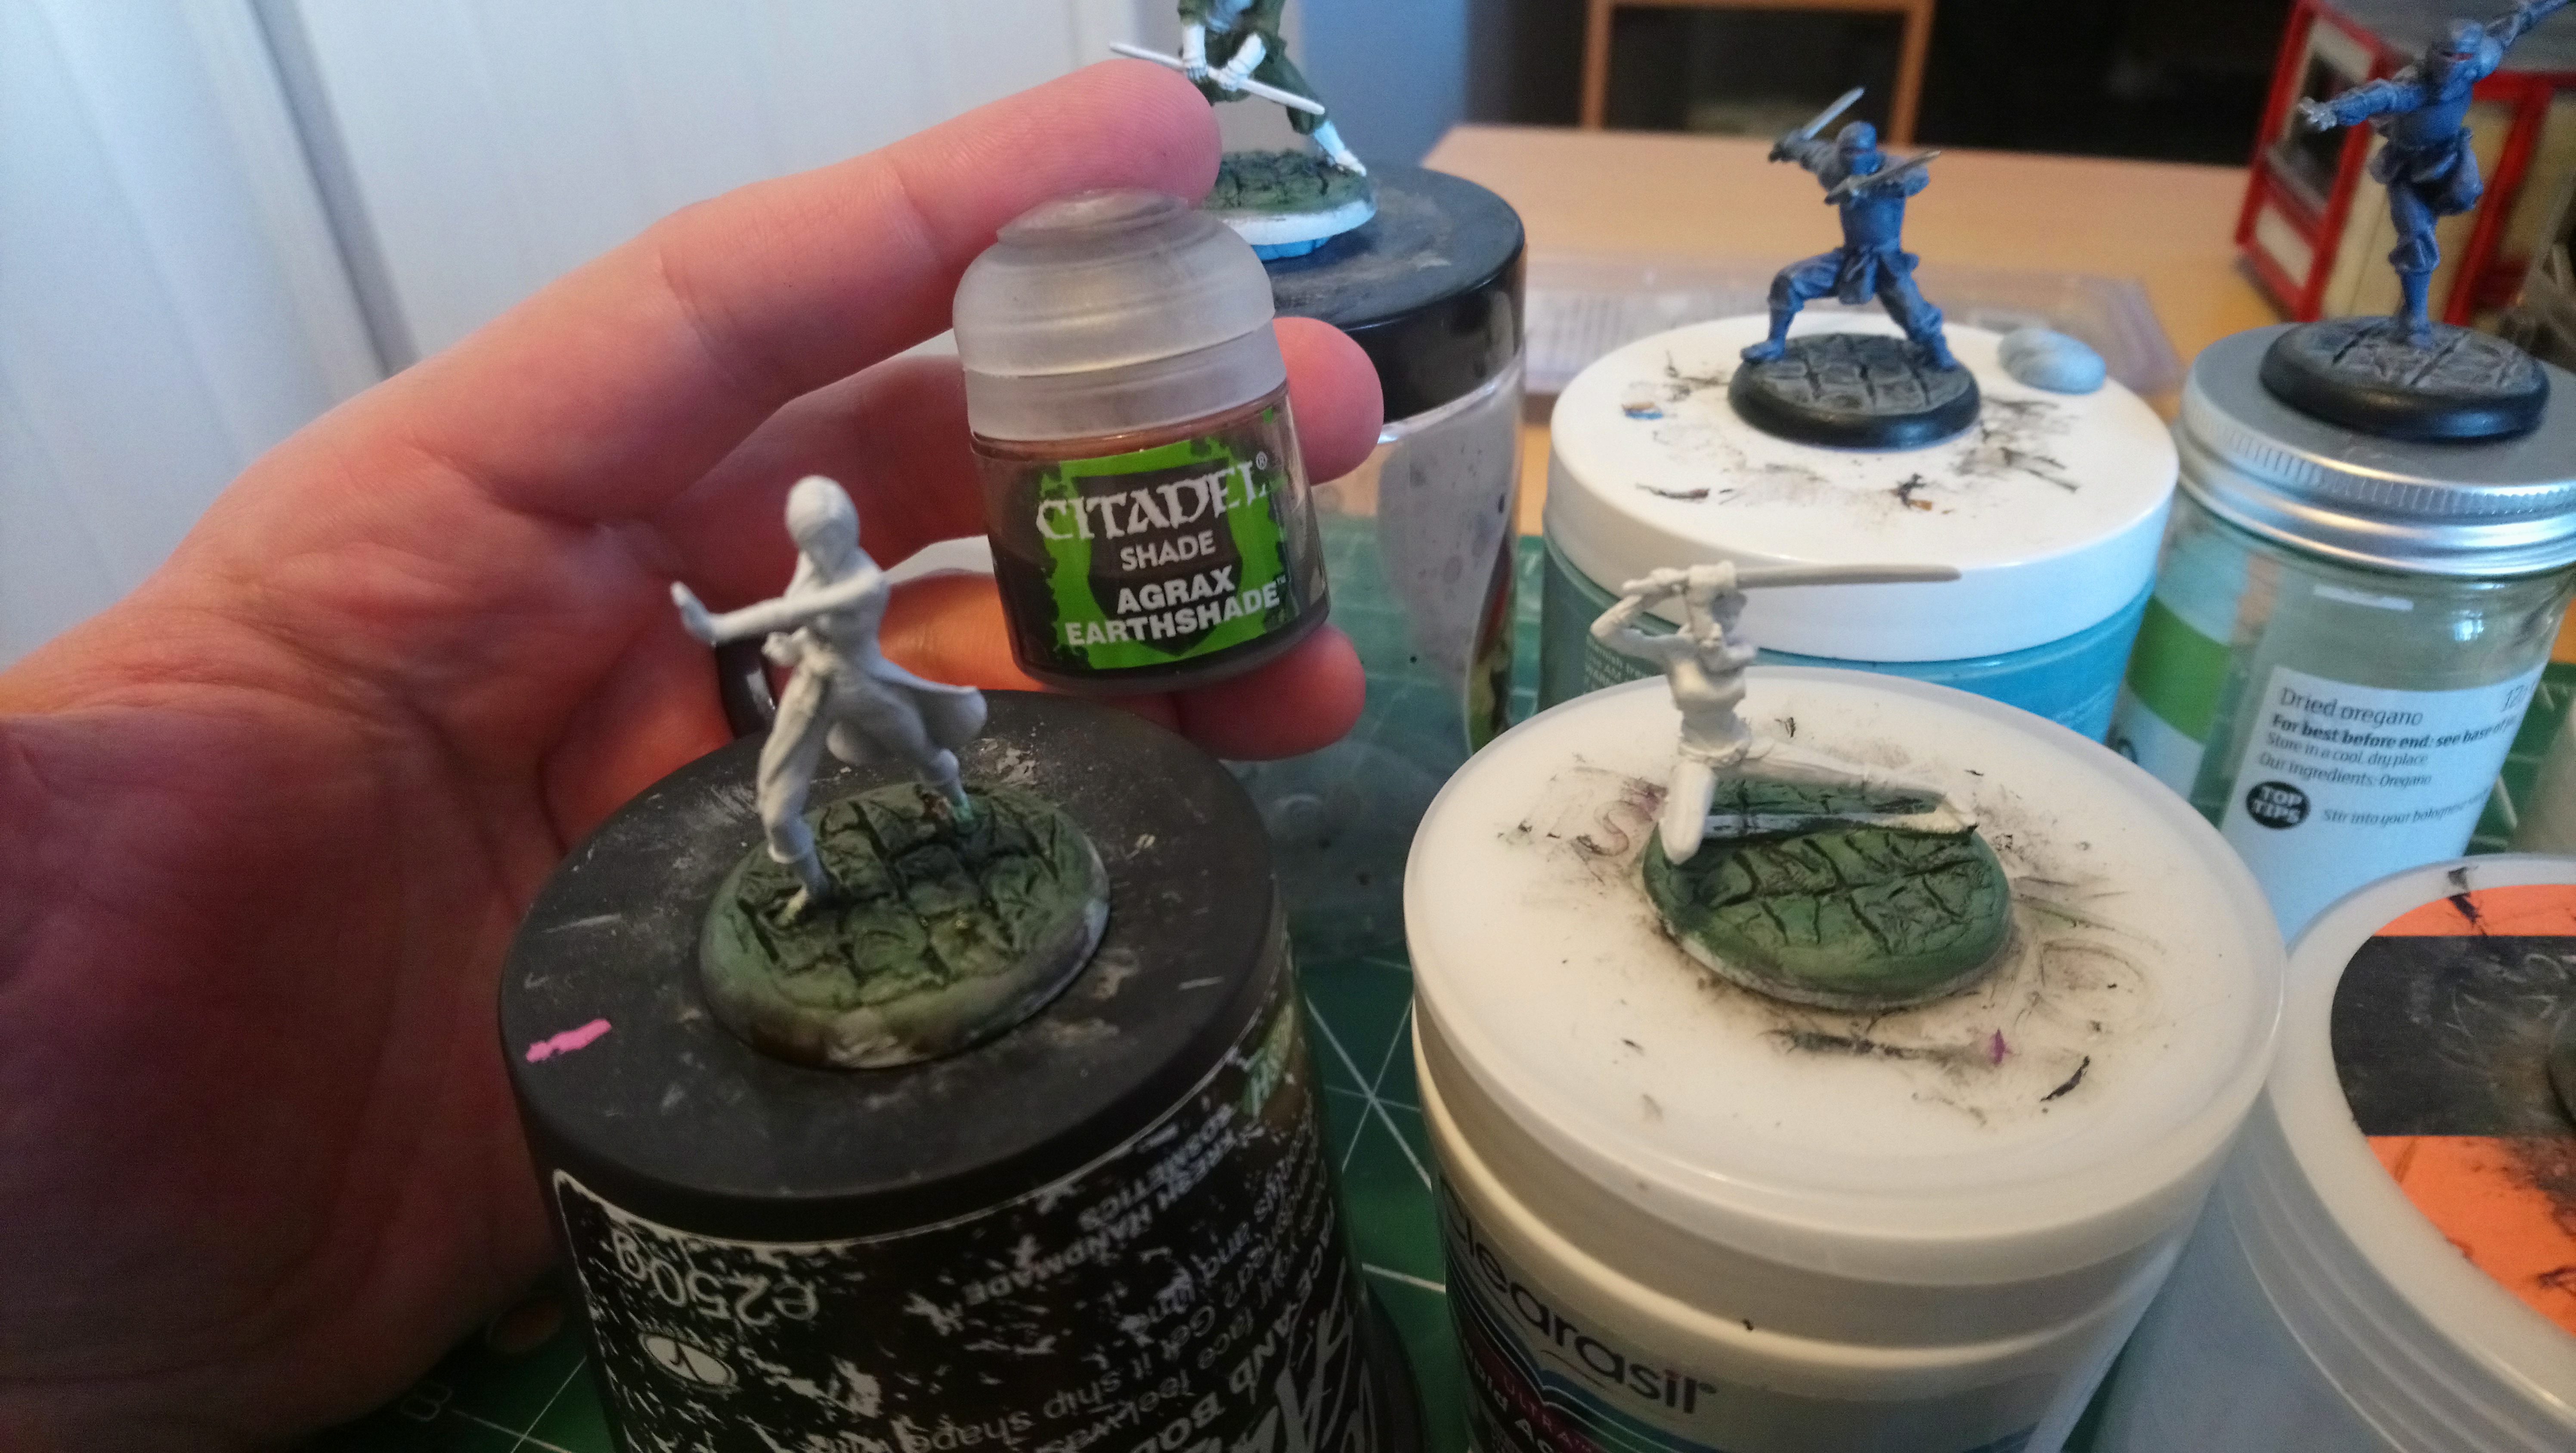 Following the green, I chuck in a brown wash! To my mind this helps to dirty up the stonework, once we get to the finished product it is a fairly subtle effect.


![Warcradle Studios Reveal TINY New 10mm Festive Marker! [Updated]](https://images.beastsofwar.com/2025/11/christmas-kyle-main-600-338.jpg)