


![How To Paint Moonstone’s Nanny | Goblin King Games [7 Days Early Access]](https://images.beastsofwar.com/2024/12/3CU-Gobin-King-Games-Moonstone-Shades-Nanny-coverimage-225-127.jpg)


Laughingboy’s Hobby Lodge


Recommendations: 423
About the Project
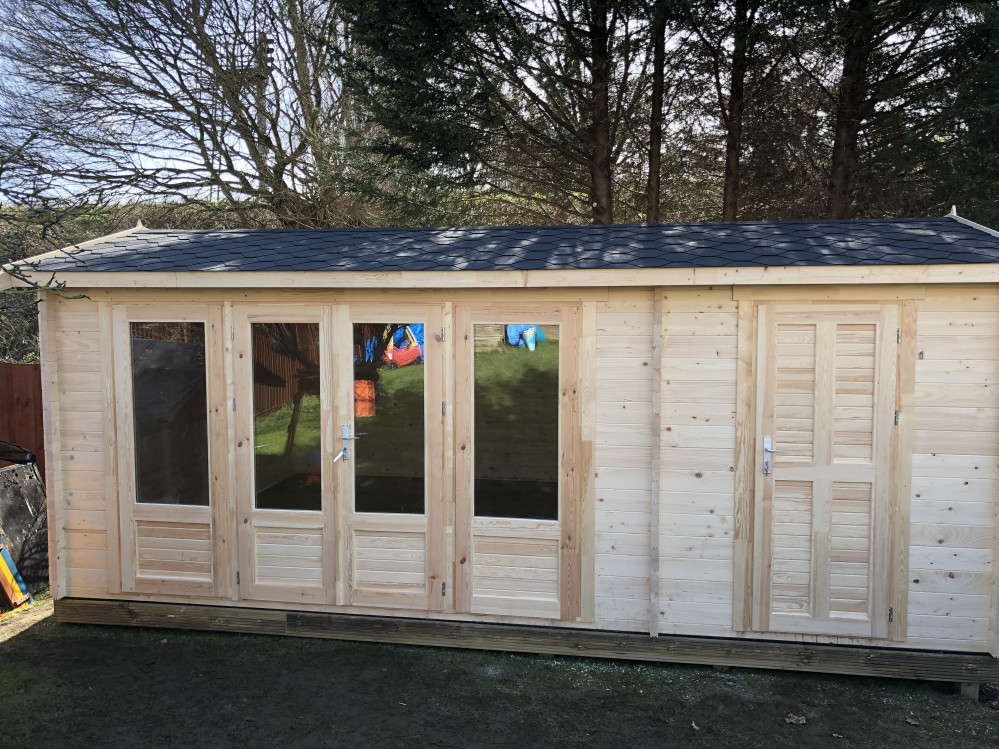
I have been into the hobby since around 2015 and very quickly started to build quite a large collection of things, I was storing all of this stuff in cupboards, the garage and under the bed. I eventually got some storage space in my children's playroom, as they get old the room was being used less and less. But whilst storage was becoming less of a problem me and my kids still didn't have a decent enough space to play and whilst there was always the dining room table it was of course constrained by a time limit. So we decided to embark on building a hobby lodge in the garden to meet the needs of the growing hobby. And this is what we did.. with a little help from the guys at https://www.johnsonsgardenbuildings.co.uk
Related Genre: Game Aid
This Project is Active
Lodge update - 1 Year on
So it been a year now since I put the lodge in place so thought I would update on what I have done so far.
must go faster!
So I think in the past I talked about how I got the Hobby Lodge connected to the internet via PowerLine devices from TP-LINK, these devices essentially push a data signal through your electrical cable on the same circuit. For anyone looking to get a network signal through the house where wifi will just not do I have recommended them. I used the TP LINK AV500 devices.
The problem with these is of course interference, data and power is never a good mix, so when using the PowerLine device even though I have a high-speed connection I was seeing a dramatically lower speed in the lodge at the bottom of the garden about 100 feet away.
I am having some work done on the house at the moment so took the opportunity to run a length of Cat6 (cat5e would also do the job) under the floors, down the garden and into the lodge. Now because I was running this outside I went with armoured cable (this stops animals and weather causing problems).
And the results are awesome, the lodge has gone from “ok” connection to what I consider very good.

Update on the light, inspired by BoW
Very quick search on Amazon for lohas smart bulb and you will find the various bulbs and LED strips.
No need for a hub just connects directly to your wifi via the app (tablet or phone)
The latest upgrade.. camera... action! - option 2
Let me know your thoughts on which way round works best, a smaller static camera with the larger view being moving around or how it was in the first video below with the larger view being the static table view.
I still think Mics might be an issue, so any thoughts on that would be good.
The latest upgrade.. camera... action!
Ok, so the next thing I wanted to look at was the ability to file battle reports. I have seen many ways of doing this so thought I was doing my own take on it.
I decided what I wanted was a view that encapsulates the whole table and then a moving camera to get into the details, dice roles and players.
I initially when with the old faithful Logitech 920 HD which is pretty much the default choice for streaming HD webcams these days…..
but even though I highly recommend the camera I found it just was not capable of taking a wide enough shot, even from the highest position it would cut the ends off the table. So I upgraded to the 930 HD which is much more of a business grade for meeting room type setups and has a wide arch.
https://www.amazon.co.uk/gp/product/B00CES5A60/ref=oh_aui_detailpage_o01_s00?ie=UTF8&psc=1
https://www.amazon.co.uk/gp/product/B07D2G3V4C/ref=oh_aui_detailpage_o03_s00?ie=UTF8&psc=1
https://www.amazon.co.uk/gp/product/B00B2HP2UI/ref=oh_aui_detailpage_o02_s00?ie=UTF8&psc=1
I simply tacked the wire across one of the roof beams and used a 5m repeater USB cable very simple to do.
Next, I knew I wanted a hand camera but wanted to see if I could get something to work from my phone (iPhone 8XL) given it is a pretty decent device I thought it would be ideal.
The first problem, I had no idea how to wireless stream from my camera to my PC.. airplay is good if I wanted to present something but this was live streaming my camera.
So I did some searching around and found iVCam that actually creates a video capture device on your PC and allows you to then connect the camera and stream. I was surprised how well this worked with little fuss, £2.99 to go AD free and remove the watermark was an easy decision.
“https://www.e2esoft.com/ivcam/”
Next, I knew holding my phone in my hand waste playing would probably lead to seasickness for anyone watching so I looked at Gimbles in the market. Now if the marketing is to be believed done well these can make even the worst camera operator look good. So I picked up…
https://www.amazon.co.uk/gp/product/B07CJSDYLN/ref=oh_aui_detailpage_o00_s00?ie=UTF8&psc=1
Now whilst I am still learning how to use it I like it and know it is just a matter of practice to get the best use of it.
The only thing I am not entirely happy with is the mic so I might be looking at improving that but for now, it seems to be ok-ish.
So what do you think? One thing that has come to me is would it better to swap the images, so have a smaller one of the overview and the main view being the actions/players etc… the more I think about it I think maybe the better.
Let me know your thoughts on any of this, thanks. Hey, would you even watch a battle report if I published one 😀
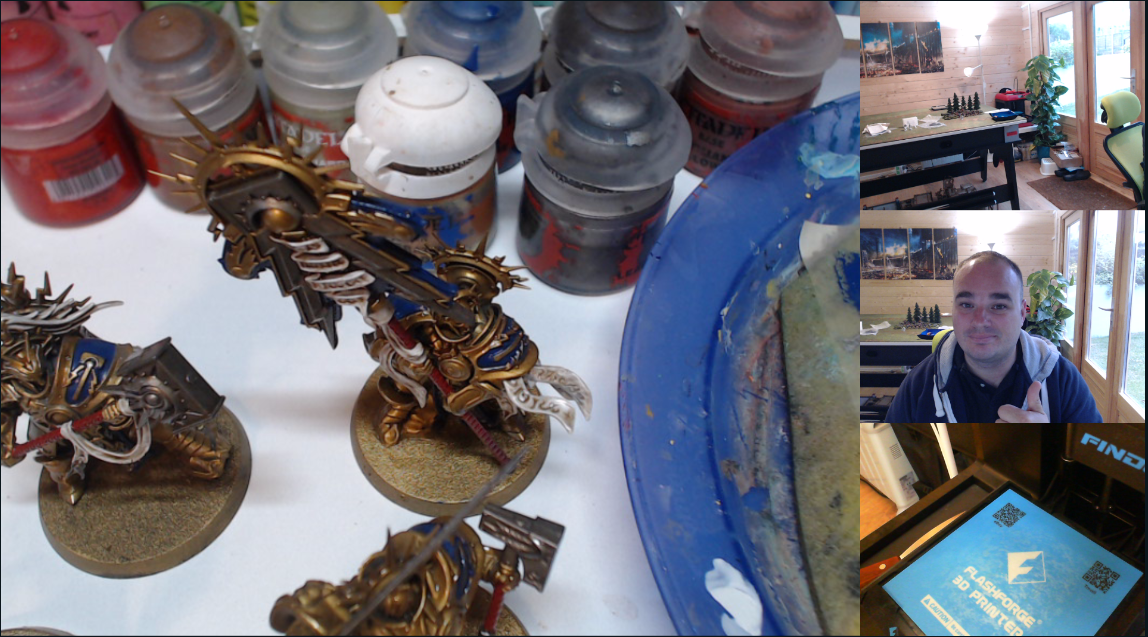
Streaming
One of the things I have done in the past is dabble in Twitch streaming. So in the new lodge, I wanted to get a setup to allow me to continue to do this but up the levels of what I can do.
So using currently 4 x Logitech C920 HD Pro cameras I setup four locations in the lodge.
The first is a close up came at the paint station, focused in on what I am painting.
The second is a face cam at the PC so I can do chats with whoever is watching in a more relaxed position (Also the camera I use for work)
A third is a face cam for when I am painting
and lastly a camera focused on my 3D printer to give anyone a view of what is going on there.
I used StreamLabs OBS which is a great bit of software for setting up a scene which now looks like this when it all comes together….
that's it folks
Well, a couple of months later and it is done. I am over the moon with it and consider myself very lucky.
I won’t lie it is not a cheap thing to do but now it is done given already the enjoyment I have had with my kids in it has made it completely worth it, and it will be used for many years to come.
I will continue to tweak here and there but now it is truly about enjoying the hobby.
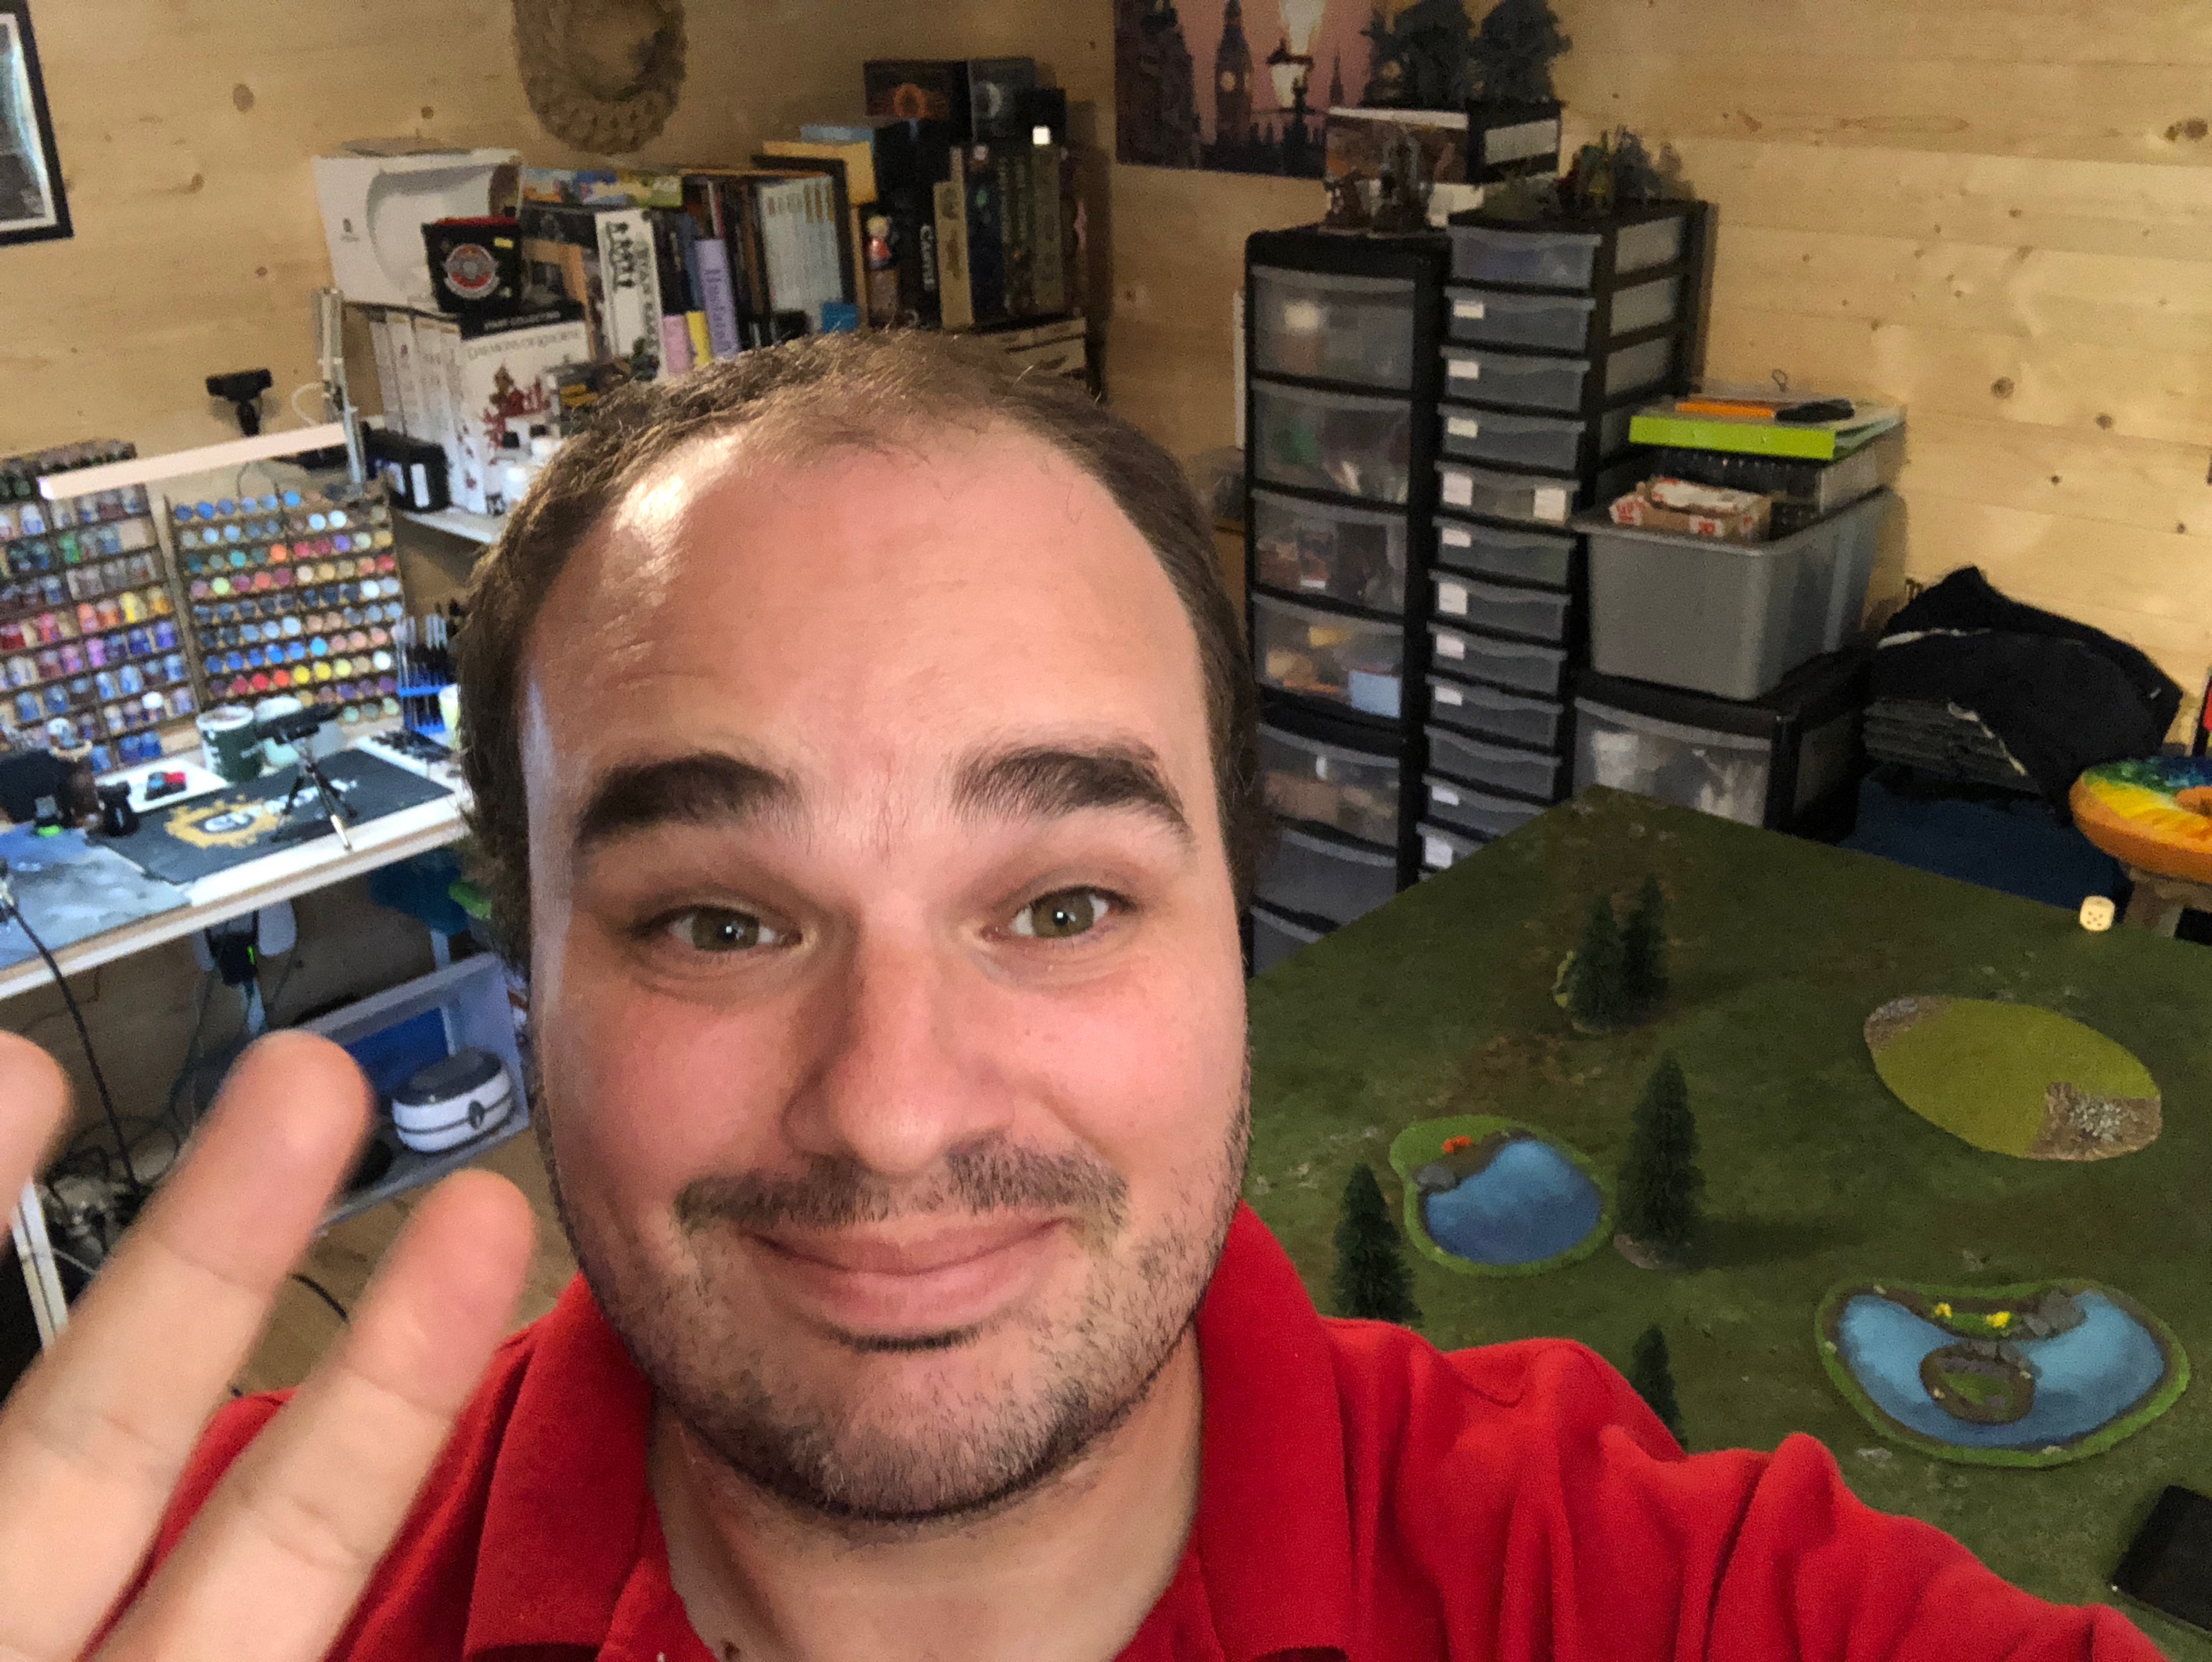
I hope this was interesting, not much skill or tutoring sorry but if you have questions please feel free to ask. This was my first project on the new site so hopefully, it came out ok.
Cheers all
Martin
Internet of Things
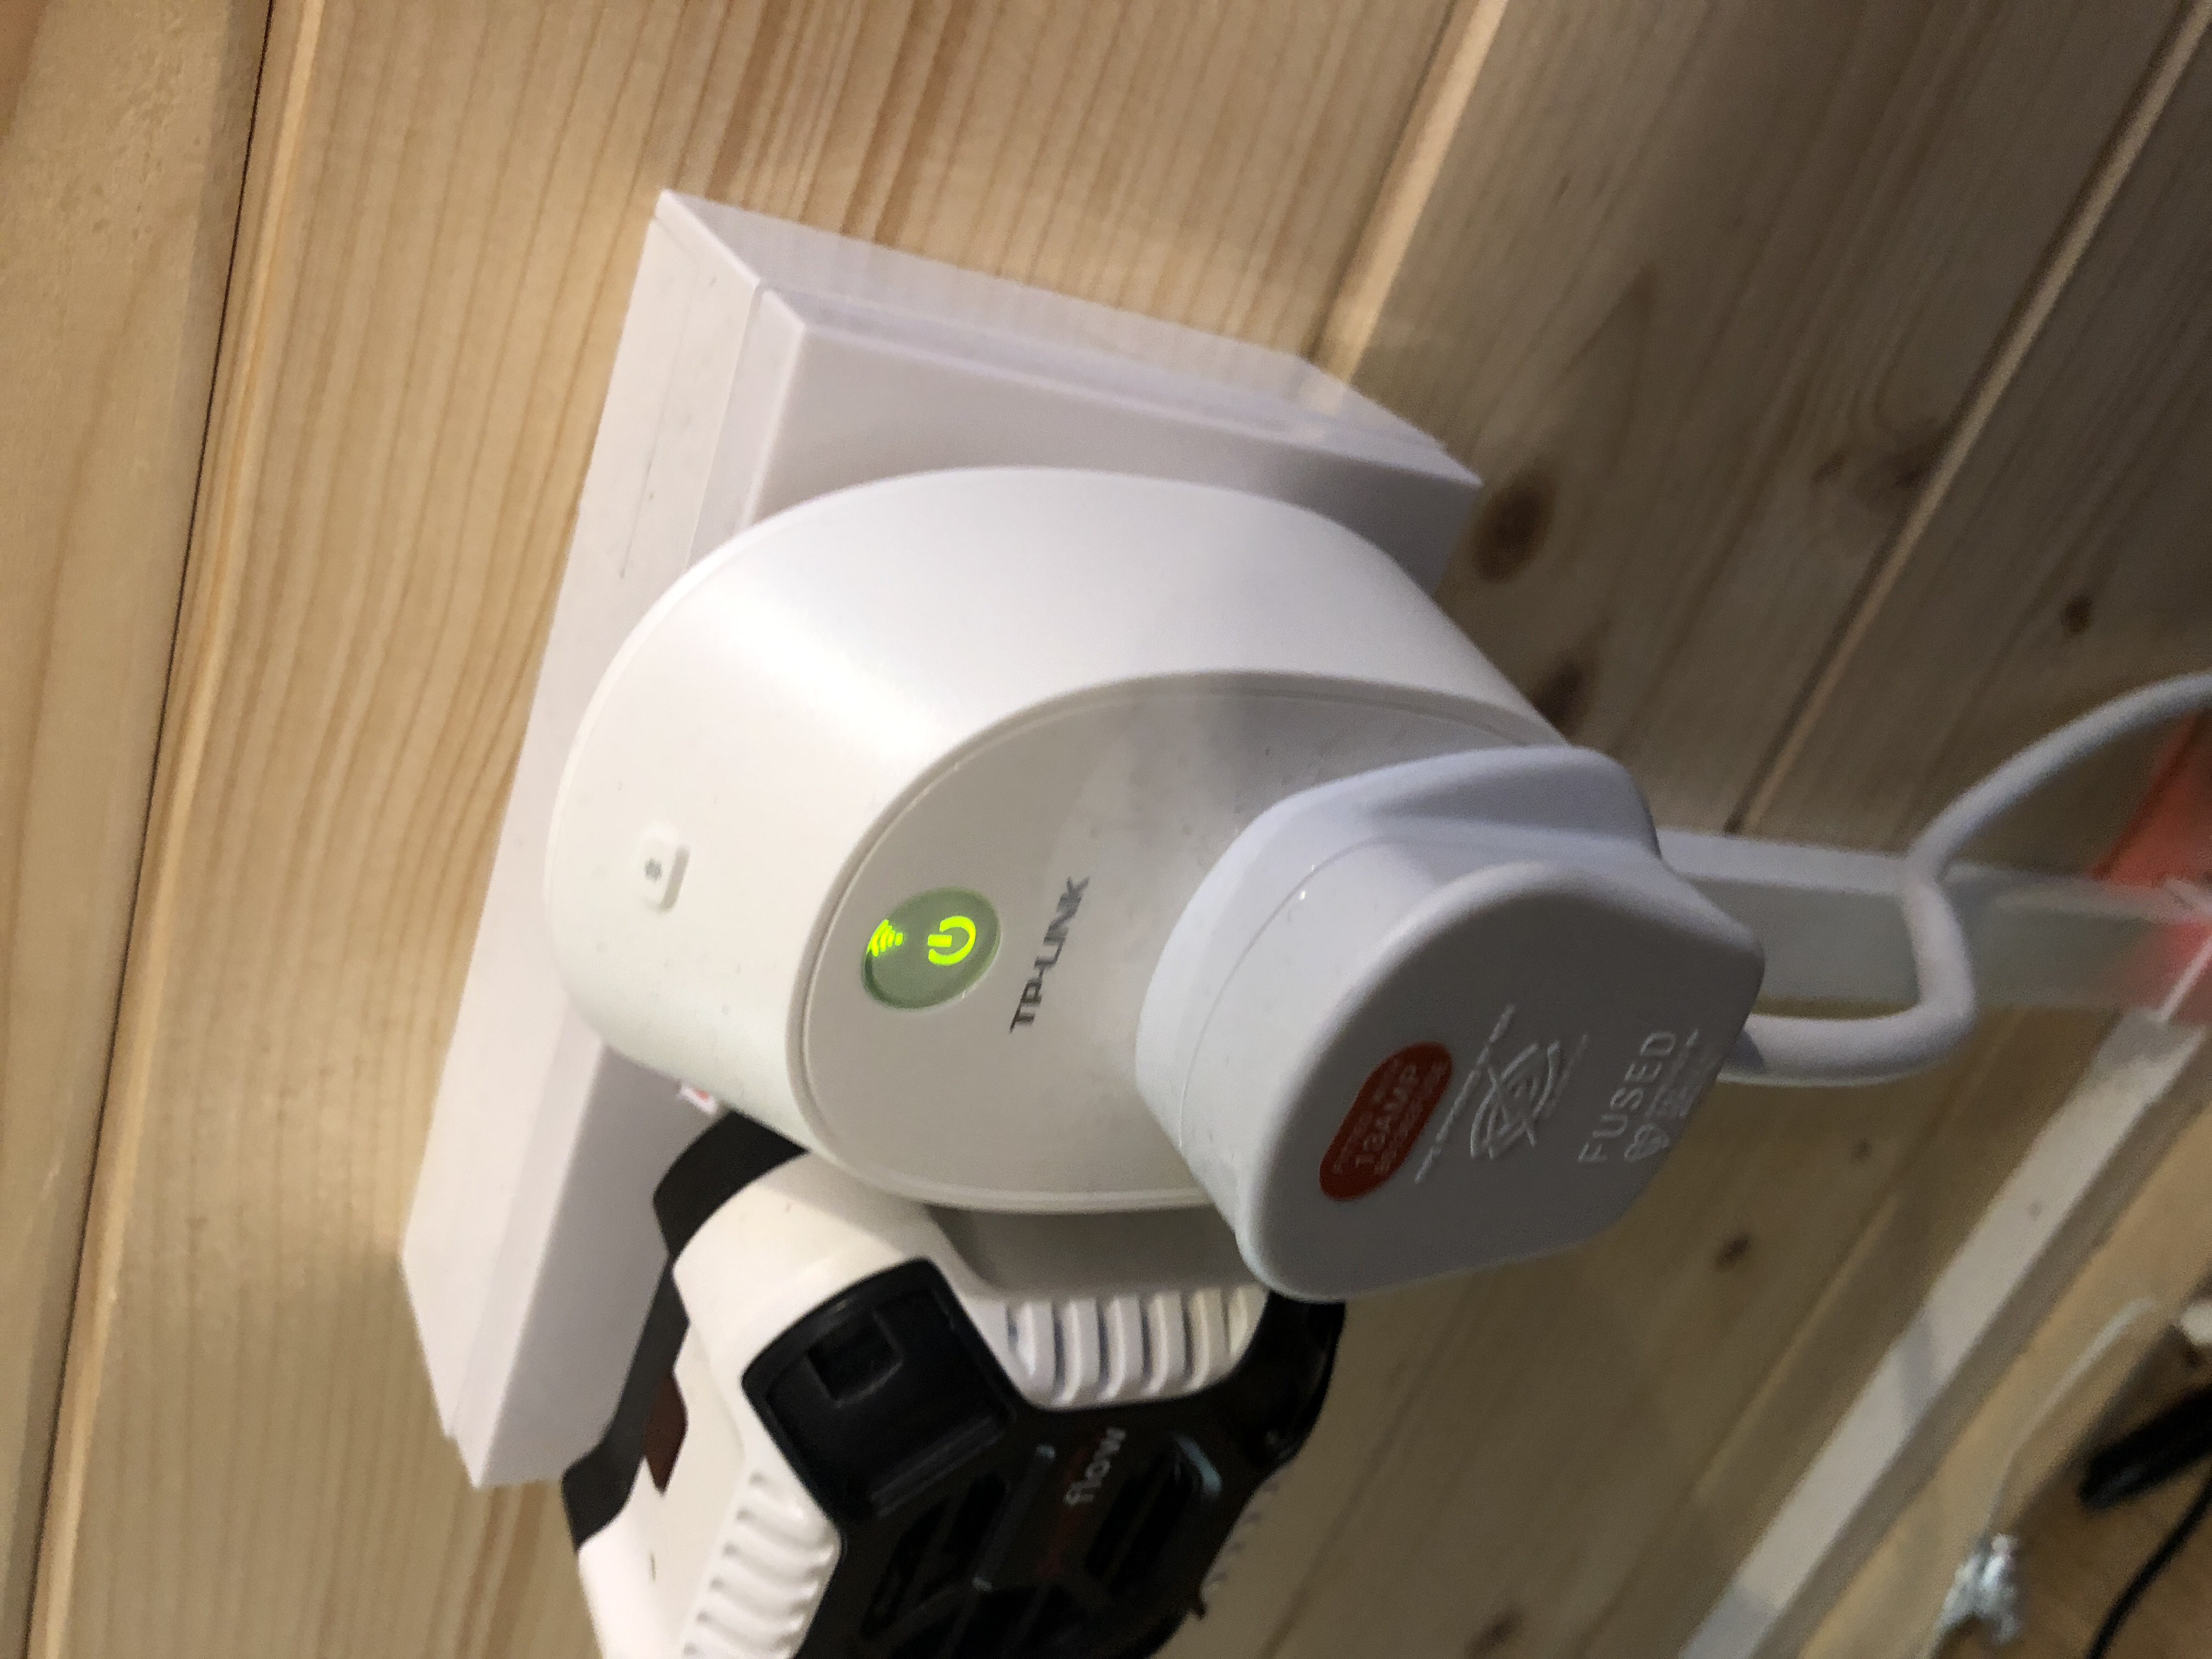
I next wanted to automate as much of the lodge power and heating as I could. First, because it is cool and secondly I want to be able to turn on and off all power and heating remotely before having to go down the lodge.
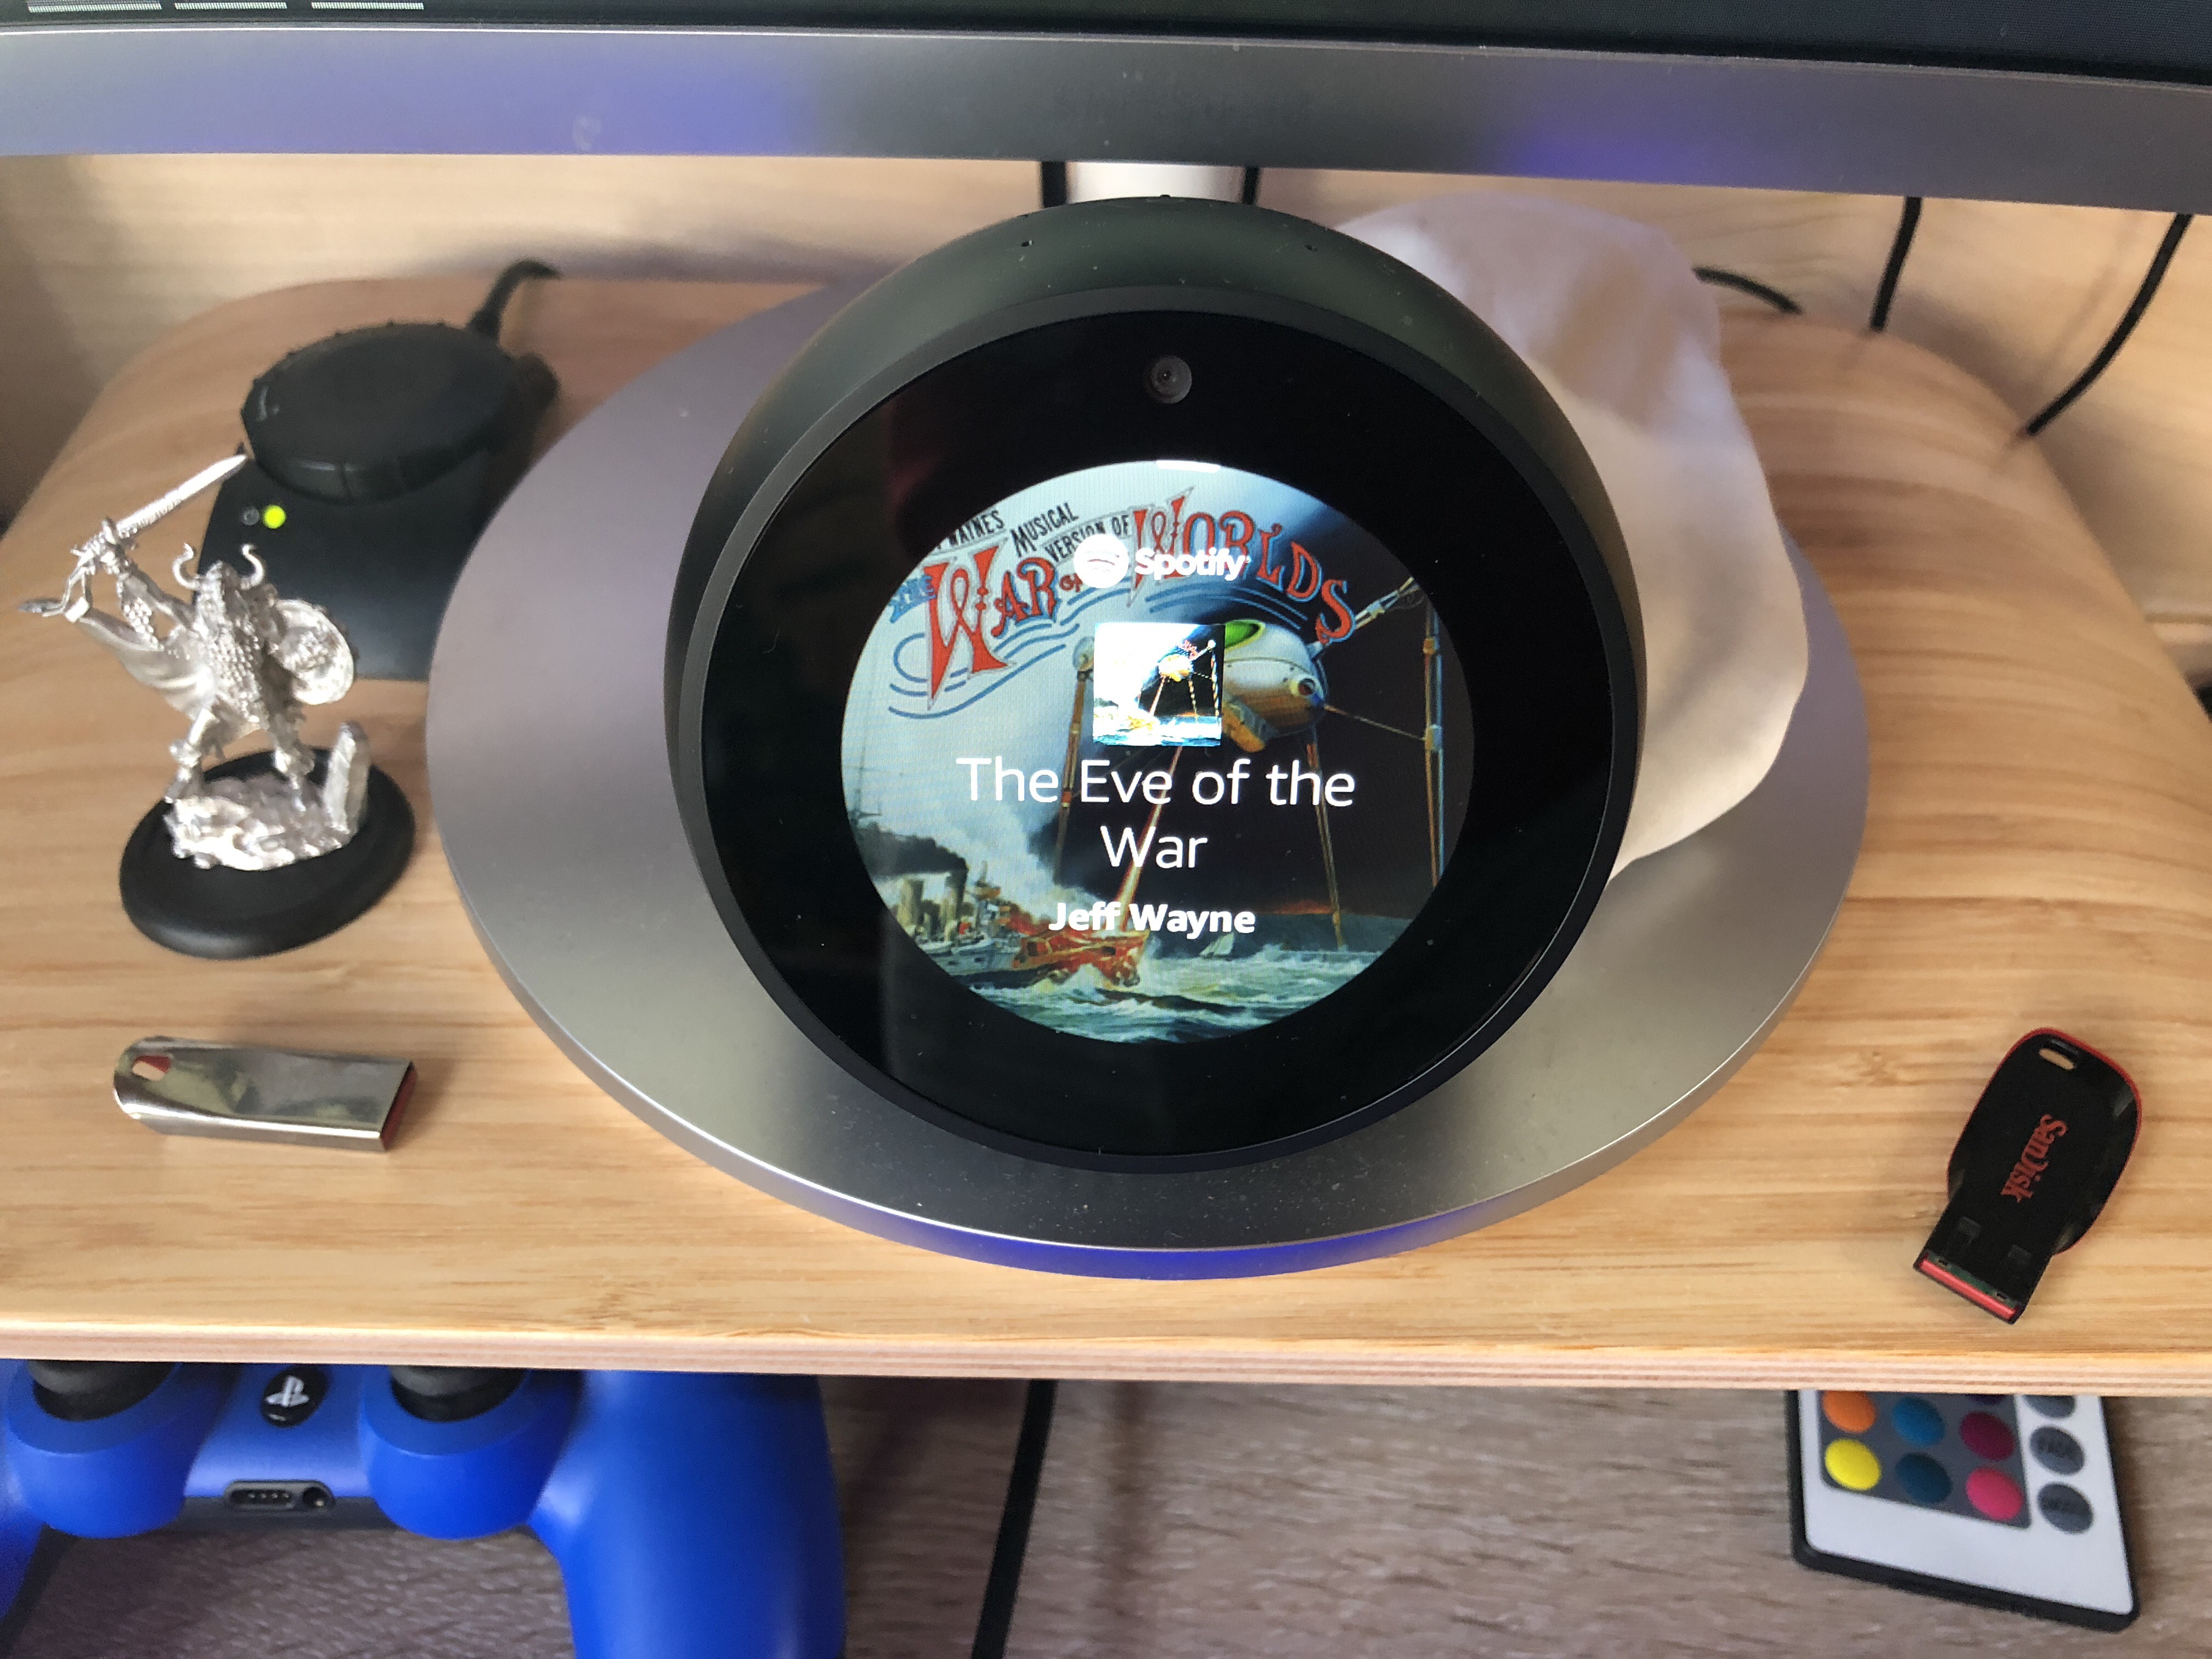
So this was done quite easily with the combination of some smart plugs from TP-Link and Amazon Alexa. I already have Alexa devices in the house so I added a new Alexa Spot to the lodge and away we went.
So either via the Alexa app or using voice control “Alexa turn on/off the lodge” from within the house will power on all lights, heating and devices. This means there is nothing on standby overnight reducing the risk of fire.
Also adding a smart doorbell means if no one is in I can see who is at the front door and tell them to give me a few minutes to come up.
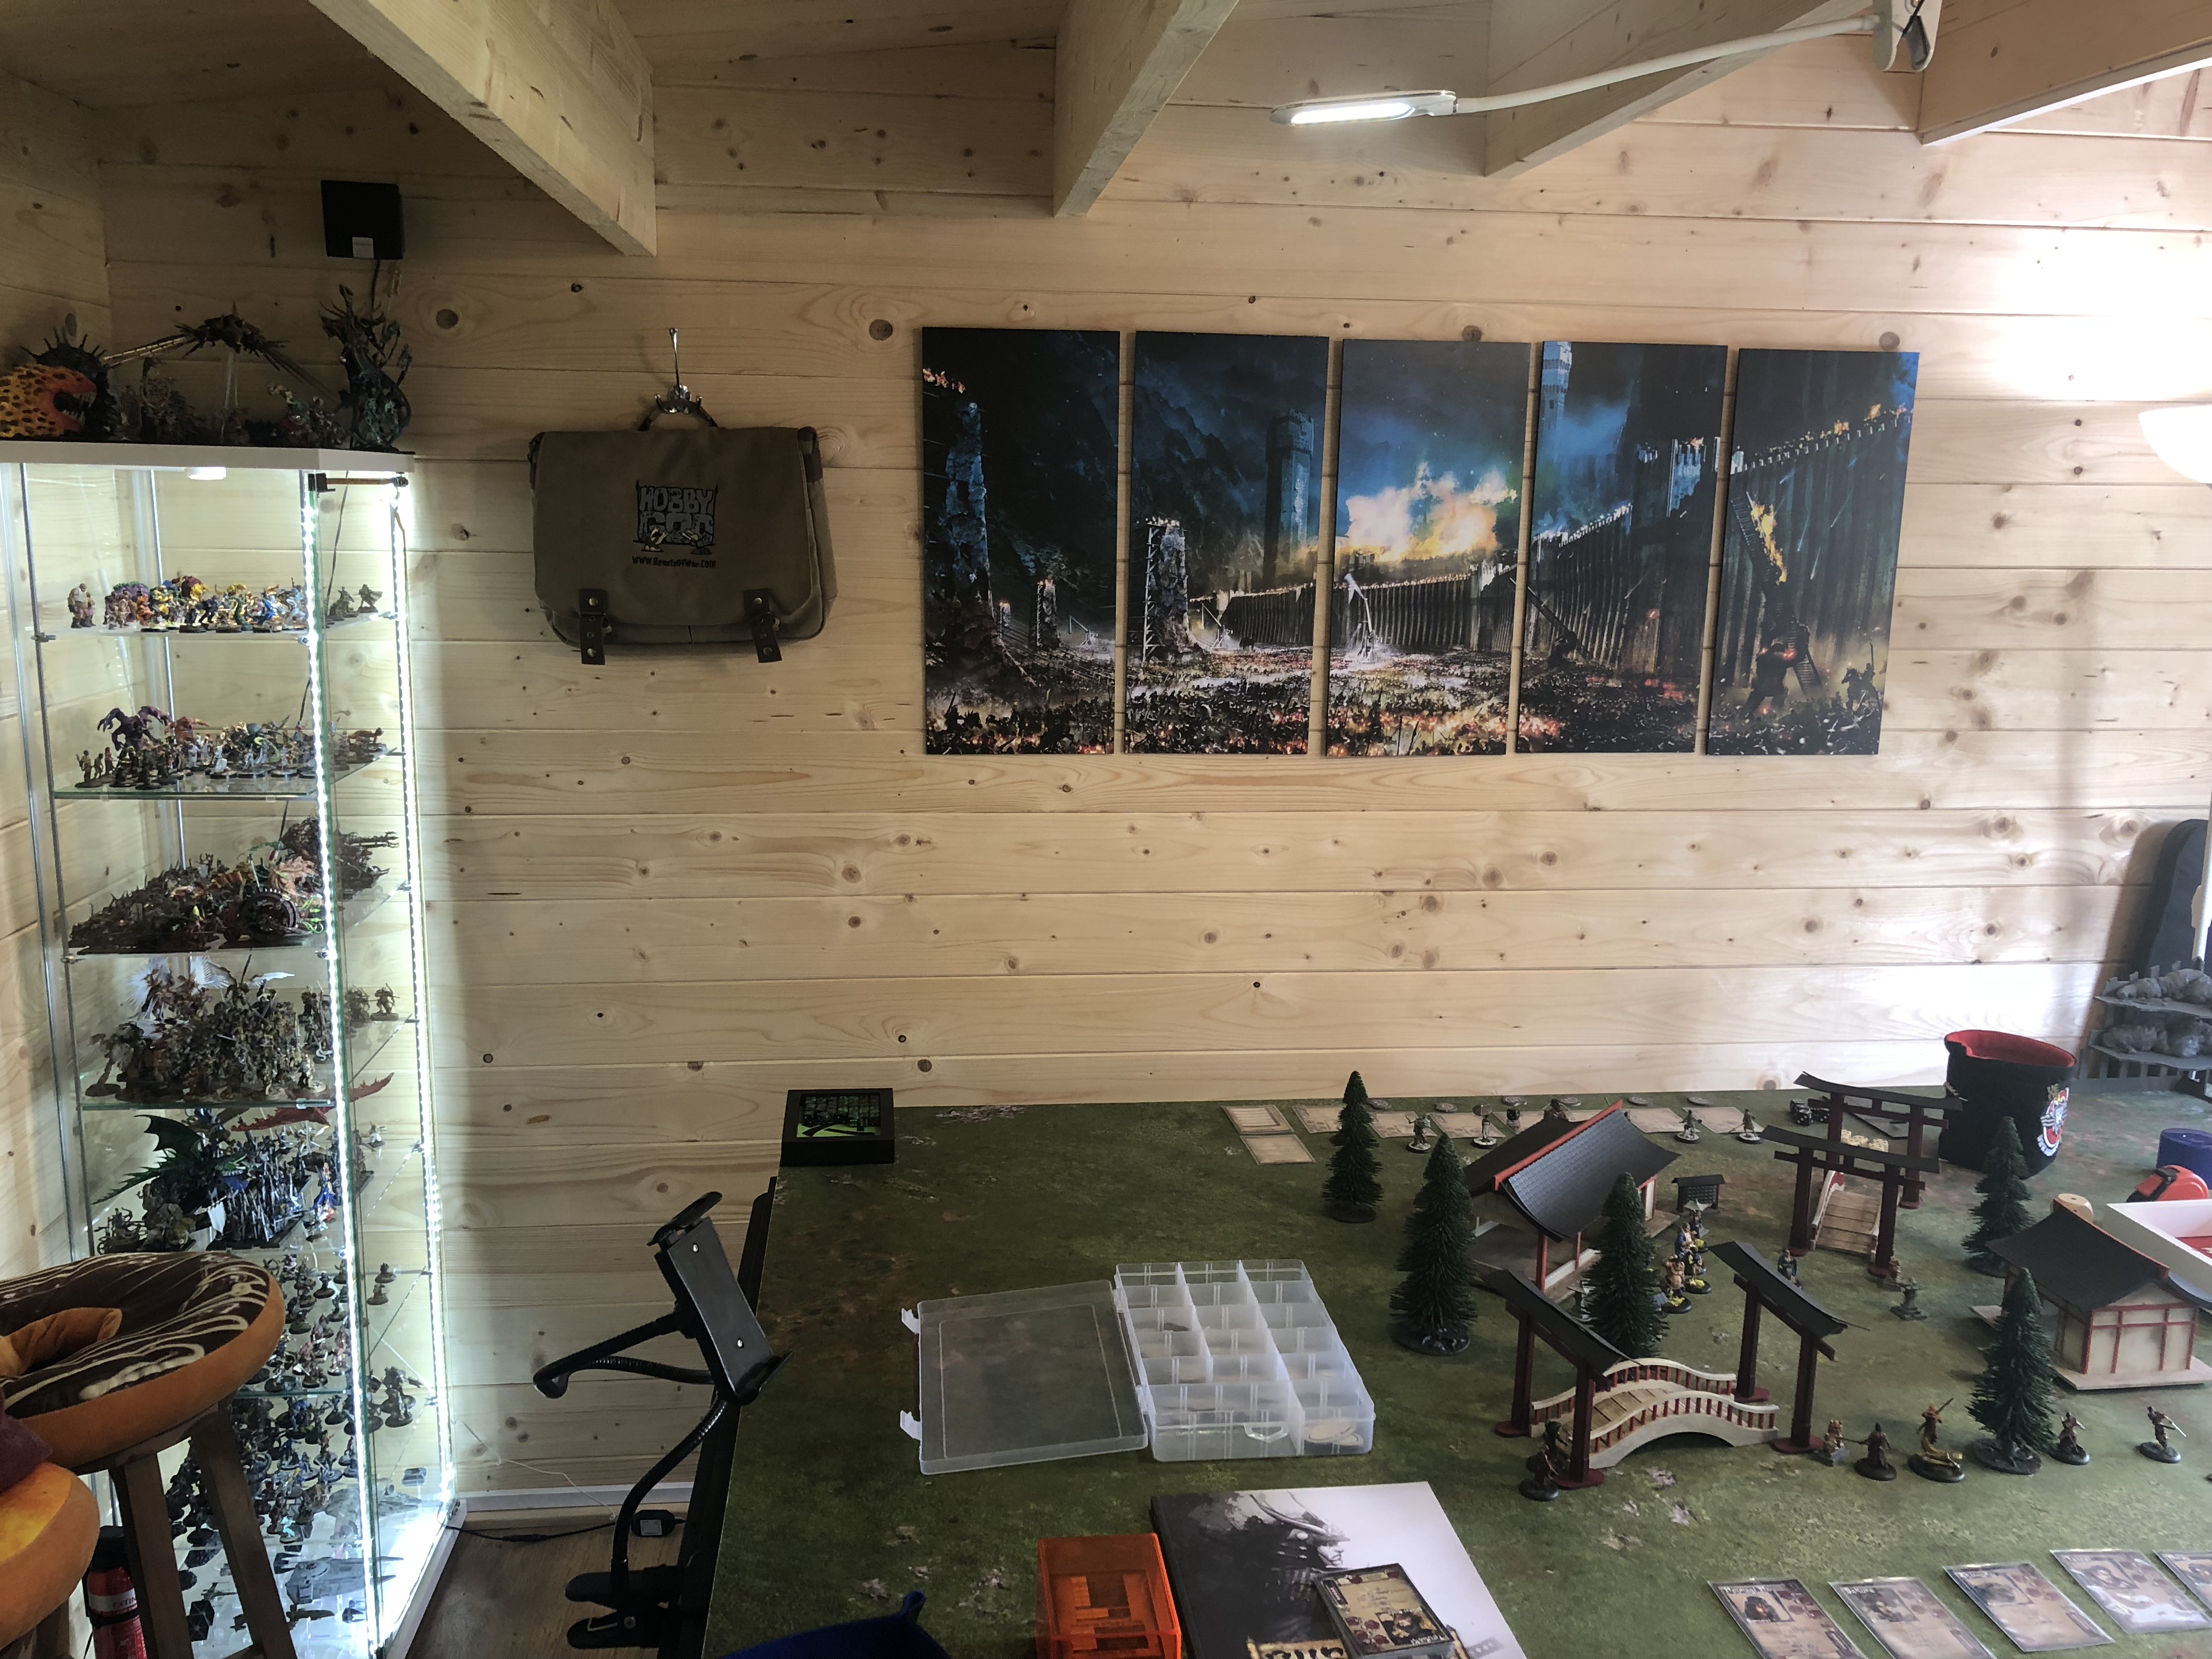
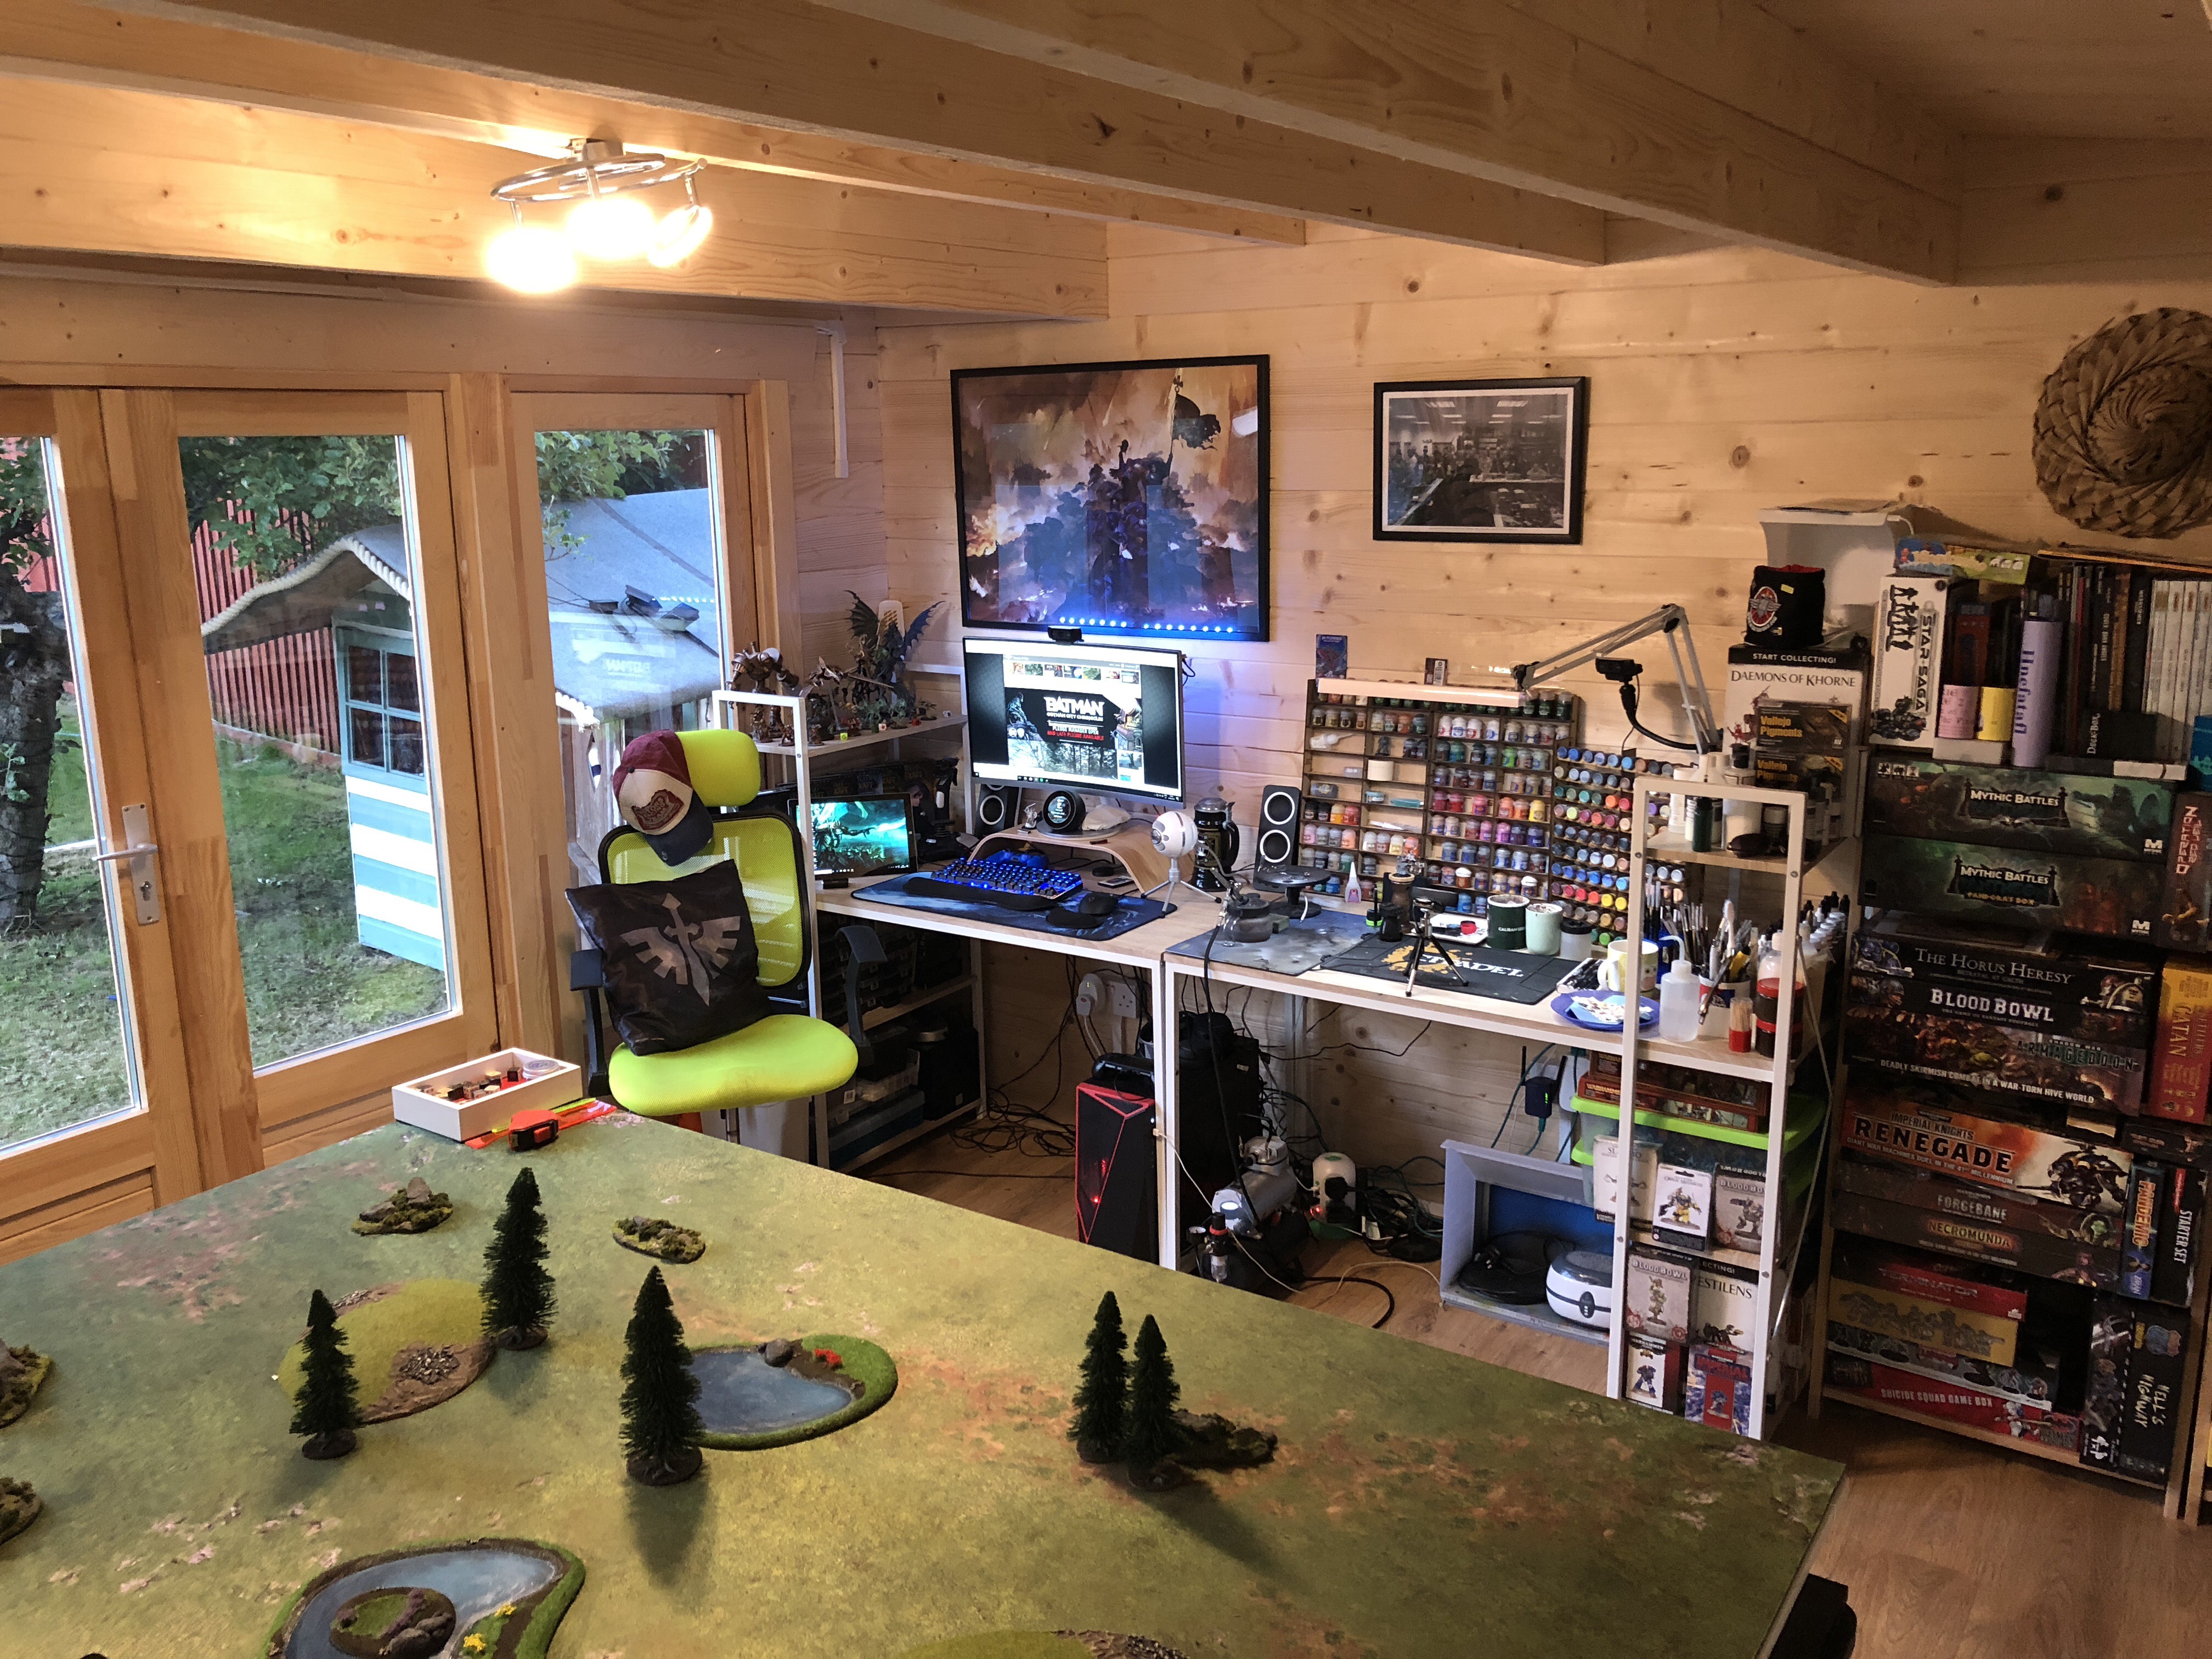
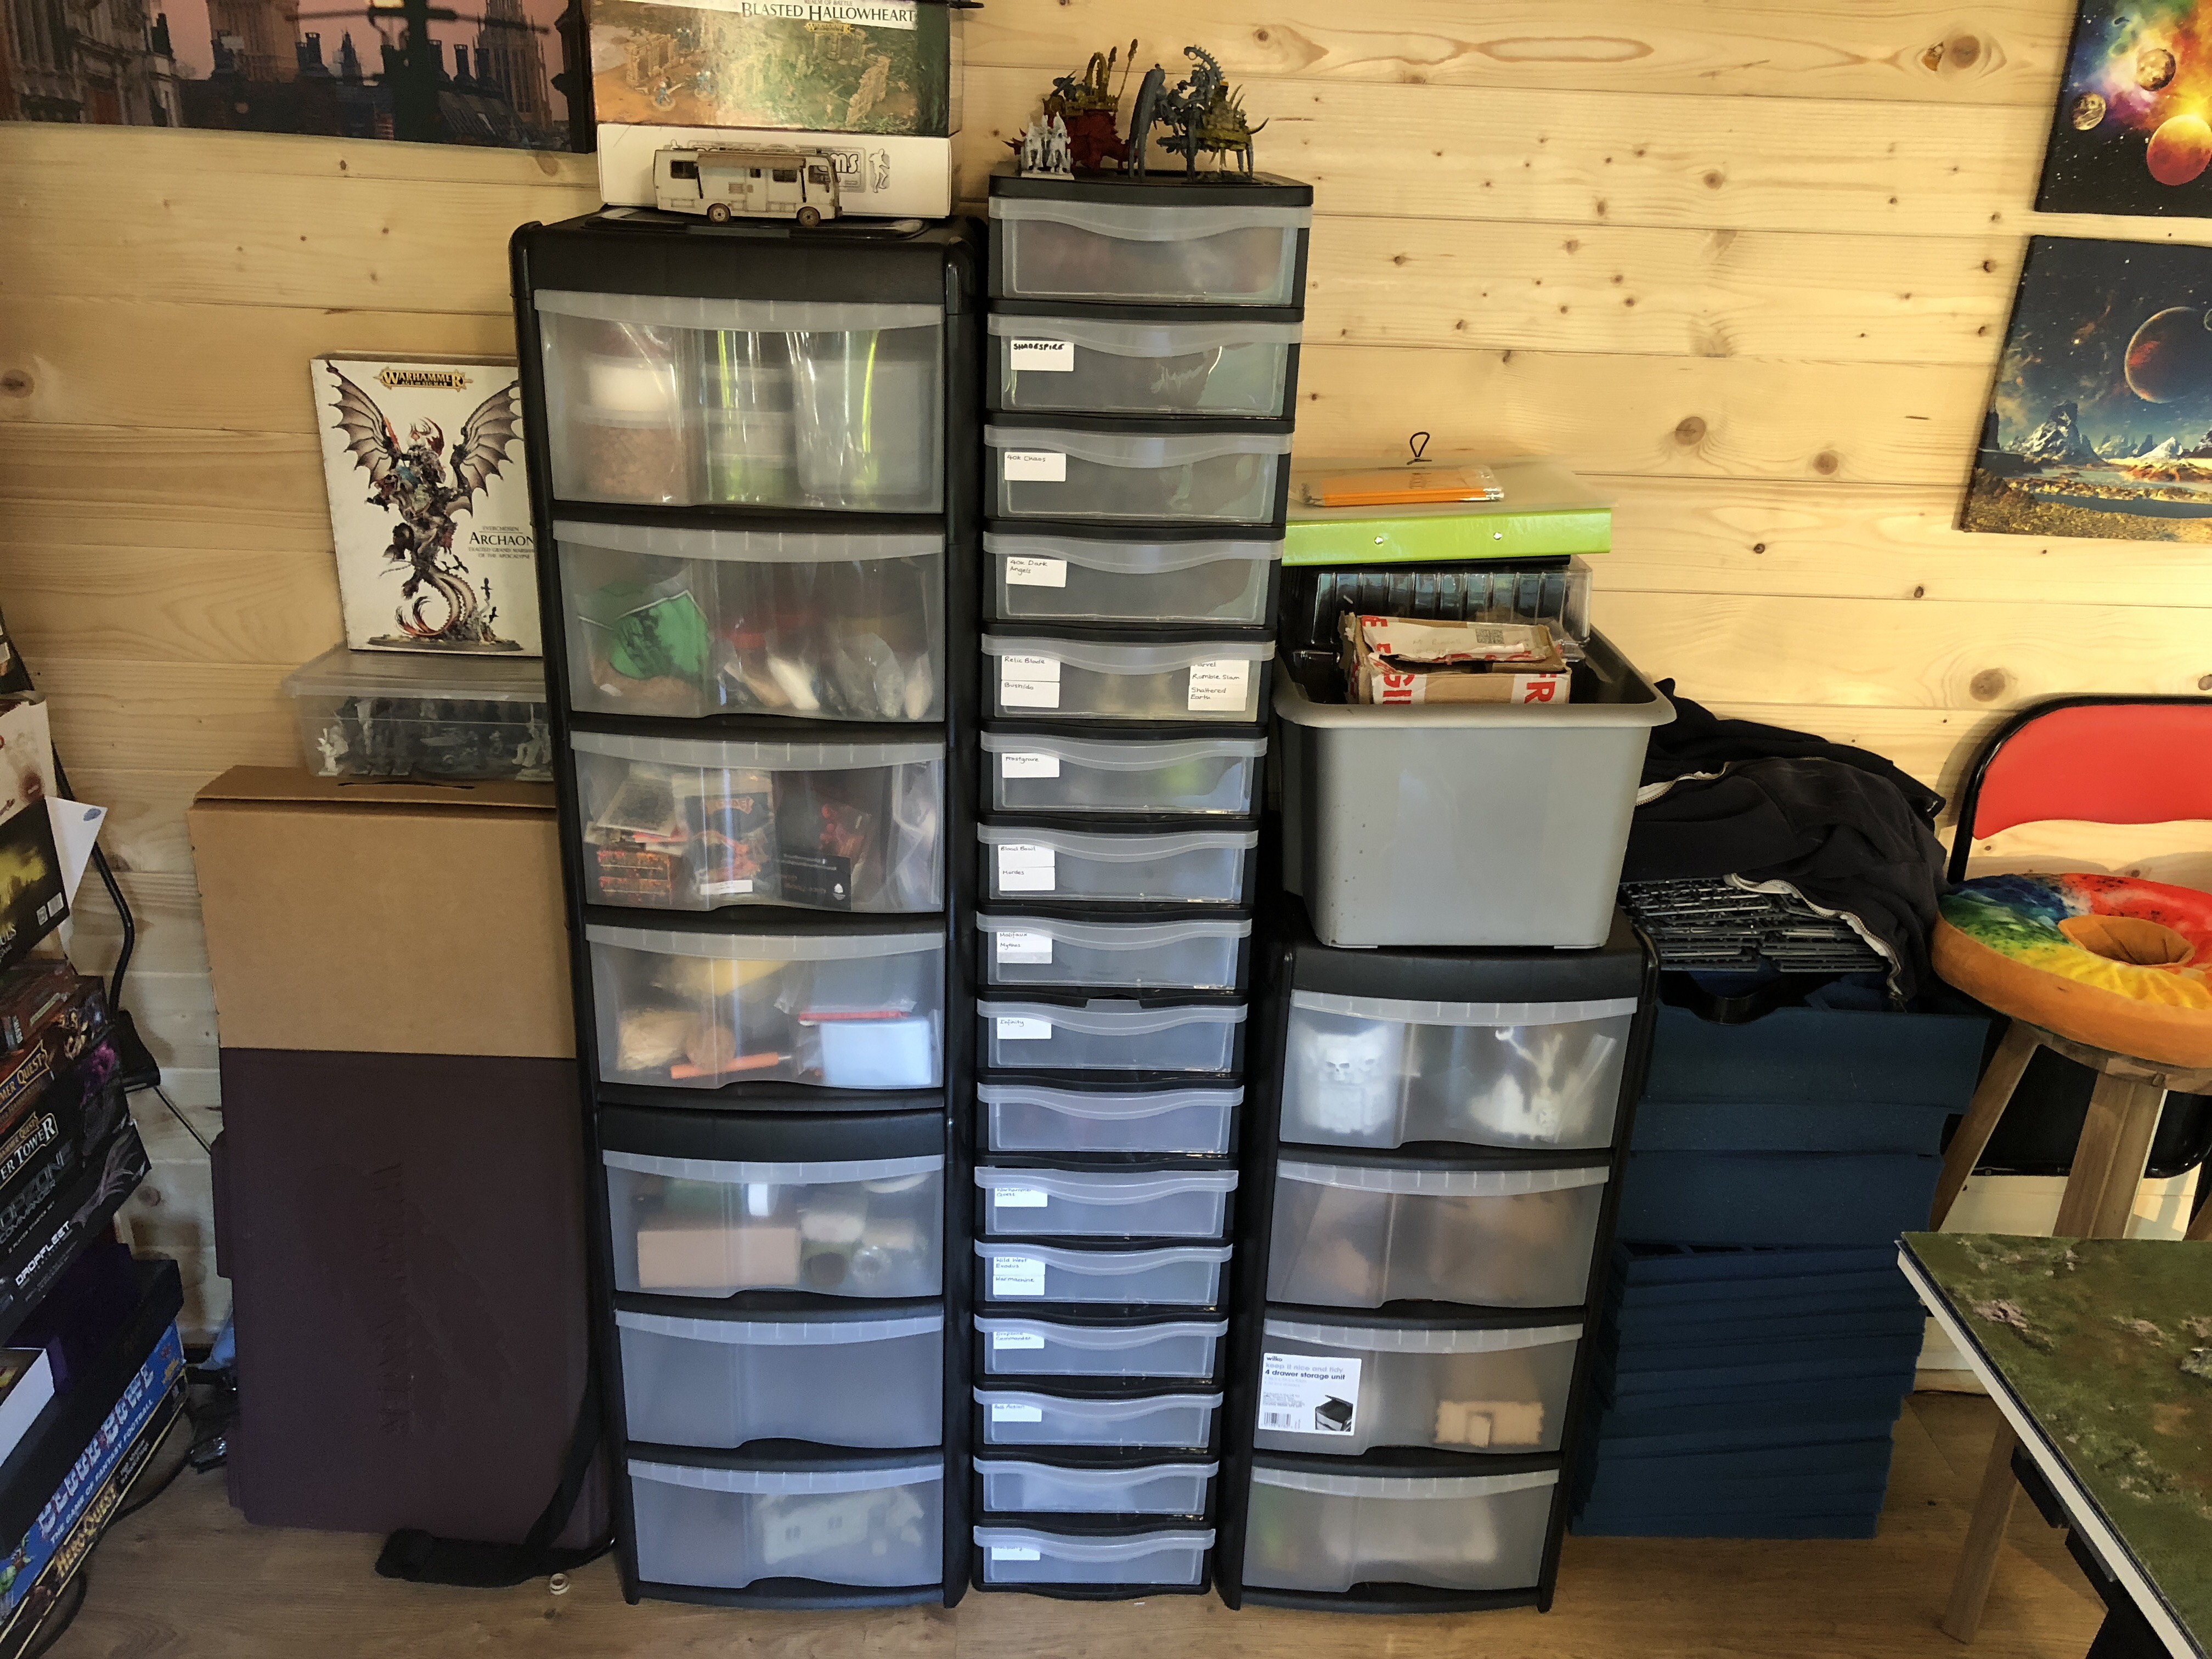
Storage storage storage...
I think this is likely to be the hardest thing going forward, just the amount of storage I need.
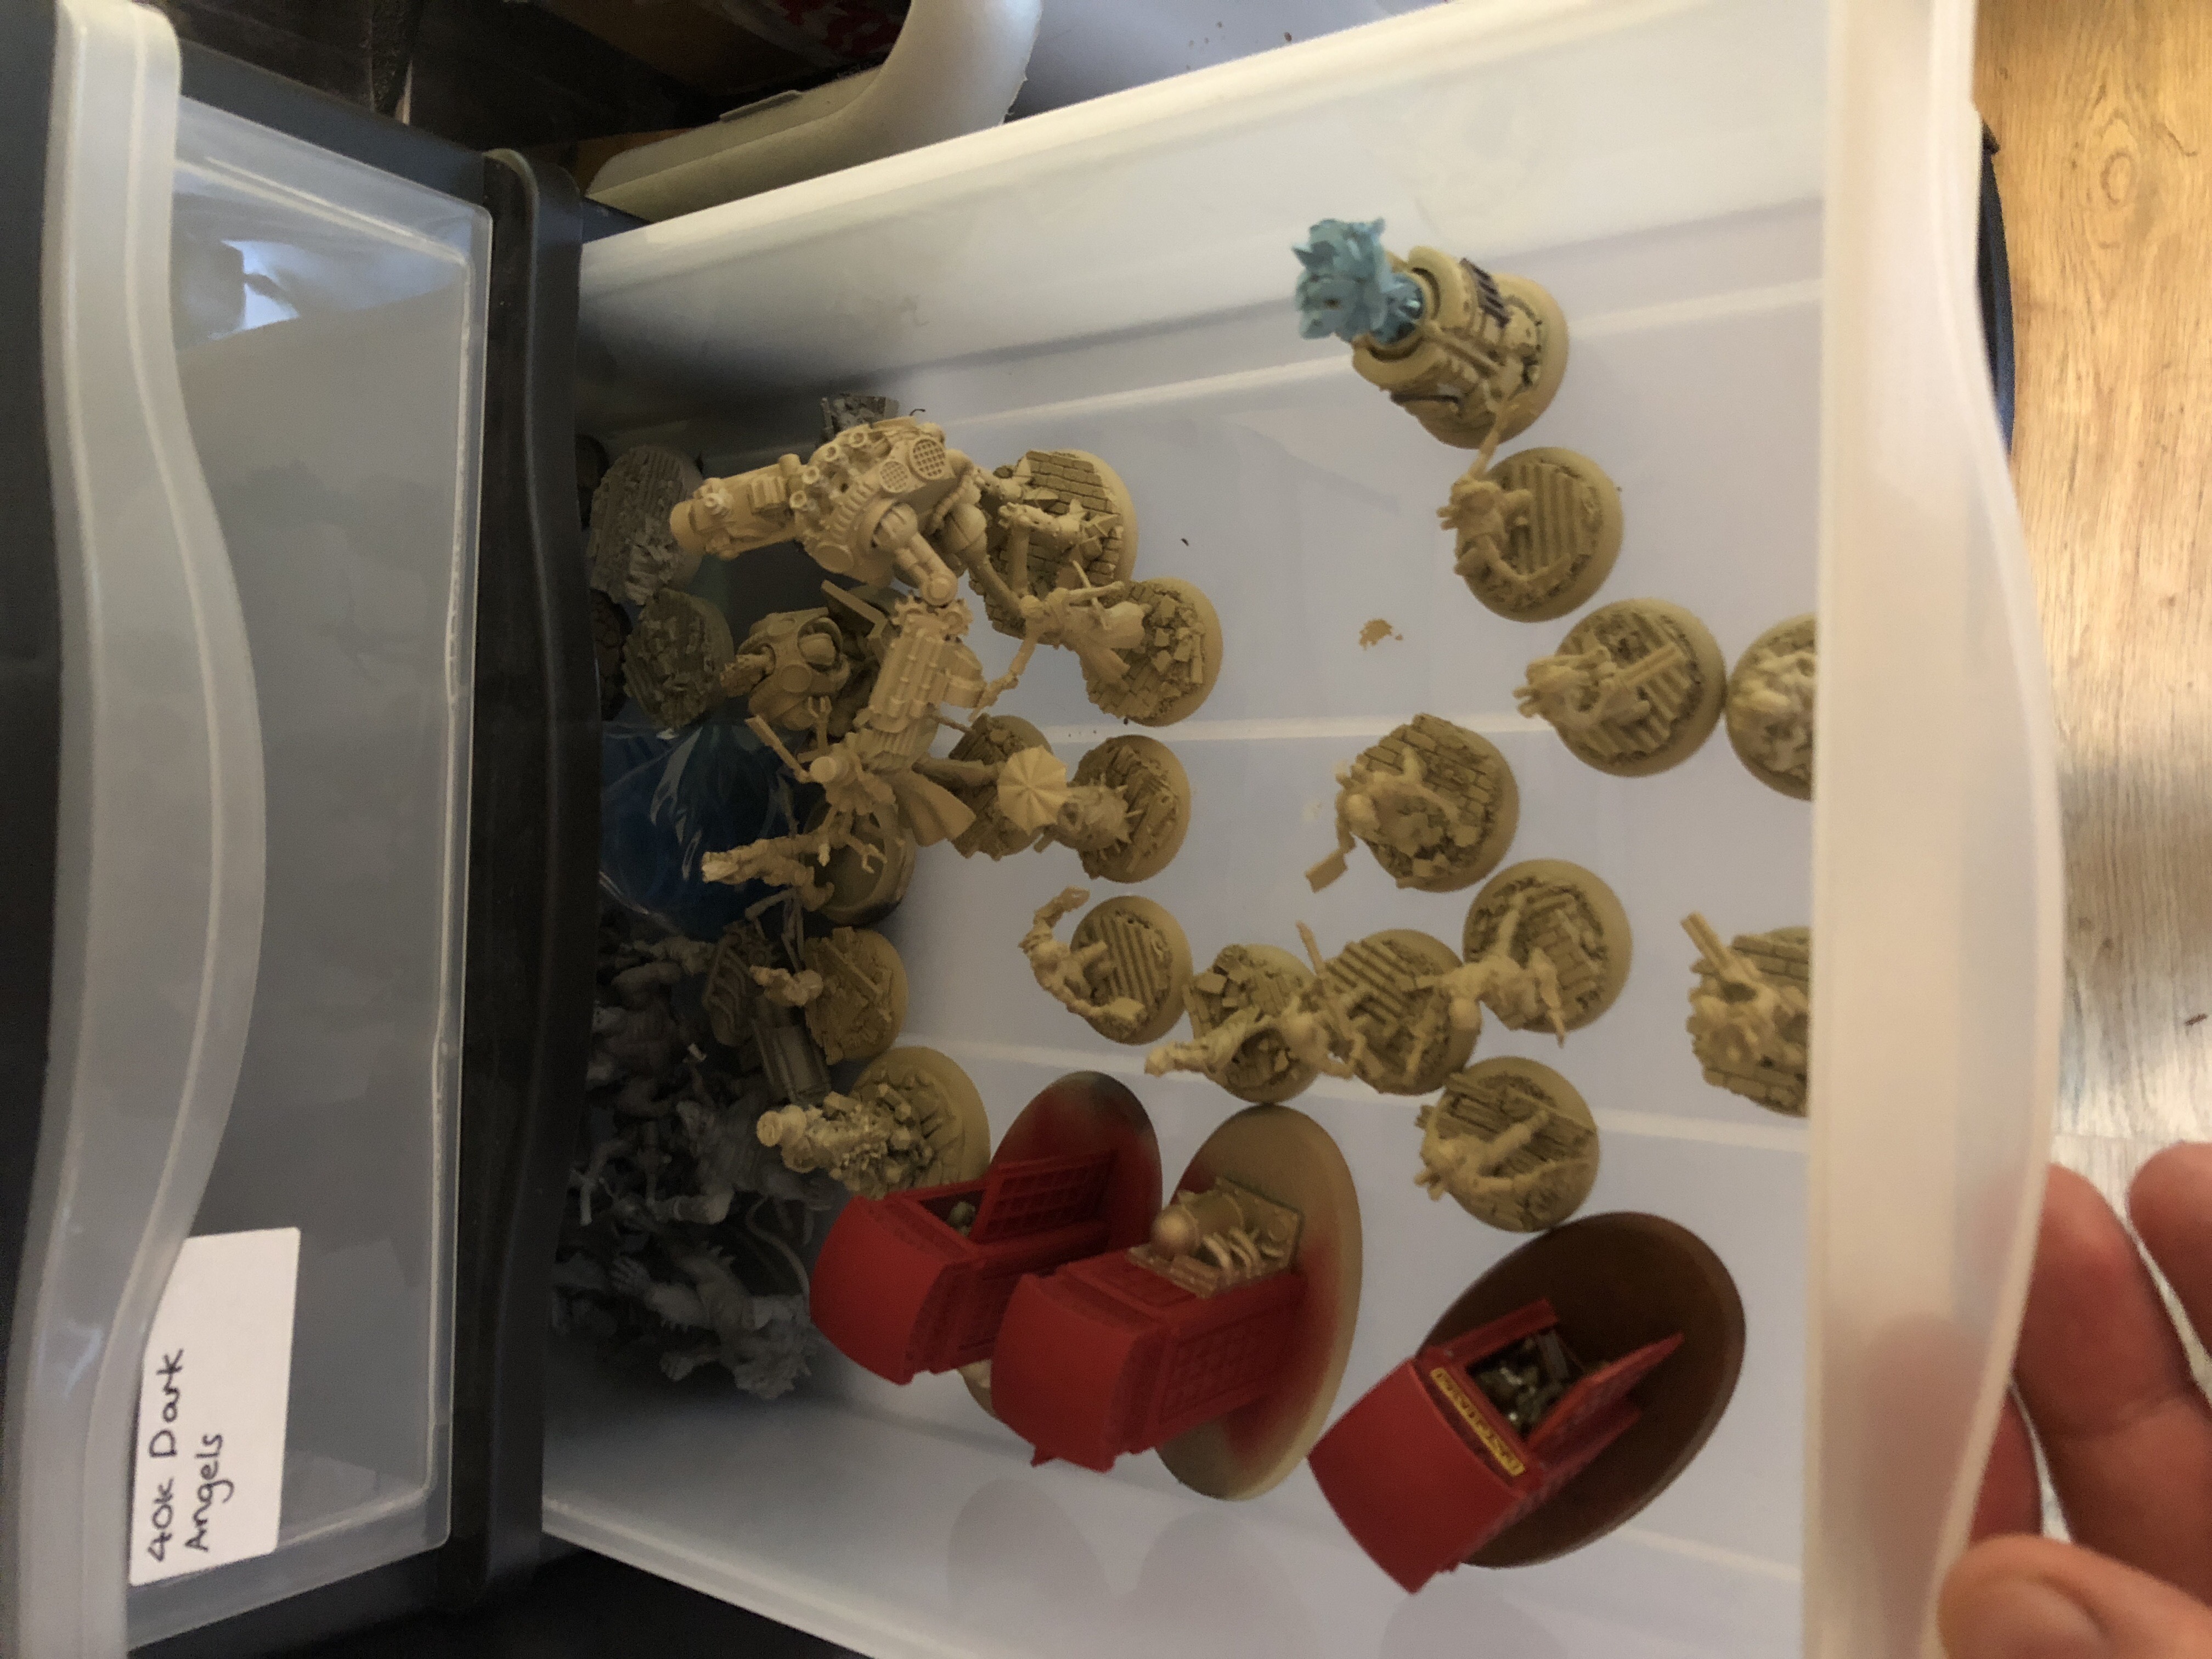
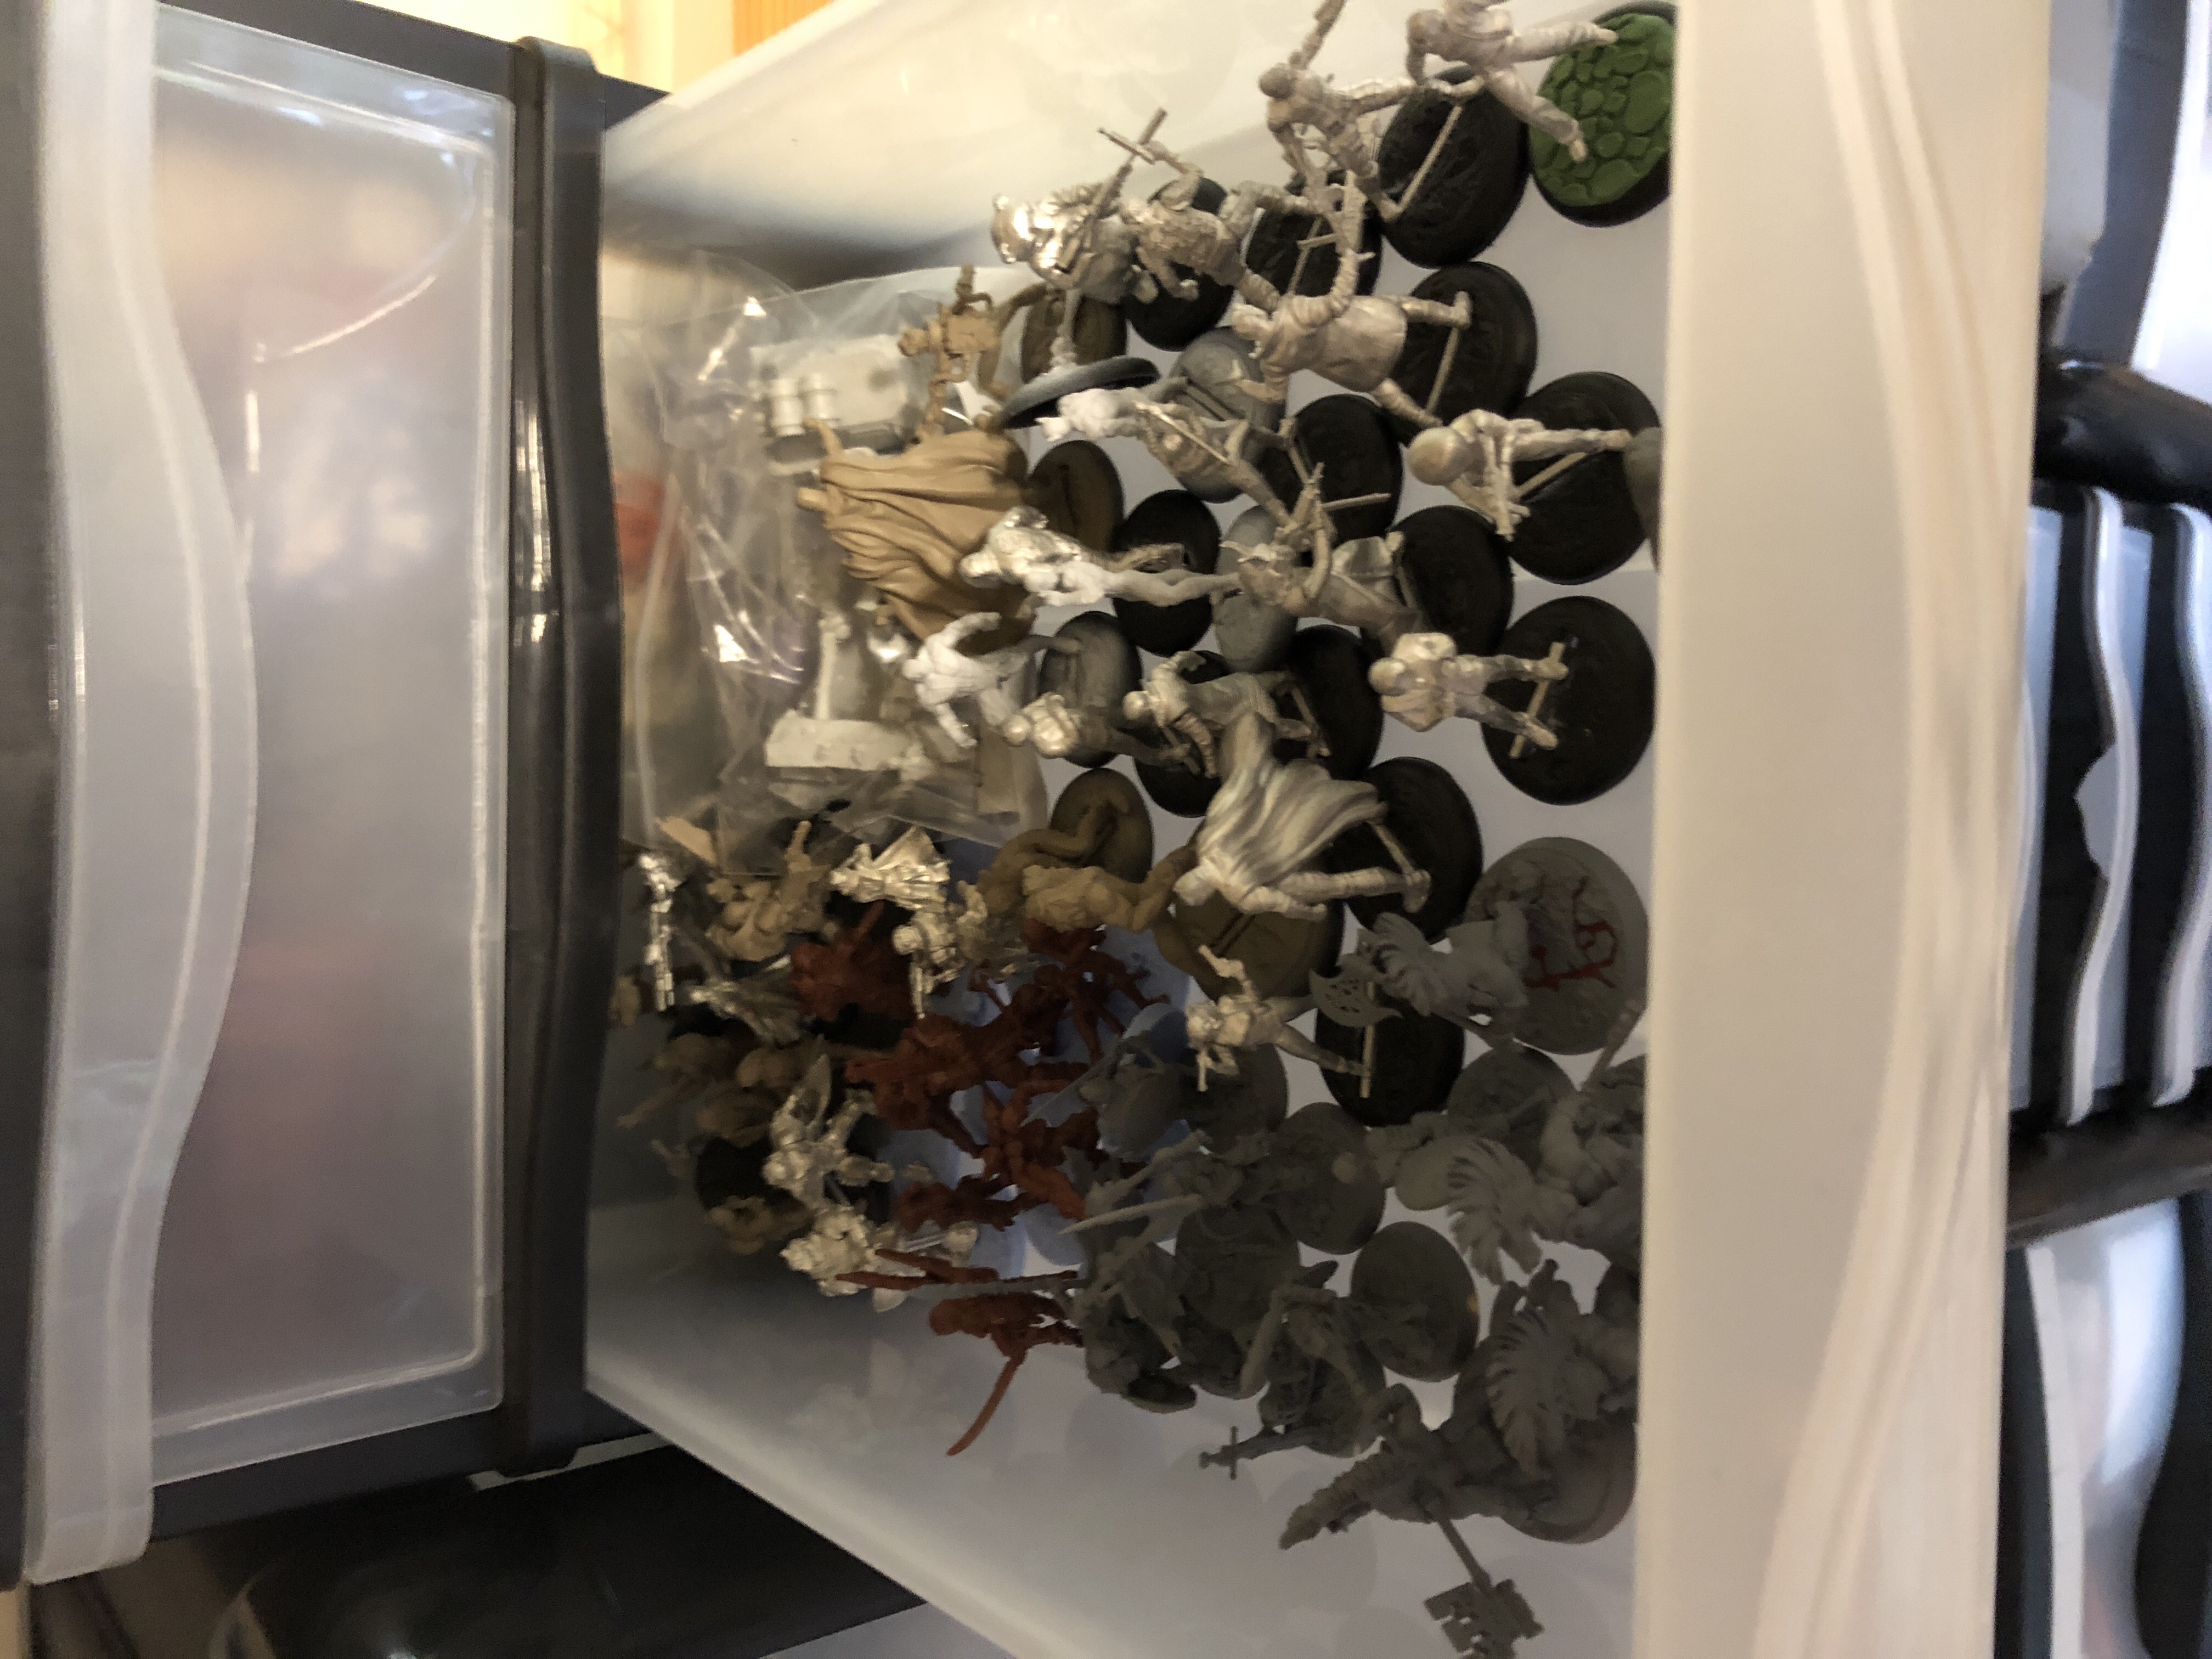
These seem to work so I am just going keep picking up these stacking units from Wilkinsons.
My tip is I use the small ones to store unfished army’s as one tray can hold quite, the models can stand up well and they are fairly solid.
But I am now also storing terrain under the table because fortunately the clearance as the table is quite high so there is a good amount of space underneath.
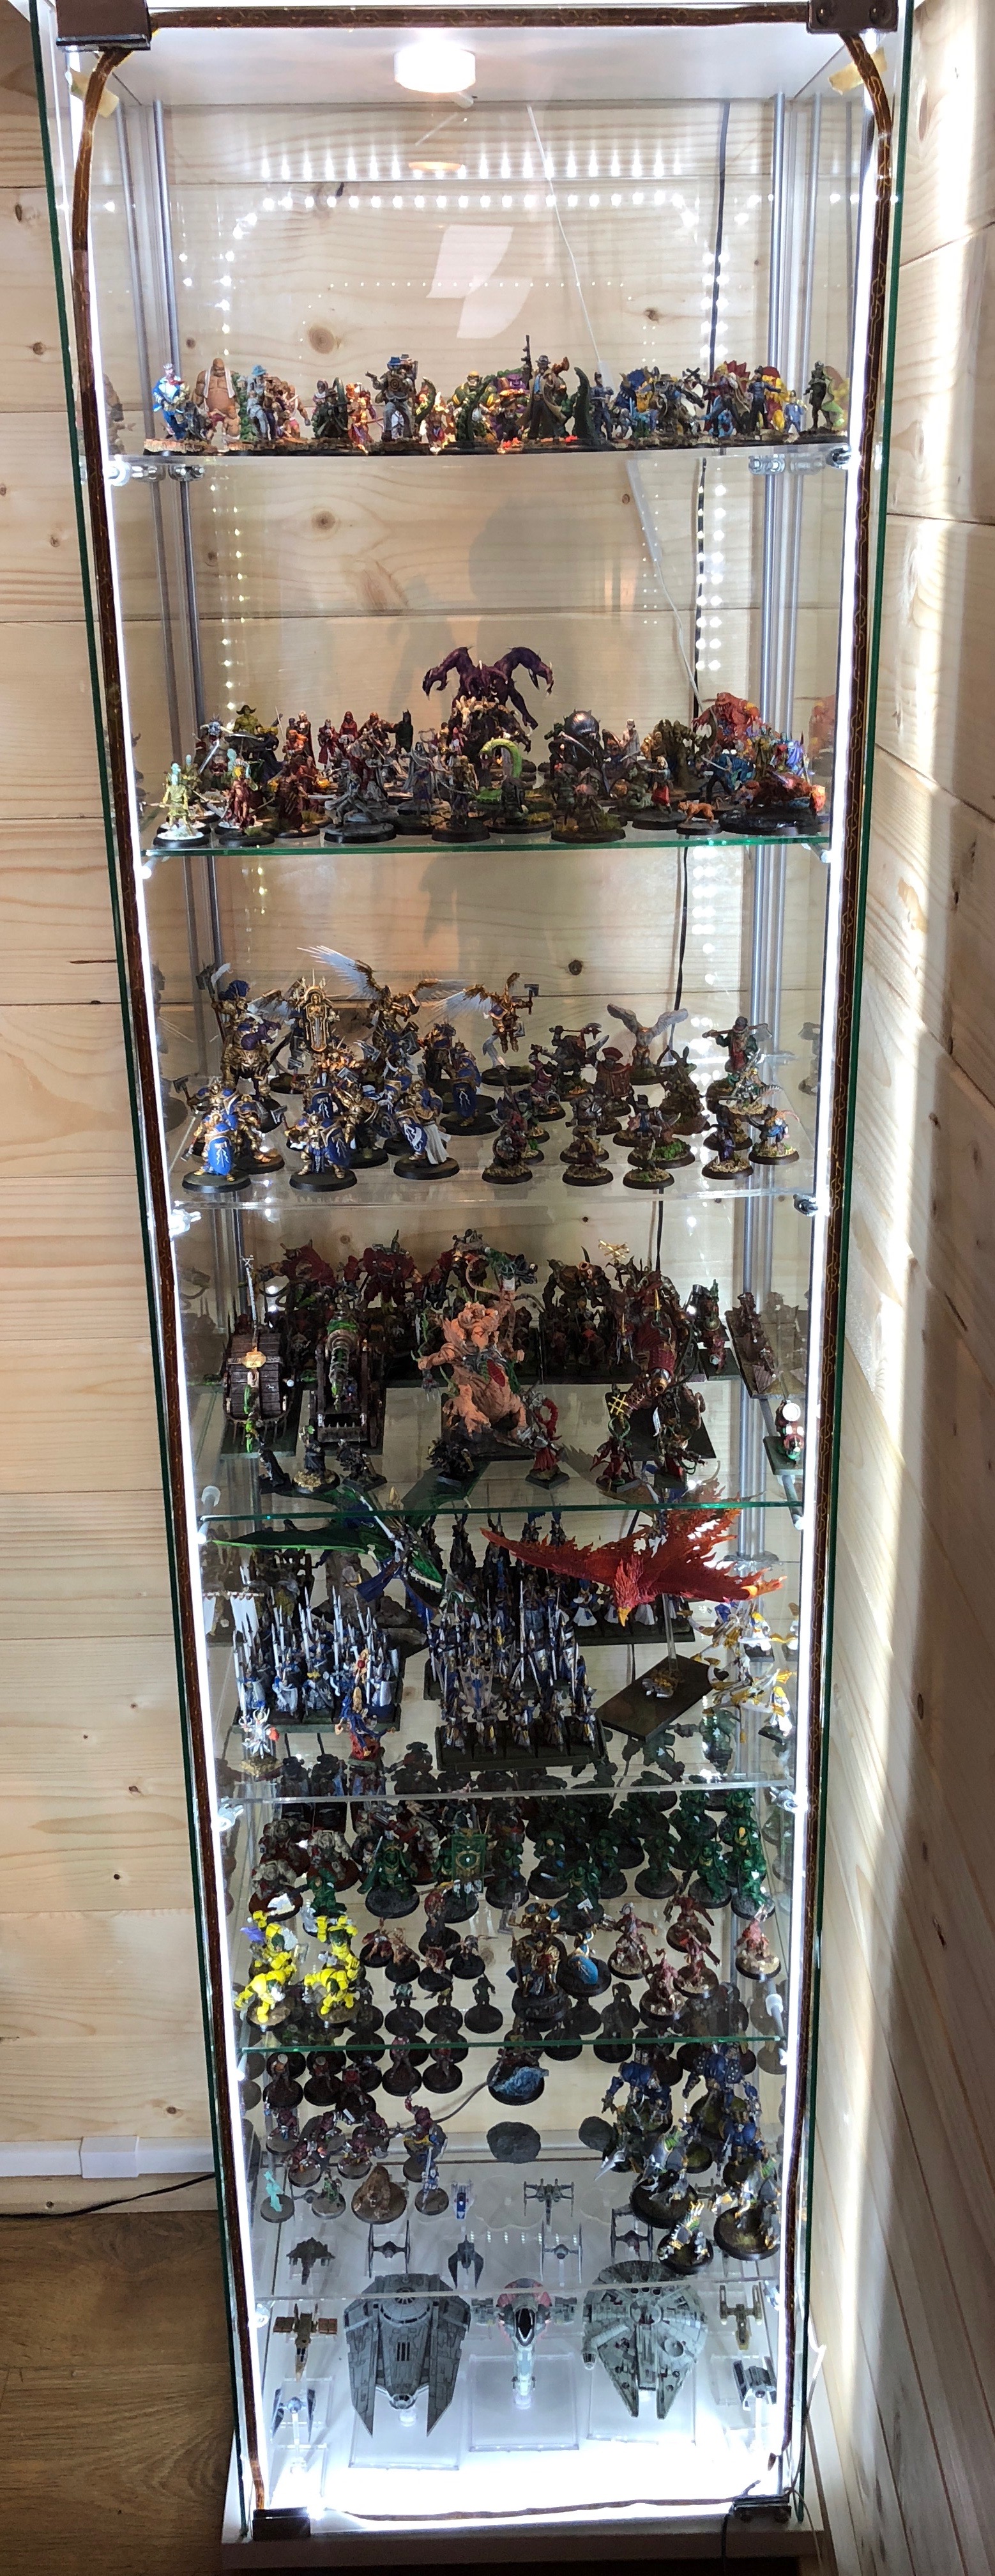
hmm now a treat for the models
I don’t consider myself a good painter at all, I paint to play with my kids but I do try my best and so I thought I would get a display cabinet to add to the room.
Again not know where best to find things like this I started probably where everyone does Ikea and Amazon. Amazon was not much luck but I found something perfect in Ikea.
The Ikea Deltof – https://www.ikea.com/gb/en/products/storage-furniture/cabinets-sideboards/detolf-glass-door-cabinet-black-brown-art-10119206/
Now, this was great if not a complete bitch to build when you’re doing it alone…. trying to hold 2 large glass panels together while you fit a third had me in floods of sweat and swearing. How I did not smash this I don’t know.
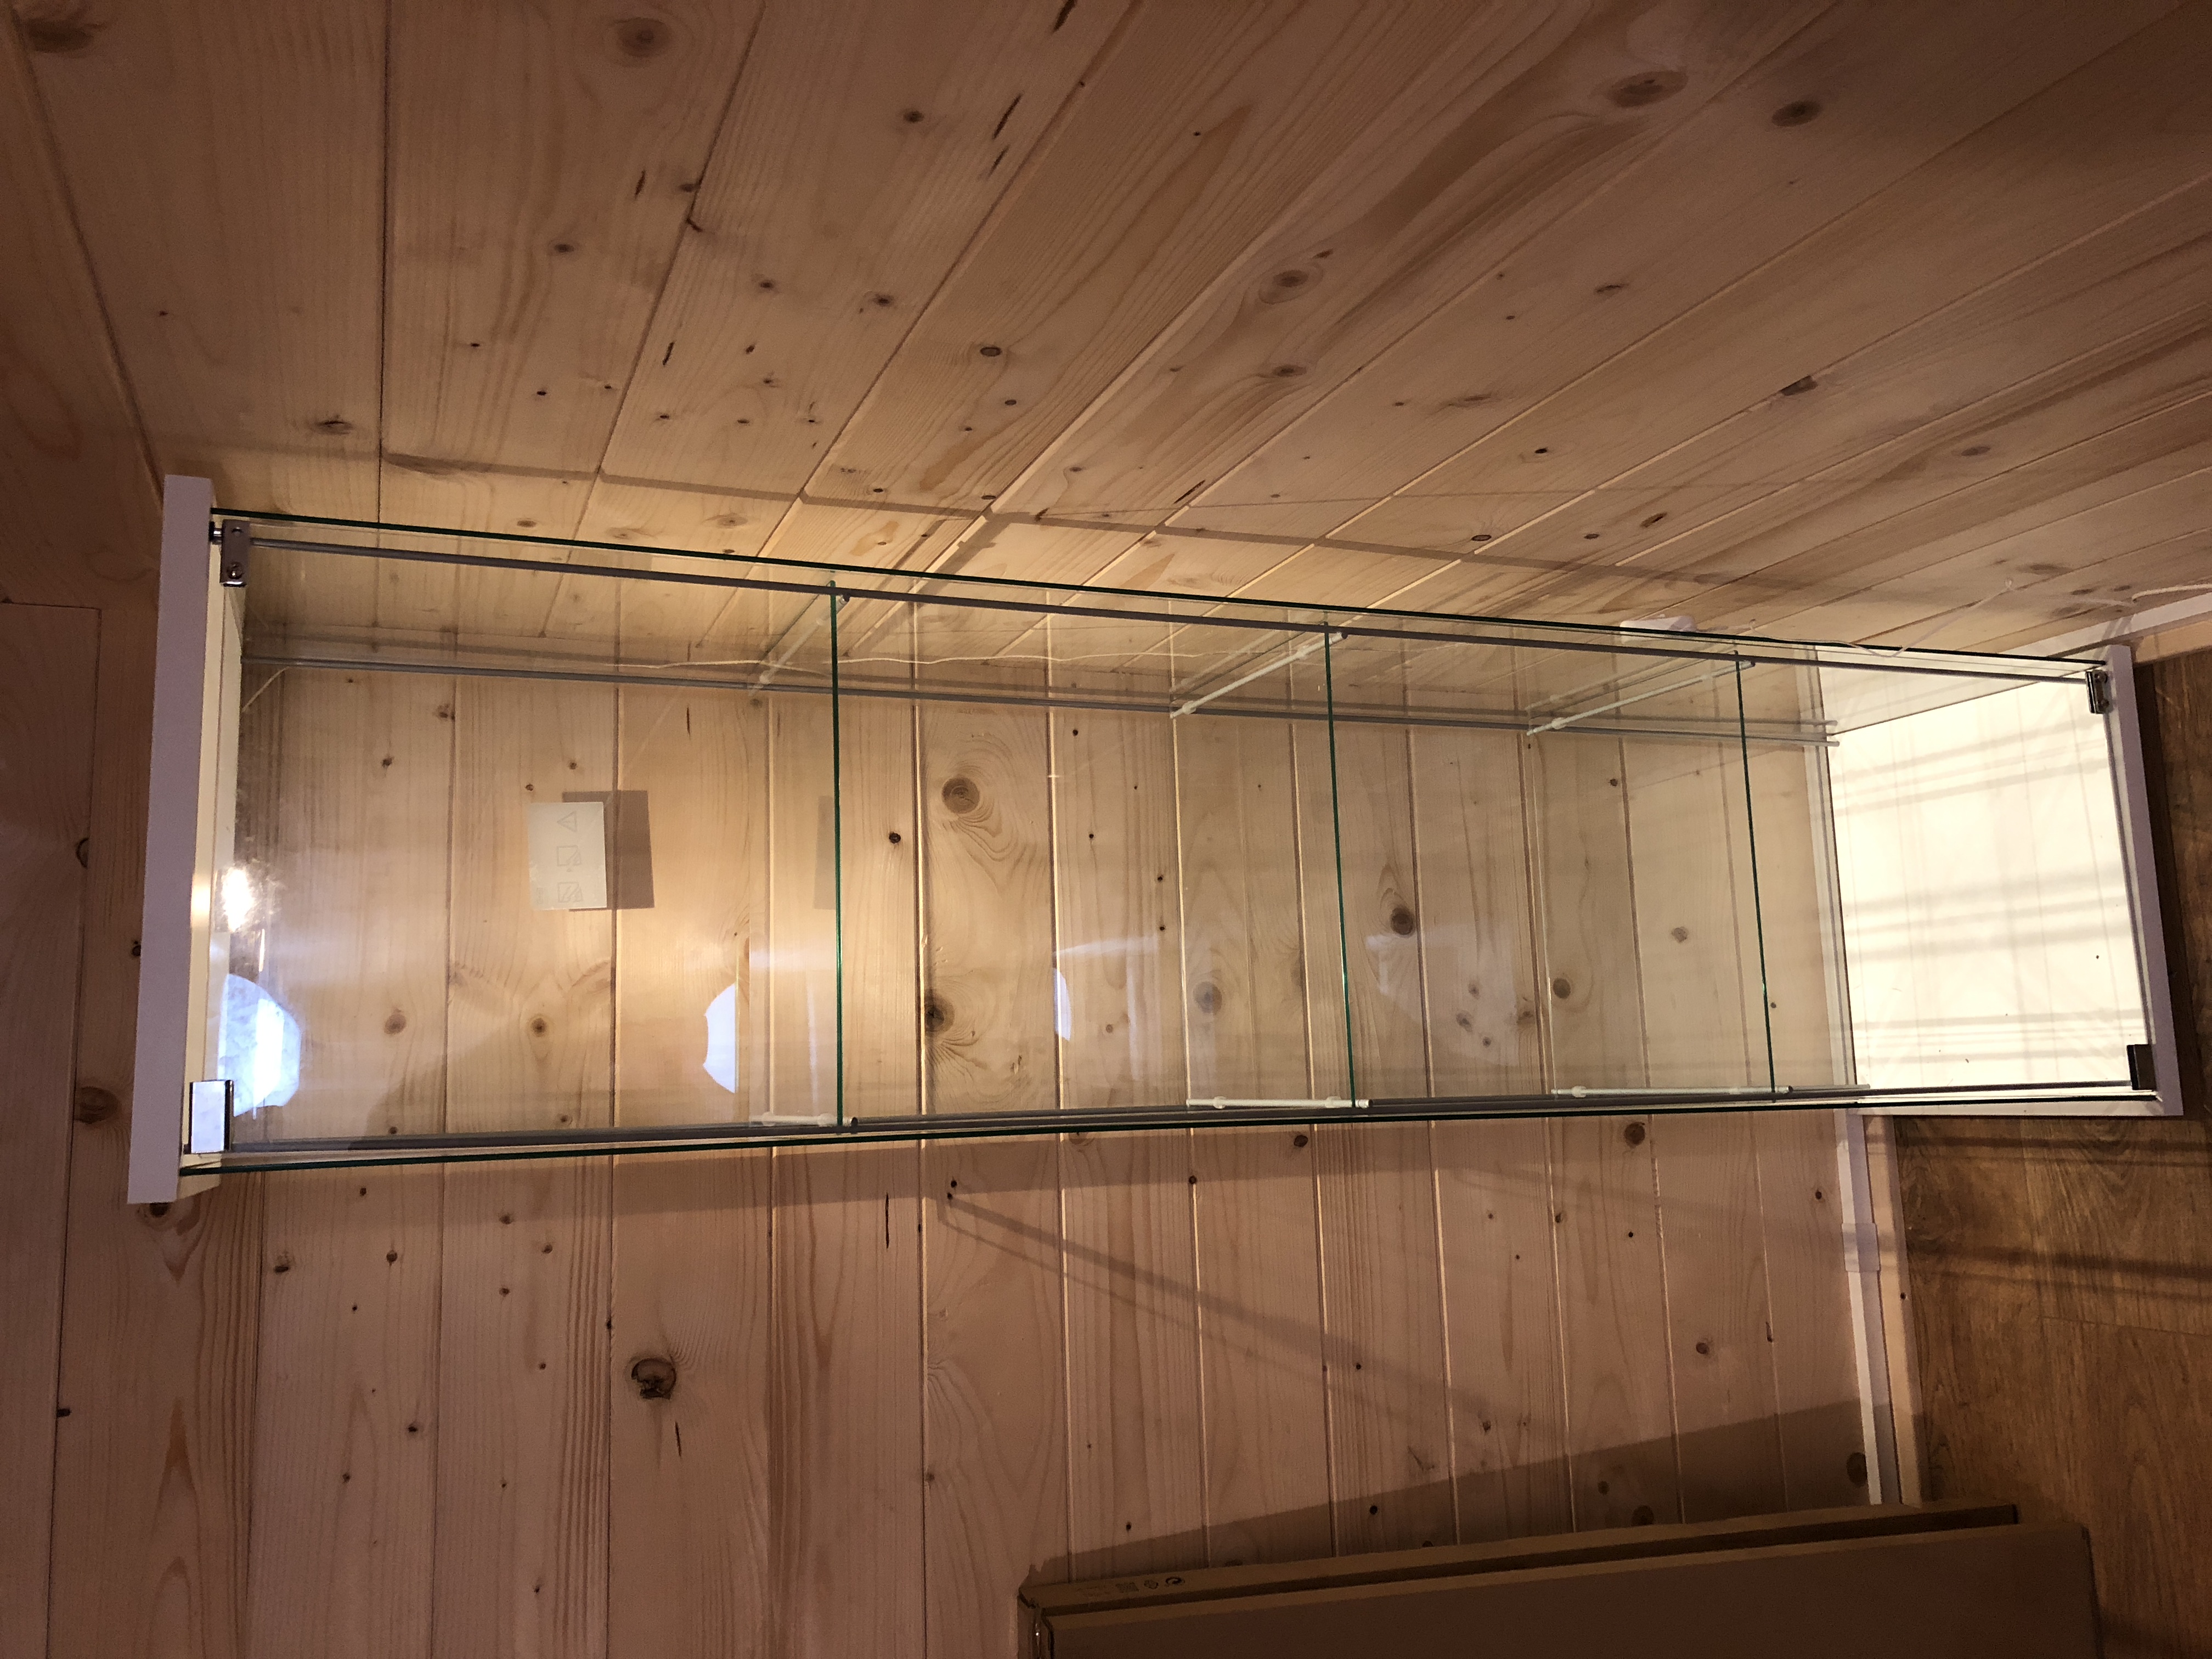
My only issue with the Detolf (apart from the picture being sideways) is that it is only 4 shelves and huge gaps in between which when the major of the stuff you going to put in there is only a couple of inches high that is a lot of wasted space.
So with a bit of research, I found a company that does brackets and shelves so you can add more to your Detolf. With four more I now had 8 lovely shelves to house lots of minis
Still not happy because the tiny light in the unit just does not penetrate down through the cabinet I added an LED light strip throughout to really make it pop.
opps forgot the topper
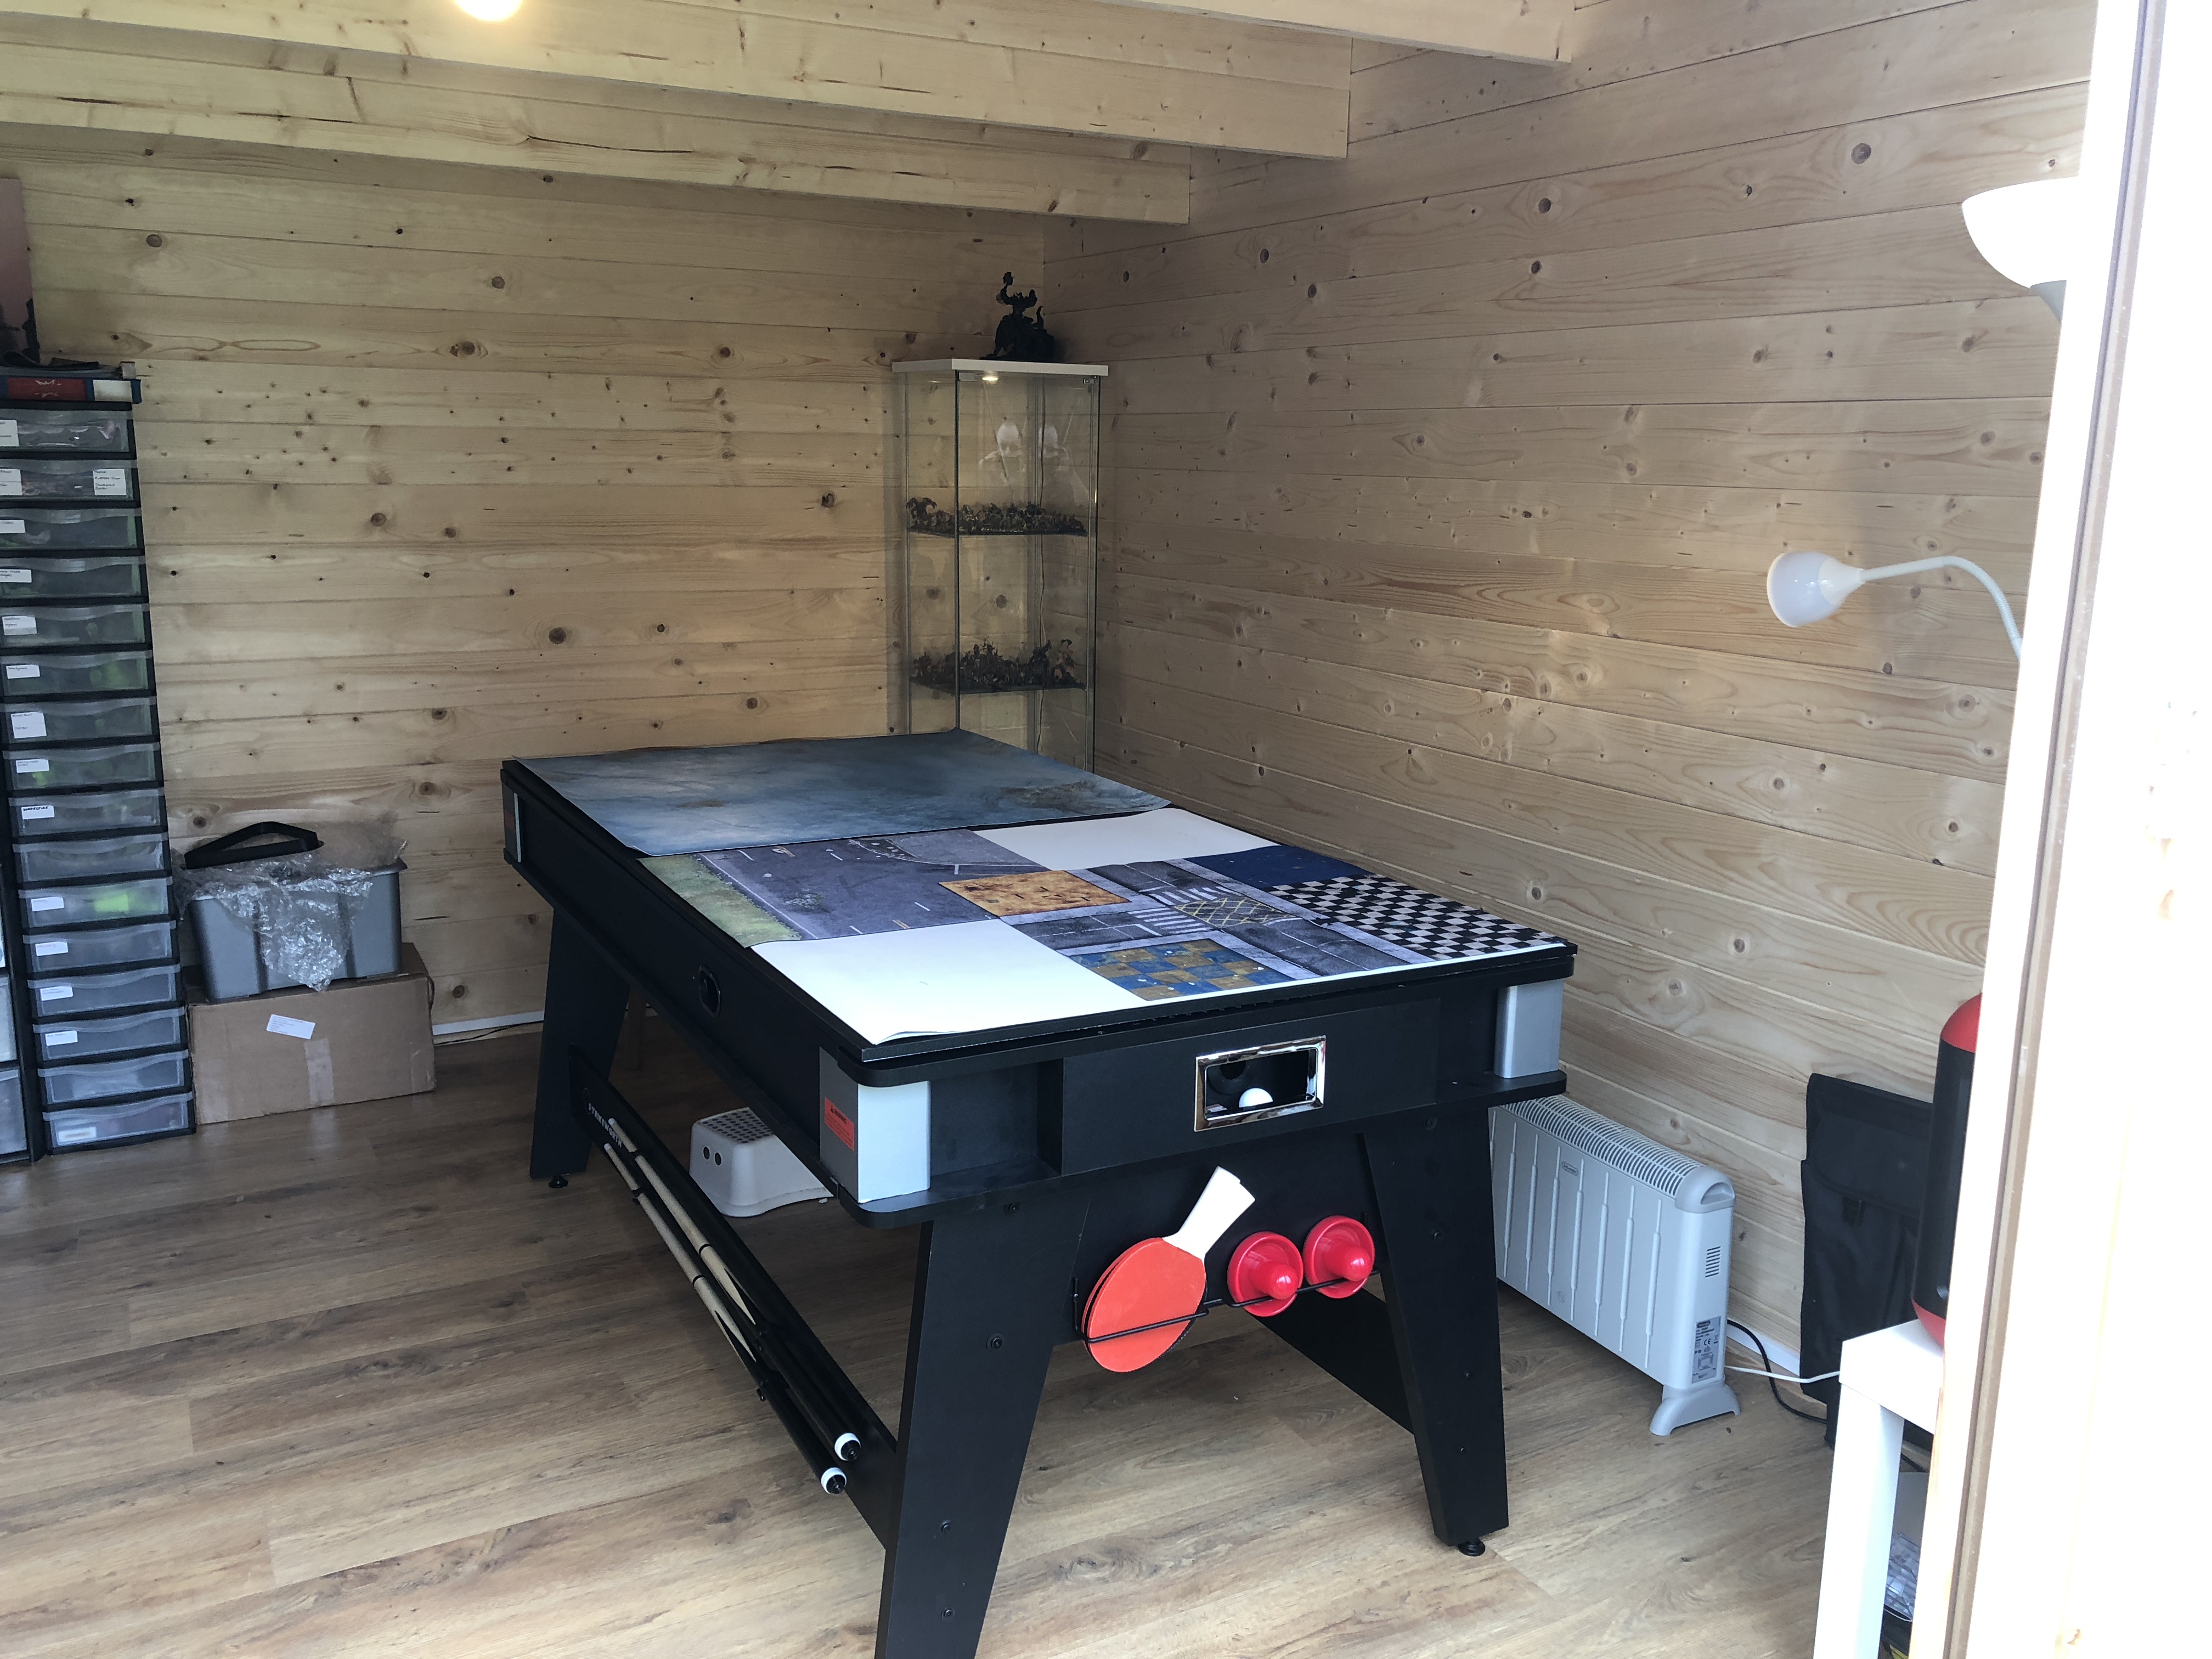
An image here with the table topper on, that can nicely fit any 6×4 mat… I of course then had to go out and buy a bunch of mats as I didn’t own any 😀

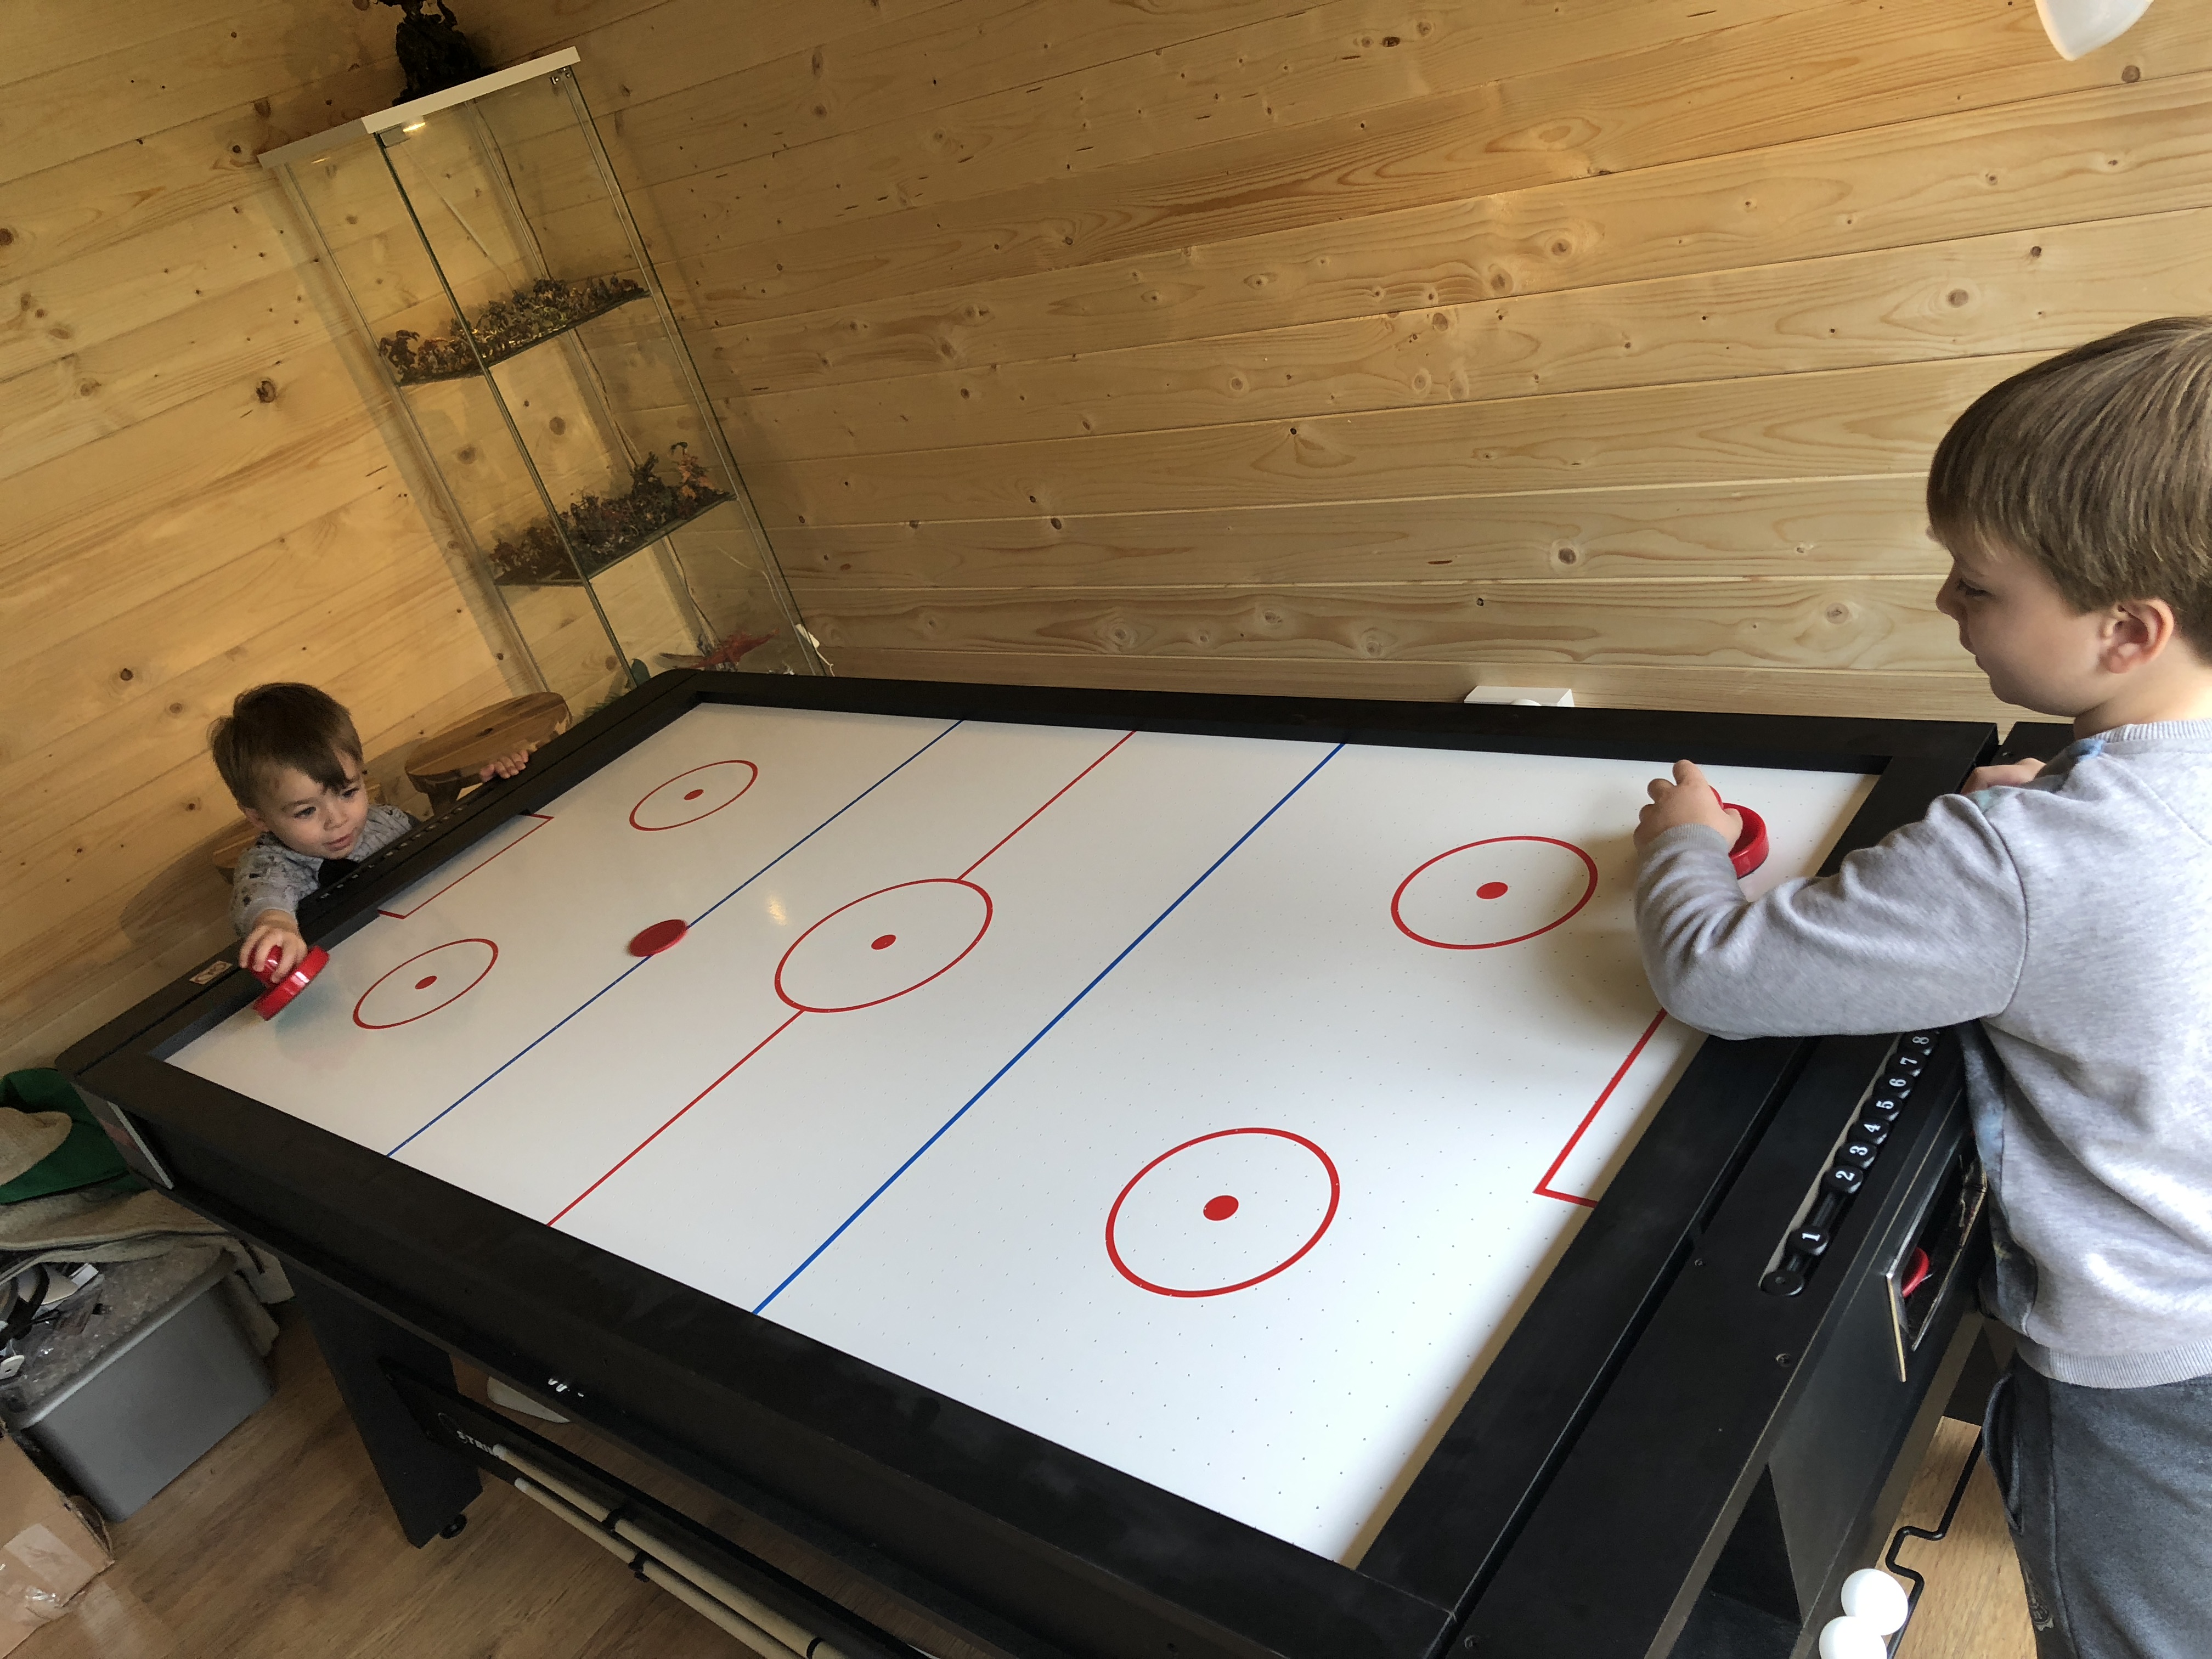
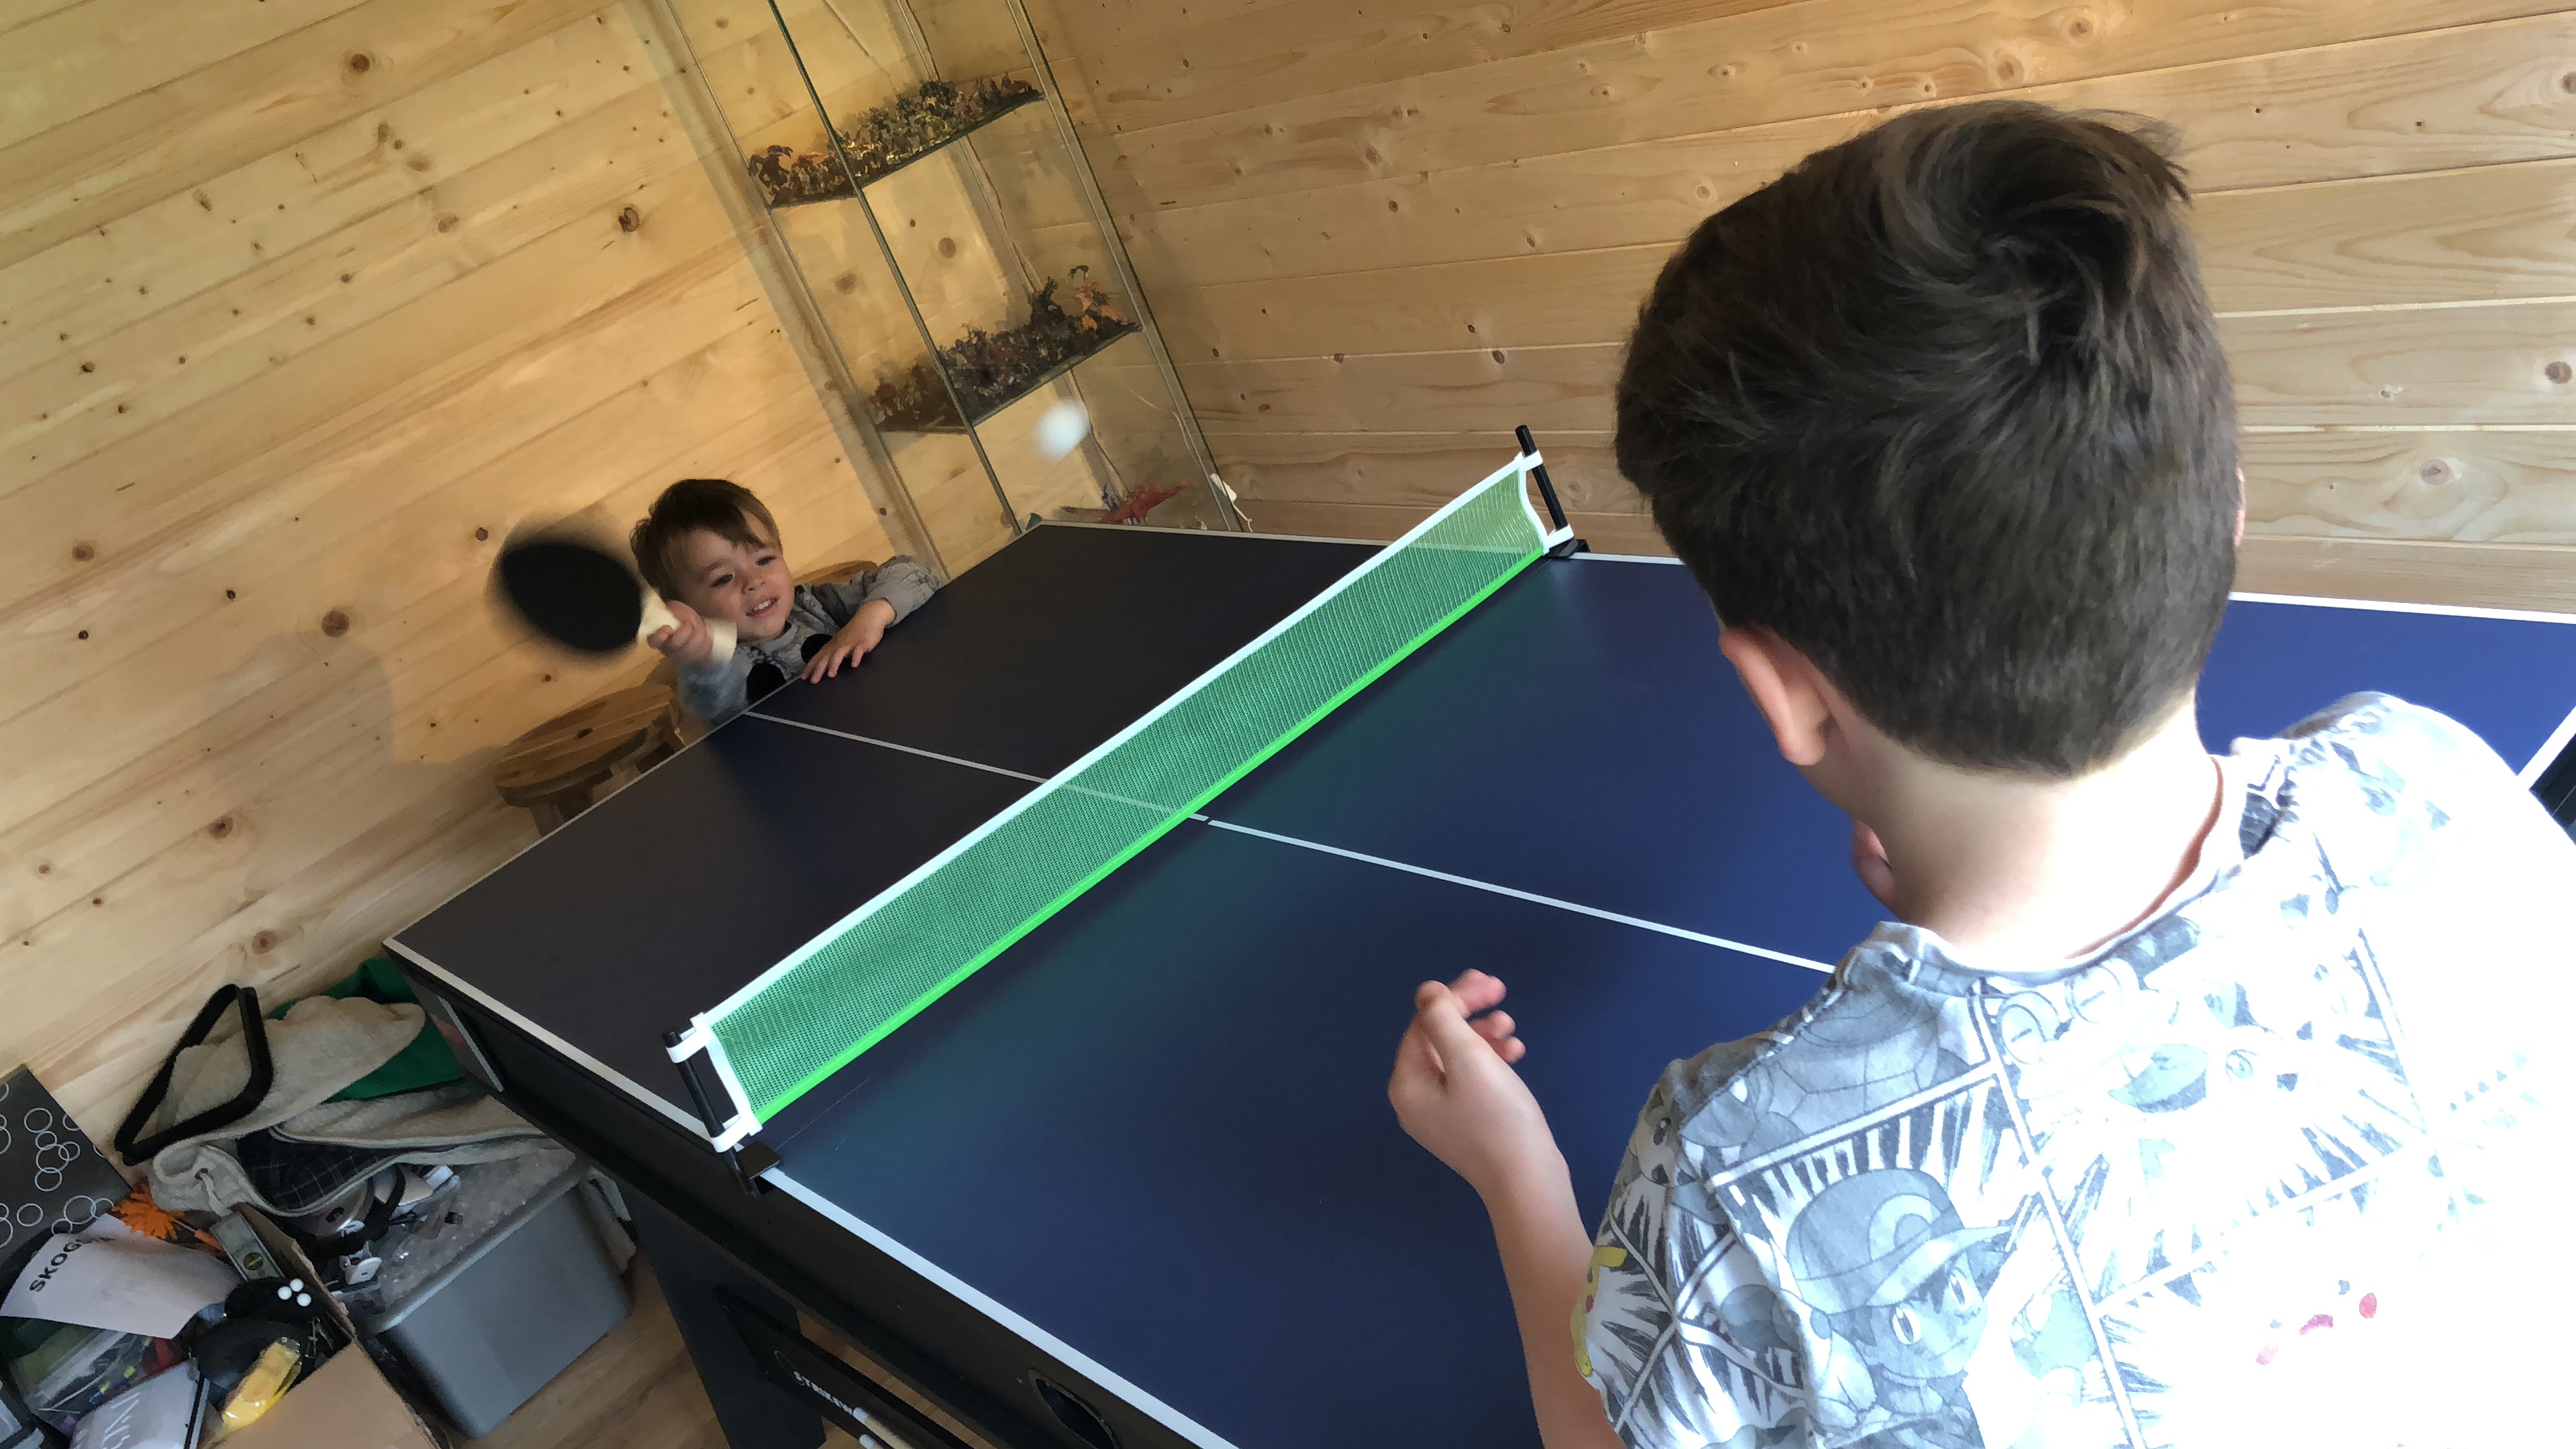
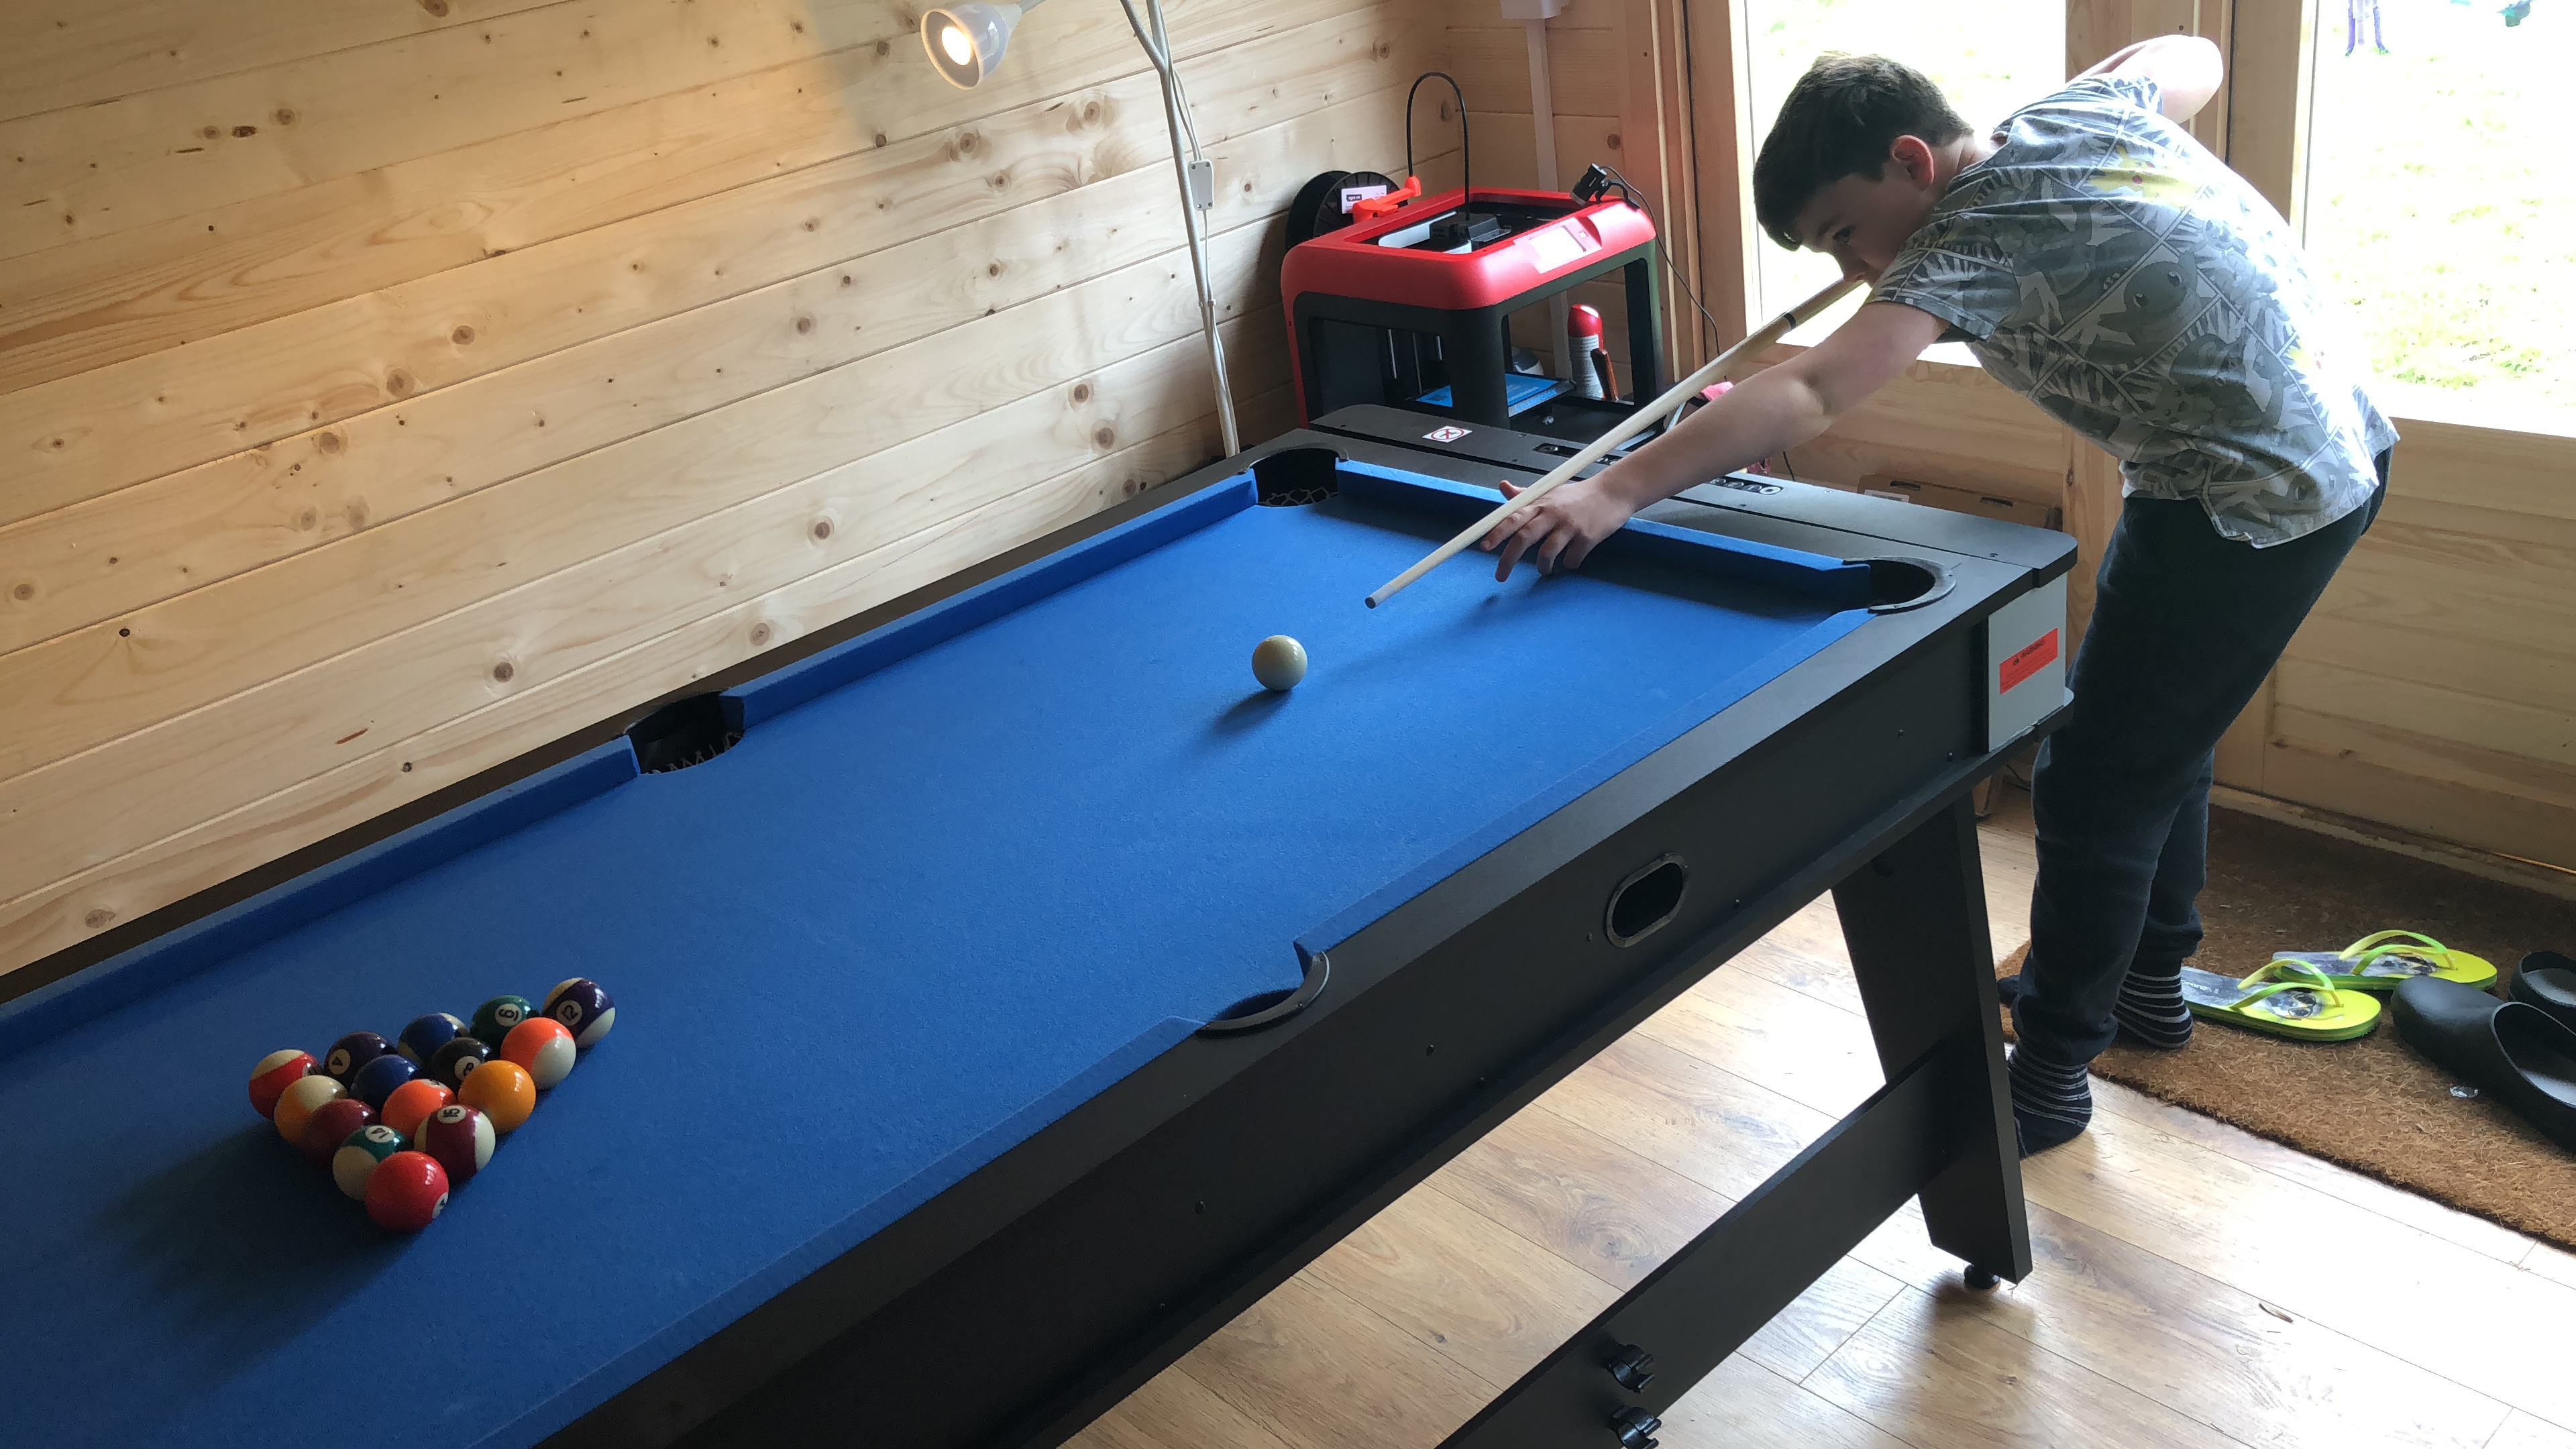
Now for the table!
This took me quite a long time to decide on, I had originally though to just go out and get a look woodworker to build me a 6×4 ft table, I had also been adviced to look at 2 4x4ft tables. I had looked at folding tables, hobby tables, wallpaper pasting tables but none of them quite did it for me.
Then we (I say we but Wife was the genius here and pushed me in this direction) saw a multi-table. This already came at 6x3ft so would simply need a topper to get the 6x4ft I wanted and it could easily be removed to get access to the other functions of the table… oh the Air Hockey is awesome.
So this is what I did, I bought the table (man was it heavy and stressful to build alone) and it was perfect. I then got B&Q to cut me the exact size of 18mm MDF and put kitchen plastic edging around it.
Perfect!
Splash of colour
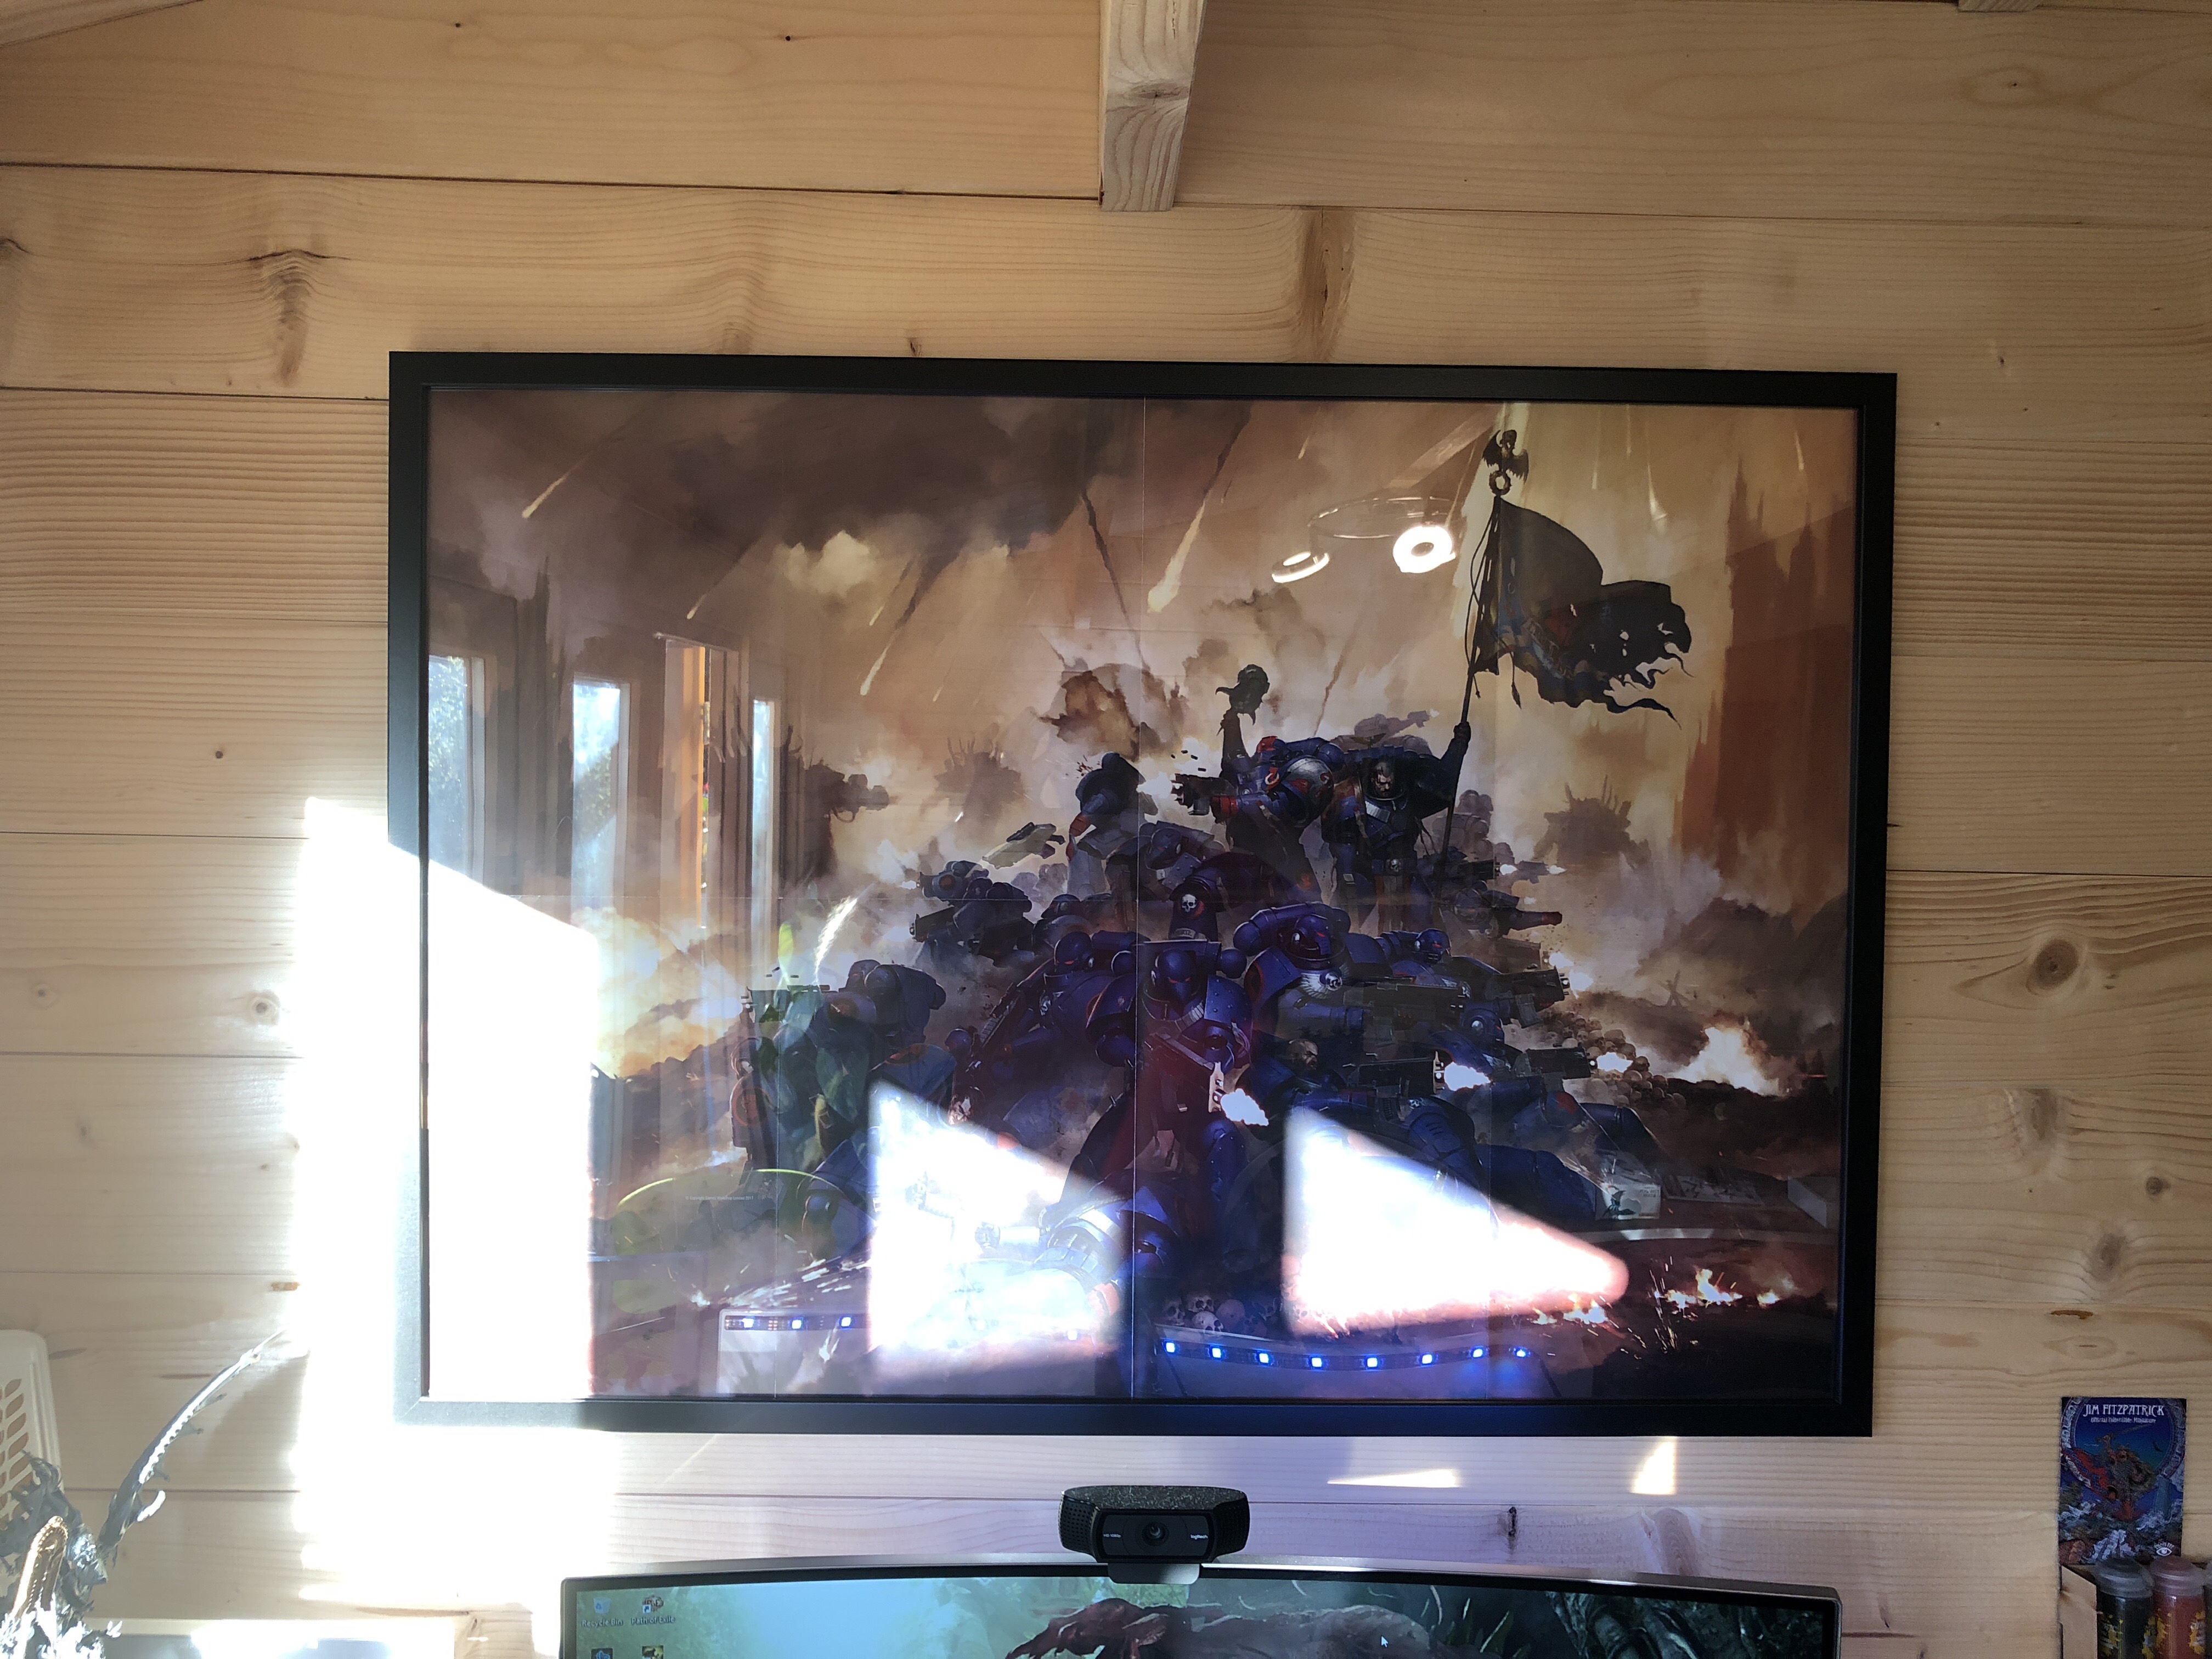
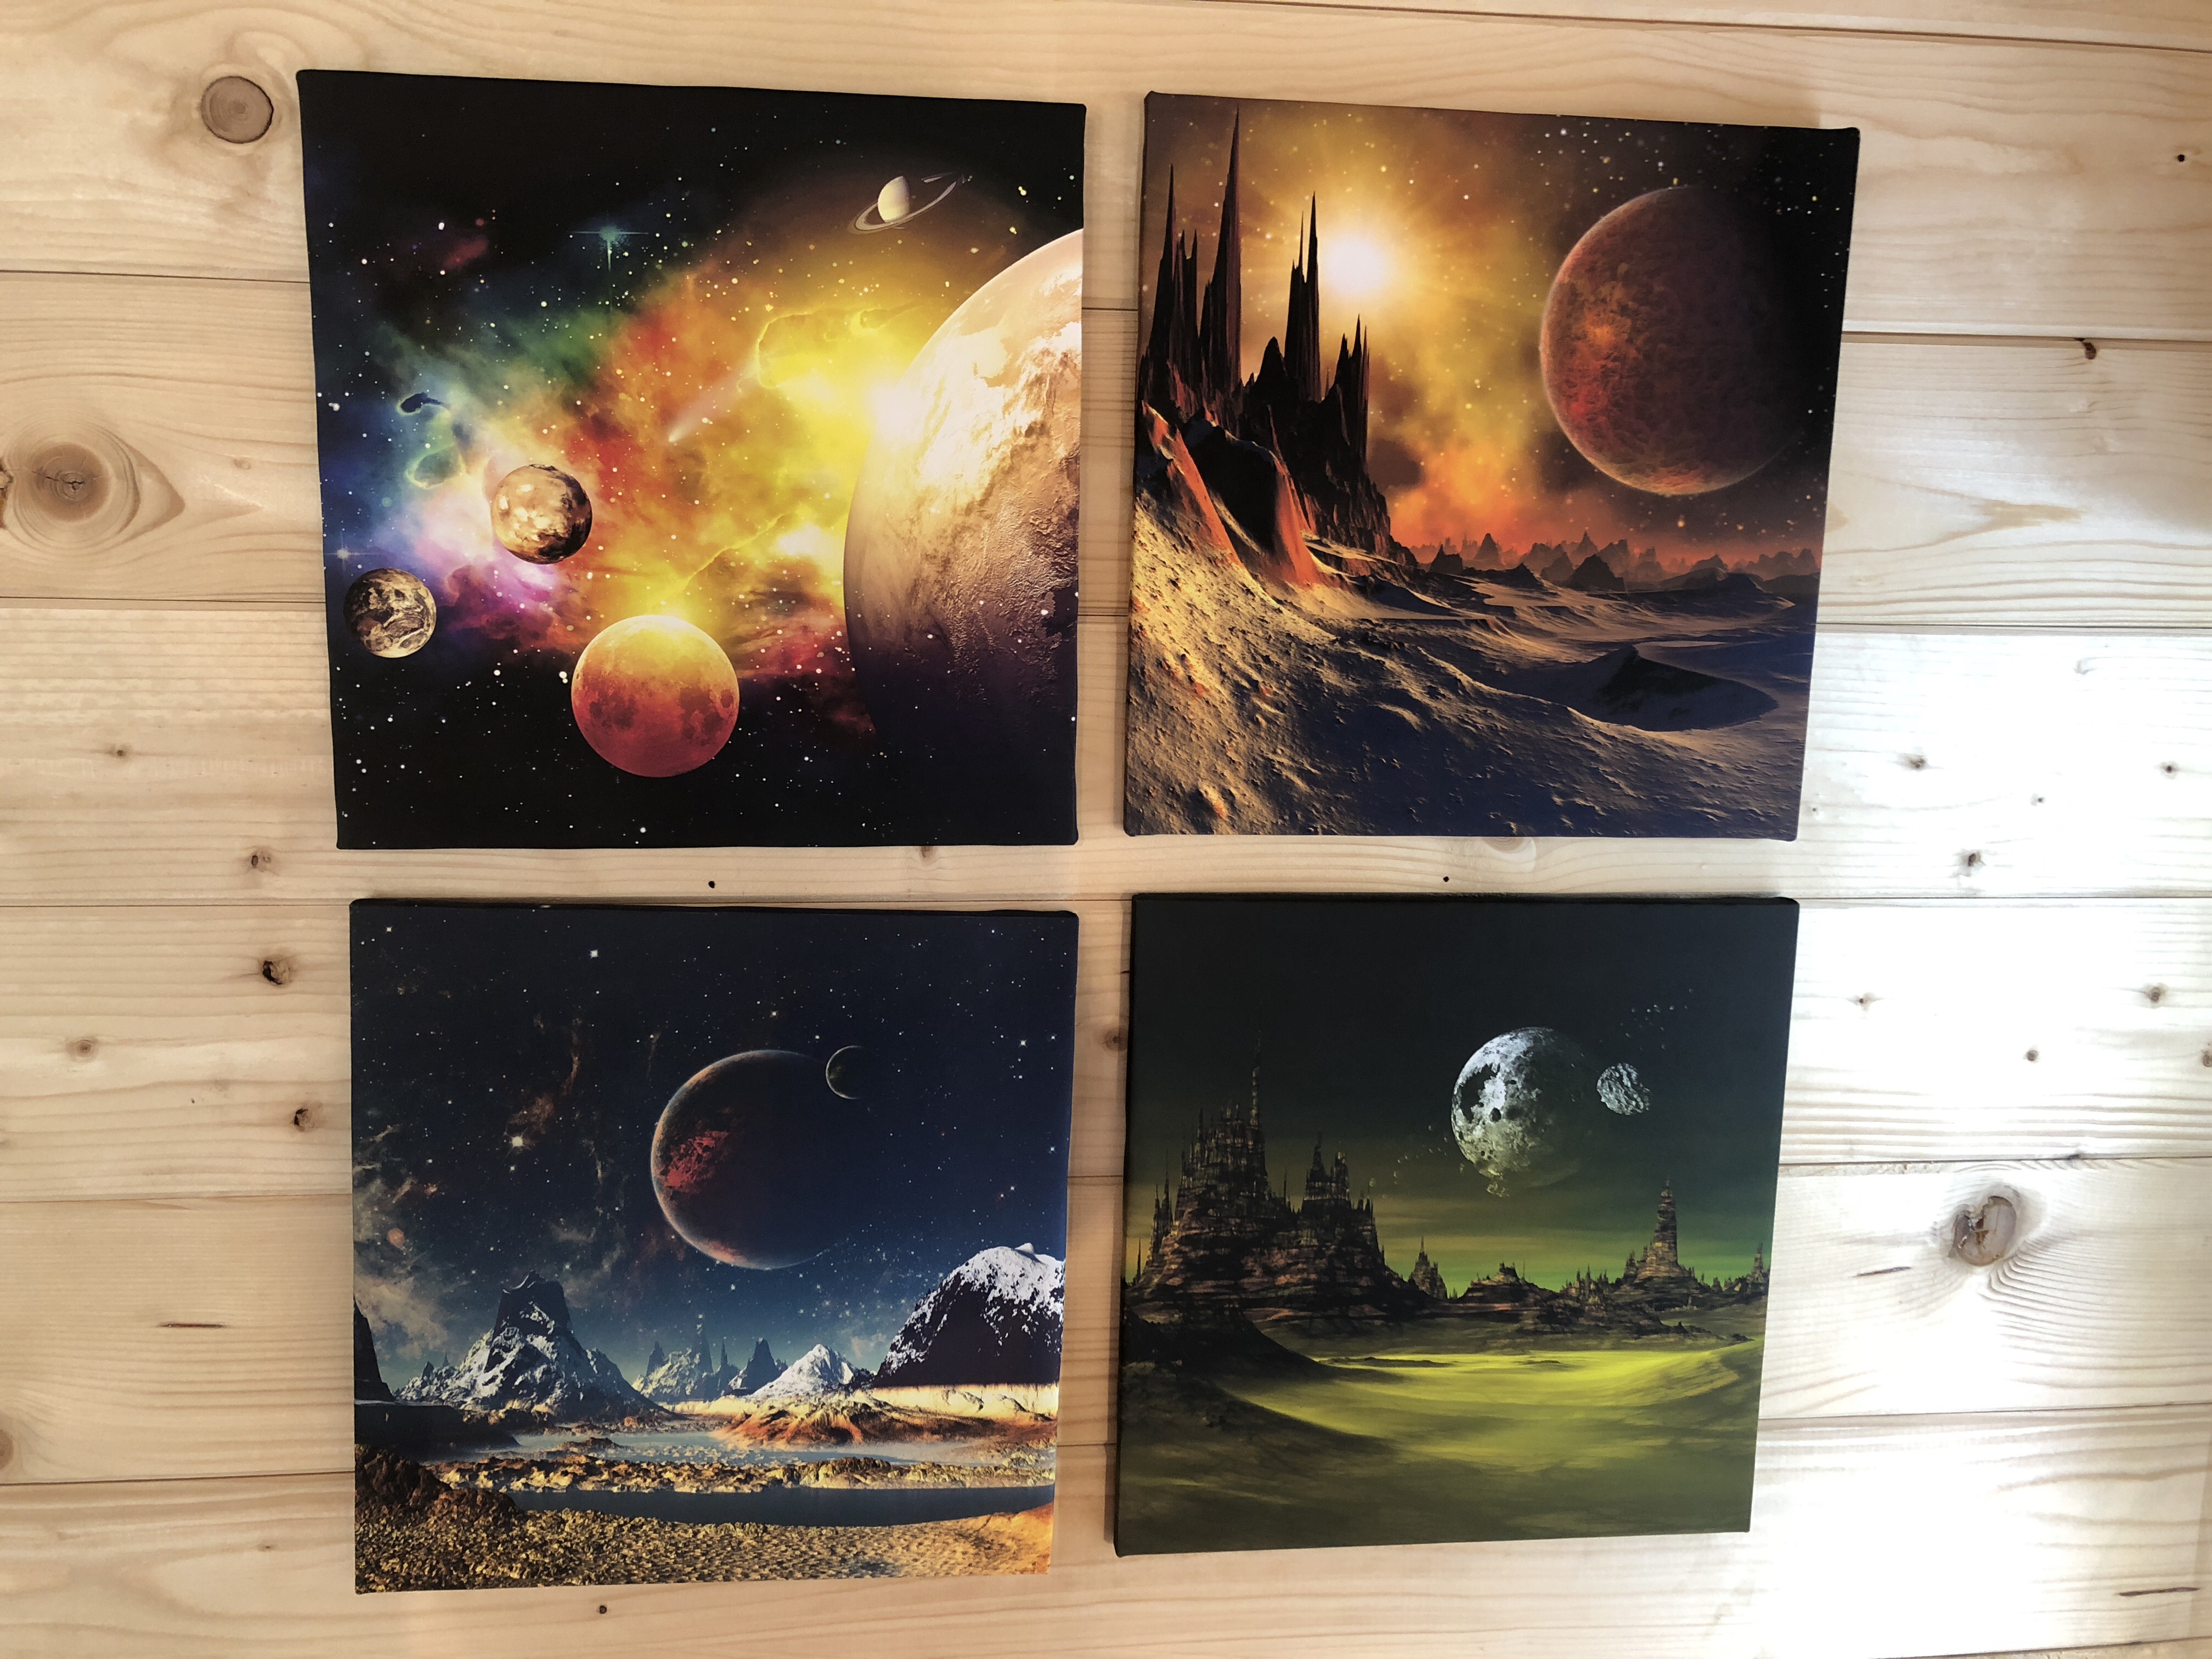
The walls at this were very bare so I went out and bought some artwork, I tried to get a bit of a mix of themes from fantasy and space.
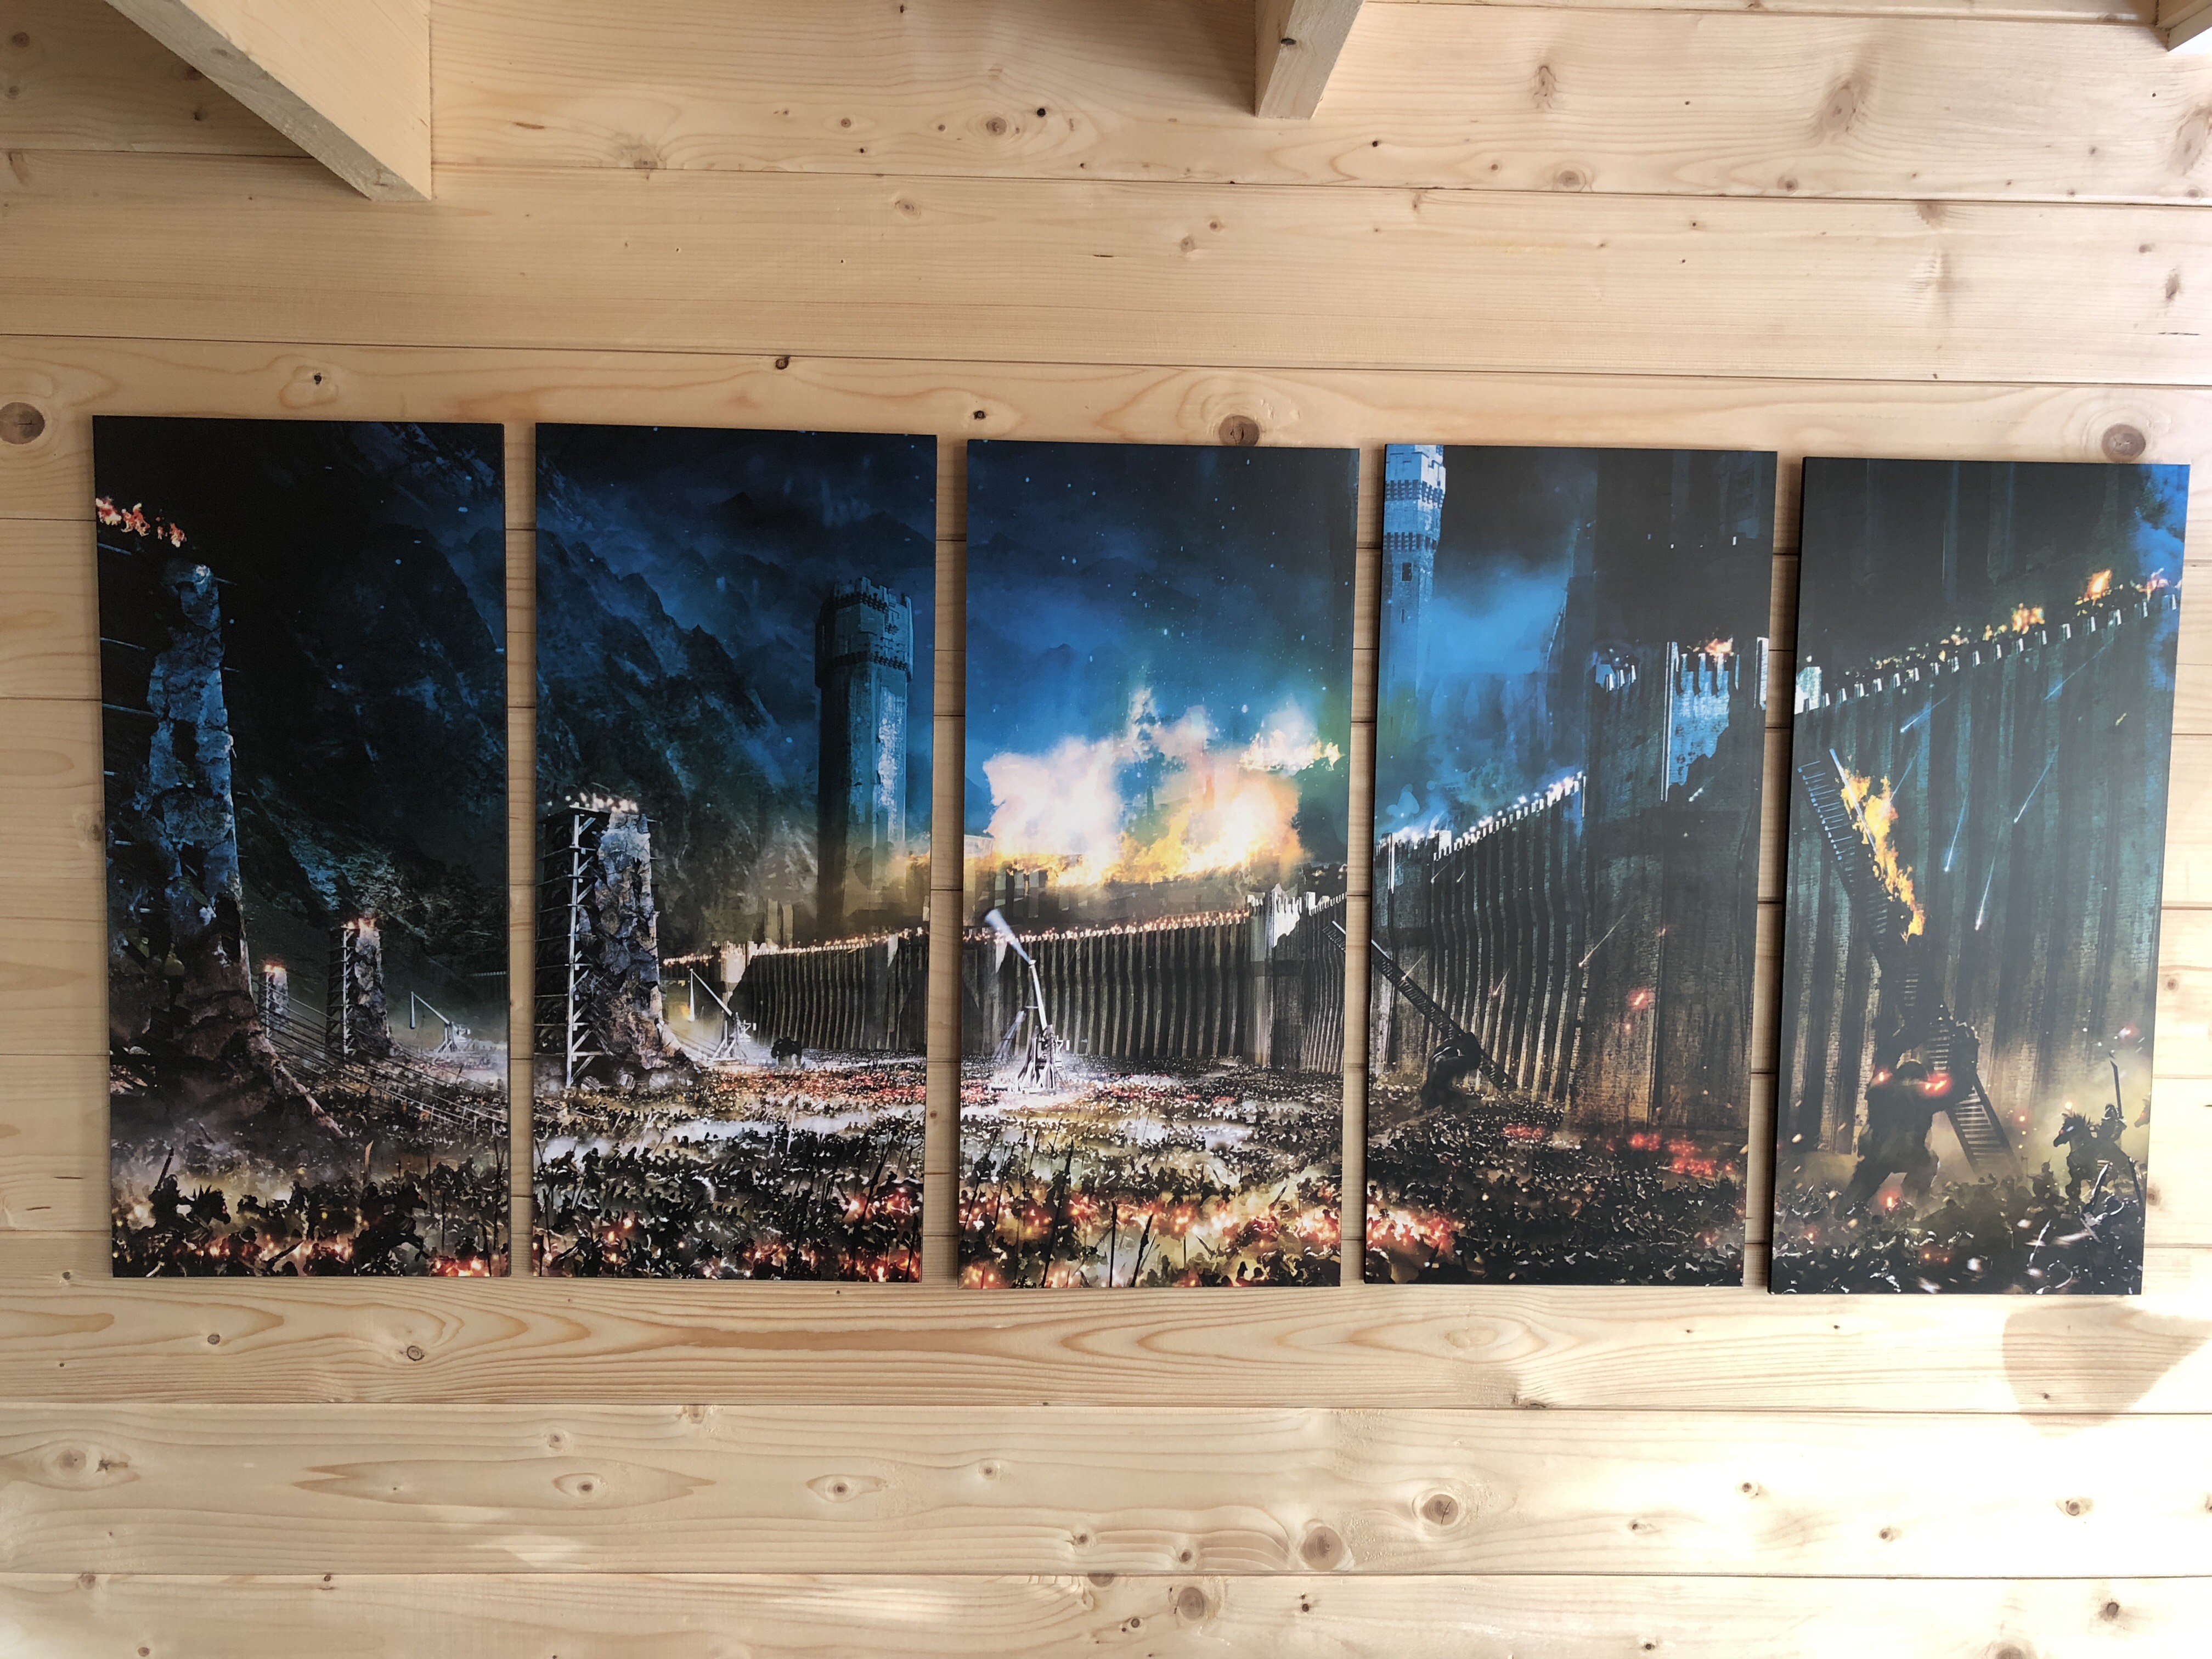
And one very dear to me from the Wolsung 2017 Bootcamp just one of the best times I have had in the hobby.

Now things pick up pace
Ok so now things move quickly and I look at more storage and actually move lots of the gear down.
I found so good wide spaced bookshelves on Amazon for board game and rulebook storage (they also required no building so bonus!)

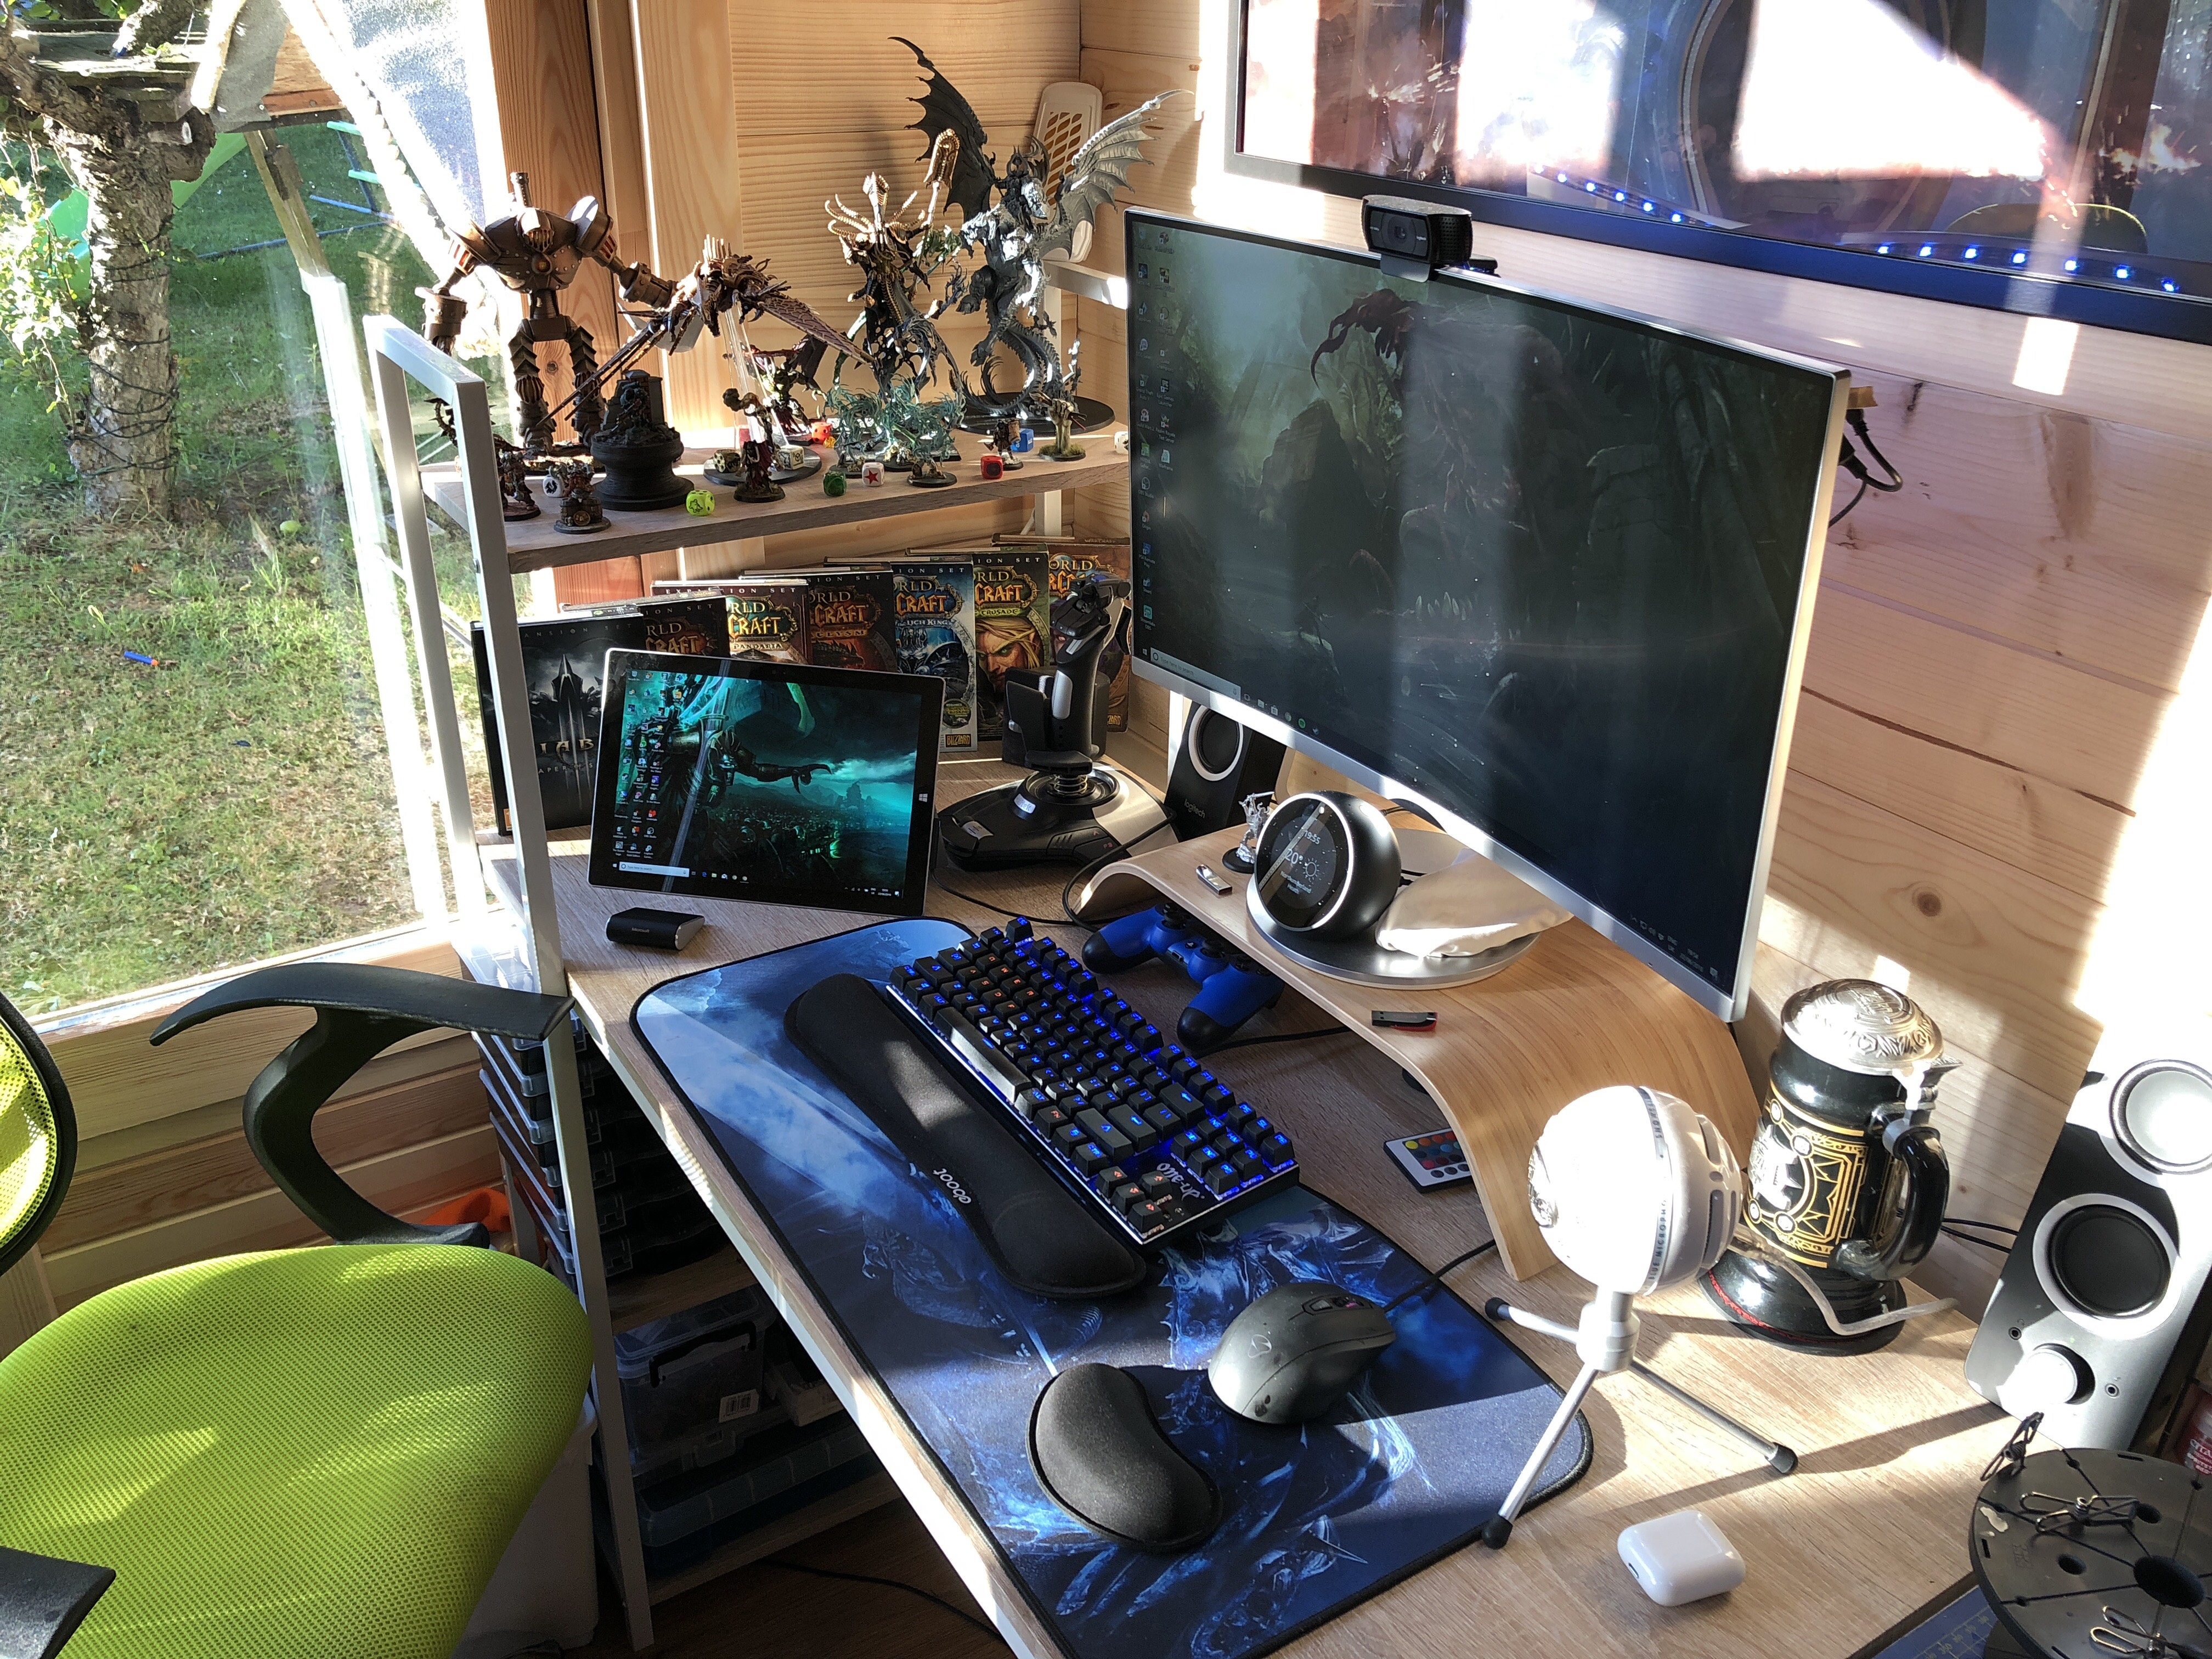
I then set up my PC workstation and paint station, I bought some bits and pieces here to make it look and feel better.

Get connected
Strictly I have missed out a step here, the first thing I did once I got the shed powered was focused on how I was going to get connected to the internet.
I had initially thought to run cat5e the length of the garden I being honest I had used Powerline devices in the past and just thought I would give it ago.
I have both a Virgin 350meg and BT 40meg (everyone needs failover these days) coming into the house so it was important to try and get as high speed as possible.
Given the distance and that I was going over the mains cabling I went for some high rated Powerline devices
TP-Link TL-PA9020 2000Mbps I believe they are about £80 a pair. I replaced all of the Powerline devices in my house with these given a network is only as fast as its slowest point.
It is not perfect but it is fairly reliable between 60-100 Mbps which is plenty for most things. Not quite the 380Mbps I get in the house. Of course, I ran the actual cable down then I could improve that dramatically and maybe in time I will.
I coupled it with a very cheap Wireless AP so that could have the option of hardware the PCs etc and wireless for other devices.
Anyway now we are connected!


