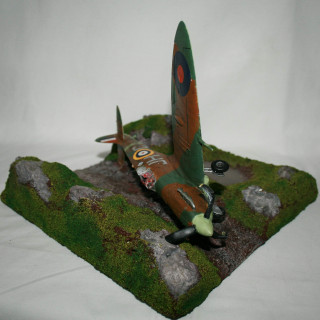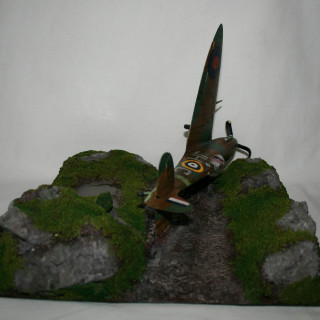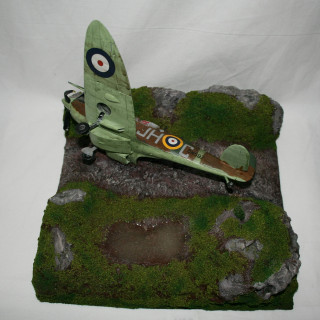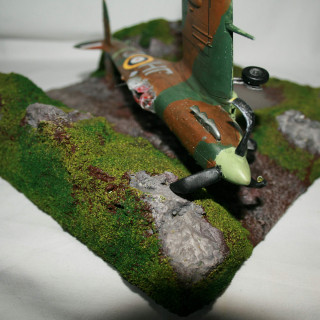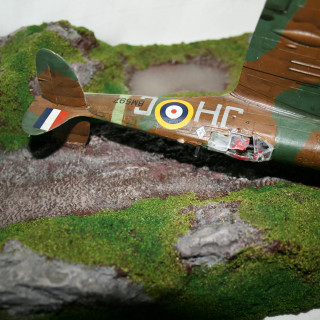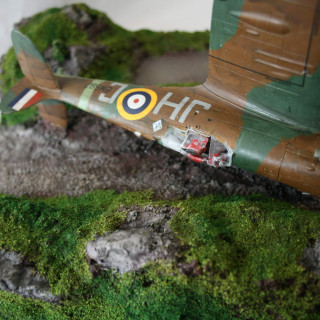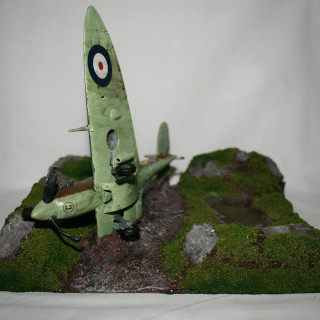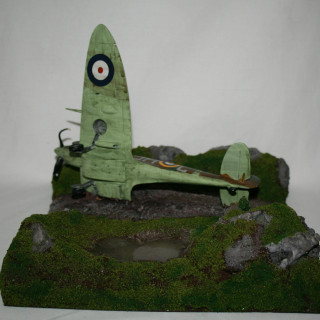
Terrain Challenge – The End is Nigh // The Final Flight
Recommendations: 78
About the Project
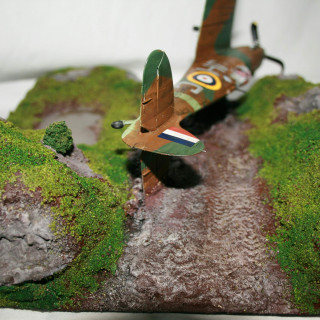
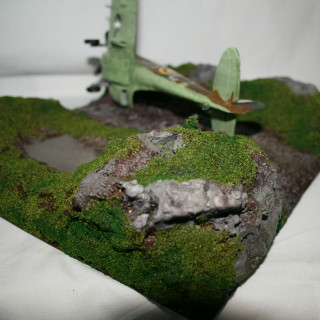
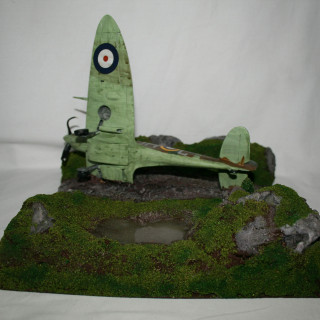
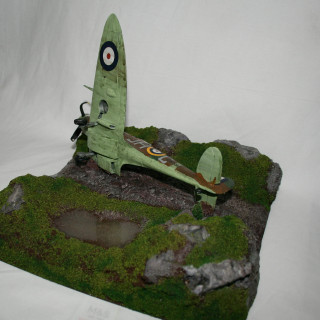
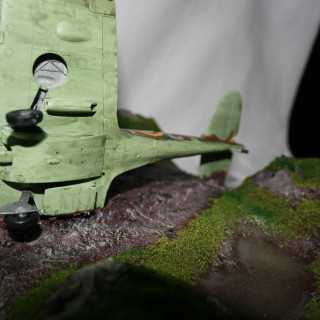
In this project, I wanted to create a different feel for the idea of "the end is nigh". Sometimes, we forget that the loss of the last person happens all the time. It doesn't just have to be all of humanity, or even a nation. What if it is more personal than that? The idea I had for this, therefore, is one which conveys the death of the last of a group. In this case, it is the last pilot of a WW2 RAF squadron... All around him, his compatriots are getting shot down. But he turns, and weaves, avoiding the cannons of the enemy fighters, and the flak from the ground, until it is too late. He is hit - but still he lives and maybe, just maybe, he can still land this thing. He flies ever closer to the ground and deploys his landing gear! He's going to get out. Perhaps he can make his way to the coast and get a fisherman to take him home. He did not spot the enemy unit on the ground. They turn their weapons on the low flying Supermarine Spitfire mkVb - his Spitfire, and lead pierces the canopy, and sinks into his chest. In the last moments he thinks of his dead friends, how they will be reunited soon. And as he loses blood, and loses control, the plane crashes towards the ground; but he does not know this. His thoughts turn to his squadron - this is their last flight - their end is nigh.
Related Game: Bolt Action
Related Genre: Historical
This Project is Completed
Selecting Materials
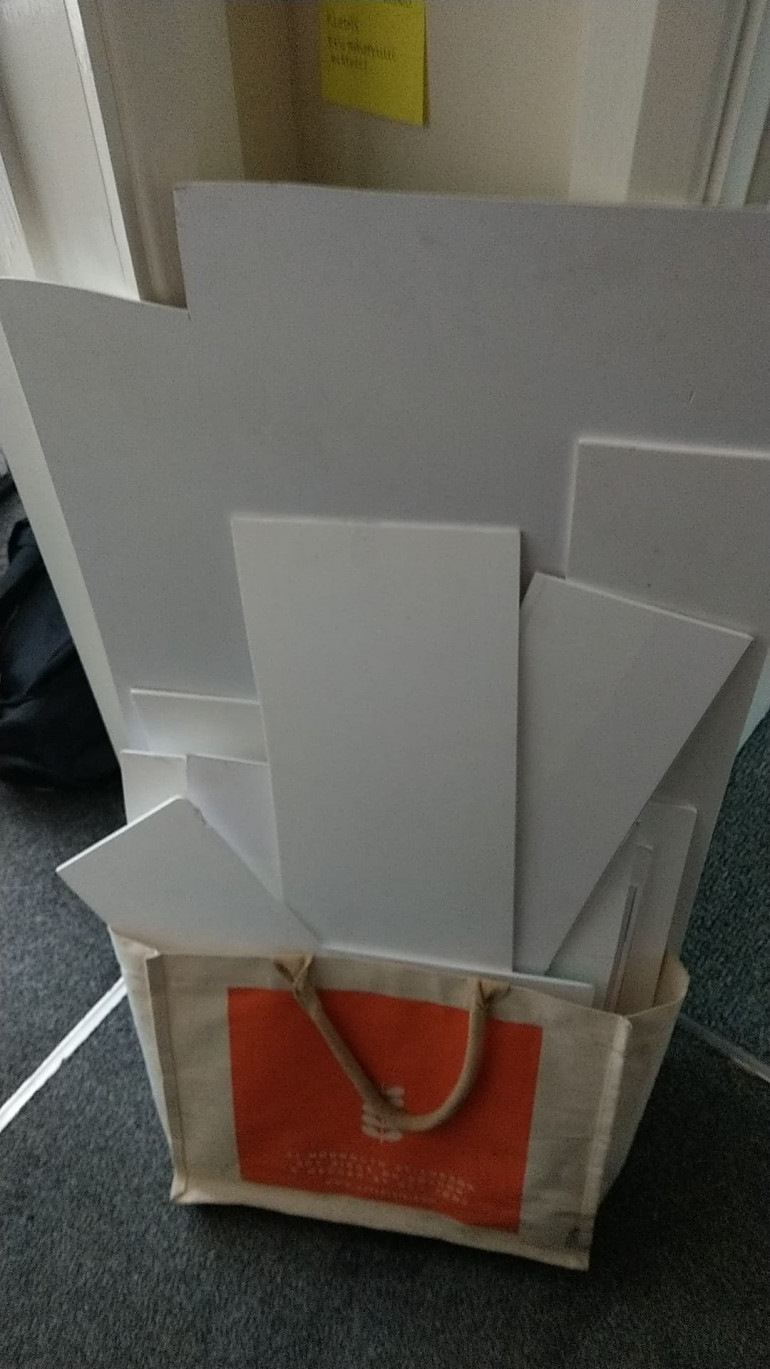
I gathered together the materials I needed for this project. I selected a piece of 6mm foamed PVC from the collection I got free from a local sign writer – honestly, they are happy to give this stuff away, it saves them on commercial waste costs, so find local companies and email them.
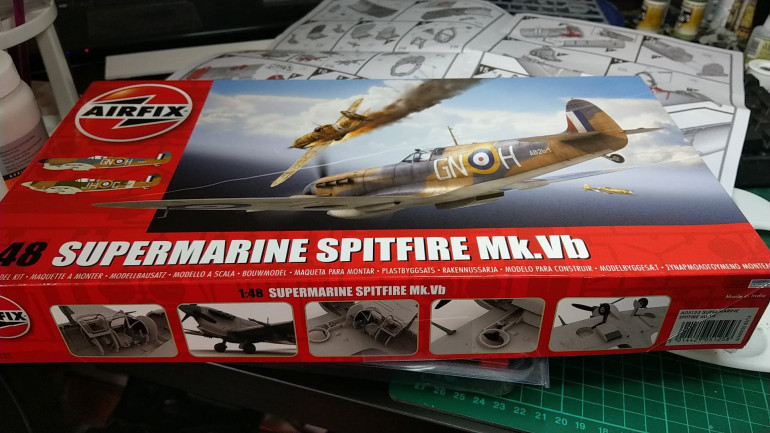
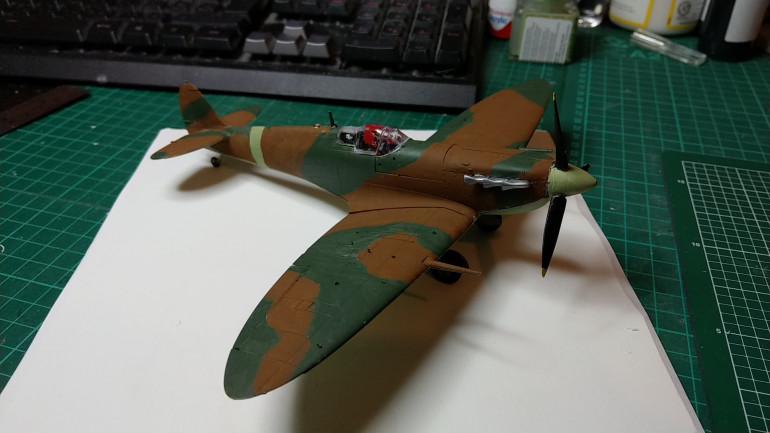
I found the plane I wanted for this project, and I decided on the Airfix Supermarine Spitfire Mk. Vb in 1:48 scale – that way round this piece will work as scatter terrain for my Bolt Action table as the 1:48 is close enough to 28mm. This is the model A05125
I also looked at the recommended paints for this model, but since I’m not a big fan of using enamel paints, I sought alternative acrylic paints for the project. I used the PaintRack app on the google play store to compare and contrast colours from other manufacturers, and bought what I needed. Ended up having to buy one of the Humbrol acrylic range as nobody makes a colour close enough to their RAF blue.
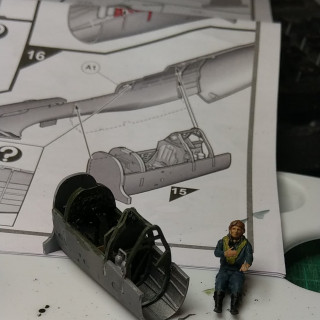
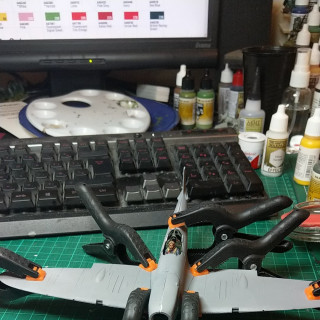
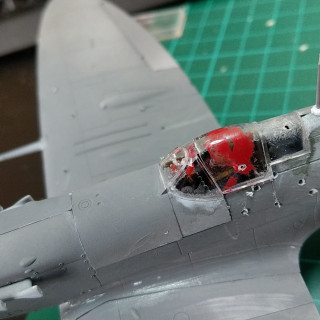
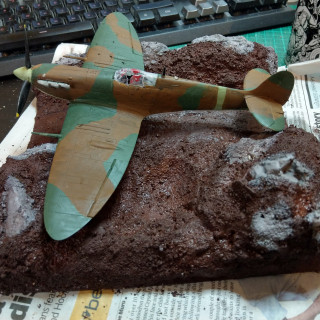
I started assembly of the airfix model (first one I’ve made in about 20 years or so). I found it quite easy to put together, and the way airfix make their instructions these days, is fantastic. I painted the internal sections during the early stages of the assembly.
Paints used for the plane:
- Hycote Plastic Primer – Grey
- The Army Painter – Plate Mail Metal
- TAP – Matt Black
- TAP – Barbarian flesh
- TAP – Glistening blood
- Vallejo – Camouflage Dark Green
- Val – Gunship Green
- Val – Duck Egg Green
- Val – Flat Yellow
- Val – Flat Earth
- TAP – Leather Brown
- Humbrol – RAF Blue
- TAP – Military shader
- TAP – Flesh wash
- TAP – Dark tone
- TAP – Strong tone
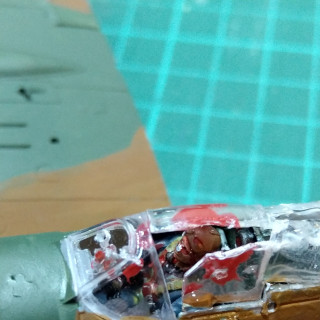
The plane was completed, including the dead pilot and added effects. I still needed to add the transfers but this was the point I caught the flu, which put a halt to everything!
Building the land form
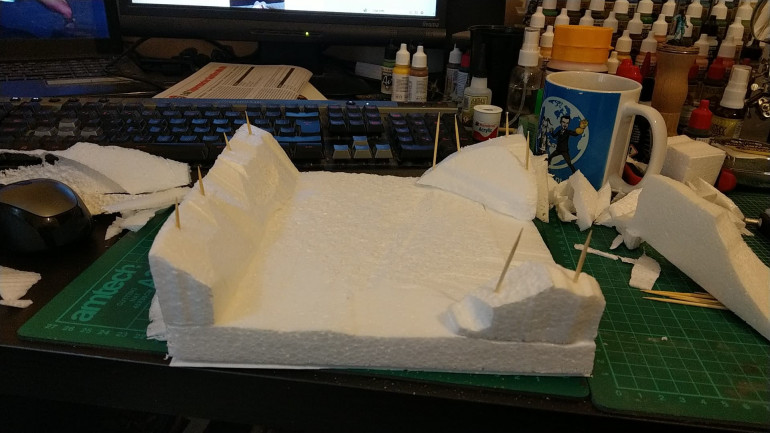
So having selected the 6mm foamed PVC I wanted for the project, I tapered the edges so that it would sit flush on the table. I took some expanded polystyrene that had come with a fan I had ordered for the horrifically warm UK summer that we had. Using my hot wire cutter, I carved this to the size of the base. I added more sections of EPS on top of this layer to build up the land form, so that I could start to visualise the piece a bit more. I glued these sections into place and added cocktail sticks to secure them as they dried.
Using the hot wire cutter, I removed the section which would form the road, made some more changes to the main undulating terrain and glued in some plaster of Paris rocks I made using the woodlands scenics rock molds.
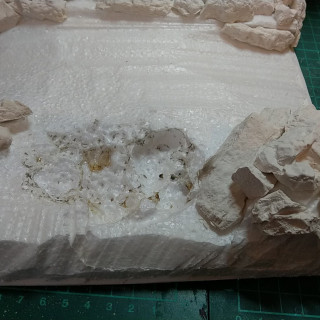
Once I was satisfied with the positioning, I decided to add more undulation, so using my butane blow torch, I burned out a section of the foam. Despite still coughing constantly from the flu, I was successfully able to blow out the foam before the fire spread! I was left with this very nice hole, which may have come from artillery fire.
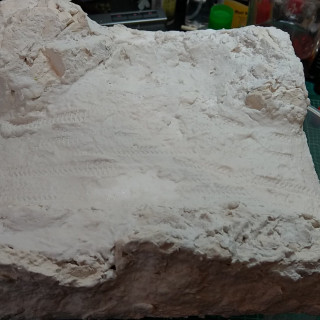
Now that I was satisfied with everything, I made up some sculptamold and covered the terrain in this. Using one of my bolt action tanks, I pressed tracks into the round section whilst it was still wet.
And the final part of the built began with the usual PVA and sand. I covered everything except the bare rocks and the road as I wanted to keep these with the sculpting that had taken place.
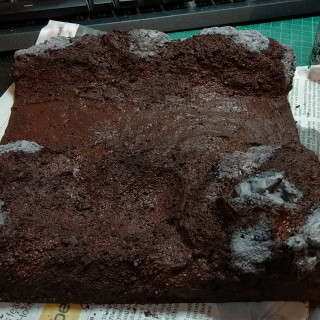
From here, everything was painted up. The ground covering was ‘Crawford and Black’ burnt umber acrylic paint with a little ‘Crafter’s Choice’ dark grey acrylic paint, a black wash I have made up according to the recipe from Luke APS, and then a dry brush of Crafter’s Choice Fawn acrylic paint.
The rocks were painted with the same dark grey with a little C&B black paint added, then washed with the homemade black wash, and then dry brushed with a ‘Crafter’s Choice’ light grey and then an extreme dry brush of the fawn.
Once this was dry, I positioned the plane for testing before completing the piece.
Flocking, water effects and heartbreak!
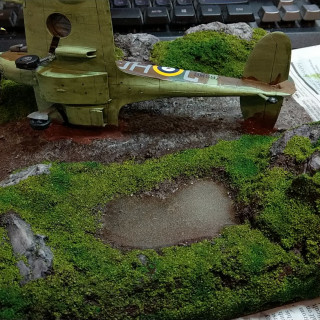
The first part of the final stage included flocking the board. I used my trust tri-tone mix that I use on my Normandy projects:
- Javis scenics no 3 – dark green fine turf
- Javis scenics no 2 – mid green fine turf
- Javis scenics – burnt grass fine turf
I covered sections of the model in watered down PVA, and put small sections of the dark in low places or areas where rain fall would sink. Next, I covered the majority of it in the mid green colour, and then sprinkled the burnt grass over the tops to give a hightlighting feel.
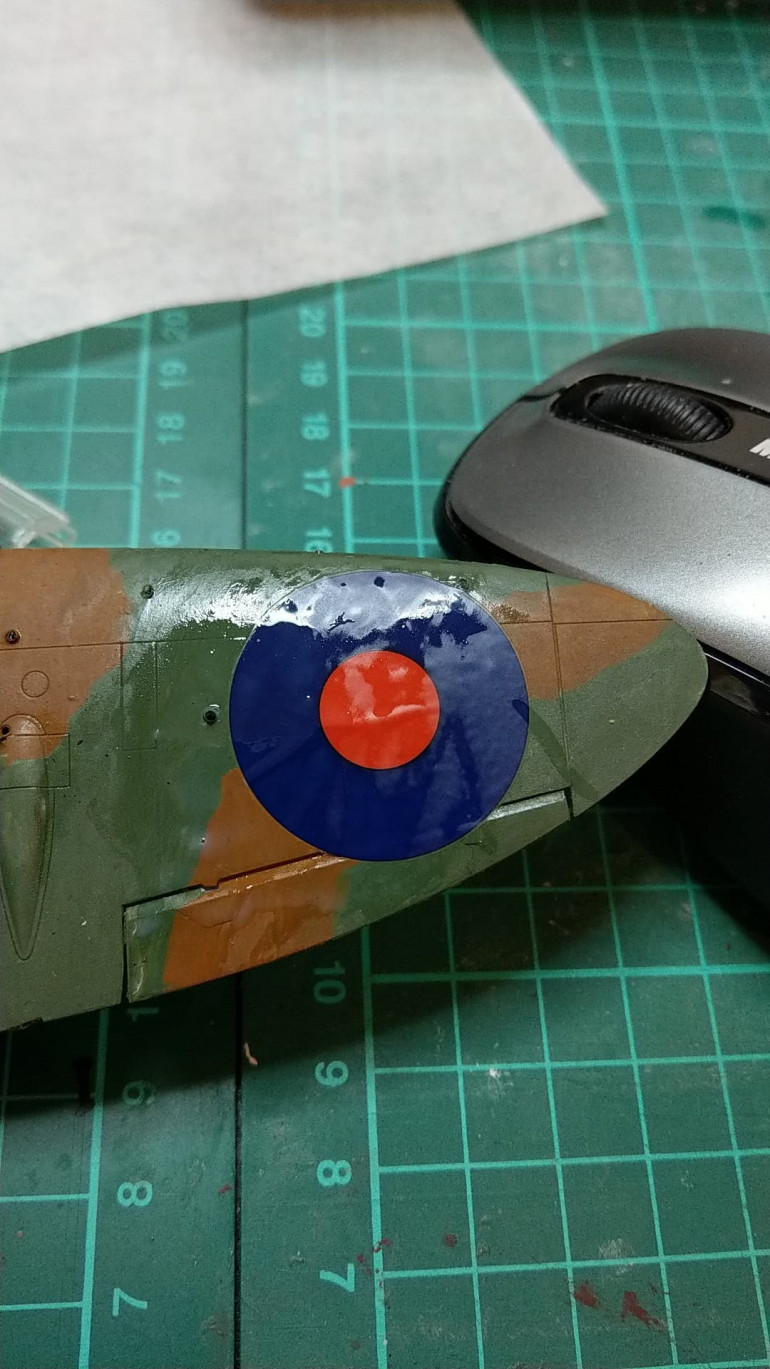
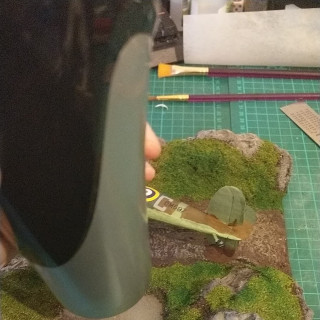
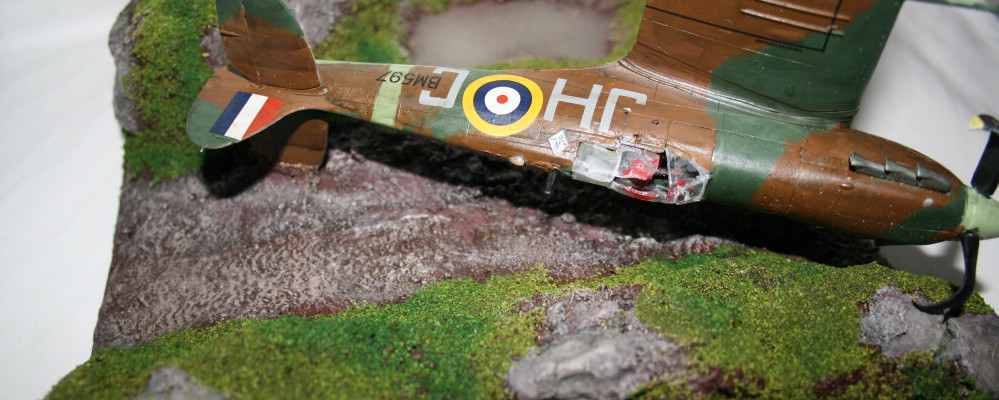
At this point, I covered the whole thing in isopropanol, and watered down pva to fix it all in place, and whilst I left this to dry, I applied the water slide decals to the plane.
Once everything was dry, I test positioned the plane again, and then set about killing myself inside. The airfix build had been a nostalgic step down memory lane to my youth, but I knew what I wanted with it, and so out came the rotary tool, and off came the wing and part of the tail…
I also took the blow torch to the prop and melted those to make it look like they’d been bent by contact with the ground. I painted the exposed parts of the broken wing with the plate mail metal colour I had used earlier to show where the paint had come off with contact with the ground.
Following one more dry fit of the plane now that it could sit correctly, I superglued the plane to the model, and added mud effects to the ground using a mixture of the C&B burnt umber and Windsor and Newton acrylic texture paste. Unfortunately, it didn’t quite give me the effect I was looking for, so instead, I added some PVA, and more sand to the ground to give the effect of the wing carving the ground open as the plane slid before getting jammed. This was then painted, washed and dry brushed as earlier.
Finally, I added some water to the hole in the ground using Gorilla 2 part epoxy. To assist the curing time, I borrowed a hair dryer and set about blowing at it with hot air for half an hour.
The Completed Project
Well this is it, the completed project. I want to thank you for taking the time to read the project blog. I hope you have learned some things along the way; I know I have for sure. Techniques I was apprehensive about trying turned out to be a lot of fun, and quite messy, and I’m looking forward to expanding these lessons into bigger projects. It’s also been nice dipping into my youth with the airfix project – it kinda felt like picking up an old blanket.
I want to congratulate everyone who has submitted on some absolutely wonderful ideas and projects. There have been some truly outstanding entries and I have enjoyed reading through the project blogs.
Finally, I want to thank the dudes over at Beasts of War for giving us this great platform where we are able to showcase our work and share with each other. Also, the lets play’s on in the background whilst working on these projects have been great to break up the thinking. (More Bolt Action LP’s please, guys?)
Anyway, that’s enough of my noise. Hope you enjoy looking at the final pictures of the work.


![How To Paint Moonstone’s Nanny | Goblin King Games [7 Days Early Access]](https://images.beastsofwar.com/2024/12/3CU-Gobin-King-Games-Moonstone-Shades-Nanny-coverimage-225-127.jpg)


