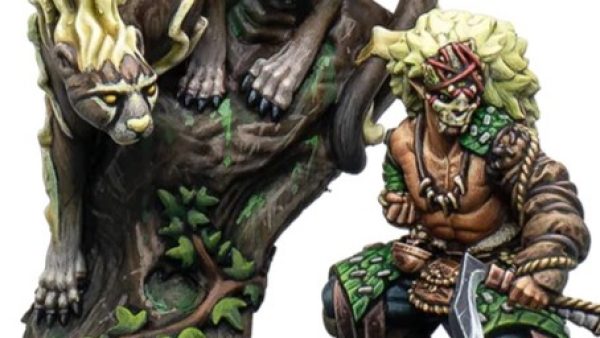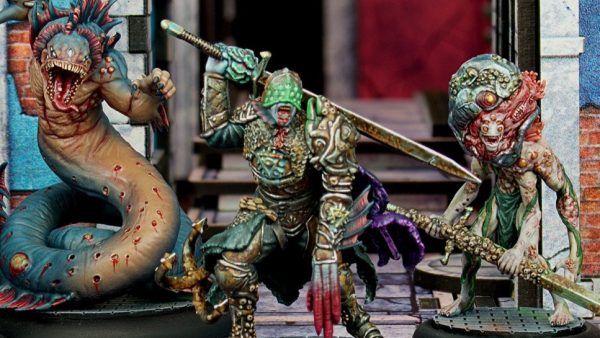


Warmaster Revolution (10mm Fantasy) – Ogres & Lizardmen


Recommendations: 81
About the Project
I'm painting two 2000+ point armies for Warmaster Revolution - Ogres & Lizardmen. Massed battle games aren't dead. They're just getting smaller.
Related Genre: Fantasy
This Project is Active
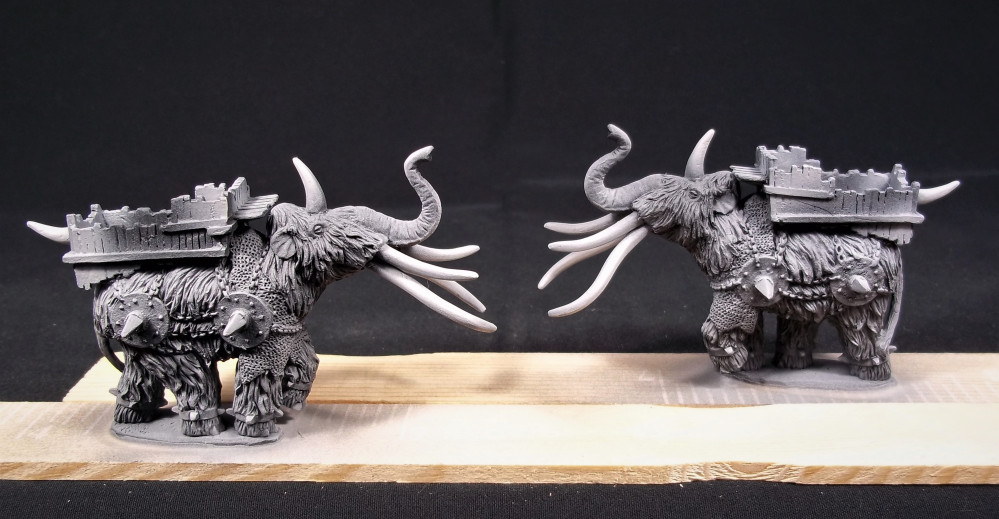
Mammoth Fur
This post details how I painted the mammoth fur. Details are in the captions.
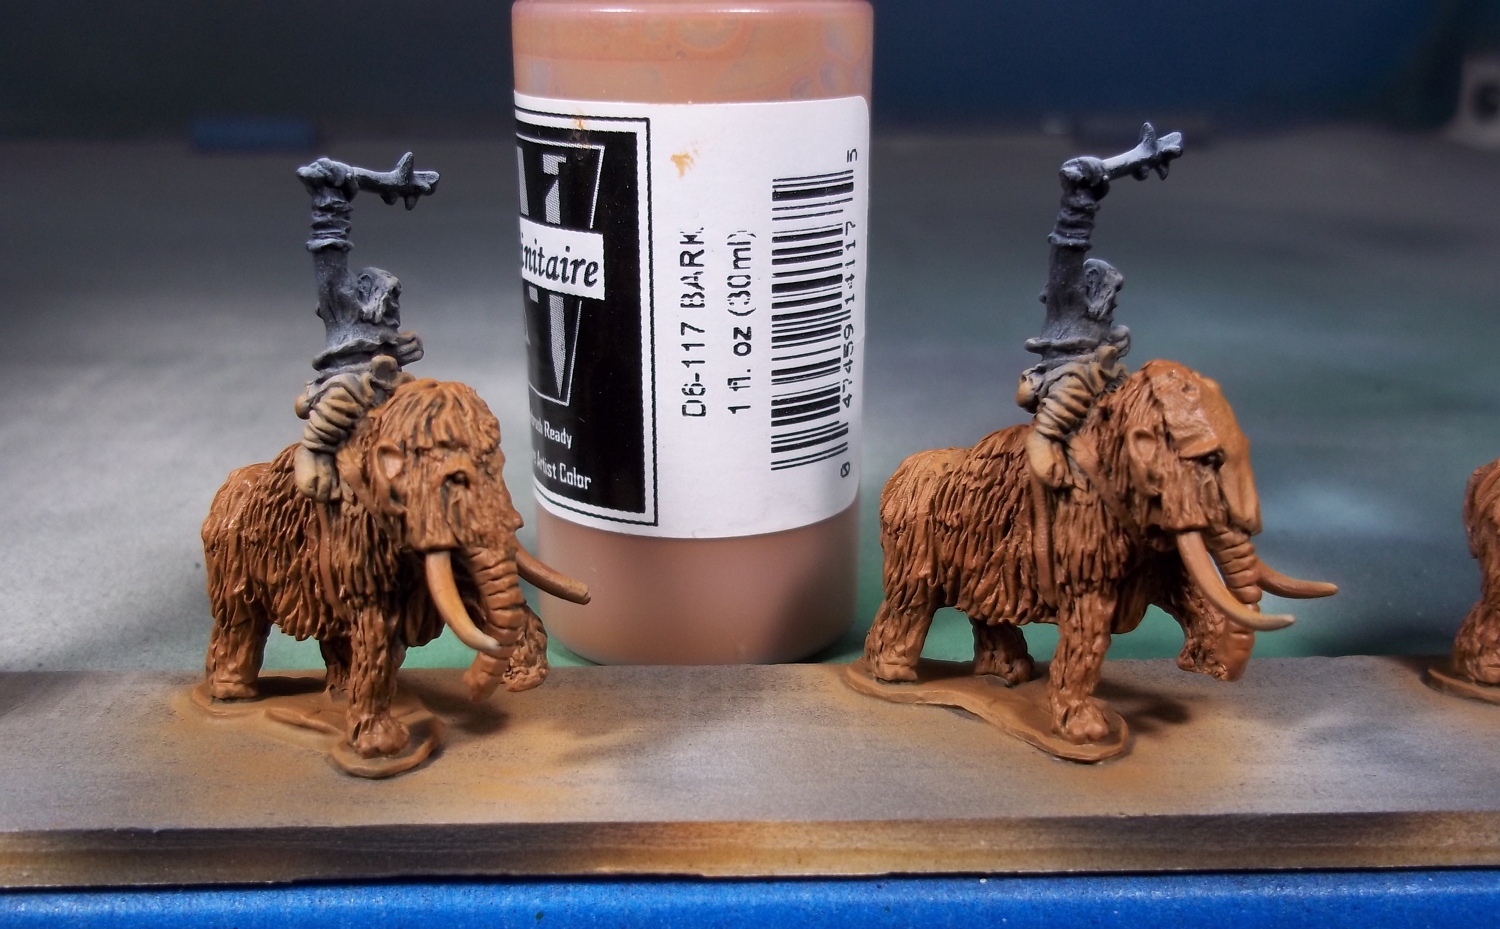 Base Coat - Minitaire Bark airbrushed over entire model.
 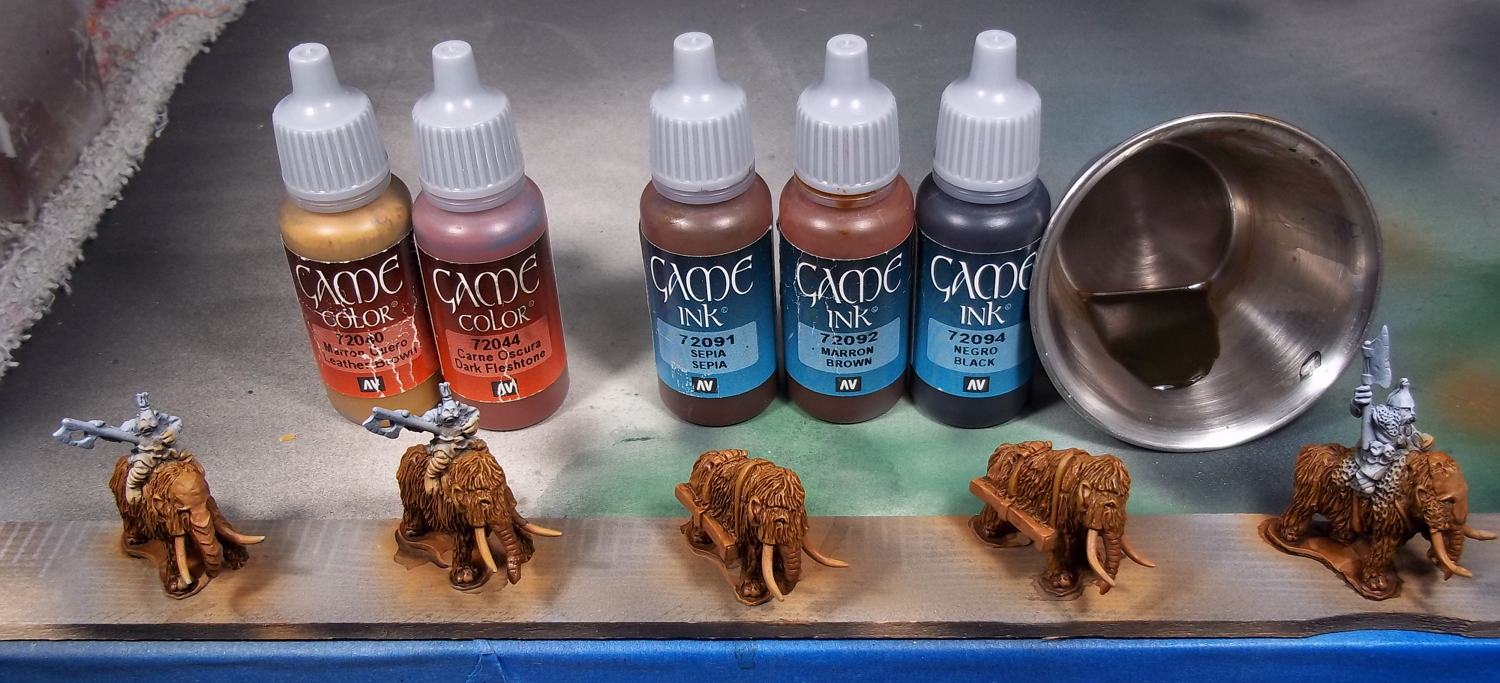 I then drybrushed Vallejo Game Color Leather Brown over the fur. I mixed a little Leather Brown with Vallejo Game Color Dark Fleshtone for the trunks. Trunks were then highlighted with a drybrush of Leather Brown. After drybrushing, I made an ink wash out of water, flo-aid, and Vallejo Game Inks Sepia, Brown, and Black.
 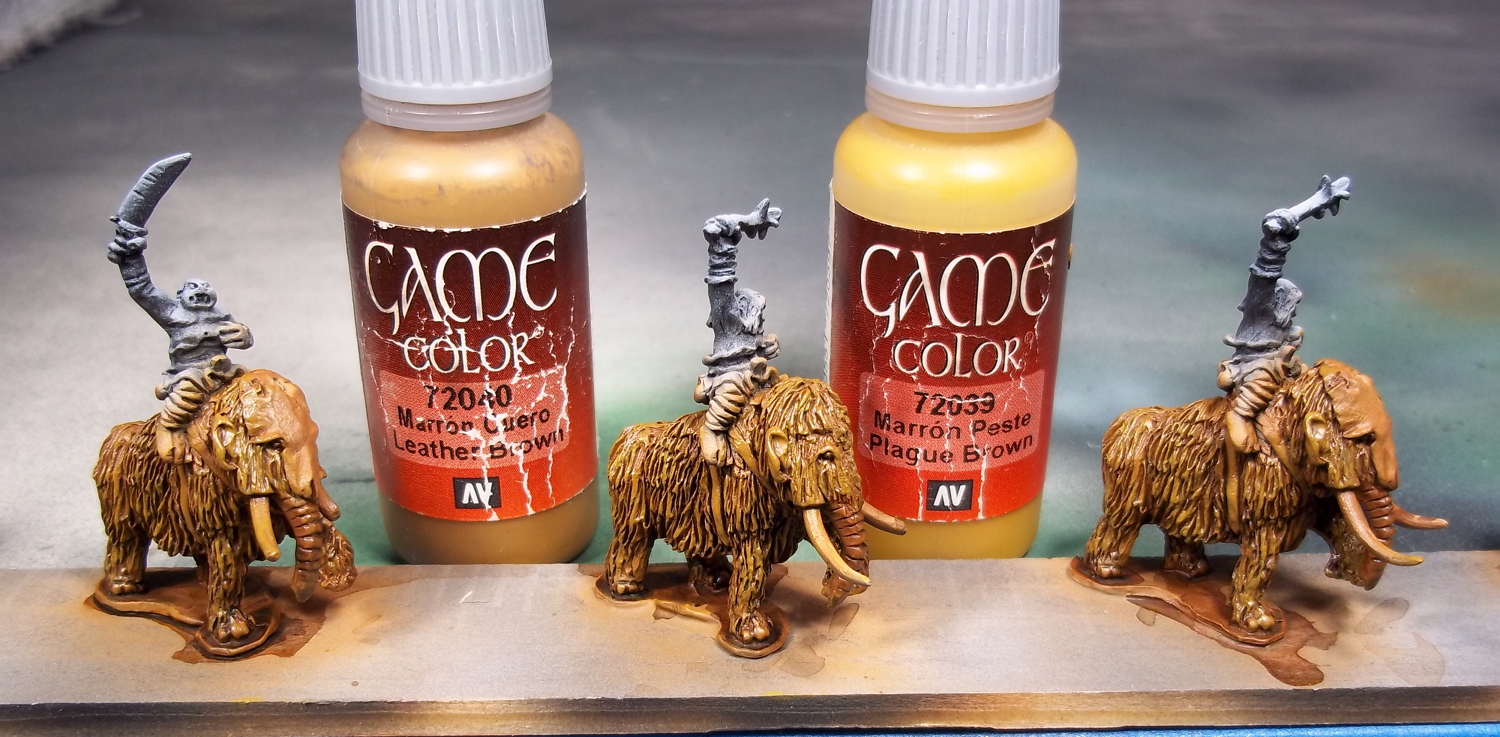 Highlights of Vallejo Game Colors Leather Brown and Plague Brown were drybrushed over the wash.
 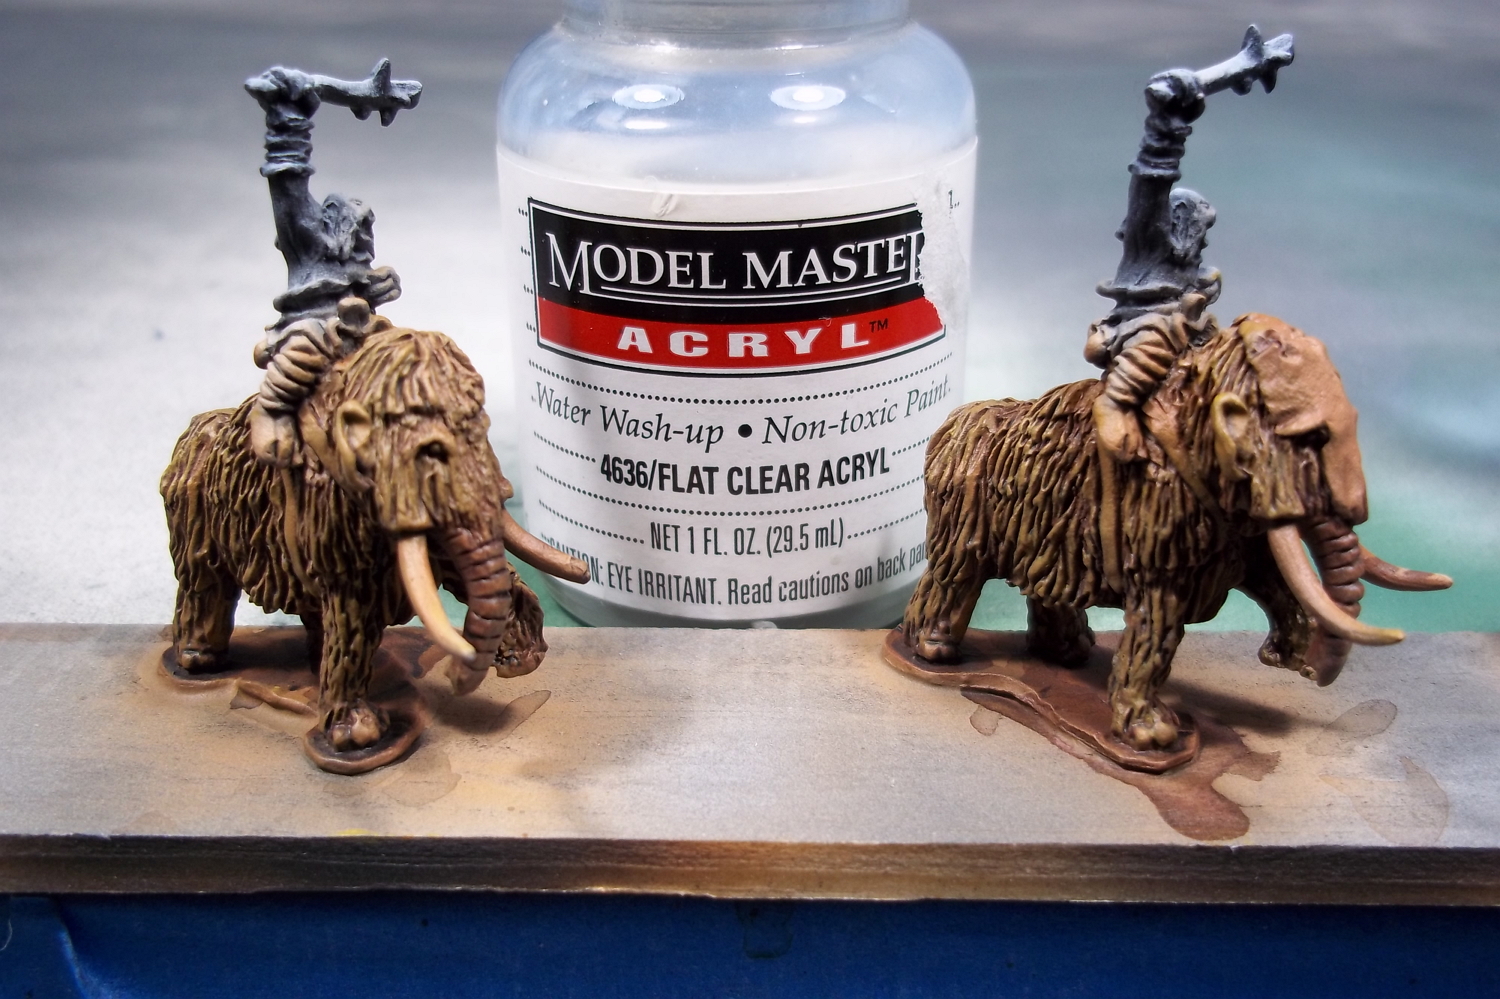 ModelMaster matte varnish was then sprayed over the mammoths to protect the paint.
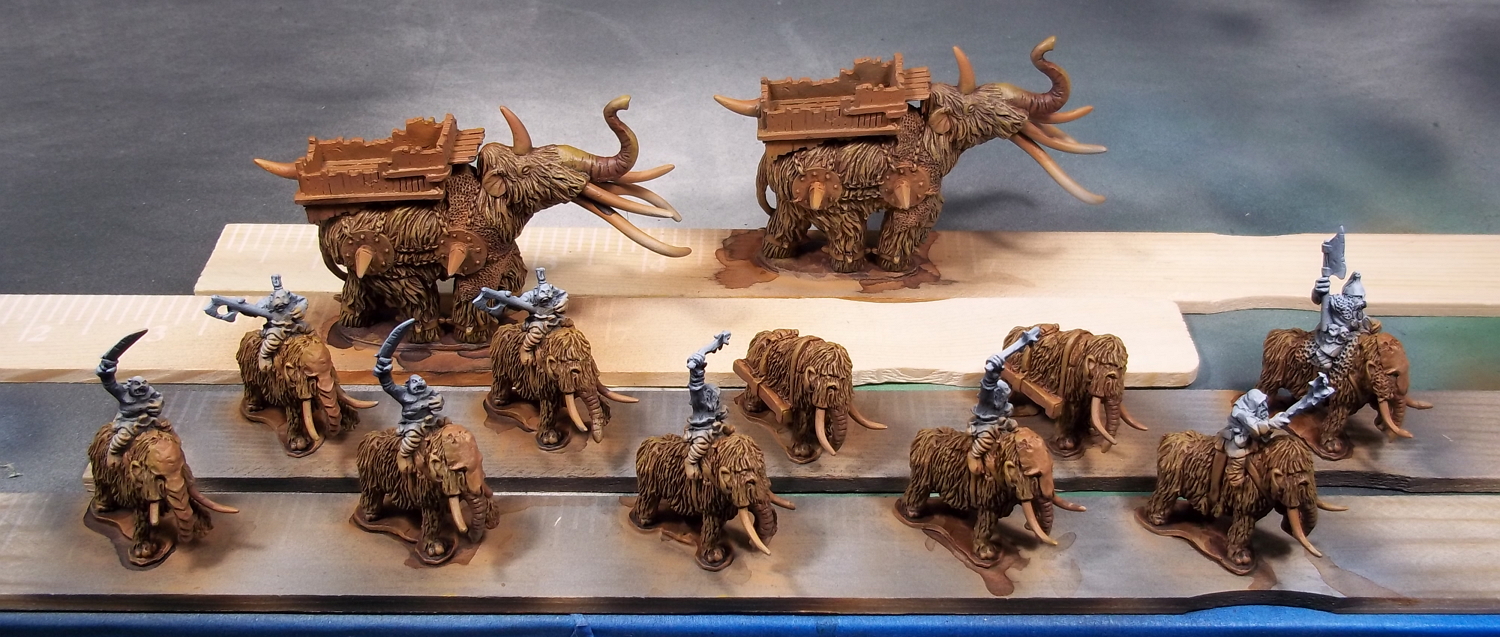 Mammoth group photo. The huge mammoths aren't officially part of the army. I got them from Eureka with a lizardmen order because I very much wanted to paint them. For now, they'll be used as siege towers.
Up next, Ogres!
Greenlings
Paint and ghost tints were applied with an airbrush. Ink washes were applied with a soft brush in two coats. Additional details can be found in the captions.
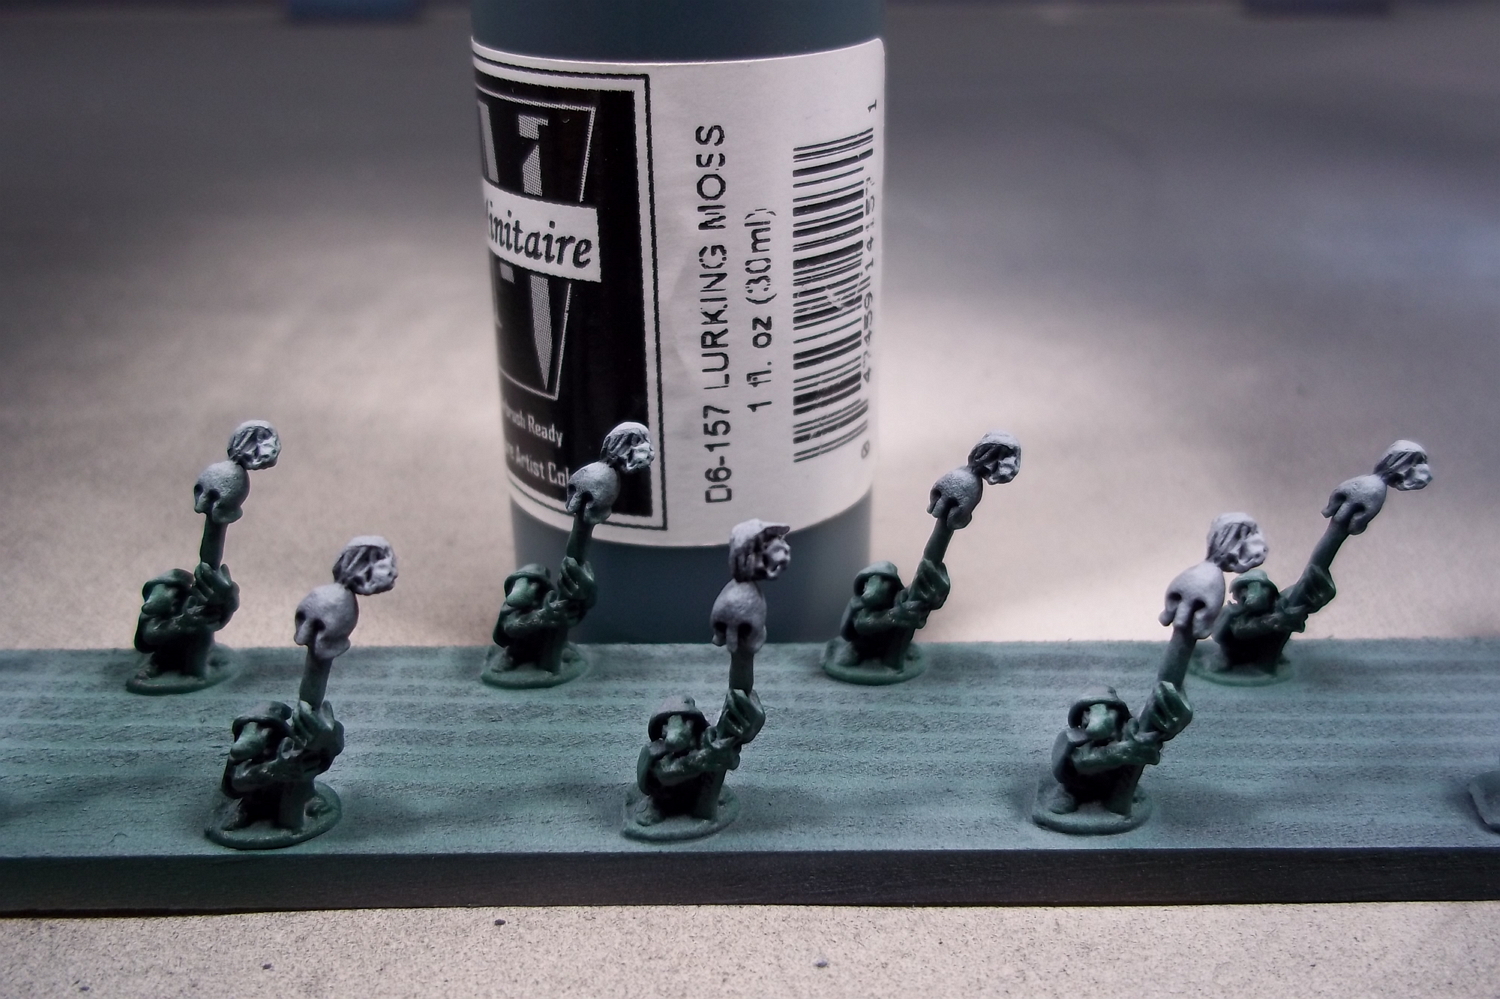 Basecoat - Minitaire Lurking Moss
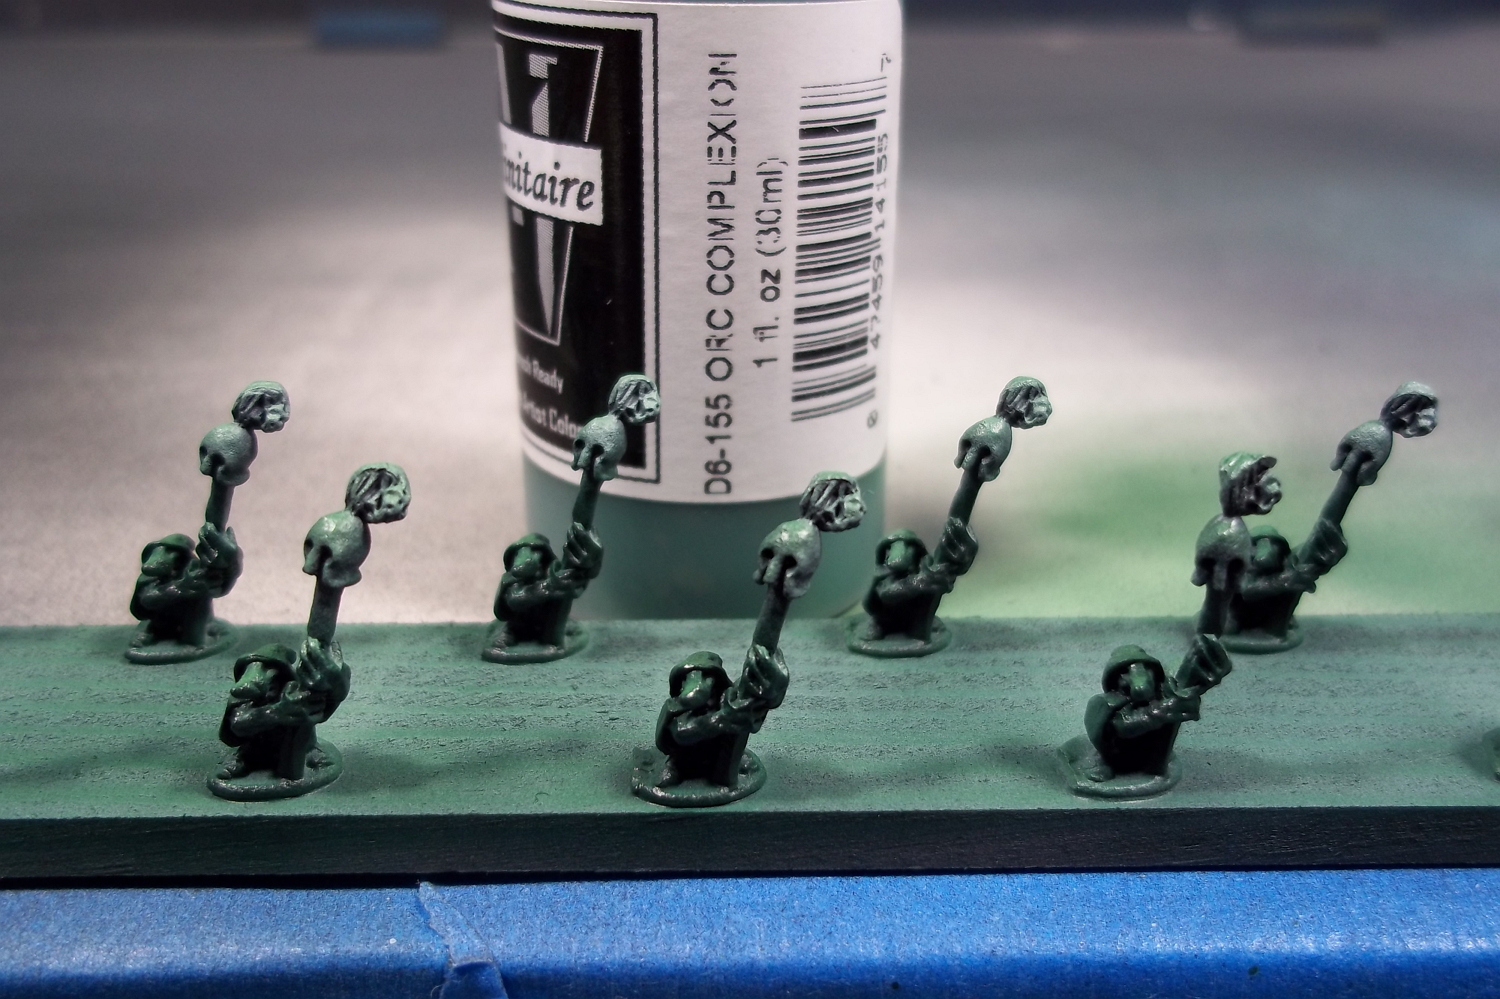 Highlight - Minitaire Orc Complexion
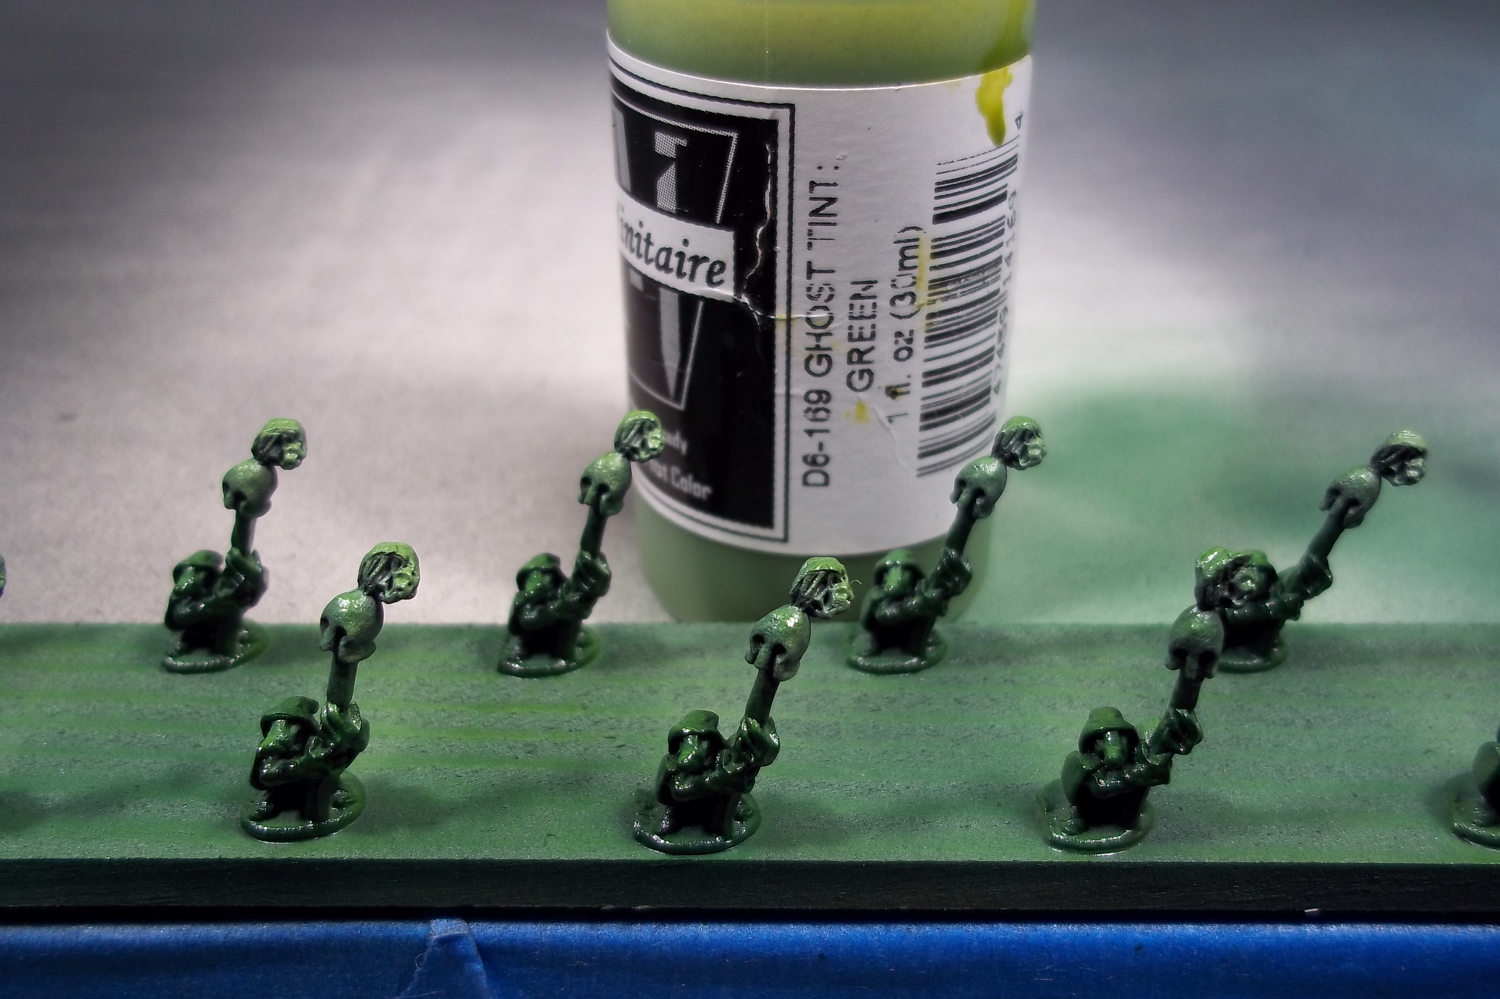 Ghost Tint - Green
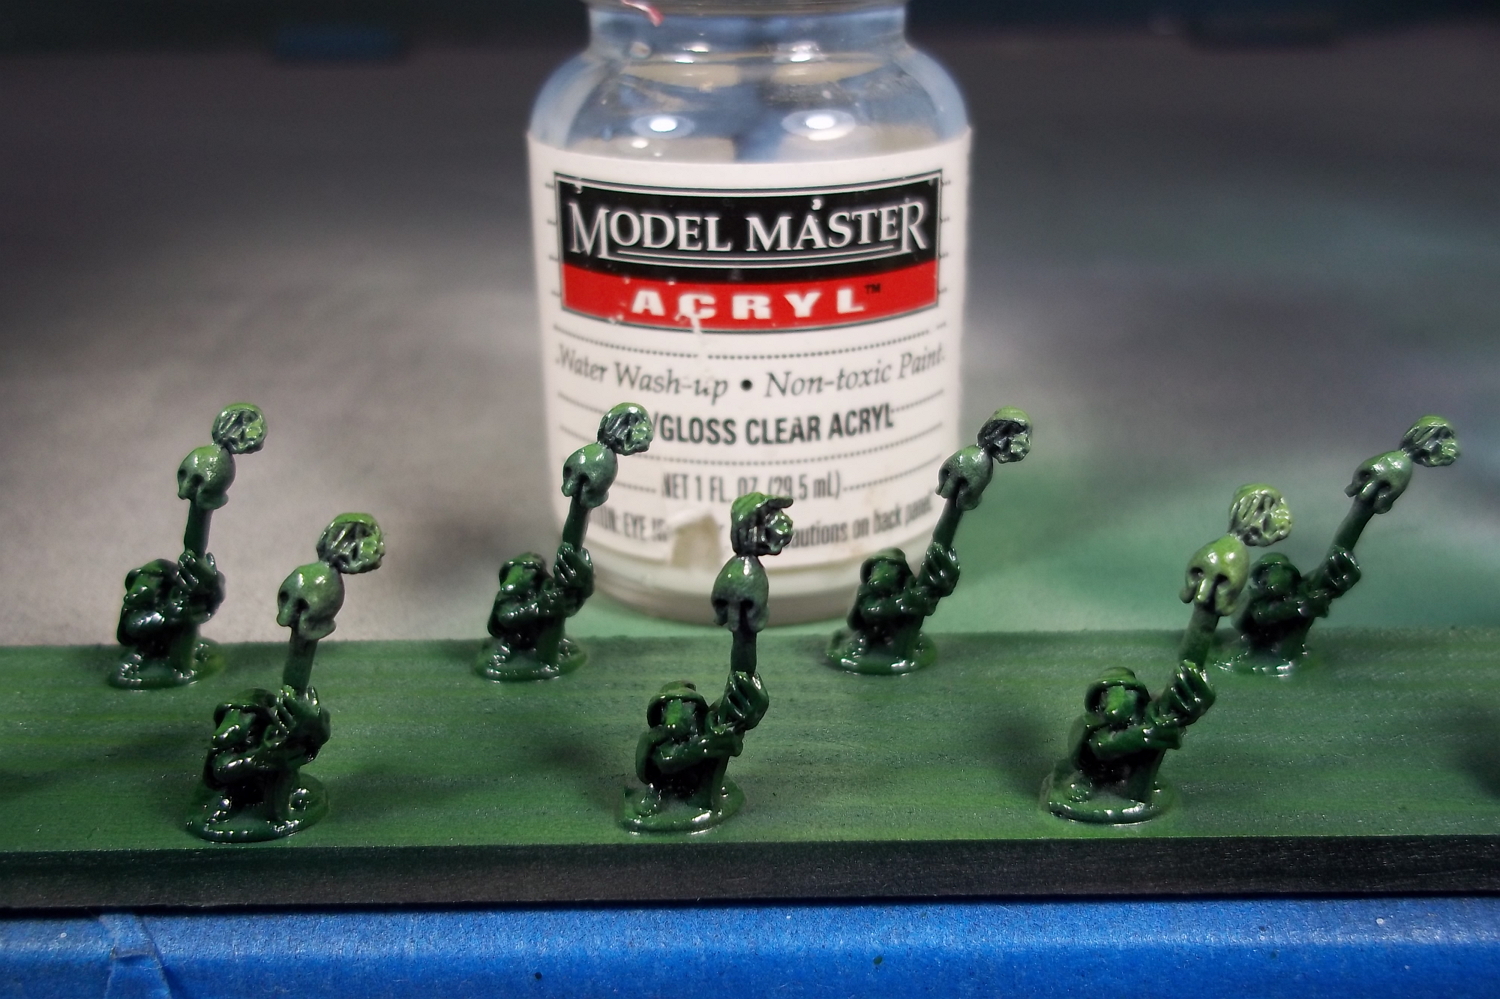 ModelMaster Gloss Varnish - The gloss varnish will help push the ink wash into the recesses while leaving the underlying ghost tint visible. It also protects the ghost tint, which is very delicate.
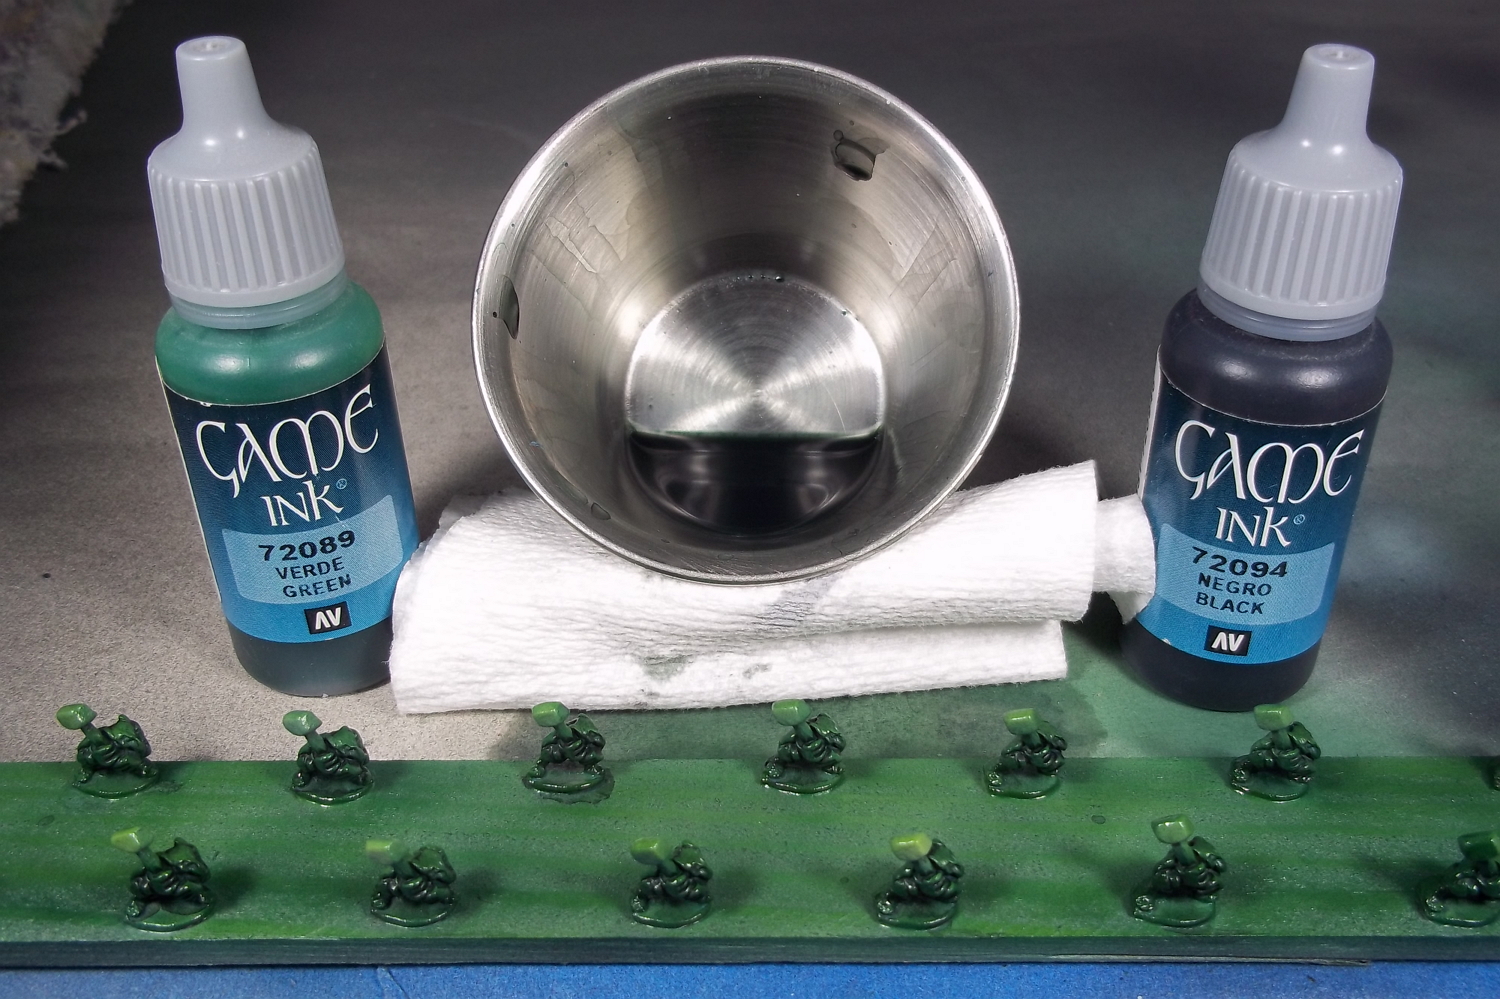 Ink Wash - Vallejo Game Ink Gren & Black mixed with flo-aid and water. I don't have exact ratios because I make up everything as I go, but darker is better.
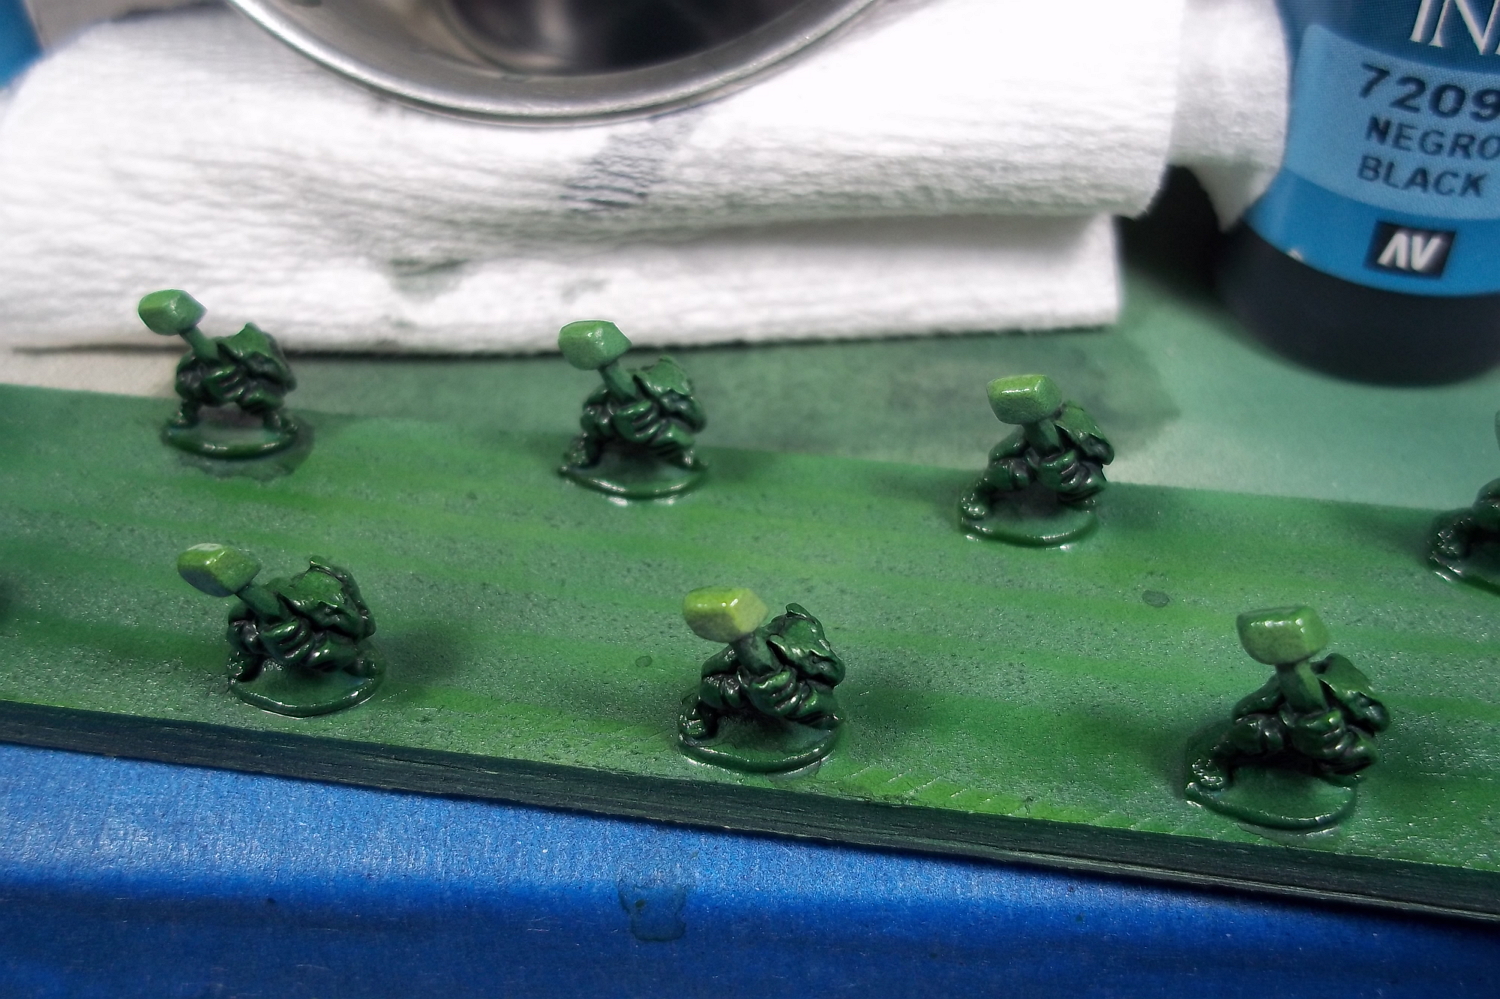 Dried Ink Wash
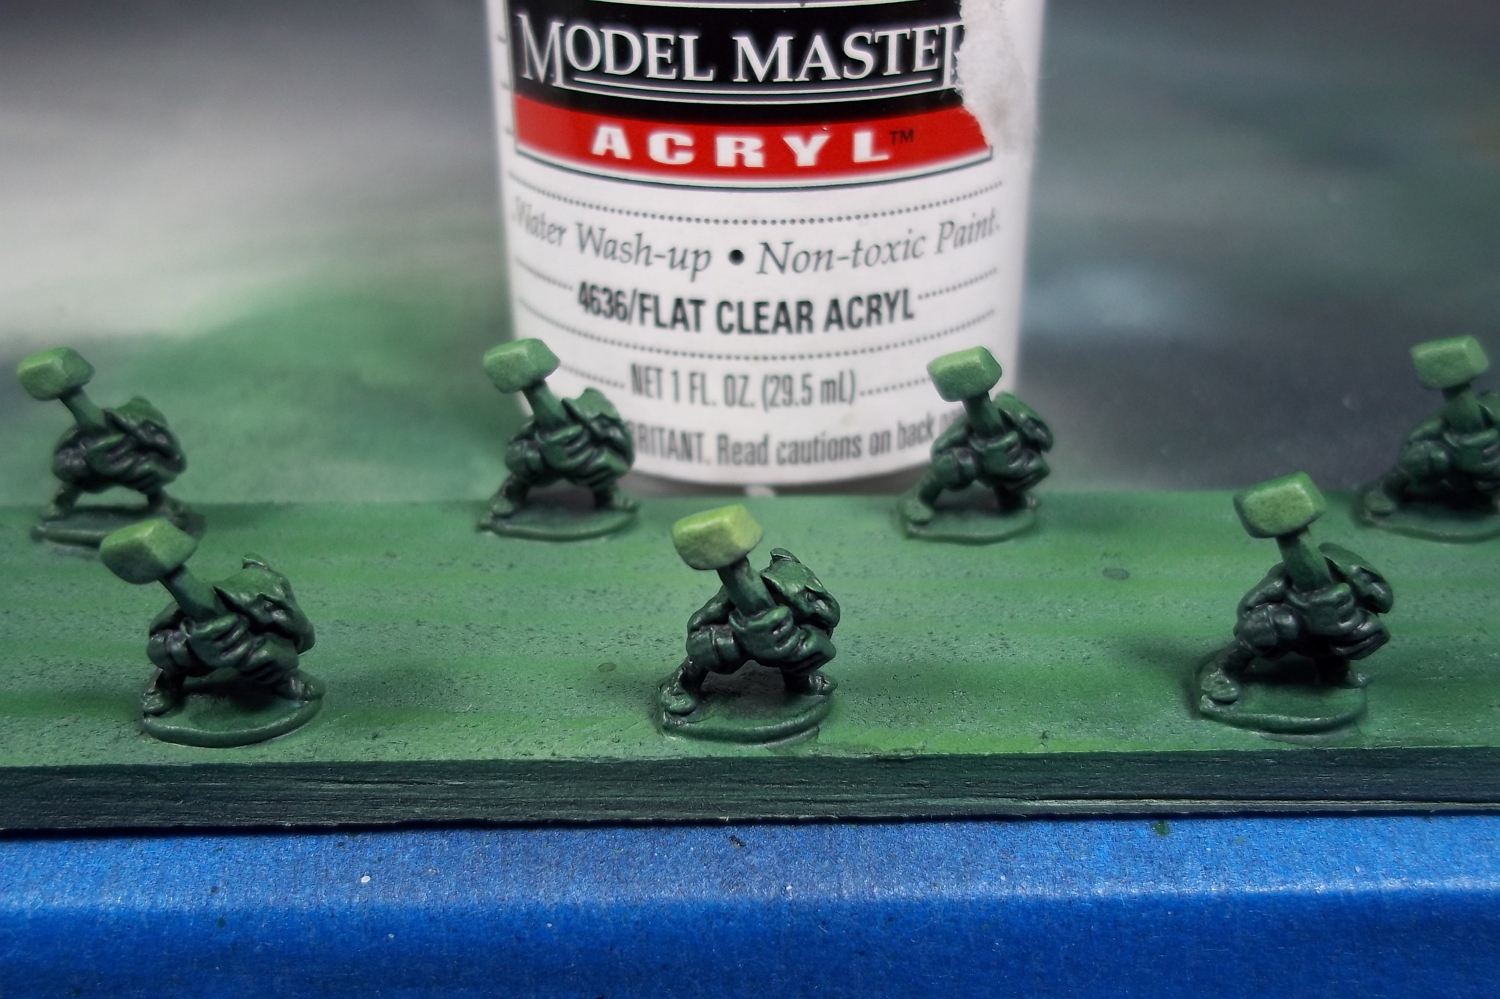 Matte Varnish - This is to protect the paint from future detail work.
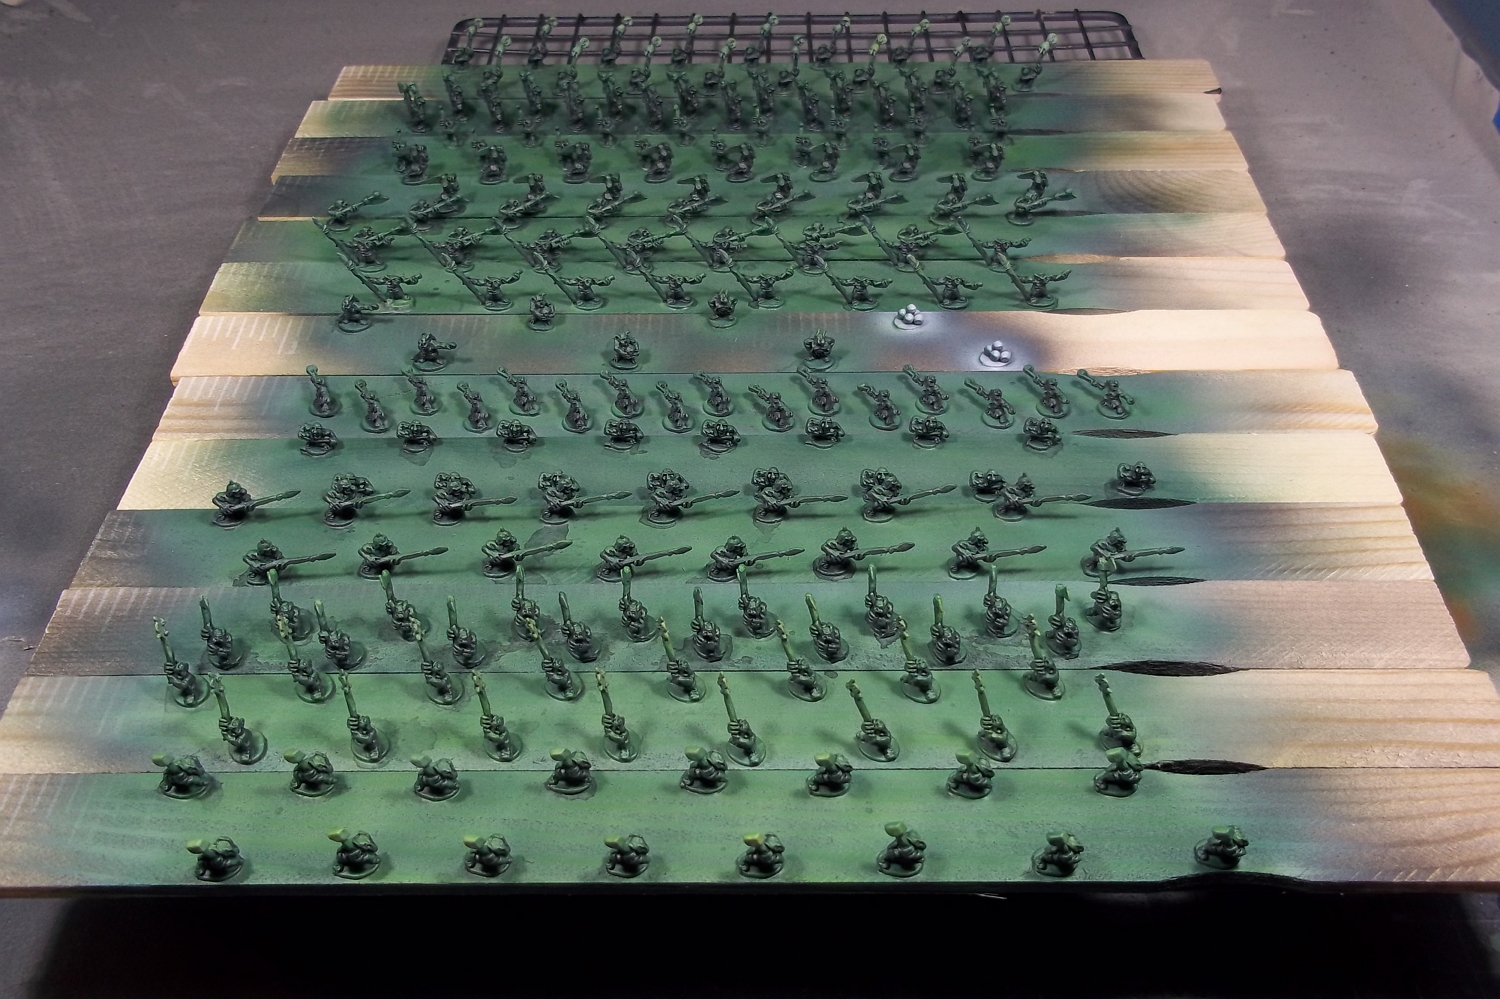 Greenlings Basecoated
Next Up, Mammoths!
Bascoating - Airbrush
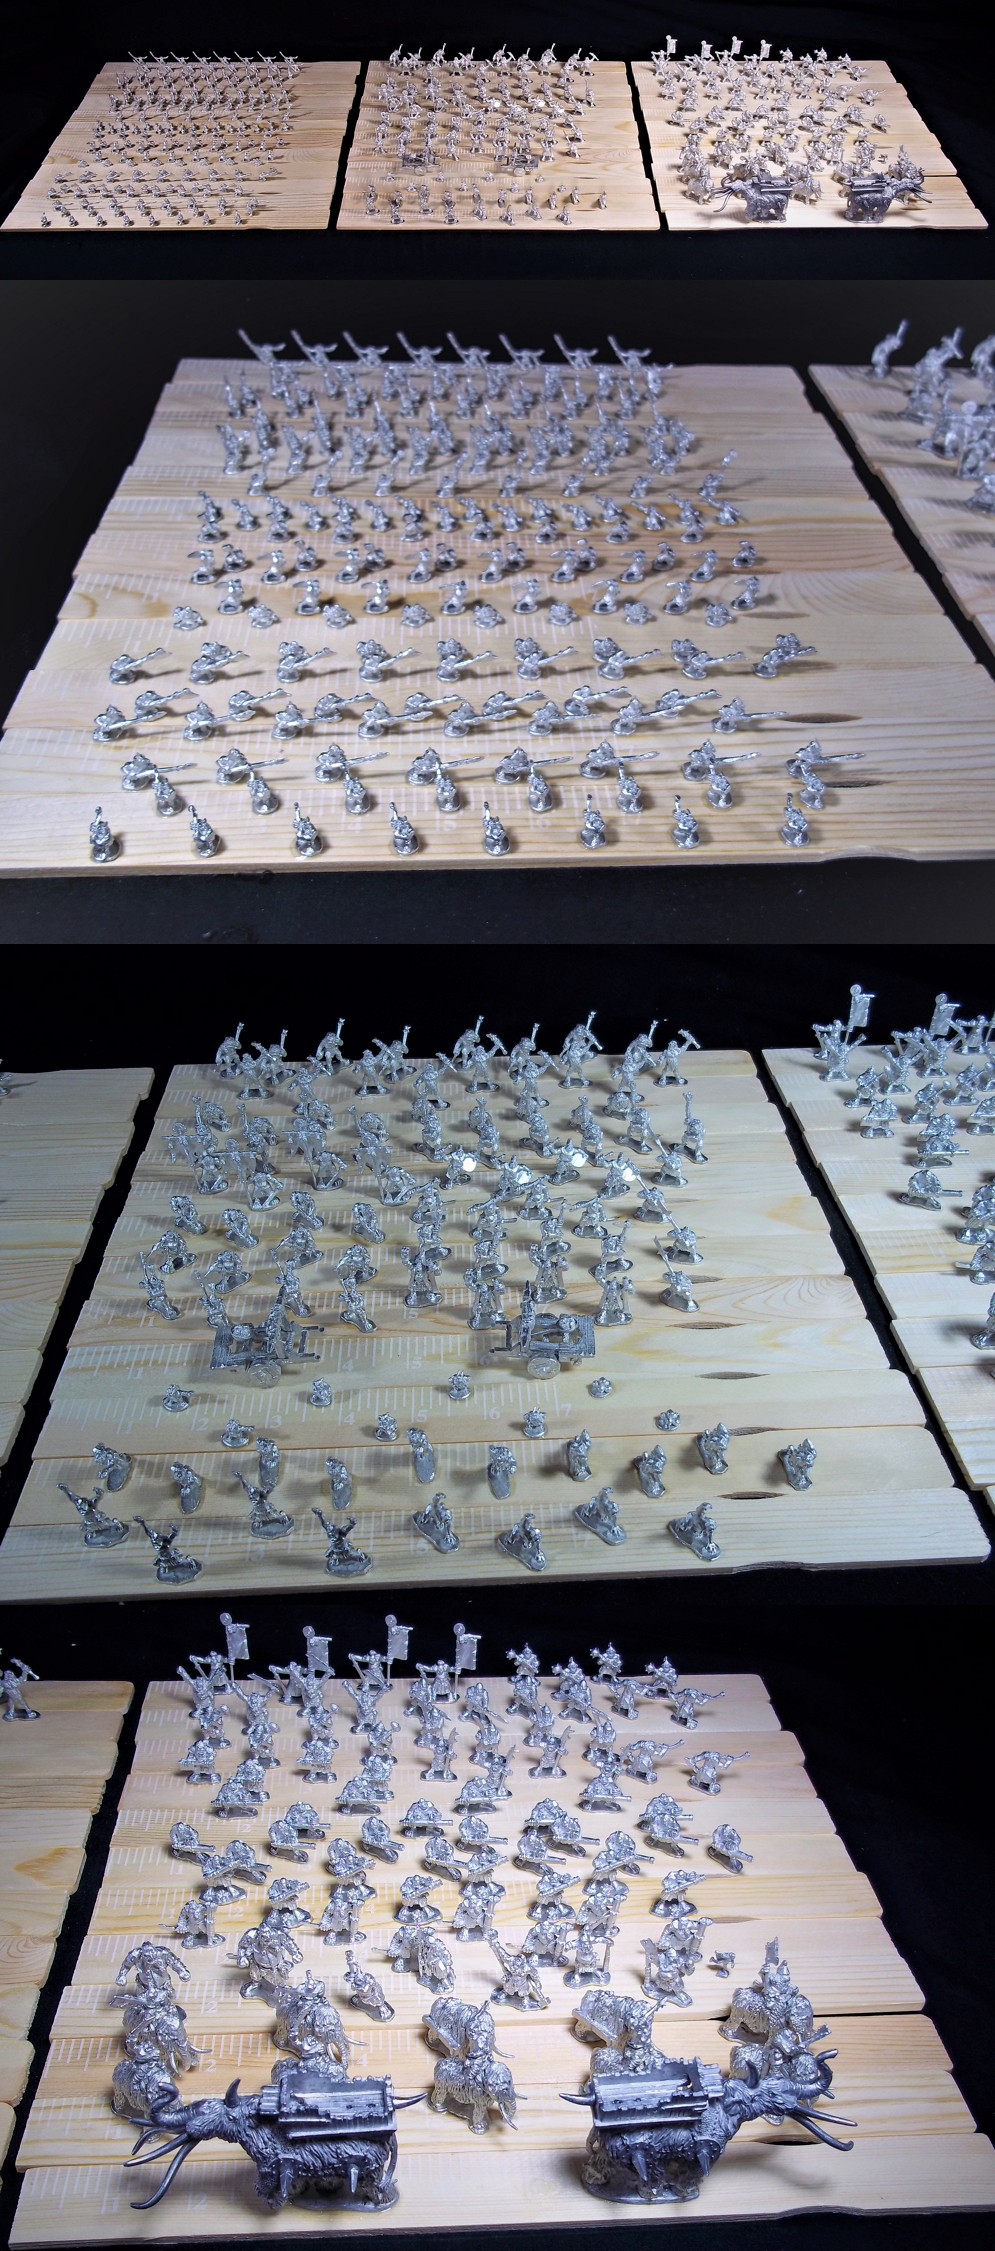
I’ve had more free time than usual the last week and I’ve put it to good use. Basecoating is done for the entire army, meaning the majority of the airbrush work is complete. I’ll be posting up a few updates as I sort though the photos.
The same basic formula was followed, with some variation, for the entire army: basecoat, highlight, ghost tint, wash, highlight, varnish, done. It made for a good balance between achieving good results while still being easily repeatable on lots of tiny minis. The highlights were applied zenithally with an airbrush to maximize contrast (painting 10mm is all about contrast). Later brushwork will be used to reduce the airbrush look a bit.
Before the models could be painted, they had to be primed. I airbrushed a basecoat of Vallejo Black Surface Primer followed by a zenithal highlight of Vallejo Grey Surface Primer. I didn’t go all the way to white because the army will have an overall darker look.
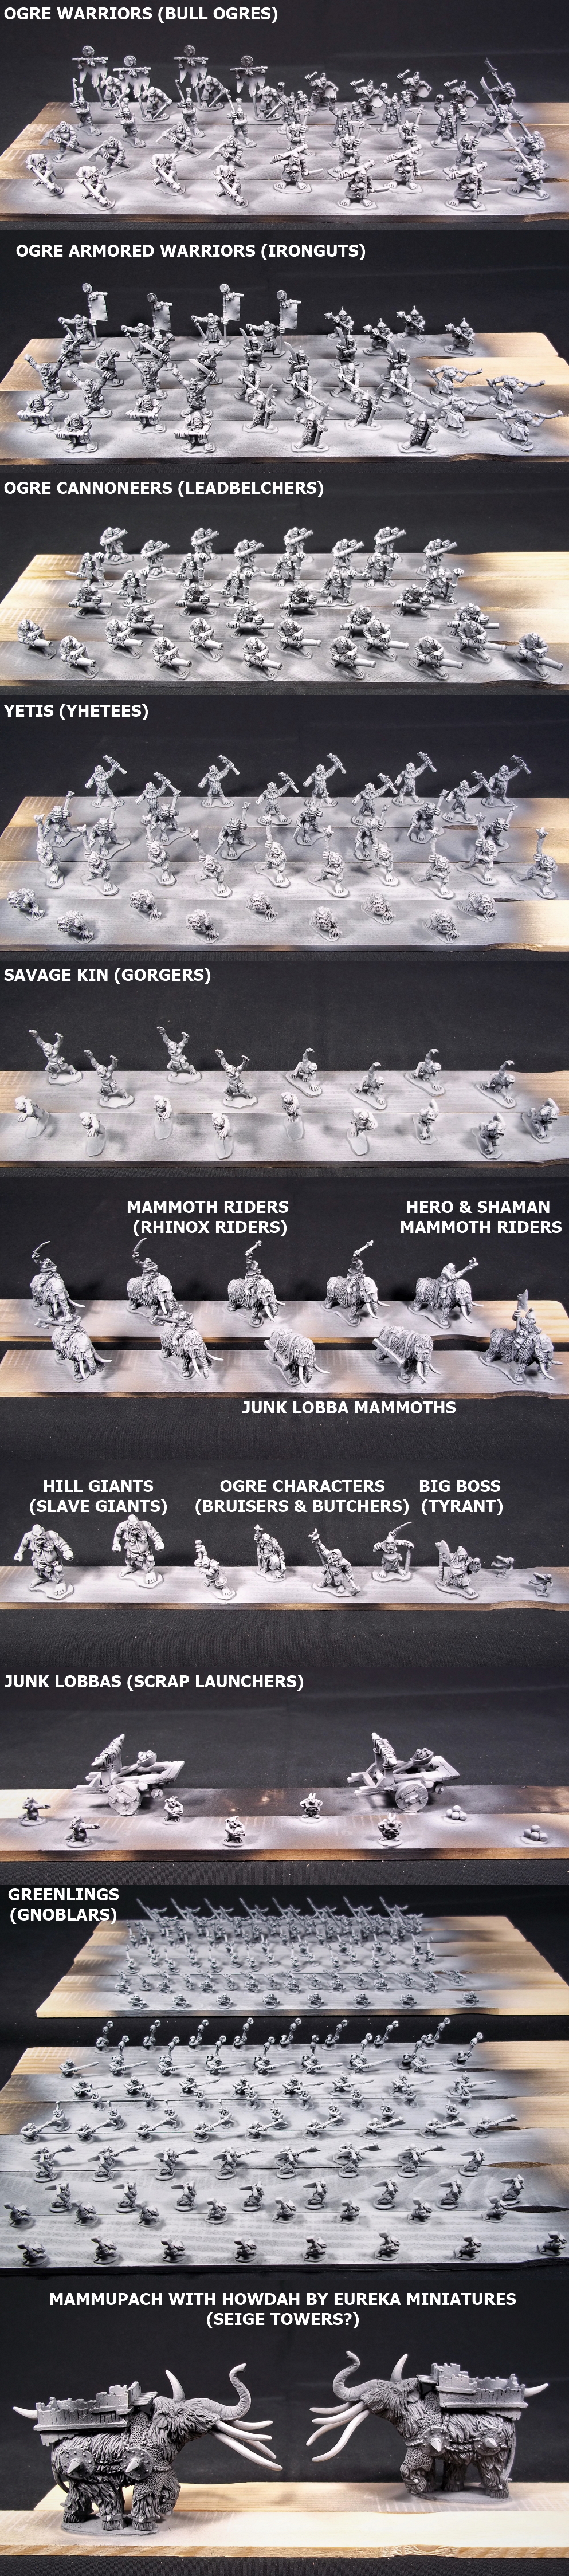 Ogres primed and ready for paint. Names in parenthesis are the unit designation in the Warmaster Revolution Armies book.
Next up, painting greenlings.
Getting Started
I’ve always wanted to play massed battle fantasy, but I think that 28mm is just too big for a 4′ x 6′ table. In my opinion, this genre is best done in 10mm to really capture the epic sense of scale. Since there are no local Warmaster Revolution players, I’ll be making two armies of over 2,000 points each.
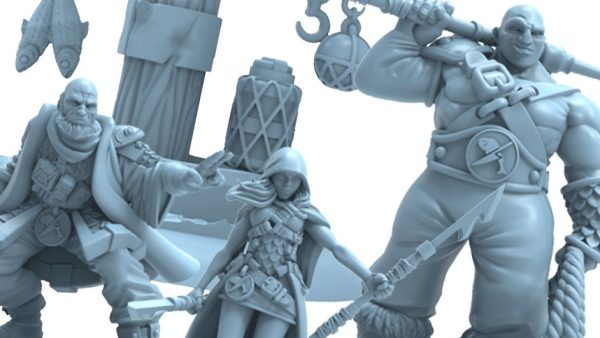
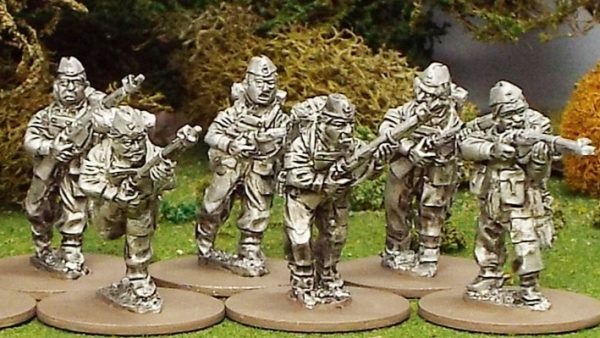
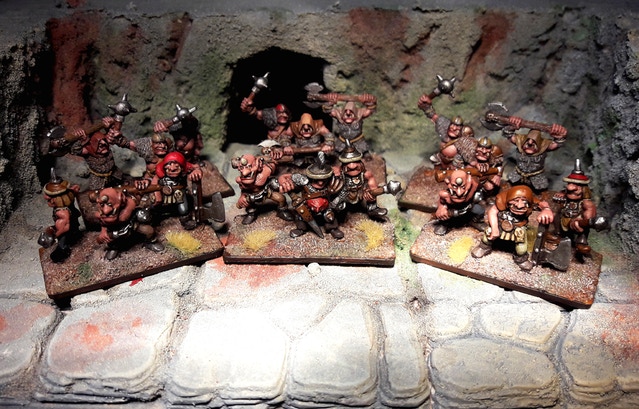
Since Warmaster models are no longer available from GW, I’ll be using third-party models. The Ogres are from Black Gate Miniatures. The Lizardmen are from Eureka Miniatures, USA. I’ll note any exceptions in the individual post.
Ogres will be painted first, and the prep work (sanding, removing mold lines, pinning & filling joins, mounting for painting, etc.) is already done. I’ve also completed all of the sanding & mold line removal on a very large Lizardmen army. Now that the majority of the prep work is out of the way, the fun part can begin.
 Ogres prepped and ready for primer.
Assuming it funds (which looks likely), I will also have a couple of units of Bull Ogres / Ironguts coming in from Andy Taylor’s Old School Styled Ogres Kickstarter. I think they’ll bring a bit of variety to the troop units and give me some flexibility for larger games.
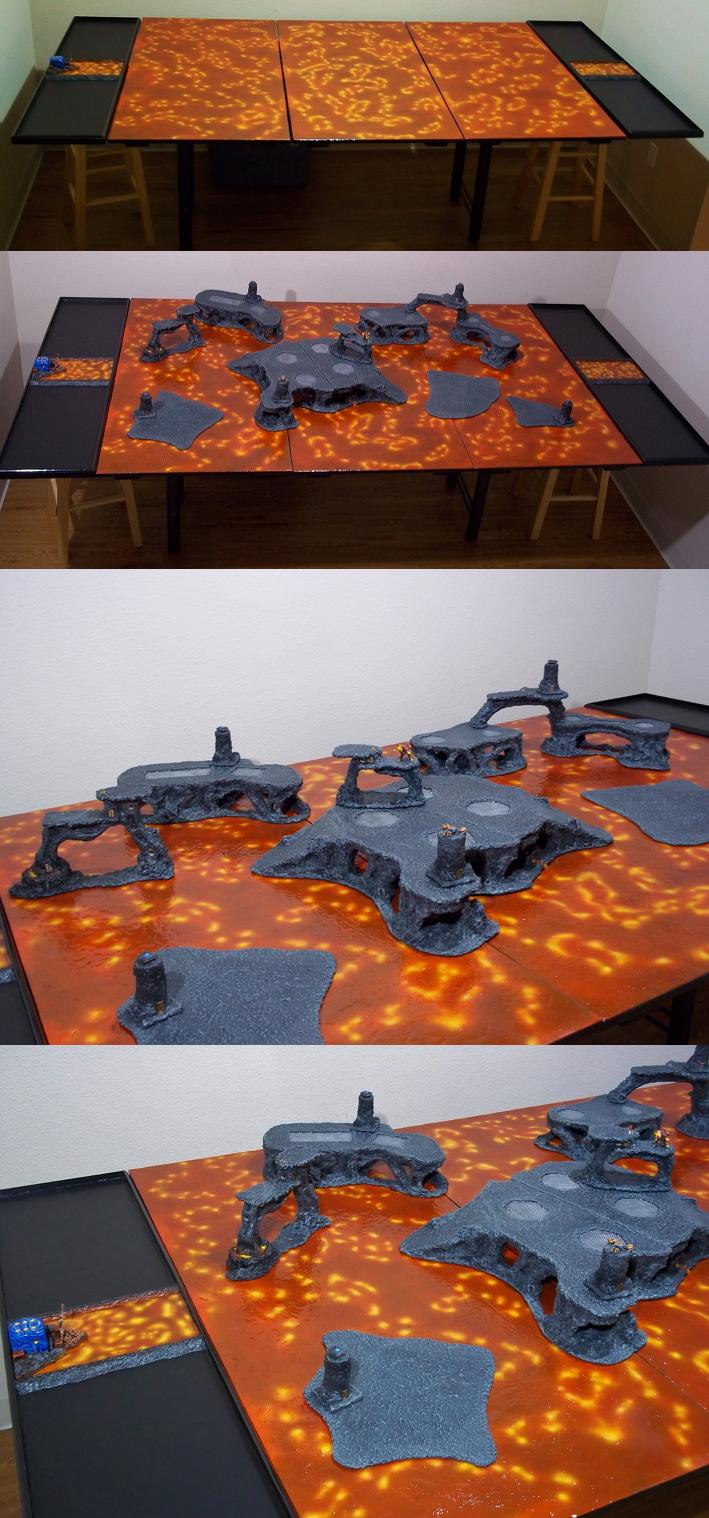
I already have a lava table (and lots more terrain pieces than are pictured below) so the ogres will have a fire theme. The lizardmen will probably get the classic exotic bird look just to keep things interesting. I did make up a project log detailing how to build & paint the table and terrain on the old BoW forums, but it got lost when they moved over to the new format. I still have the photos and could probably redo it as a project if anyone is interested. The table is magnetic to maximize both stability and flexibility.
Up Next – Painting begins!