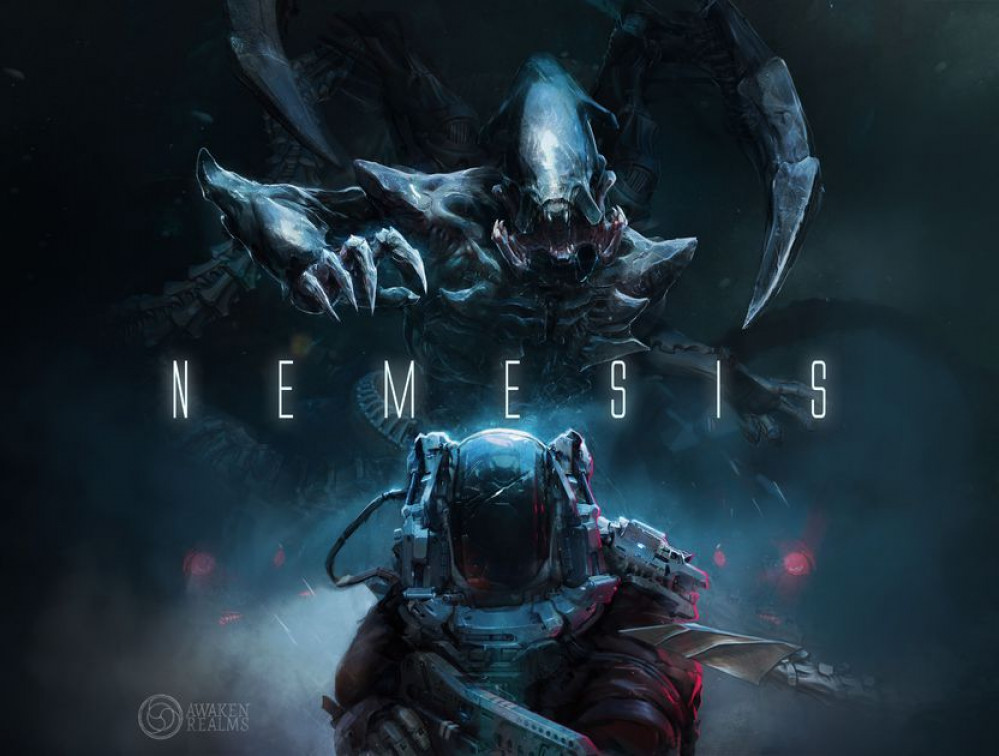
Nemesis (and an experiment with colour shift paints)


Recommendations: 75
About the Project
NEMESIS board game Painting project, primarily to try using Green Stuff World Chameleon Acrylic paints for quick results on aliens.
Related Game: Nemesis
Related Genre: Science Fiction
This Project is Completed
Beginning
The idea to get this game painted relatively quickly is to make use of some colour shifts paints sold by Green Stuff World.
As I understand the process, you prime matt black and then add thin layers of the colour shift paint until you’re happy. I’m not sure if it’ll then need a wash after but I’ll decide when I get there.
I’m hoping that the colour shift and a quick drybrush over the base will result in a decent enough mini (vs the time taken to get there) but we’ll see.
I’ll be using my airbrush to do this and trying to document the steps as I go.
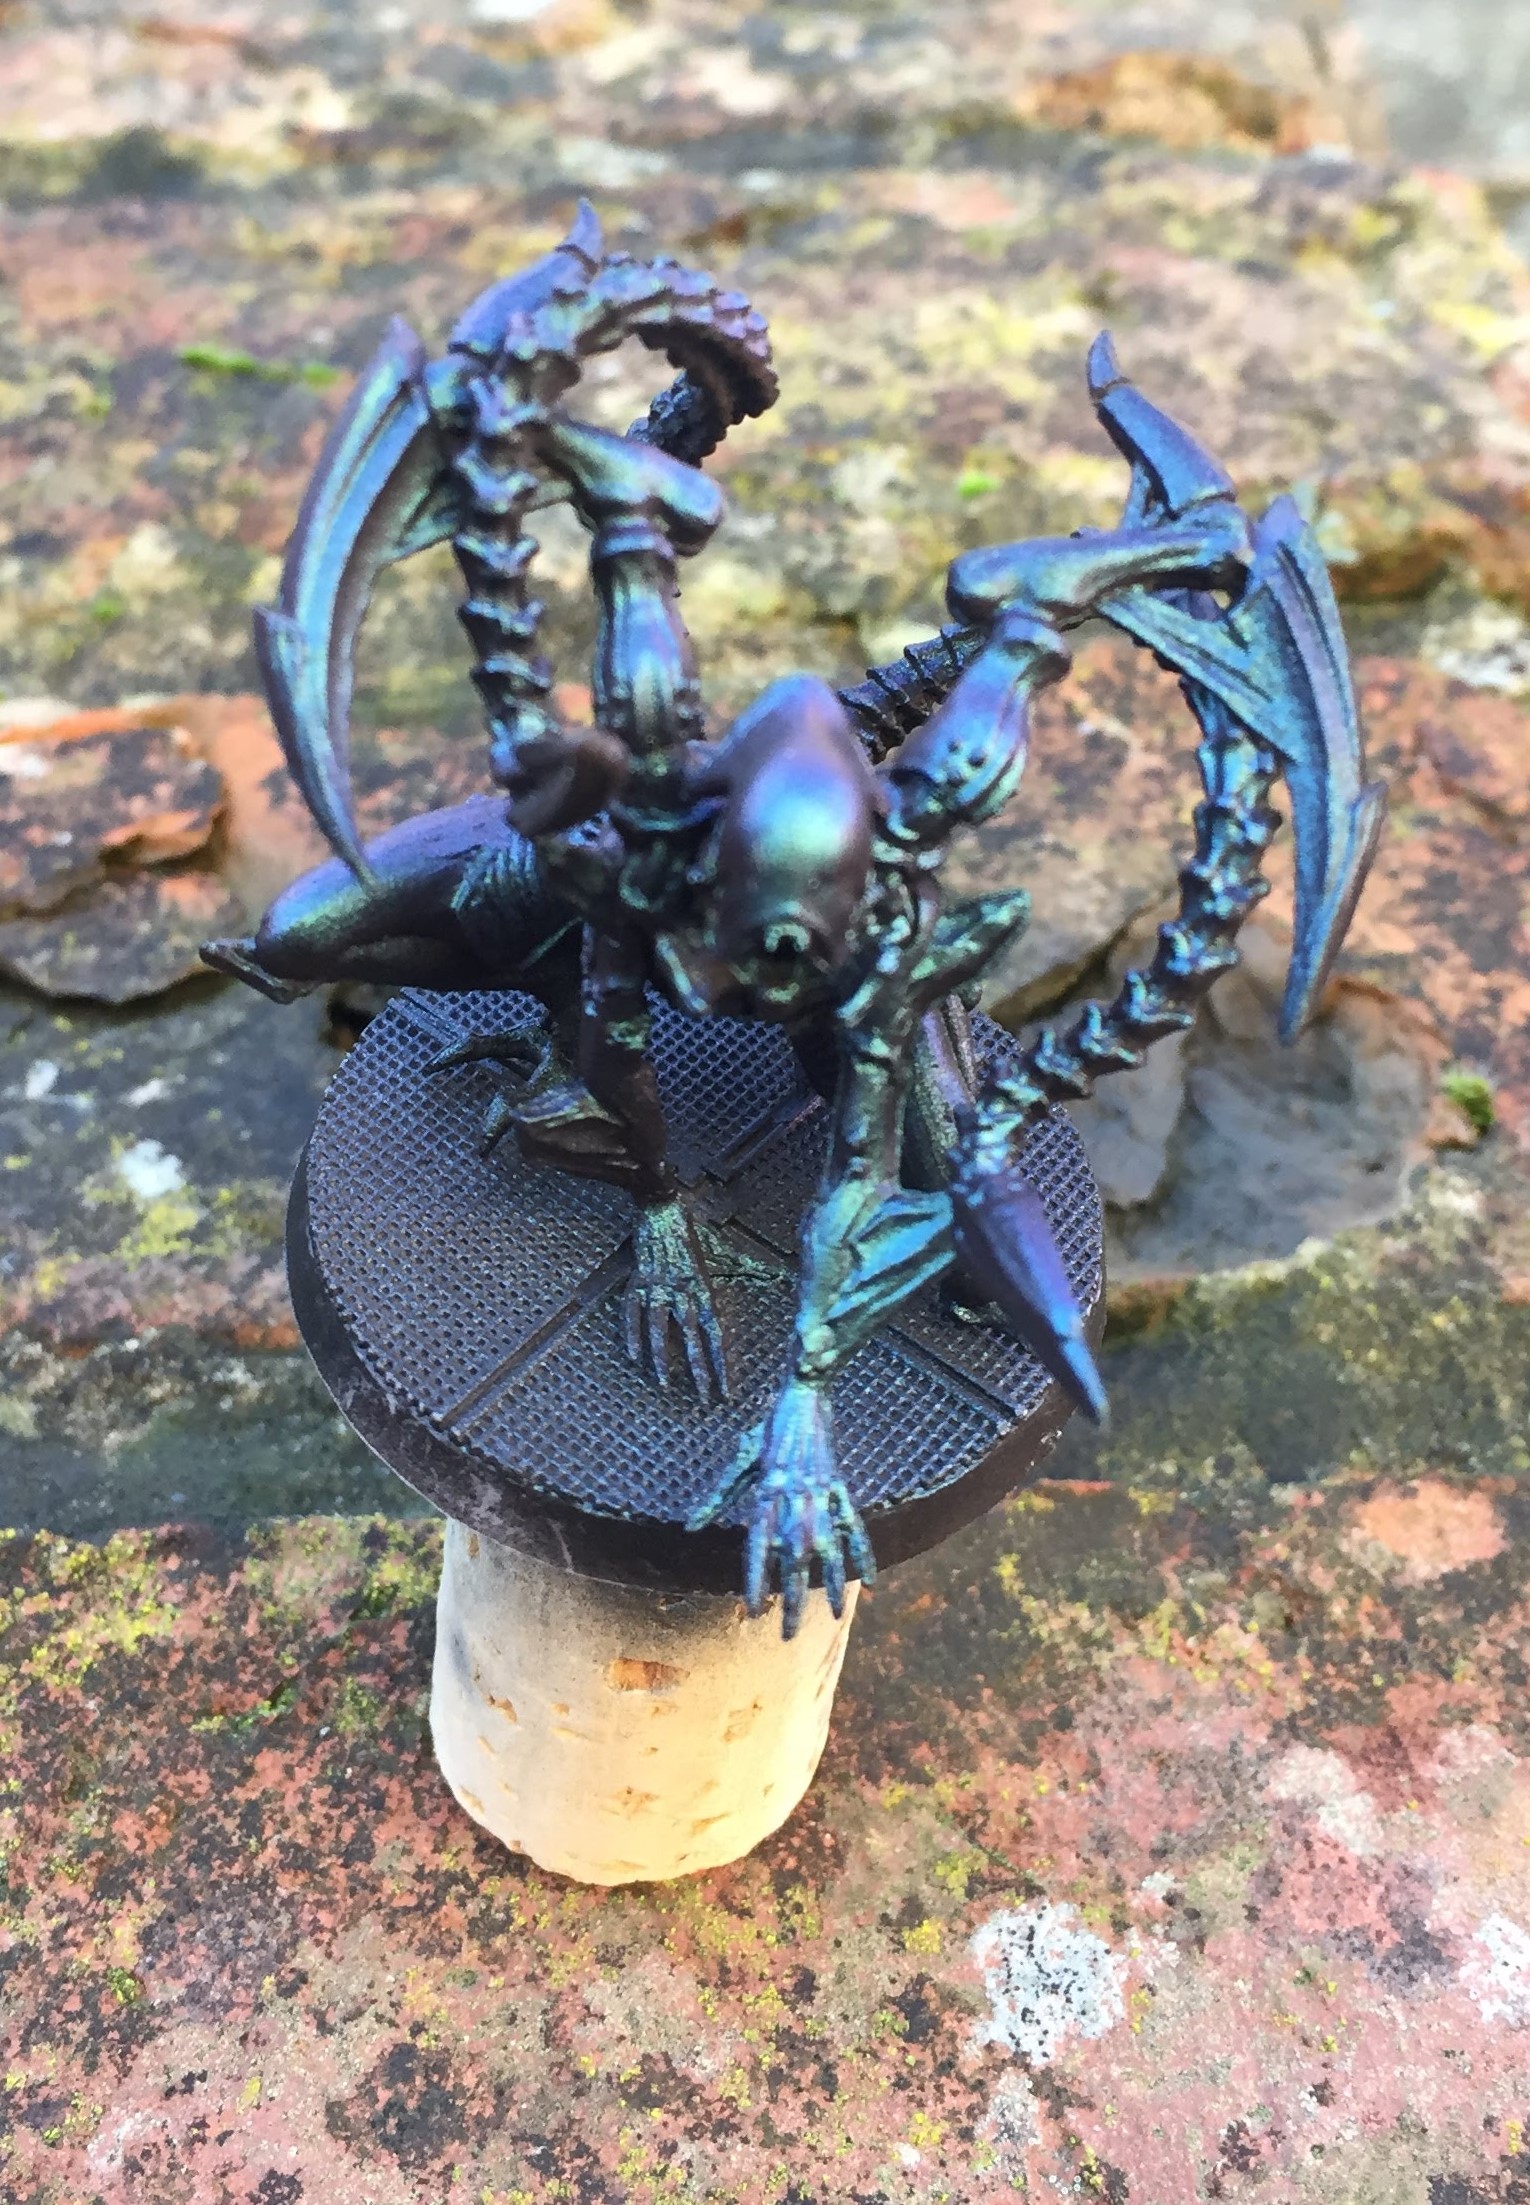
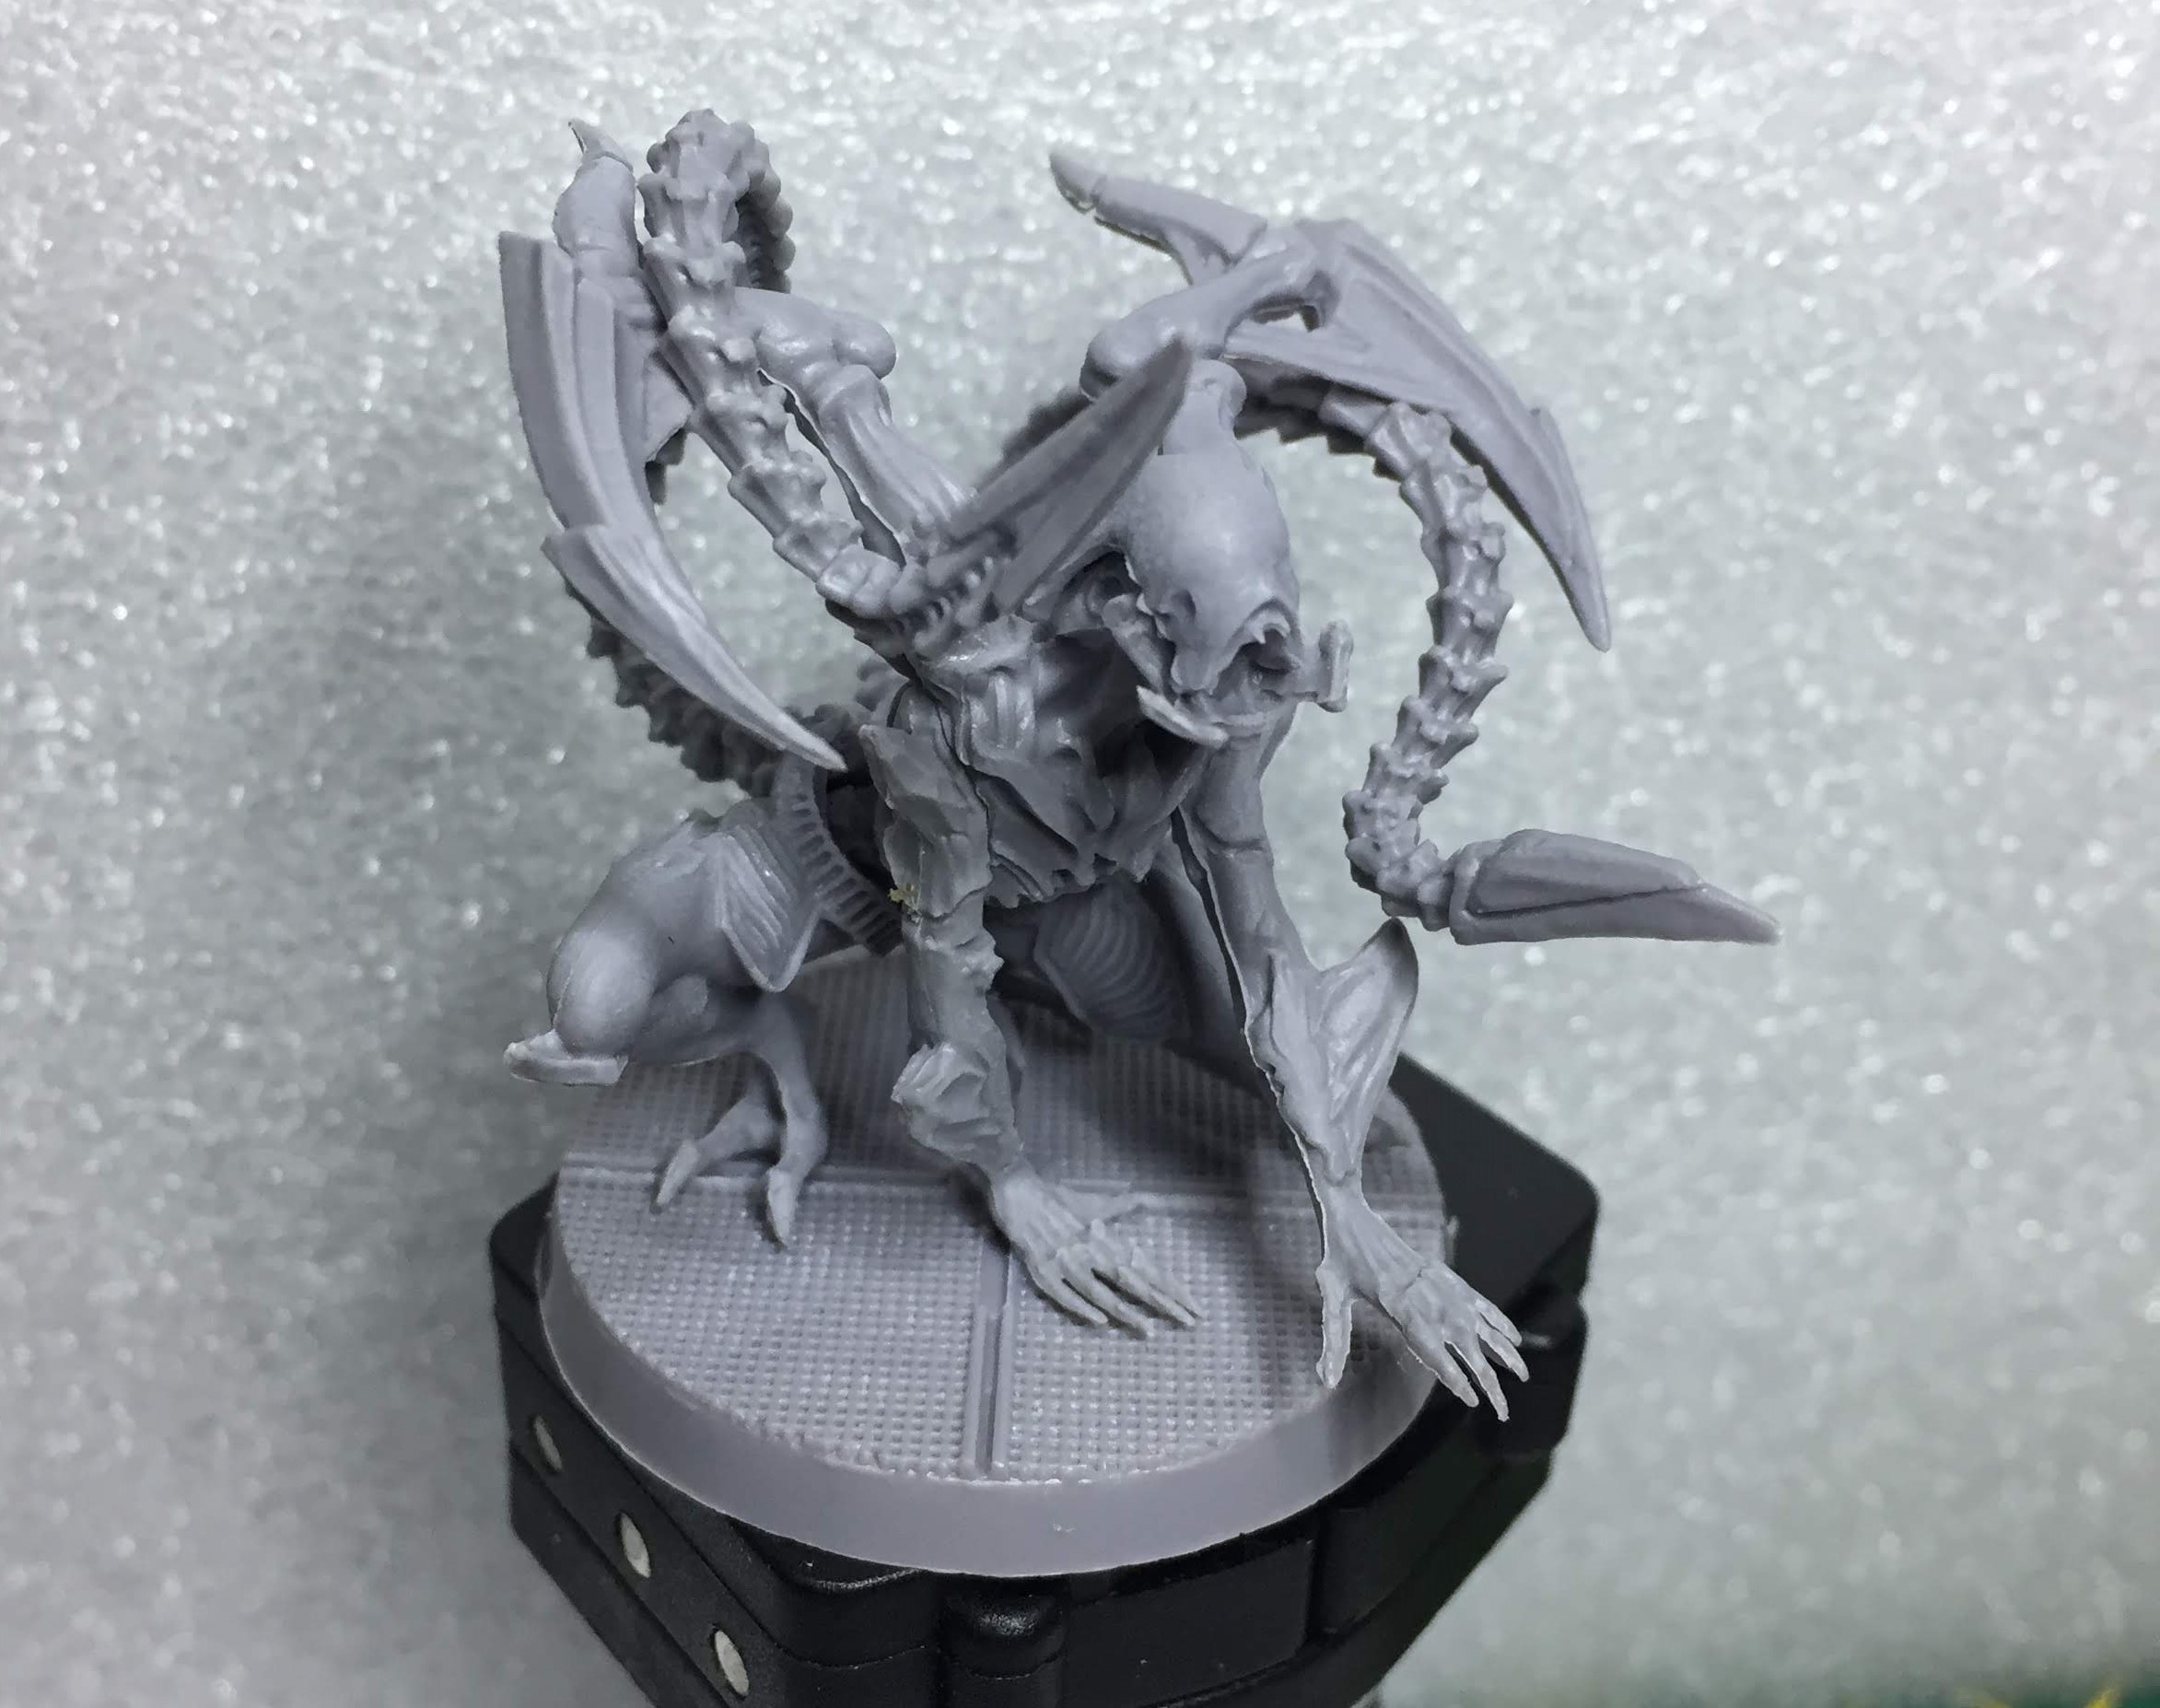 Test subject.
Step 1 - Primed
First step complete, primed black via airbrush.
These days I would normally zenith with a grey / white from above but as the colour shift specifically says to apply to black I’m going to skip that step. My hope is that with 1 all over colour shift coat and then a more top down / zenithal approach to subsequent steps I’ll still get a light/dark contrast.
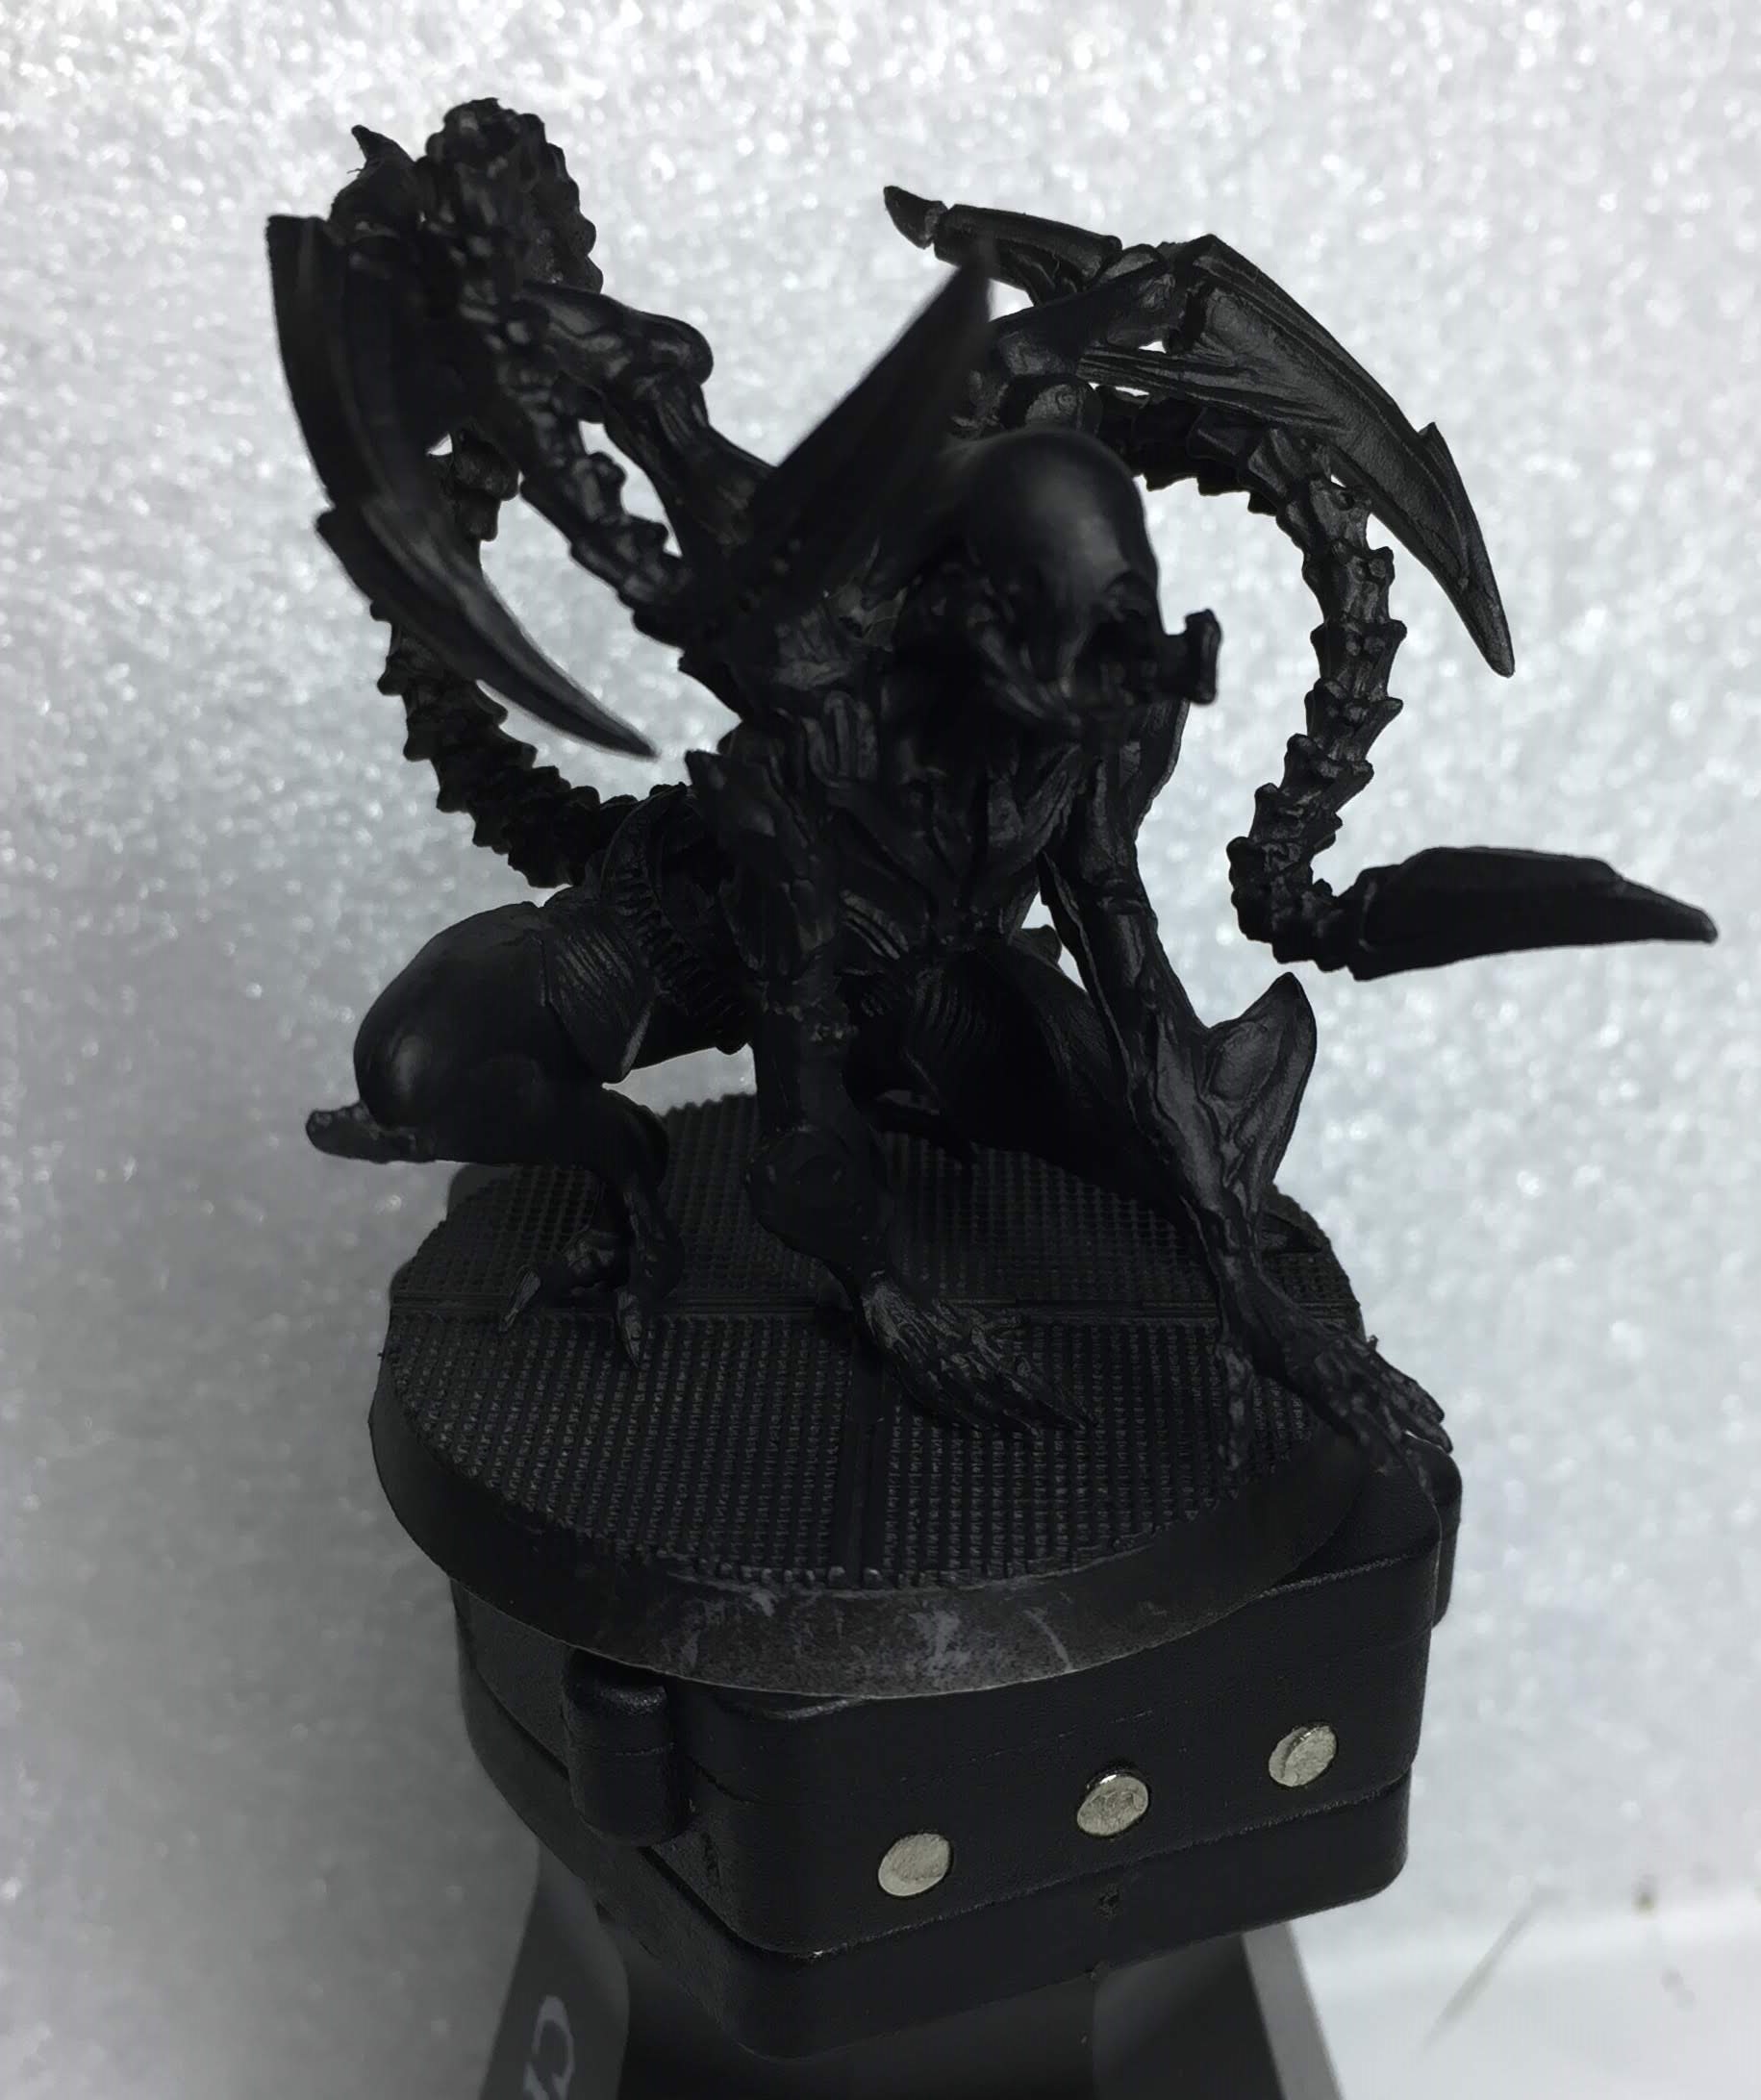 Primed
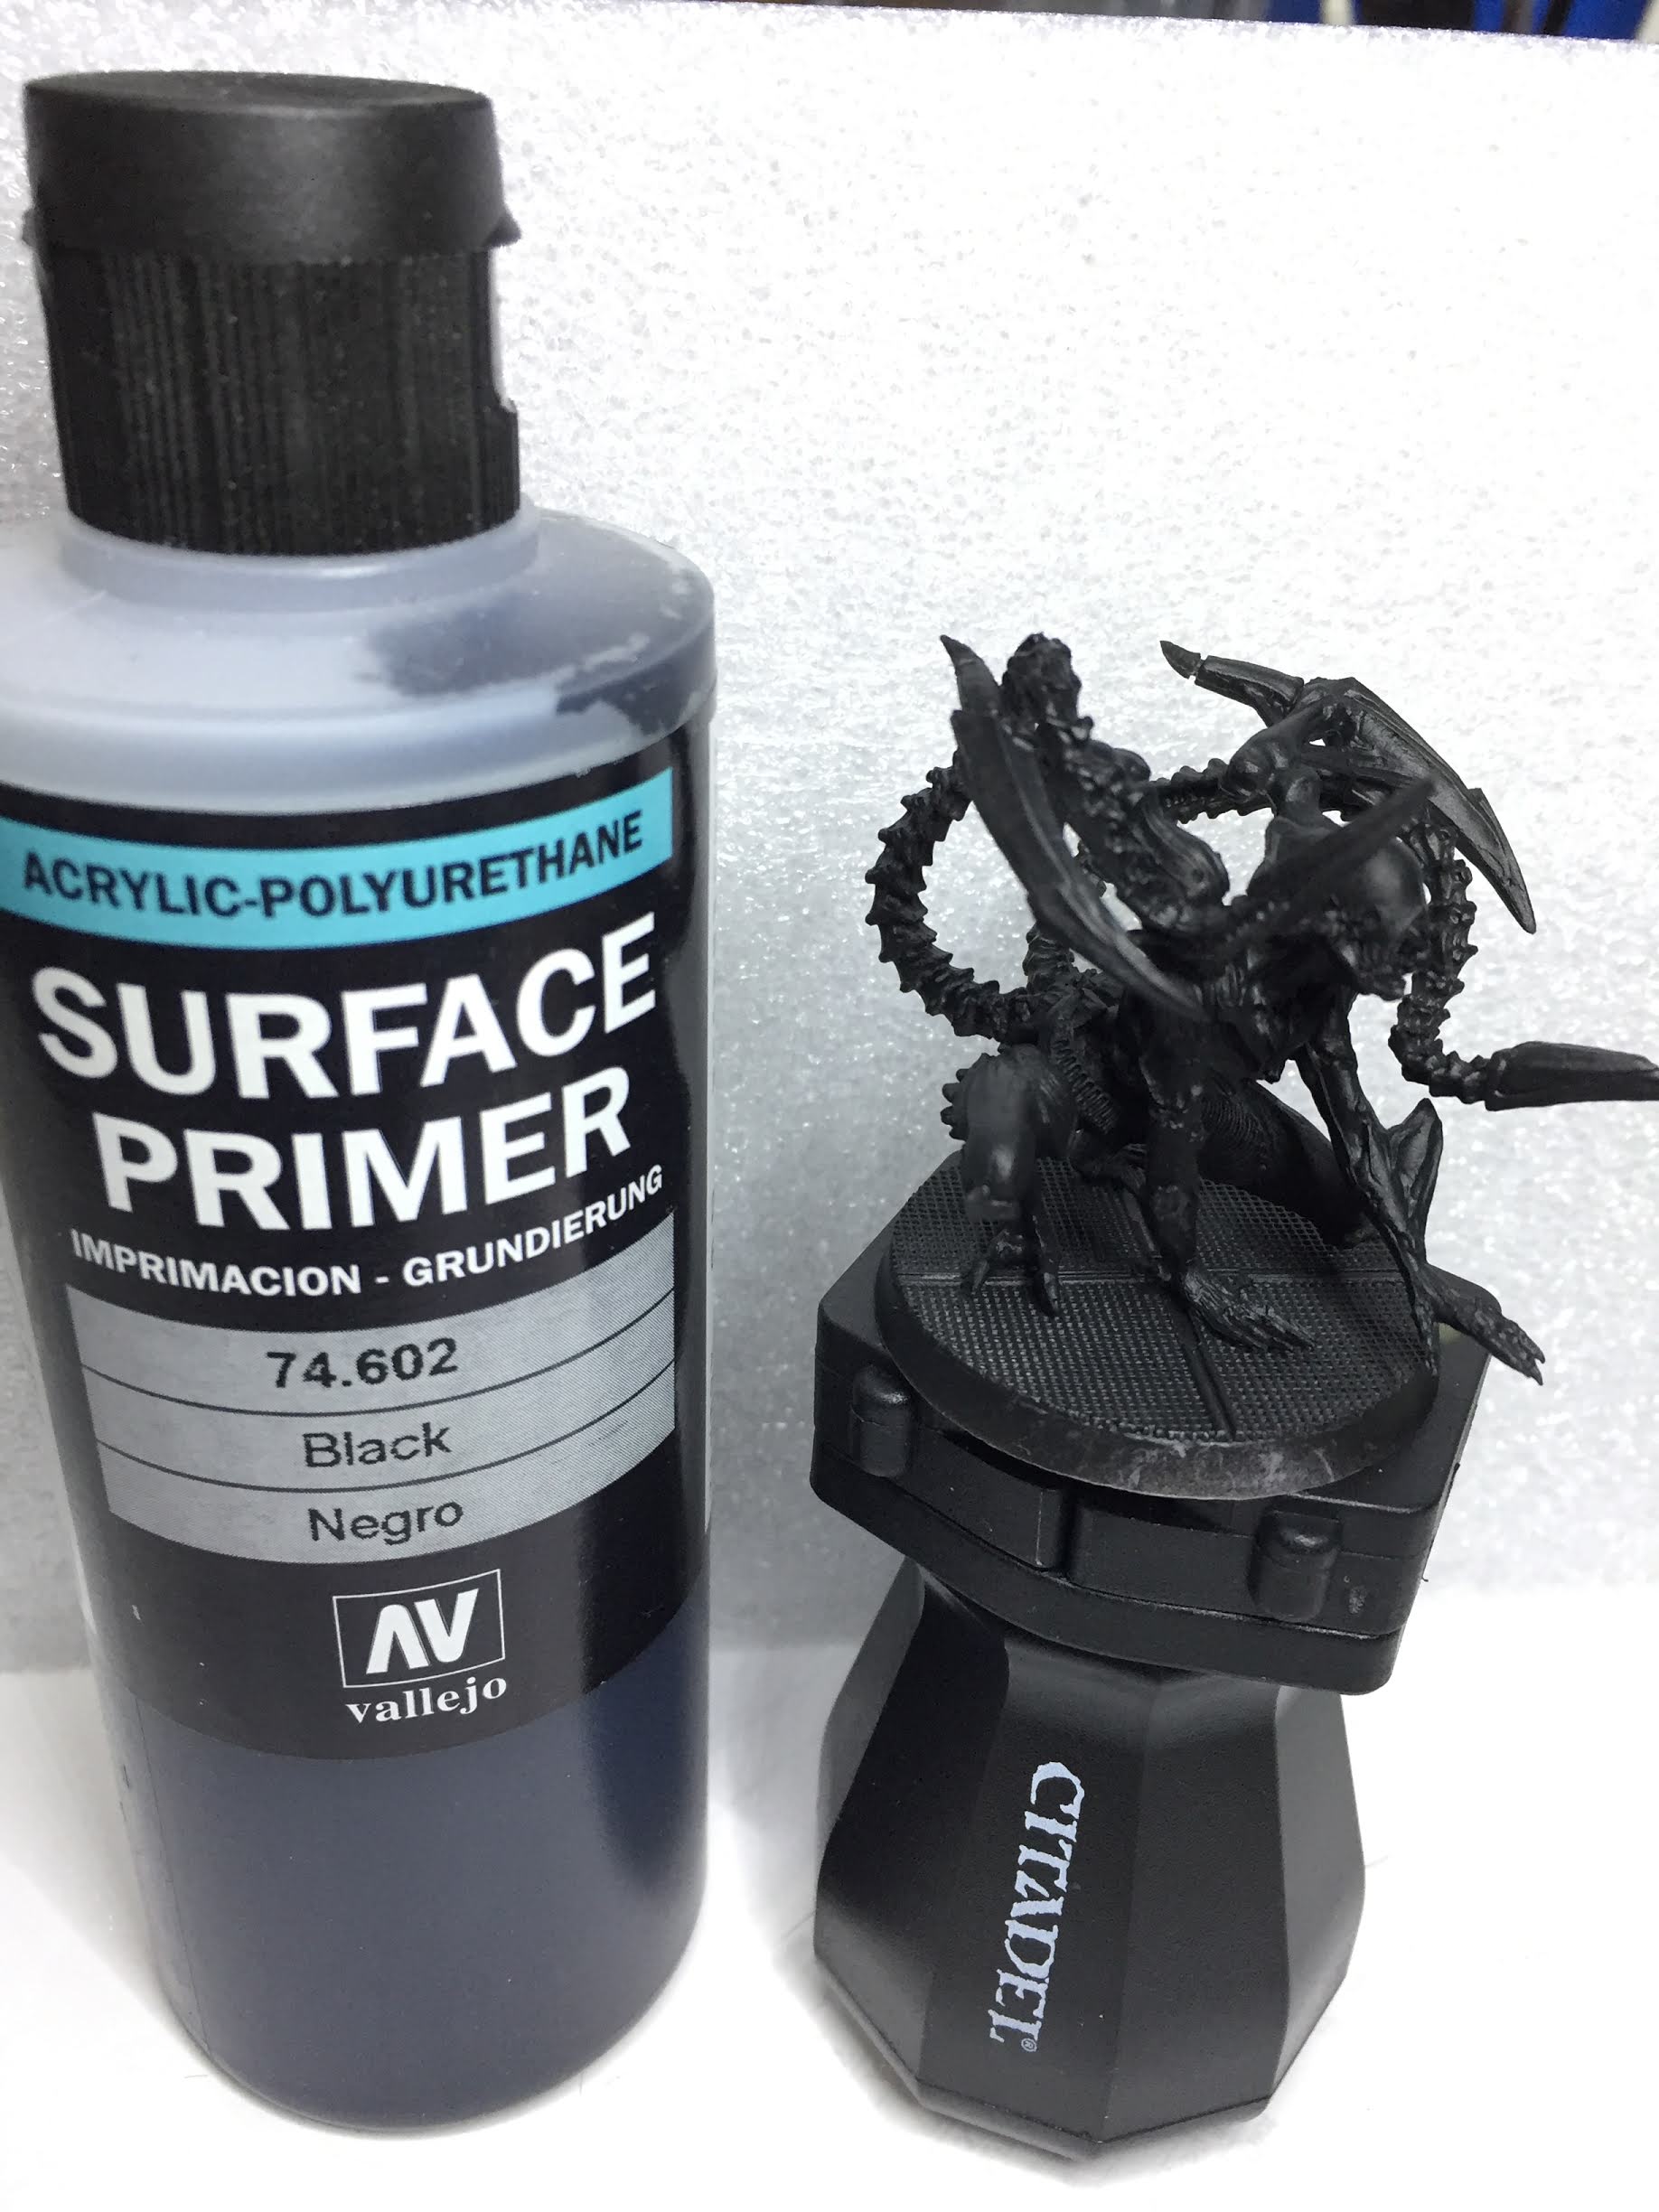
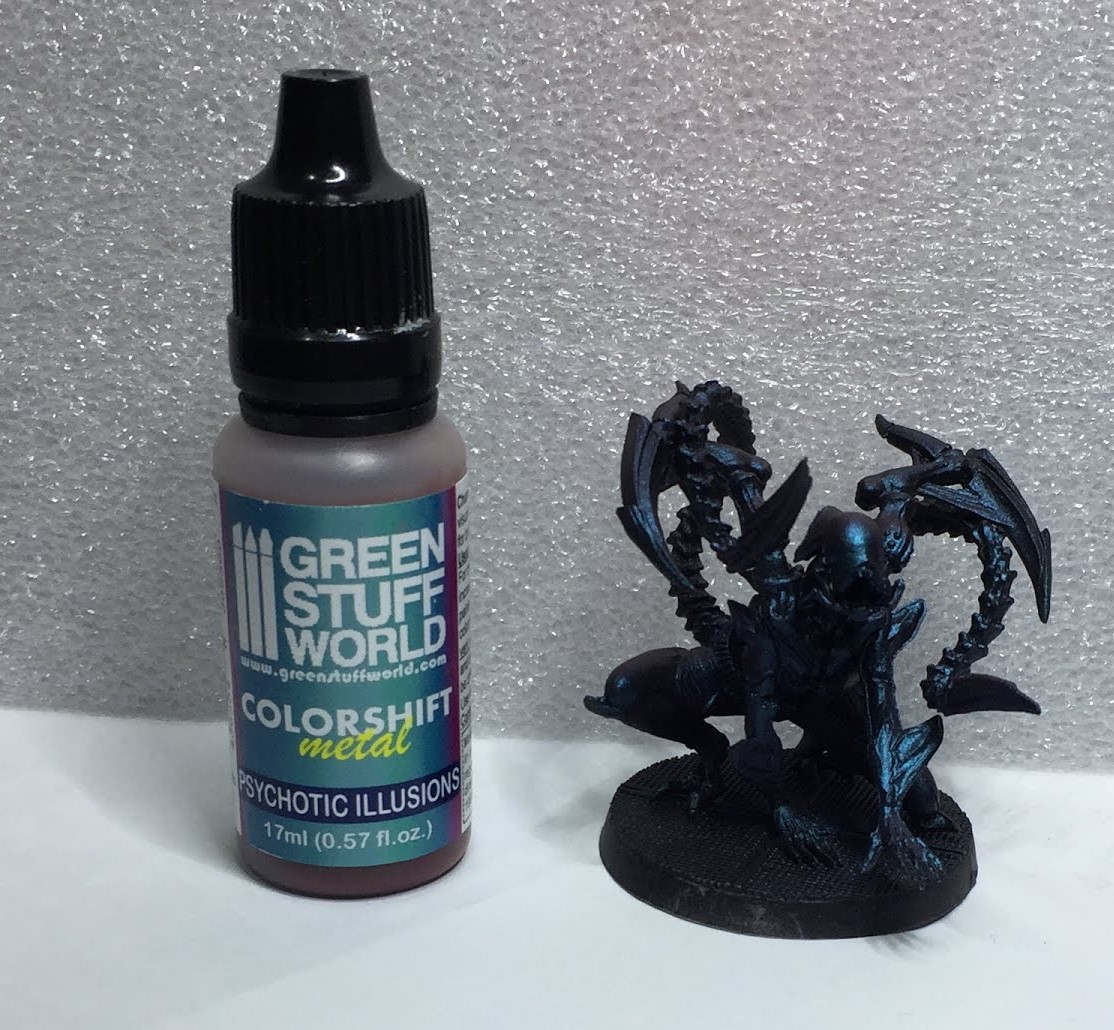
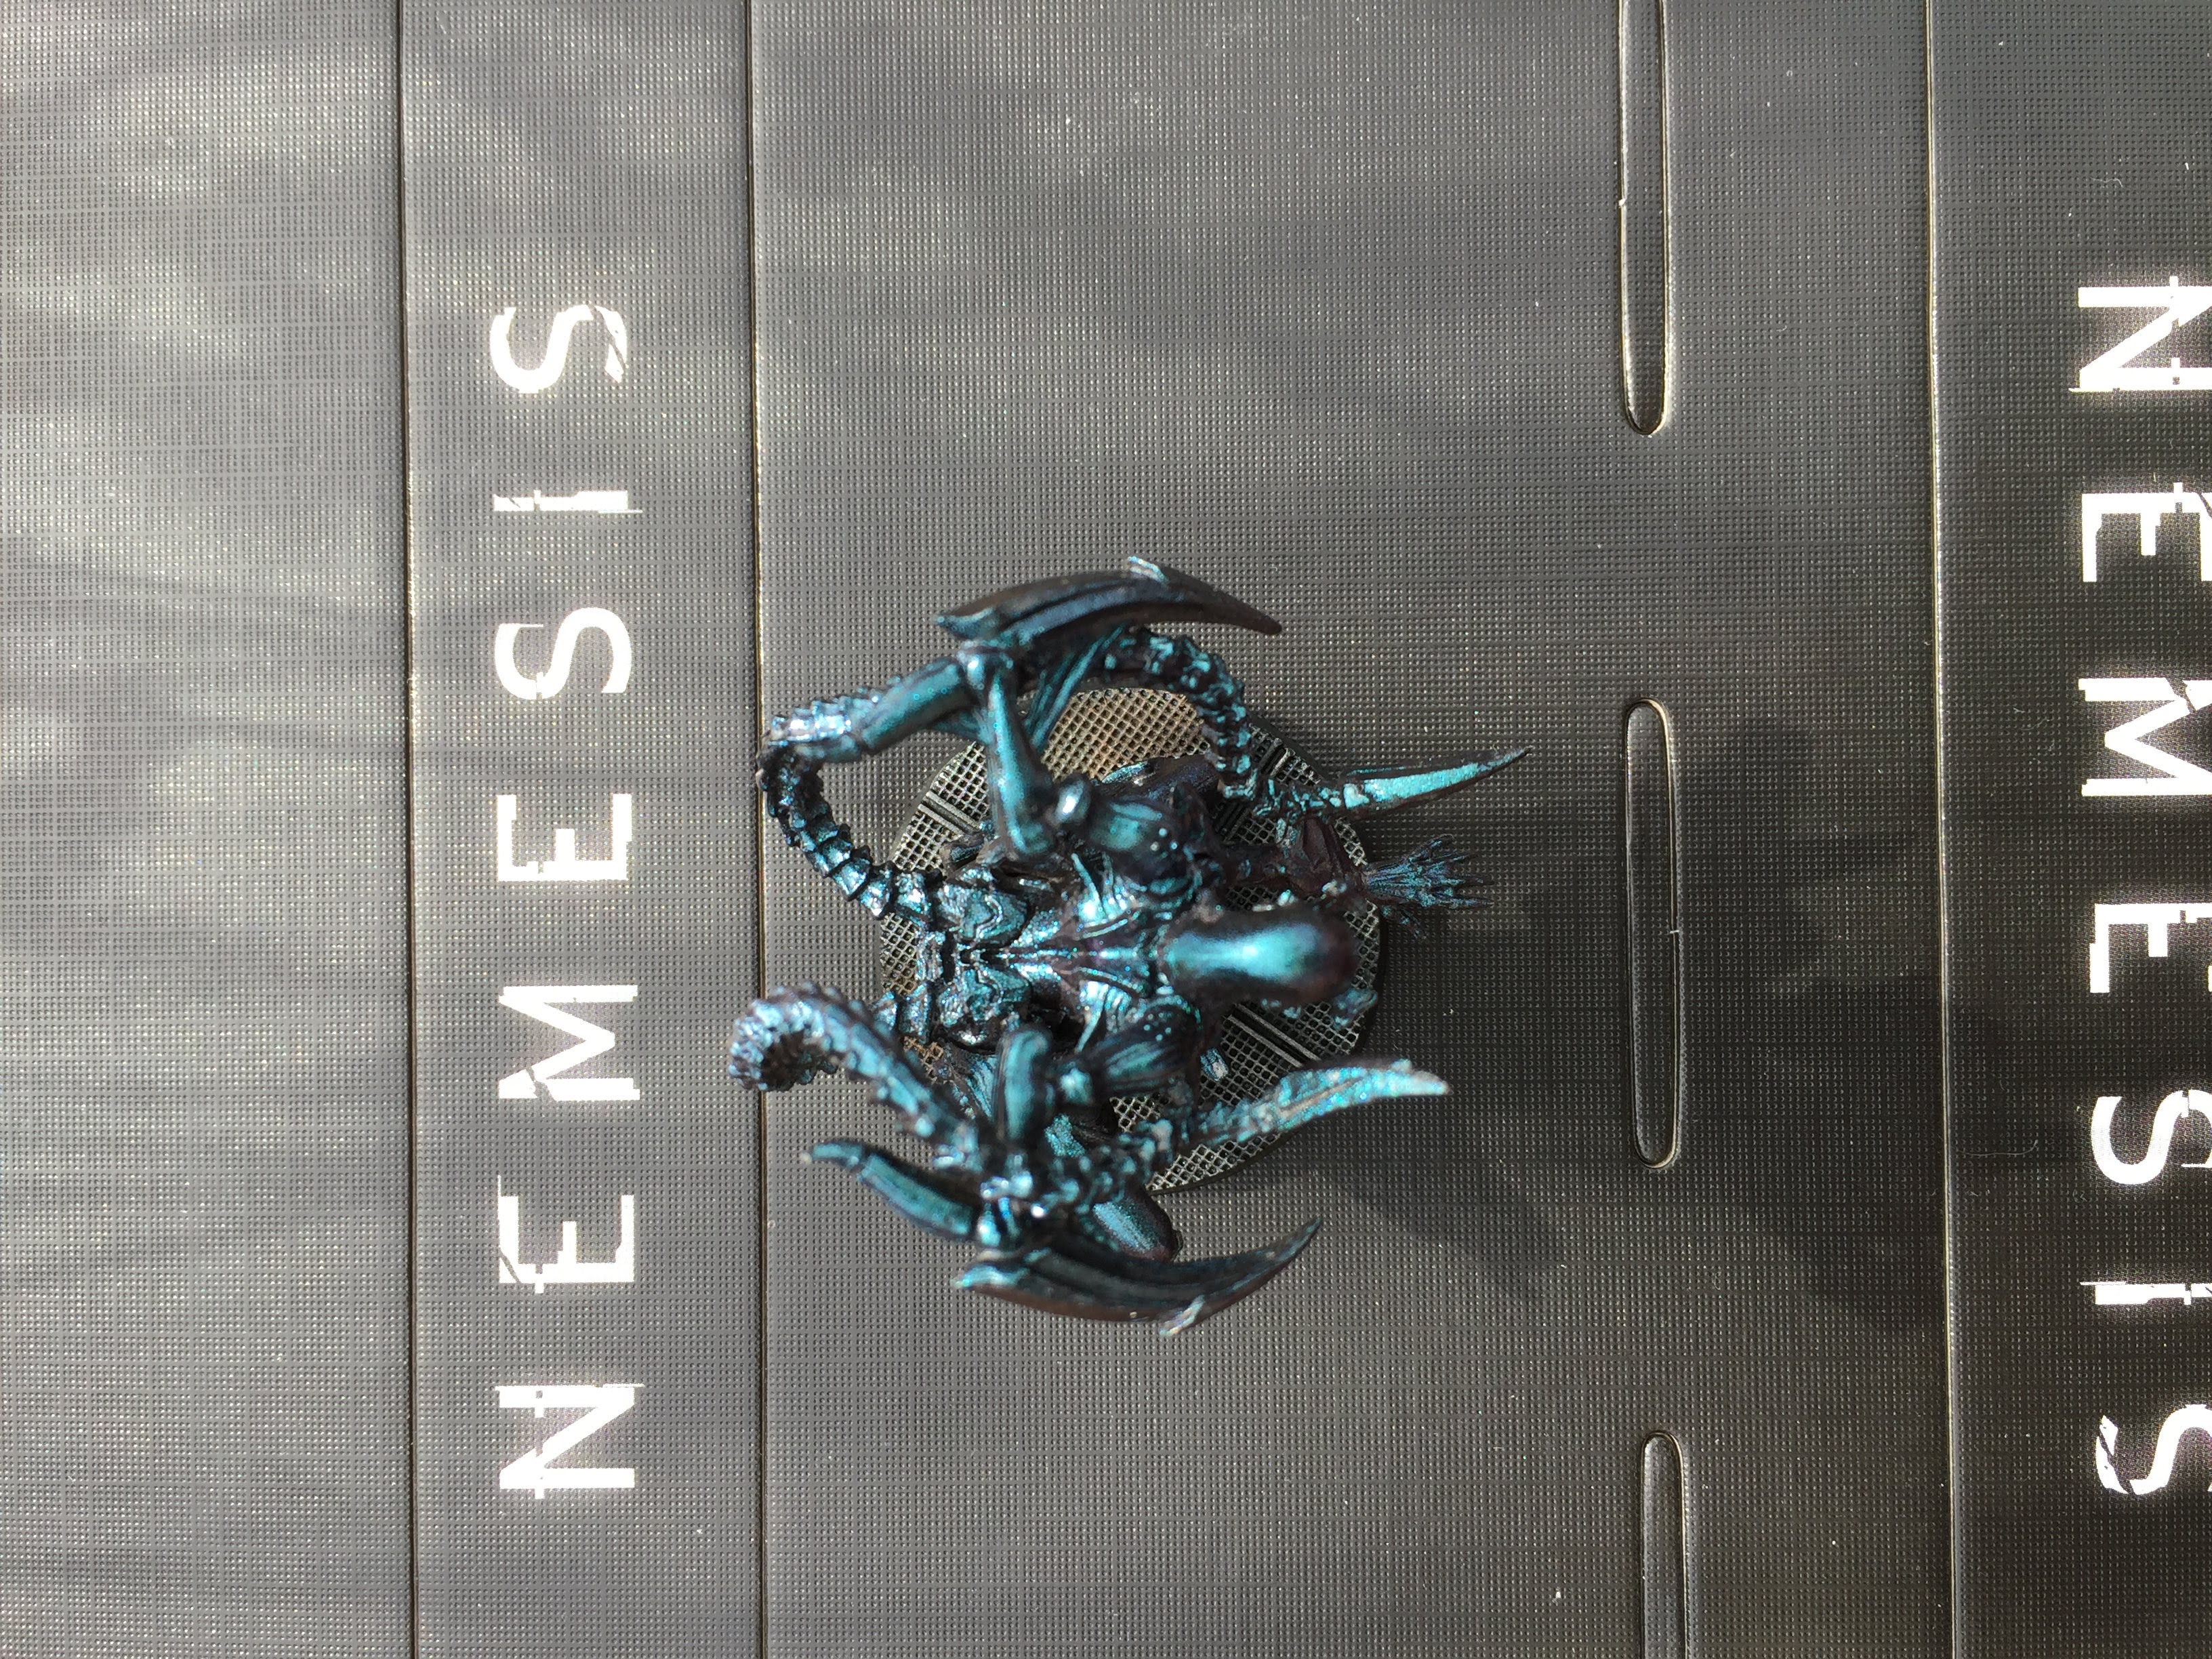
Step 2 - ColorShift basecoat
Airbrushed on a coat of the colorshift.
Looks ok, it’s not outstanding but it doesn’t take long really and already with just 1 coat adds some character to the figures.
Initial thoughts on using the paint:
- paint seems to need a good shake as it separates a lot in the bottle before use.
- it’s not very easy to see when applying, which means I might have gone too heavy for the first coat. (not helped by British weather).
- paint comes out slightly slower than a regular airbrush paint, I did consider thinning it but just used slightly more pressure in the end (again this might mean my first coat it too heavy)
- you don’t see the colour shift very well in artificial light (even under daylight bulbs).
I’ll try and take some better pictures in natural light soon (weather permitting).
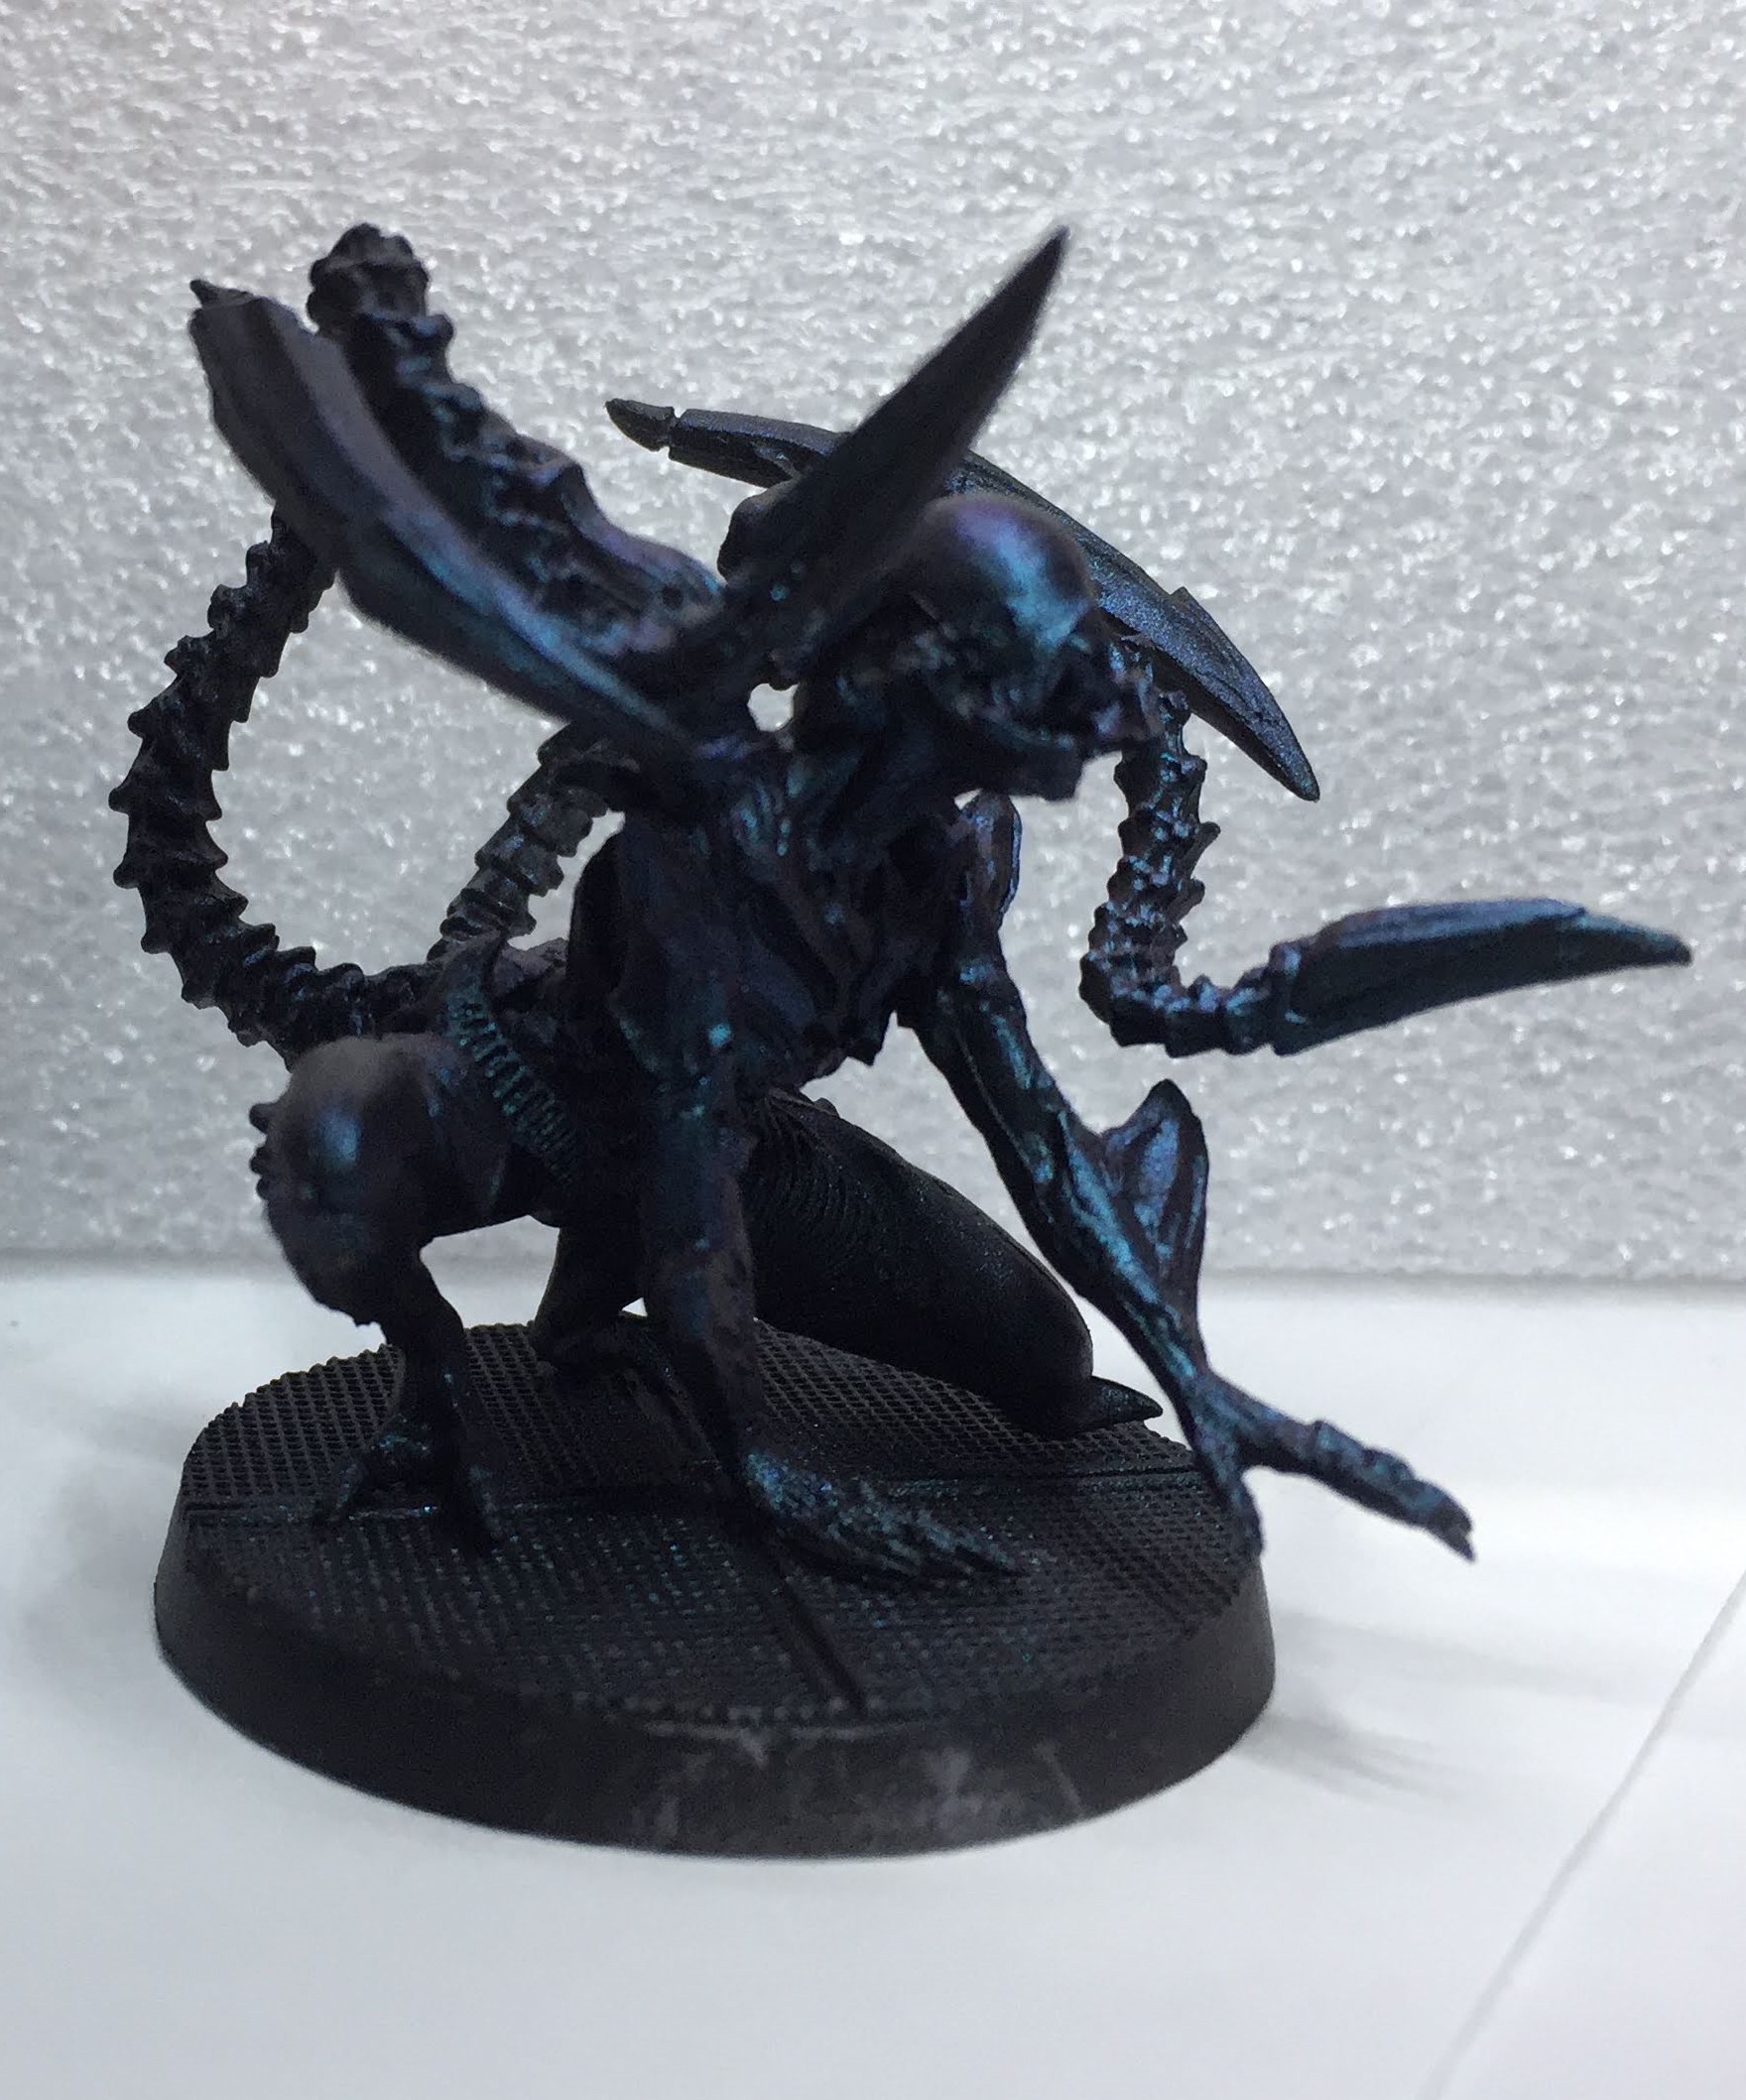
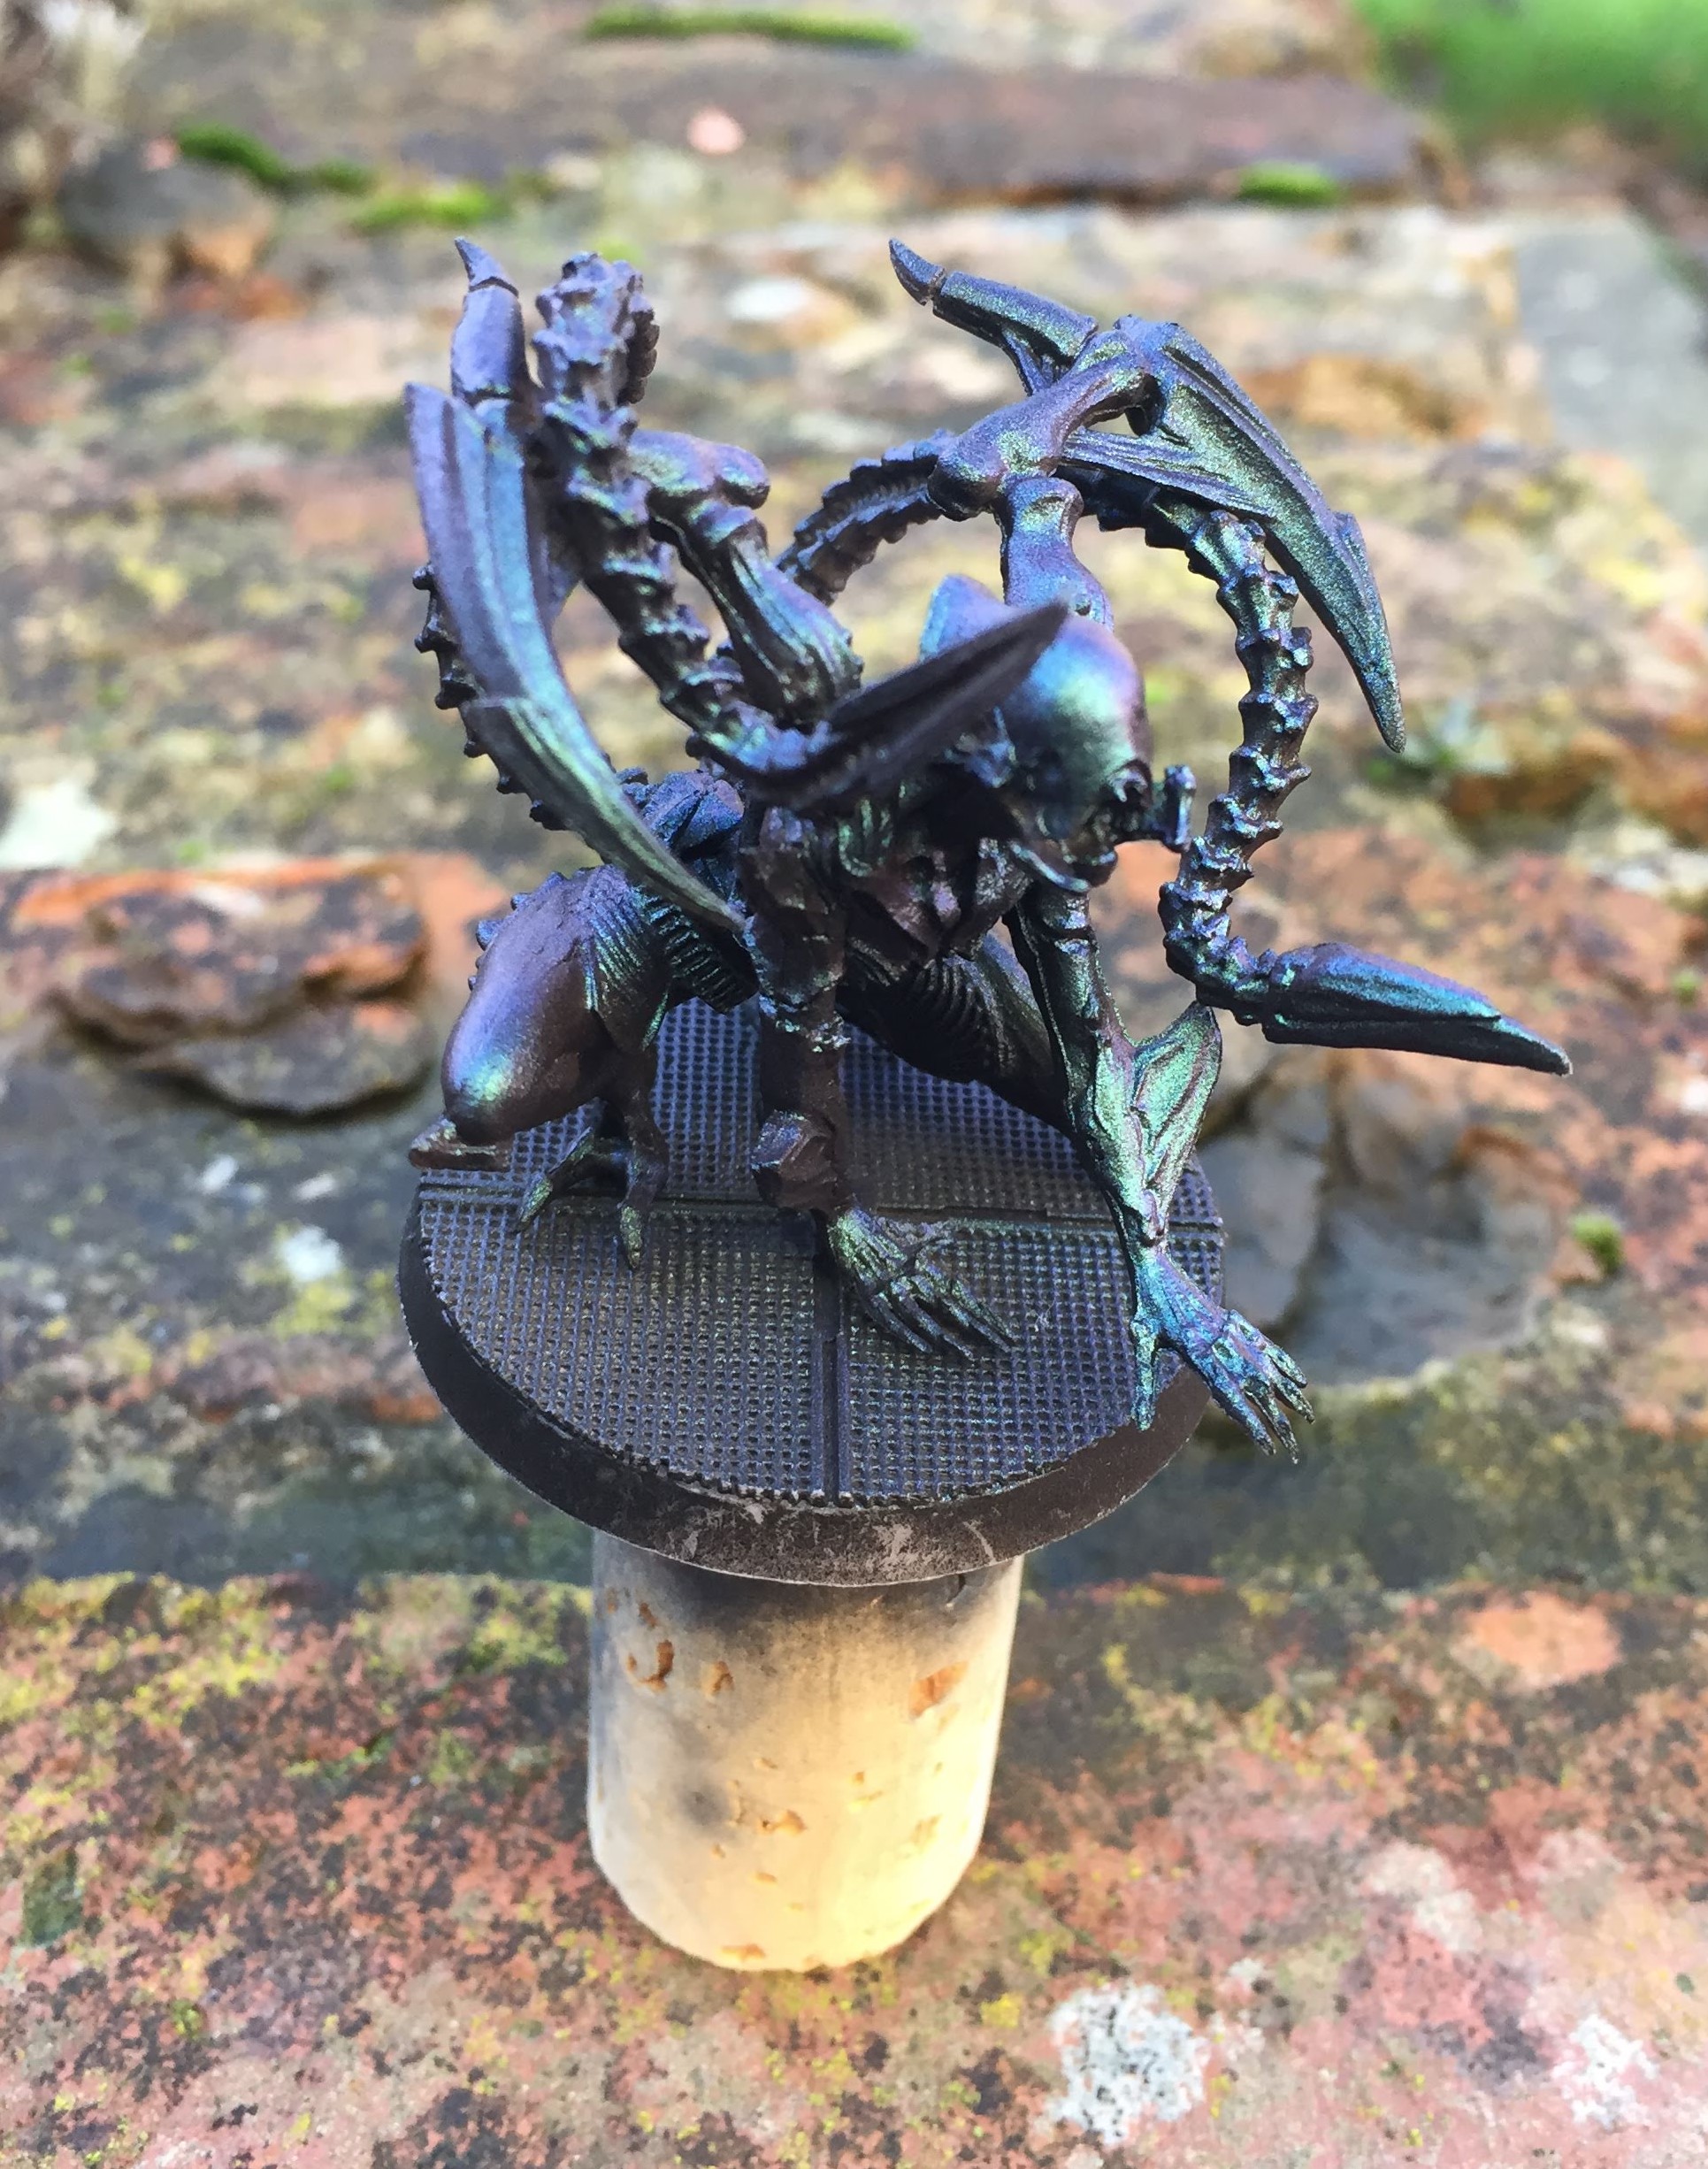
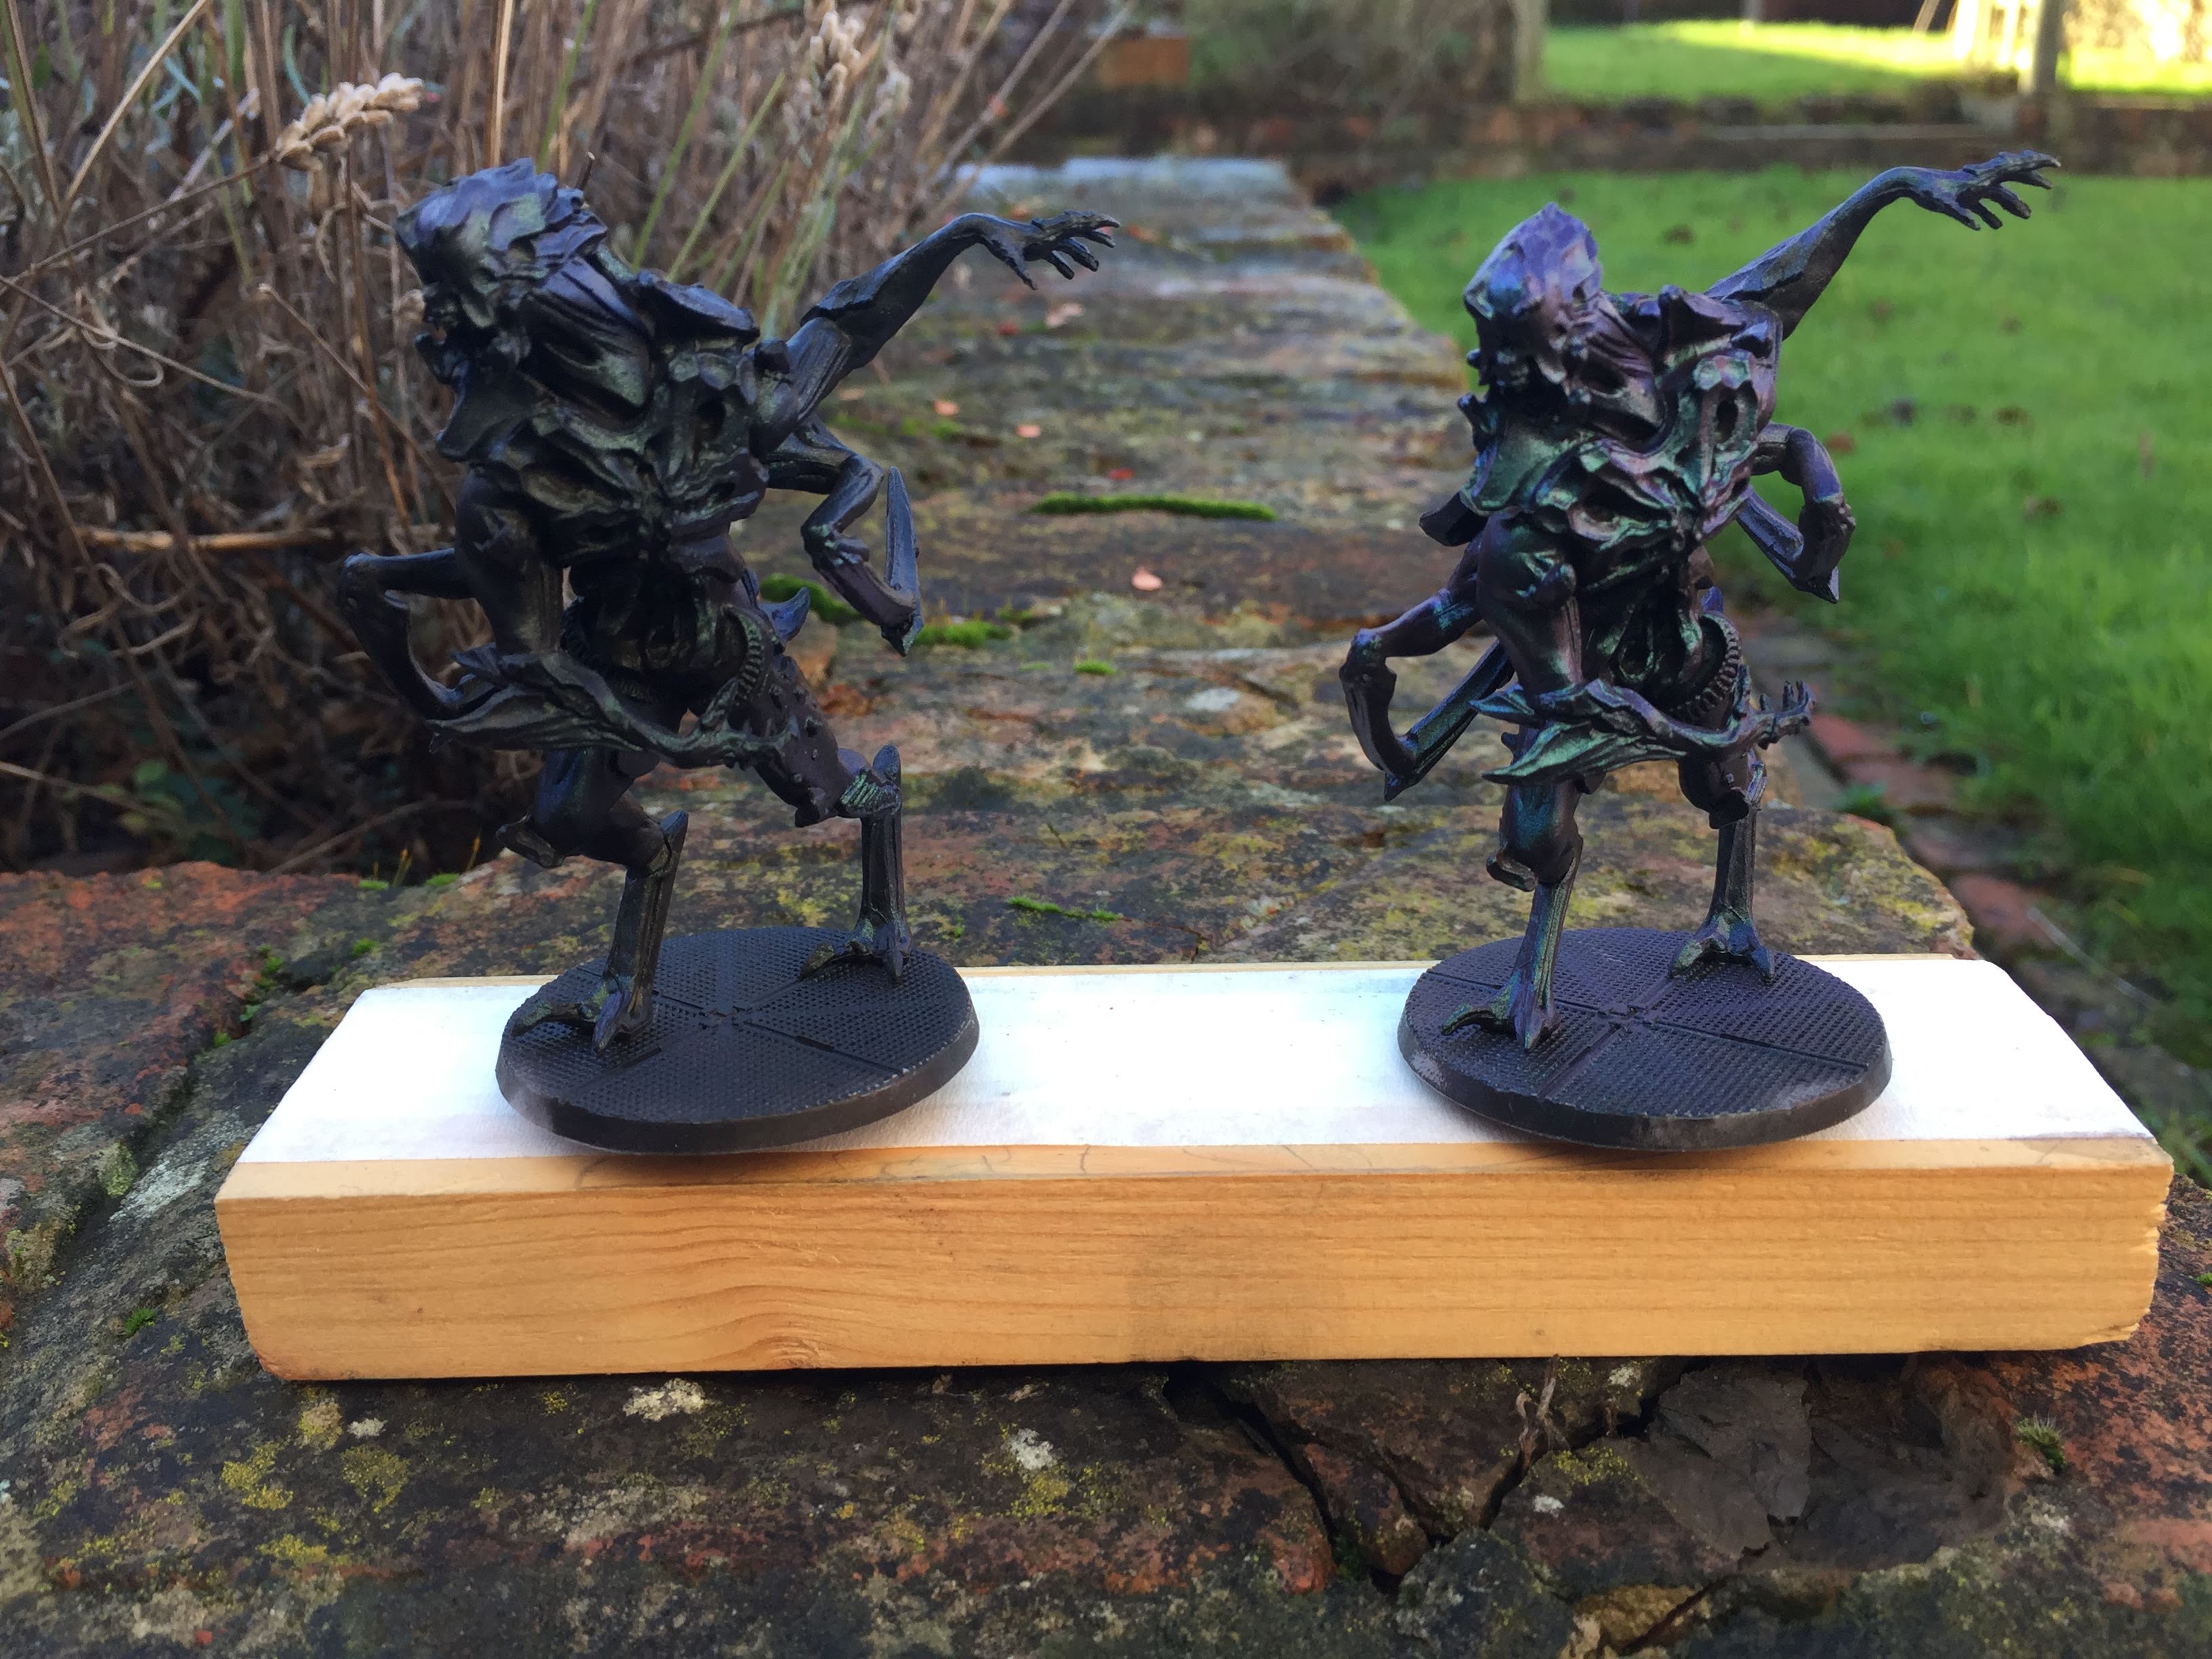
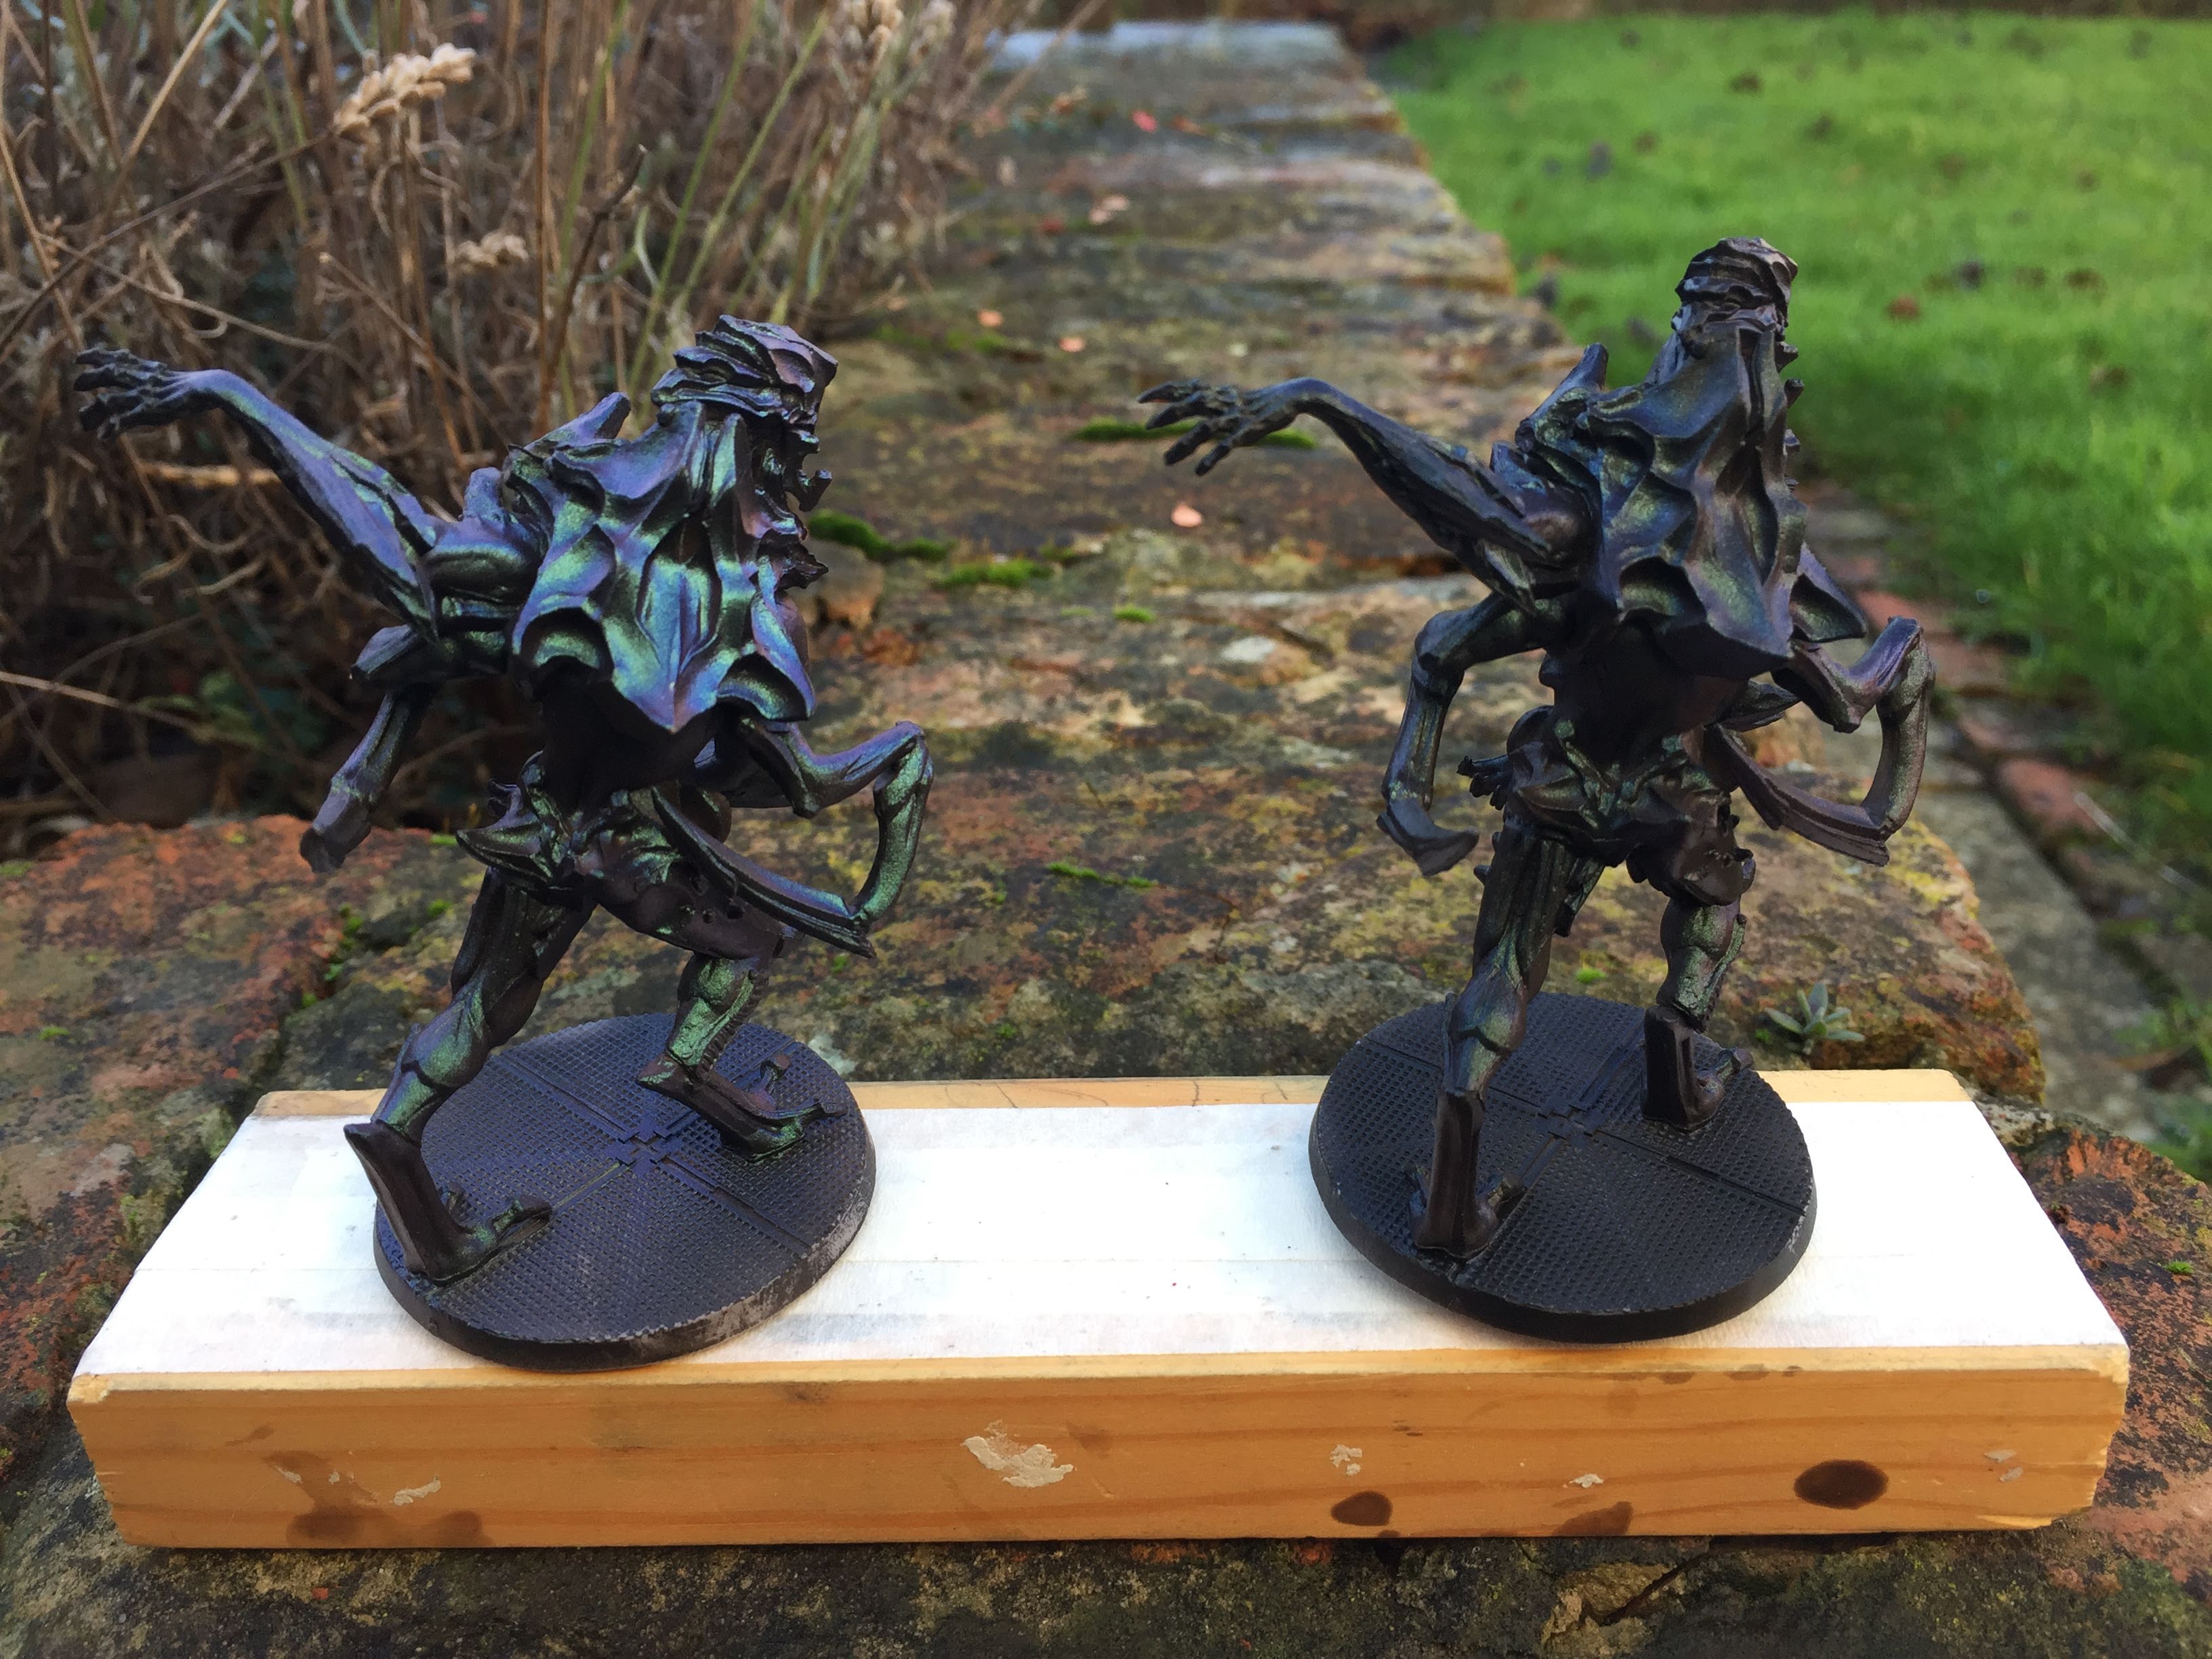
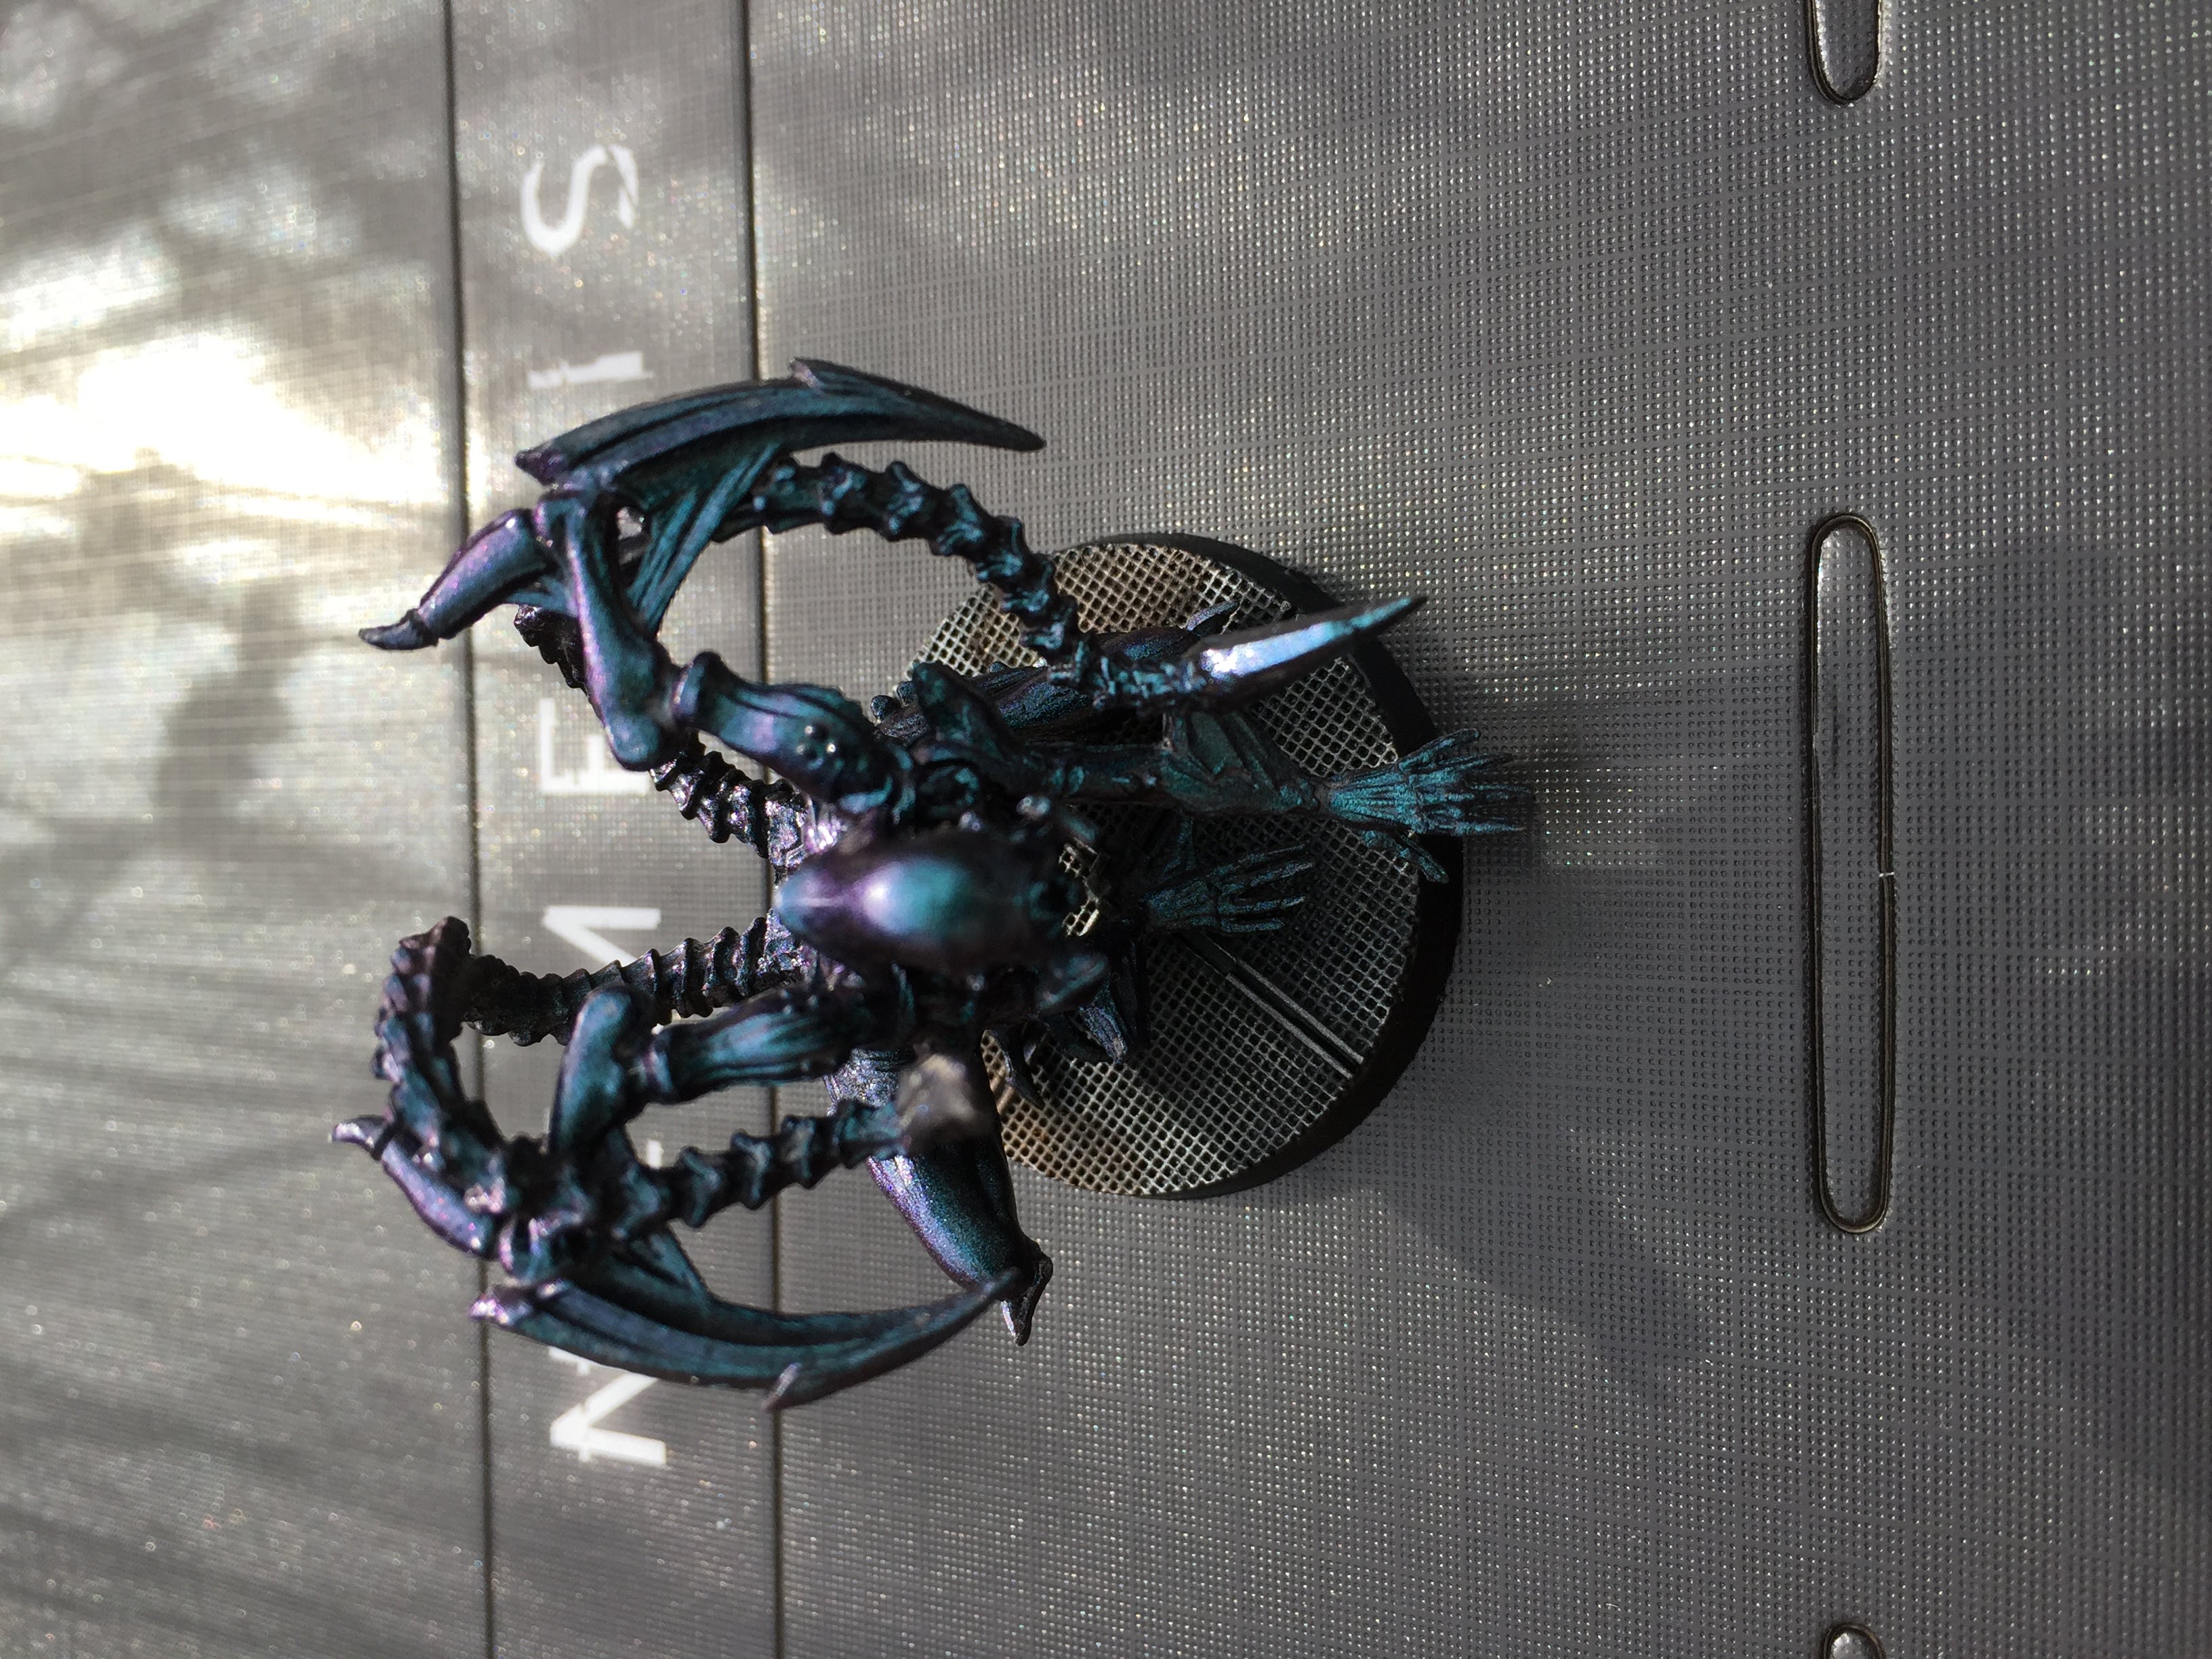
Step 2 - daylight pics
Not sure if these show the colour shifting really or not – I’m thinking the first coat might have been too heavy but even so they’ll look menacing enough once finished.
One of the larger figures has had two coats applied so just showing that as a comparison.
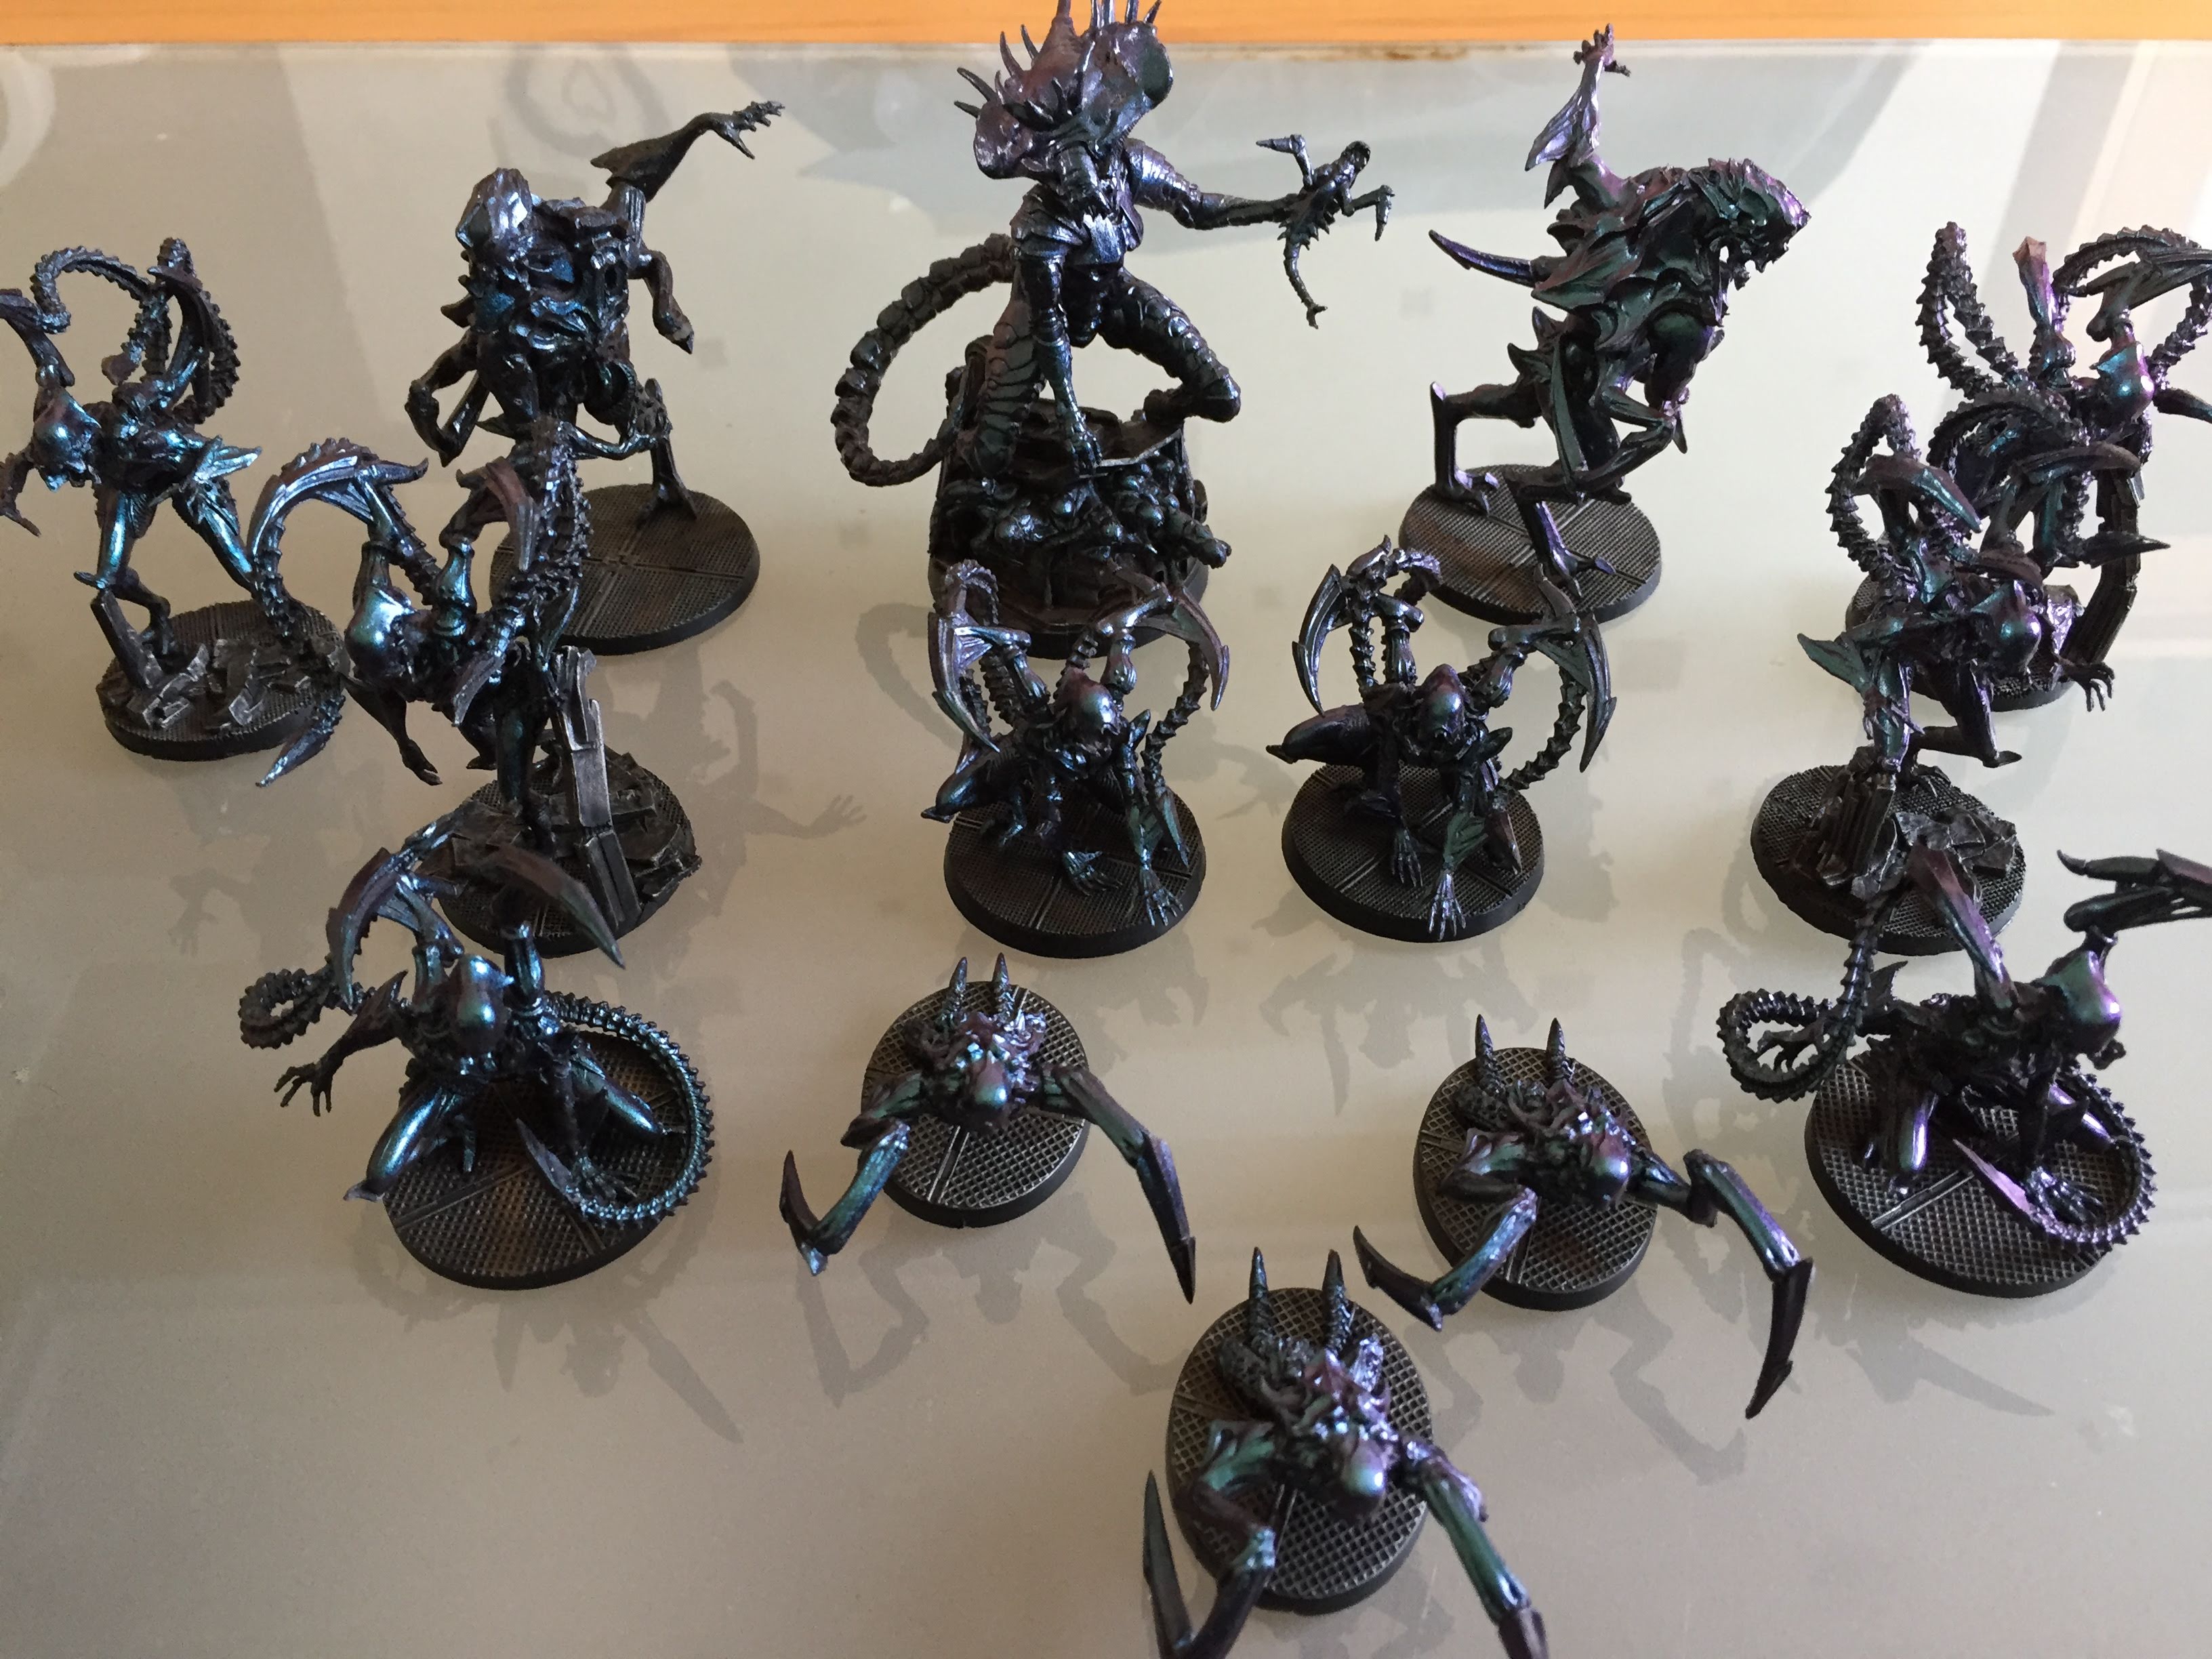
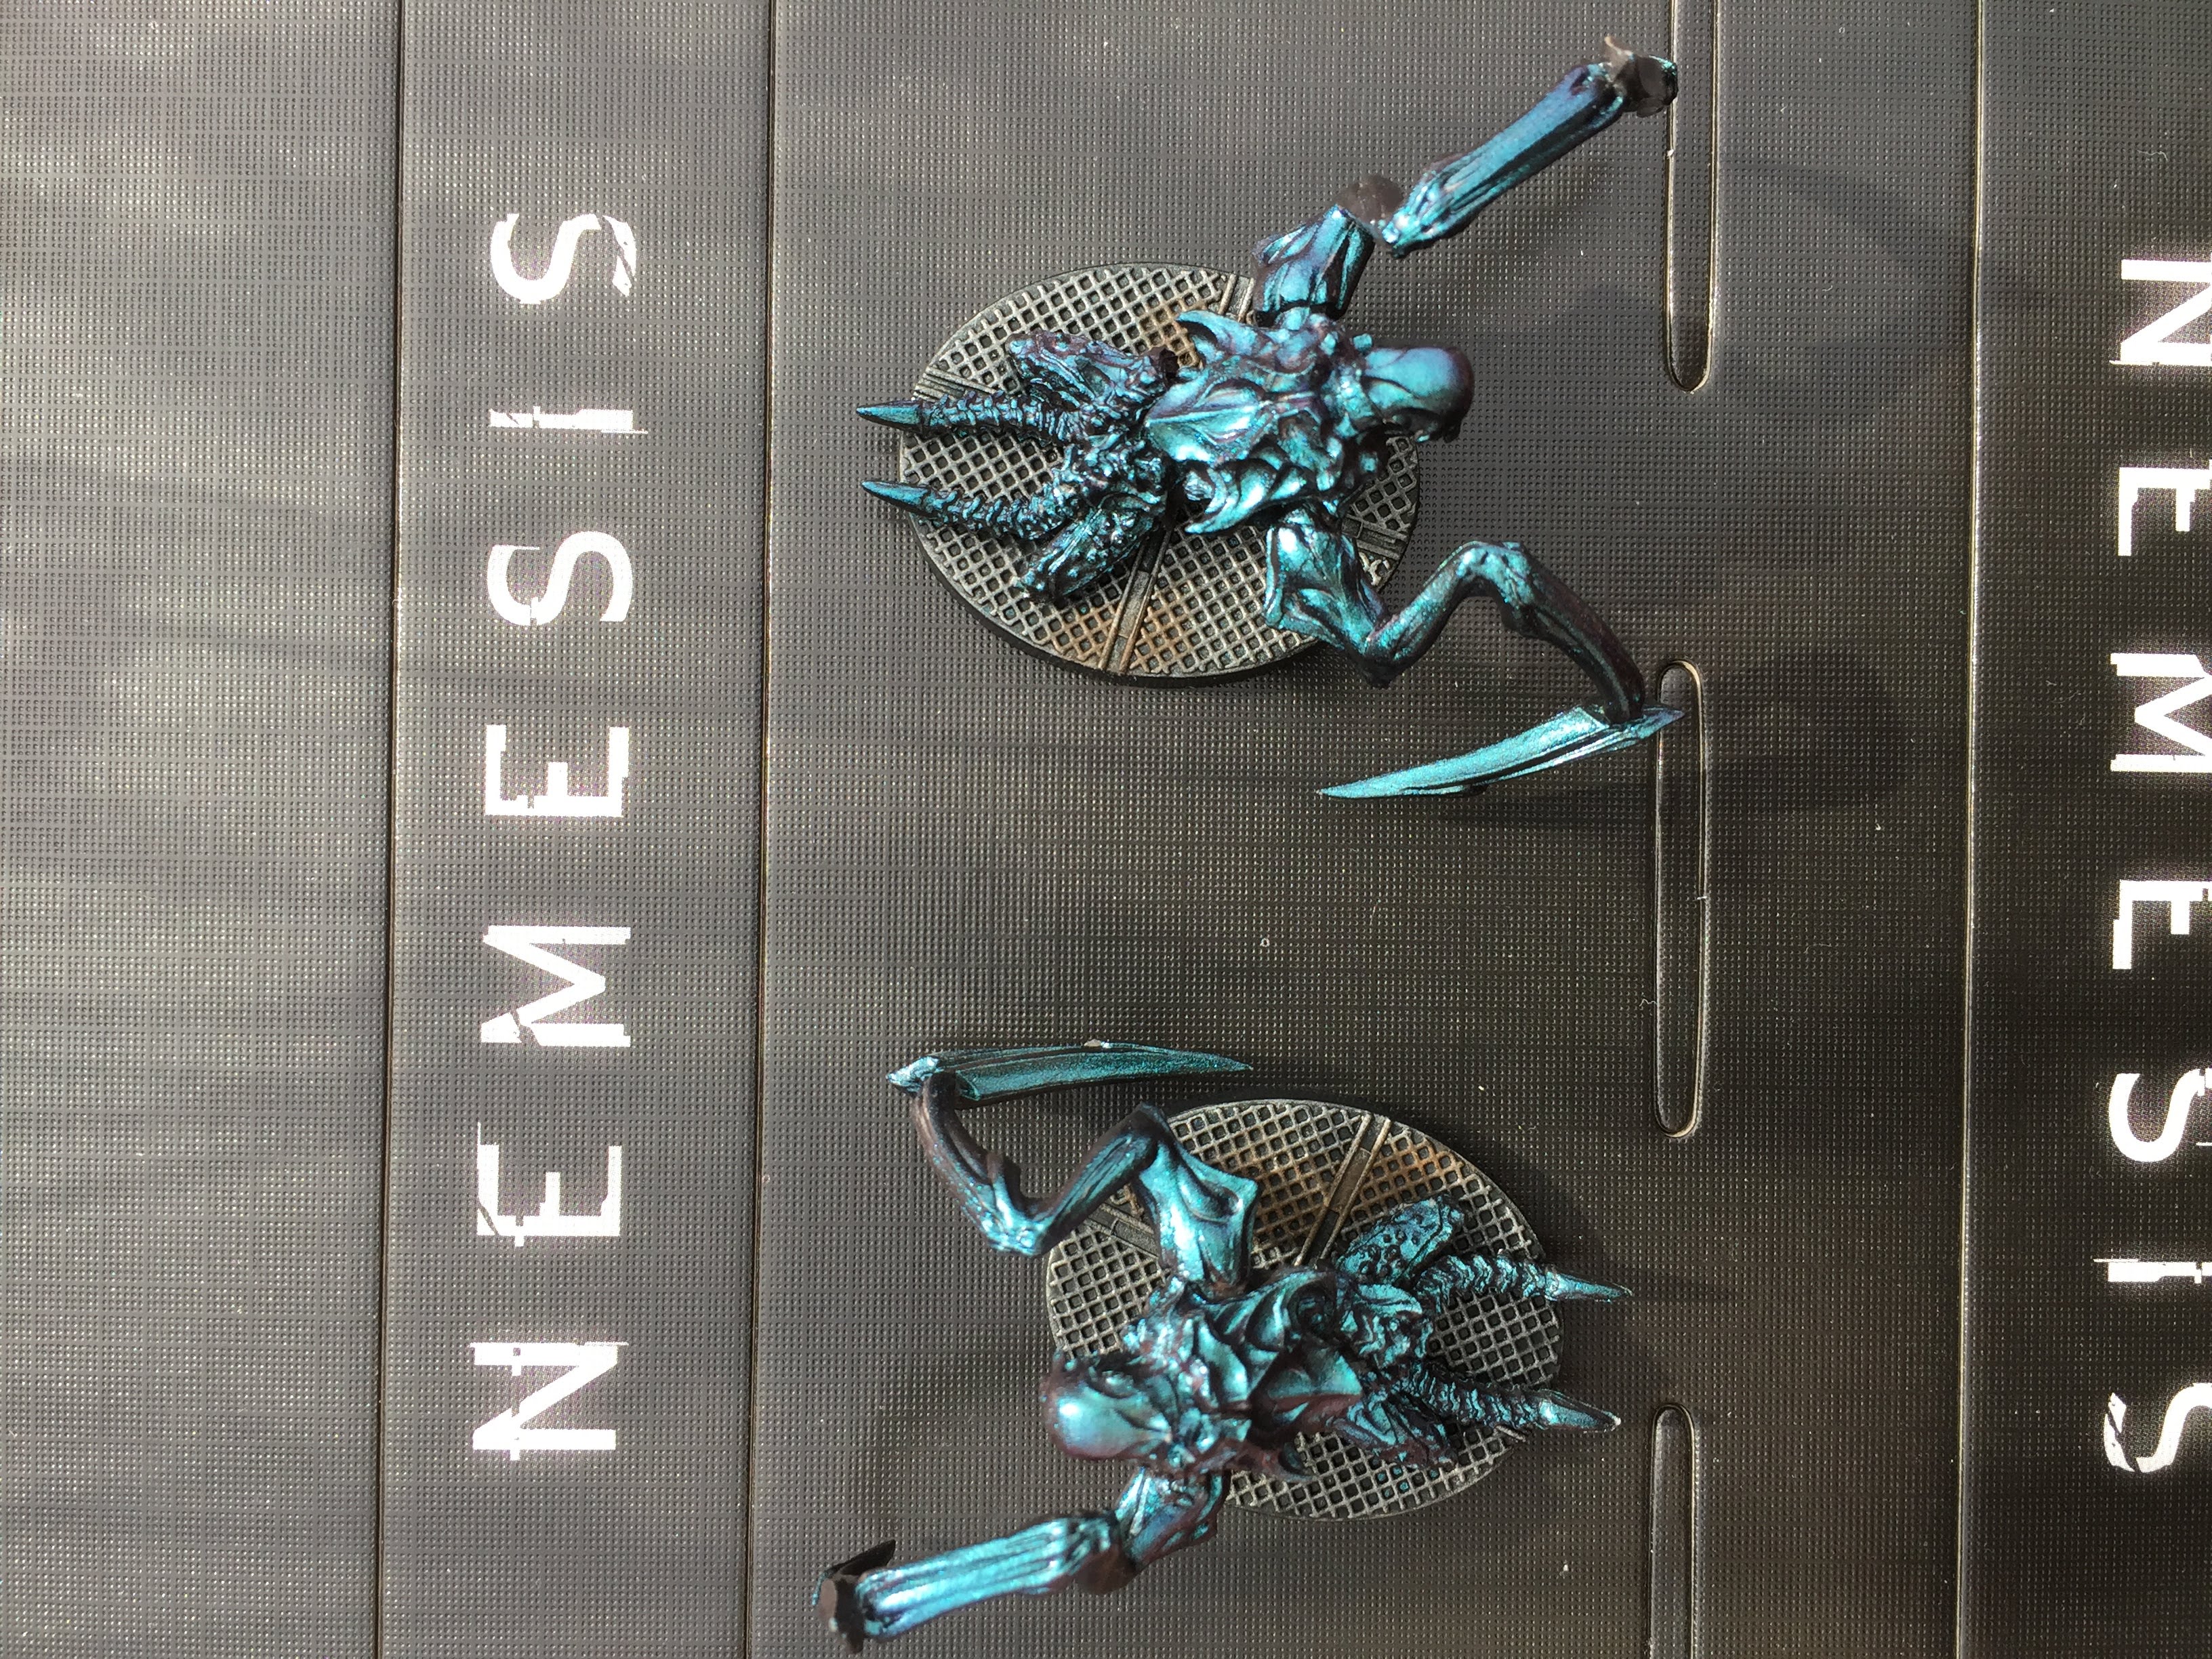
Finished Intruders - daylight pics /video
Finished all the intruders, basically all I did to them was a gloss varnish (which gives them a good shine) and scuffed up the bases with a bit of a dry brush. Very pleased with the result, they look great on the table.
Some example pics and a video below.

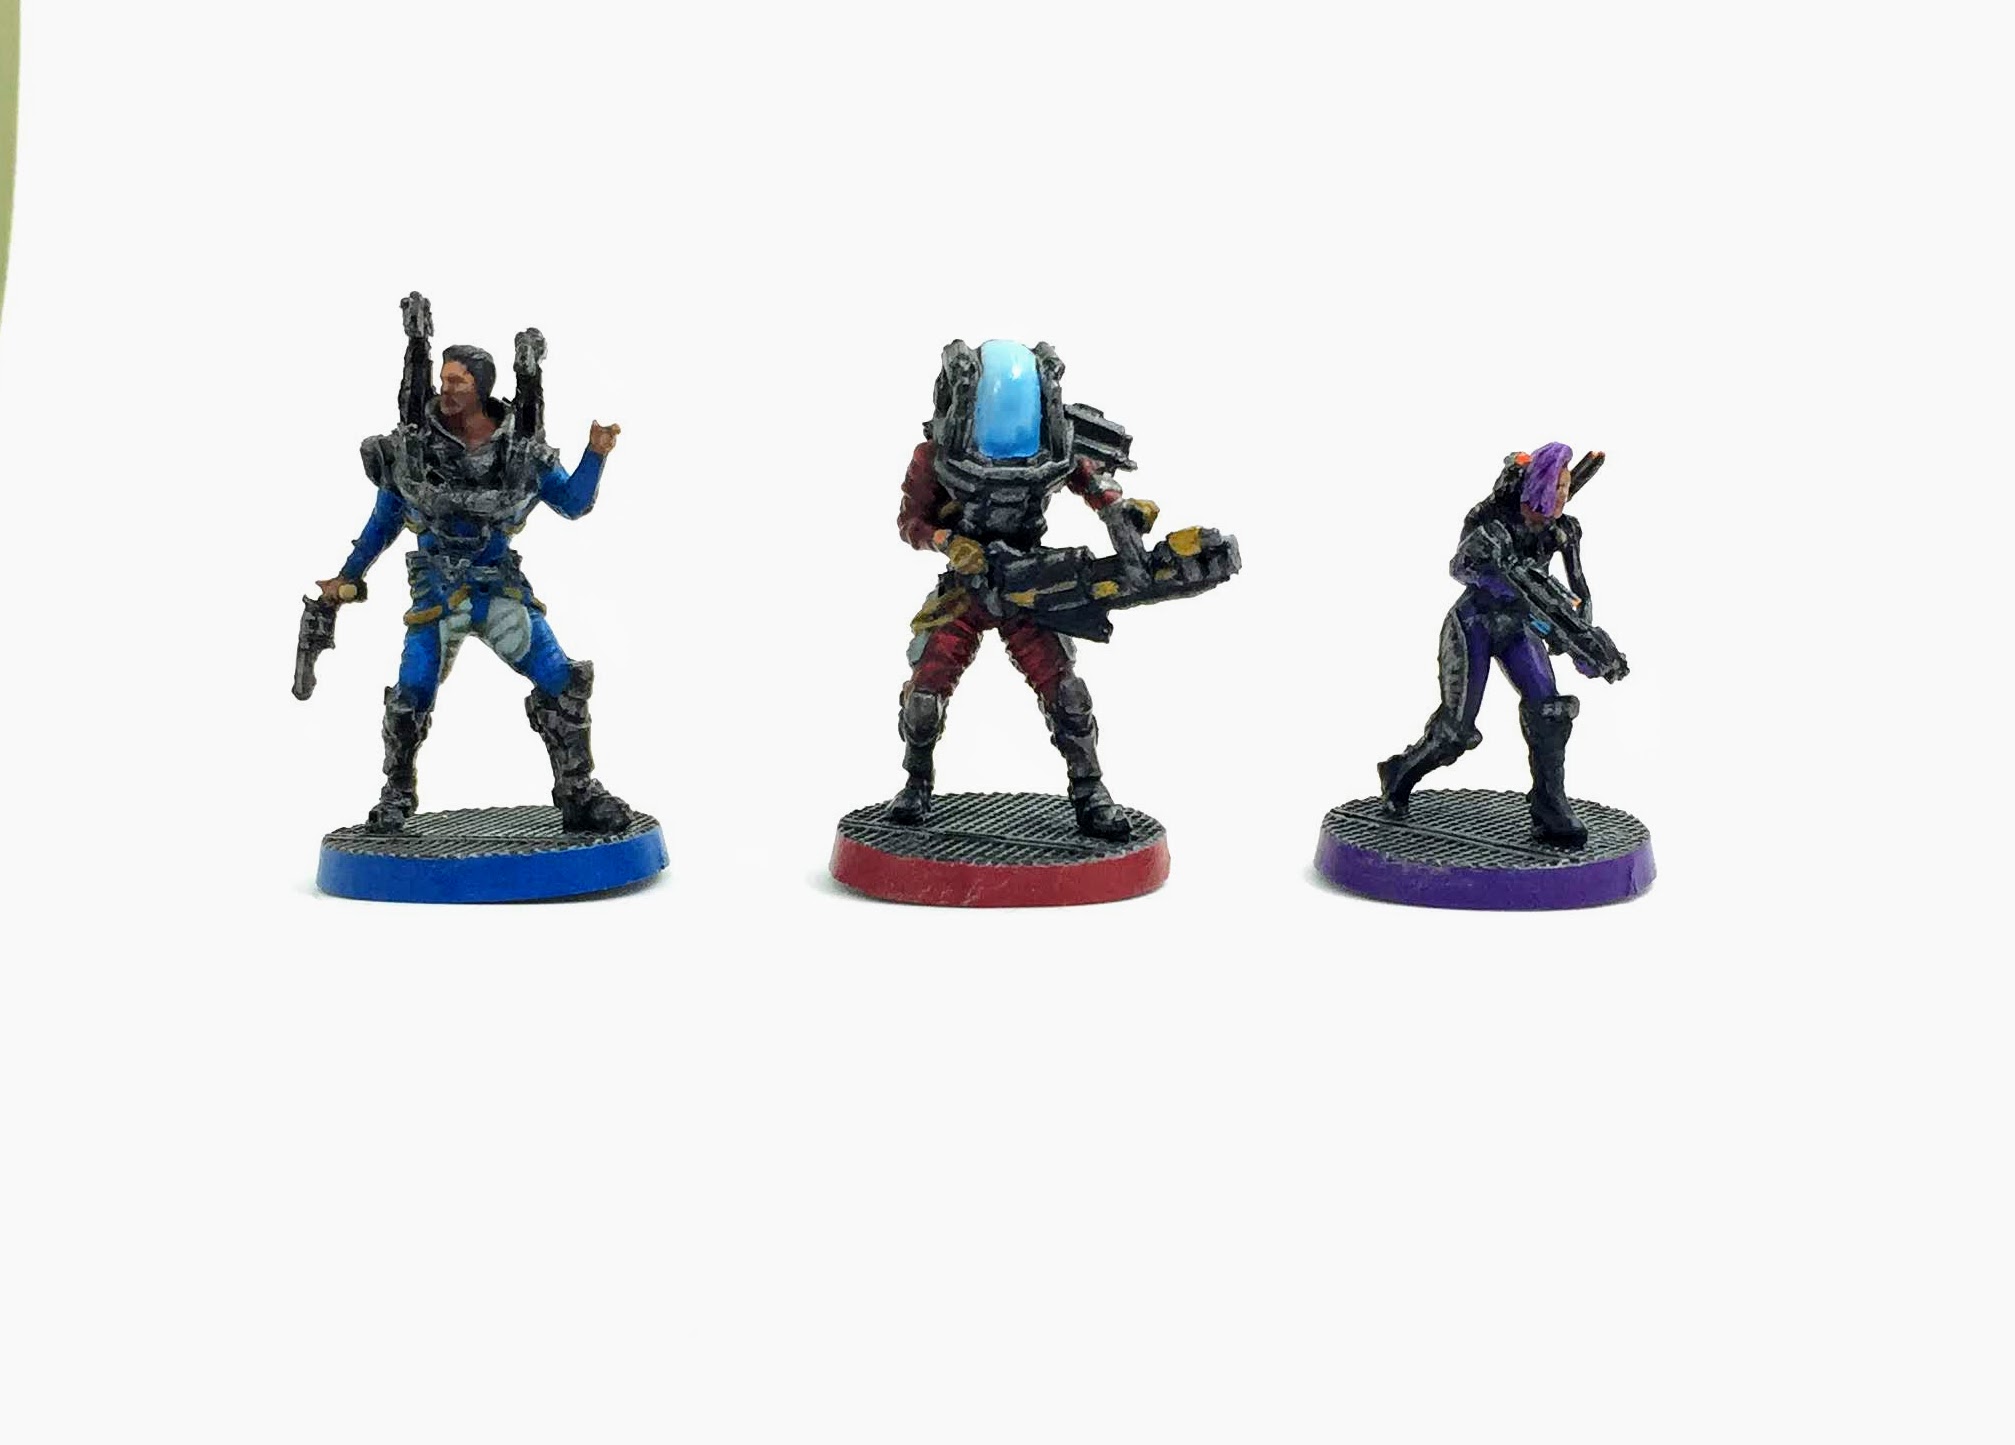
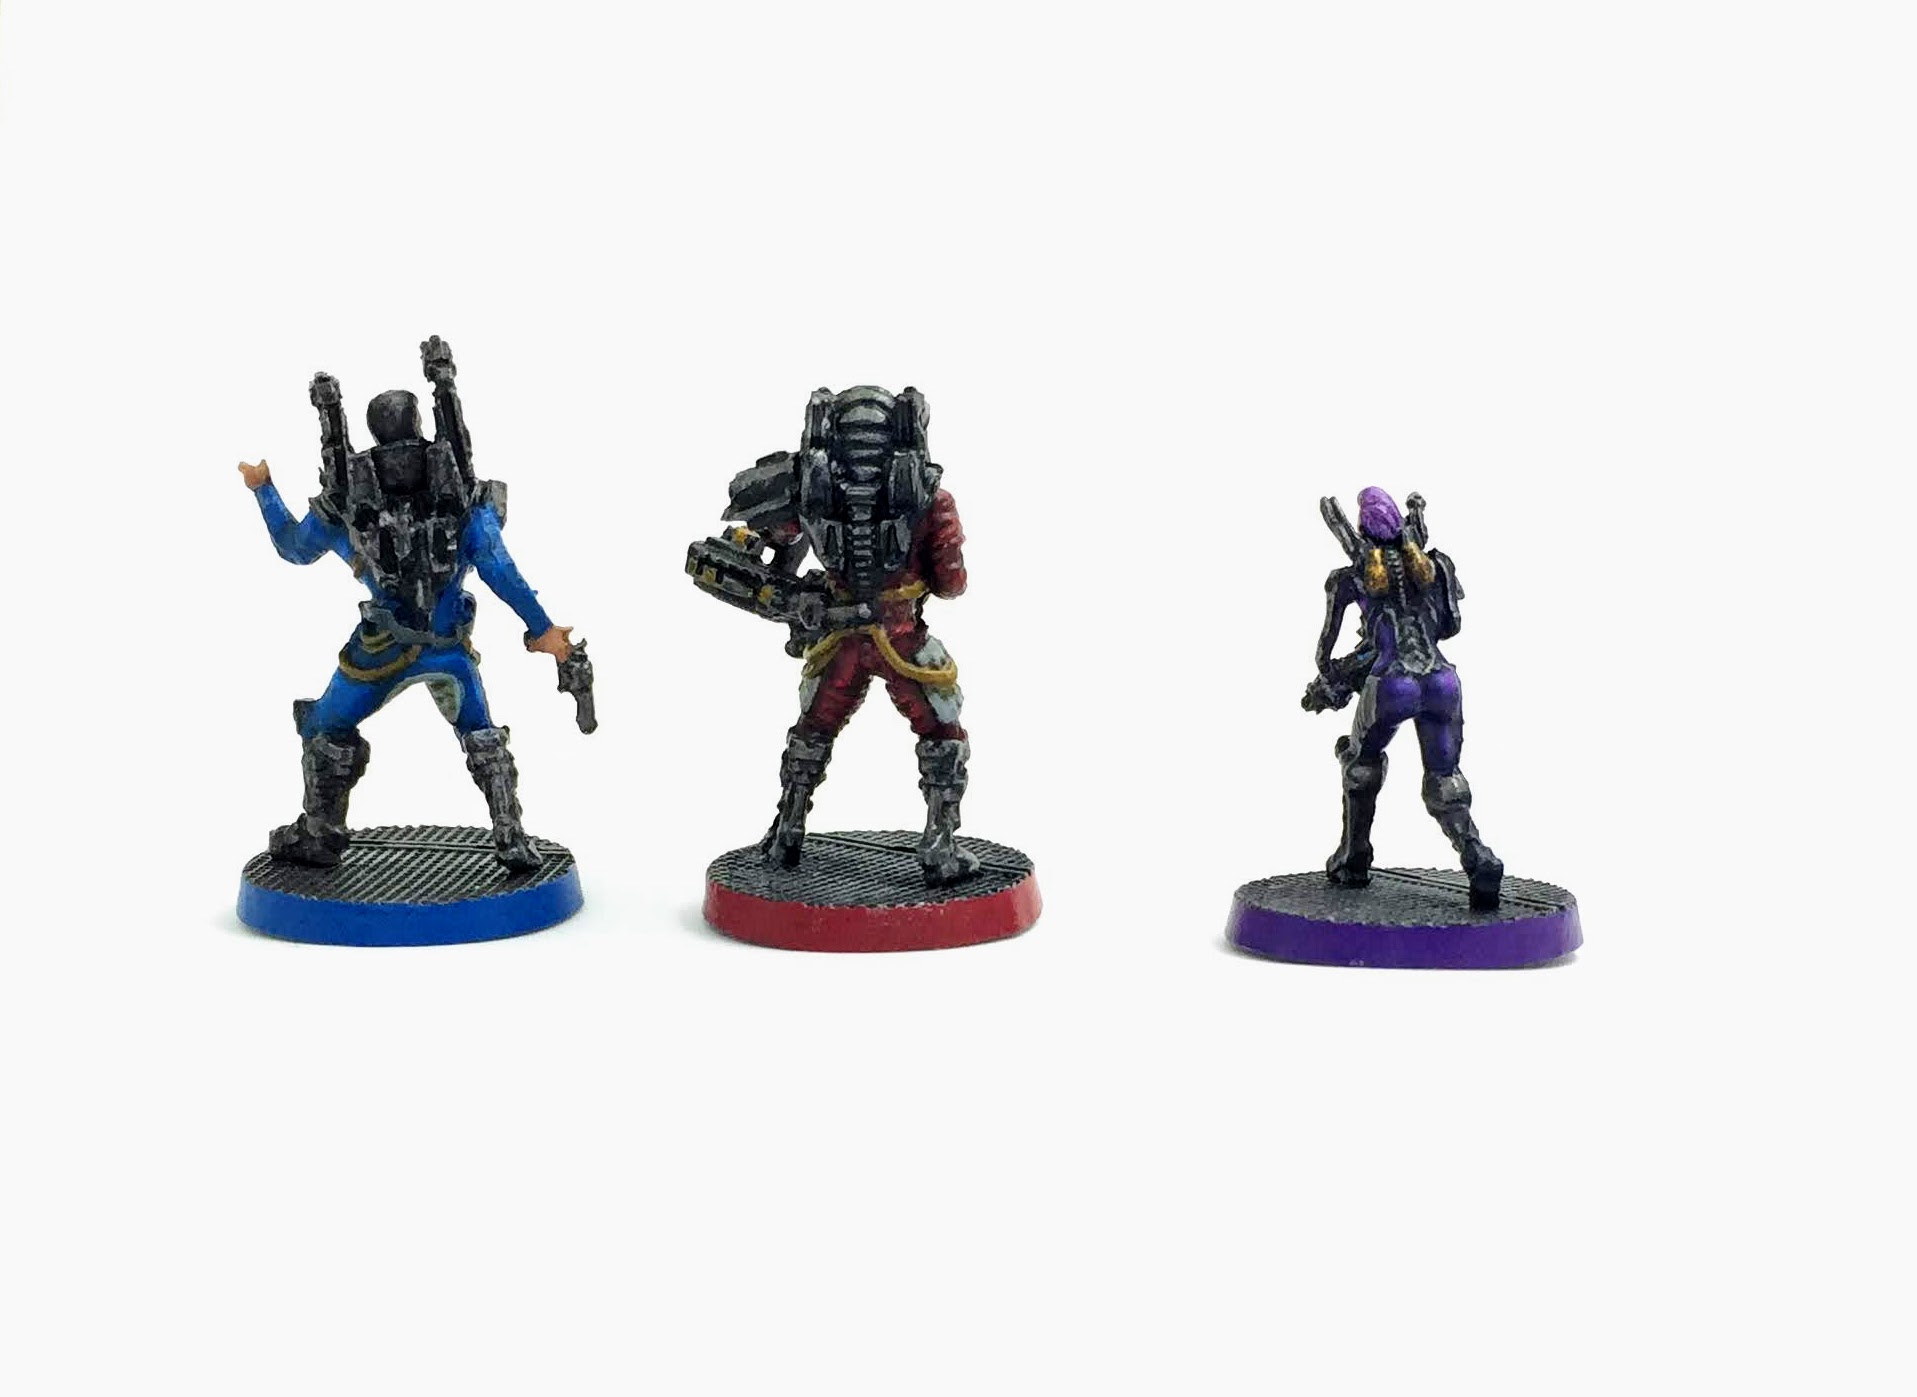
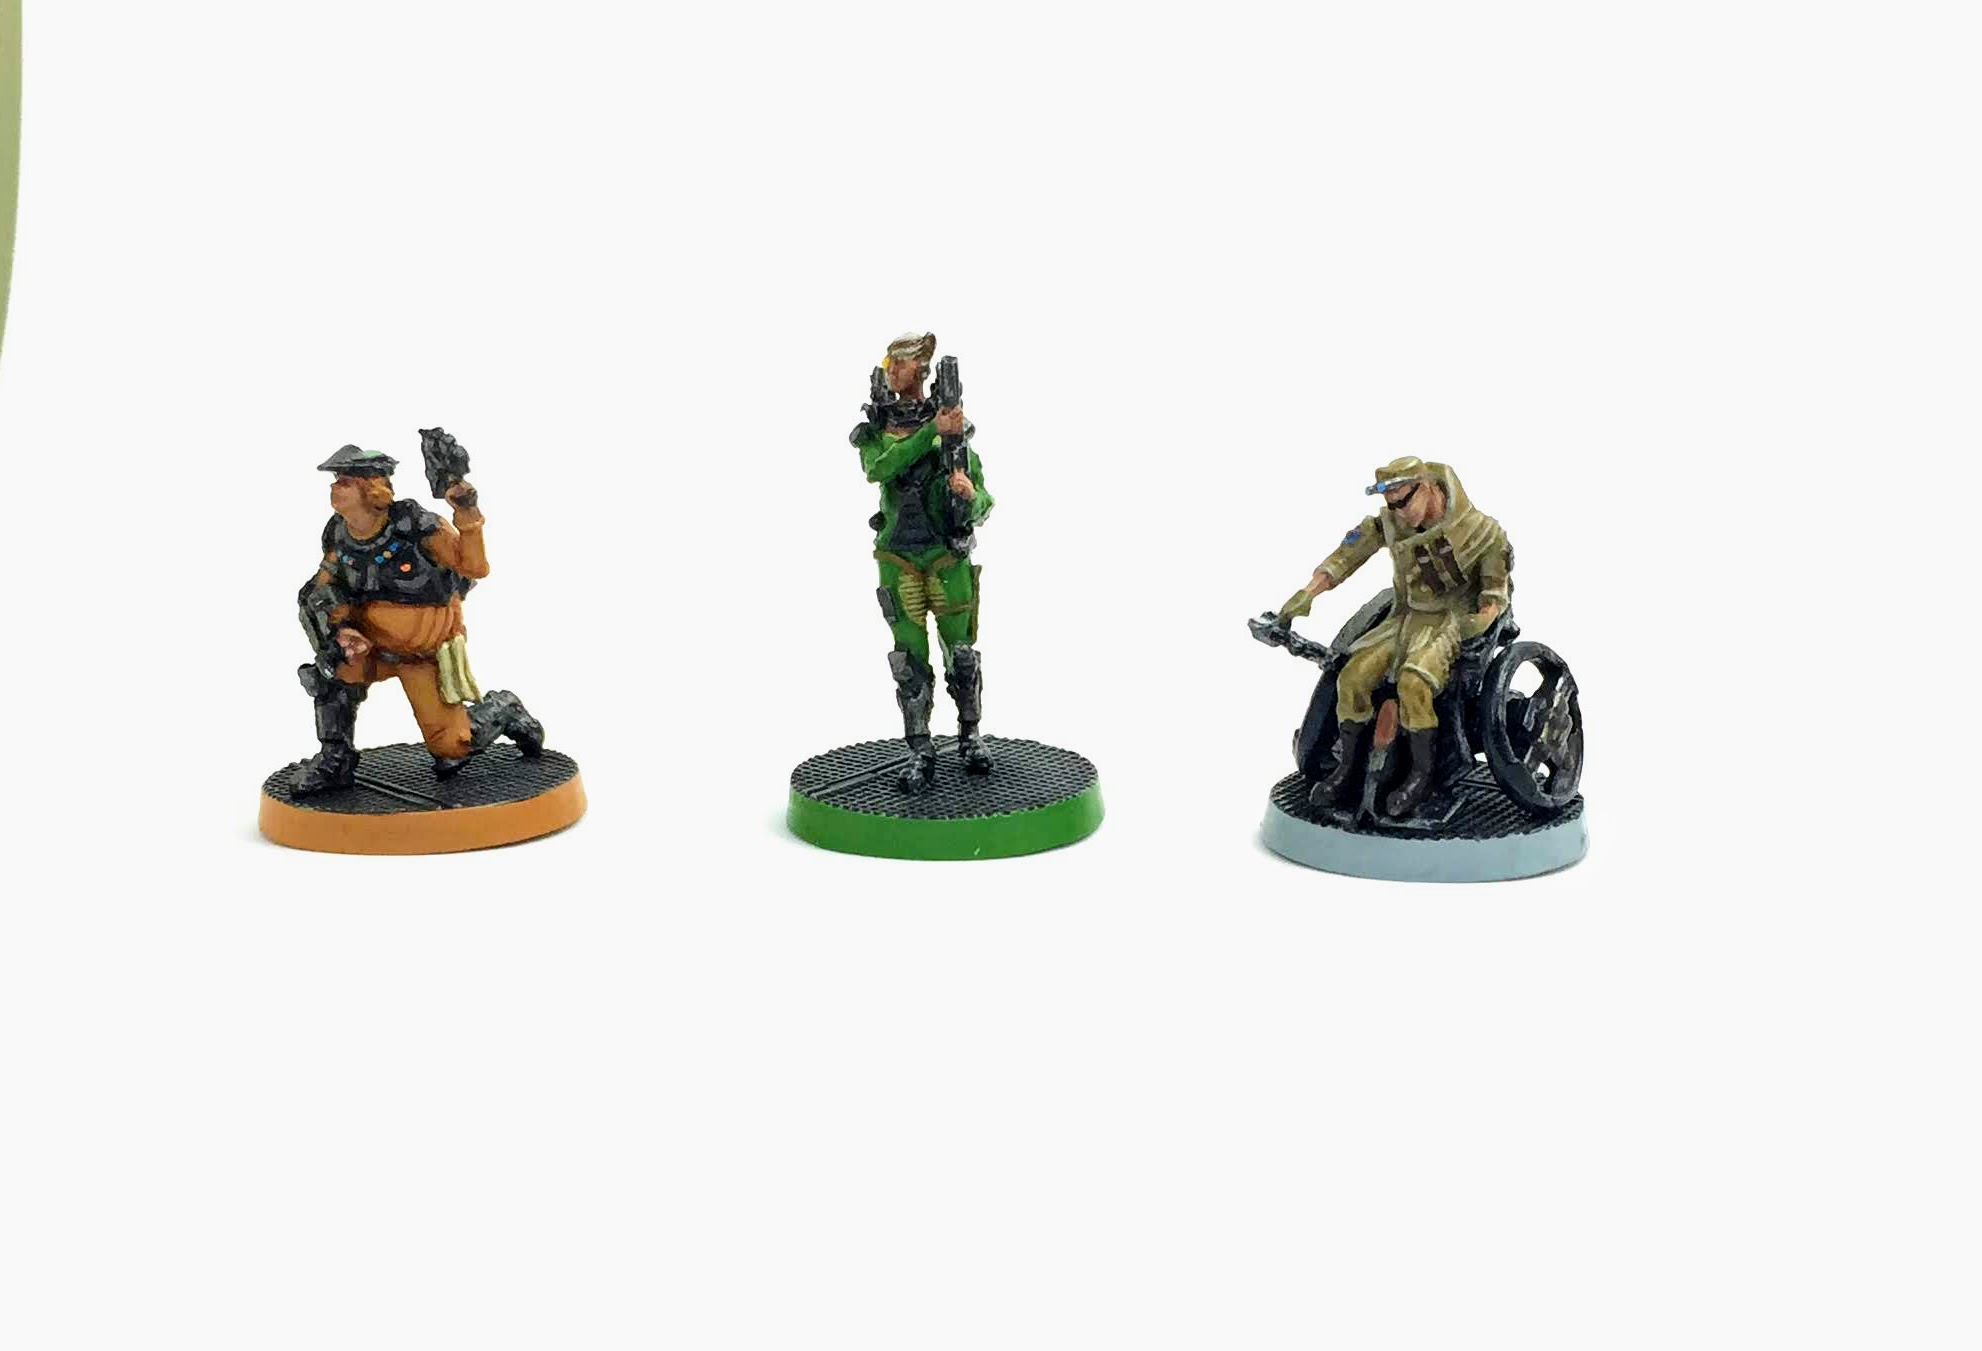
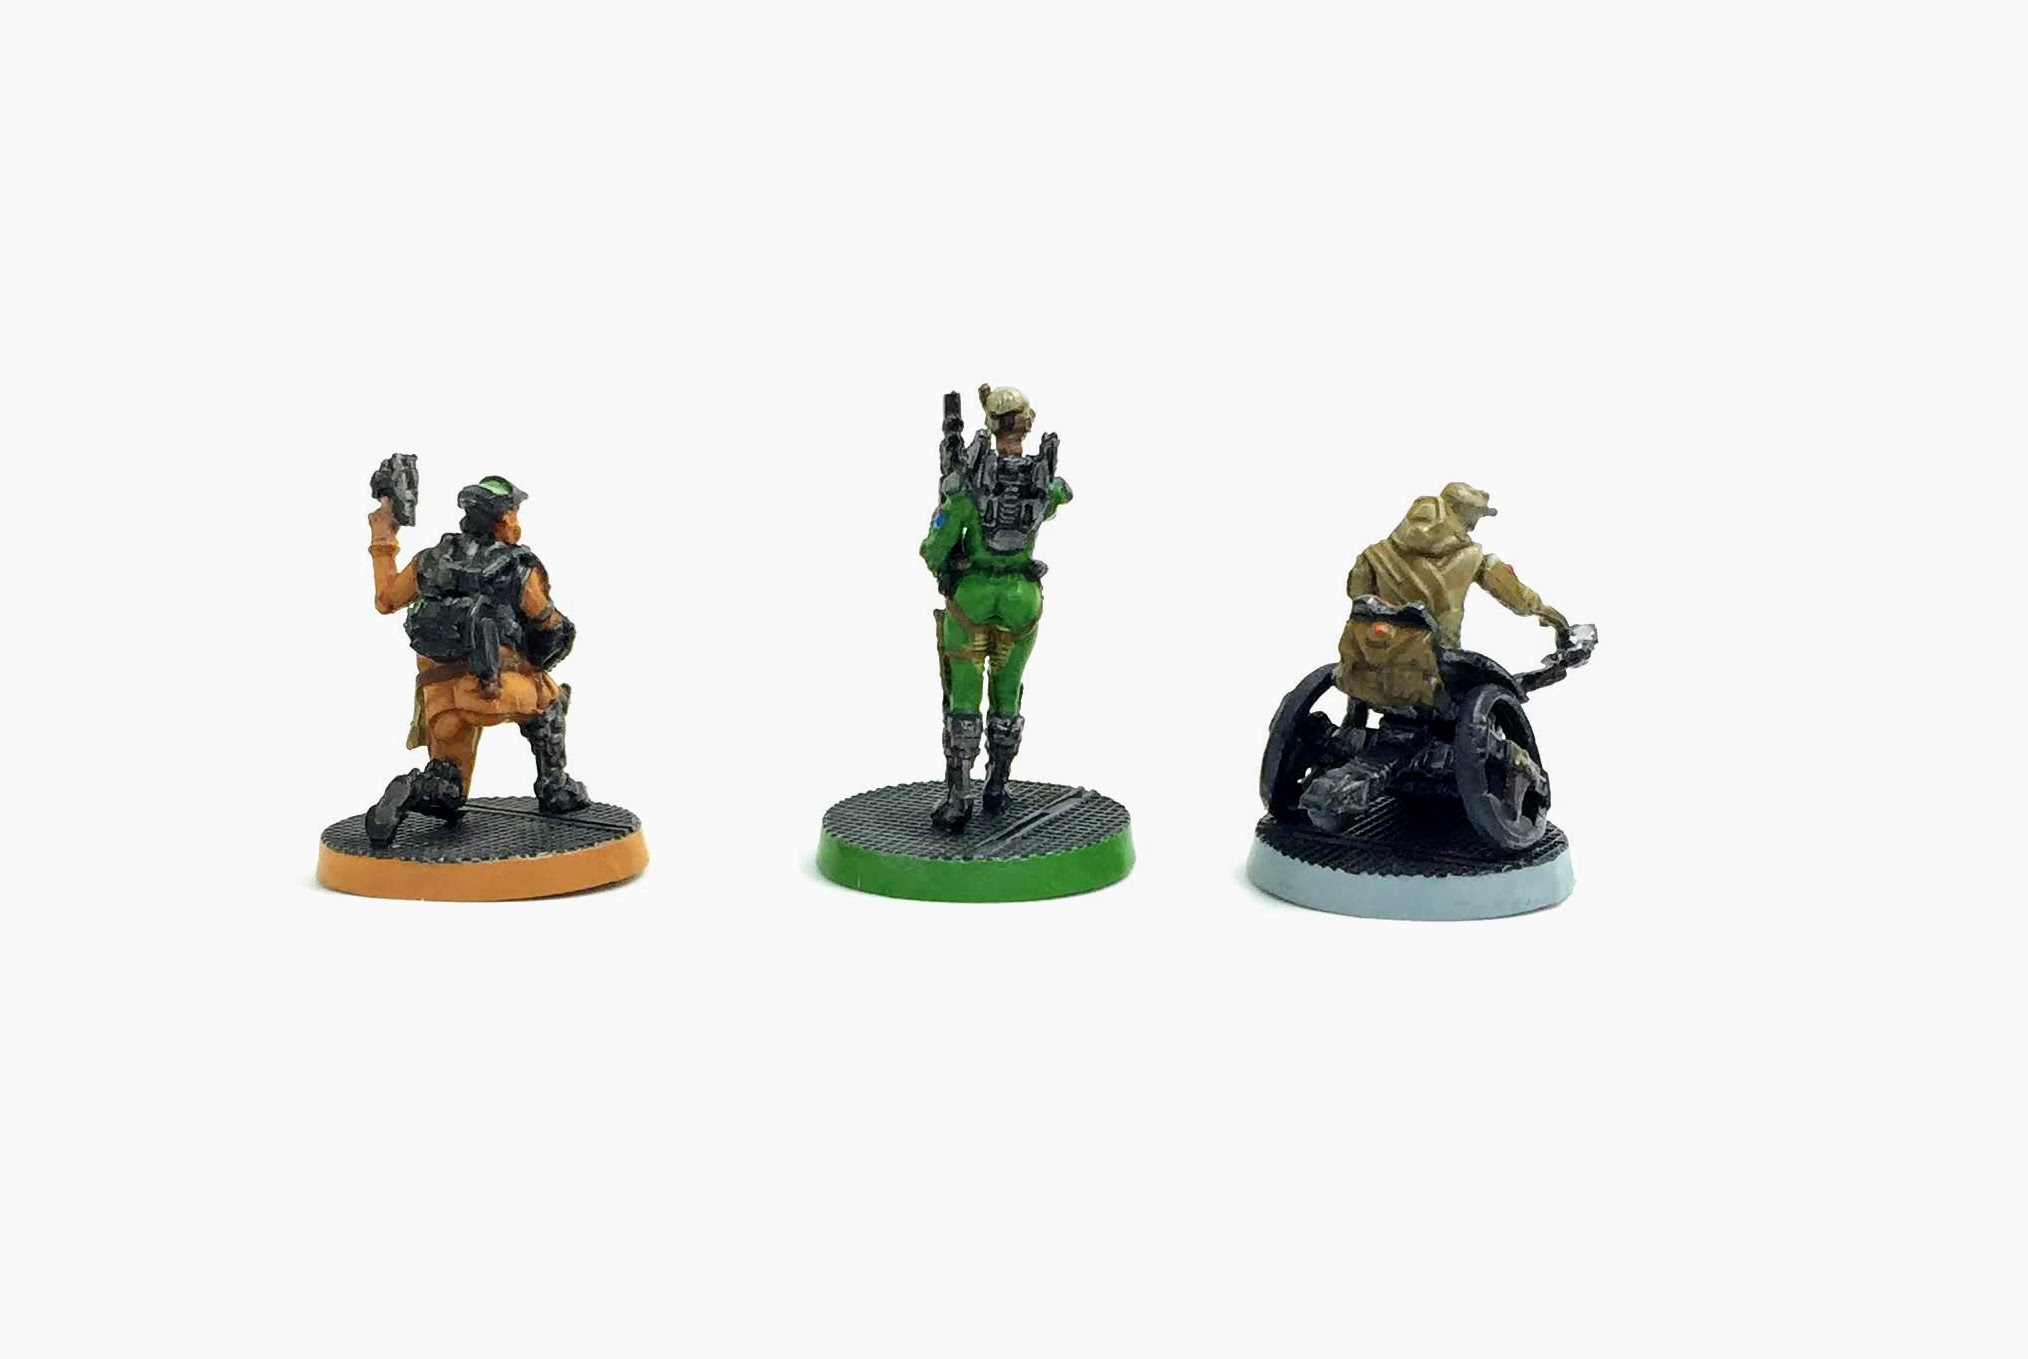
Heroes and rest of the Intruders
A photo of all the intruders and some shoots of the heroes.
The heroes don’t have a lot of detail on them but are fine for on the table. The photos make them look worse than they actually are. Having played a couple of games now they stand out well on the board and look good against the Intruders.
A Project Complete 😀