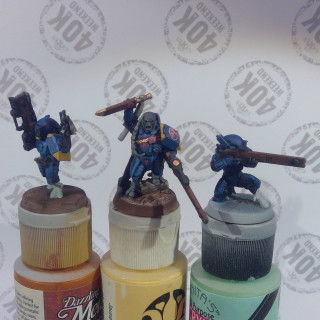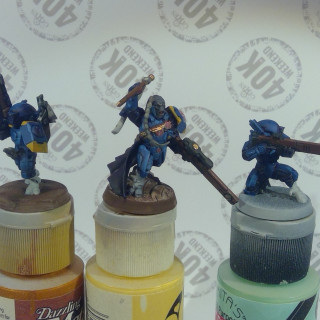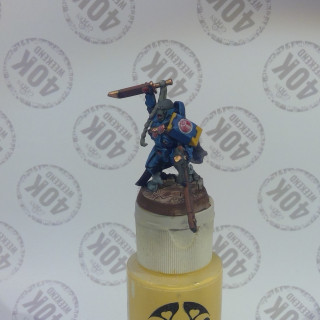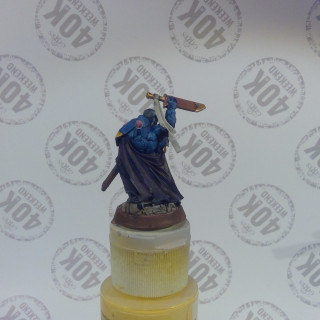
40k Hobby Weekend Tau of the Shattered Sword
Recommendations: 187
About the Project
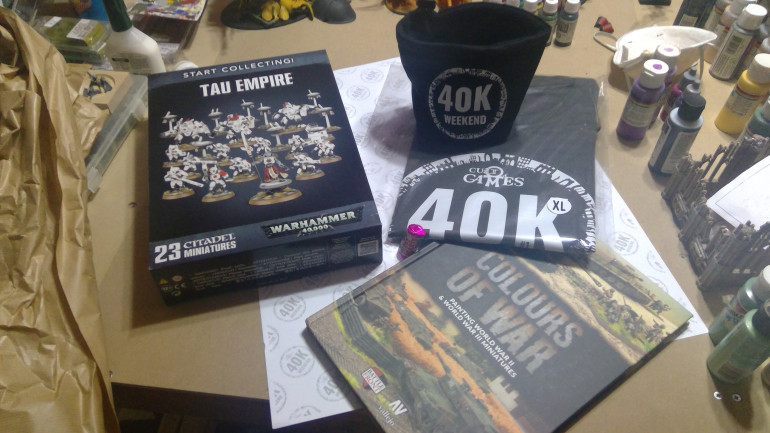
Painting up a Tau start collecting box as part of the 40k hobby weekend (August 2019).
Related Game: Warhammer 40,000
Related Company: Games Workshop
Related Genre: Science Fiction
This Project is Active
Finished
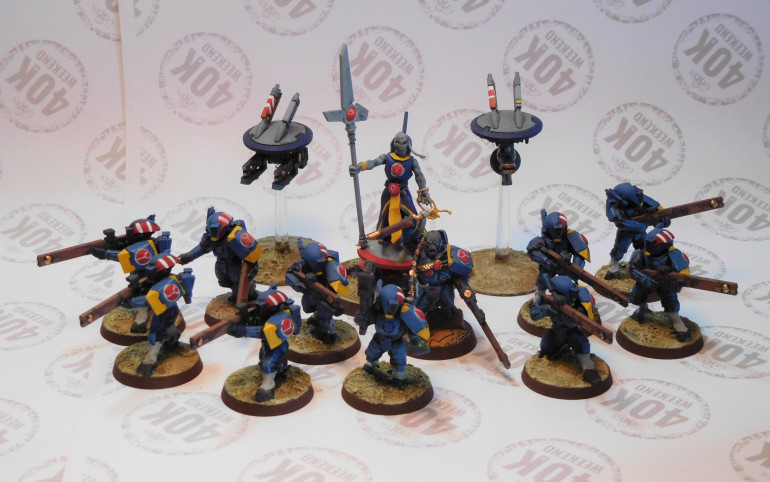
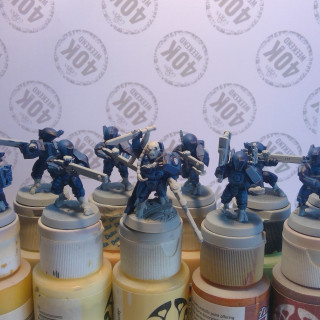
Mostly finished….Some time has pass since any work was done. Finally have the infantry all painted.
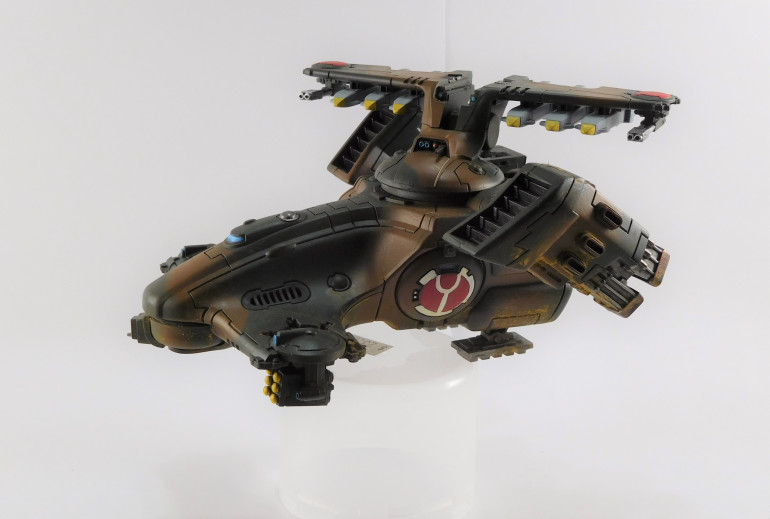
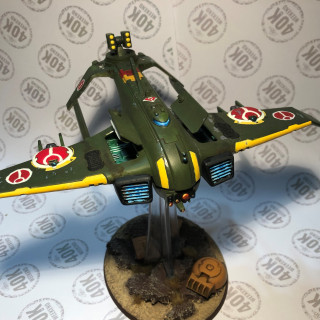
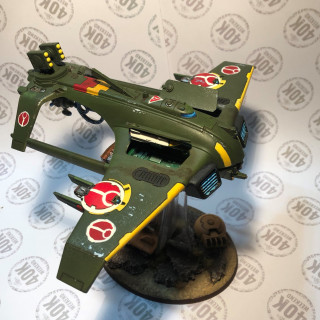
And now for something random… a Sky Ray Gunship.
After the Weekend, Day 20 Update
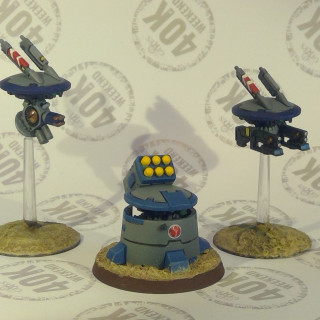
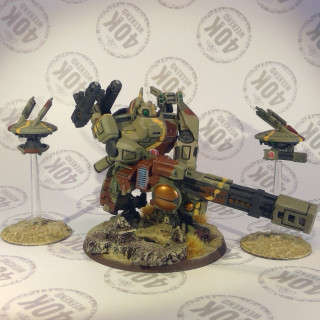
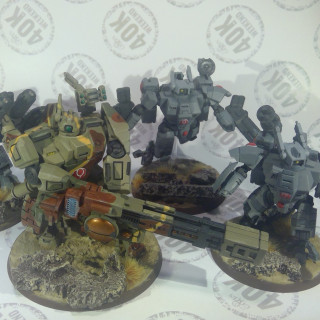
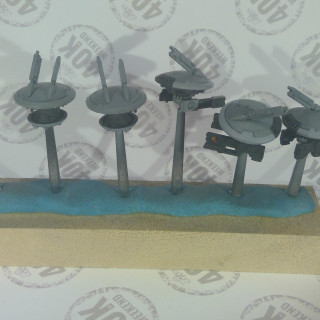
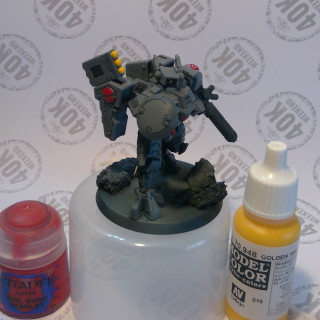
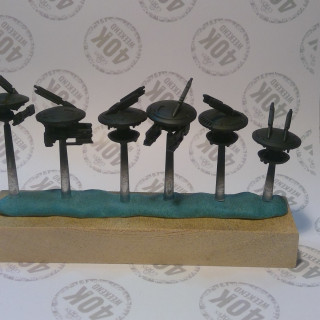
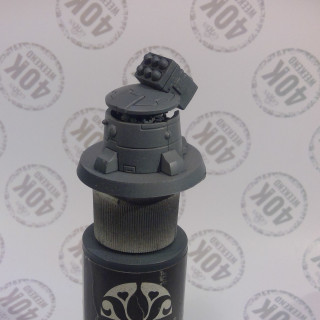
Not a lot of time to work on the Tau force, but some progress on the drones. Painted the Crisis Suit drones in the same greys as the suits. The Broadside Suit drones received the same camouflage as the Broadside. The Fire Warrior drones received the grey look but with a hint of Prussian blue and red squad markings. The blue was to signify the drones are part of the Fire Warrior squad. Unfortunately the support turret looks a bit like R2-D2. Some yellow was added for extra colour.
After the Weekend, Day 8 Update
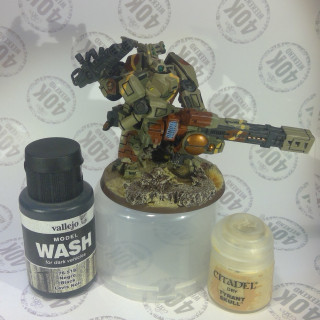
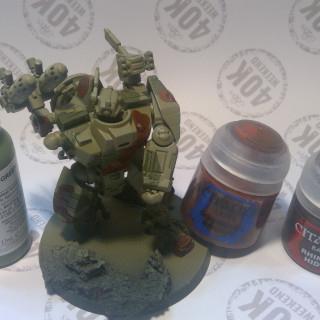
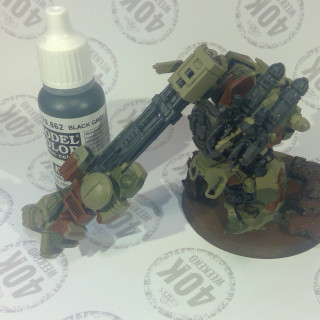
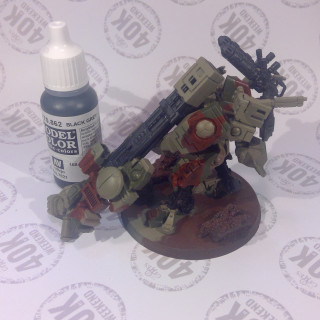
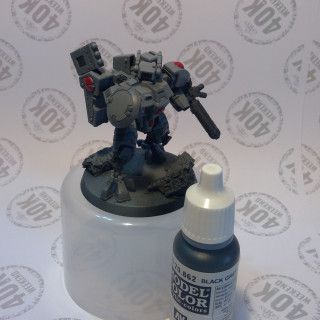
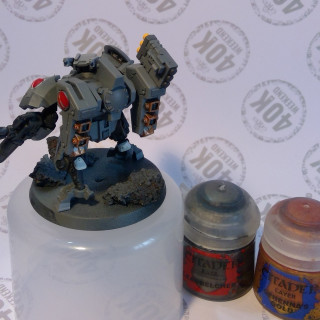
Short update, continued to paint the suits and fix the bases. The Broadside received some black lining with a black wash. A subtle drybrush of Tyrant Skull was applied to the Broadside. Worked a bit on the drones.
After the Weekend, Day 3 Update
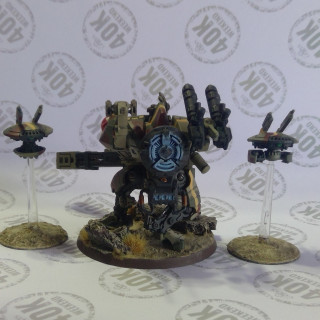
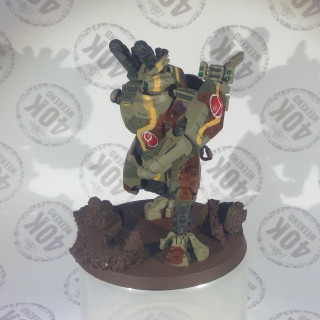
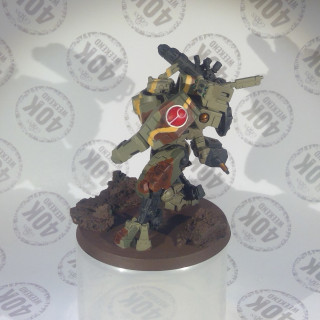
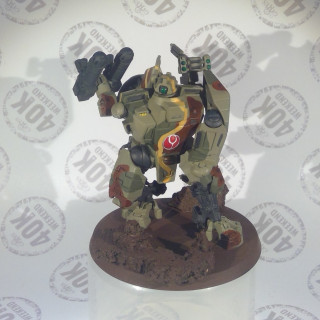
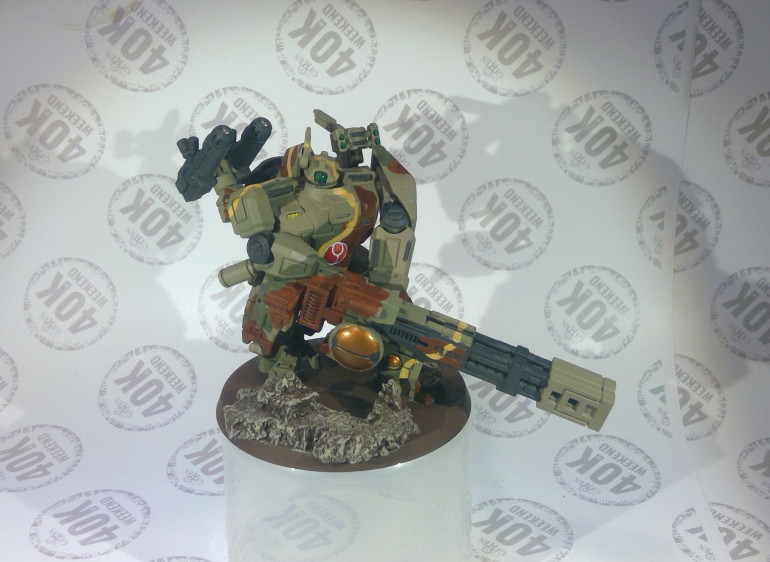
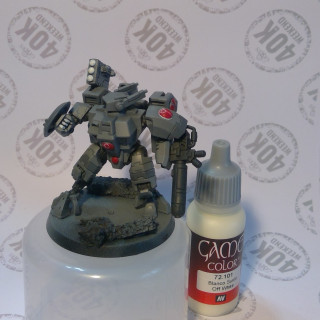
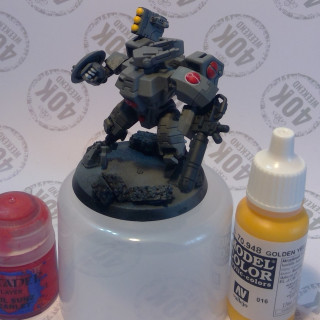
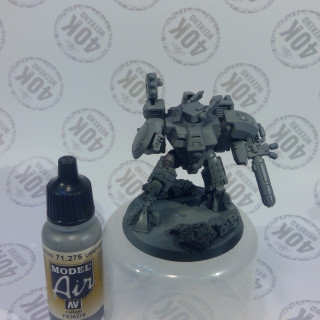
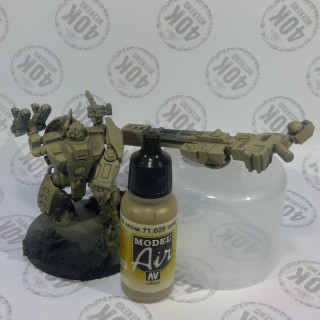
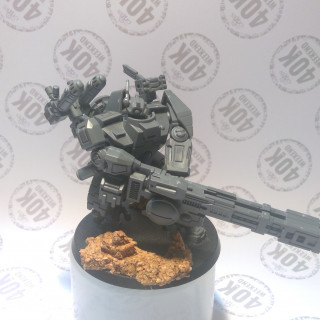
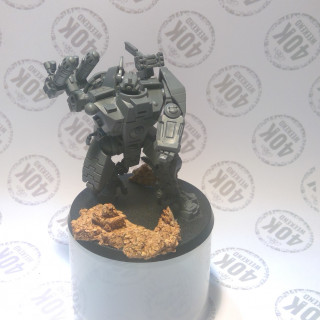
Slowly working on the broadside. There has been some experimenting with colours to get something similar to the camouflage pattern from the Ha-Go tank.
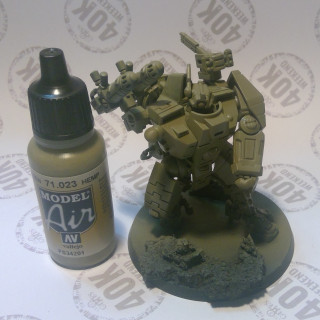
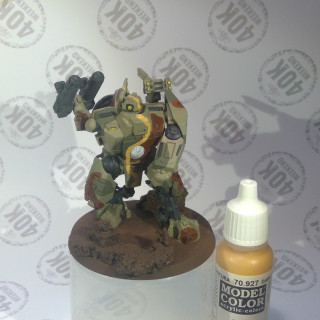
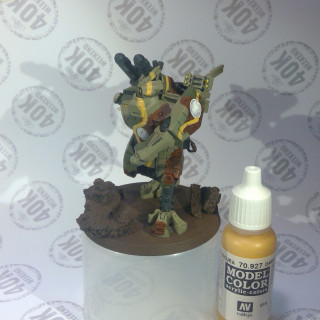
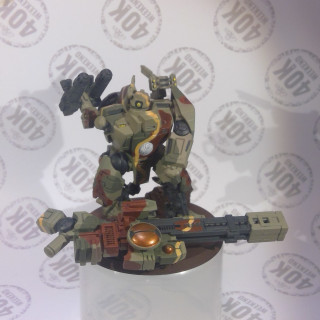
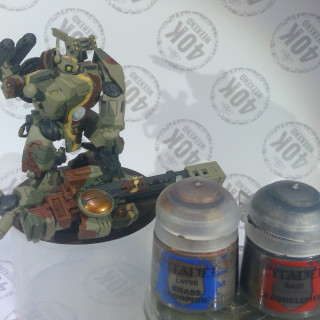
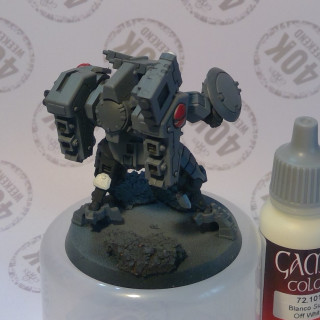
The suite was re-coated in Vallejo Hemp; it looked better than the sand that was painted on the weekend. A citadel brown and Vallejo Oliver was added. The brown parts received a washer of darker brown paint to make it a bit darker. The sun stripe was added using a Vallejo dark skin.
A dark grey was added to the mechanical bits like the legs, barrels, elbow joints and power pack. Brass was applied to tech bits. White and red paint was added to the Tau symbols.
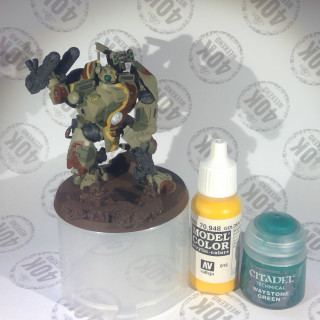
The lens on the gun and on the head were painted yellow and then Waystone Green (a Citadel technical paint). The lens standout more with a light base coat before the Waystone.
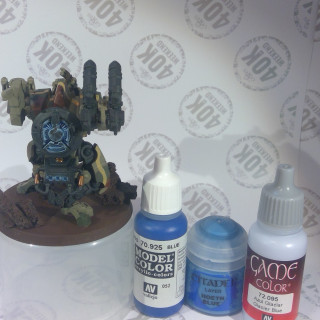
A series of blue paint were used to make and energy effect. It is possible to do a glow effect with a paint brush. This was one attempt at that.
After the Weekend, Day 1 Update
Working on the bases. The following is the detail for the base of Tau Crisis Suit, but the infantry will be similar, except for there is no cork.
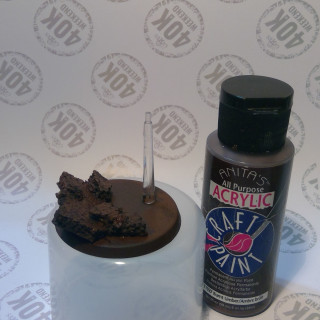
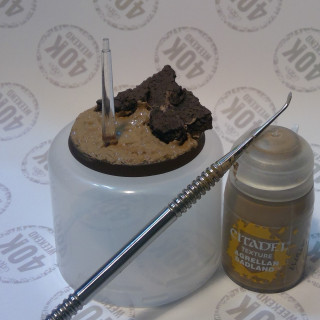
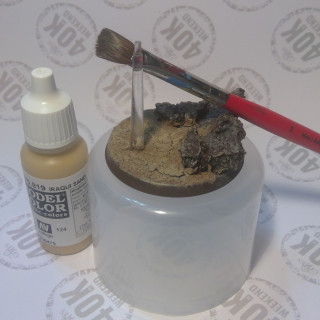
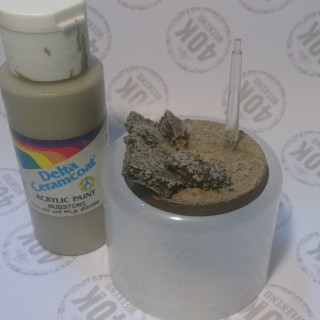
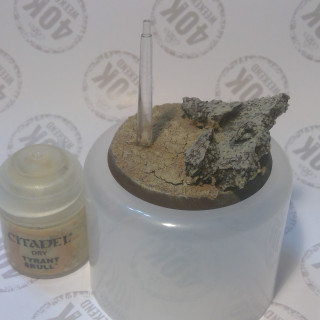
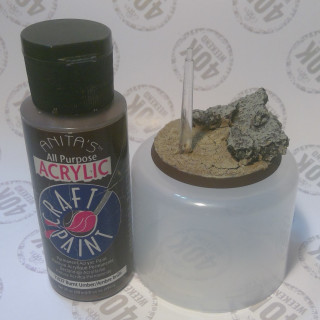
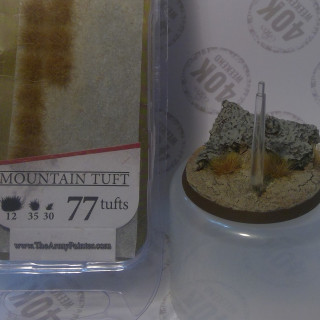
The base was painted two coats of Burnt Umbra. Once the paint was dry, a layer of texture paint was applied. This was left to dry over night. The base was dry brush in a sand. The cork was dry brushed a mudstone. Everything was dry brushed Tyrant Skull. The edge of the base was touched up with the Burnt Umbra. Finally some tuffs of grass was glued on.
Sunday Update
Unfortunately not a lot of progress today. Work focused on the Crisis Suits.
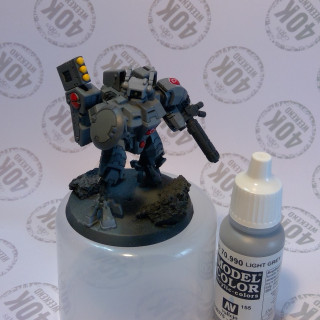
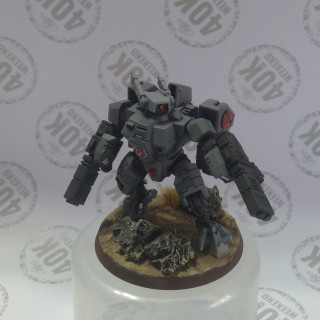
Painted some panels on the suites a slight darker grey. The mechanical bits and weapons painted a very dark grey. The fingers and a panel on the back of the leg were painted white. White was added to the Tau logo. A lighter red was used to provide a slight highlight to parts previously painted red. The lenses and misses received a coat of yellow. The heads were painted a light grey; like the radar done on some fighter jets. The exhaust nozzles of the jet pack receive some metallic coat. Still more to do; to be continued…
Saturday Afternoon Update
Continued to work on the Tau Fire Warriors and Tau Commander. Painted the rifles and puttees. Started to focus on the Tau Commander. Put a light drybrush of purple onto the outside of the cloak on the Tau Commander. Still much to do.
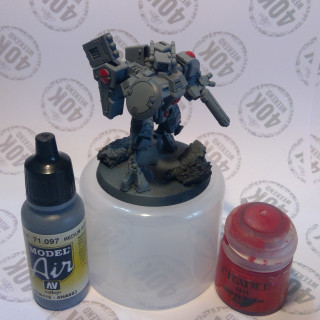
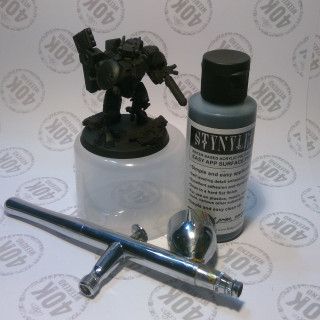
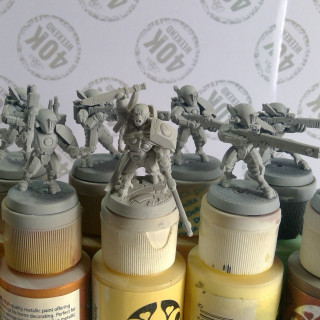
Time for a break from the Fire Warriors. The transparent flight stand for the one Using an airbrush, primed the tau suits and various drones. The transparent flight stand for the one Crisis Suit was masked off prior to priming. This was followed up with a coat of USAF Military Grey.
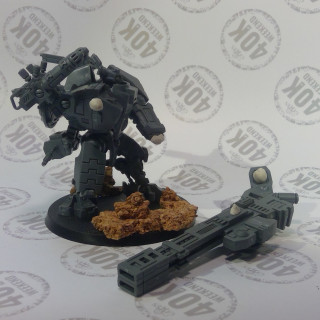
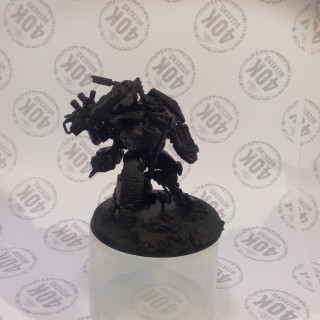
With the airbrush out, the Broadside Suit was also primed. For easy of painting the rail gun was not attached. The spots where the rail gun will be glued, received blu tack as masking. The suite was primed black and this was followed by a coating of Vallejo Arena Sand. As the barrel of the rail gun was going to be painted black, this received minimal attention while air brushing the Arena Sand.
Saturday Morning Update
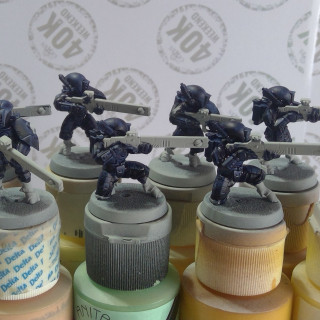
Small update this time. Working through painting a lot of blue. The process was pretty much as per the test paint, except focusing on the blue before doing any other colour.
Friday Afternoon Update
The Afternoon was spent building Tau suits.
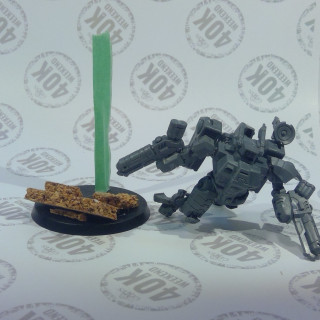
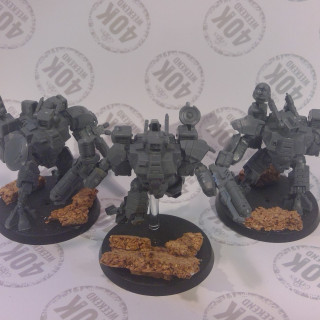
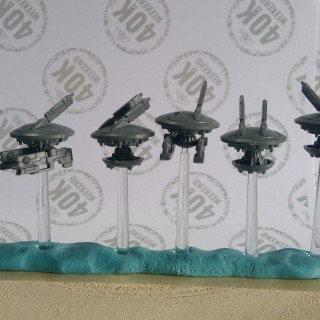
The three crisis suites where built. As an experiment one crisis suit was built on the flying stand. The suites where built following the instructions.
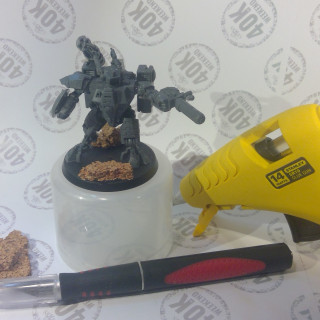
To keep with the theme from the Sharksun Bomber, cork was added to the bases. Sheets of cork was purchased from an office supply store; the cork was for cork board. The sheets are about 1/8″ thick. Chunks were torn off and made rough with the hobby knife. A hot glue gun was used to attach the cork to the bases.
With the bases detailed, the build was complete.
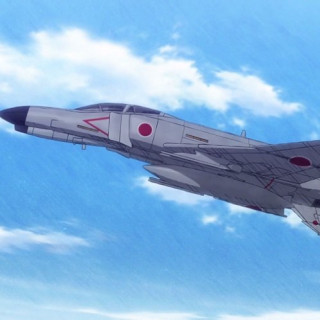
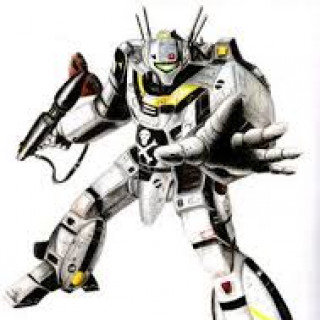
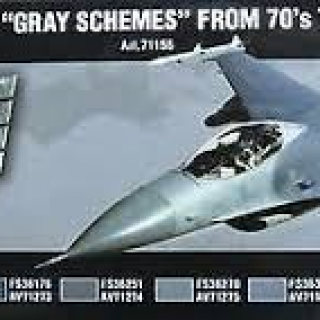
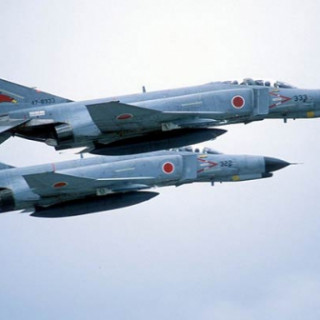
The plane of the paint scheme of the crisis suits was inspired by anime; Robotech and The Gate. The idea was to use greys from Vallejo to paint the suites like modern aircraft. Below are pictures of the inspiration, of the Vallejo paint kit, modern Japanese aircraft and of a previously painted crisis suited.
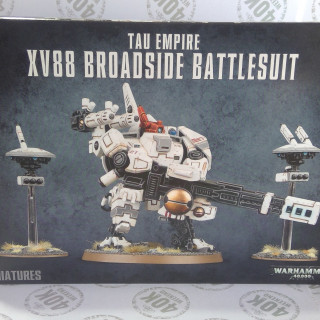
A Broadside Crisis Suit was also assembled. The assemble process followed the basic instructions. The base also recieve the cork treatment. The railgun arm was not attached, so as to allow access to paint the chest armour of the suite. This large suite will make for a nice centre piece for this starting army.
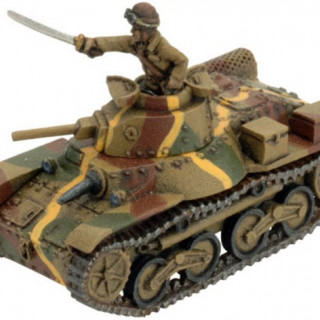
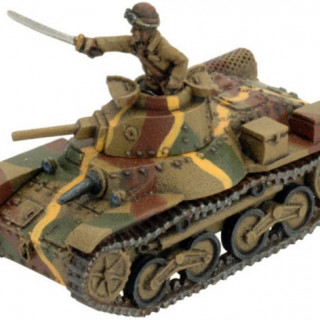
During the research Japanese aircraft and uniforms, found an article on painting Japanese tanks. During World War 2, some Japanese tanks had a yellow wavy line painted on each side of the tank. The reason was that the yellow line would look like a ray of sunship breaking through the canopy of the jungle. This sounded interesting and is the inspiration to of the Broadside Suite. Below is a picture of the internet of Ha-Go light tank that has this yellow strip.
Friday Morning Update
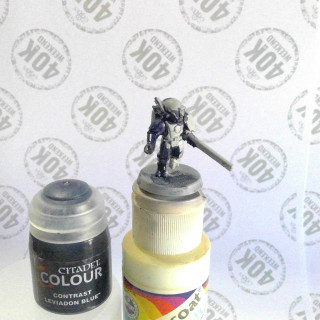
The Tau Fire Warrirors were attached to old paint pots using blu tack. Took them outside to prime with ther Grey Seer. After giving them a few minutes to dry, a coat of Leviathan Blue Contrast Paint was applied. Made a change form the test paint, and painted most of the model with the contrast paint. This change was to ensure there was no white spots showing.
The Tau Commander’s cloak also received a second coat of stylish purple to make it even darker.
While waiting for the contrast paint to dry, assembly of the crisis suits was started. First was the crisis suits’ drones and then the crisis suits. The crisis suits are a work in progress.
Blu Tack is used to help hold the legs in position as the glue dries.
Test Paint III
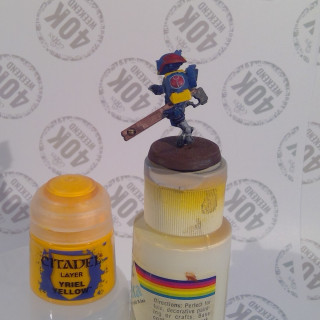
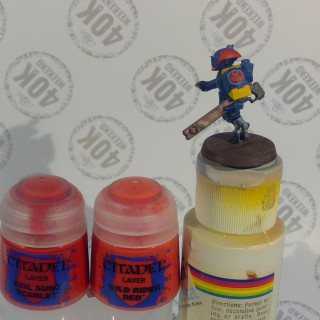
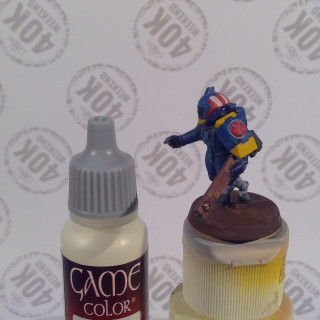
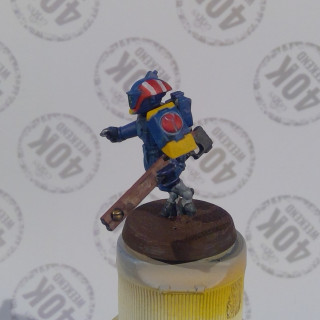
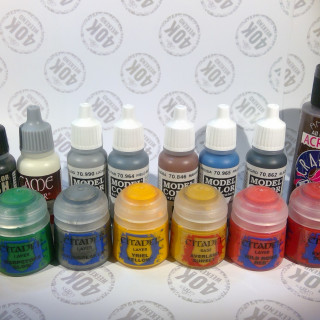
Continuing with painting… Yriel Yellow was added to brighten up the yellows. A couple of thin coats were required. The red spots recieve a highlight with an application of Evil Sun Scarlet followed by Wild Rider Red. White stripes where added to the red part of the helmet; this is to be a squard marking.
As the paint dried, it was notice the helmet lenses needed work. A layer of Warpstone Glow was added to the lense.
For now this is the way that the Tau of the Shattered Sword will be painted. The base requires further work. Some touch up is required. Right now the Tau Fire Warrior is at a decent table top paint quality. I never claimed to be a good painter.
While working on this it was tempting to change the colour of the armour plates to a grey. This was not done as they grey of the armour would be too close to the grey of the skin and this would not look good on the Tau Etherael.
Below are some pictures of the painted Tau Fire Warrior, plus some other random photographs. A Tau Commander was recently added.
Test Paint II
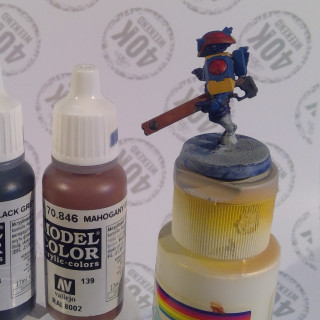
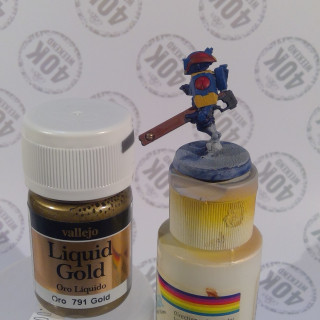
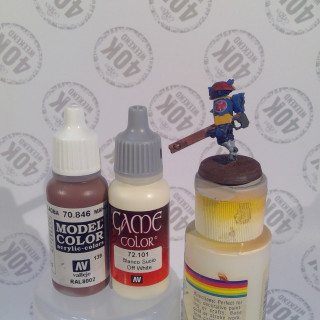
Continuing with painting… Blocking in the Pulse Rifle. Used a dark Grey for the handle and tech bits. Next some Mahogany Brown for the casing; sort of wood like. A touch of gold for accent. Not pictured is the Lead Belcher on the muzzle; but it is hard to see the muzzle anyways.
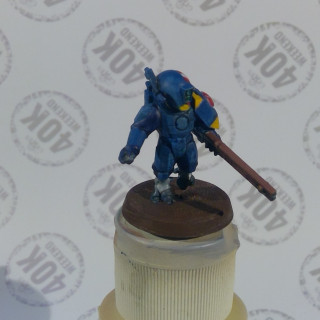
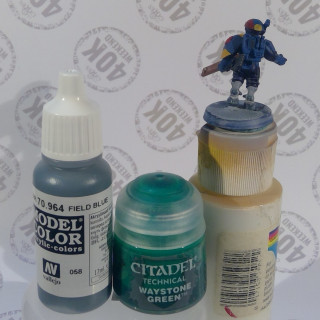
Tau have hoof like feet and they do not wear shoes. Thus their grey skin is exposed. A Field Blue (its greyish blue) was applied to the exposed feet. Waystone Green was applied to the lenses on the helmet.
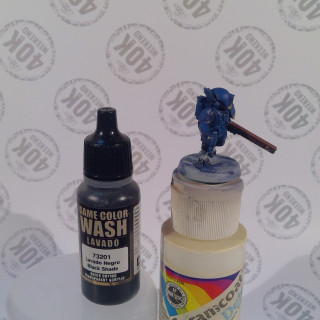
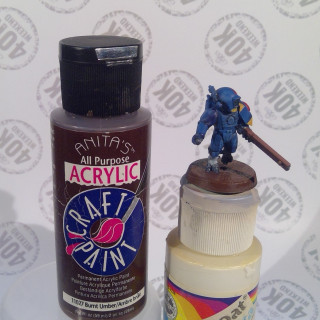
A light wash was applied to help pick out the armour plates. While waiting for the wash to dry, the base was painted a Burnt Umbra to match the base on the existing Tau Sharksun Bomber.
A second coat of Burnt Umbra was applied at a later stage.
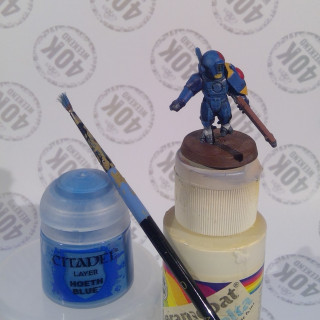
Once the wash had a few minutes to dry, the armour plates were dry brushed with Hoeth Blue. Care was taken to avoid the areas that were not blue.
In the picture is visible the old and abused brush used for dry brushing.
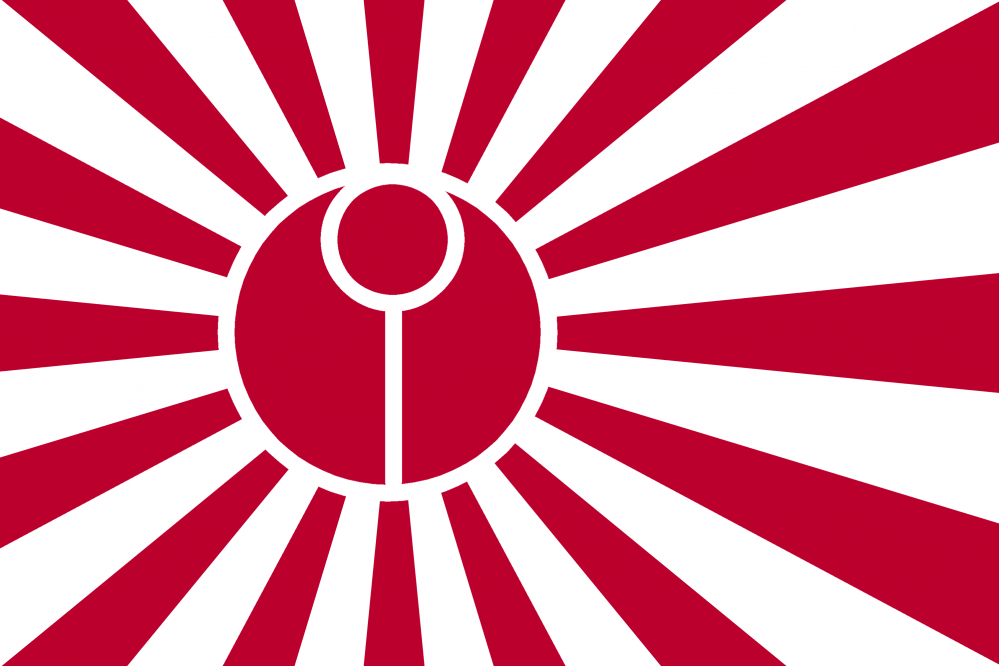
To make the Tau logo look more like a Hinomaru (Japanese circle of the sun logo), some watered down white paint was carefully added to the recess. A clean and dry brush was used to soak up any excess. The photo was take just after the white applied. Although as the paint dried, the white pulled more into the recess and was thus less visible. A second application of watered down paint may be required.
Some Mahogany Brown was used to clean up the excess of black washer on the rifle. To add some highlight to the rifle, a mix of white and Mahogany was applied to the edges of the panels. This is something that may require further work. For now it is good enough.
To be continued…
Test Painting
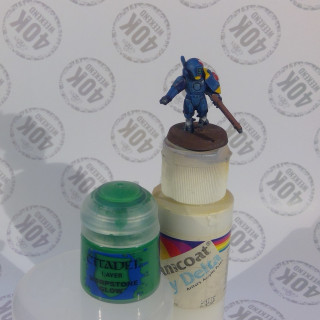
Test paint of a fire warrior.
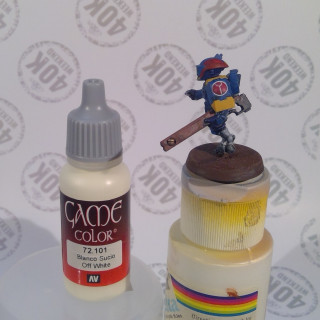
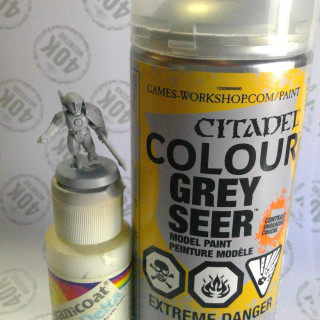
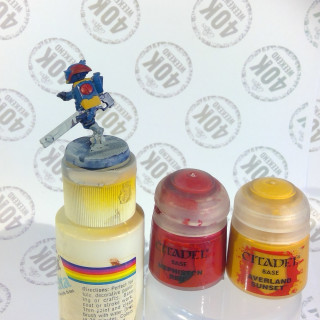
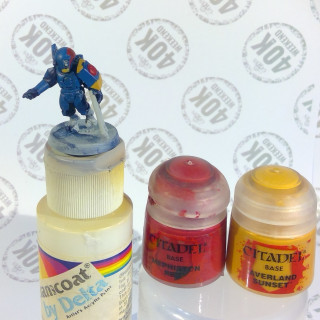
For easy of painting the volunteer fire warrior was blu tacked to the top of an old paint bottle. As it was a sunny day, took the miniature out side to prime with citadel Grey Seer Primer.
Wait 20 minutes for the primer to dry before proceeding to the next step.
The under suit was painted with Leviathan Blue contrast paint. The paint was not thinned. Watch for paint pooling; wipe excess paint if necessary. The plan was to paint just the under suit, but this proved somewhat difficult.
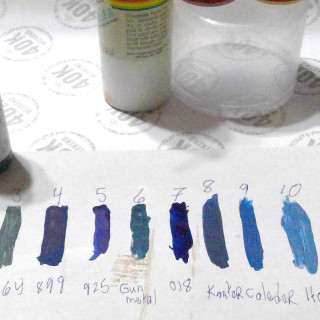
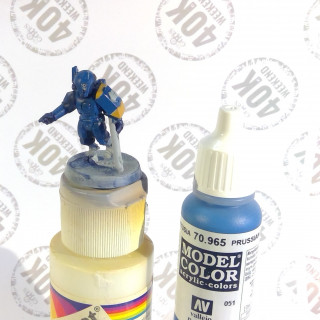
The contrast paint took several hours to dry before any other colour could be applied. While waiting for the paint to dry, took time to experiment with different blues for the armour plates. Decided to stick with the Vallejo Prussian blue.
Blocking out basic colours.
The armor plates where painted Prussian blue.
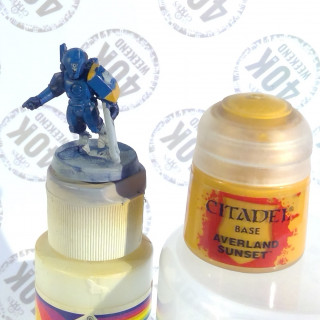
The leggings/putties painted a light grey; the grey almost matched the primer. Yellow to pick out some parts.
Yellow on a tab on the helmet to look like a samurai neck strap. Yellow on the shoulder guard in place of aiguillette (the braid worn on the shoulder on some military uniform).
Red was applied to the Tau logo on the shoulder pad. A bit of red was added to the helmet for a future squad marking.
So far nothing fancy, but to be continued…
The Build
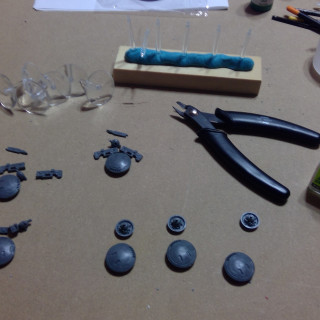
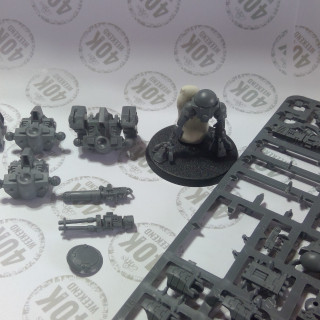
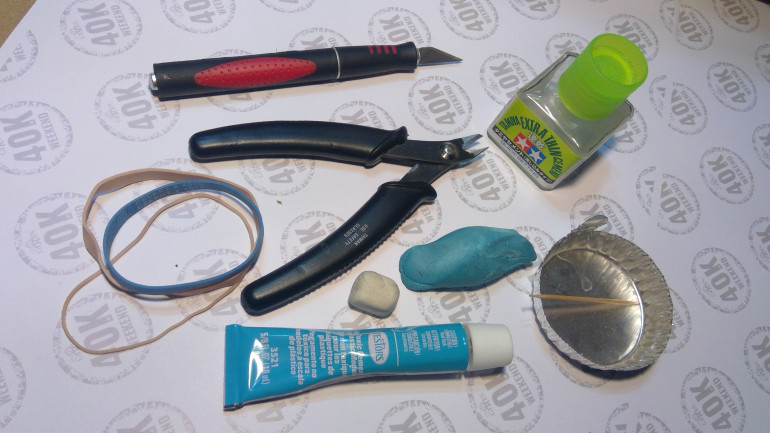
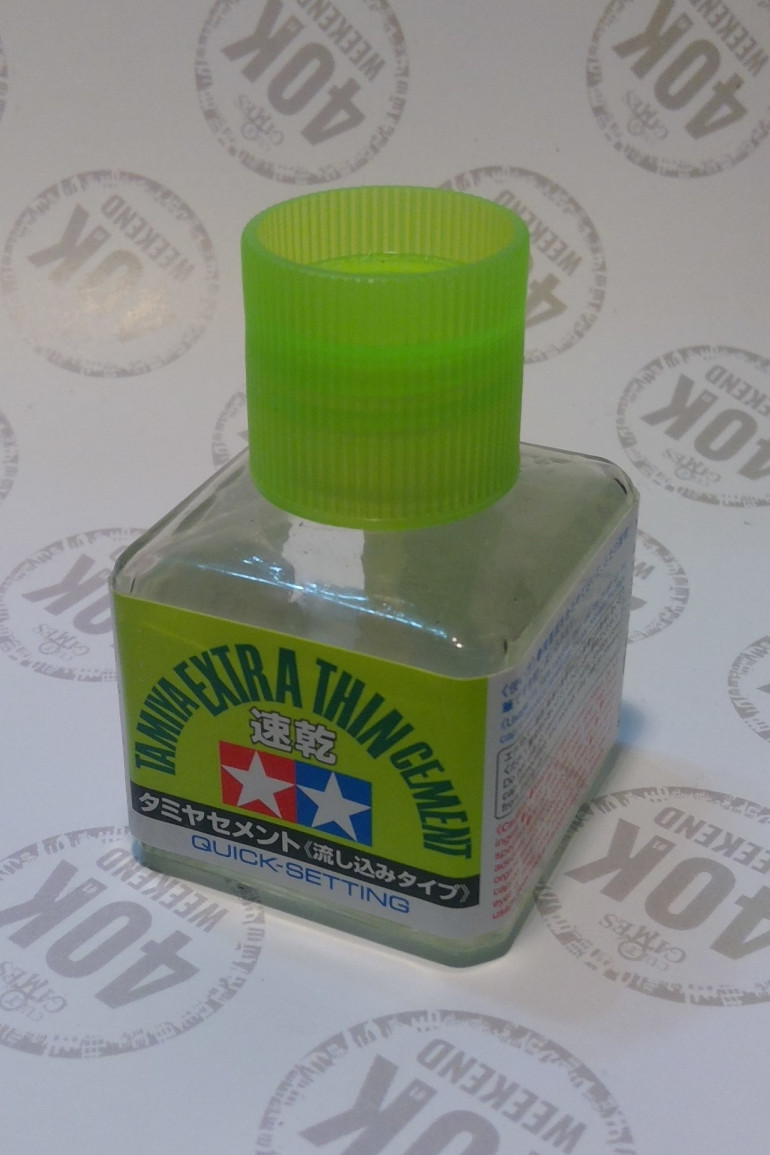
Started assembling the Fire Warriors. Before discussing the assembling process, here is a brief description of the tools used. Clippers are used to remove parts from the sprue. Hobby knife to clean mold lines and any chunk of sprue off the parts. Testor cement adhesive to glue the parts. A tooth pick and small dish to apply the glue. Experimenting with Tamia Extra Thin Cement to glue some parts. There is some blue blu tack and some white blu tack. There is no real difference between the blue and white blu tack.; just happened to have different colours. The blu tack and elastic bands used to help hold parts together while the glue cures.
The Tamia Extra Thin Cement is an interesting produce. The adhesive comes in a glass bottle and the cap has an applicator brush. Parts can be dry fit together and then “paint” adhesive along the joint. It works pretty good.
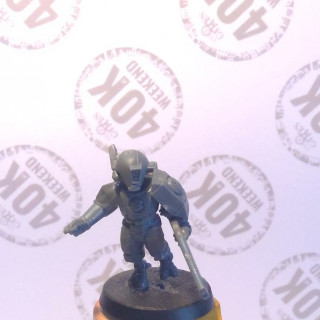
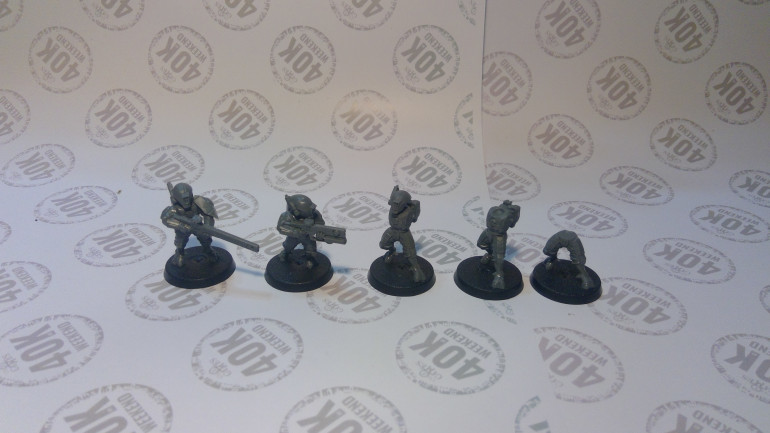
Clipped out parts from sprue and started to assemble the models as per the enclosed instructions. Quickly clean off mold lines.
Step one, attach the legs to the base.
Step two, attach the torso and back pack.
Step three, attach the head and antenna.
Step four, attach the arms.
Step five, attach the shoulder guard and remaining bits.
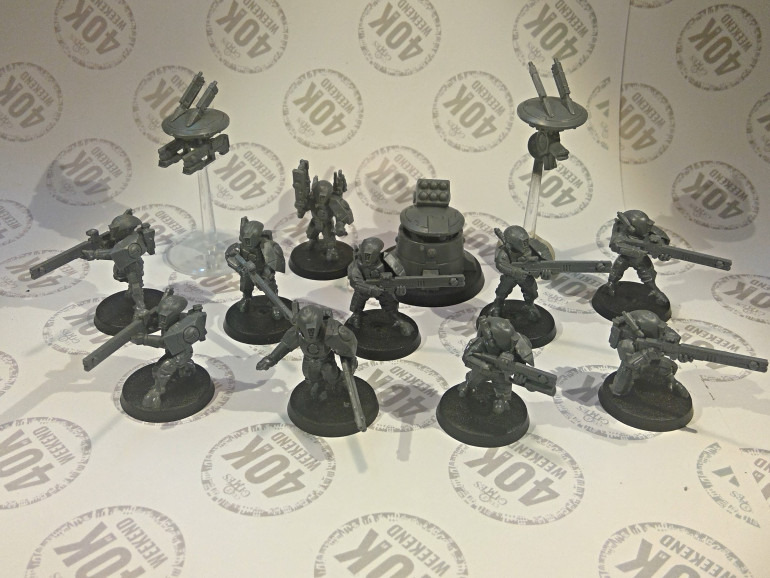
The tau missile DS8 missile support turret, looks a bit like a R2-D2. It is tempting to paint the turret R2-D2, but that would be contrary to the theme. The turret and the drones may get painted battle ship gray to go with the theme.
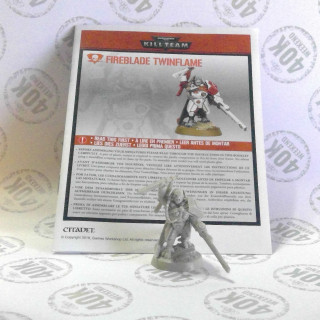
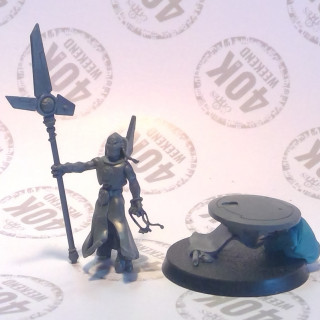
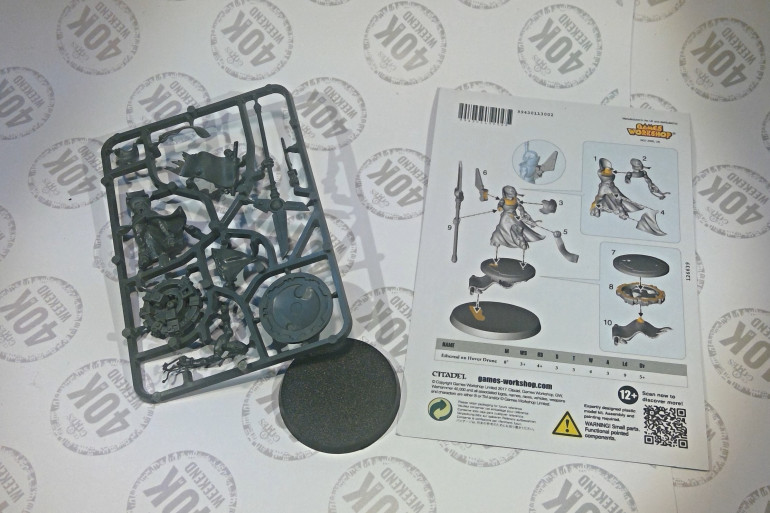
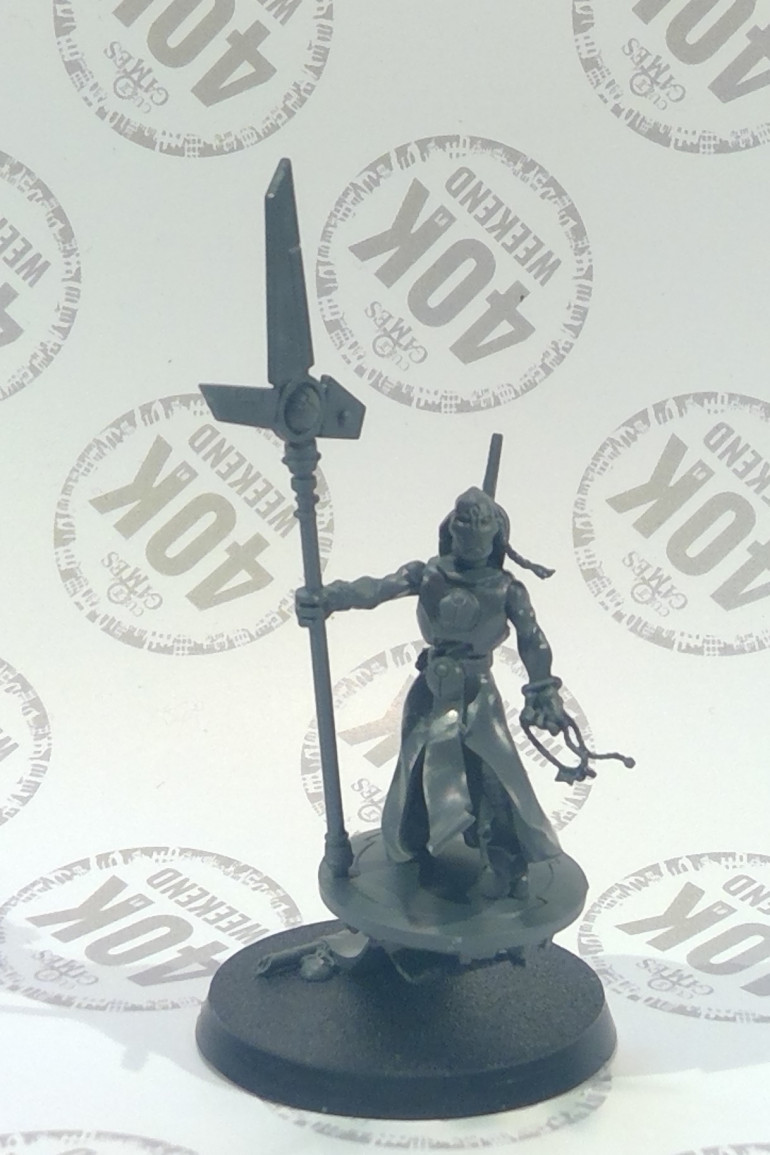
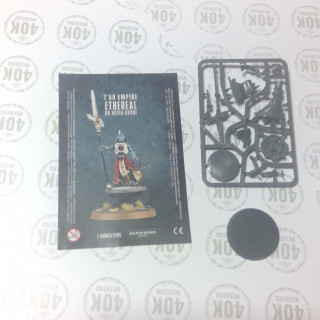
Next is the assembly of the Ethereal. As stated previously this is a single pose model. This model was fairly simple to put together. Not sure how to paint the Tau skin; the but armor and cloth will be painted as like the fire warriors.
The Ethereal was not glued to the fancy base separate for easy of painting.
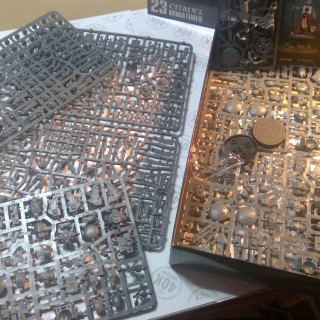
Unboxing
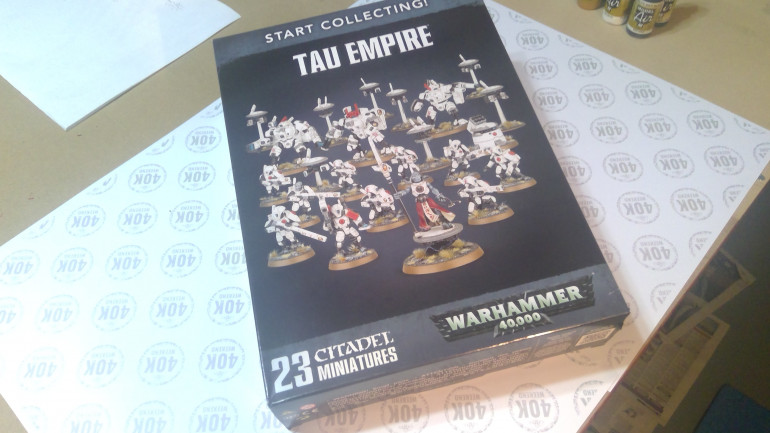
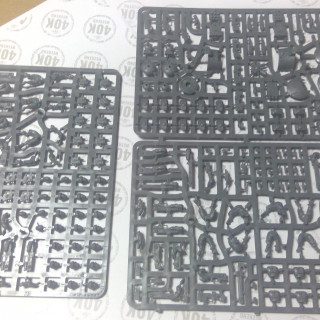
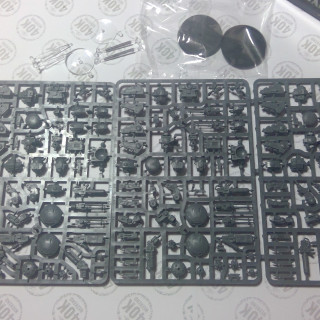
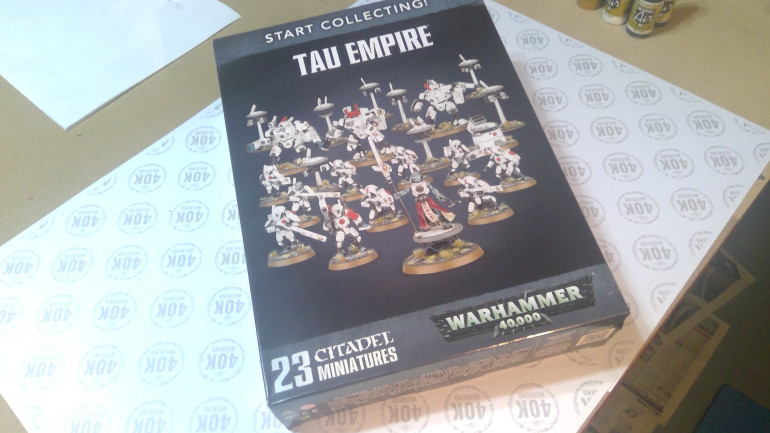
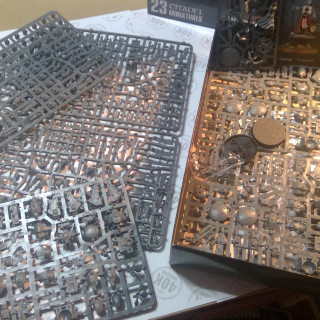
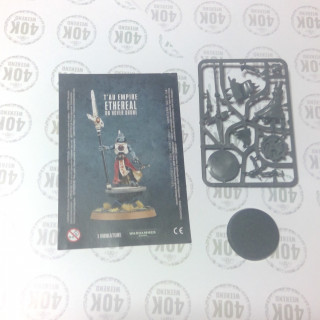
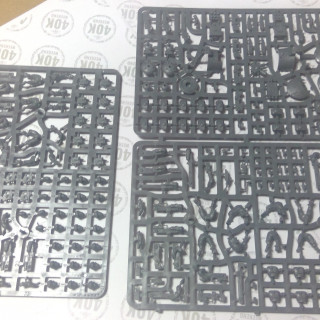
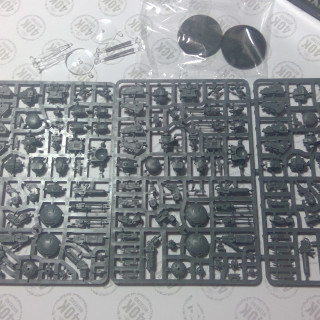
Time for the unboxing. The Tau starter set comes with:
a) 10 Tau warriors that be be made into Fire Warrior Strike Team (basic troops) or Fire Warriors Breacher Team (more heavily armed). Two drones and a missile turret.
b) 3 XV8 Crisis Suit with 6 drones.
c) 1 Ethereal to lead them all. The Ethereal is a single pose model unlike the rest of the mini’s in the box.
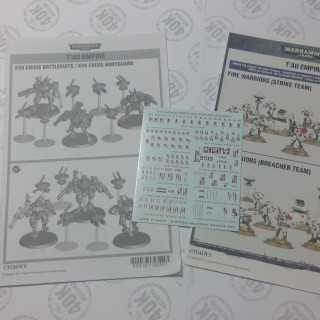
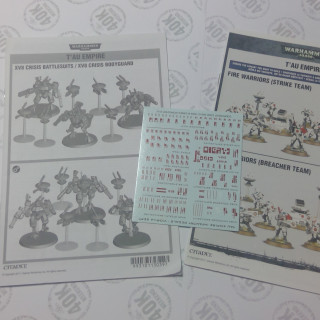
The box also includes the set of instructions for assembling the Fire Warrriors; instructions for the Crisis Suites, a sheet of decals, and lastly all the bases required.
Choosing the Colours
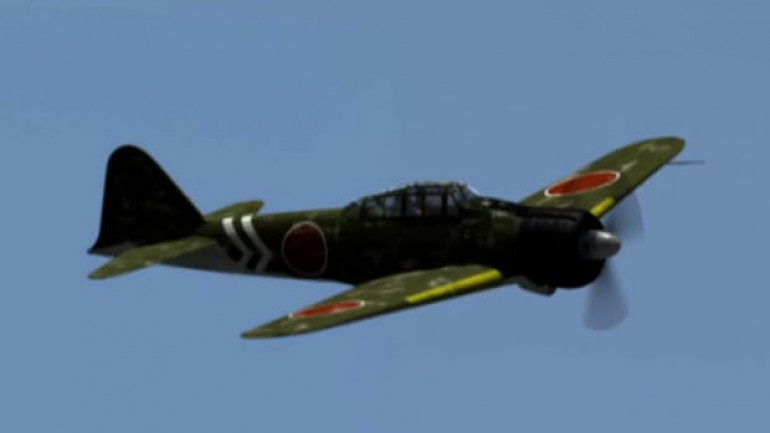
Several years back on the history channel there was television show that talked about aerial combat. It was called Dogfight. One particular episode caught my attention; the Zero Killer. This episode talked about aerial battles in the pacific between Japanese Zero’s and American Hellcats during world war 2.
I liked the colours of the Japanese Zero and thought it would be a good paint scheme for a Tau aircraft. Below is a screen shot from the show.
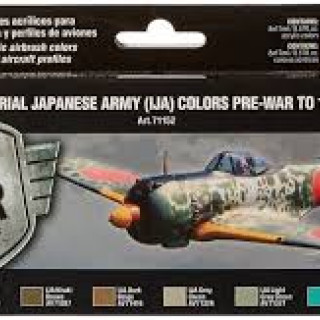
I while ago, I particpated in a friendly game using Warhammer 40k aircraft. Recalling the television show Dogfight, I decided to paint up a Tau Sun Shark Bomber in the Japanese WW2 colours. Vallejo makes a paint set that has all the appropriate colours for Japanese aircraft.
See below for the Vallejo paint set and my Sun Shark Bomber.
I had been toying with the idea of fleshing out a Tau army to go with the aircraft. The 40K hobby weekend was the perfect opportunity to paint up some Tau to go with the aircraft. Although I may just use the Tau for Kill Team.
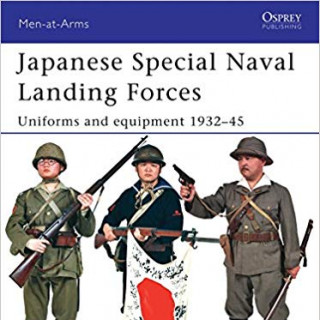
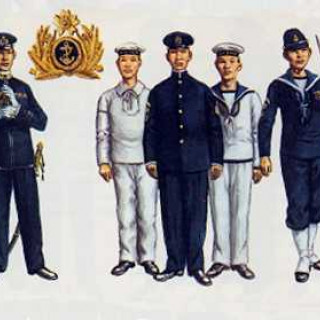
So the question was how to paint the Tau Fire Warriors; I wanted the Fire Warrior to go with my Sun Shark Bomber. Looking through some Osprey books, I found the Japanese Naval Landing Forces for inspiration. These were basically marines but were part of the Naval. When first formed, the Japanese Marines wore a dark blue uniform as that was the standard uniform of the sailors. Around 1937 the Japanese marines change their uniform to something similar to the army.
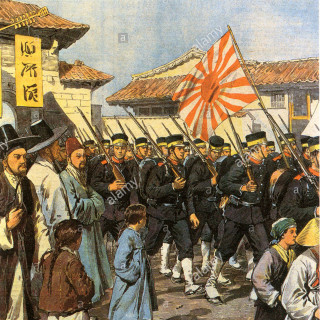
I like the dark blue uniforms. This may be in part from watching Tora Tora and Midway movies where the Naval officers have the dark blue uniforms. Below are some pictures found on the internet that I used as reference.
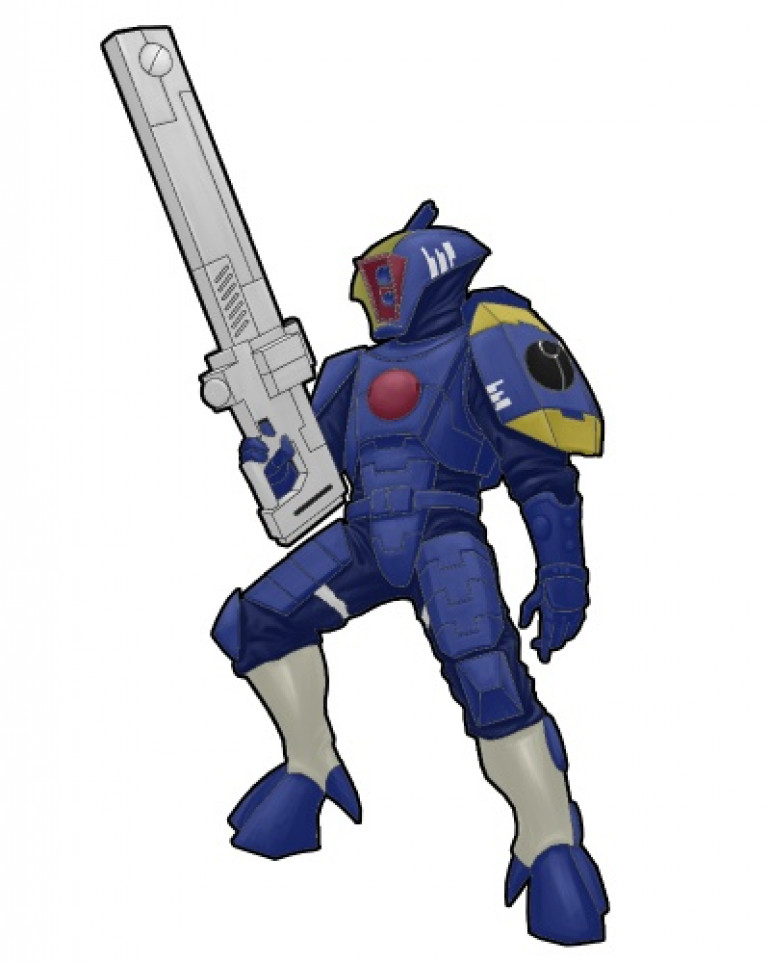
Tentatively I plan to paint the Fire Warriors undersuit with a dark blue; I might try one of the new GW contrast paints. The Tau emblom will be painted red. The armour plates will be painted a lighter blue; perhaps a Vallejo Prussian Blue. Some of the armour plates will have yellow trim just because. The armour on the lower legs I will paint white to look like the puttees like in the source material.
Of course this may all change once I start painting.


![How To Paint Moonstone’s Nanny | Goblin King Games [7 Days Early Access]](https://images.beastsofwar.com/2024/12/3CU-Gobin-King-Games-Moonstone-Shades-Nanny-coverimage-225-127.jpg)


