


![How To Paint Moonstone’s Nanny | Goblin King Games [7 Days Early Access]](https://images.beastsofwar.com/2024/12/3CU-Gobin-King-Games-Moonstone-Shades-Nanny-coverimage-225-127.jpg)


Magnetised Bullgryns for Kill Team


Recommendations: 83
About the Project
So, I play Kill Team and one of the things that I have found with many of the original units is the desire to have a lot of the options available, particularly for your weapon specialists. For the base units this was easy enough when there is typically 10 in a box and you usually only up to half of that giving you plenty of spare for alternative load outs. Then we started looking at the elites Expansion... Long story short, a lot of the Elites units are big meaty model and you get closer between 3 and 5 in a box: suddenly it's not so easy to have one of everything. Seeing as Bullgryns are on the bigger end of GW models and come in a slighter end of three to a box, I decided to start with these for my first foray into magnetising miniature load outs. This is my journey.
Related Game: Warhammer 40,000: Kill Team
Related Company: Games Workshop
Related Genre: Science Fiction
Related Contest: Spring Clean Hobby Challenge (Old)
This Project is Completed
Step 1: Playing with (Milli)Putty
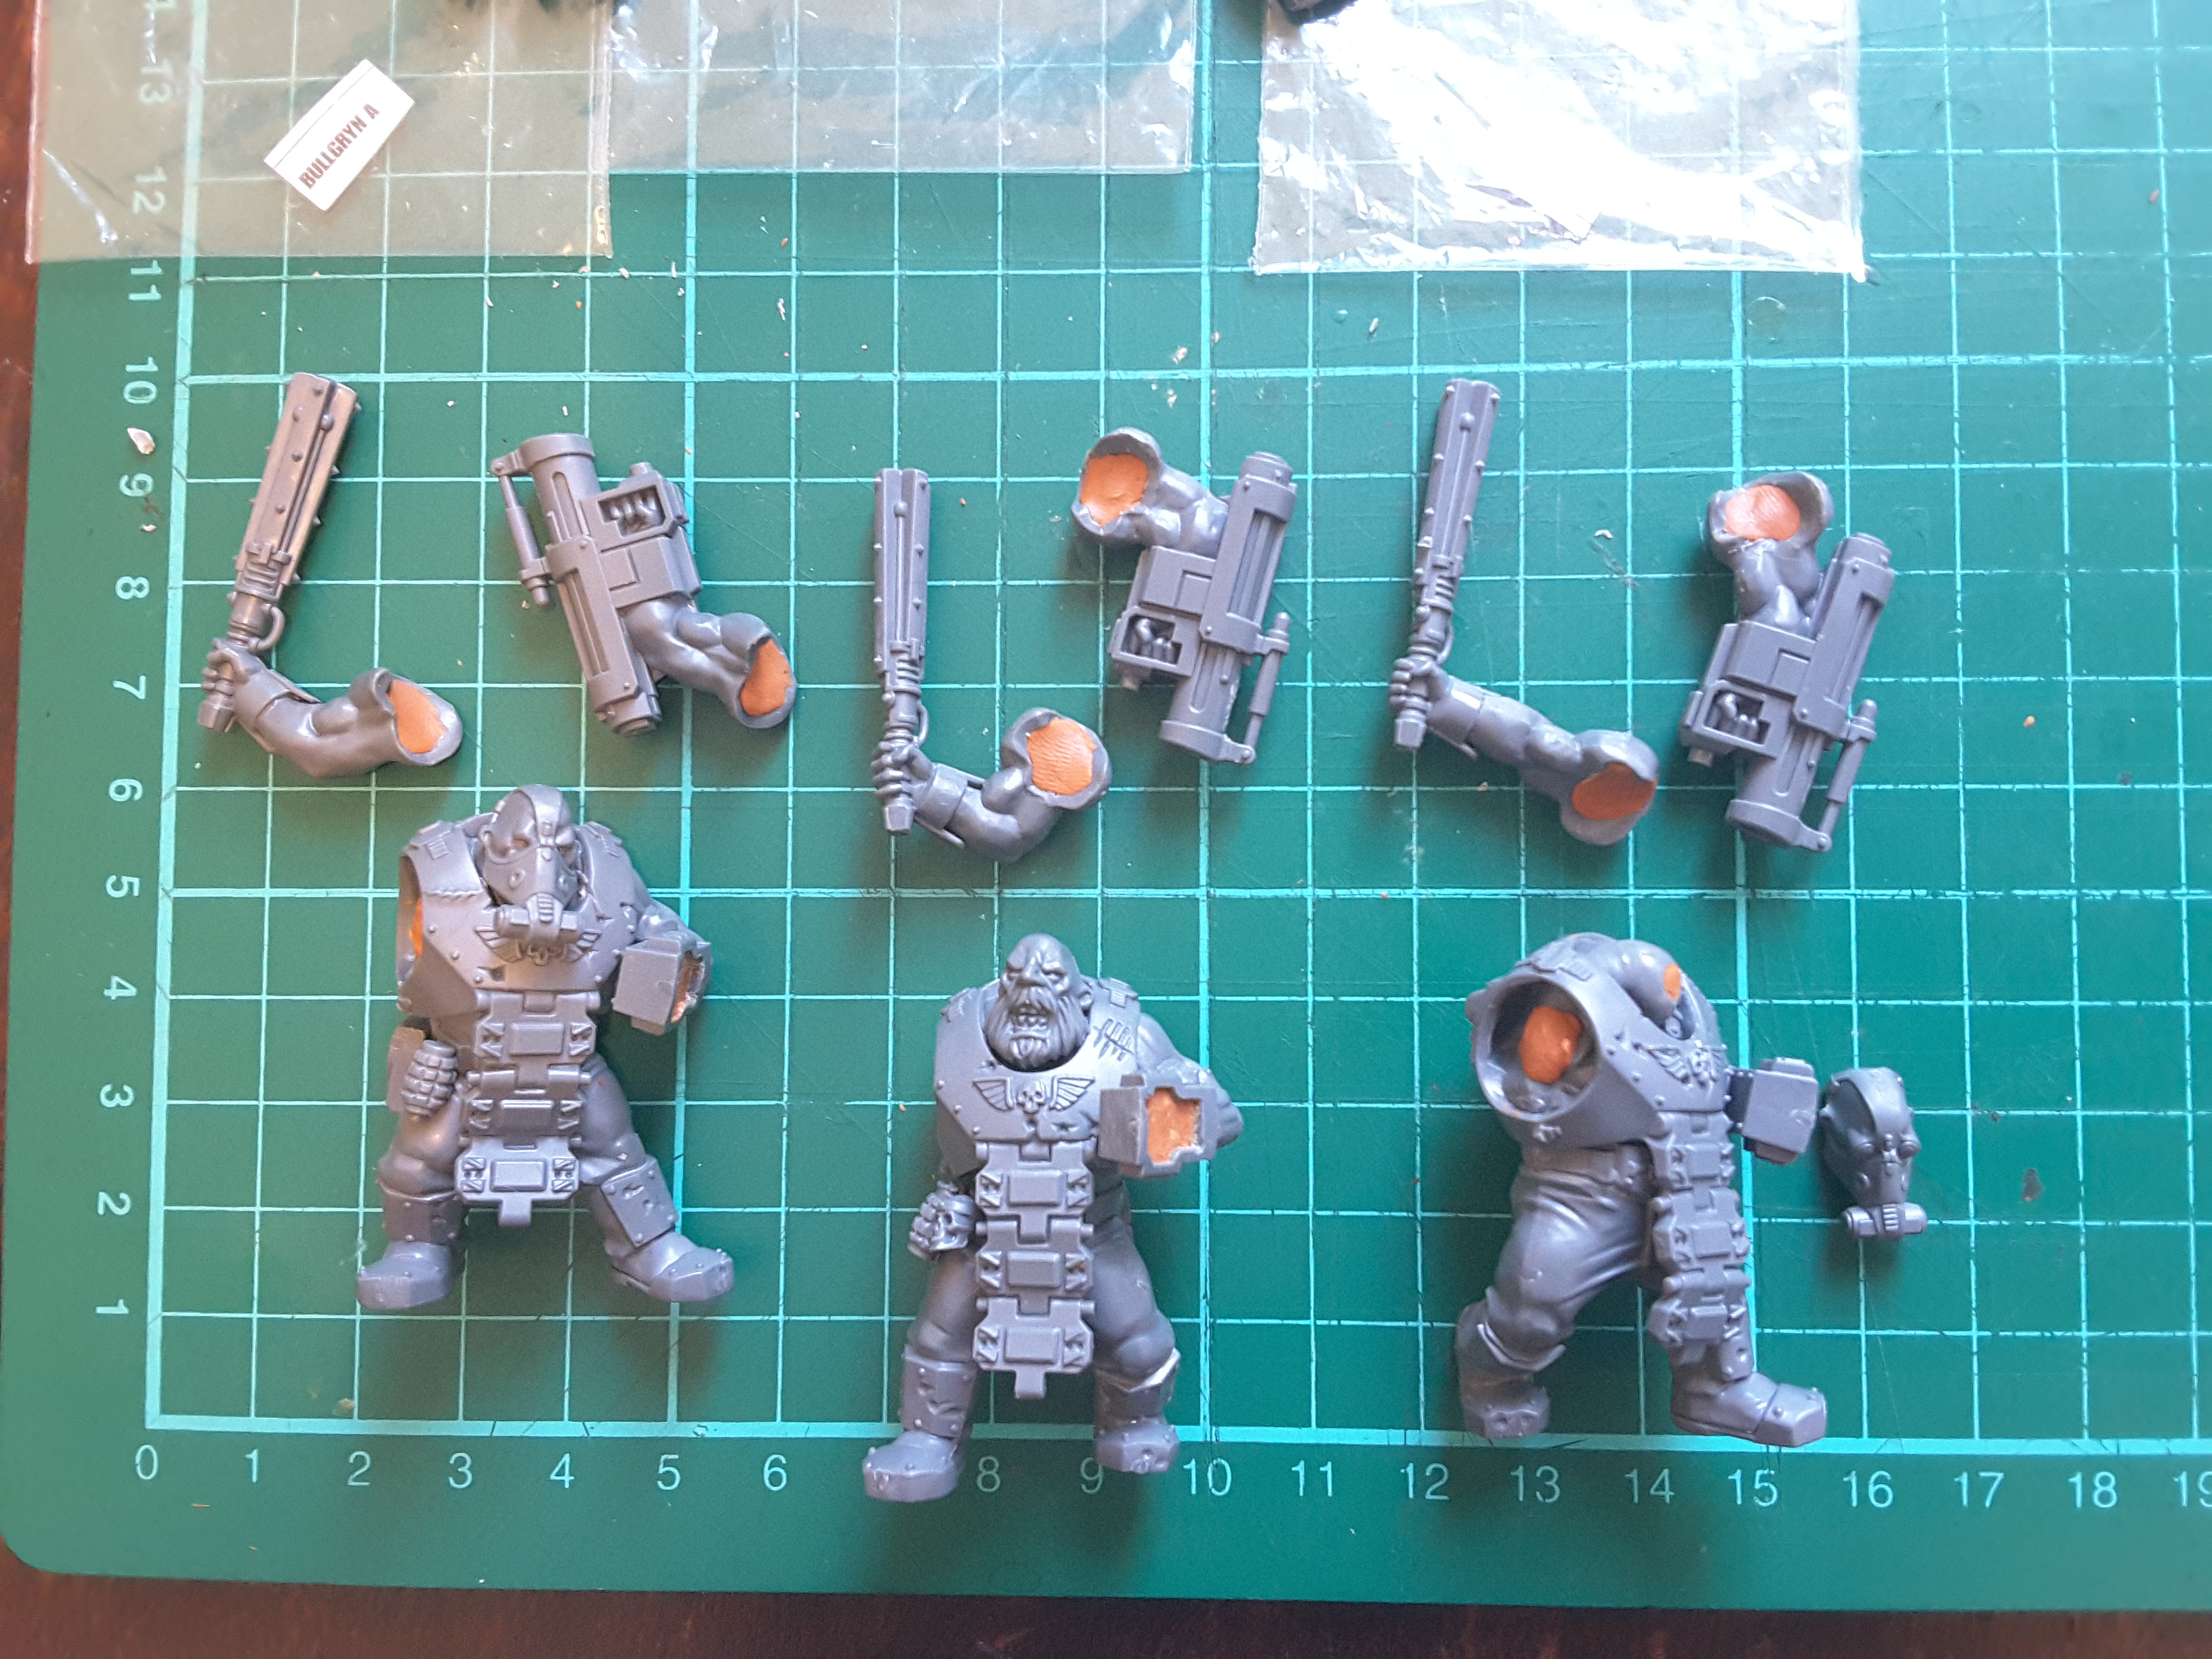
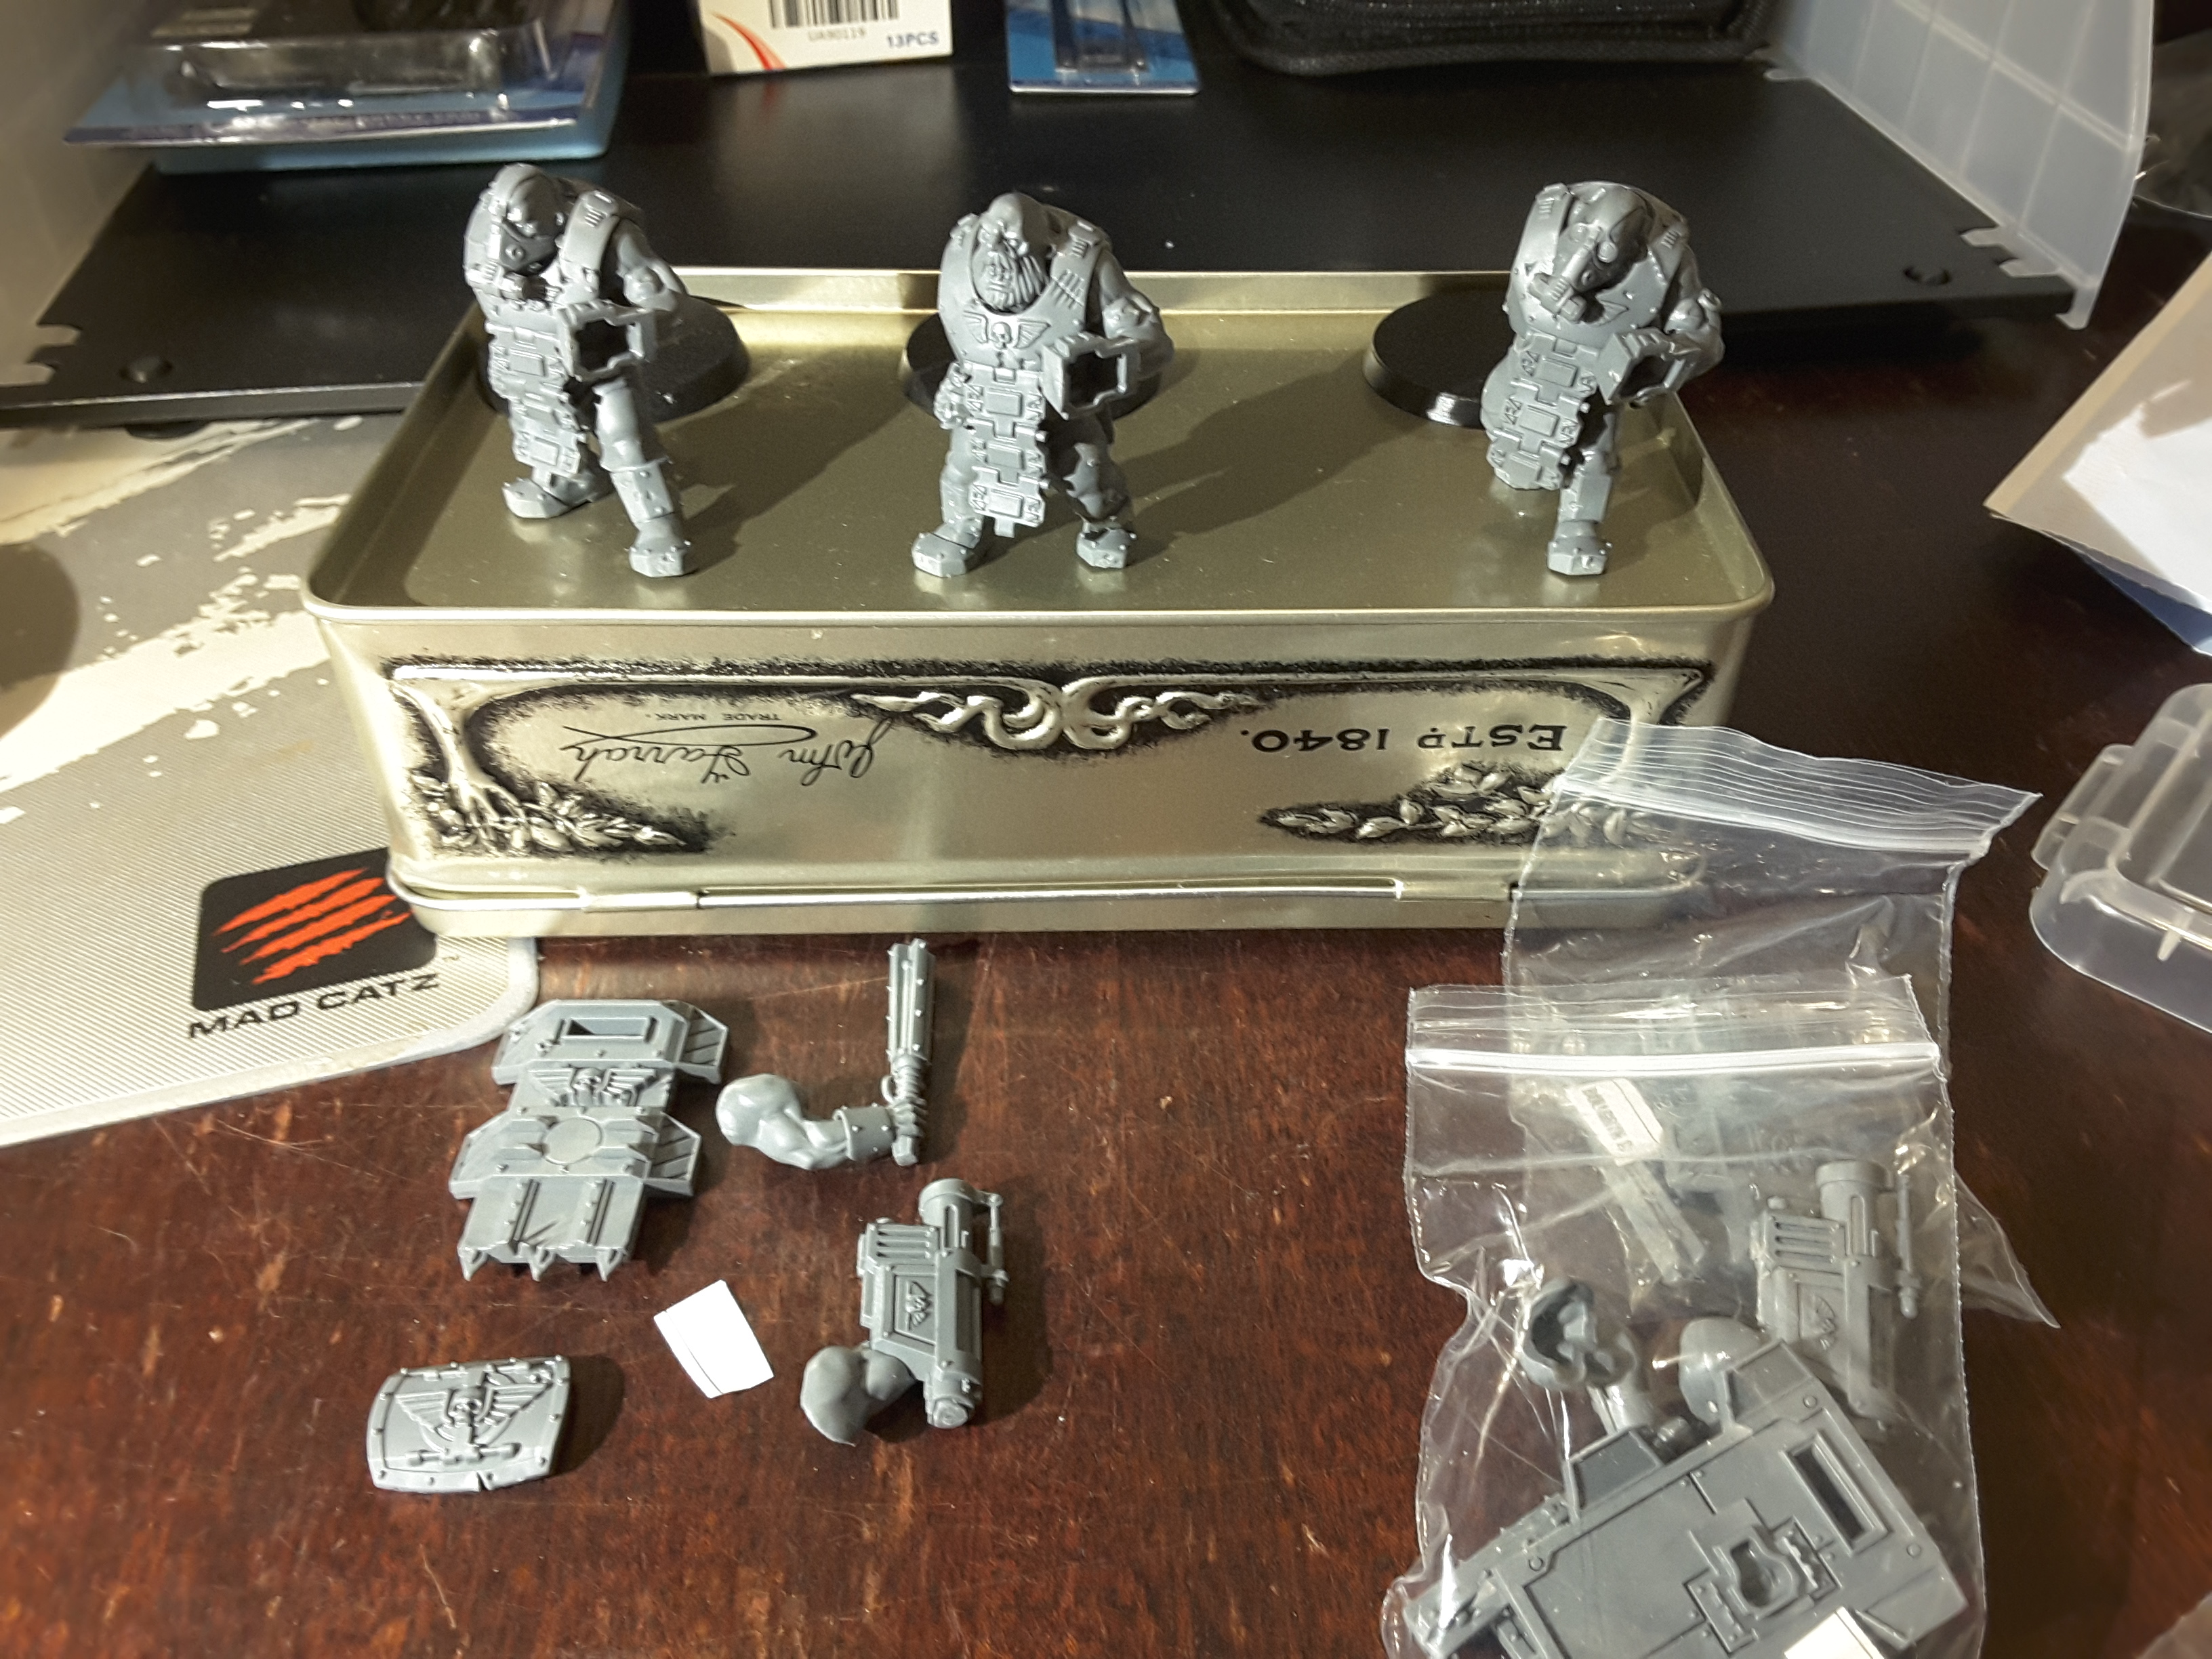 Three Bullgryns ready for magnetisation
This is where I started: 3 Bullgryns made up with their left arms in place (this is where the shield options will go) and no right arms (each weapon option is posed with it’s own arm piece so will need to be attached as a single piece).
Down the bottom of the above image you a sample of the options that I hope will all be attachable:
– Slab Shield: The big one
– Brute Shield: The smaller one
– Bullgryn Maul arm: The melee weapon option
– Grenadier Gauntlet arm: The ranged weapon options
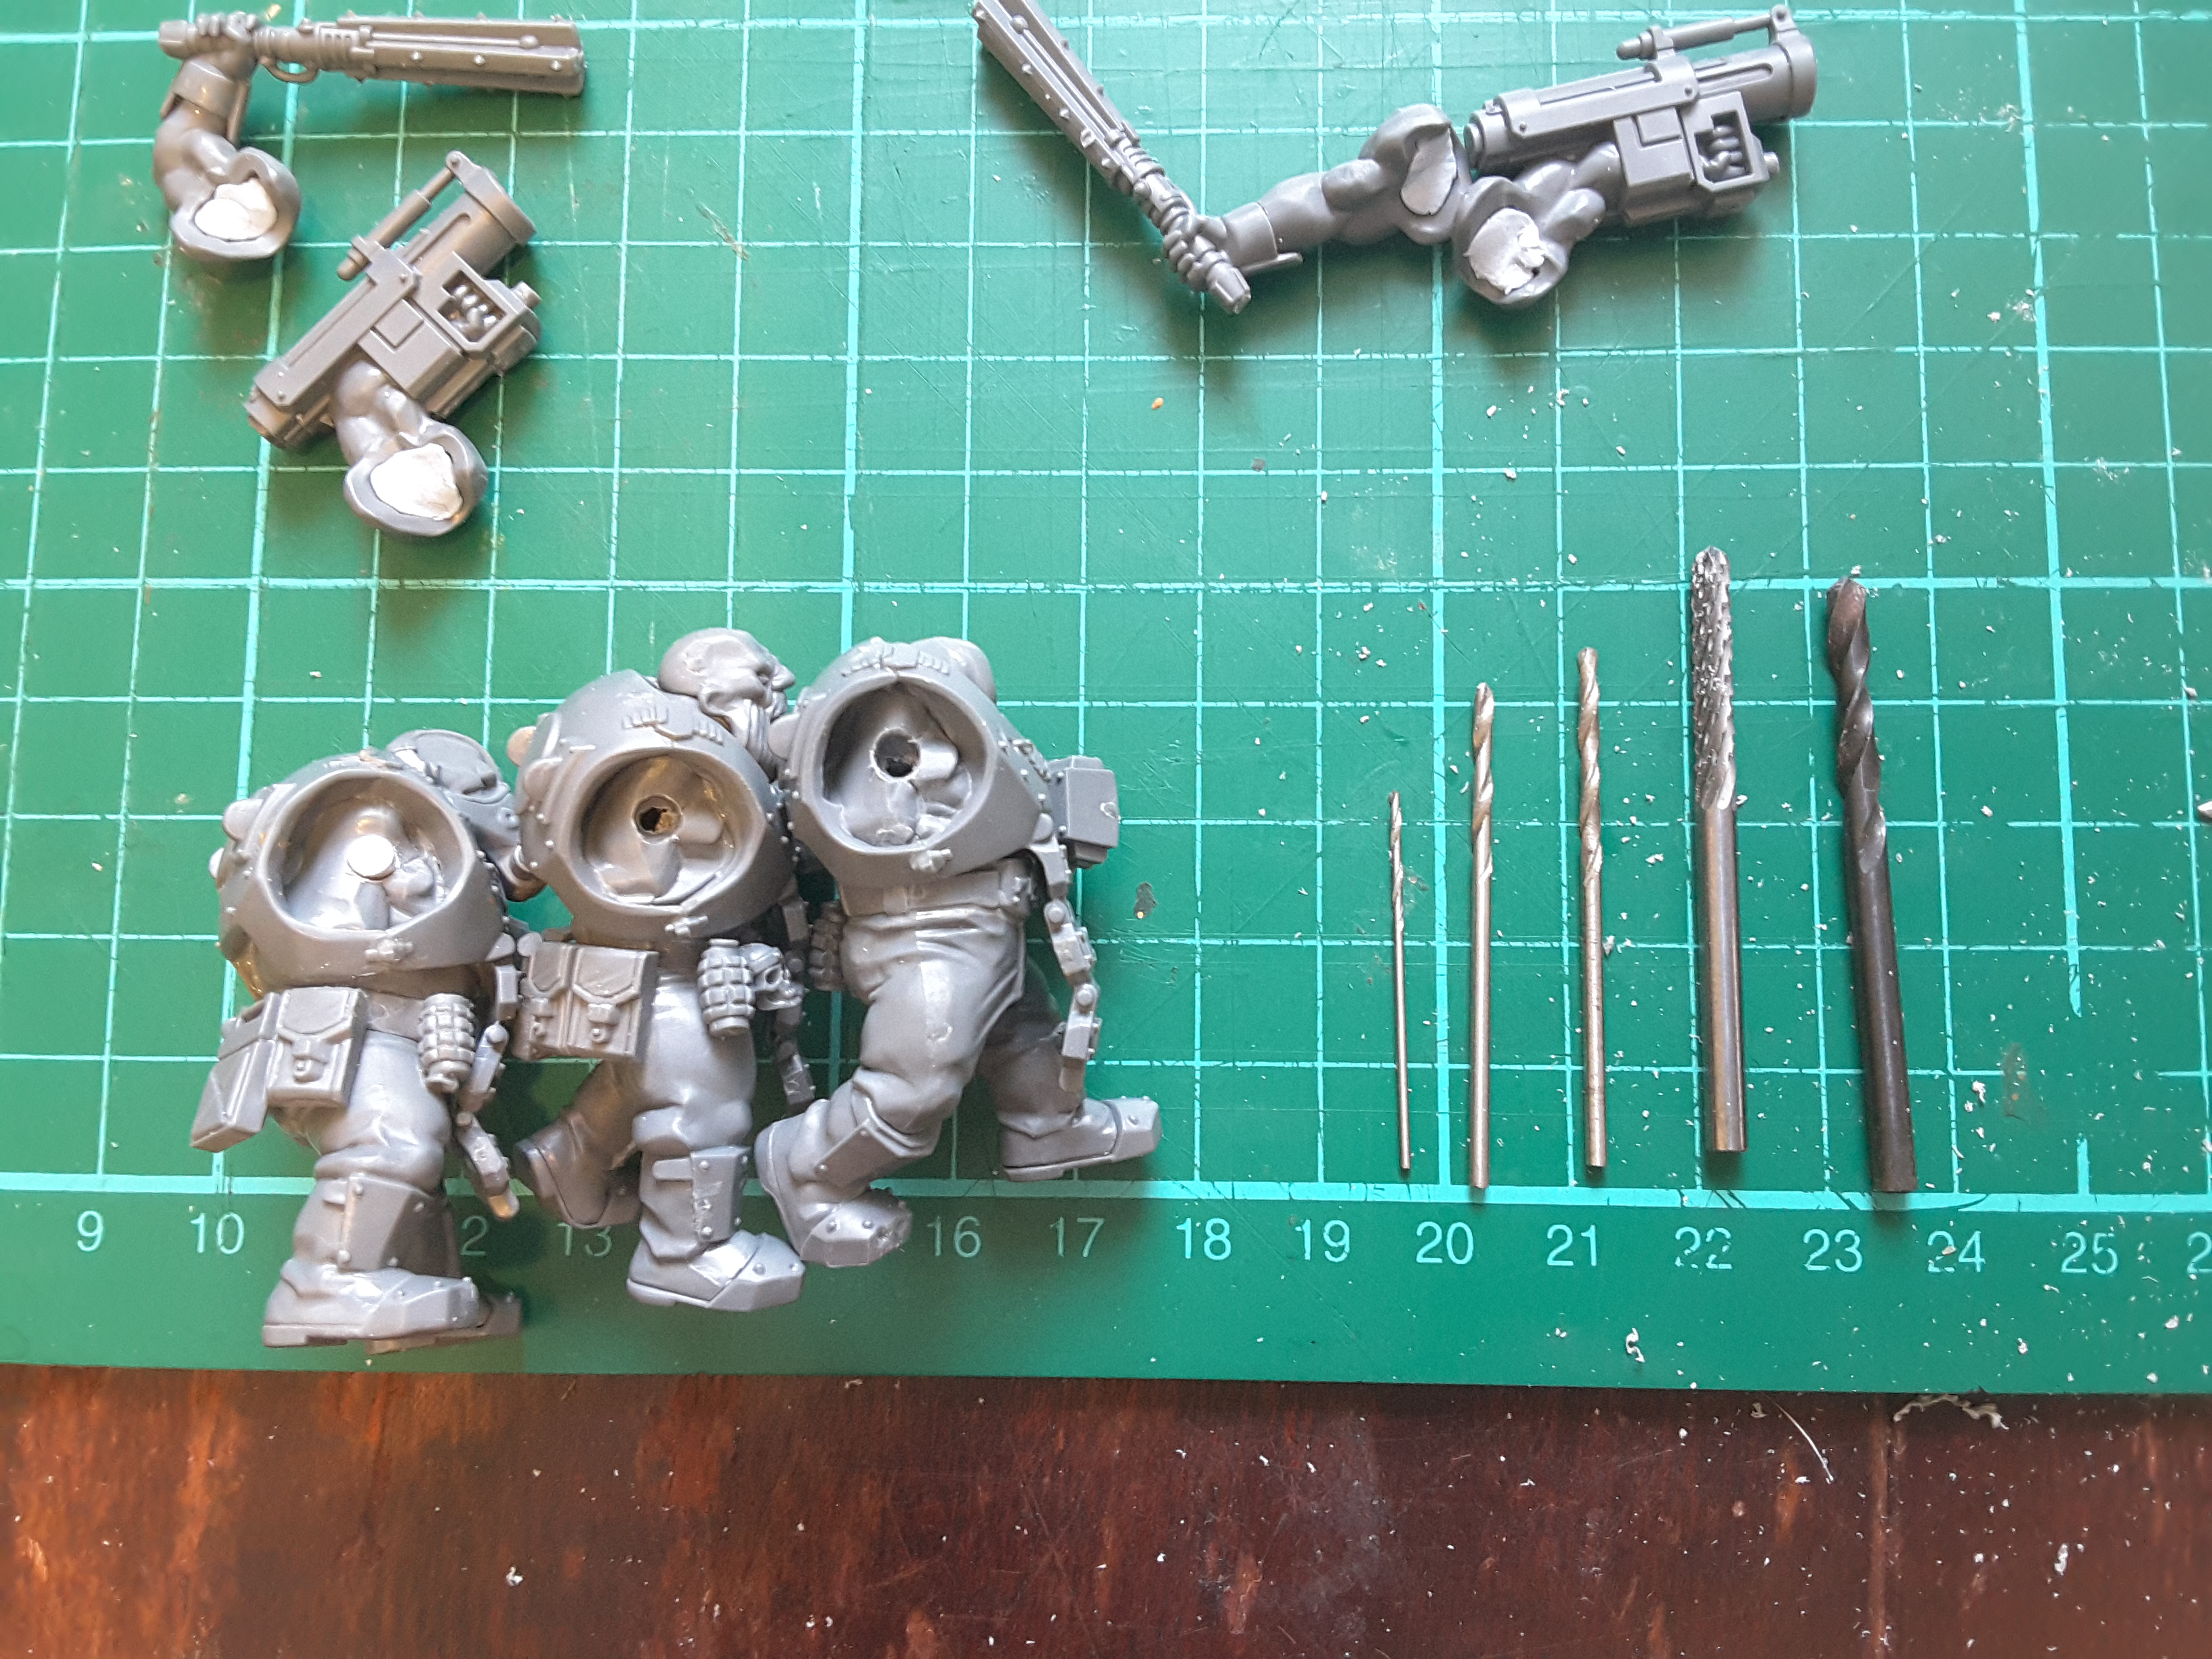
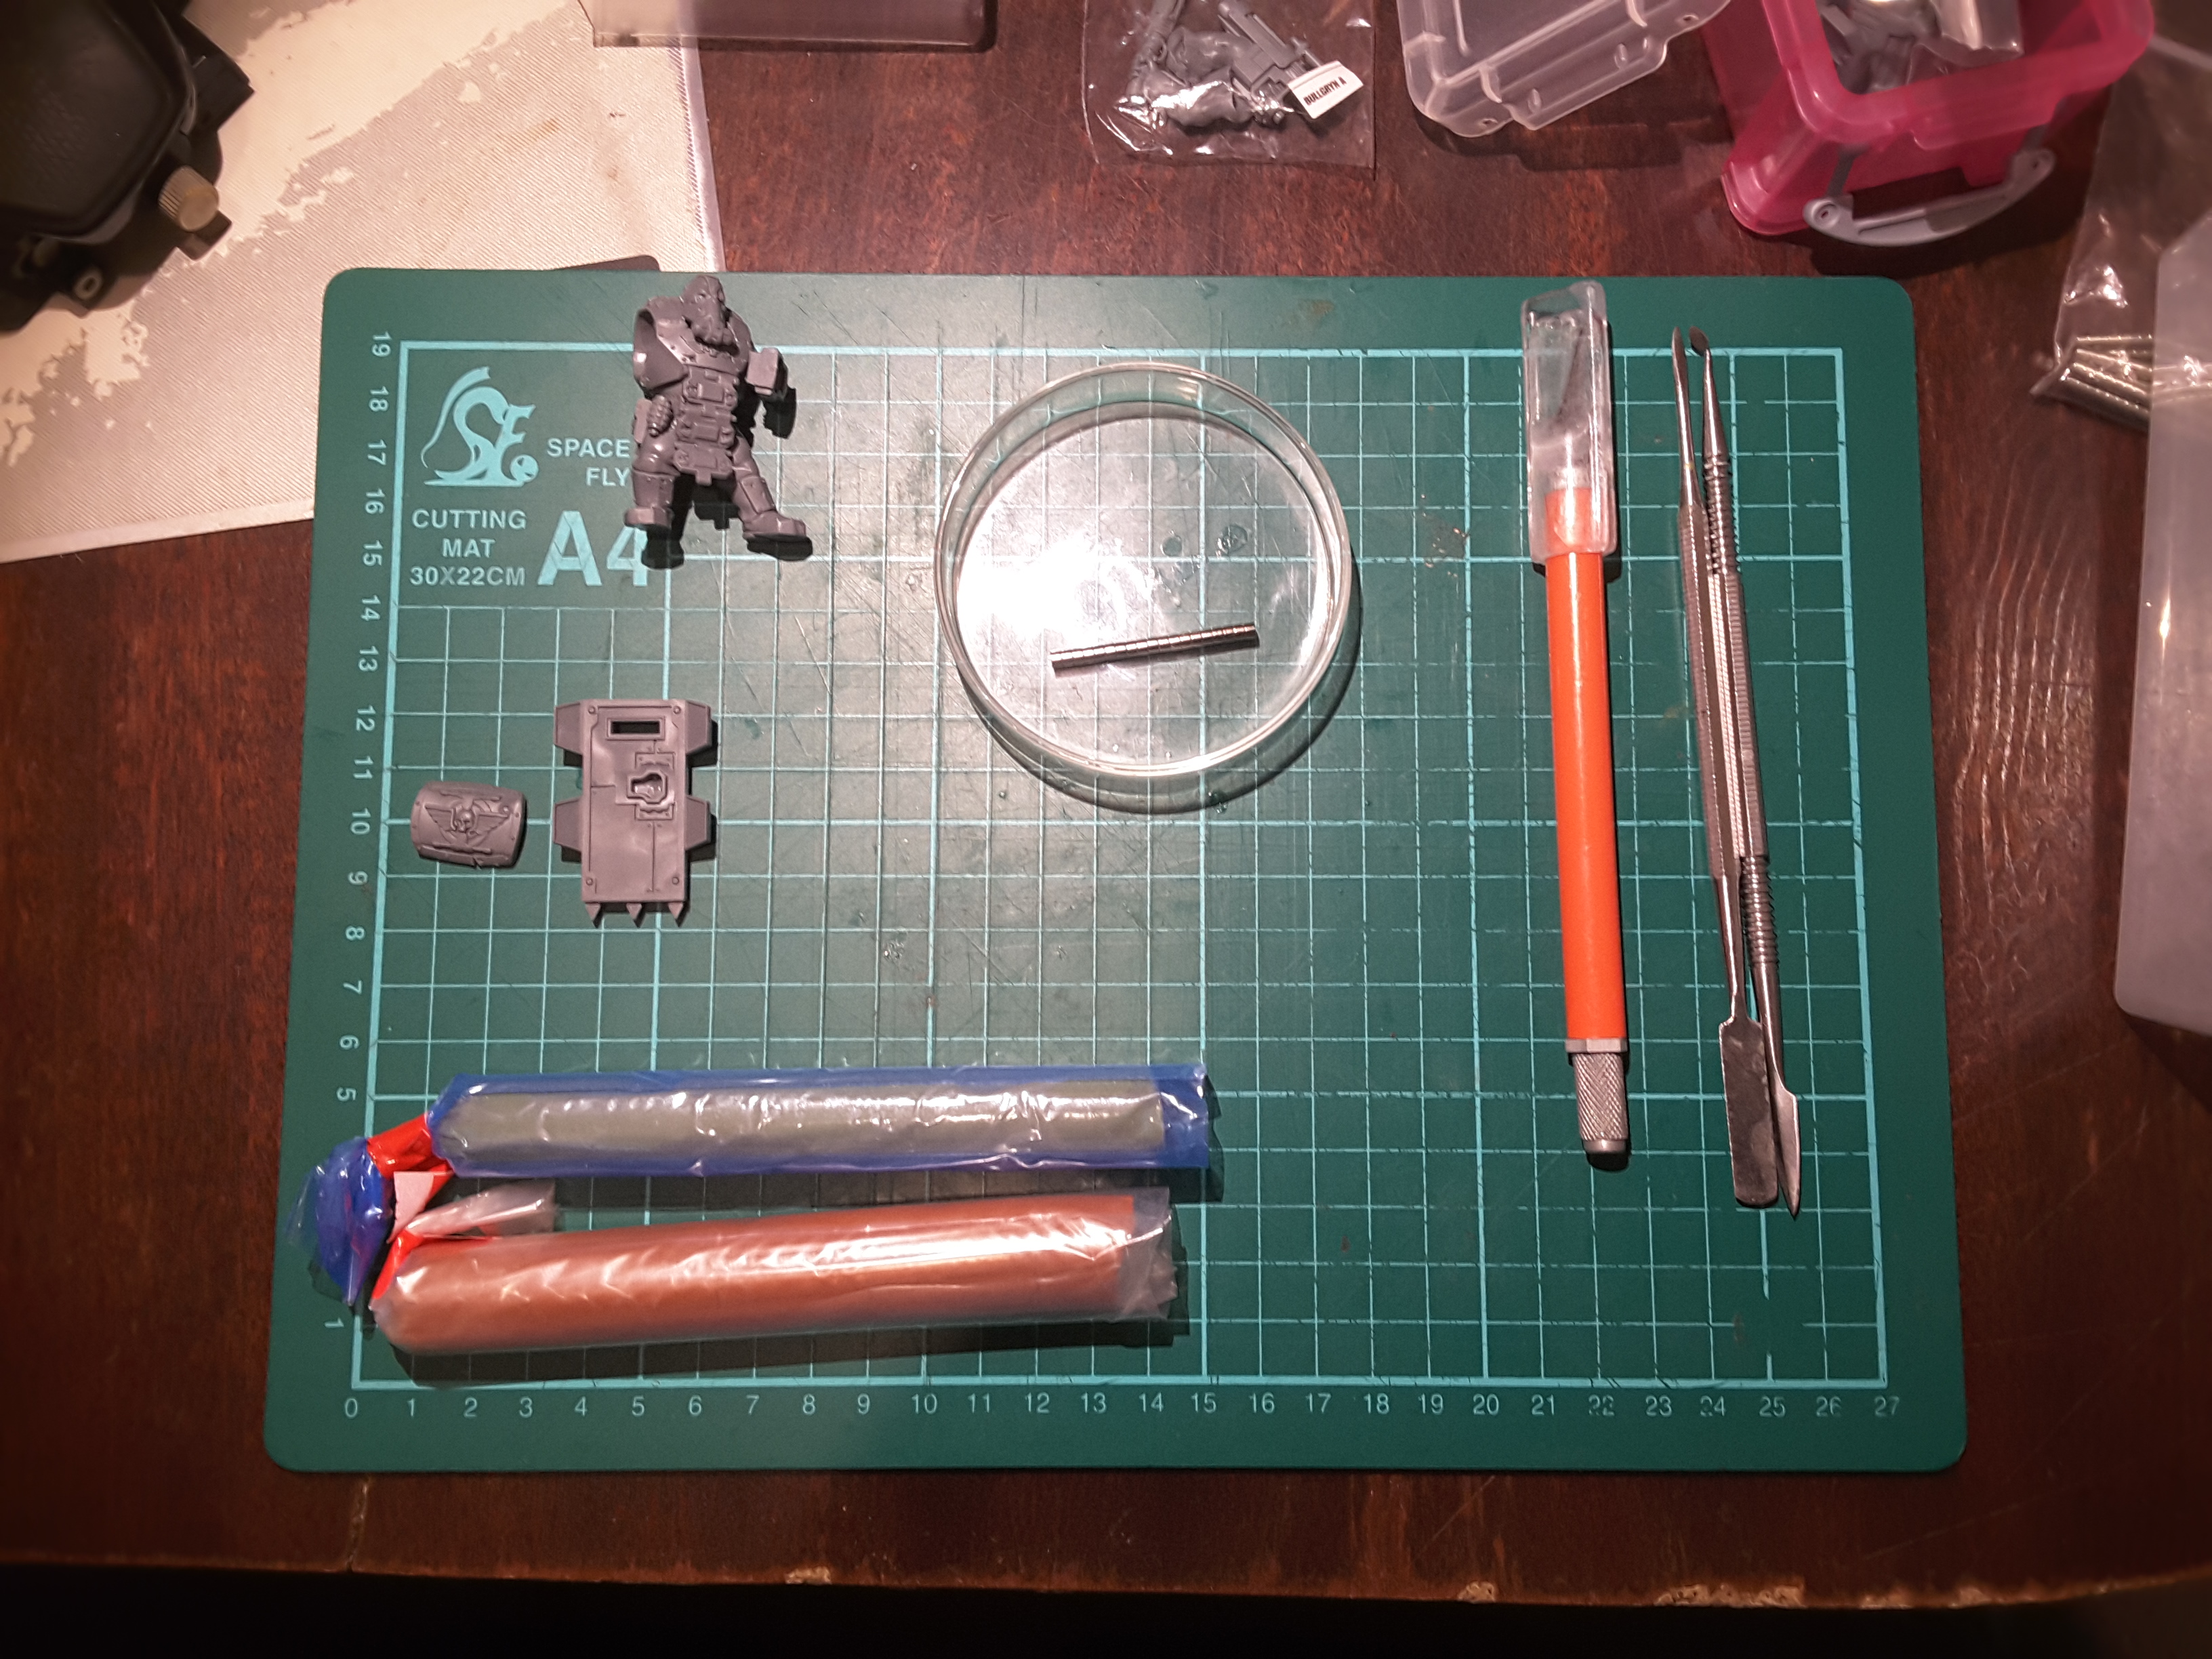 Tools for the Trade
So this is what I shall be using for this first step:
- In the top left: A Bullgryn on hand and one of each of the shields.
- Top middle: Magnets, these are 3mm x 3mm (more on this later)
- Right: A craft knife for all my cutting, poking and scraping needs along with some craft tools for squishing the milliput around. Speaking of which…
- Bottom left: Milliput, standard Terracotta. Pick this up at my FLHS as a cheaper alternative to greenstuff for this work. Picked the Terracotta colour so it stands out from your typical model plastic colours.
So the first thing I did was mix up some of milliput, stick it down in the hollow on the back of a shield and follow it with a magnet. As can be seen above (1), these magnets are way too big to fit in the space along with the putty. Thankfully I picked up a small number of different magnet sizes so I have some options to work with on this. A little playing around and I settled on some 2mm x 1mm magnets giving me a decent surface area of magnet with a good amount of putty behind it.
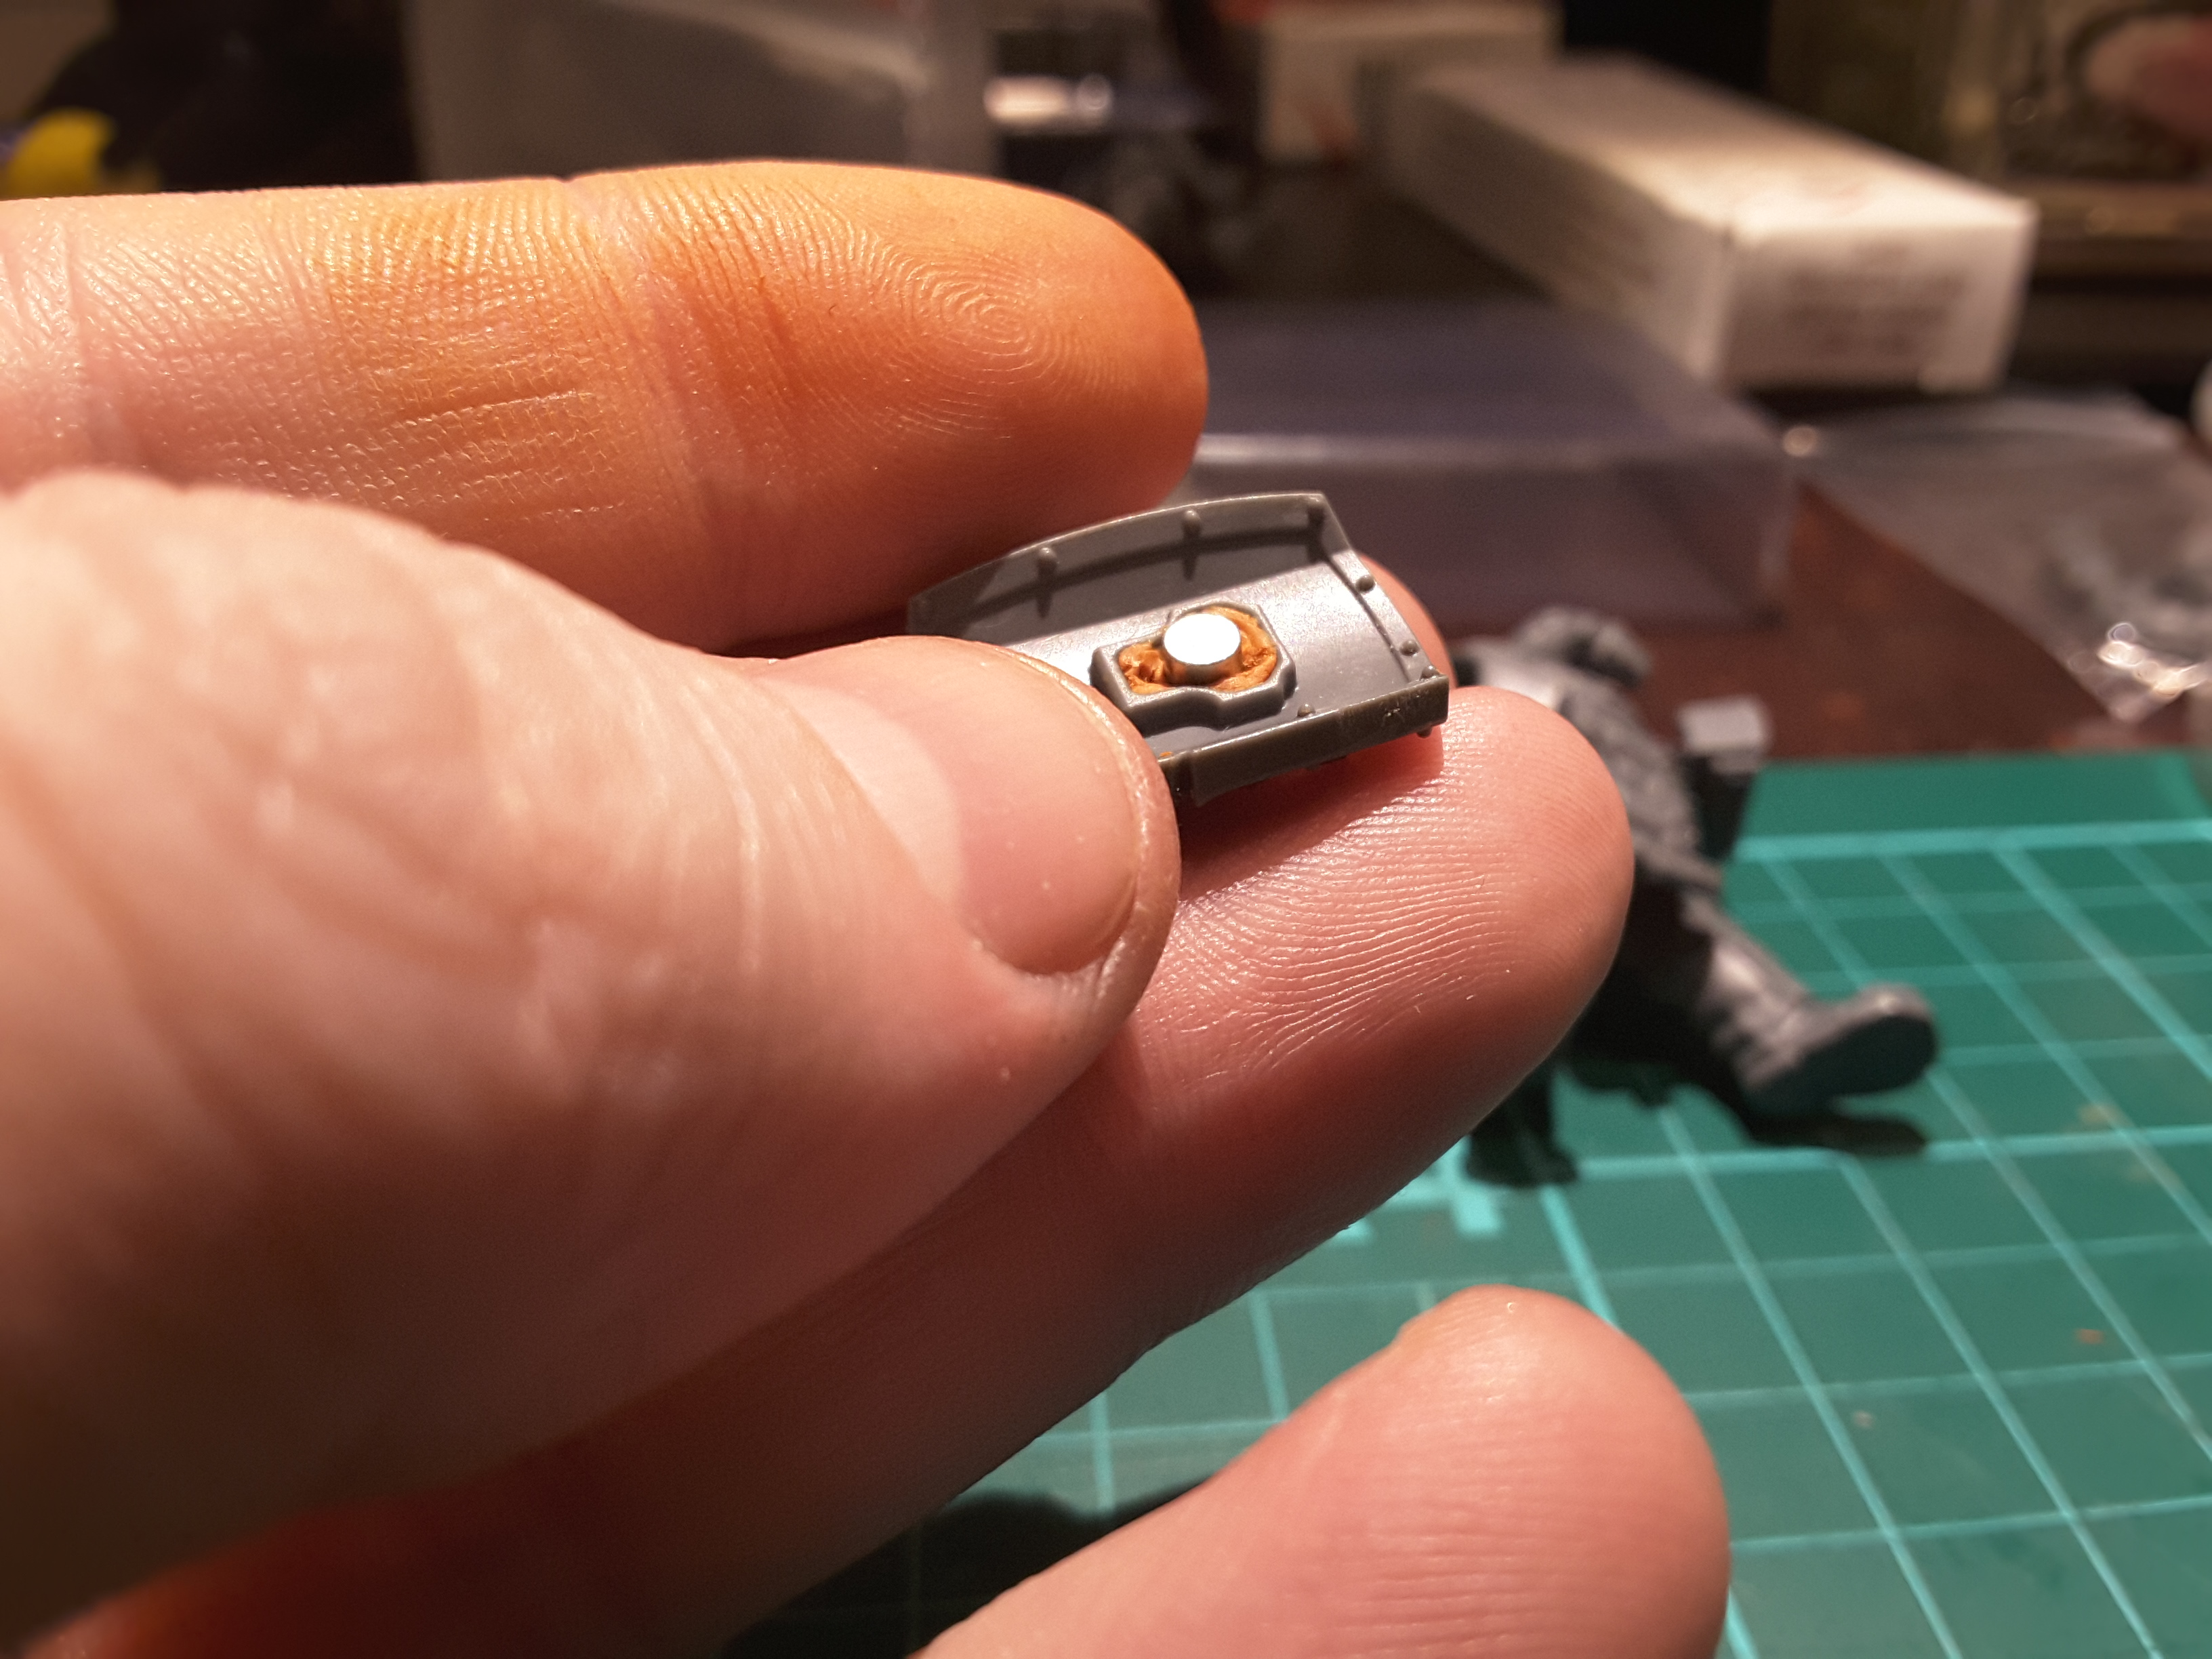
With the magnets swapped out it used a tool to pop more puyty in (filling the hole most of the way) before squidging the magnet in centrally and then smoothing a thin layer over the magnet itself.
A few more passes experimenting with the different tool heads to level off the putty with he level of the surrounding ridge but not pulling the magnet out and I had a result I was happy with (2).
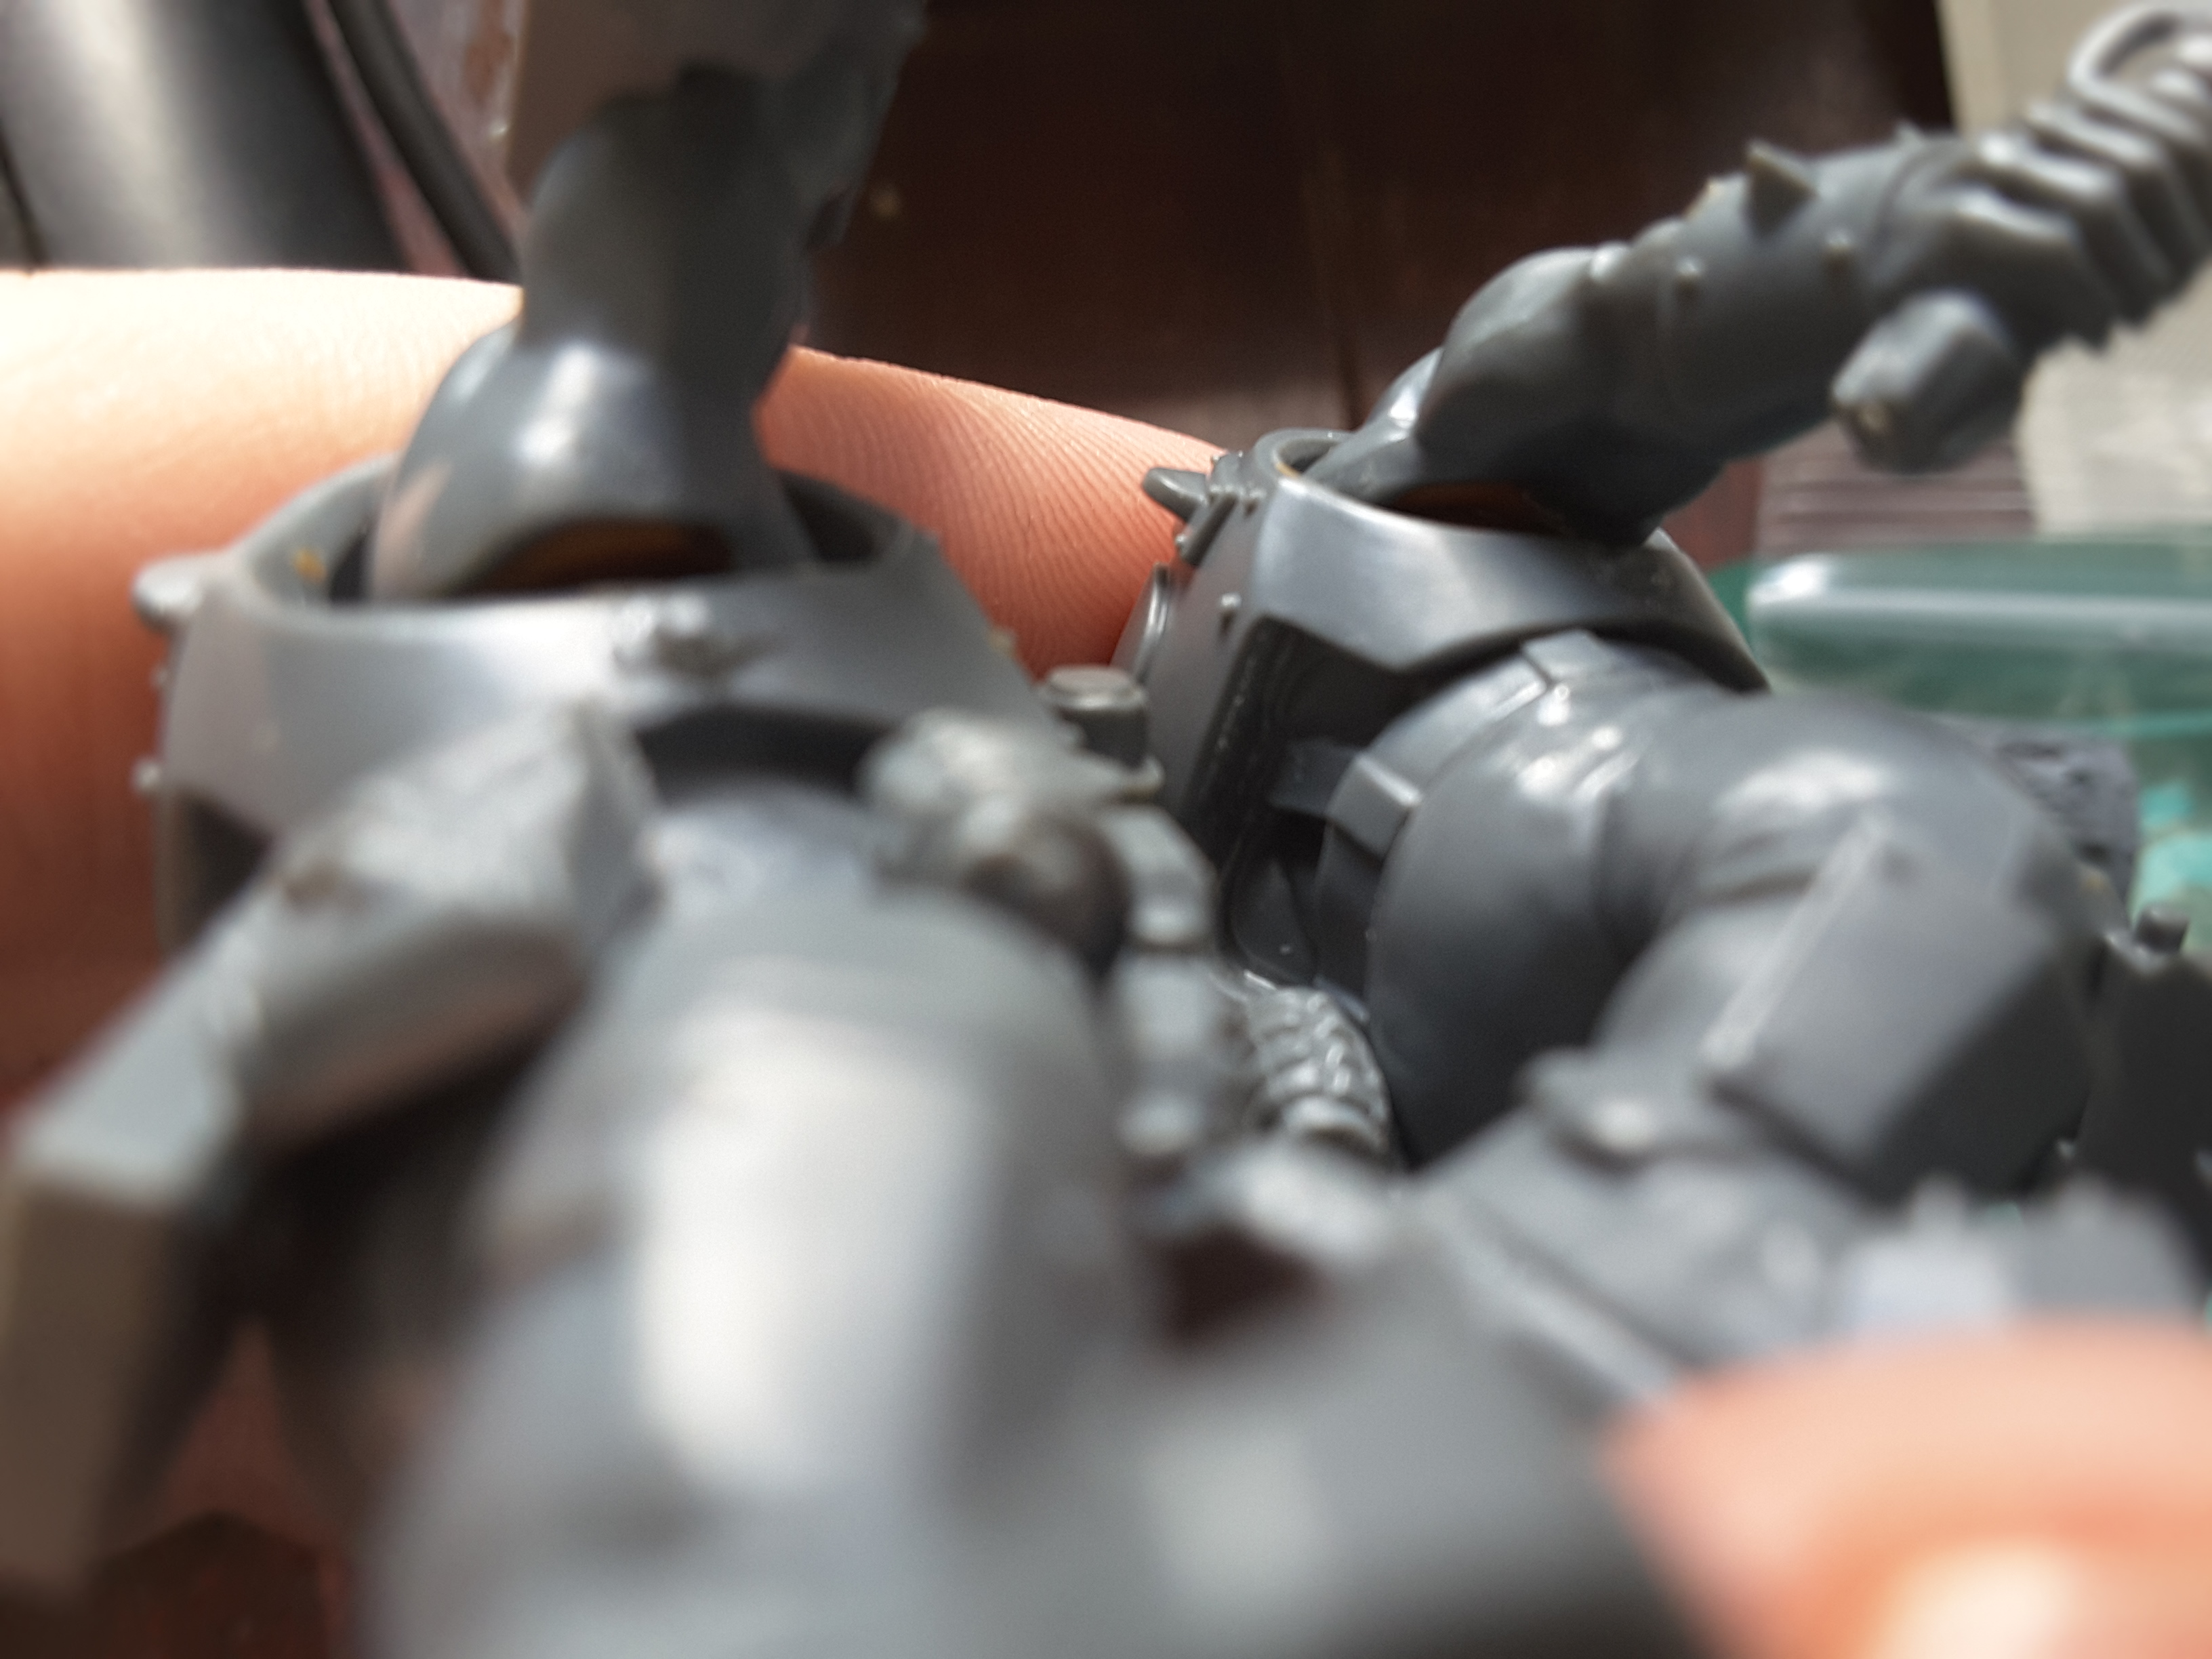
Having worked with greenstuff and magnets before in magnetising bases (3) (I use Army Case stuff for storage/transport) I have experienced the burn of setting a magnet that is too deep to actually stick to anything and I wanted to get ahead of this problem here. In order convince myself the magnet was in a position that would work, I tested each of them to see of they would attach to a this flat tool head I have and that the connection was strong enough to support the pieces weight (4).
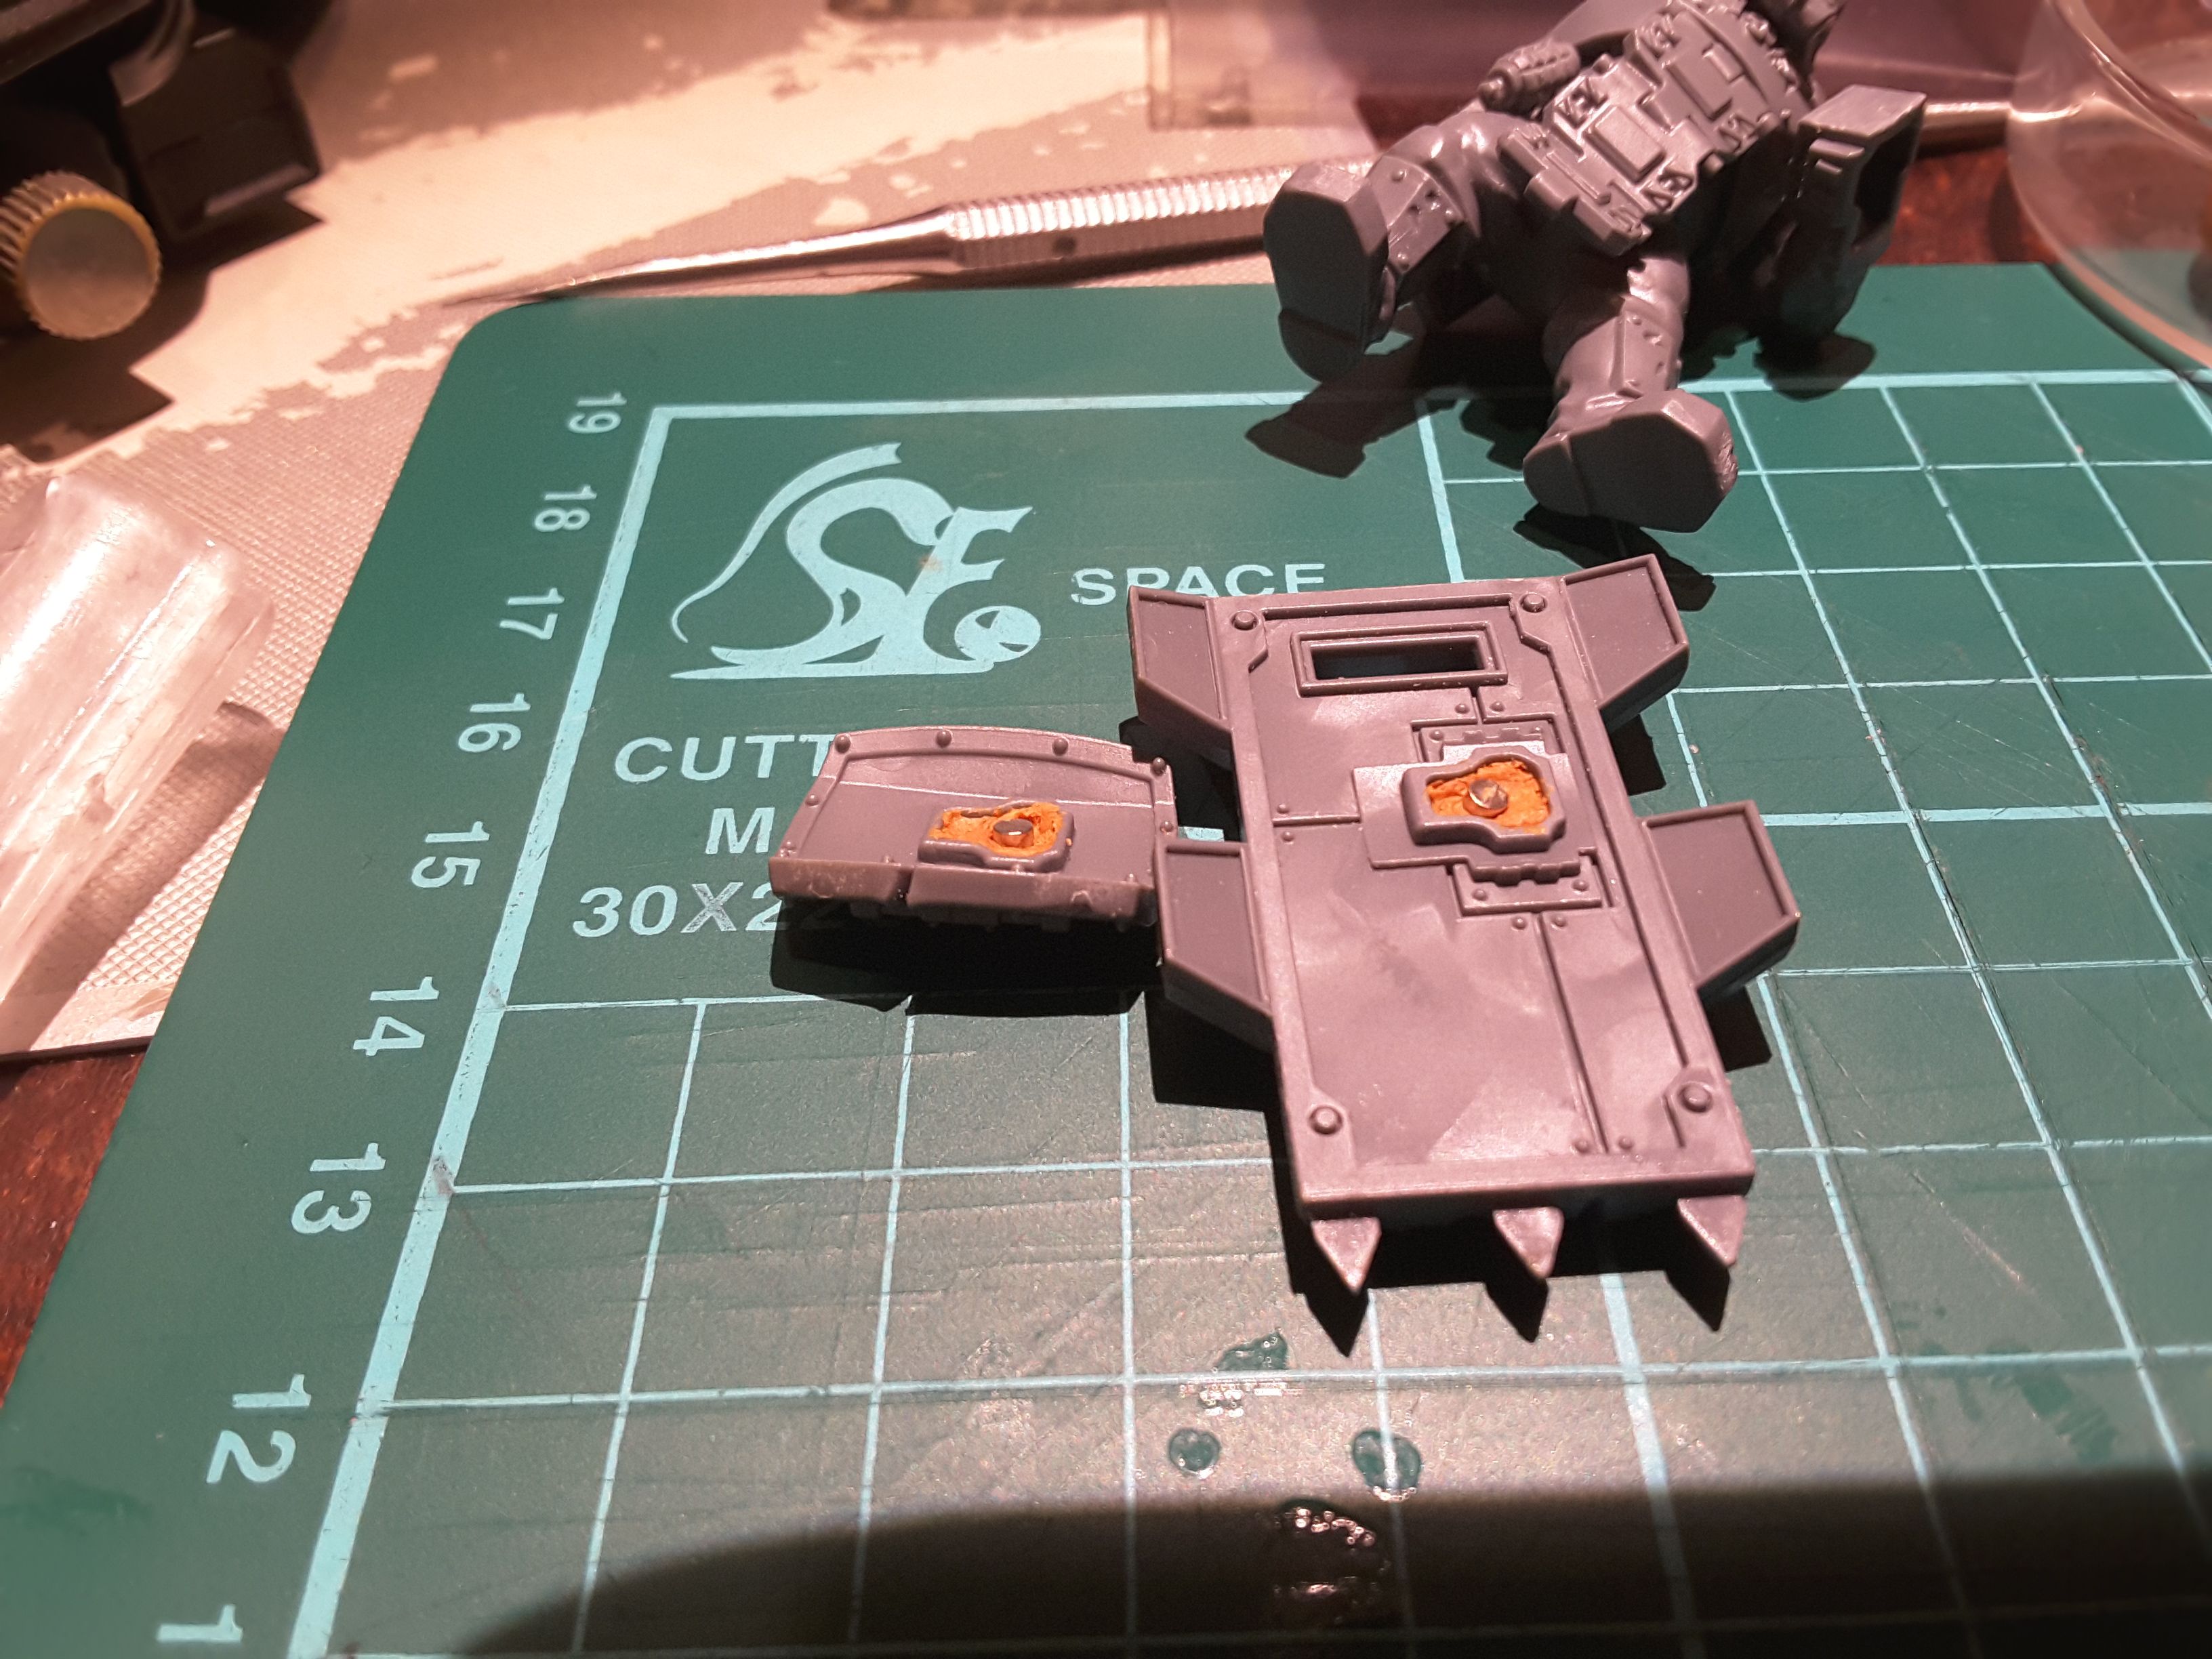
Armed with this, I forged on and repeated the work over all 6 of the shields.
 End of step one
So there we have it.
I’ve decided to leave these overnight to cure (probably longer given my usual hobby speed) as I hope to use these to simply attach their partner magnets to and them shove the plastic together. Seeing as the plastic is shaped to mate together, this should allow me to get the magnet in the right place easily.
And in case anyone is wondering, yes: all the magnets have been put in with the same polarity facing out (and yes, I did have to change a few around that had slipped.
Next time: magnetising the hands to take the shields.
Bring out your Dead! Or at least your forgotten hobby project.
So, been a long time since I started this. Other OTTers with little ones can probably attest that small sproglings and consistent hobby time do not necessarily go together. But with all this being stuck at home, I have decided to get on up early where possible and get some hobby time in before work: starting with finishing off these fellas.
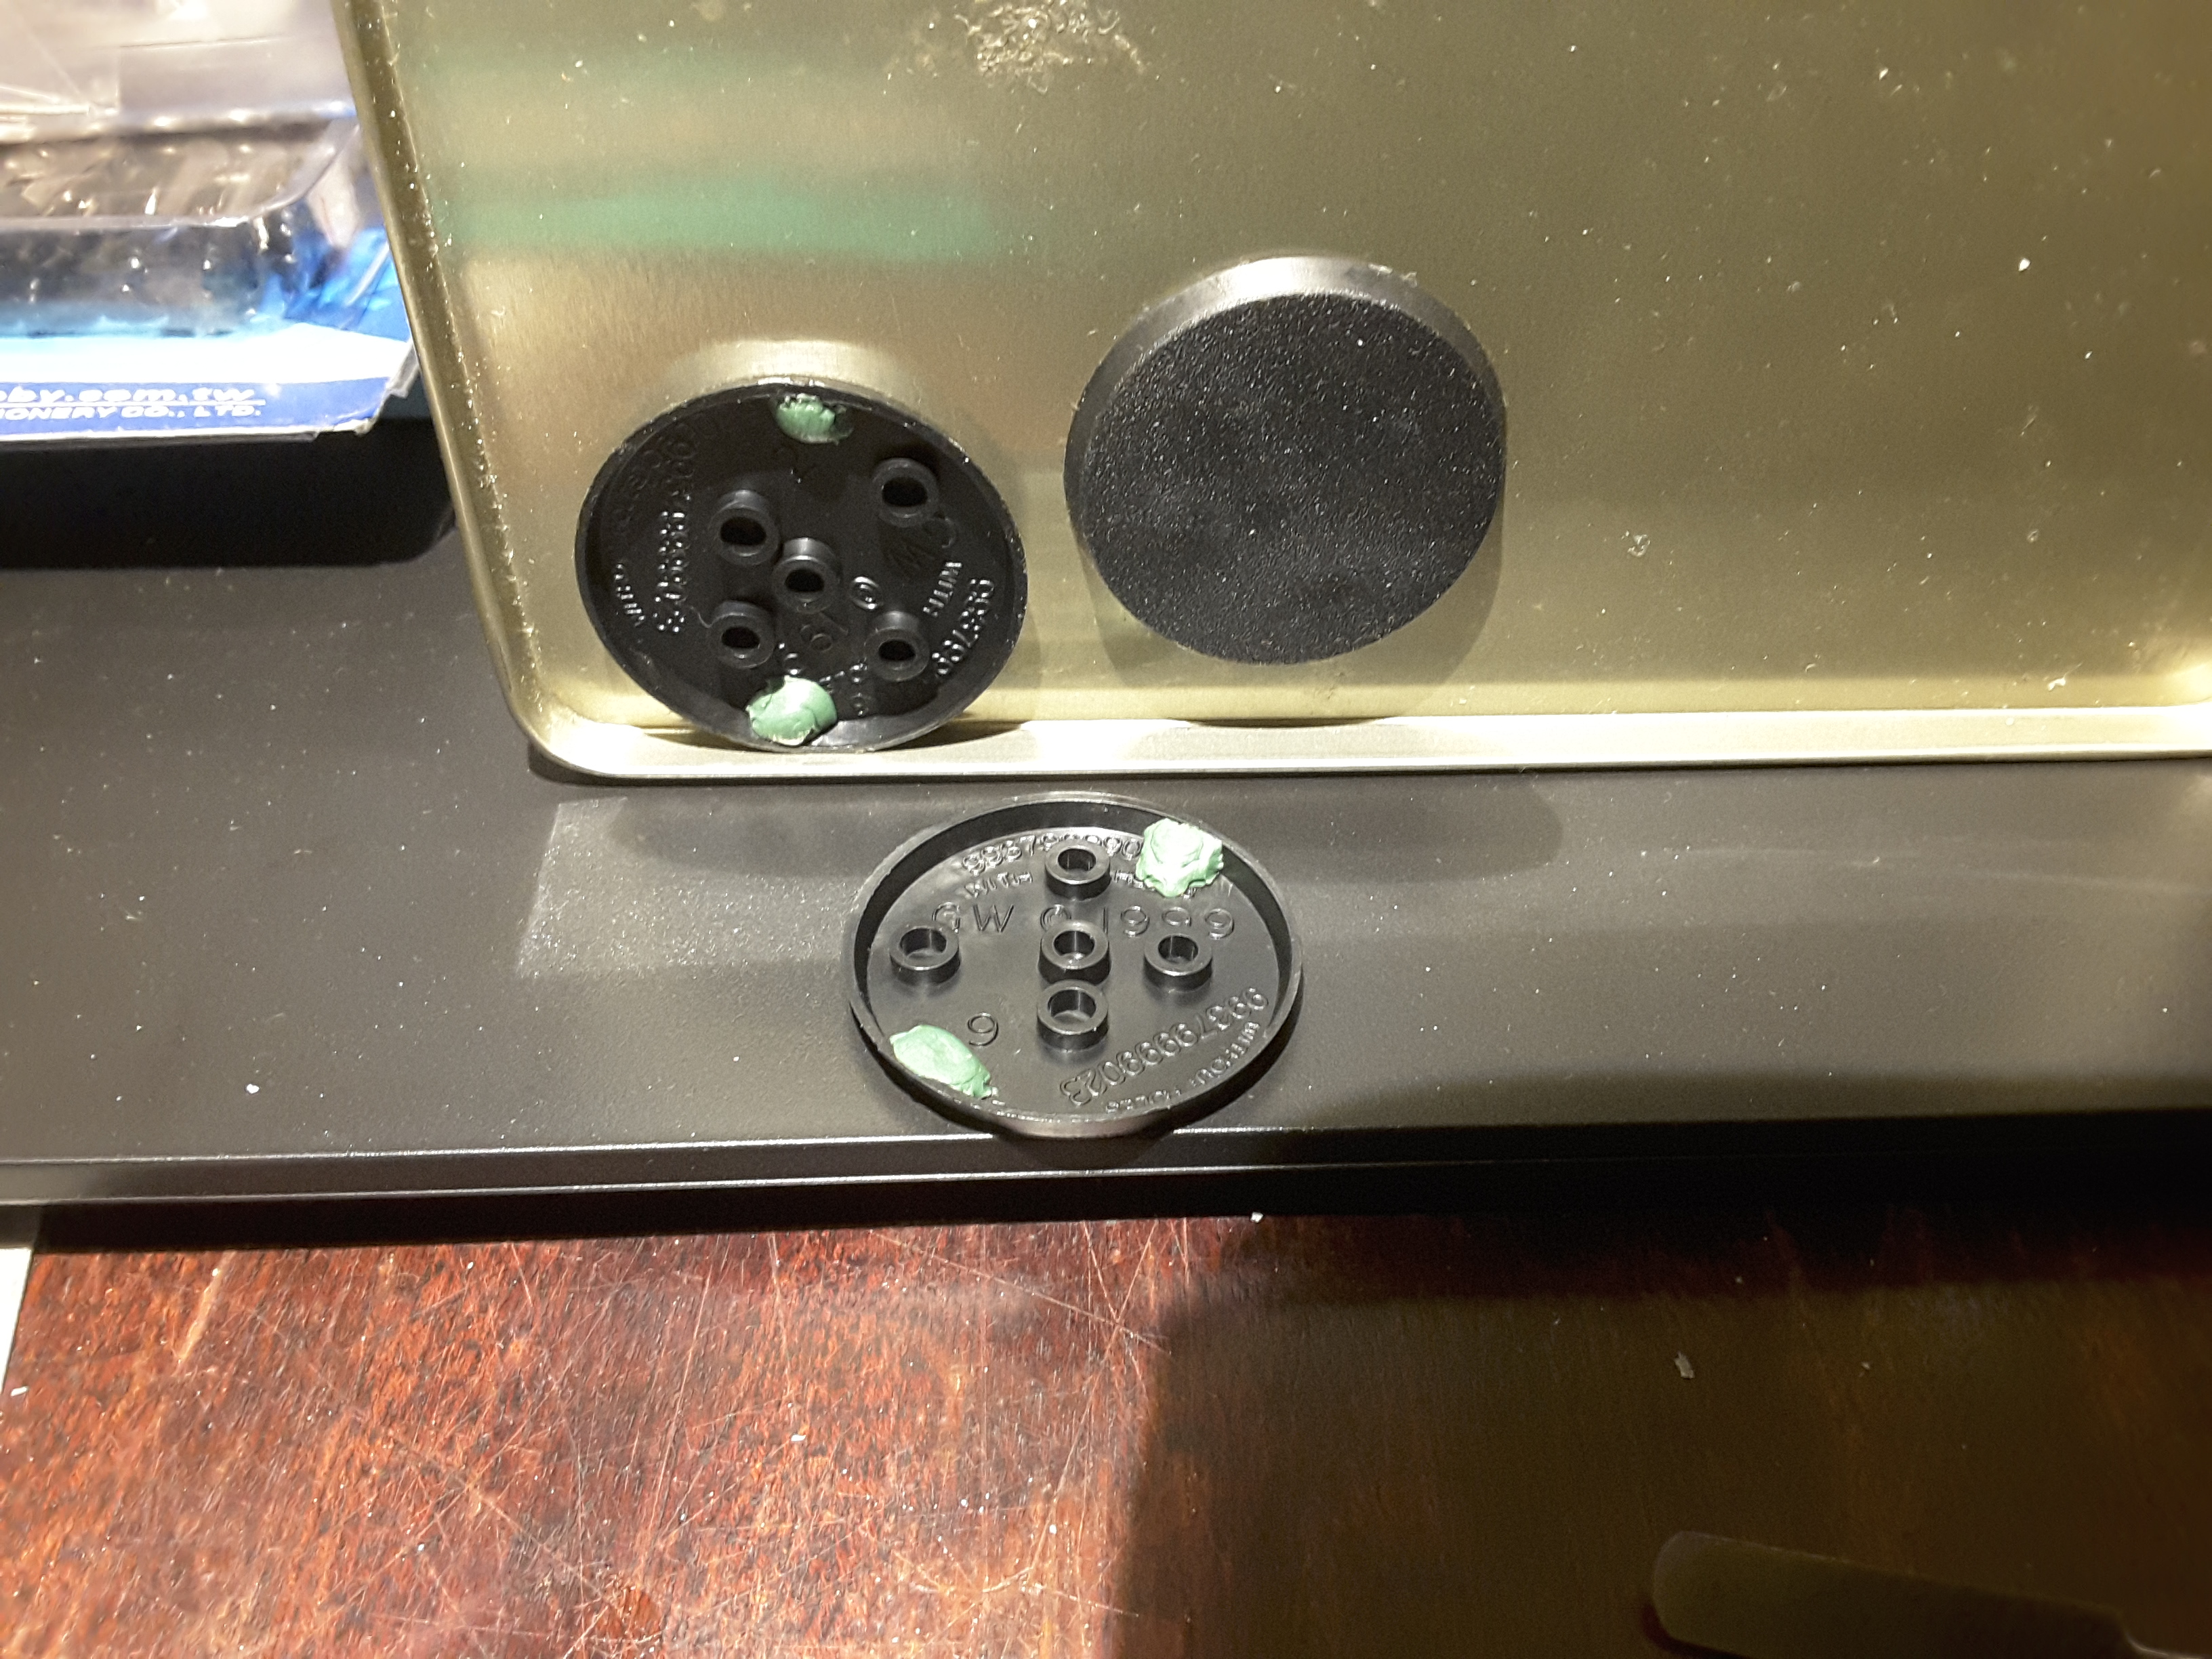
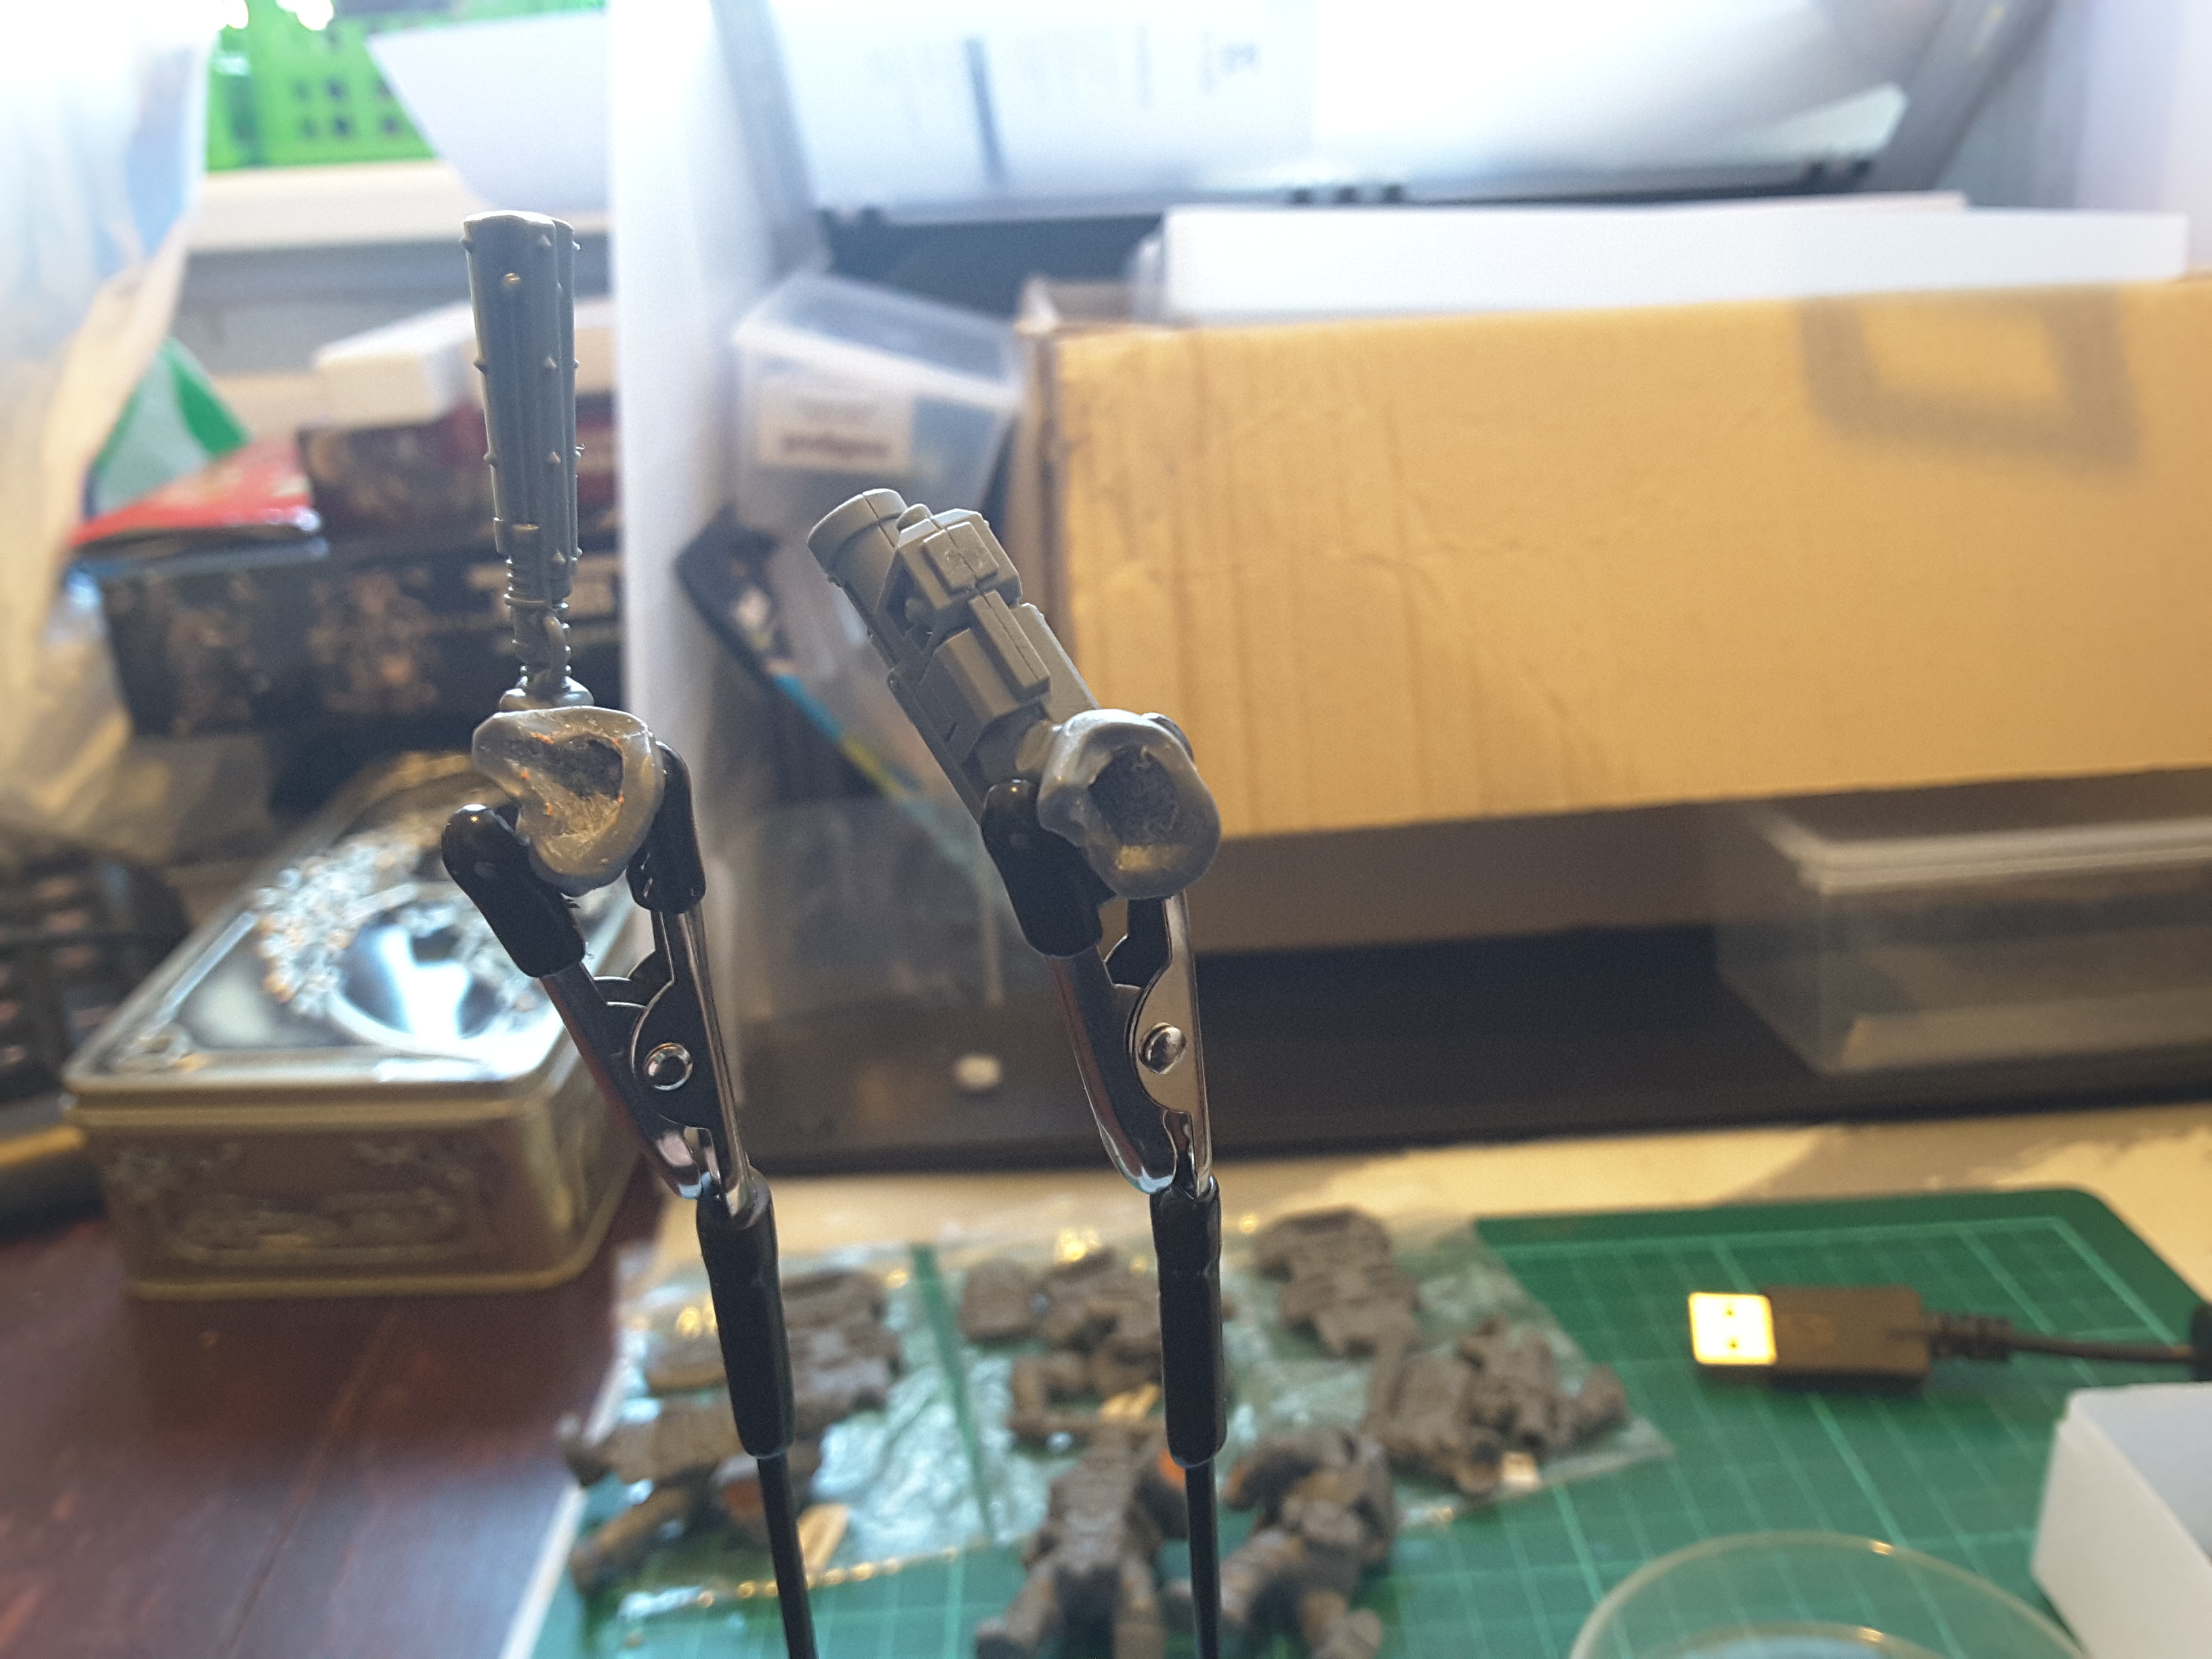
So, the first thing of note is that I got more intermediary sizes of magnates, just to make sure I could get the most magnet in the space I have to work with and ensure the best contact point I could.
From those below it will be the 3 x 2 mm that I will be using for the next stage (you can see me pointing at them).
 The new selection of magnets
So, the first thing I did was check the fit by letting the magnets grab on to the existing work to make sure everything looks alright and yep, happy with that. Nothing looks wildly out of place and should line up well enough for purposes here.

Enough preamble, time to fit some magnets
So, as with the first part I found that my propensity to overthink and plan threatened to get in the way but the best answer was to grab some milliput and get stuck in there.
The process was quite simple in the end.
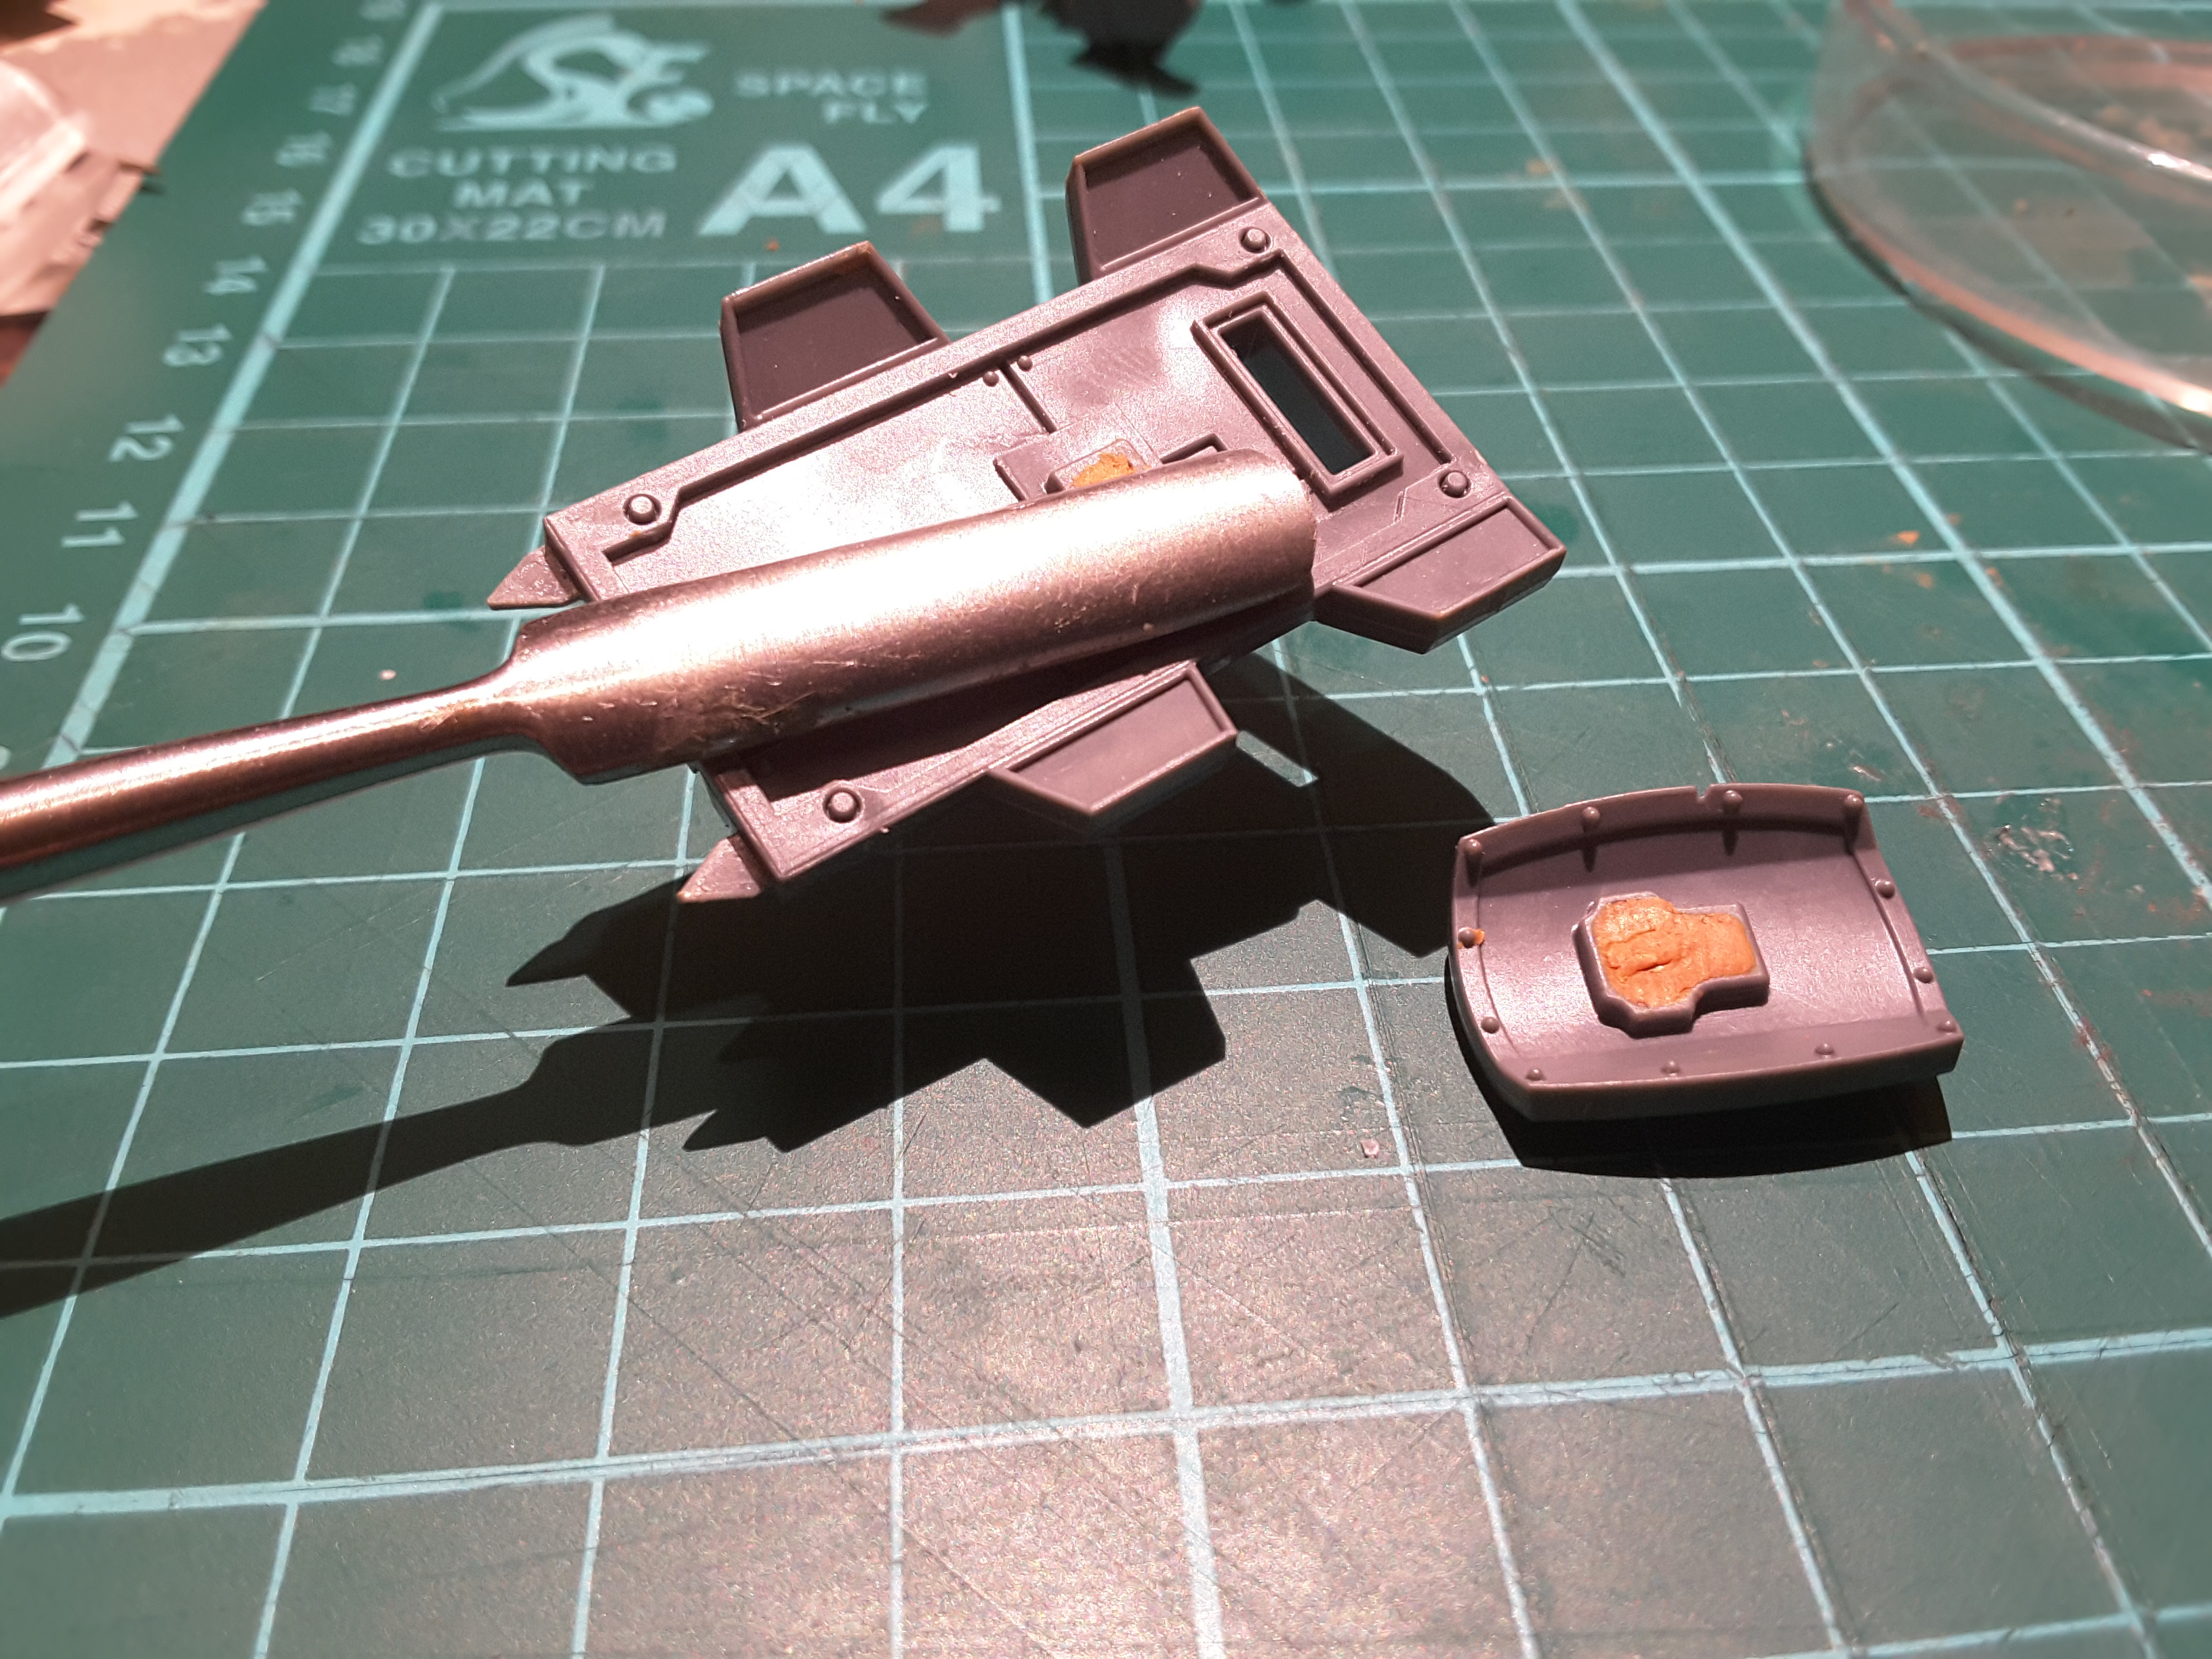
- Get a small ball of milliput and shove in the void of the Ogryn’s hand.
- Stick a magnet on the back of one of the shields and slap it together. The milliput in the hole proved to have enough grip that it stayed behind.
- Get a tiny piece of milliput, drop it on top of the magnet and push it out to spread over the magnet. Popping a shield back on served to both flatten the surface nicely and ensure there wasn’t too much milliput (simple enough to dig some excess out with a tool when there was).
I will try and finish this post off with the video of being able to snap the shield on and off but I will need to play around to get a shot that isn’t 75% shadows. Maybe tonight when the room isn’t back lit.
After that, time to consider the less-than-conveniently-flat contact points for the arms.
Update: now with moving pictures!
More Milliput and Magnets (I am sensing a theme here)
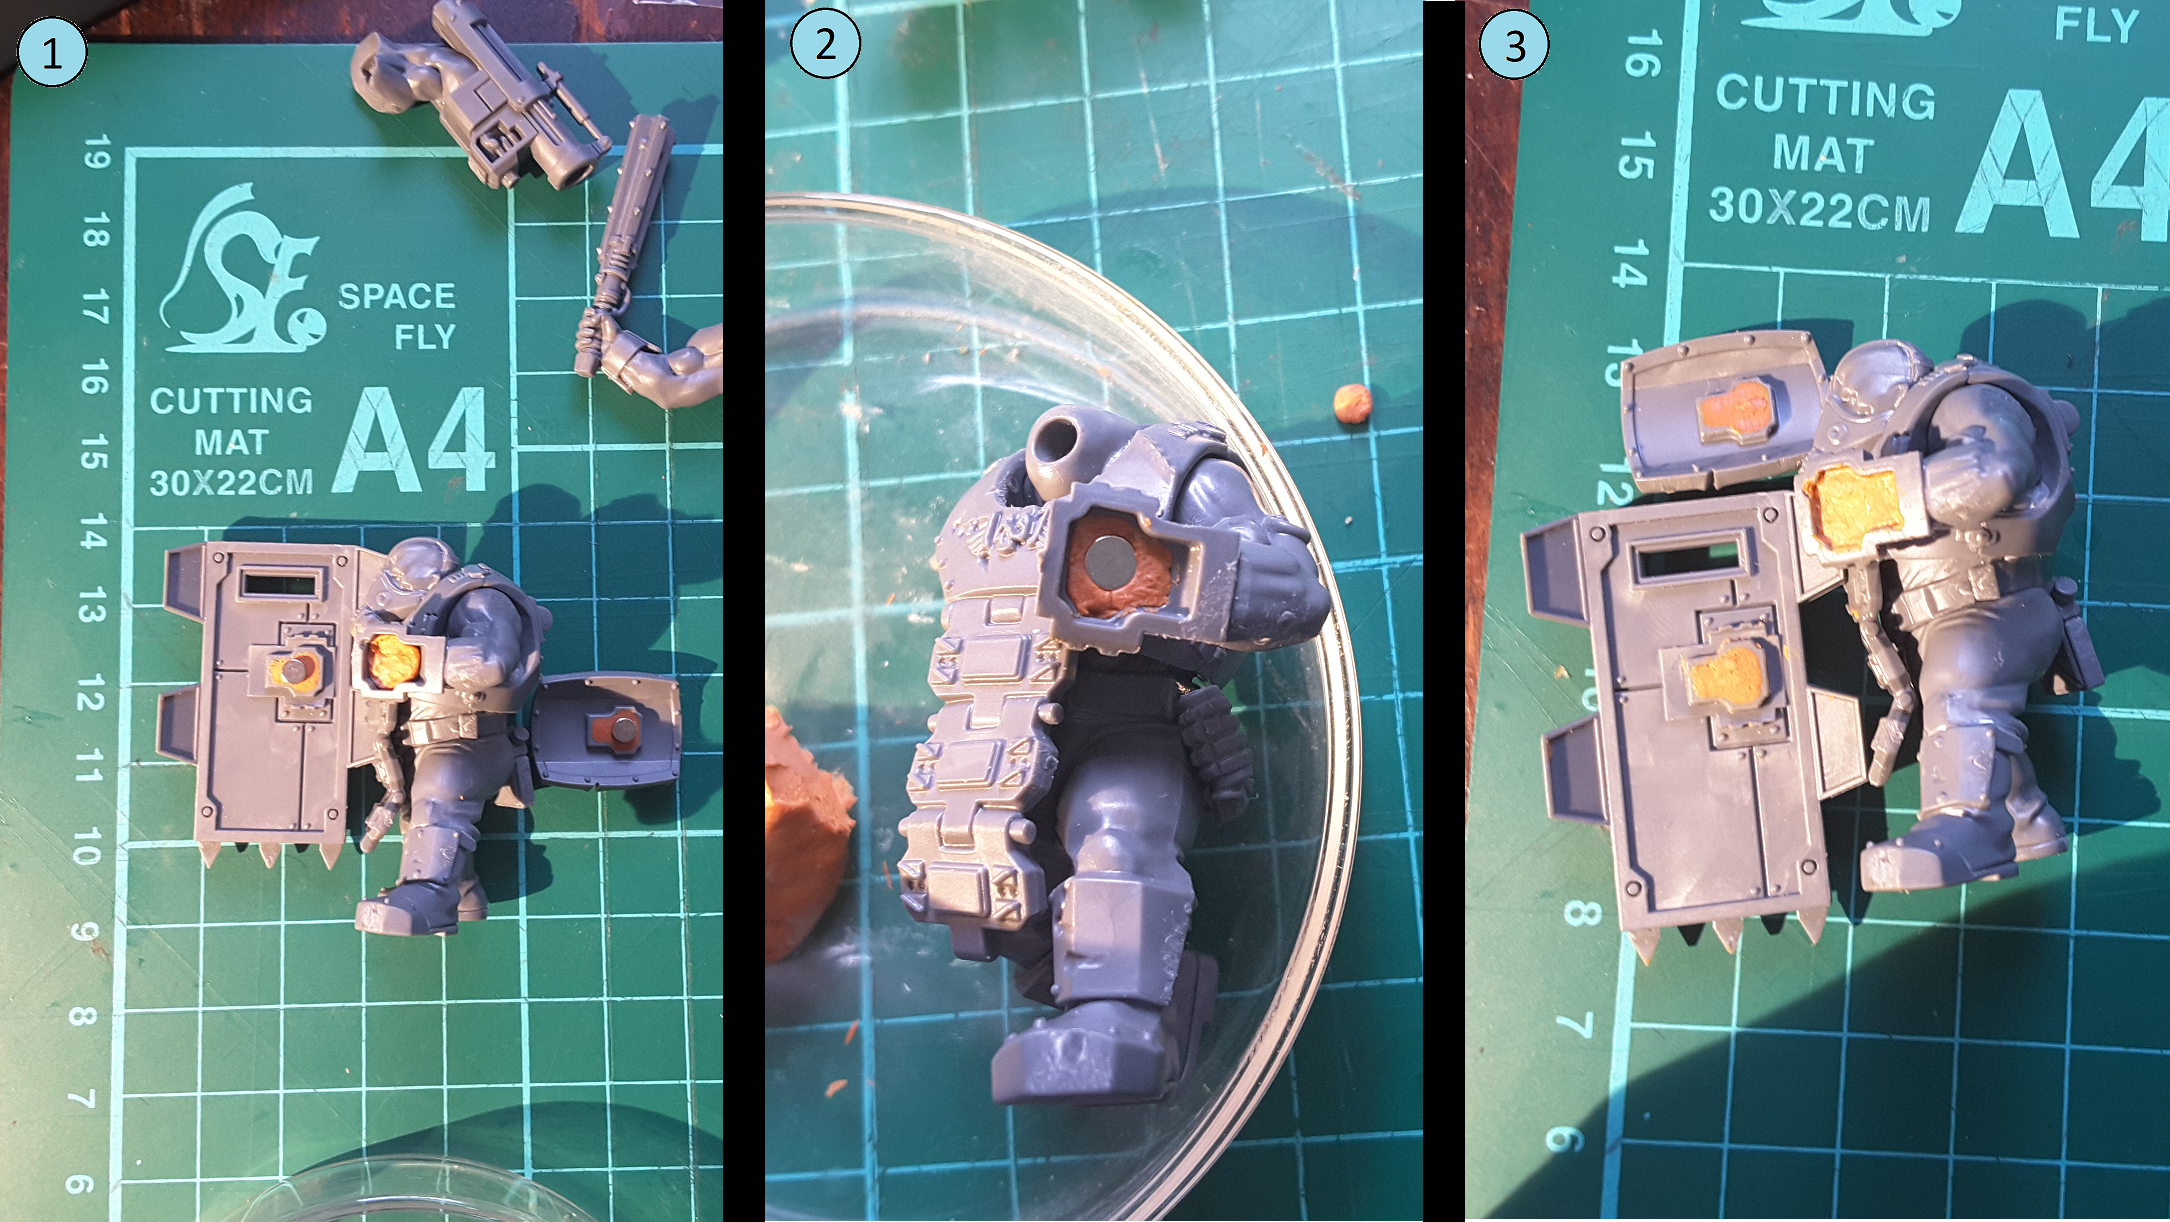
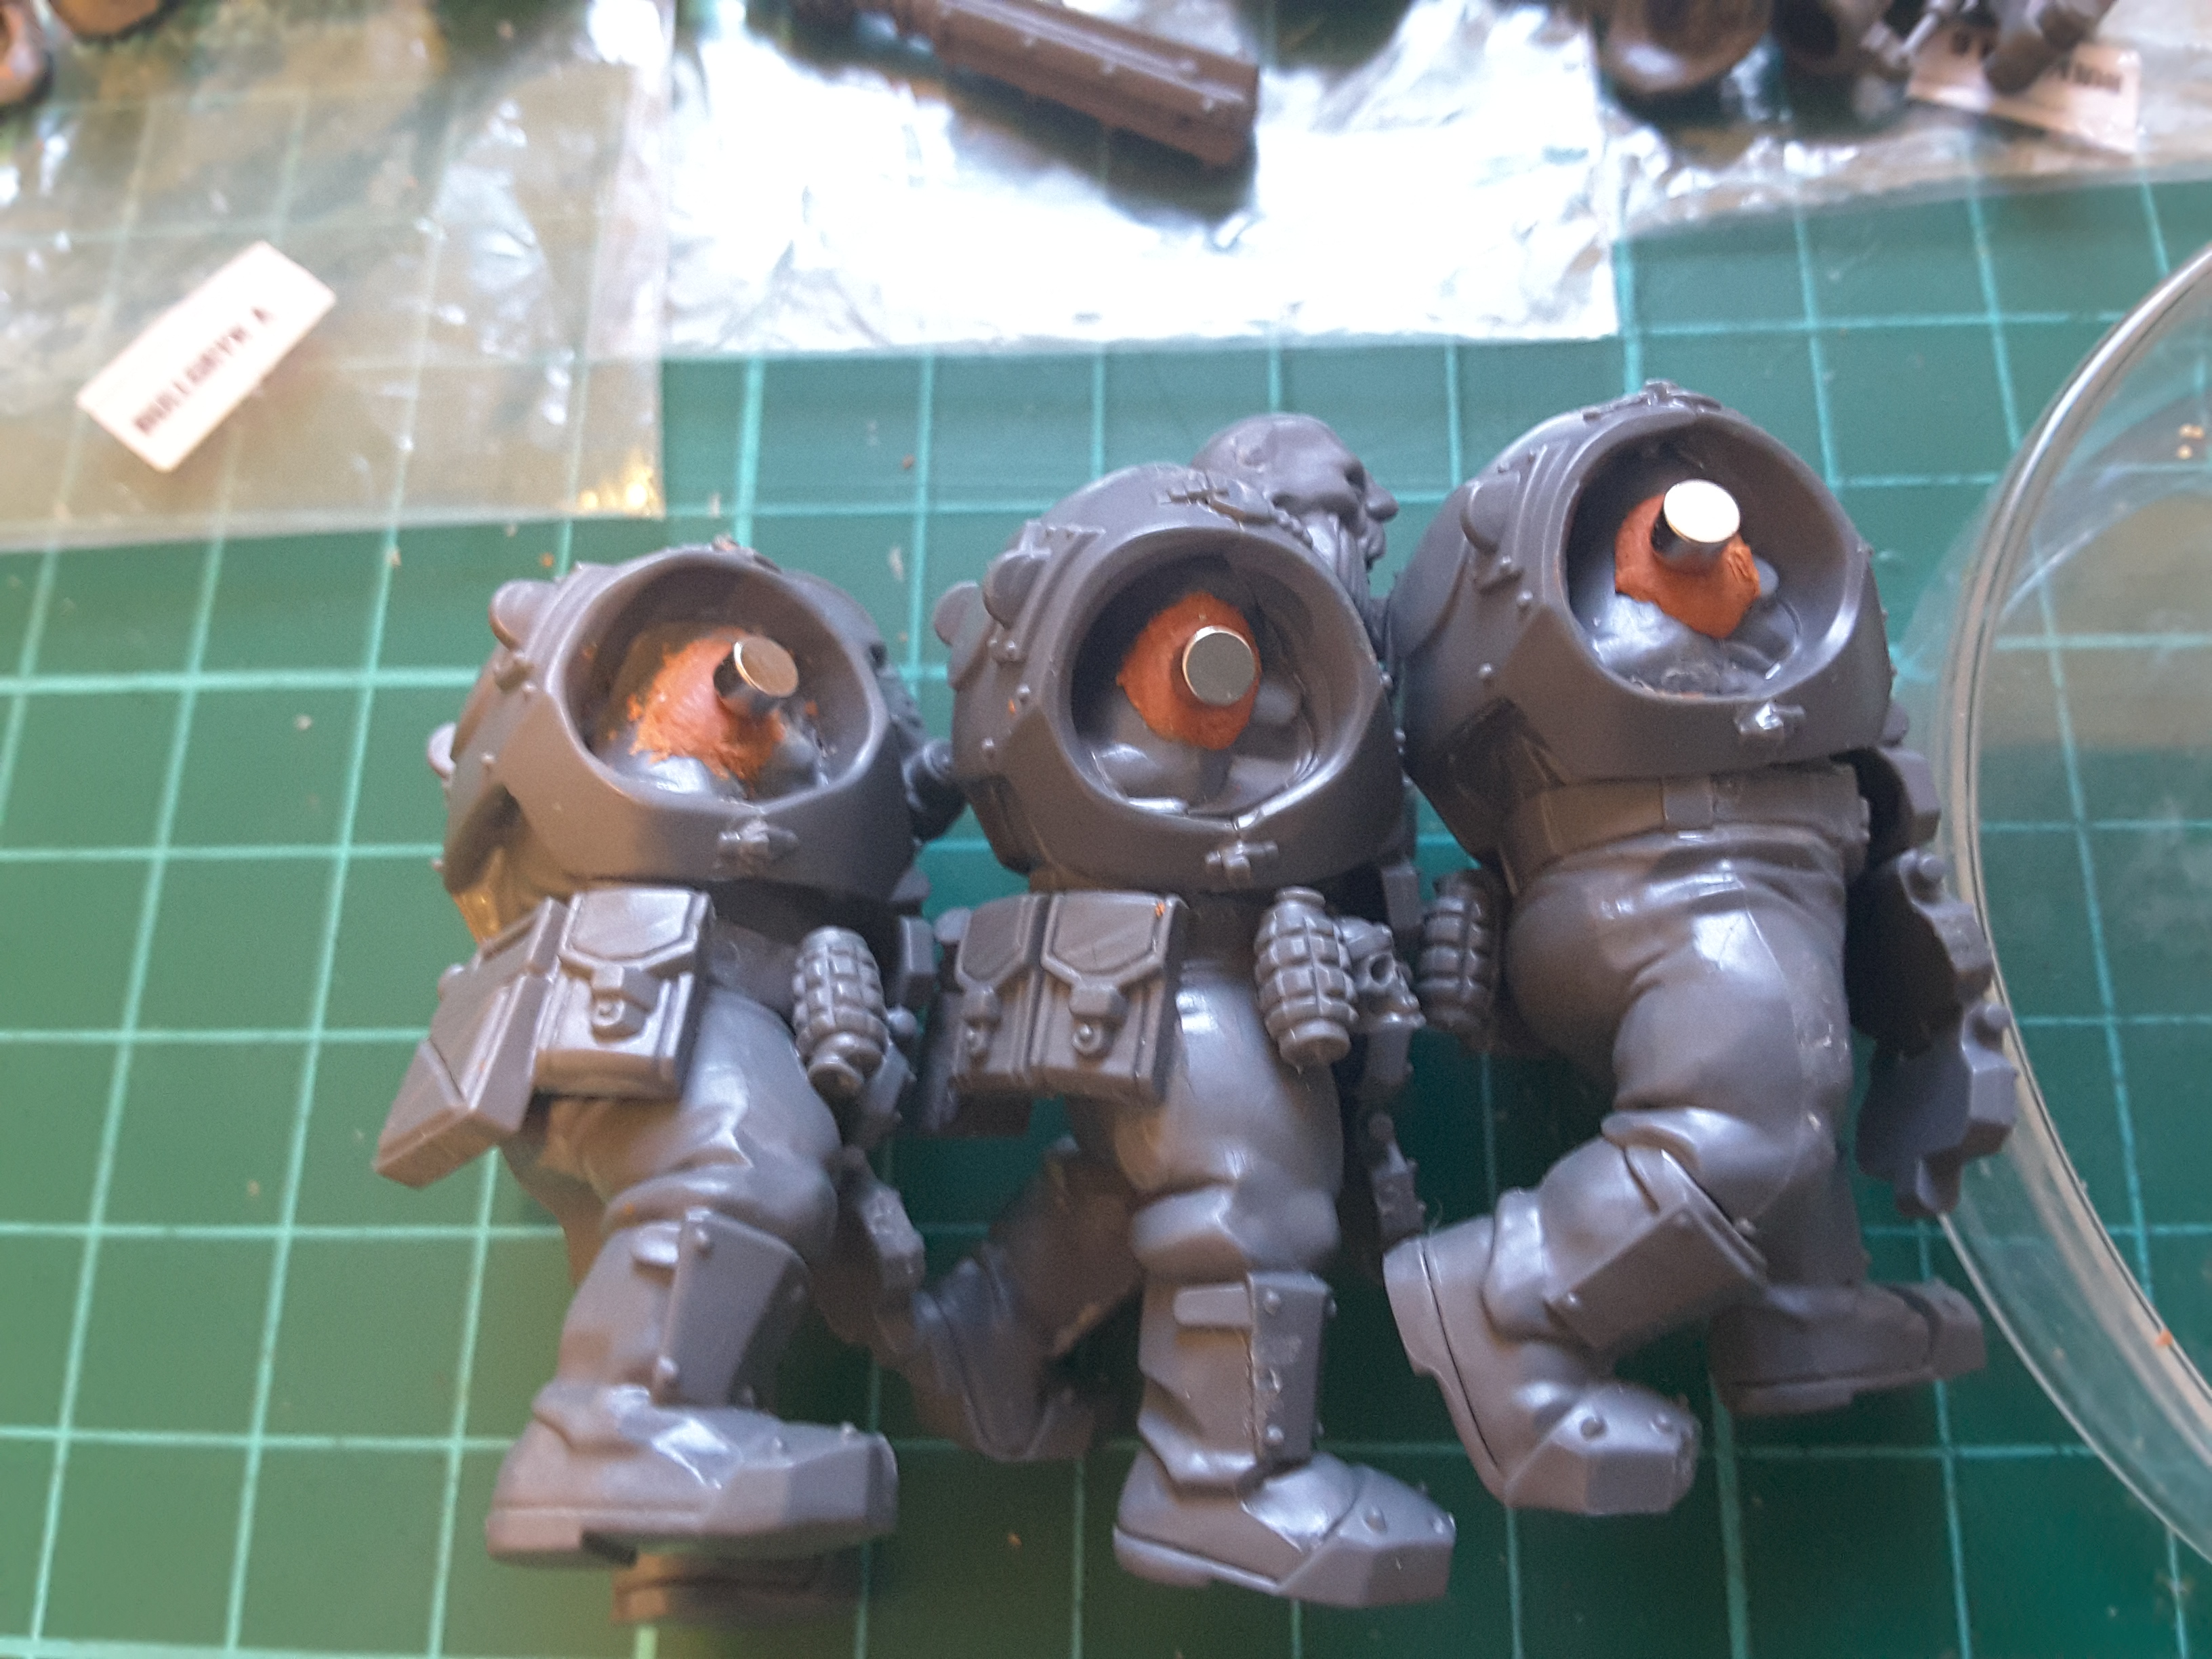
So, to start I felt that I didn’t have a great idea on how much surface area I had to work with in connecting the arms to the bodies of these miniatures. To solve this, I filled the cavities of the arms with blu tack (poster tack to much of the rest of the world) and shoved them down onto the body to create a relief of the surface area I have to work with and I was surprised to find how much I had.
This gave me the confidence to go ahead and start setting the magnets into the bodies.

This part I wanted to be neat and tidy and get the magnet as close to the centre as I could make it. I figured that this would give me the most give in marrying up both arm options when it comes time to set them.
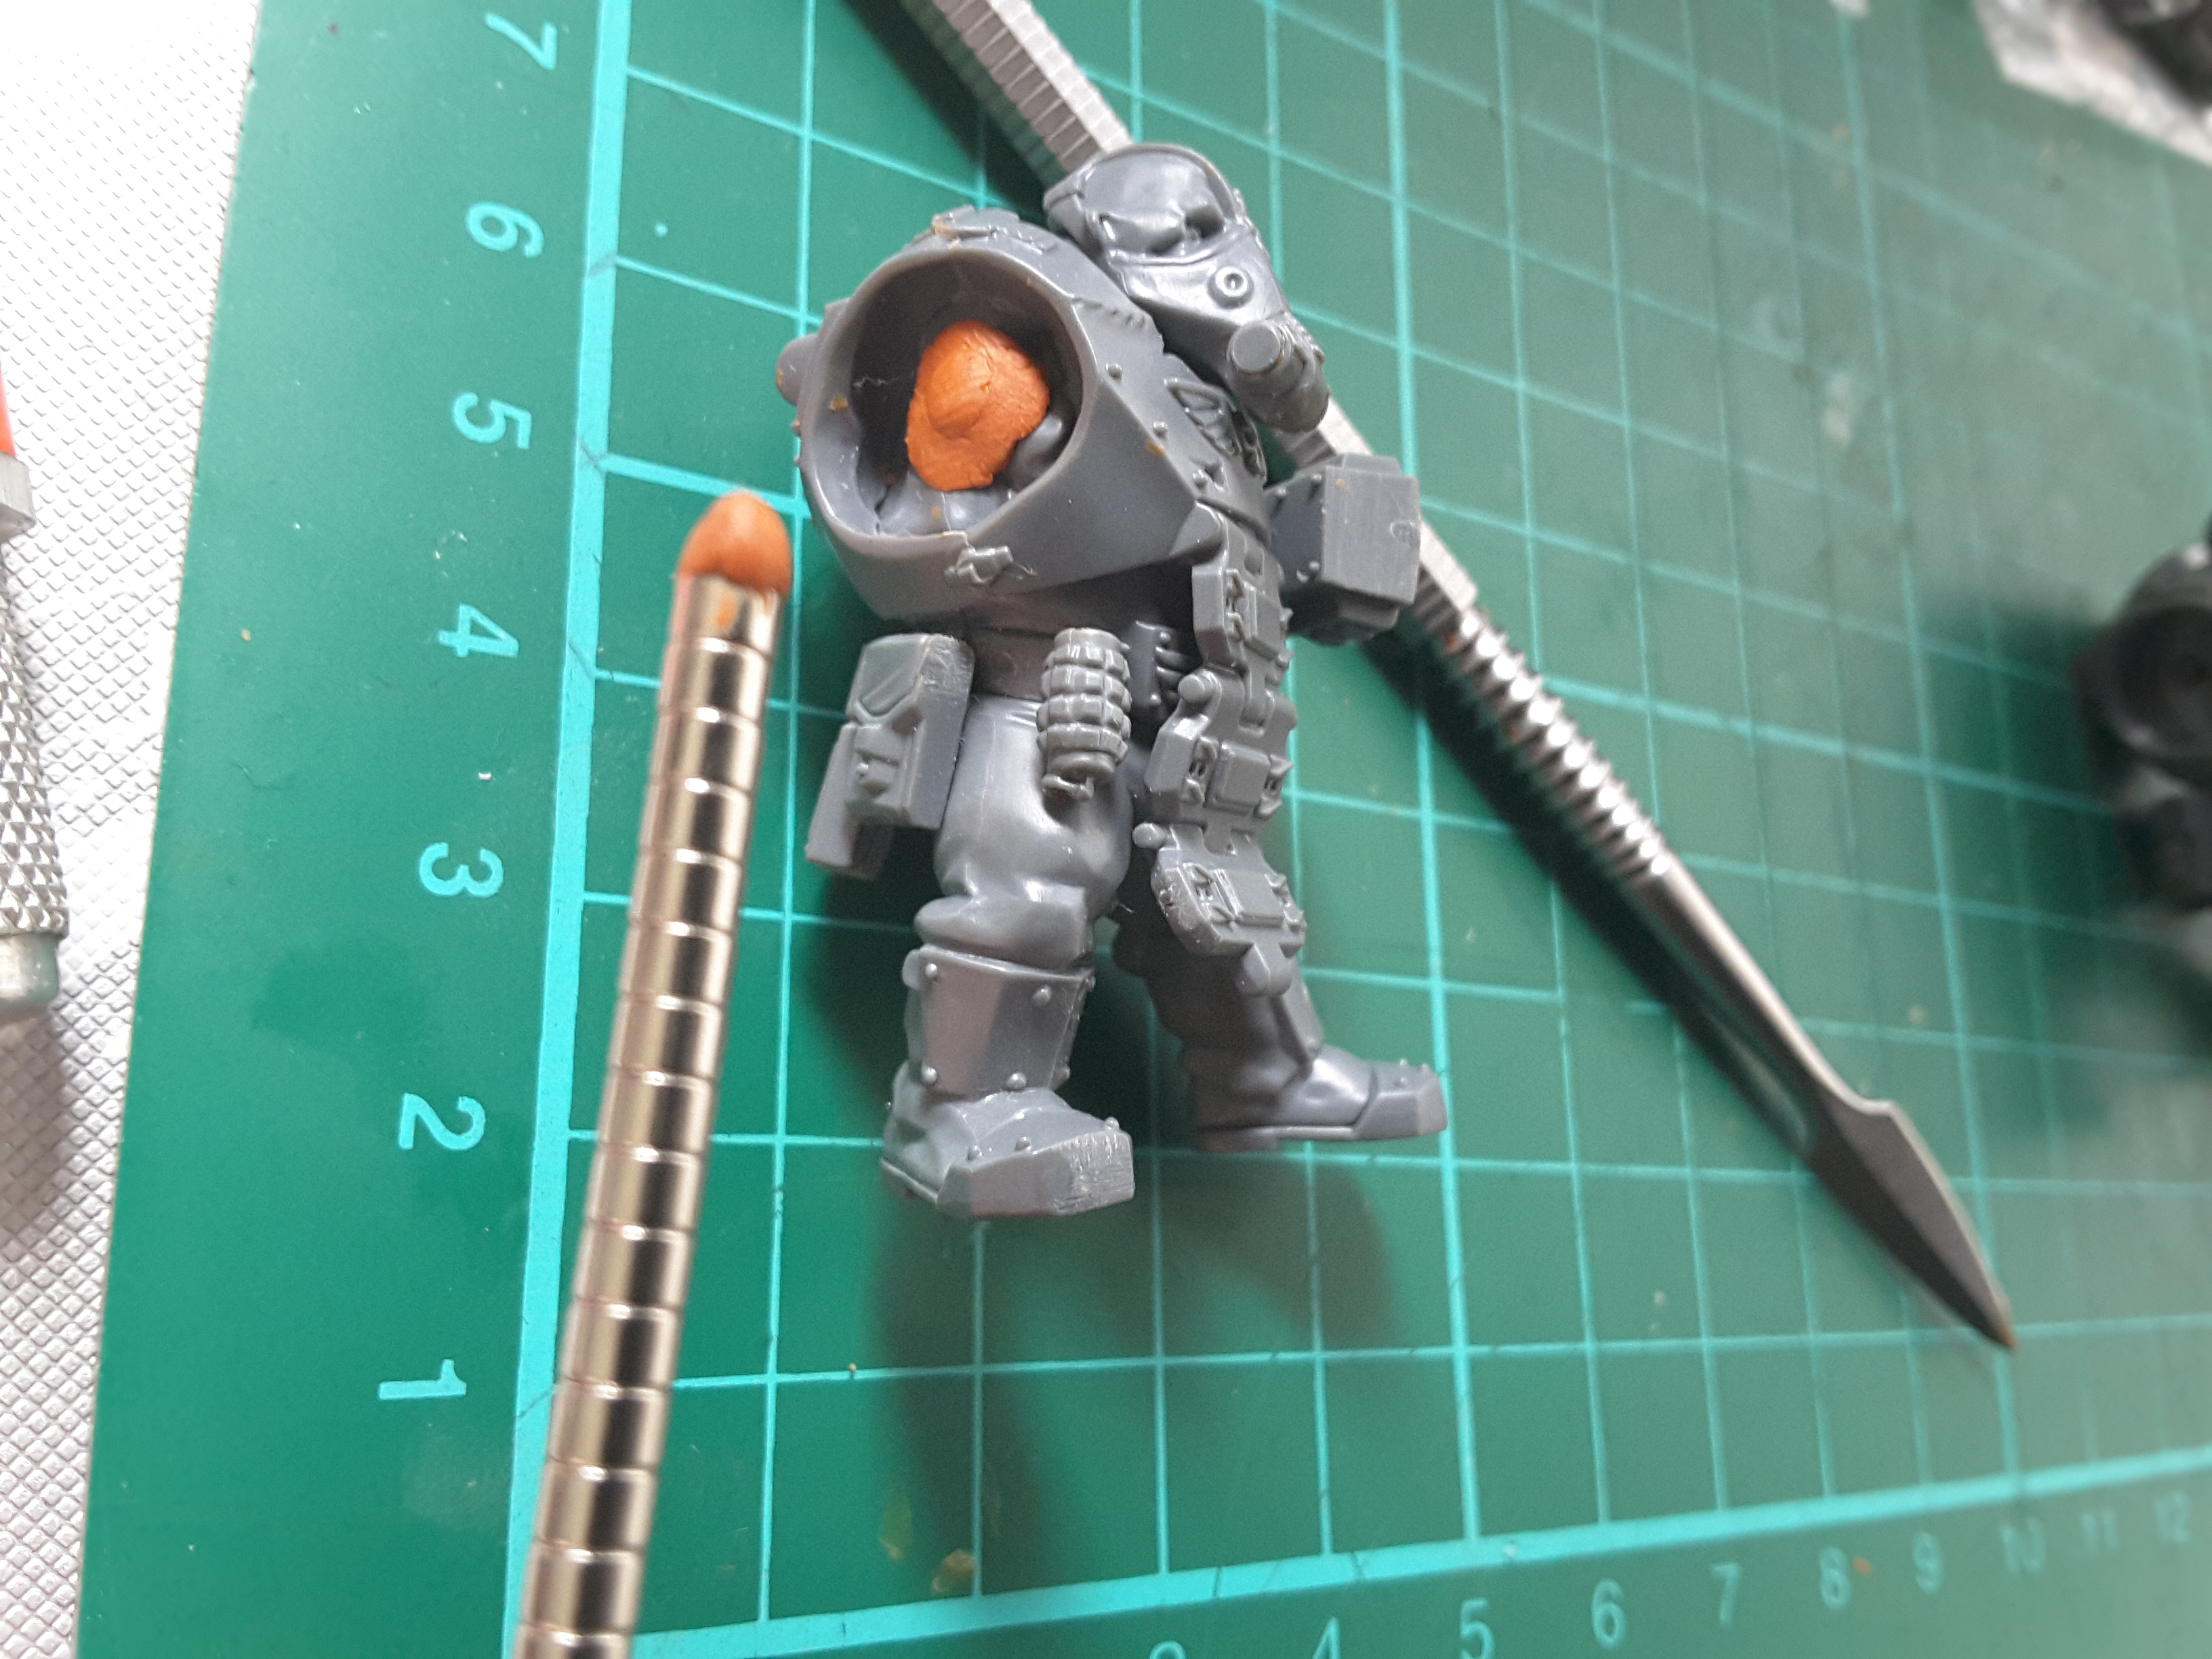
To achieve that, I stared by picking out a pilot hole using a hand drill and a 0.6mm bit. I then worked my way up through 1.6mm, 2mm and then a pair of 3mm bits (seen below, the left hand one is good for boring into plastic and the right hand one is good for rounding off the hole) to leave me with a recess I could seat the magnet in.
To fix the magnets in I created two blobs of milliput, one slightly larger than the other. The smaller one went on the end of the magnet going into the hole and had the magnet shoved on top of it to fill any space left in the recess and the large on drop onto the magnet and spread down over it.
I was less careful with this step as I figured I wanted a good solid fix for the magnet and could always comes back and trim any excess with a tool once I could dry them.
And that’s that step done.
But wait, for there is more.
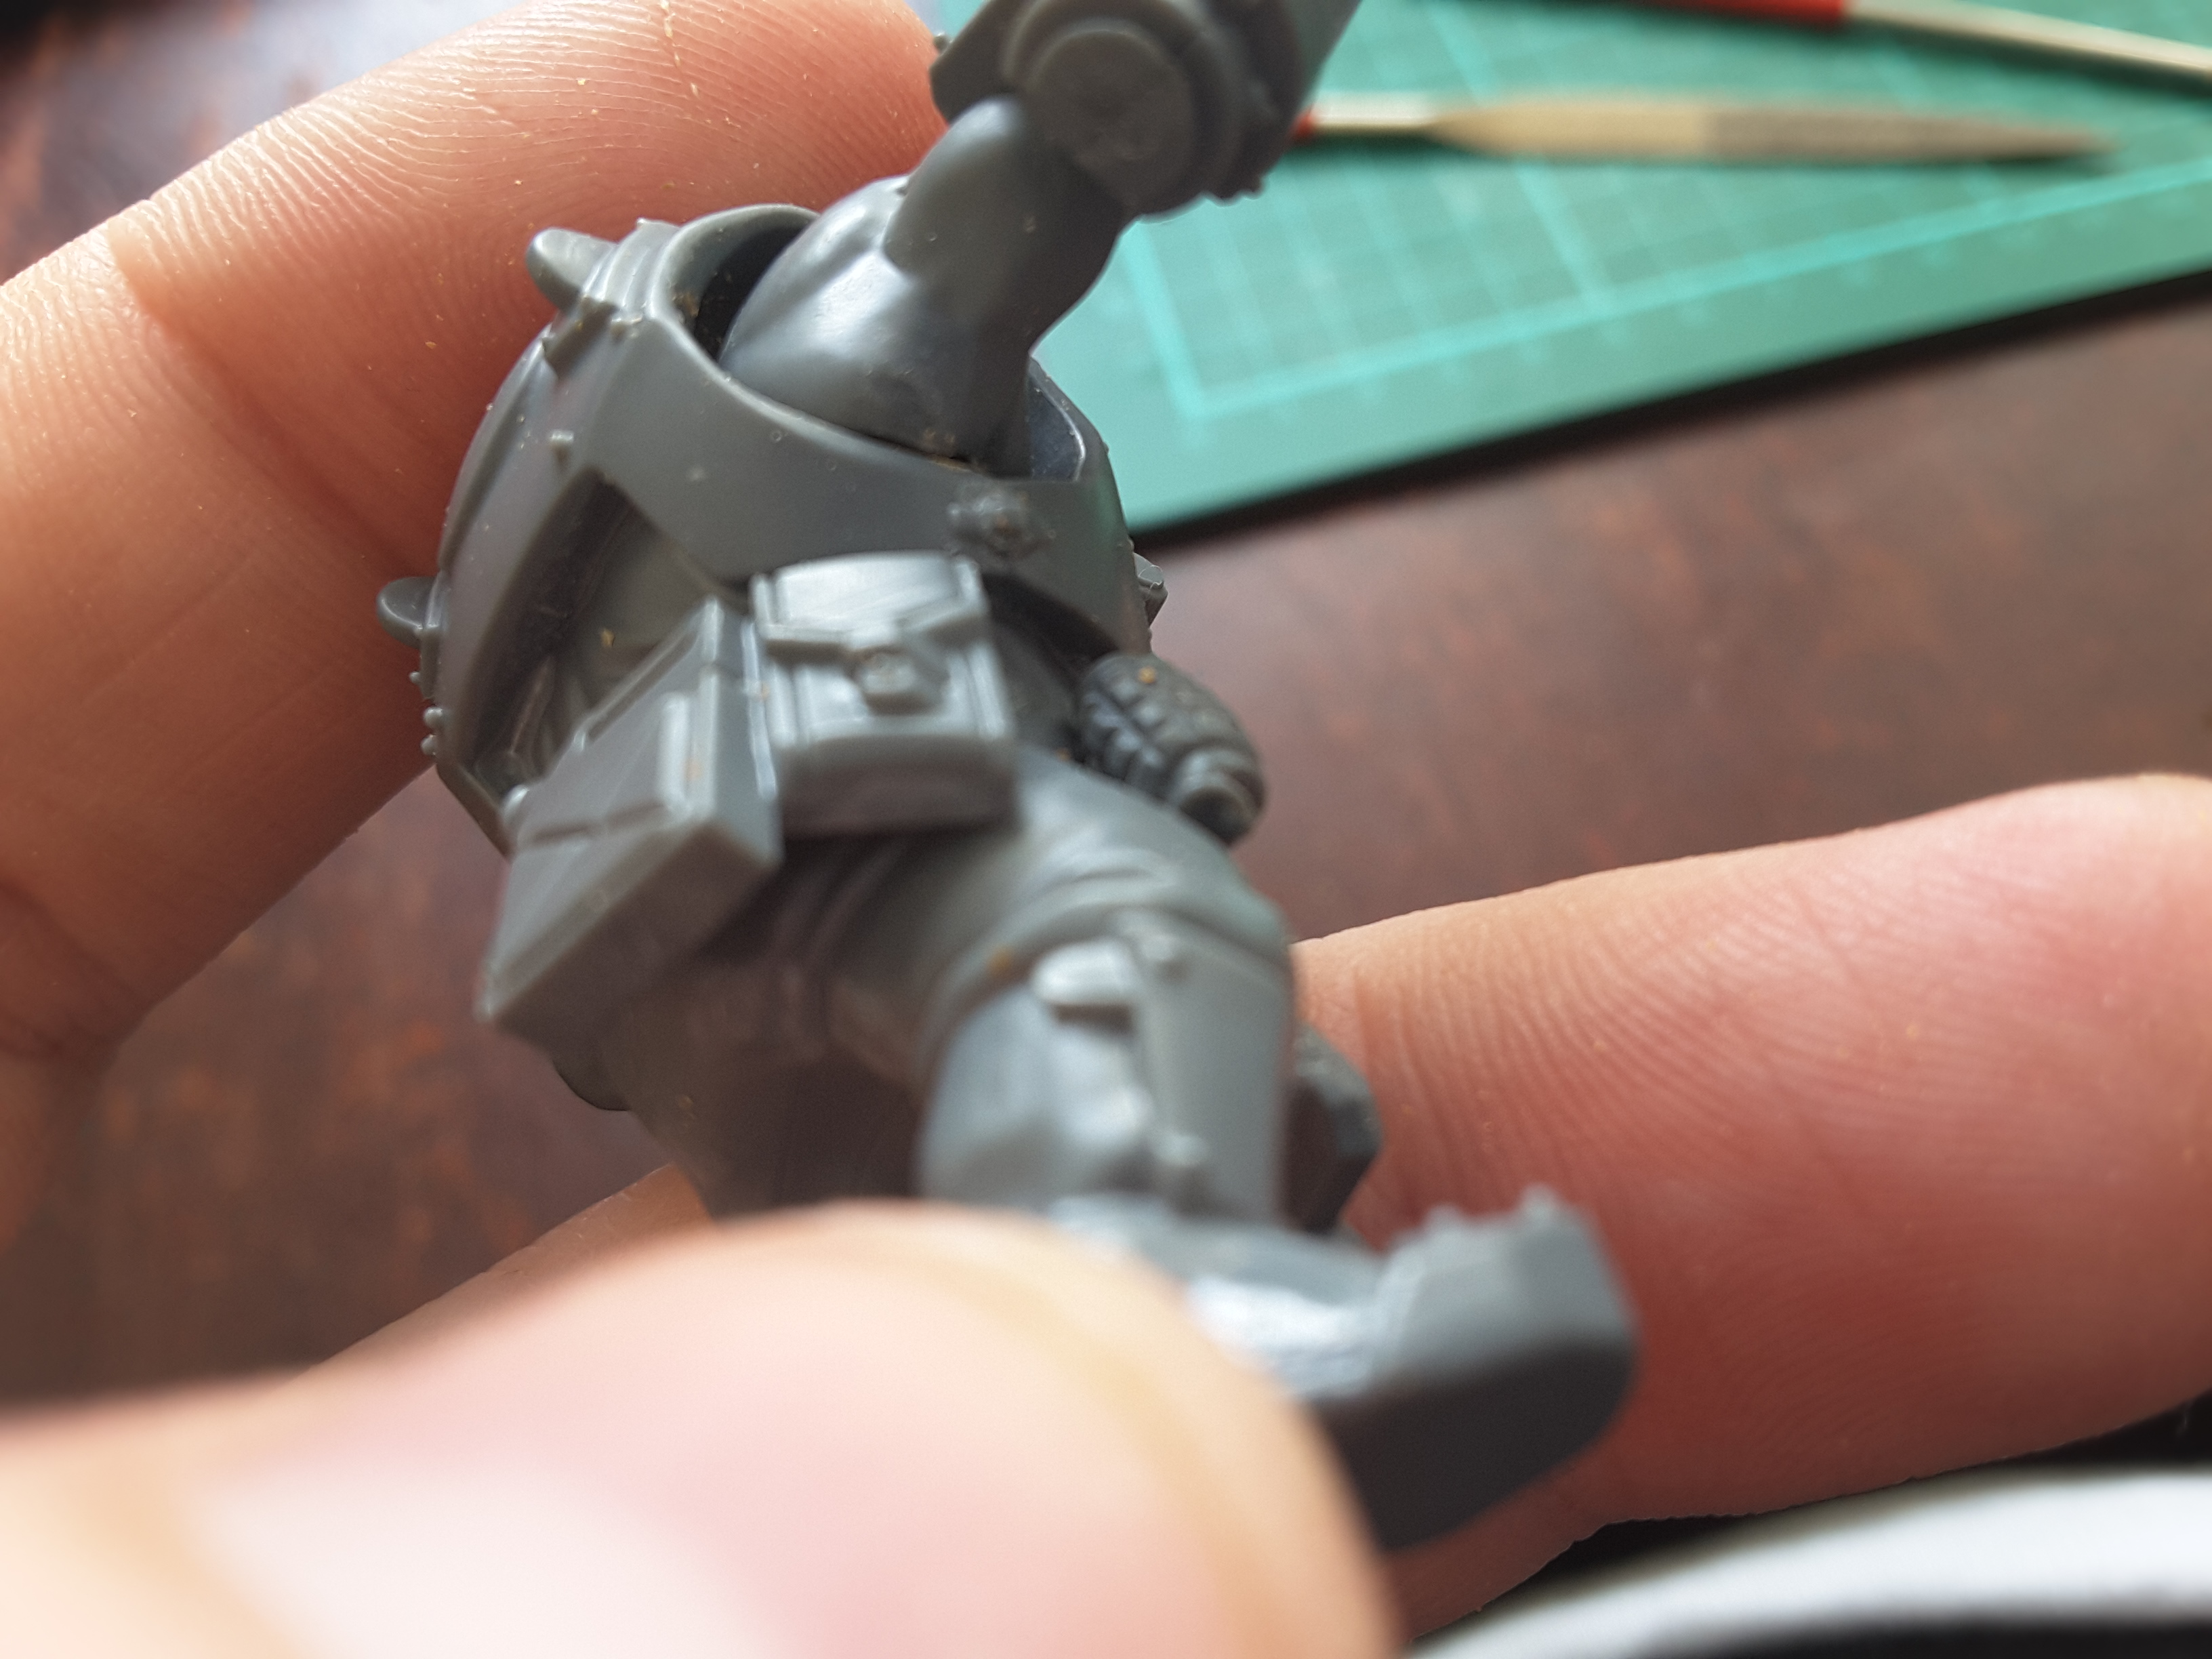
Throughout this process I kept dwelling on the cavities that the arms have, where I intend to sit the next set of magnets. There is a fair bit of material that is concave to the space. This is useful when glueing the part as it is contoured to the body but here, it is excess material. So I decided to get rid of it.
Nothing subtle about this step. A hobby knife, a hand drill and file and I just set to carving out material in order to widen the space and give me more room to work with in the next step.
Speaking of the next step, that’s it till the milliput dries. I am discovering that magnetising work can require some lead time due to needing to wait for the medium to set between steps.
Perhaps that is moral of the project.
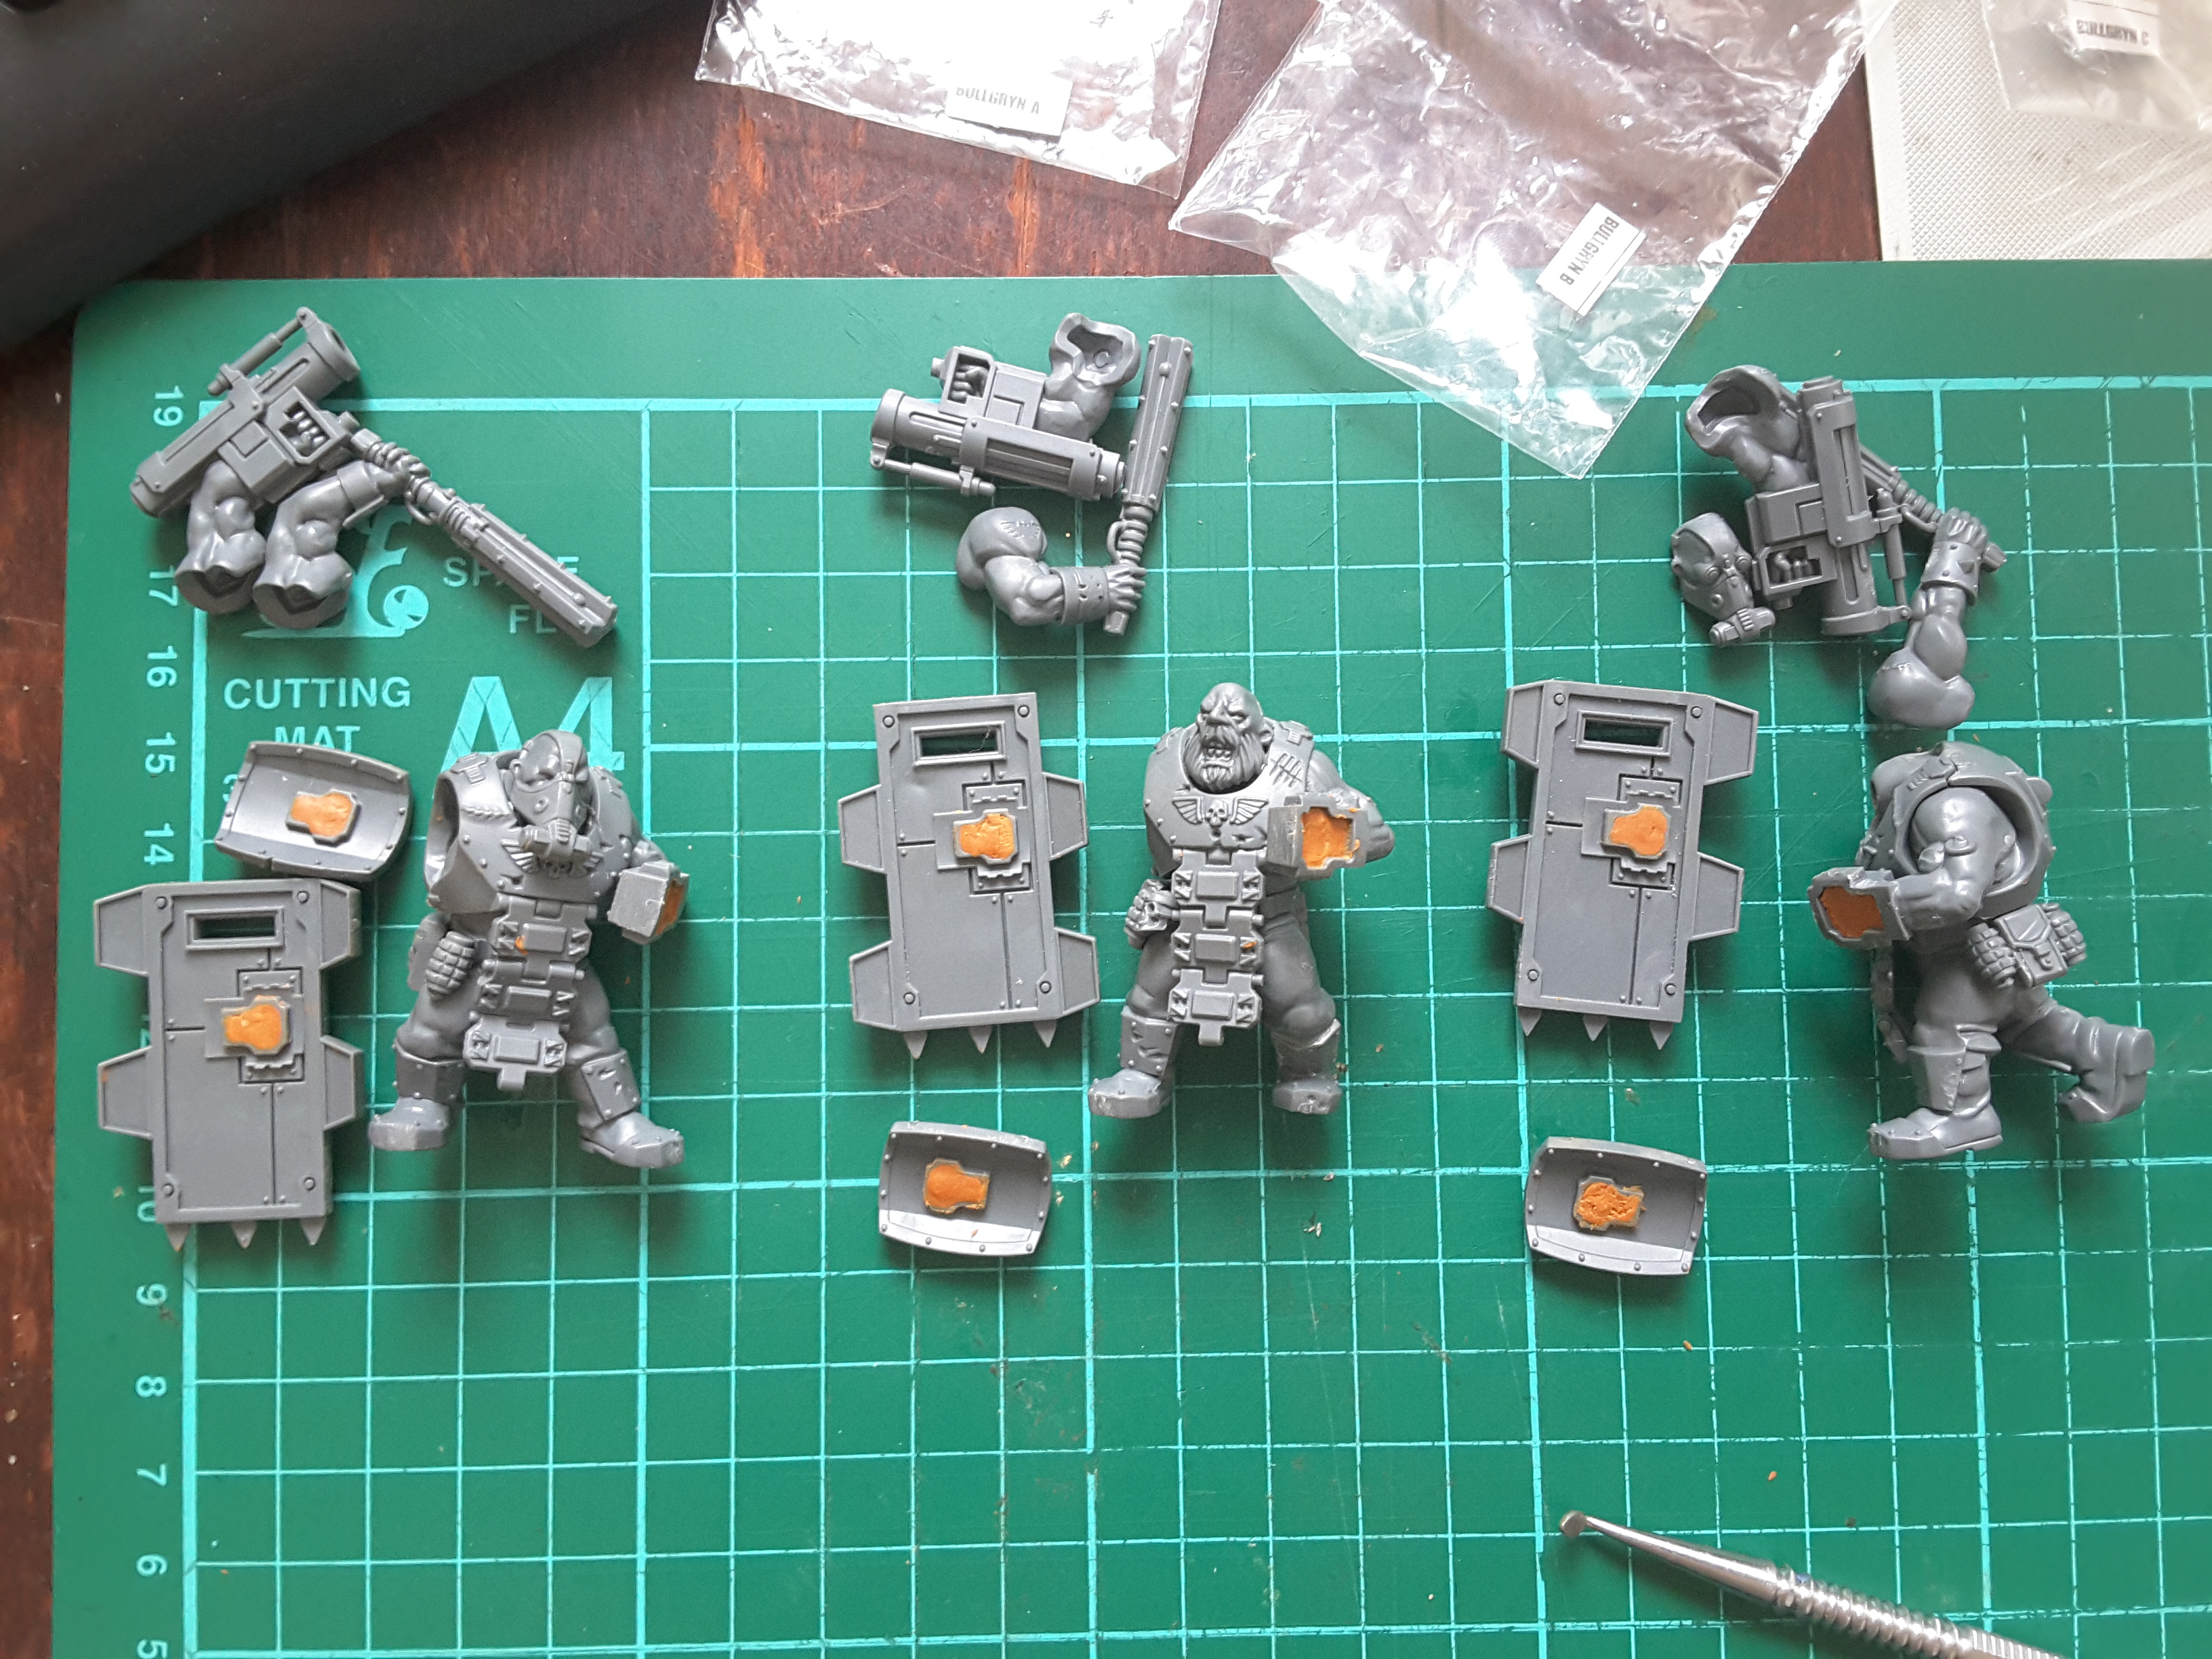
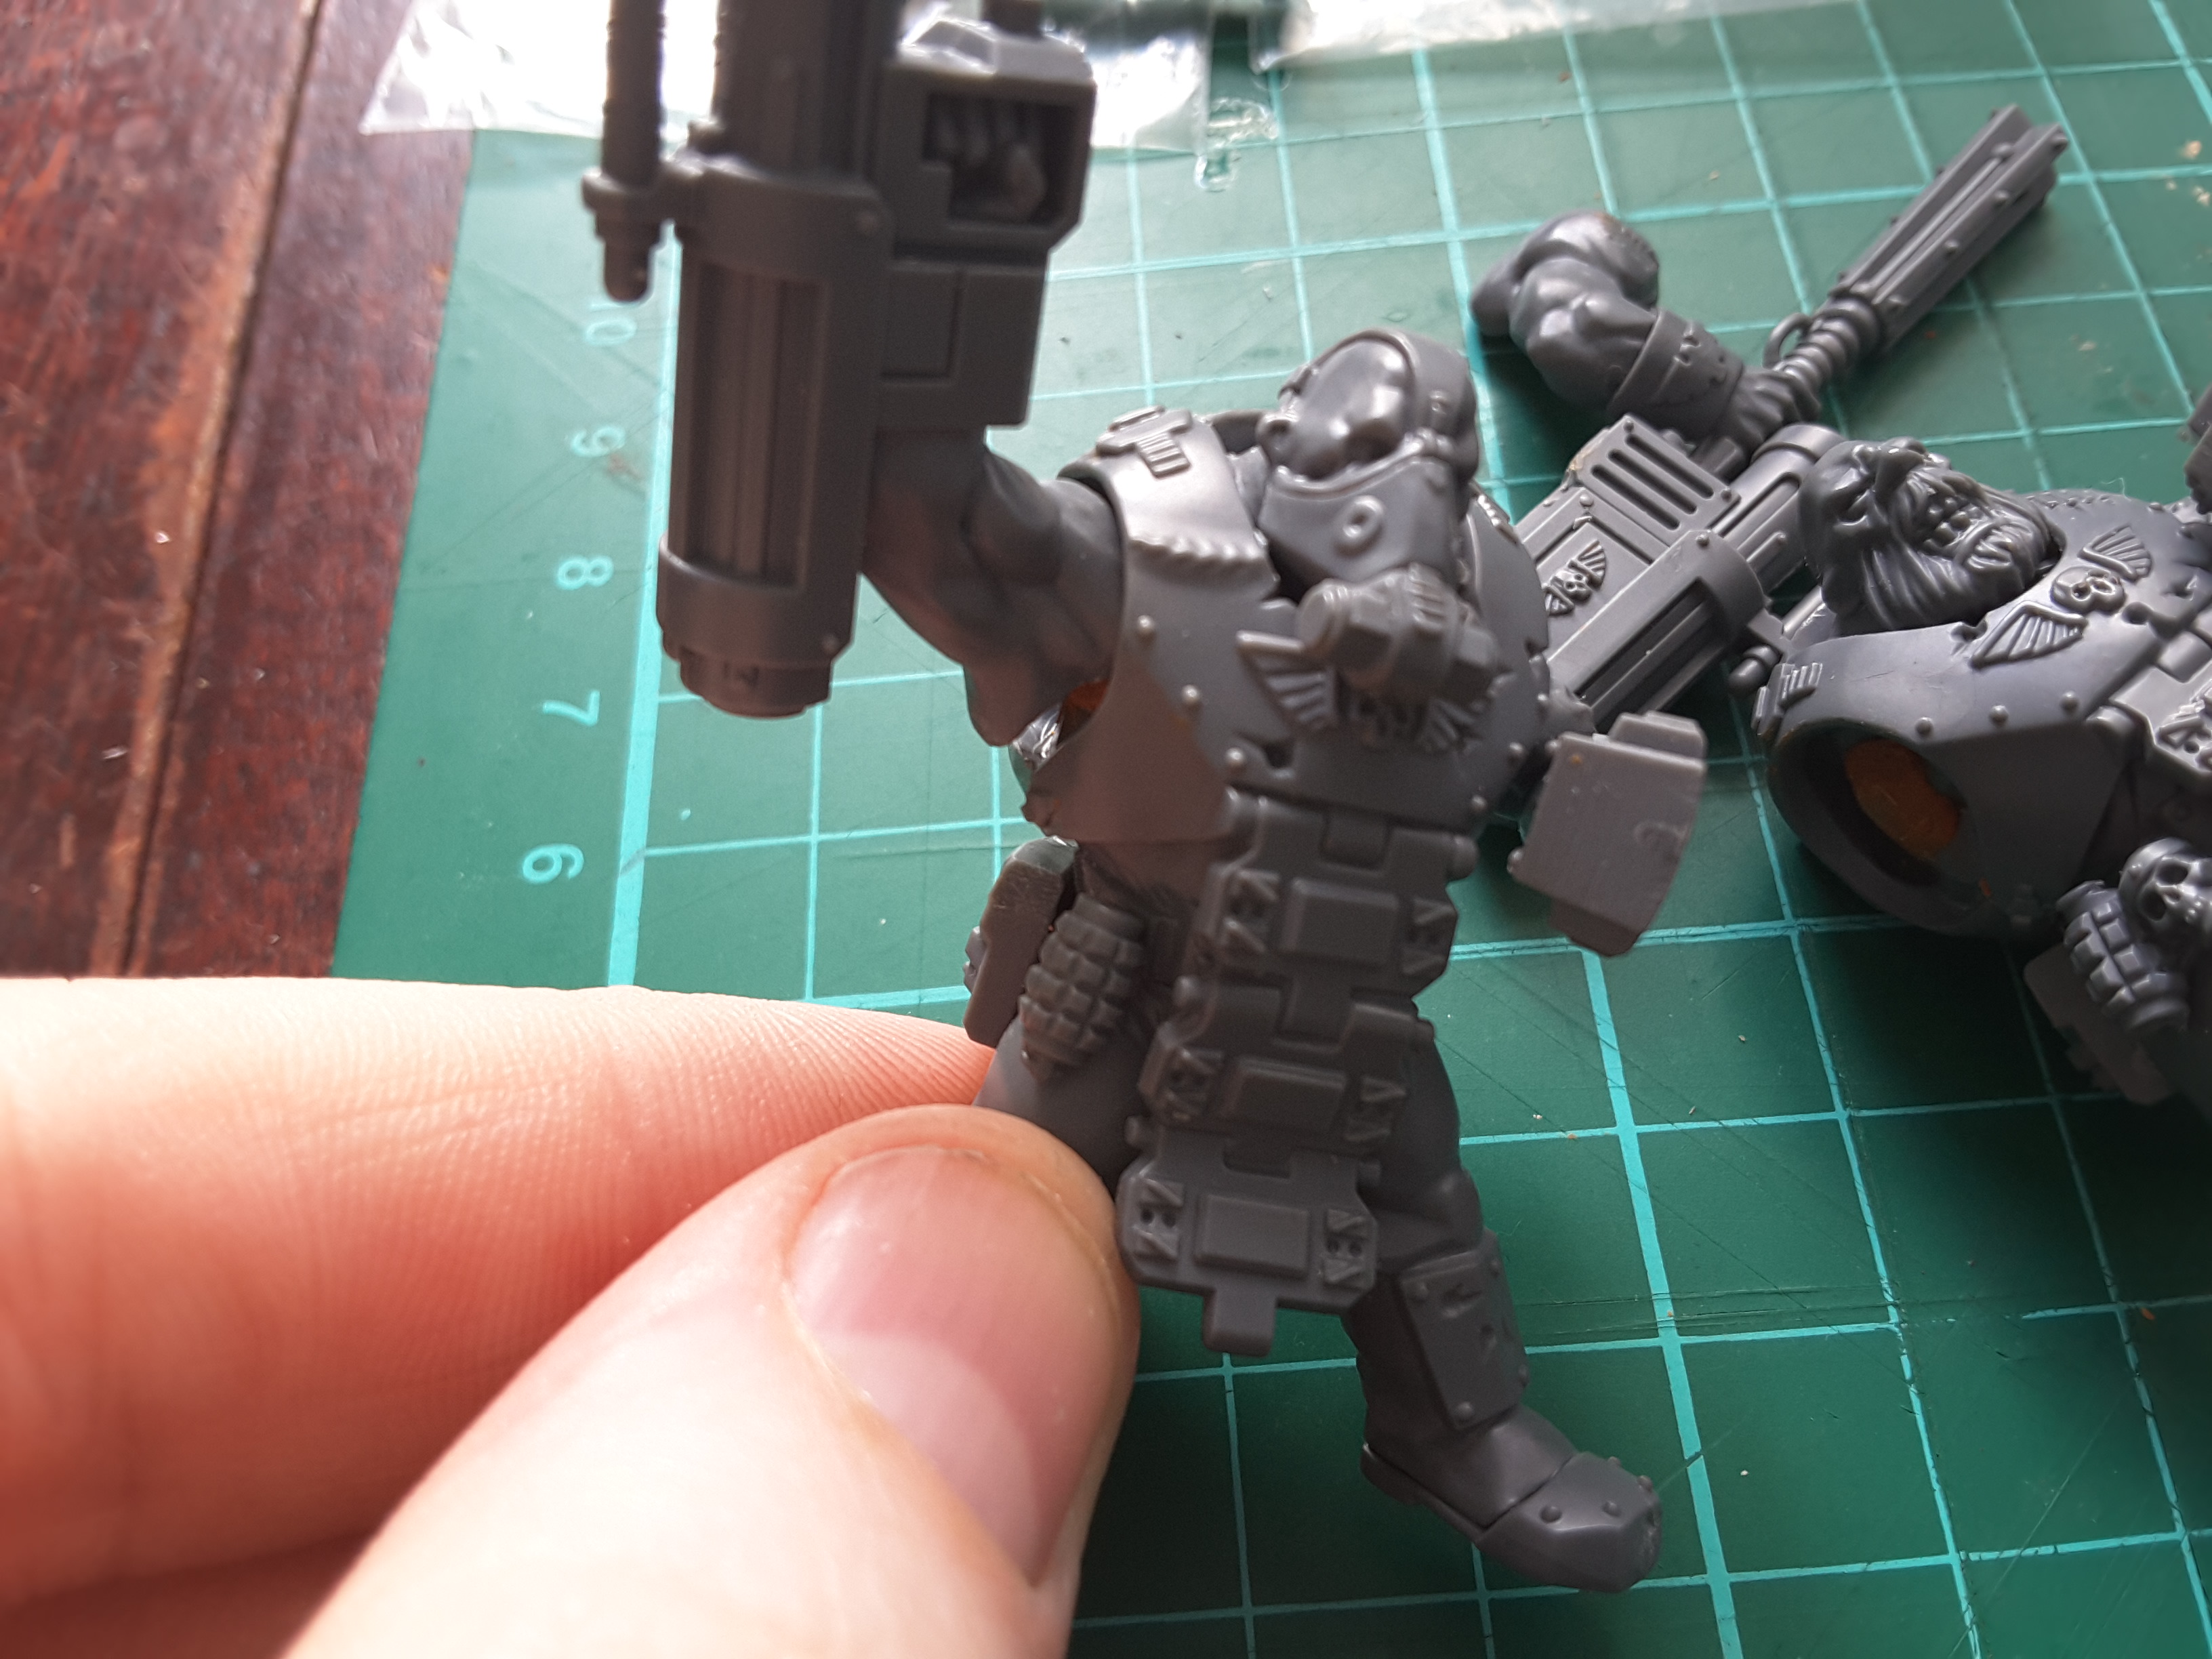
Time to Arm These Bullgyrns (Get it? Because it's their arms and they have weapons? You get it.)
I went about this in much the same way as I did the shield, with a bit more fiddle as the surfaces aren’t so nice and flat but the practice served me well.
Again, I started by dry fitting the magnet, sticking a blob of milliput in the recess where the magnet would sit in the arm and pushing it down over the magnet. These didn’t really come away in the milliput like they did on the shield sides of the miniatures but it was simple enough to peel the magnet off (and making sure to keep it the right way around!) pop it back into the hole left by the impression.
I little bit more milliput over the top to seal it in and repeat six times.

And yes, I have magnetised the head on the one of the right because why not. Have magnets, will magnet.
Short and sweet this time as I have been over all of the principles in use here before. Now to just let them dry and make sure everything comes back together.
Perhaps I will try and come back and make another short in use video for the whole figures if I can find a way to get a good shot.
Bonus Round
Another benefit of this project: I have gotten better at cutting small amounts of milliput.
At the start, I was throwing away more milliput that I was using but now I’m down to throwing less than half of what I pull off.
Remember kids, everything is a learning experience.
Follow up
Just a quick report on finishing up.
There was a bit much milliput in the join as I was kind of expecting there to be.
A little bit of filing work was enough to bring them down to a good fit.
Pro Tip: if your files get junked up with milliput or a similar medium (as mine did), soak them in boiling water and srub them down with a toothbrush. The heat activates it enough to brush it off with a bit of elbow grease.
The Epilogue
To finish off, a video of the completed products (director quality not guaranteed).


