Ancients – A place for my pre-gunpowder historical games.
Recommendations: 78
About the Project
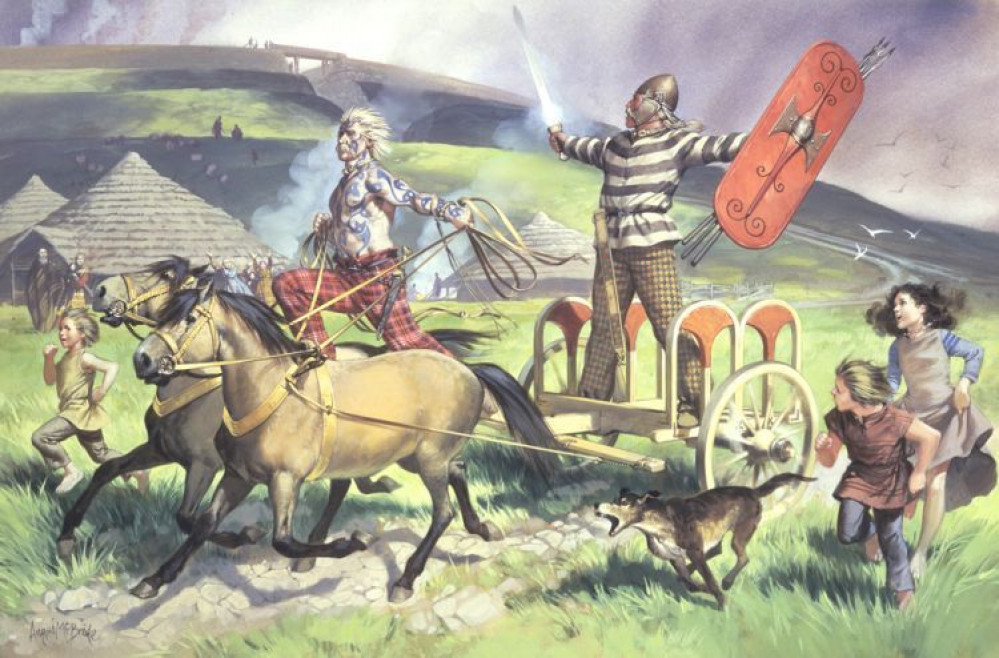
This will be the home of my Historical gaming of the pre-gunpowder period. I have started playing, and about to start playing even more games from multi-periods, so decided to bunch them together in blocks to make my project pages. I thought that as the use of black powder was a big game changer on the battlefield, it would also make a good point as the break between my early historical games. This is where my armies and terrain for the spear, shield, sword and bow period will be revealed to the world, I hope they will be of some interest and maybe even help a few on their own journey. This will be the home for SPQR, Hail Caesar, Clash of Spears, Lion Rampant etc. to name but a few. In case you are wondering why so many game systems? I run a gaming group and so game systems are always changing as someone discovers a “new” system, to us at least!
Related Genre: Historical
This Project is Active
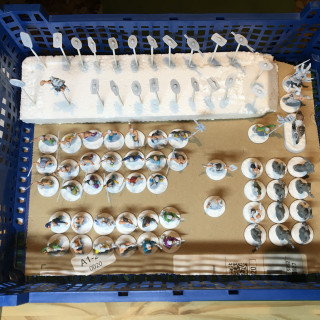
First of the Warrior Bands finished...
Taking a while, as is often the case with me! but the first group are done.
They are good enough for the table top in my view, which is where they will be seen and used 🙂
And I have no idea why the image is upside down in the project page! it is right way up if you click to enlarge it and shows the right way up in the edit window!
Short figure update...
I am still active on this, even if slow, too many other things on the go, but here is an example of a figure with simple base coats and then after applying a Flesh Wash to the whole figure to add depth.
As I have so many to paint and not enough time to put in to them at the moment, this will be a finished paint job, not going to highlight, its good enough for mass troops on the gaming table, I will be adding a scenic base, going with a woodland theme, and adding shields to those that need them, more on this soon hopefully.
I know, i should of cleaned the mould lines off before painting! they did not look that bad until after painting! So note to all, including myself, paint will enhance mould lines, clean them up! lol
A little shorter post for my figures!
It’s a start, my basic Celtic war band, in various stages of painting, I have put some basic texturing on the base with ready mix filler, mixed with PVA glue to stop it cracking when it dries and help bond it to the base, although there may be little of this left to see once I finish the base, thinking of a woodland theme for them, been collecting little bits of twig from the garden over the winter, plenty of choice with all the storms we have had! But the basing will be done last so those details will follow in a future update.
I have just over 200 figures for my Celts so far, most still need assembling, but there is enough here for my basic force. They will be used first with SPQR and Clash of Spears (missed the Kick-starter for this! But my order is in with a Kick-starter store so hope to have this soon). As my force grows in size we can then try Hail Caesar for some larger games, and a few other systems on the “to try” list too.
I have decided to just go with a basic simple colour scheme for this lot; I want to get them on the table and told myself no paint, no play! Have stuck to it so far, but my friends are eager to start playing so need to get them finished. Once the basic war band is painted and being played, I can start adding to them, hopefully with a little more time to put in to trying different painting methods, I want to try stripes and then tartan!
There is plenty here for the first skirmish games though, the main war band will be Dumnonii Celts from South West England, my ancestral home so I claimed that option first at my gaming group. The Hero will be called Kernovix and the Druid will be called Toutorix, there does not seem to be any records of actual names from this region in this time period, it seems they had an oral tradition and the Romans left them to get on with their own affairs generally so did not make any records! Not helpful for me trying to find actual names from the area, luckily I have a reasonable imagination with a generous helping of humour. 😉 The good thing with these figures is they are multi use, meaning they are Gauls too! In SPQR, the main difference between Celts and Gauls is warriors have spear and shield and tribesmen use slings, while Gaul uses sword and shields and tribesmen use bows, the starter set comes with a mix of both spears and swords, and I bought a set of slingers to mix with my archers, so one war band works for both! My Gauls will come from what is now part of the Normandy area, (been playing D-Day with Flames of War so lots of games in that zone at the moment!) They are the Venelli and the Hero is called Viridovix while the Druid is named Illiomarus. I might use them for a Germanic war band too, but that is a possible future option, I think Celts and Gauls is enough to start with.
Better pictures will follow in the future when they are painted.
Let the games begin... just as soon as i have painted the figures and made the terrain!
Let’s start with some pictures of the terrain I am just starting to build. Having spent a few weeks watching too much YouTube, all terrain and figure painting related, I have a good selection of ideas on where I want to go, and the first is a few basic homes to make a small village to fight in and around. Funds are limited, spent far too much on new rule books and figures recently! So, they need to be cheap to make but look good enough for the average gaming table.
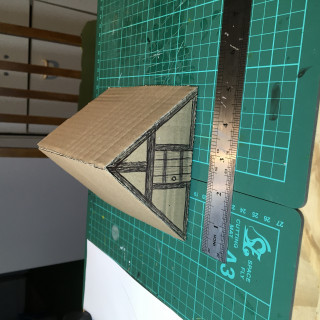
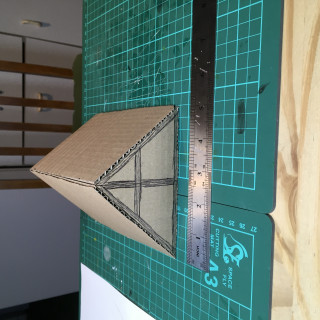
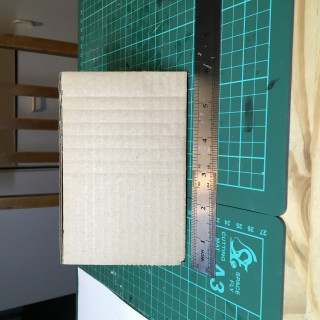
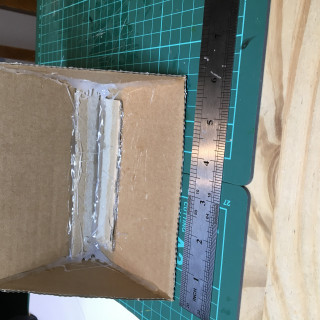
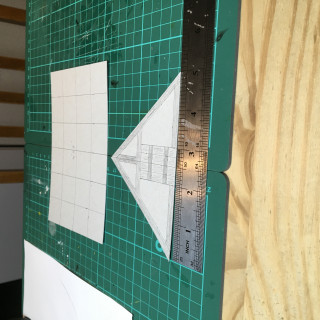
My starting choice are simple A-Frame homes, with thatch roof, I can use this method to make the roof sections of larger dwellings once I am happy with my first builds. I have a few ideas to try out and want to see which I like before committing to larger buildings. Not having any XPS foam, Foam core, MDF, or similar “normal” model building material available at this stage, I decided the cheap alternative was to use the cardboard my recently purchased rule books came in! It’s being recycled, win for the planet, its free material, win for my pocket! So using a freshly emptied cereal box, more free cardboard! I used that thinner cardboard to make a basic template and started cutting my parts out of the thicker double wall book boxes. I had a cheap pound store hot glue gun available and set to work on the assembly. It went fairly well, not used hot glue much, but discovered cheap hot glue guns are not ideal, the glue just keeps running out! Luckily I was using a cutting mat and had scrap paper down on top of that, I wonder if I can use those assorted mounds of glue in a future build? I now have another hot glue gun on order from Amazon, recommended by Black Magic Crafts, so hopefully will be less wasted glue in future! First point to people reading this that may want to start their own terrain builds, get a tidy glue gun! Luckily, I managed to keep the glue on the inside of my build, although as you can see by the picture, it’s a mess in there! But it will be a solid building and not intended for figures to enter, so once finished the only ones that know what the inside is like will be me, oh and everyone reading this! But hopefully you will keep it between us 😉
I am not going in to full tutorials on my terrain and figures, there are a lot more experienced people out there with a huge choice of videos on all this, so just a few pictures here on the basic cardboard form I have so far, have made 3 so far, all the same as the one pictured, although a little less mess inside the other two! I have drawn the rough detail on the front and back, partly as a reminder to me of what I was thinking when I made it, and partly to show what I will be doing next. Hope to get some fresh modelling supplies over the weekend, Kitchen scouring pads to make the thatch, balsa wood for at least one of them for the wooden frame, most likely all of them will have this for the frame actually, but going to try different “wall” material, one will be PVA and sand, for a plaster effect, wattle and daub at this time period I guess, one will have planks, not sure if they will be coffee stirrers or more balsa wood or foam, apparently the polystyrene trays meat often comes on is XPS foam! And I had sausages today! Yes I did wash the tray well first, but recycling again and free, I do love that combo! Also got cocktail sticks, another possible option? But this is why I have made several to test methods with, and it will give some variety to them.
For the roof, I am fairly sure it will be scouring pads this time around, but I want to try them as one piece and as overlapping strips to see what the difference is in both ease of build and end look. I already have some Wilko emulsion match-pots to do the basic painting with that I have been using on my 3D printed Frostgrave terrain, more on that in my Frostgrave project page soon.
So that is my long winded but basic start to my Ancients gaming table, if you are wanting to make your own terrain but not sure where to start, I got my inspiration from some of the following on YouTube, go do a search for them, also look at the side column for more names to view, I have forgotten so many, sorry to those, but looking at the ones listed below will lead you on to many more, enjoy 😉
Black Magic Crafts
Lukes Apps
The Terrain Tutor
Two Fat Lardies


![How To Paint Moonstone’s Nanny | Goblin King Games [7 Days Early Access]](https://images.beastsofwar.com/2024/12/3CU-Gobin-King-Games-Moonstone-Shades-Nanny-coverimage-225-127.jpg)


