


A Train Called Alice – Spring Clean


Recommendations: 441
About the Project
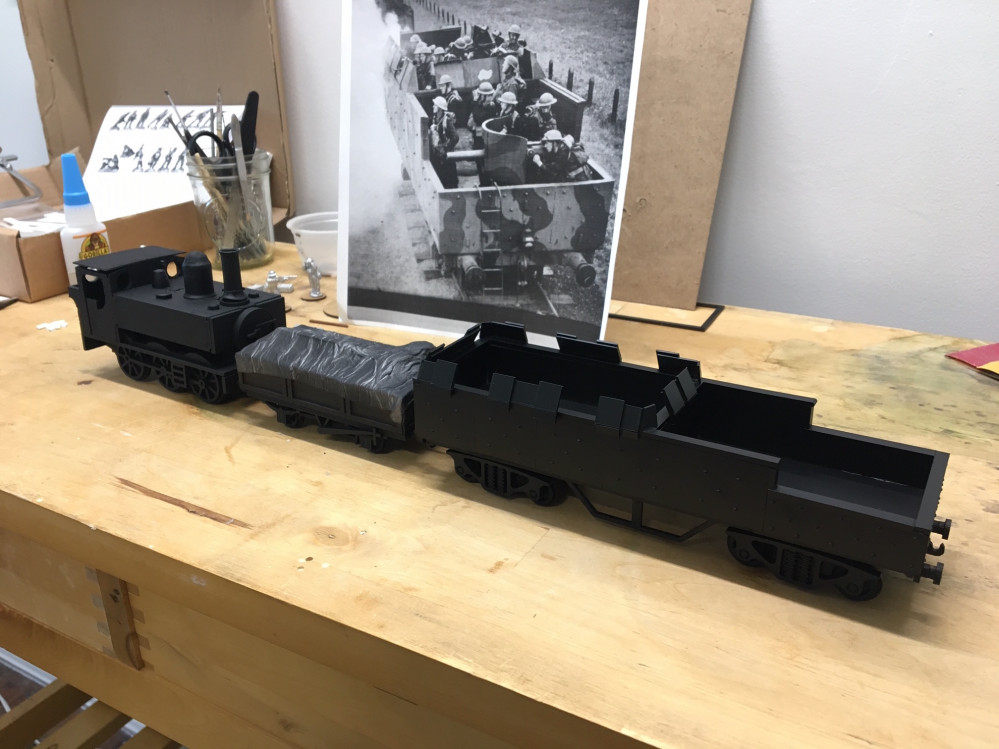
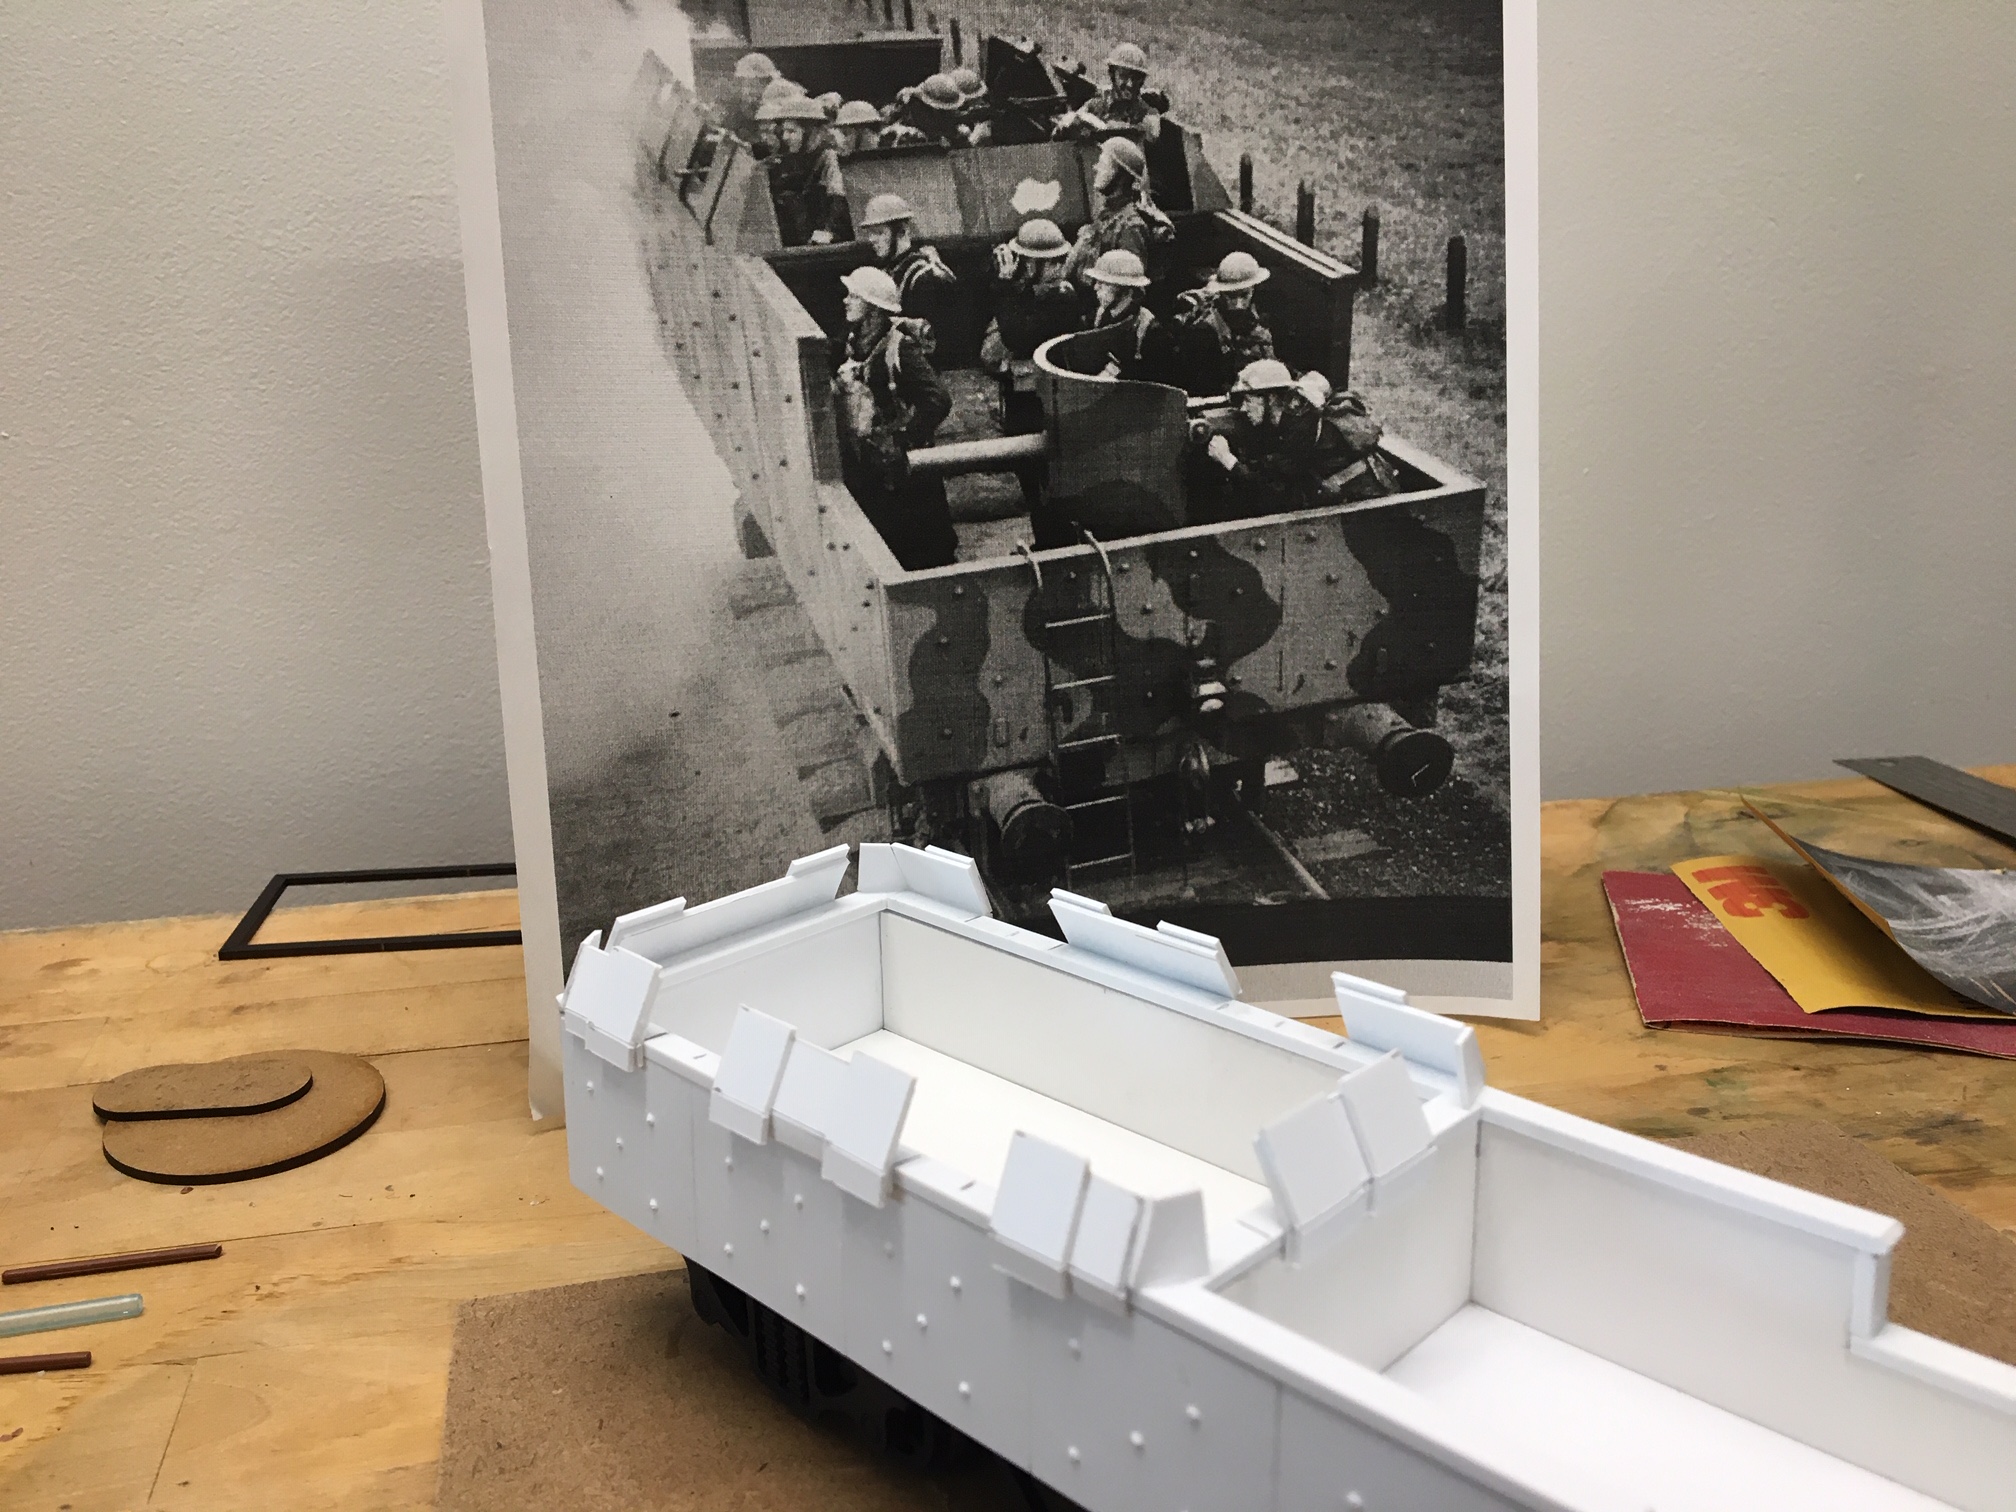
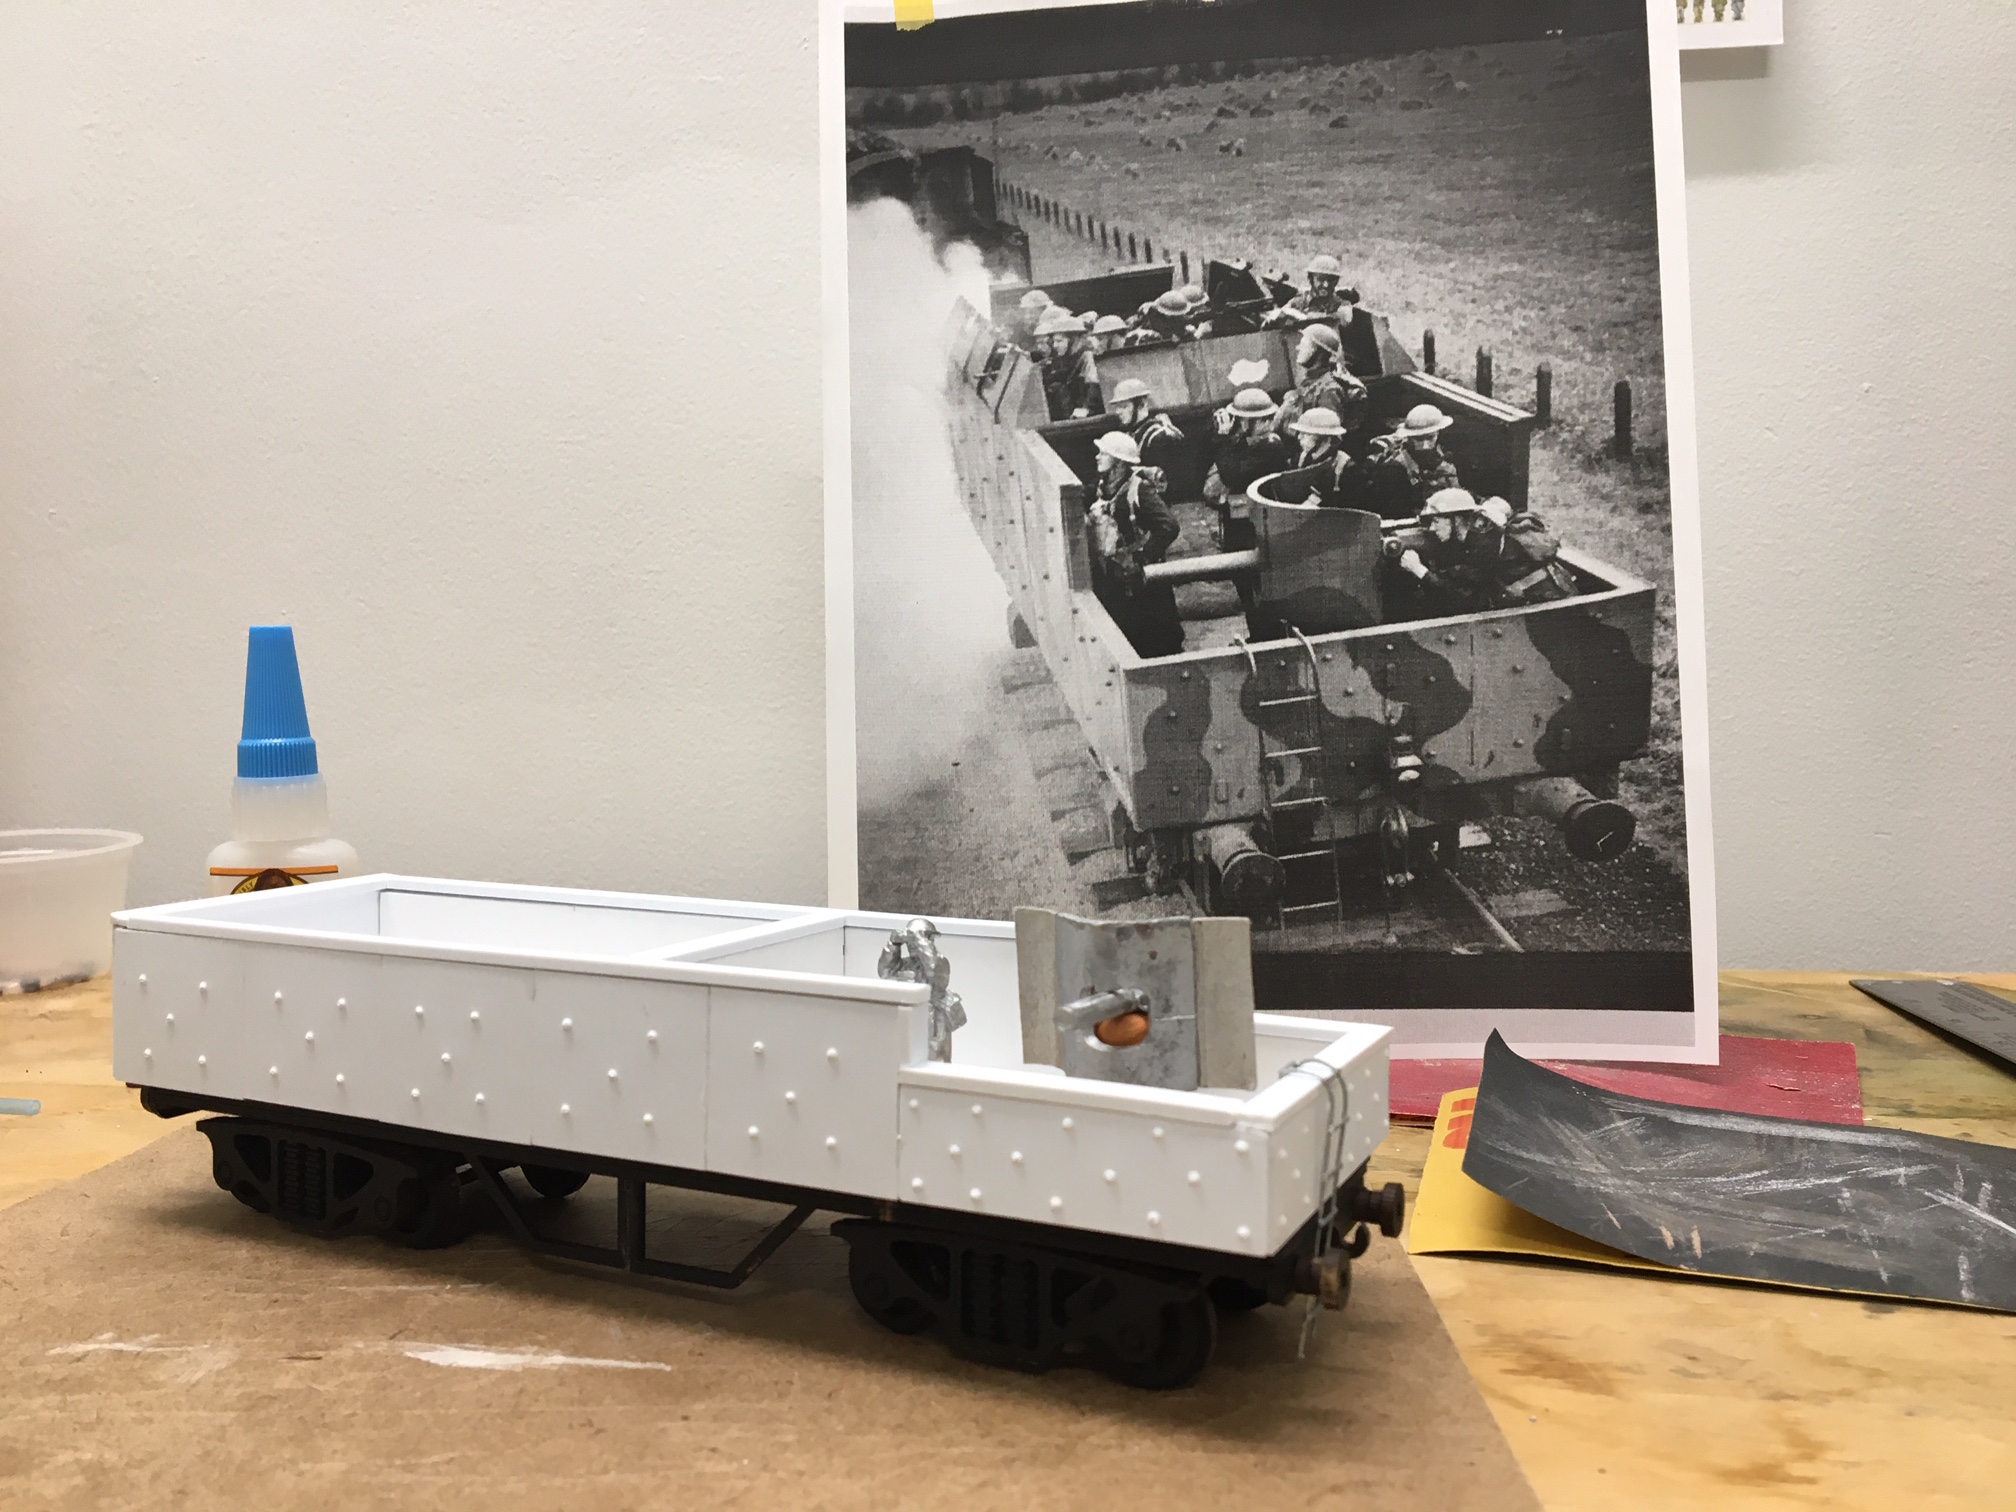
In early 2019 I started building a Home Guard army for Chain of Command. While researching, I stumbled upon the above photo of a British Home Guard armored train. How cool is that?! I had to build it. The parts have sat dormant in a corner of the yard till now.
Related Game: Chain of Command
Related Company: Sarissa Precision
Related Genre: Historical
Related Contest: Spring Clean Hobby Challenge (Old)
This Project is Active
Boiler and Update
Thank you to OTT for awarding this project “Best Idea” during the 2020 Spring Clean Challenge. Due to the win, I feel the need to explain the lack of updated work. The SCC started around the same time as we all went into lock down around the world. Stuck at home working on this and my other SCC project I was able to escape the tremendous stress I was feeling. Over time the strain became to much and I couldn’t hobby. My wife and I have had to close our small business after 15 years due to Covid-19. Some how the XLBS has been the only thing that has made me laugh during all this. Thank you. We are now in the process of selling off in scraps and closing our brick and mortar business and transitioning into an online only business. Things are getting better.
Stay well, cheers
Henri
Styrene Shields
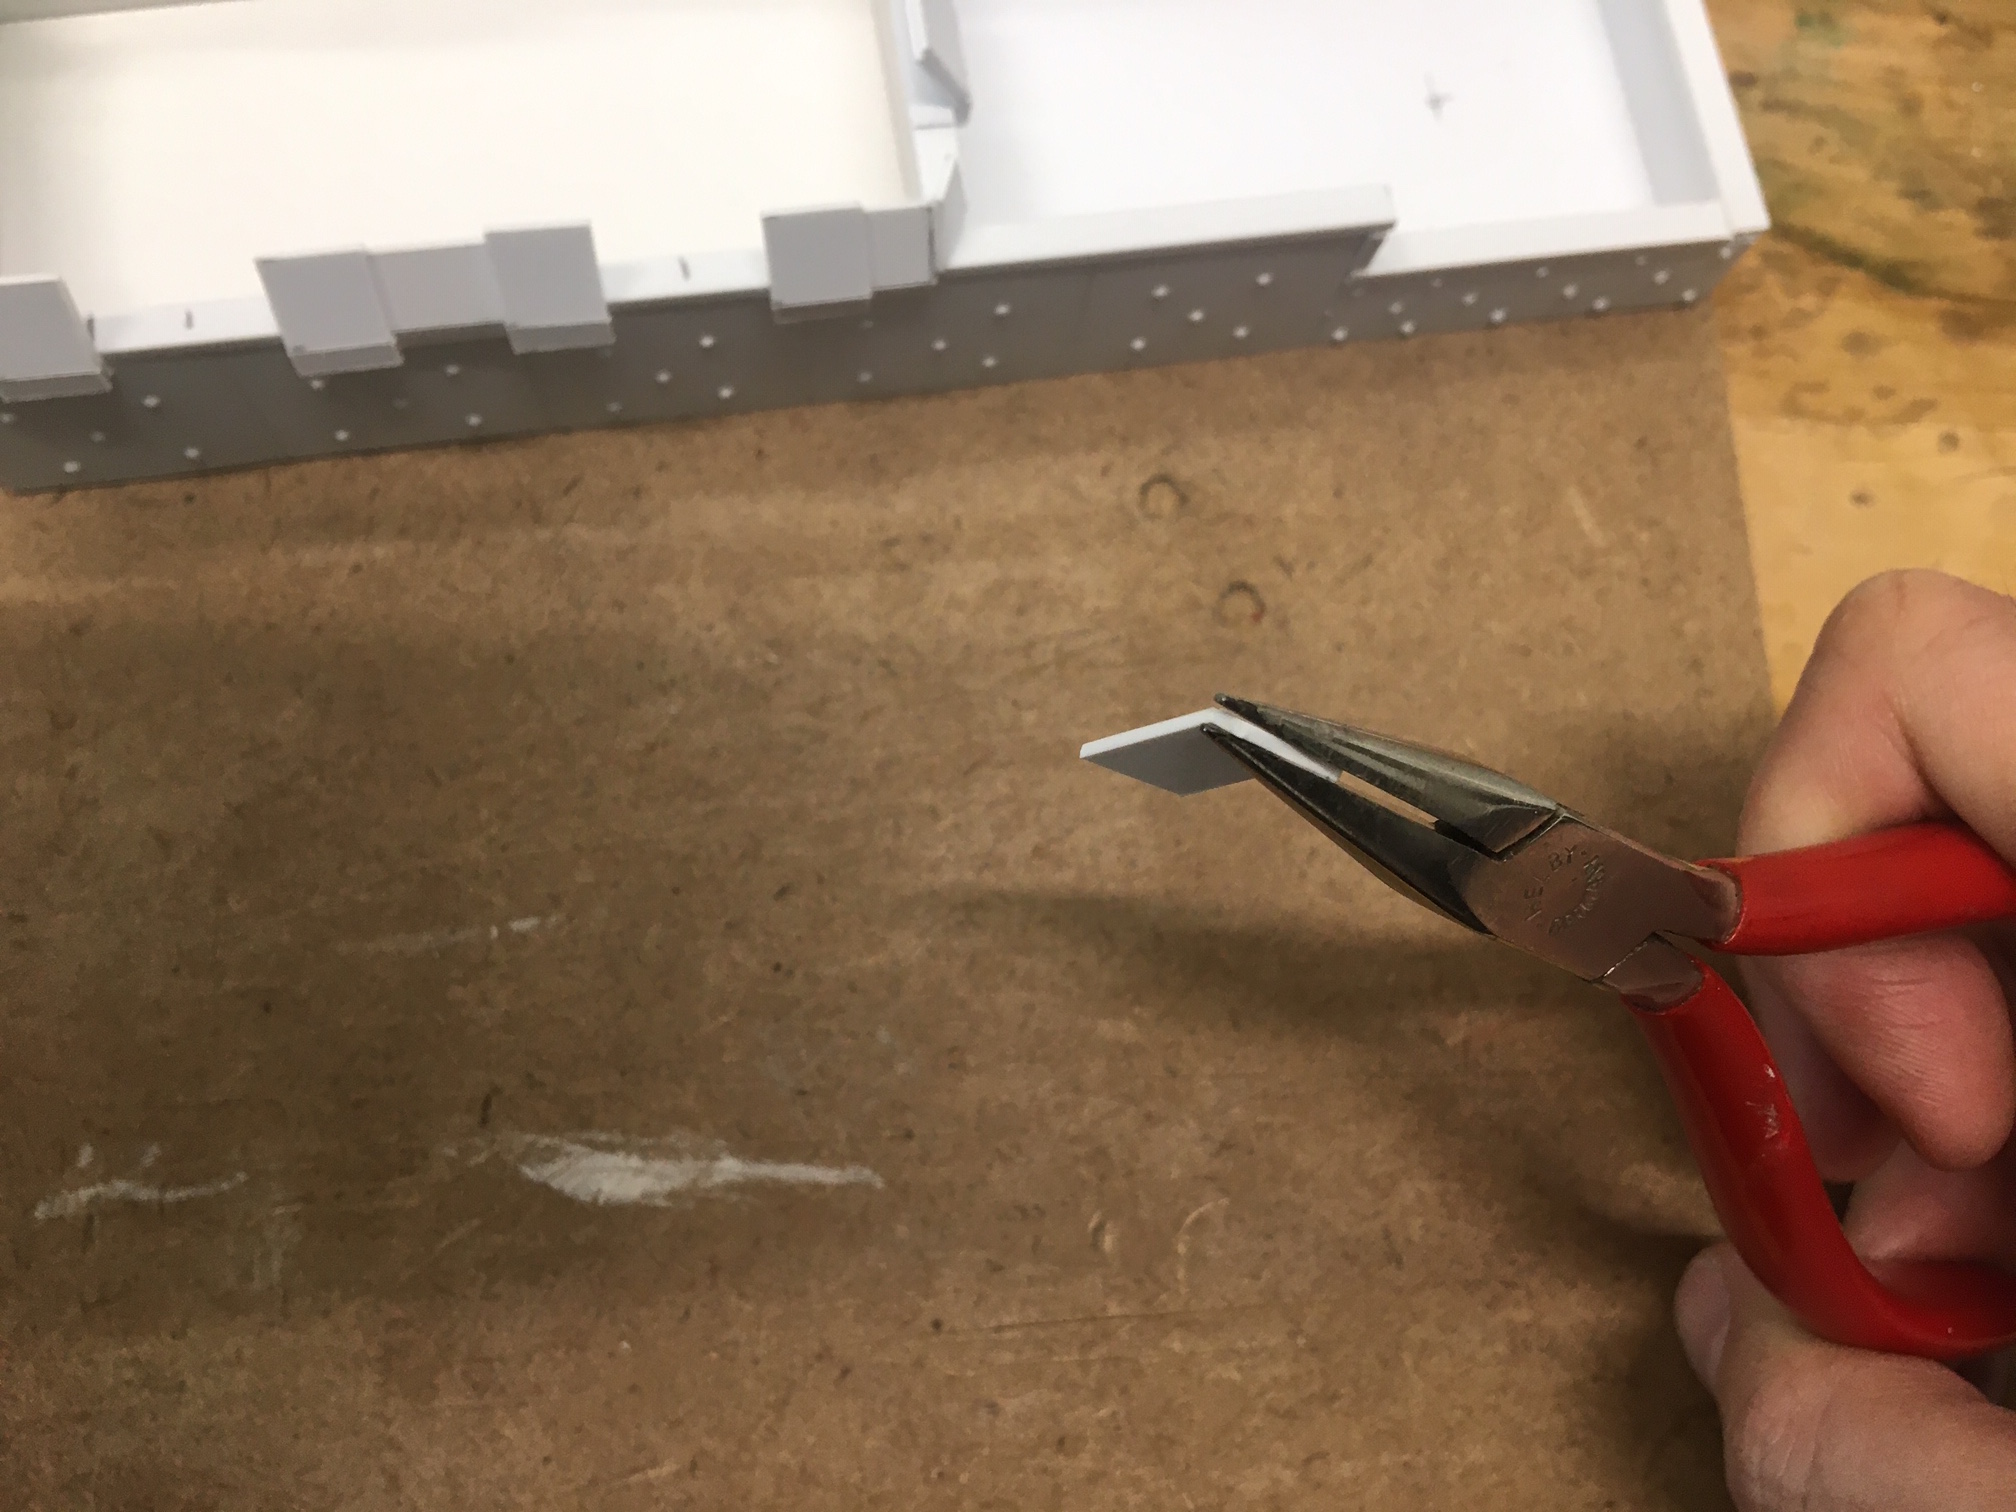
As you know you don’t need to press all the way through styrene as you do need to with paper for example. You can just score the piece you want to remove and then bend it back and forth a few times until it snaps off. So to create the angled shielding on the squad side of the car, I “cut” a few stripes to width and then scored at the bend line. Then gently bent the piece to an angle. When superglued into place these fragile details become rigid.

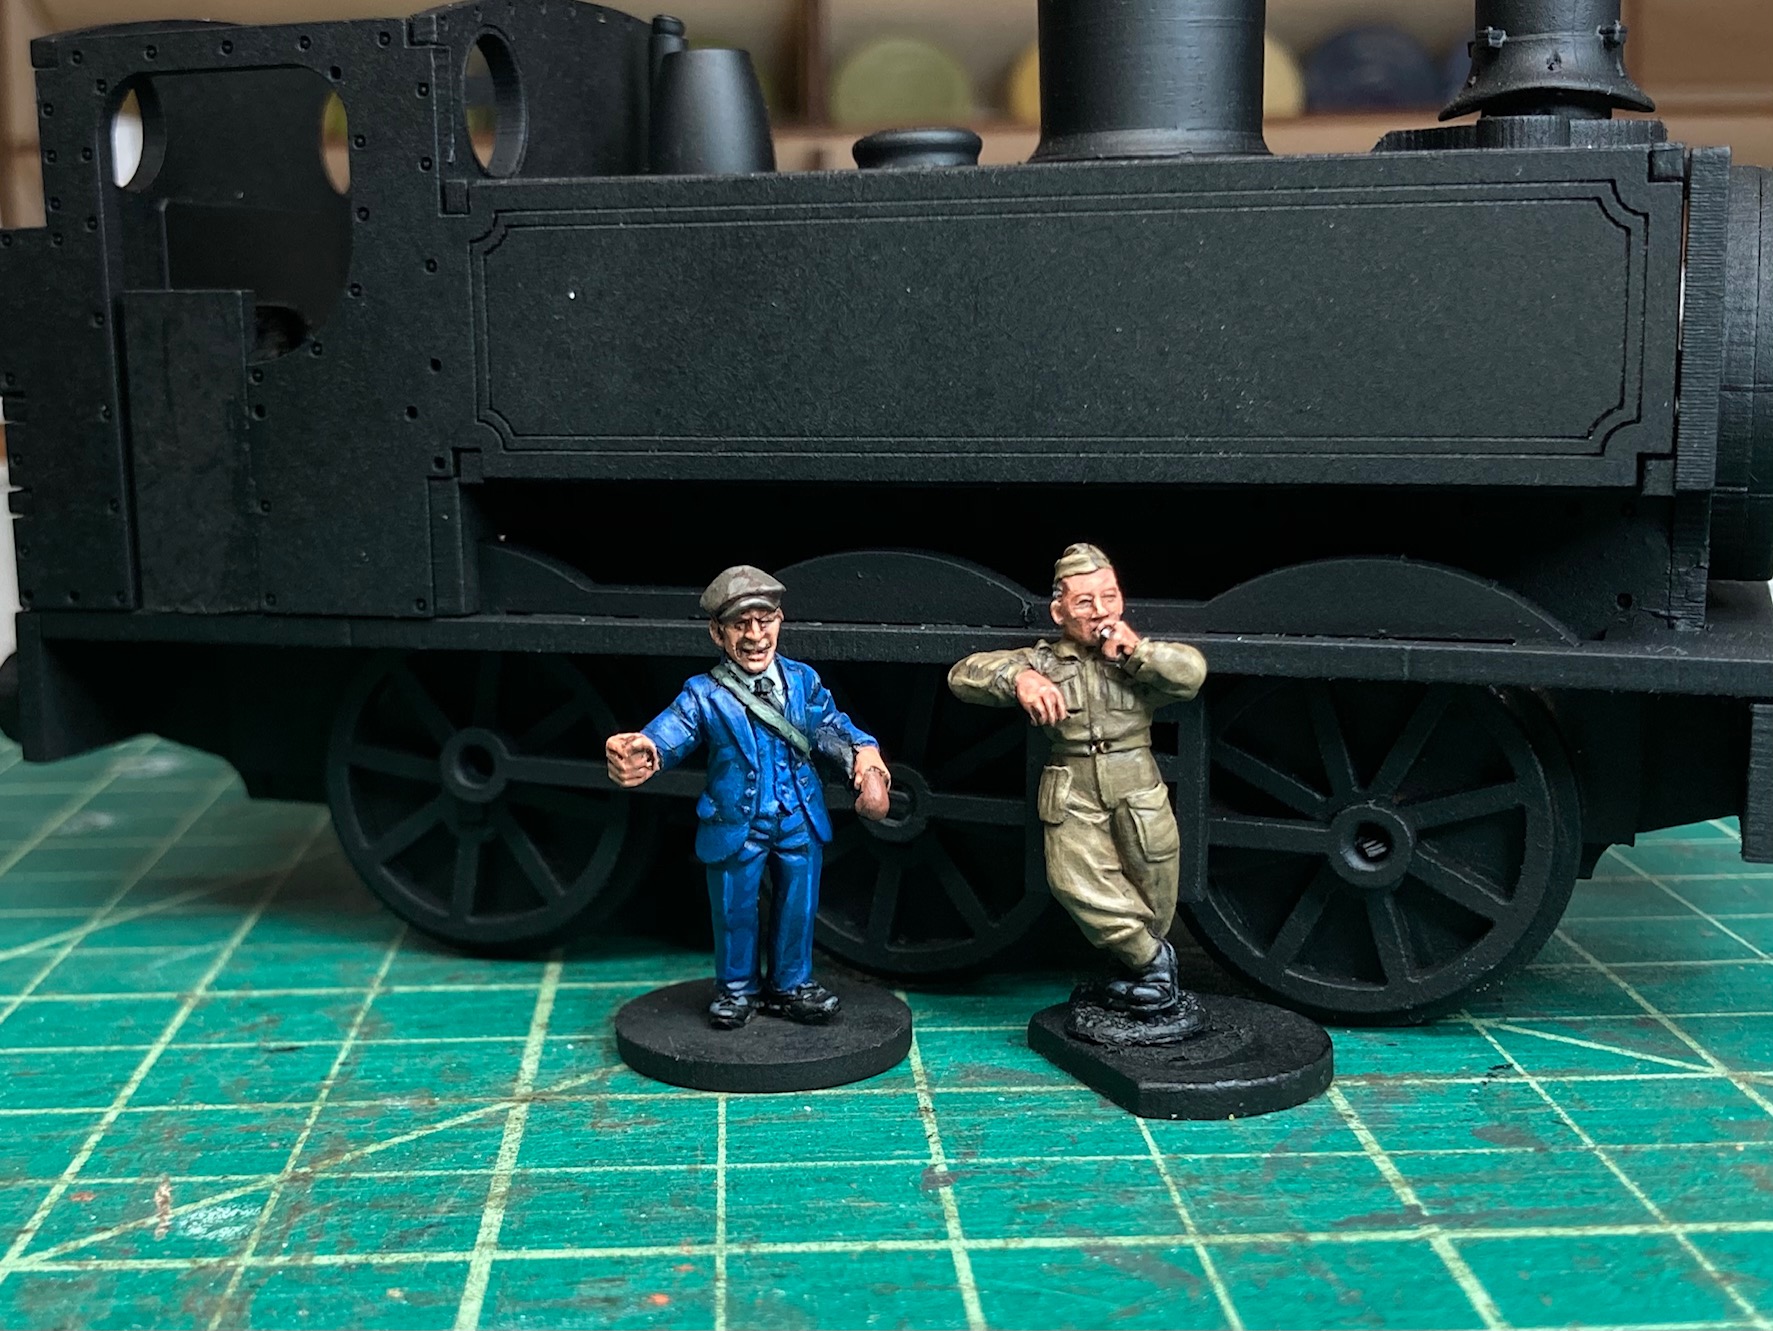
And so after some problem solving happy fun time, I present Alice the armored train. Primed and ready to graduate from the workbench to the painting table. I still have the 6 pound gun crew to convert.
Take care,
Cheers!
Amor Plating
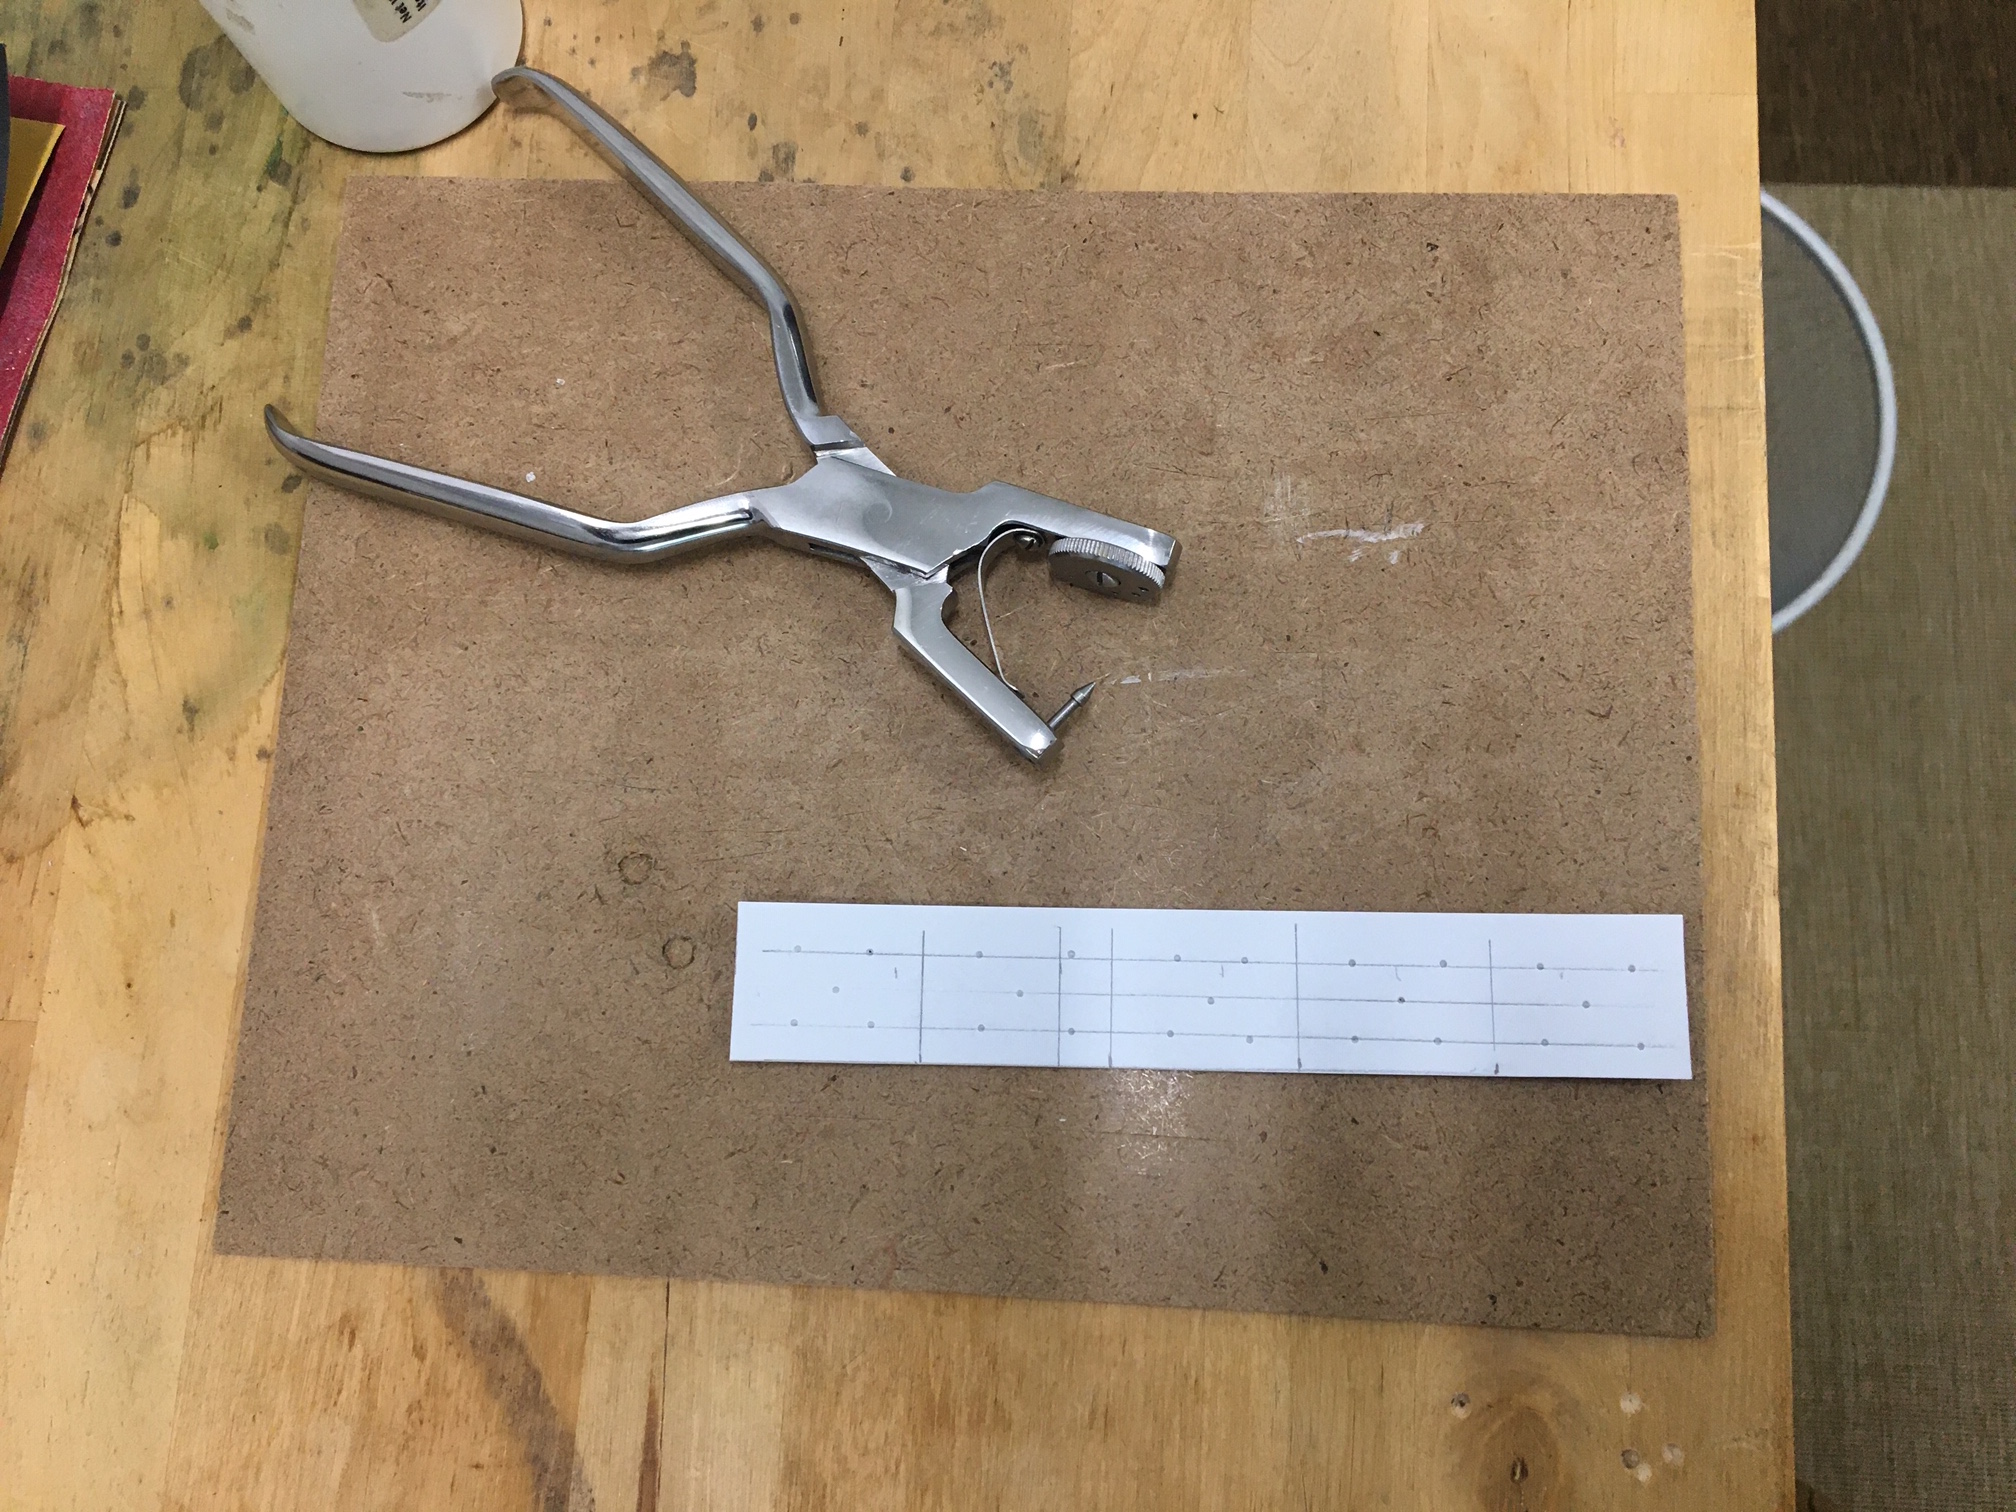
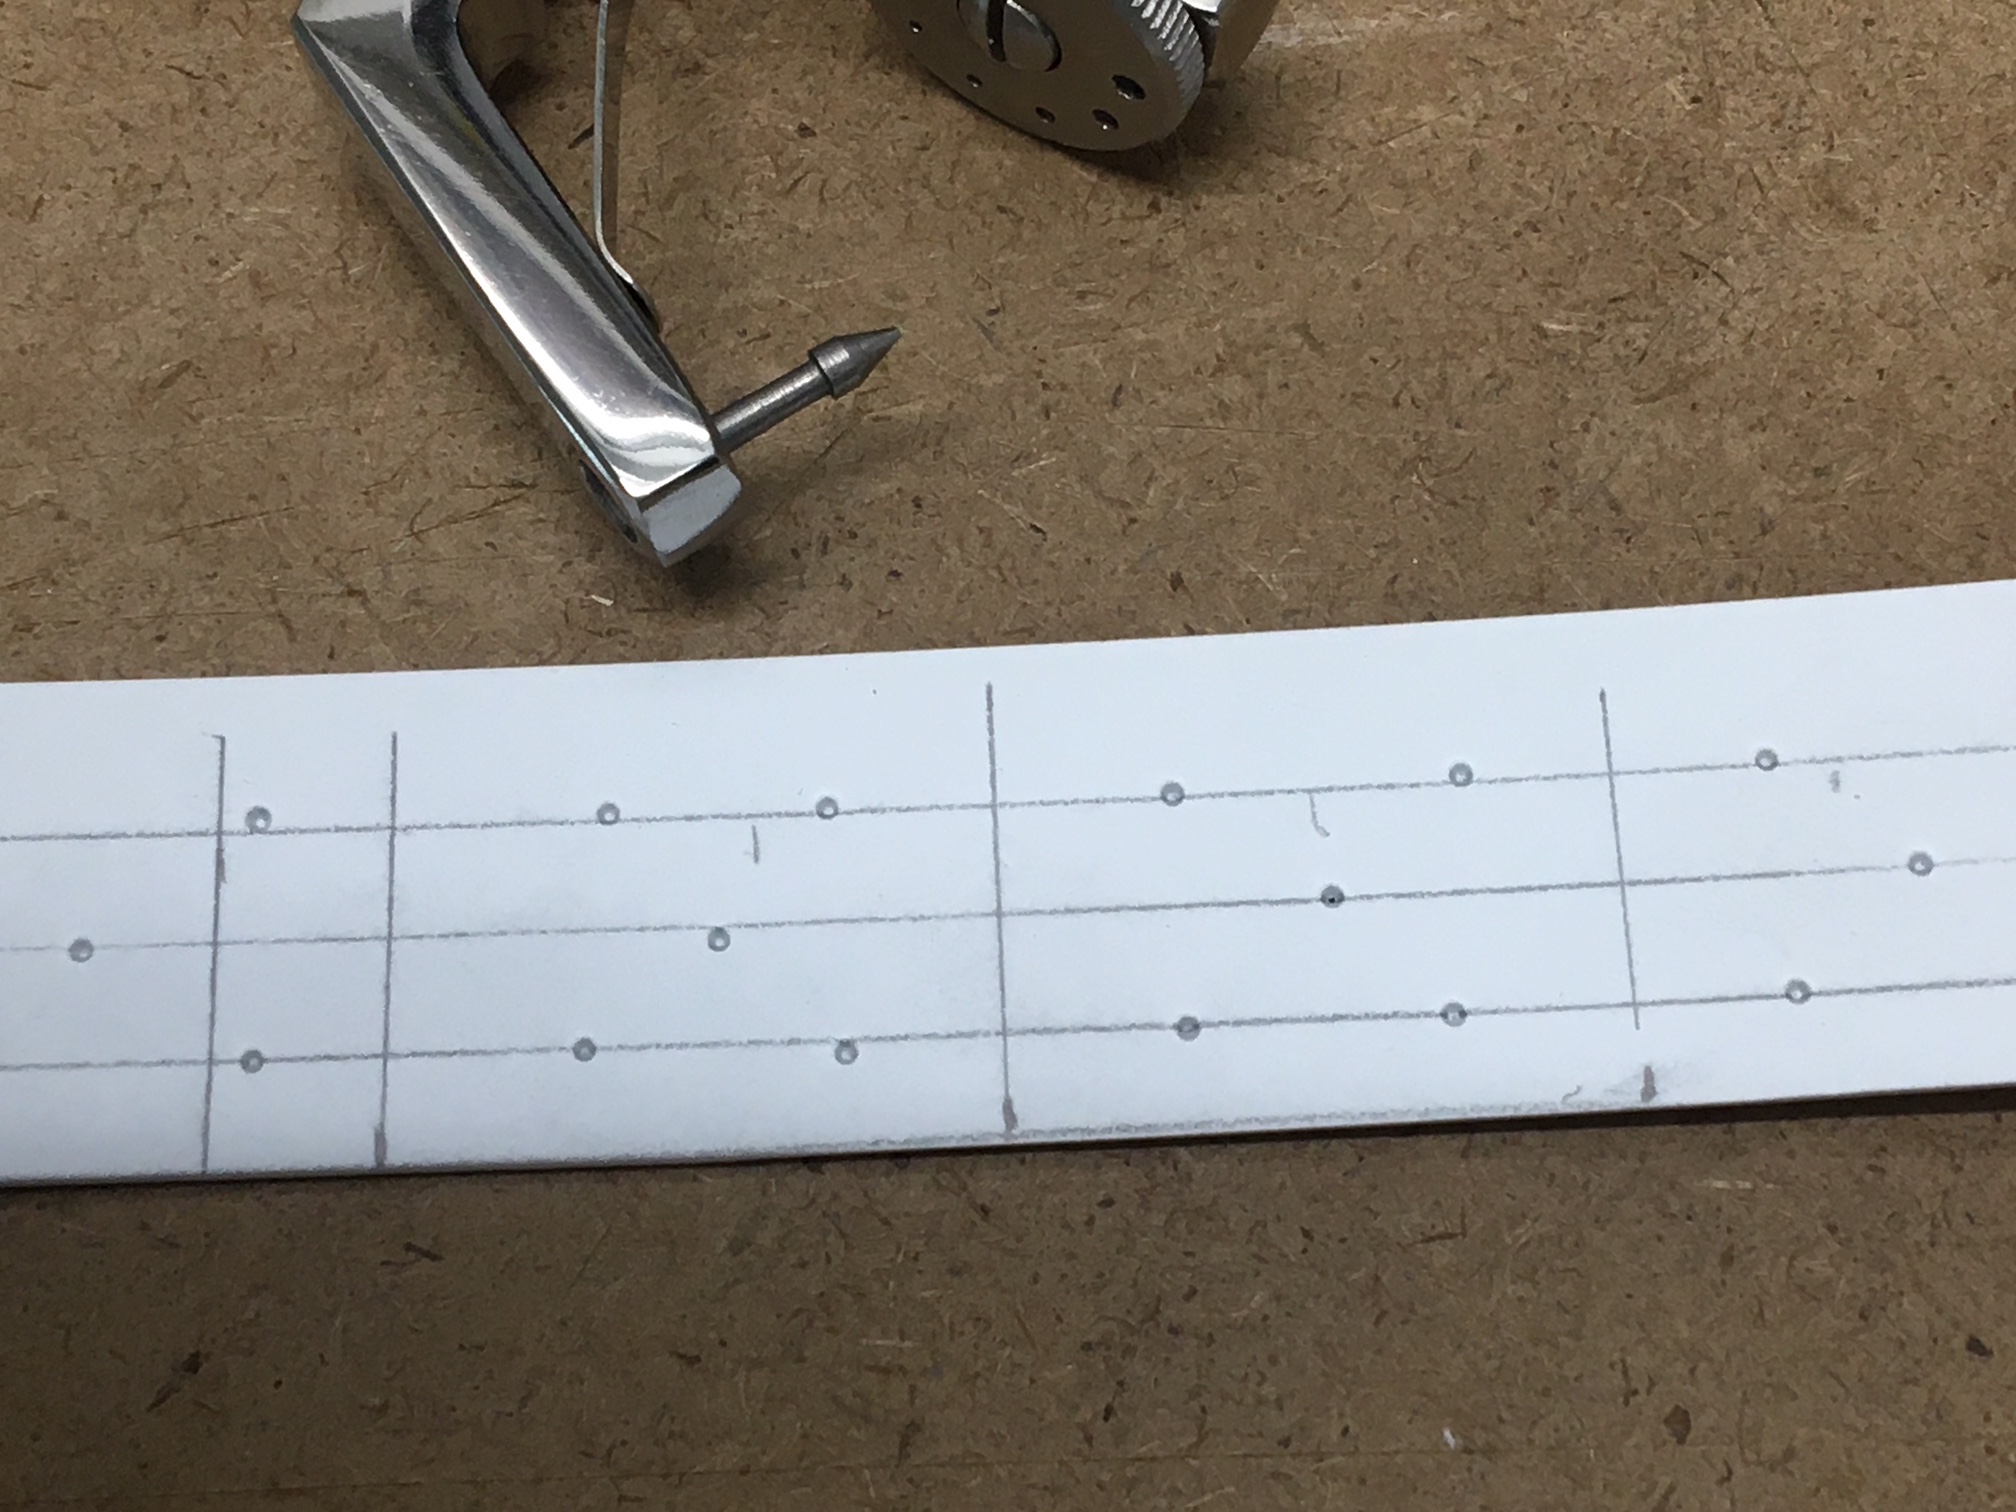

For rivets my favorite tool is this rotary hand sewing punch. It can be used to create rivets of various sizes by crimping the plastic card, creating a raised pimple on the opposite side. Some guide lines and a little pressure later; riveted armor!
I made a ladder out of garden wire mesh cut to size. Next step slopping armor for the squad side of the car.
Cheers!
Build Begins
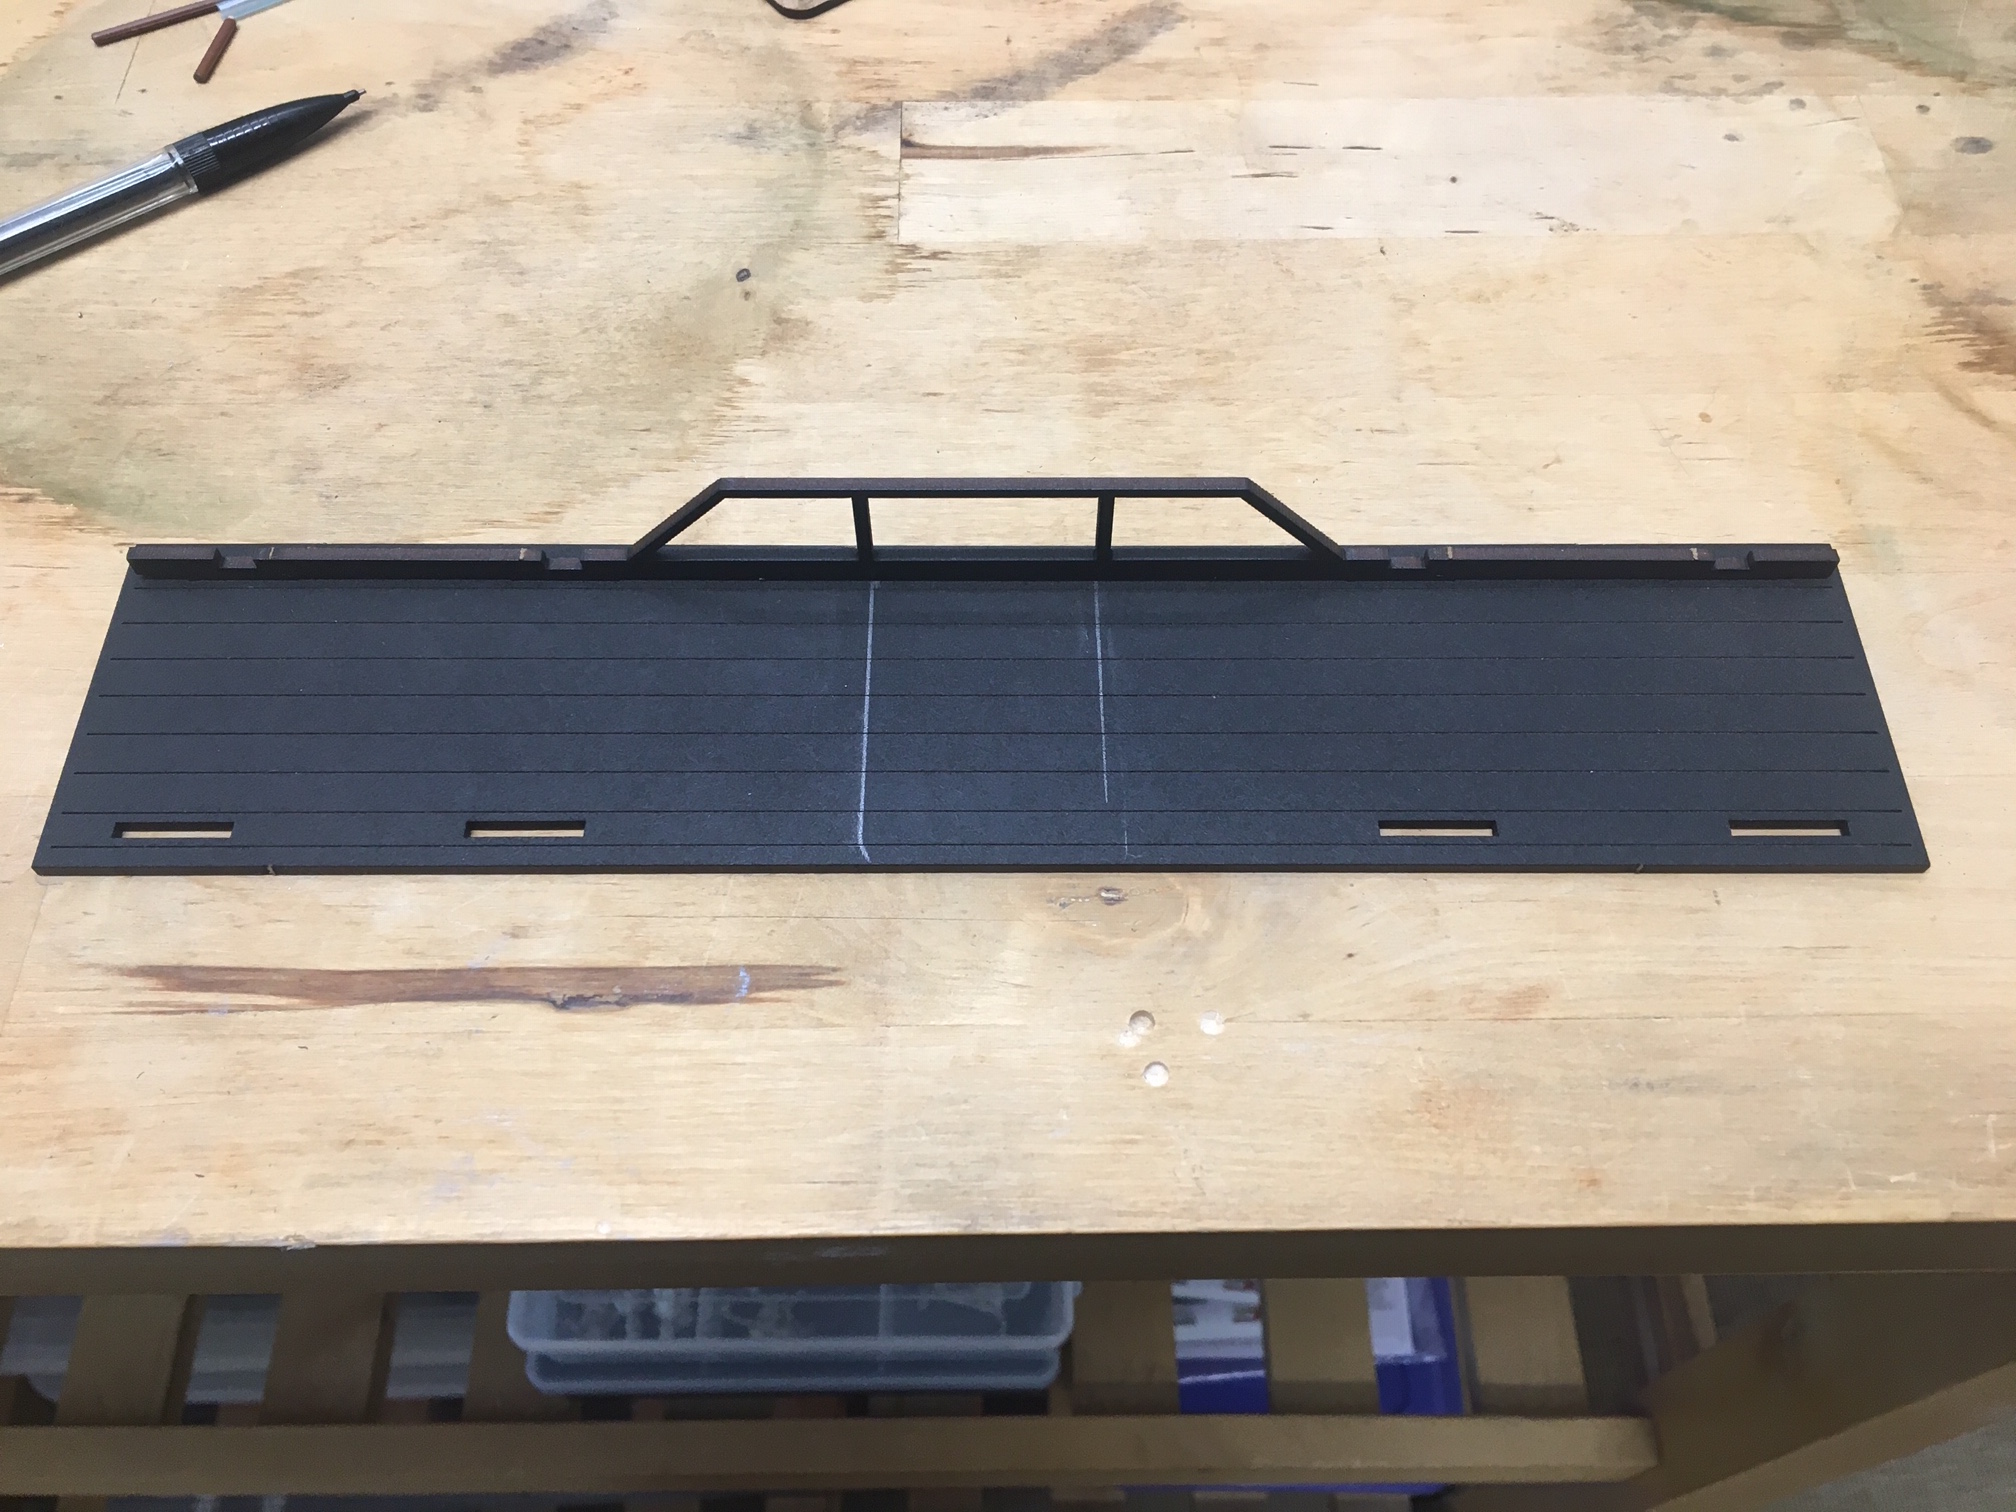
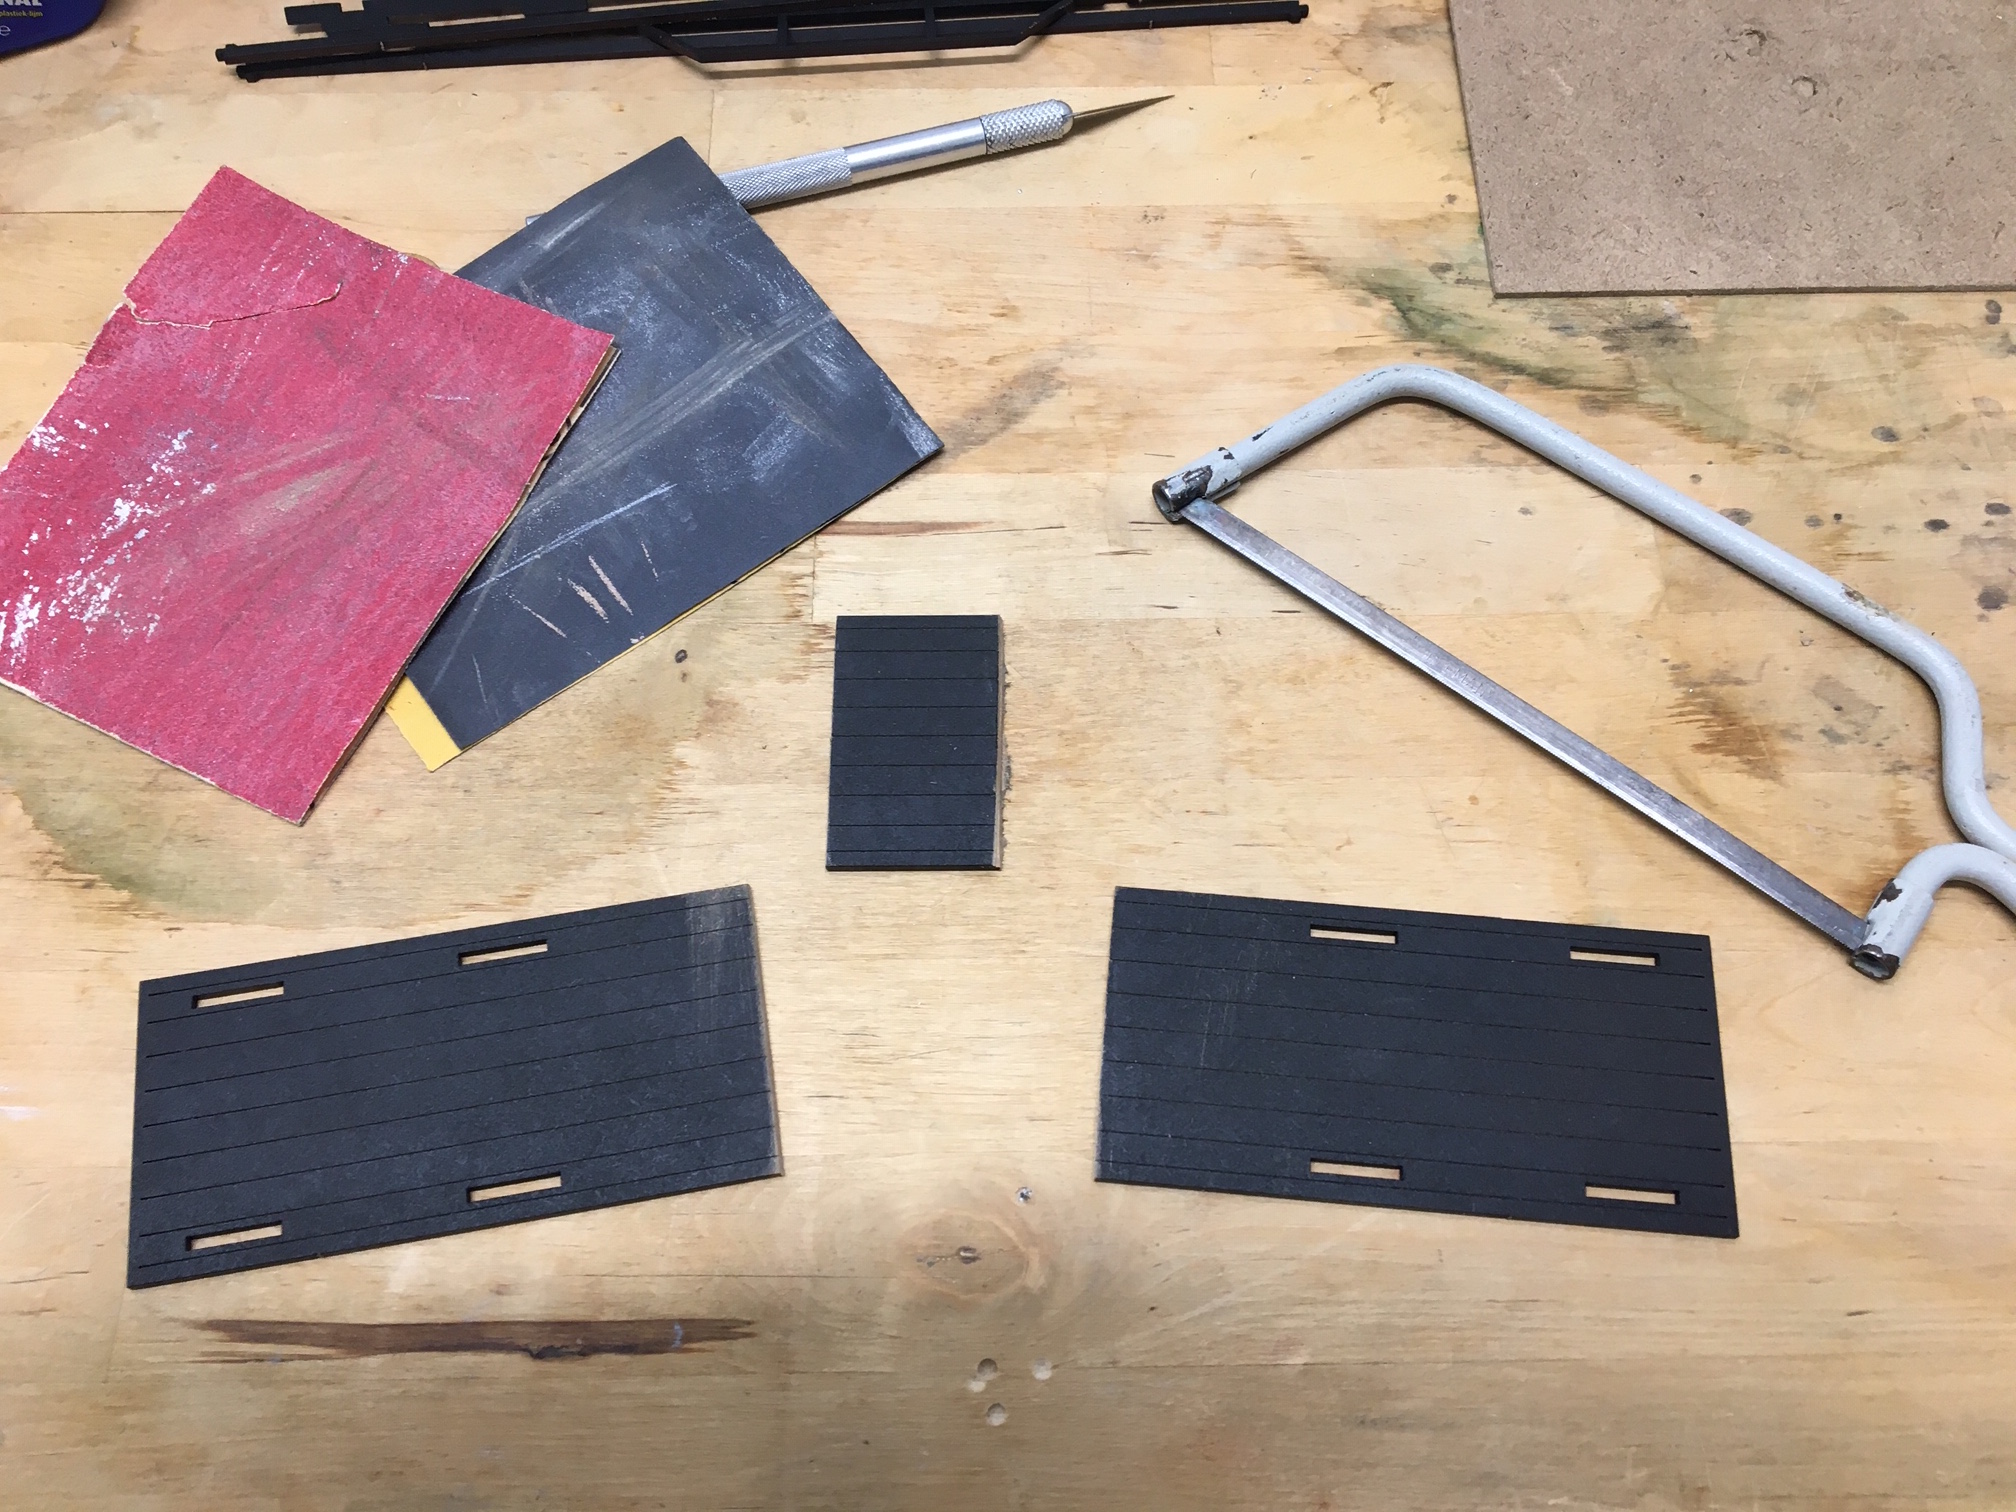
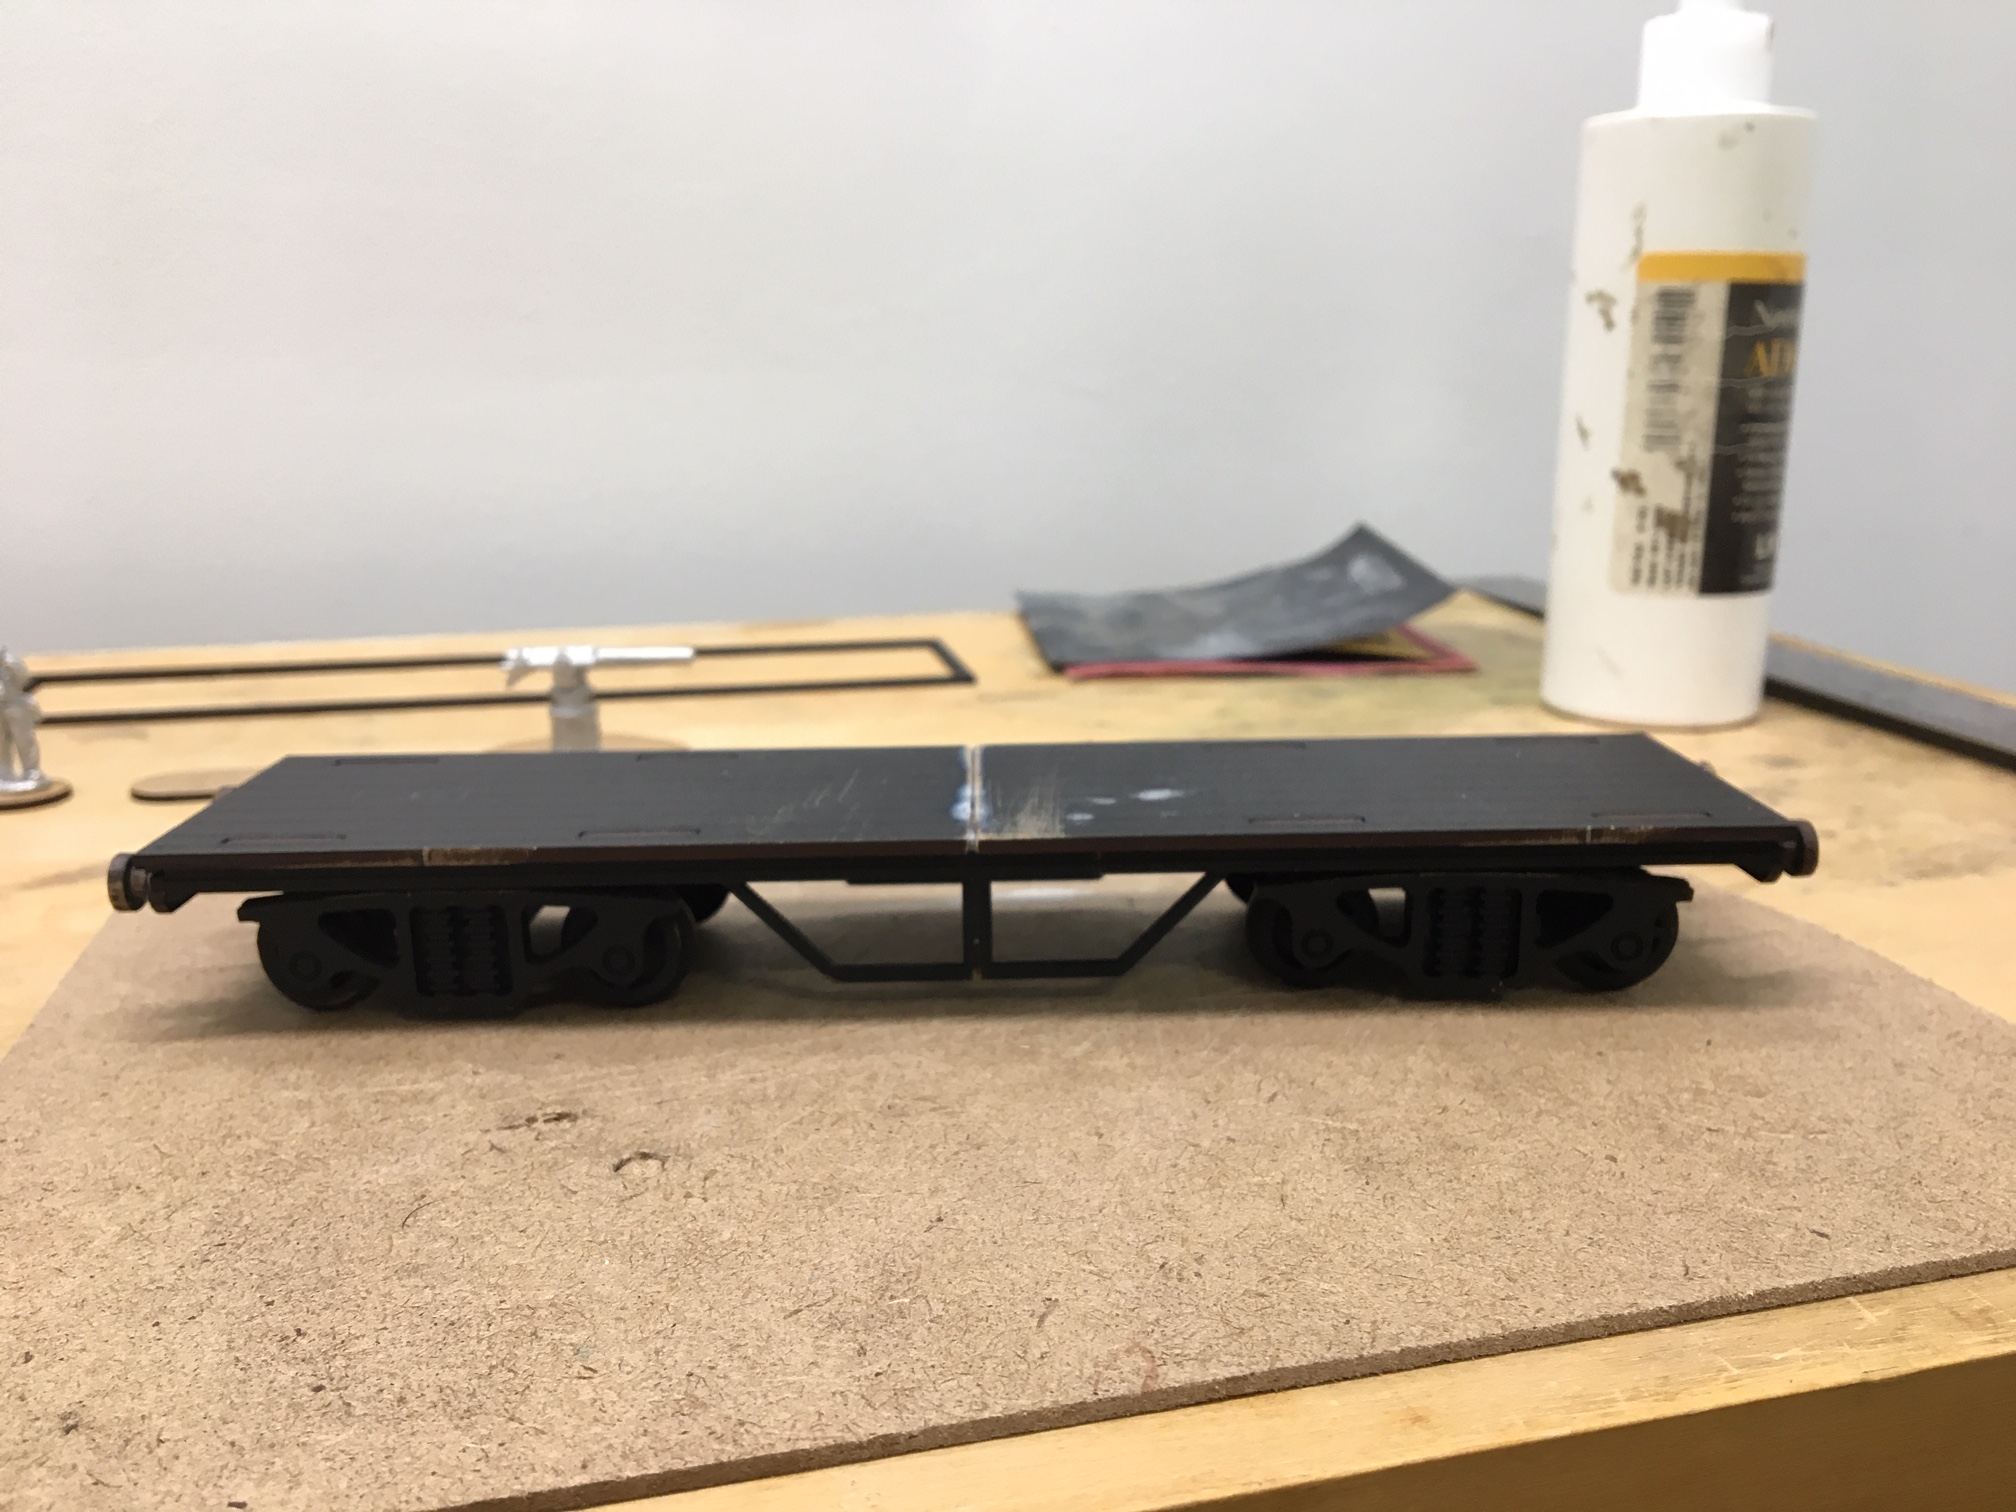
To shorten the flat car I cut a strip from the center, allowing the vertical bars to meet.
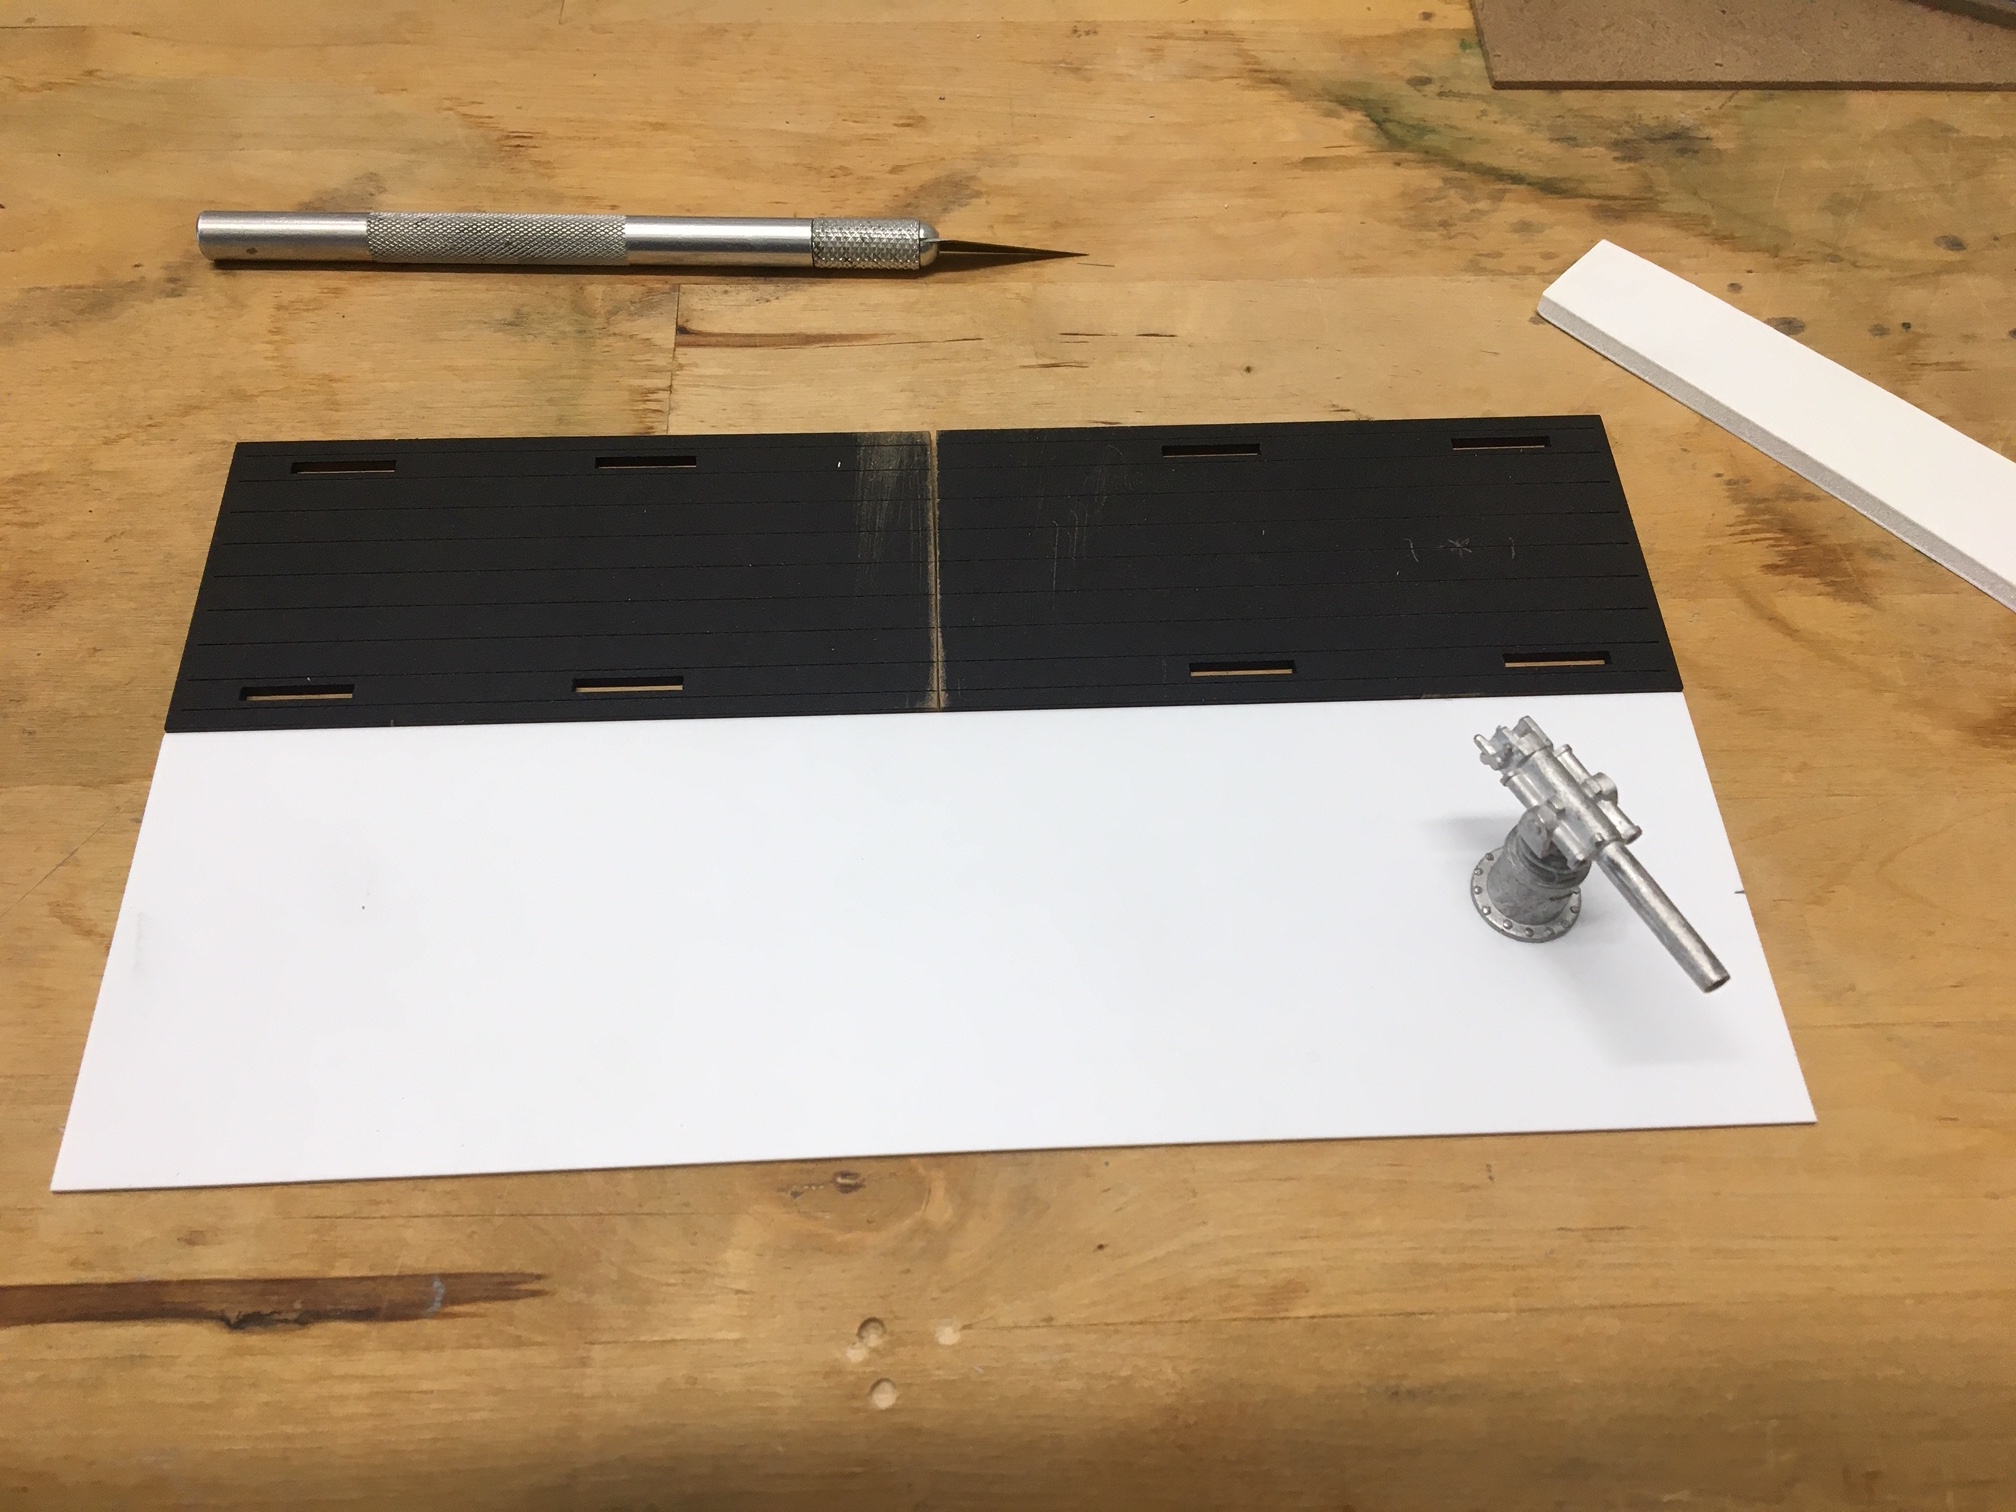
Using 1mm plastic card I cut a rectangle the same size as the new flat car top.

I used 3mm foam board for the sides and 2mm plastic card for the ends of the armored car. I’m going to glue the 6 pound gun and some crew members to a circular base. During game play the gun can be pointed in it’s 180° ark, without having to move each individual crew member.
More to come, thanks for stopping by,
cheers
Shield

The shield for the 6 pounder started out flat. I placed the shield on the end of my x-acto knife, pressed down with a bit of weight until a suitable curve was created. I then used 1mm card to make the opposite curving shield ends.
Thank for stopping by, cheers.
A Dual Role
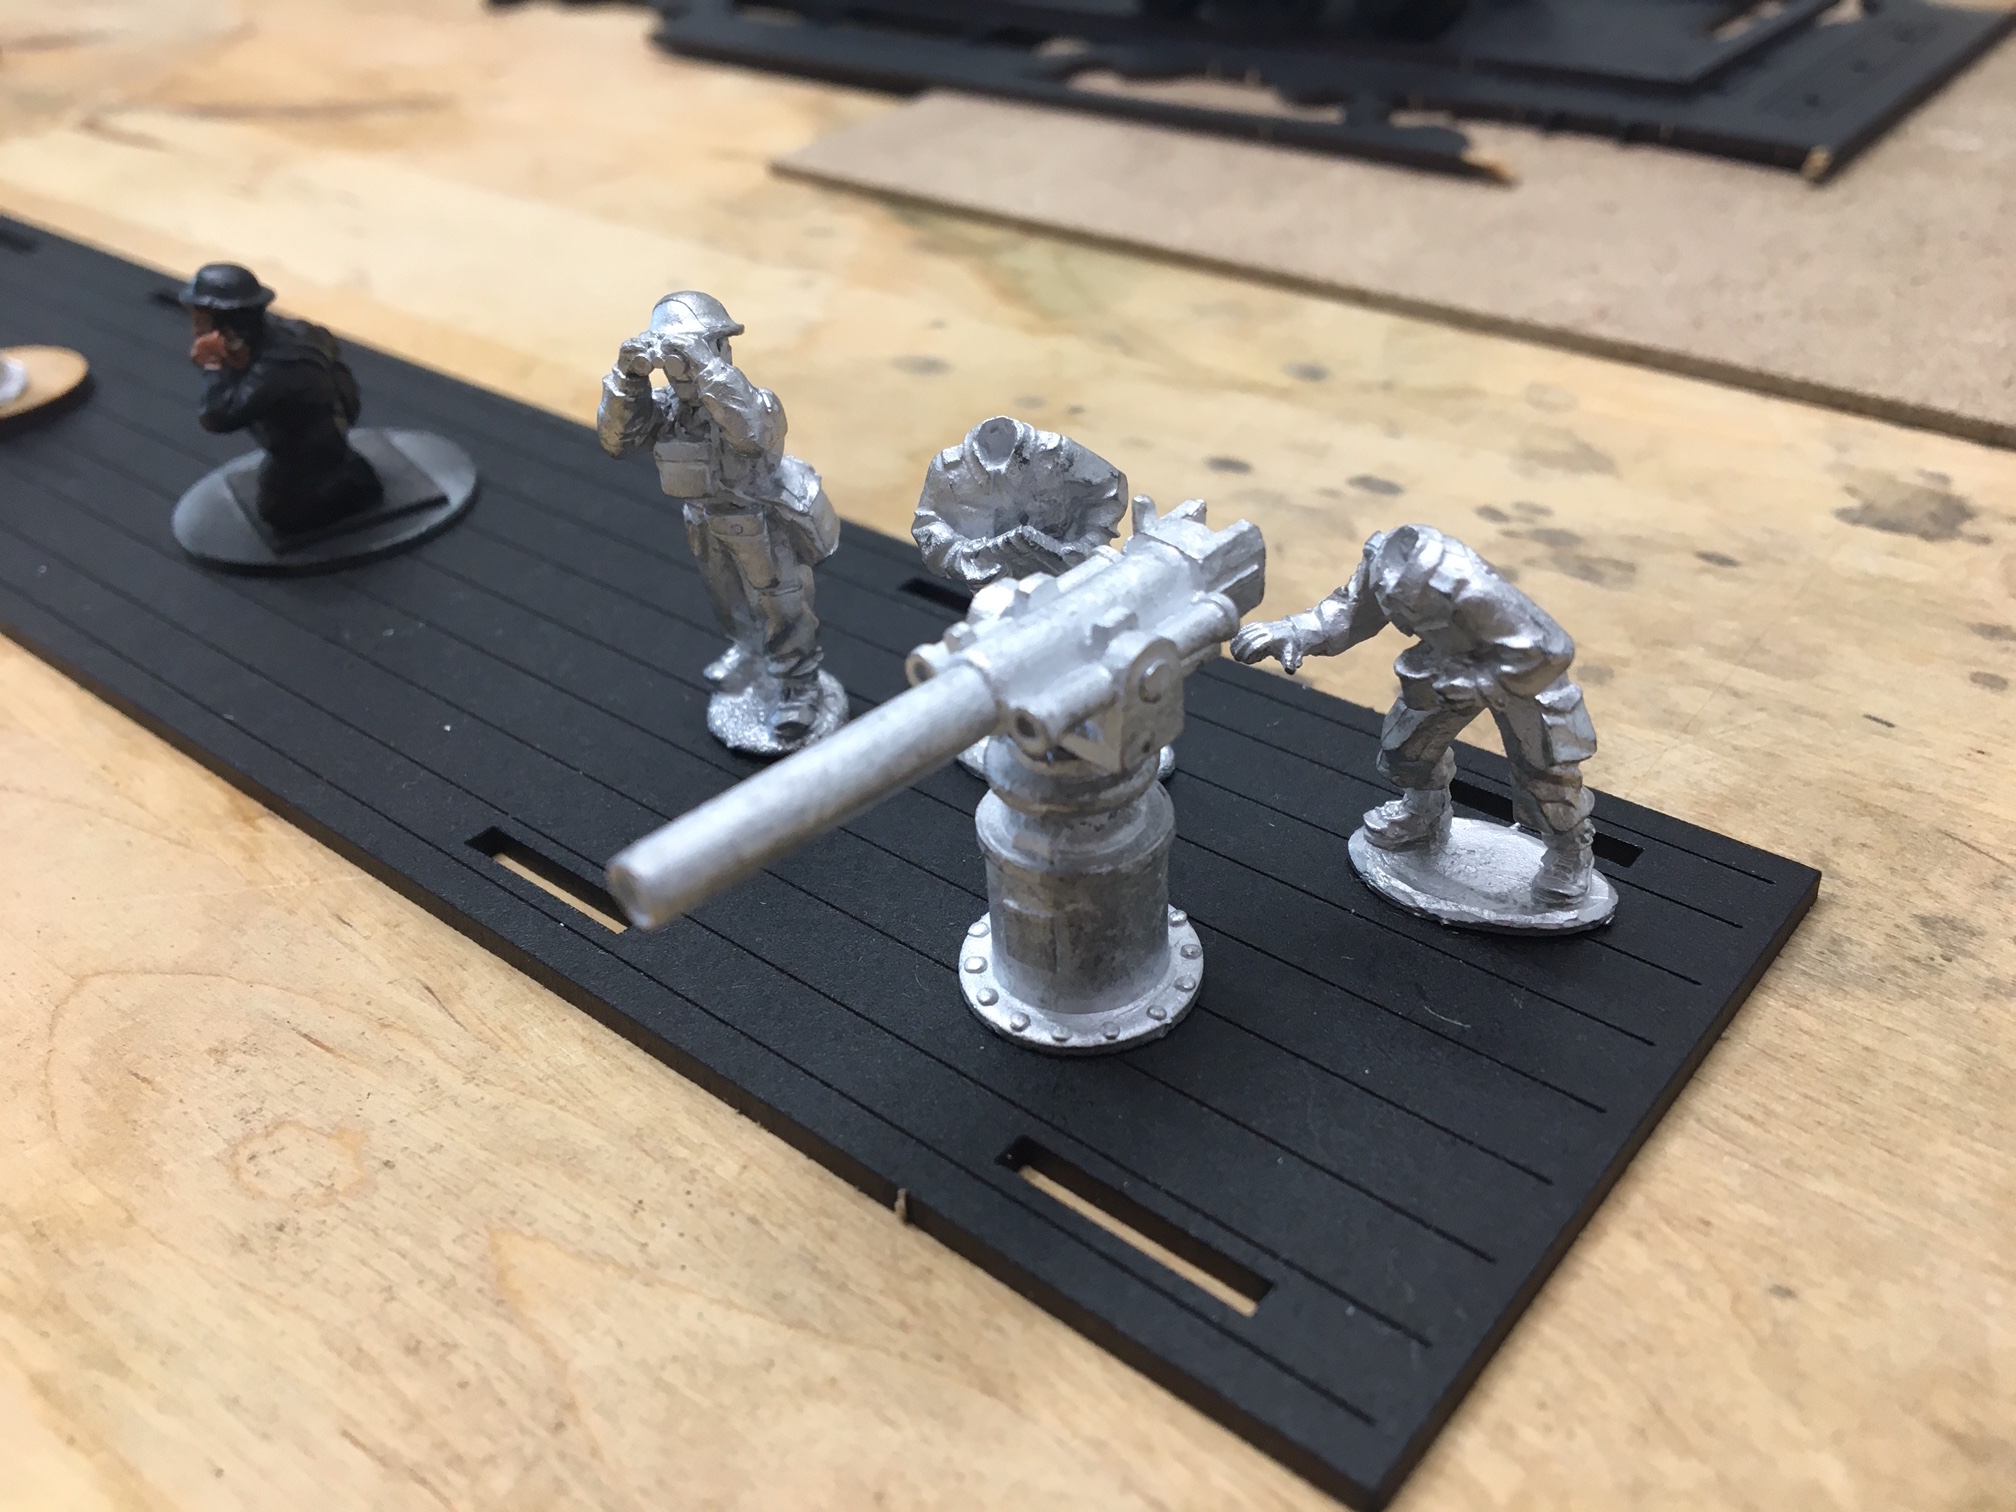
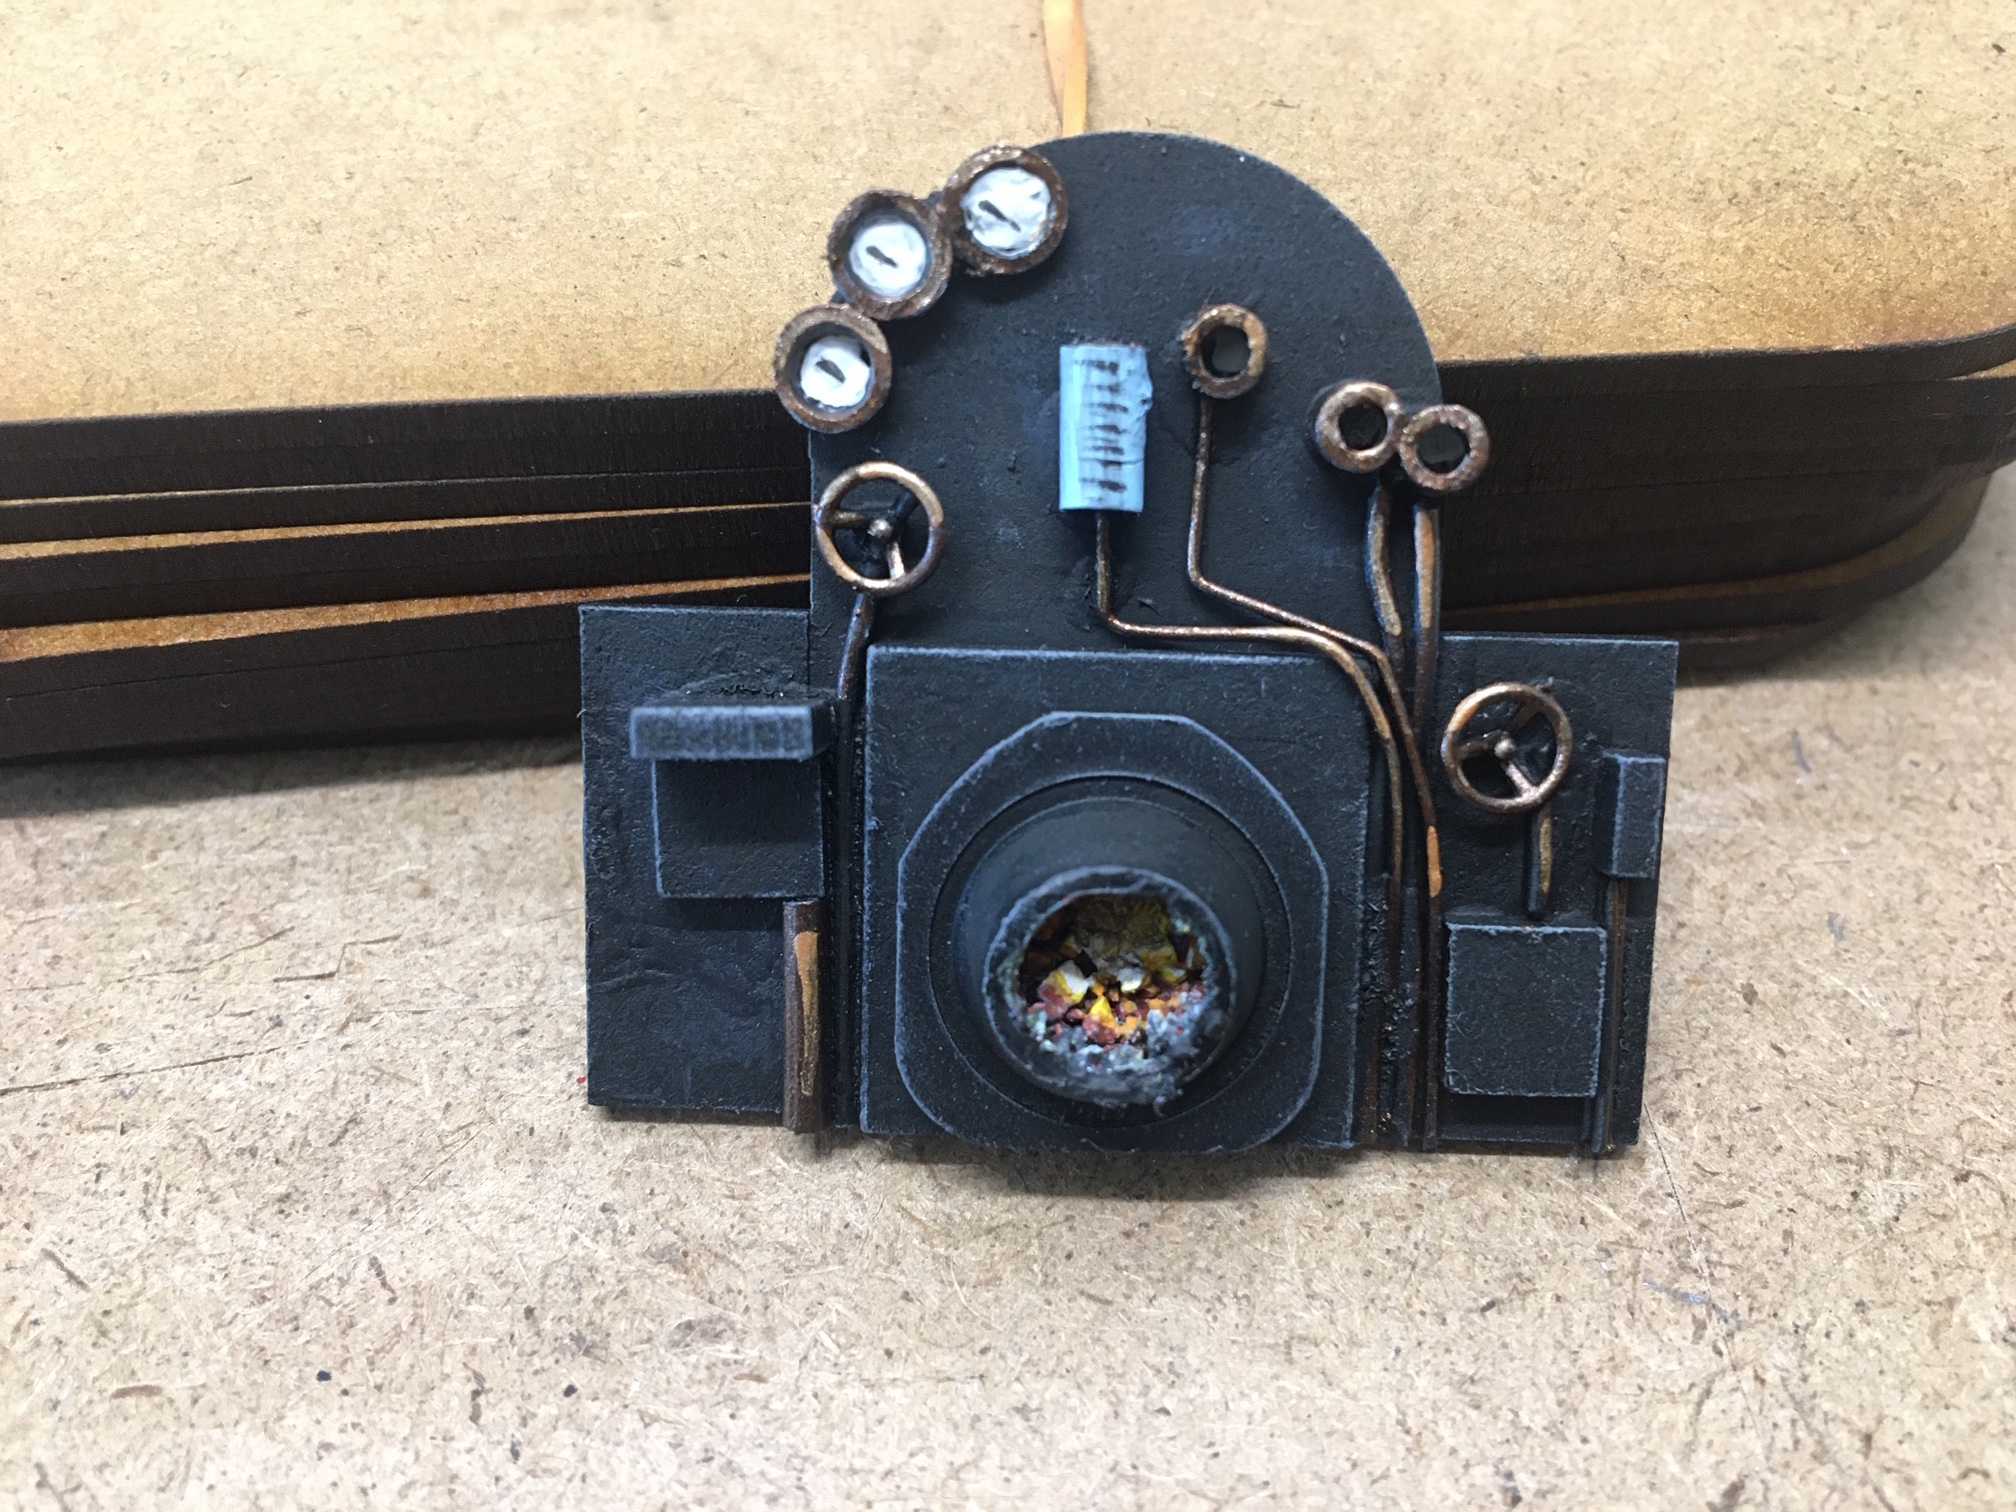
The 6 pound gun arrived from Pulp Figures. A great indie site that I recommend you take a look at, if your into Pulp and skirmish gaming. Im very pleased with the beef of this gun, yet it is still scale appropriate for the train car.
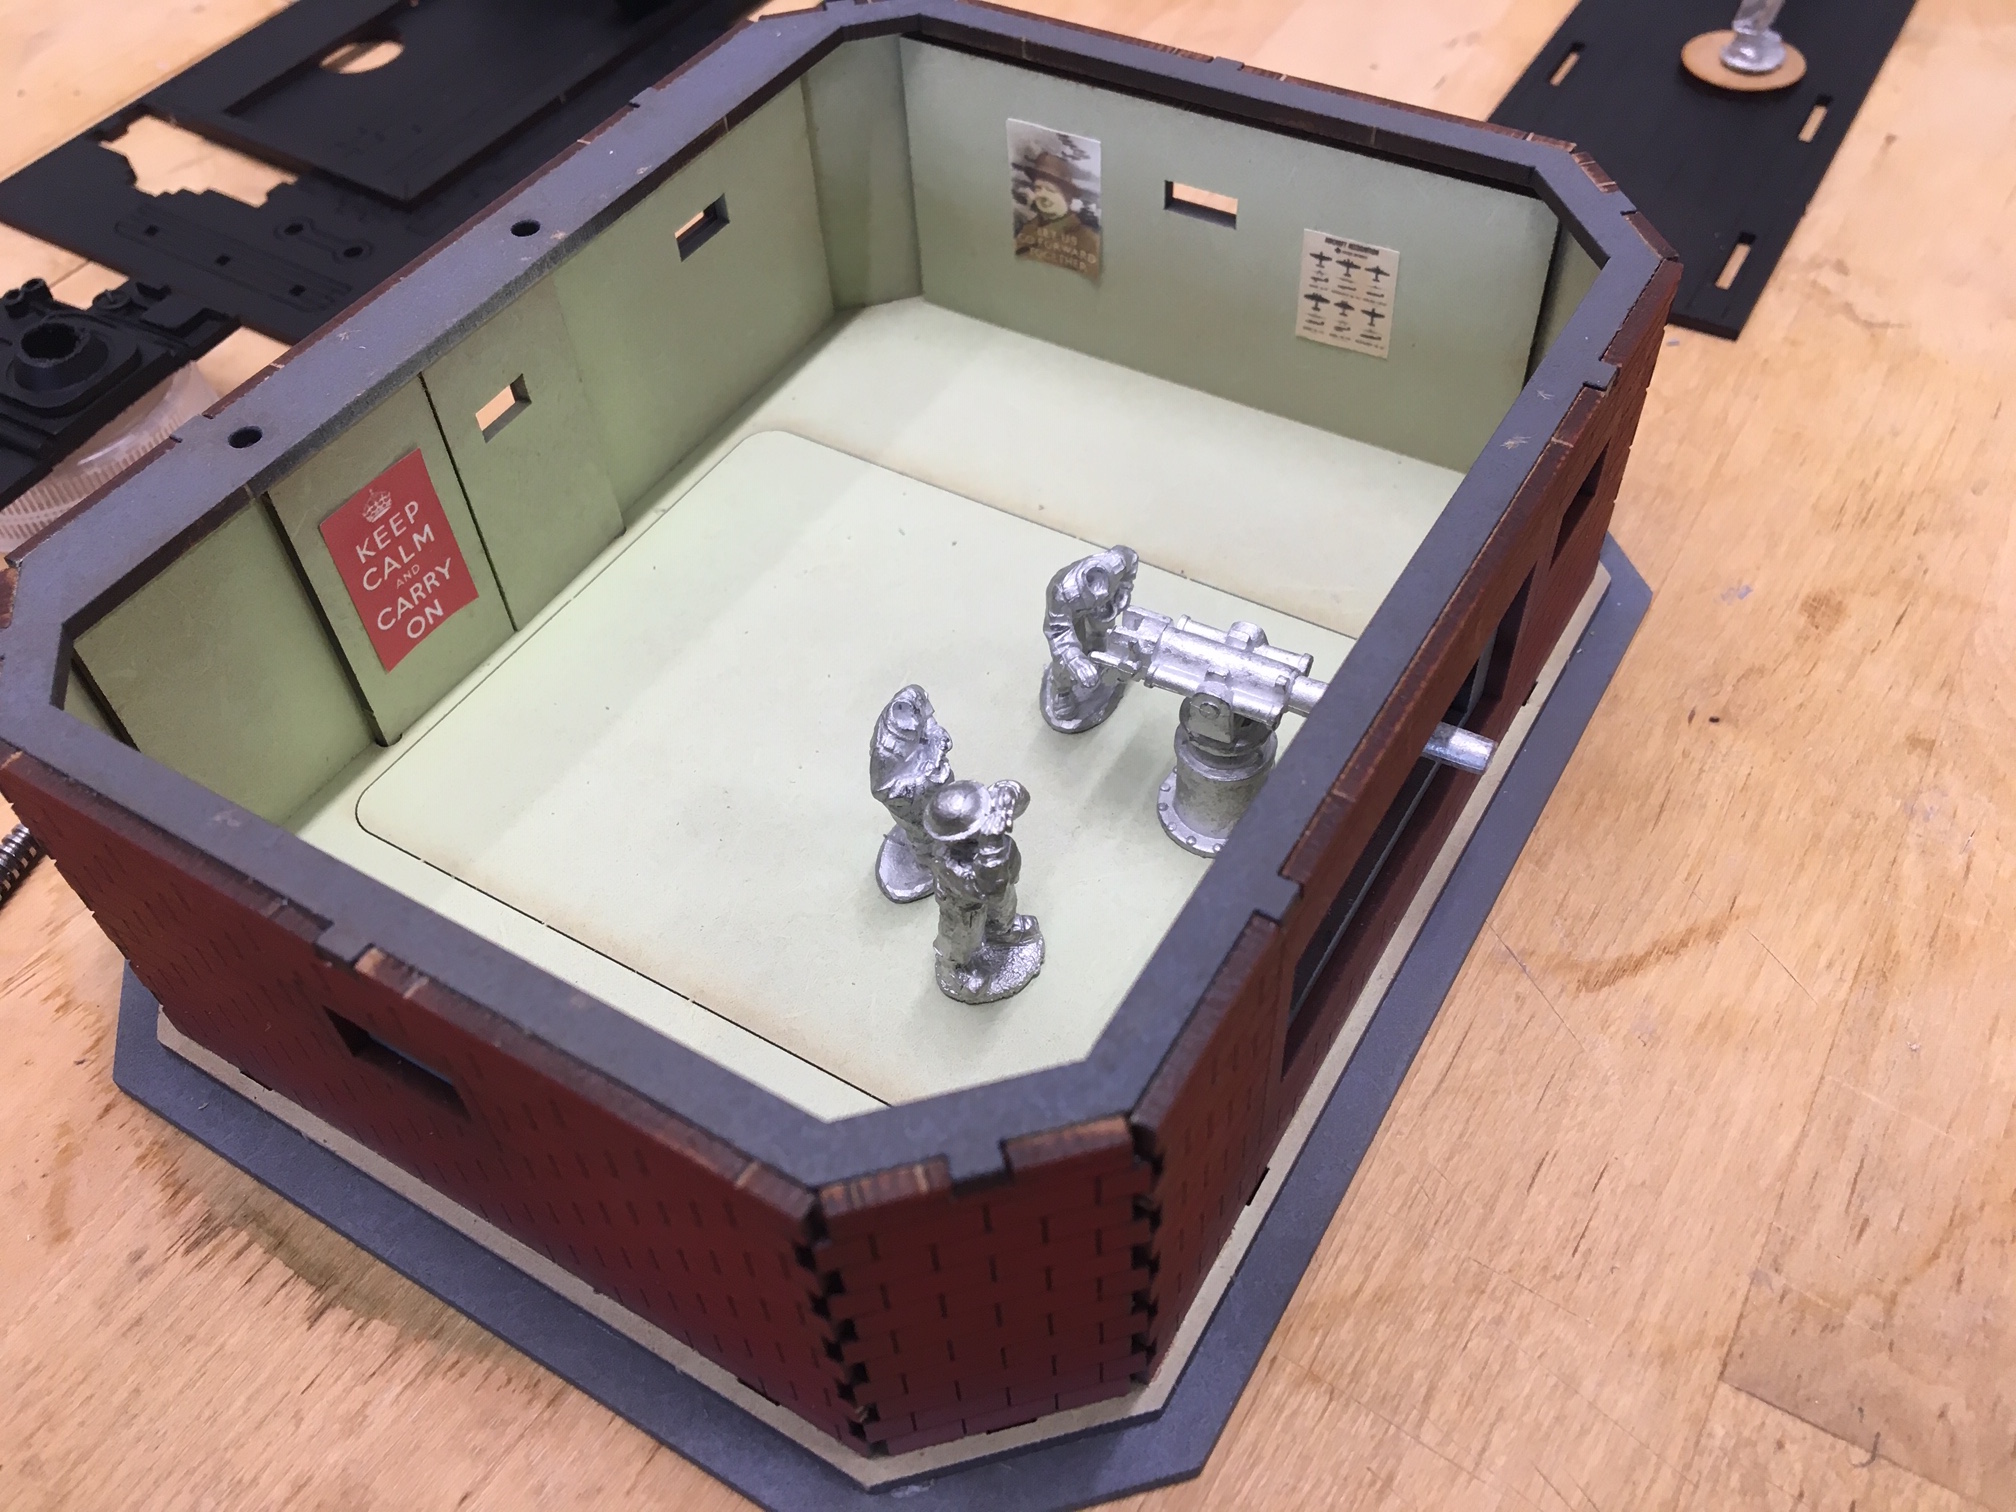
I realized that it would be a waste if it’s only use was on a vanity project. So I am going to glue it and it’s crew onto a separate base so I can also use it in my Sarissa bunker. I had the idea to camouflage the bunker with a billboard in front of the business end of the bunker.
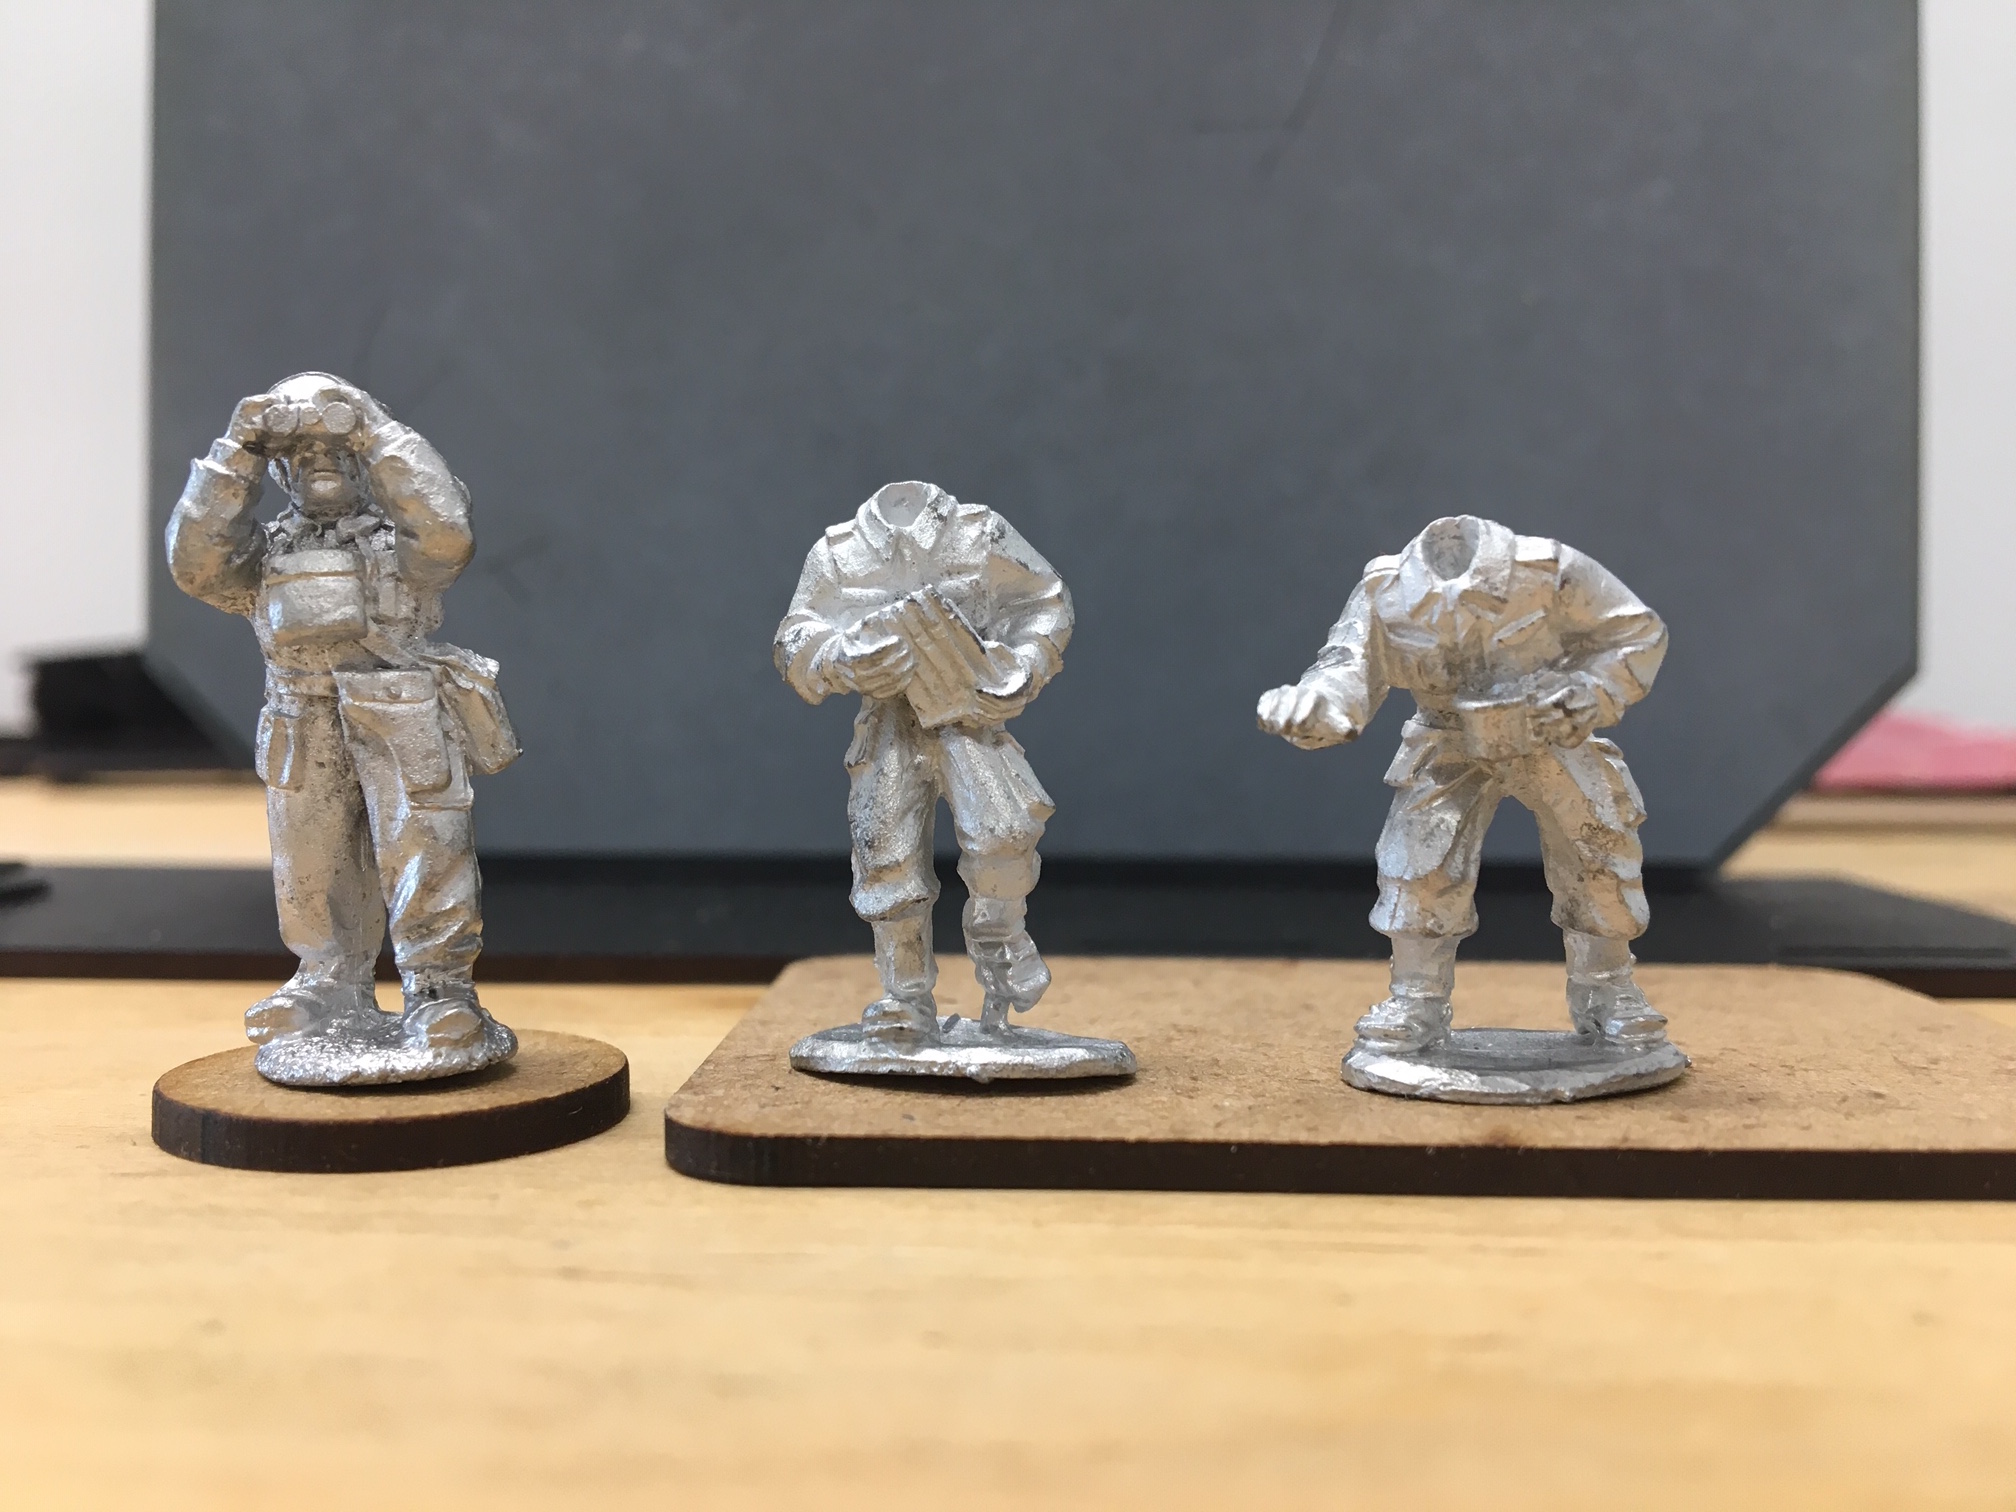
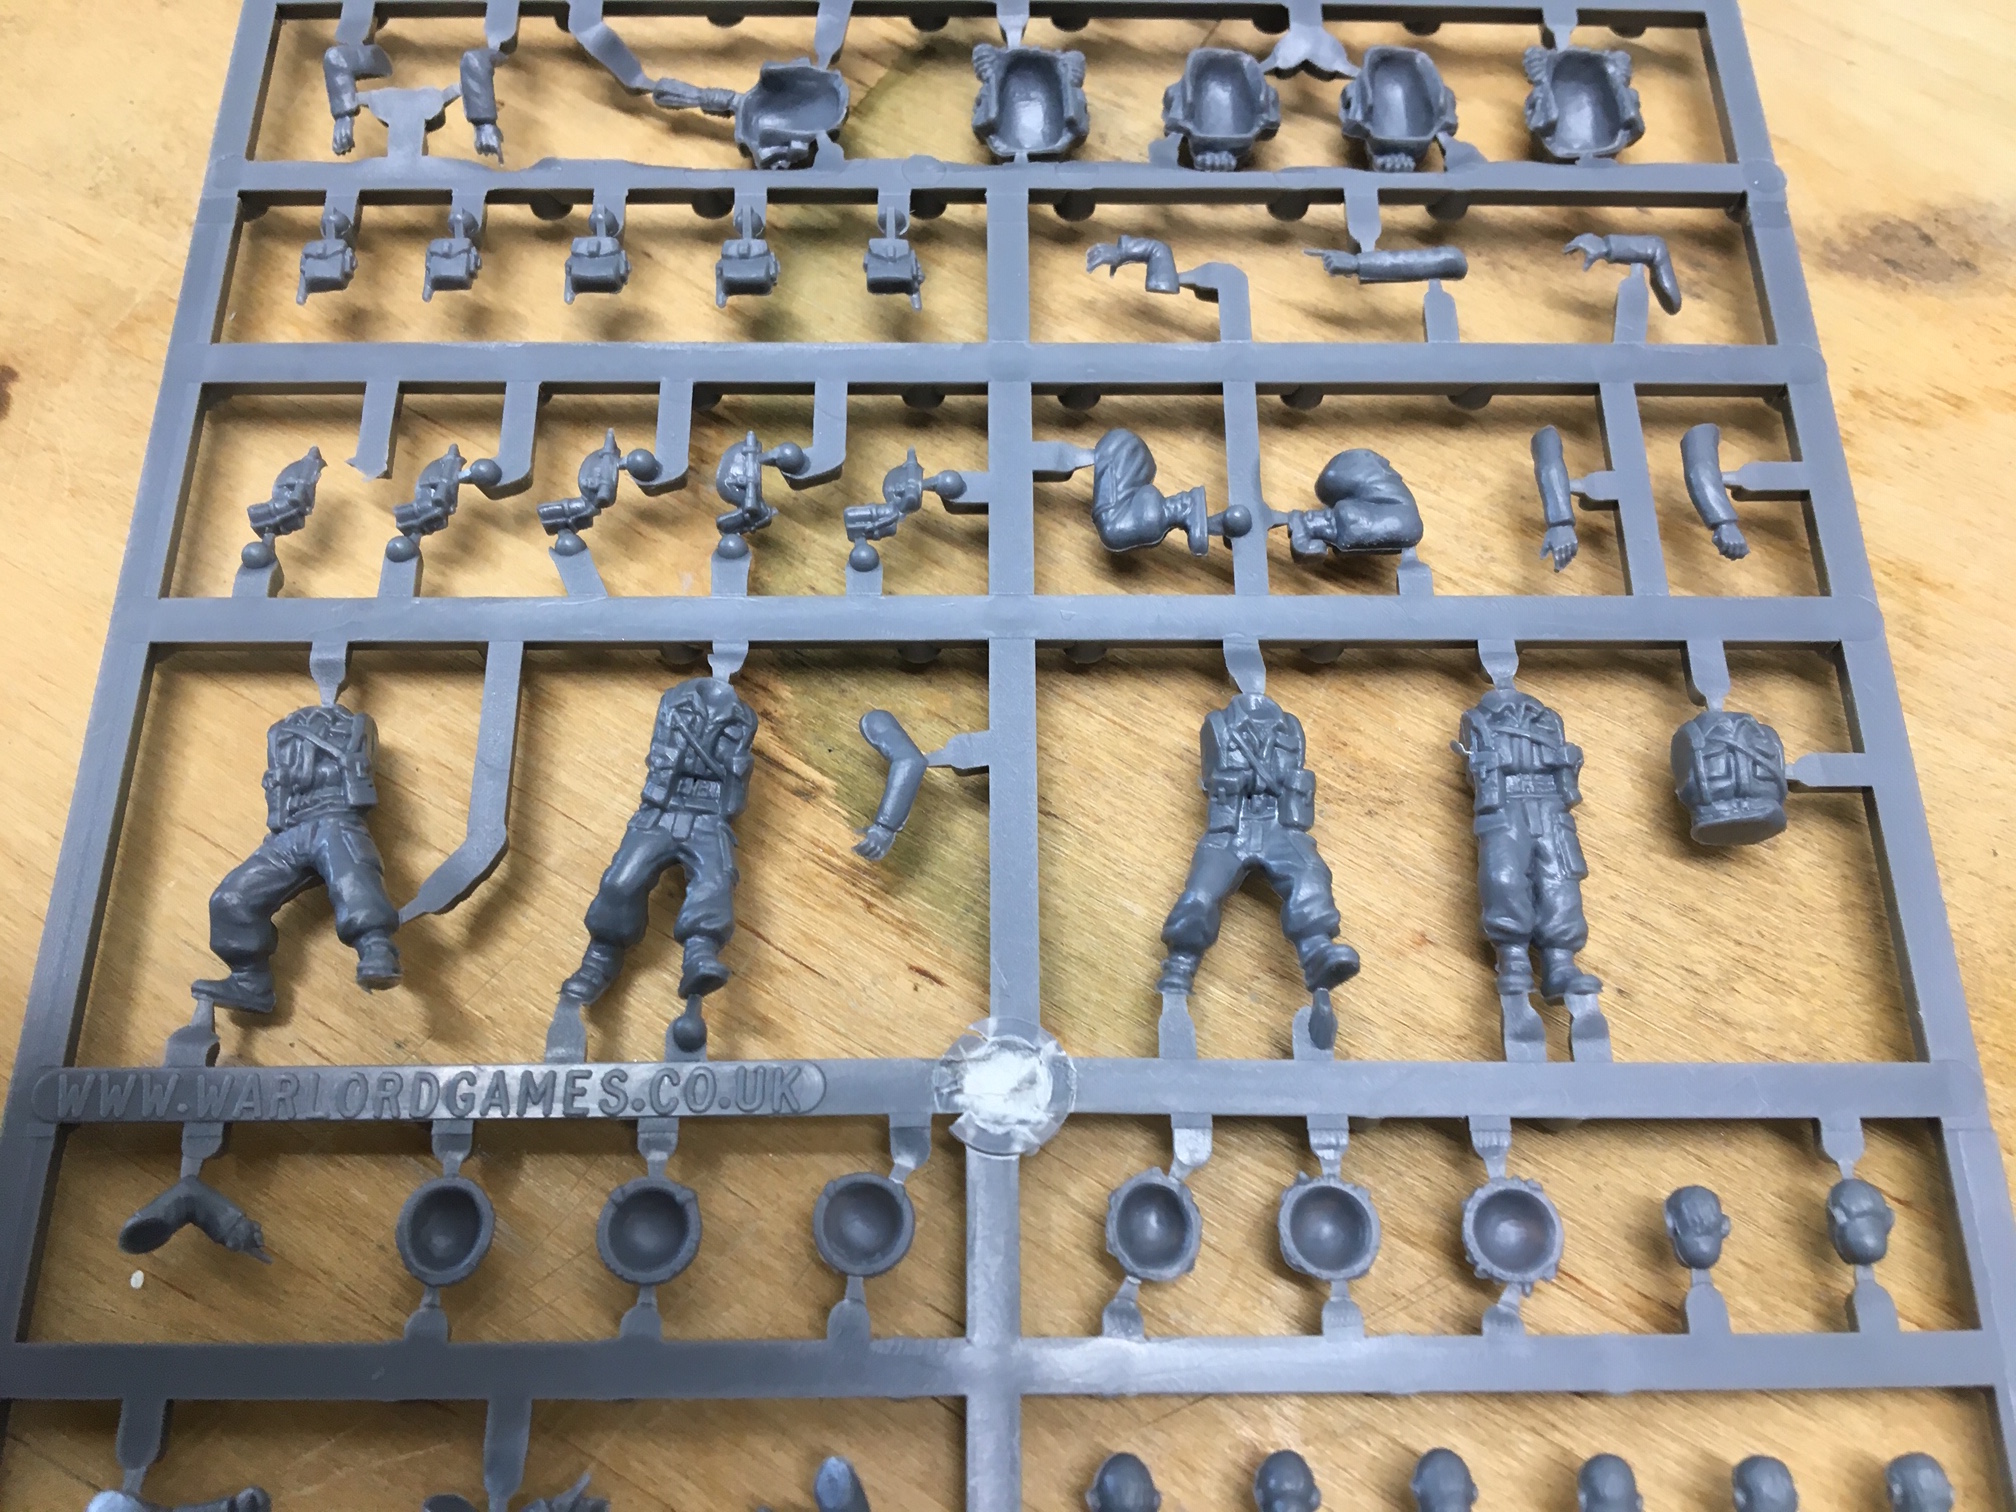
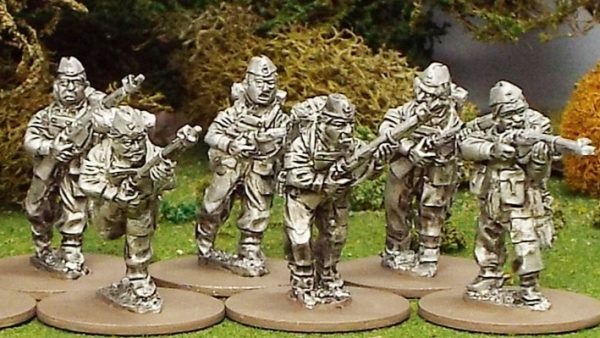
As for the Gun crew, I’m rethinking my first plan. I was going to use the crew from a Warlords Games Home Guard Smith Gun. They look a bit small next to the other crew members. I’m going to scratch build a new crew from a Warlords Games Commandos plastic kit. More on that to come.

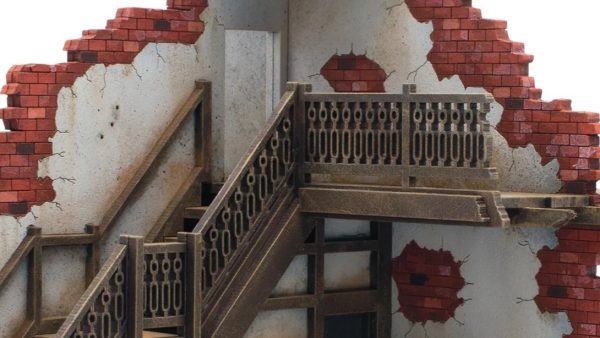
As for the bunker, time for a Spring Cleaning! Lick of paint, lick of paint. The “Camouflage” billboard will be separate so I can use it in other table set-ups.
Thanks for stopping by! Cheers
Size Matters


Having finished the conversions to the Engine and Supply Wagon, it’s time for the Armored Car! To me the Flatbed is to long and narrow. I will need to cut some parts of the kit shorter to represent the original car you see it the print out photo.