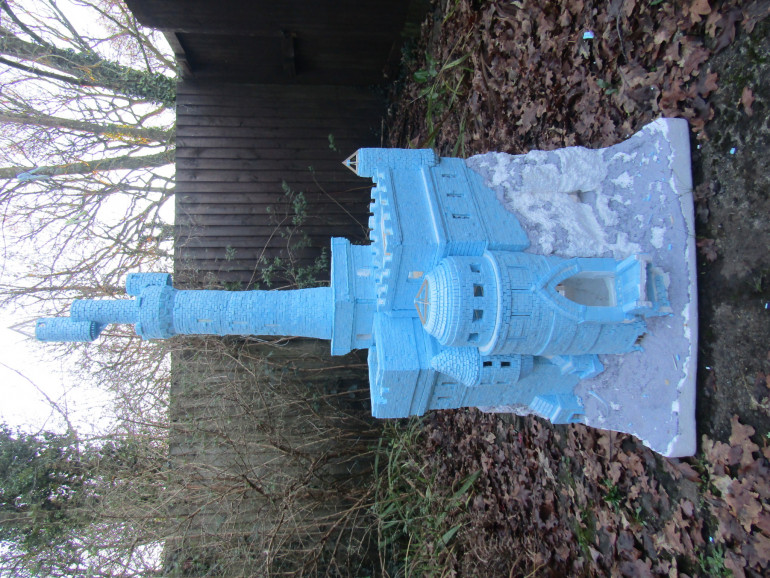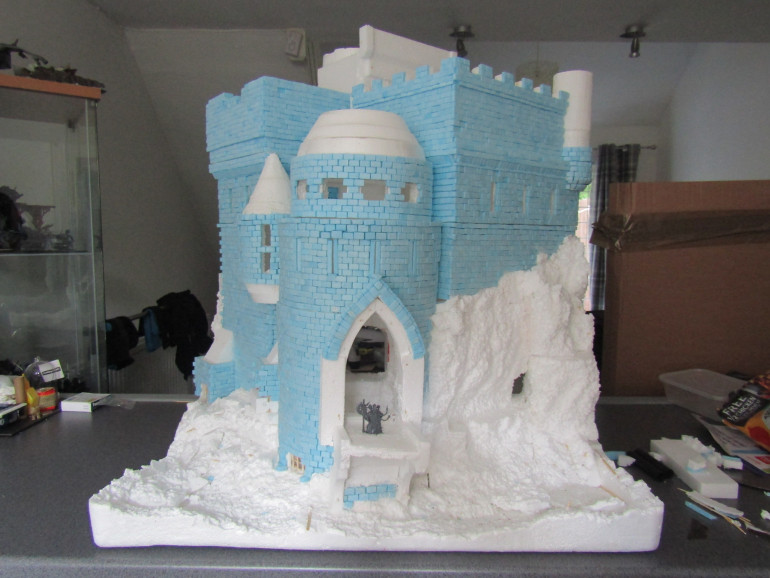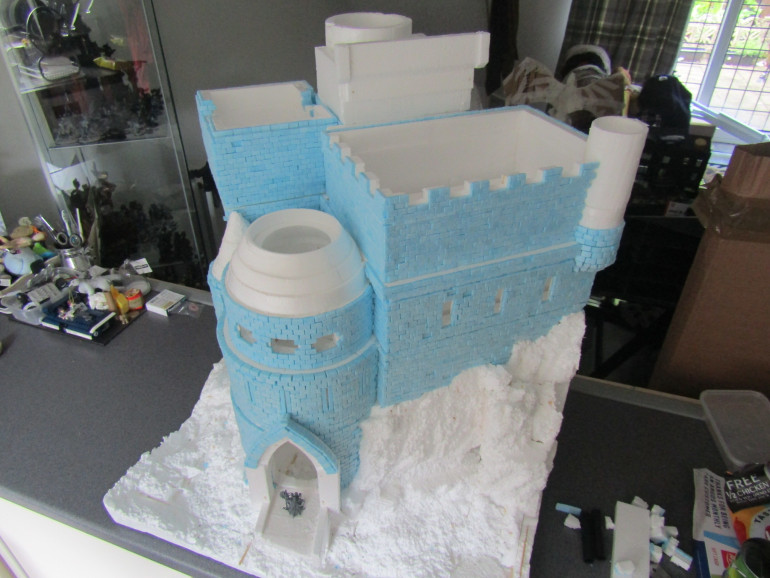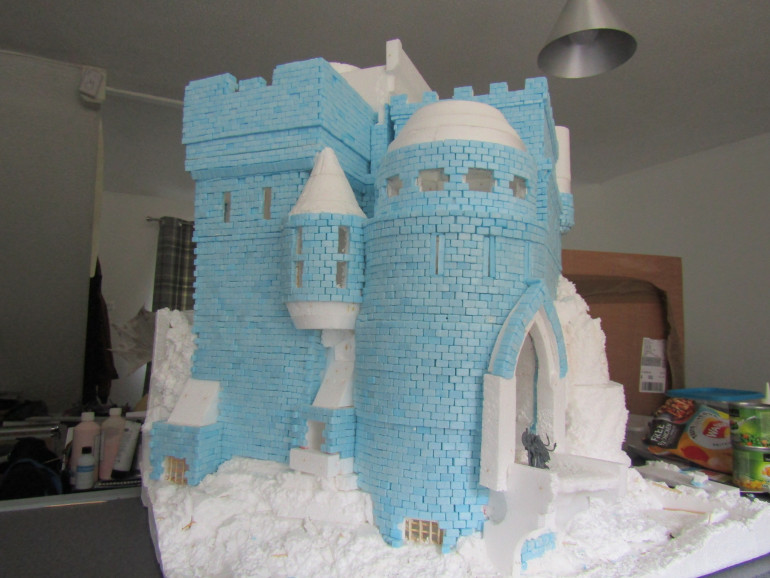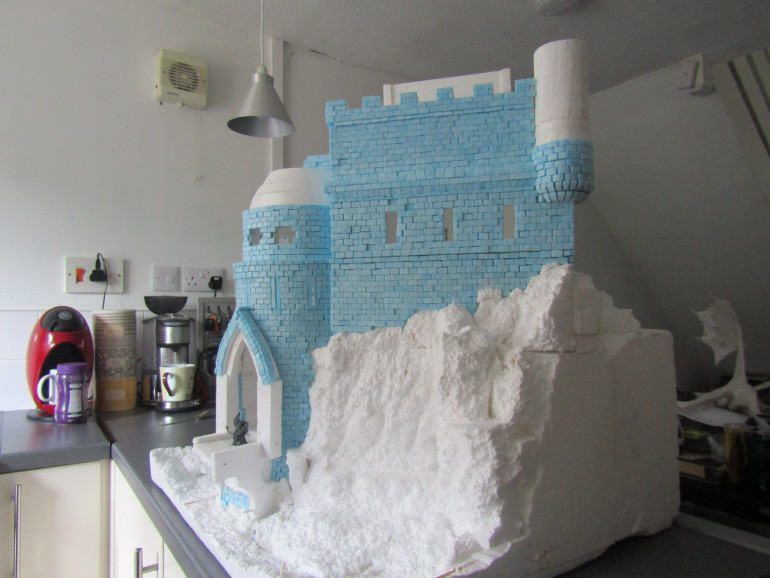
The Citadel – 28mm Foam Build in Memorial of Covid 19 Wargamers lost.
Recommendations: 478
About the Project
Based upon the old Games Workshop logo used for 'Citadel products, this build will be a tutorial as well as a memorial peice for wargamers/hobbiests/friends lost during the Covid-19 Pandemic. Thank you for your support
Related Genre: Fantasy
This Project is Active
The Christmas Update
The Citadel – Christmas Eve Log
Hello everyone I wanted to share with the progress so far on my ‘Citadel build. Followers of the page will know it’s been a while since the last update for personal reasons but I’ve been slowly chipping away at the project.
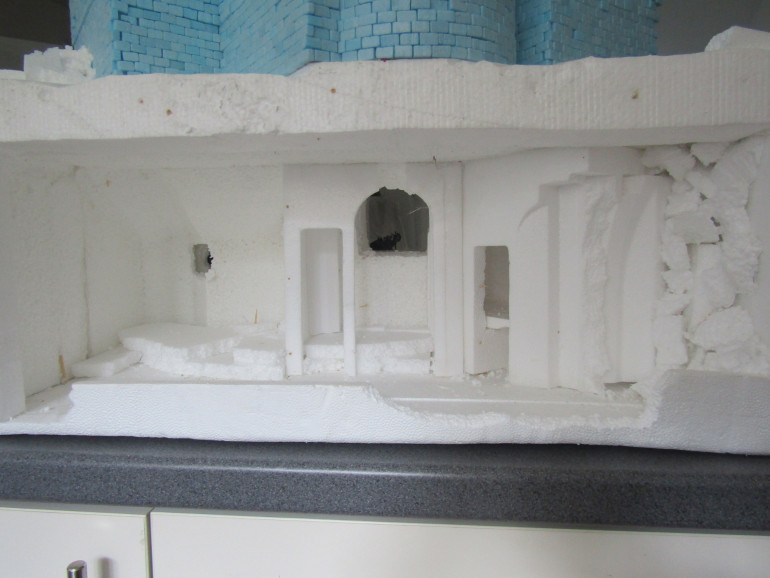
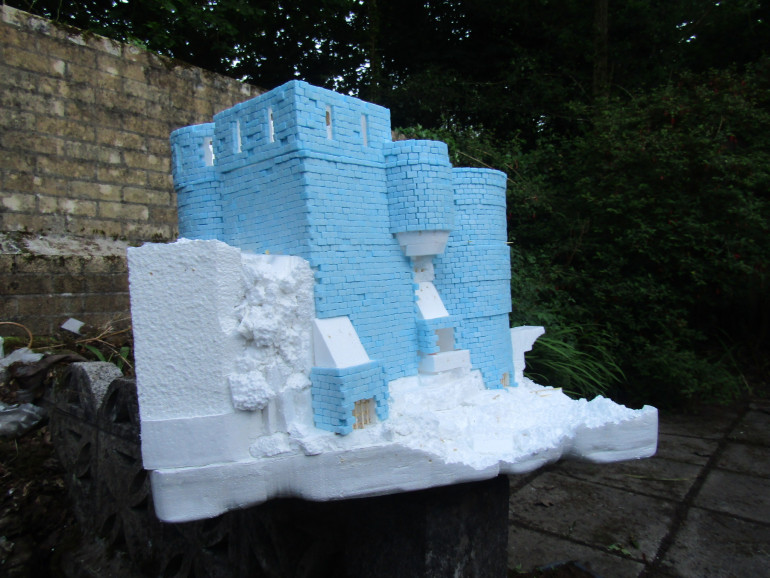
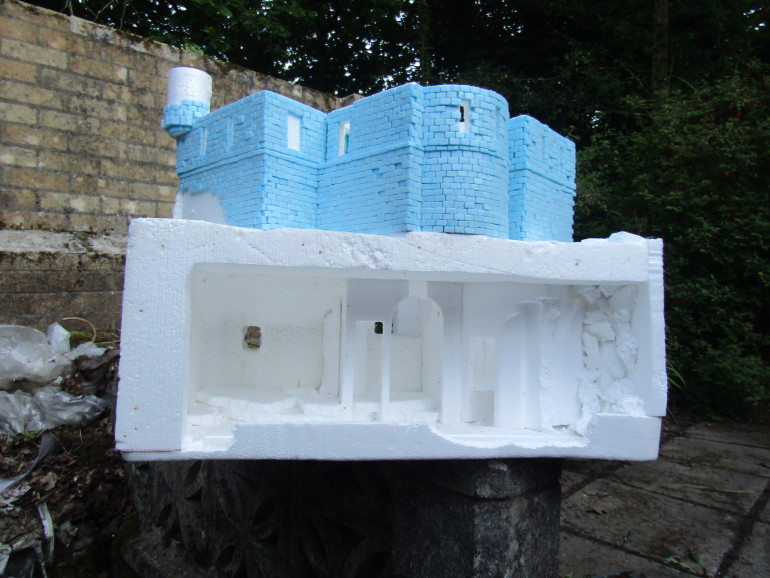
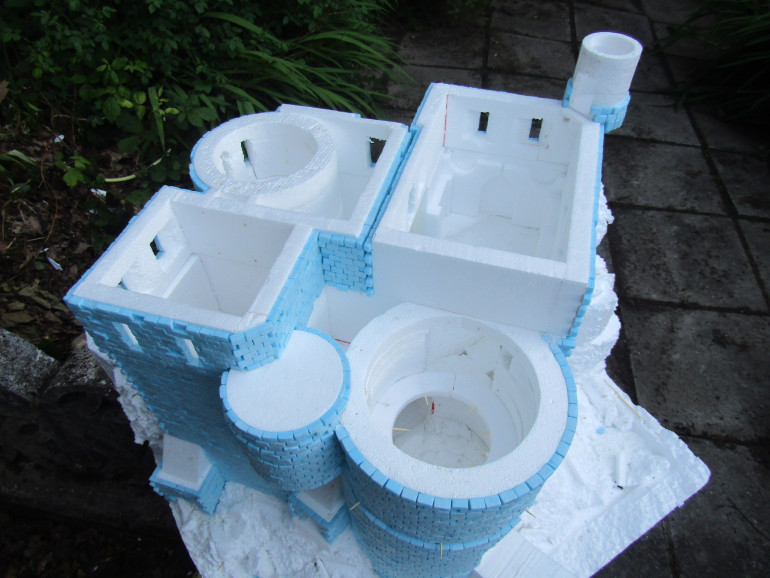
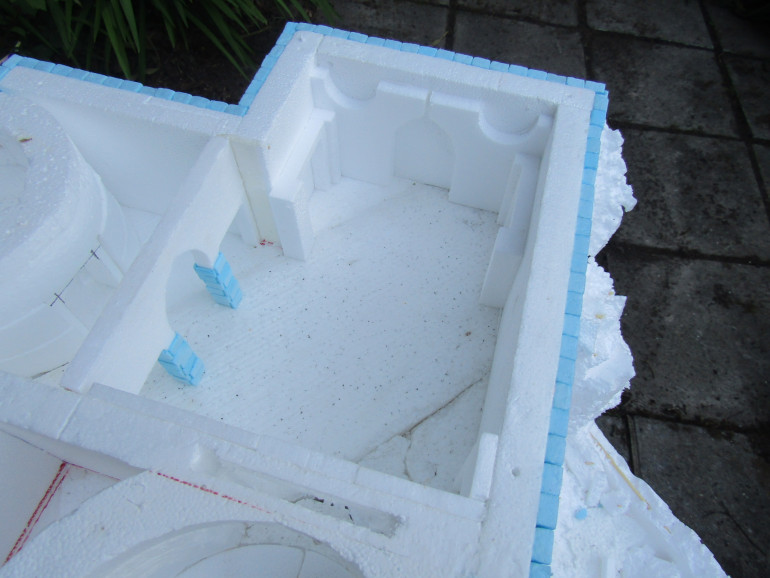
I’ve really started to flesh out the internal for the main structure as well as the roofing structures that are still a work in progress. I’ve lost count of the amount of bricks currently but I do have the details to work it out at a later date. One of the key parts of the project was to keep it light and I can easily say that with the sub-structure being expanded polystyrene the total weigh is very low. If I can get it on the scales I will.
I hope you like the update and I wish you all a safe and Merry Christmas and a Happy New year
Tiger Eye Creations
Th High Tower
The Citadel – Log 8 – The High Tower
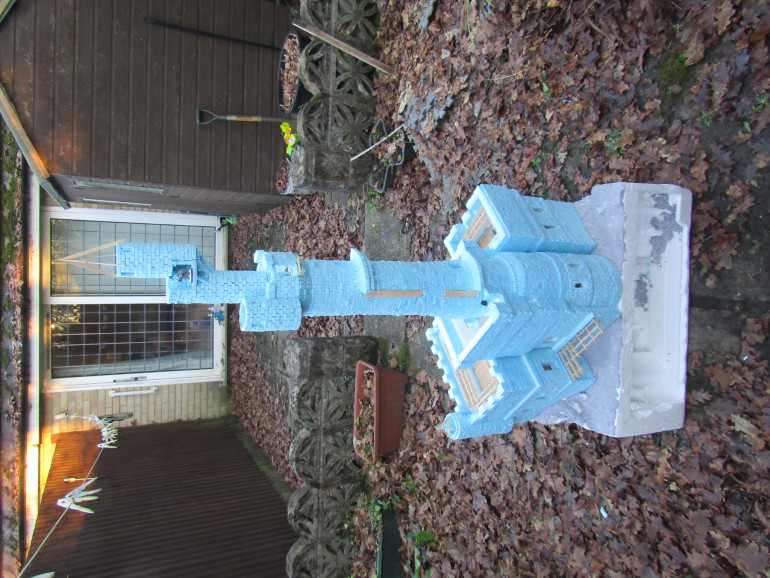
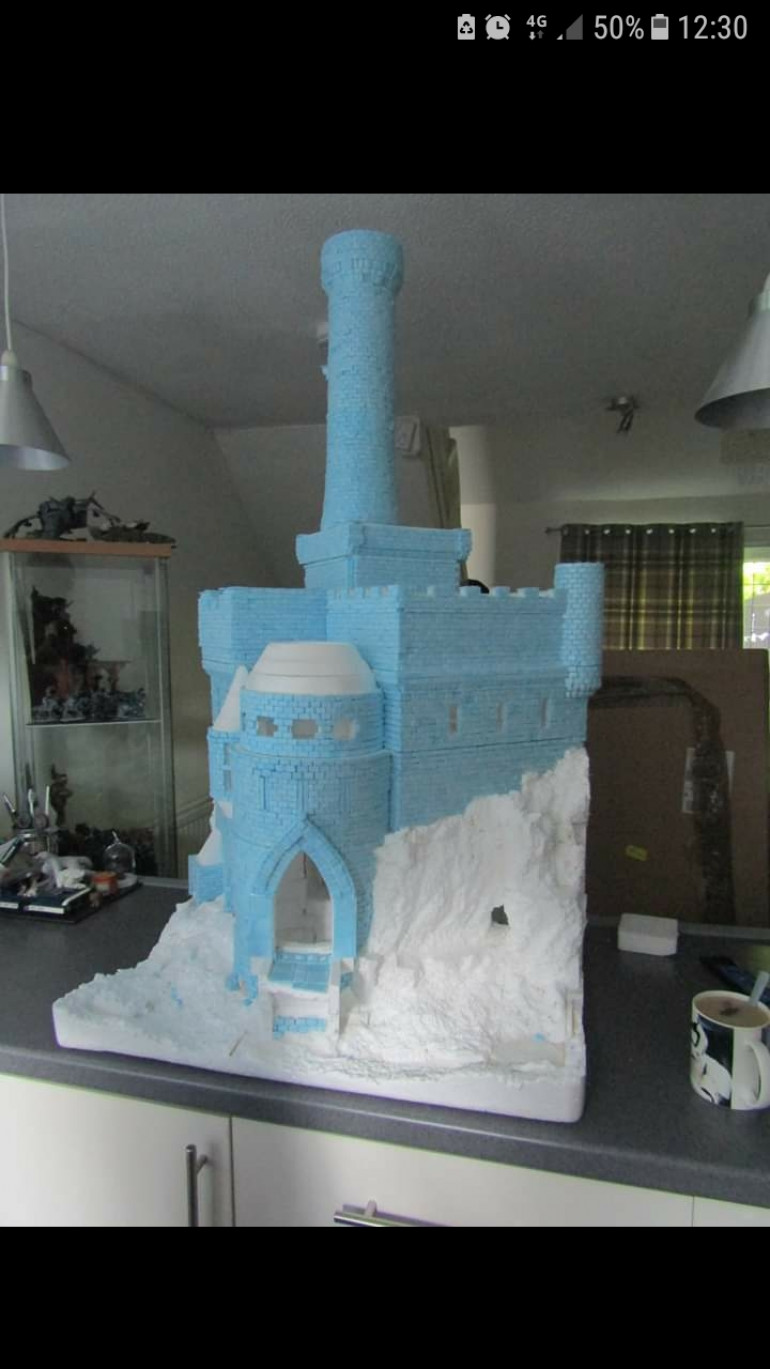
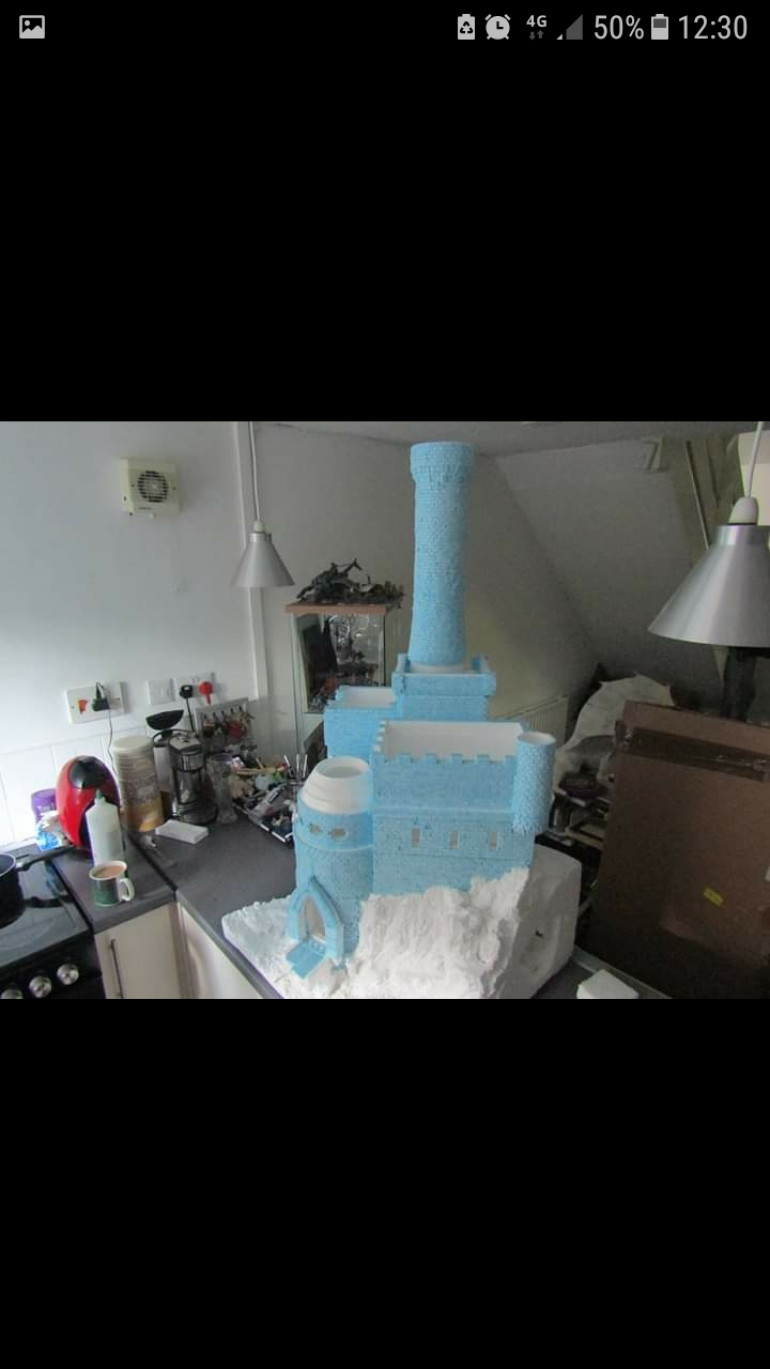
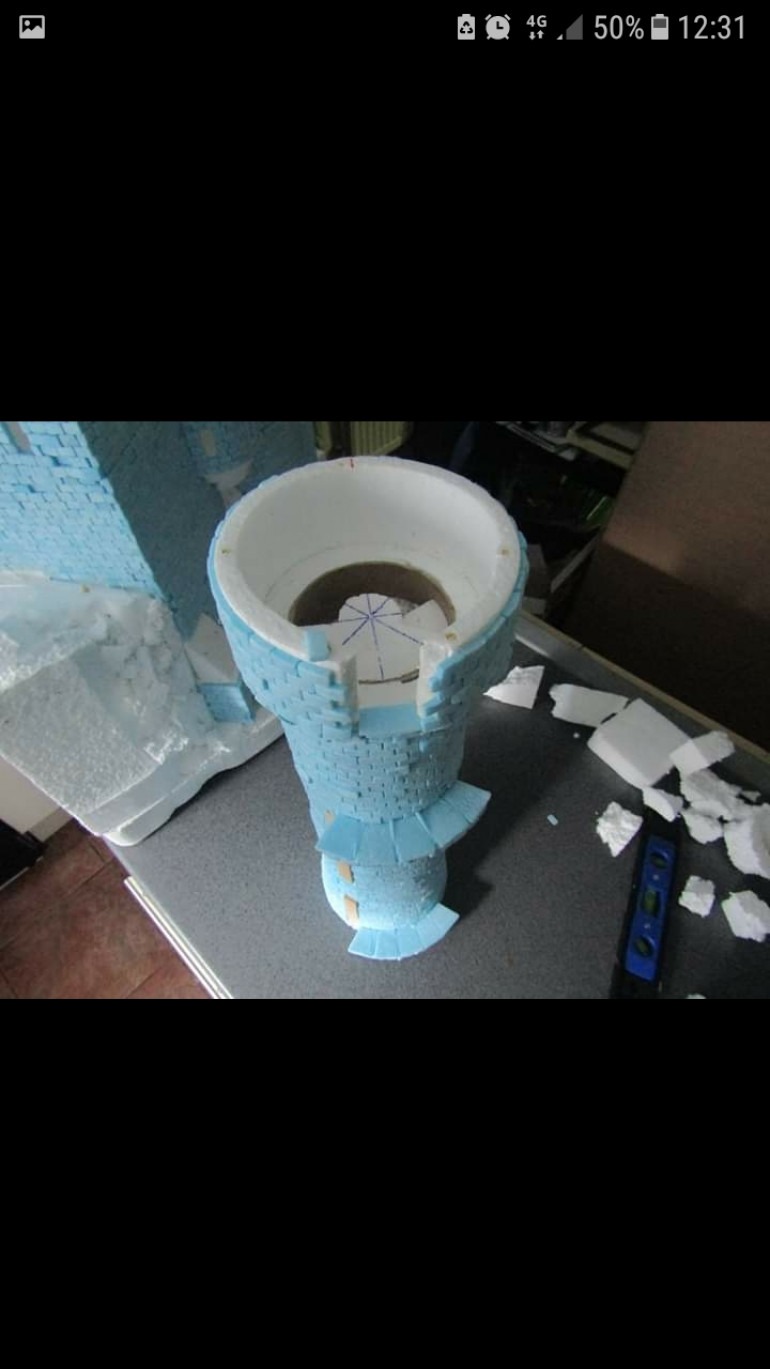
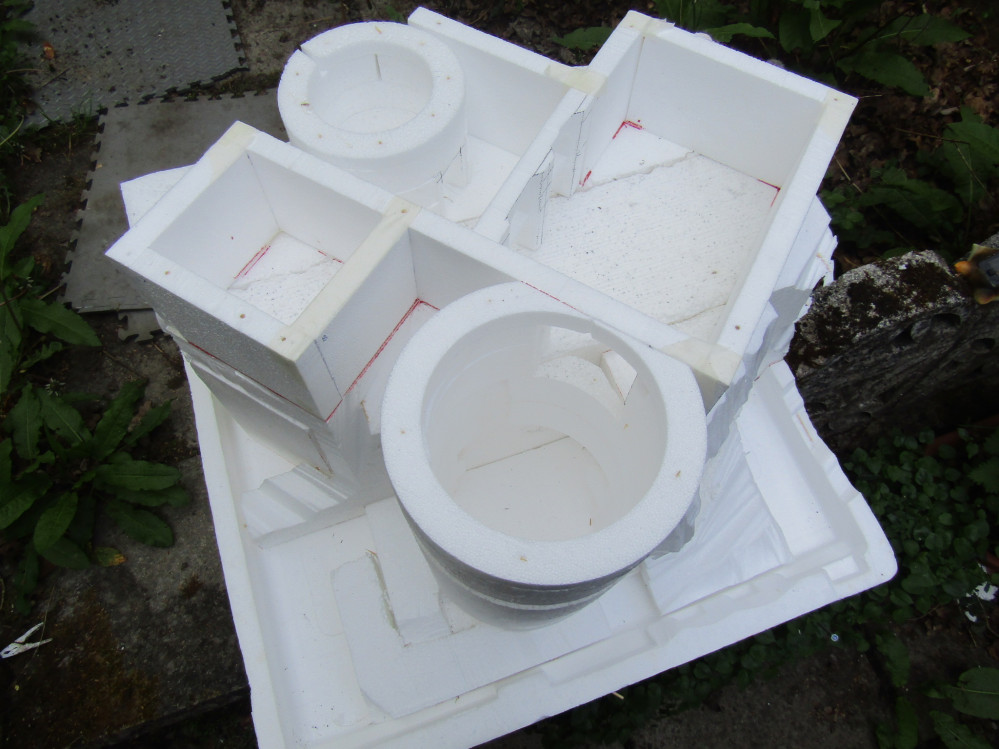
So the last main part of the structure is now complete, the main tower. It took a while to work out how I wanted to build this part without making it to heavy or fragile. In the end I found a 3 inch diameter cardboard poster tube, to add thickness I then cut polystyrene foam collars which I forced into place.
It was then the joy of cutting more bricks, I then realised how little XPS I had remaining and so I was panicing that I may not have enough. Luckily It was just about the right amount but Im now wating on a new foam order.
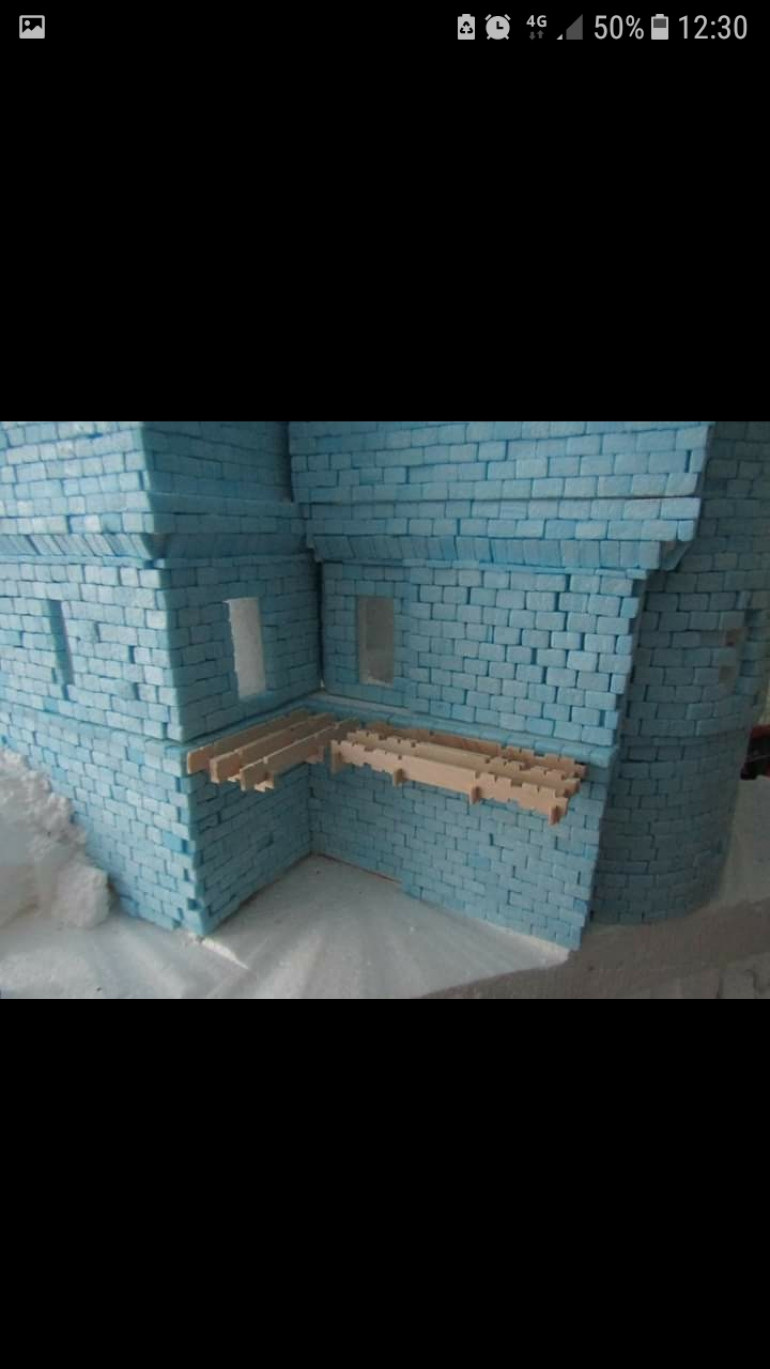
I will also be adding wooden walkways to certain outer edges, to build this Ive found some diy structure sticks from Tiger in the UK. These are then cutt to size and fitted into place.
My next objective is to get all the floors complete, the wooden planking and also the coating for the rock face and unerground to add strength.
Let me know if you have any questions or feedback
Reaching ever higher
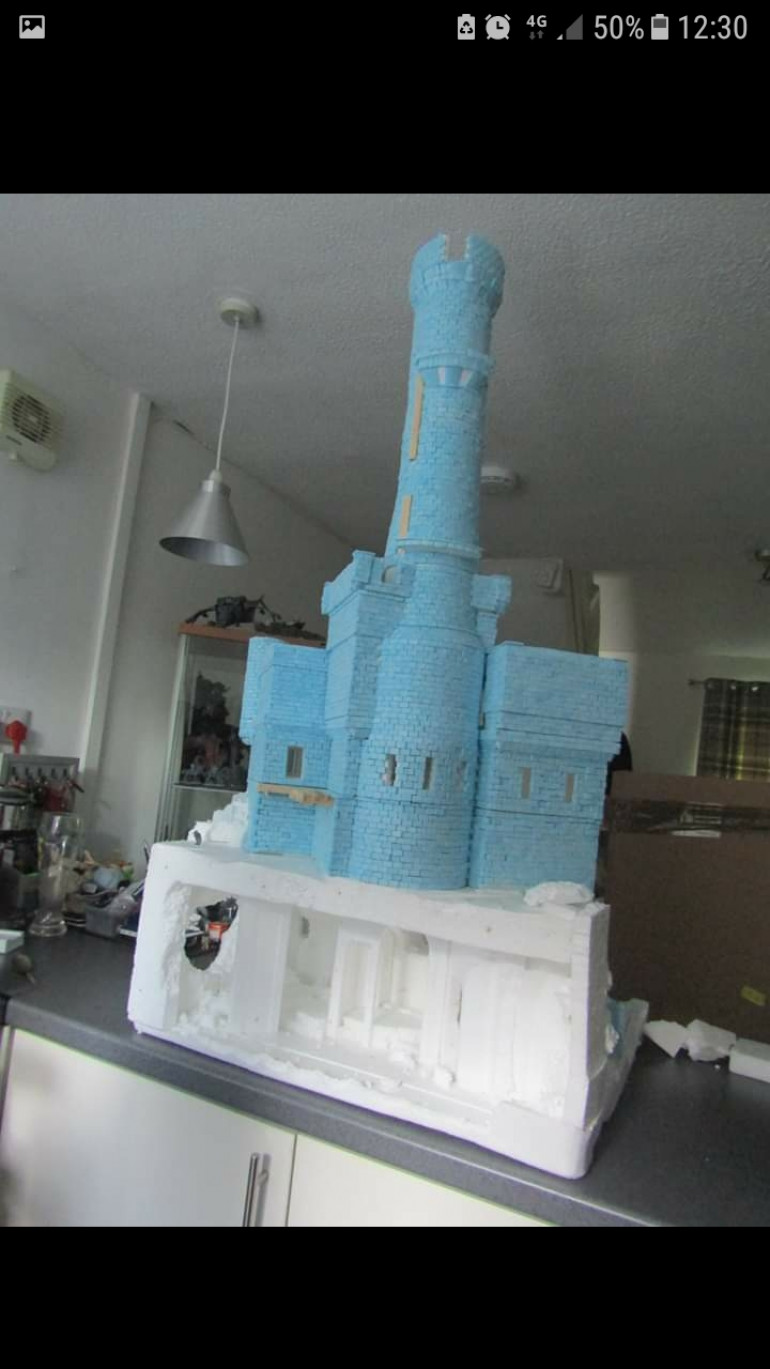
It’s been a month since the last update on the project but here we are. After 8 hours of cutting bricks (over 3 sessions) we have now reached the top of the main section. Only the tower remains to be built.
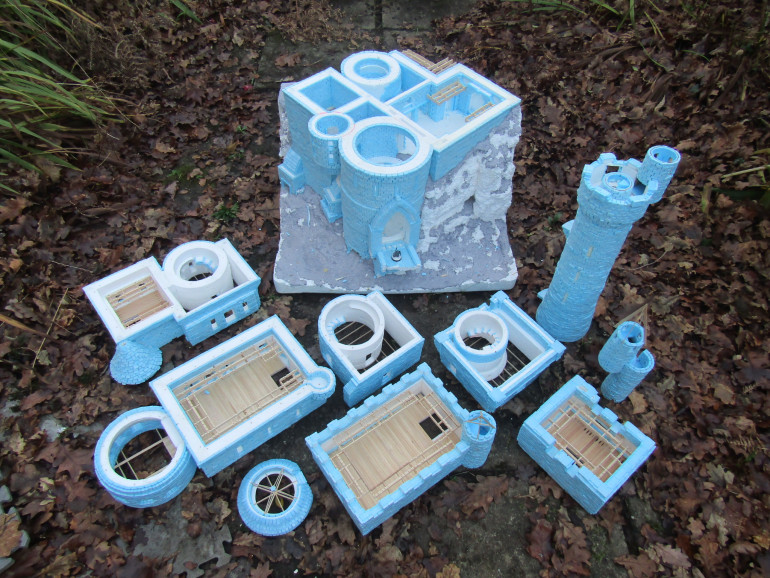
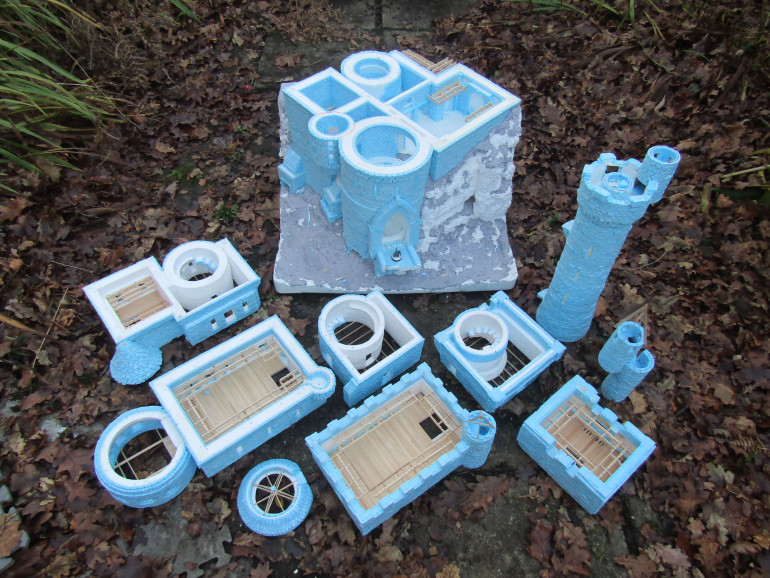
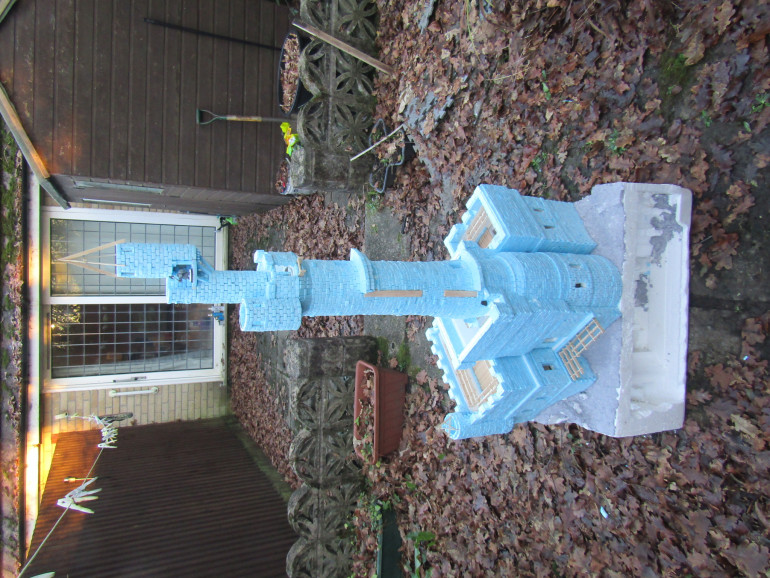
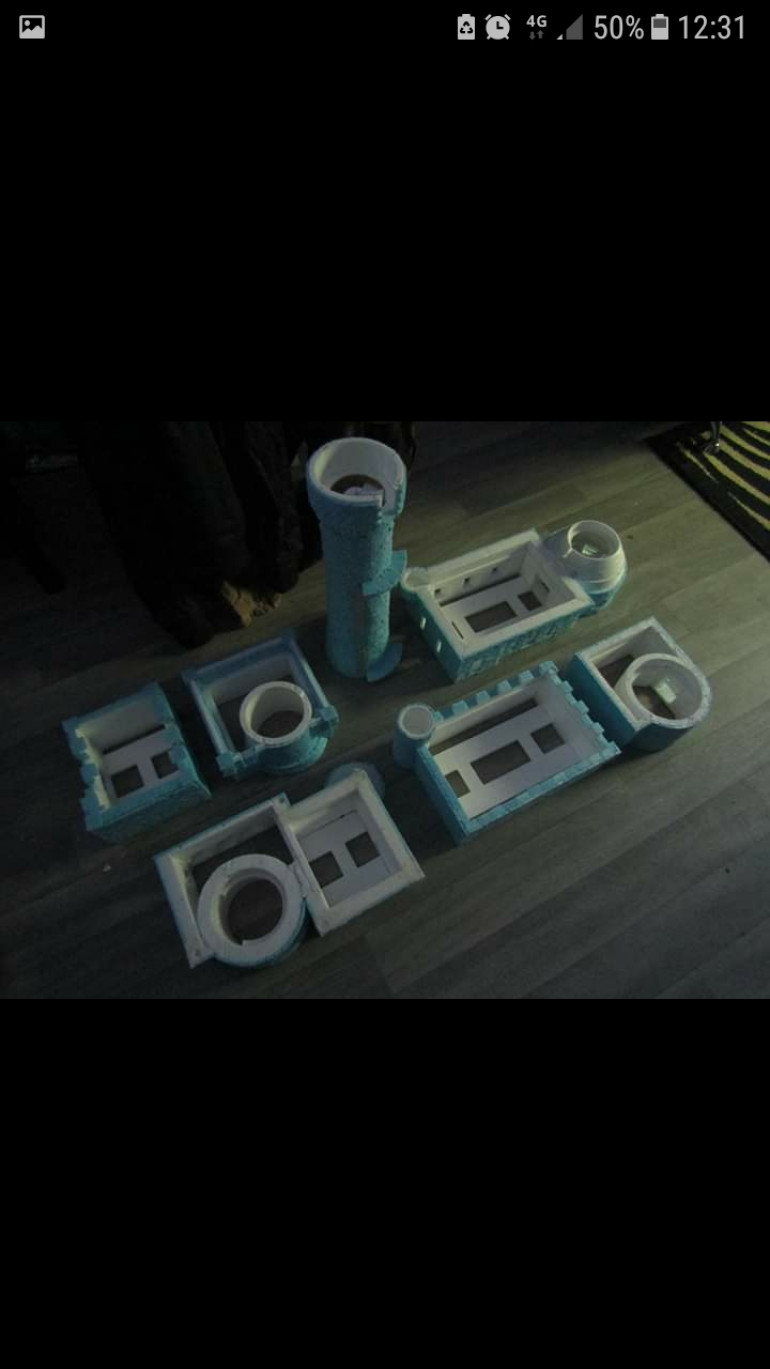
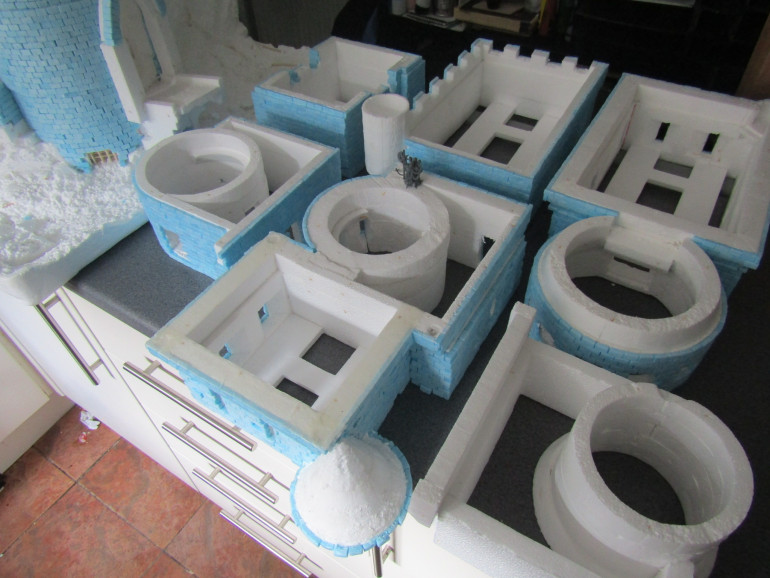
Their is a total of 6 individual builds each held together by magnets to create the overall Citadel. This makes it easy to store as well as play narrative games as you fight through without having to reach inside.
I’ve taken a few creative liberties to add more character and function though the main outline and shape stays true to the original logo.
The under mine has also started to take shape. More supports will be built into the space along side mine workings, tracks and tunnels.
So far the build stands at 34 inches tall and I’m guessing it will end about 68 inches to the top of the tower.
Leave your comments below, let me know how you feel the build is going. Please share and let other know about the project.
Thanks everyone
The Walls
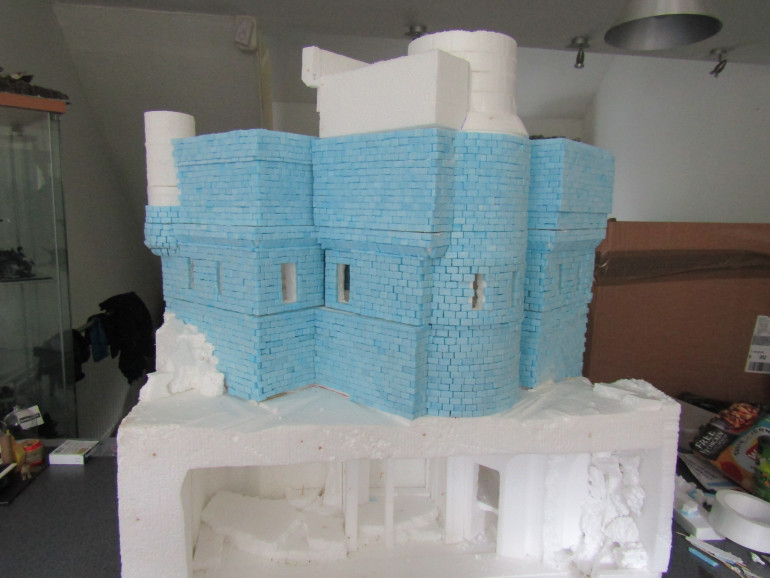
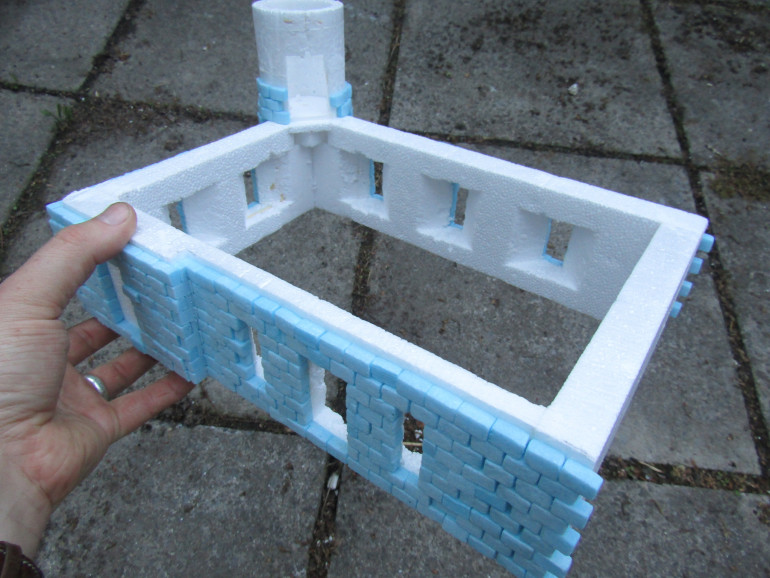
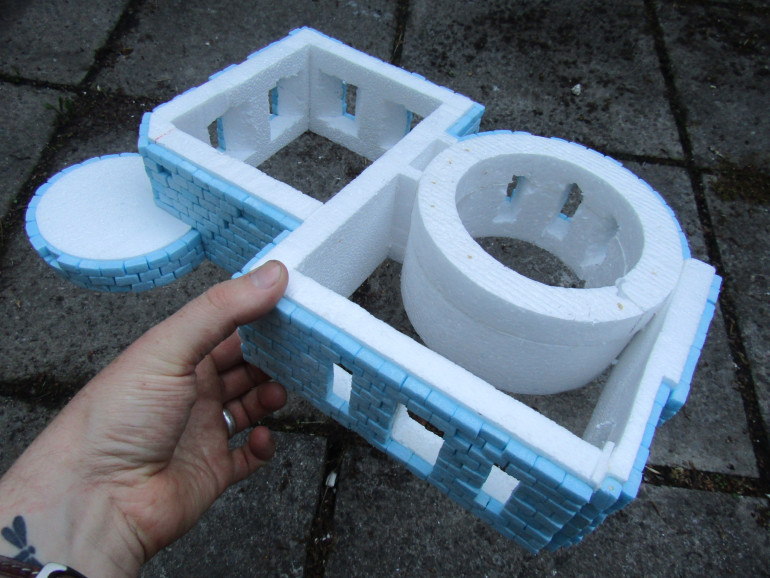
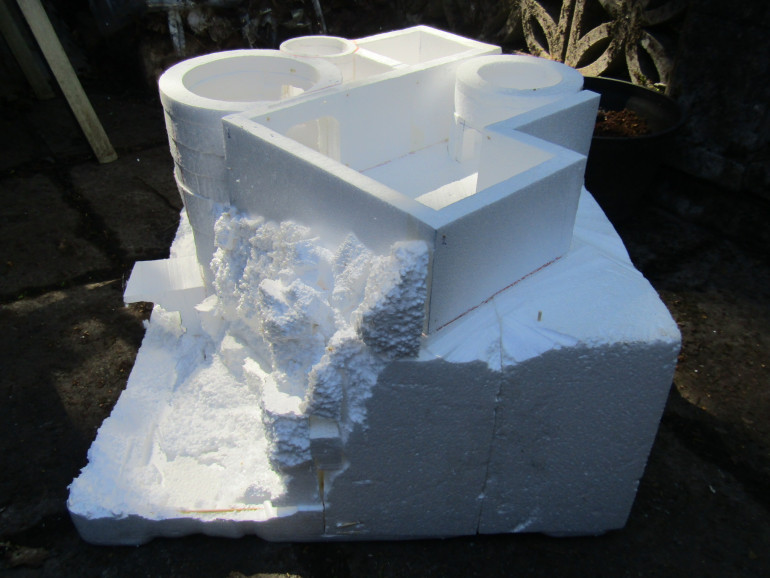
It’s been longer then usual between updates but that is due to the length of time it’s taken to get to this next stage. As you can see via the images the full bottom structure is now covered in individual bricks made from Xps foam.
While this dried I added more details to the internal details of what will become the great hall and also more to the mines below the citadel itself.
However the biggest challenge this time was how to build more levels going up while keeping it playable and easy to transport. After testing a few ideas quickly I decided to segment the levels into individual builds that can be used with or without the main board. These sections have come out really well and I’m excited to start on the next level. First though I’ll need to make more bricks.
What do you think of the progress so far? Let me know in the comments below, feel free to share if you wish as well.
This project is at its heart a memorial to those wargamers/hobbiests across the world lost due to Covid-19.
You can find more details and support on my Facebook page, Tiger Eye Creations. Thanks everyone
The Cliffs
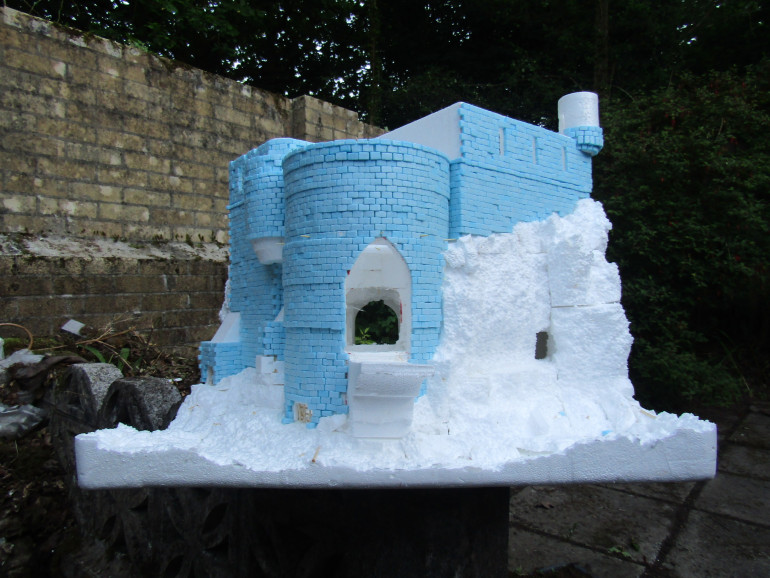
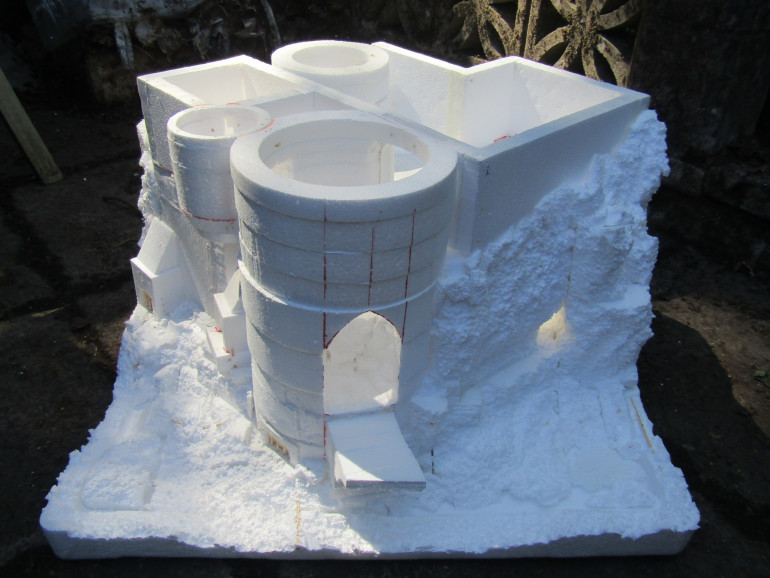
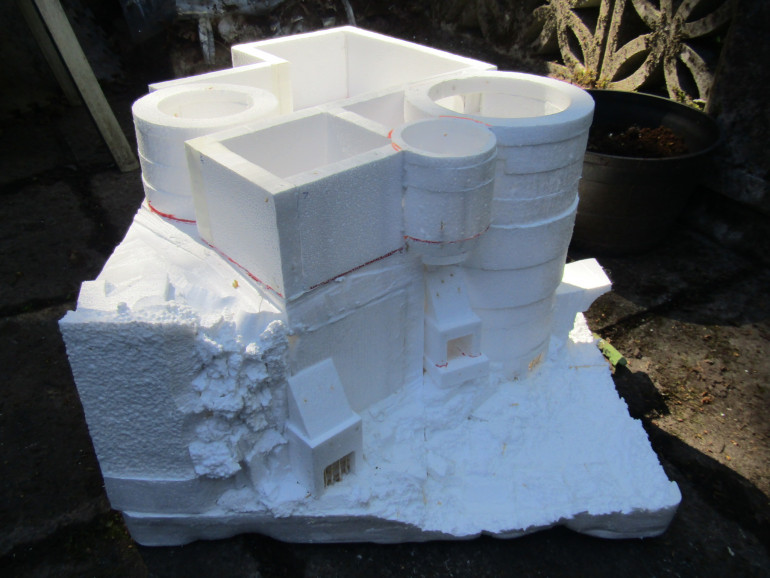
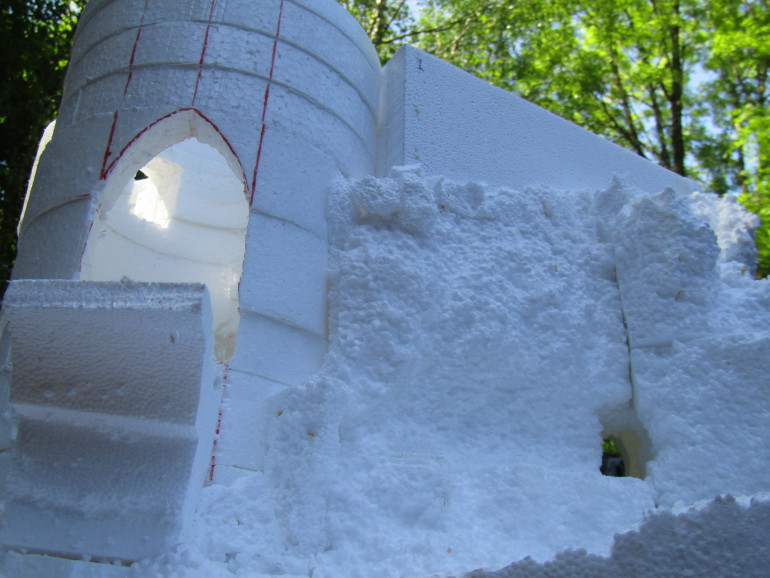
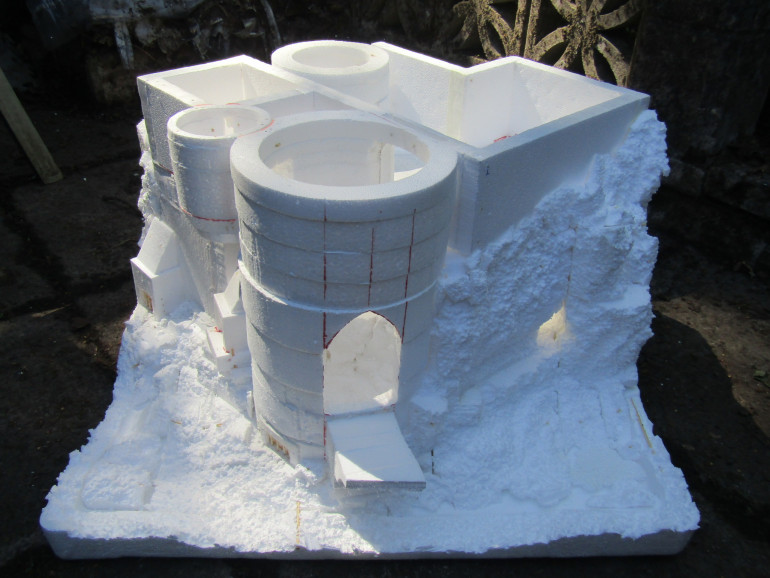
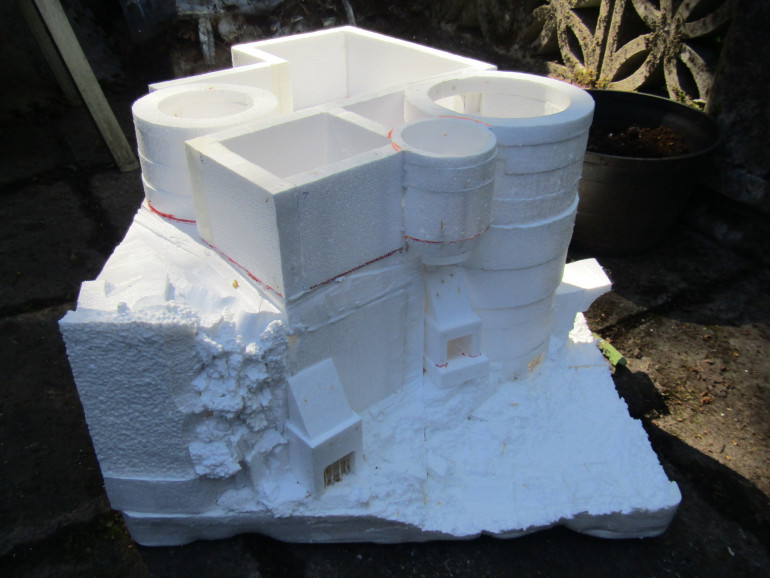
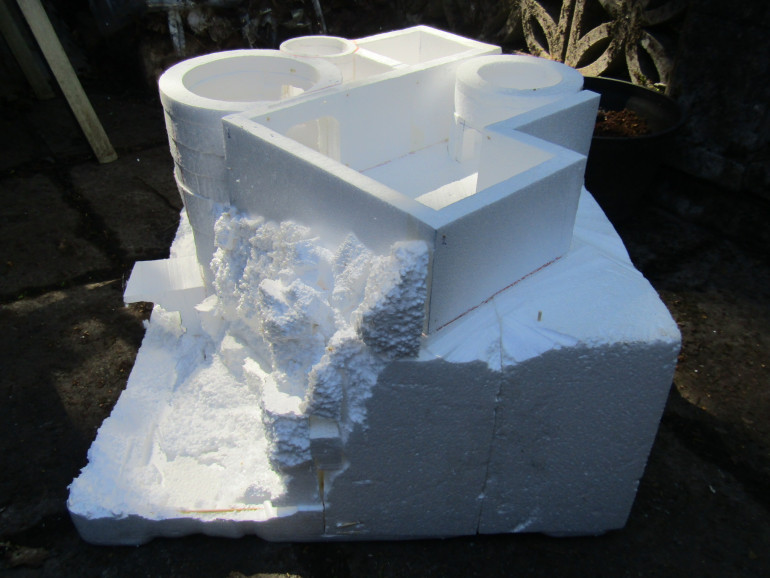
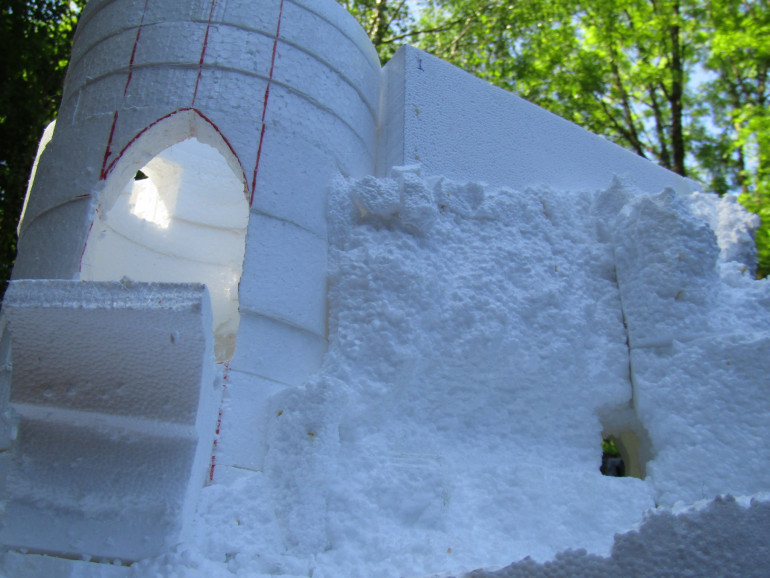
A little bit longer then I had wanted to be but here is the next update. It’s taken some time to get the cliff texture to where I am Happy, I had originally planed for a mix of cork and rock molds but due to material constraints, unable to order what I need the to the pandemic, I had to test a few other ideas. As such layered polystyrene has given an unexpectedly great result and with more work to fix and secure the detail I’m excited to see how it comes out.
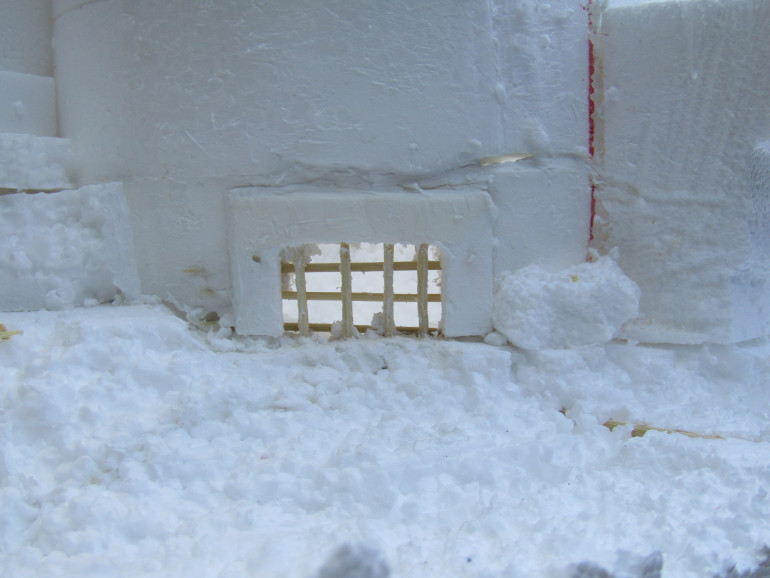
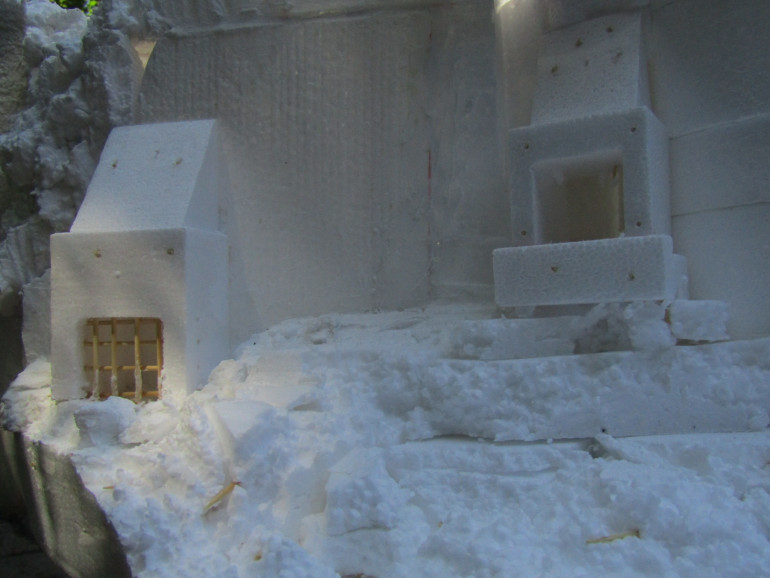
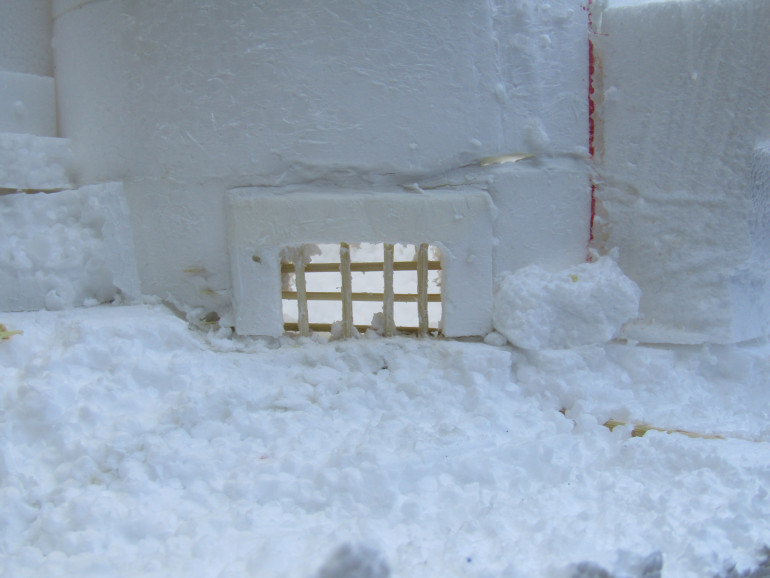
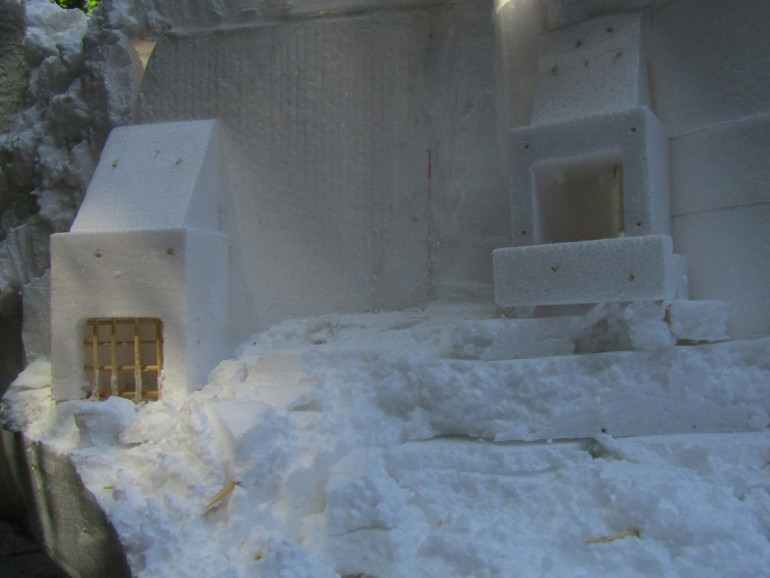
I’ve also now cut and build the main bulk of lower half details, including the Gate, outbuildings and smaller connected tower. In the logo itself the outbuilds have very few details so taking a bit of a creative licence the lower one has now become a drain grate for the mine in case of flooding, while the second has become a secure access point to the lower levels.
The lowest level of the main gate tower is also going to work as the prison hold. As such I’ve added a gate for water to pour in to the area just to make it even more miserable. In the story I’m writing for the citadel the idea of a “This is Sparta!” Type execution from the main hall down into the Gate tower adds a real element to the reasons why. Also it would look cool.
Hope you enjoyed the update, any questions please leave them in the comments and let me know what you think so far.
Stay safe and keep projecting
Building the foundations
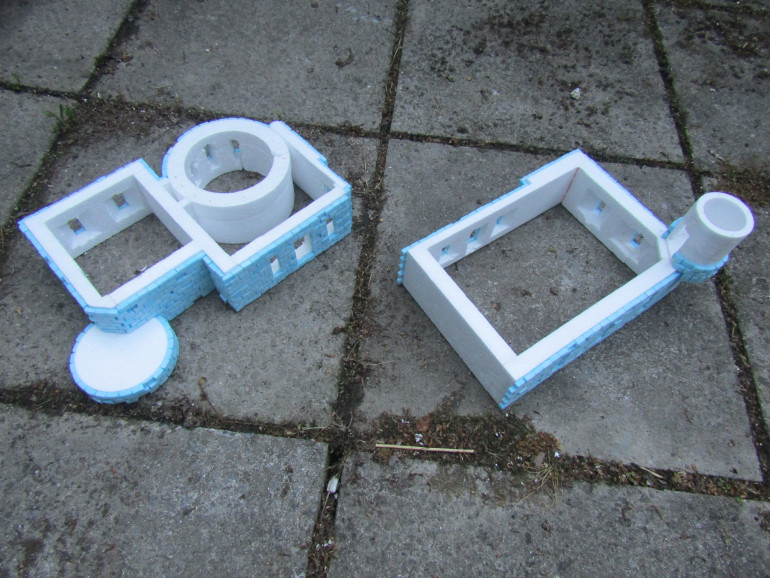
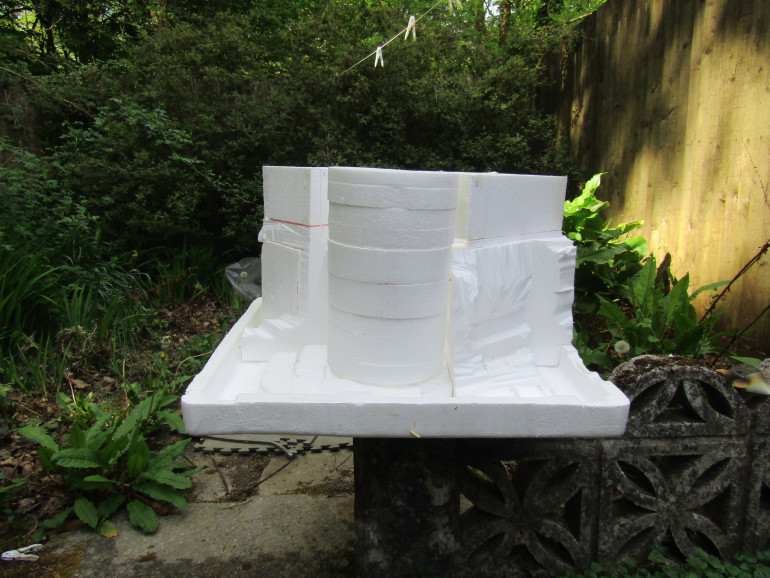
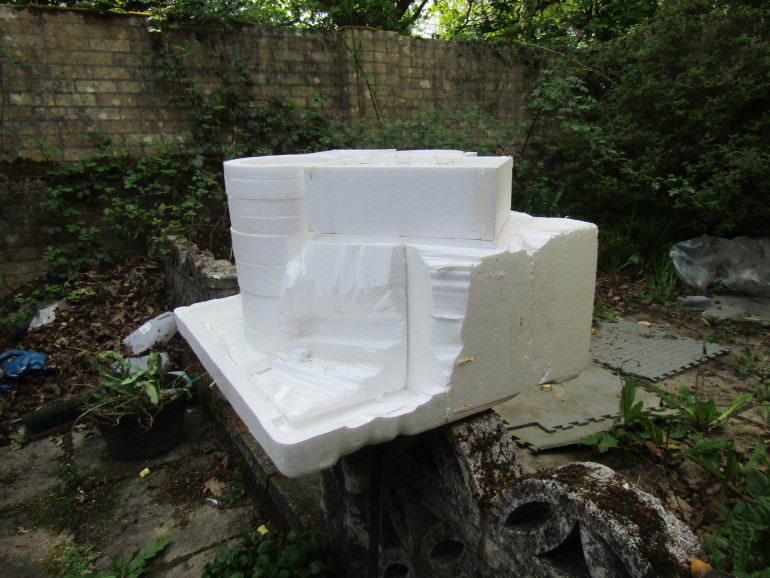
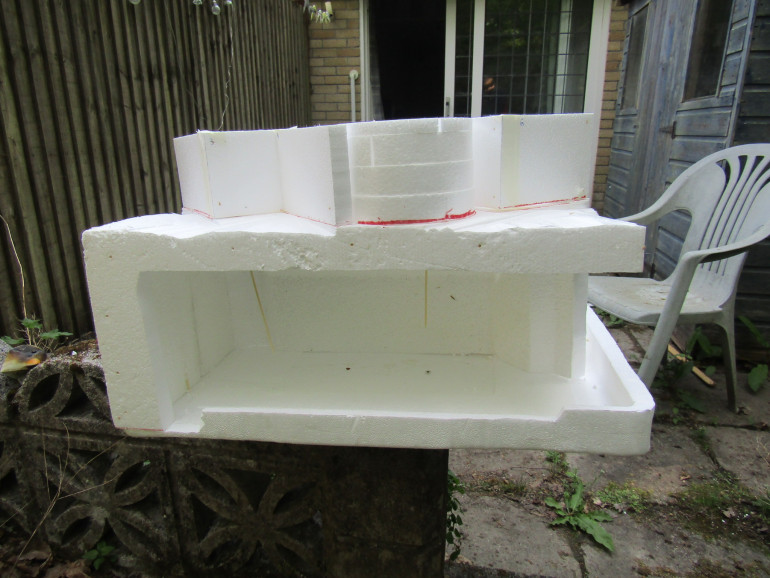
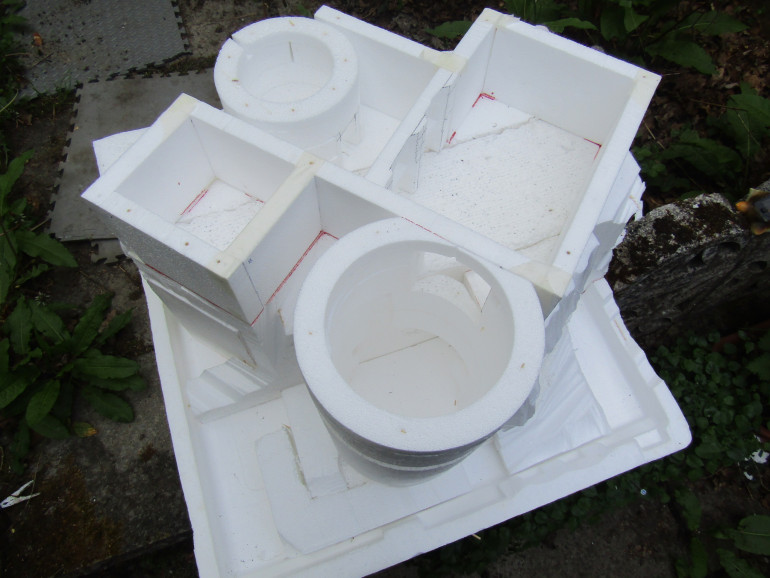
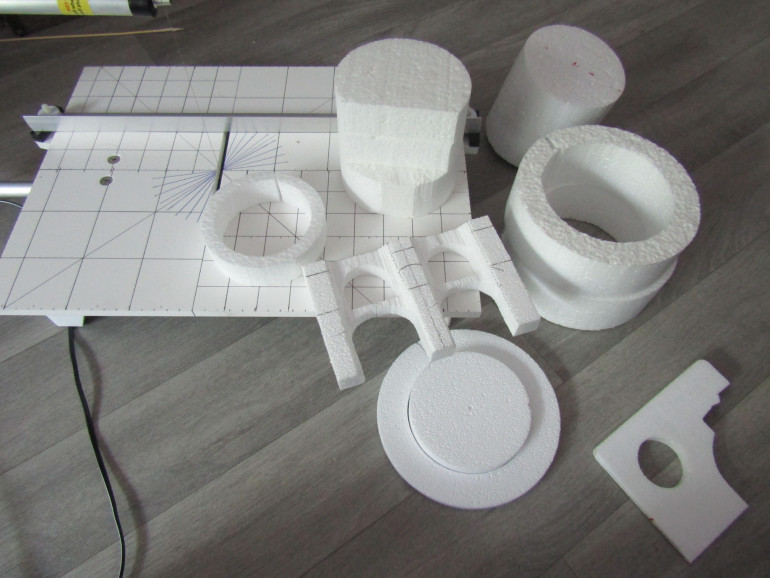
Following a few hours of cutting, measuring, cutting and measuring again I had all the parts needed to start the foundation of the build.
The walls are all 4 inches tall cut with a 1/2 width. The parts have then been held together with cocktail sticks acting as pins and a cheap ‘no nails’ bonding agent that contained no solvents. To fix it to the base I then punched 10 inch barbeque skewers through the sections.
The towers are build from layers all cut to the correct diameter then stacked one upon the other and pinned and glued in the same manor.
Unfortunately I didn’t capture any images of the base construction but is again simply packing polystyrene measured and cut to fit in a 24×24 inch space. This adds 8 inches of height from the floor.
I need to work out now where the main gate will go, and if I continue building up or start the brickwork then move yo the next levels.
- If you have any ideas or questions drop it in a comment
The Tools and Plan
So with the concept in hand it was time to start thinking practical;
What size to I want? = 24x24x40 Inches
What Base Build Material? = XPS foam and Expanded Polystyrene
Playable or Display? = Playable
Before you start any large projects I advice asking yourself some of these questions or similar before you start spending. It can be great to just jump in from time to time but with something as large as this it needs a good plan.
I happen to have a large collection of expanded packaging polystyrene, the great advantage of this is no cost to me, keeps the build light and an easy material to work with. As such the core of the whole build will be polystyrene.
The Tools
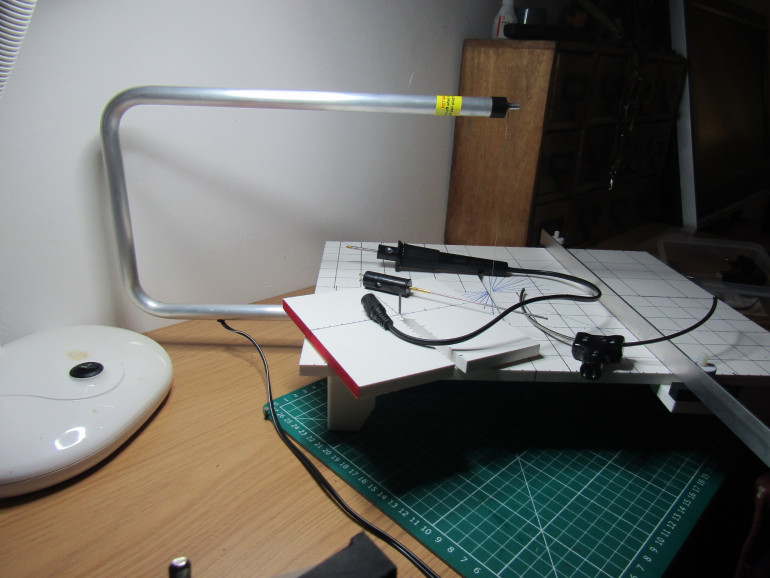
Through out this build I will be using my Hot Wire tools. A critical point when using these kind of tools though. Ventaliation. The fumes are toxic in high quantities so use either a mask or work in a well ventilated area. These tools are great but please stay safe.
The table I’m using is very basic and only cost be £35 from eBay. It’s a great first table for anyone wanting to give it a go. As for the pen tool again it was a £15 purchase for a 3in1. Both of these are great for new starters. Before you try a big project though have a play with some scrap to get used to the tools limits.
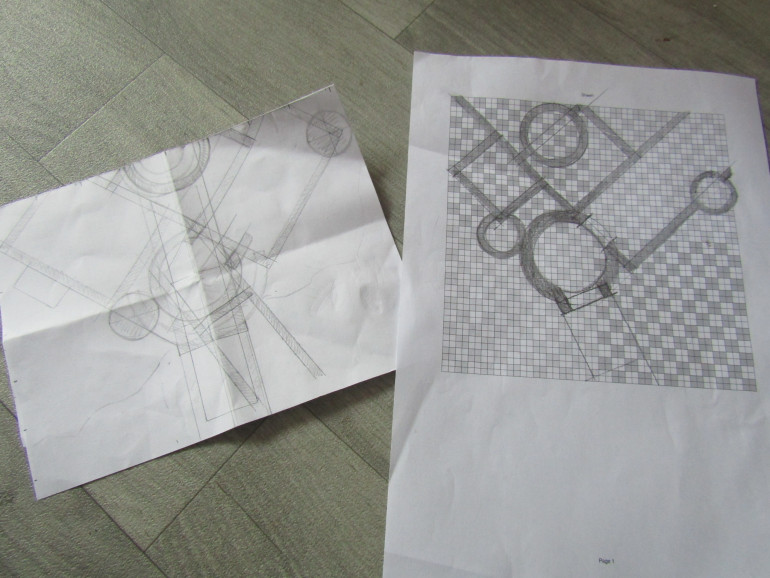
Now I knew by materials and gathered my tools it was time to sketch out a base plan. For now I’m only making a plan for the core of the build so I have something I can keep close while building. The logo itself though is only avalibe in a front on view so their are a few creative choices. This will make it easier to build and play on.
After I was happy with the quick design it was time to map this on a 1/2 inch grid plan. I’ve used these myself for a long time with builds like this to make sure I know how much material I’m using and also for tricky angles. As such the main focal point is the gate tower. I’m working in inches in this build as it’s just what I use;
Gate tower = 6 inch round
Hall = 8×5 inch
Back tower = 5 inch round
Side tower = 5×4 inch
Wall thickness range from 1 to 1/2 inch.
Time to start building
The Concept
Hello and welcome to the first log of this project.
Firstly this project once completed will form a memorial for those lost during the Covid 19 pandemic. This includes any wargamers, gamers, hobbiests, painters, sculptors and of course friends and family from across the world. I hope to incorporate the names of those lost in some way into the build.
Now into the concept and planning before the build
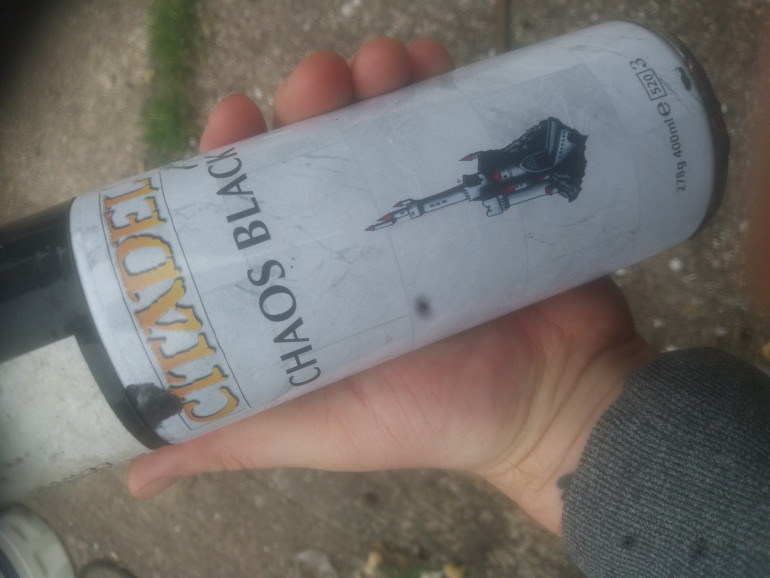
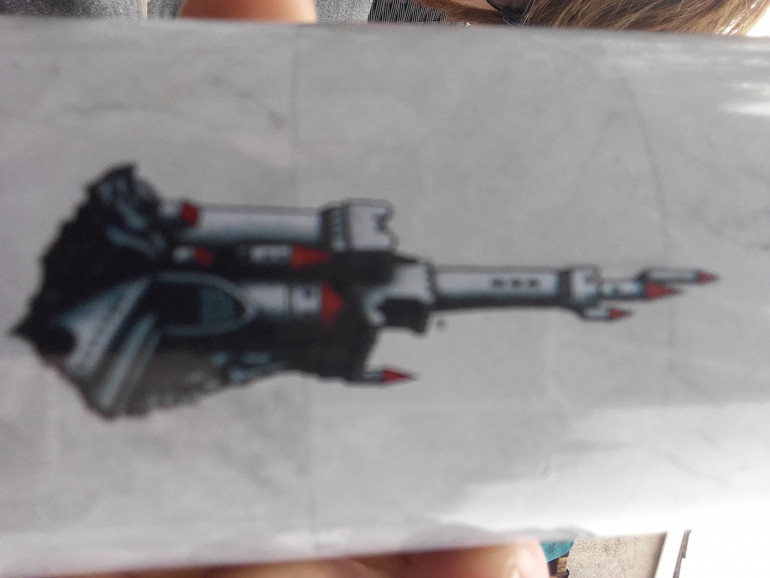
During lockdown I took the oppitunity to clear out the old shed, something I had been avoiding for a fair while. At the back corner though I found an old spray can of Chaos Black with the original ‘Citadel’ logo. Amazingly the can still worked and I managed to get a few bits base coated. When it was finally empty I didn’t want to chuck it though. I’m not sure how long it had been waiting to be found, like myself locked away in isolation. The logo as well brought back a wave of memories from when I joined the community and the years making friends. As such I thought, why not build it?
And so here we are. Next comes the planning stage.


![How To Paint Moonstone’s Nanny | Goblin King Games [7 Days Early Access]](https://images.beastsofwar.com/2024/12/3CU-Gobin-King-Games-Moonstone-Shades-Nanny-coverimage-225-127.jpg)


