


How to be an Armoured Farmer, building Hobart’s Funnies in Glorious 15mm (and maybe 28mm if they arrive in time!)


Recommendations: 2233
About the Project
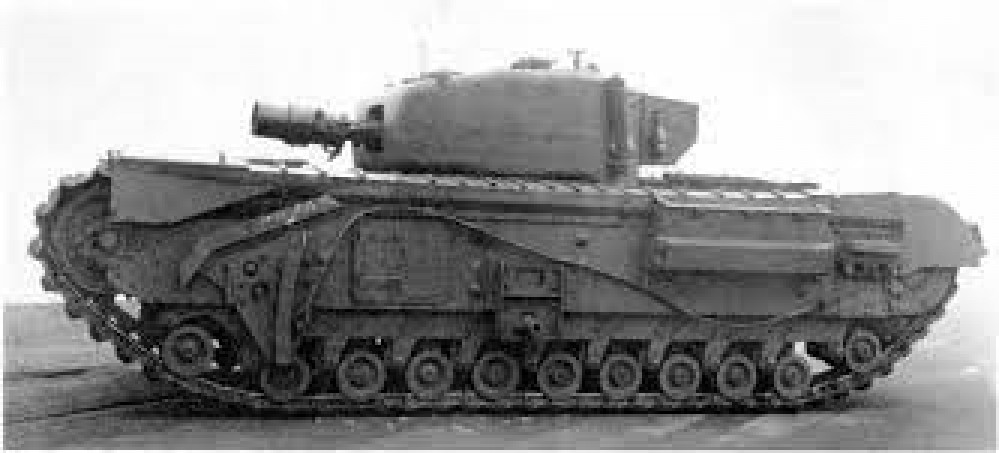
Right then, having avoided any sort of Spring cleaning challenge in the past, I have decided to use this year's one to get something done that I have been gathering bits for over the past few years and finally finish and assemble all of my Hobart's Funnies. To get technical these are Armoured Vehicle Royal Engineers (AVRE) tanks, using the Churchill chassis as a base. I will also throw in some Sherman Crabs (Flail tanks). I have gathered a few books for reference so that I can paint and mark them up for one of the Armoured Assault Squadrons Royal Engineer (either 77, or 79) that landed ashore at Sword Beach and were the very first to see action on that beach; Plus the Sherman Crabs of A Squadron 22nd Dragoons. Whilst I want to be able to use the finished tanks in games depicting the D Day Landings (in Flames of War and Chain of Command at 15mm) I also want then to be versatile enough to be able to be used in later engagements that the 79th Armoured Division took part in (which is pretty much everything!). I hope you will find this of interest if you ever want to branch out into what the modern day Royal Engineers affectionately call being an armoured farmer.
Related Game: Flames of War: The World War II Miniatures Game
Related Company: Battlefront Miniatures
Related Genre: Historical
Related Contest: Spring Clean Hobby Challenge (Old)
This Project is Active
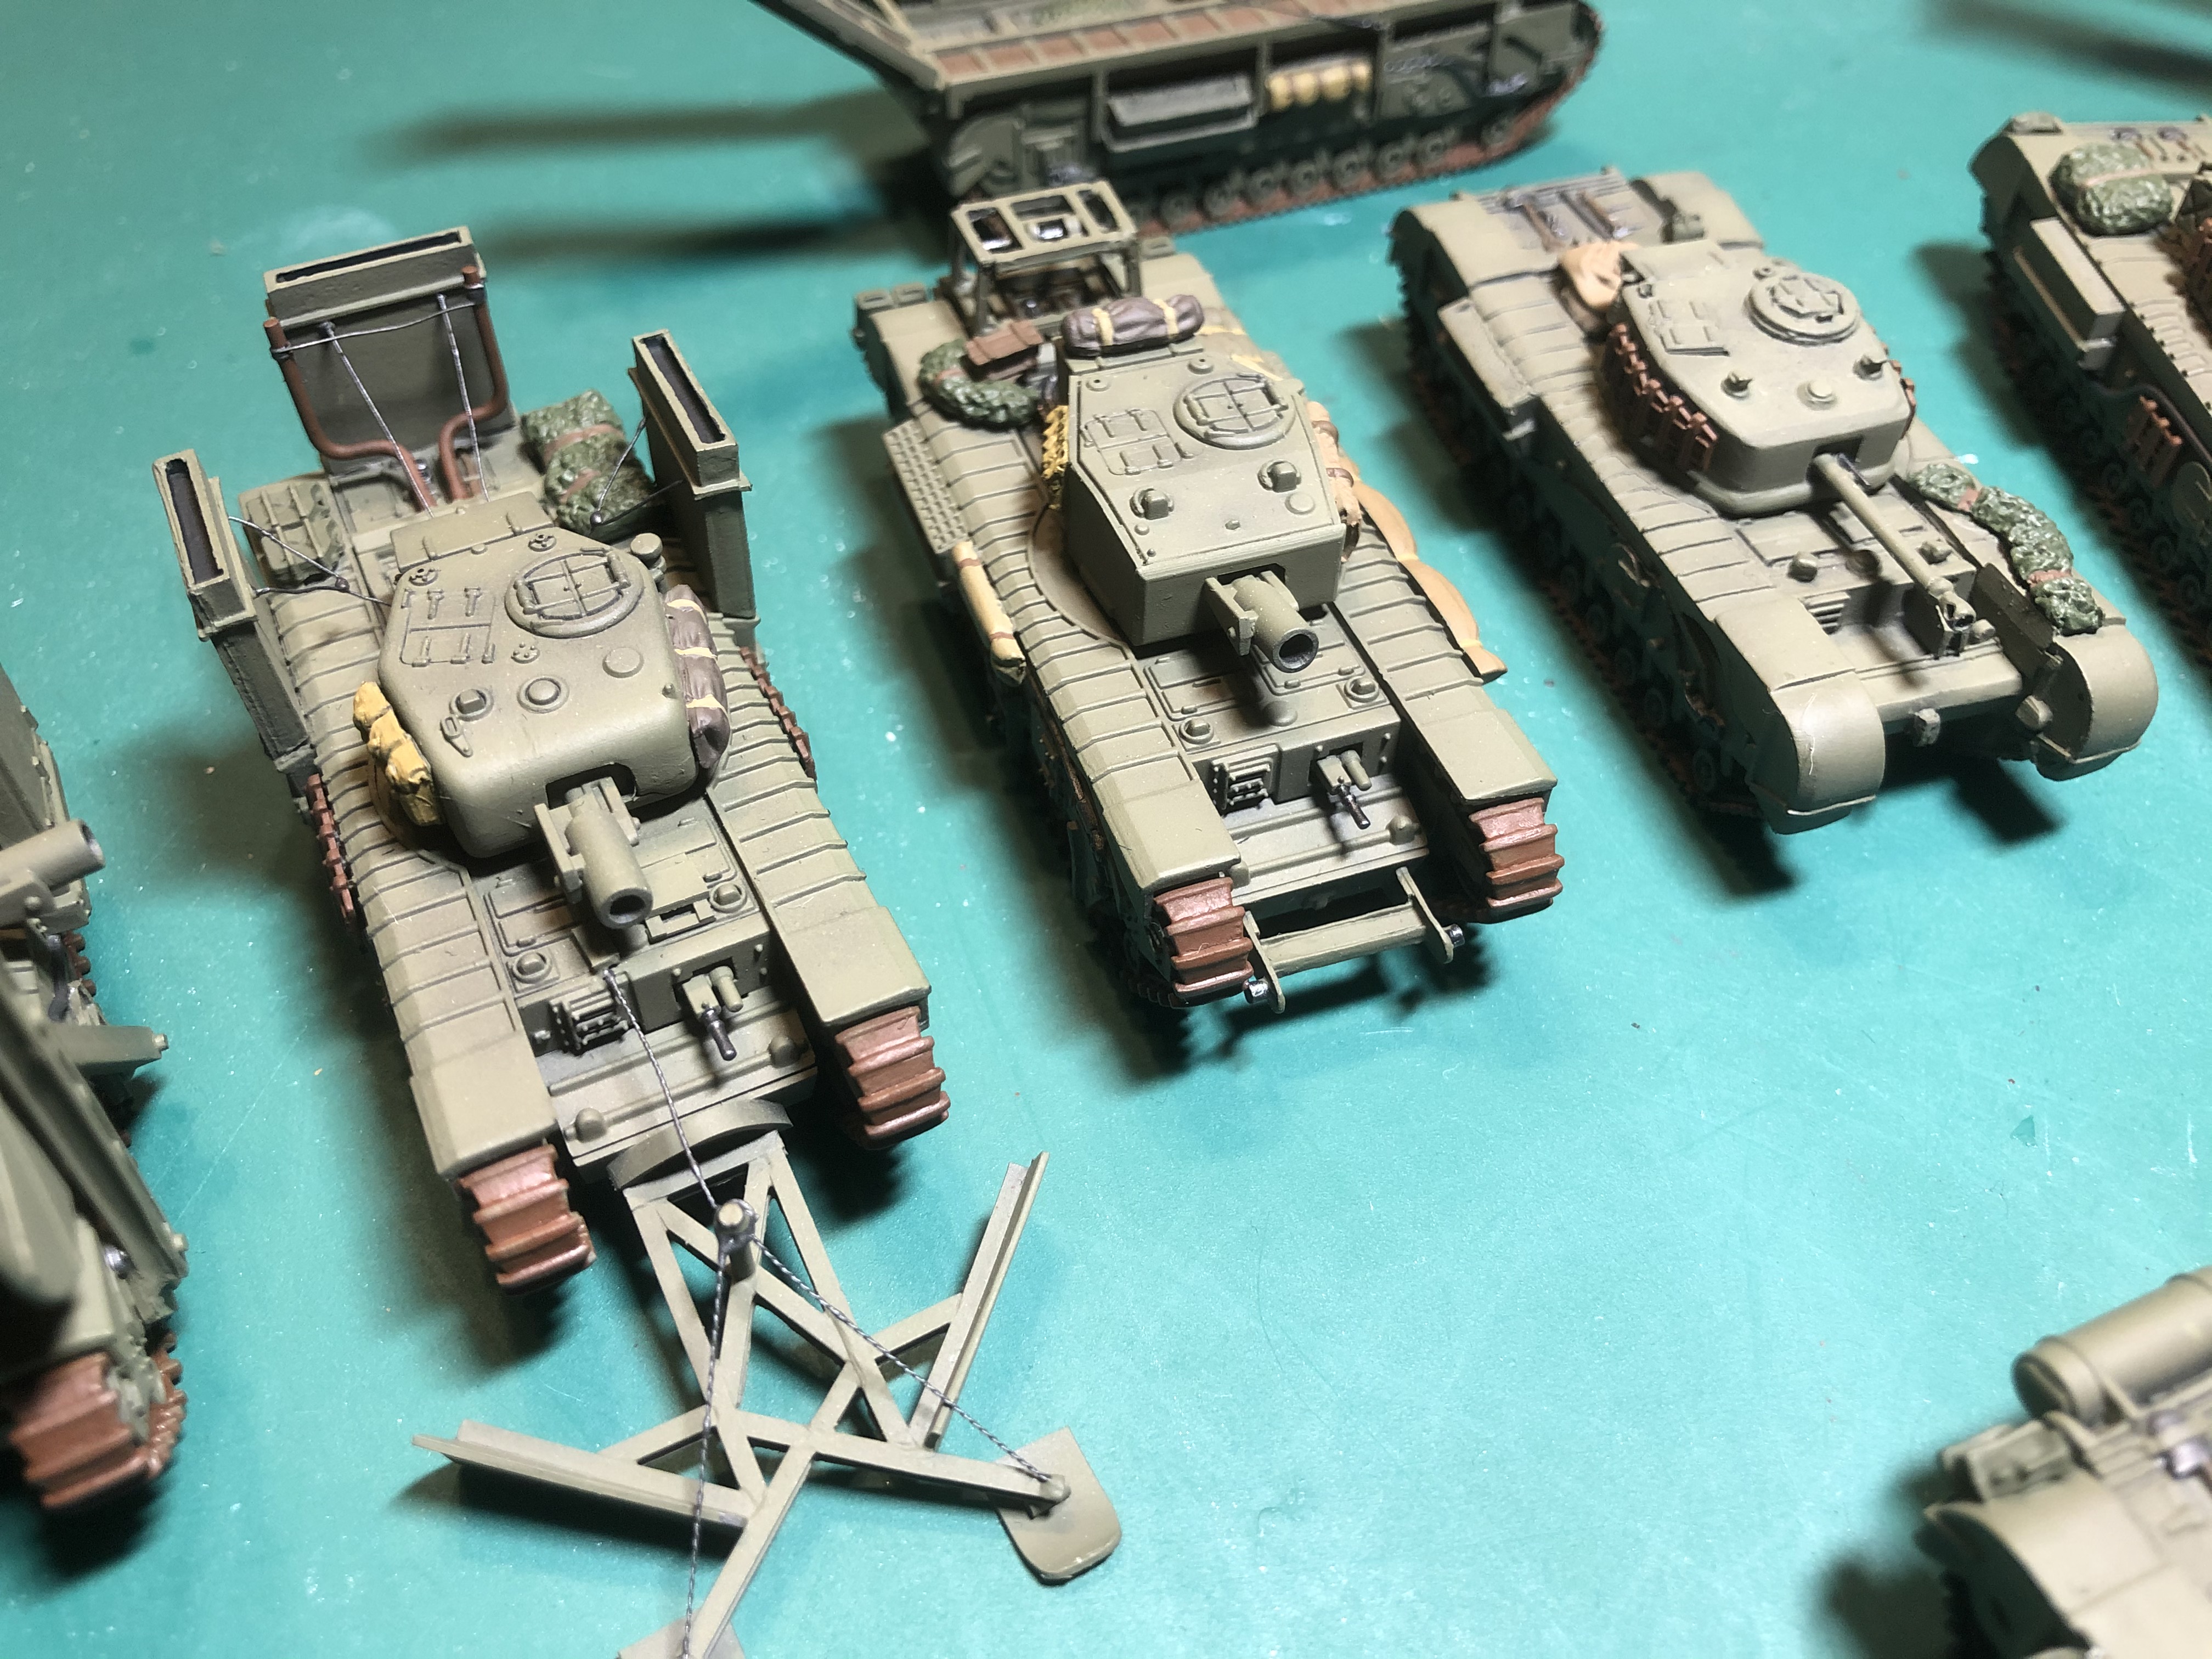
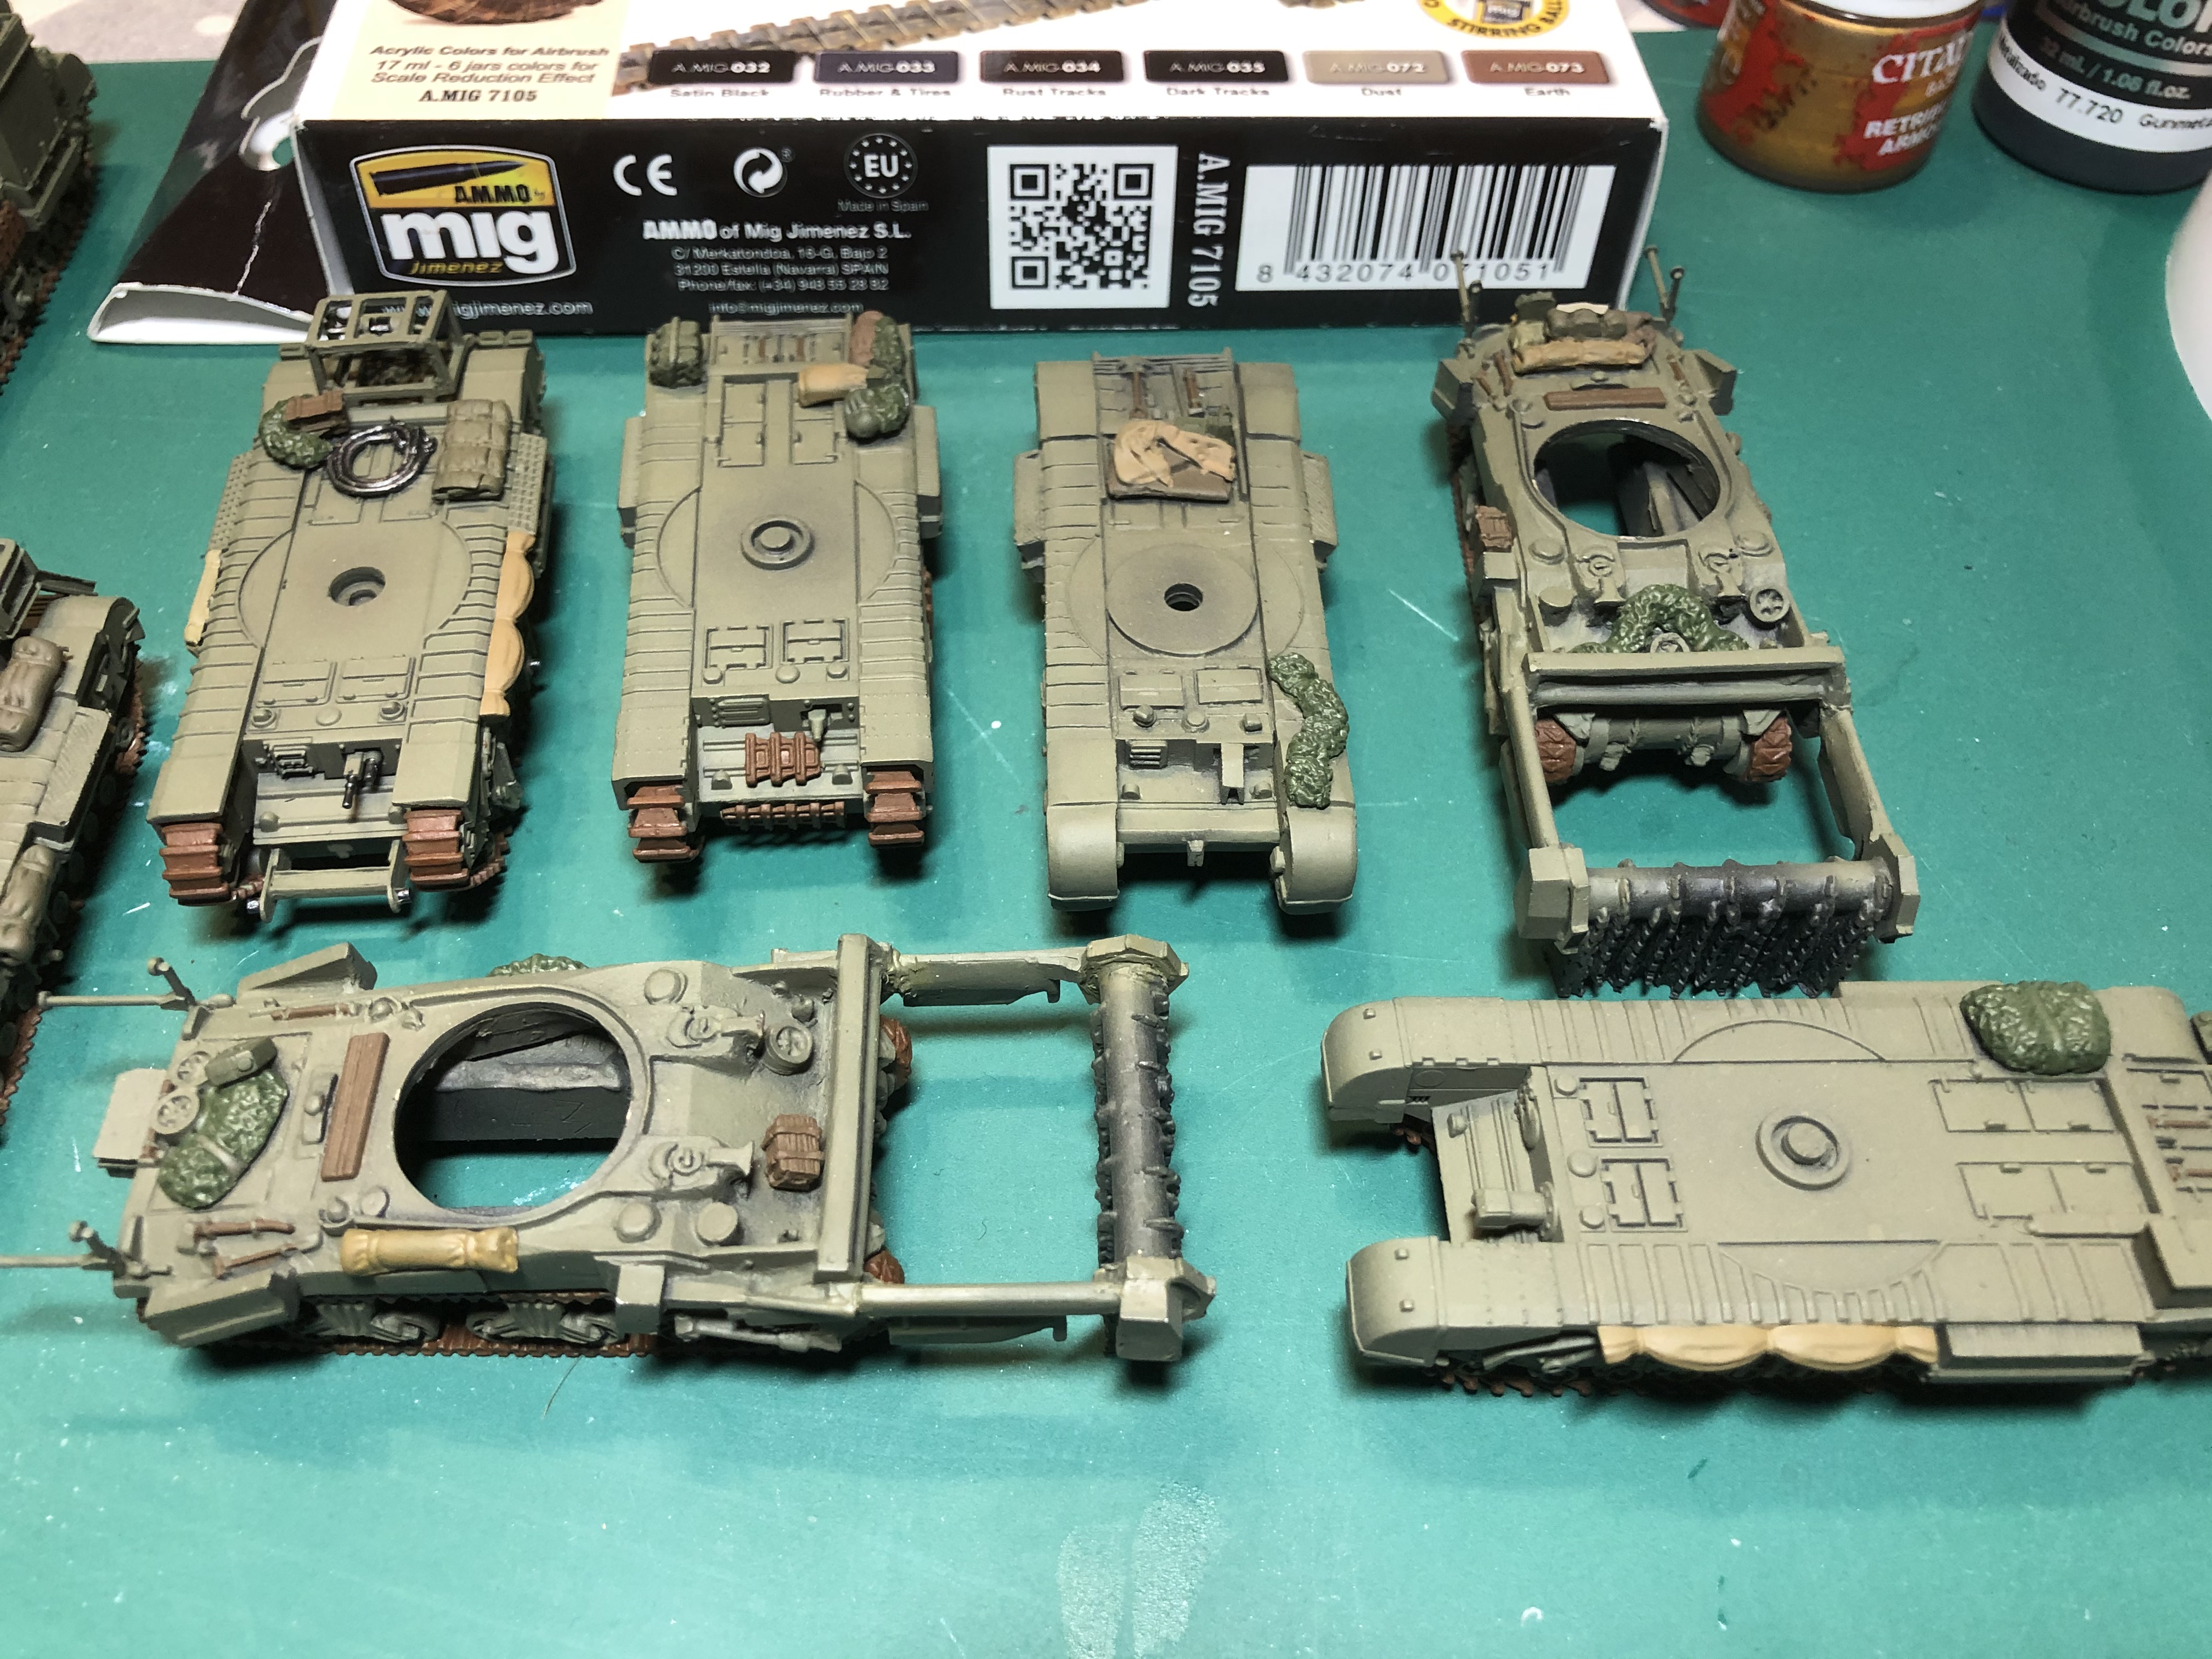
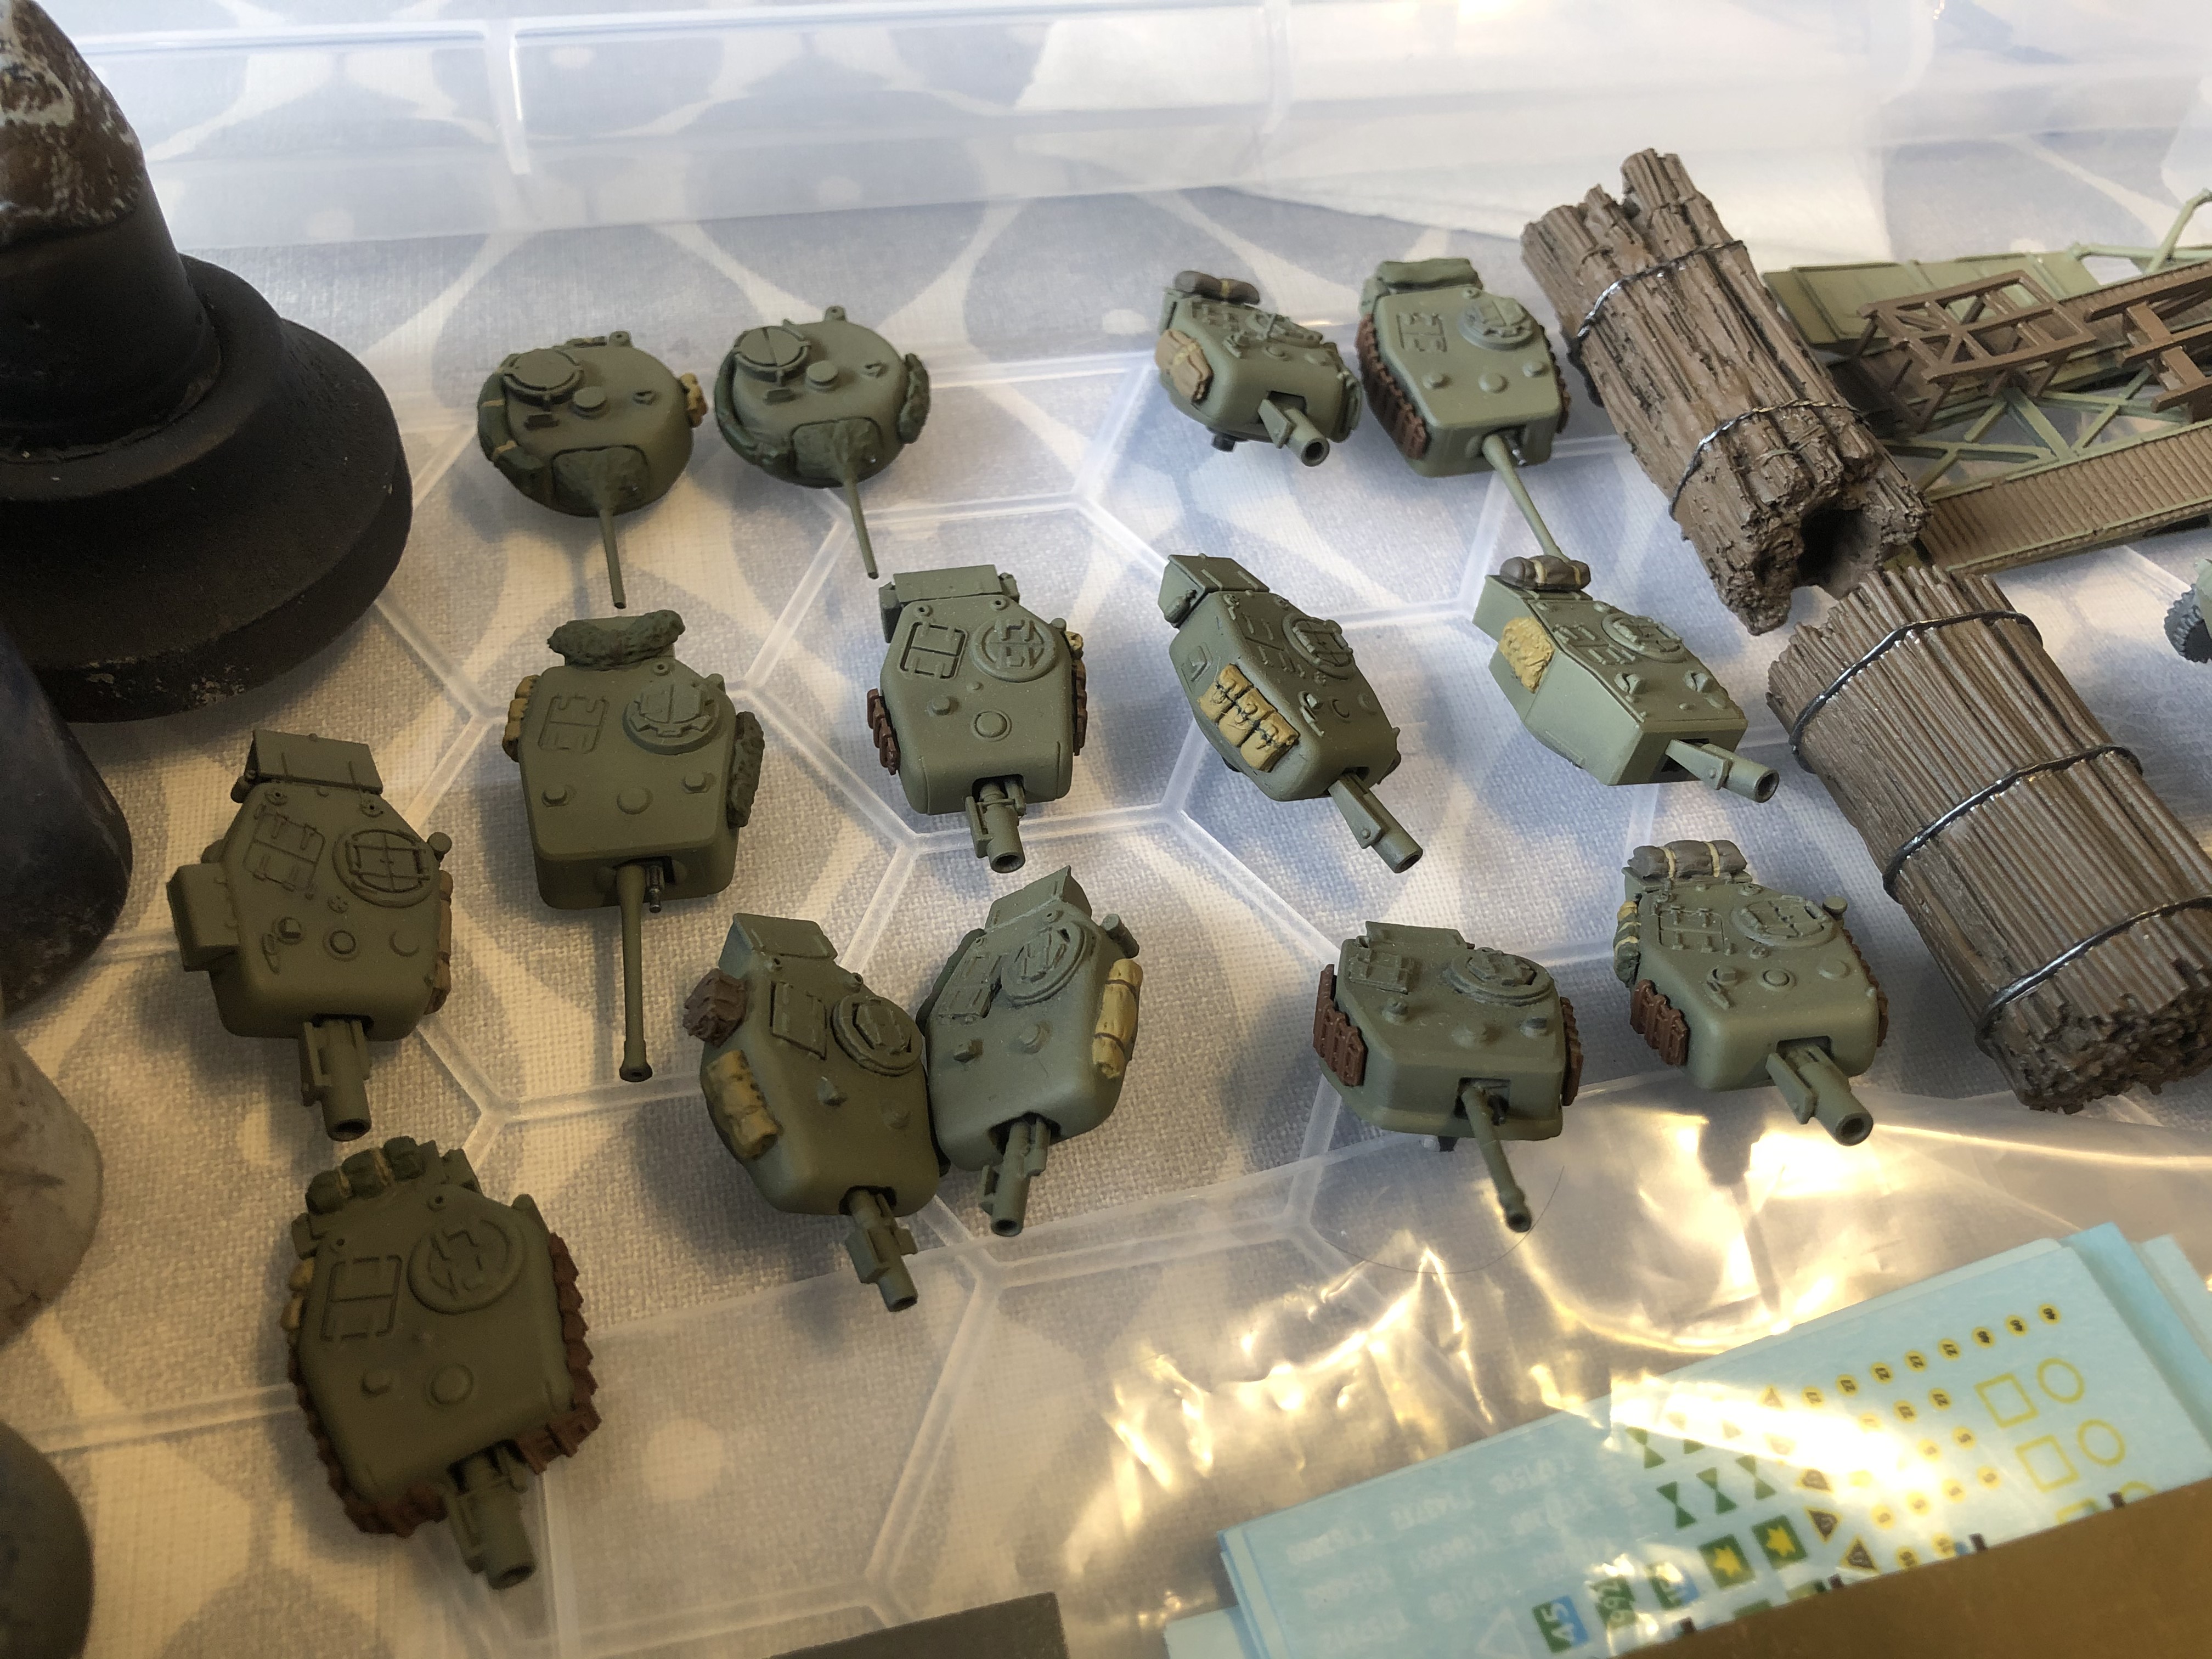
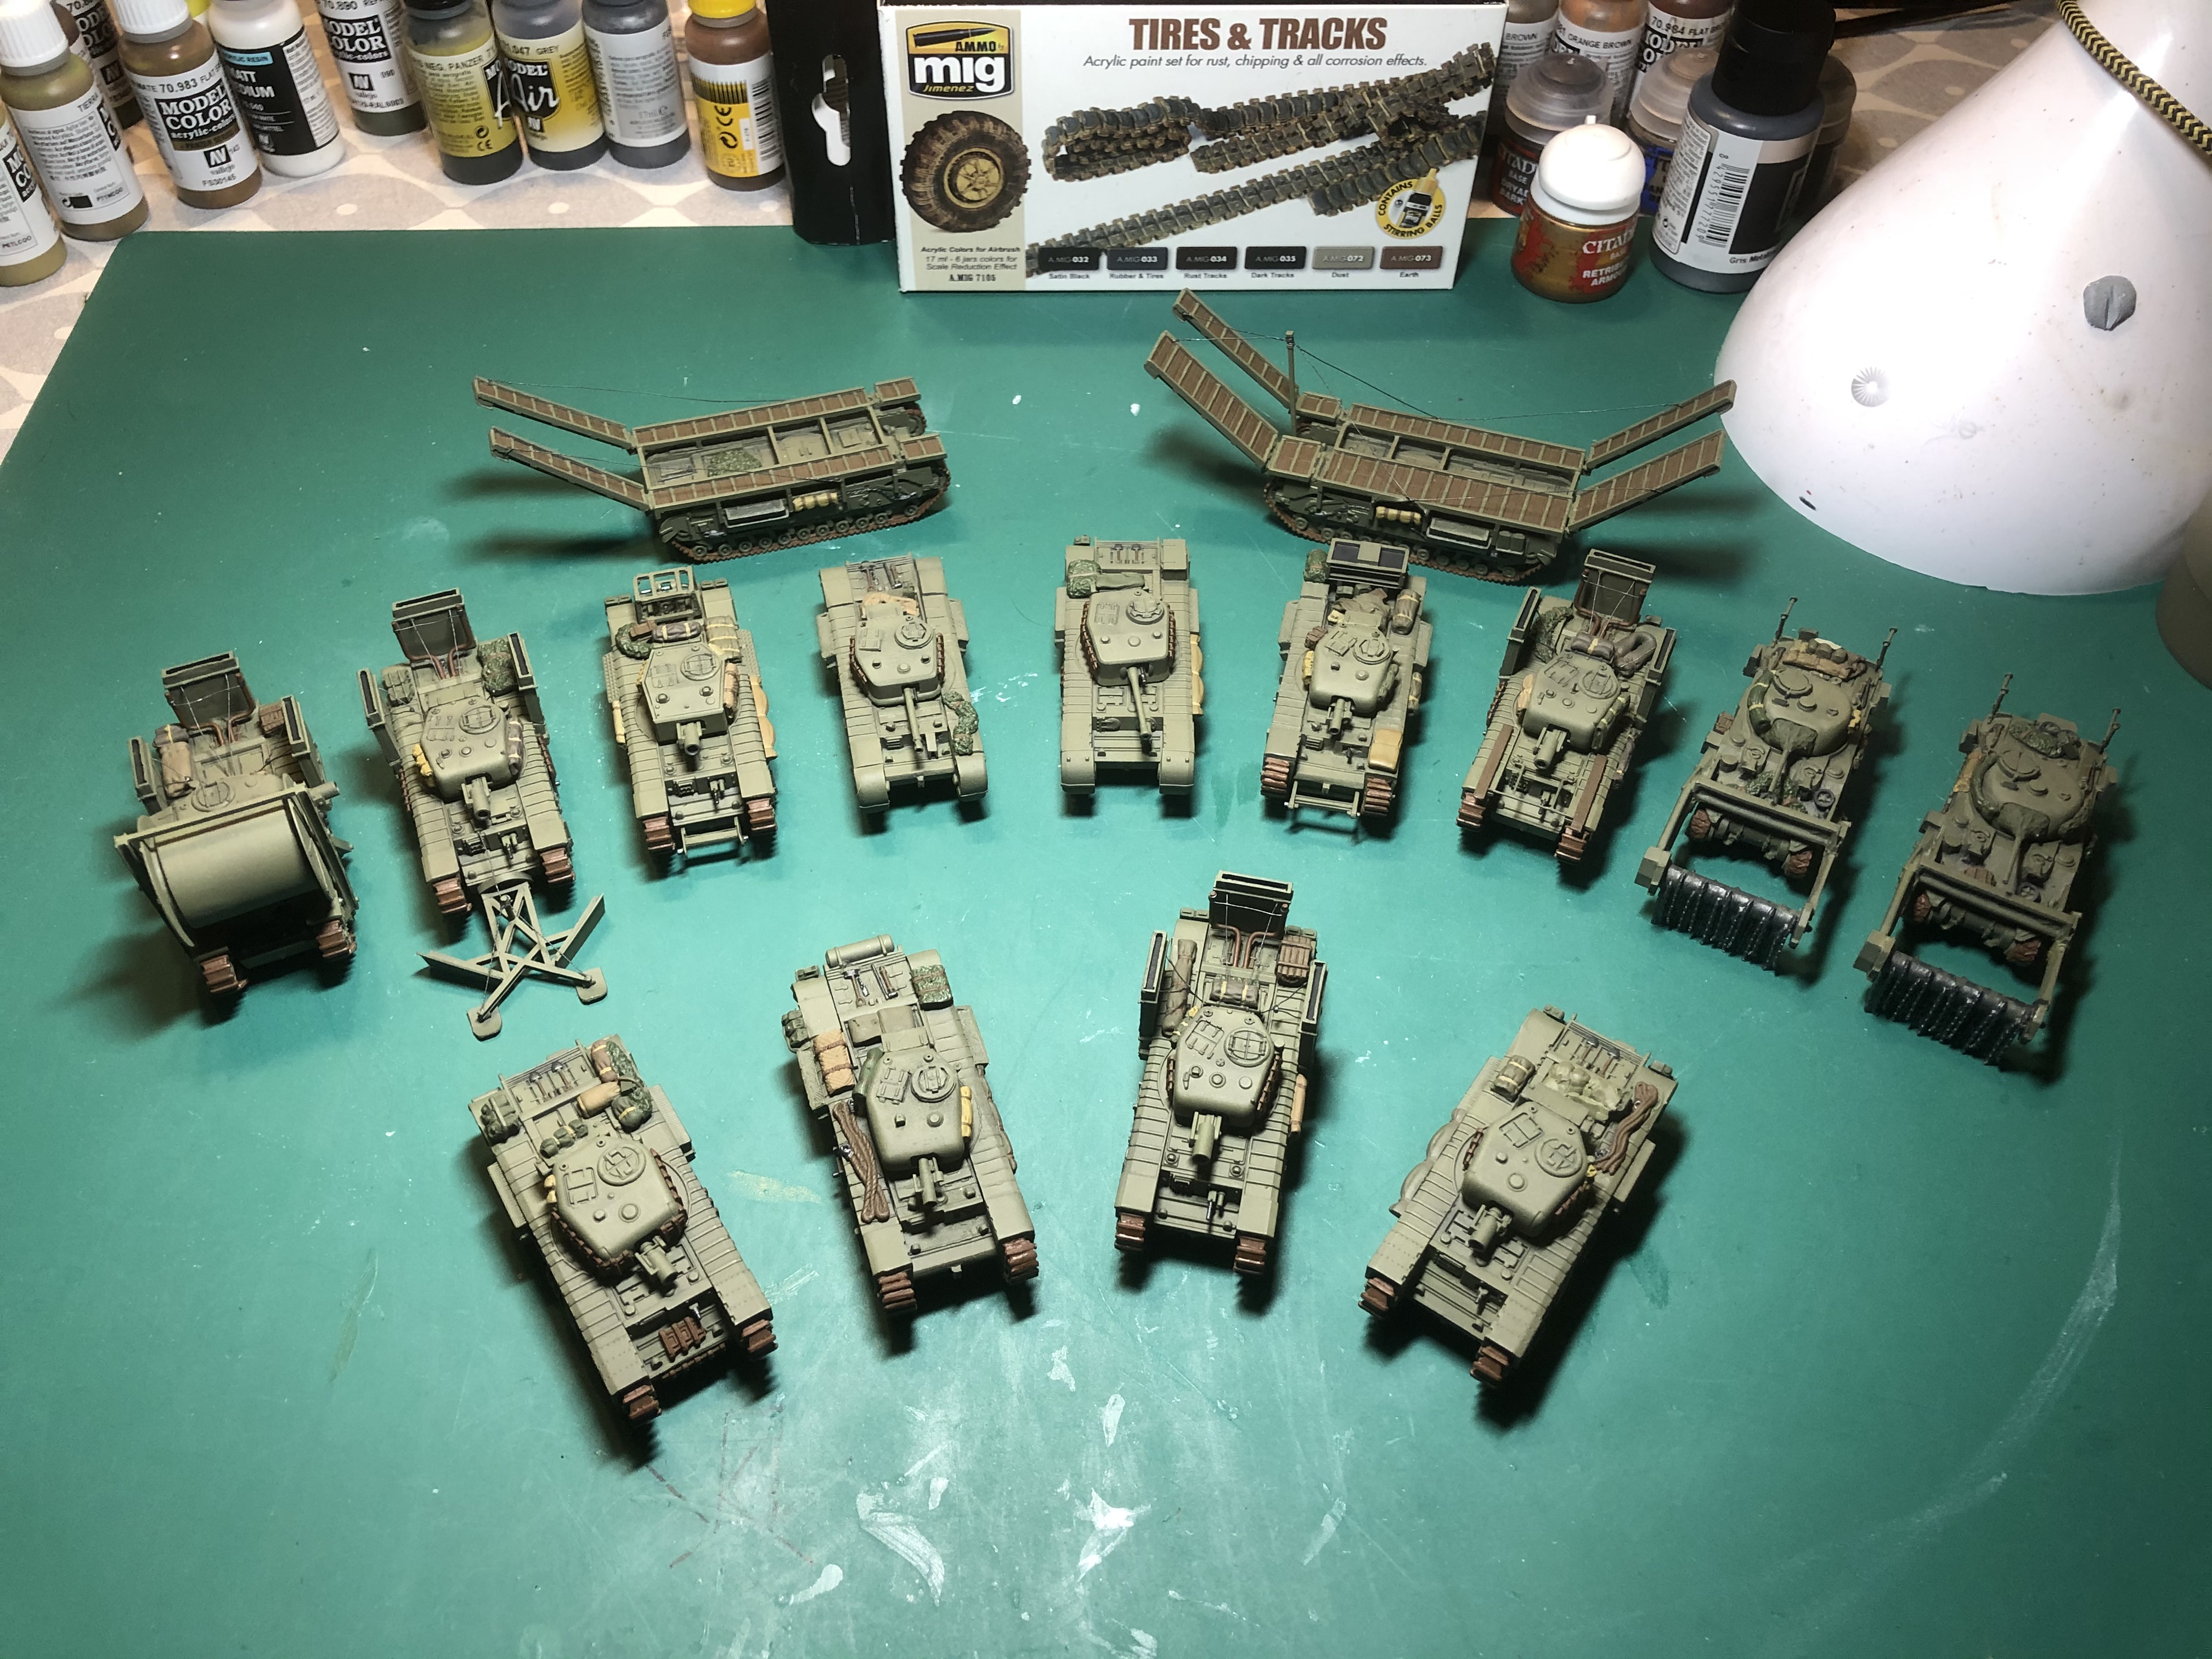
Base coats completed, some close ups
I like it when the base coats are done, as it is the first time you get to see what the finished vehicle will look like.

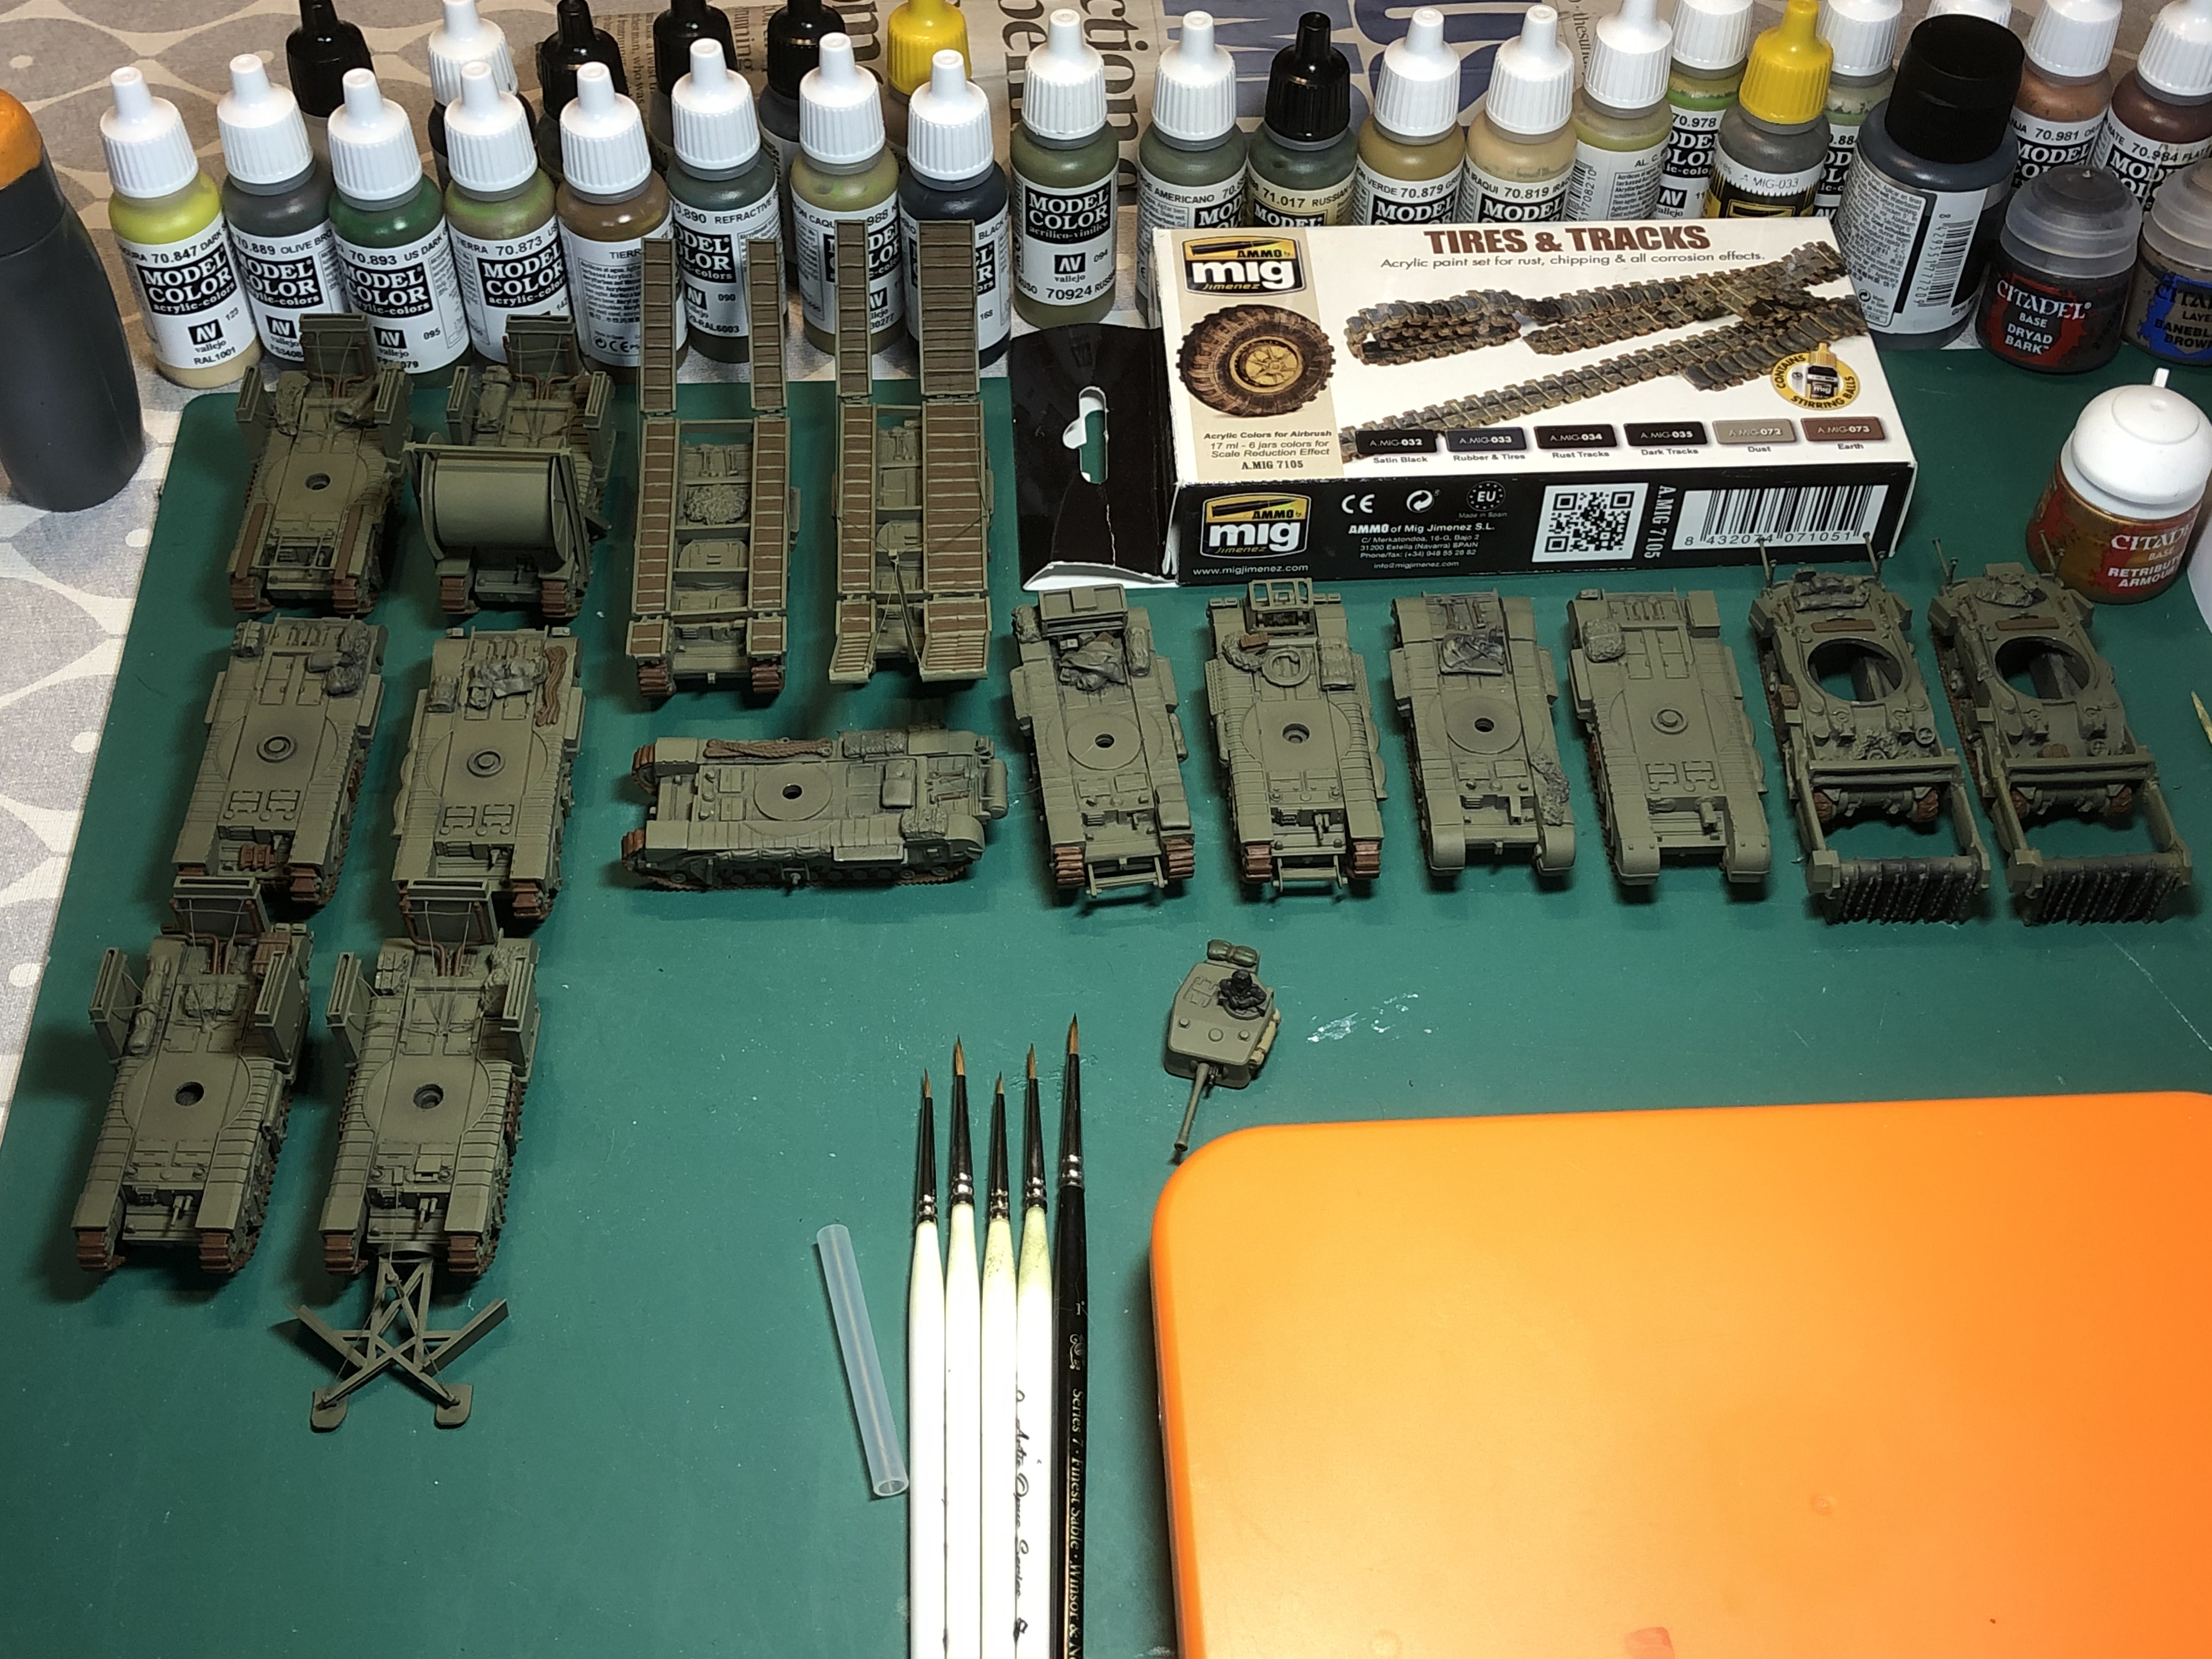
base coat colours cont'd
 As mentioned before, all steel tow cables and restraining wires, gun barrels and exposed metal parts were painted in gunmetal grey..
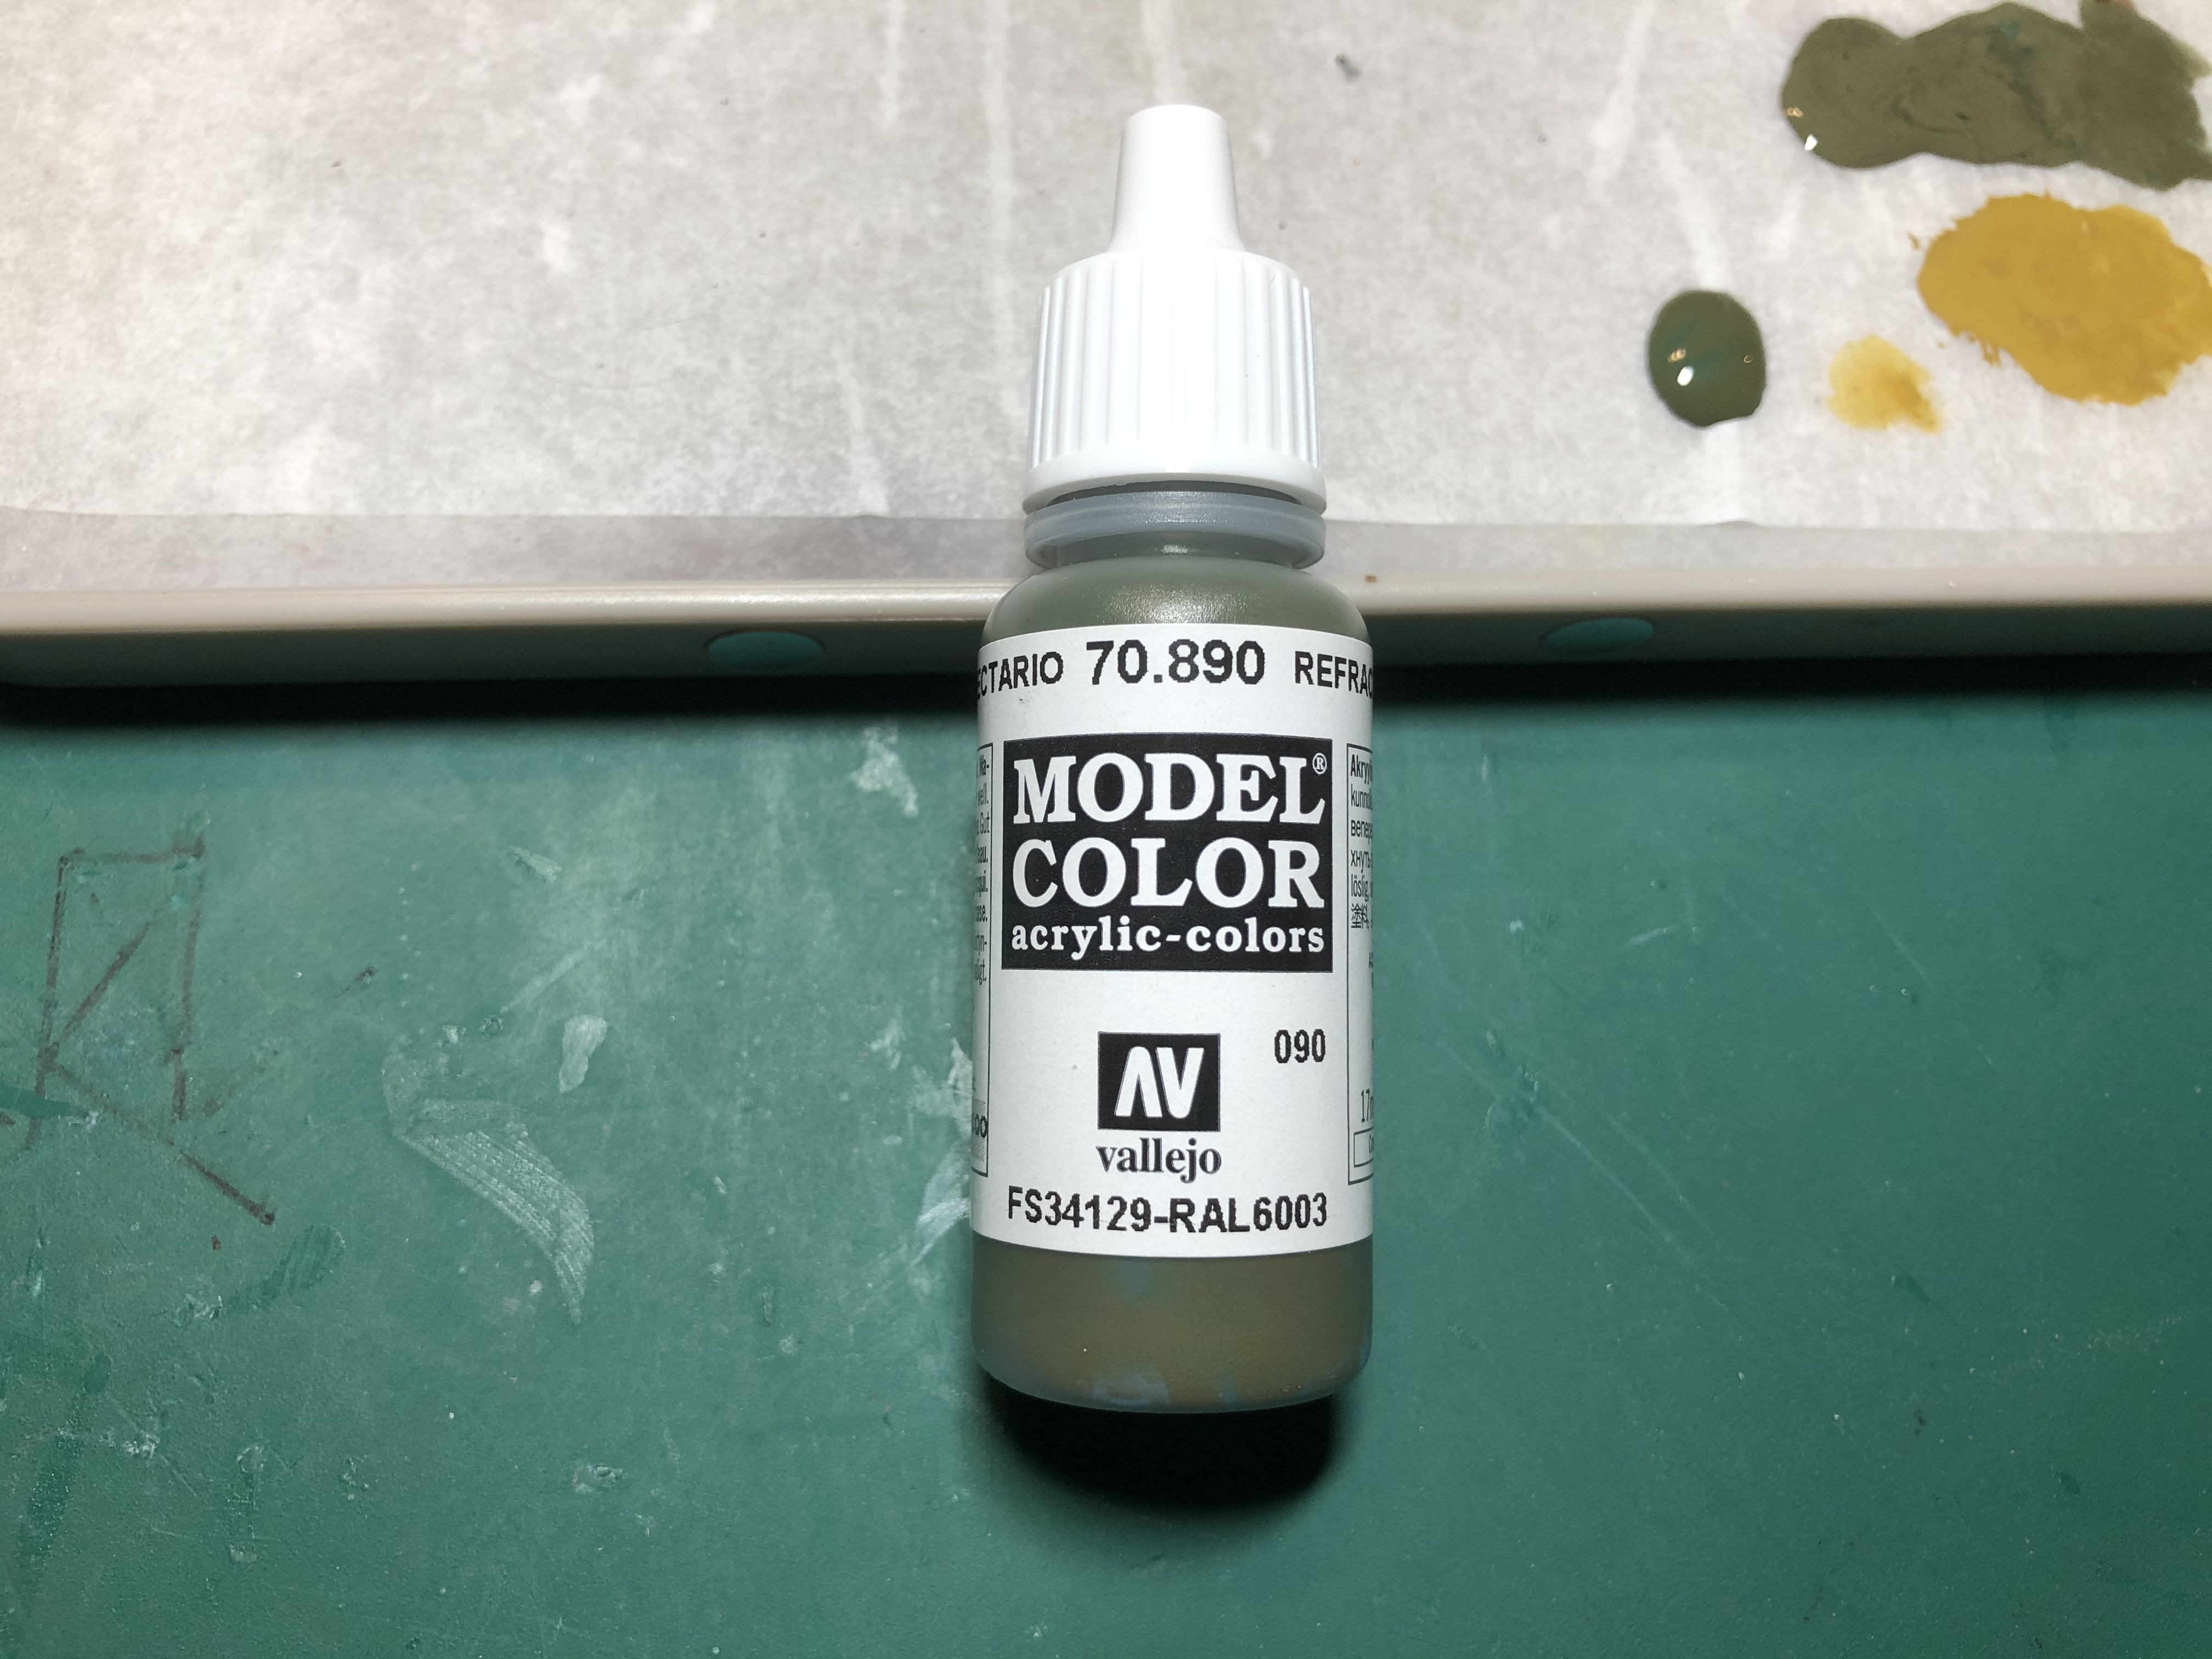 Cam nets were painted with refractive green so that they were a darker shade than the base tank colour.
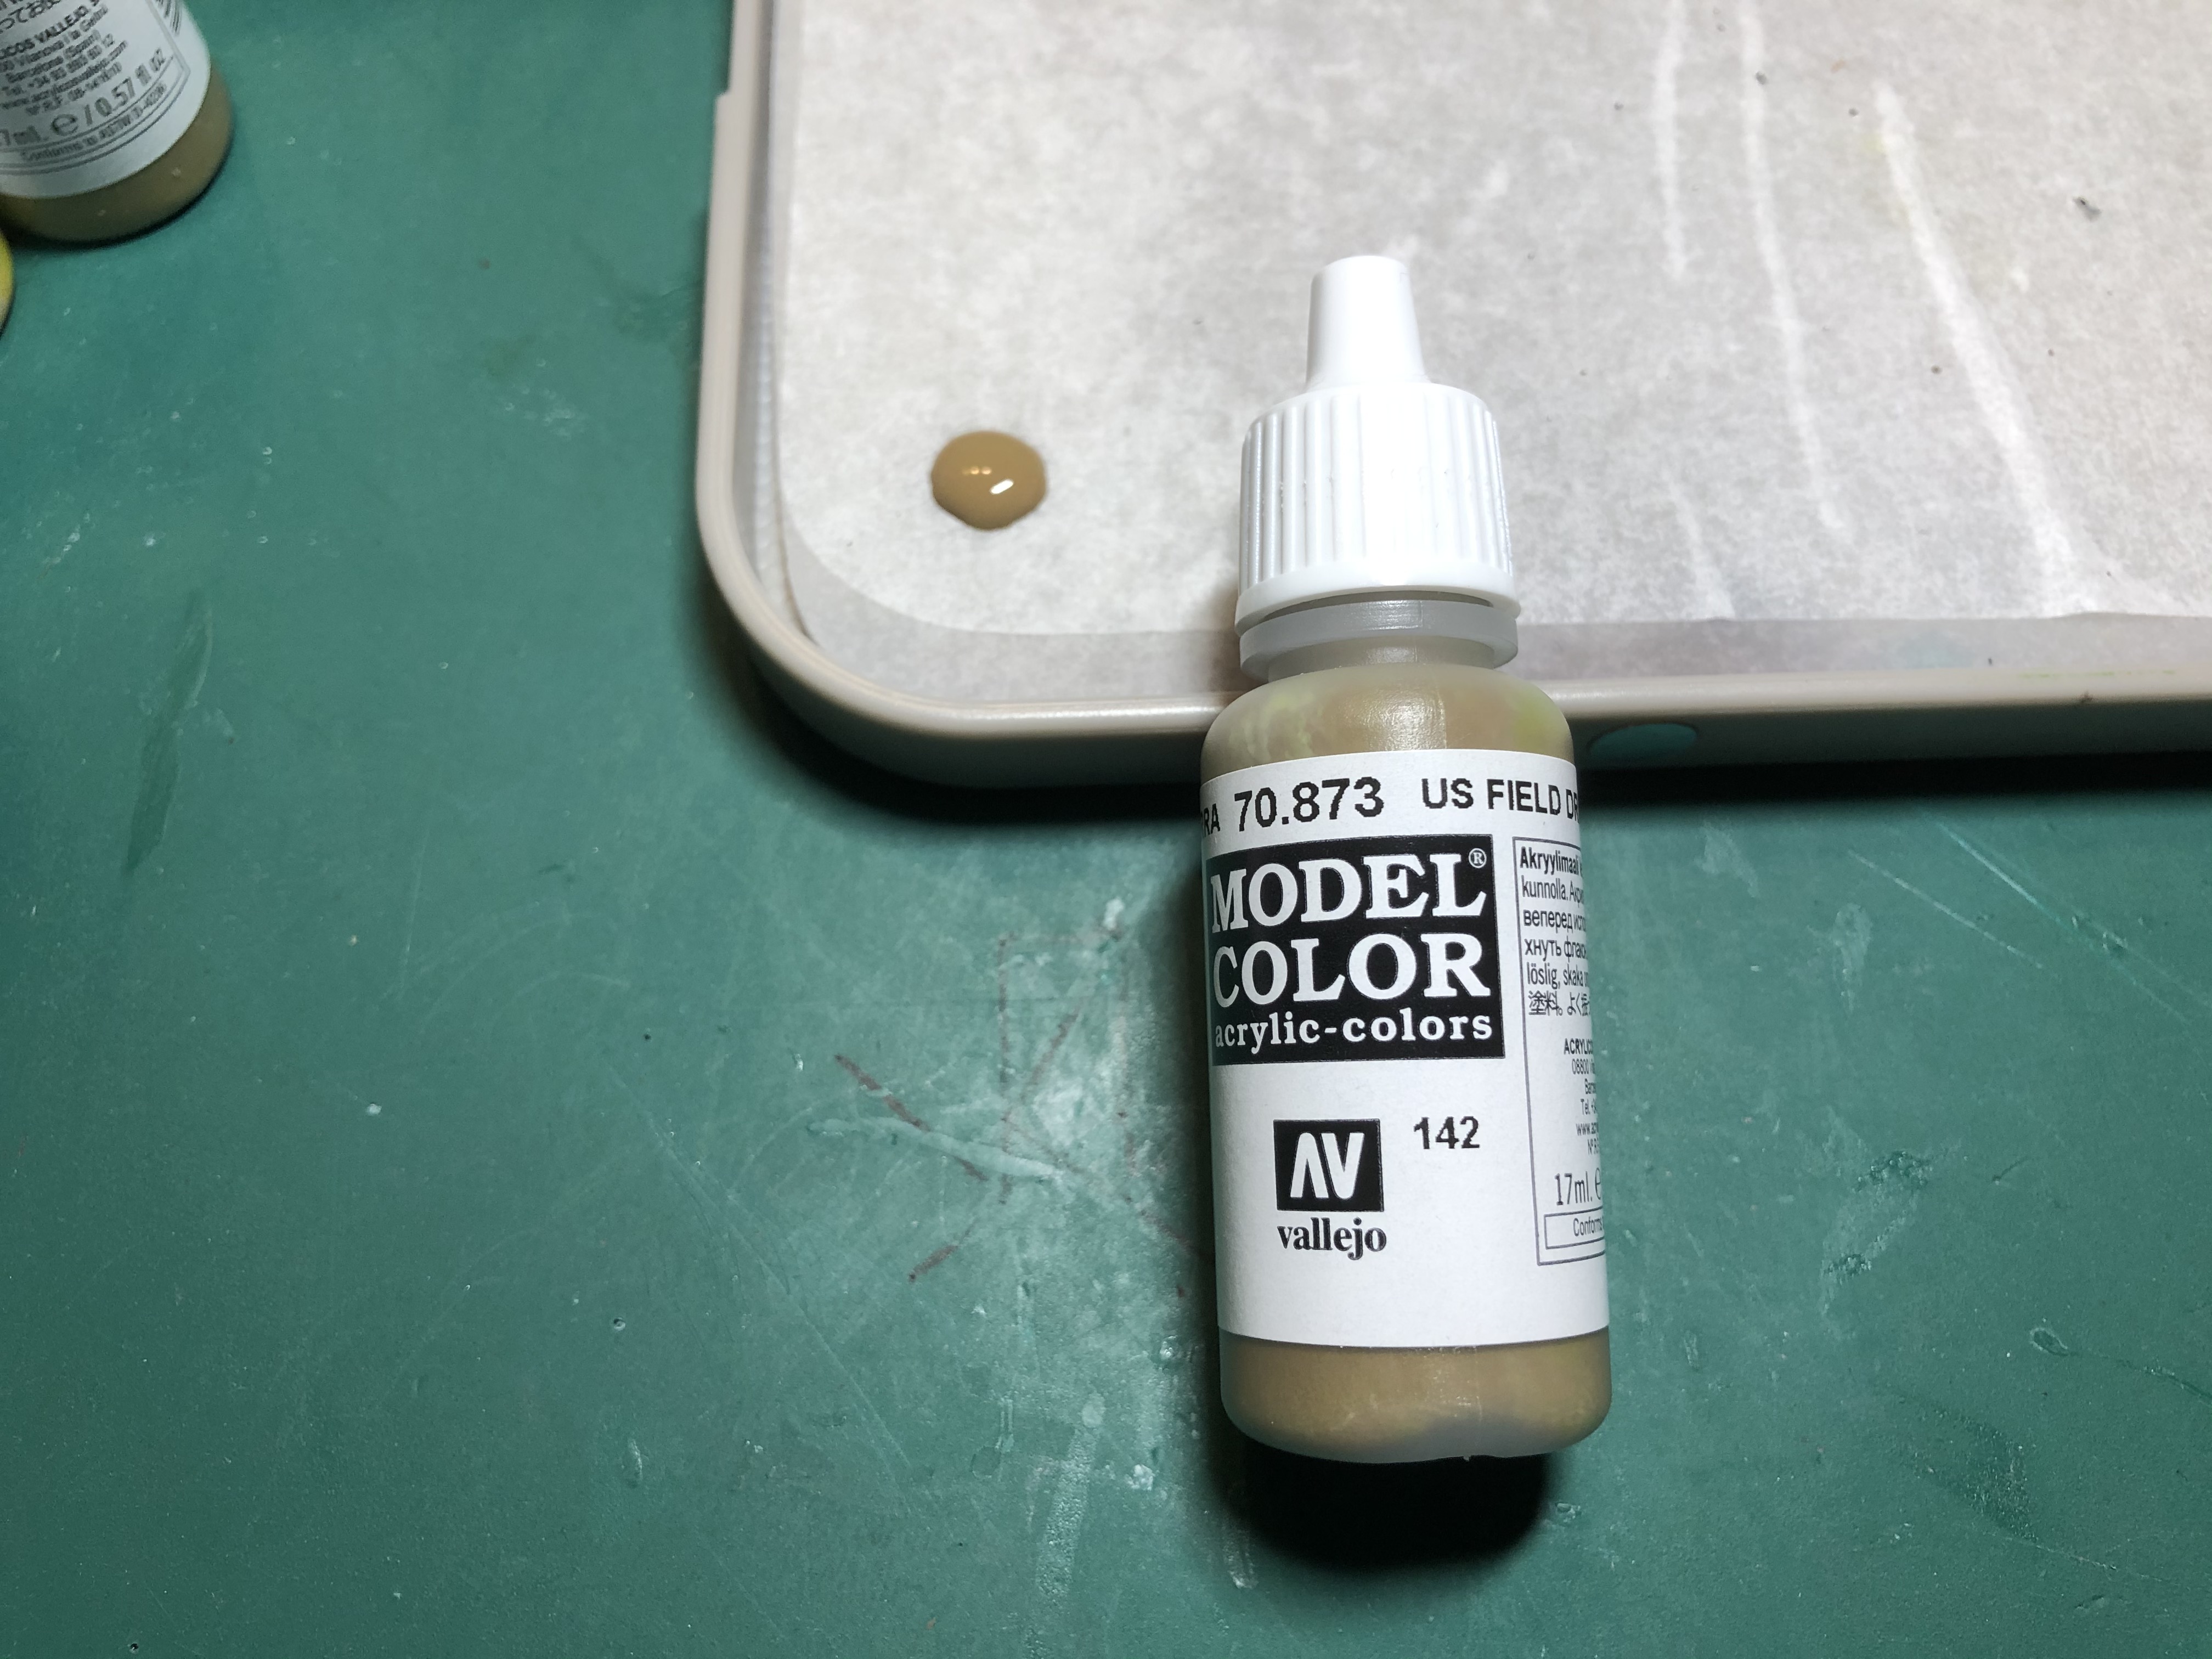 The stowage items that would be made from canvas would either be painted using US field drab, or dark yellow.
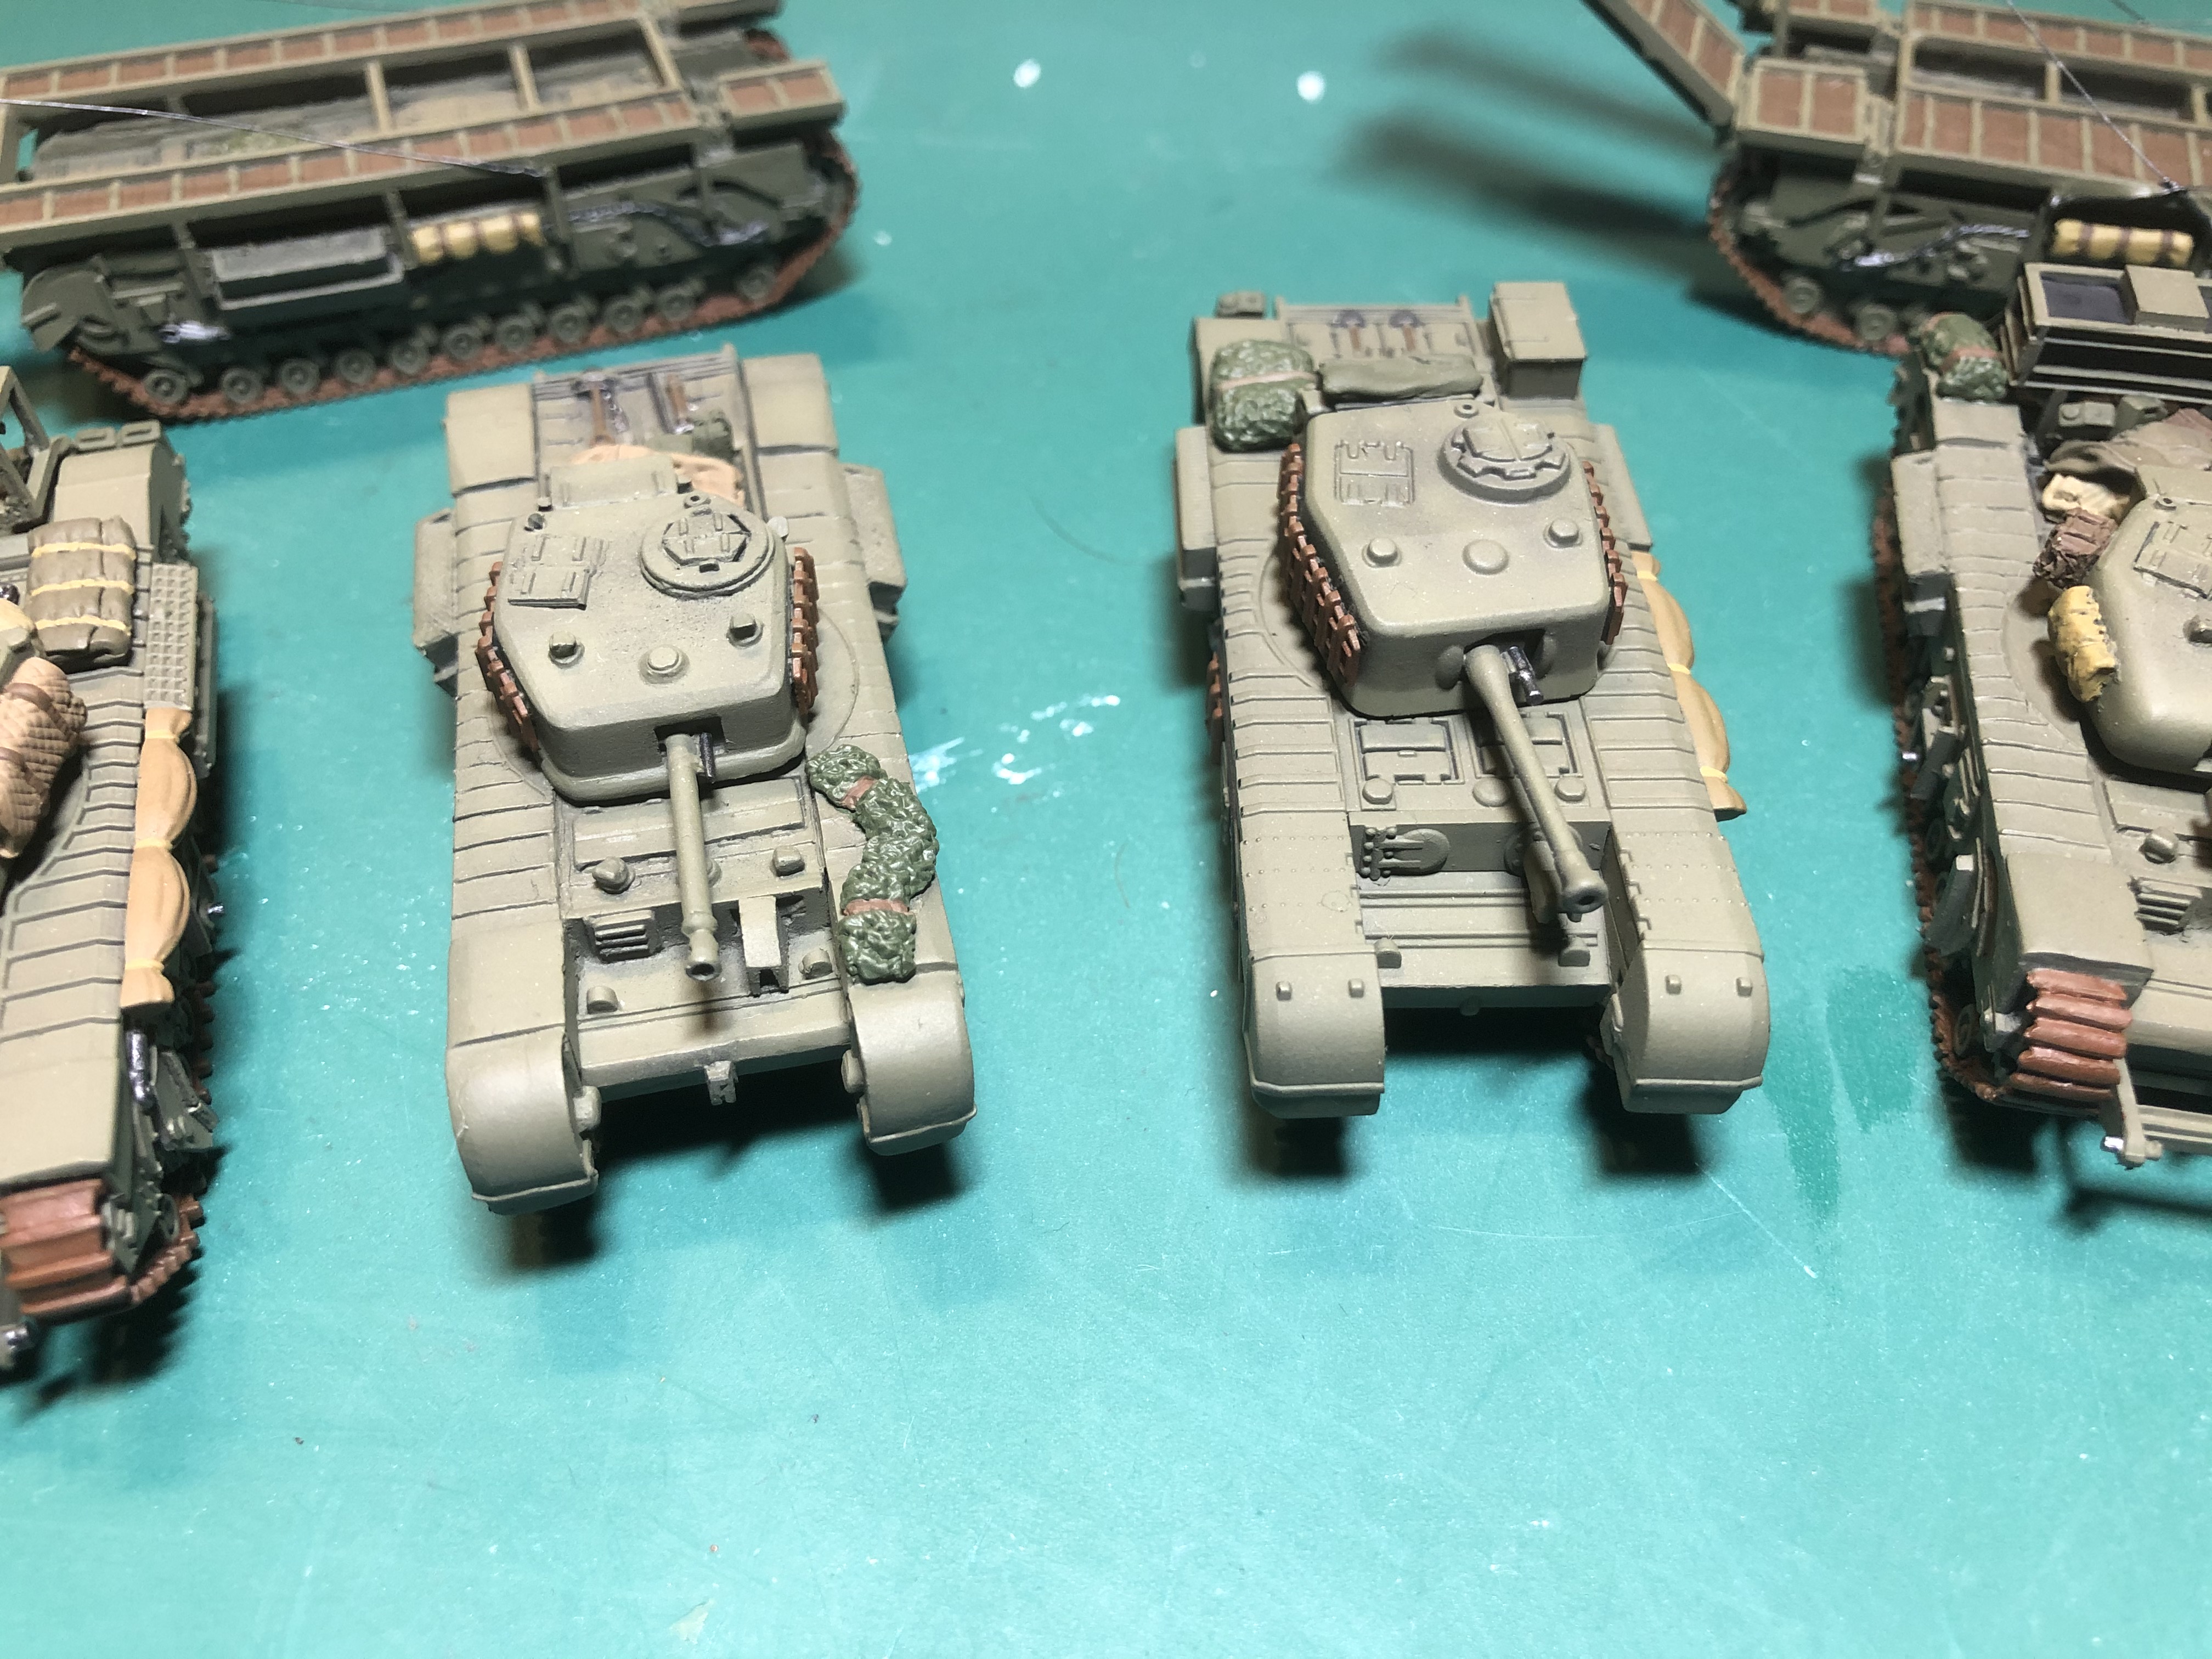
Also, on the metal tanks where there are voids, I chose to paint these in black grey, as straight matt black still looks too harsh.
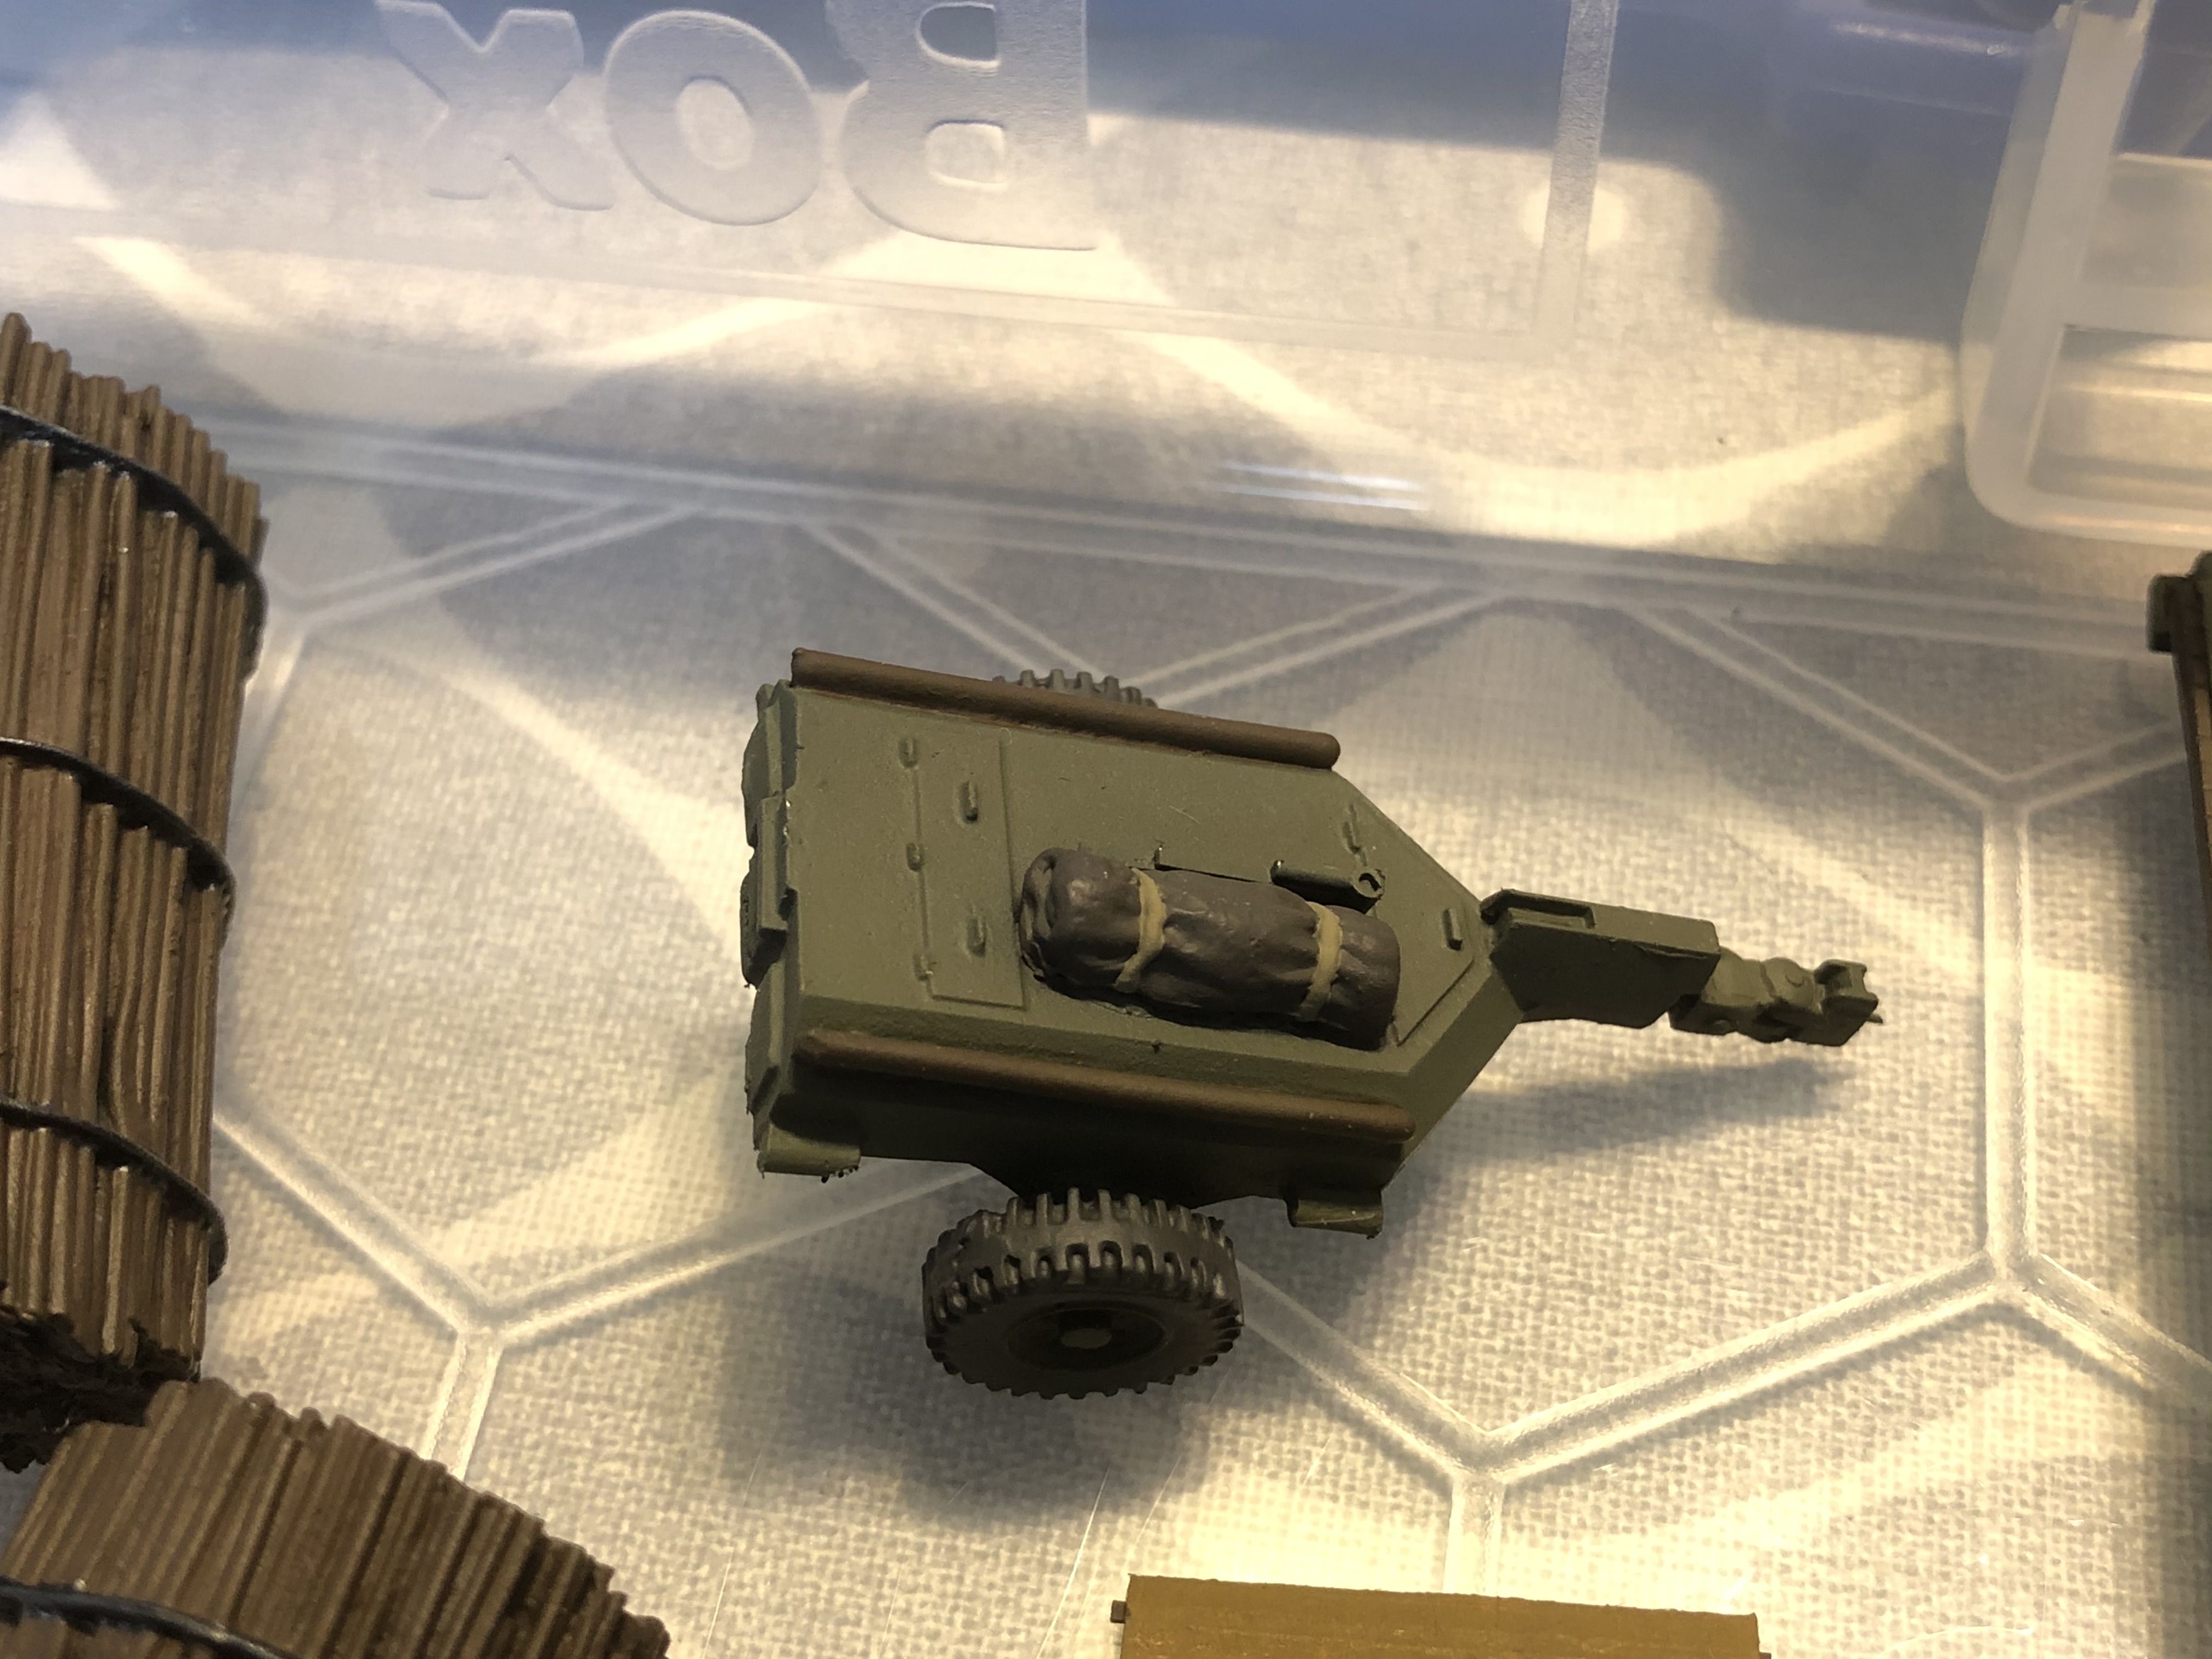
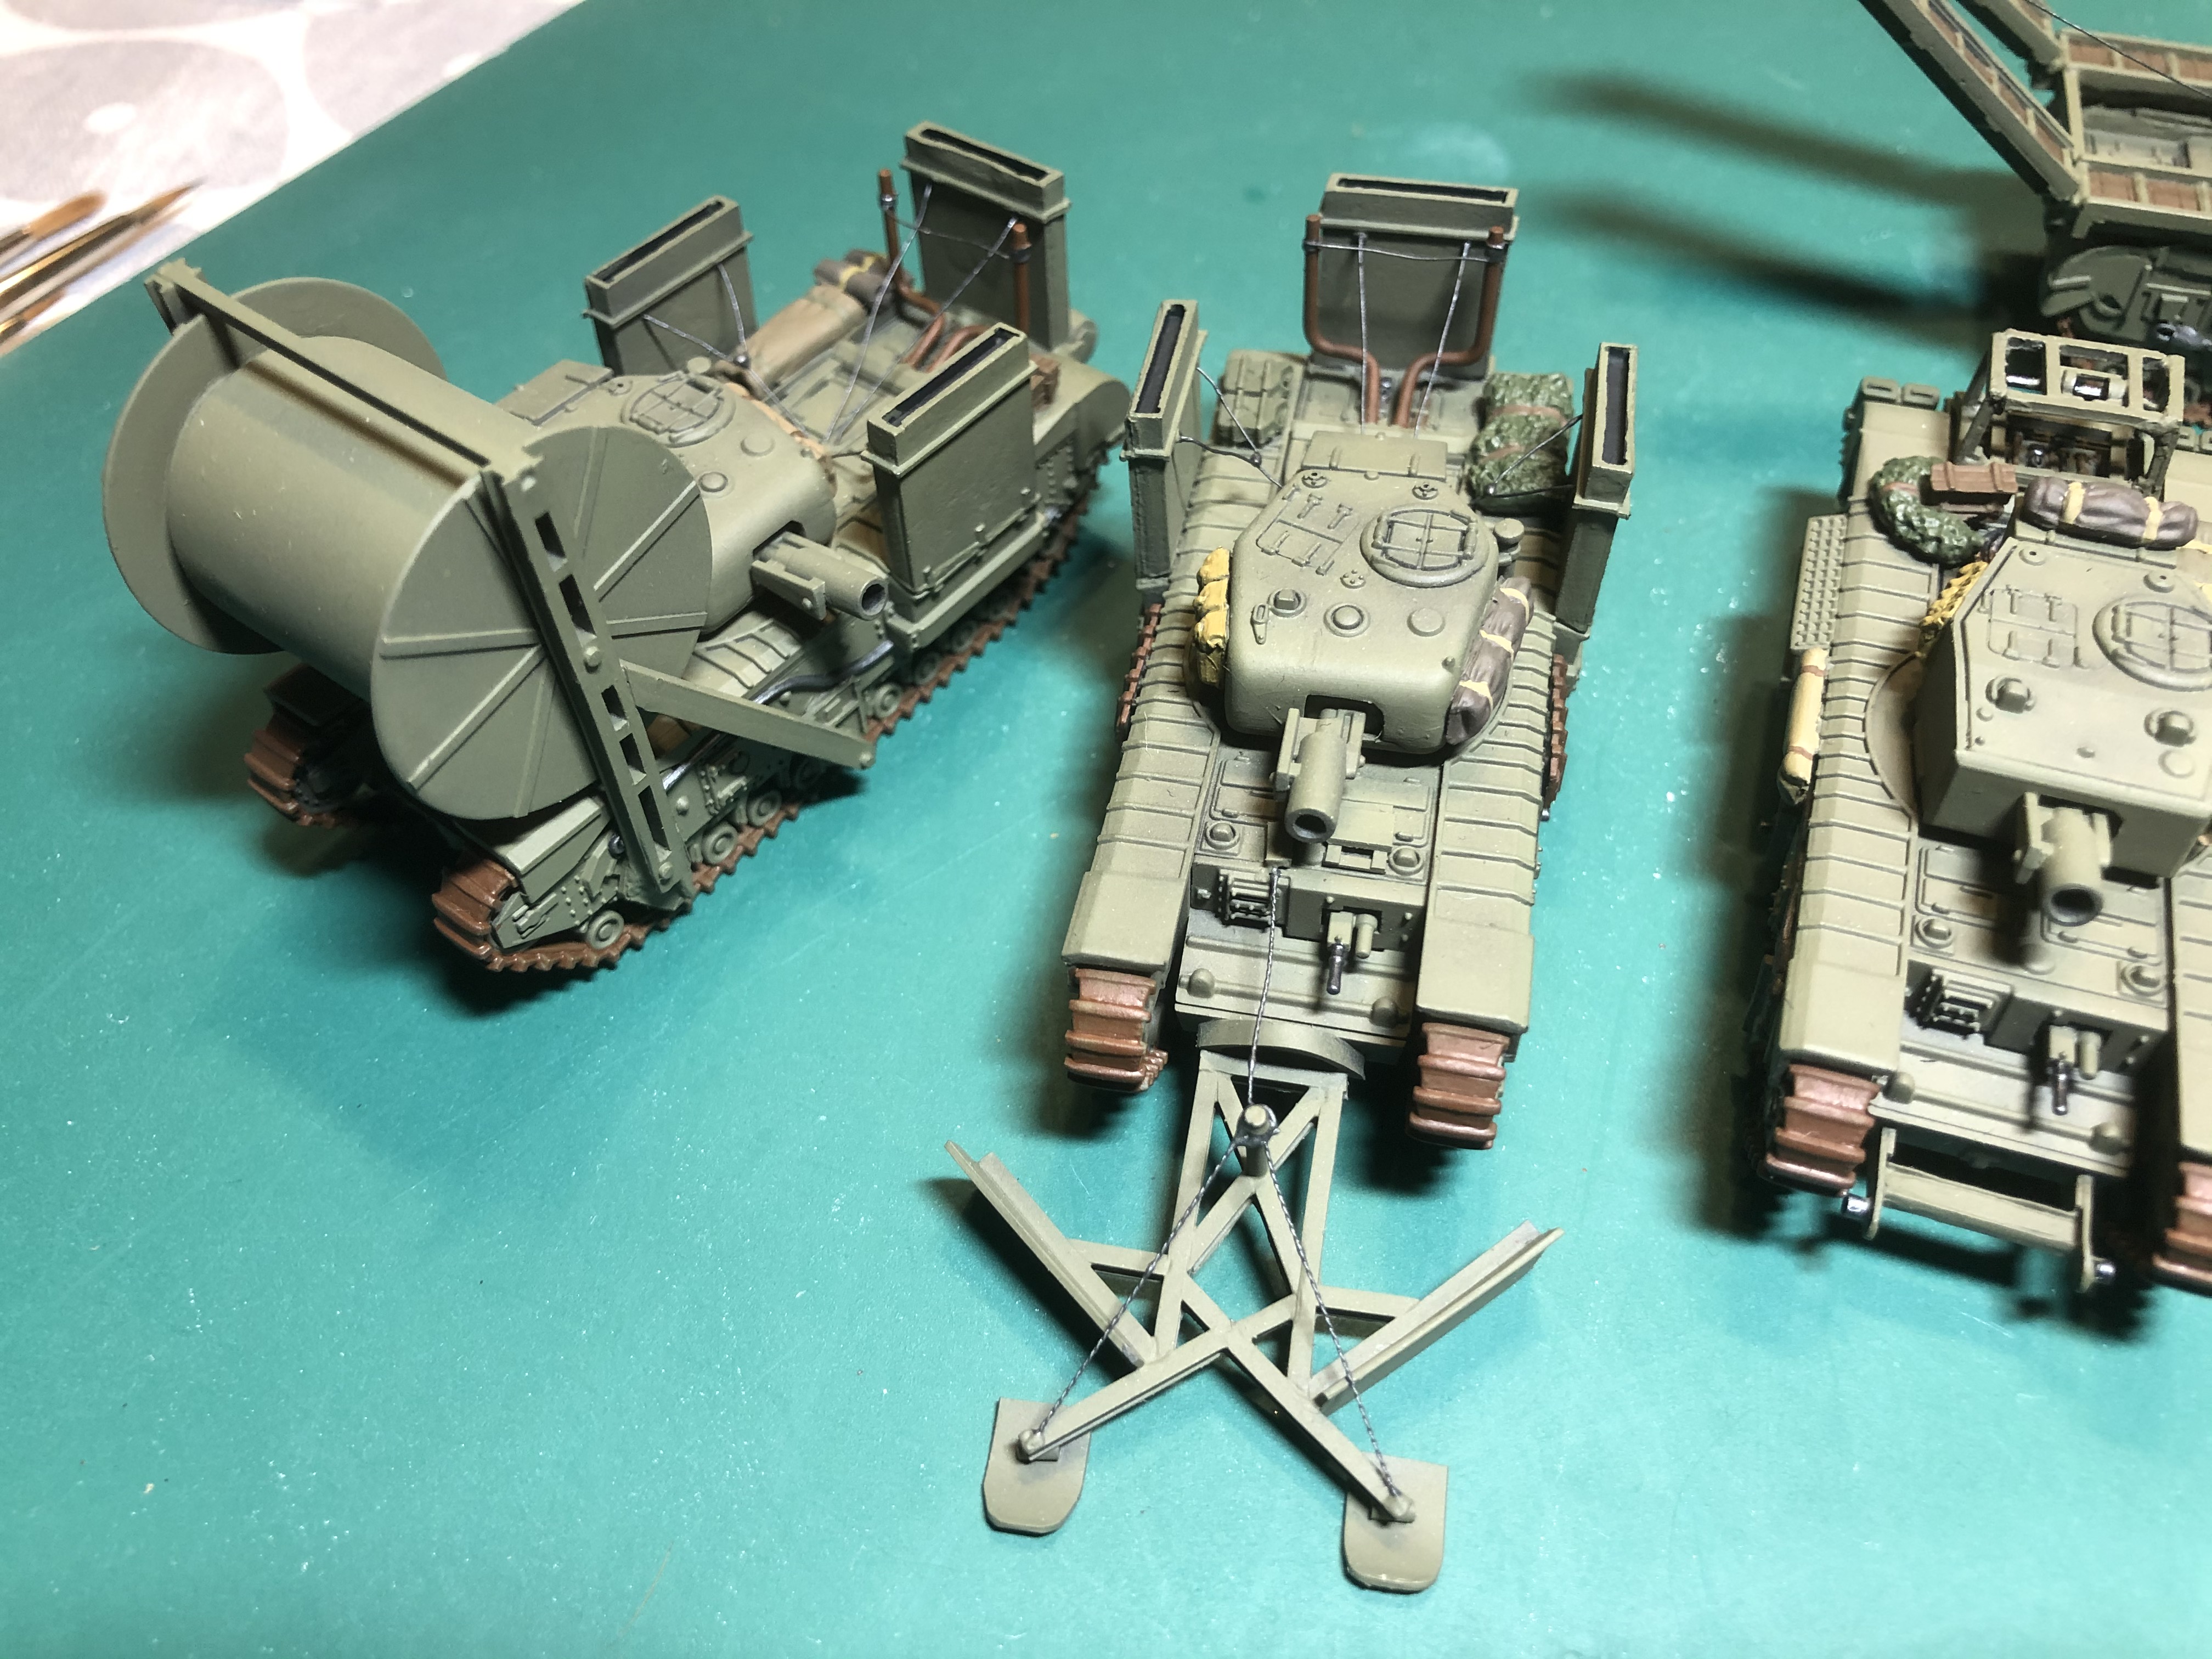
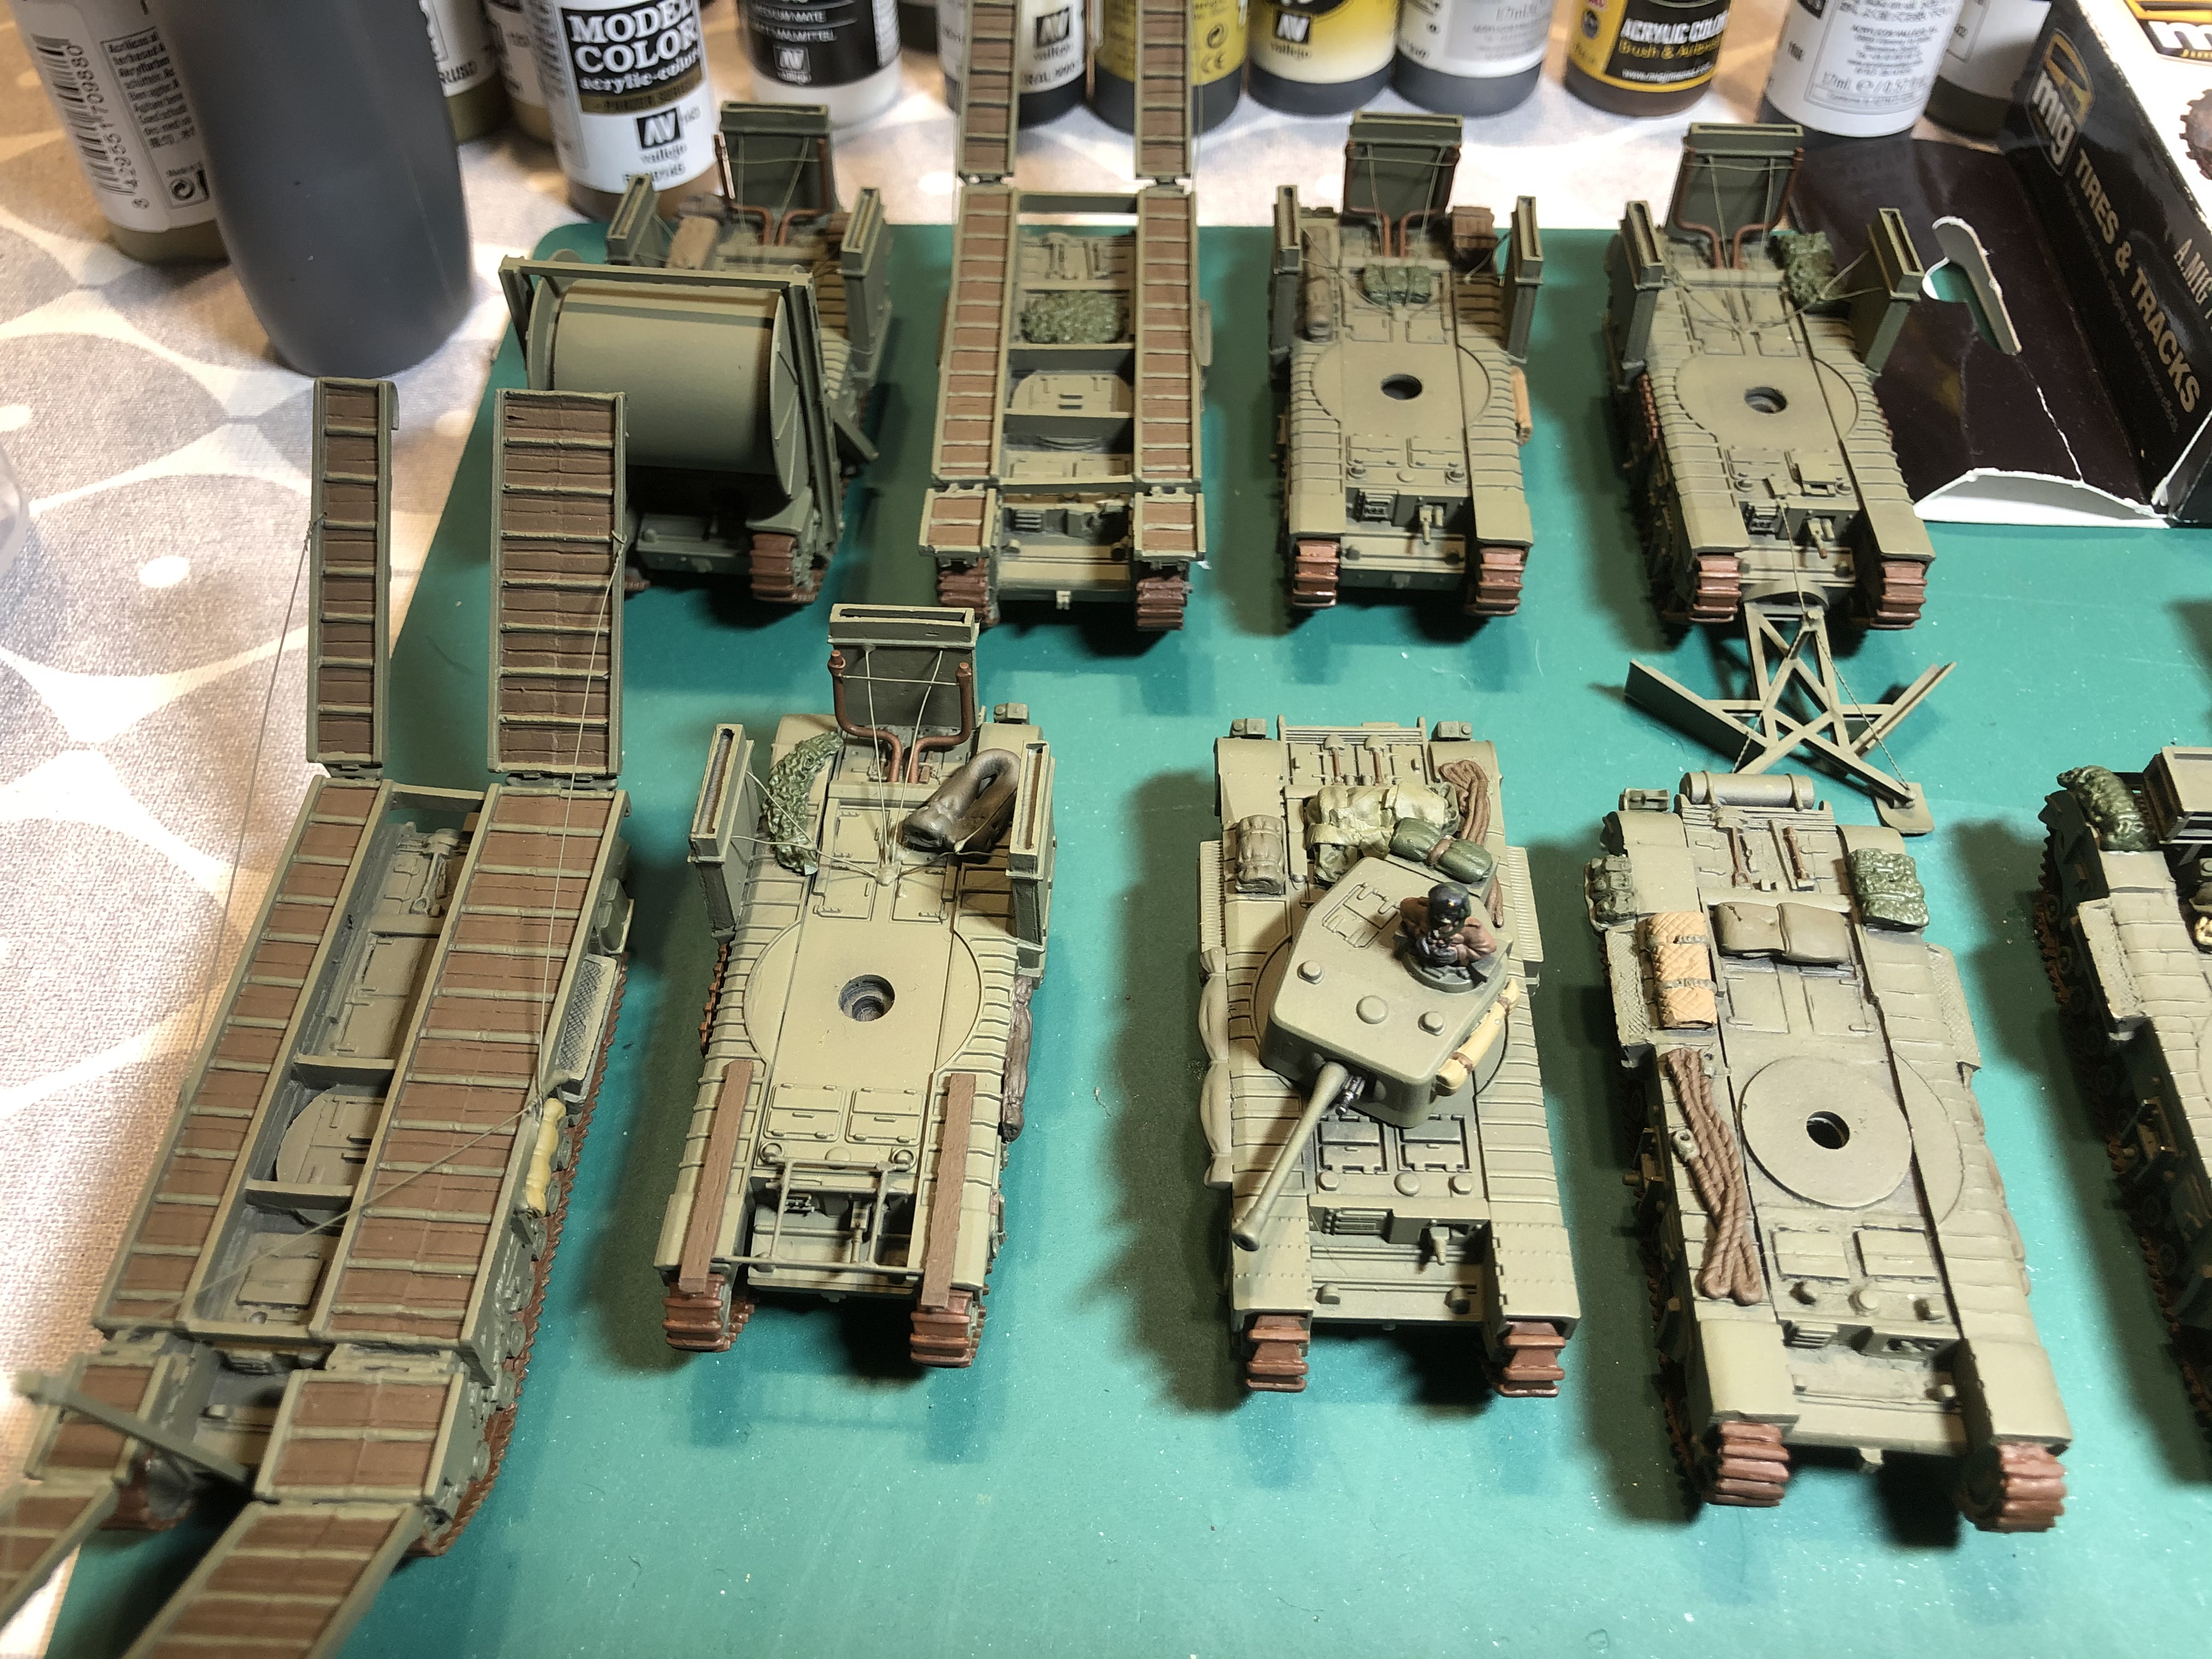
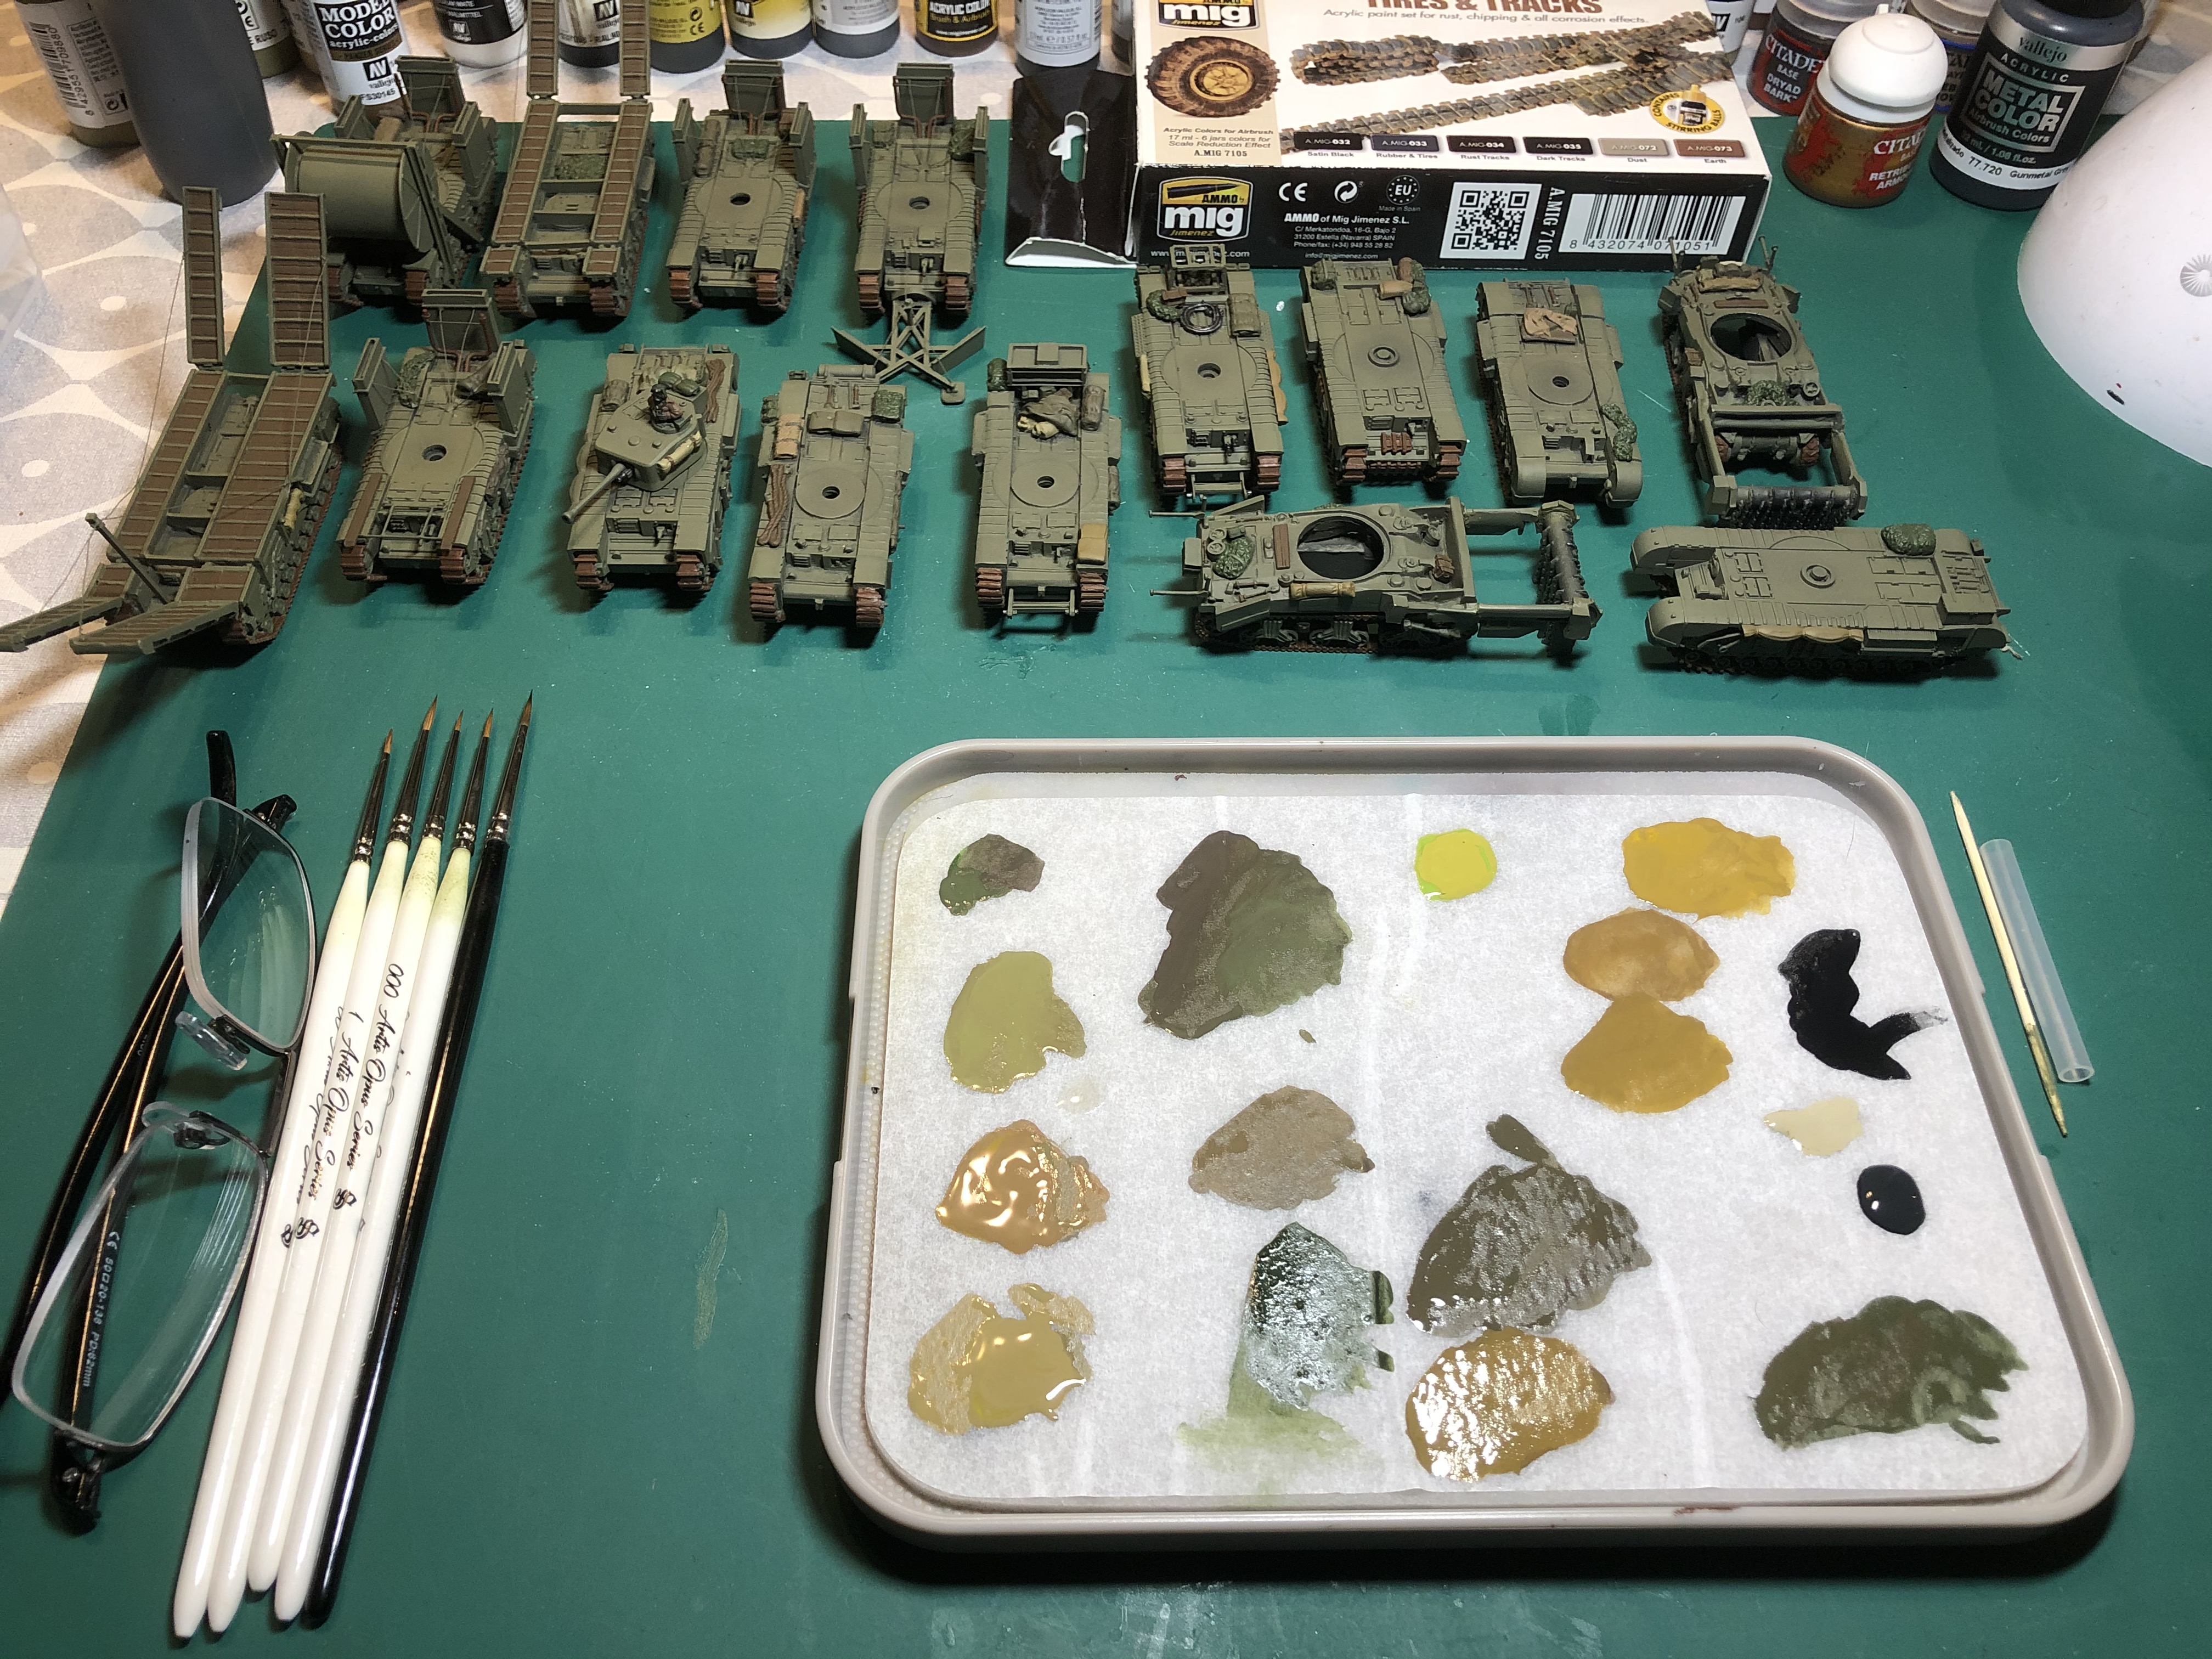
Other base colours for CES tools and gribblies,
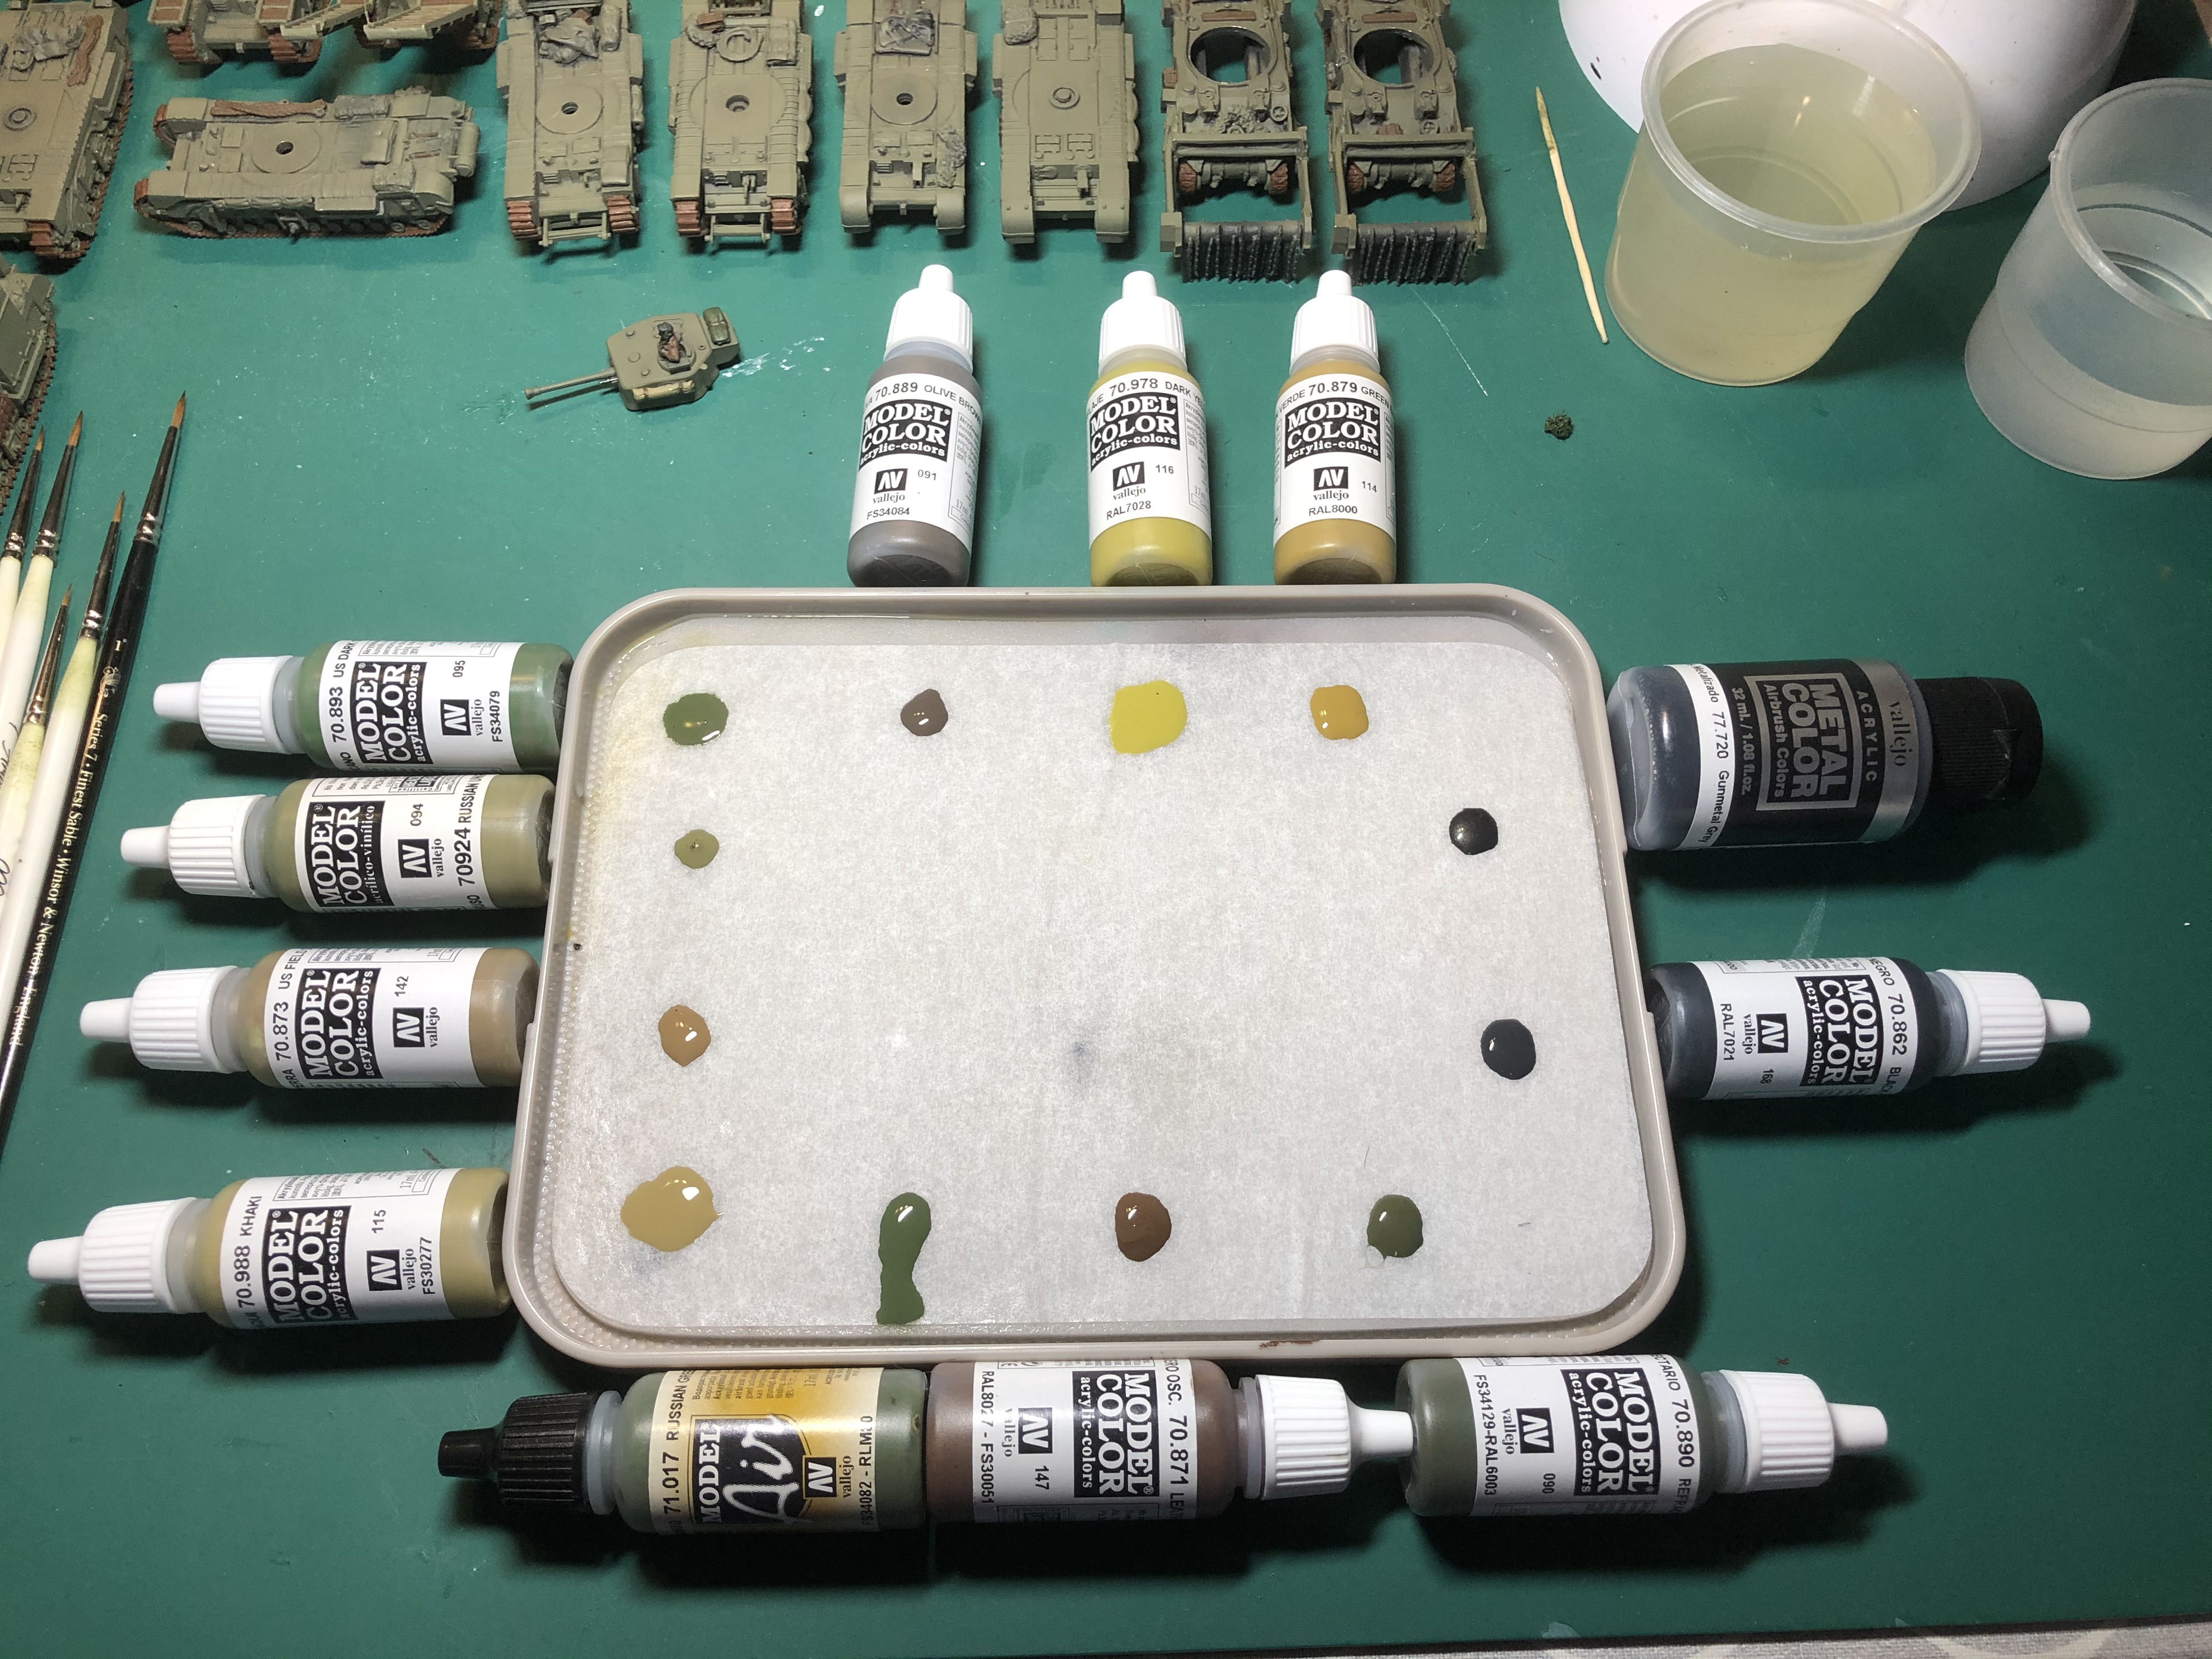 Here are all the colours I selected to paint in the stowage and gribblies, I tried to keep them all muted but to add some visual interest. In real life everything from the tool handles to the spade heads would have been painted the same green as the vehicle so it would stand out but for our purpose as modellers and gamers, models look far more interesting to the eye when you have a variety of colours to look at.
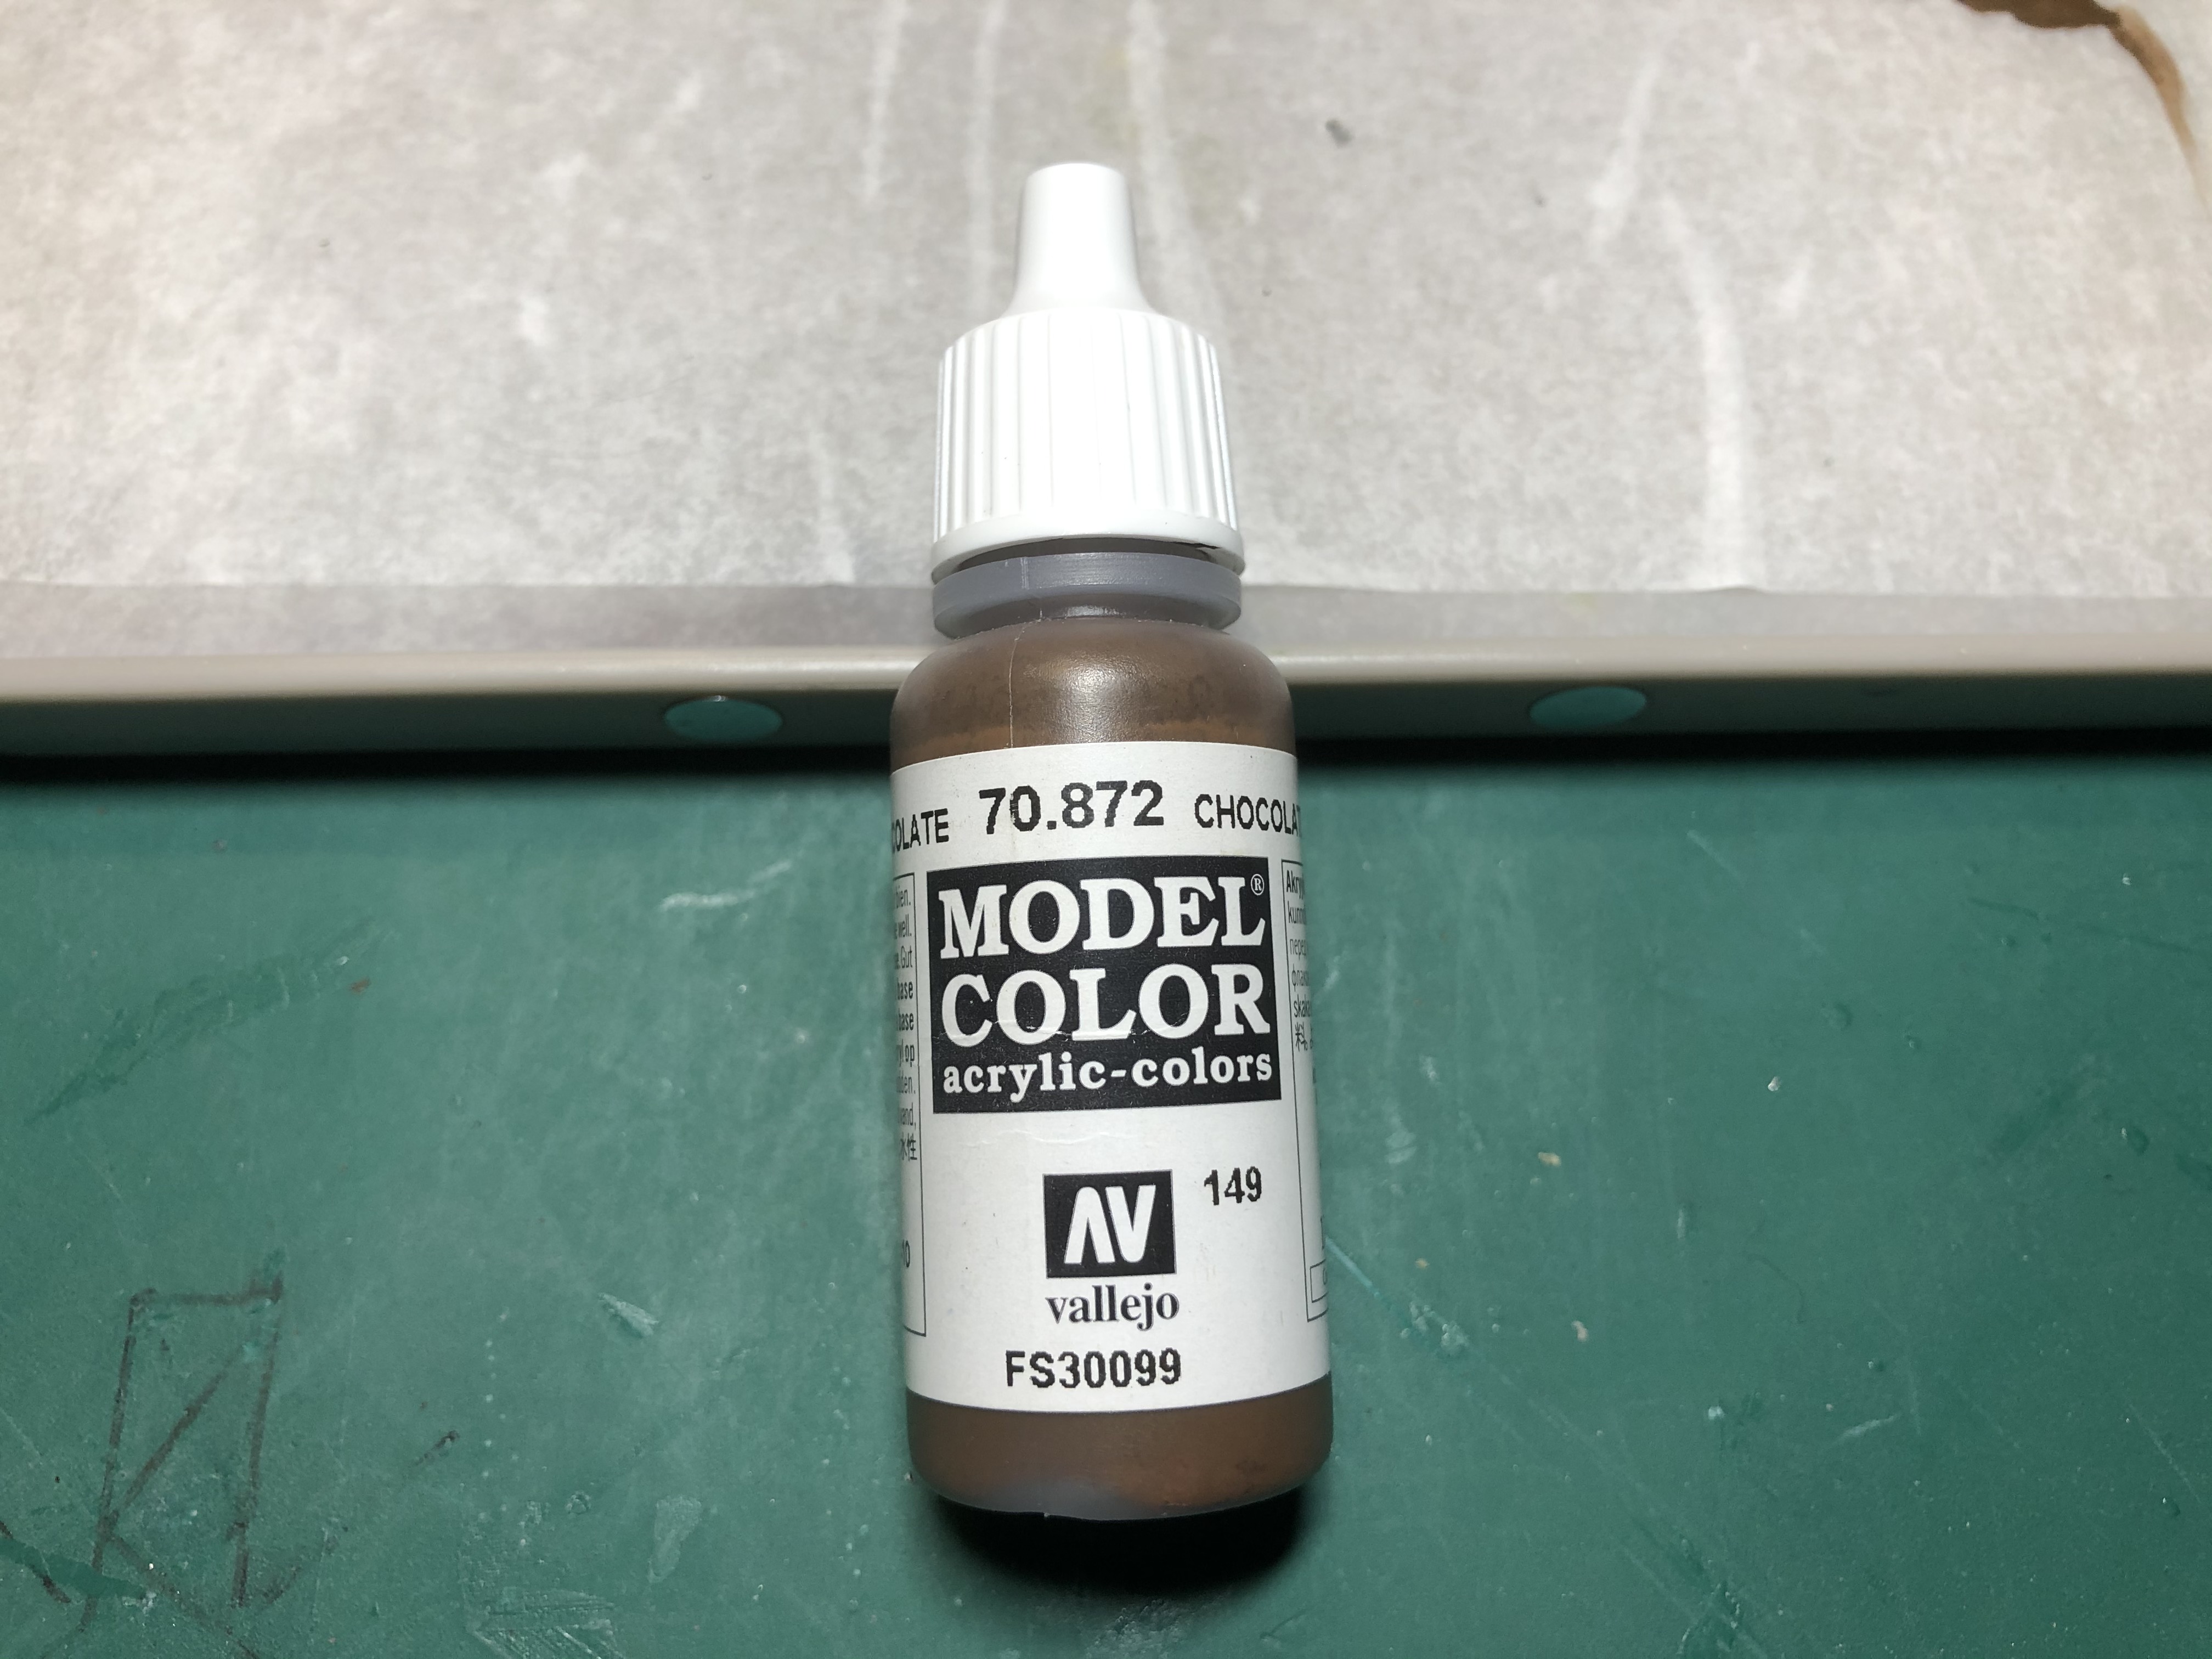 All wooden parts were painted with chocolate brown.
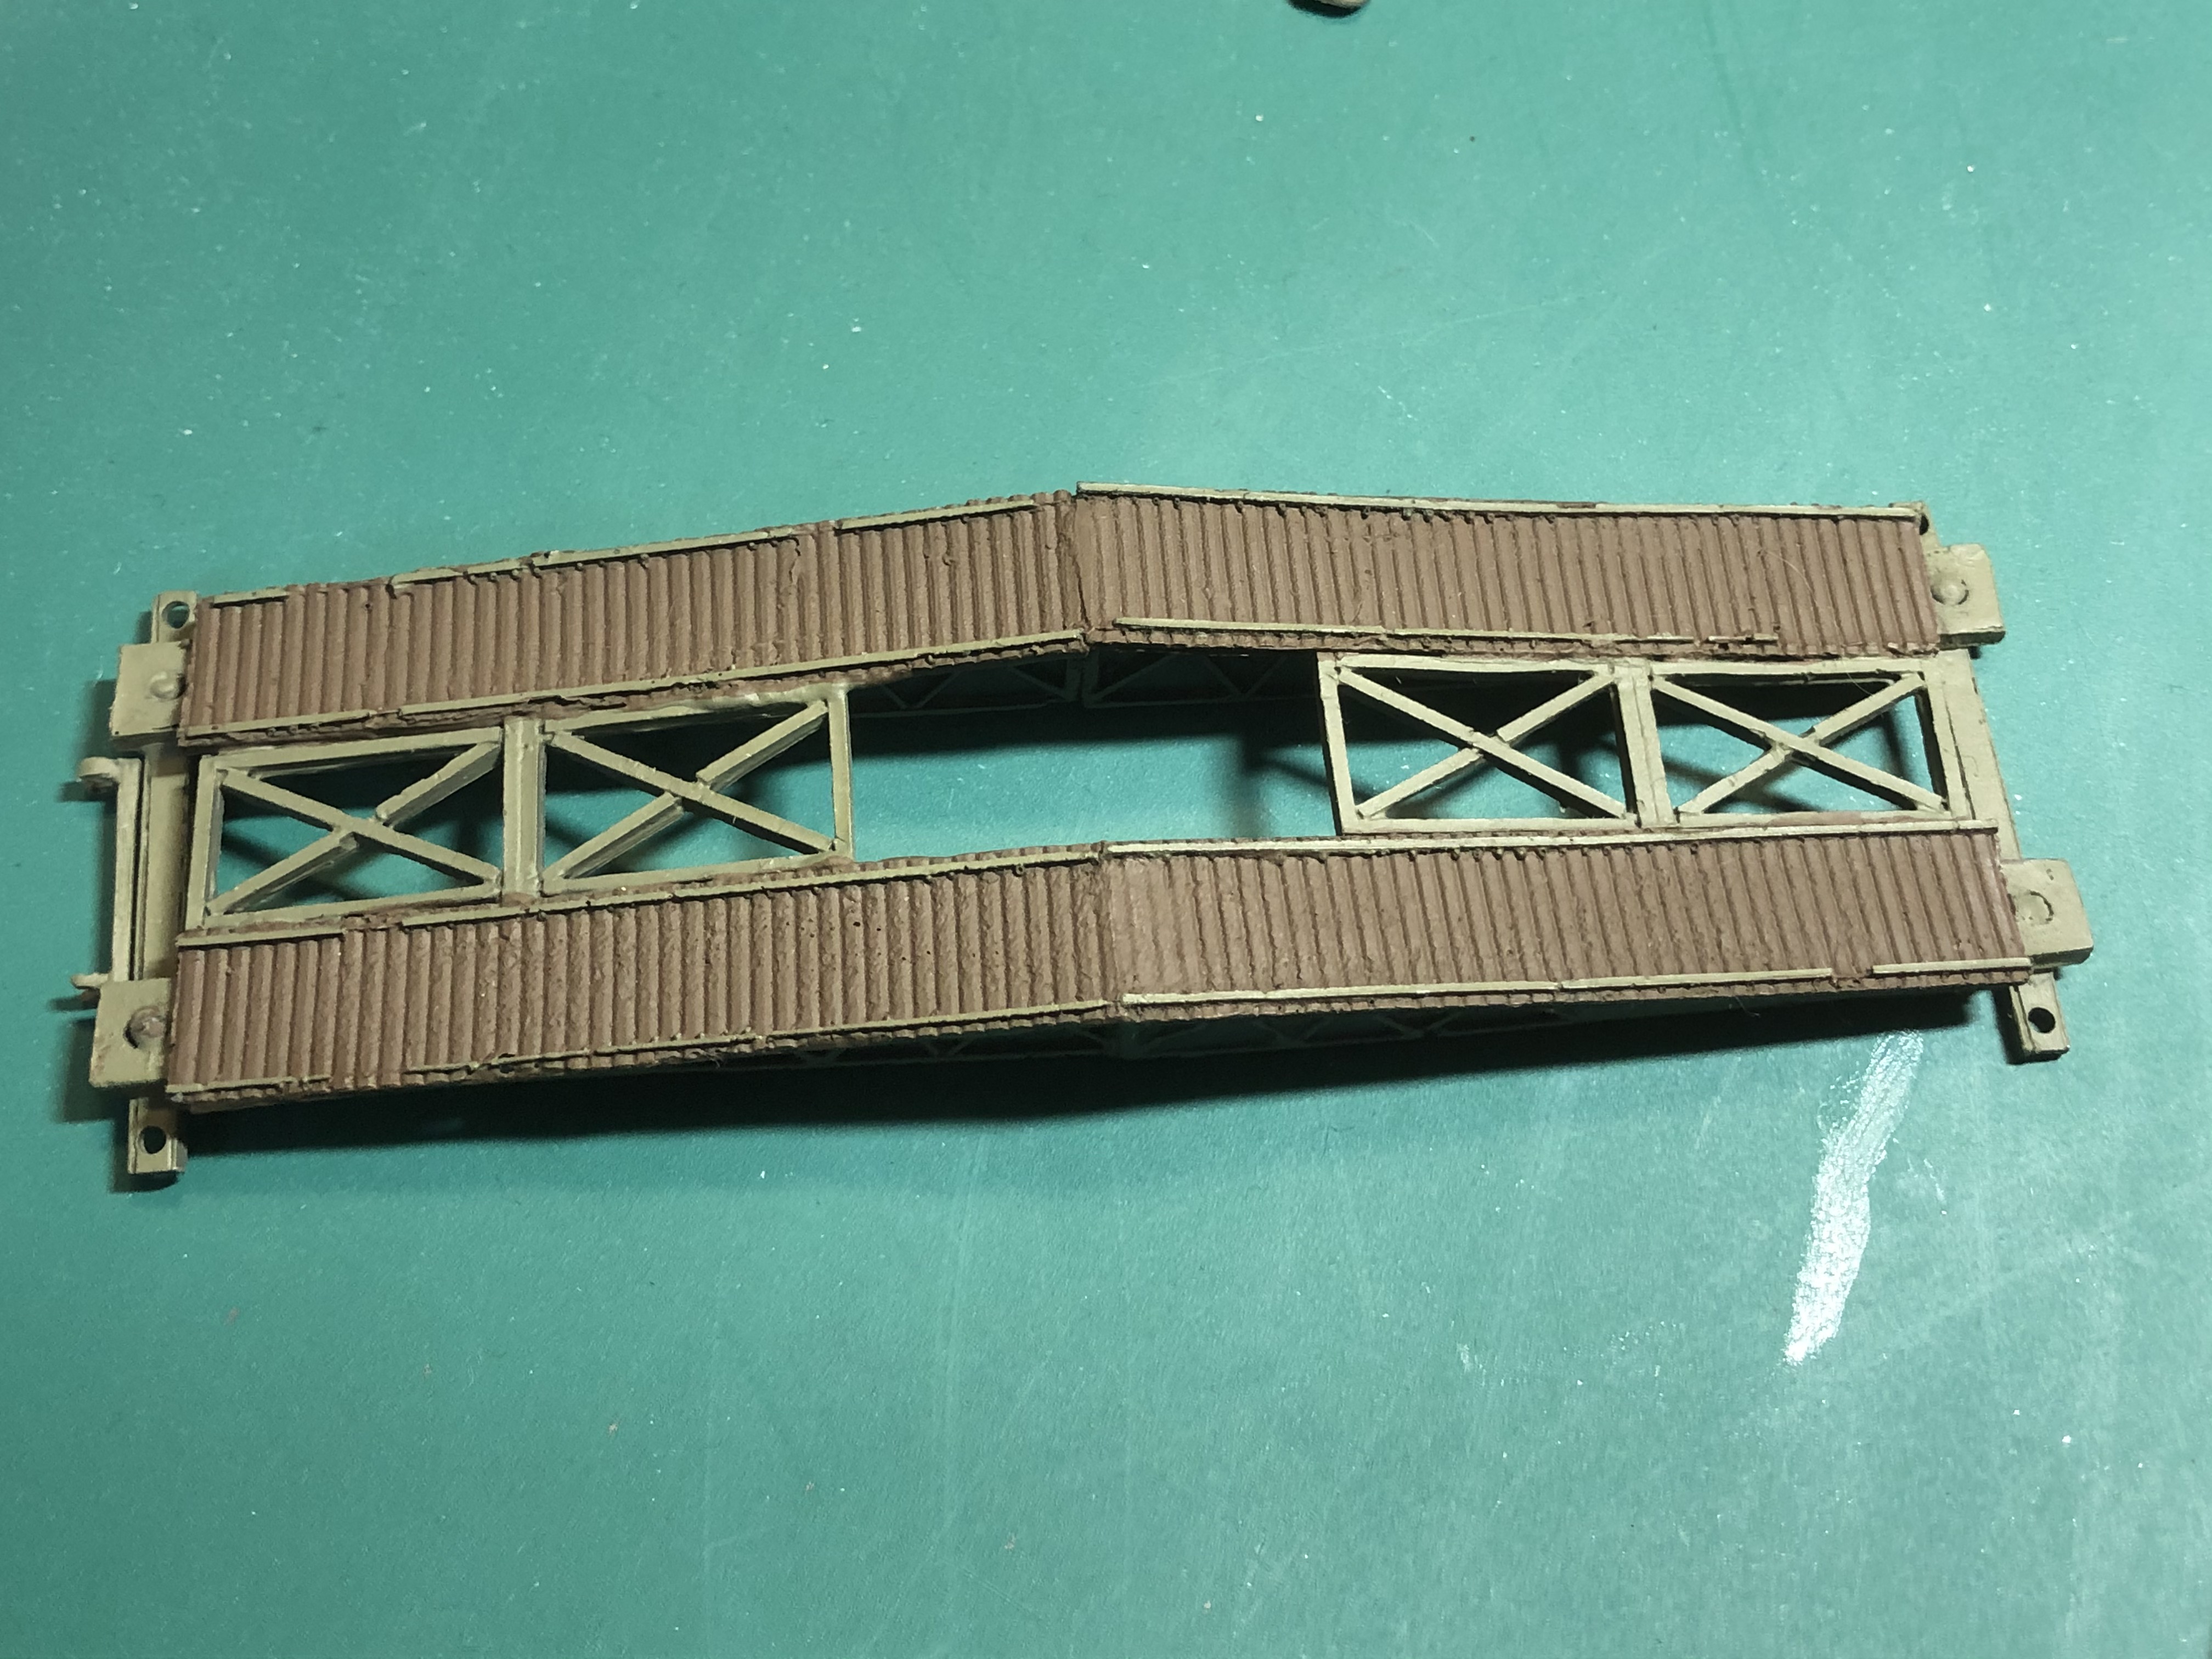
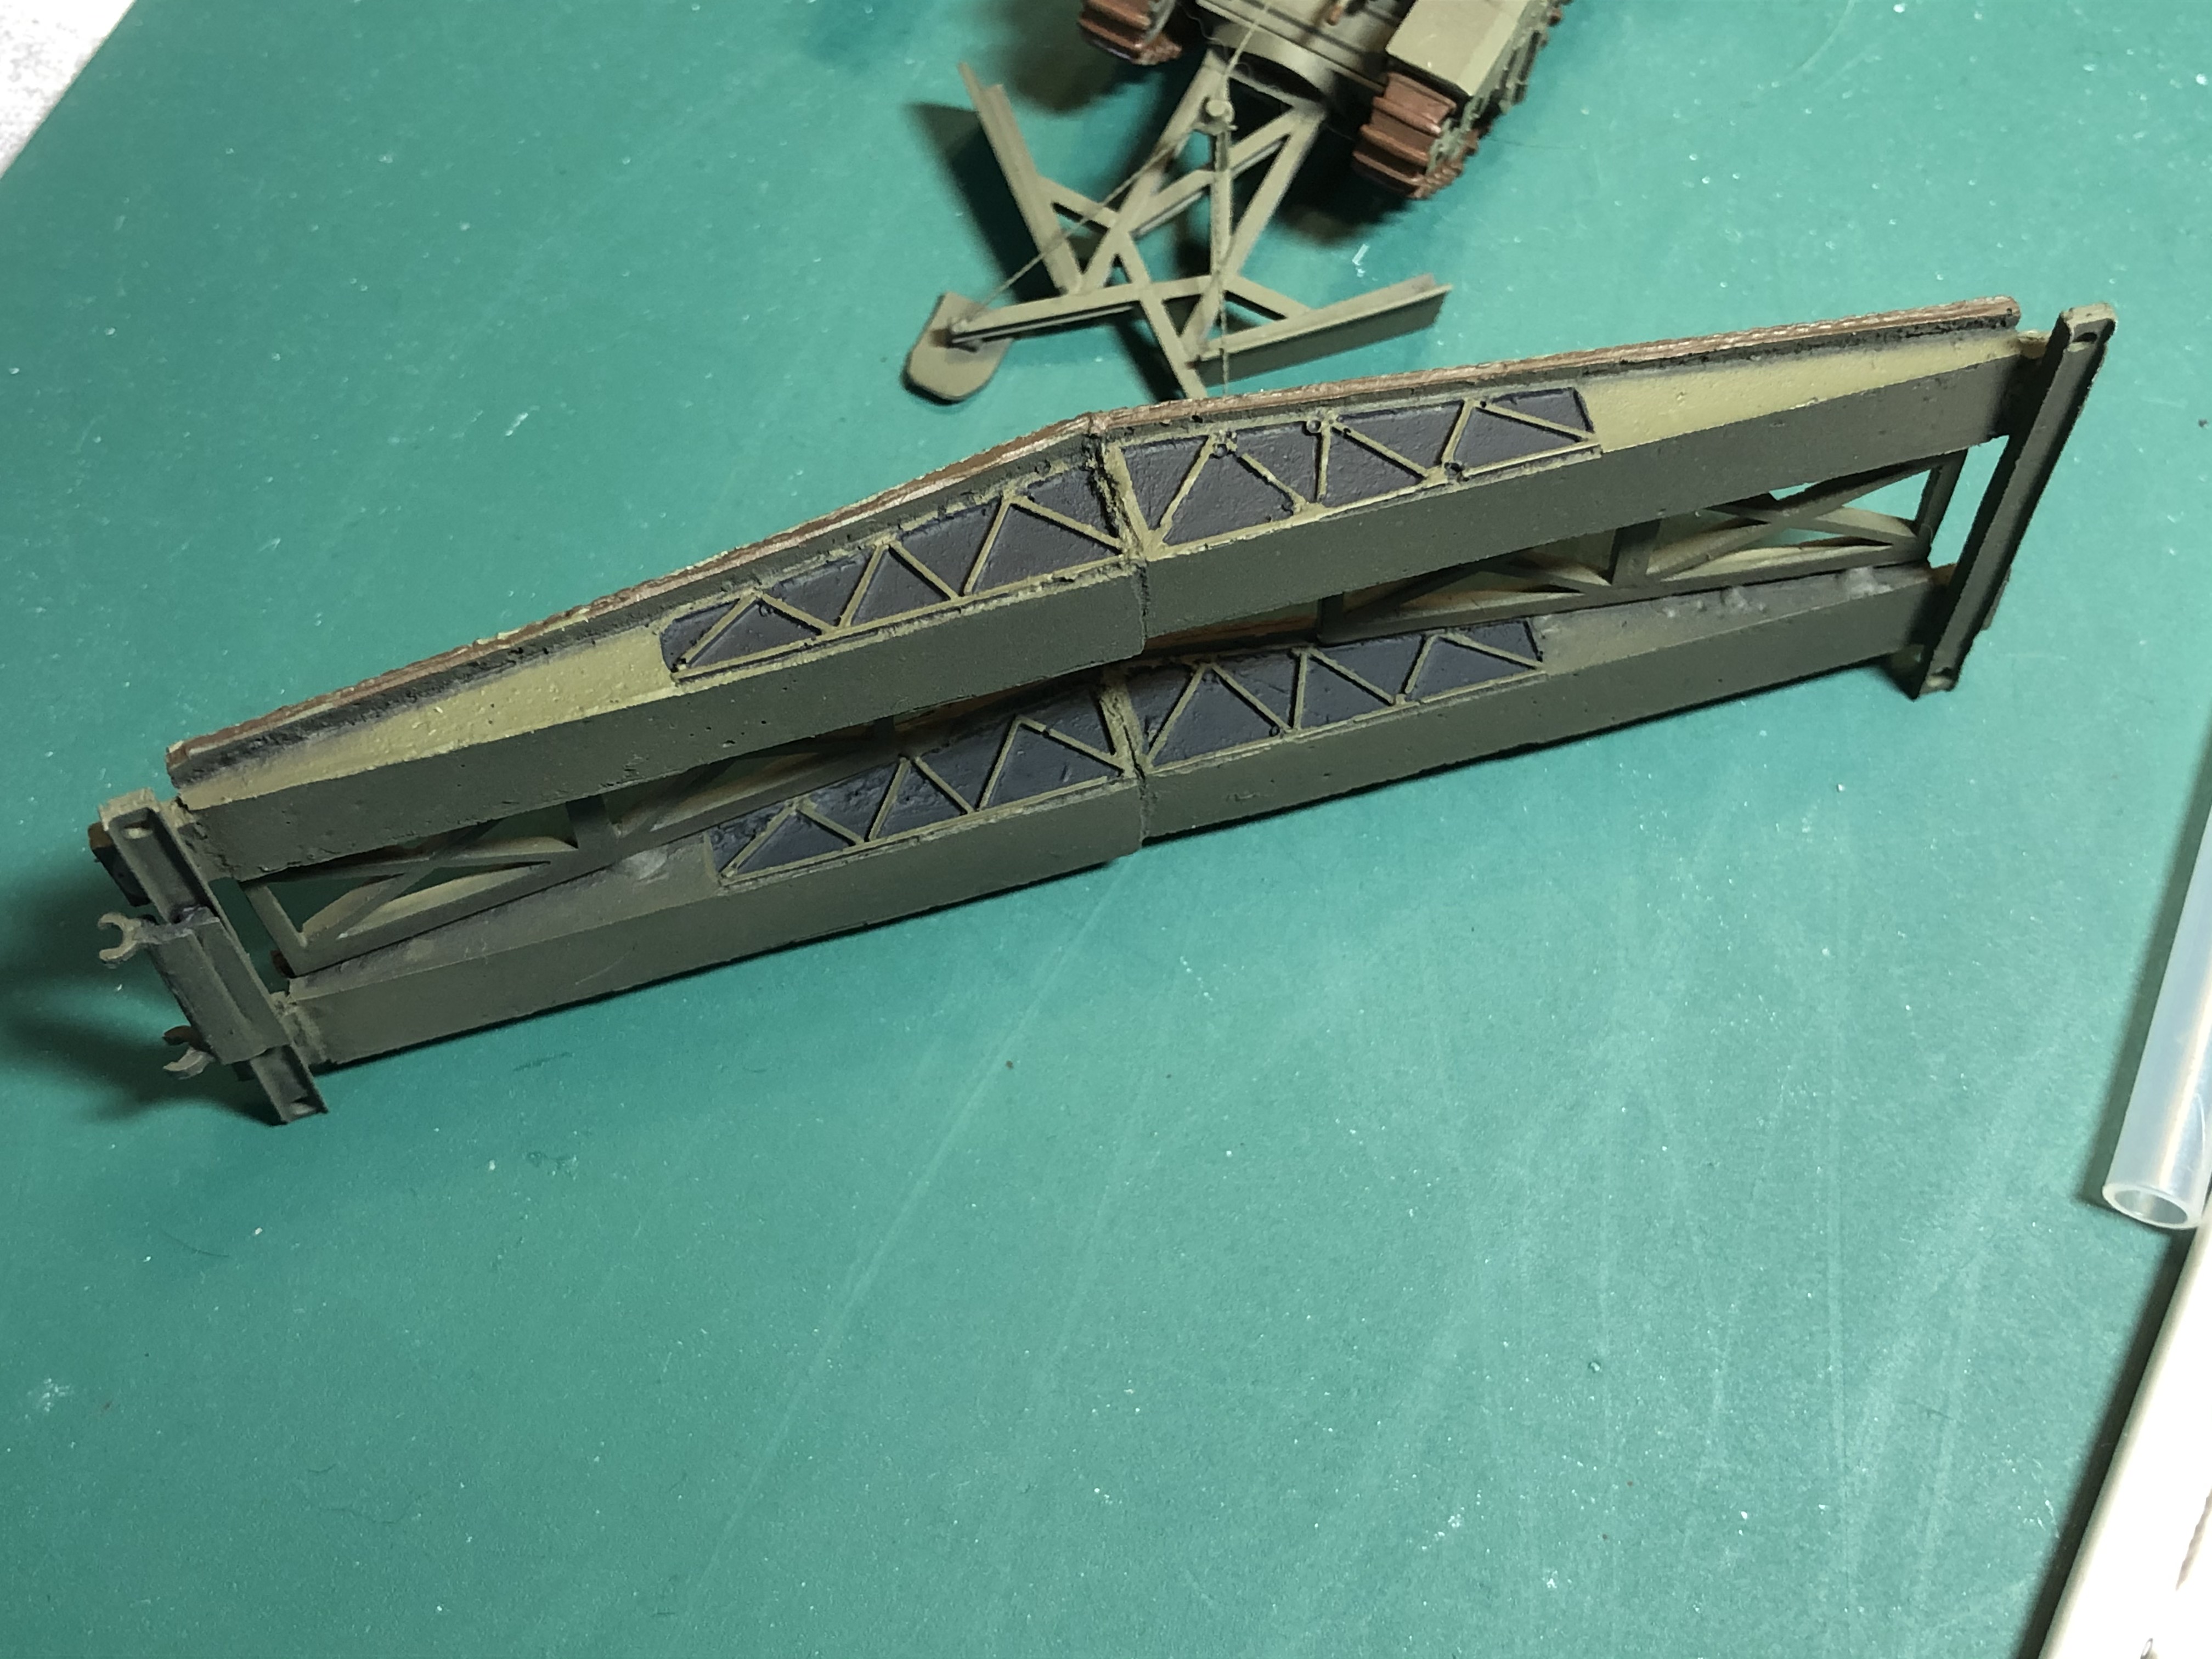
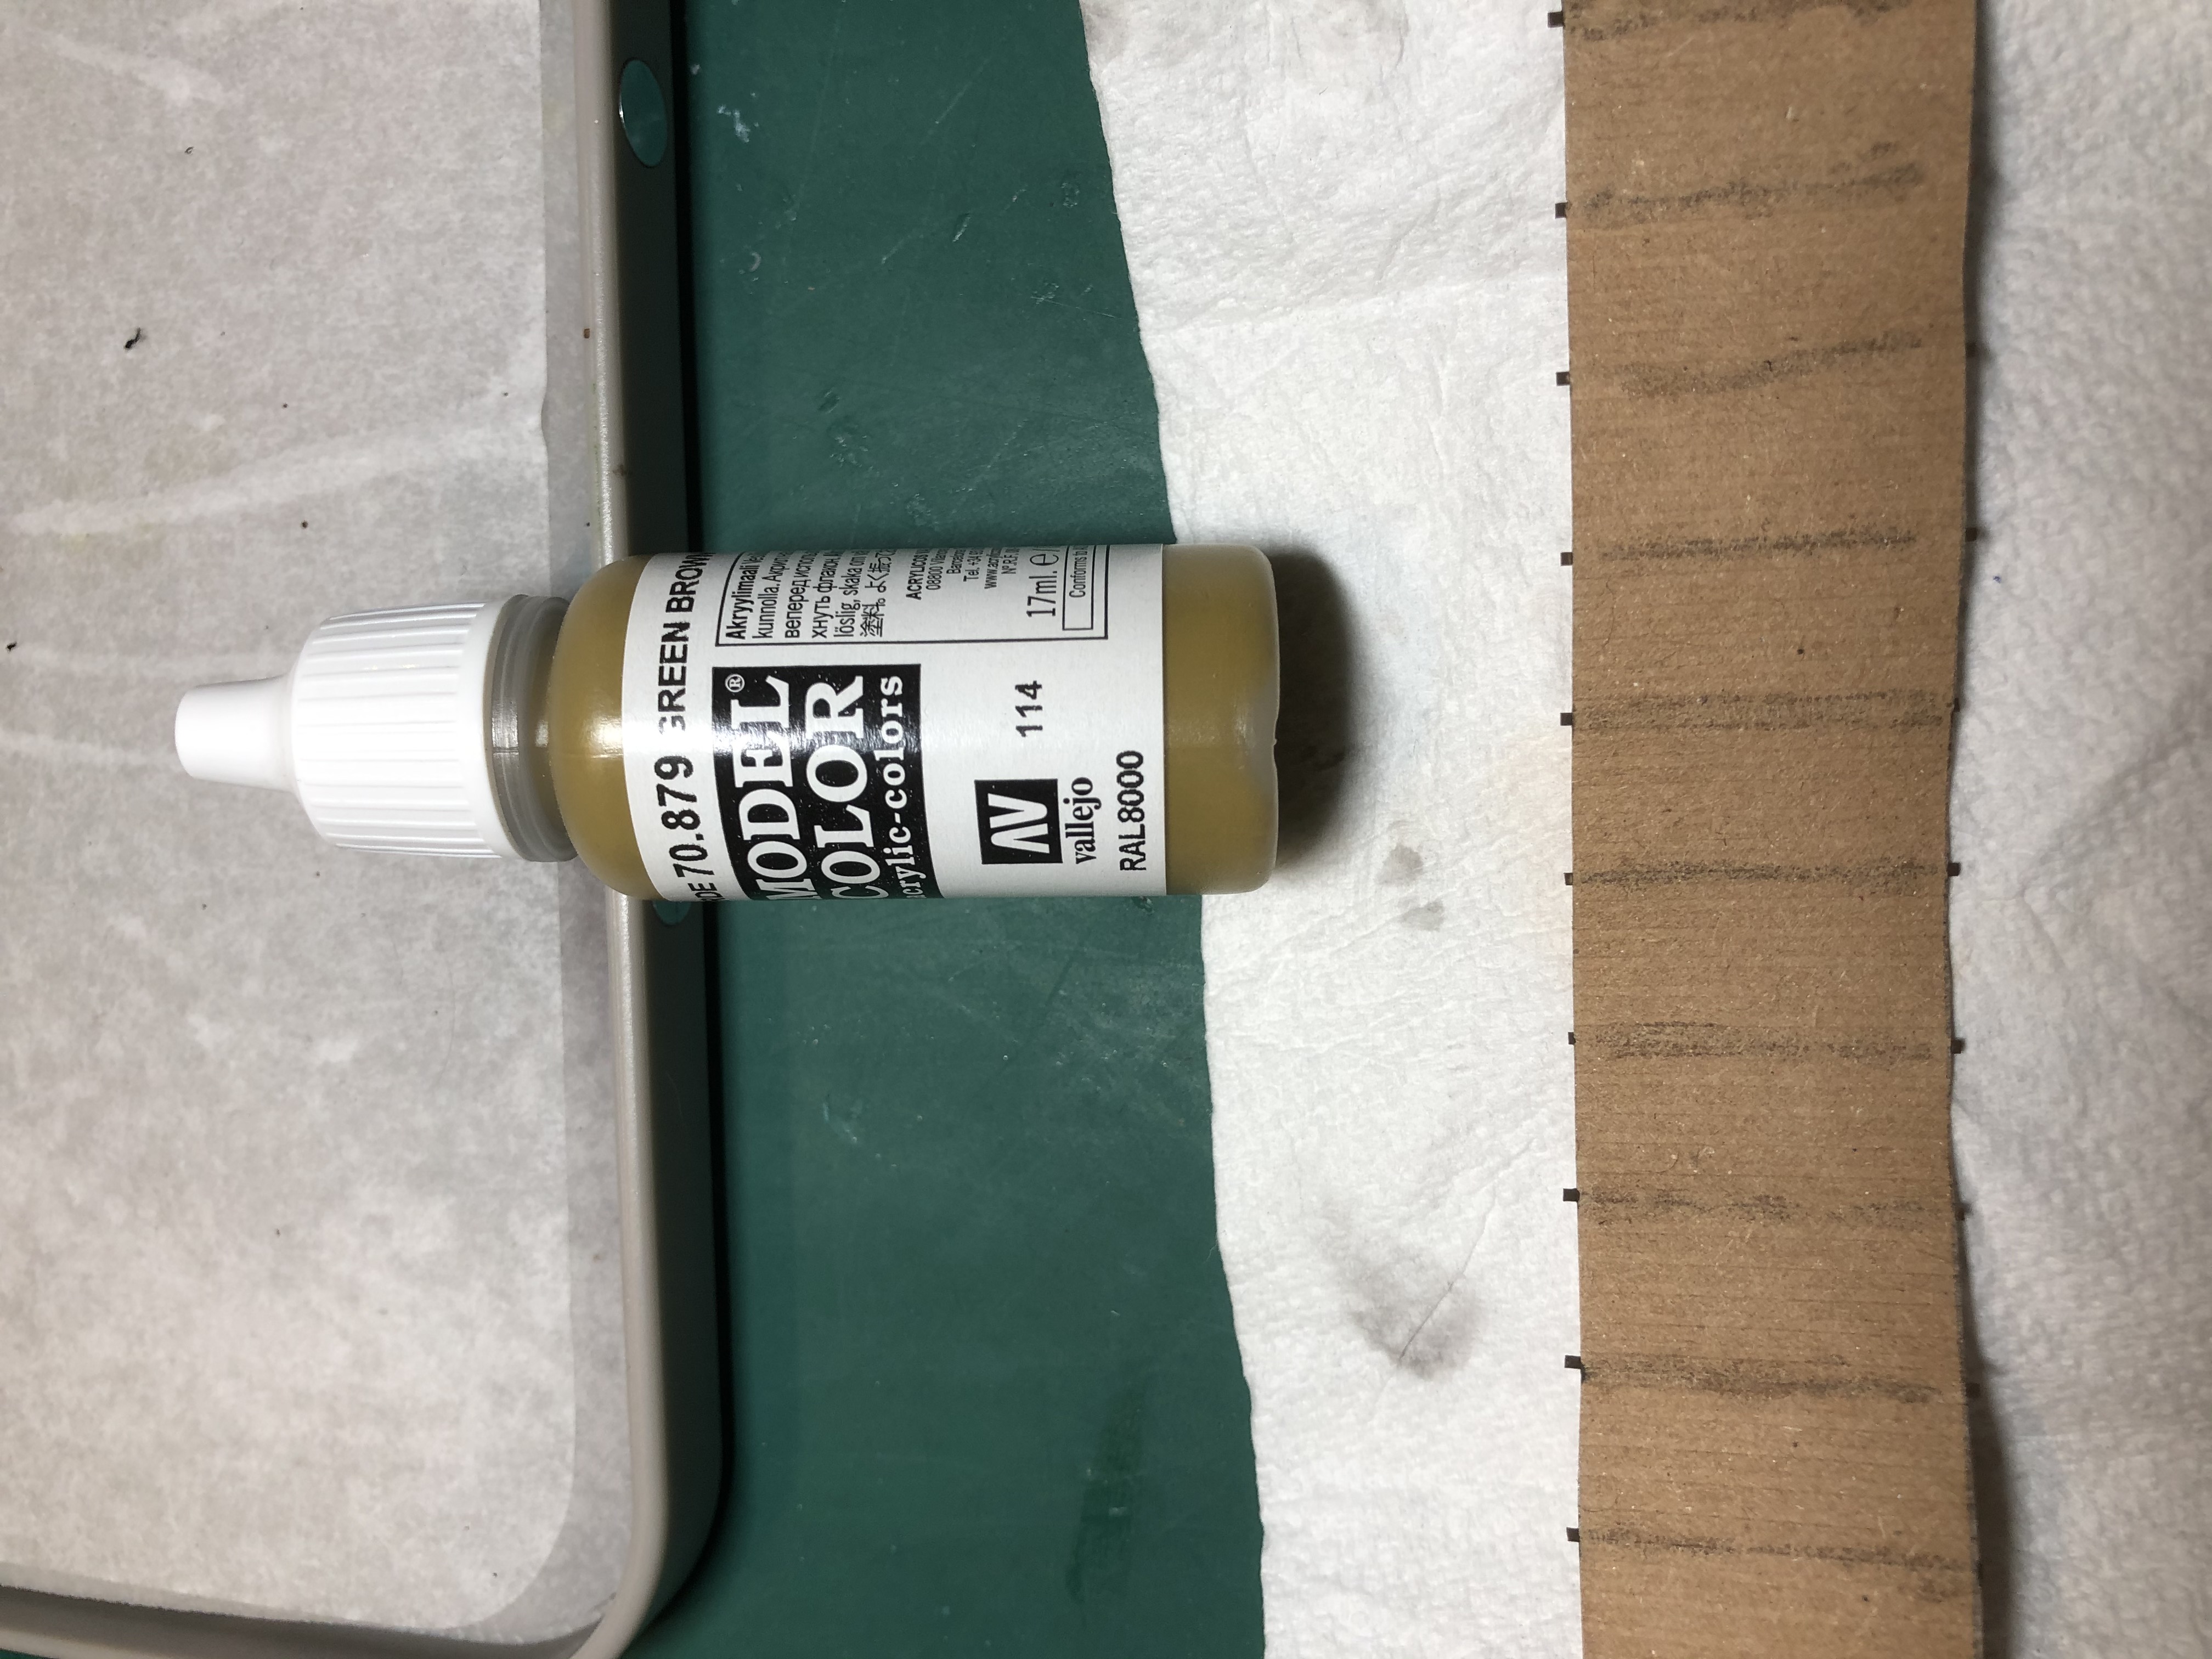 The matting for the bobbin was painted in green brown and the reinforcing bars in chocolate brown.
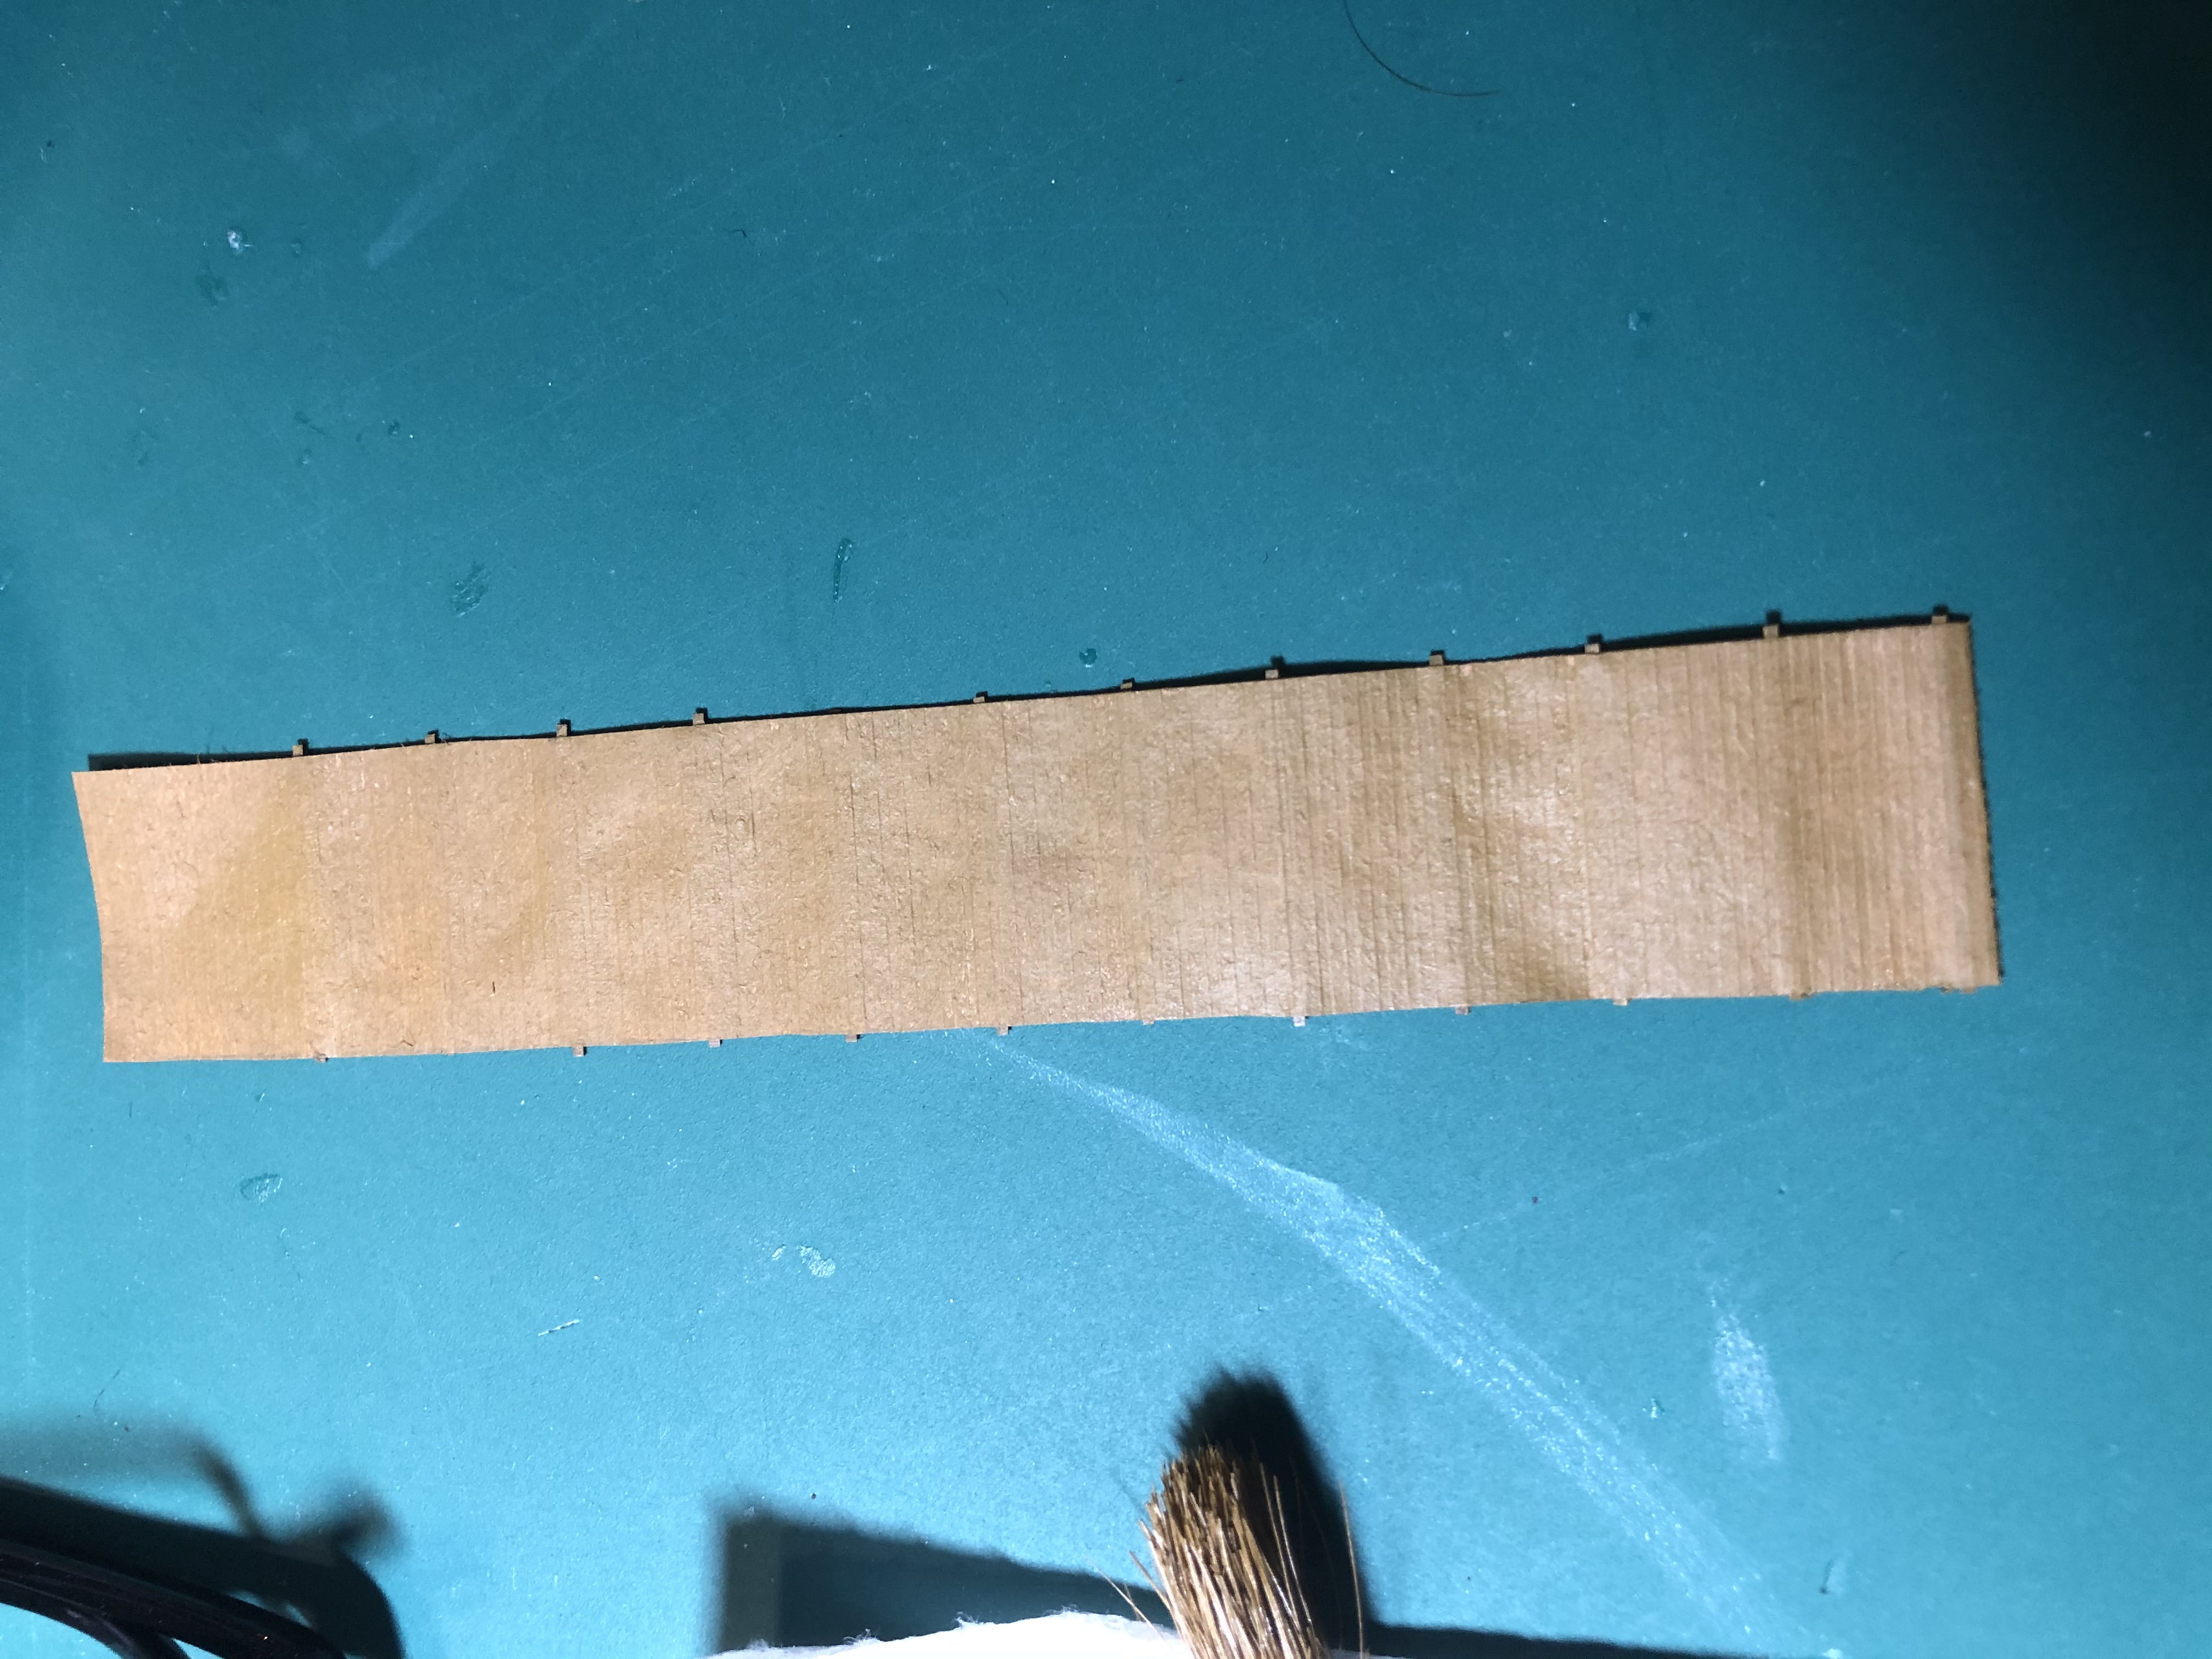 base coated bobbin mat.
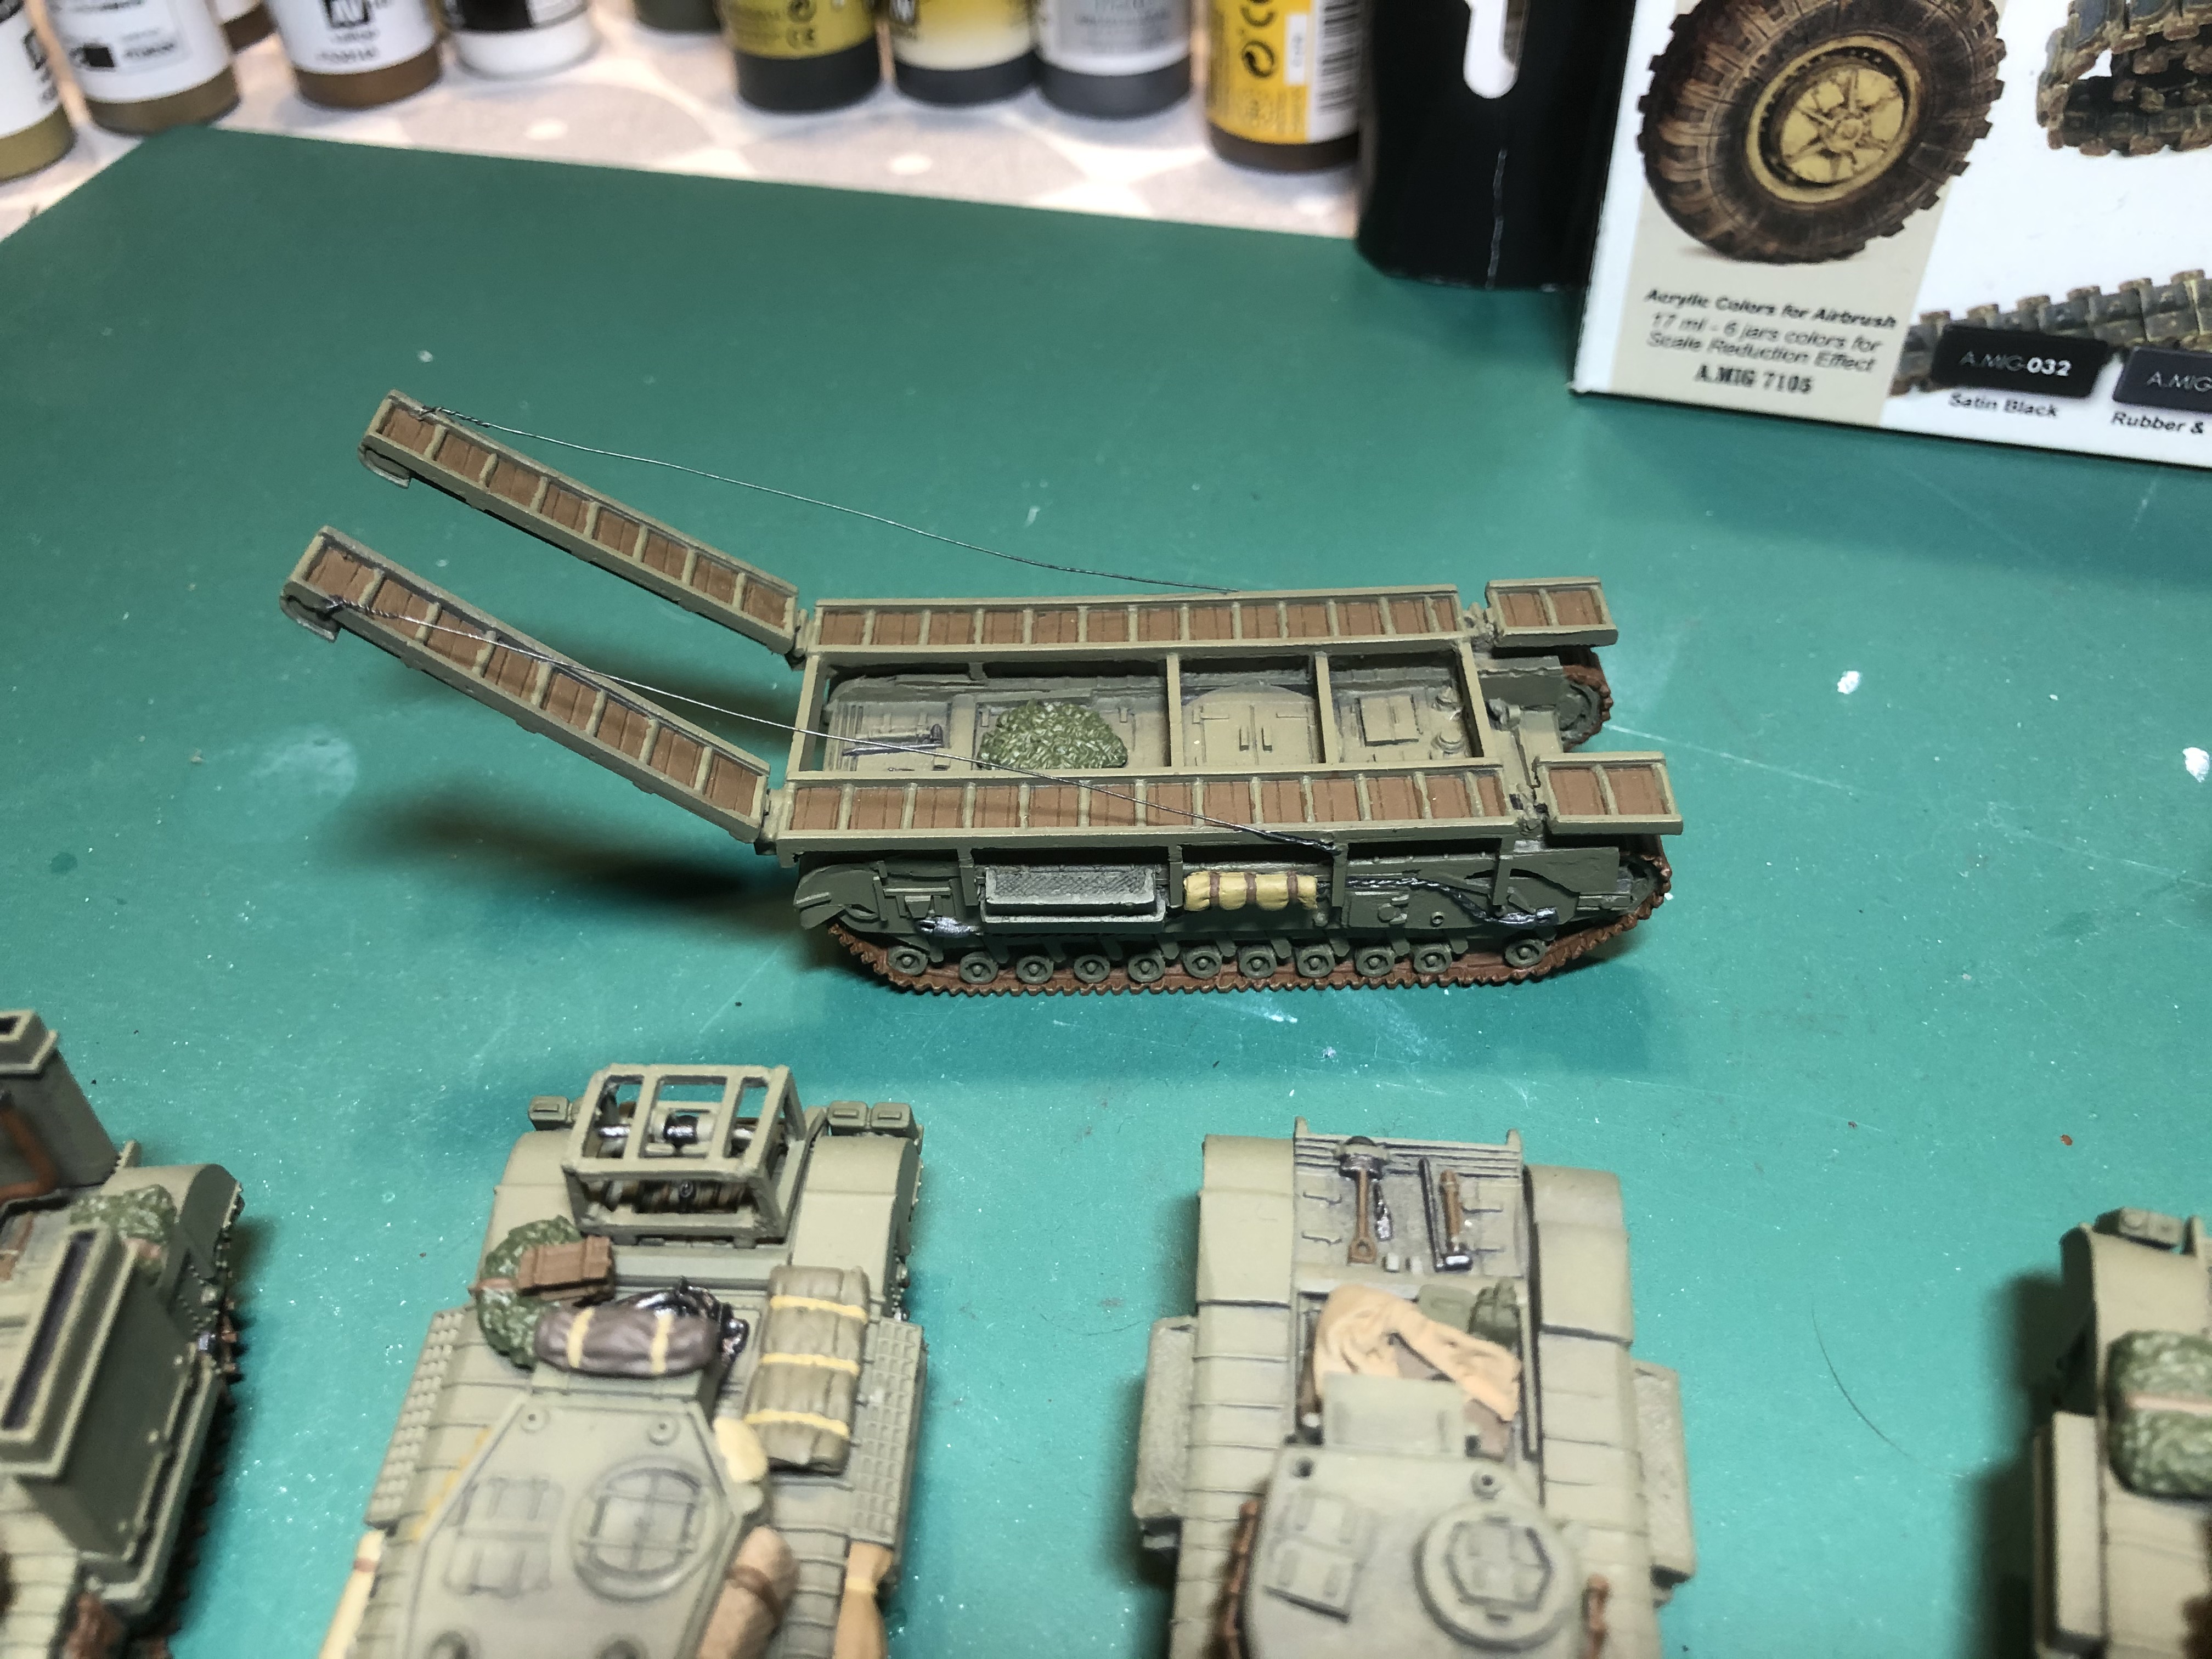
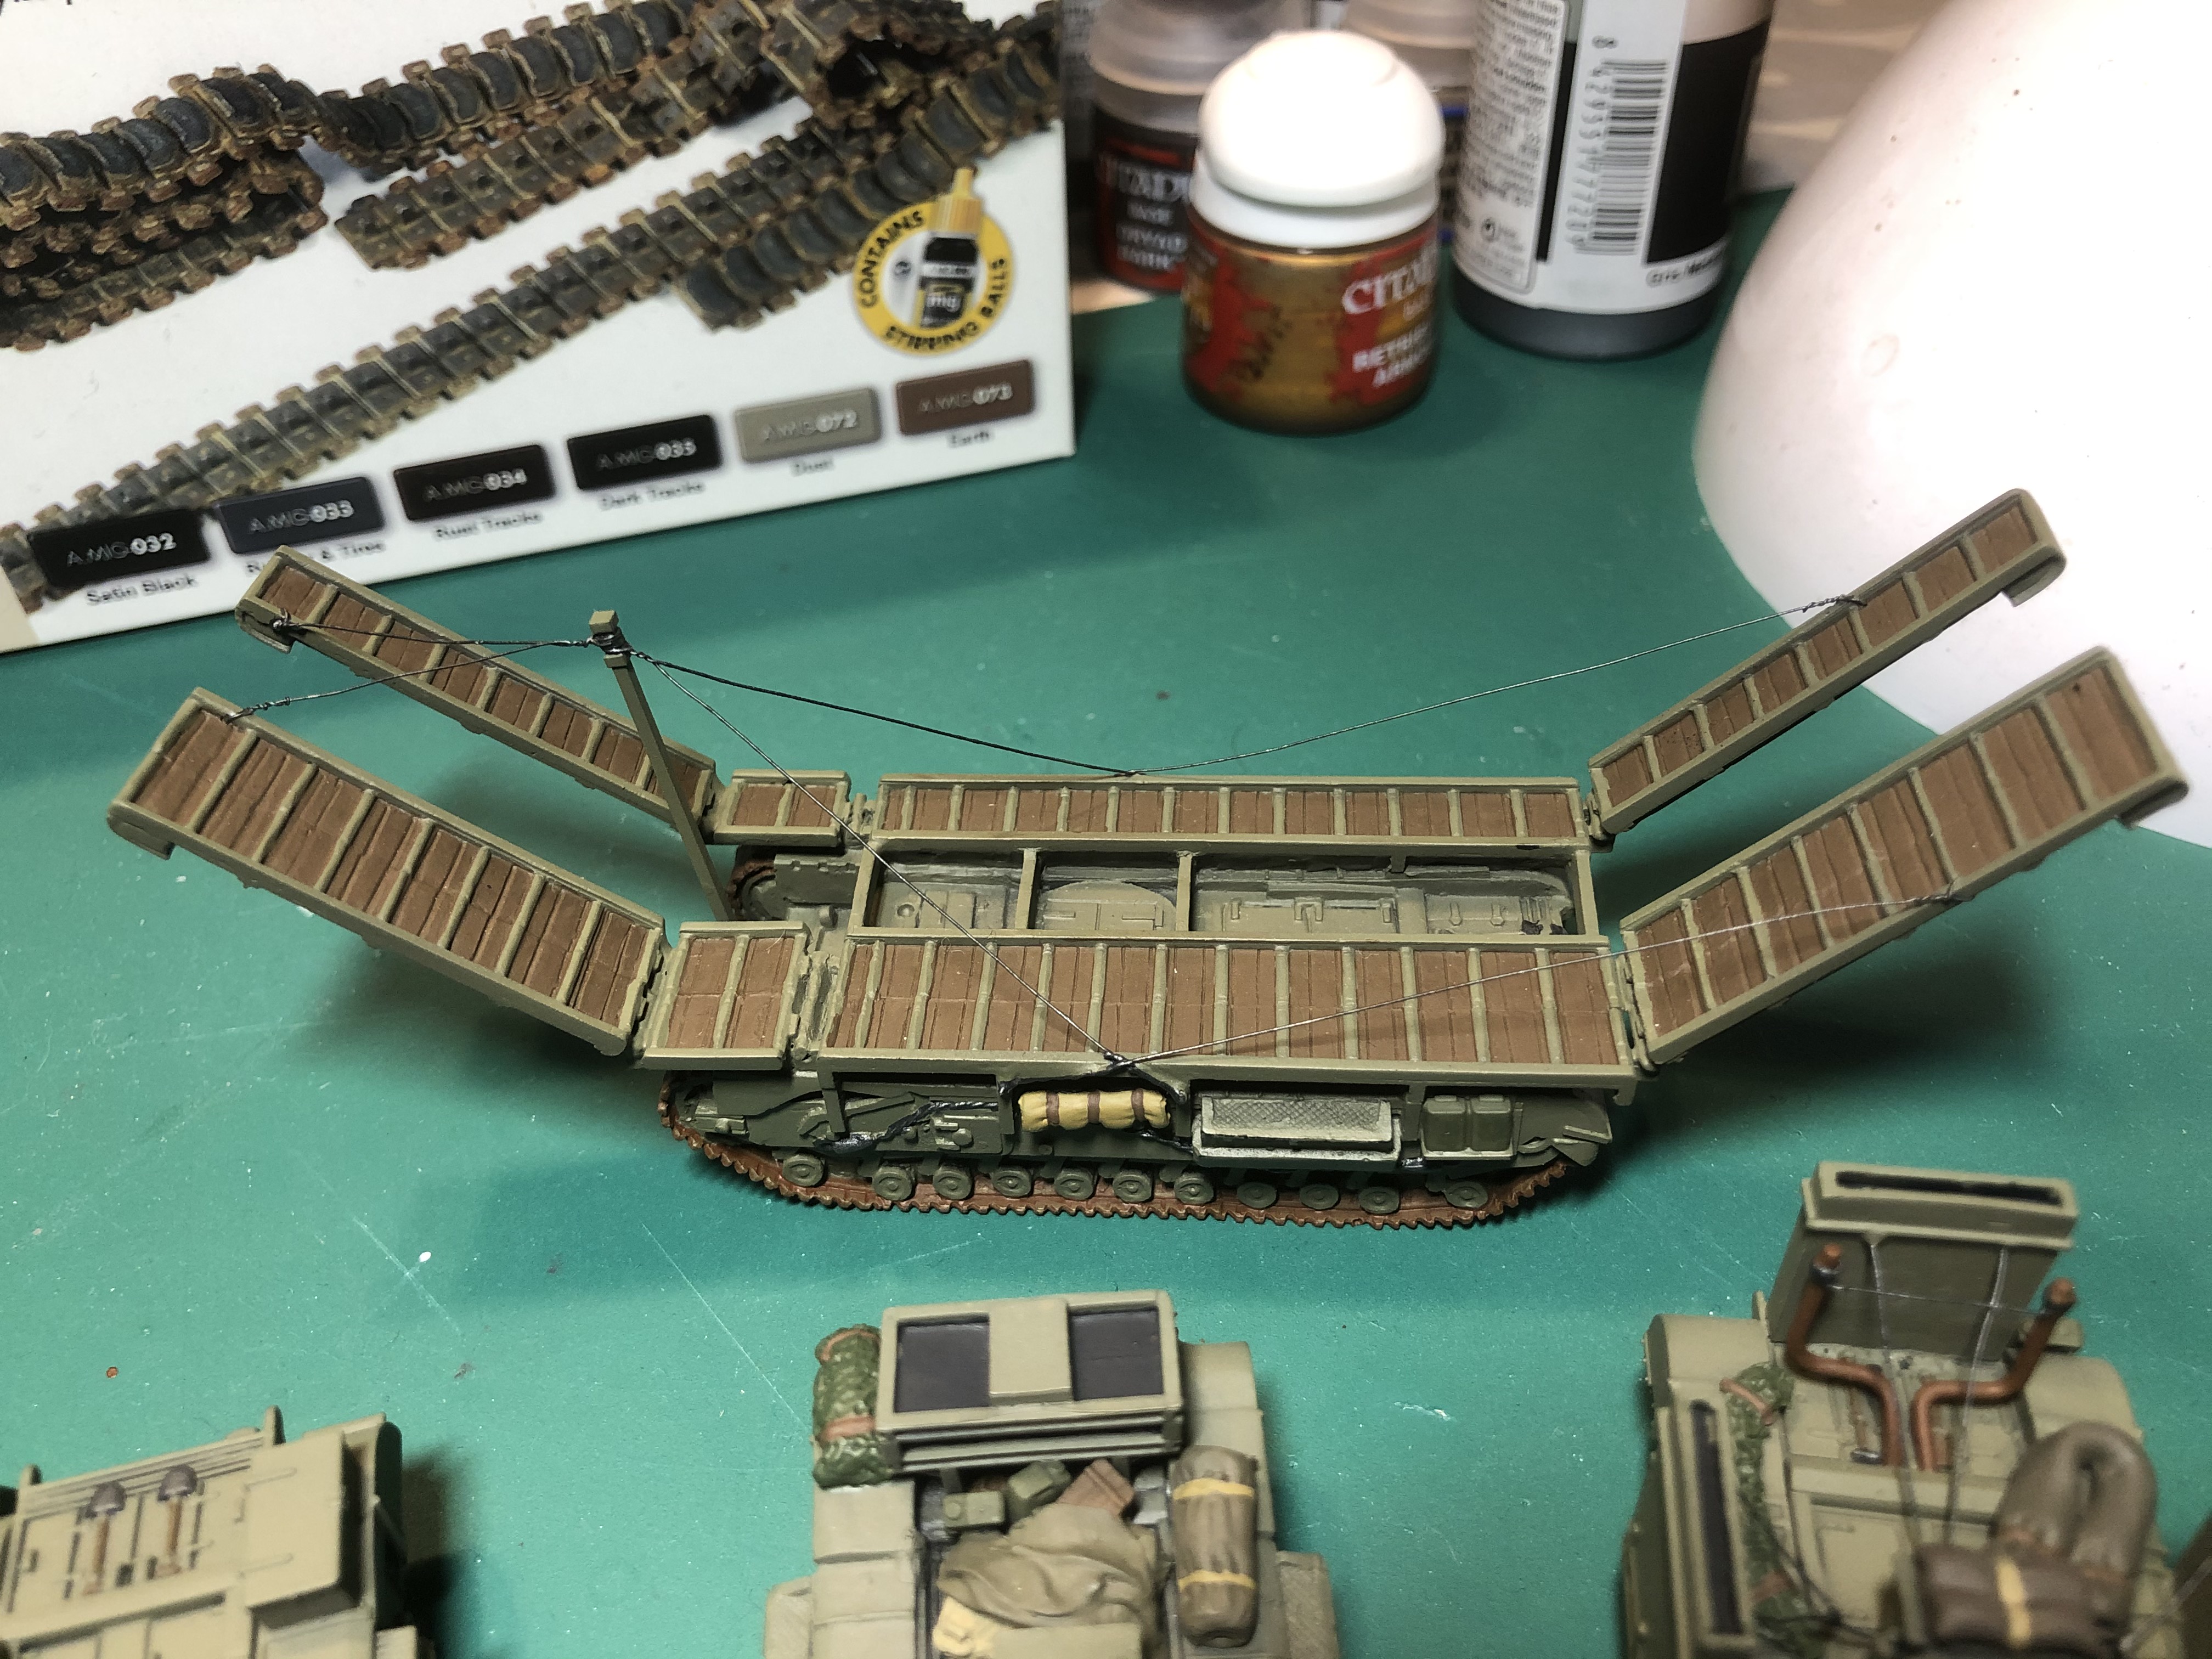
Base coat tracks
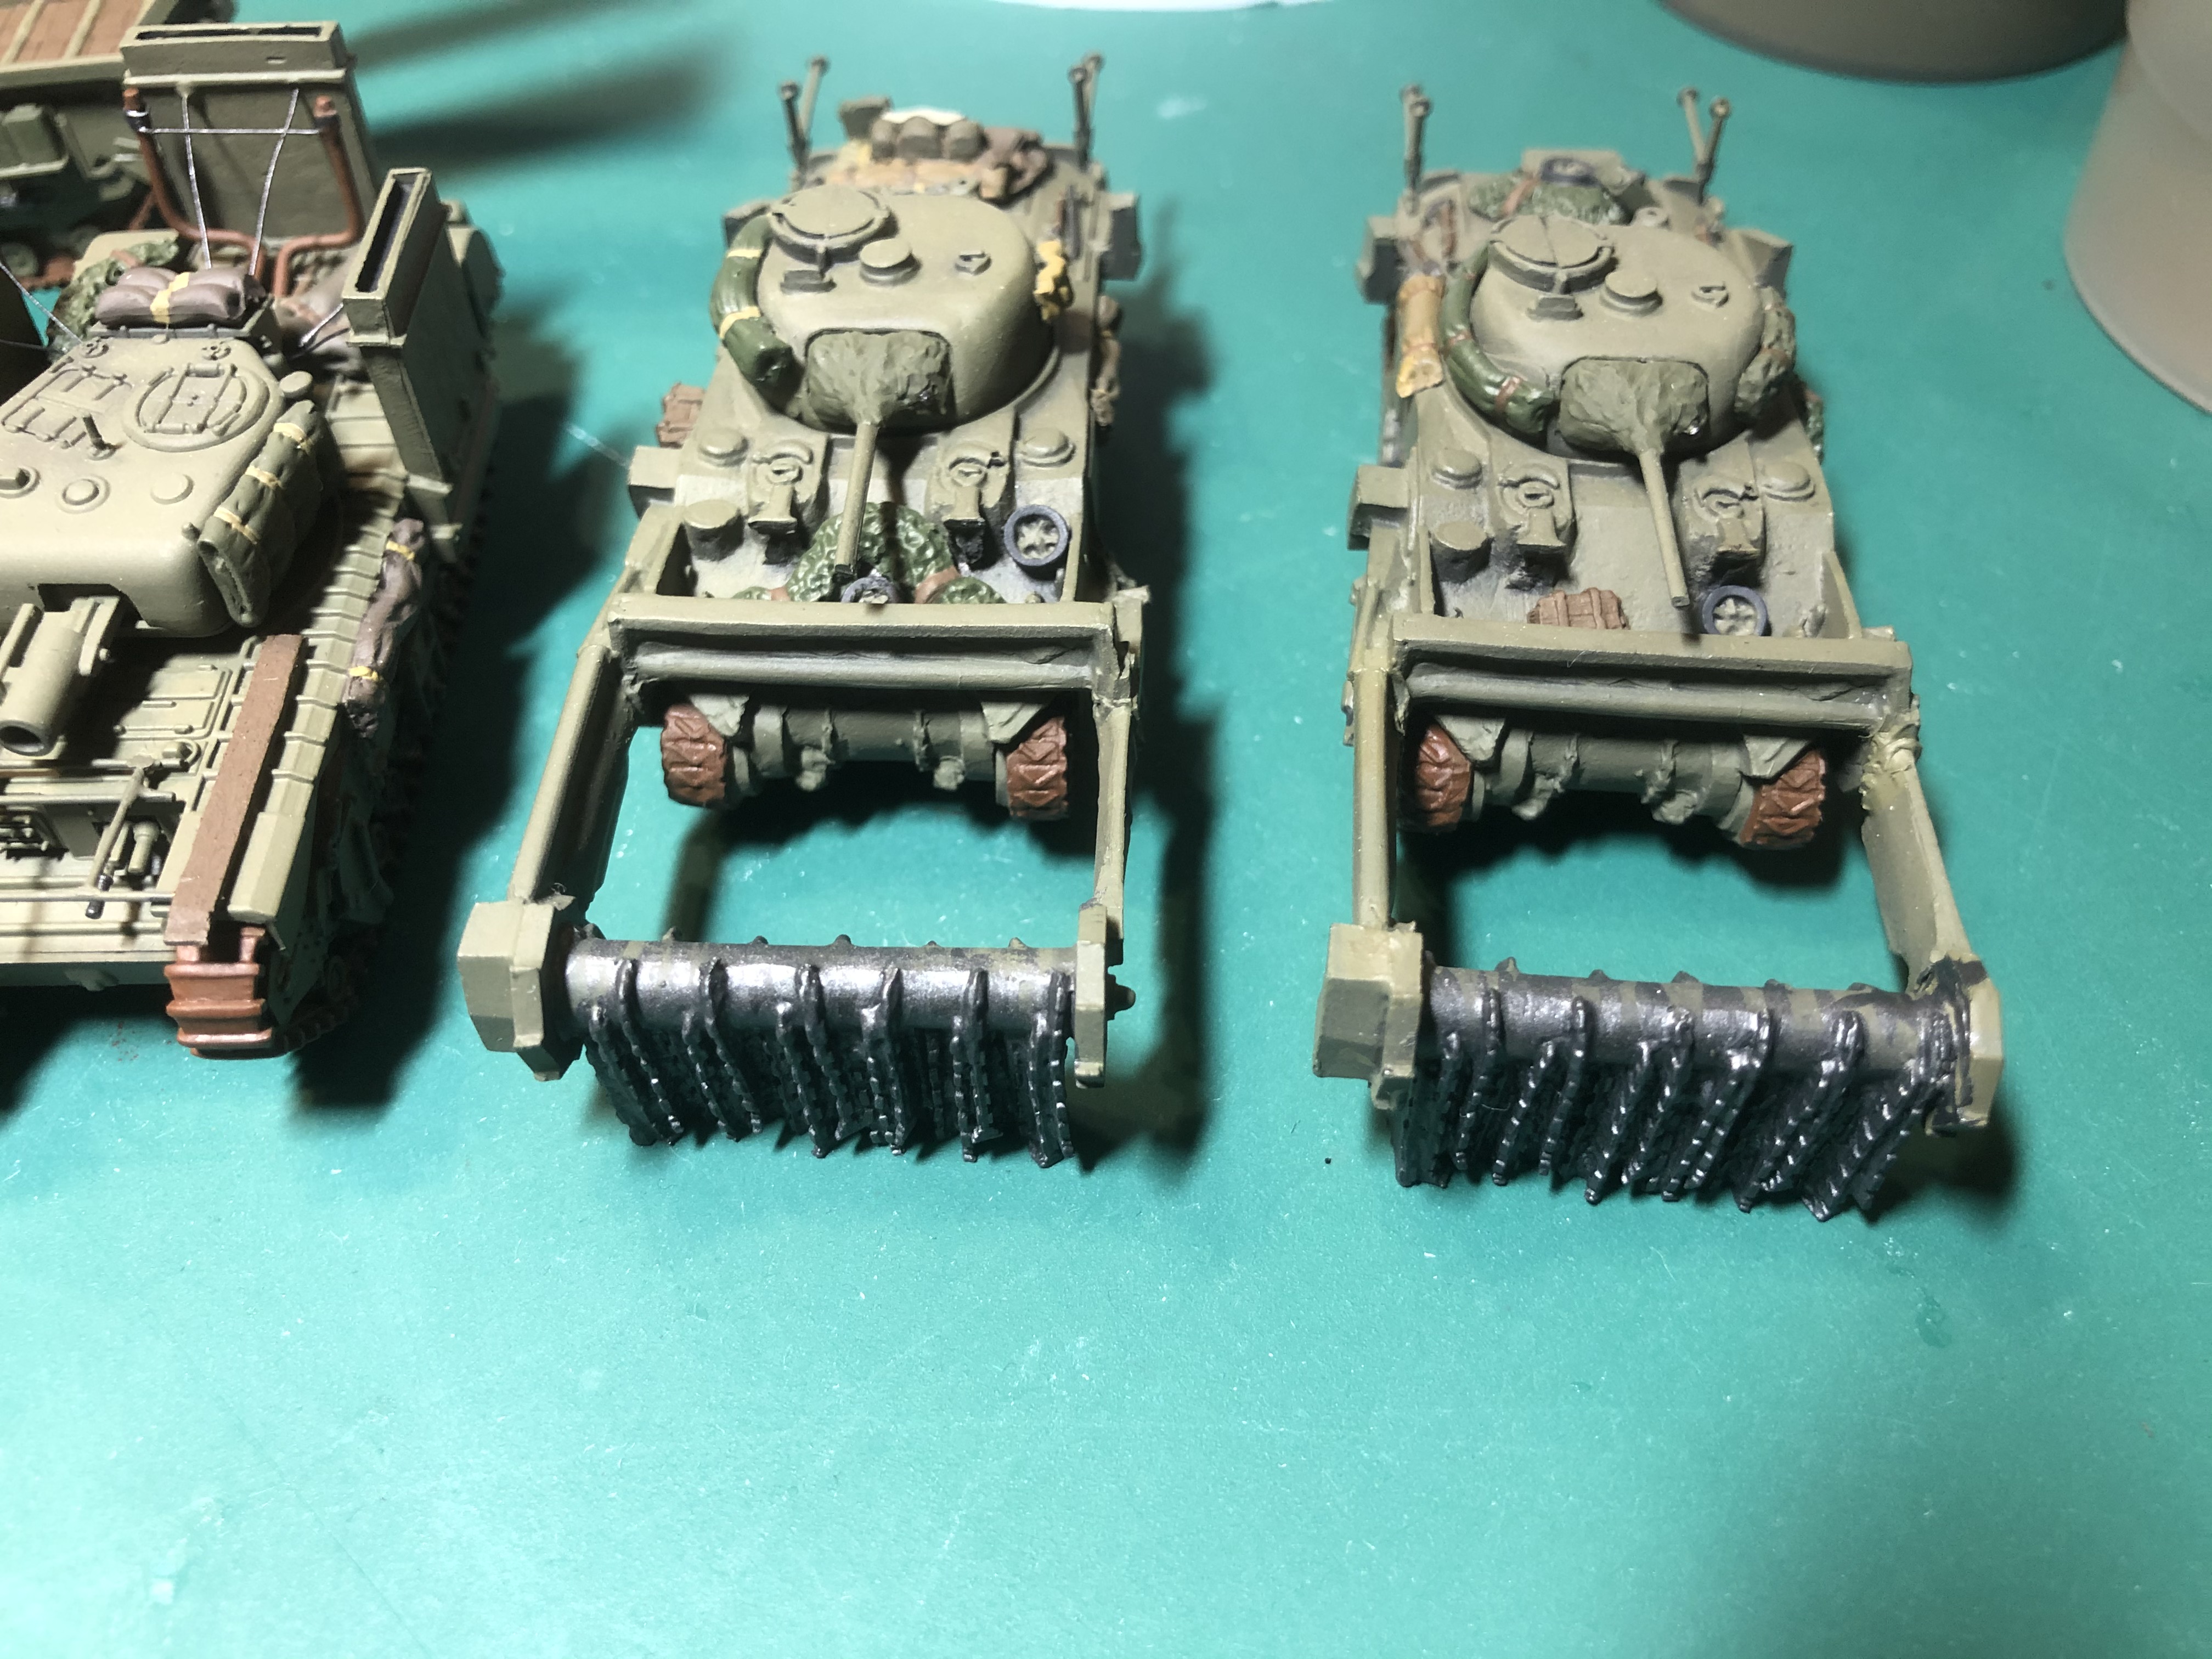
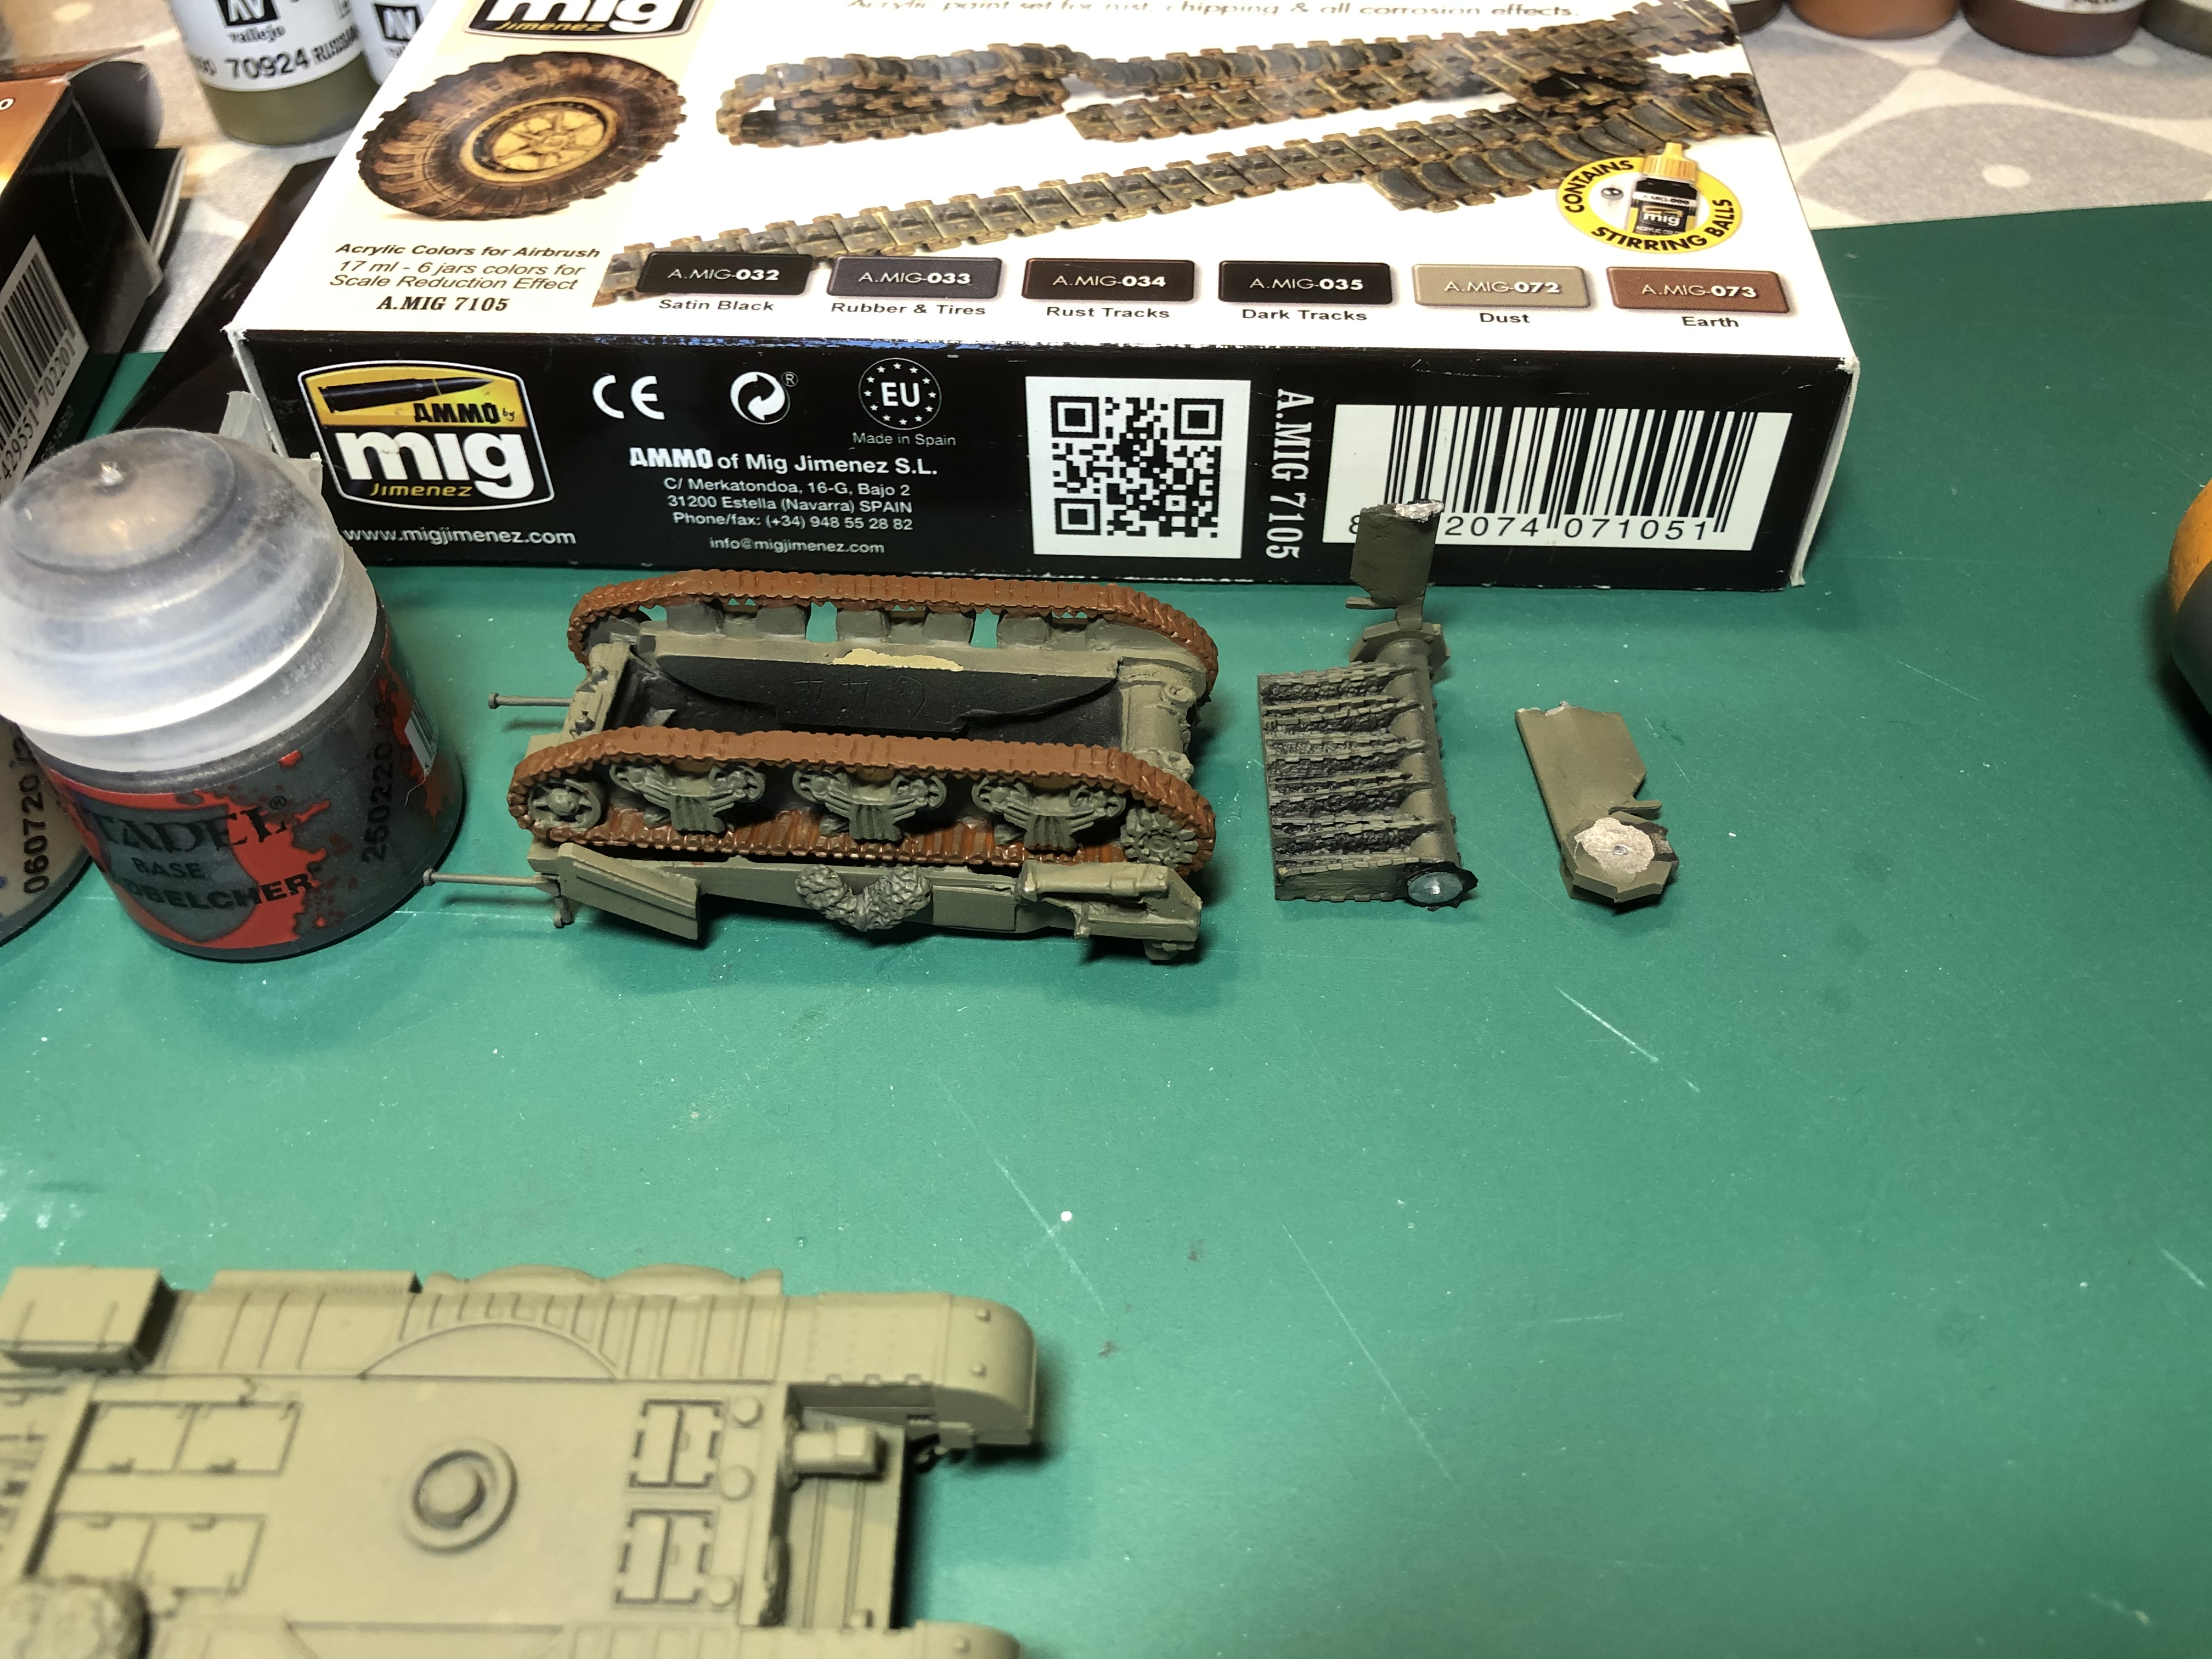
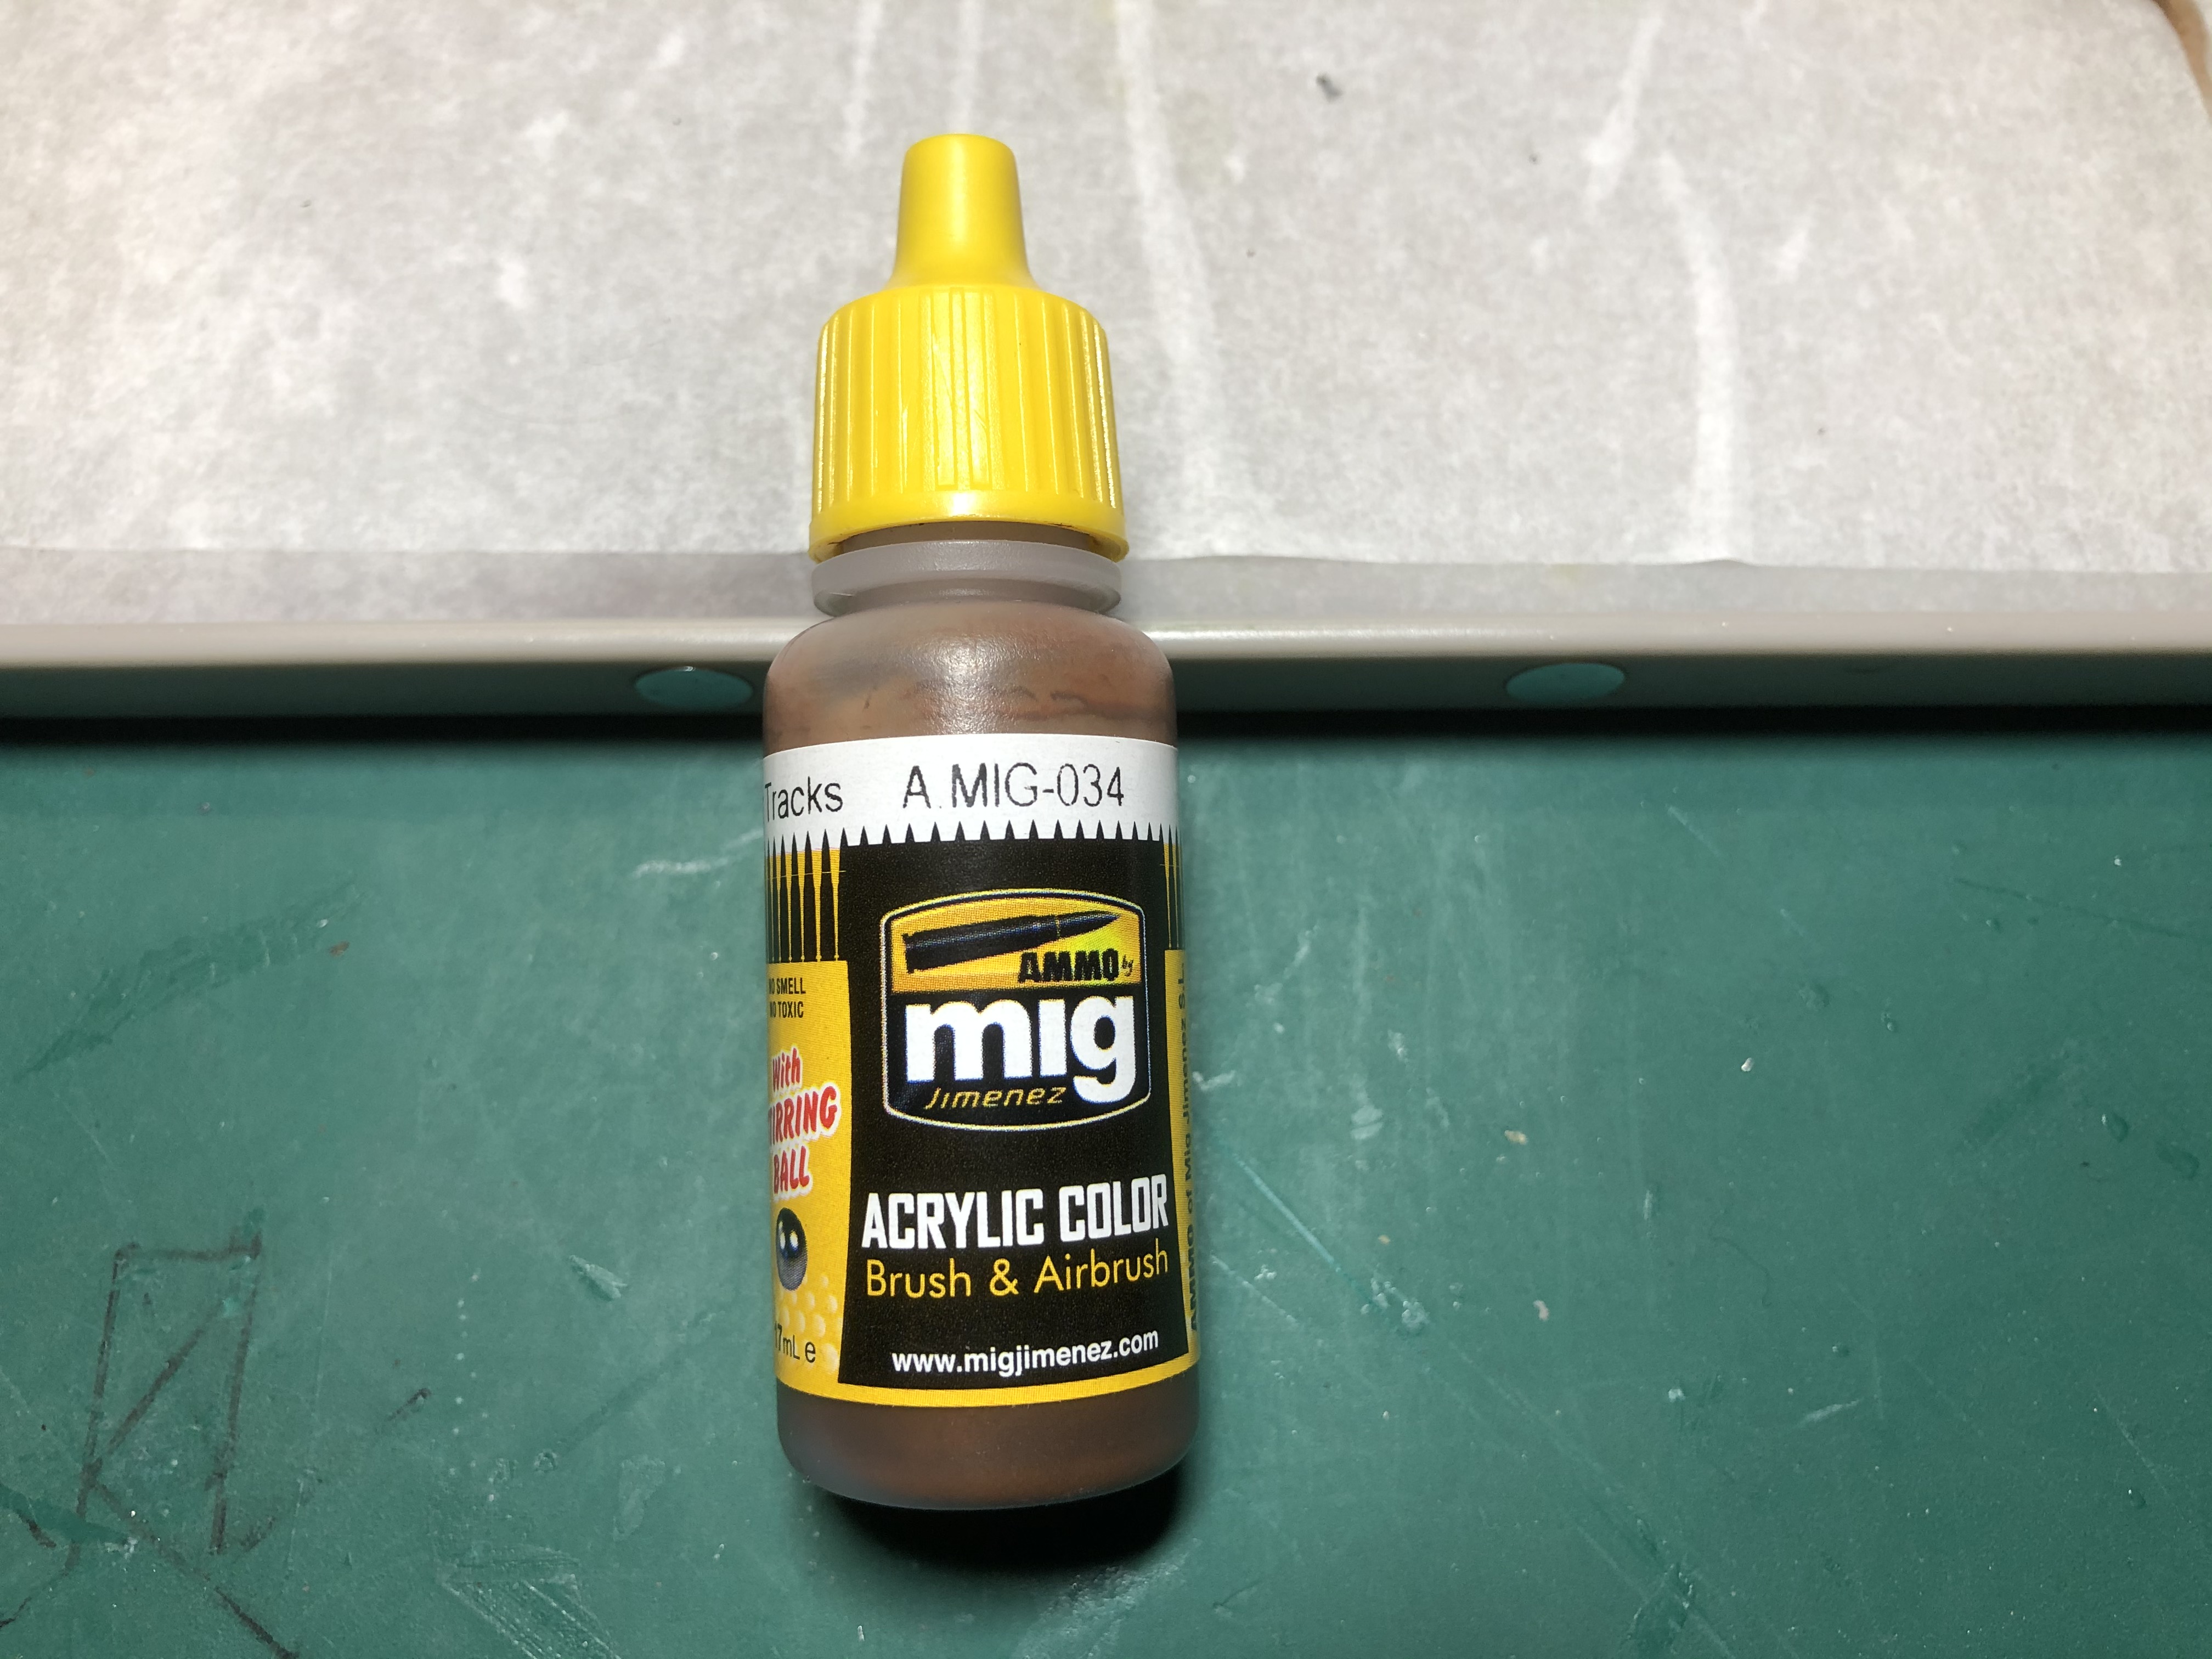 Just in case you couldn't read the label on the last photo, here is the paint used to base coat the tracks.
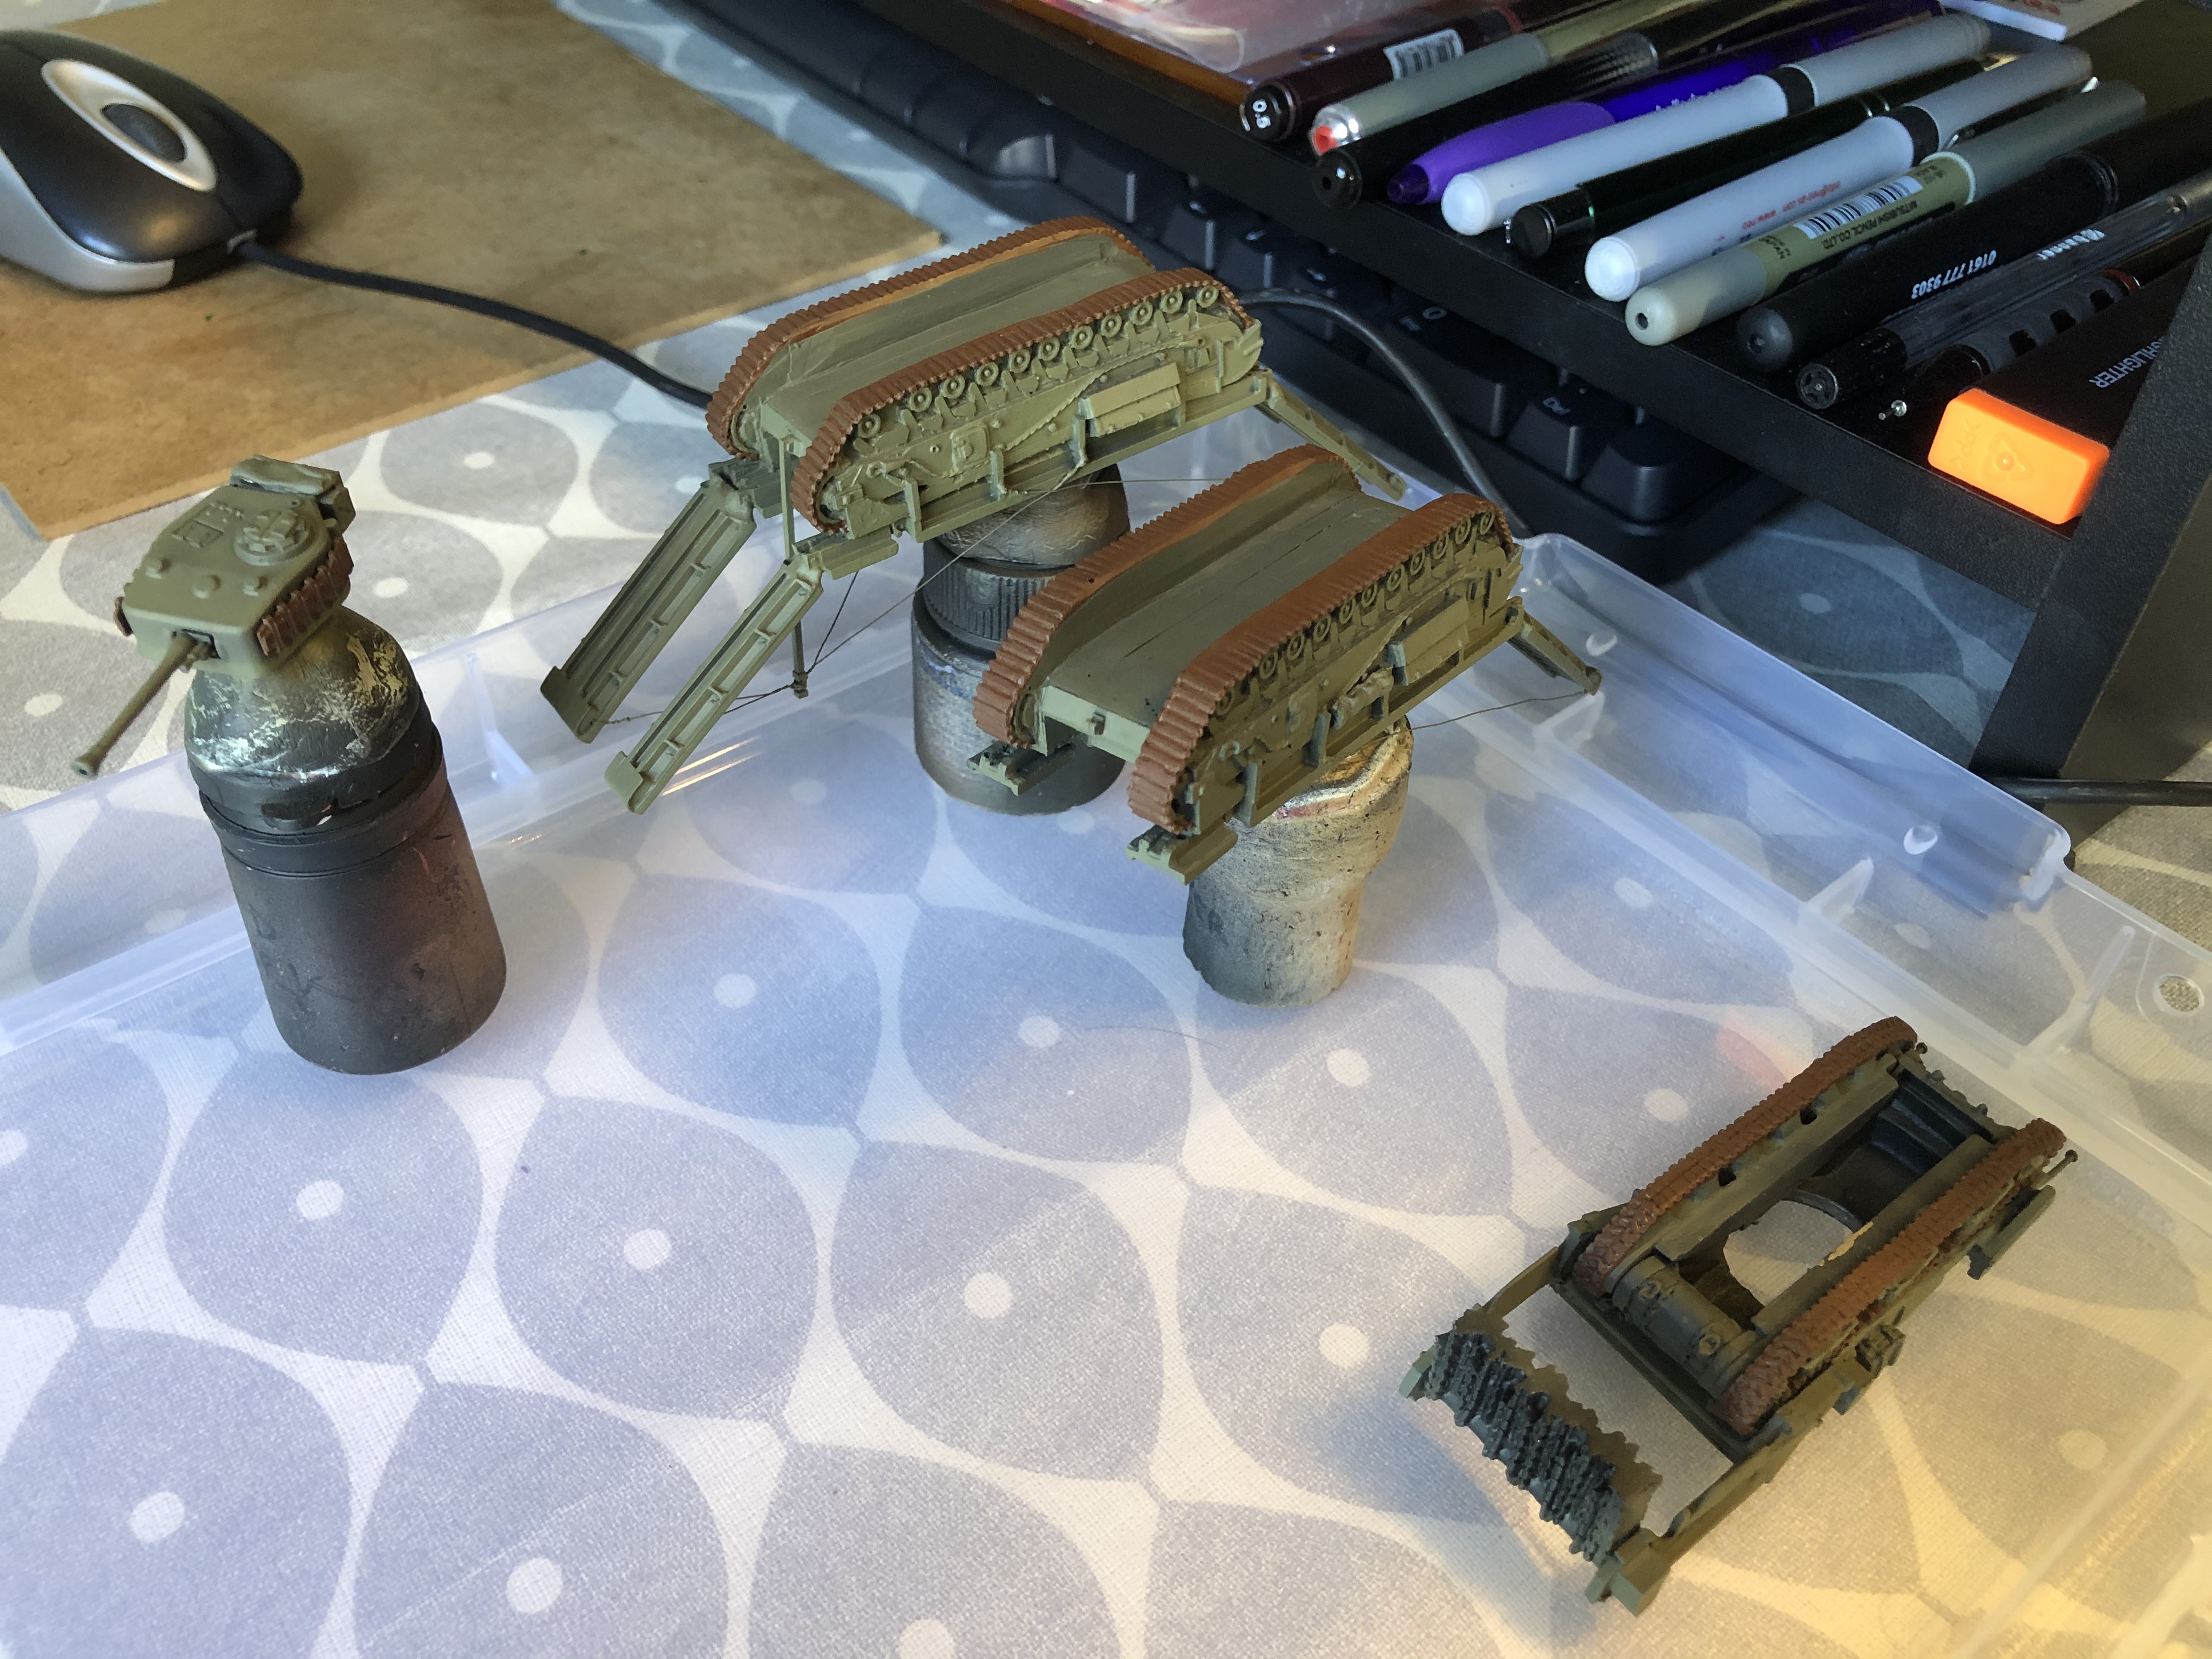 I took my time to base coat all of the tracks and the sets of spare links glued on the side of the hulls and around the turrets. Care was taken to keep it off the road wheels.
 BUGGER!!
 My sausage fingers slipped whilst painting the tracks on one of the Sherman Crabs and it hit the desk, flying into many bits, Bugger! That's the problem with metal vehicles, when they fall they hit Hard! another good reason for pinning, which is exactly what I did when I rebuilt this one!
More Base Coating
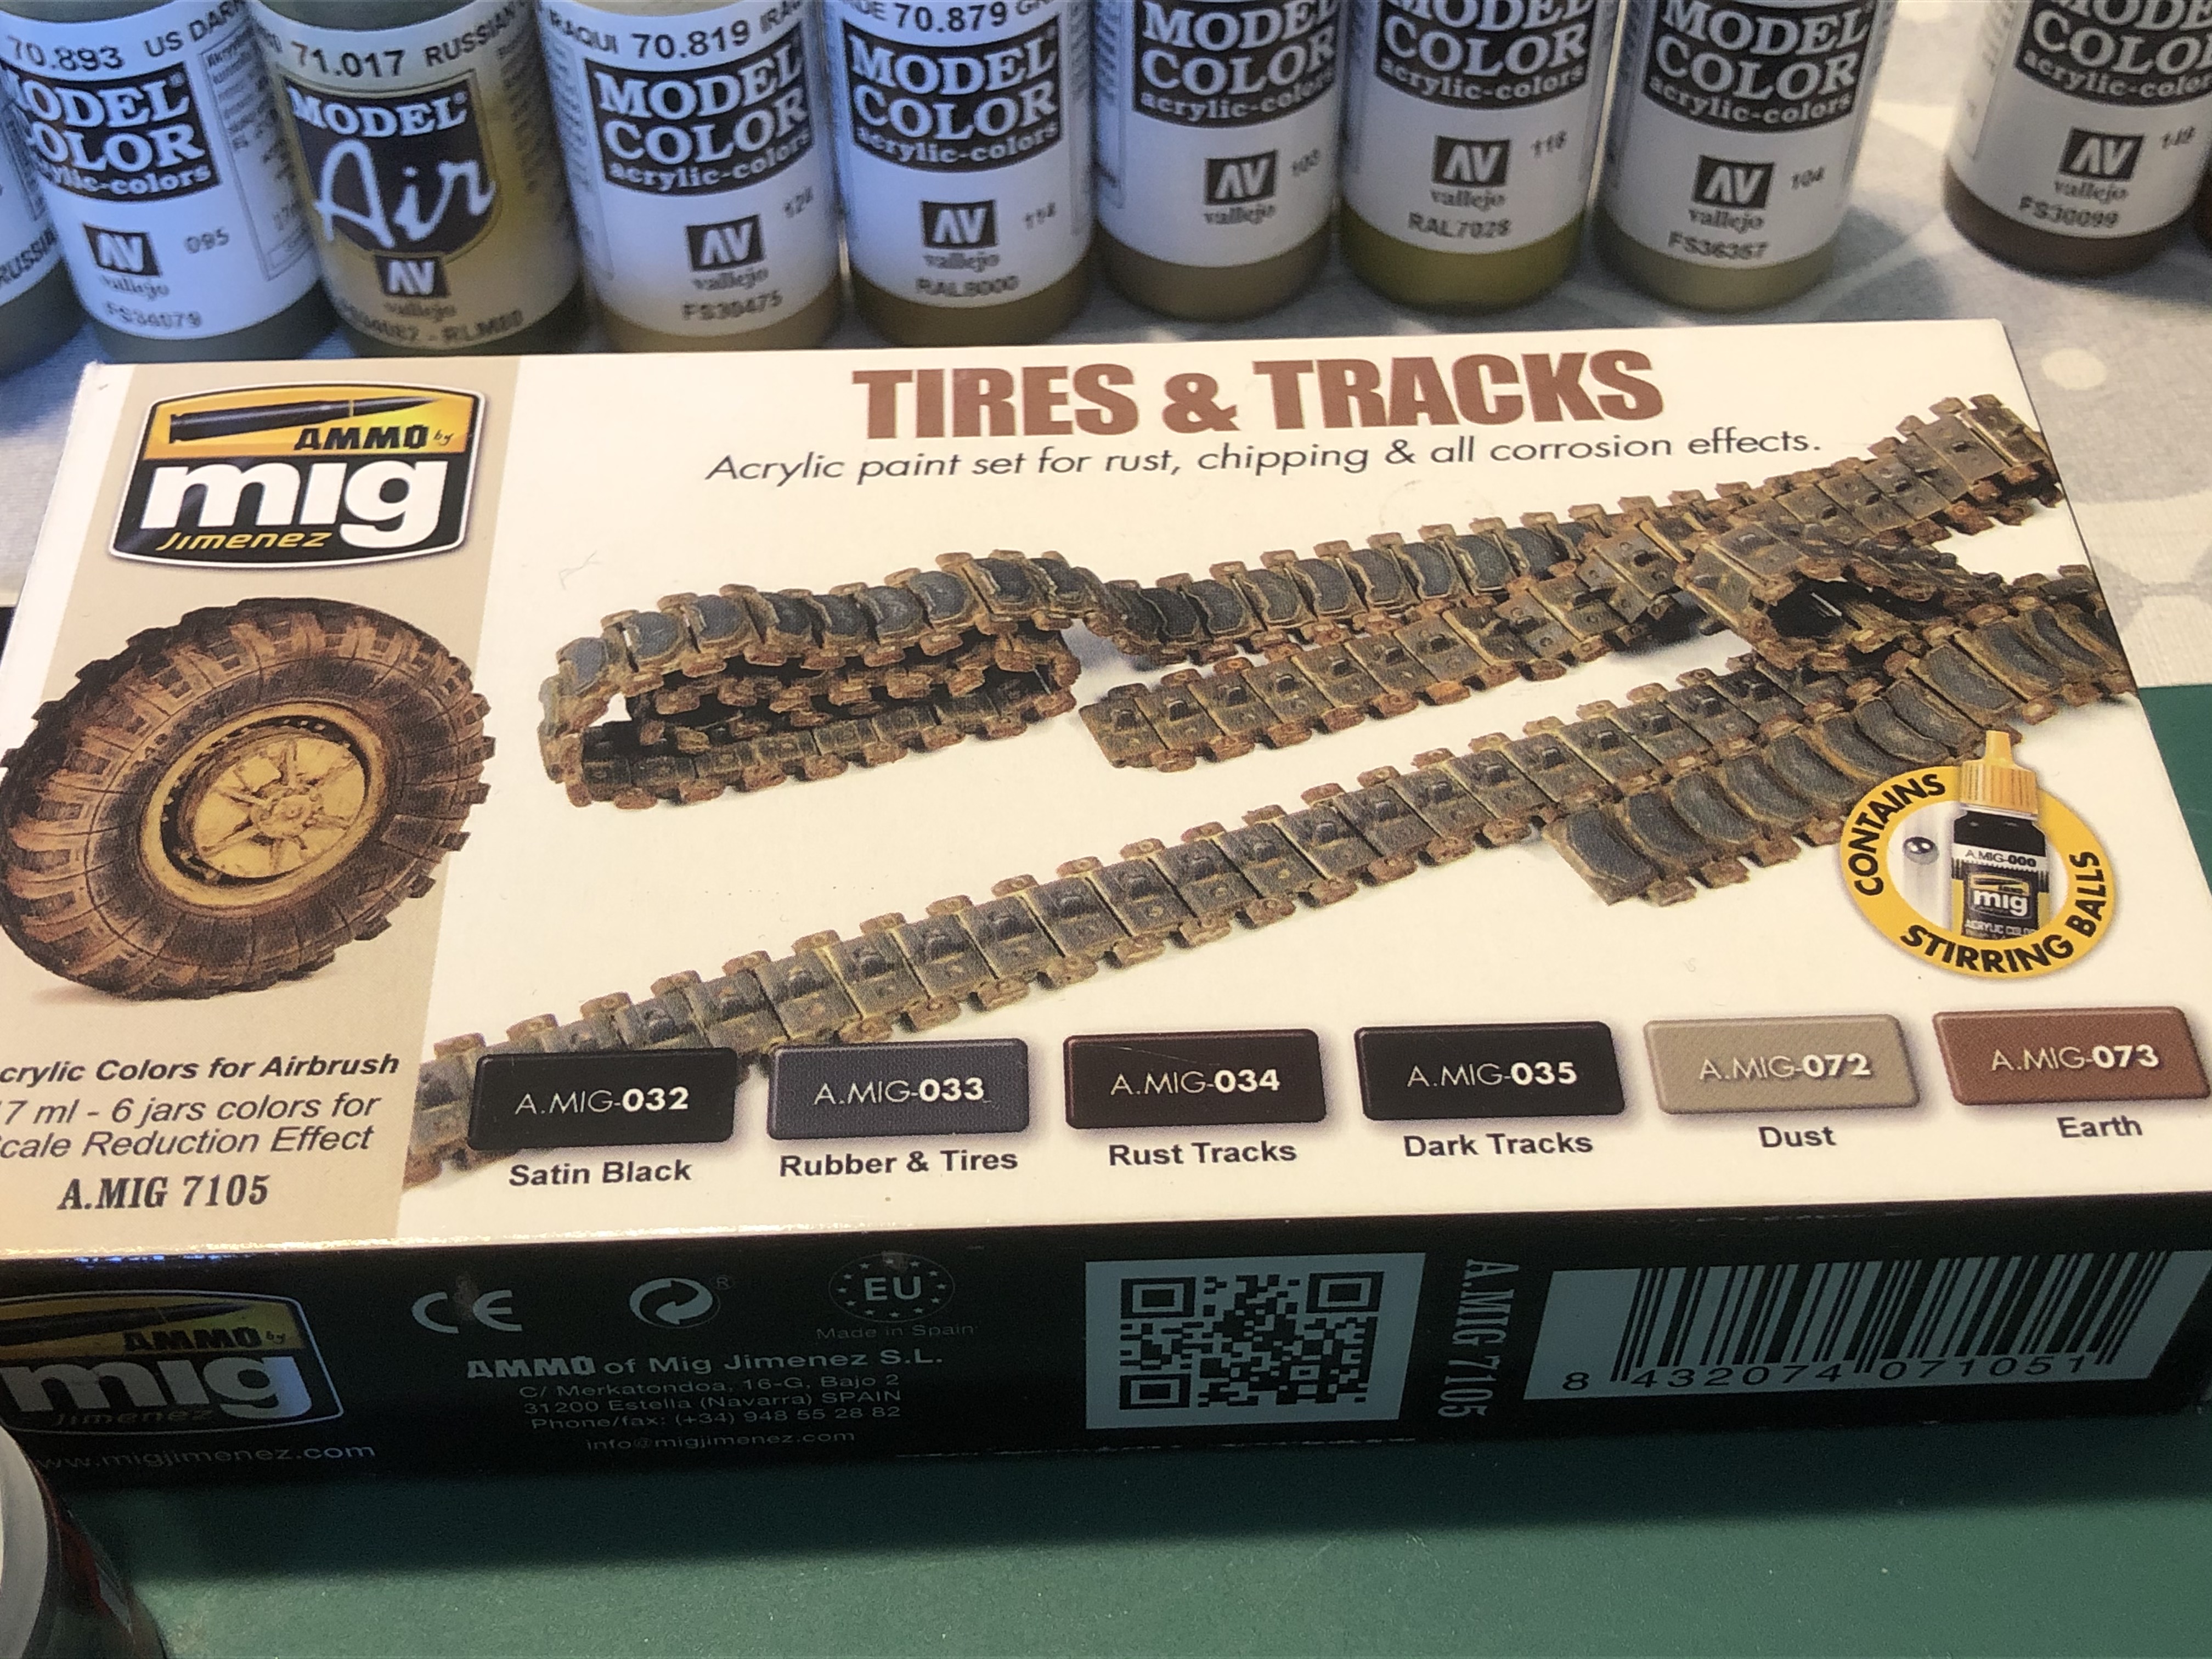 I have also got a couple of paint sets that will come in handy, the first is from Mig Ammo and is specifically for tracks and tyres.
 The other is the US Team Yankee paint set which had a good range of standard colours for green tanks.
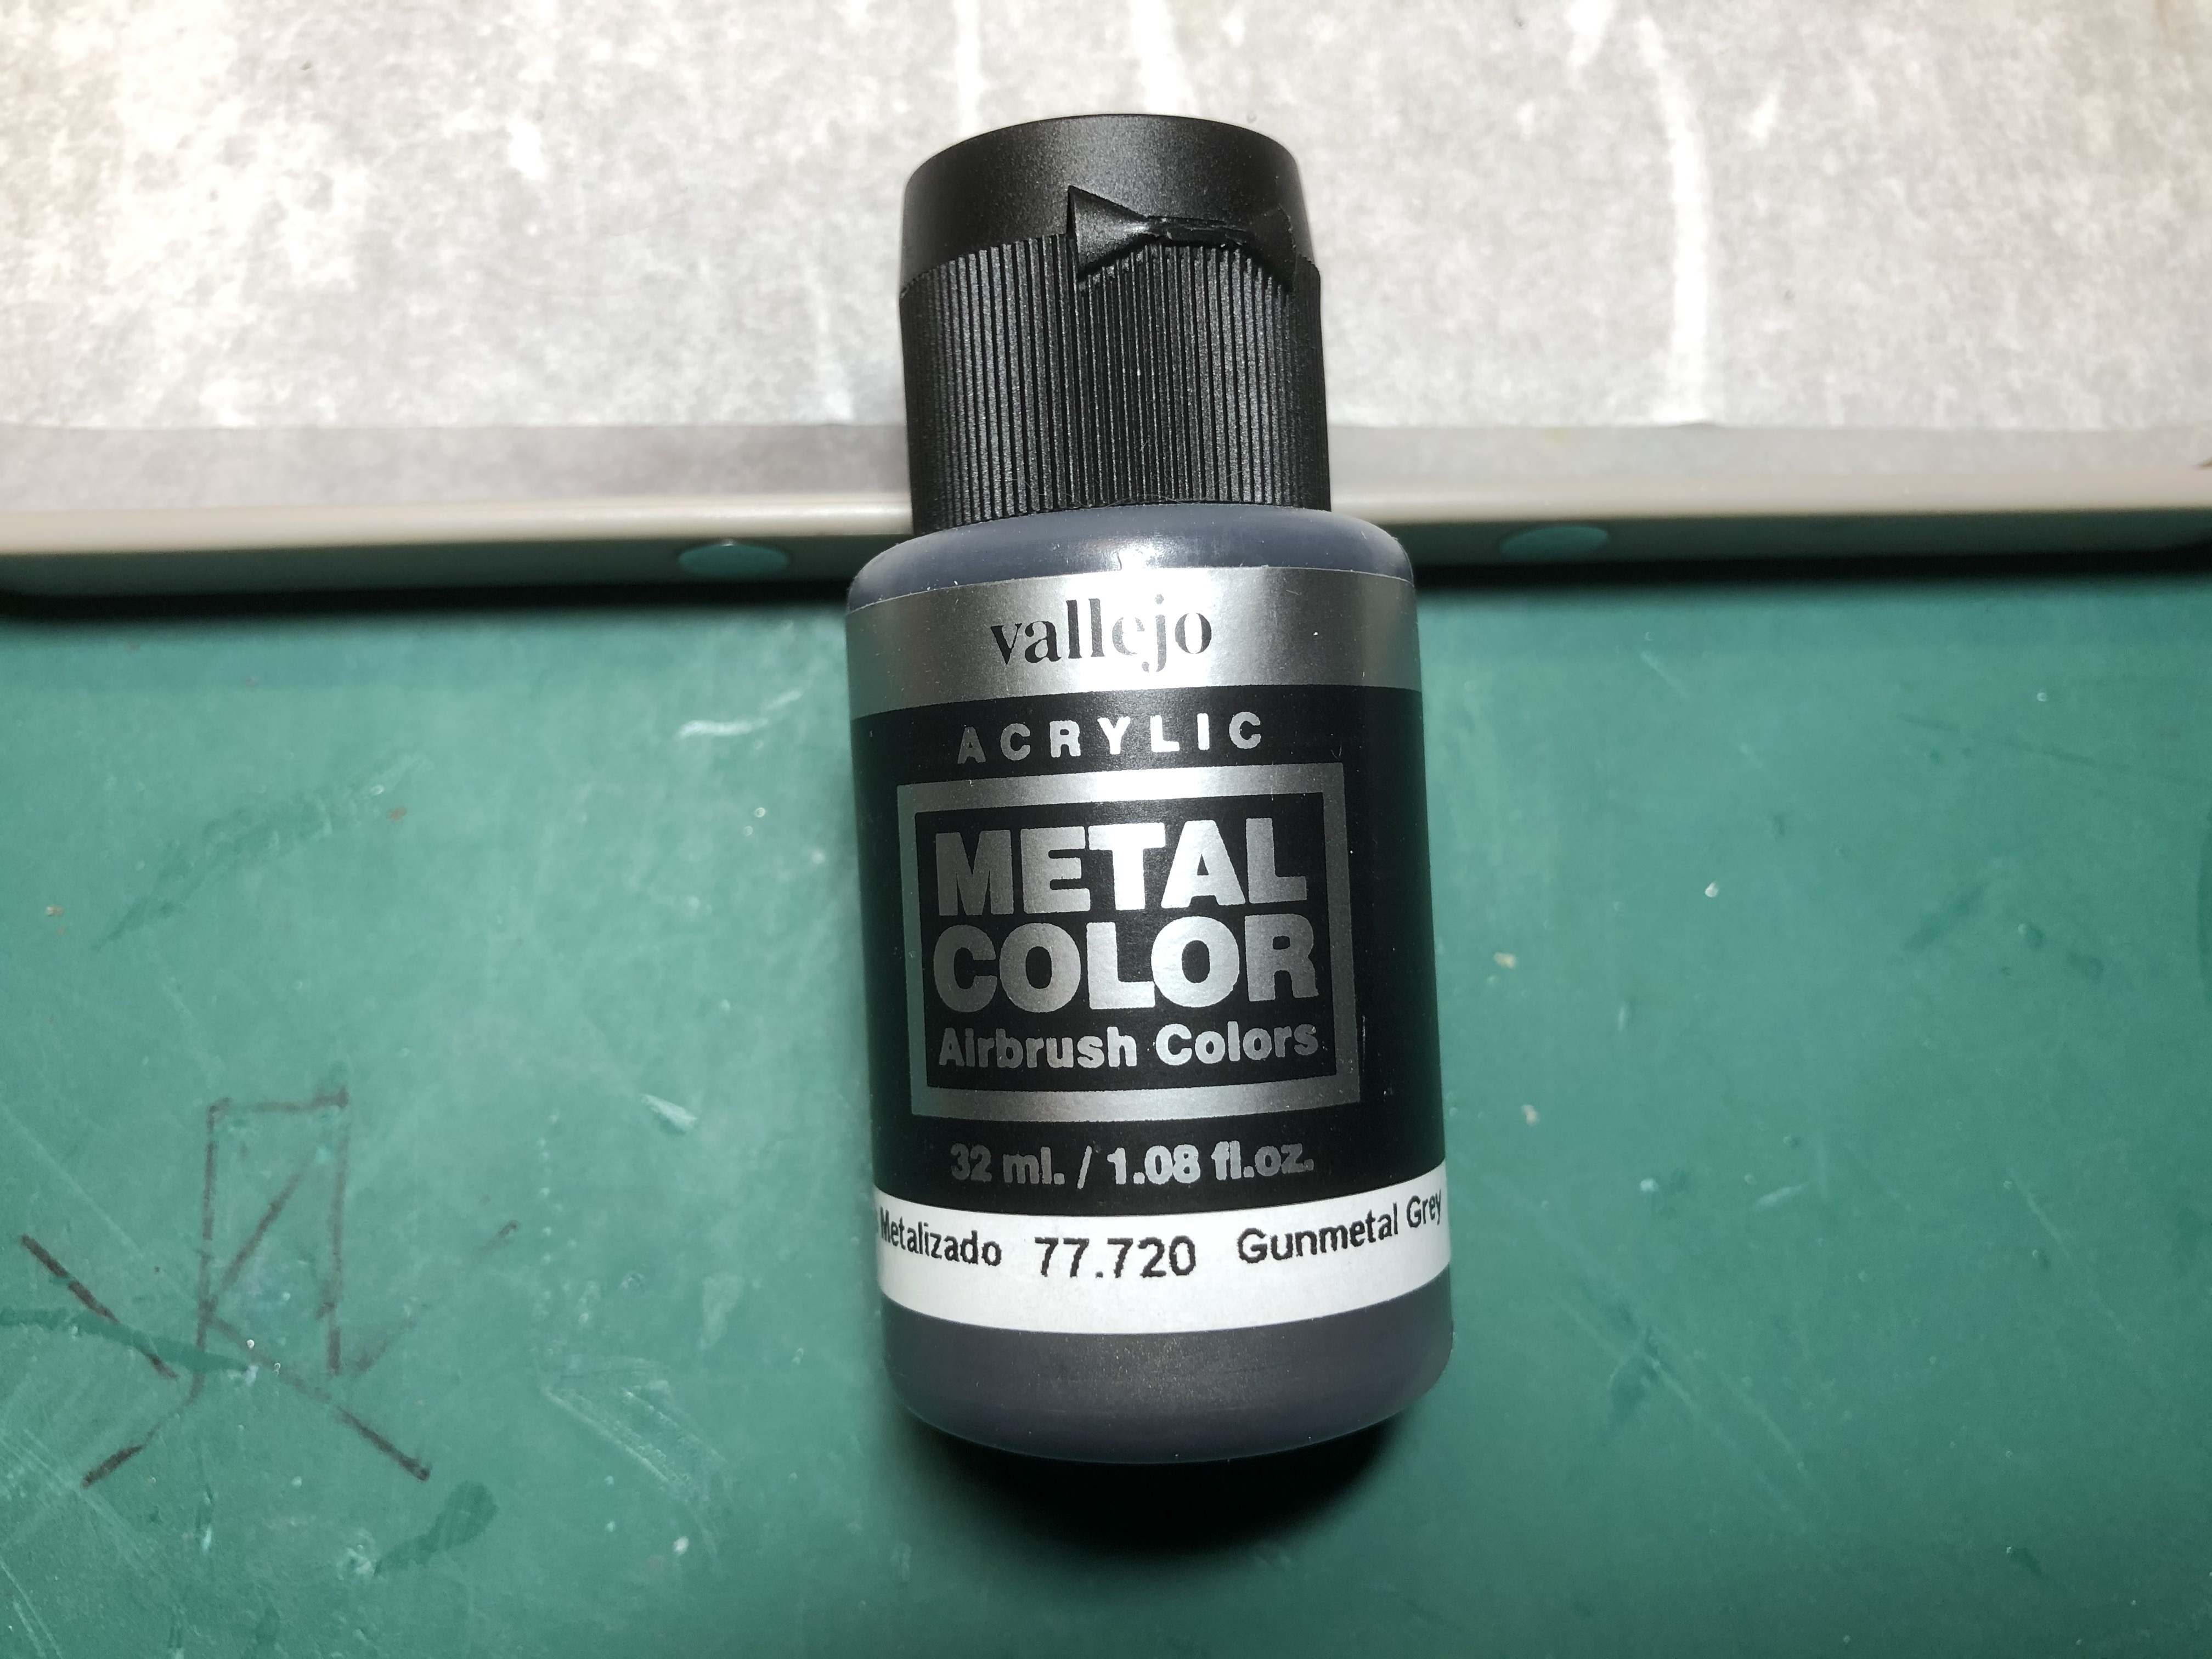
 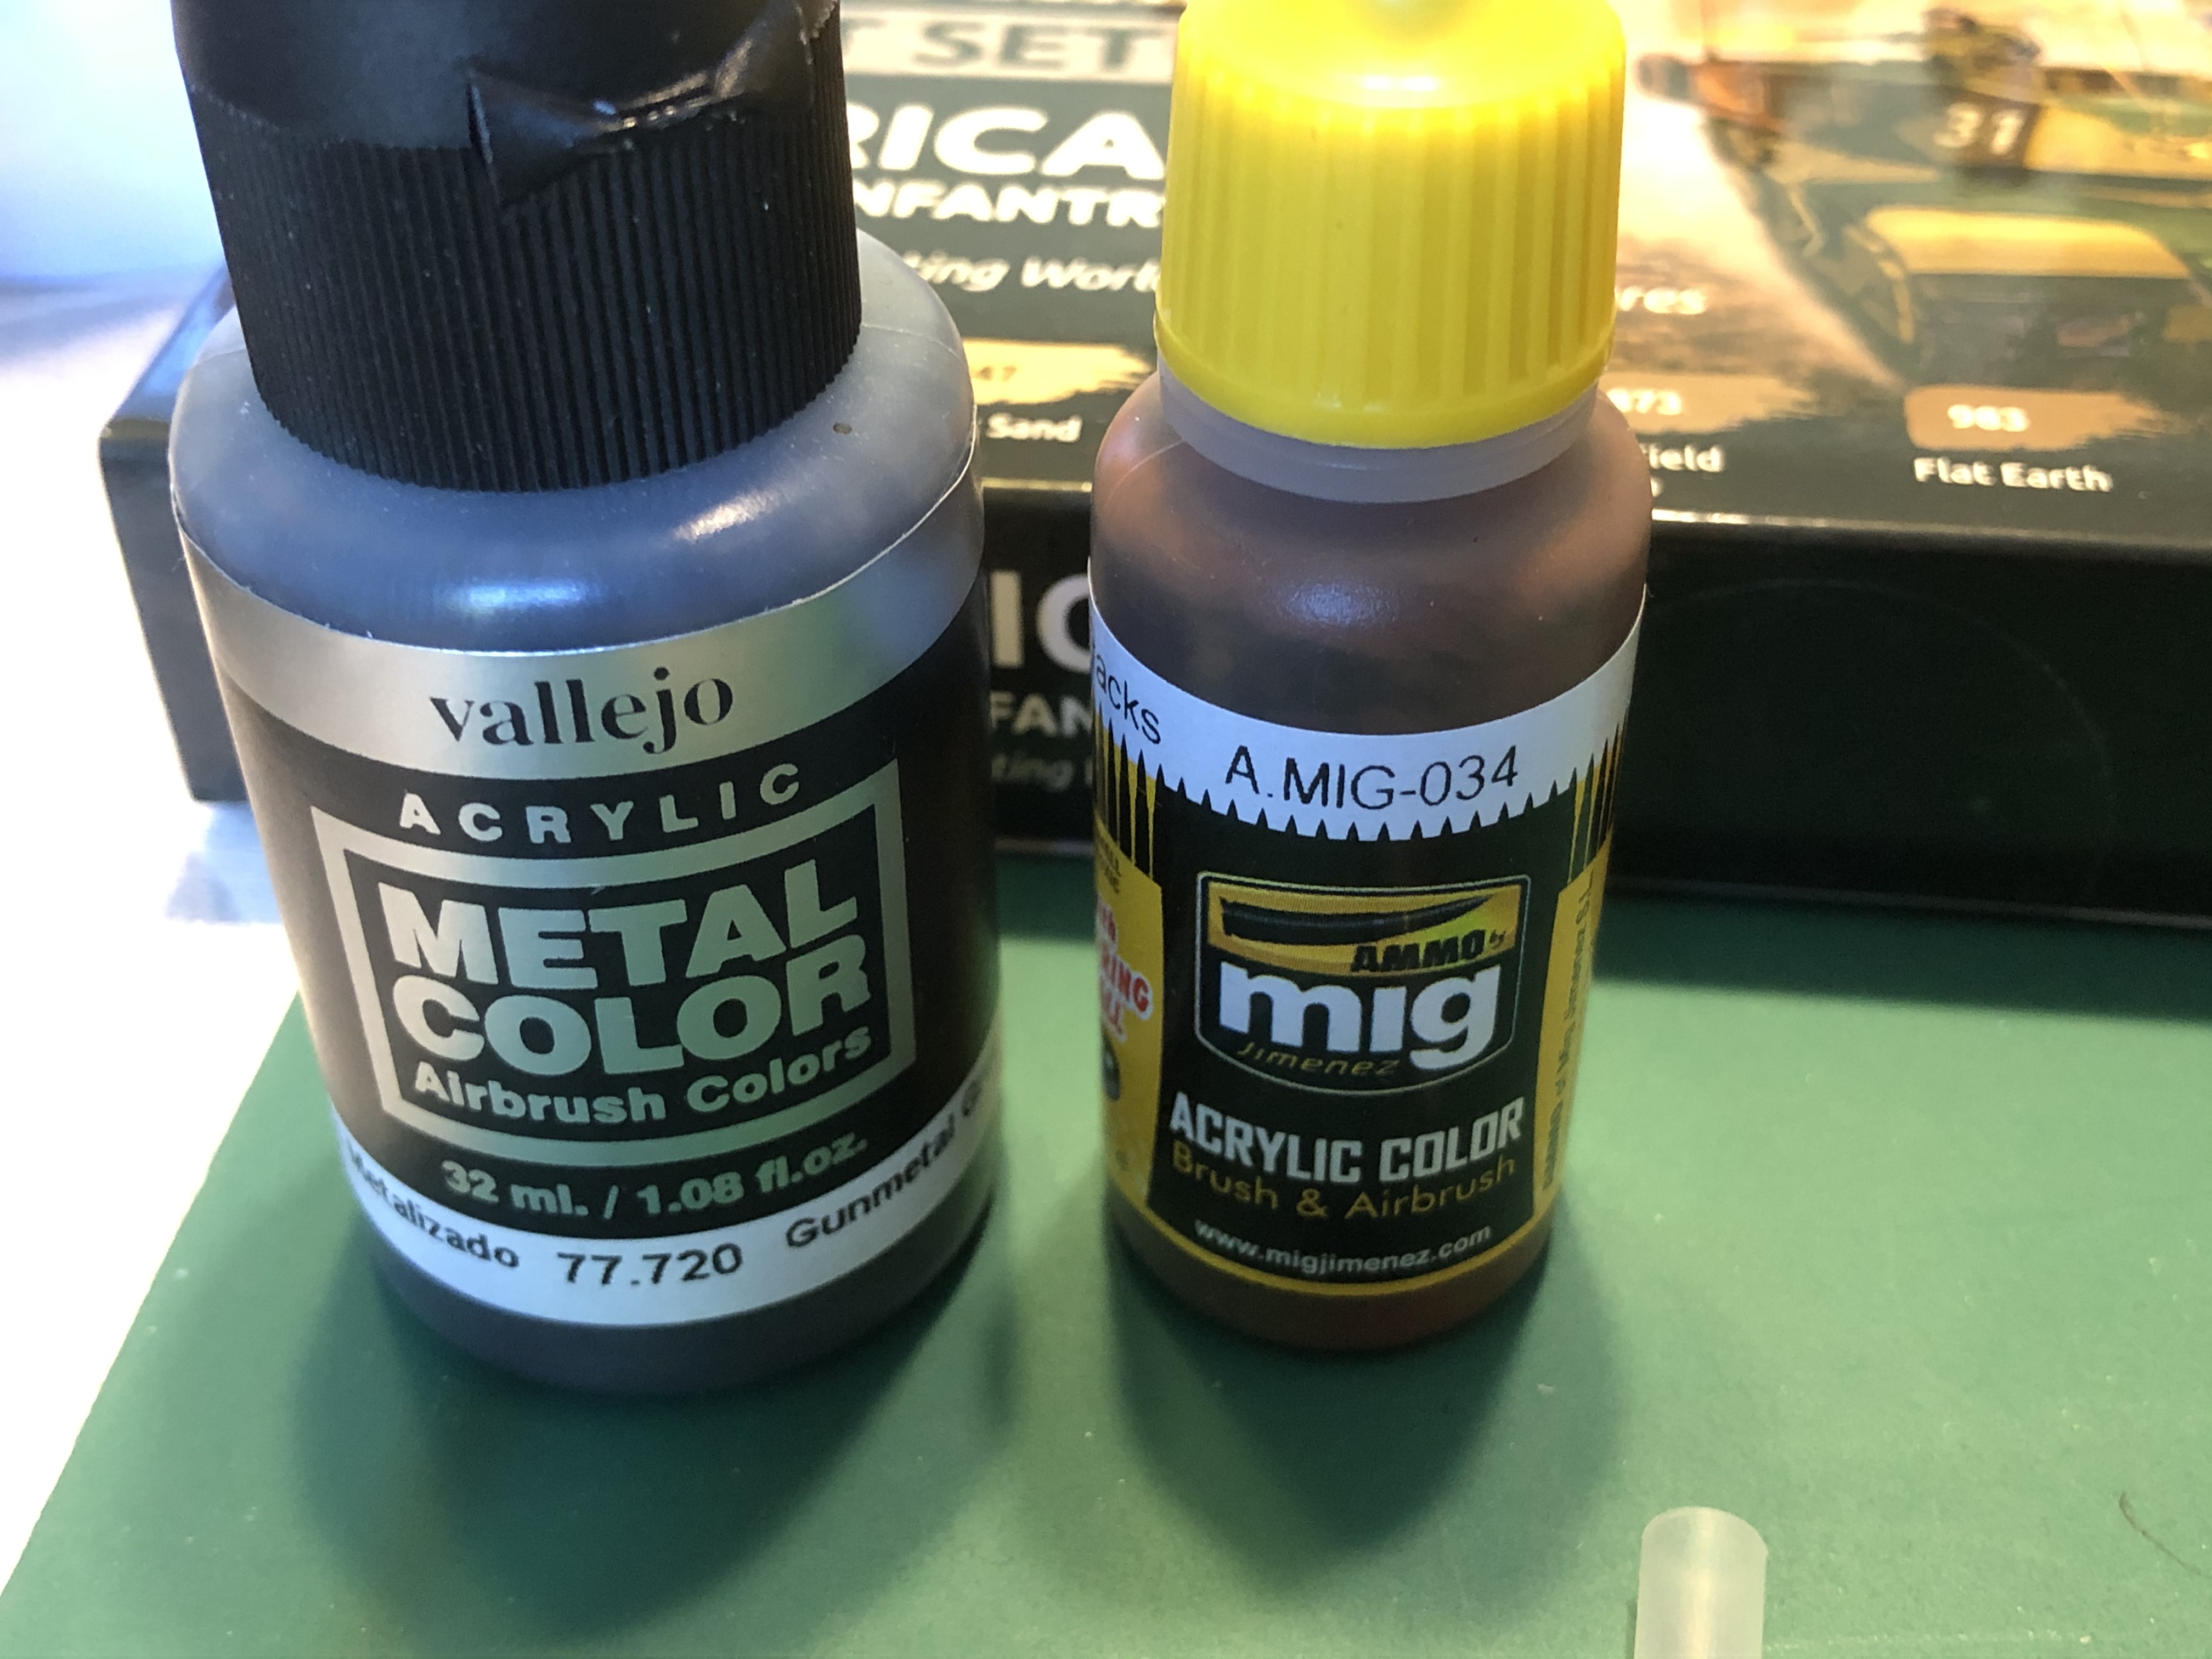 I have also recently bought a Vallejo Metal colour paint. I usually use Bolt-gun metal/ lead belcher but the metal colour is specifically for airbrushes and therefore is already at a better consistency for using without the need for thinning down (which is notoriously difficult with GW paints that have large flakes in them). Alongside it is the rusted track paint from the Mig Ammo set that is used to base coat all tracks.


