![Very Cool! Make Your Own Star Wars: Legion Imperial Agent & Officer | Review [7 Days Early Access]](https://images.beastsofwar.com/2025/12/Star-Wars-Imperial-Agent-_-Officer-coverimage-V3-225-127.jpg)


How to be an Armoured Farmer, building Hobart’s Funnies in Glorious 15mm (and maybe 28mm if they arrive in time!)


Recommendations: 2233
About the Project
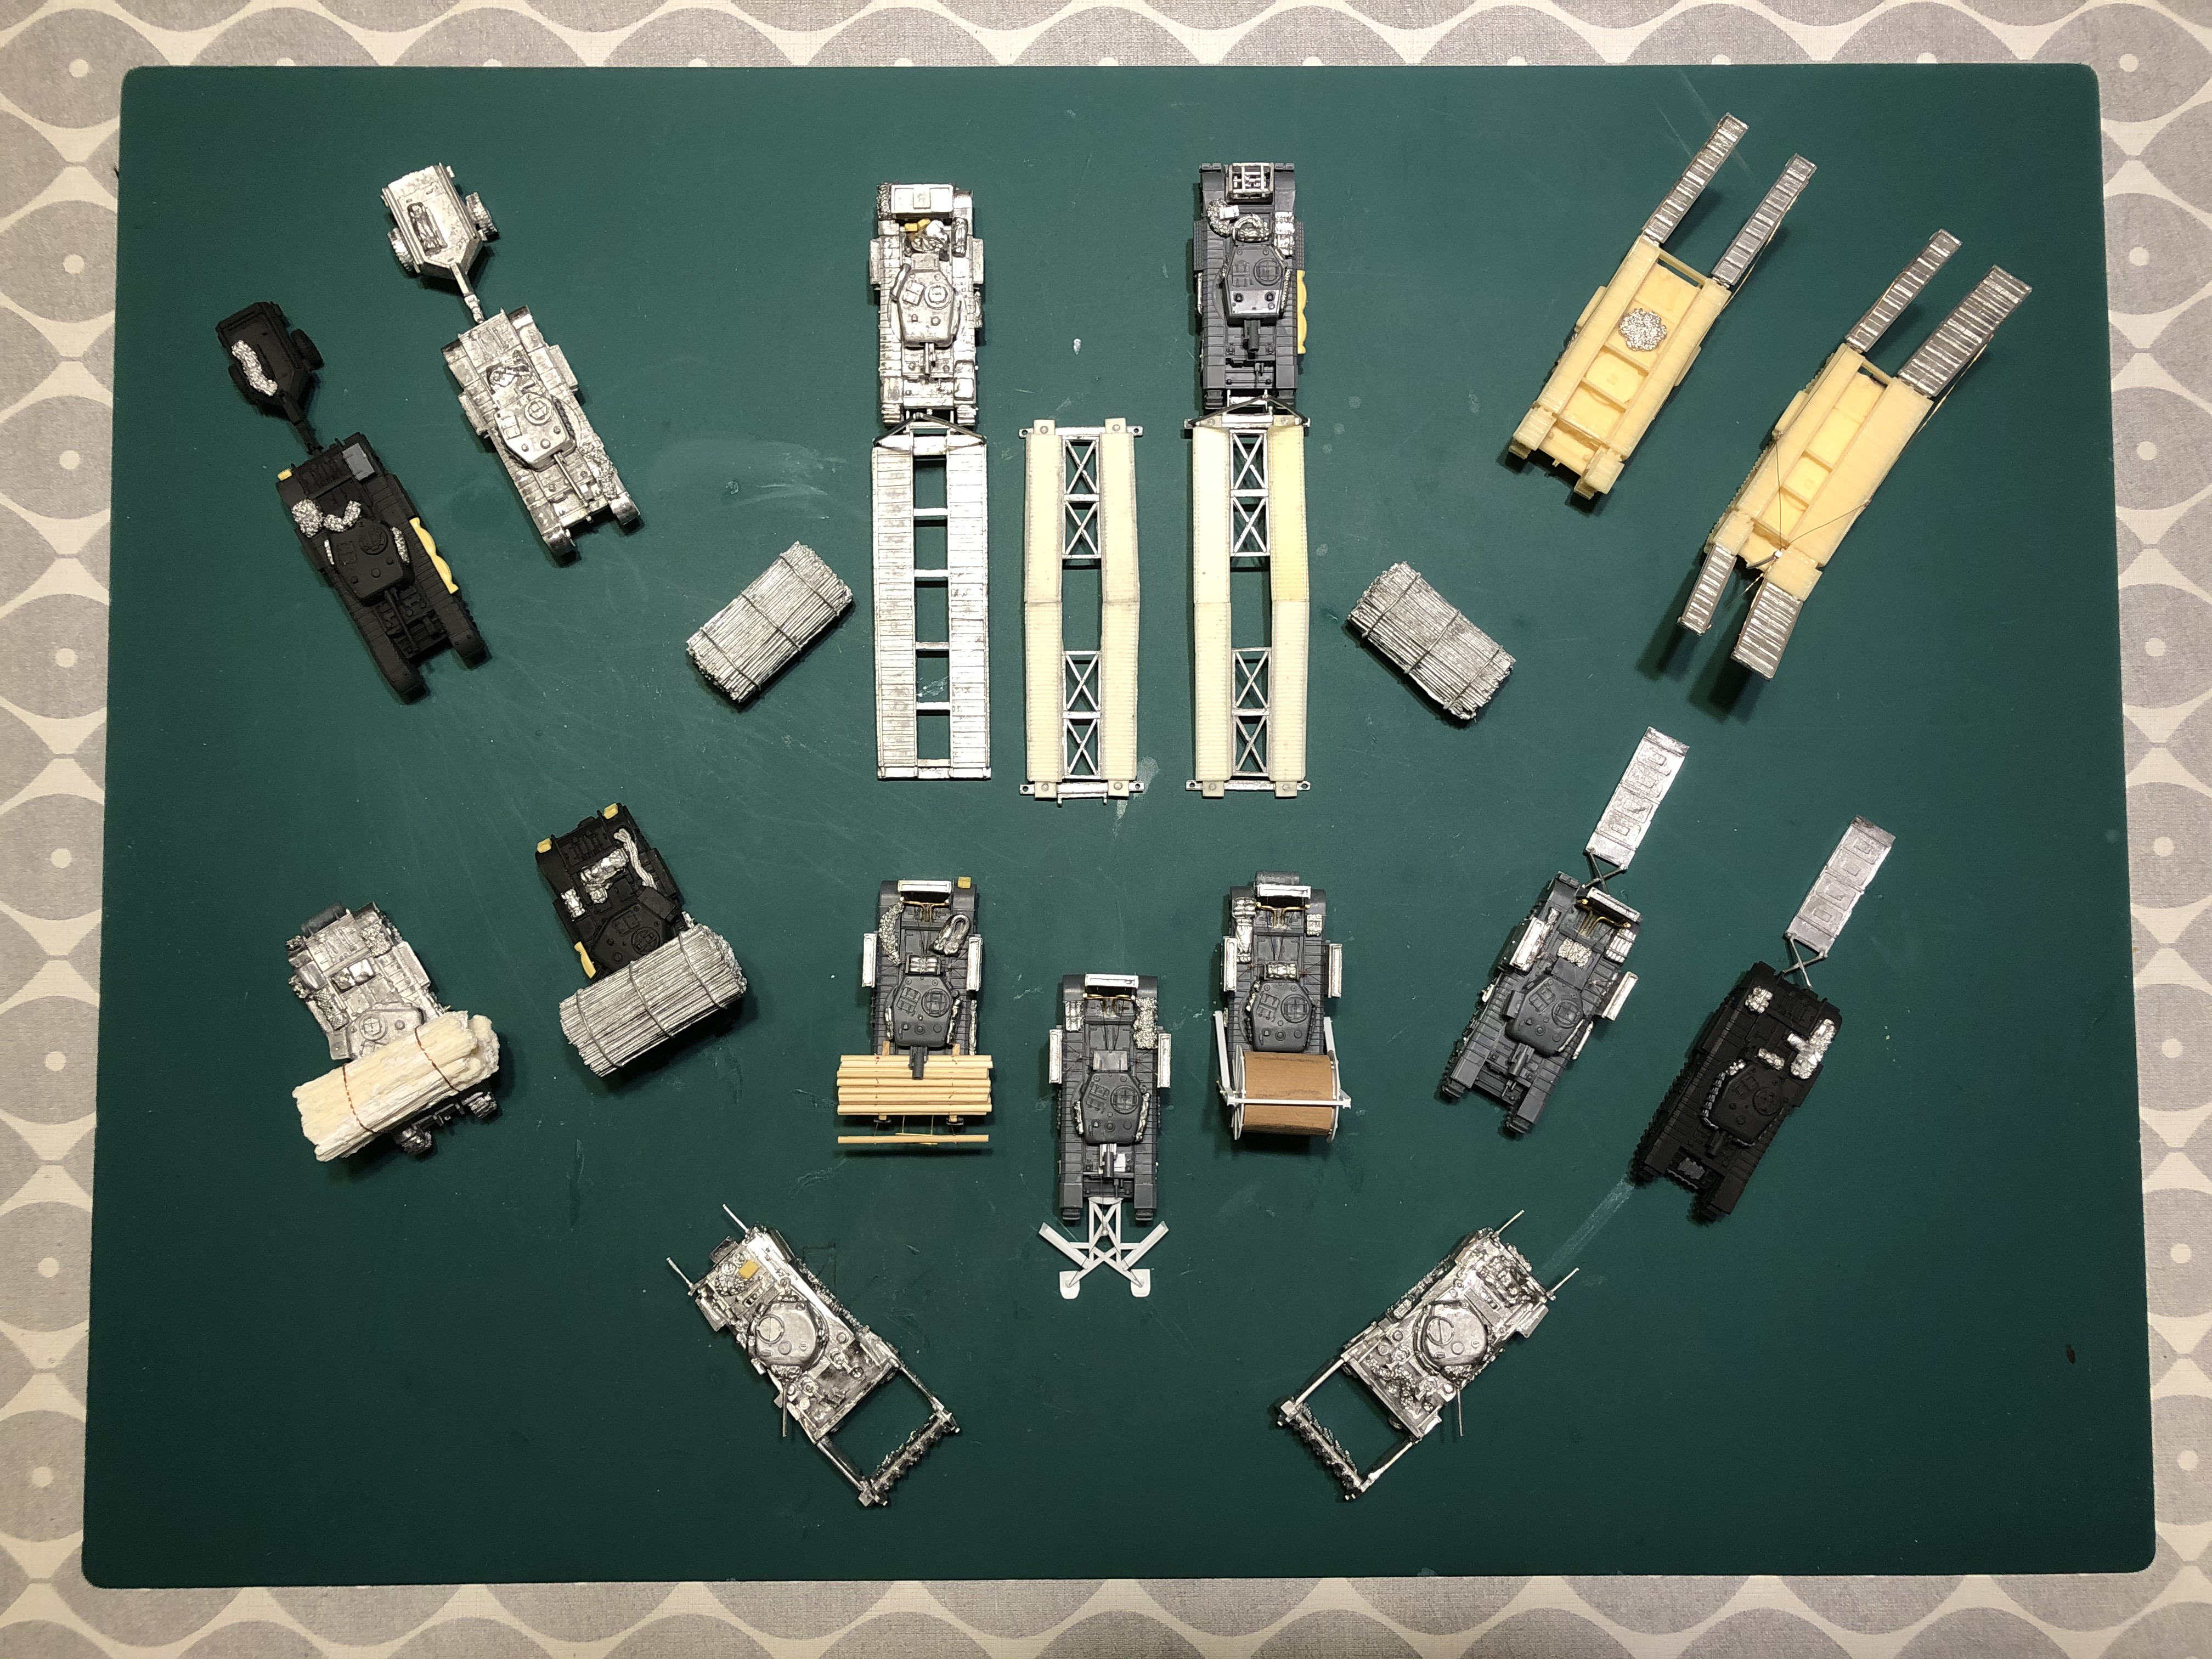
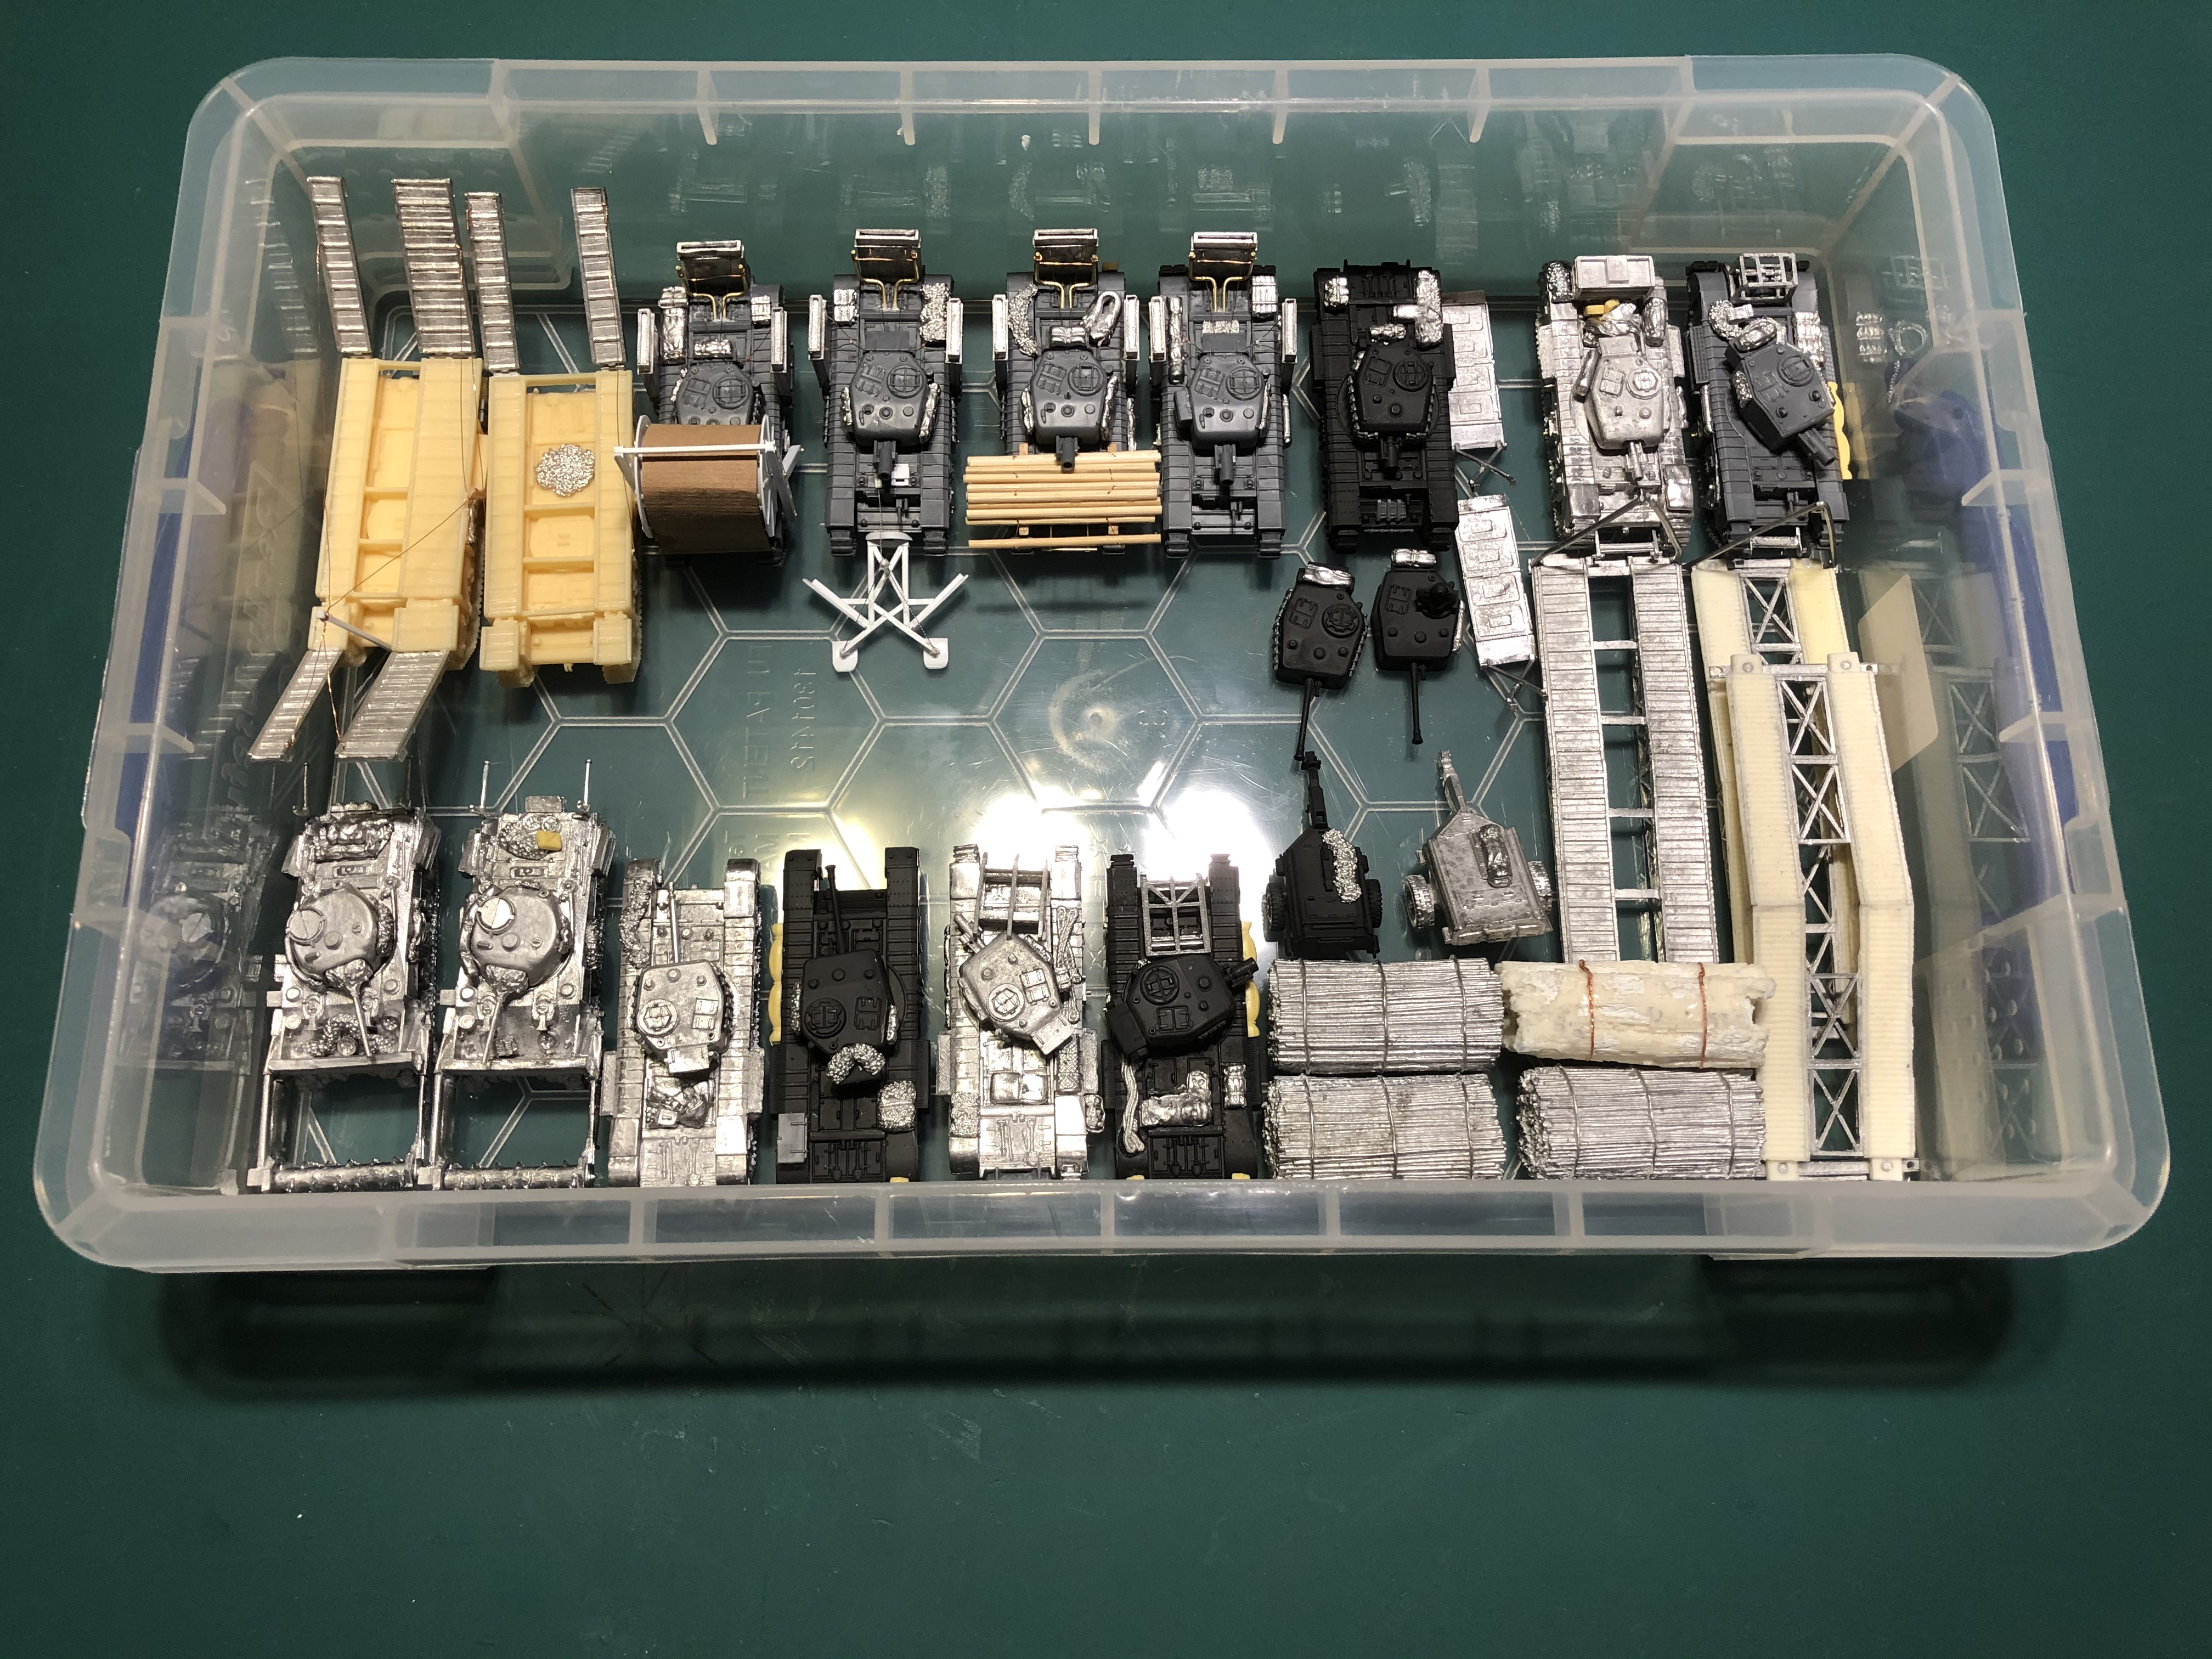
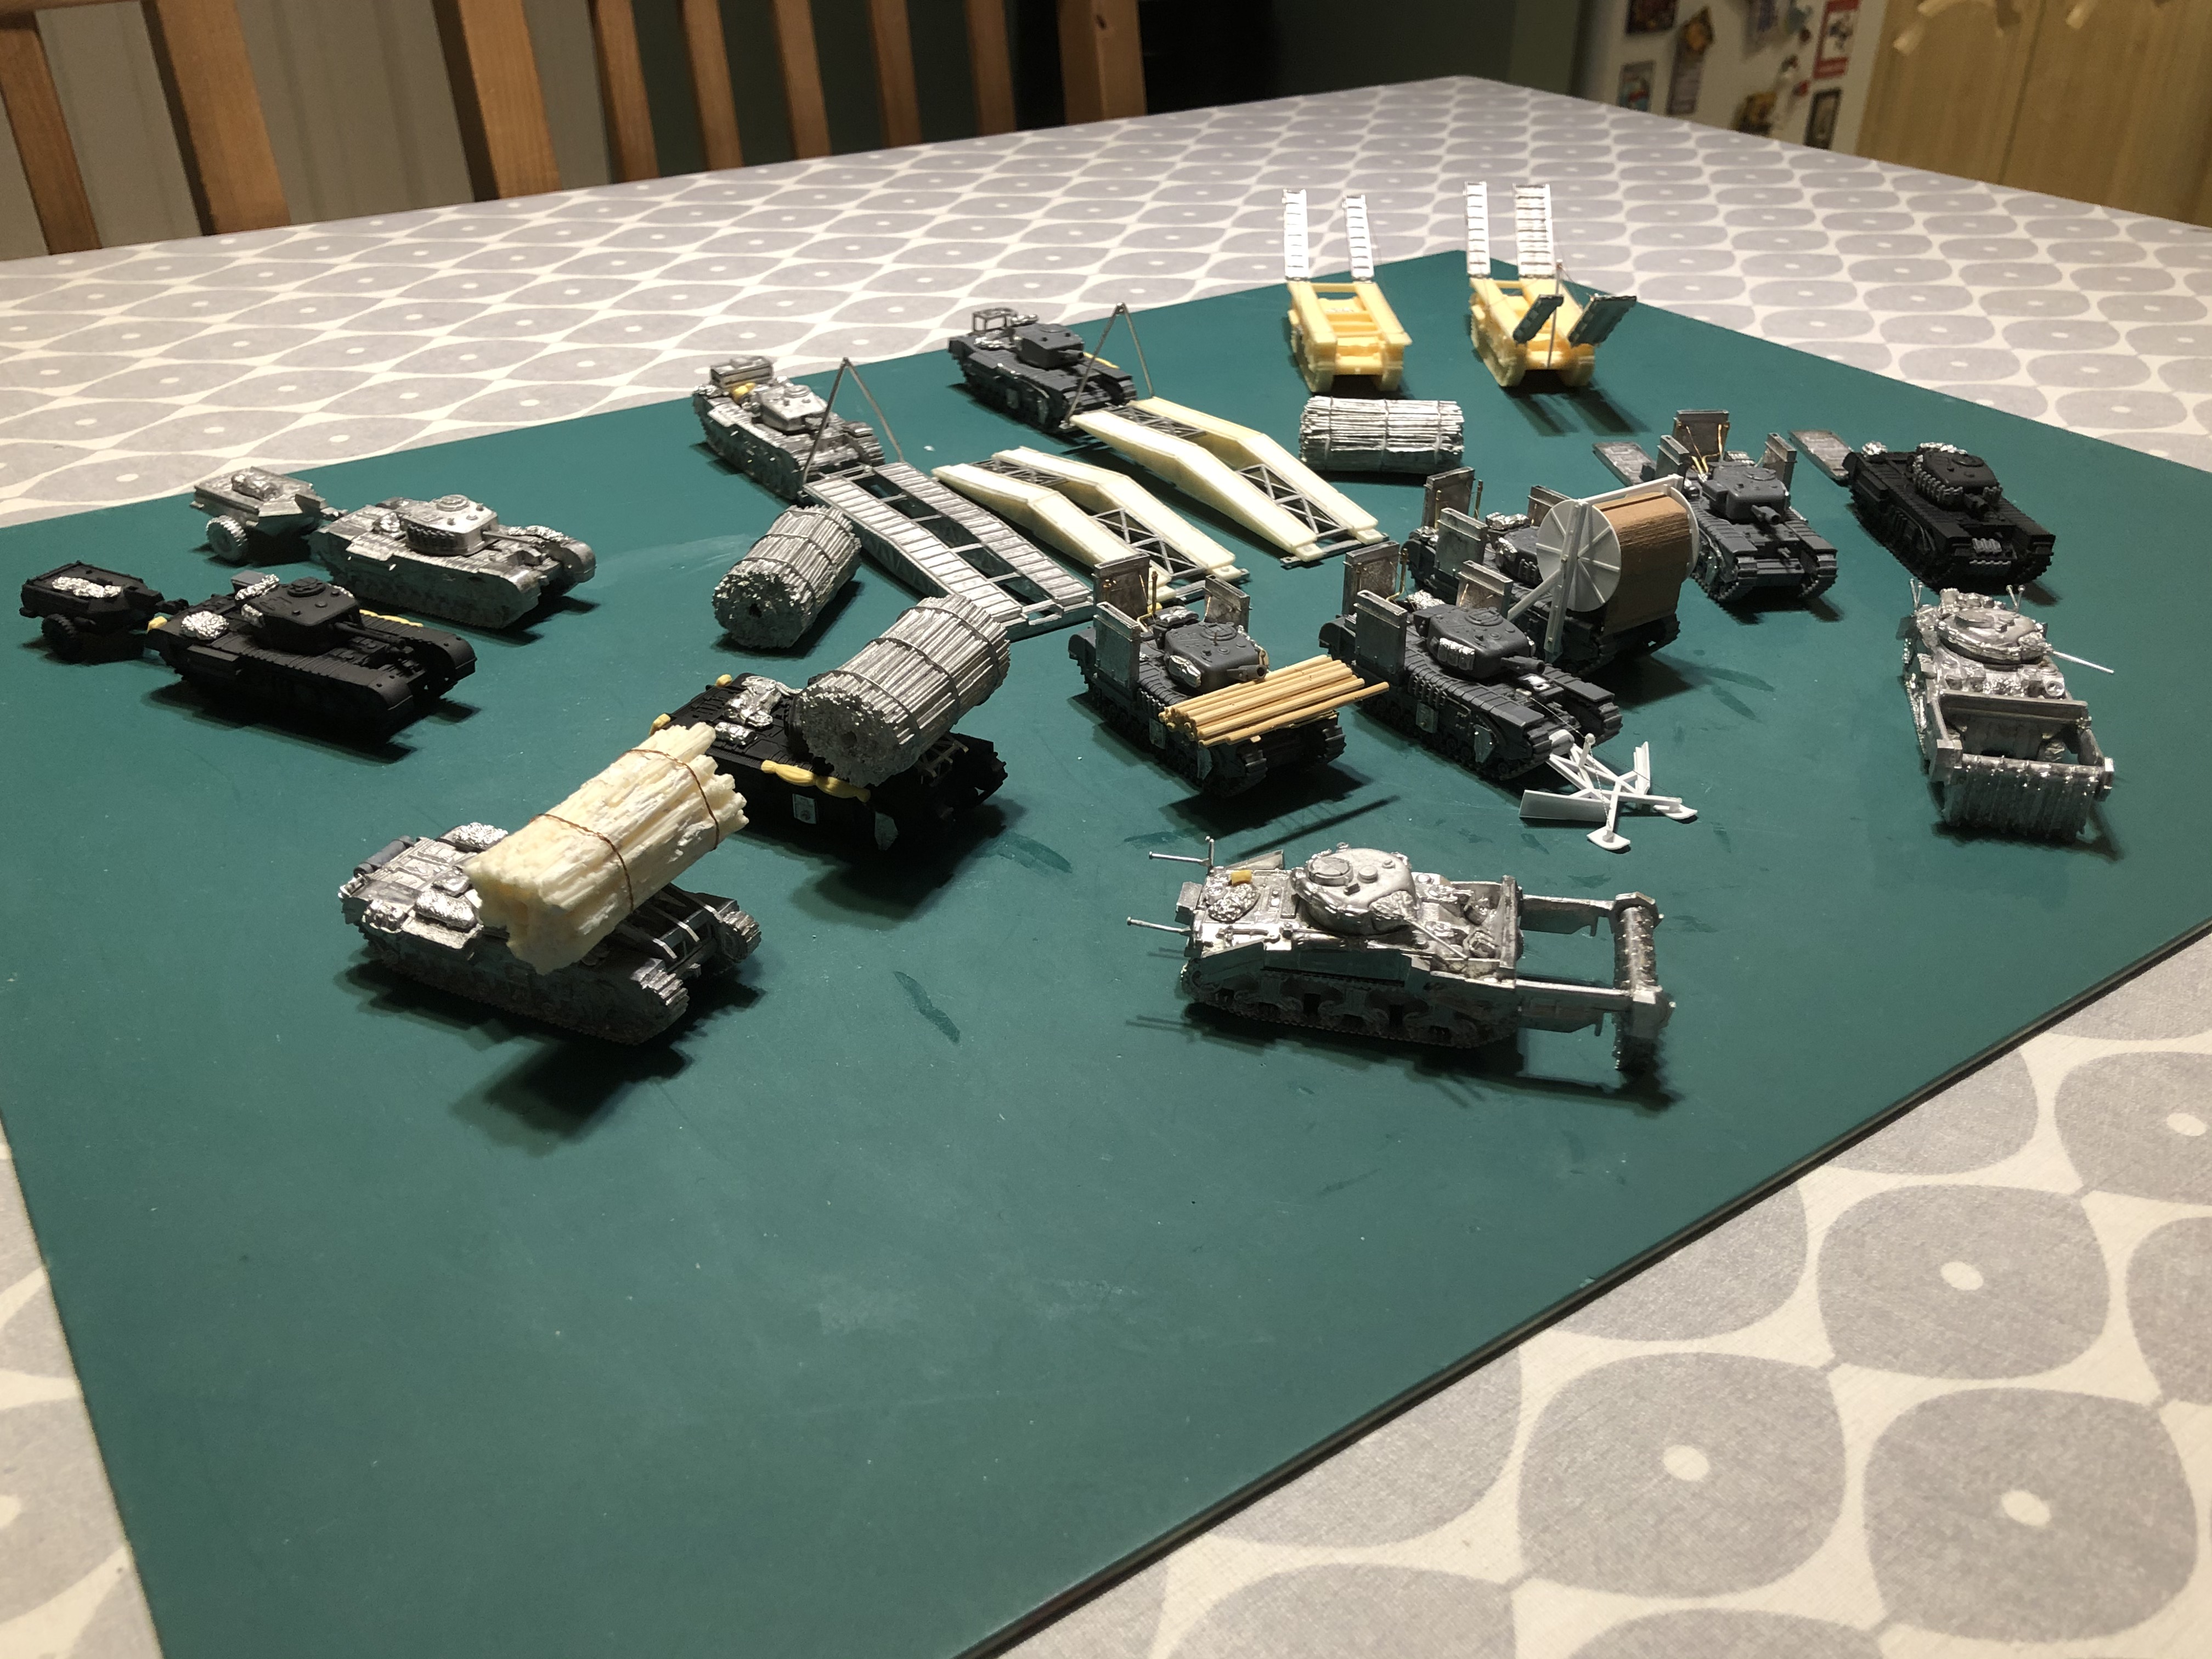
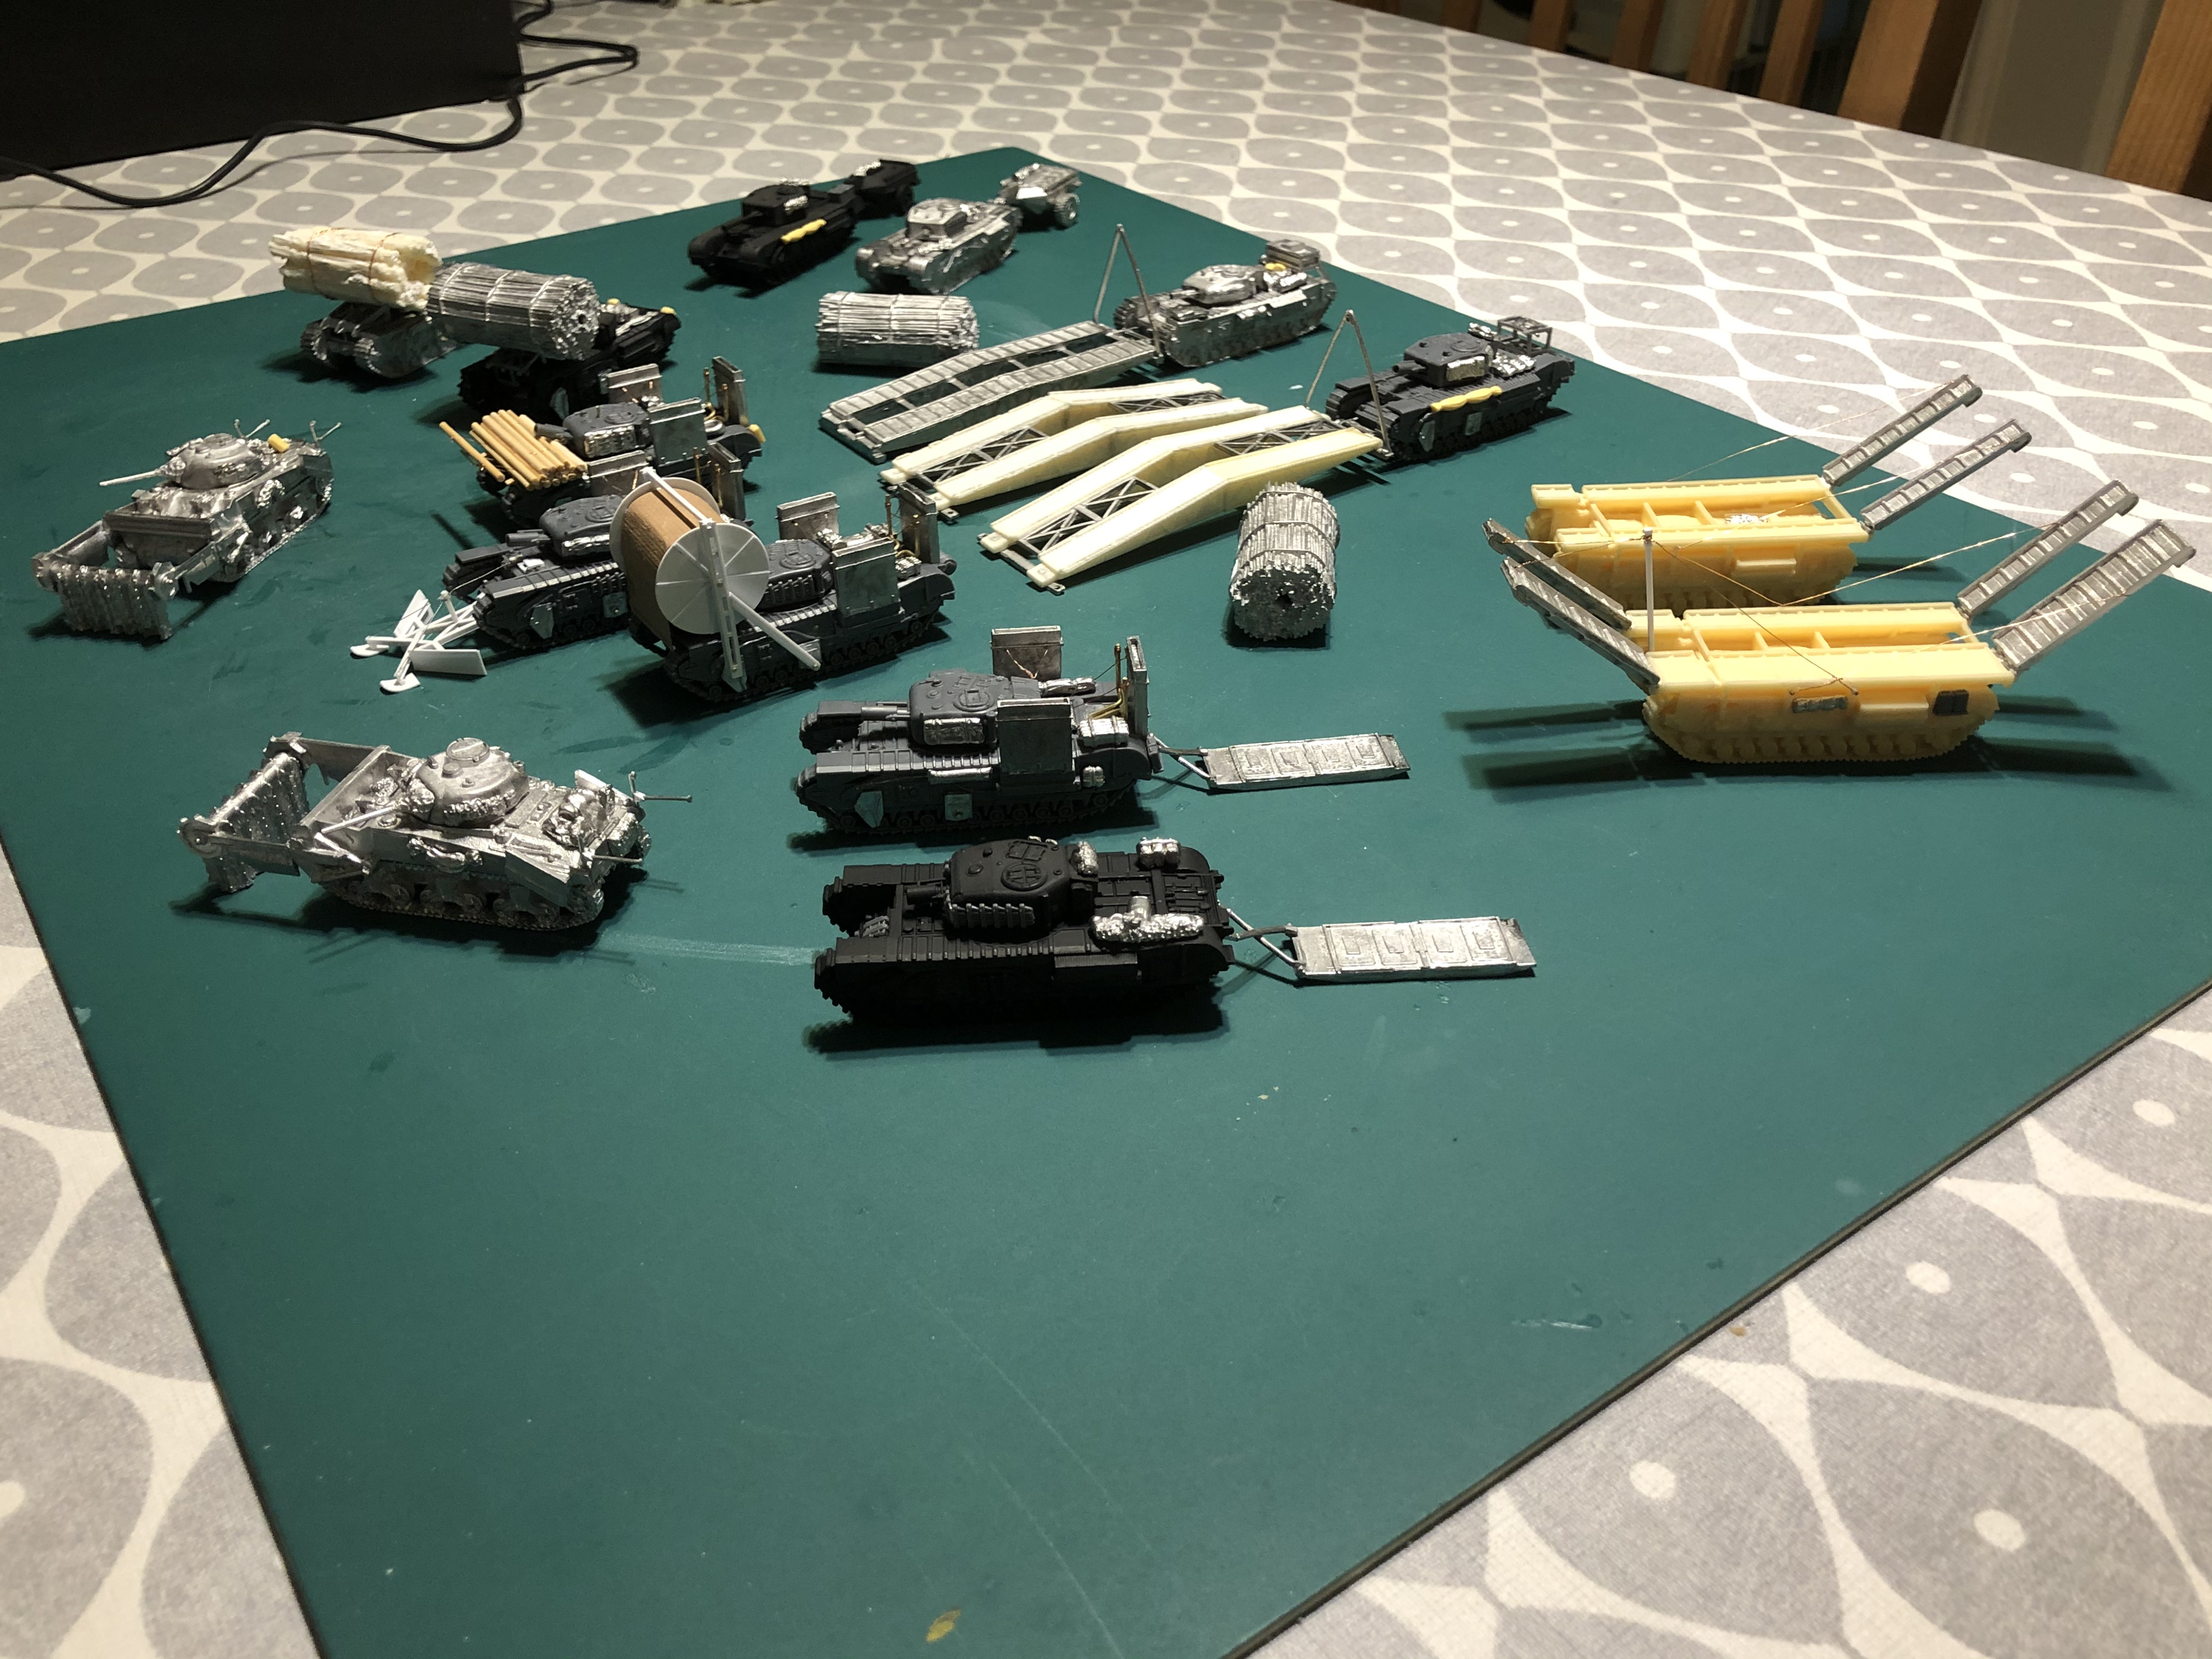
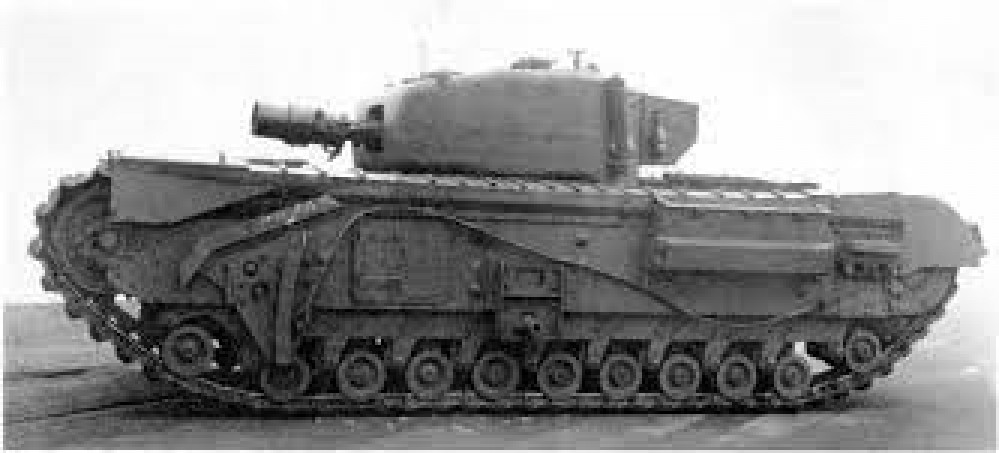
Right then, having avoided any sort of Spring cleaning challenge in the past, I have decided to use this year's one to get something done that I have been gathering bits for over the past few years and finally finish and assemble all of my Hobart's Funnies. To get technical these are Armoured Vehicle Royal Engineers (AVRE) tanks, using the Churchill chassis as a base. I will also throw in some Sherman Crabs (Flail tanks). I have gathered a few books for reference so that I can paint and mark them up for one of the Armoured Assault Squadrons Royal Engineer (either 77, or 79) that landed ashore at Sword Beach and were the very first to see action on that beach; Plus the Sherman Crabs of A Squadron 22nd Dragoons. Whilst I want to be able to use the finished tanks in games depicting the D Day Landings (in Flames of War and Chain of Command at 15mm) I also want then to be versatile enough to be able to be used in later engagements that the 79th Armoured Division took part in (which is pretty much everything!). I hope you will find this of interest if you ever want to branch out into what the modern day Royal Engineers affectionately call being an armoured farmer.
Related Game: Flames of War: The World War II Miniatures Game
Related Company: Battlefront Miniatures
Related Genre: Historical
Related Contest: Spring Clean Hobby Challenge (Old)
This Project is Active
Which Airbrush to use
The first thing to say about airbrushes is that it is a very true statement that you get what you pay for. Having said that, if you are looking for something to basecoat with, then go for a cheaper single action brush. Single action means that the trigger doesn’t depress, that the air pressure is always there at the pressure set on the compressor regulator. When you pull back on the trigger more and more paint is allowed to flow into the airstream and out of the nozzle. Most single action brushes have a screw at the back so that you can set the maximum flow and thereby set the size of the line you are spraying. It is a good tool to learn on, you can get used to holding and handling the brush at the right distance and the use of the trigger in the best way.
Once learned, you can then move onto a double action airbrush and generate the muscle memory of applying downward pressure on the trigger to release greater pressure. You can still limit this by setting the maximum pressure on the compressor regulator.
I have inherited one of the airbrushes below. I found that Badger produce good quality brushes for a fair price and that will be a good starting point. I kicked off with a single action 200G and was then given a 200NH from my father-in-law, as he couldn’t get used to it. I totally understand, it is a bottom feed brush for large coverage jobs and I found it to be unwieldly and that it blocks up far easier than the top feed versions.
The next thing I would suggest is that when you buy a brush, get another needle/nozzle set at a larger size. That way when you get comfortable with a brush, if you want to do fine detail work, simply swap out the needle. I did this with the 200G and when using the fine needle I reduced the pressure to between 10-15psi.
My next purchase was a Sotar 20/20 with a 0.2 and 0.4 needle. This was bought after about 2yrs of practice on the 200G. I would say that when you move to 0.2 and below then it is critical that you thin your paint correctly and carry out regular cleaning throughout your paint session.
For my last birthday I was very fortunate to be able to afford a Harder & Steenbeck infinity CR plus. This is a very high quality airbrush and the difference it has made to my control and use has been tenfold. The higher quality leads to closer tolerances and finer machined parts which means that paint is less likely to adhere to them. I have found that as long as I thin the paints and clean it regularly then it paints amazingly. This brush came with 0.15 and 0.4 needles and I chose to use the 0.4 setup, as I was looking to base coat and then be able to go in and spray higher parts and central areas of large panels with a highlight colour.
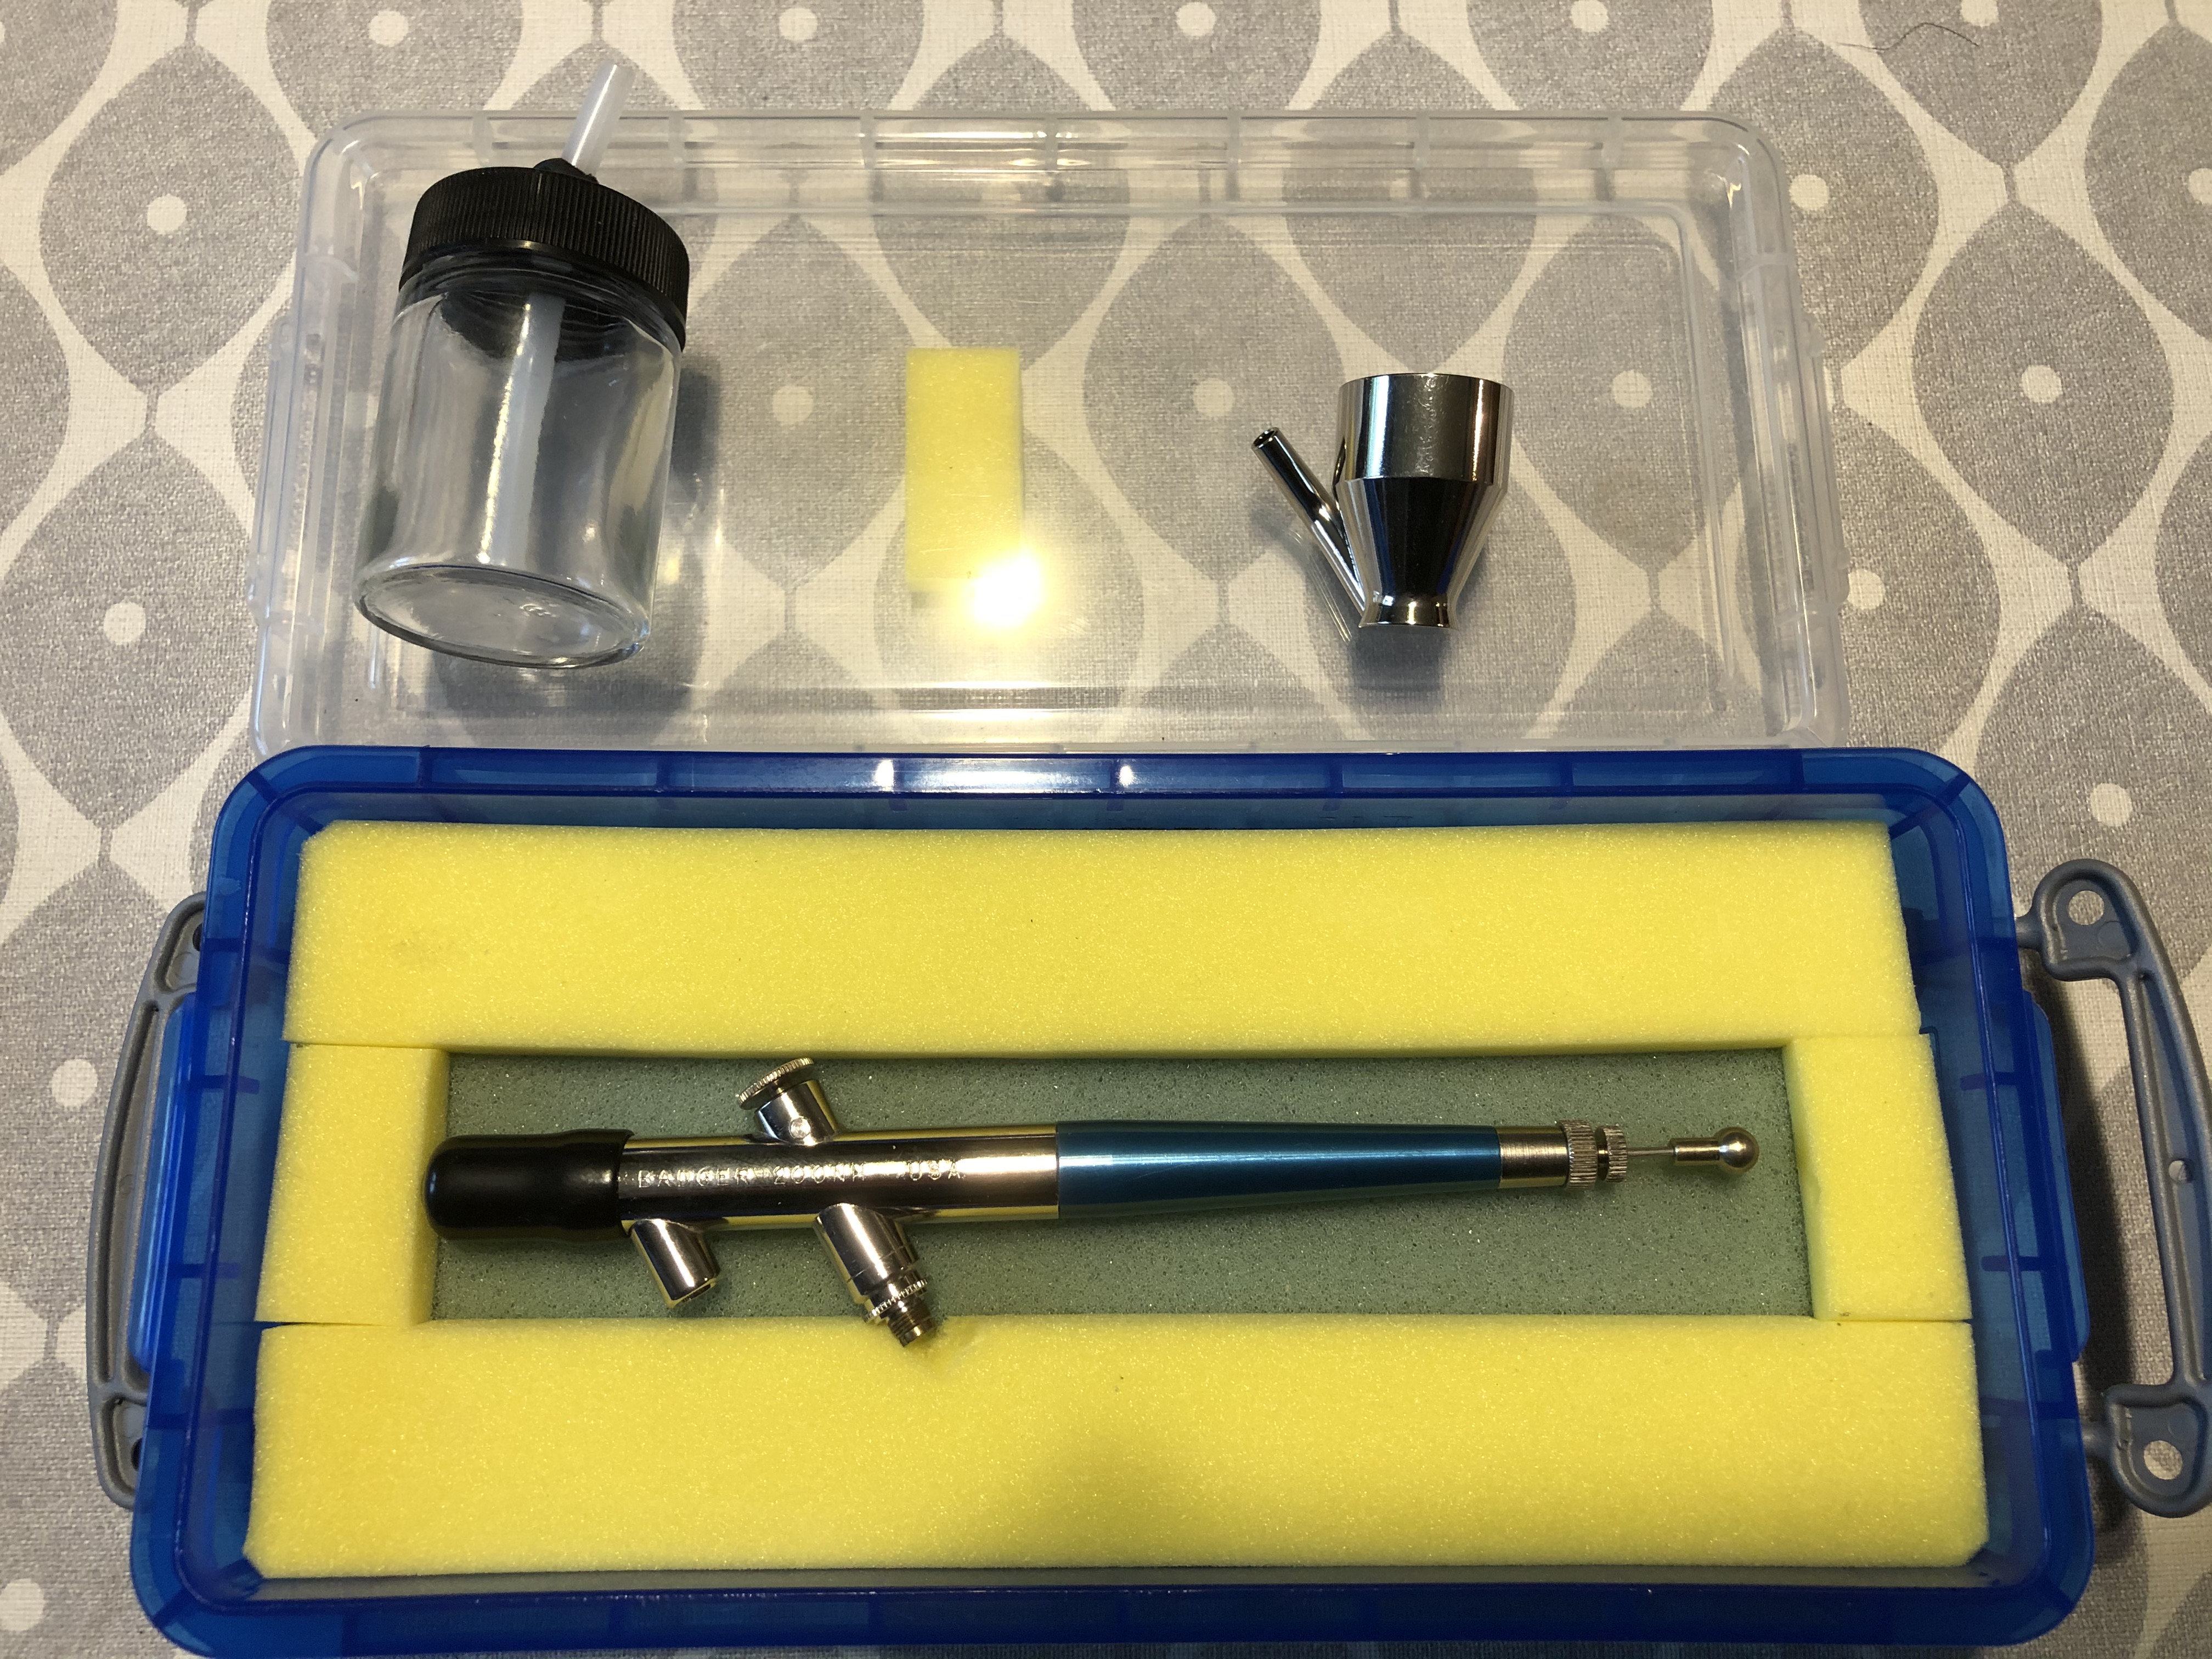 Badger 200NH, looks nice but I wouldn't buy one!
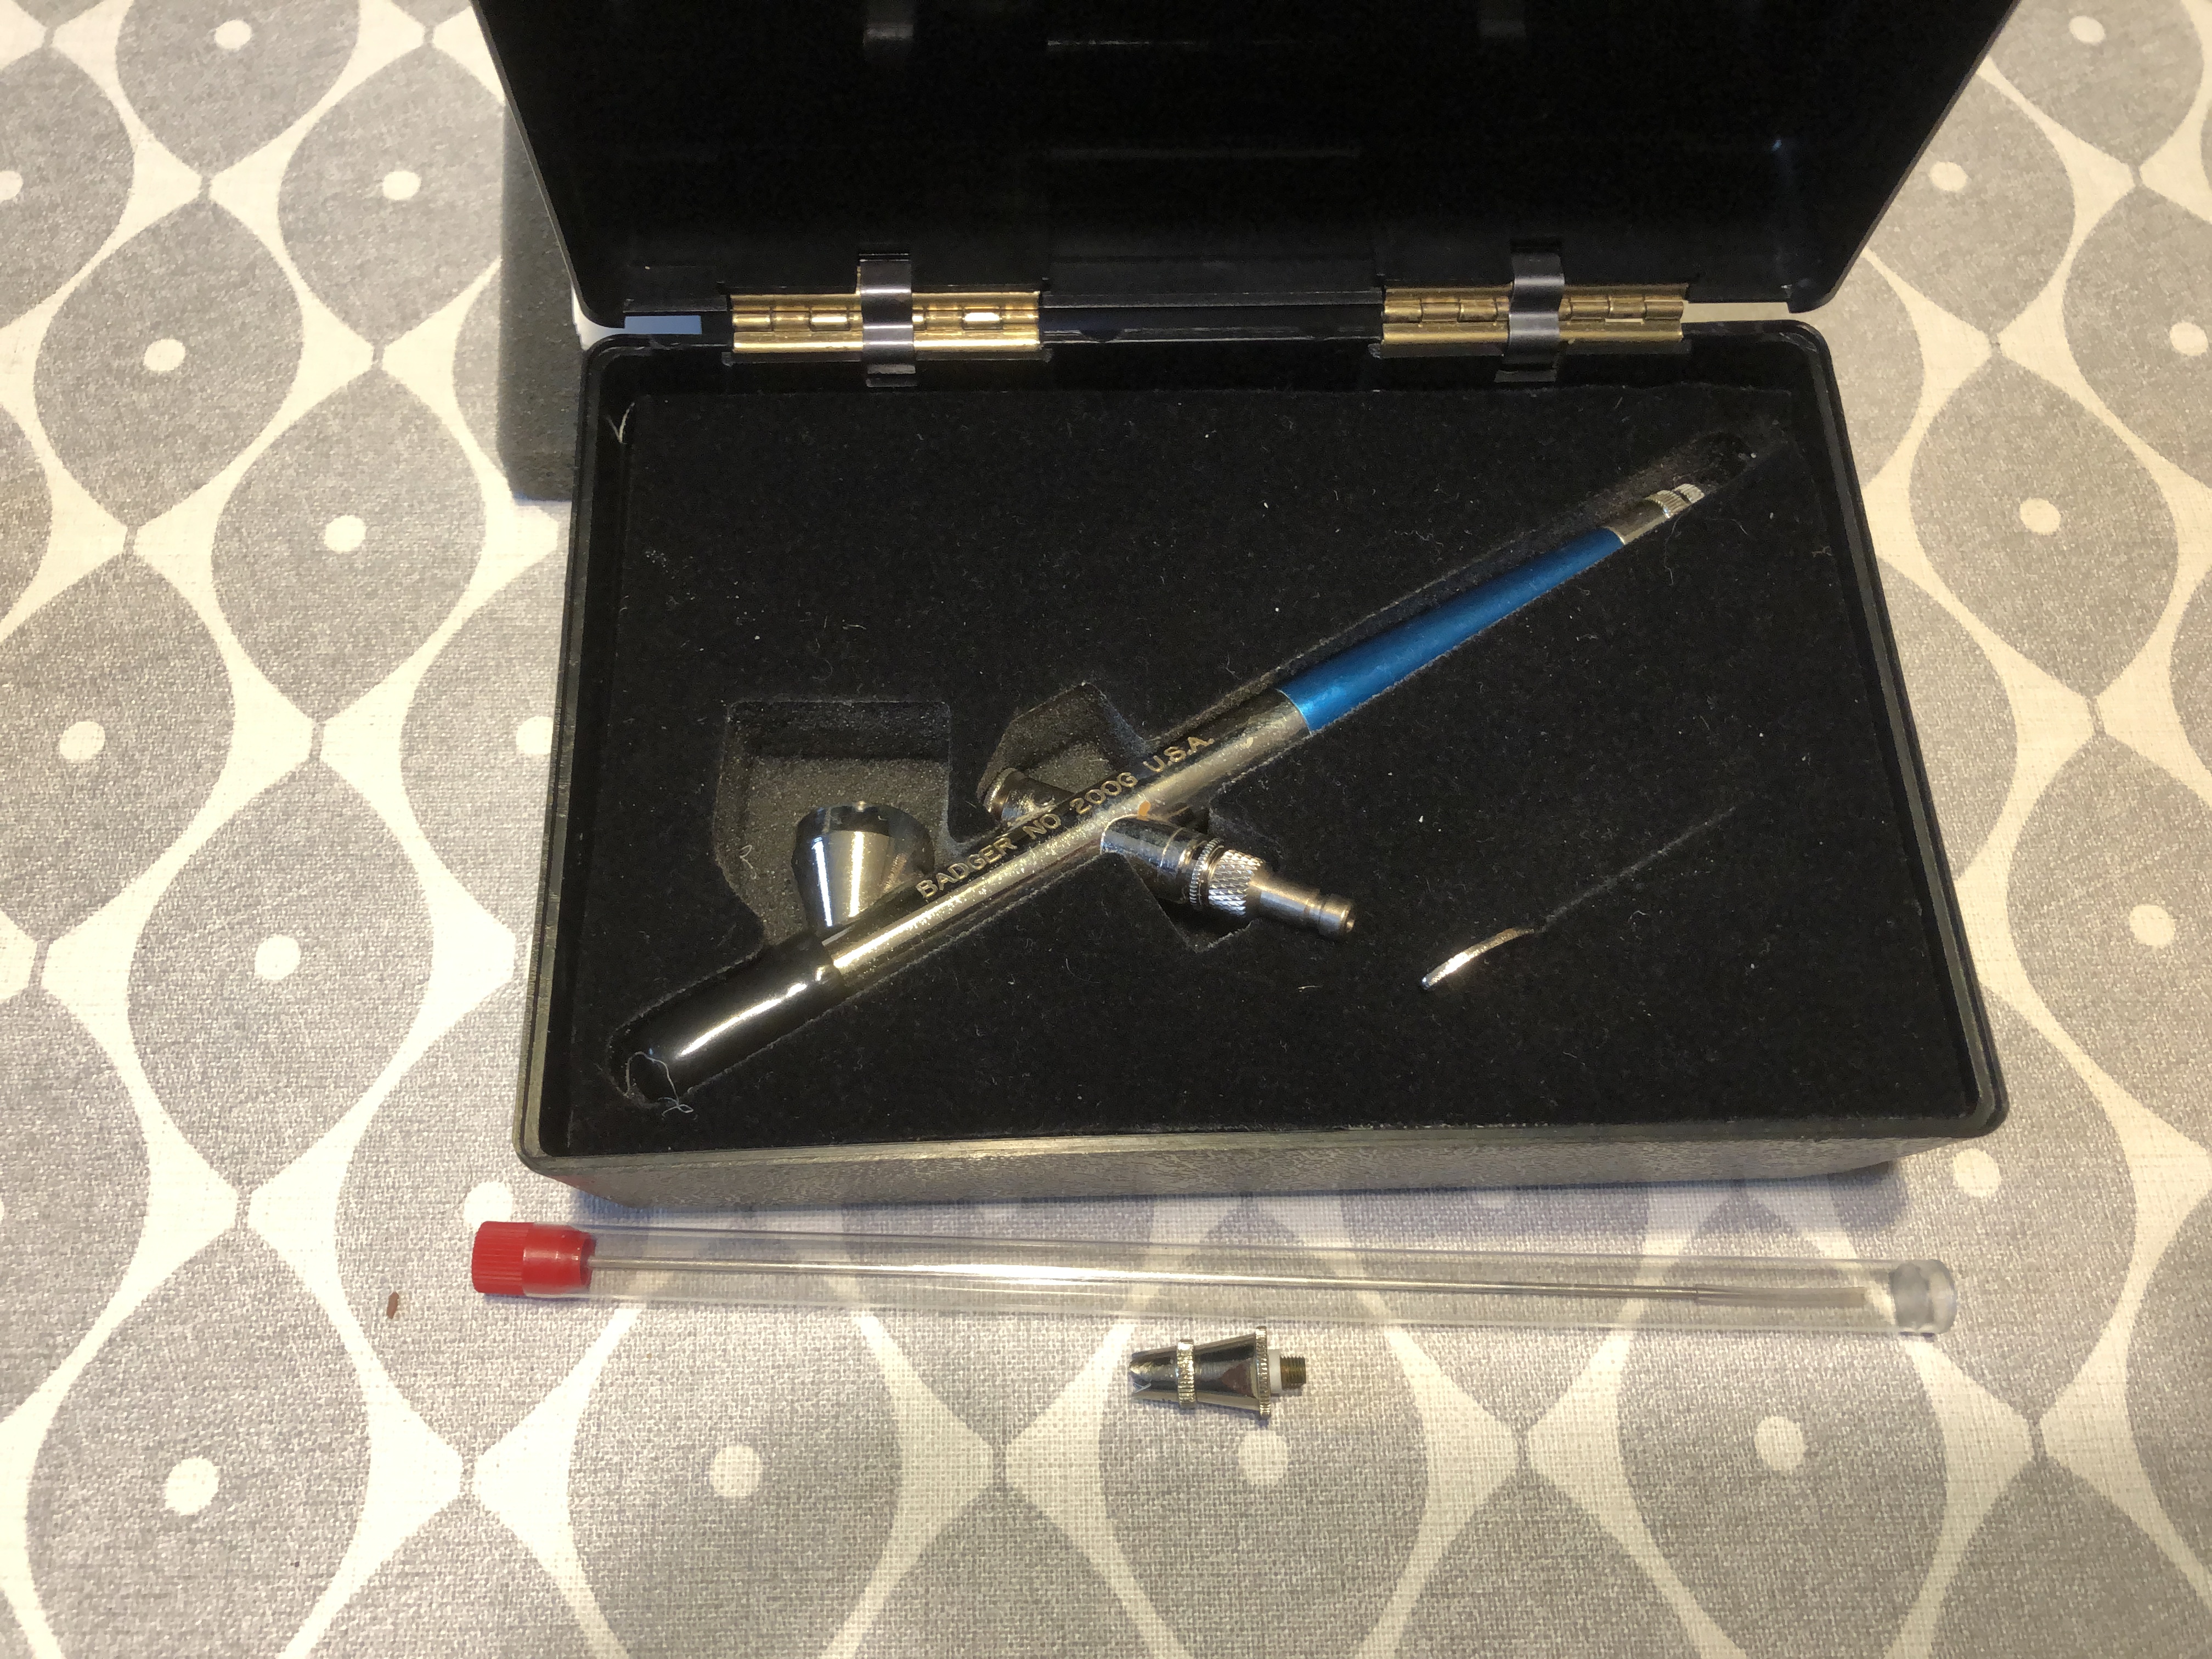 Badger's 200G. My First brush, well used and well loved.
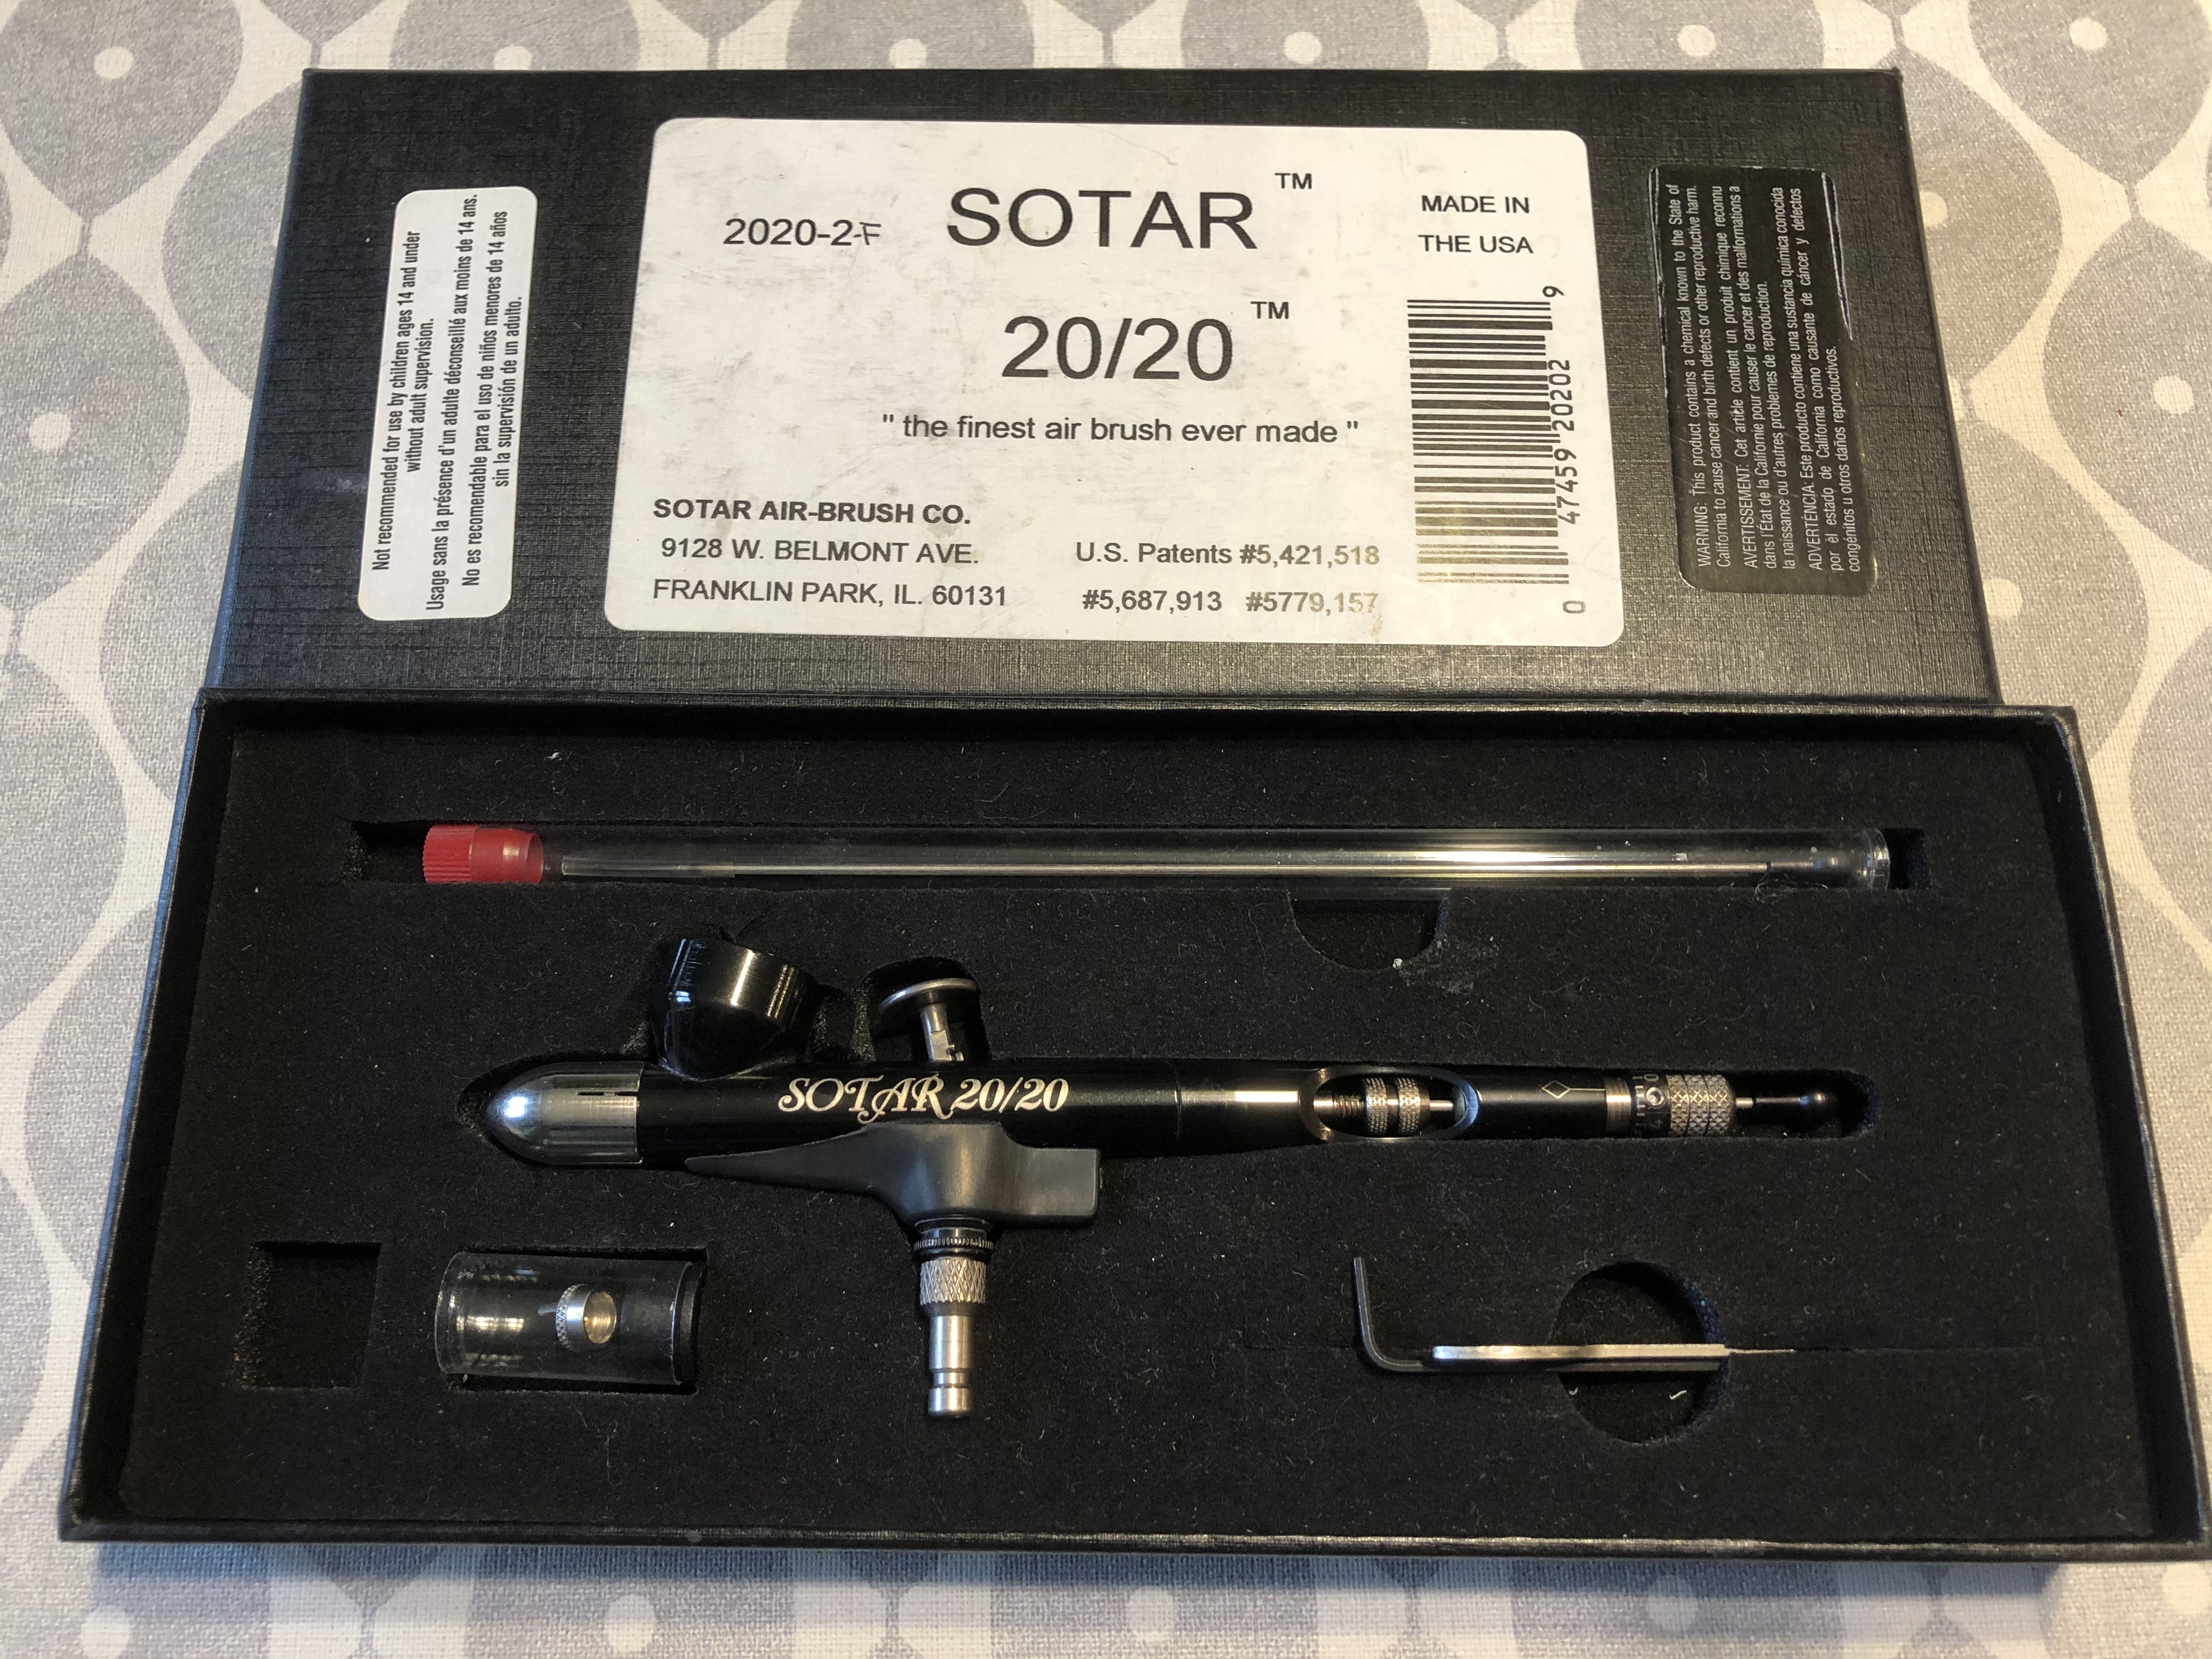 Badger SOTAR 20/20, A sports car of an airbrush but not a Ferrari
 Harder & Steenbeck infinity CR Plus, Simply sublime to use.
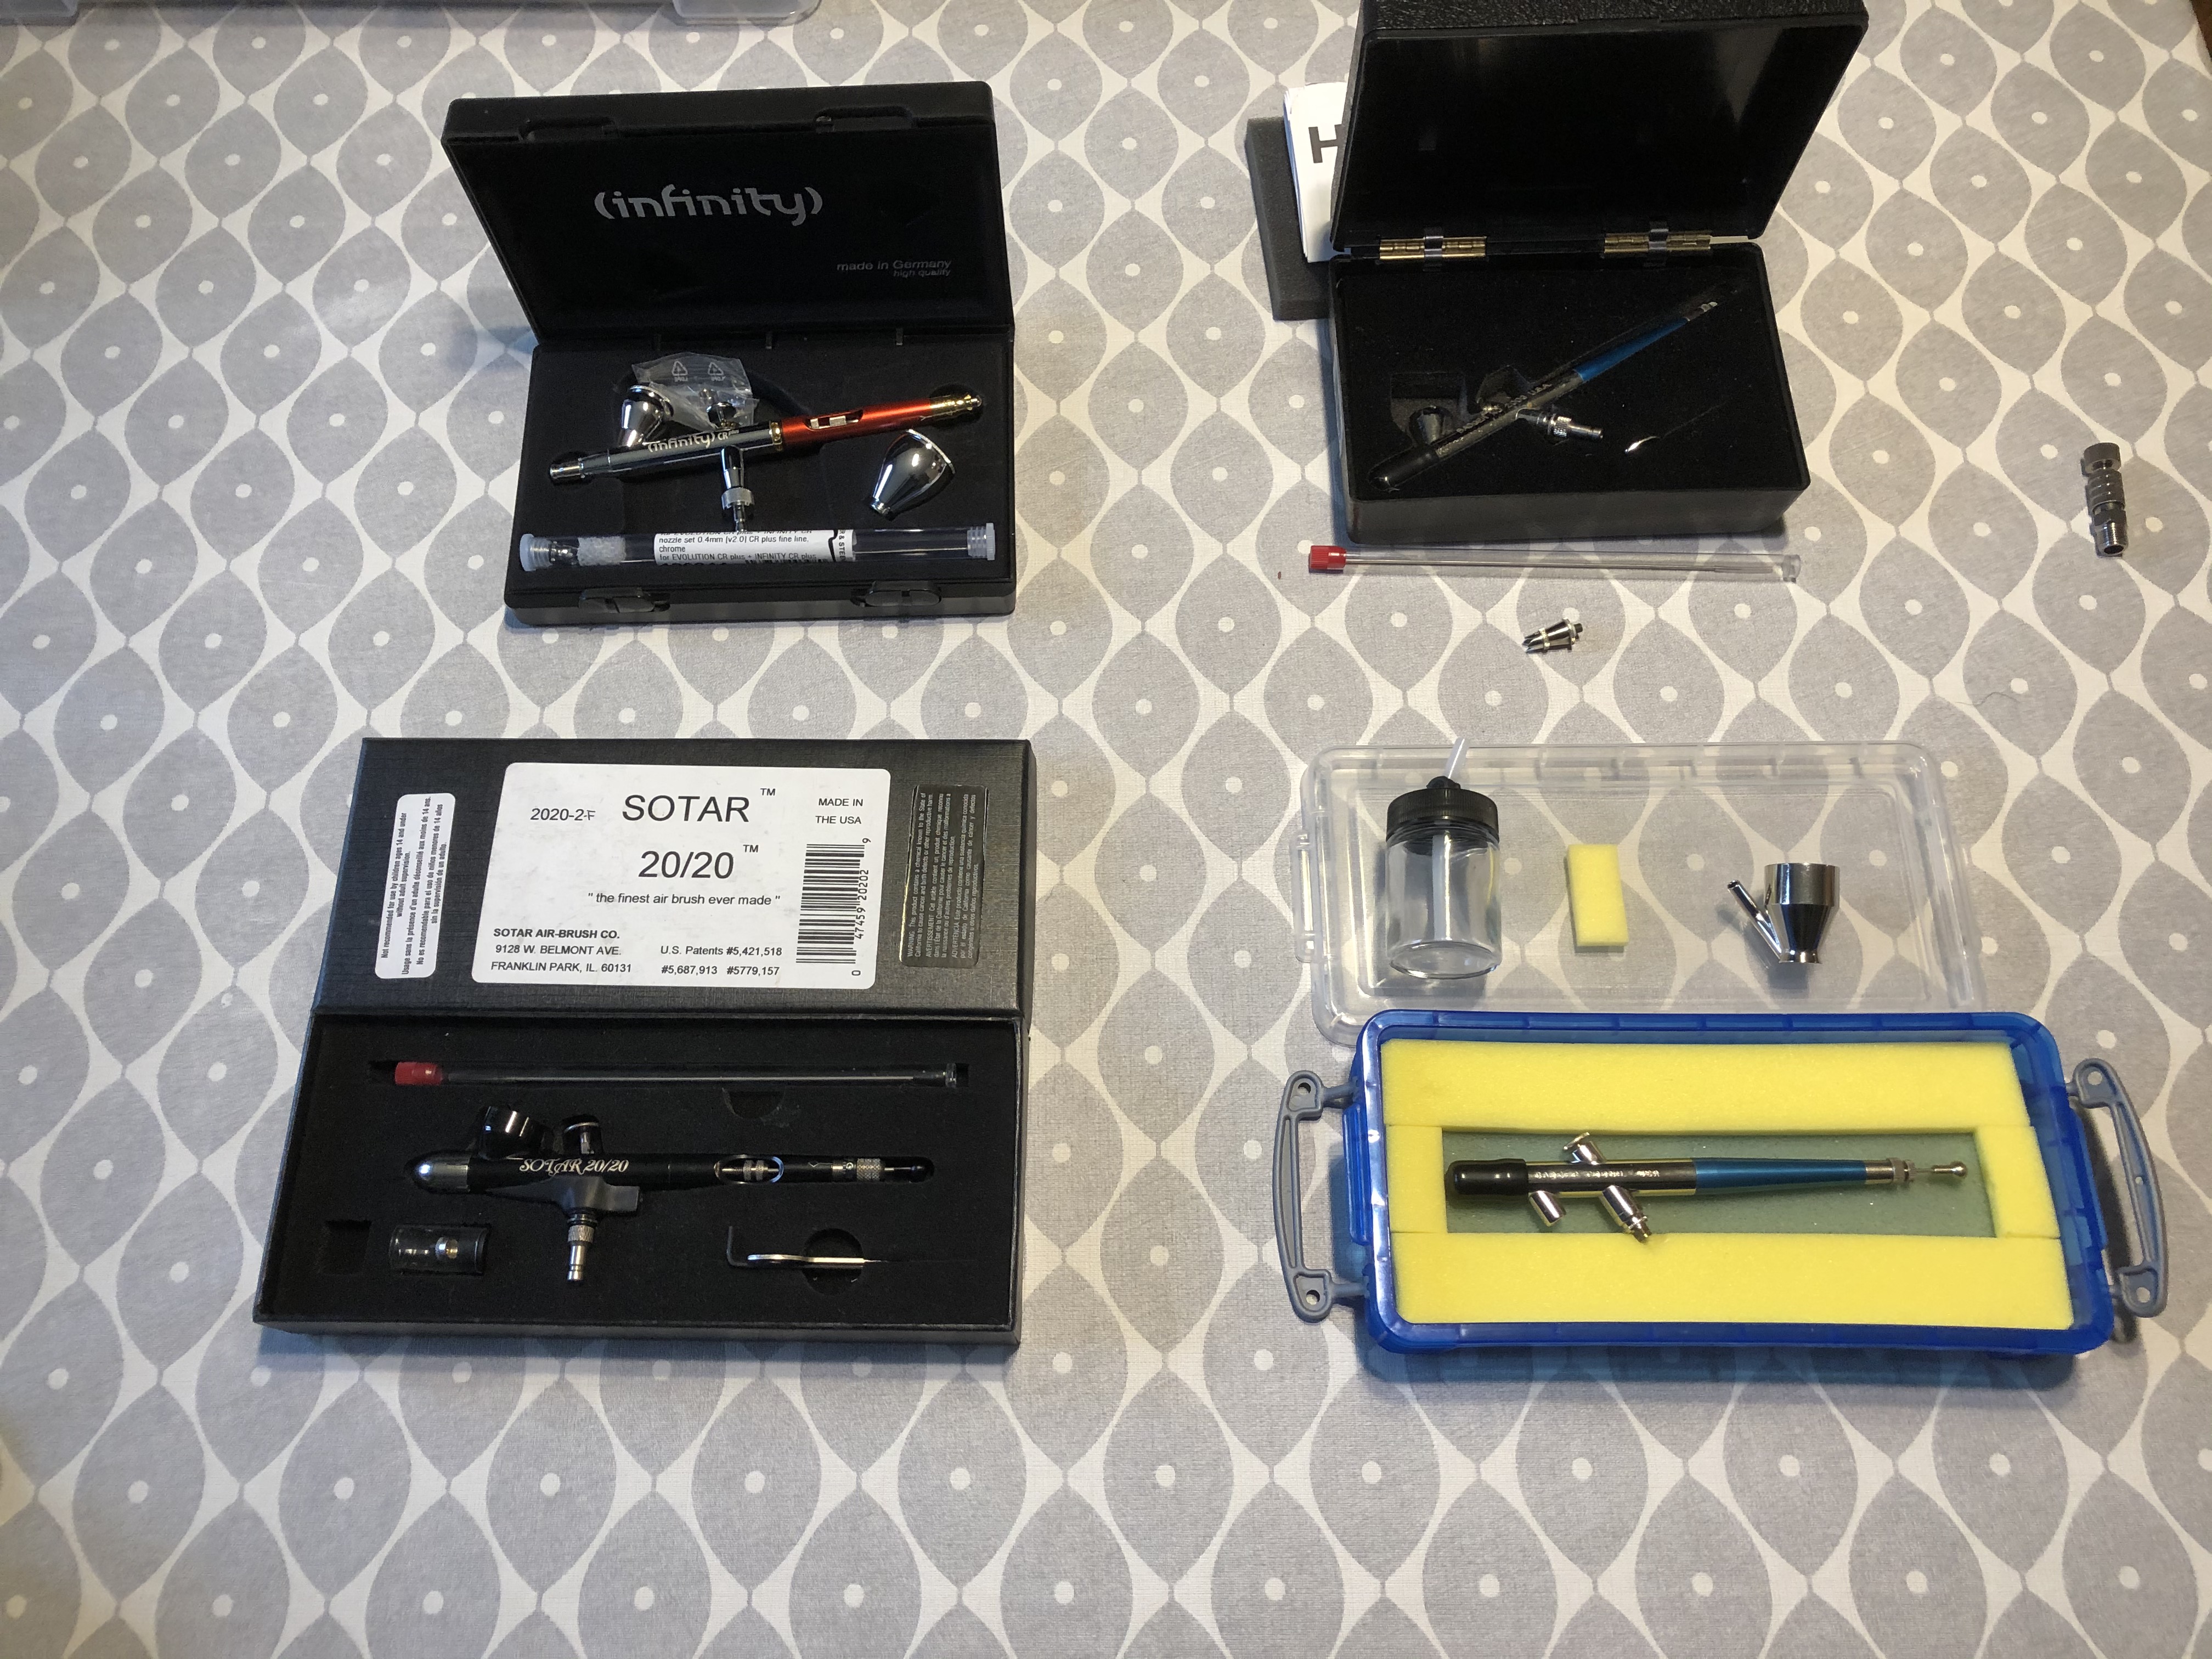
Prep, prep and prep some more
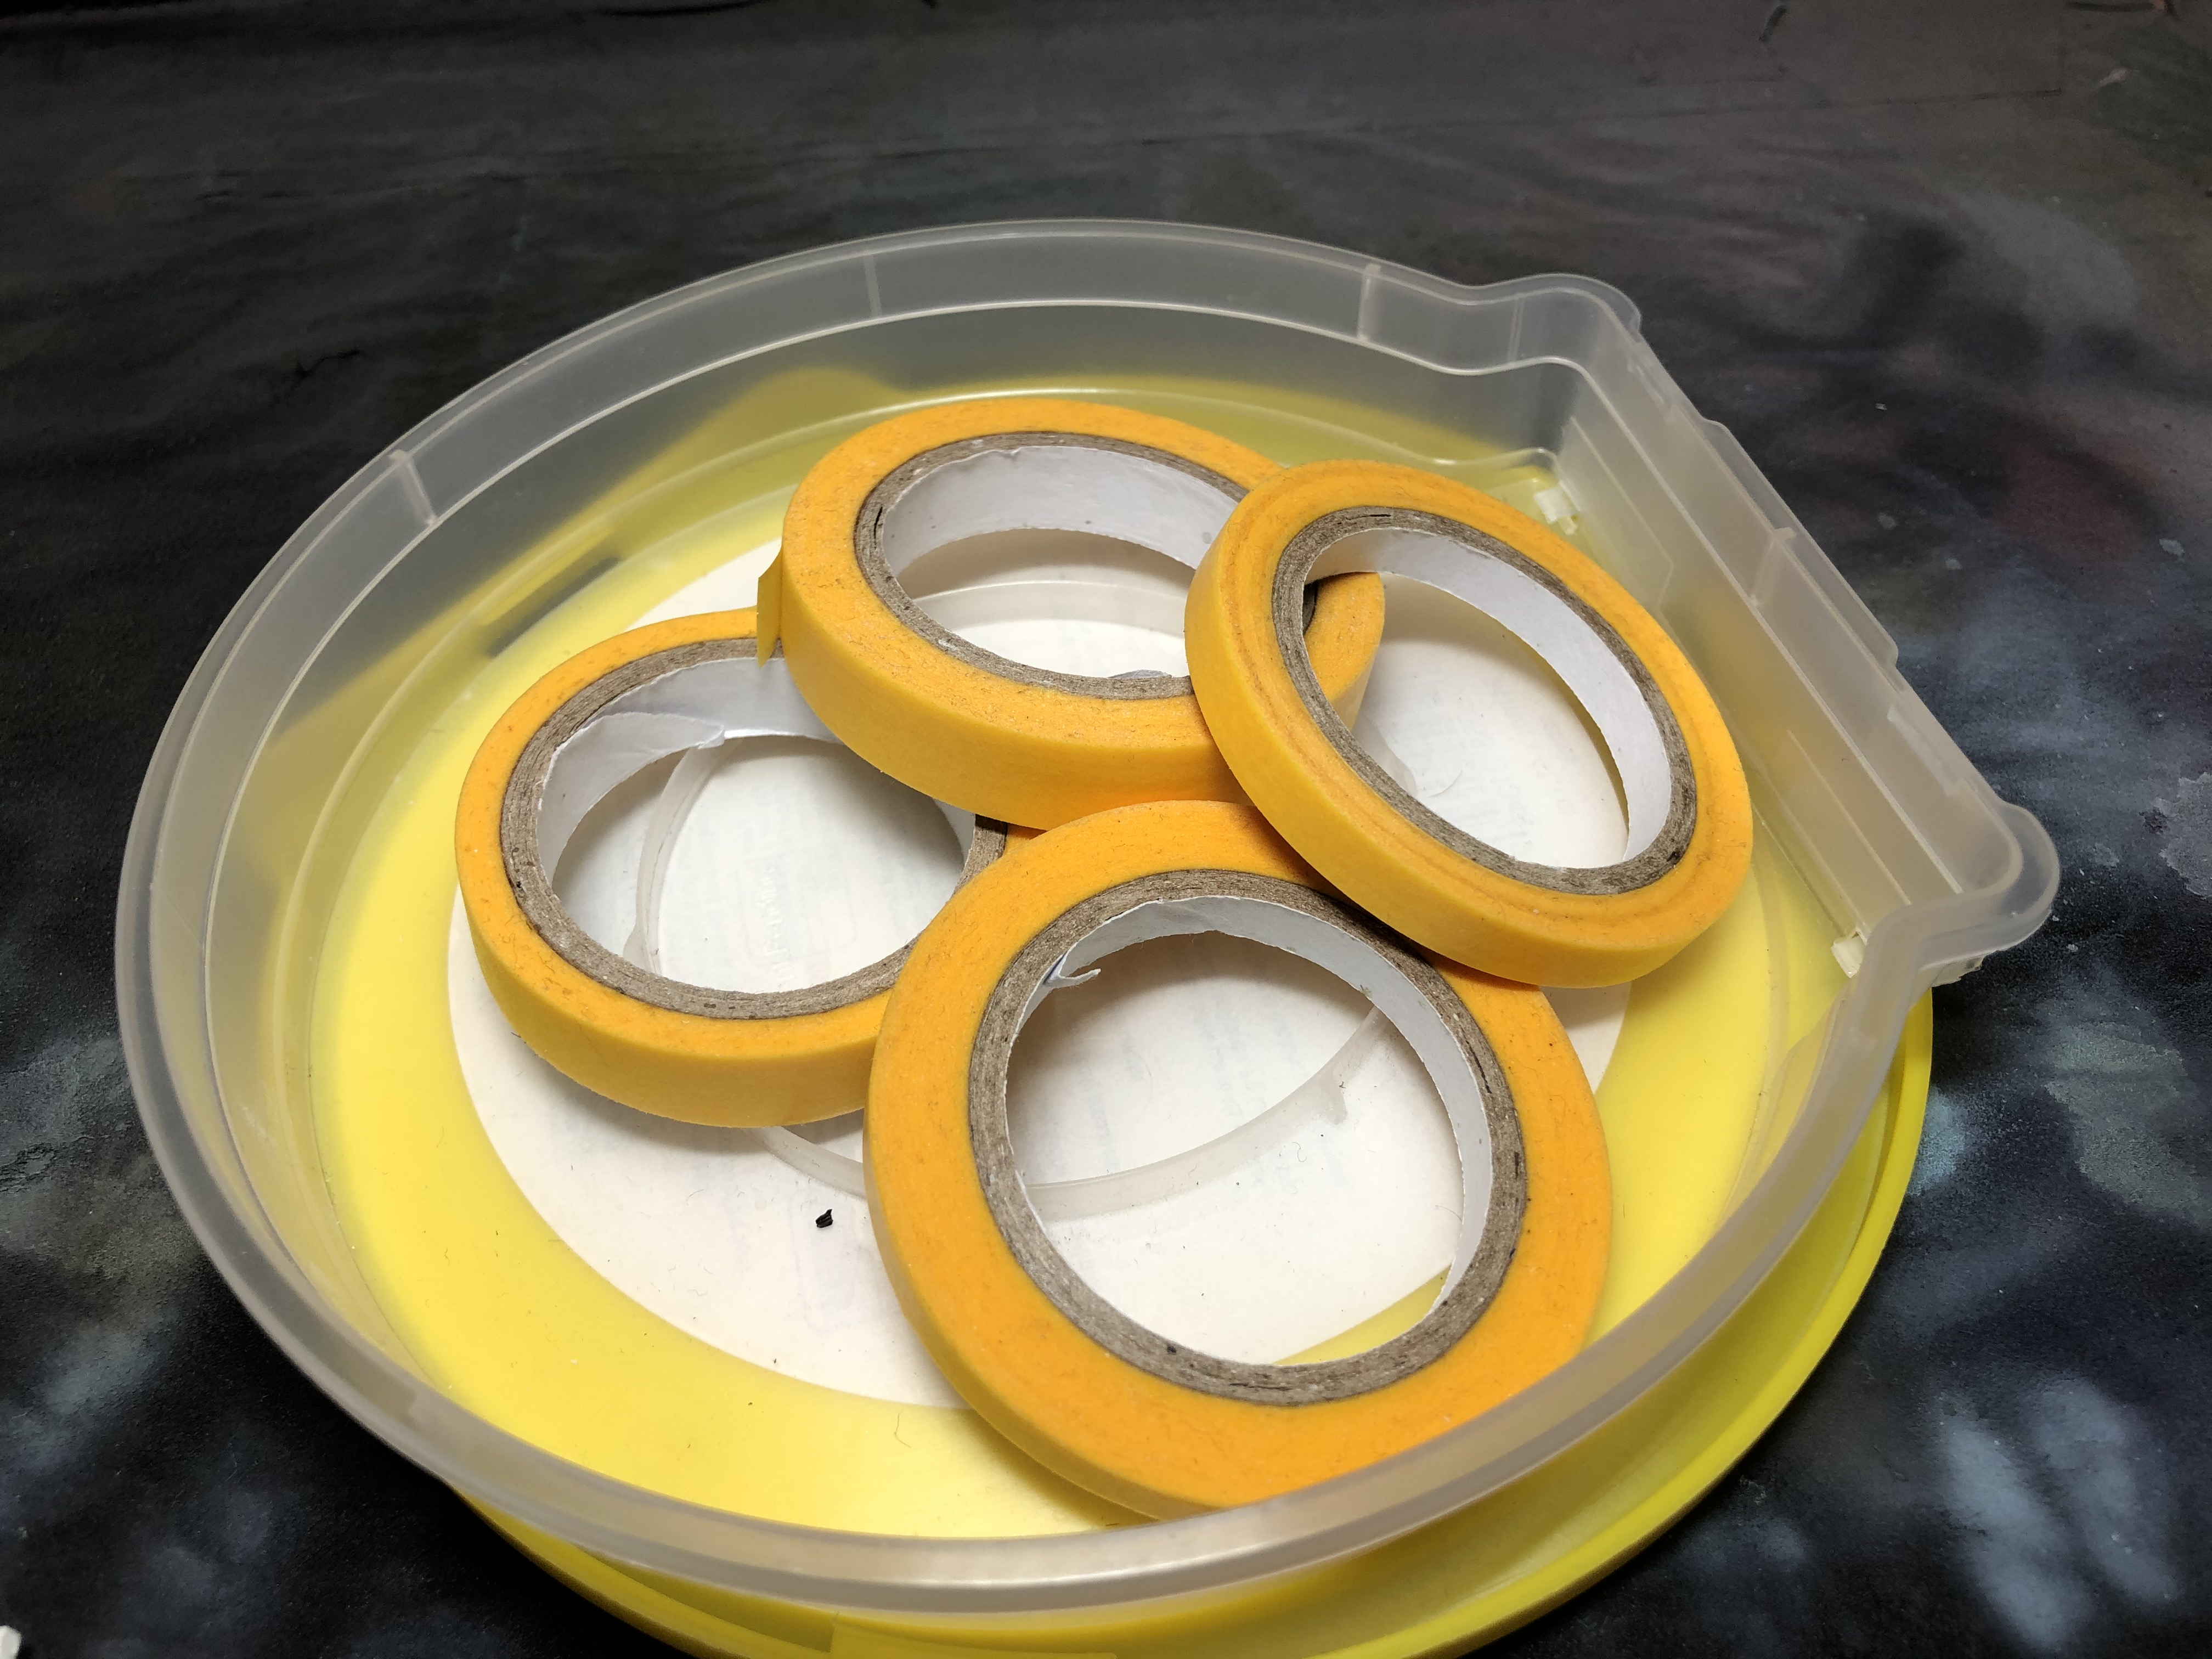
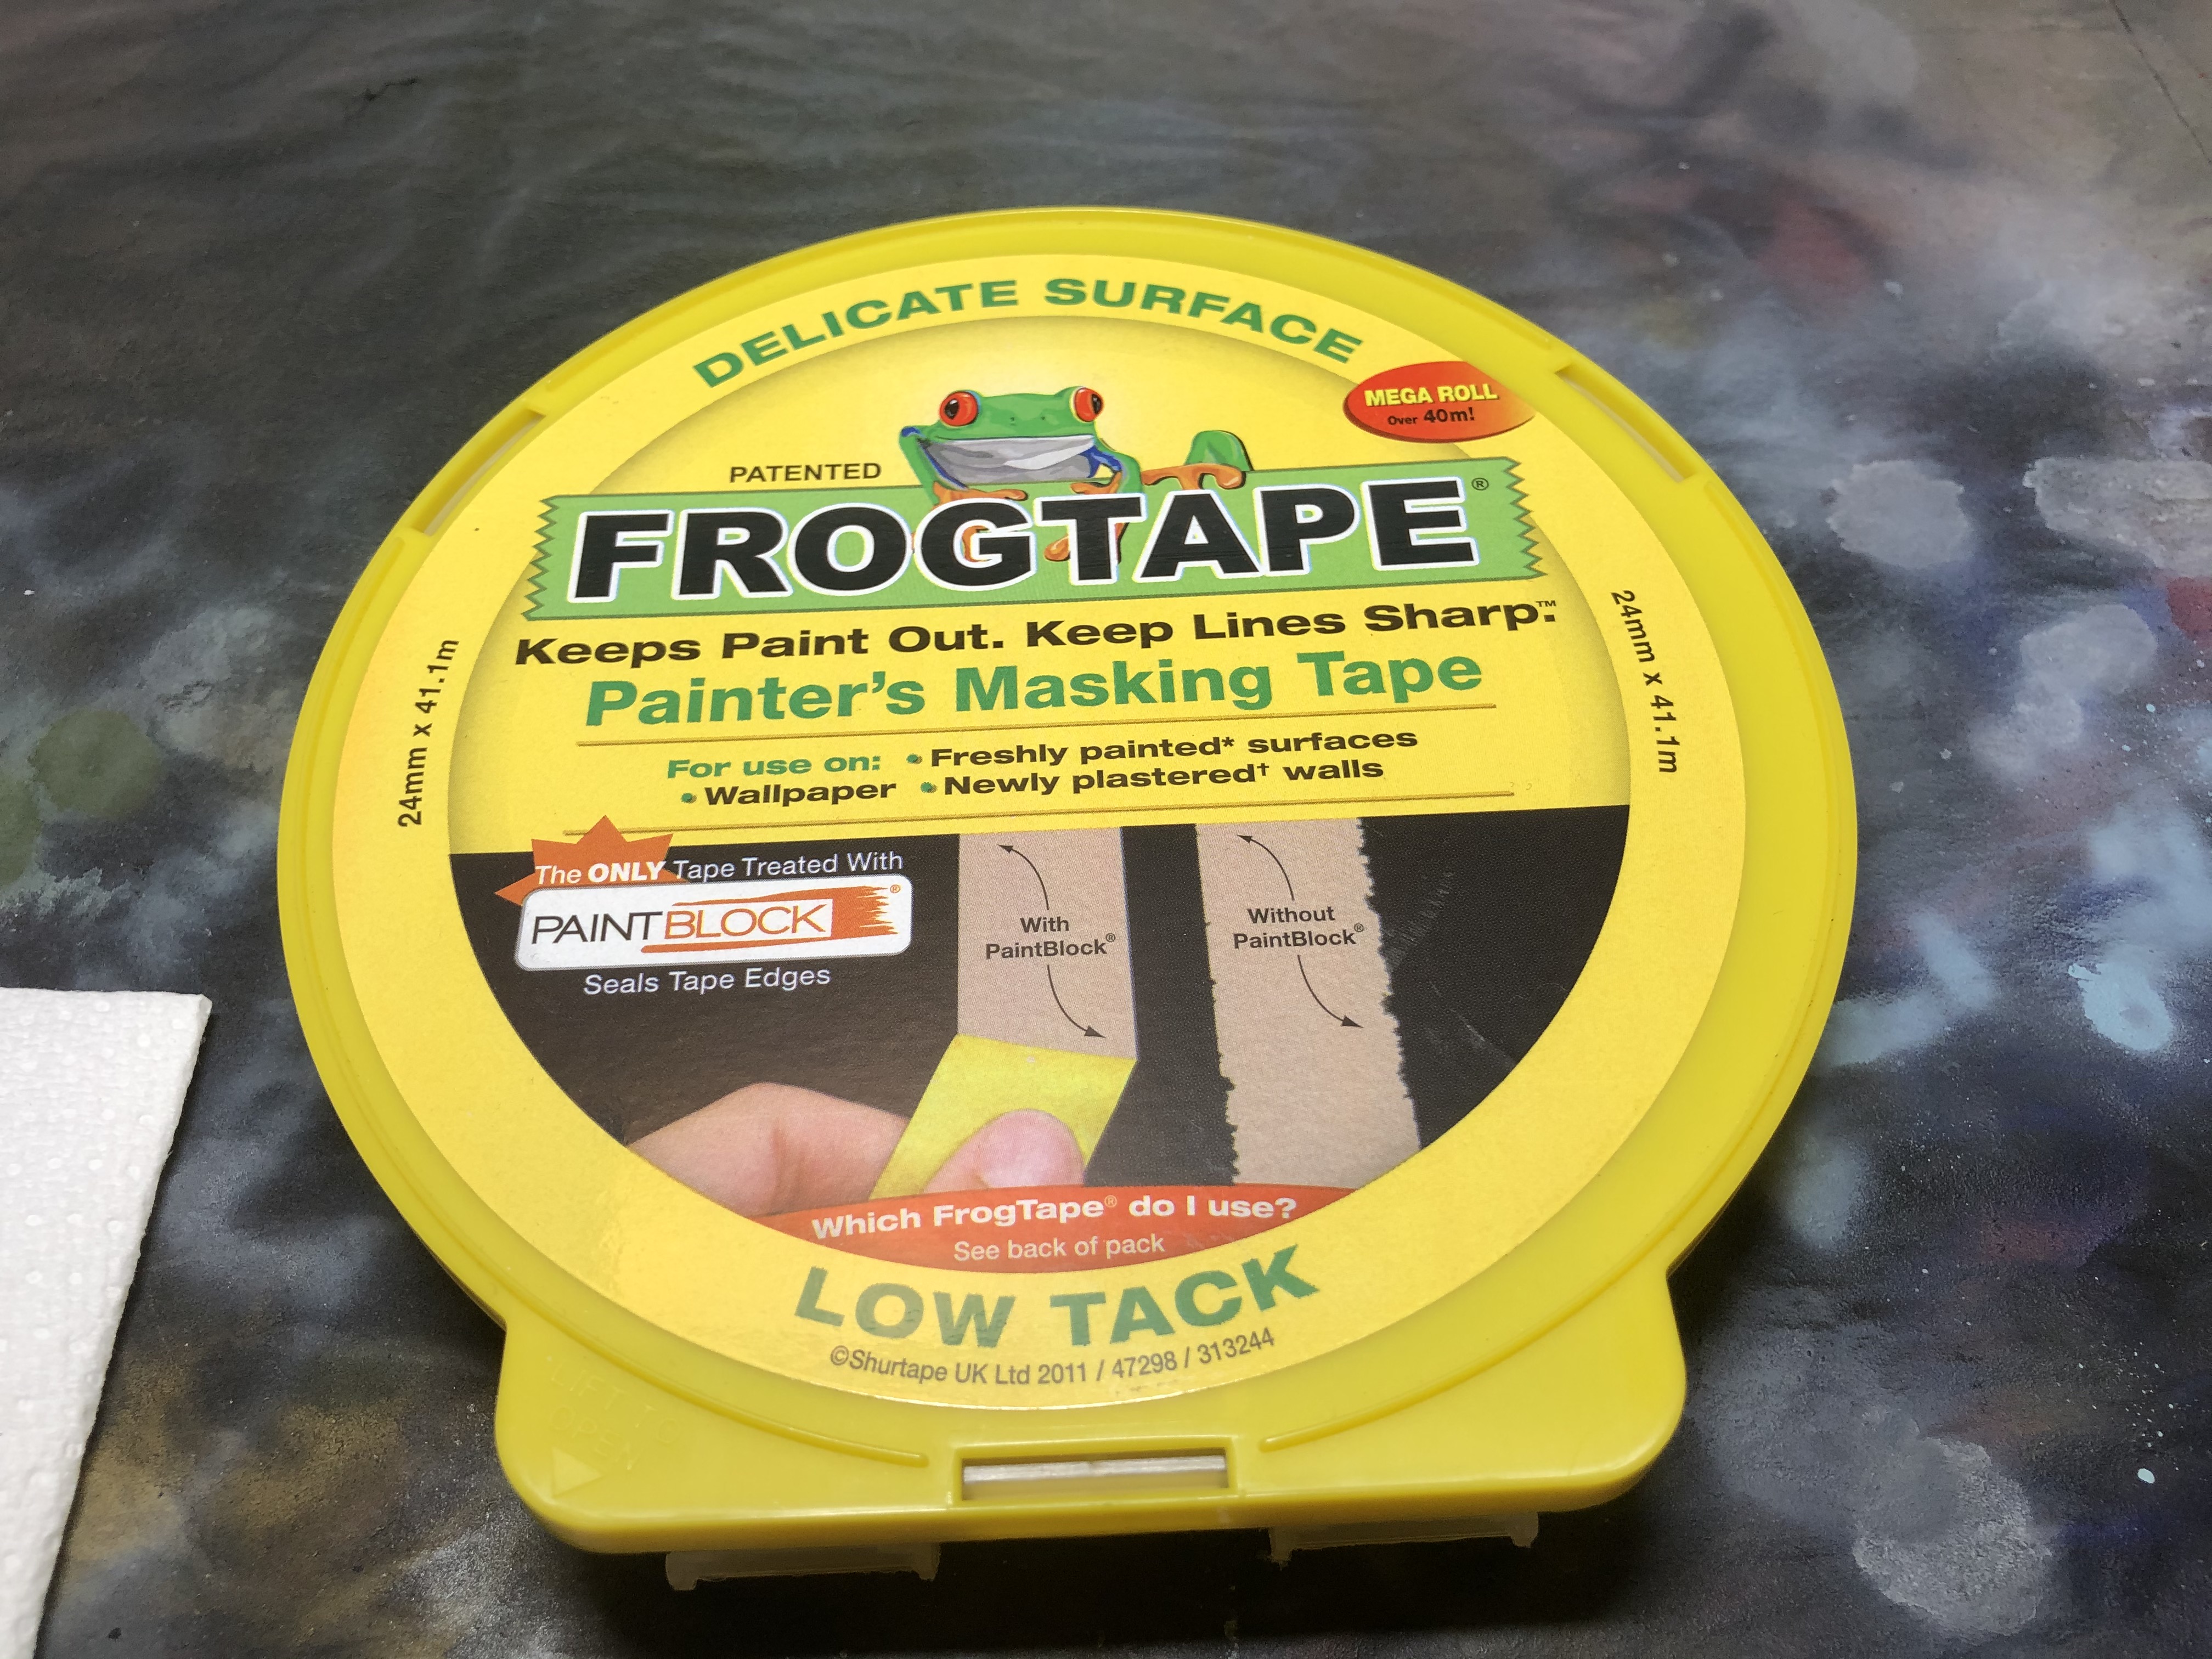
Before you spray anything, make sure your area is clear of dust. I actually use my airbrush to blow the booth clear and then go over the bits to be painted. Next I apply any masking required, the best I have used is the Tamiya modellers tape, or the frog tape from any good DIY store. TOP TIP: if you find your tape is too tacky, stick it to your clothes (jeans are best) and then use it.
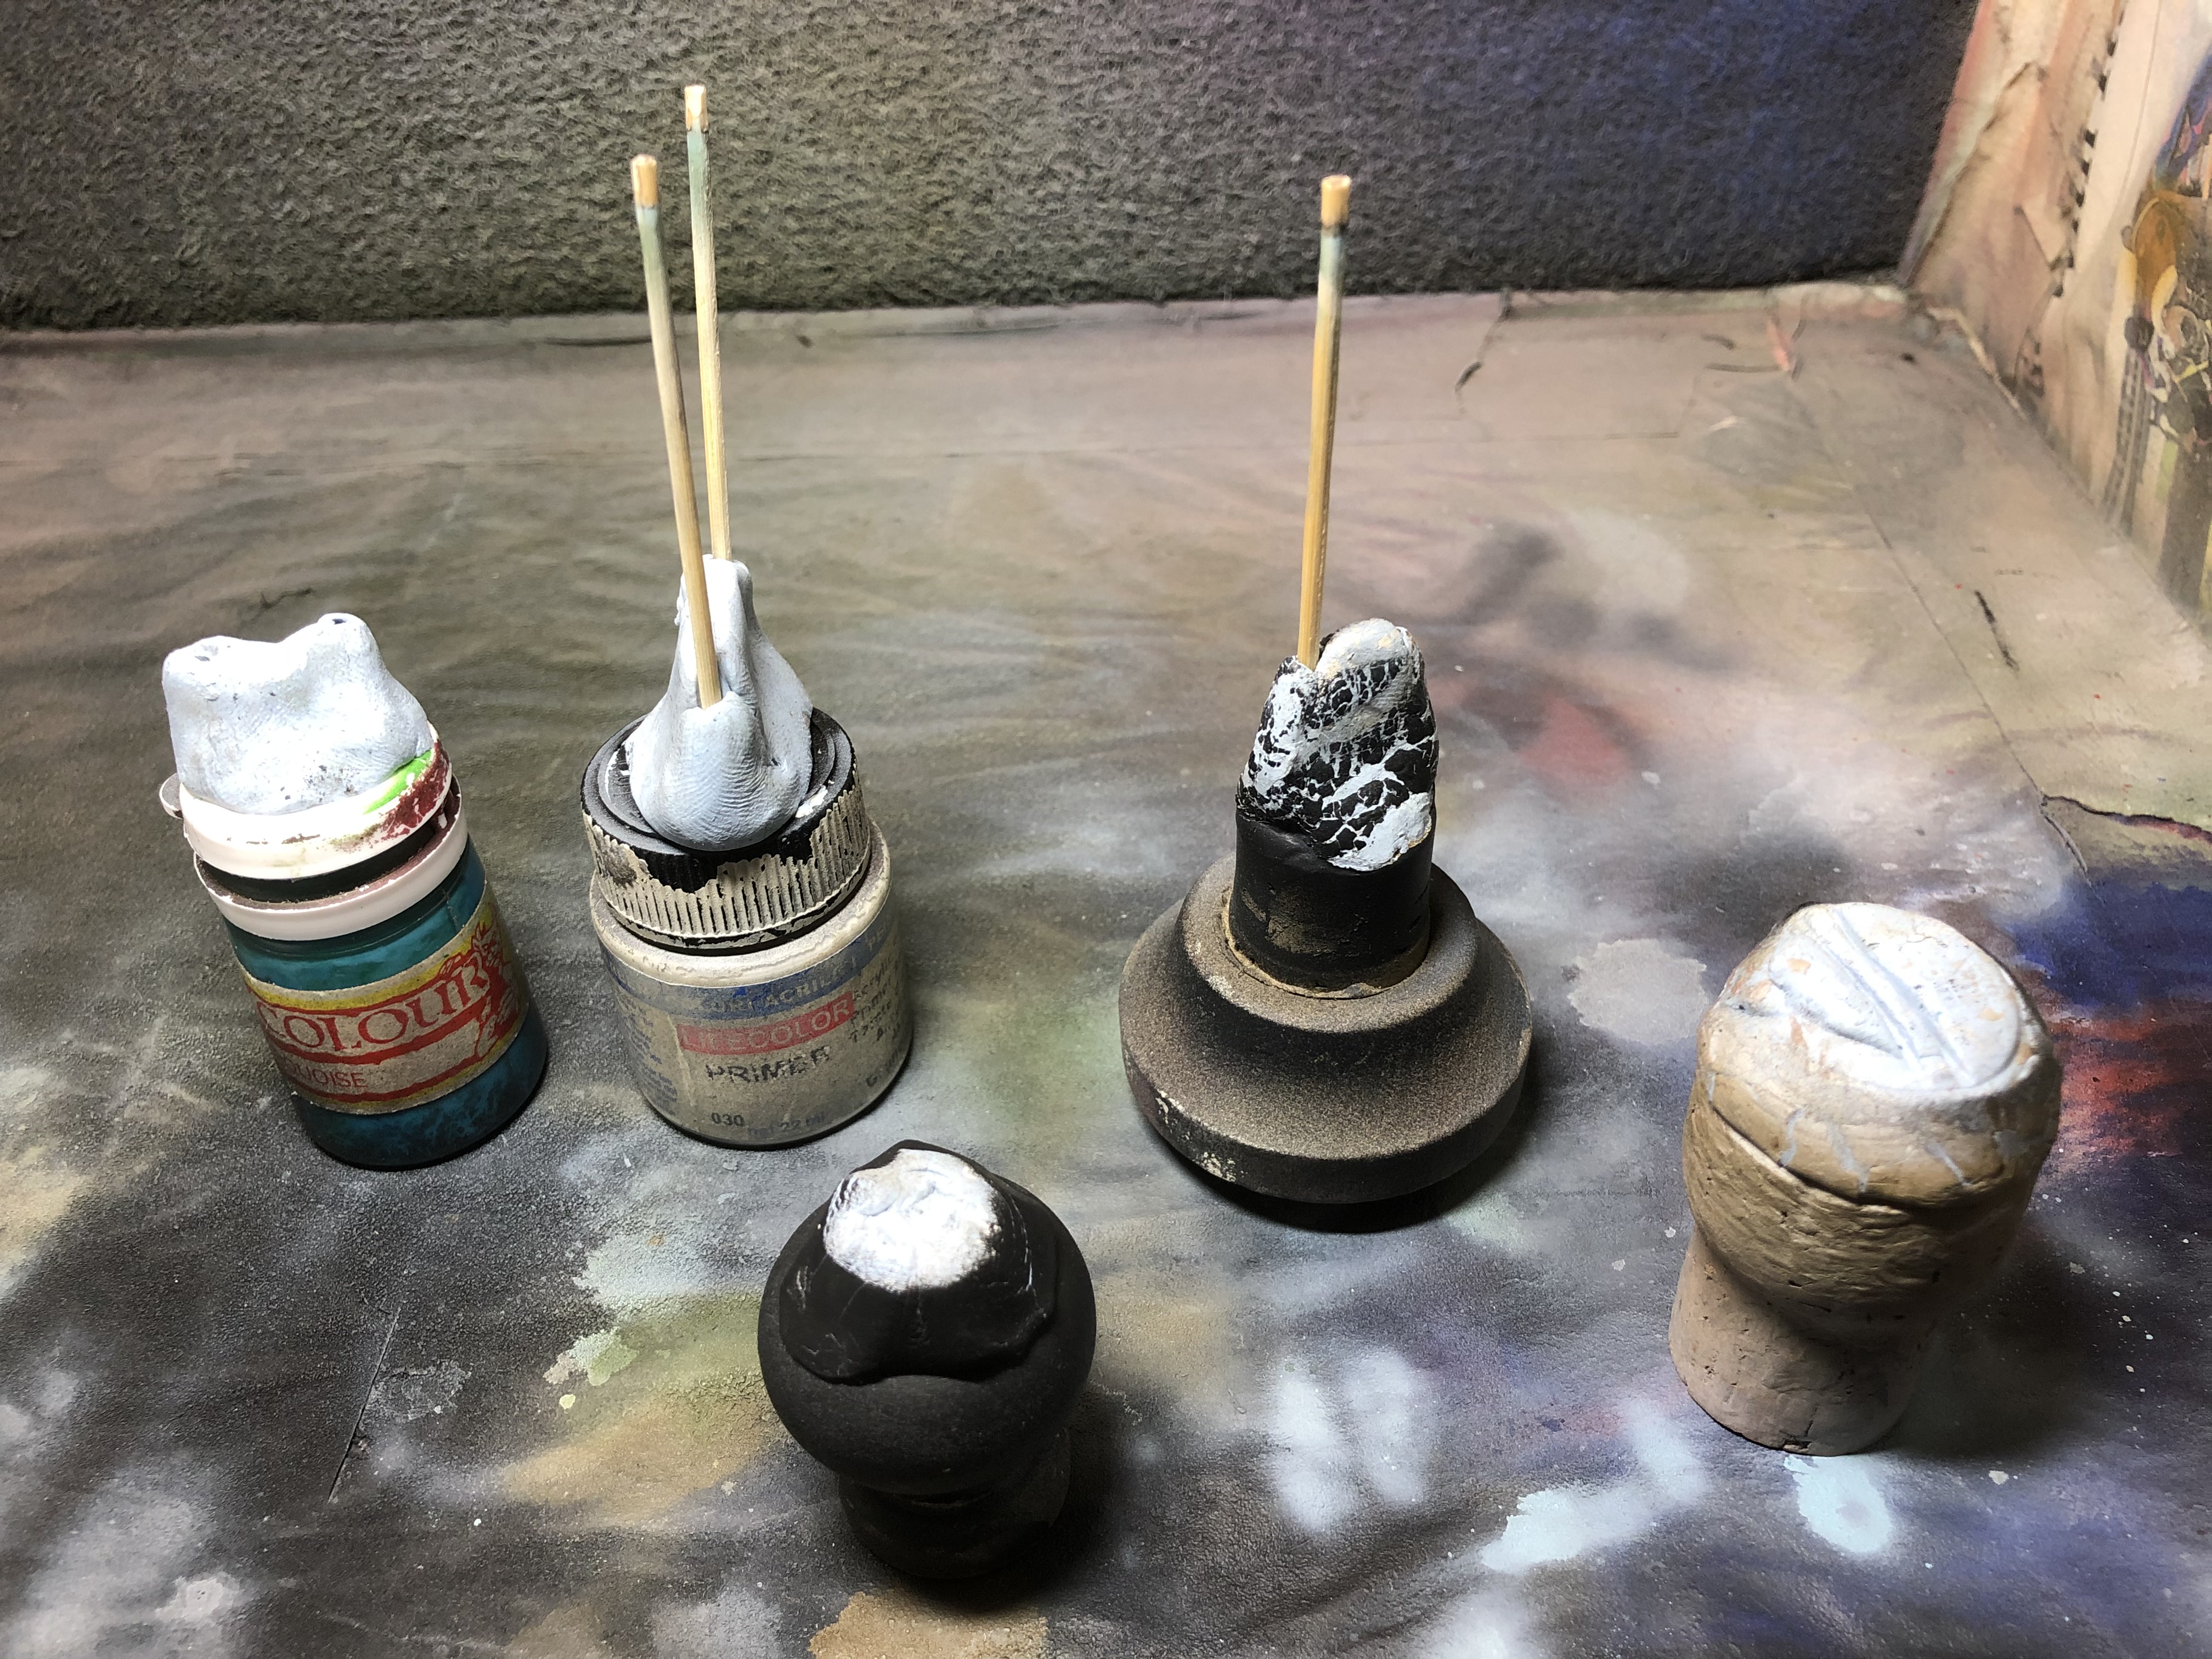
Next I mount everything I can onto some form of handle so that I don’t have to touch the model. It’s a bit of a faff but you get the benefits of not spraying too much on one area, or missing bits. The mounts are many and varied, including some very old GW paint pots (that still have paint in them).
Other bits to make life easier
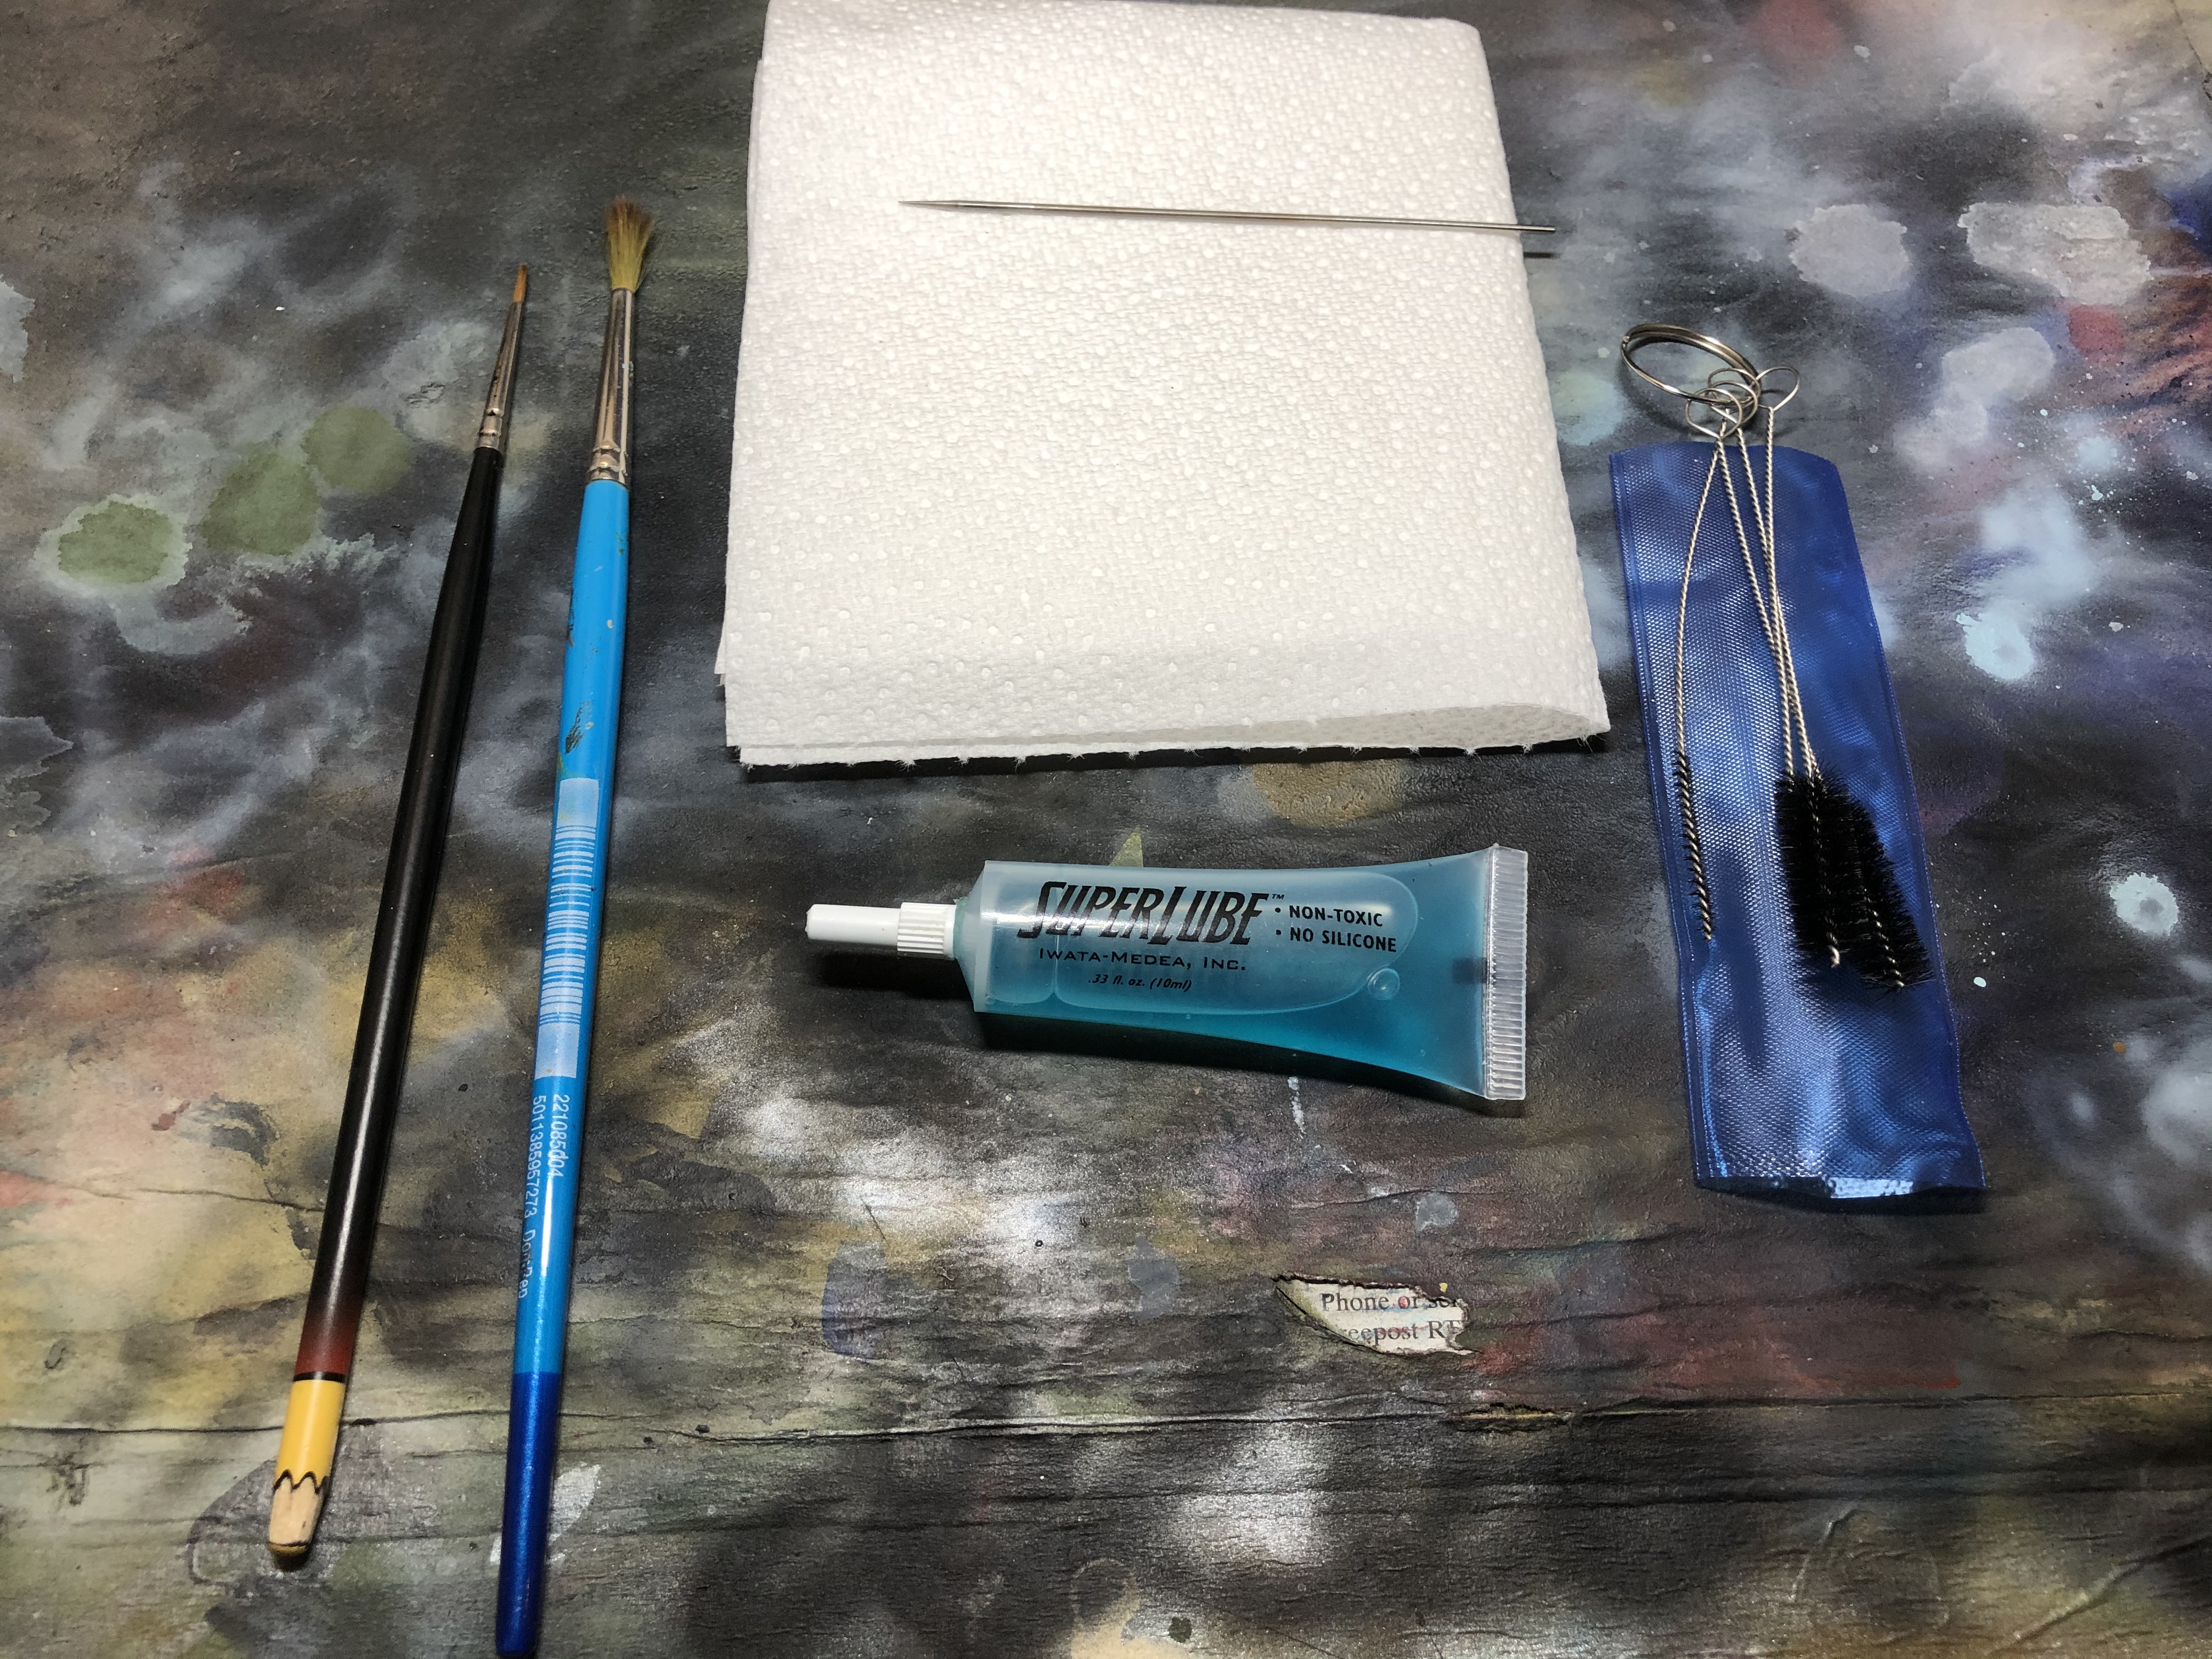 Cleaning stuff on standby, regular cleaning throughout your painting session is essential to stop the airbrush playing up on you and causing issues with your paint job.
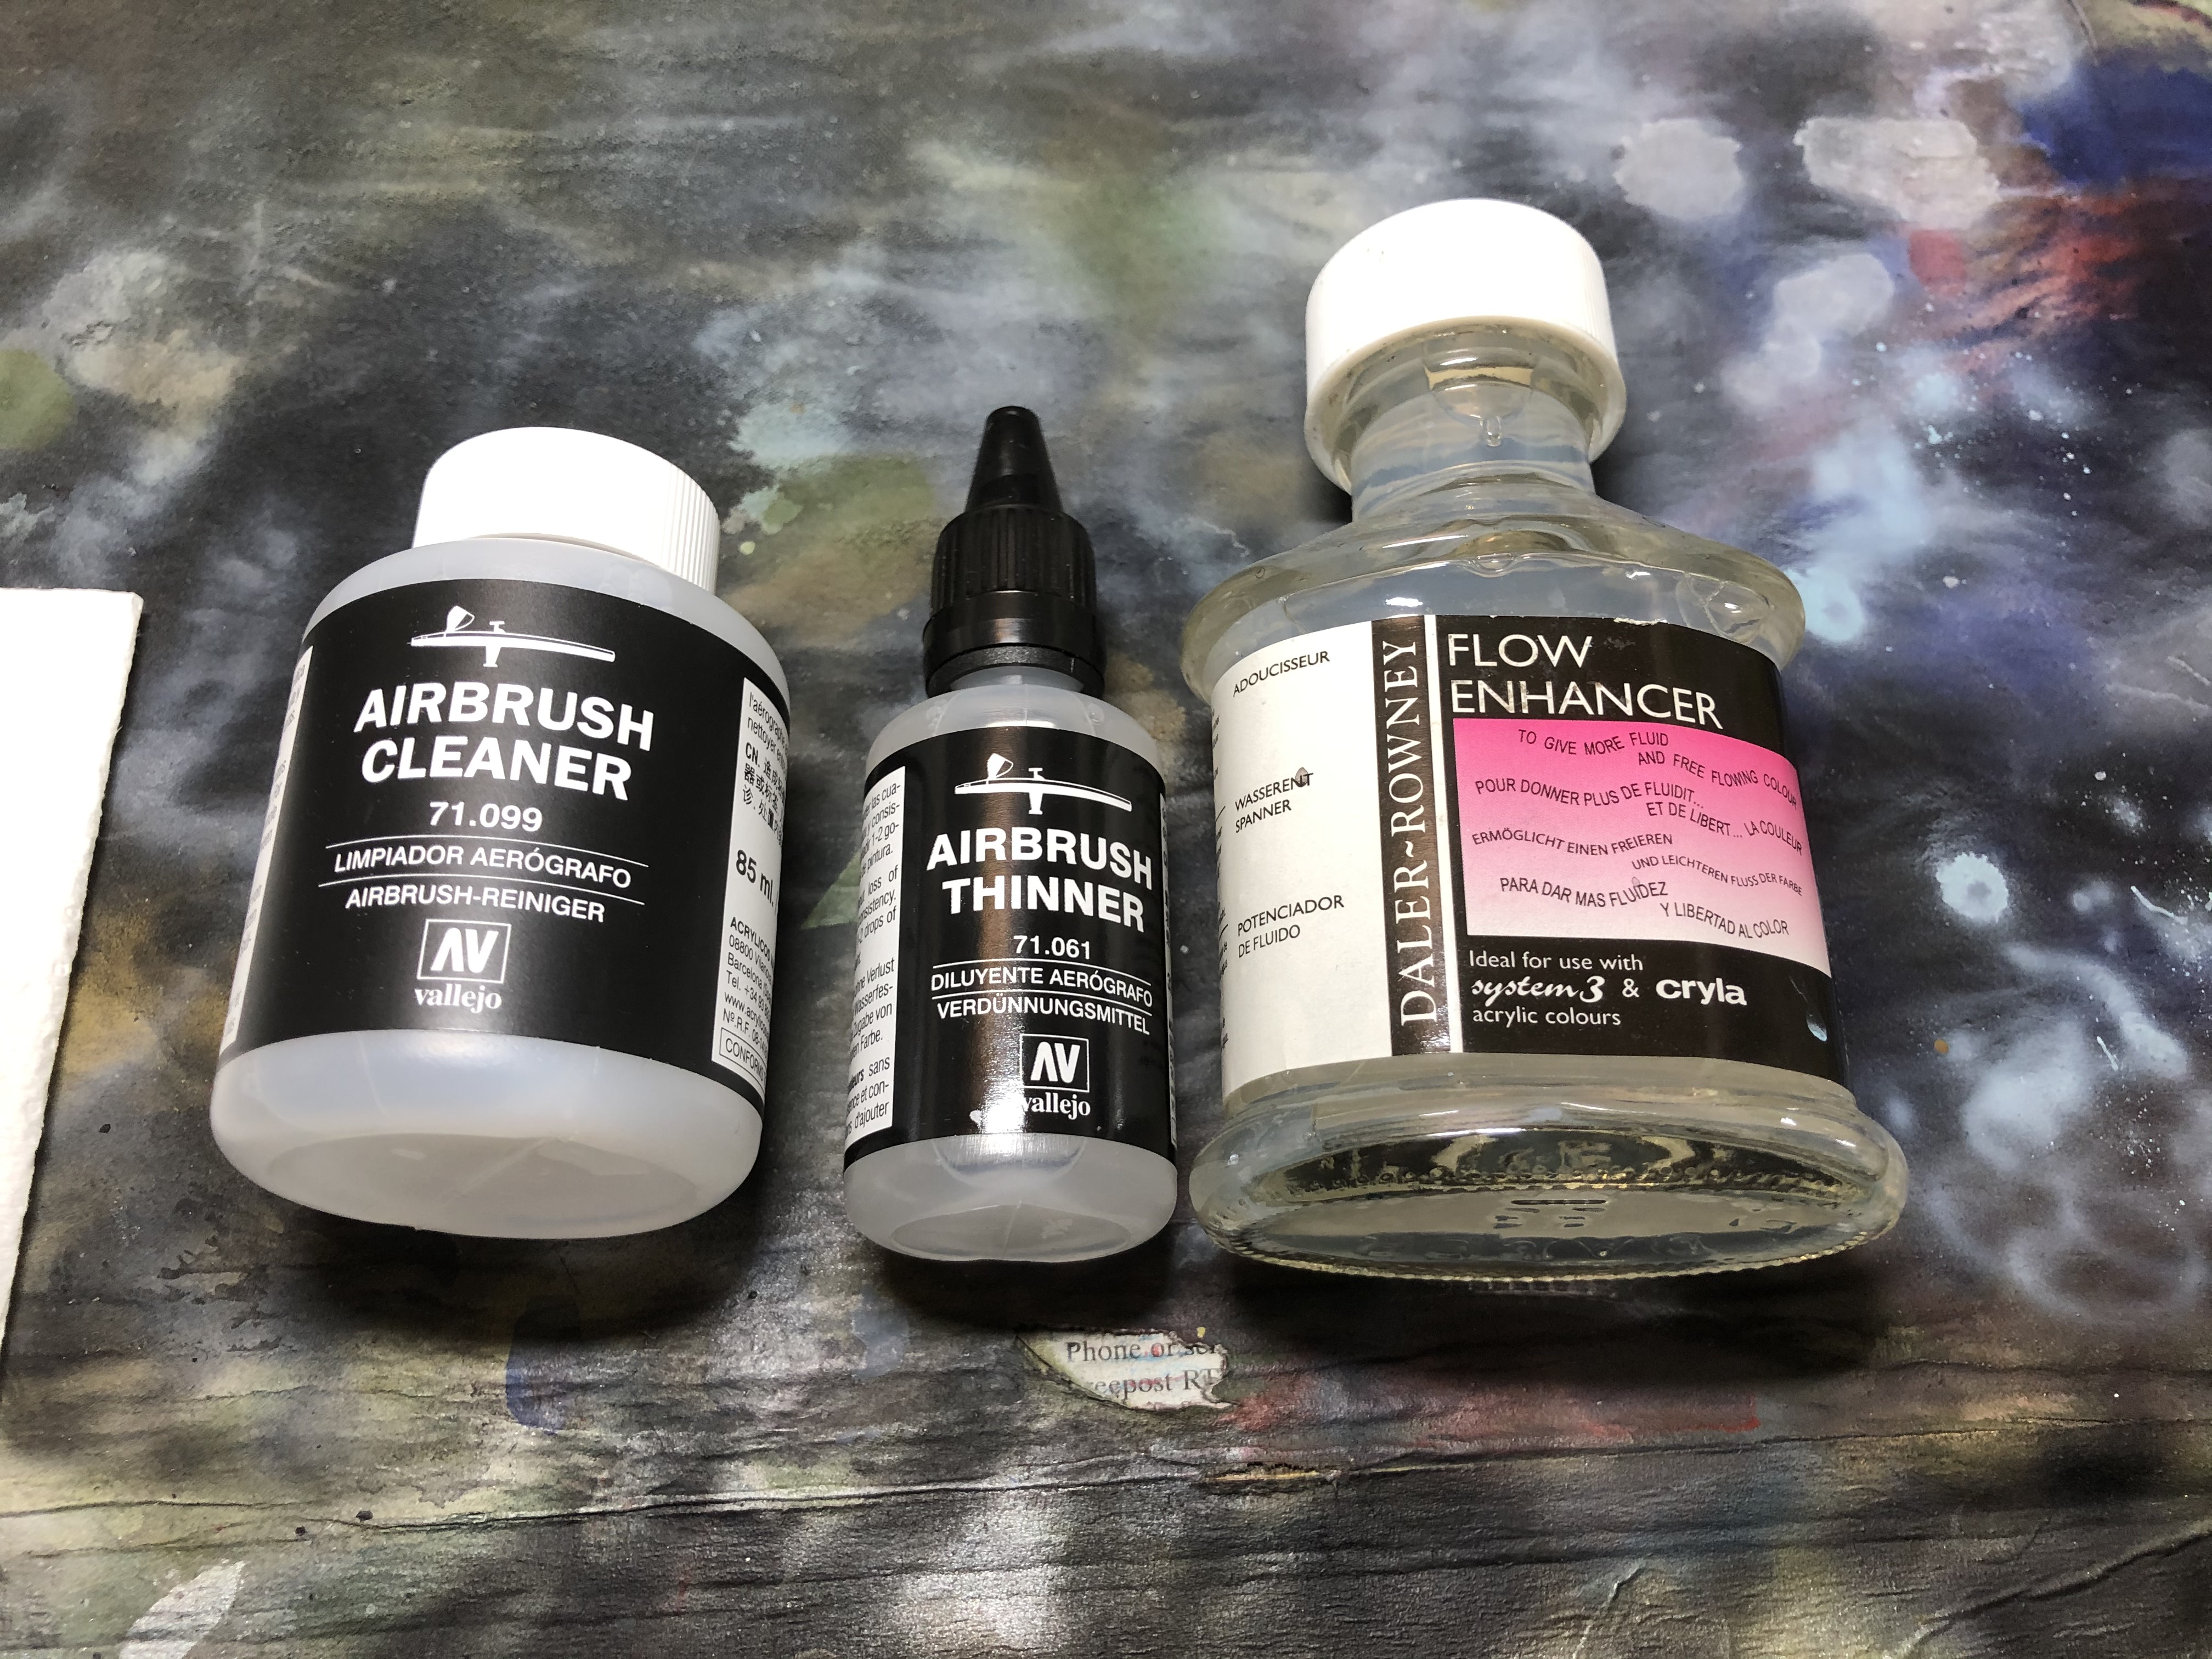 Other essentials are a matched thinner and cleaner to the paint make you are using and then a flow improver as I find it helps prevent the tip of the needle drying (with paint on it)
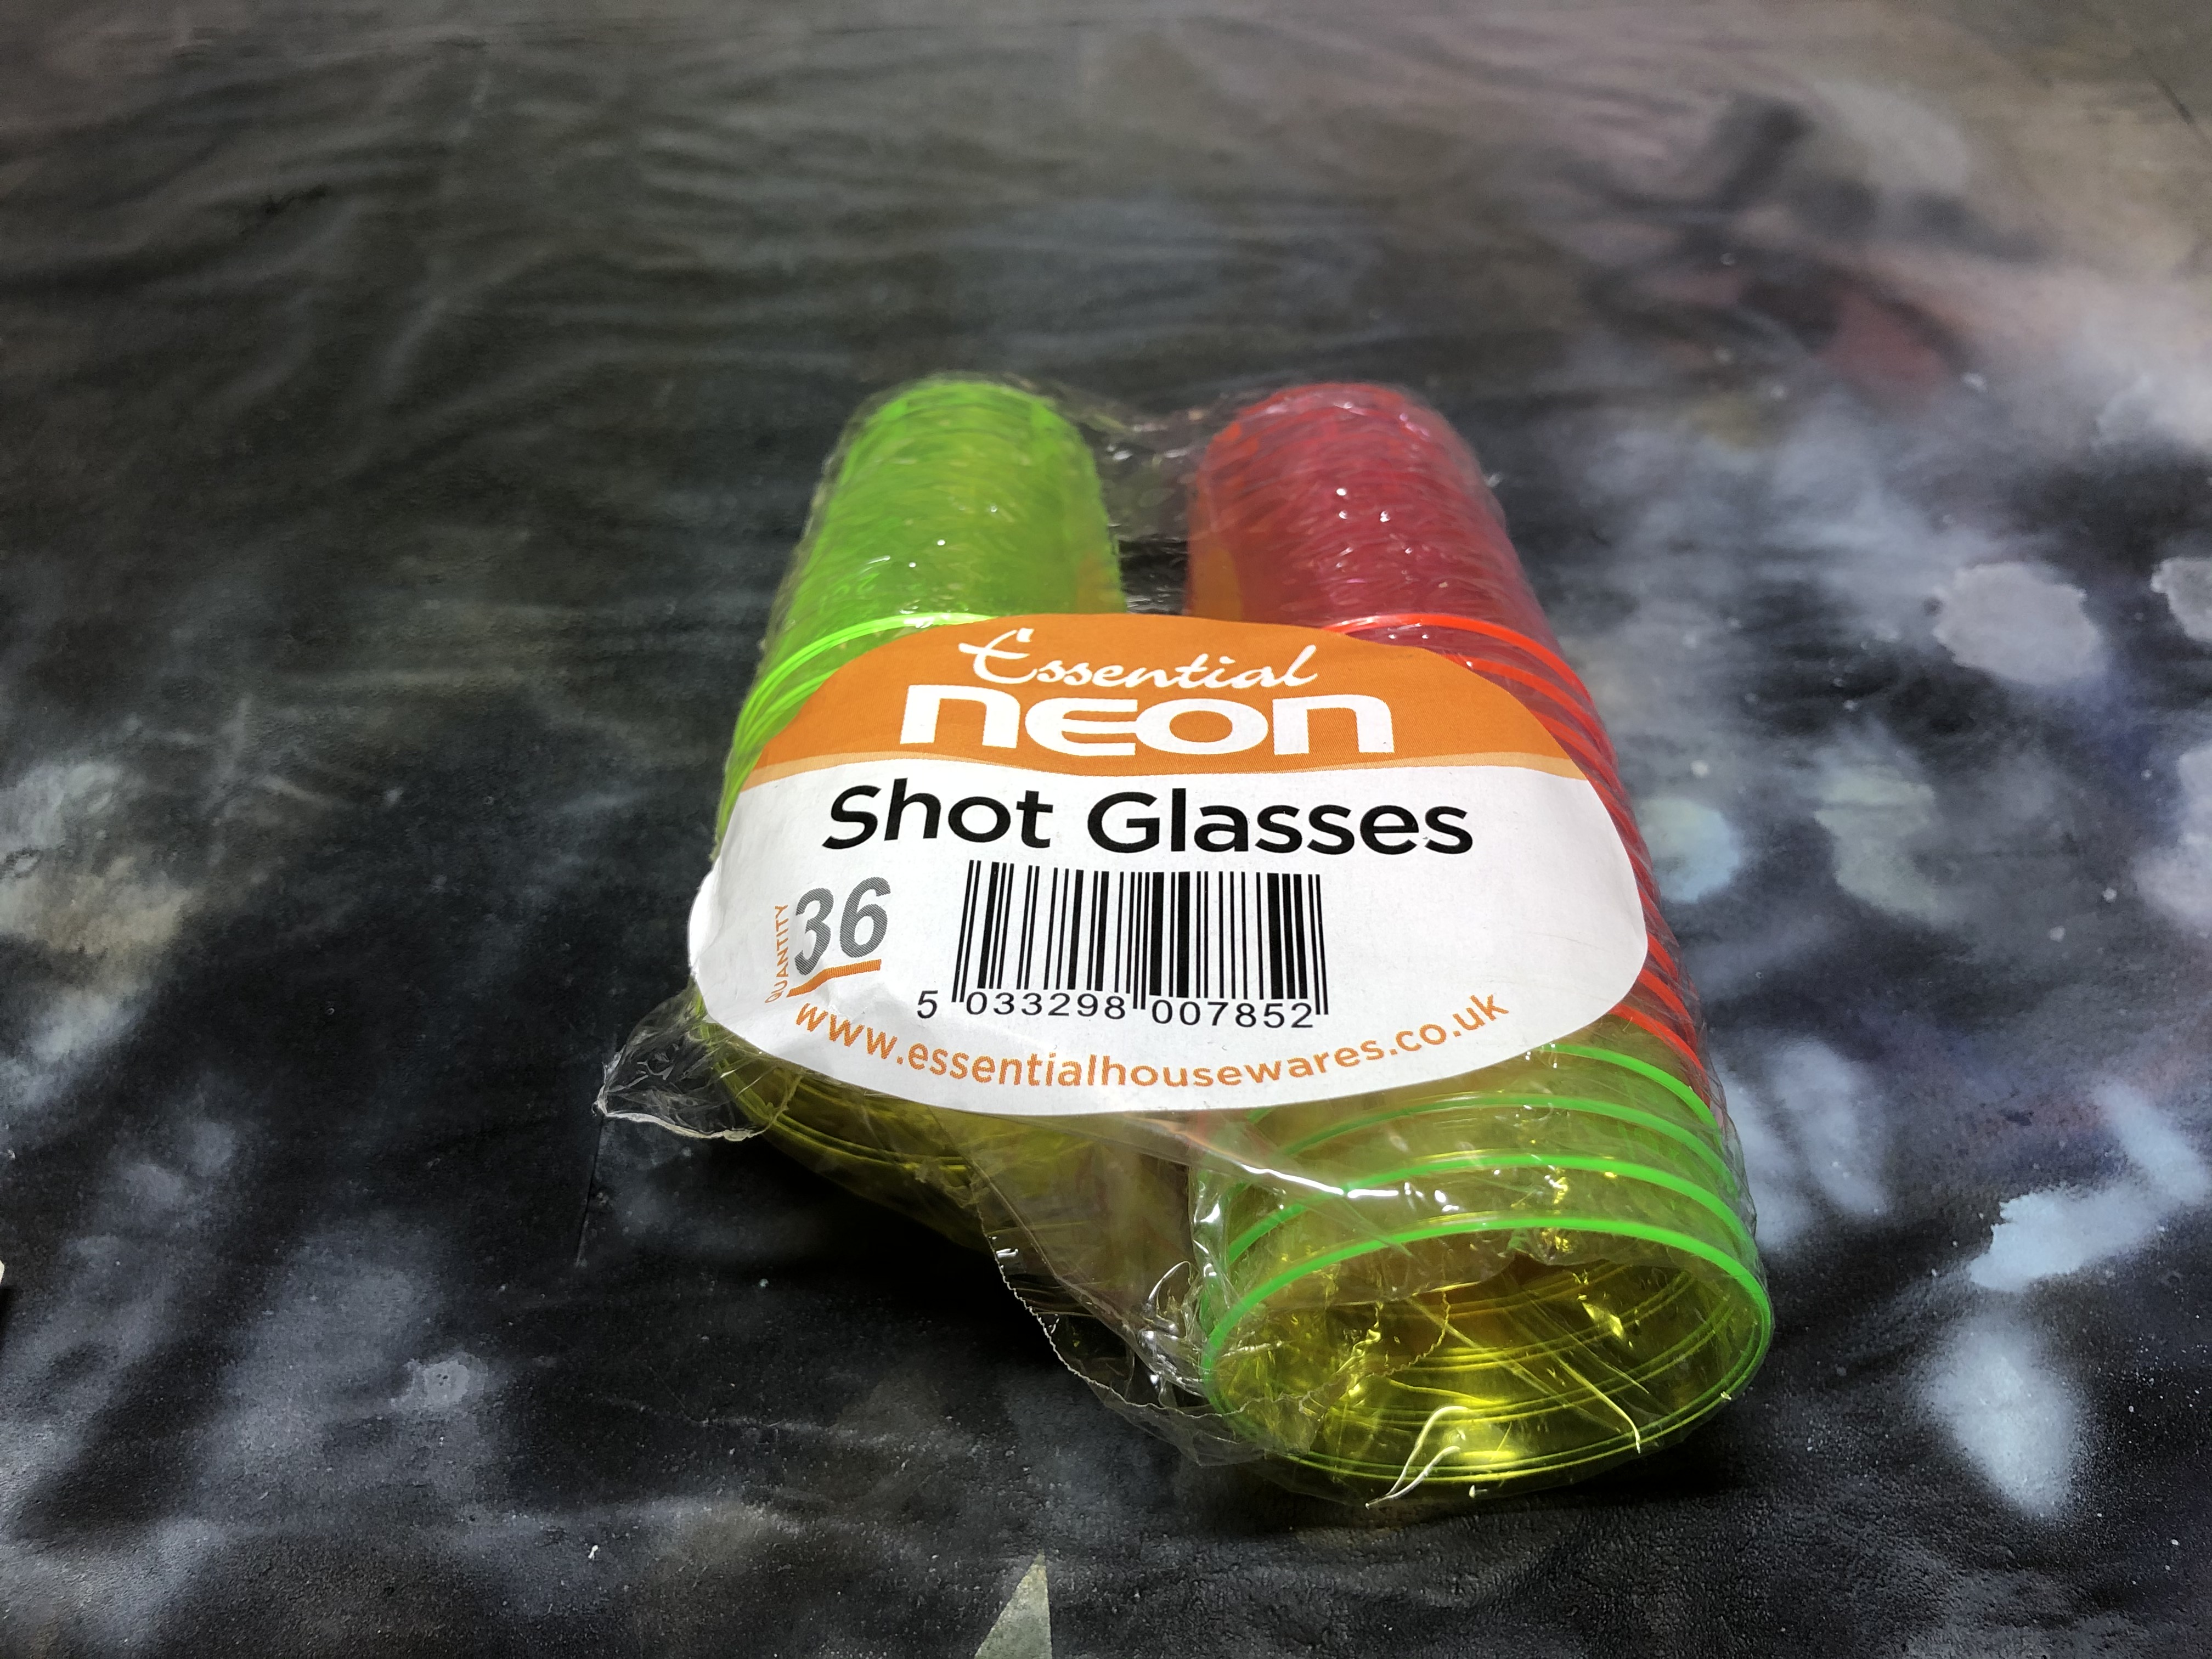 Disposable shot glasses are great for batching up your paints, it is surprising what bits you will find at the bottom. I always let the paint sit for a while (@5mins) after I have mixed it, to let the larger particles settle out.
Essential bits and pieces
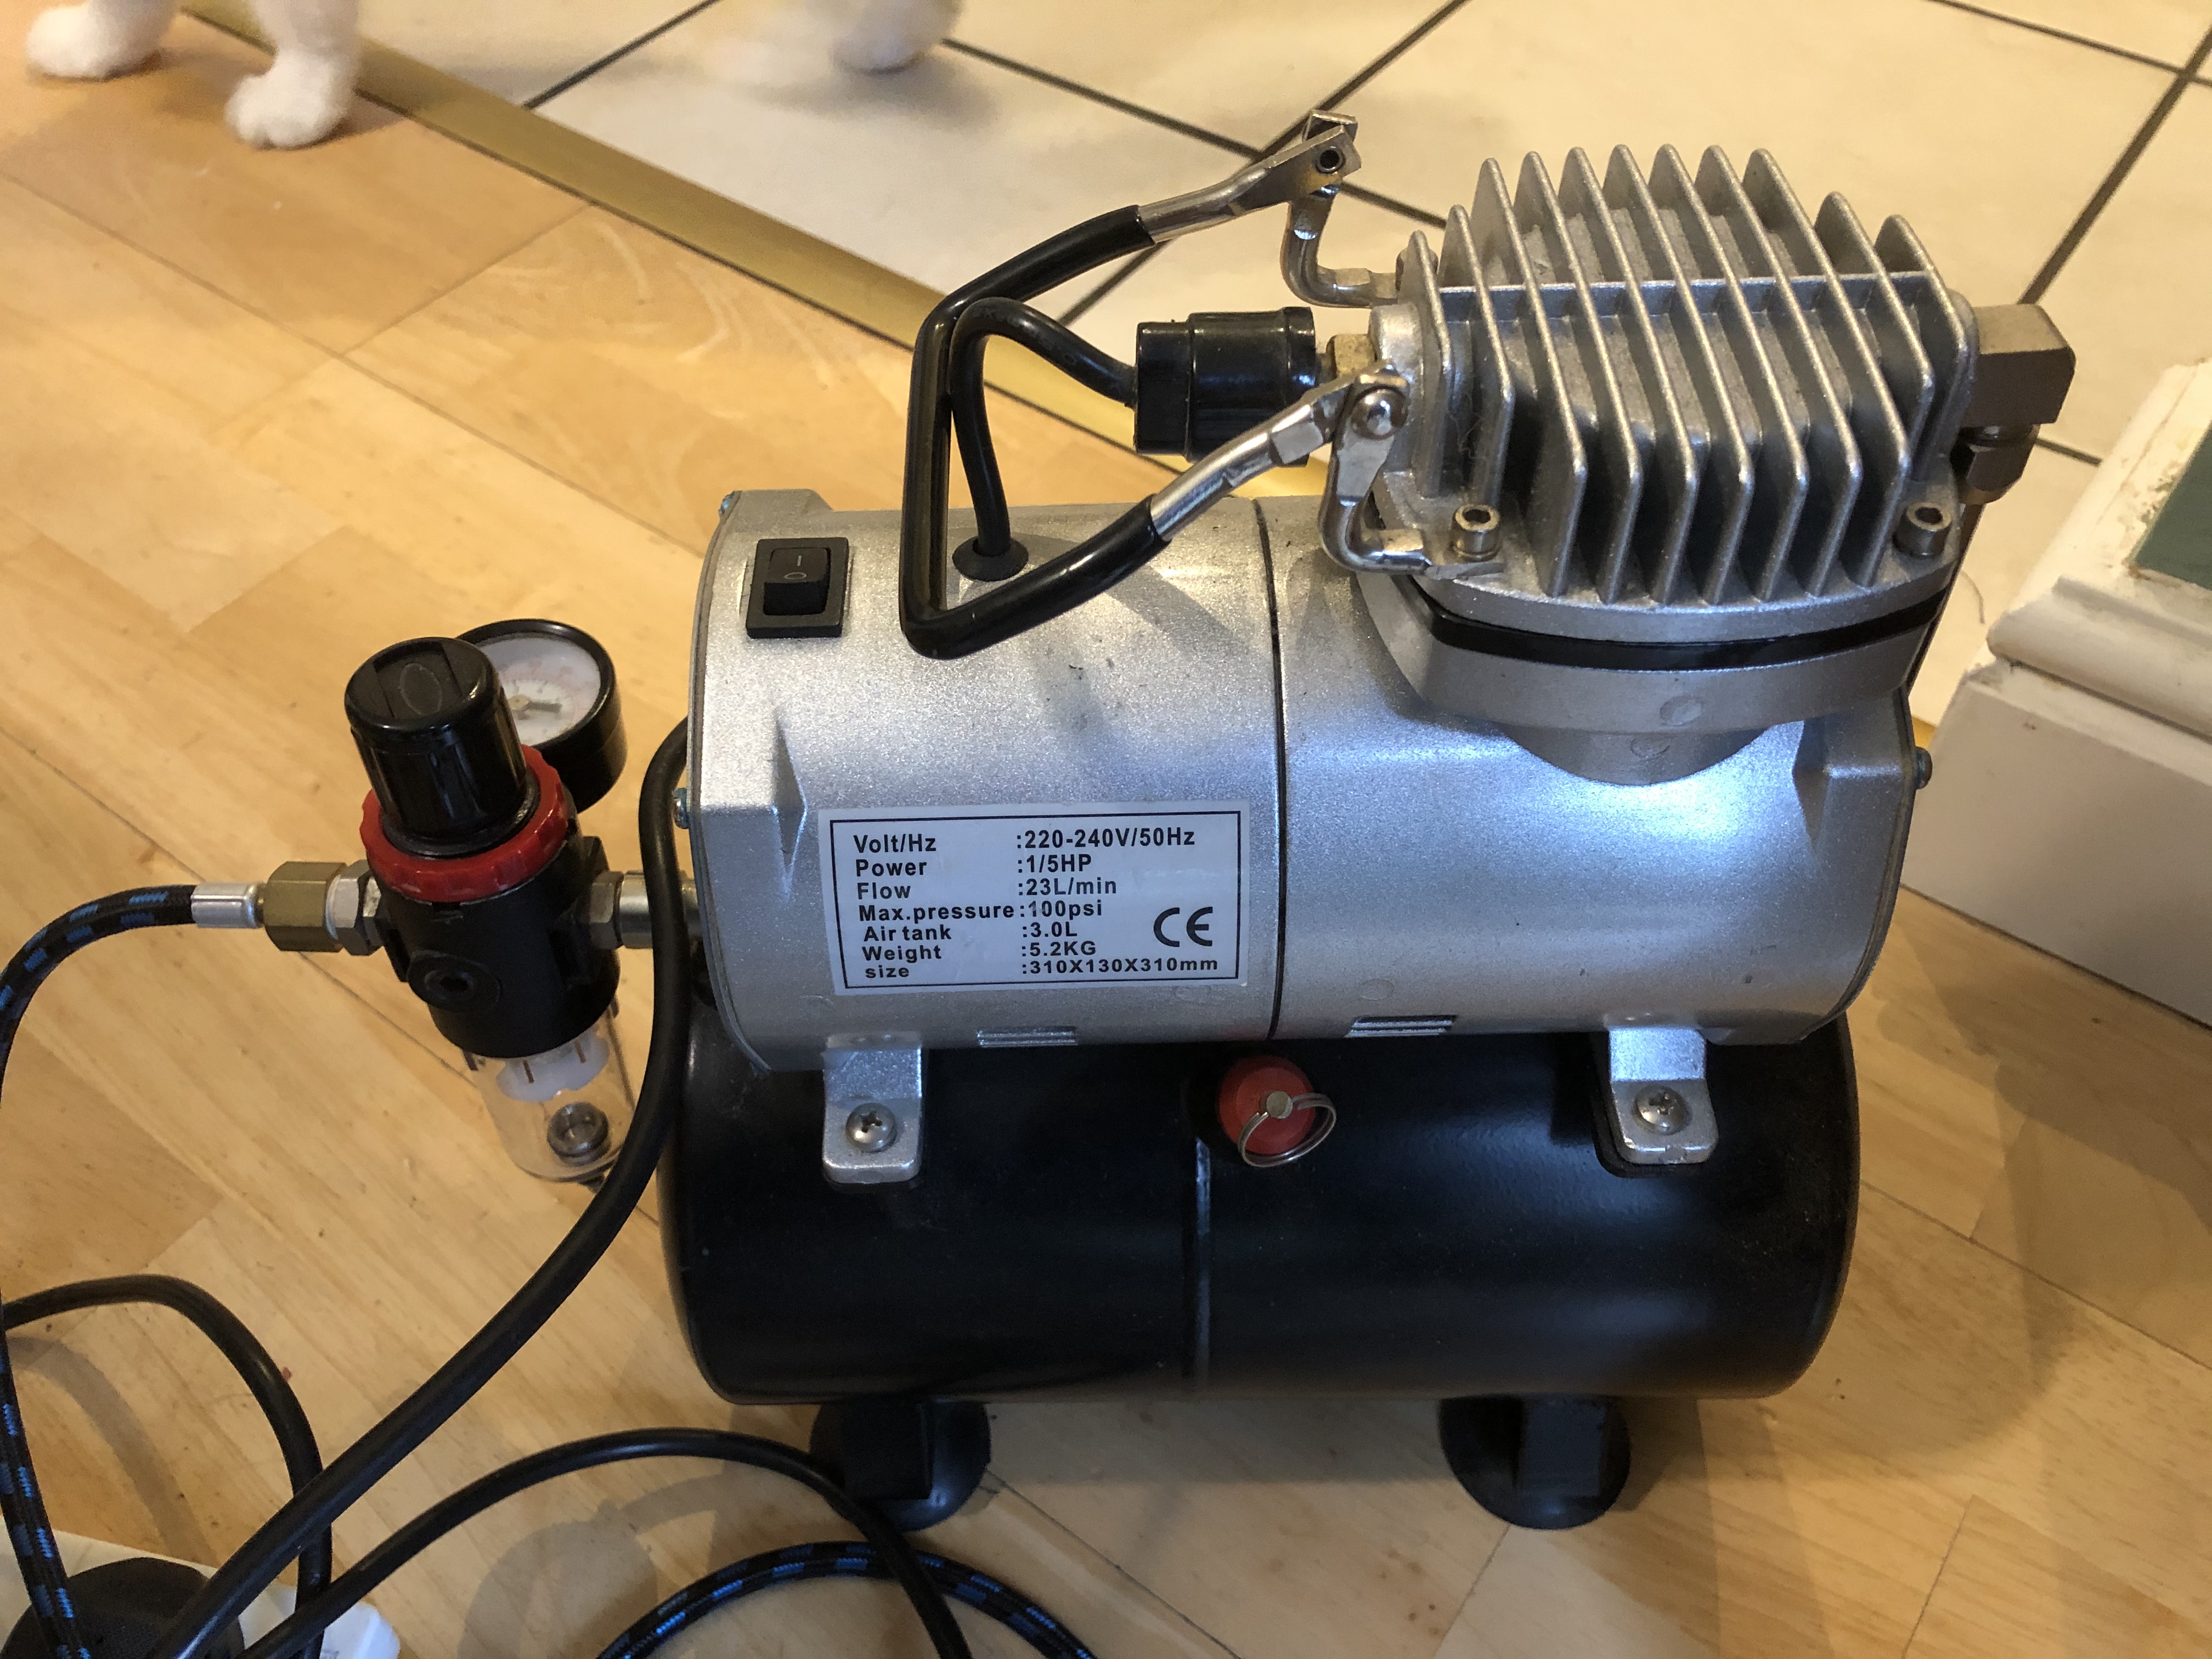 First up the compressor, I got this one from everything airbrush. it is essential to get one with an air trap, regulator and storage tank (called a receiver).
 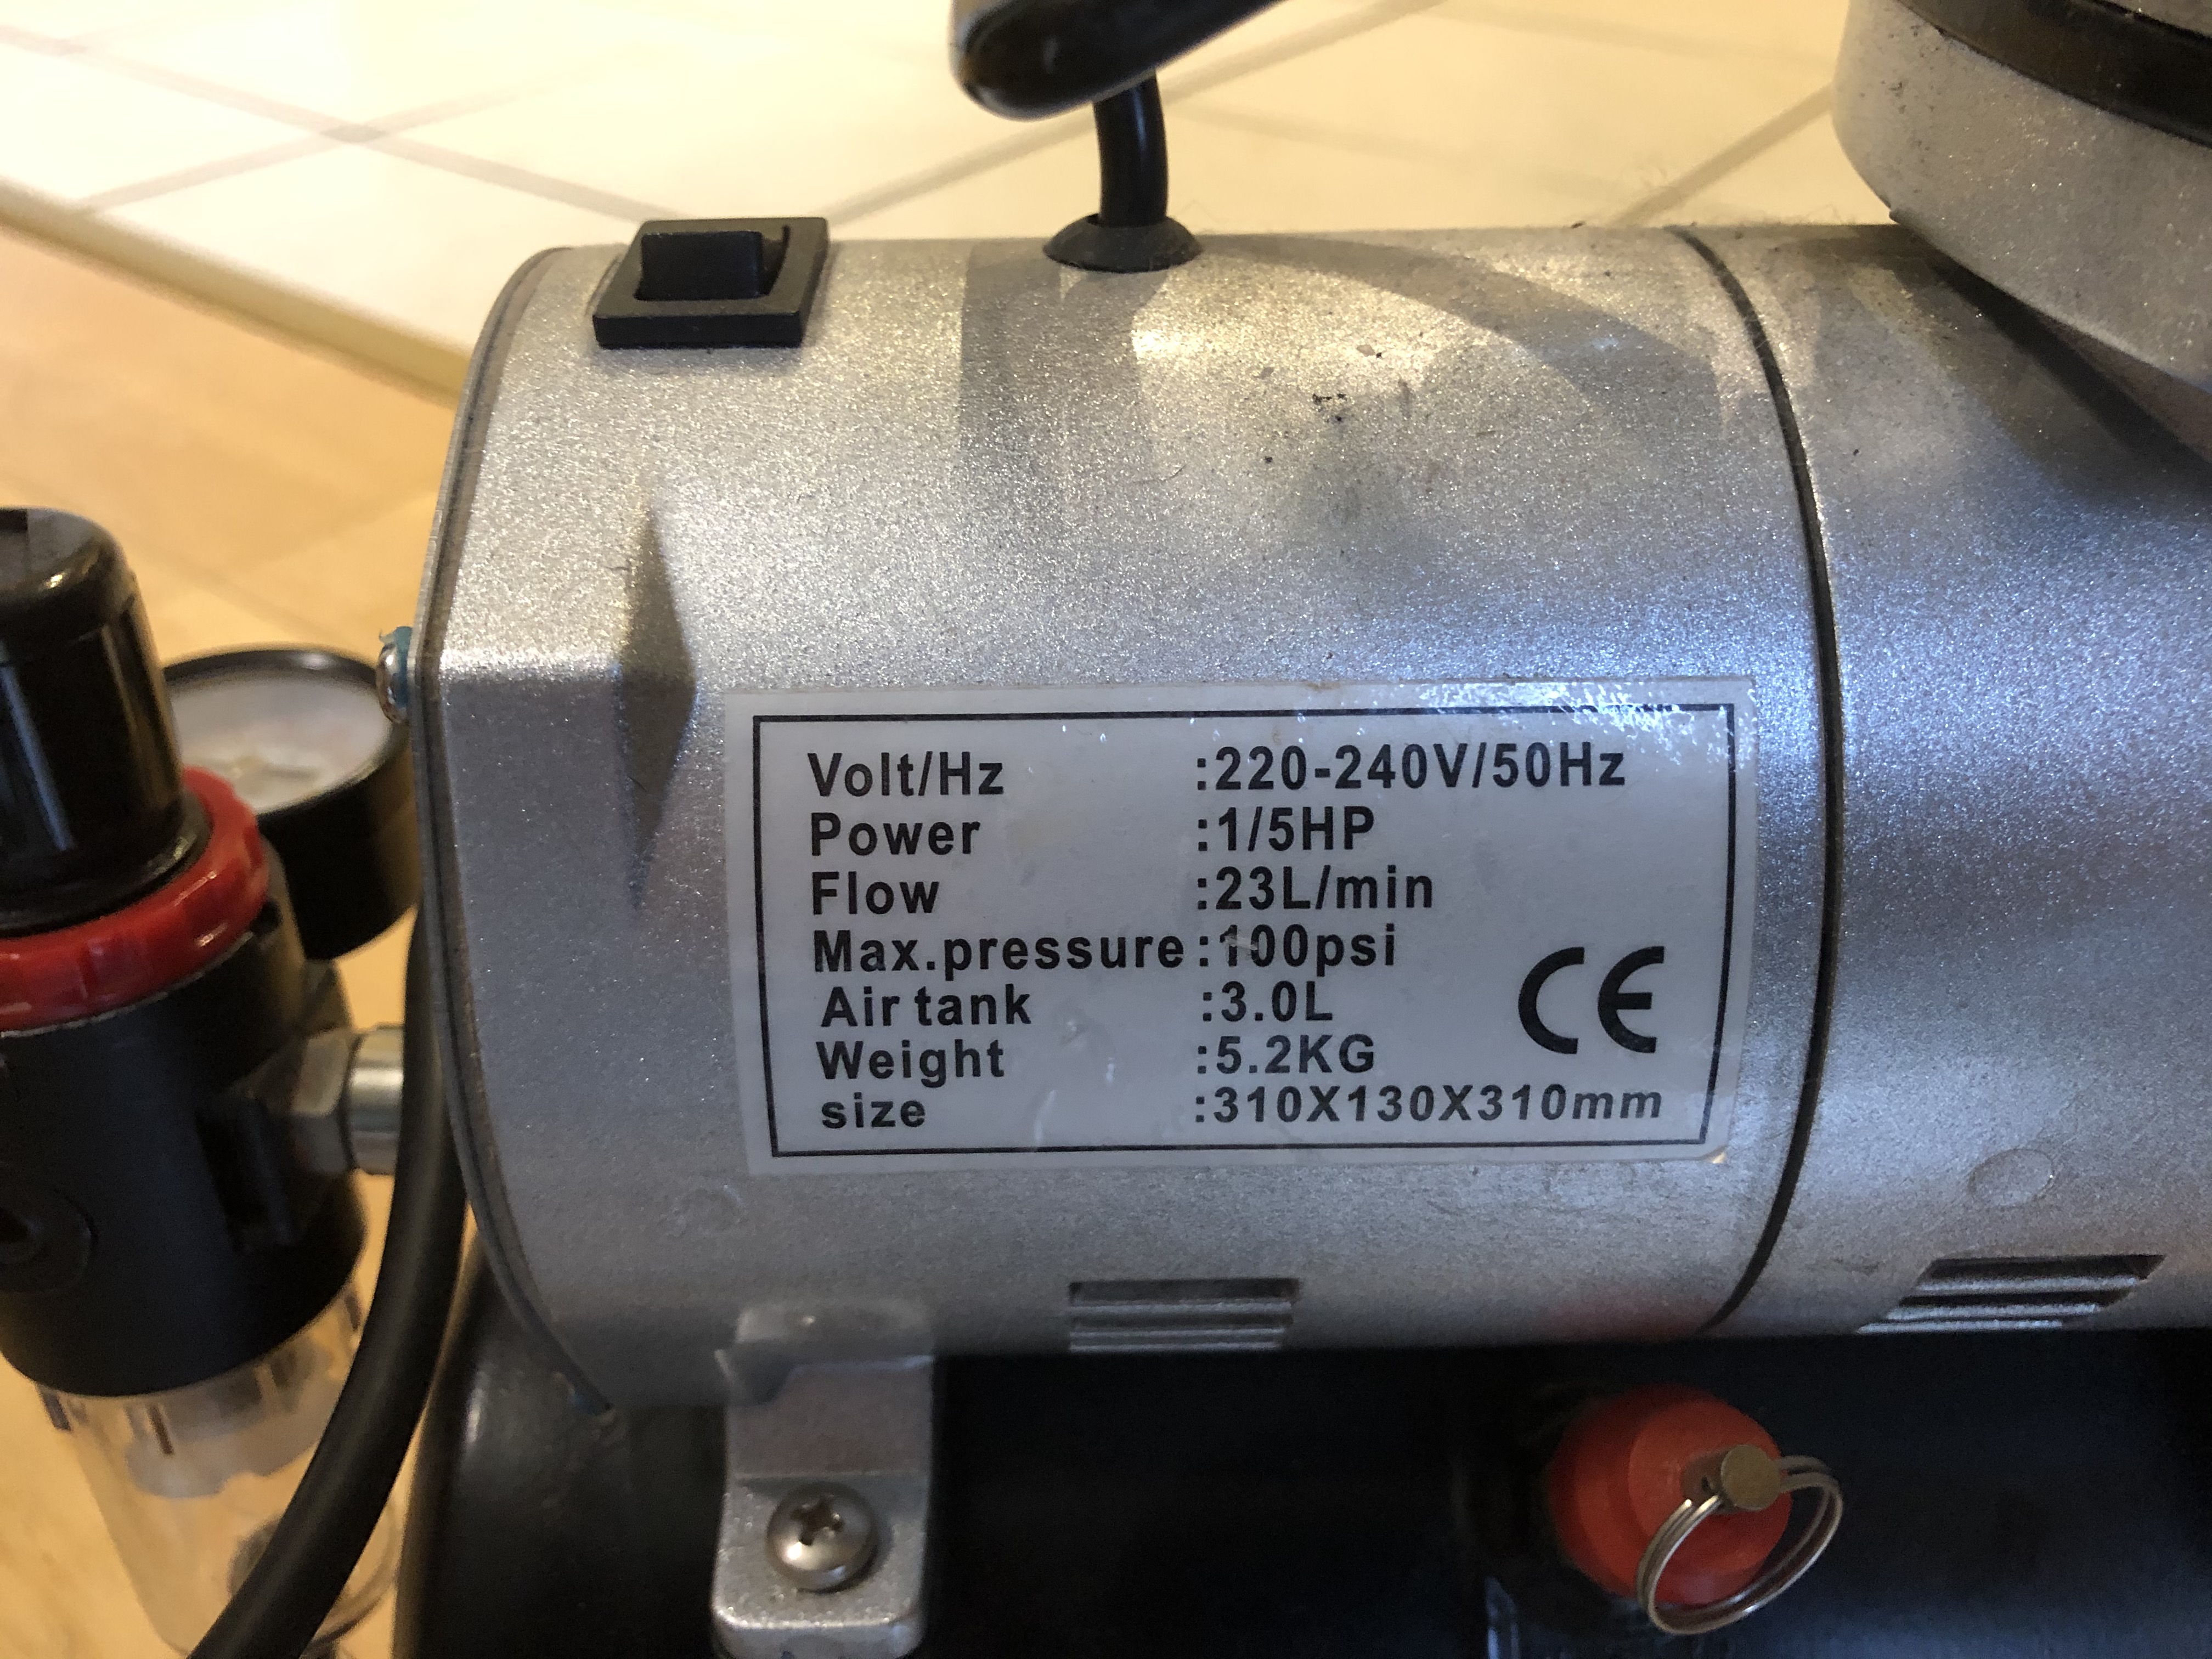 Compressor details for those interested. When I spray base coats I tend to set it at 25psi. For laying down colours I drop it to @20psi depending on how the paint flows; and if I'm using the finest needles and close up work it will go down to 15psi and as low as 10psi for the finest detail.
 Protection is not a dirty word! I always use a facemask when spraying, even though I never spray without the extract booth on. The best you can get without going for a half face mask (which are expensive) is an FFP3 disposable mask. These are the finest micron disposable ones and are designed for asbestos use, so pretty good. I also use a glove for my non-spraying hand so that any overspray doesn't get on me.
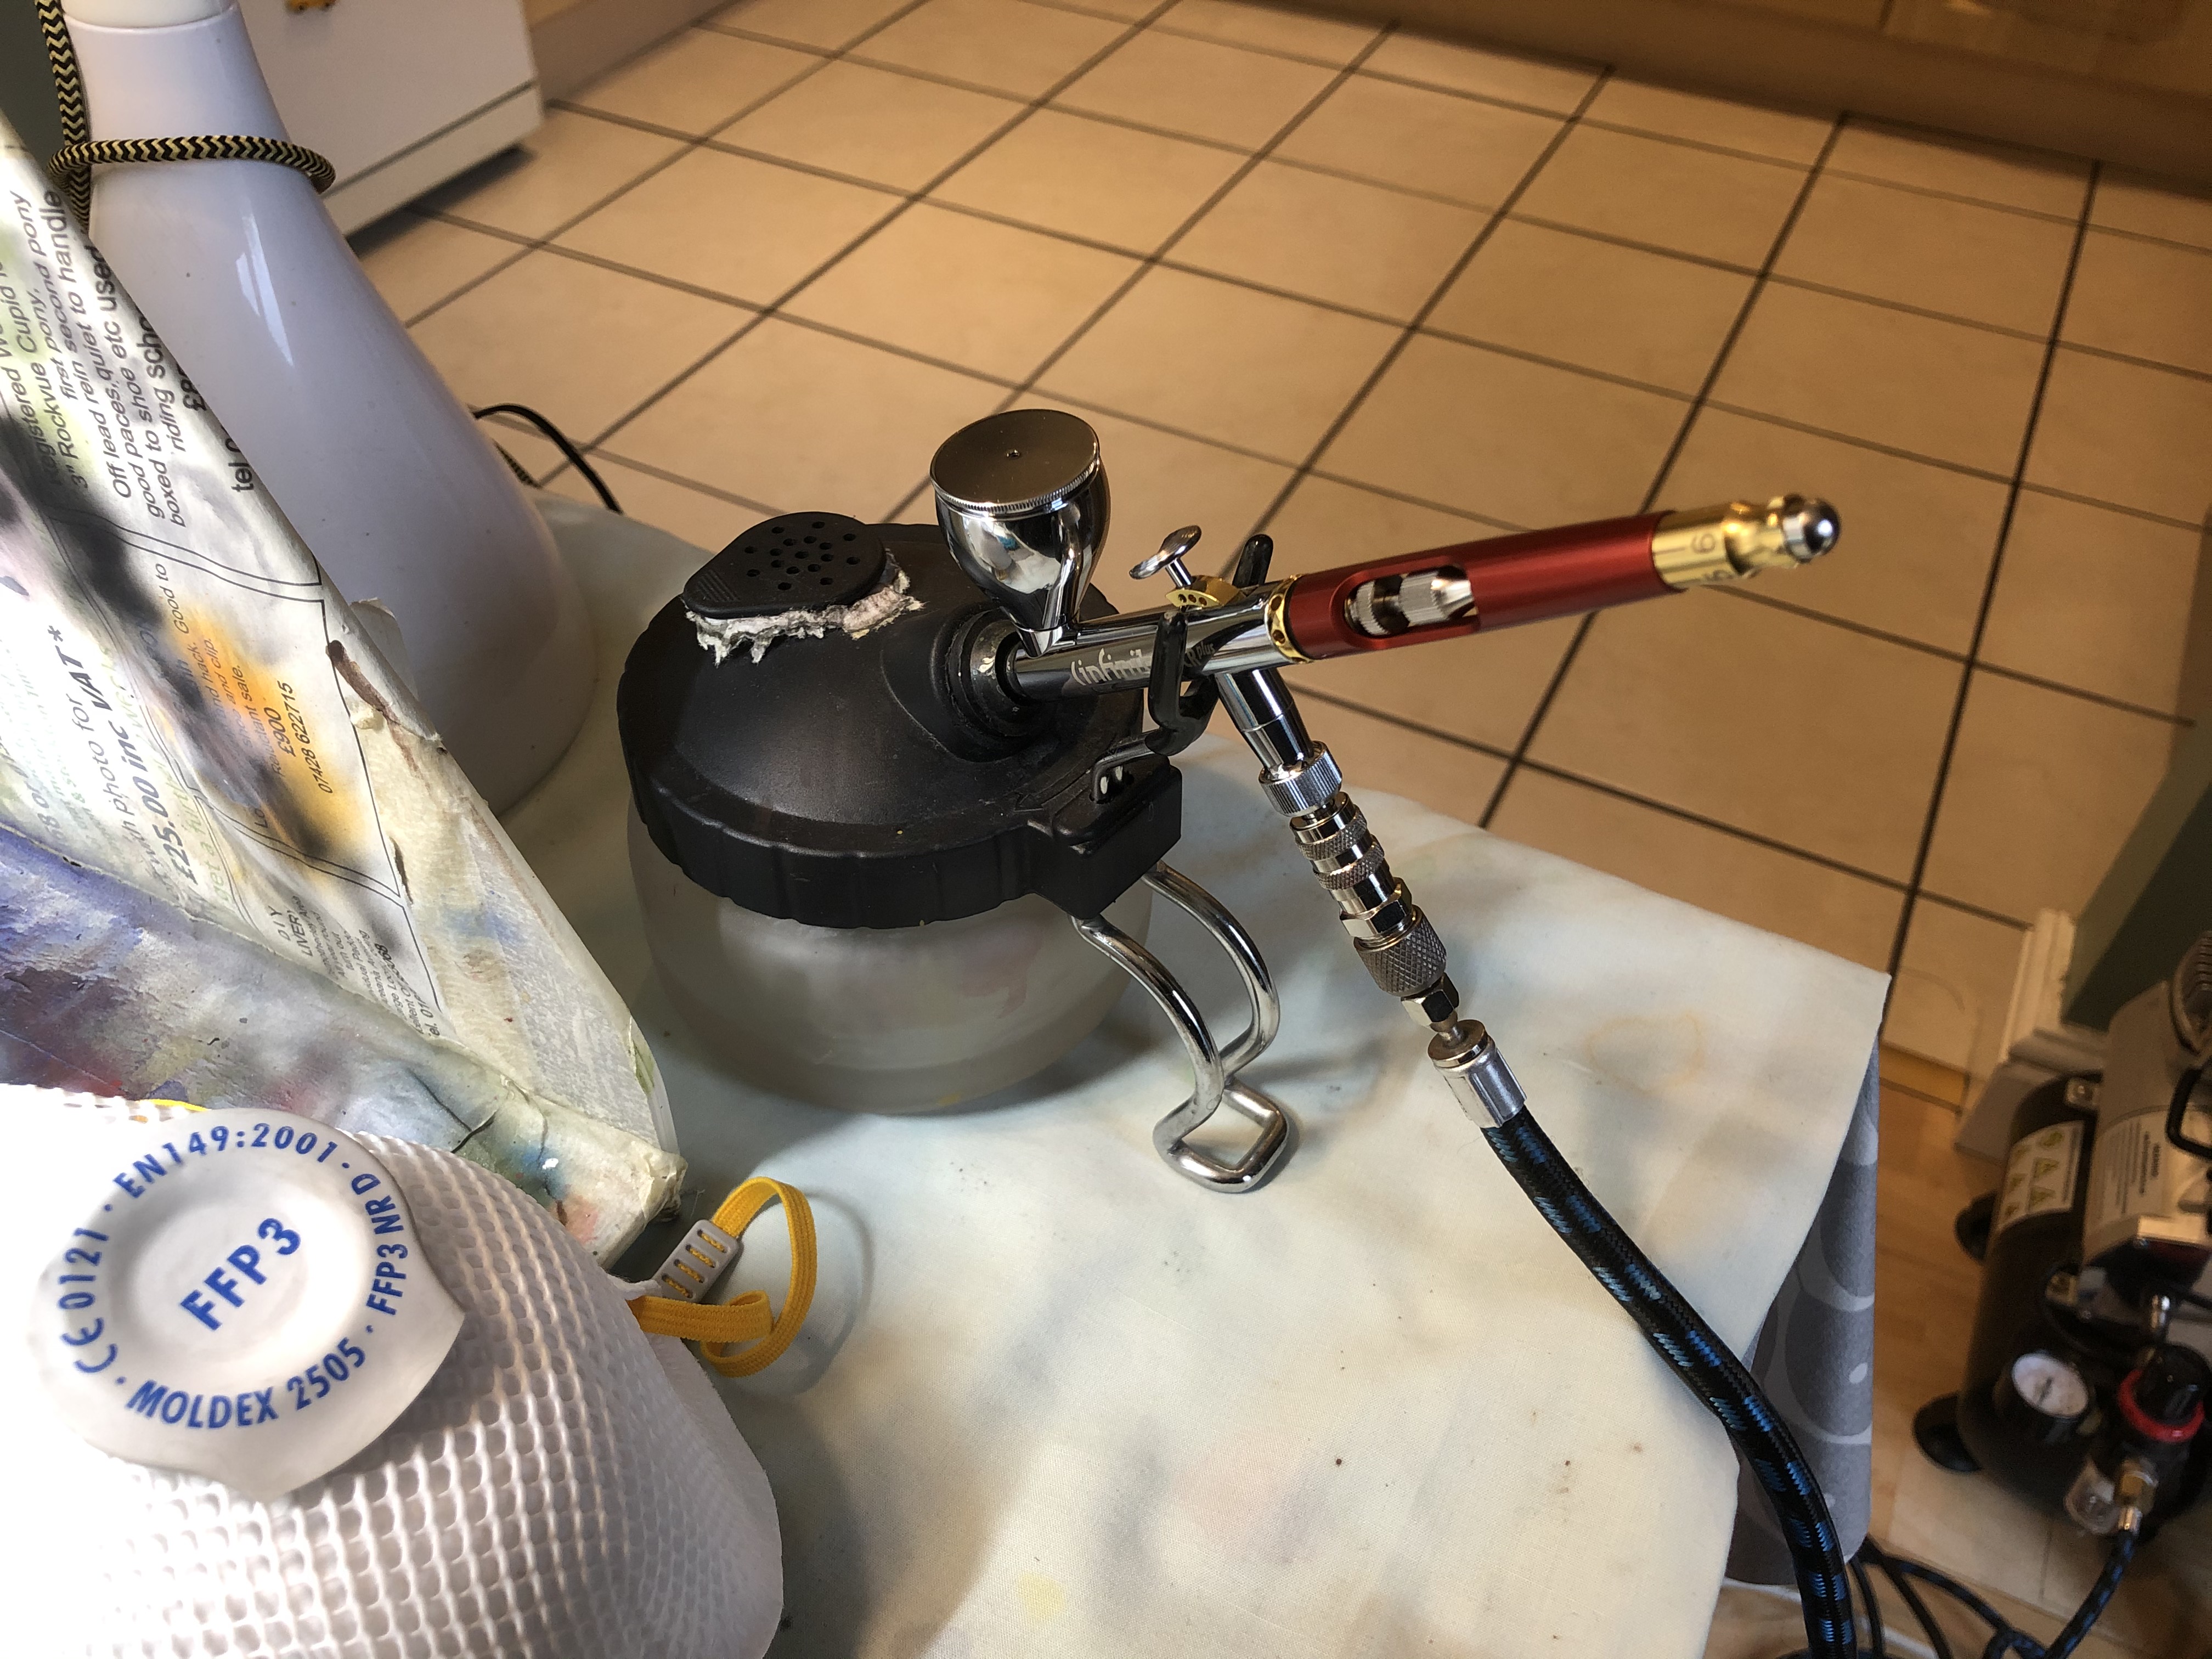 Lastly somewhere to hold your airbrush, this one also doubles up as a waste pot for when you want to clear through your airbrush with water/cleaner.
Time to apply paint
With everything built and all the gribblies added it was time to get some paint down. Now normally I’ll base coat with a rattle can but if there is a lot of fine detail I will airbrush it instead. I like to base coat tanks in black, so that I have instant shadows when I apply the colour. The colour in this case, for Late British WW2 tanks will be Vallejo Russian Uniform 70924. I use Vallejo base coats through my airbrushes but the one thing to note is that you do need to thin it down (I do 50/50 mix with Vallejo thinner). Whilst plastic models will take the Vallejo base coats really well, you must let any metal models dry/cure for at least 24hrs or there is a chance that it could peel back off.
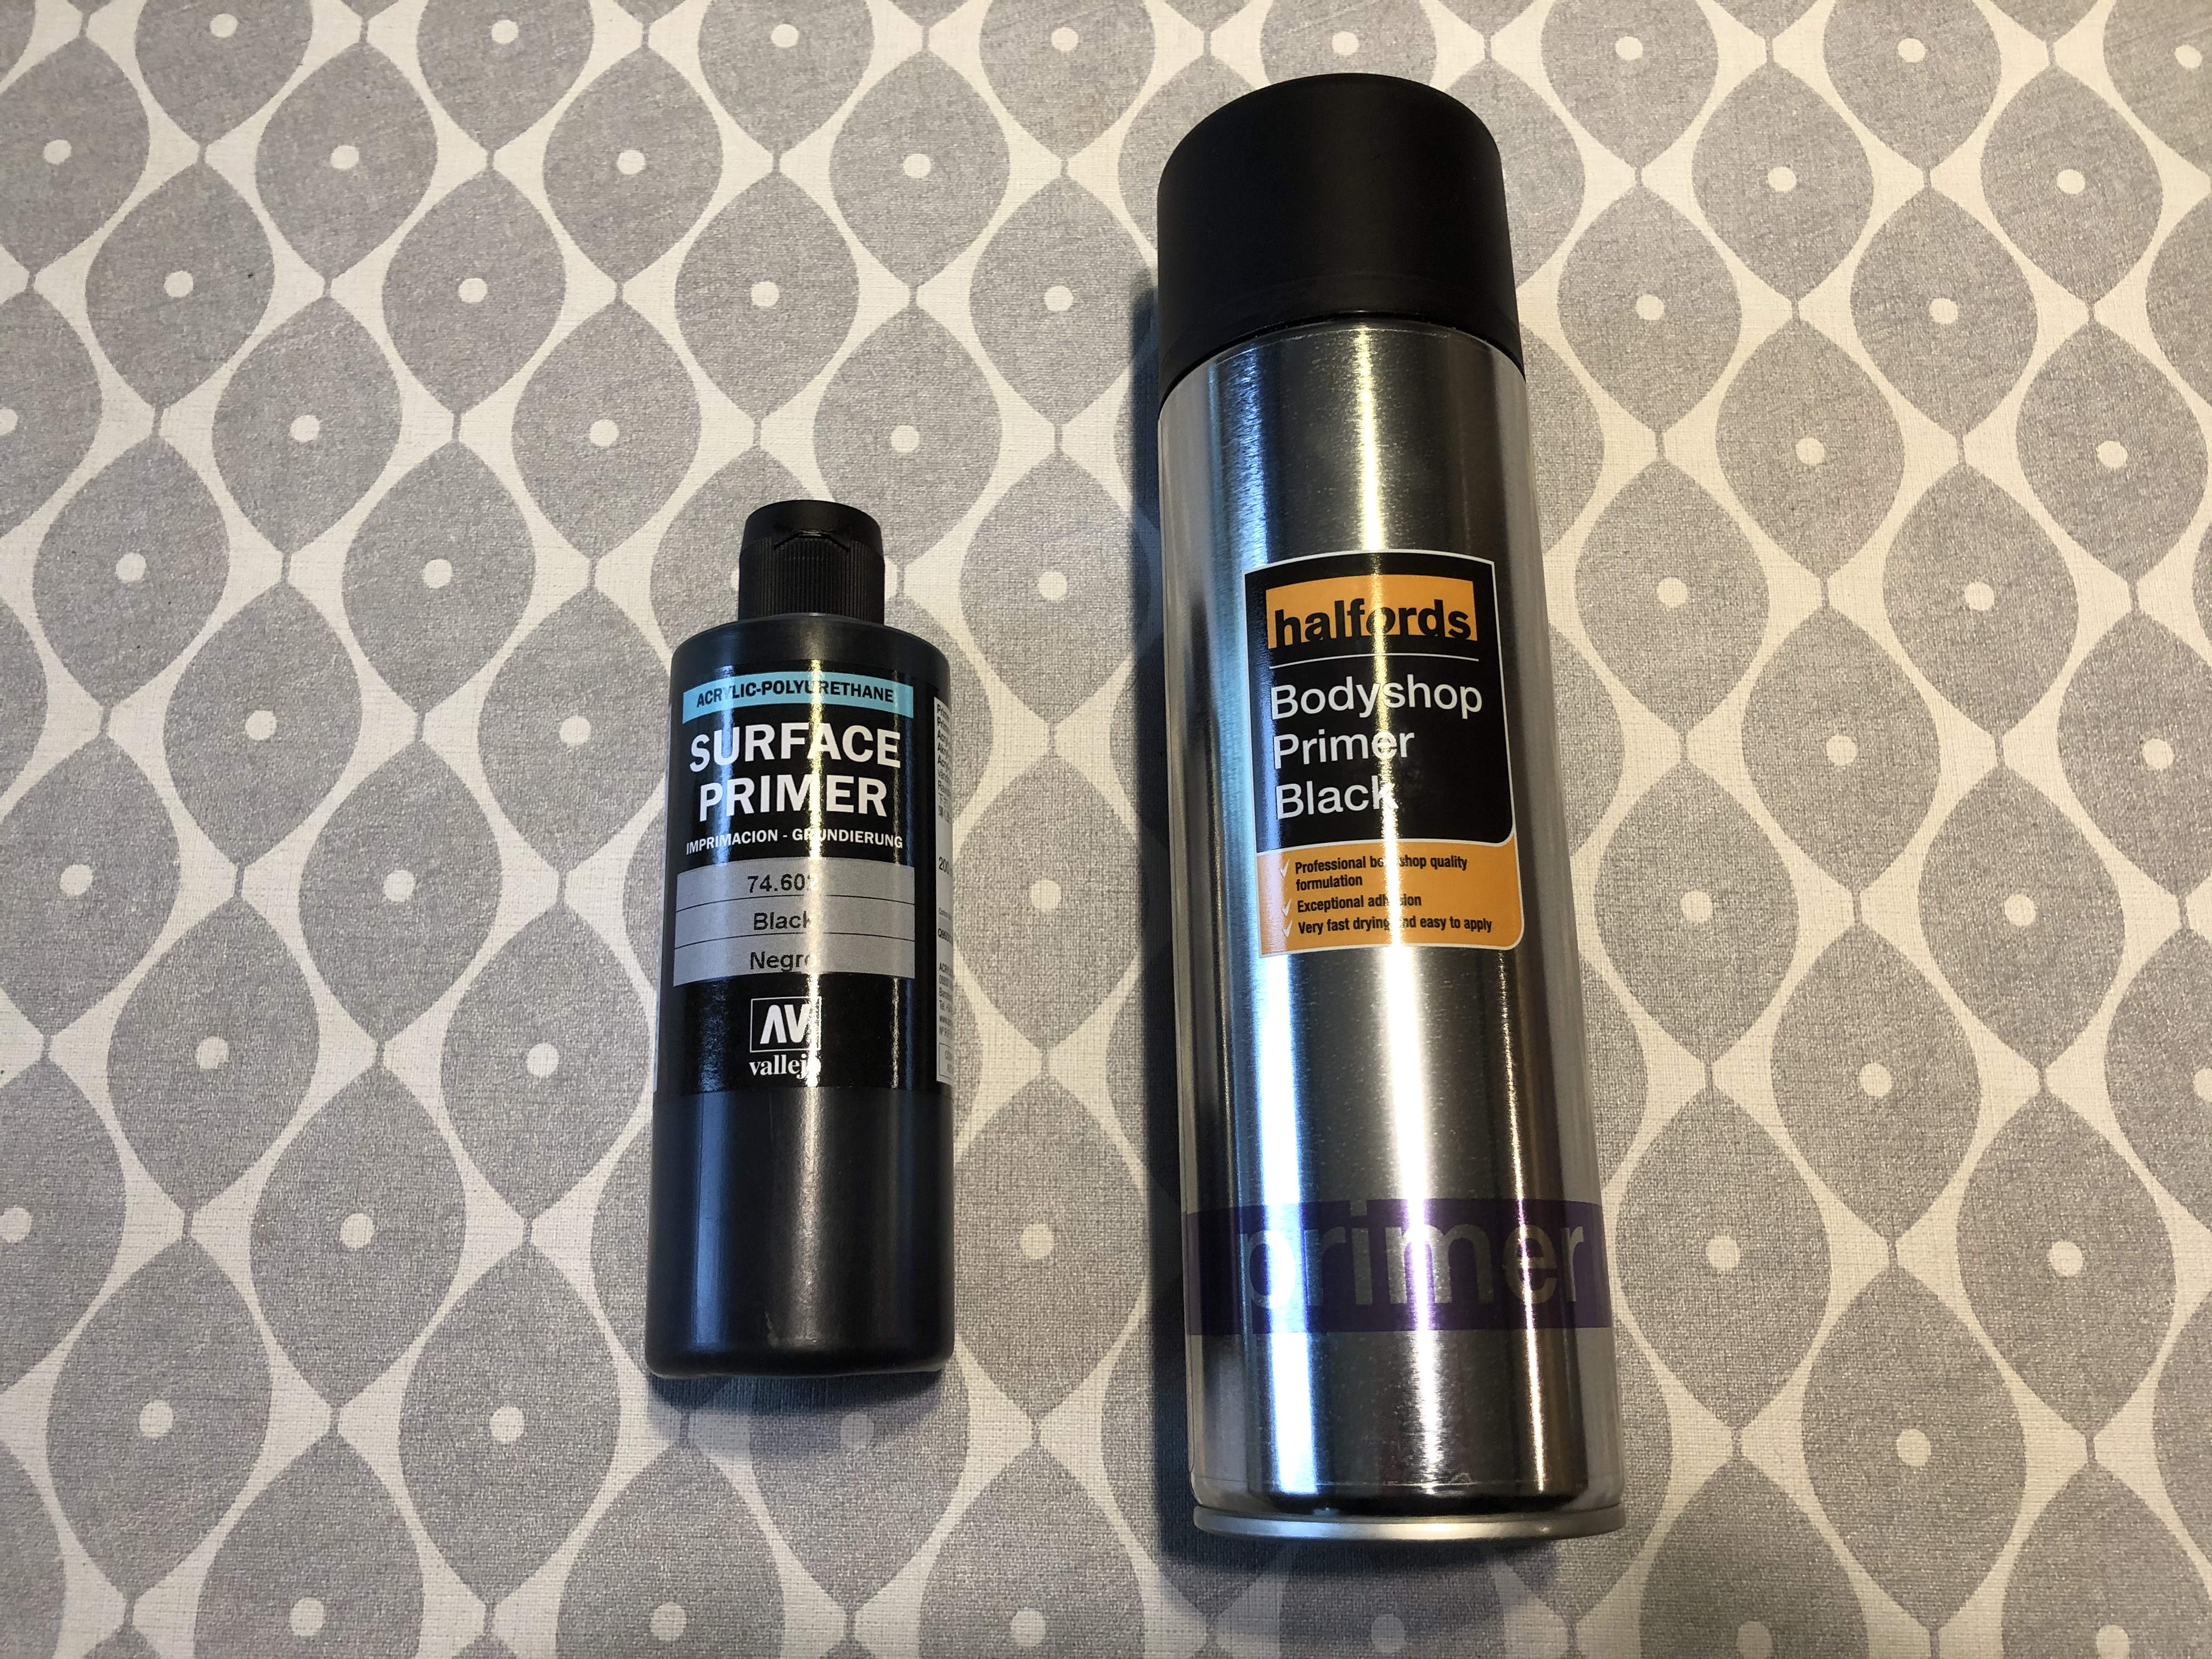 To Rattle, or not to Rattle???
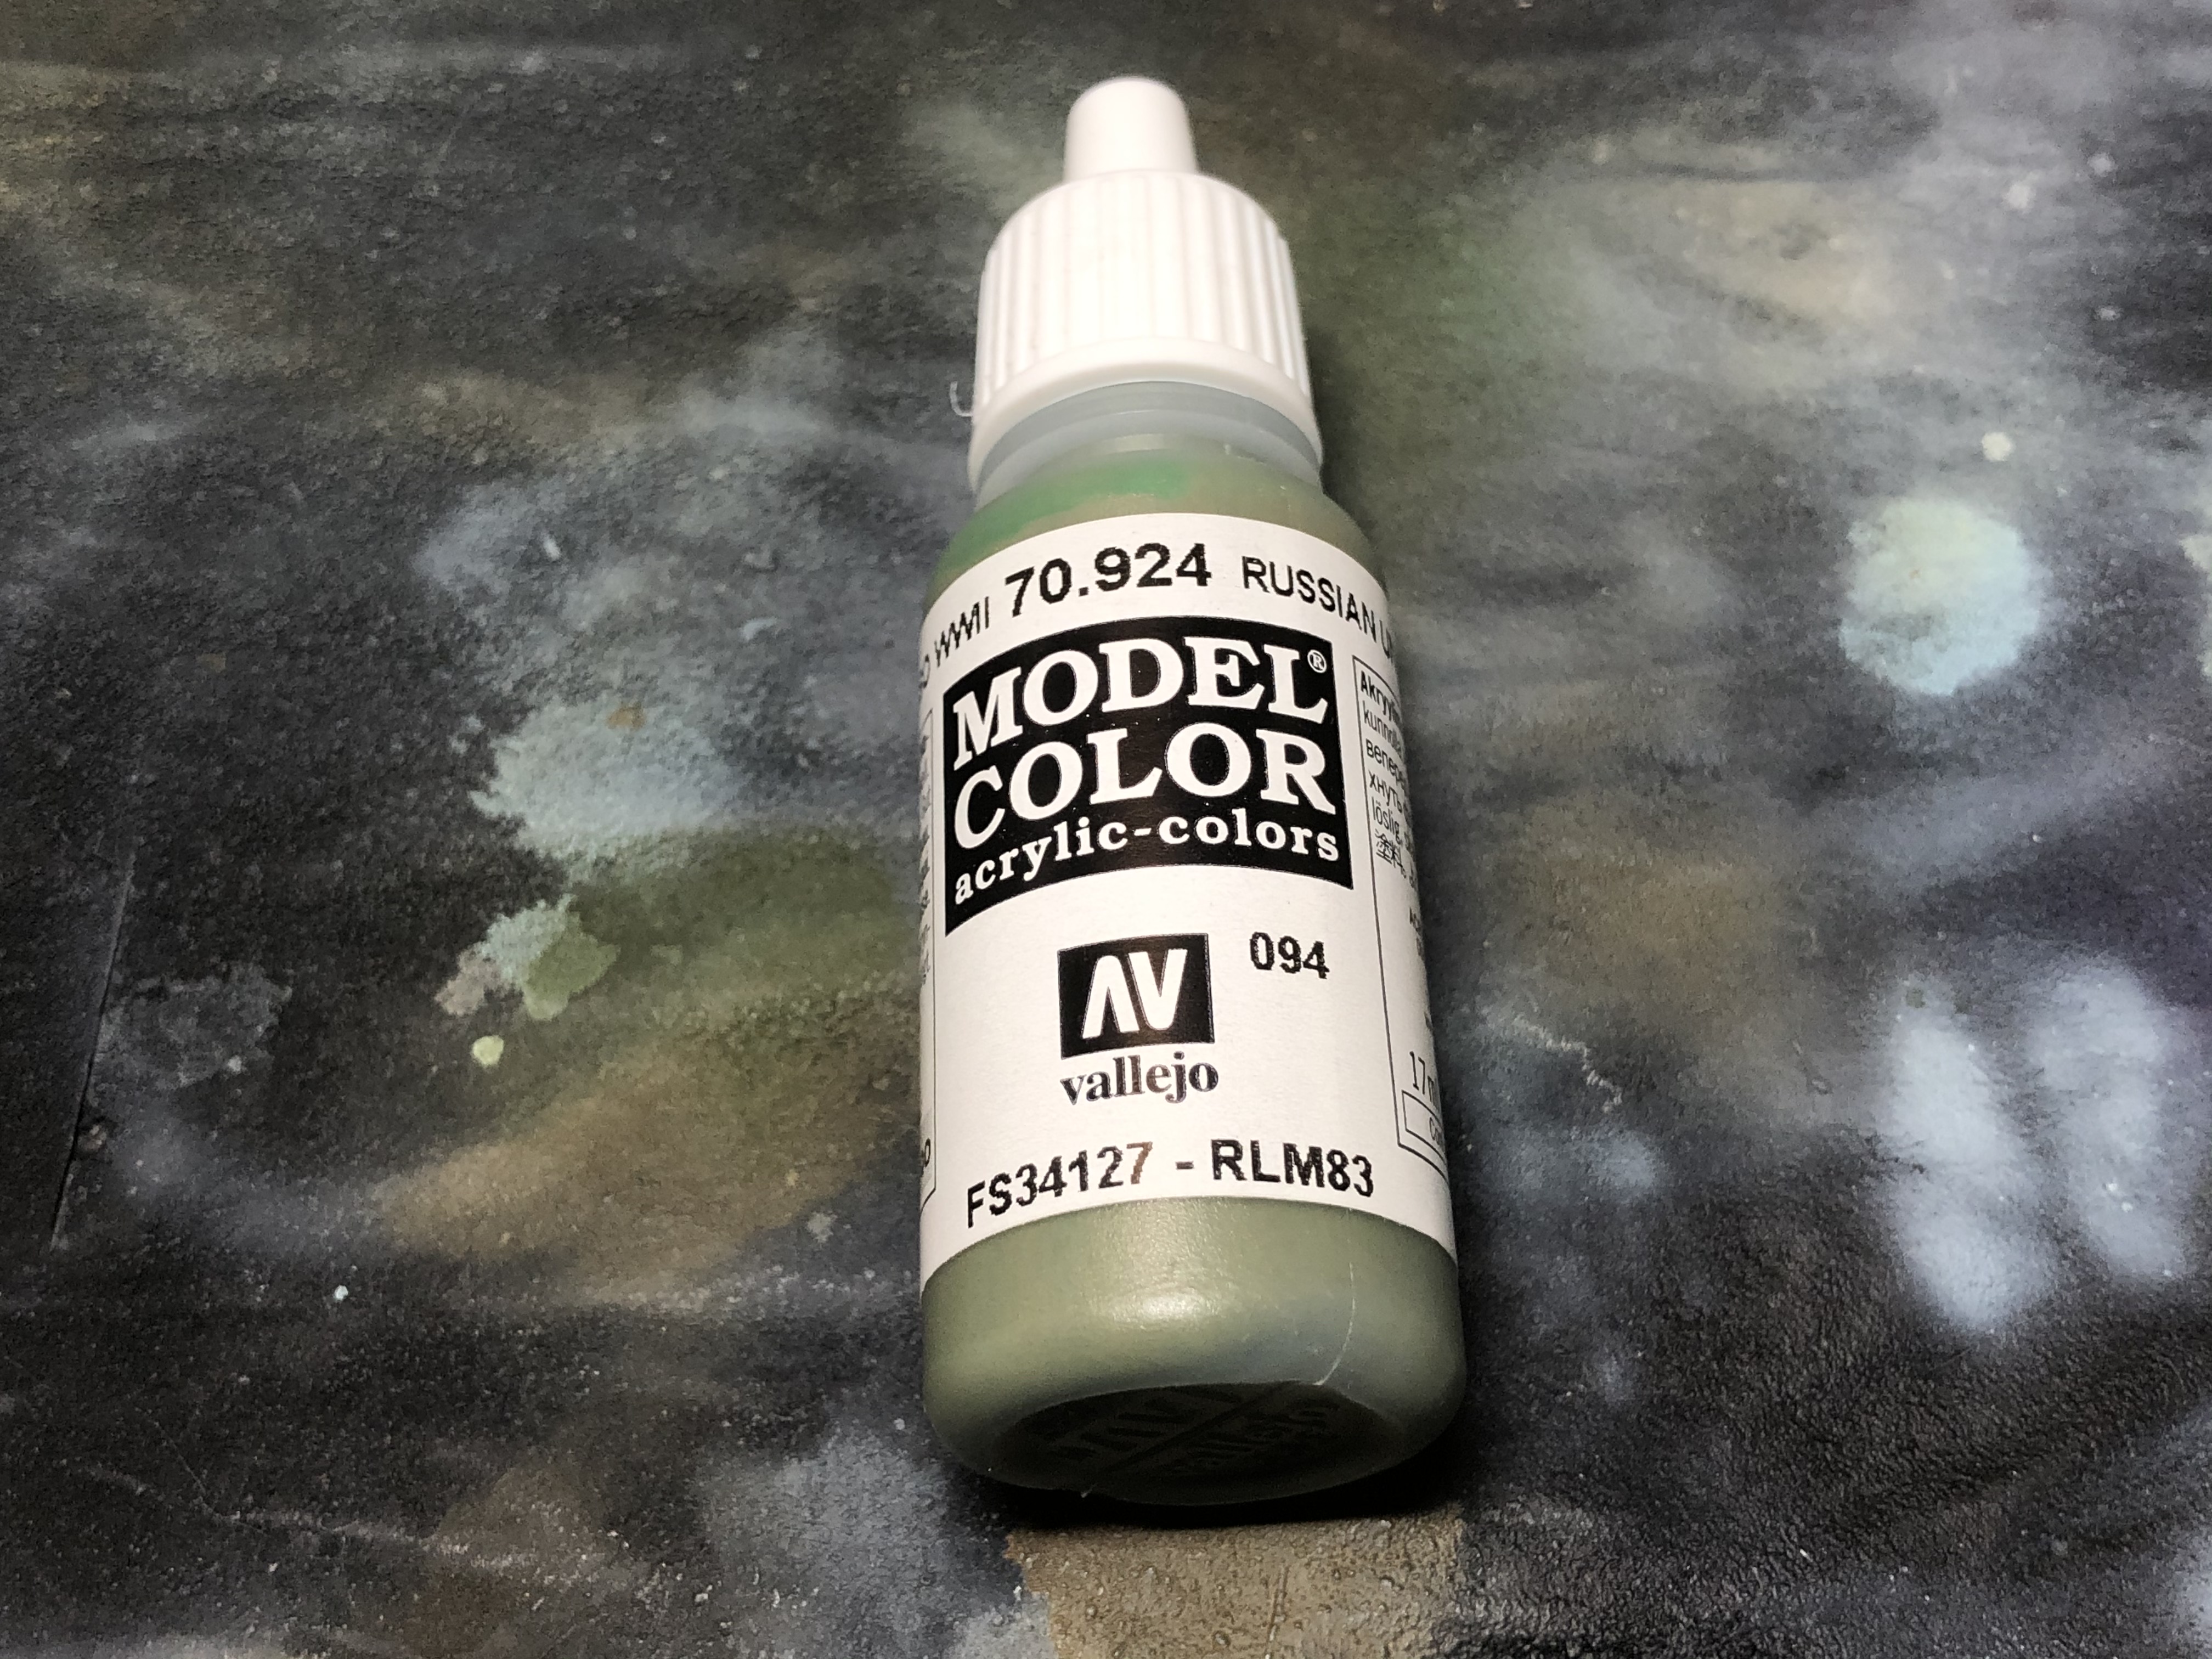 Vallejo Russian Uniform for Late War British Vehicles
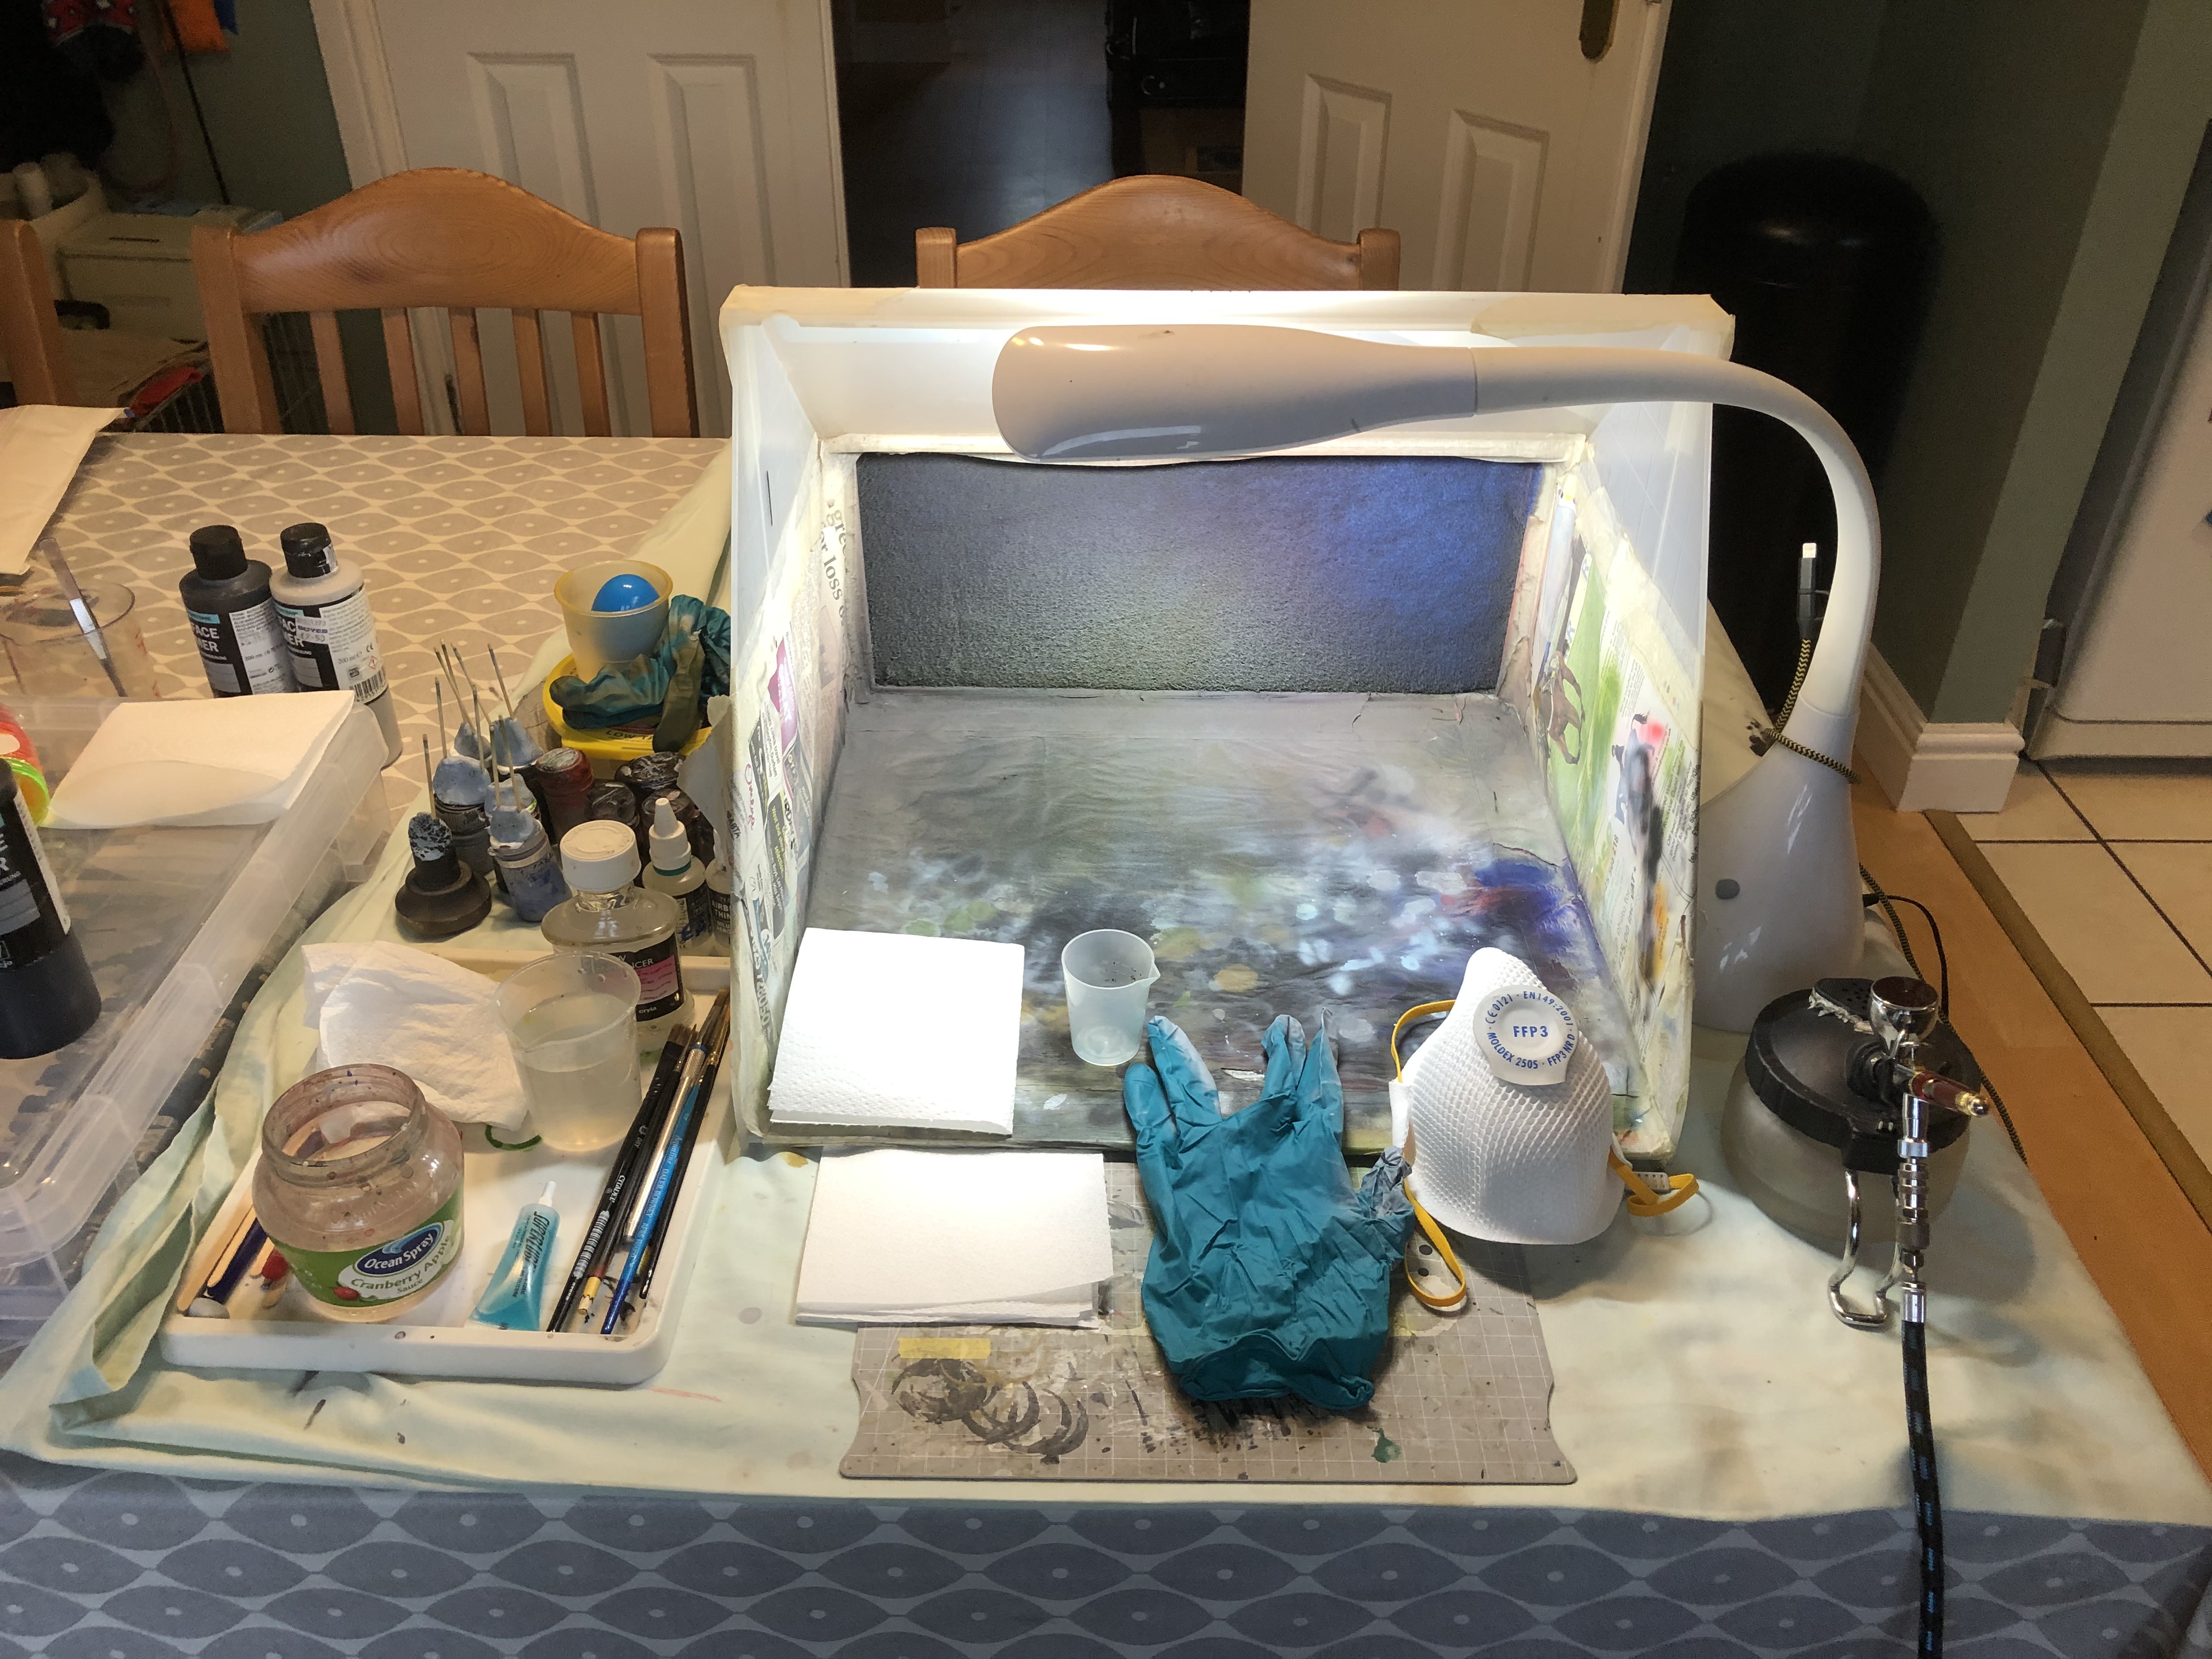 My airbrush setup. As I don't have a dedicated hobby space, everything is done on the kitchen table, therefore I must be tidy and able to pack away really quickly.