


![How To Paint Moonstone’s Nanny | Goblin King Games [7 Days Early Access]](https://images.beastsofwar.com/2024/12/3CU-Gobin-King-Games-Moonstone-Shades-Nanny-coverimage-225-127.jpg)


Gaming Table Mk1


Recommendations: 88
About the Project
Building my own 4' x 4' gaming table
Related Genre: General
This Project is Completed
Project Begins
Over the BH weekend I finally made a start on a gaming table for my shed. I had looked at options for a fold away table but decided that a 4′ x 4′ was about all I could comfortably fit in my shed. It would also be big enough for games of Blood Red Skies, Necromunda and Adeptus Titanicus. A 6′ x 4′ didn’t seem worth the hassle and I knew that this build would not be perfect and I would want to do a Mk2 later down the line to improve on the design.
I picked some some materials from a local building supply to add to some bits I already had at home. The table would be mounted on a couple of saw horses I bought so I could prop the whole thing up against the wall when I wanted it out of the way.
Pics to follow on the build so far when my internet stops playing up!
Framing done
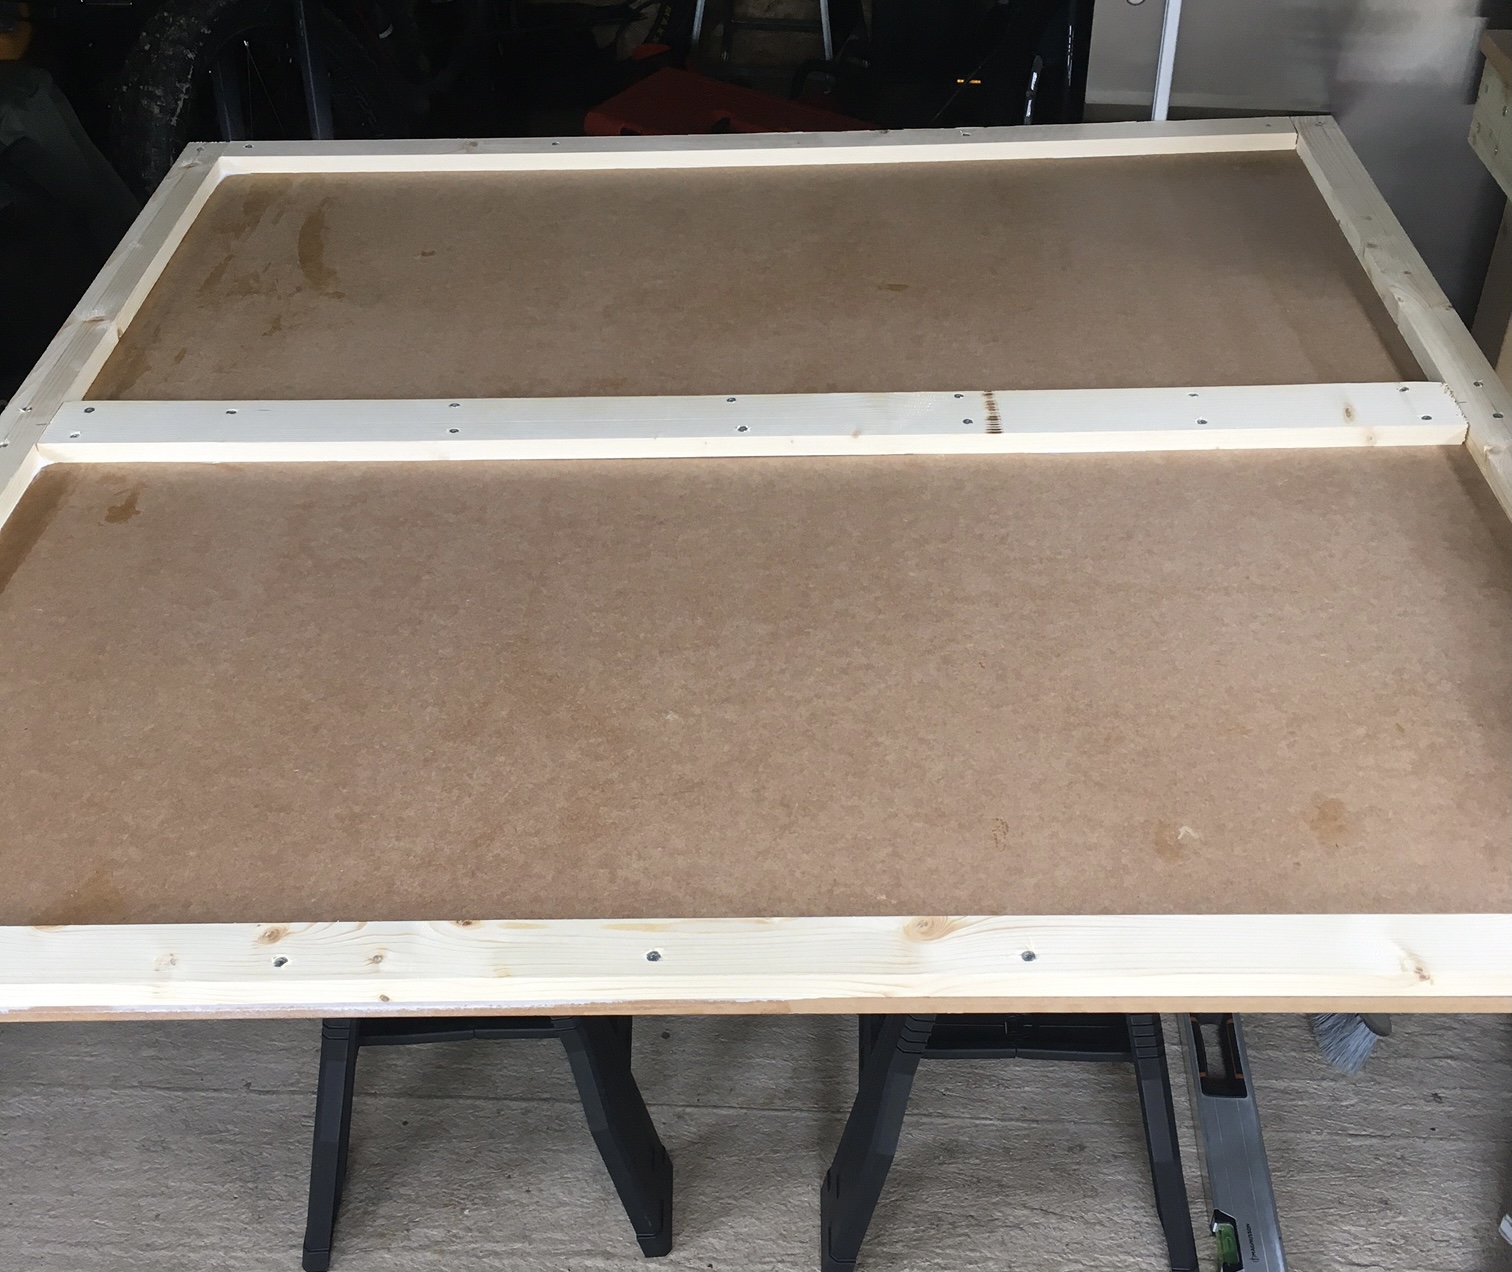
Wooden framing and two 2’ x 4’ 12mm MDF boards (easier to transport in the car than a 4×4 board) made up. Once the framing is finished these will receive a coat of mdf sealer ready for painting.
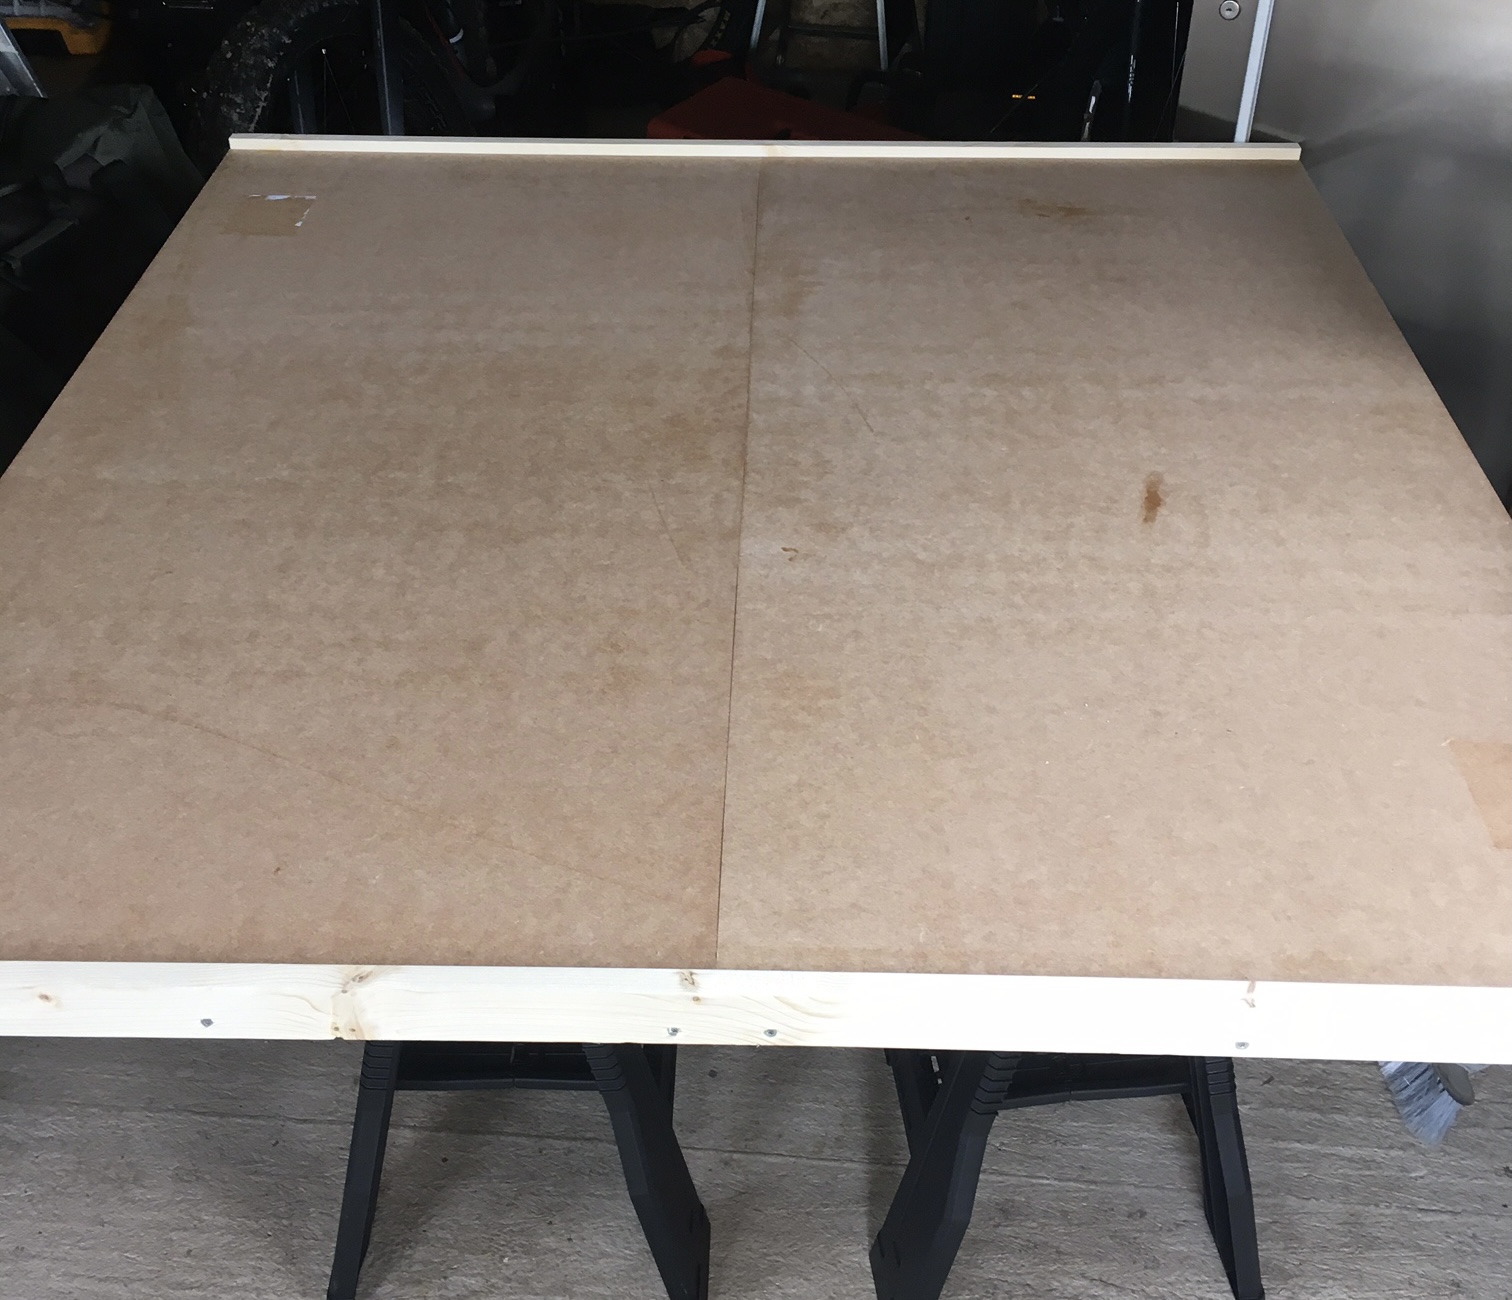
Glue Dried and Test Fit
That’s the glue and sealer dried. Did a quick test fit with a Deep Cut Studio mat to check it
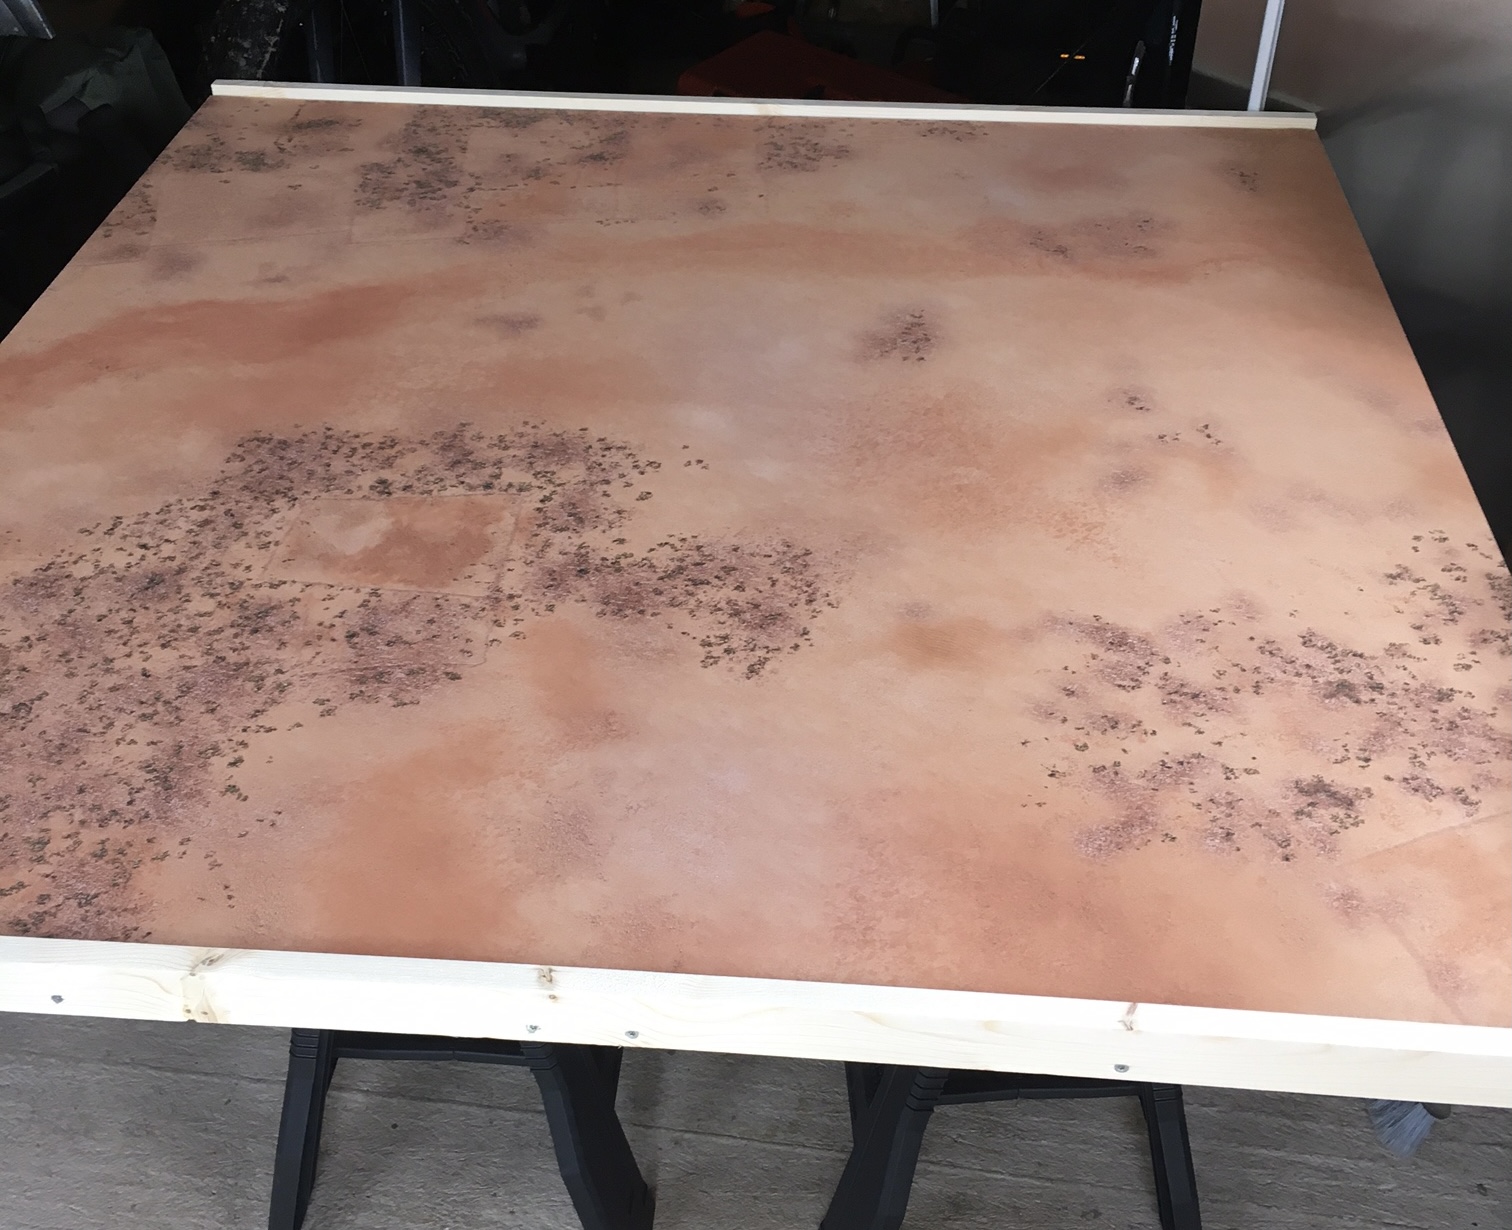
Painted
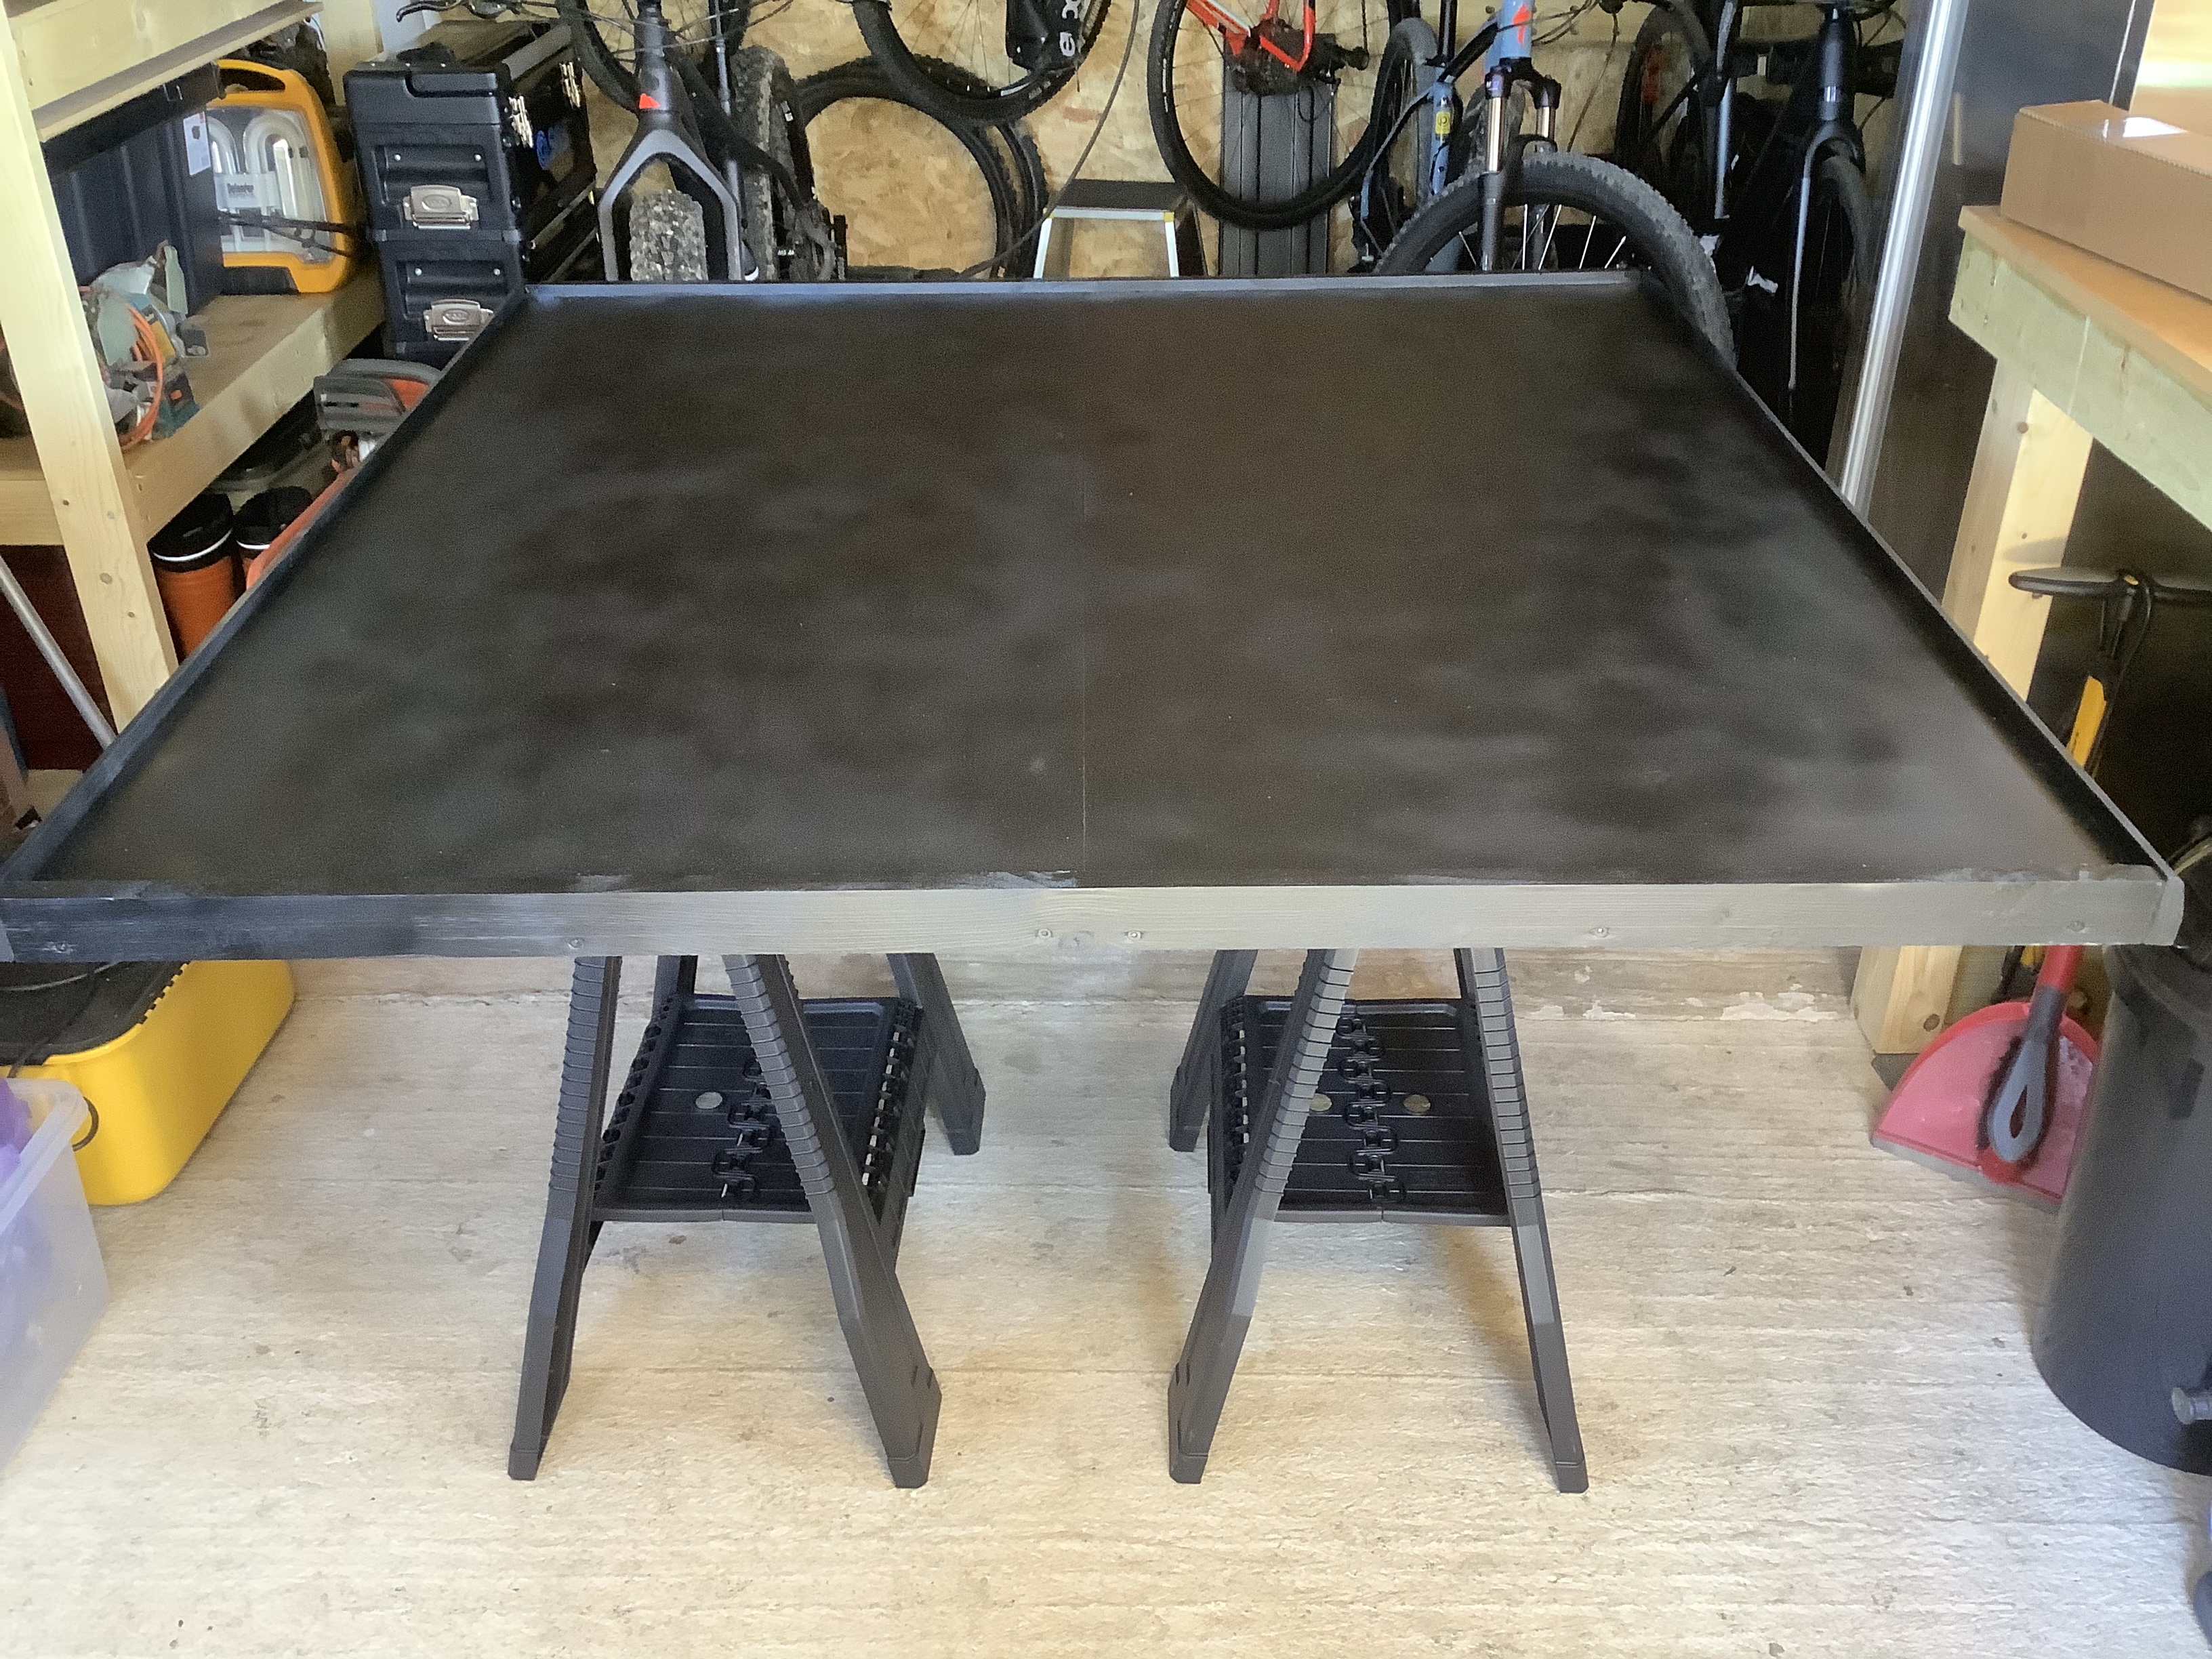
Well, I kind of regret this now. I sprayed the table a Matt black, probably cost me £20 in spray. It’s ended up not a particularly even coat, but I think smoother than a brush would have been. I think the Mk2 will just be varnished and left bare wood.
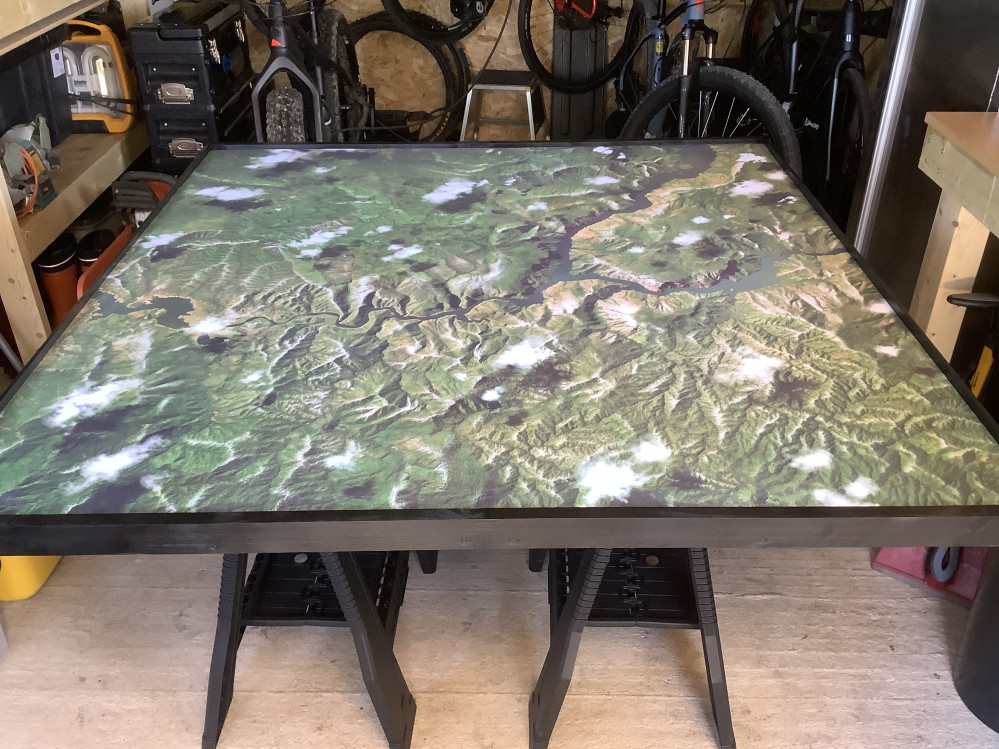
Done

That’s the table complete. Happy with how it’s turned out, the Mig Alley mat looks great on it. I’ve made a few mental notes on how I would do this better or differently next time.


