‘Begun, this Clone Force has’ – starting out on Star Wars Legion


Recommendations: 325
About the Project
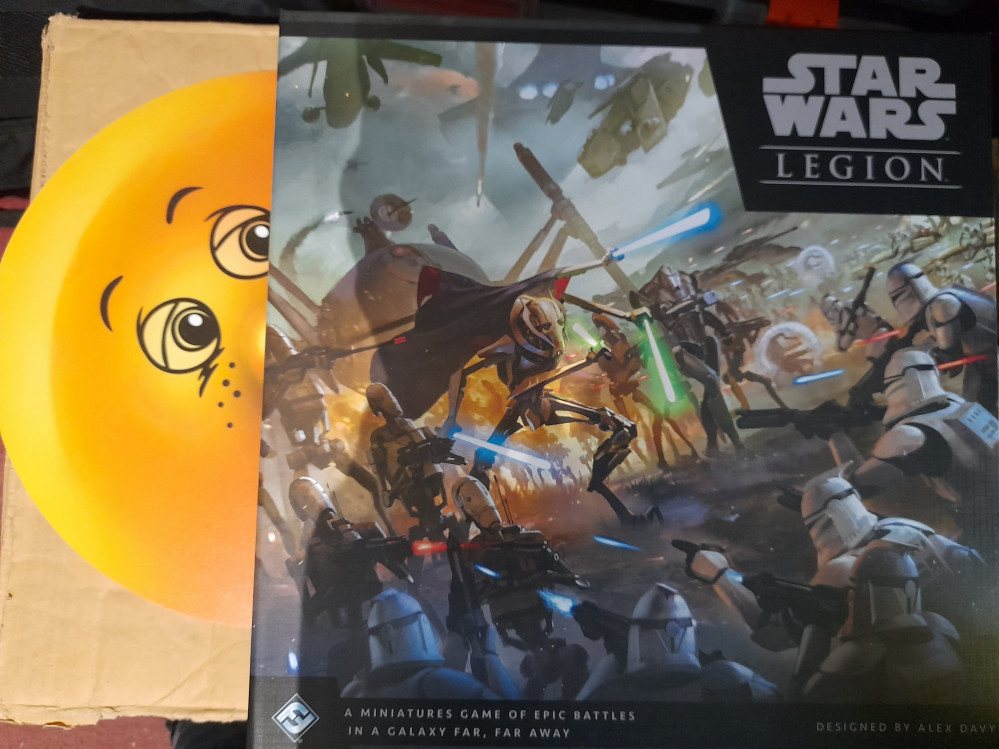
Last May (2022) I, like many other people, picked up some Star Wars Legion starter bundles in the ‘May the 4th’ sale that Asmodee had. At that time I wasn’t getting very much done, but as a big Star Wars fan I felt the time was right to jump in. I didn’t make any progress on them apart from checking through the boxes. However, my hobby attitude and general mojo did change come the summer with the commencement of my first project here. Now, almost a year later, its time to dust off the boxes and start into one of the factions. As you no doubt guessed from the project title I have chosen the clone forces of the Grand Army of the Republic.
Related Game: Star Wars: Legion
Related Company: Atomic Mass Games
Related Genre: Science Fiction
Related Contest: Spring Clean Hobby Challenge 2023
This Project is Completed
The start of things....
14th April 2023
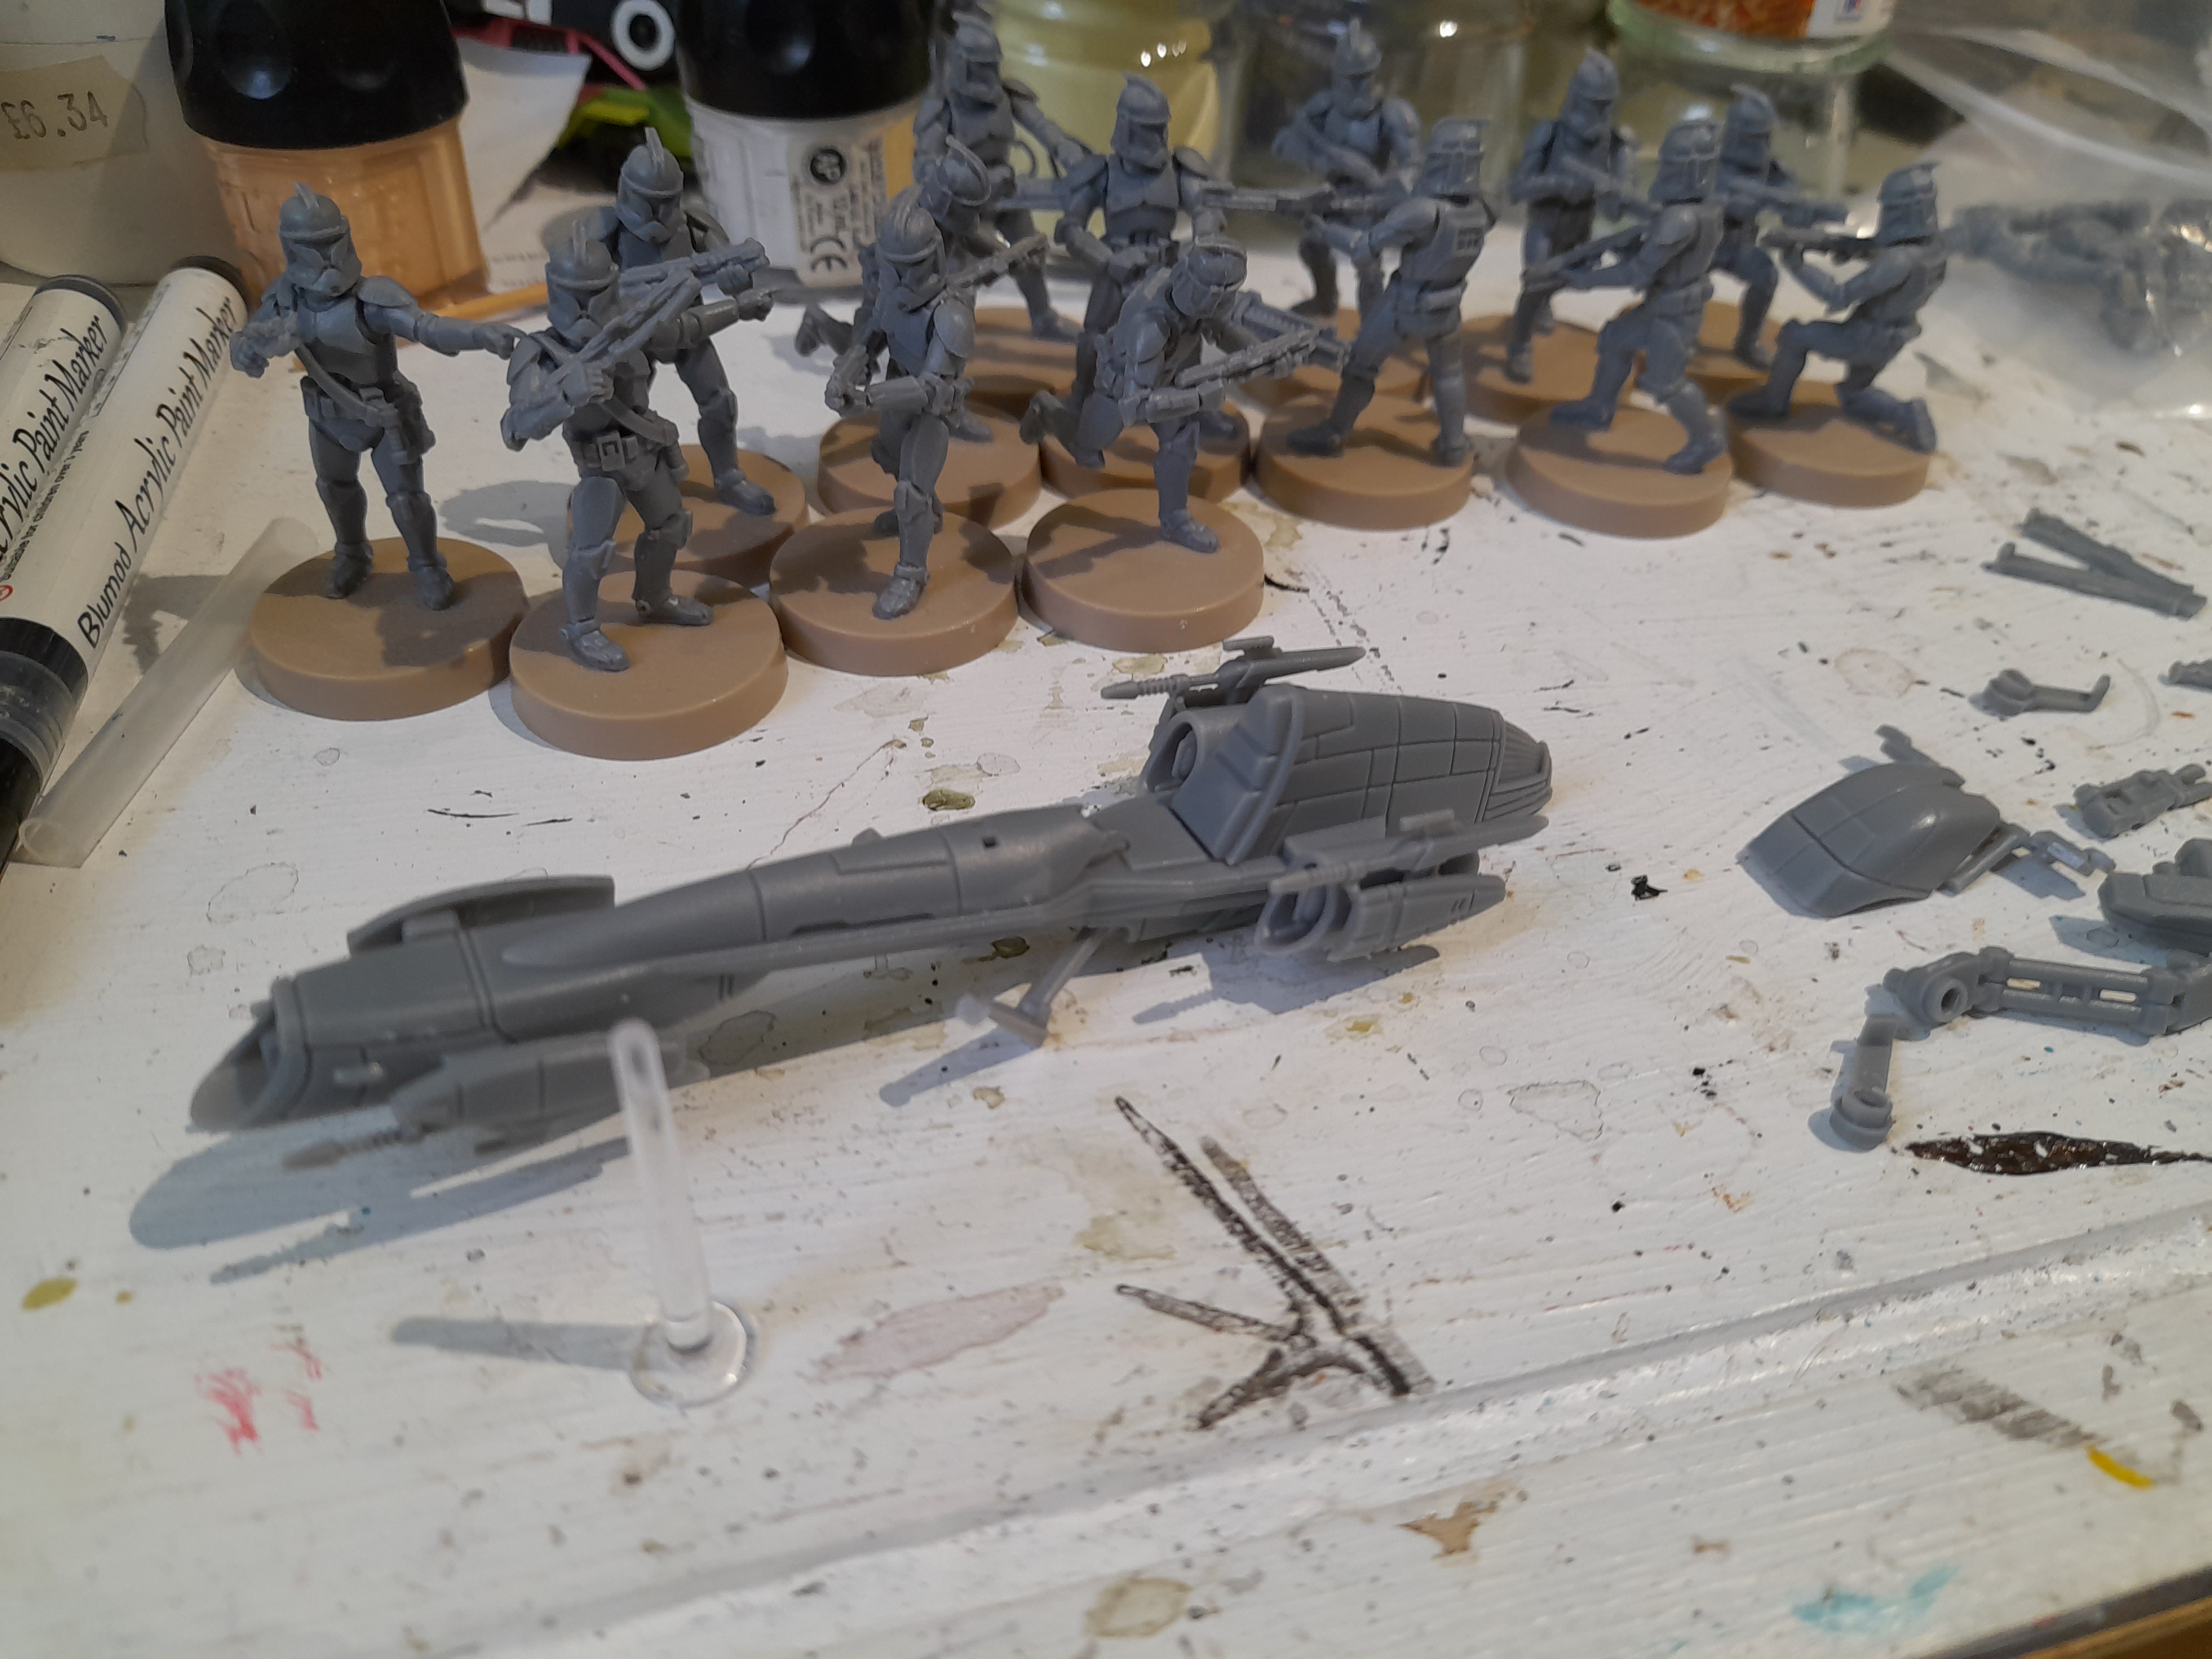
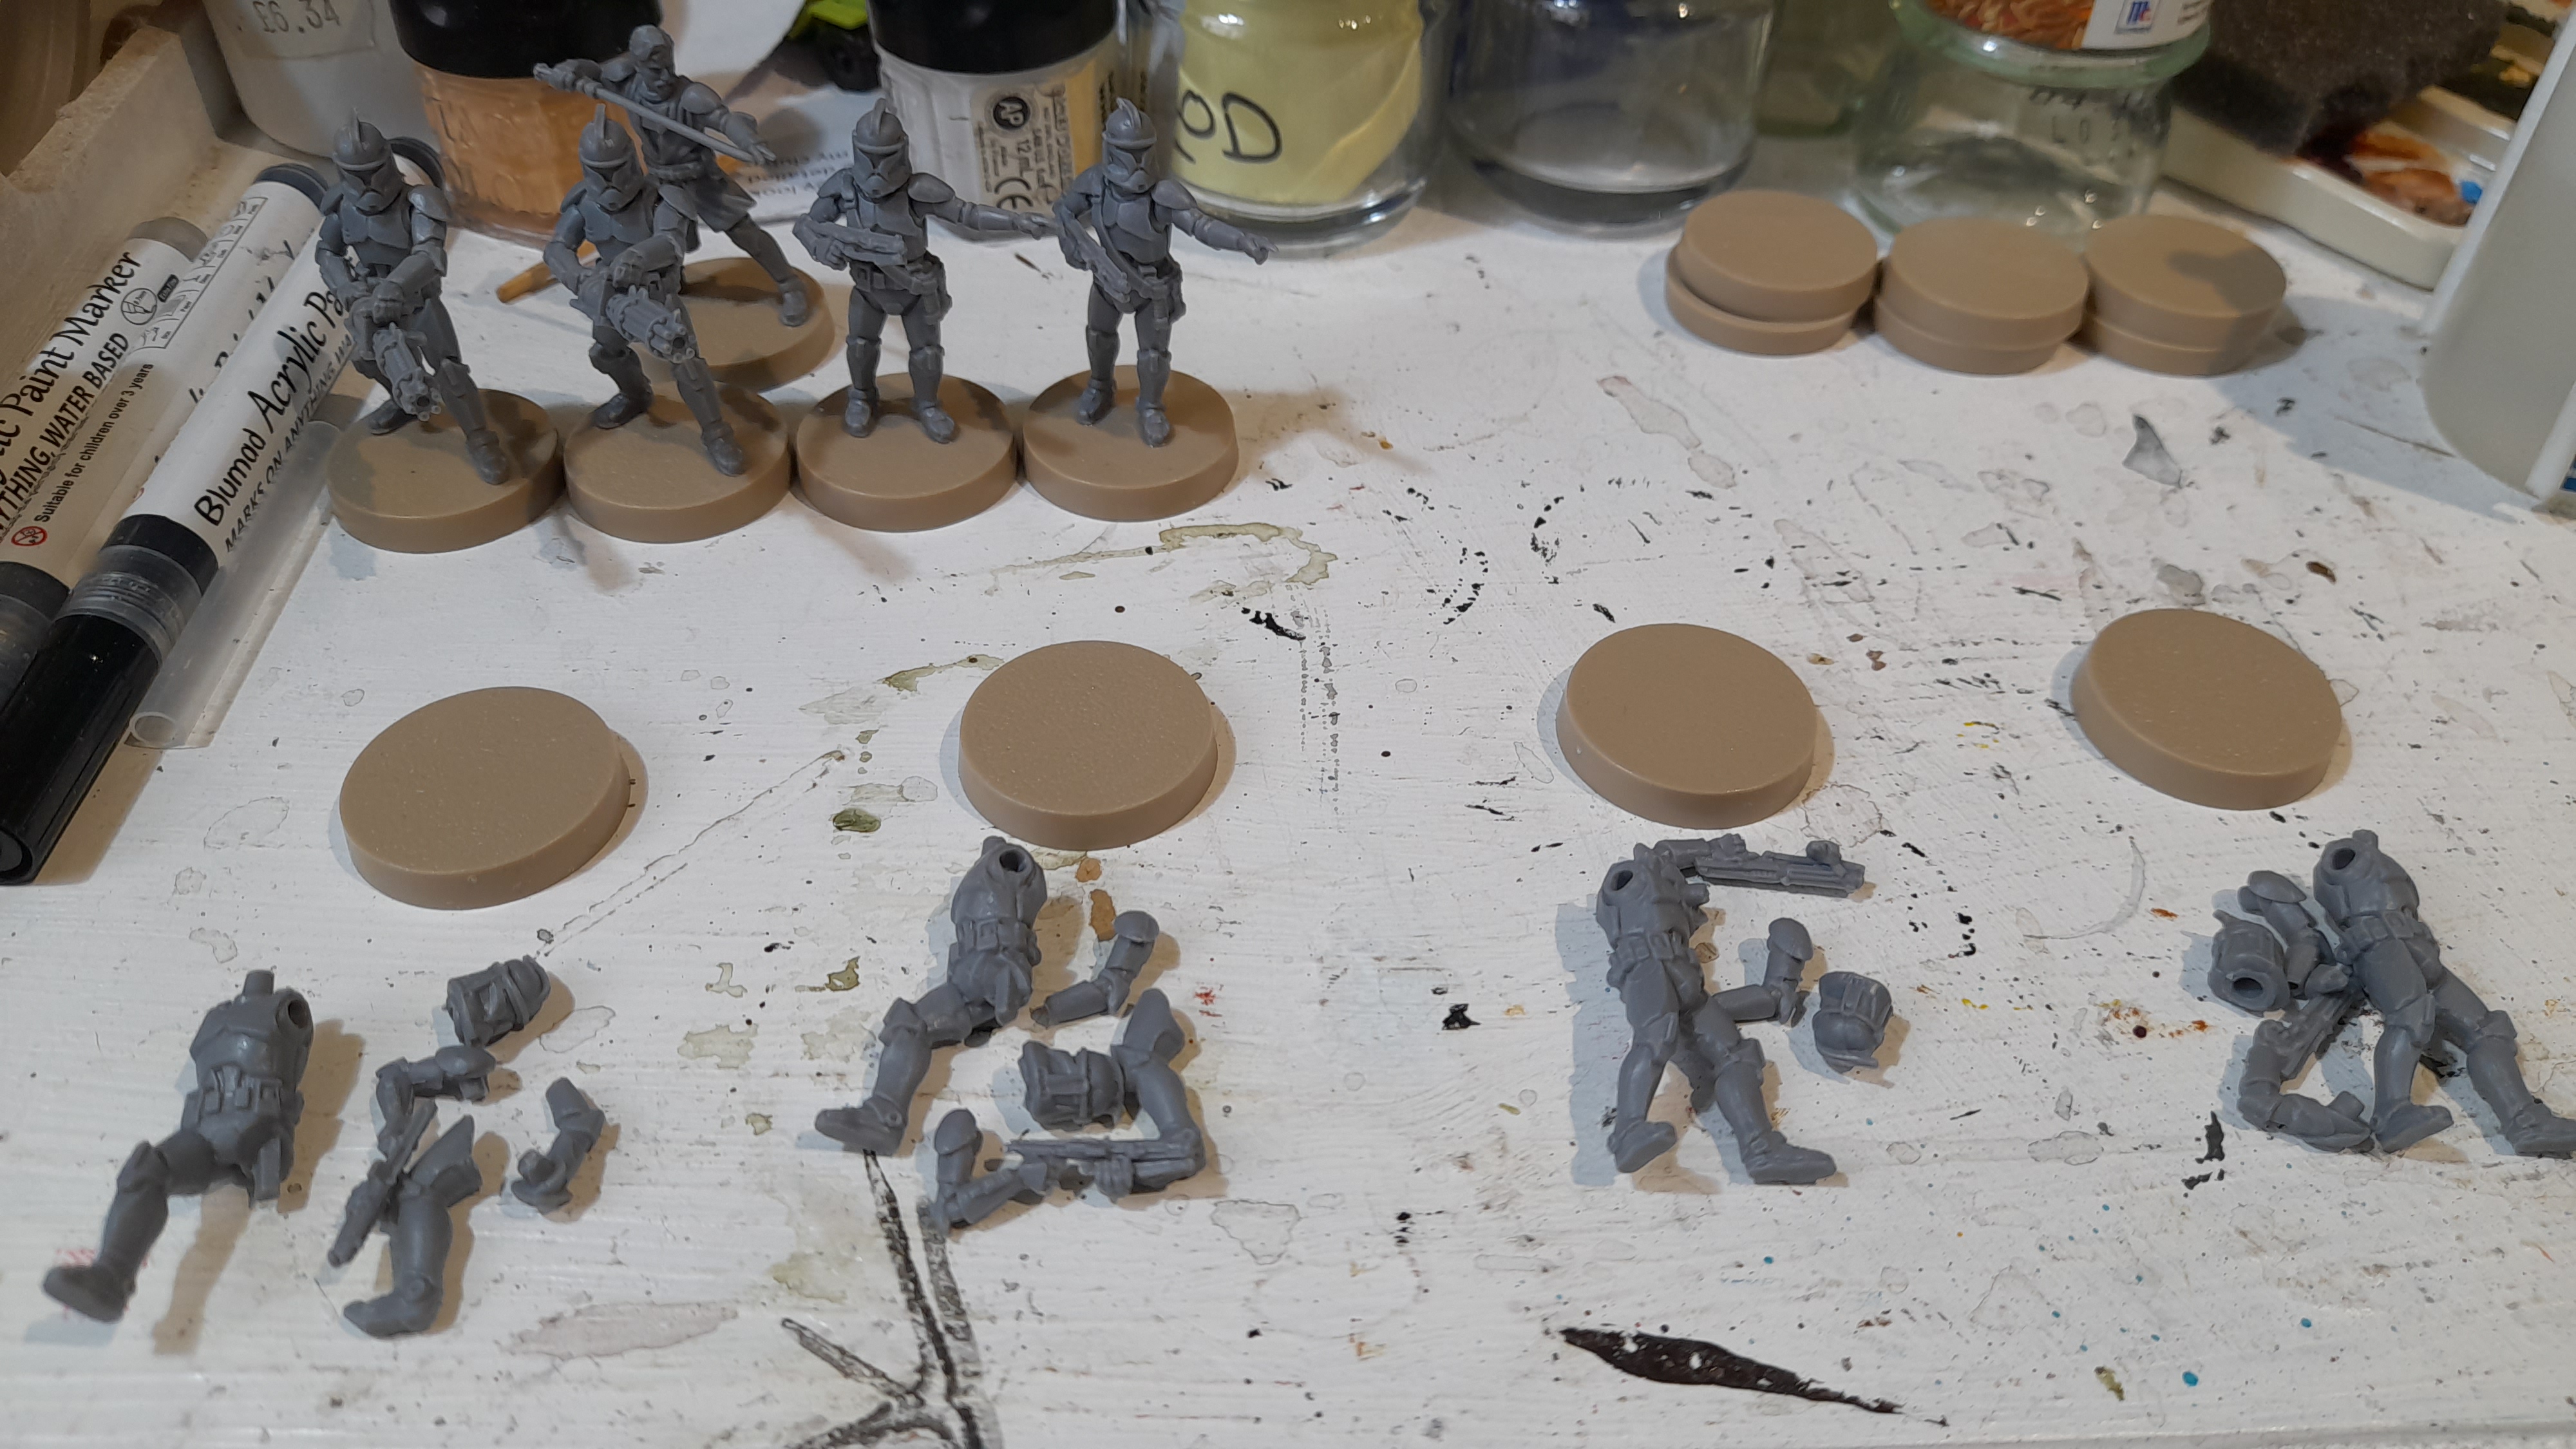
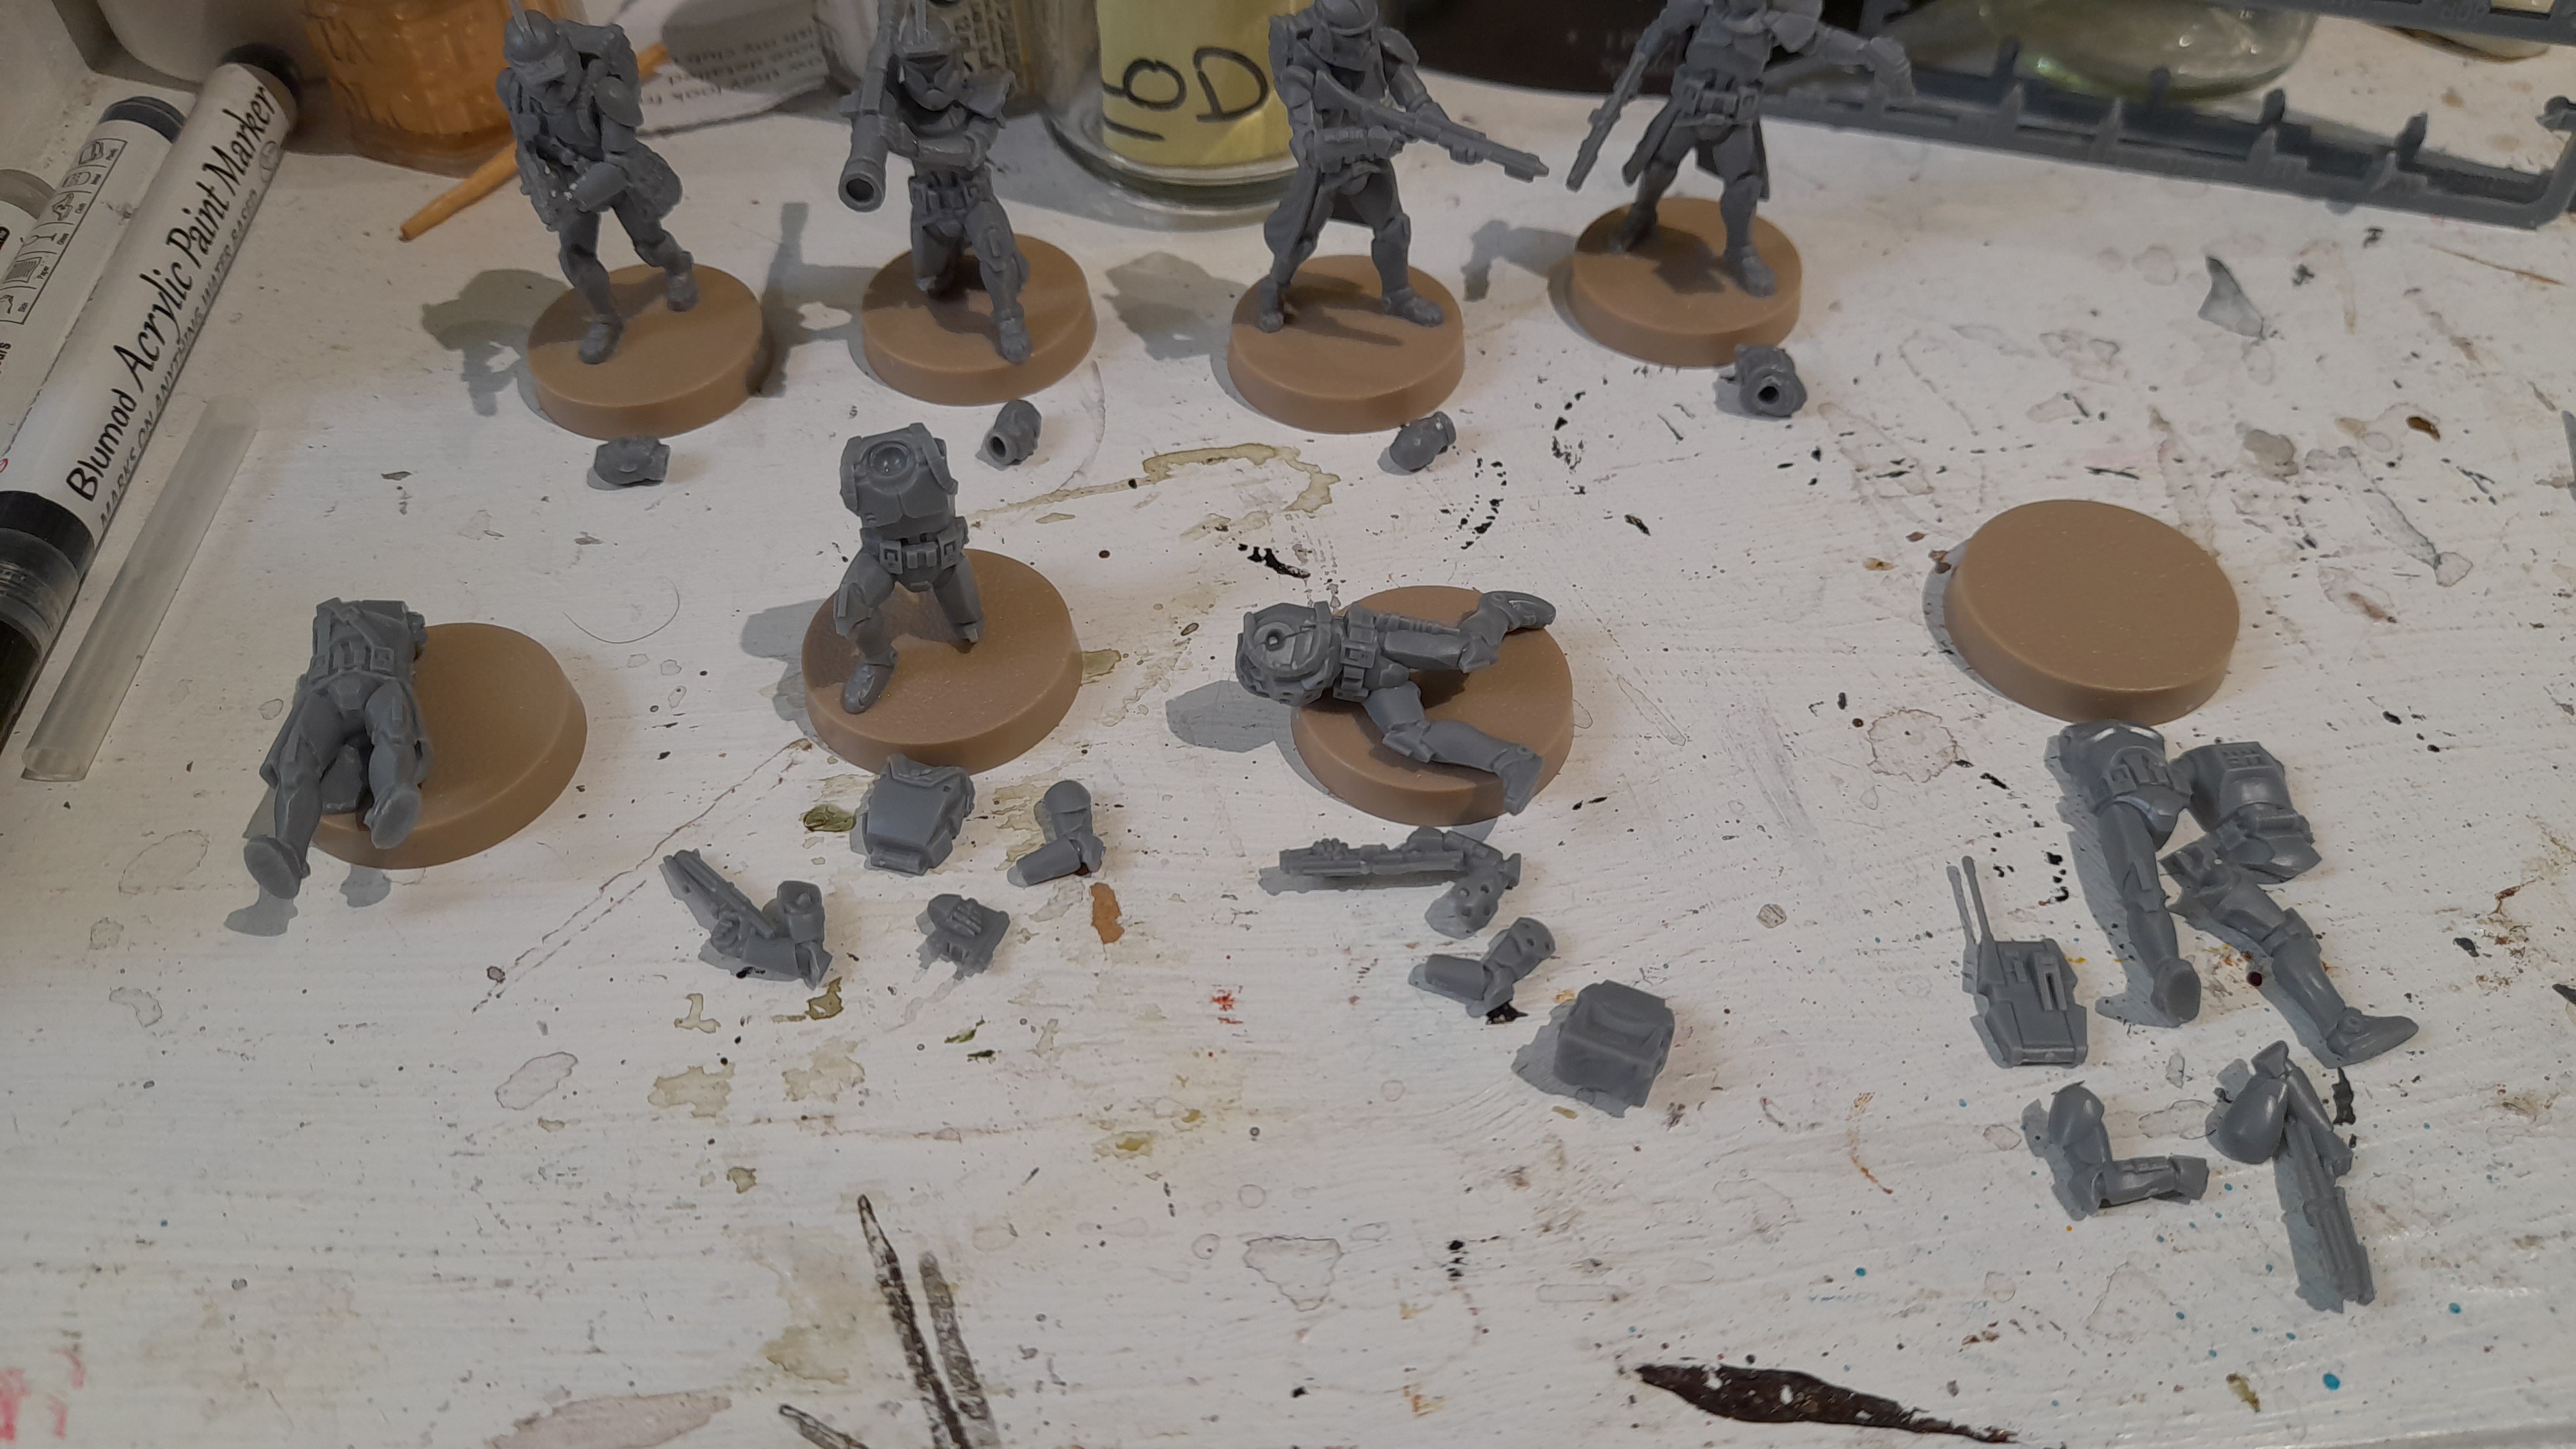
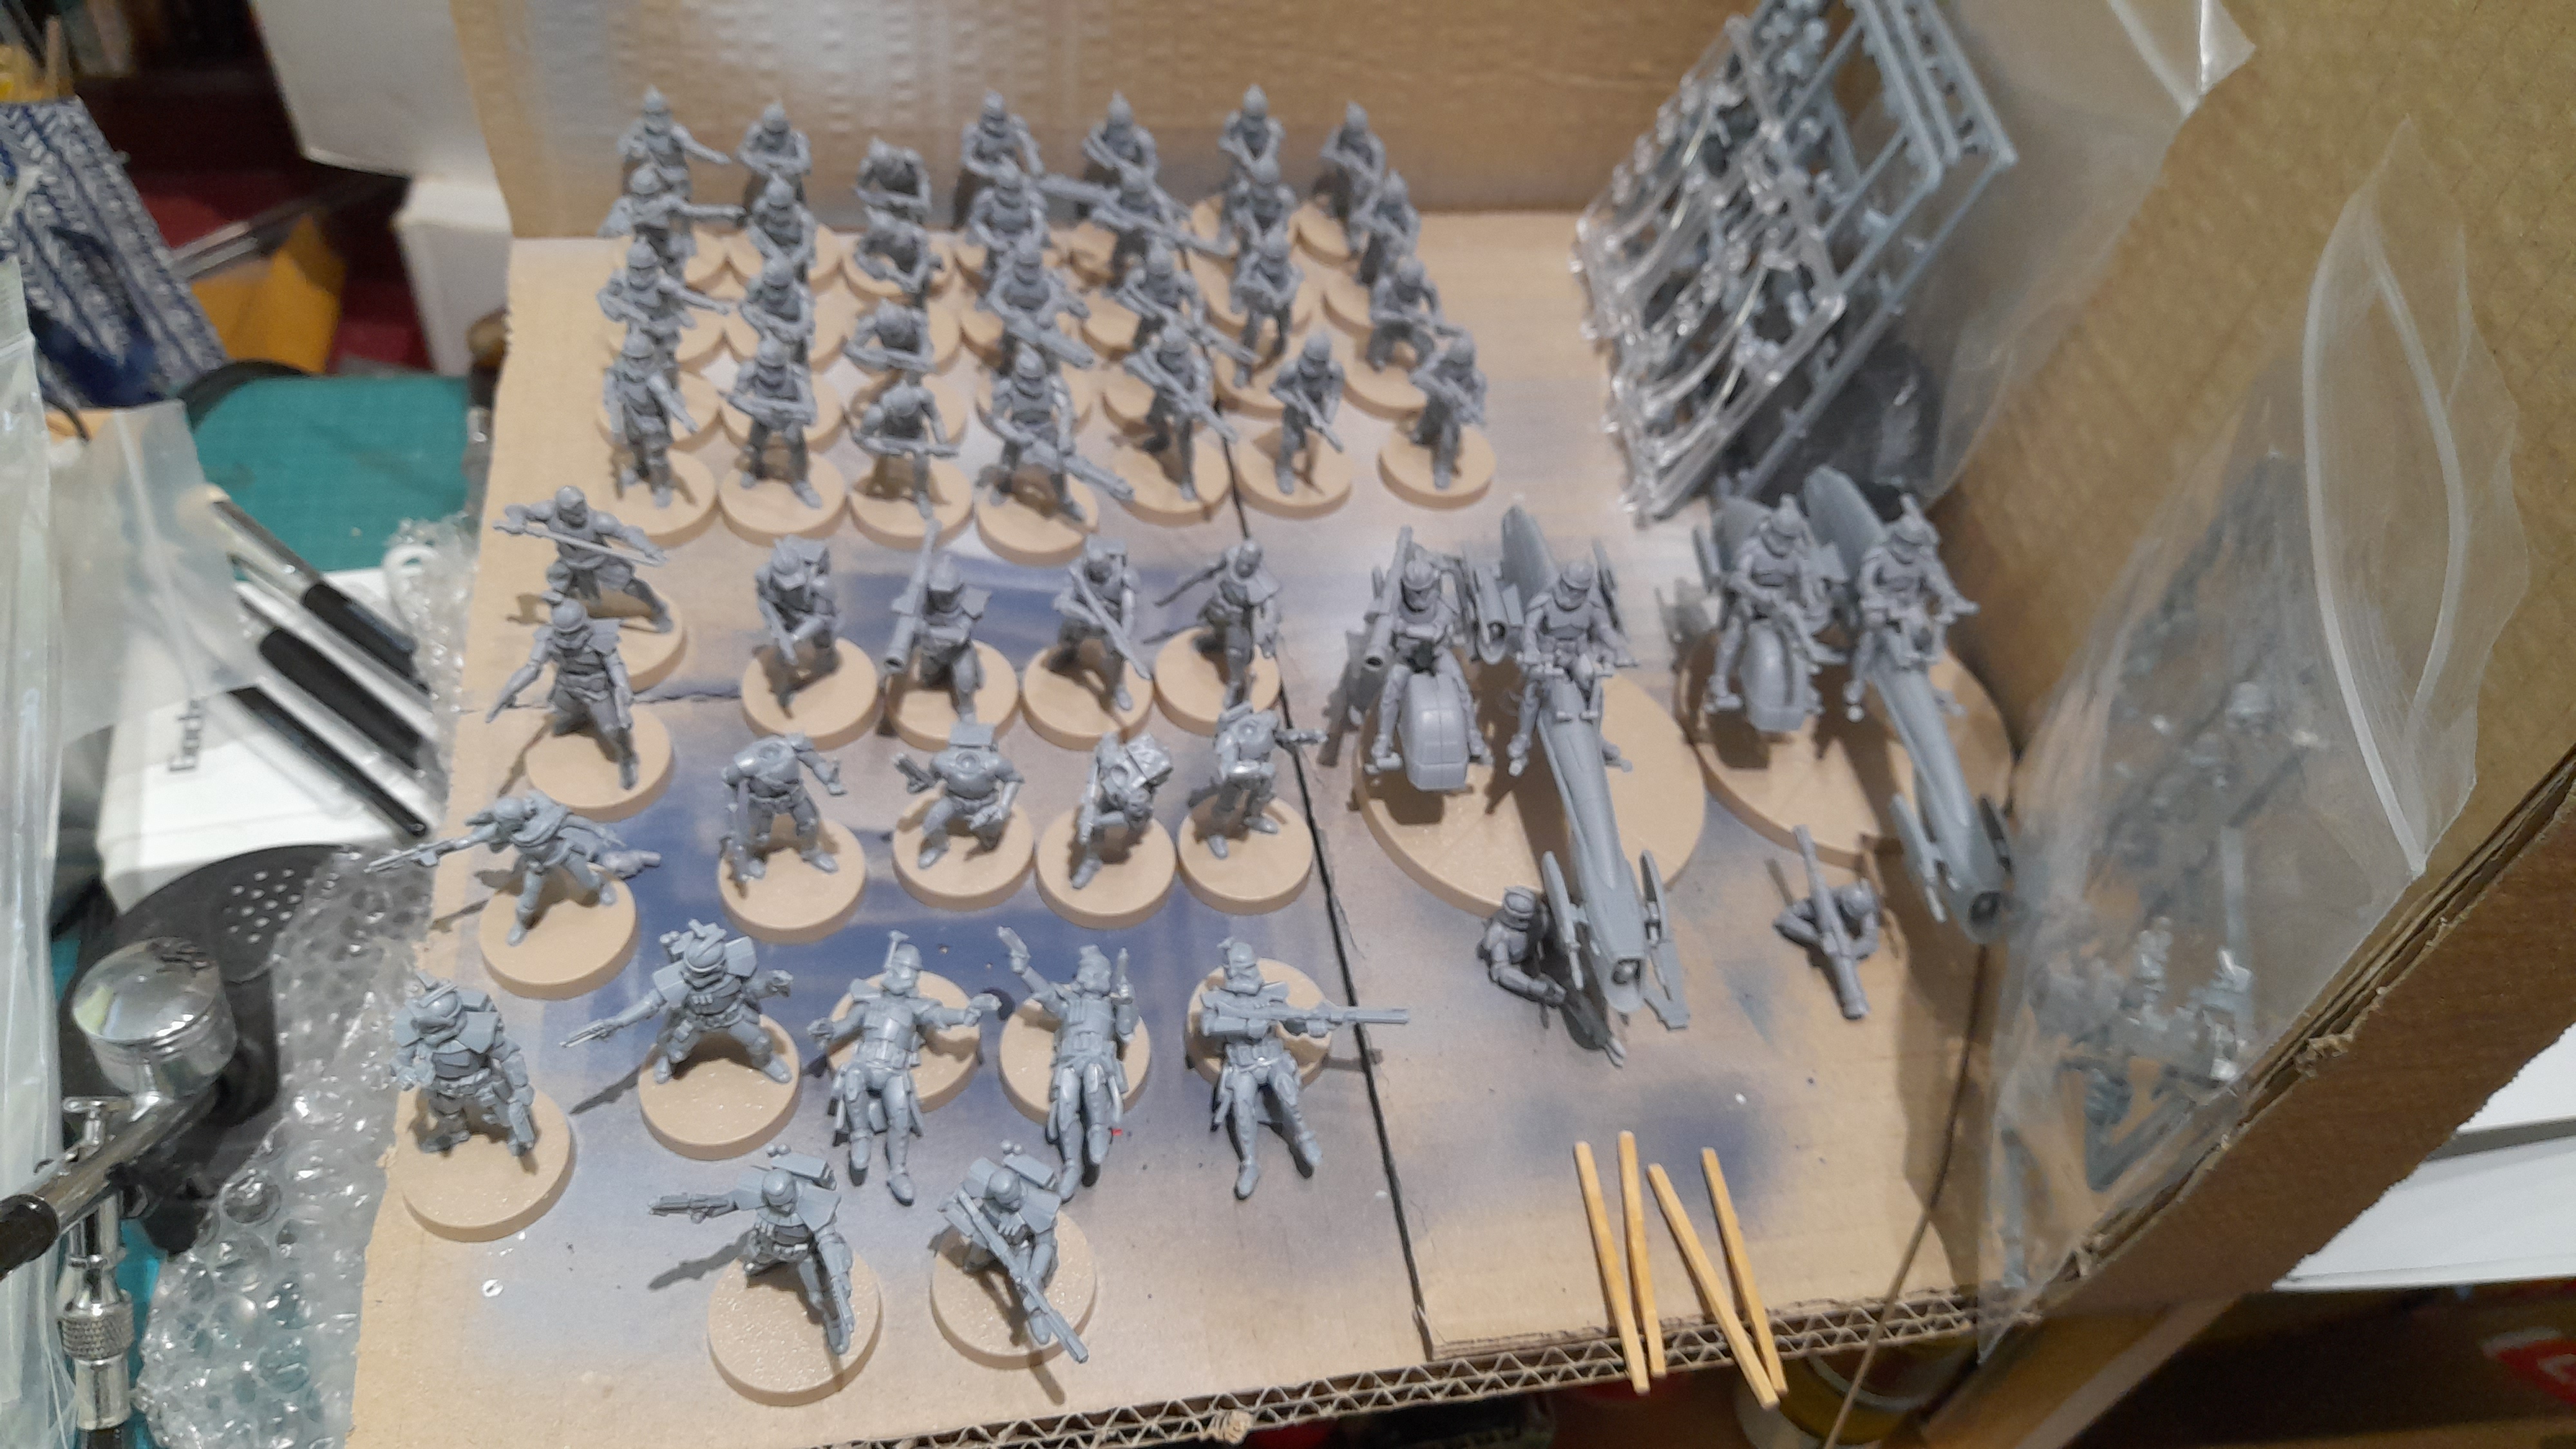
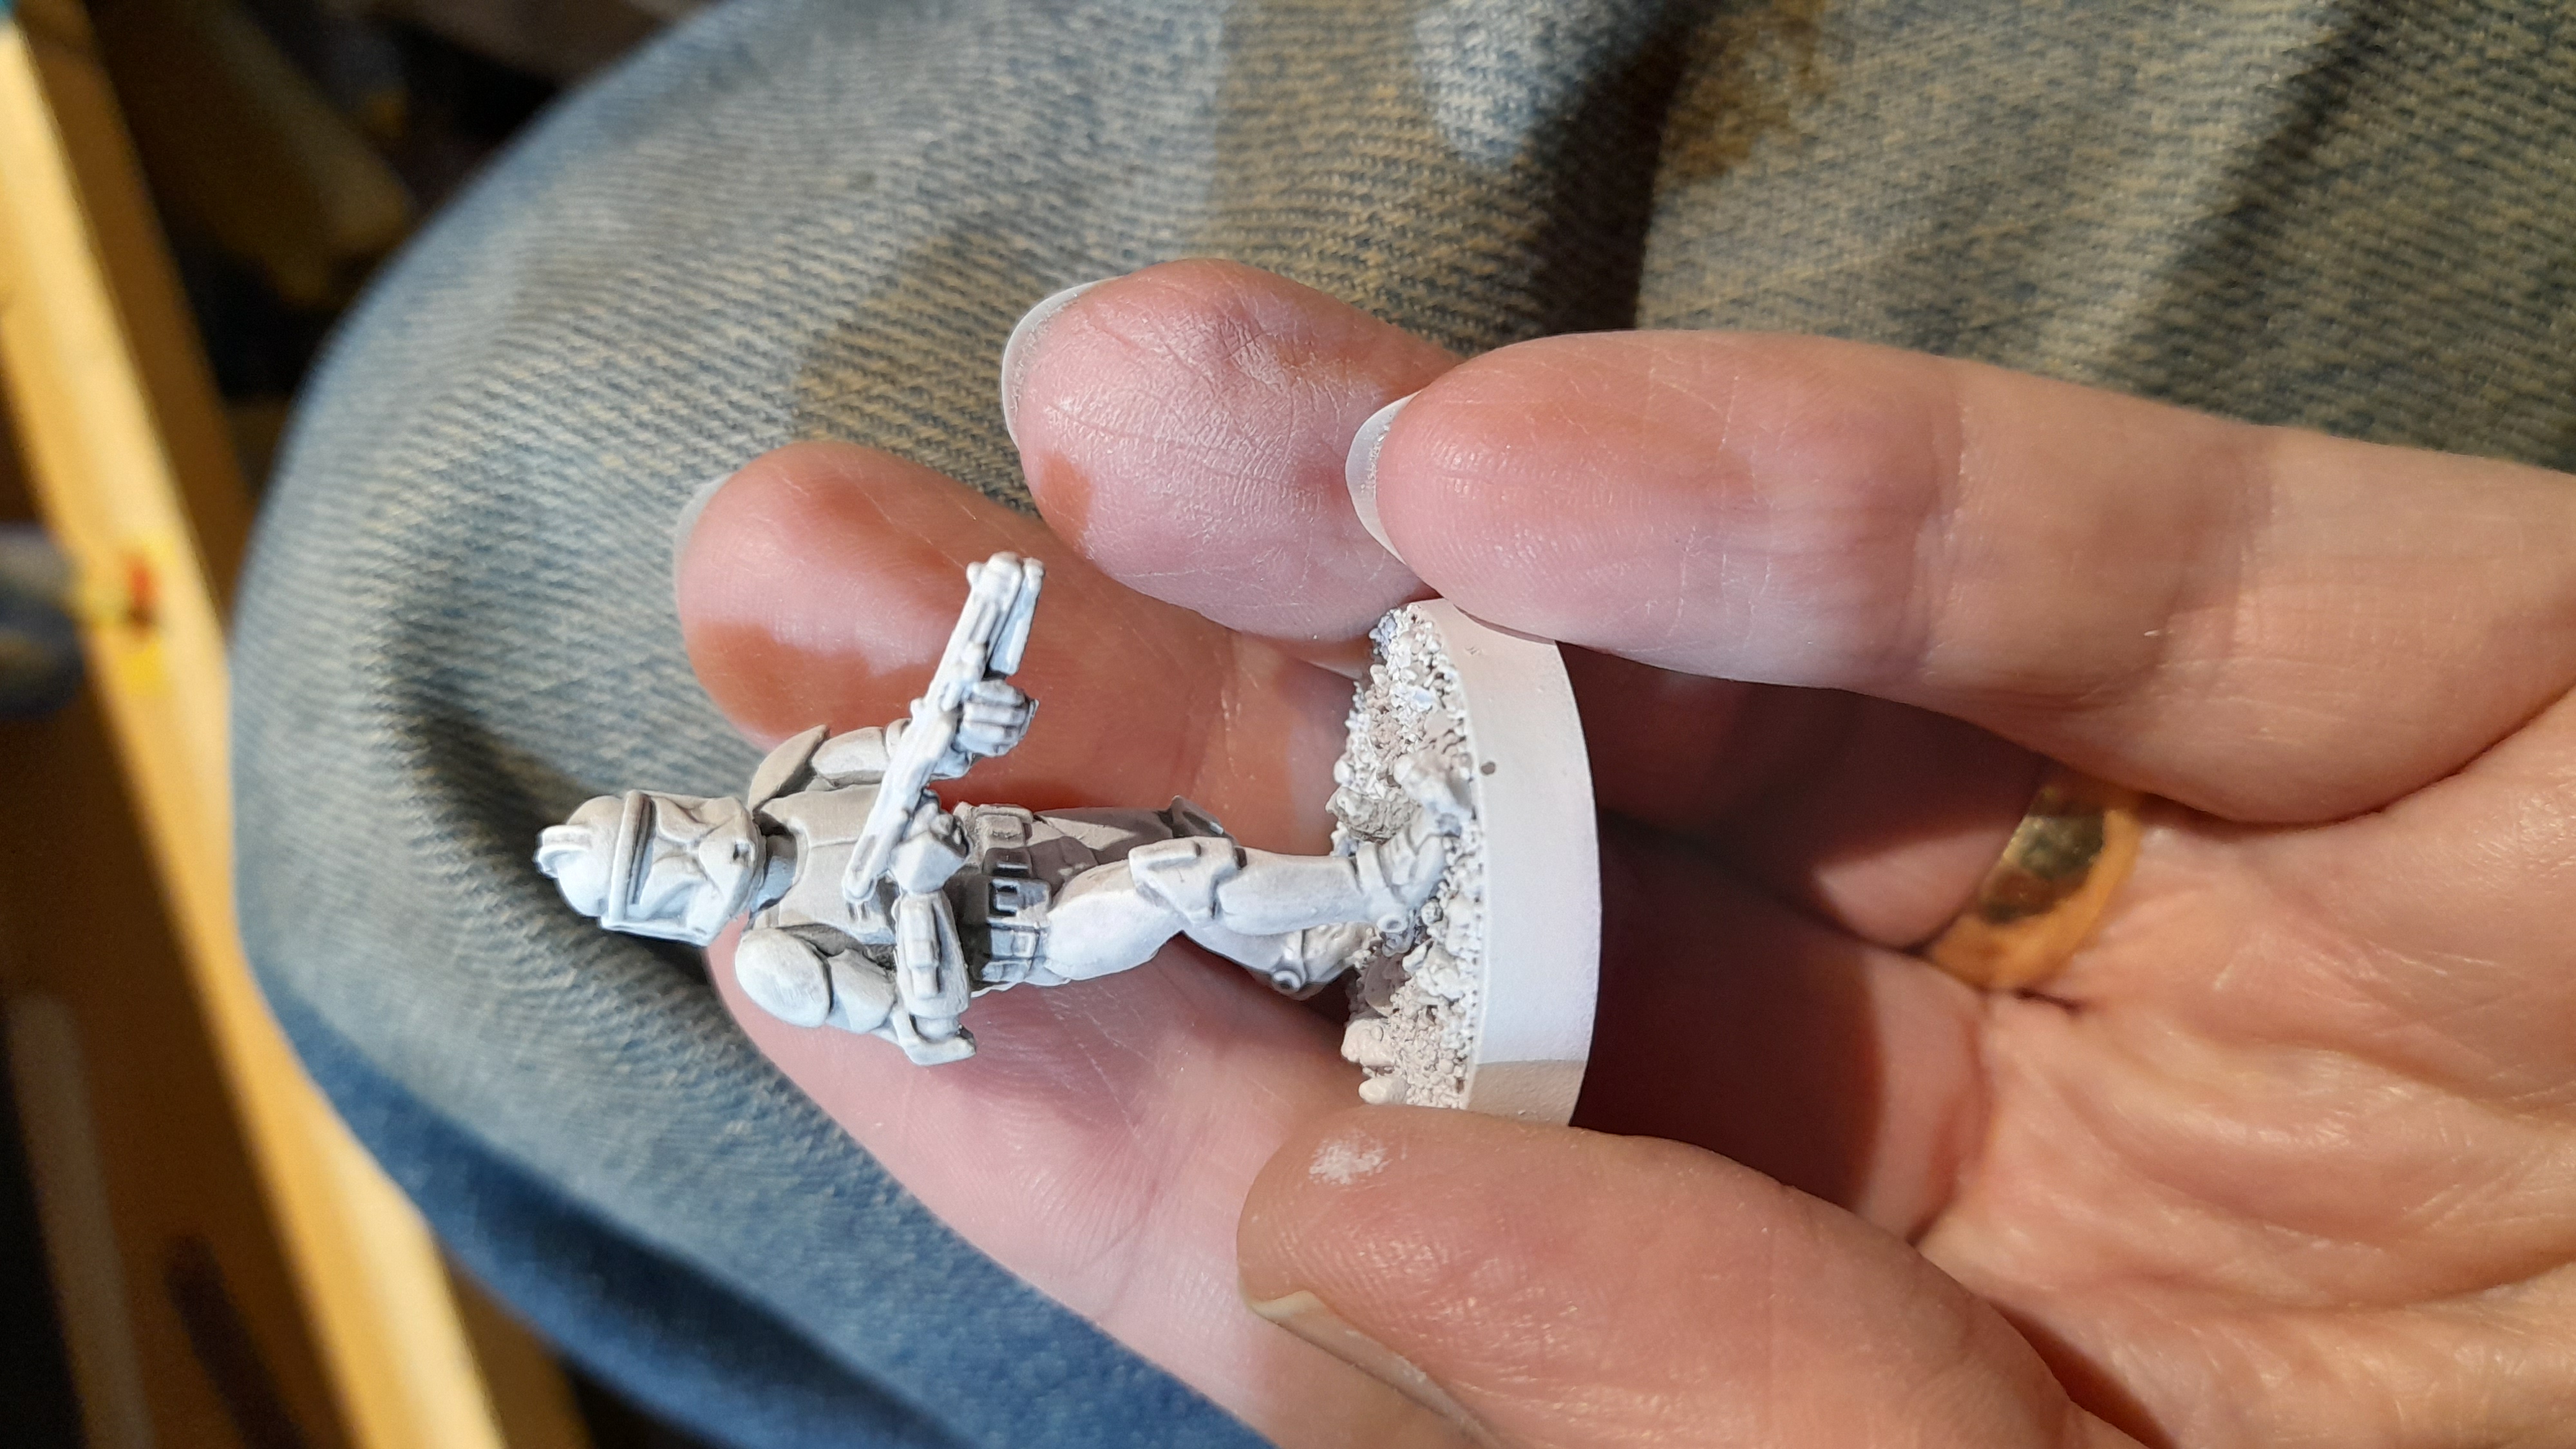
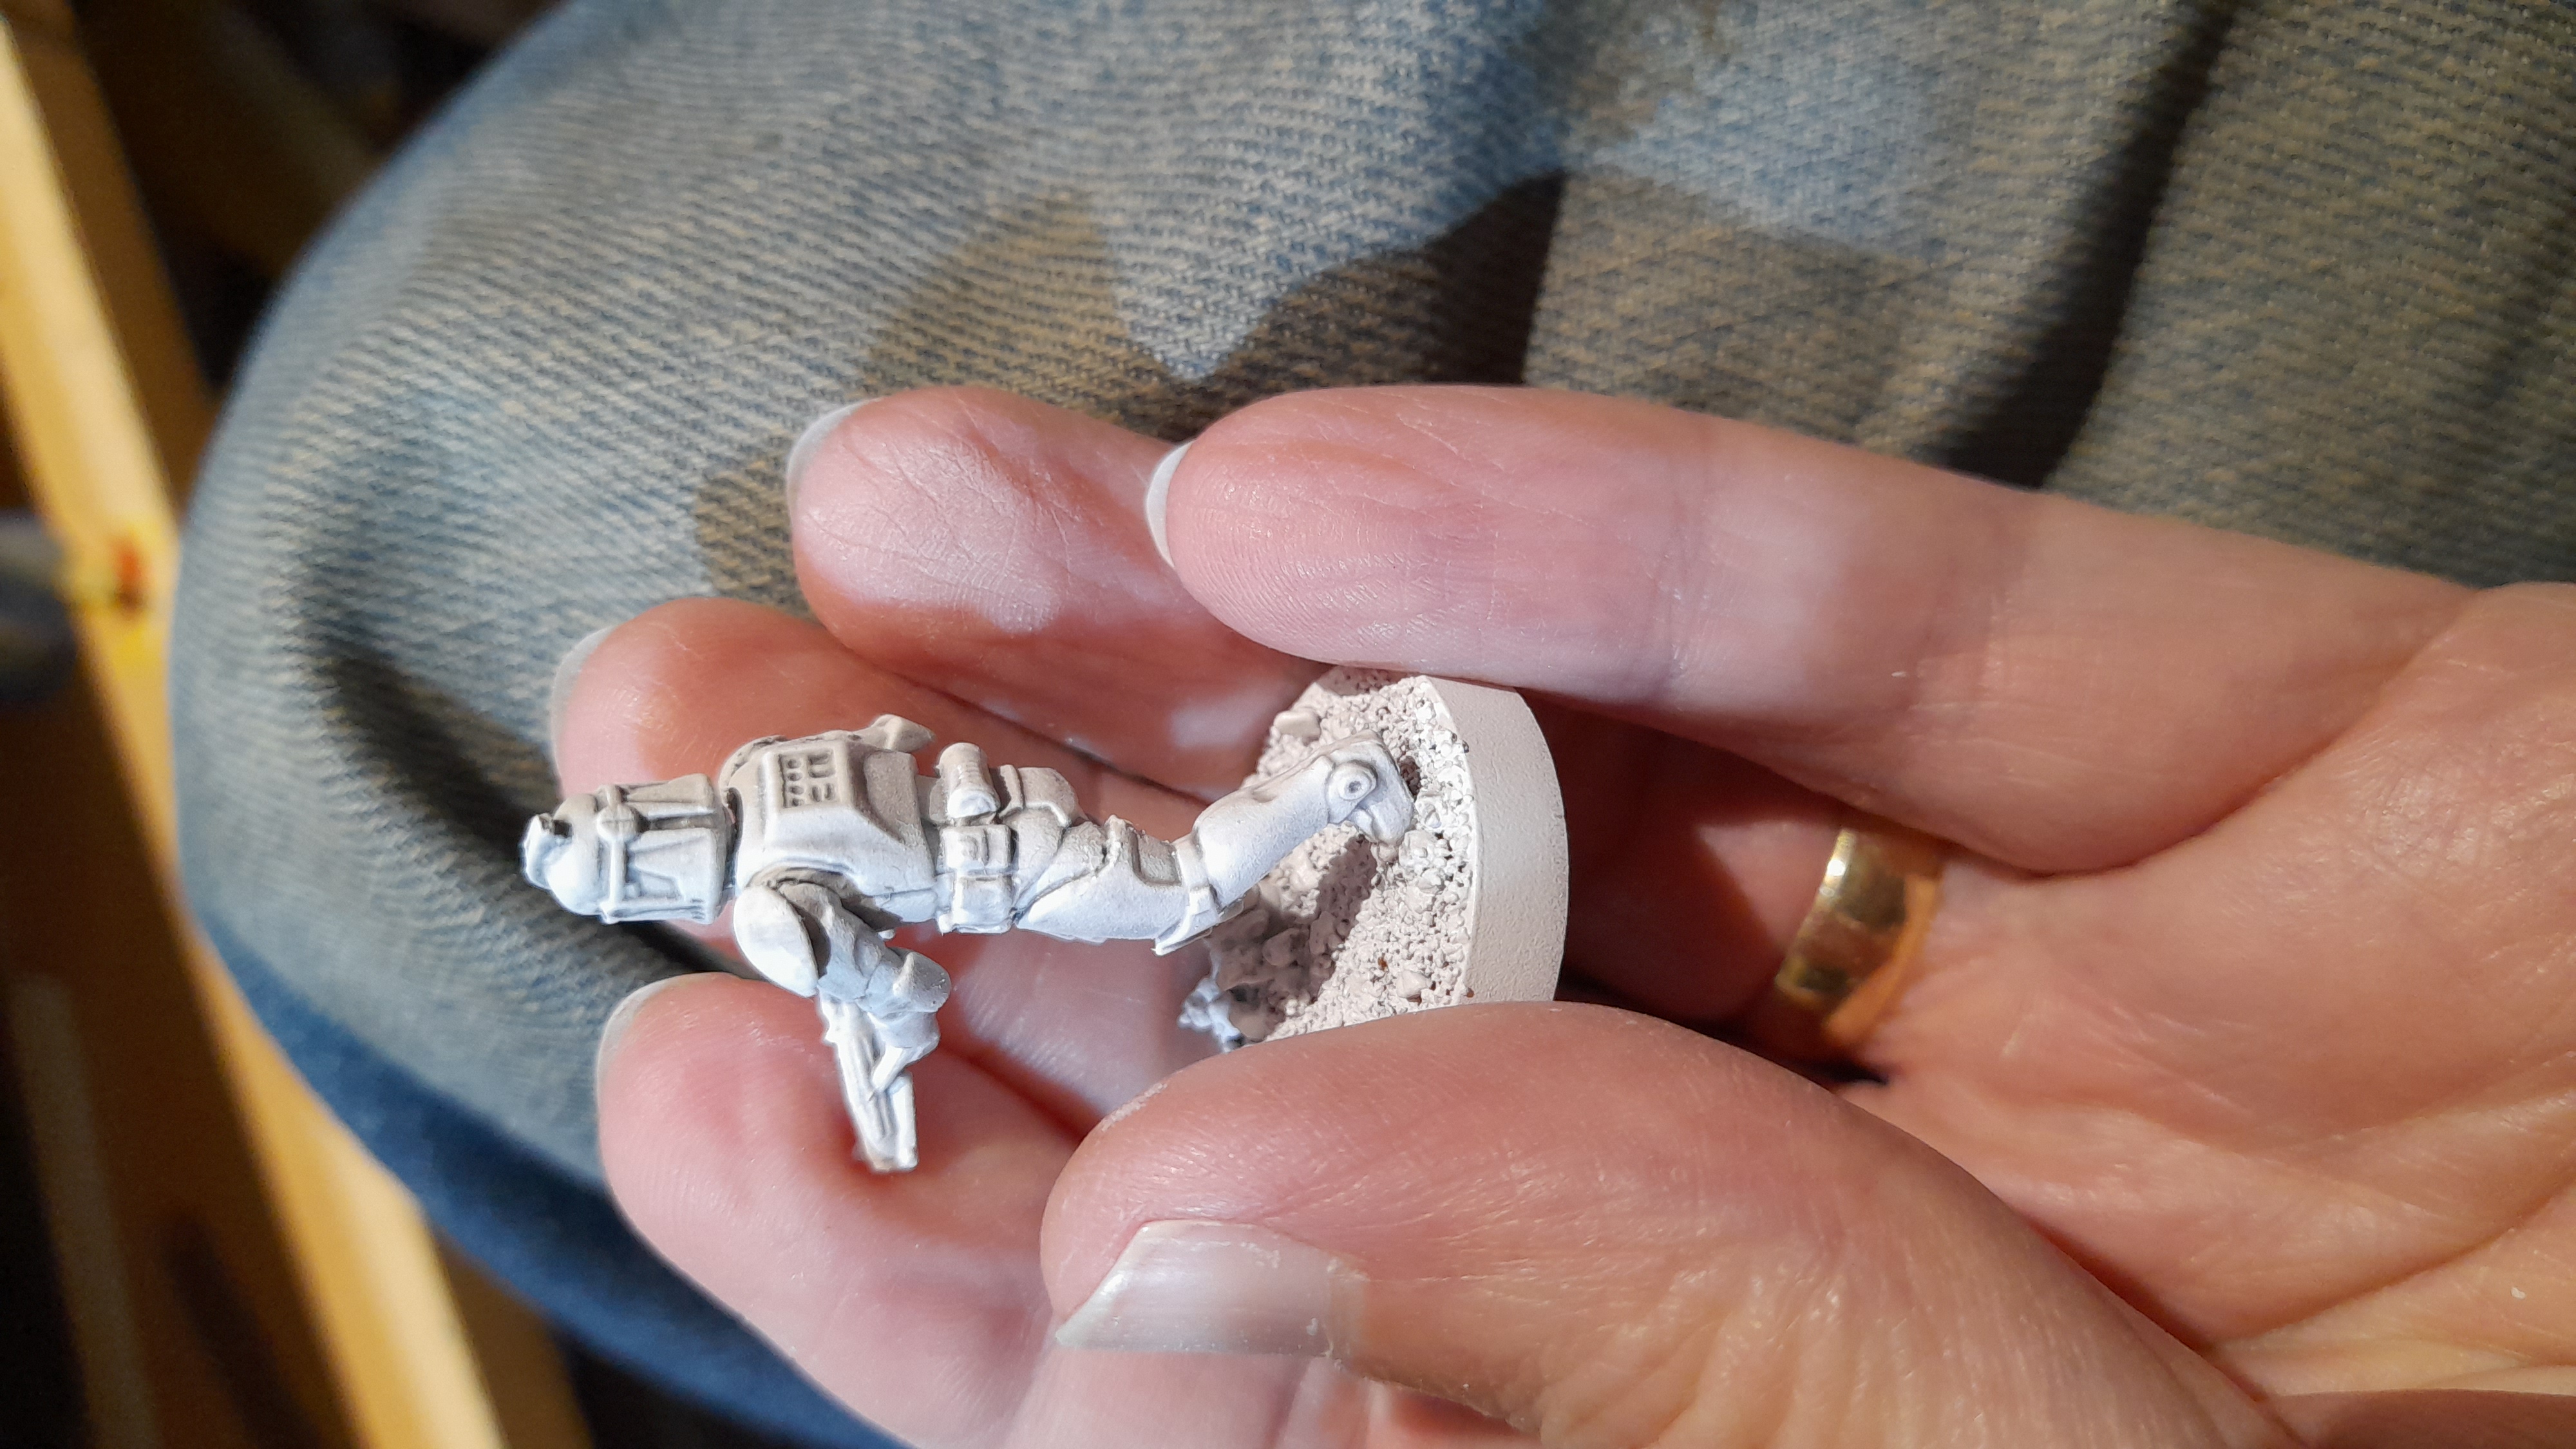
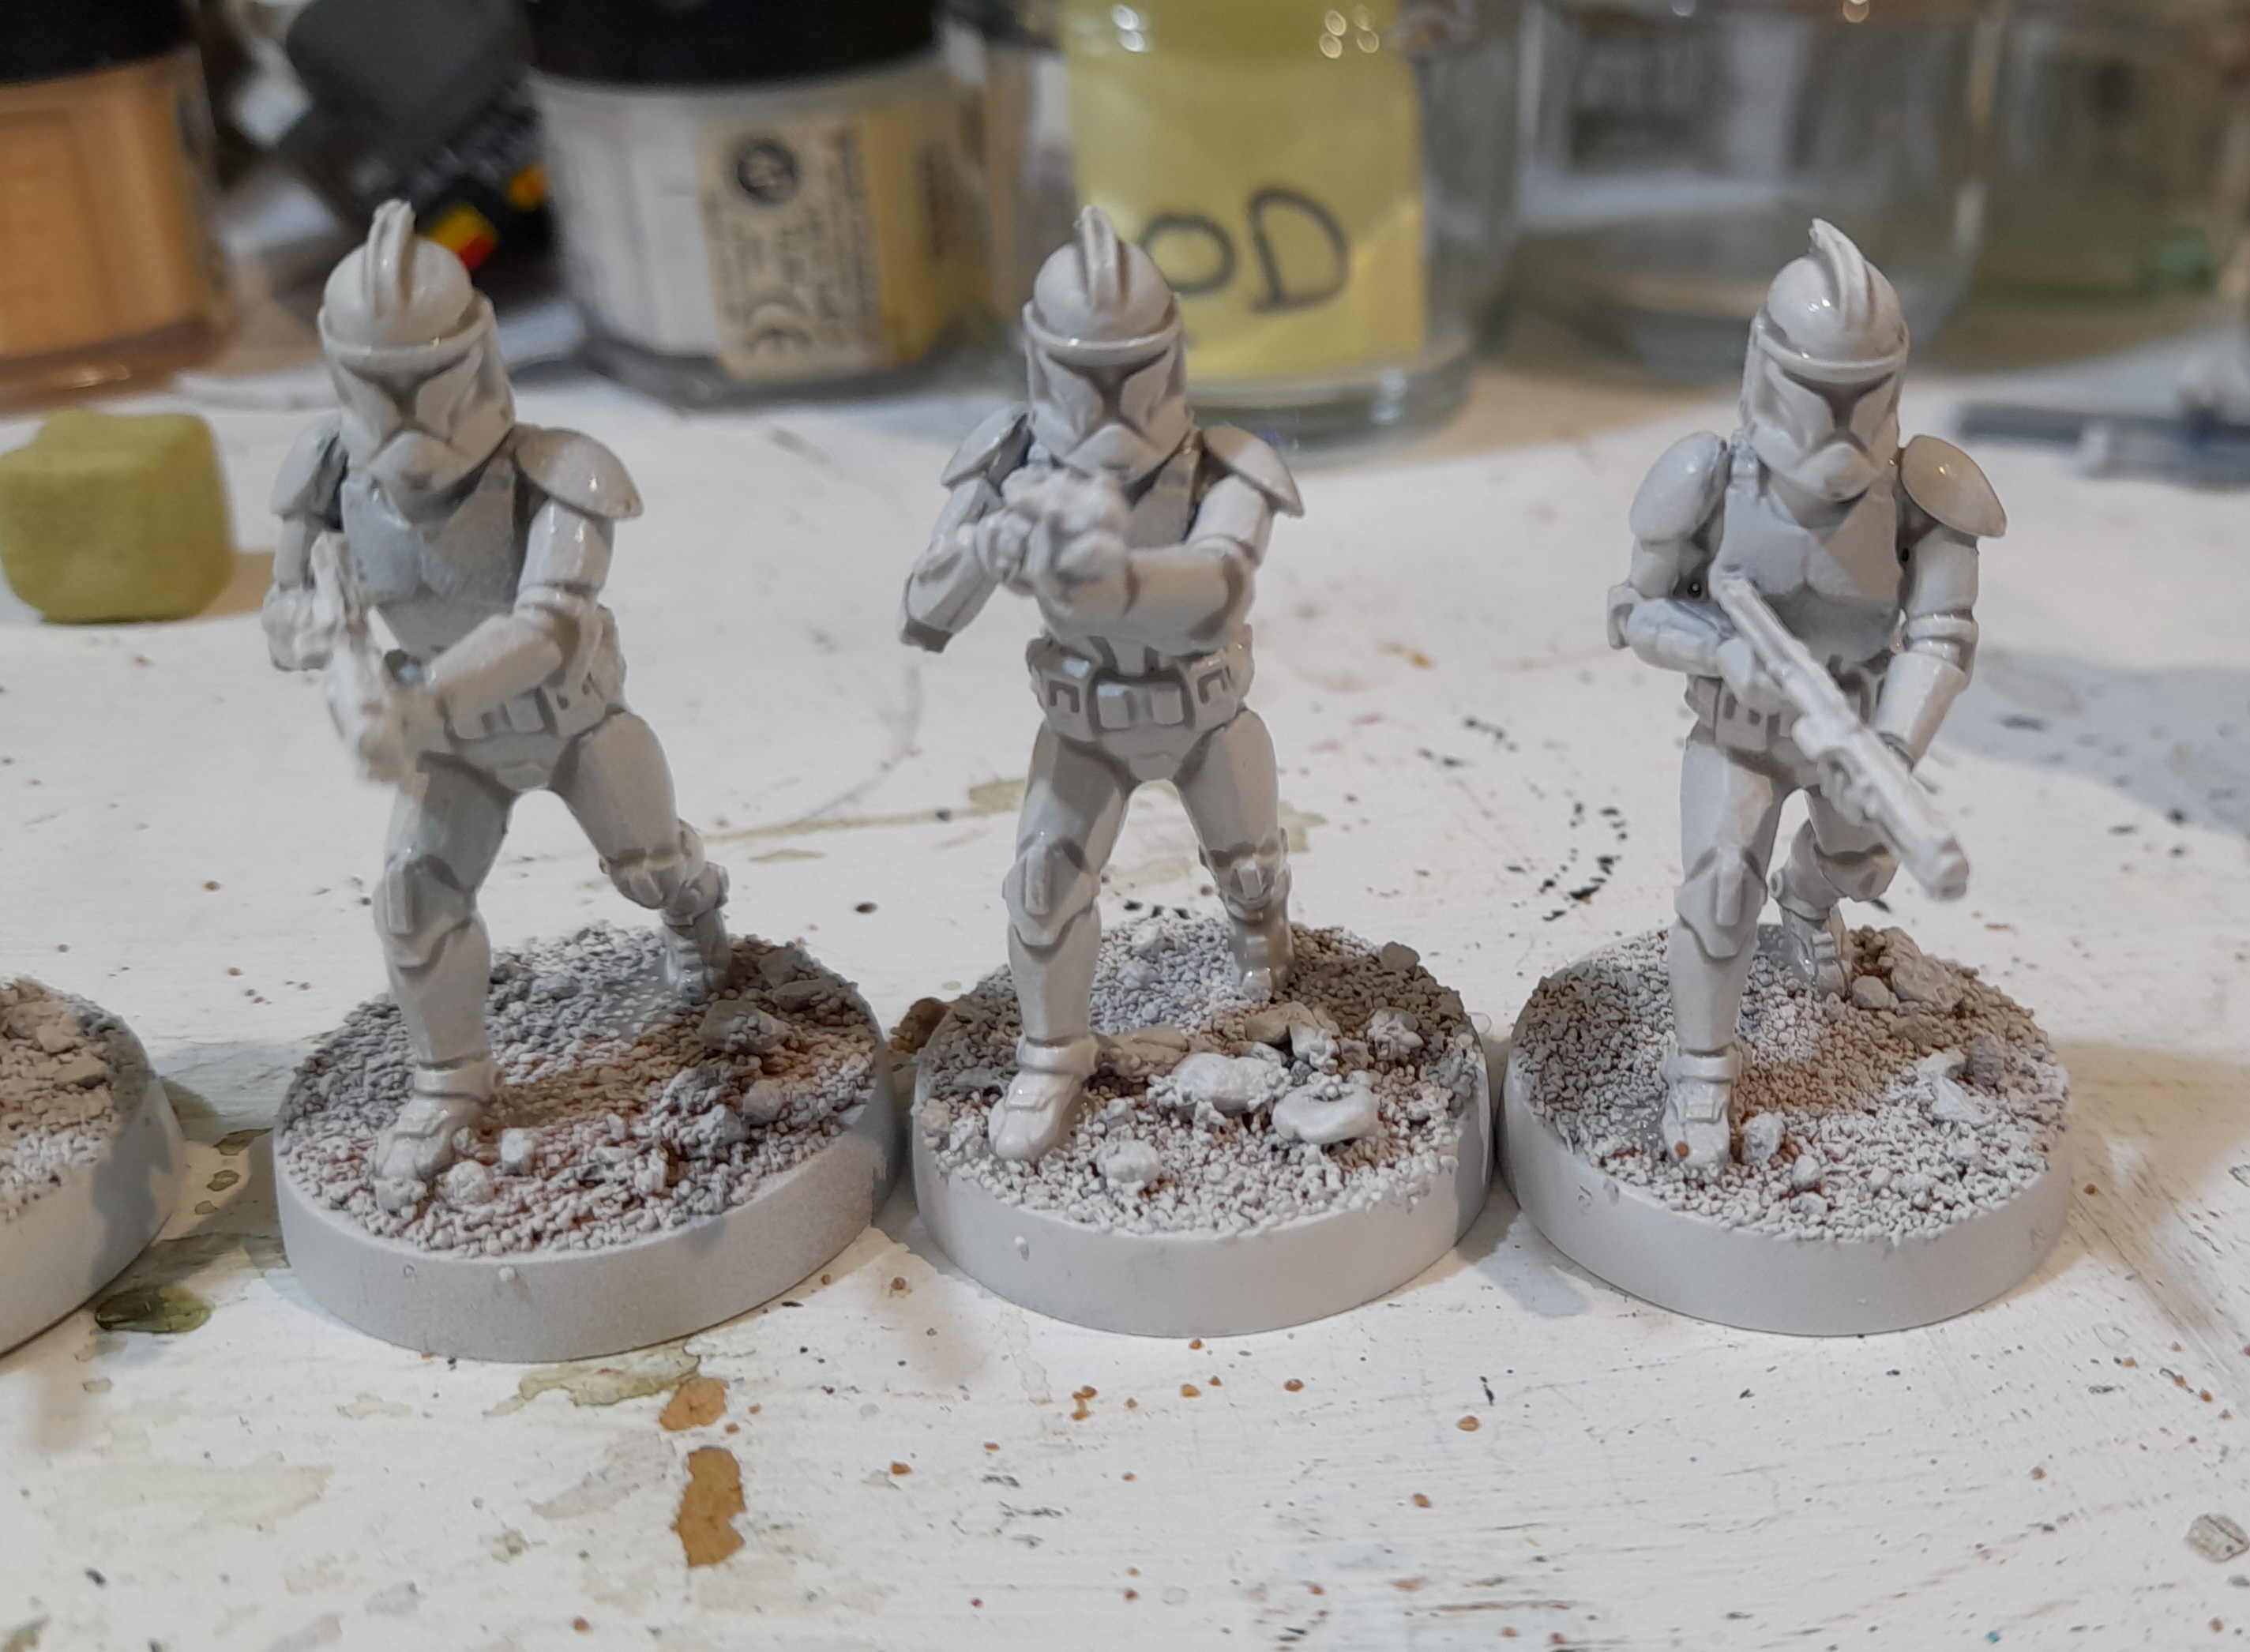
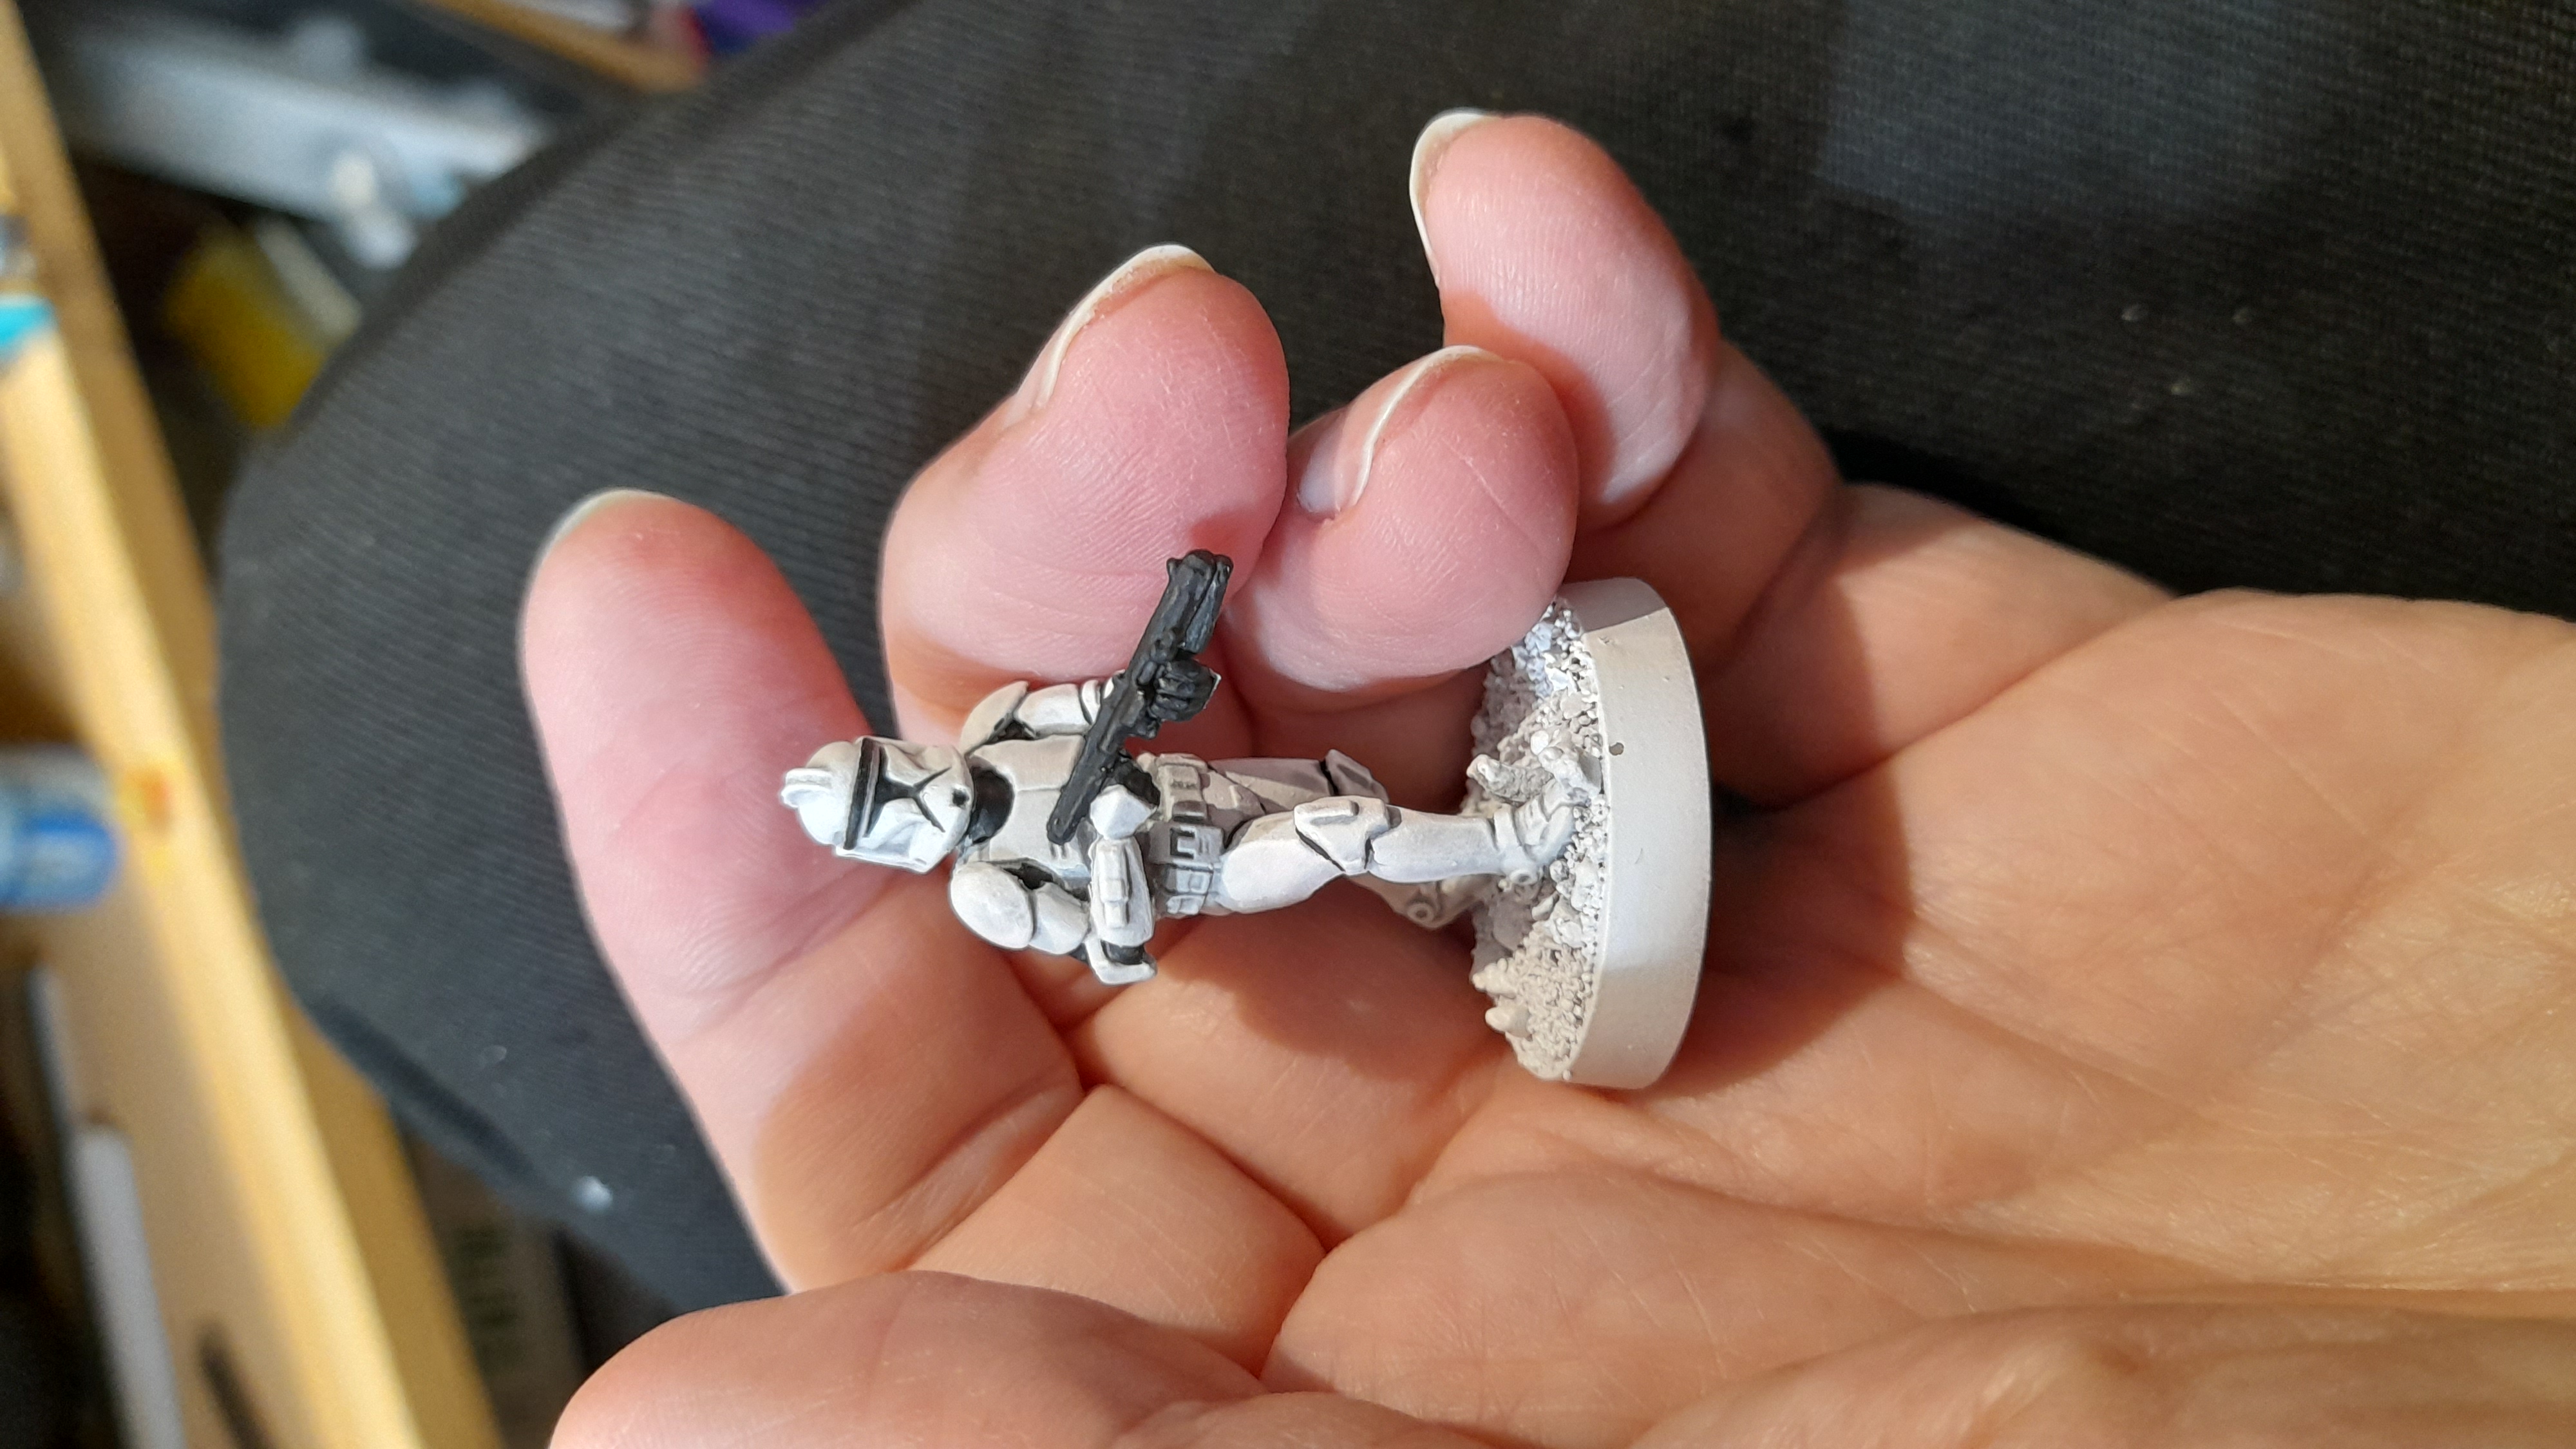
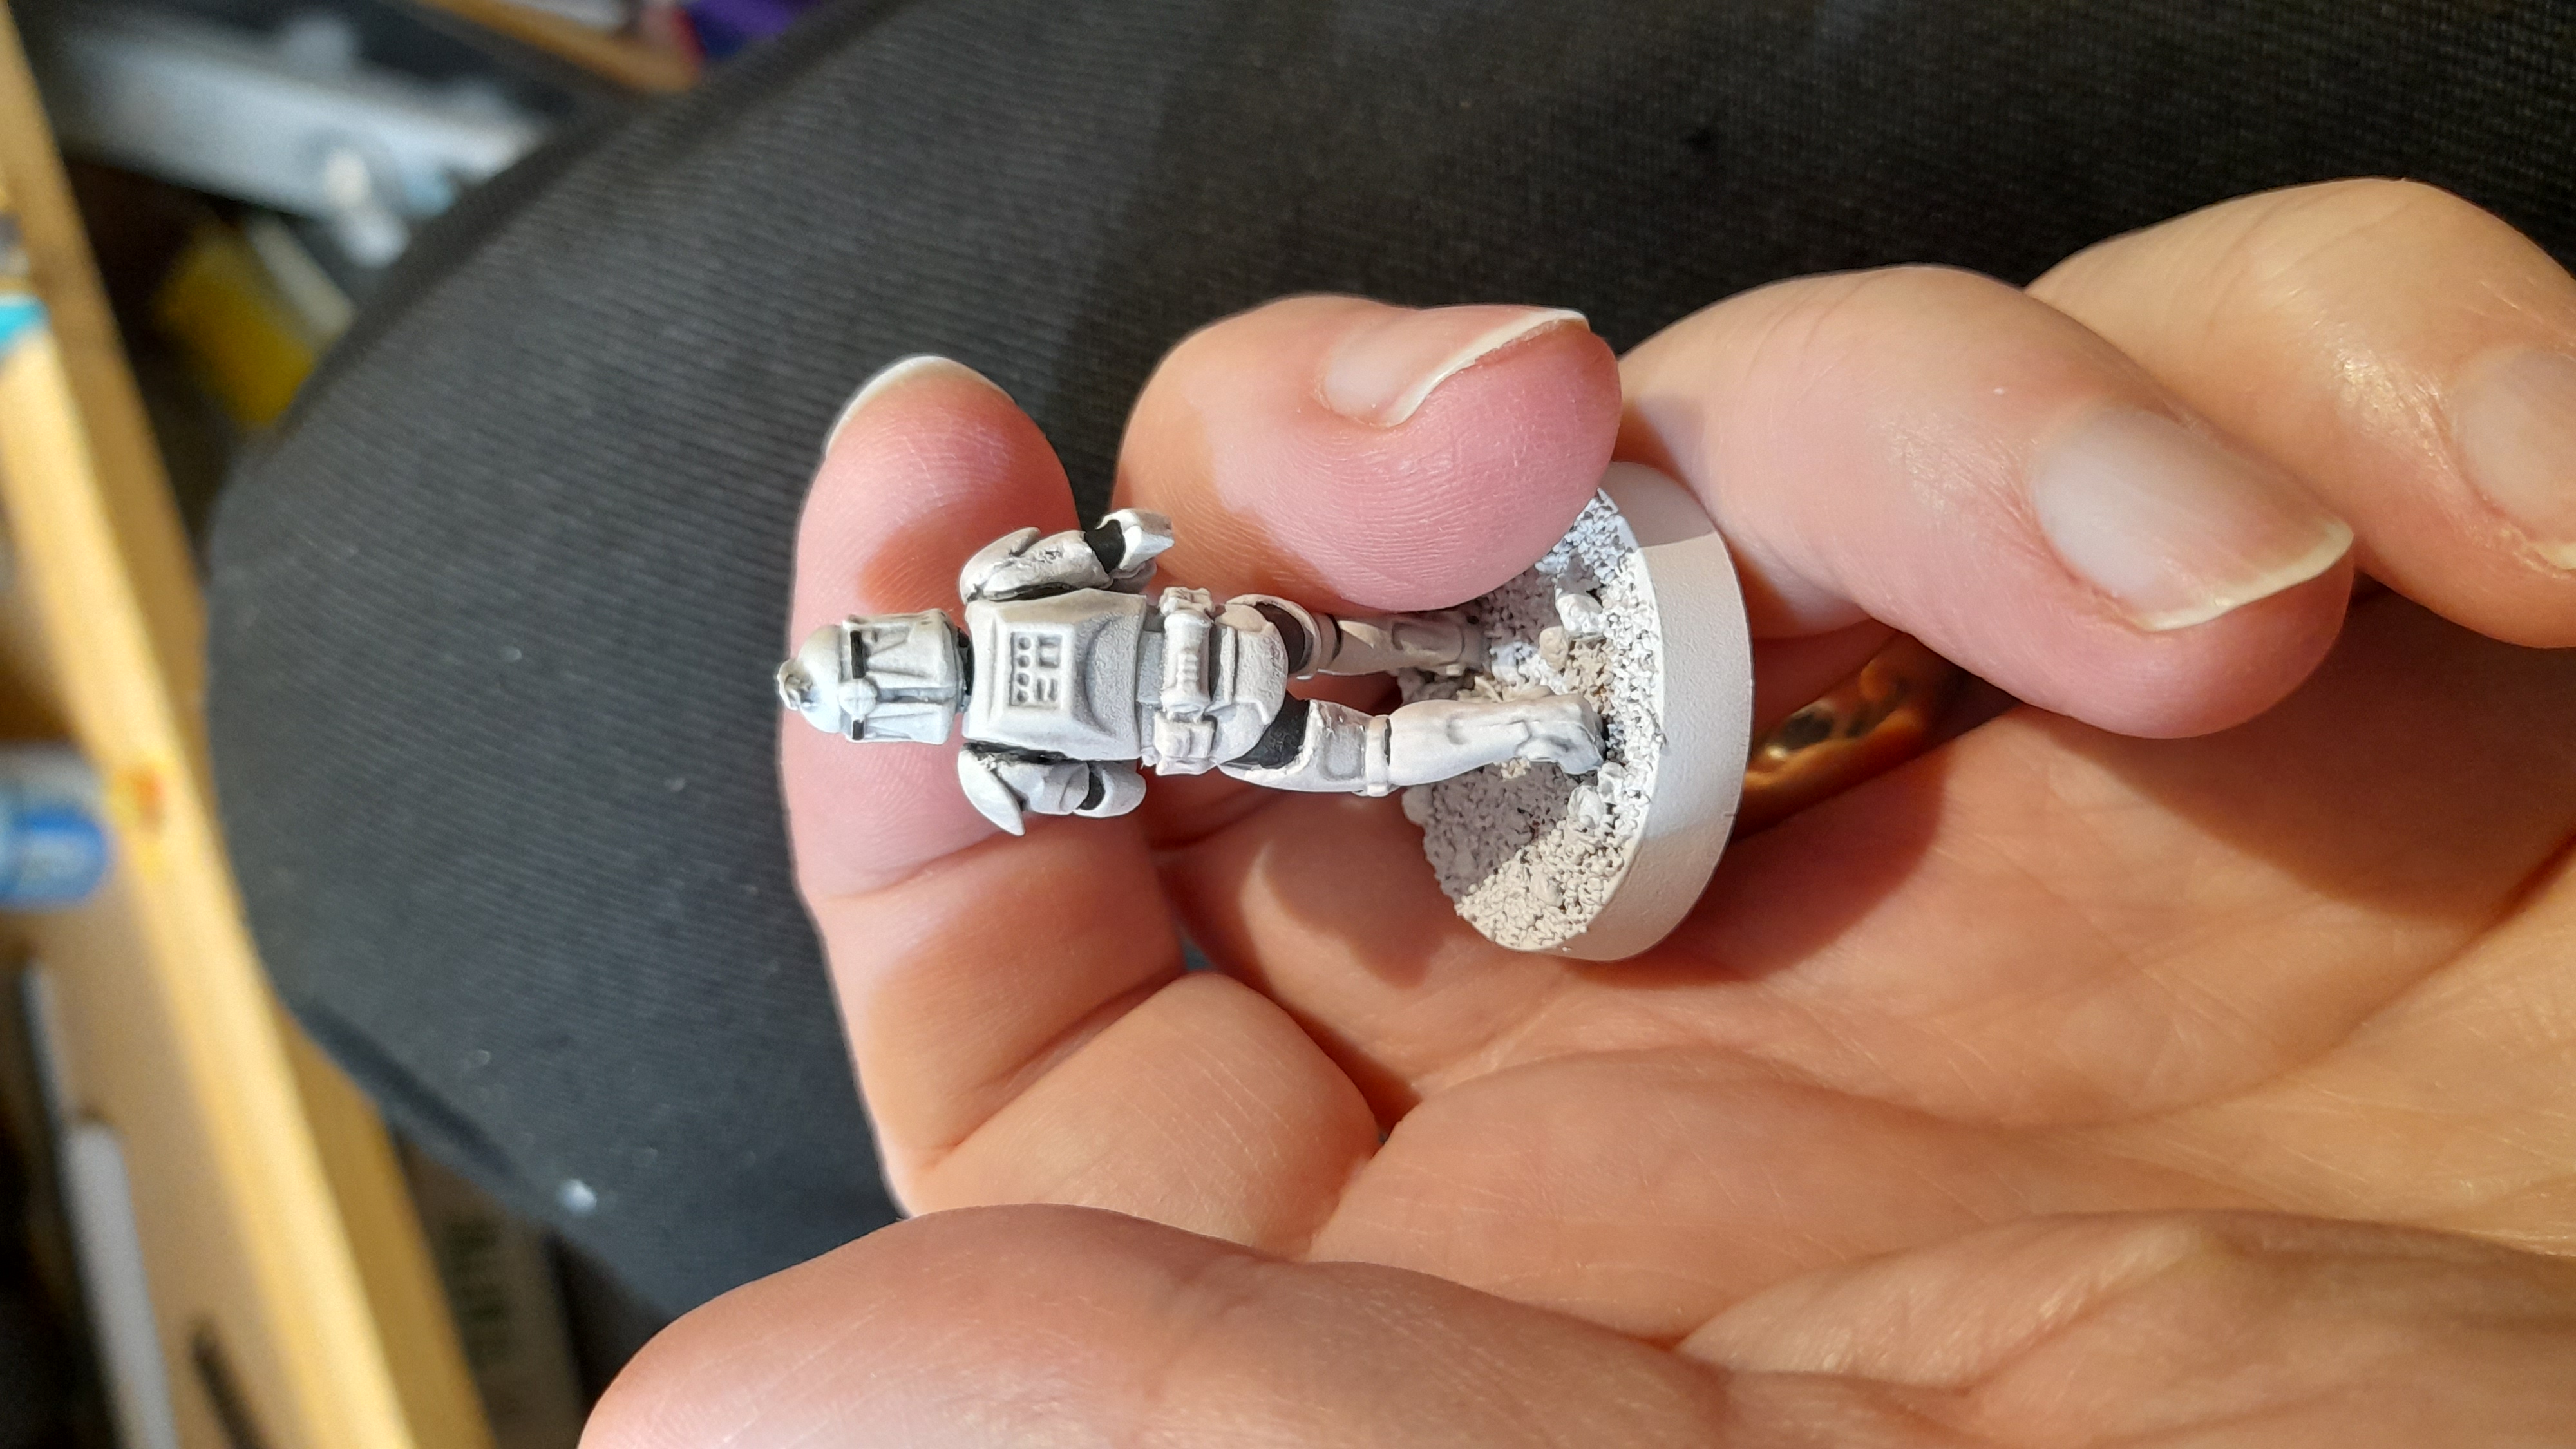
Making a straightforward start – by putting together a couple of squads of the phase 1 clone troopers.
There was a fair bit of mold line scraping on these, but for the most part they were quite small.
The push fit joints on them worked well, so I could test out a few poses with them. Where possible I tried to make the repeat models have a slightly different pose, to try to get a little variety in there.

I even had enough time to start on a BARC speeder too
Second verse, same as the first....
17th April 2023
Managed a bit more work on the clones over the weekend.
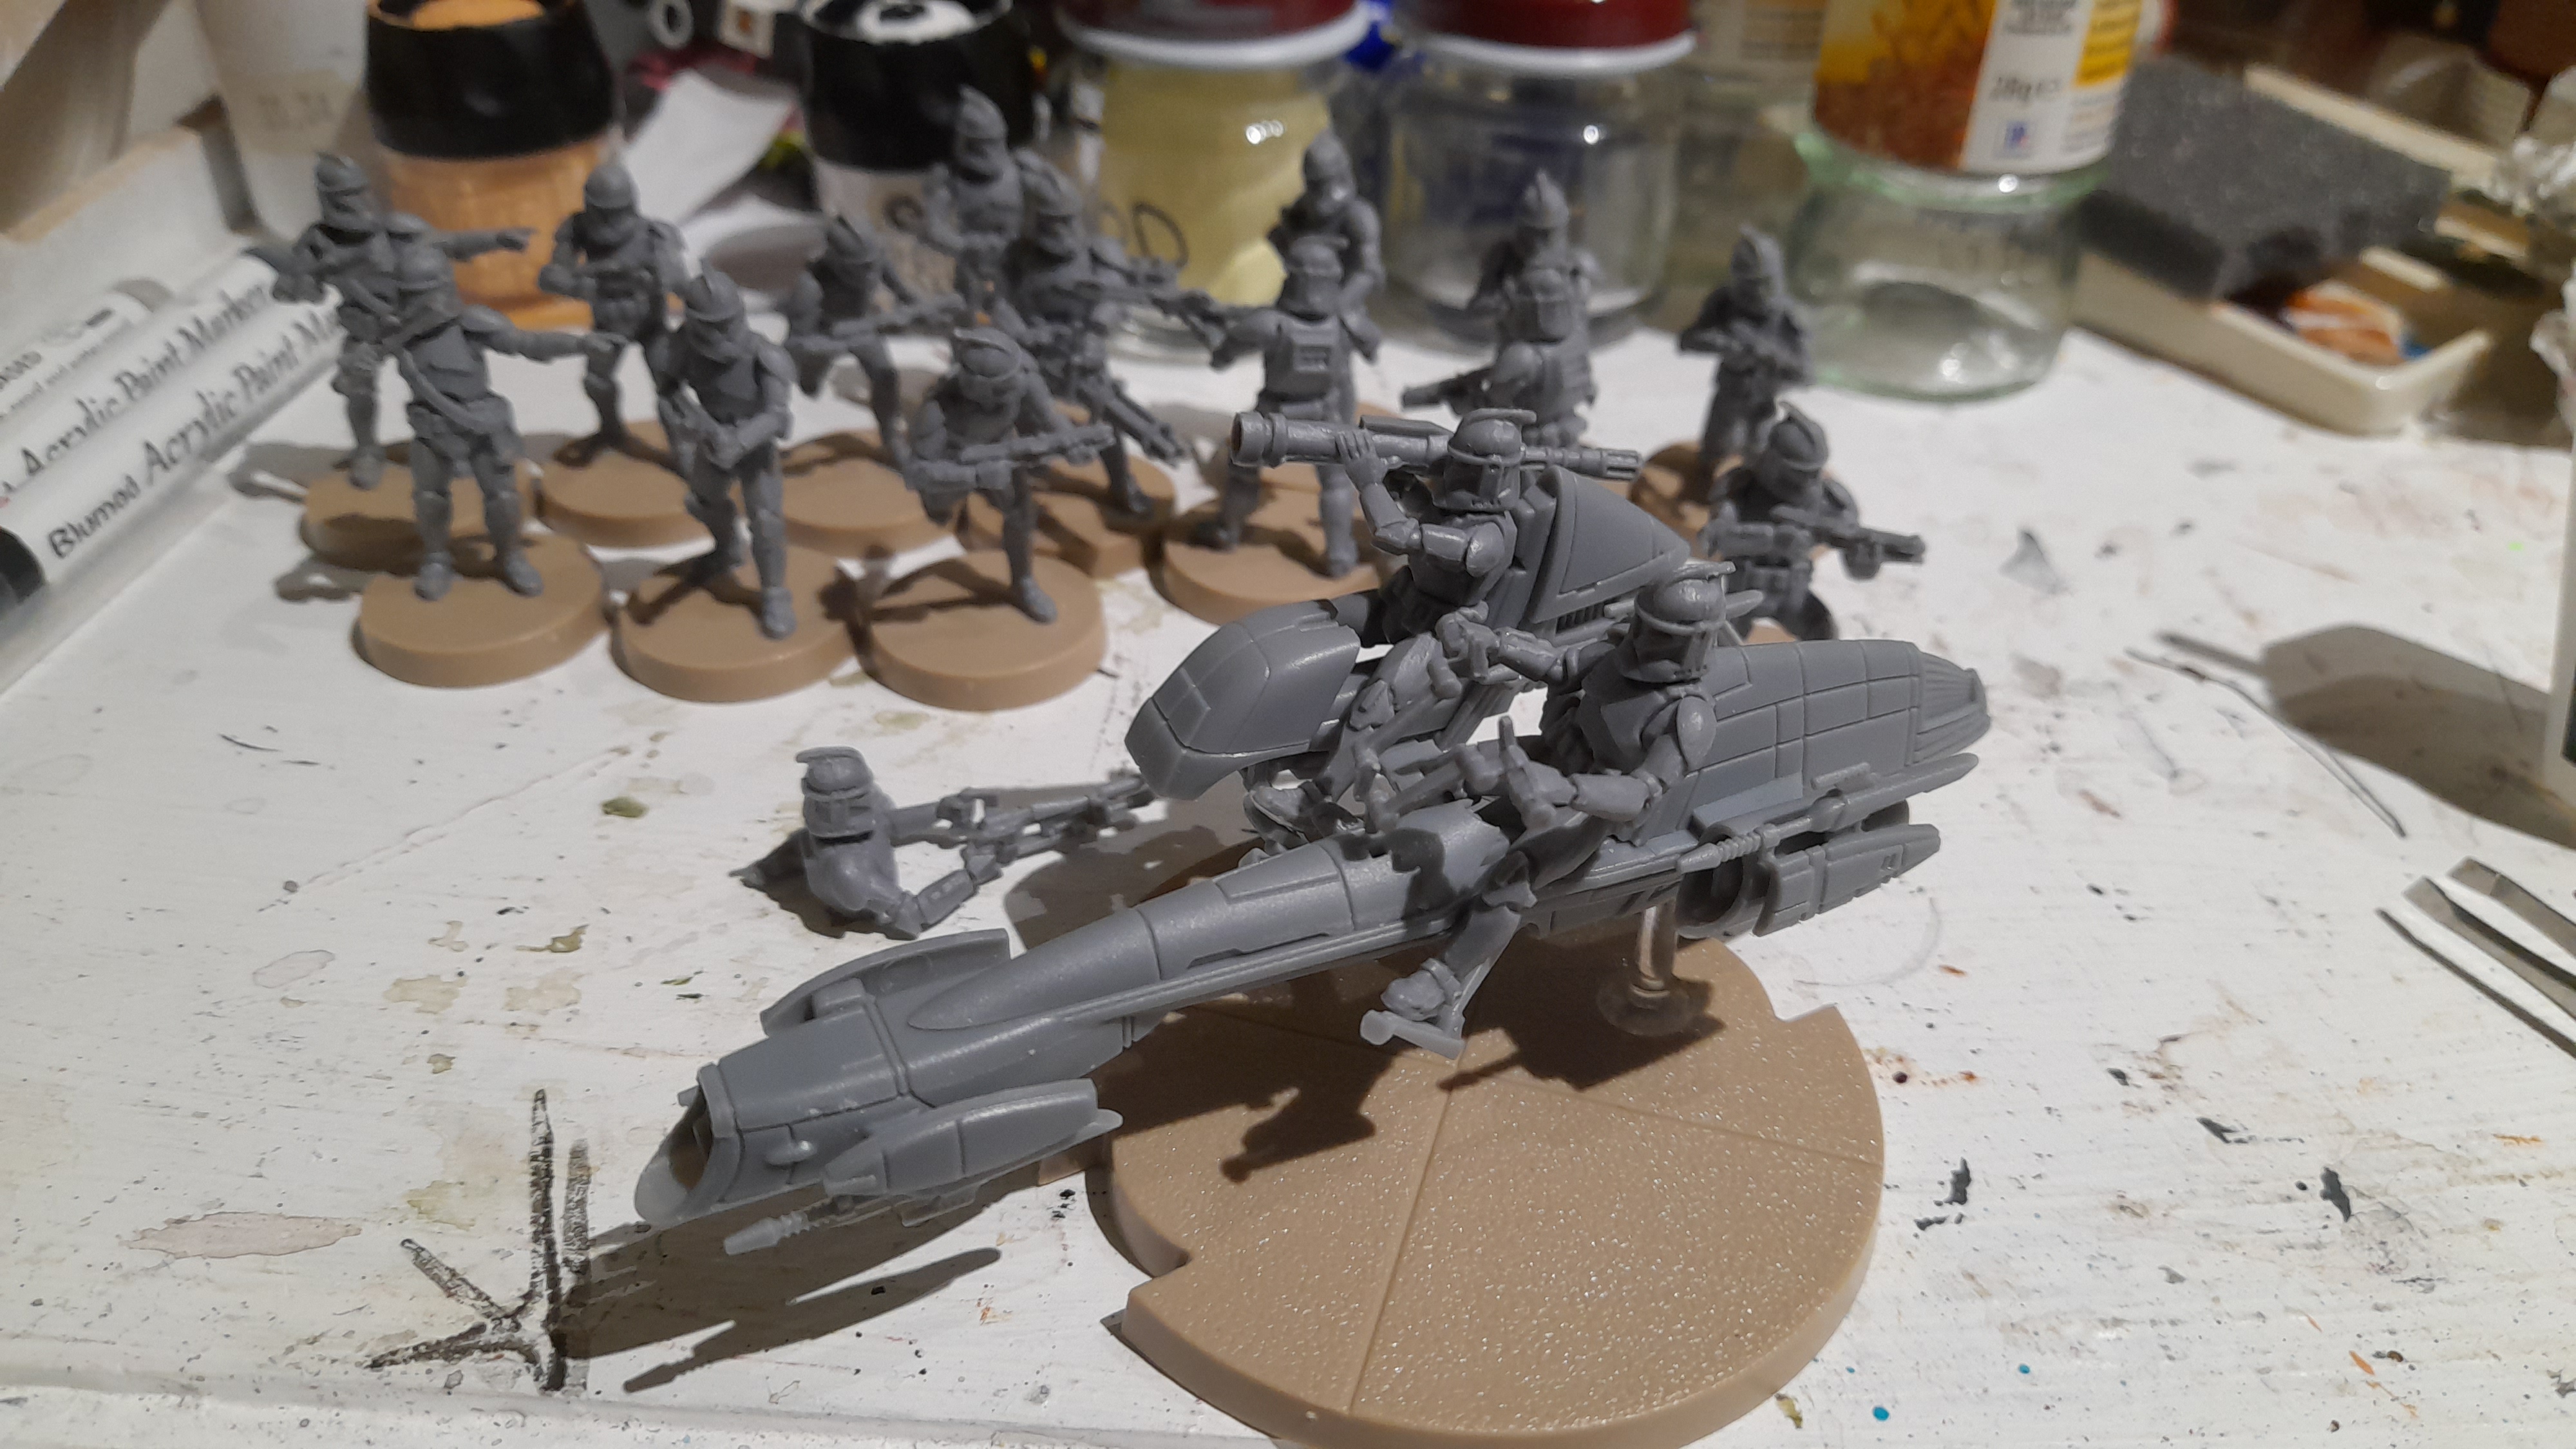
Finished off the first Barc Speeder.
It was a bit fiddly around the arm alignments with the handlebars and the sidecar gun.
…And put together Obi Wan.
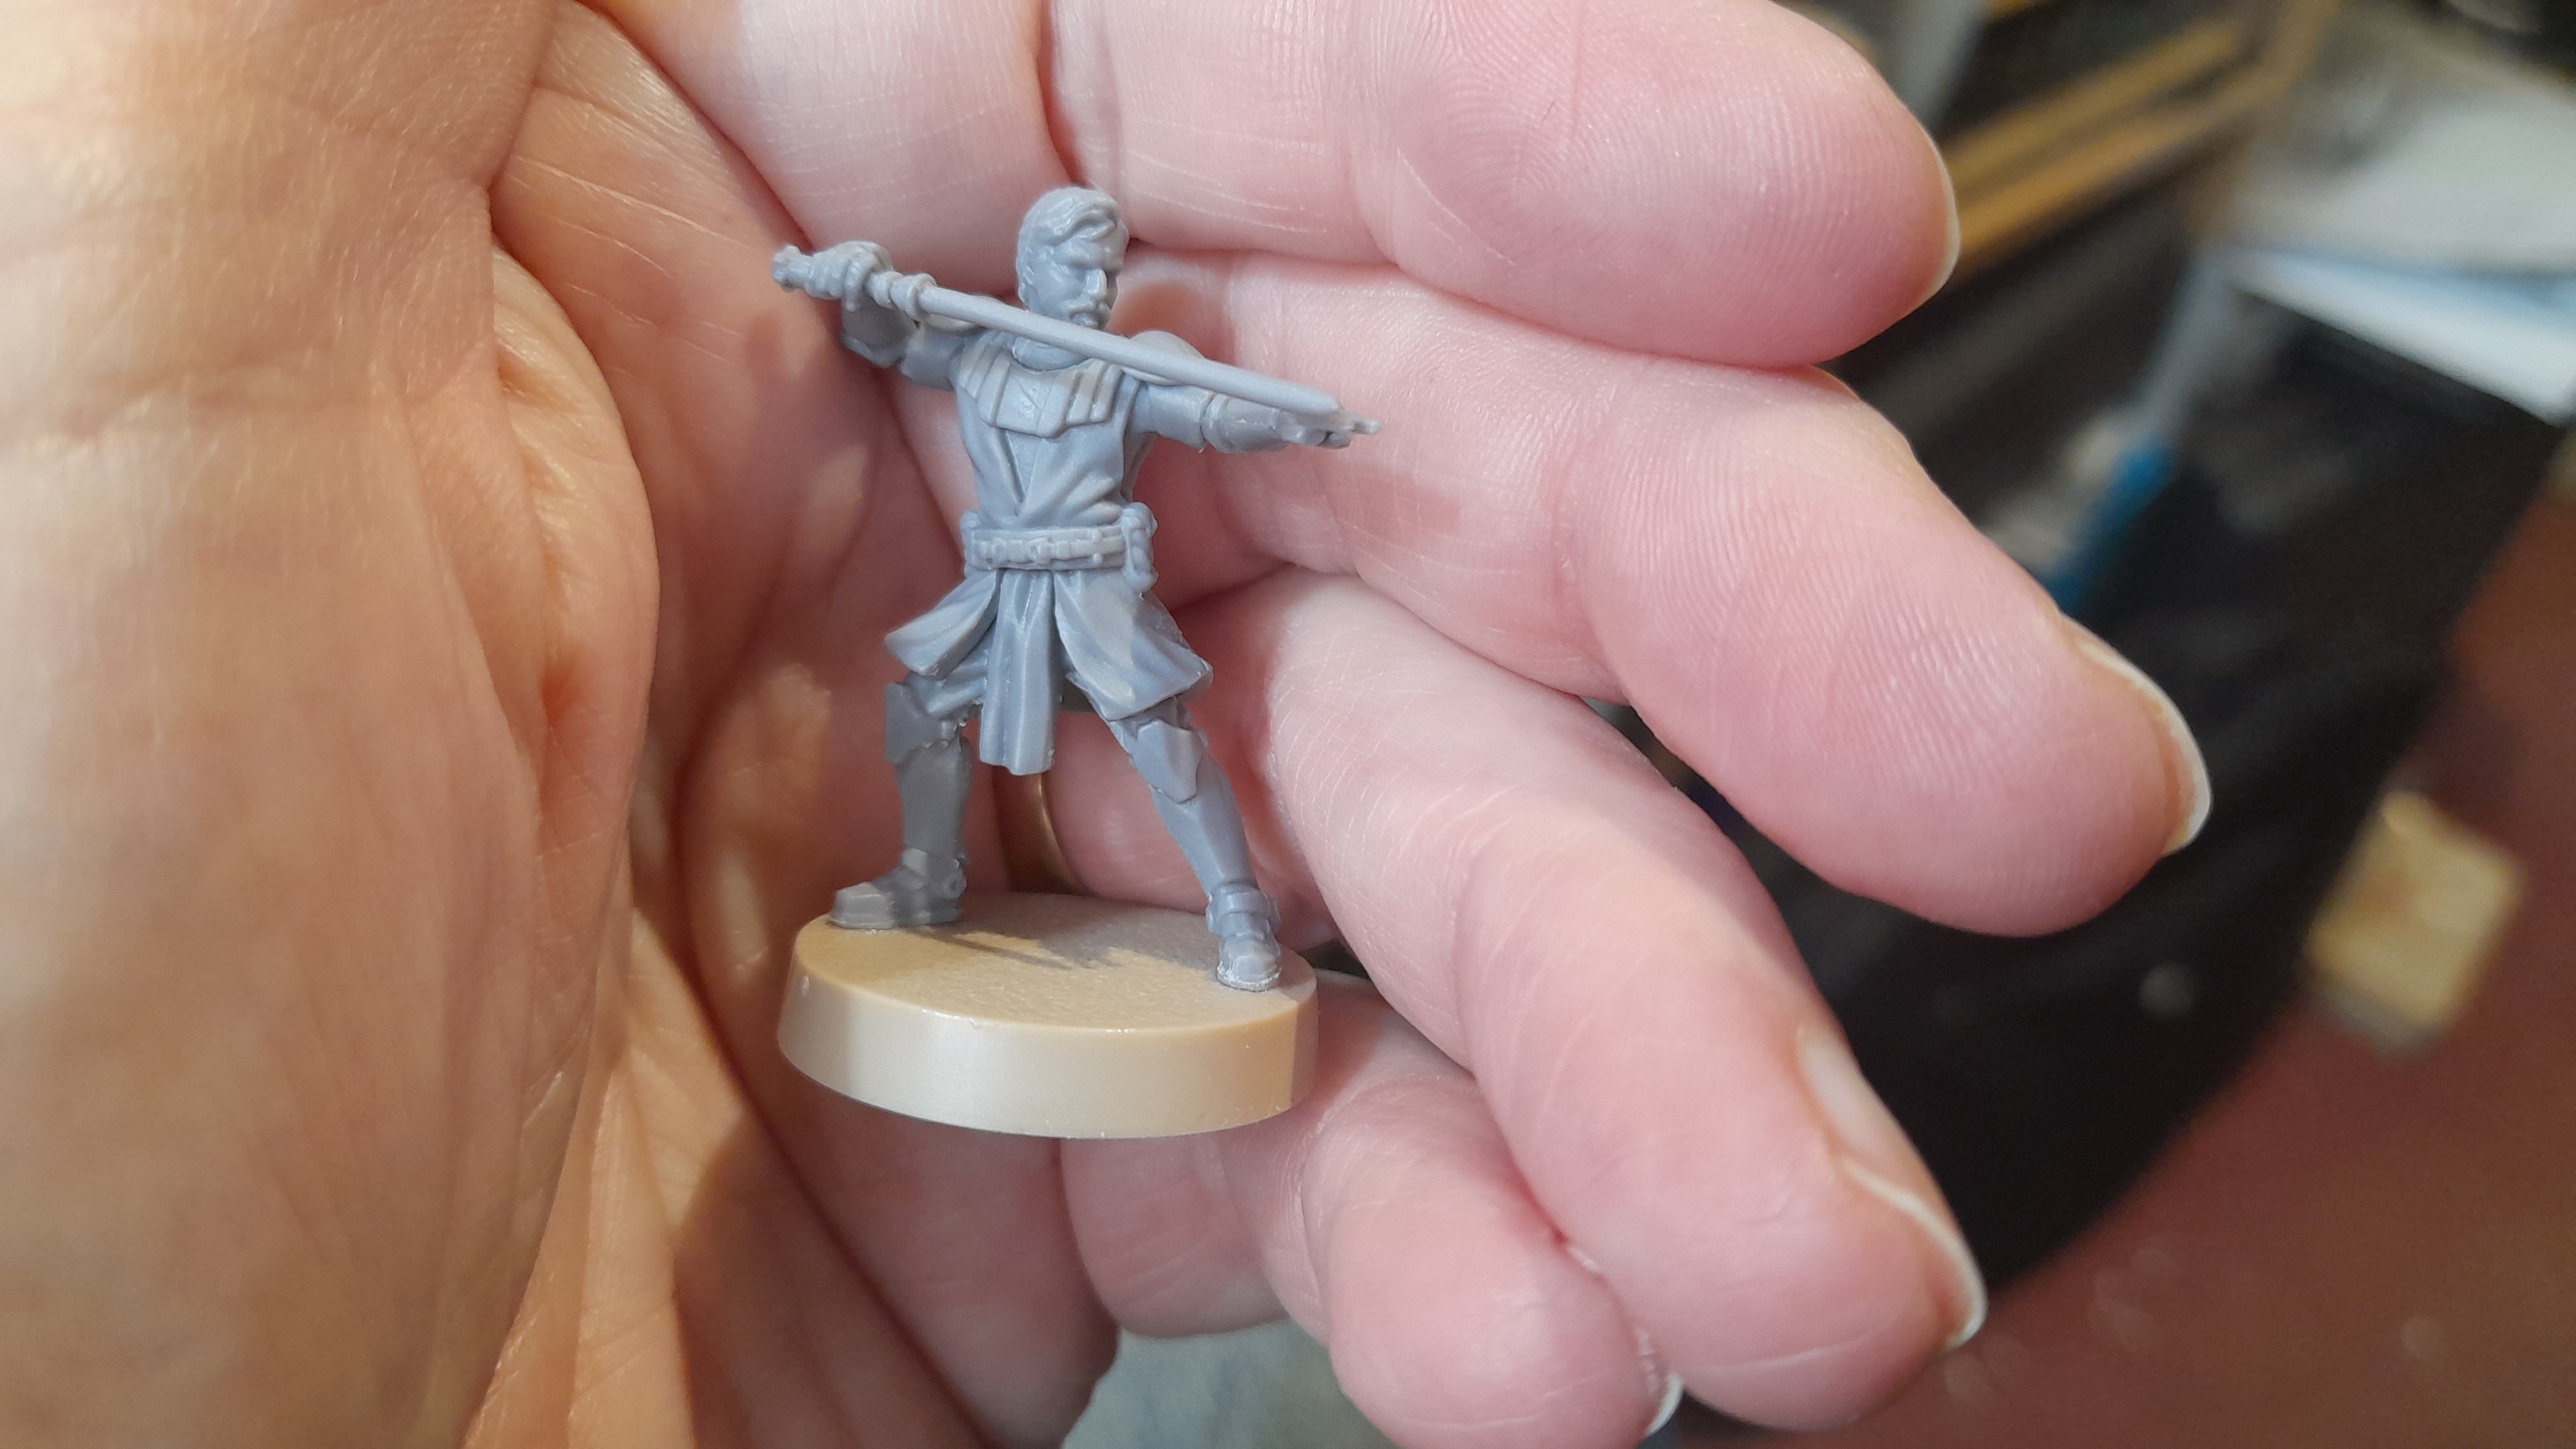 "Hello there"
Then returned to the clones.
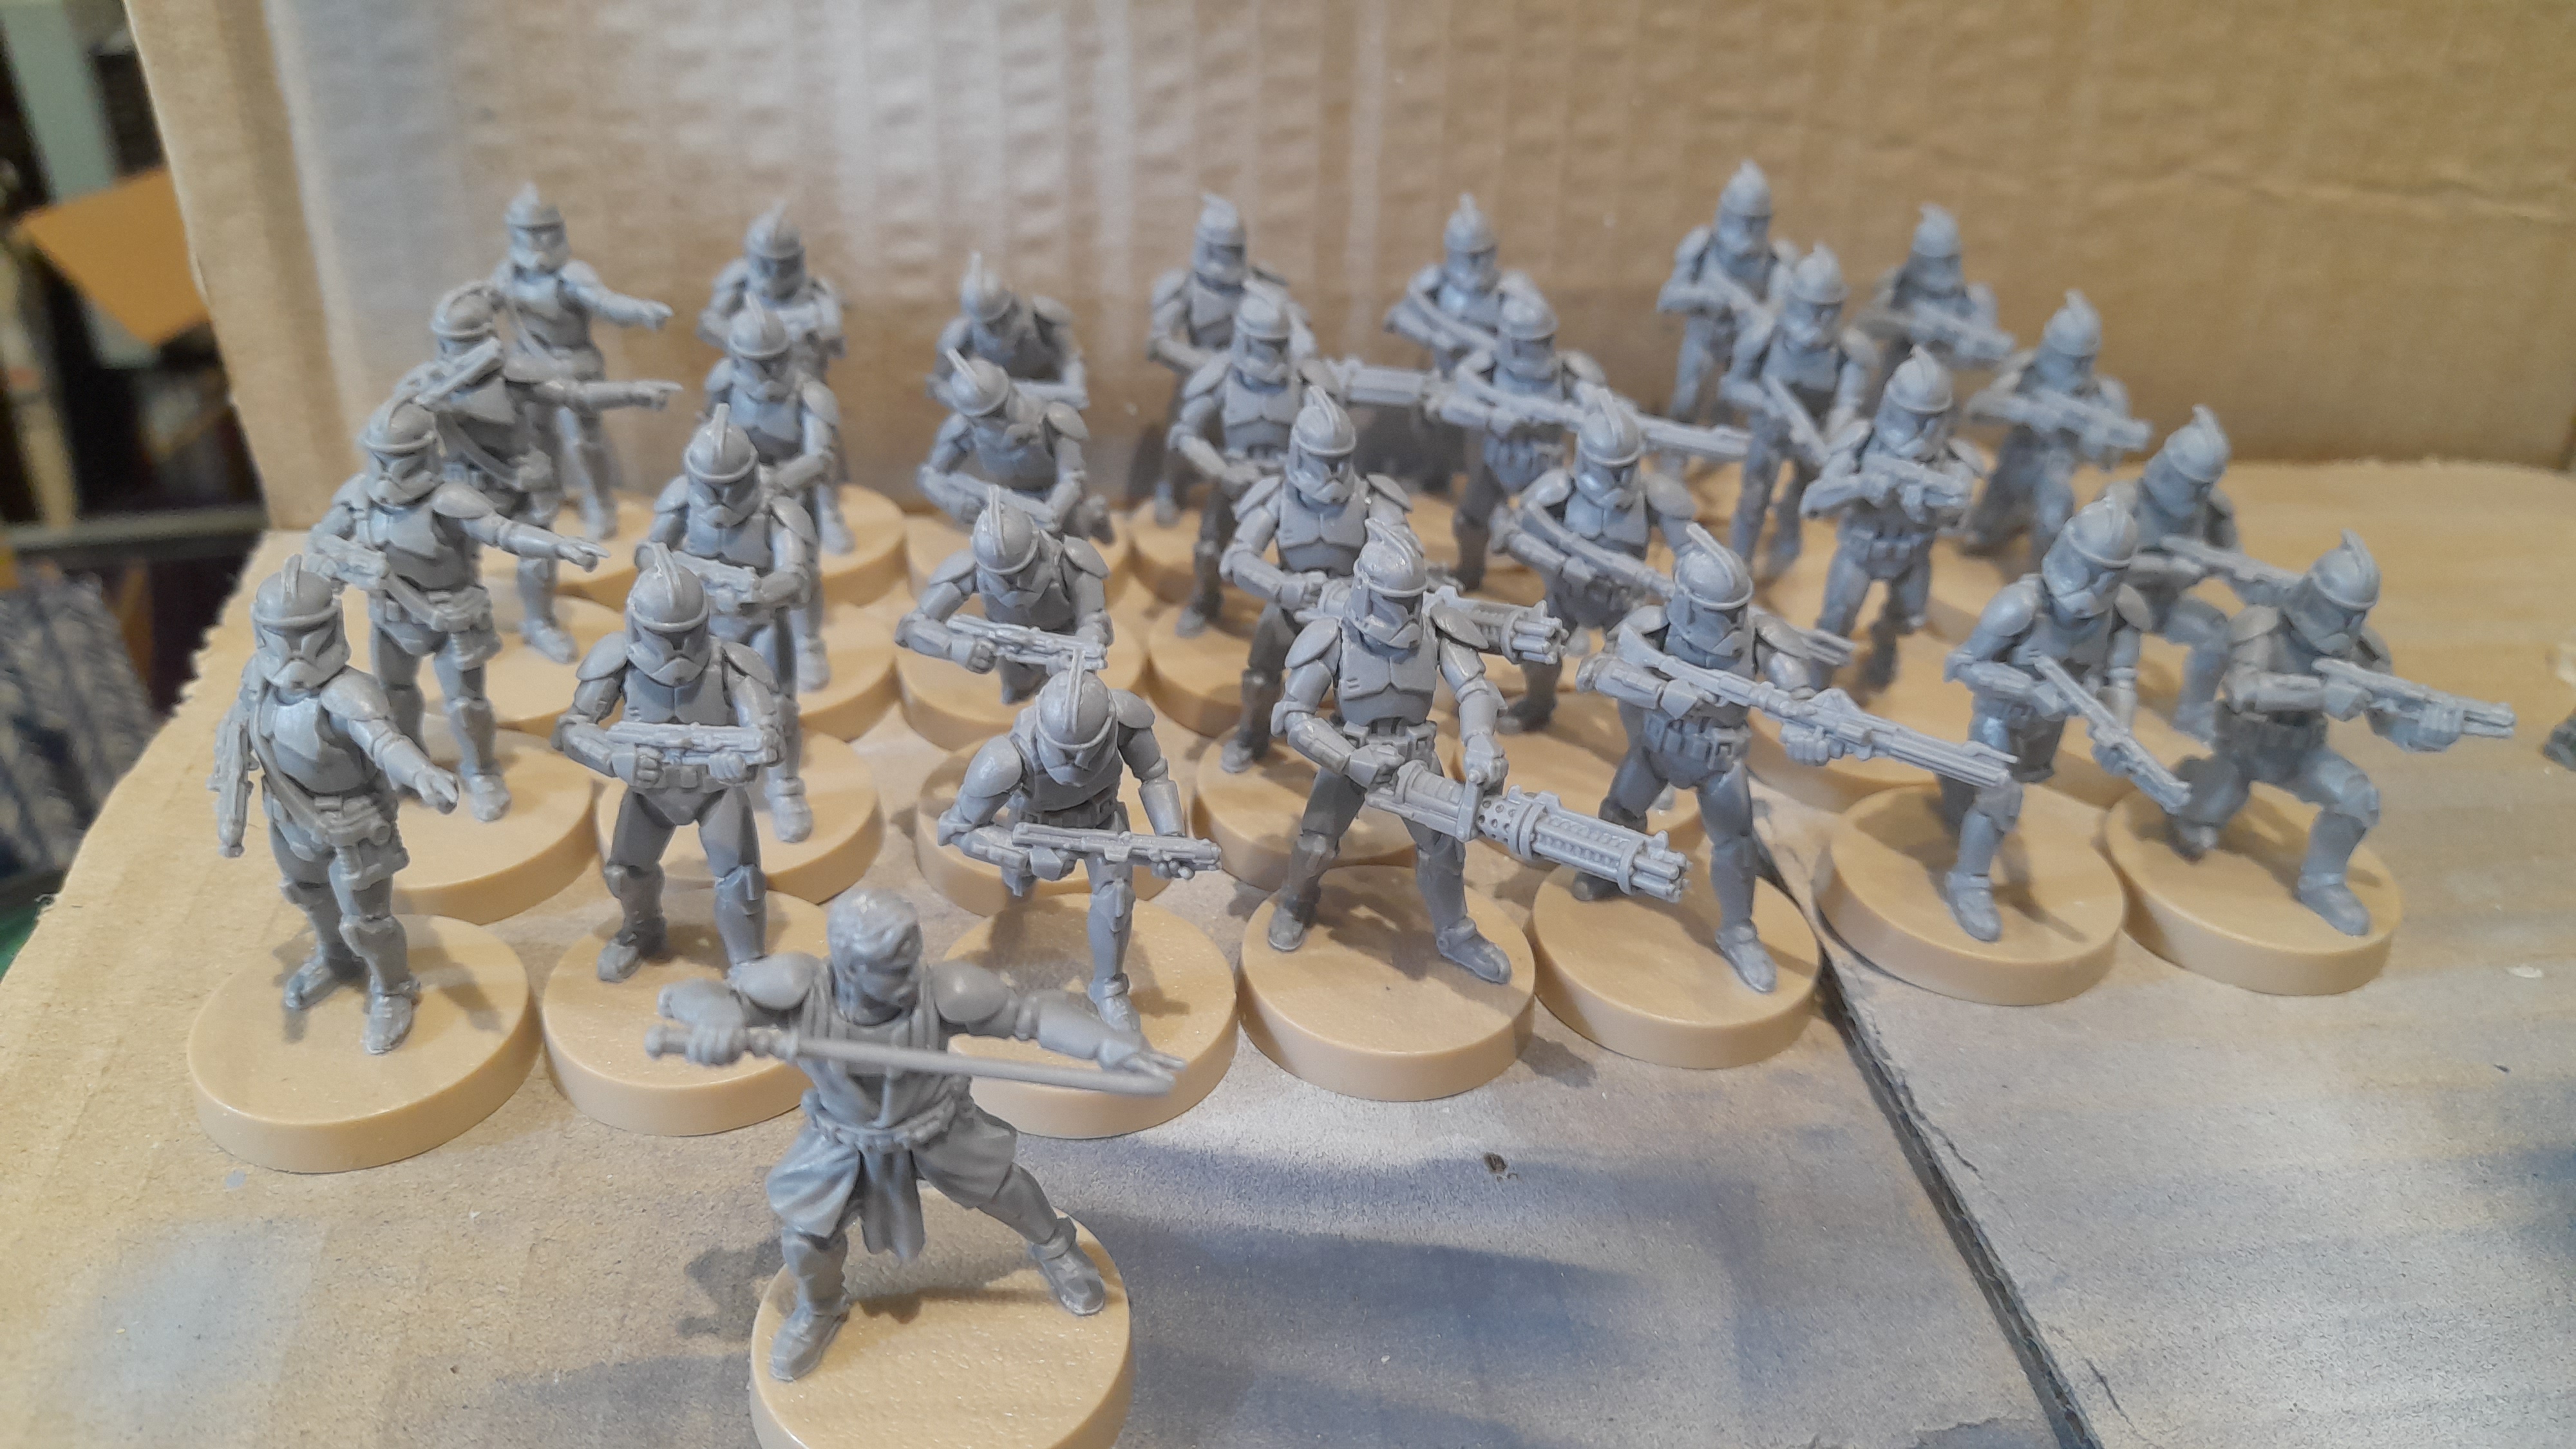
There is quite a bit of mold line cleaning on these resin plastic minis. To help my sanity I broke them up into groups of four mostly.
Laid out all of the relevant parts for each mini (working in pairs of same models to aid ‘muscle memory’), cleaned each up then glued the batch of four.
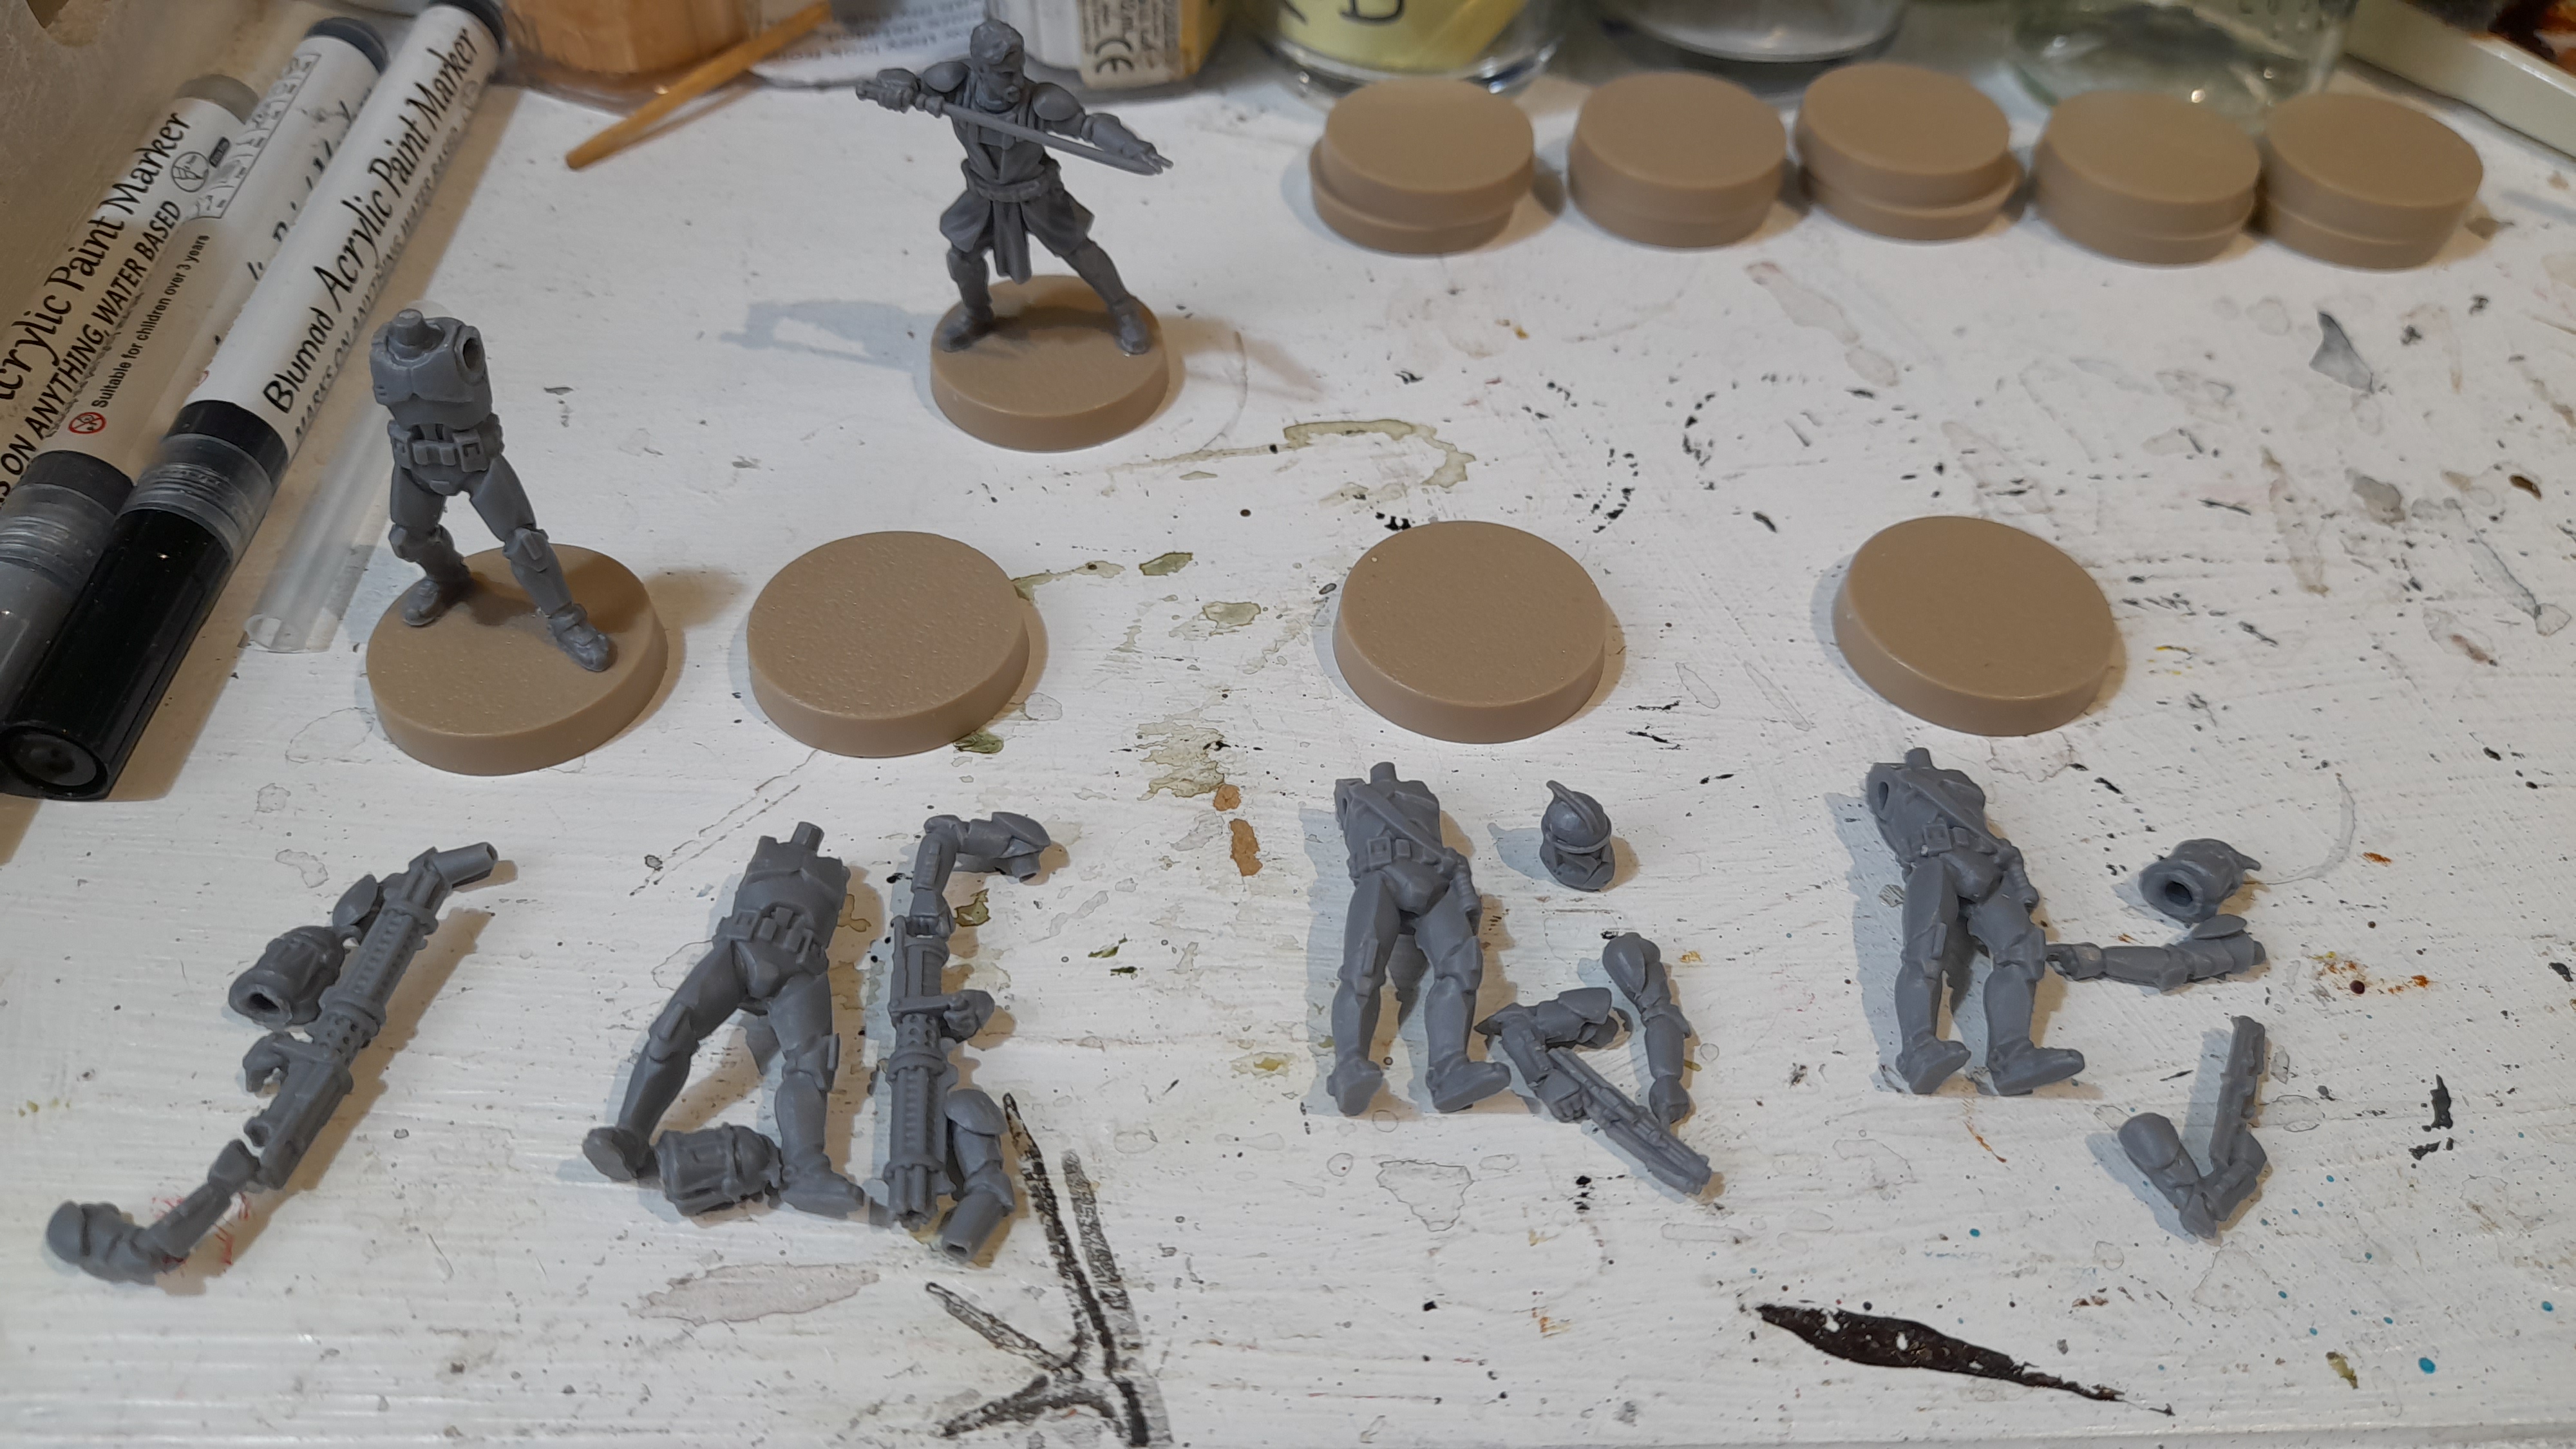
Rinse and repeat until they were all done ?
Then it was onto the second Barc speeder.
With that done, my two core sets (second Obi Wan went to another home) worth of clones were built.
Slow but steady progress
Hopefully this won’t be partly duplicated, since when I tried to upload it first time it all vanished…
27th April 2023
Its been a while since last update. I have had some slow progress (for various reasons), but managing to get a little more done most days.
After the core set I started into the build process for the expansion packs that came with the bundle deal last May. These are a mix of hard plastic packs and the resin plastic.
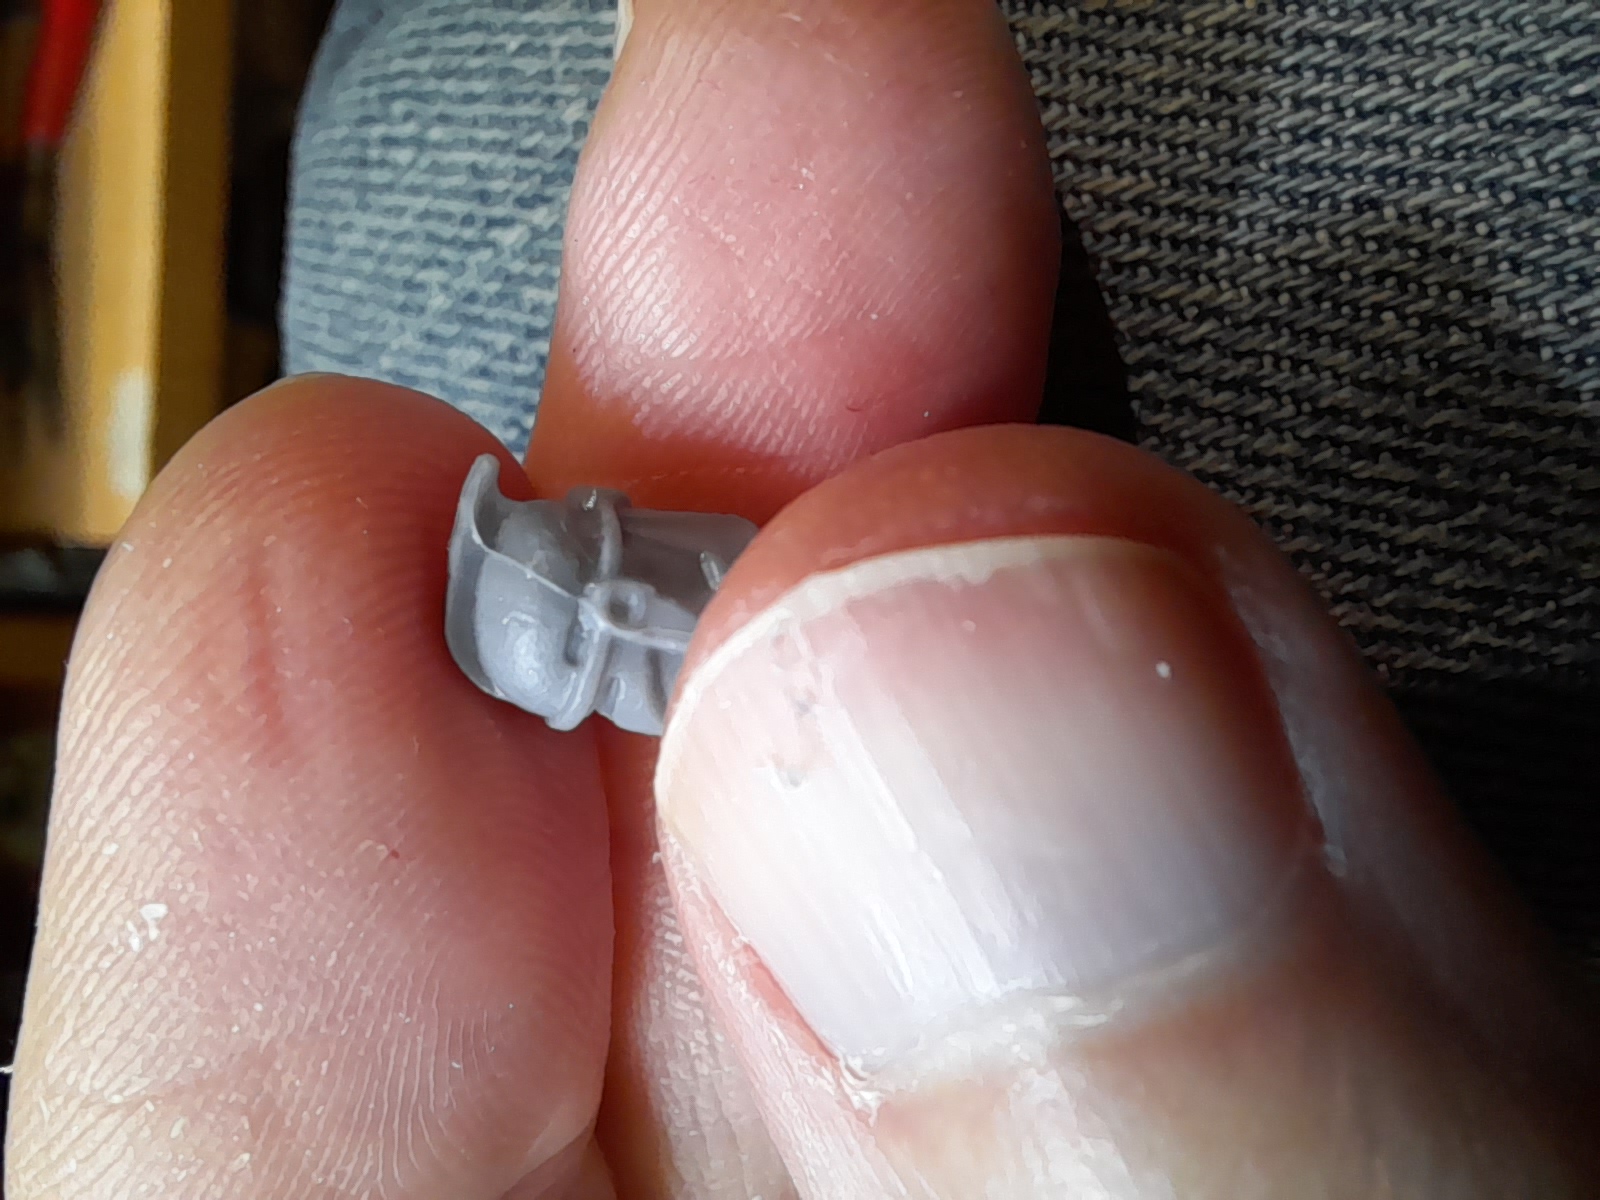
First it was the Phase 1 Clone Trooper upgrade pack.
Same process for these as the others. Clean and build ?
I chose to use the bare head on the leader just so it would stand out a little. A couple of the other upgrade chaps had visored helms, so they look a little different to the rest too.
 Blu tac optional
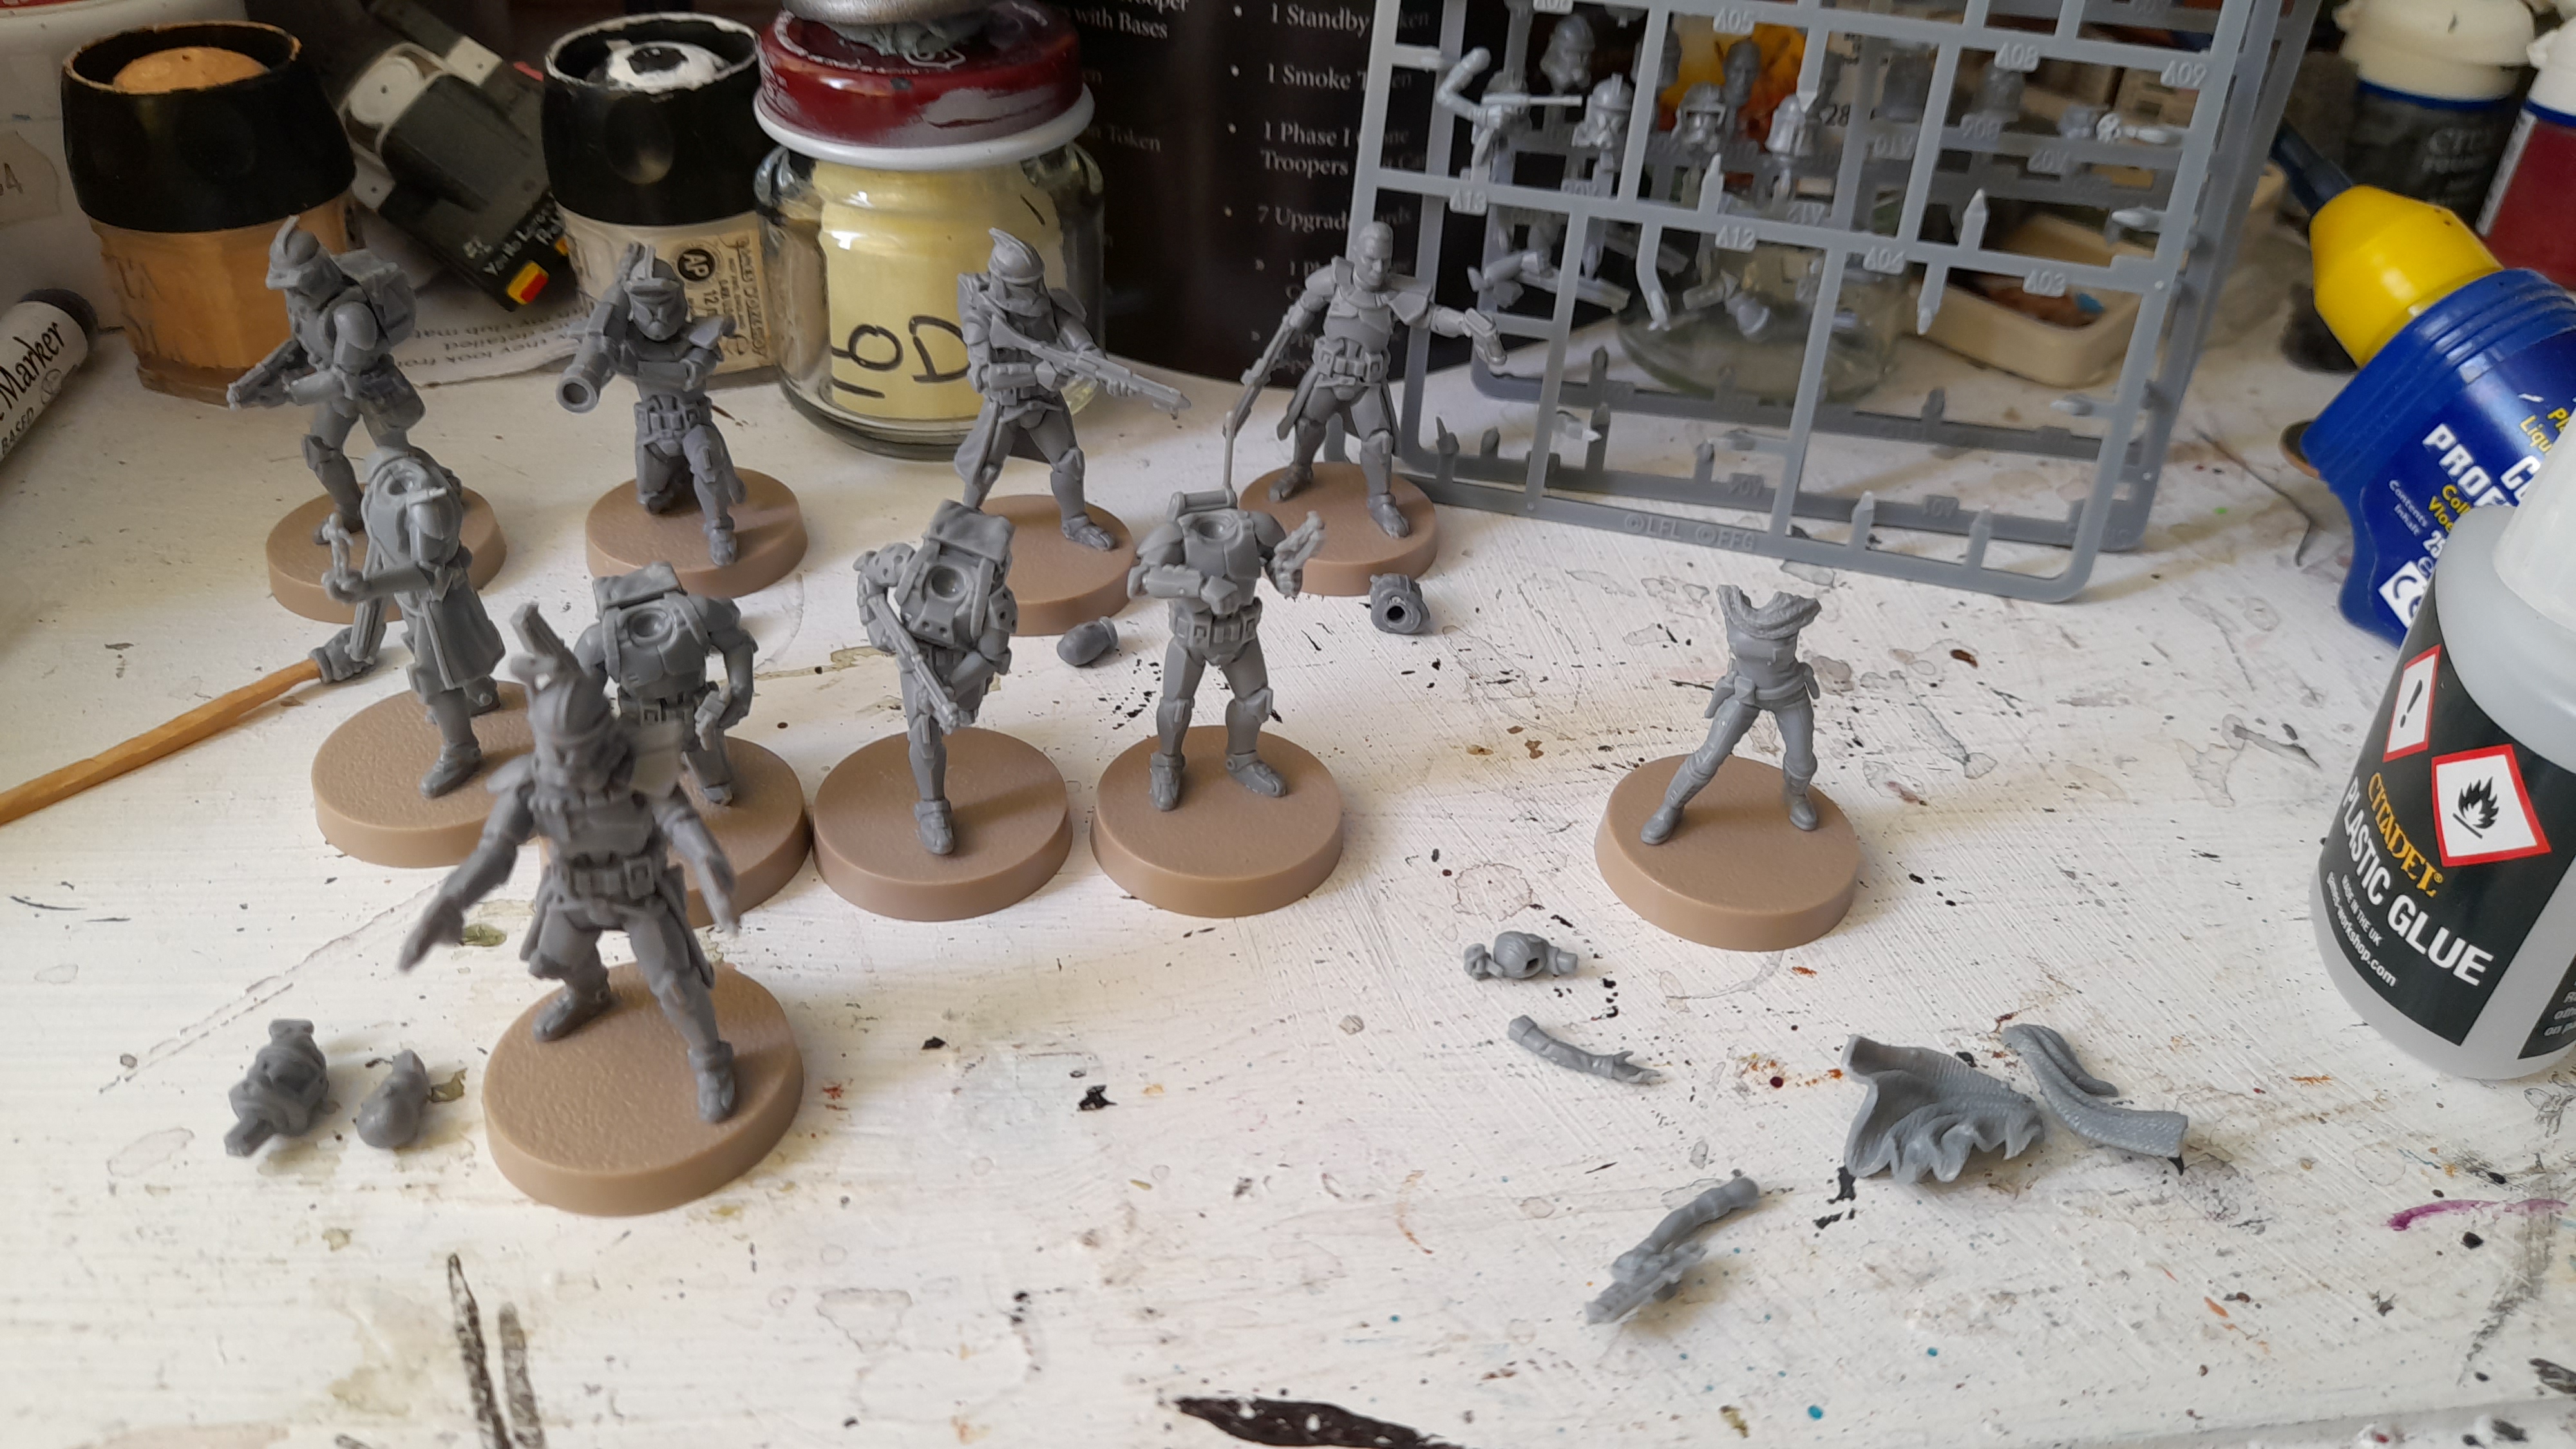
Next up it was the Republic Specialist pack (more clone troopers of course). These are hard plastic; so snip, clean and build for them.
In this instance each of the models has a choice of three heads – Phase 1, Phase 2 and bare head. I’m not quite sure which to use yet (both aesthetically and rules wise for phase 1/phase 2) so I left the heads on the sprue and can spray them all at the same time.
A couple of bits were a little fiddly on these, but overall the join lines were very well placed to keep the finished model ‘clean’.
 I'm all over the place sarge
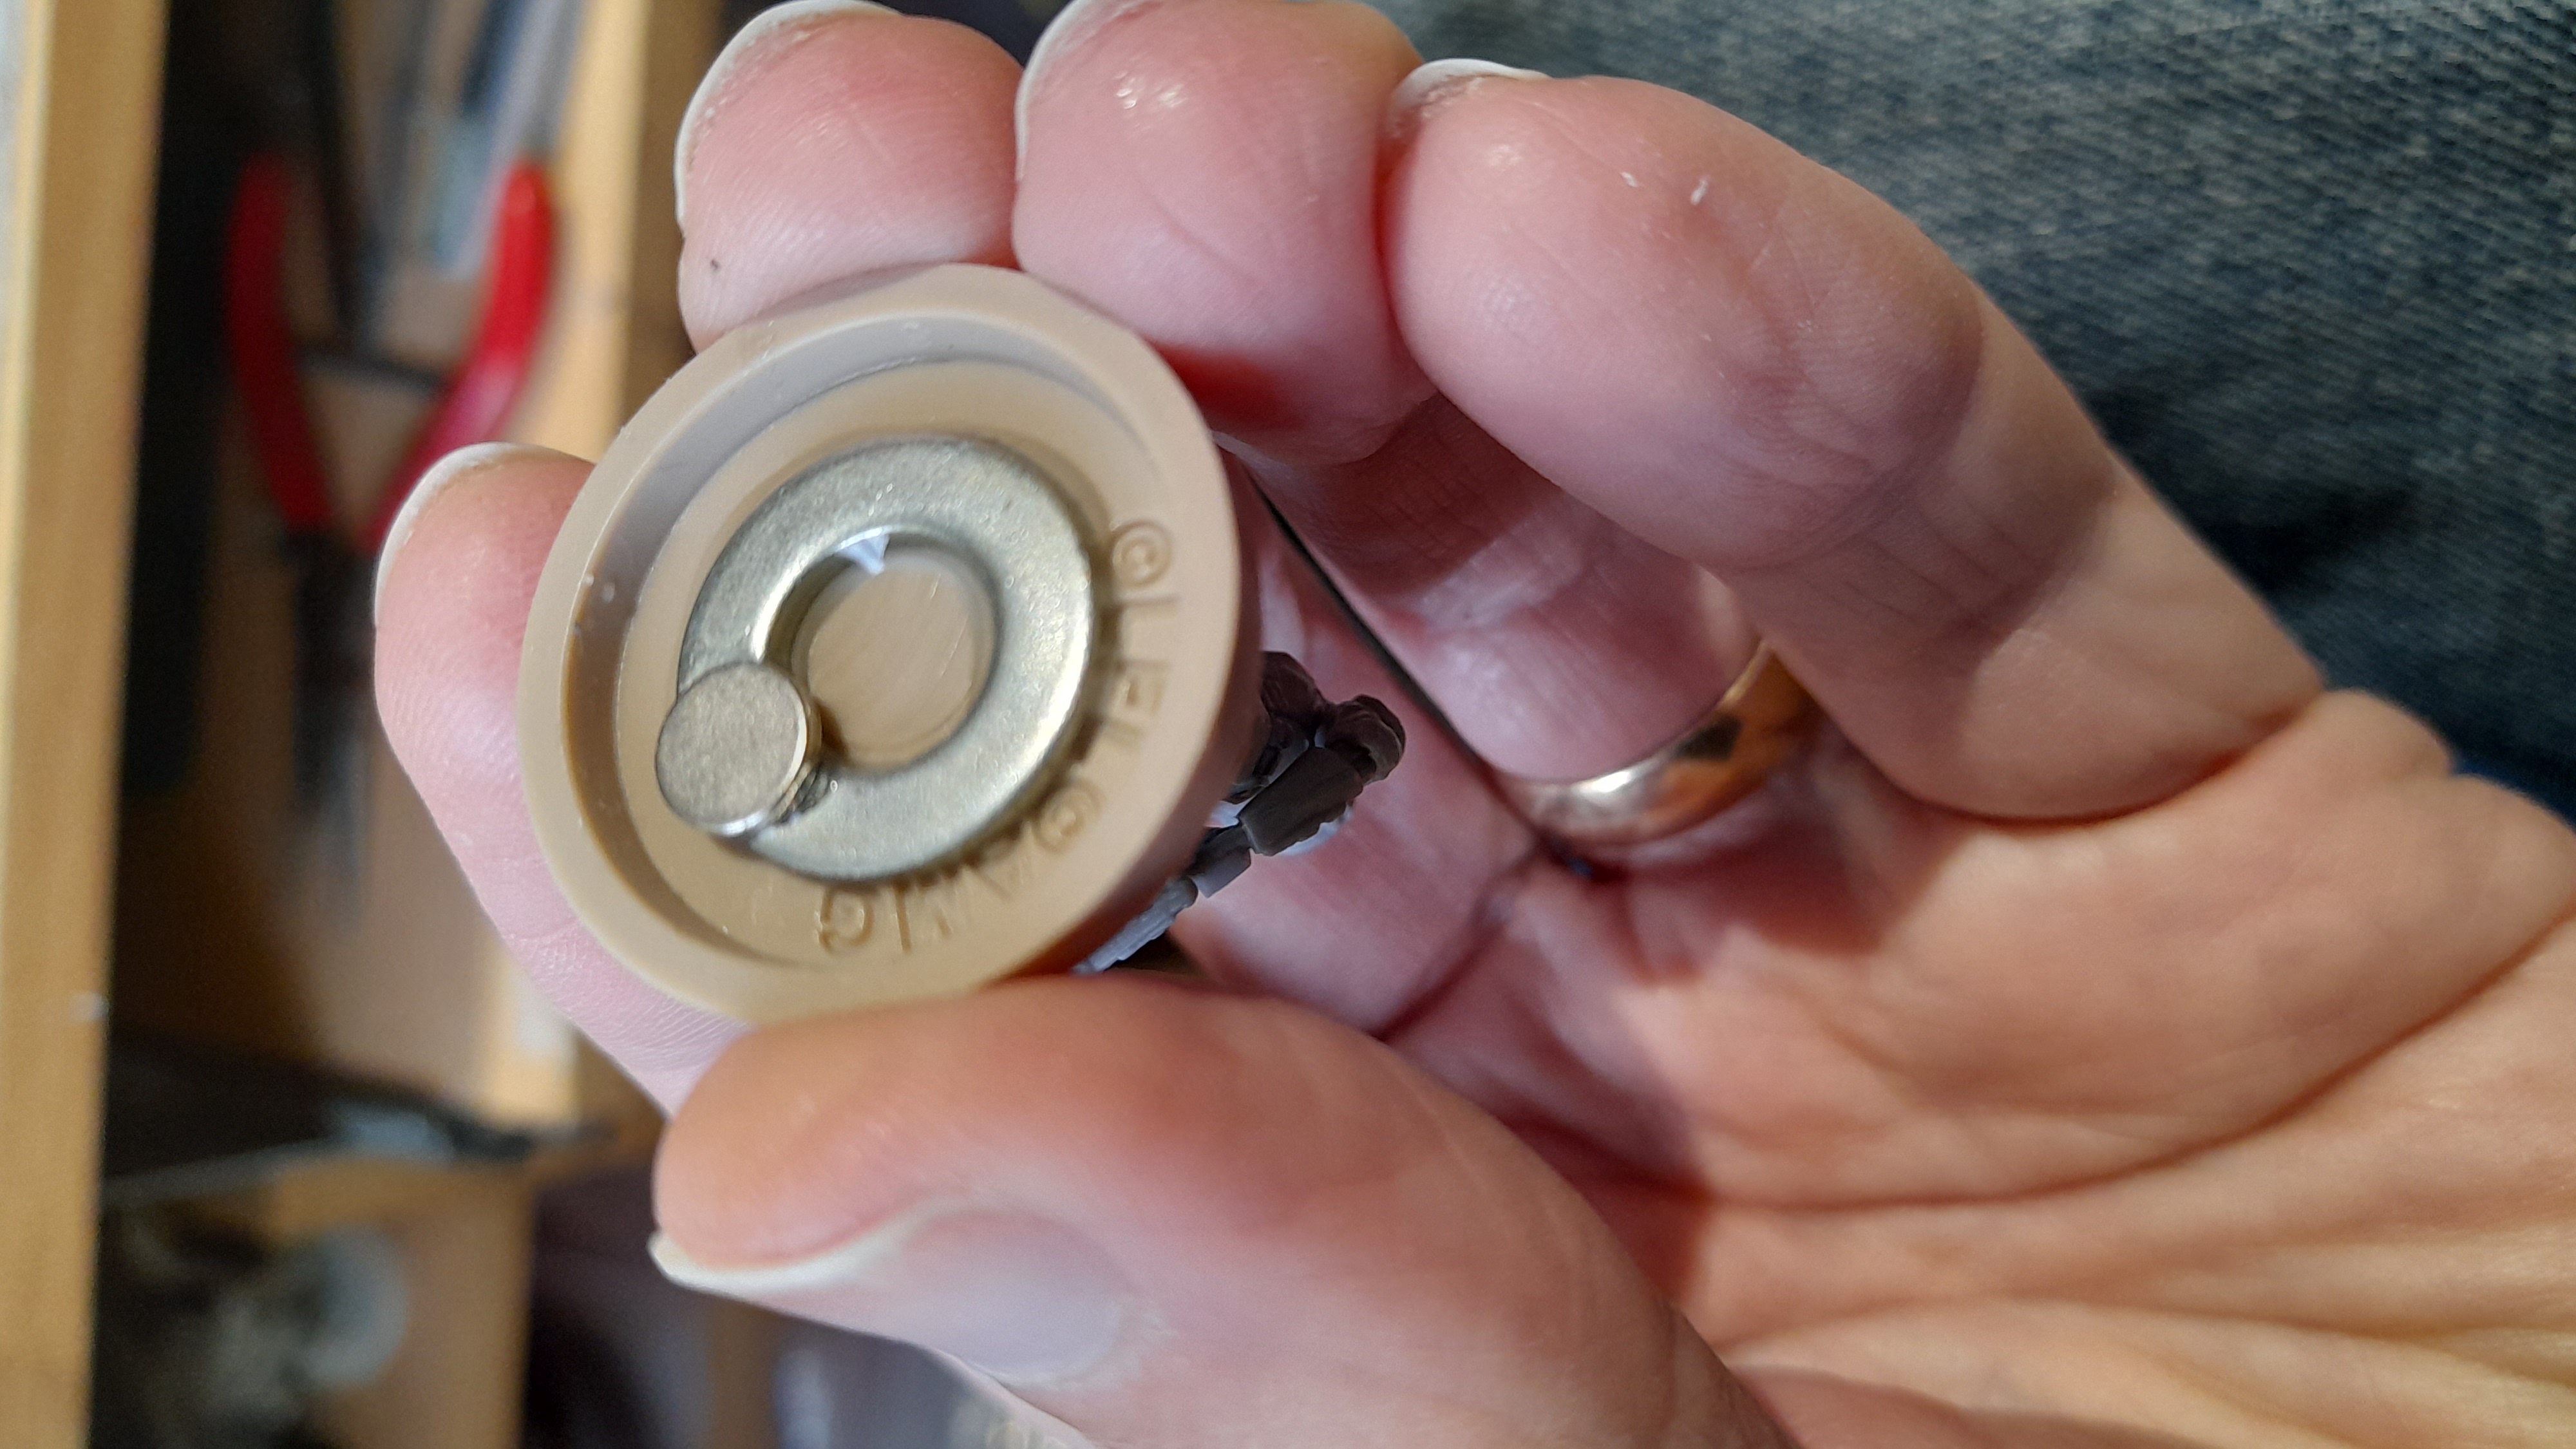
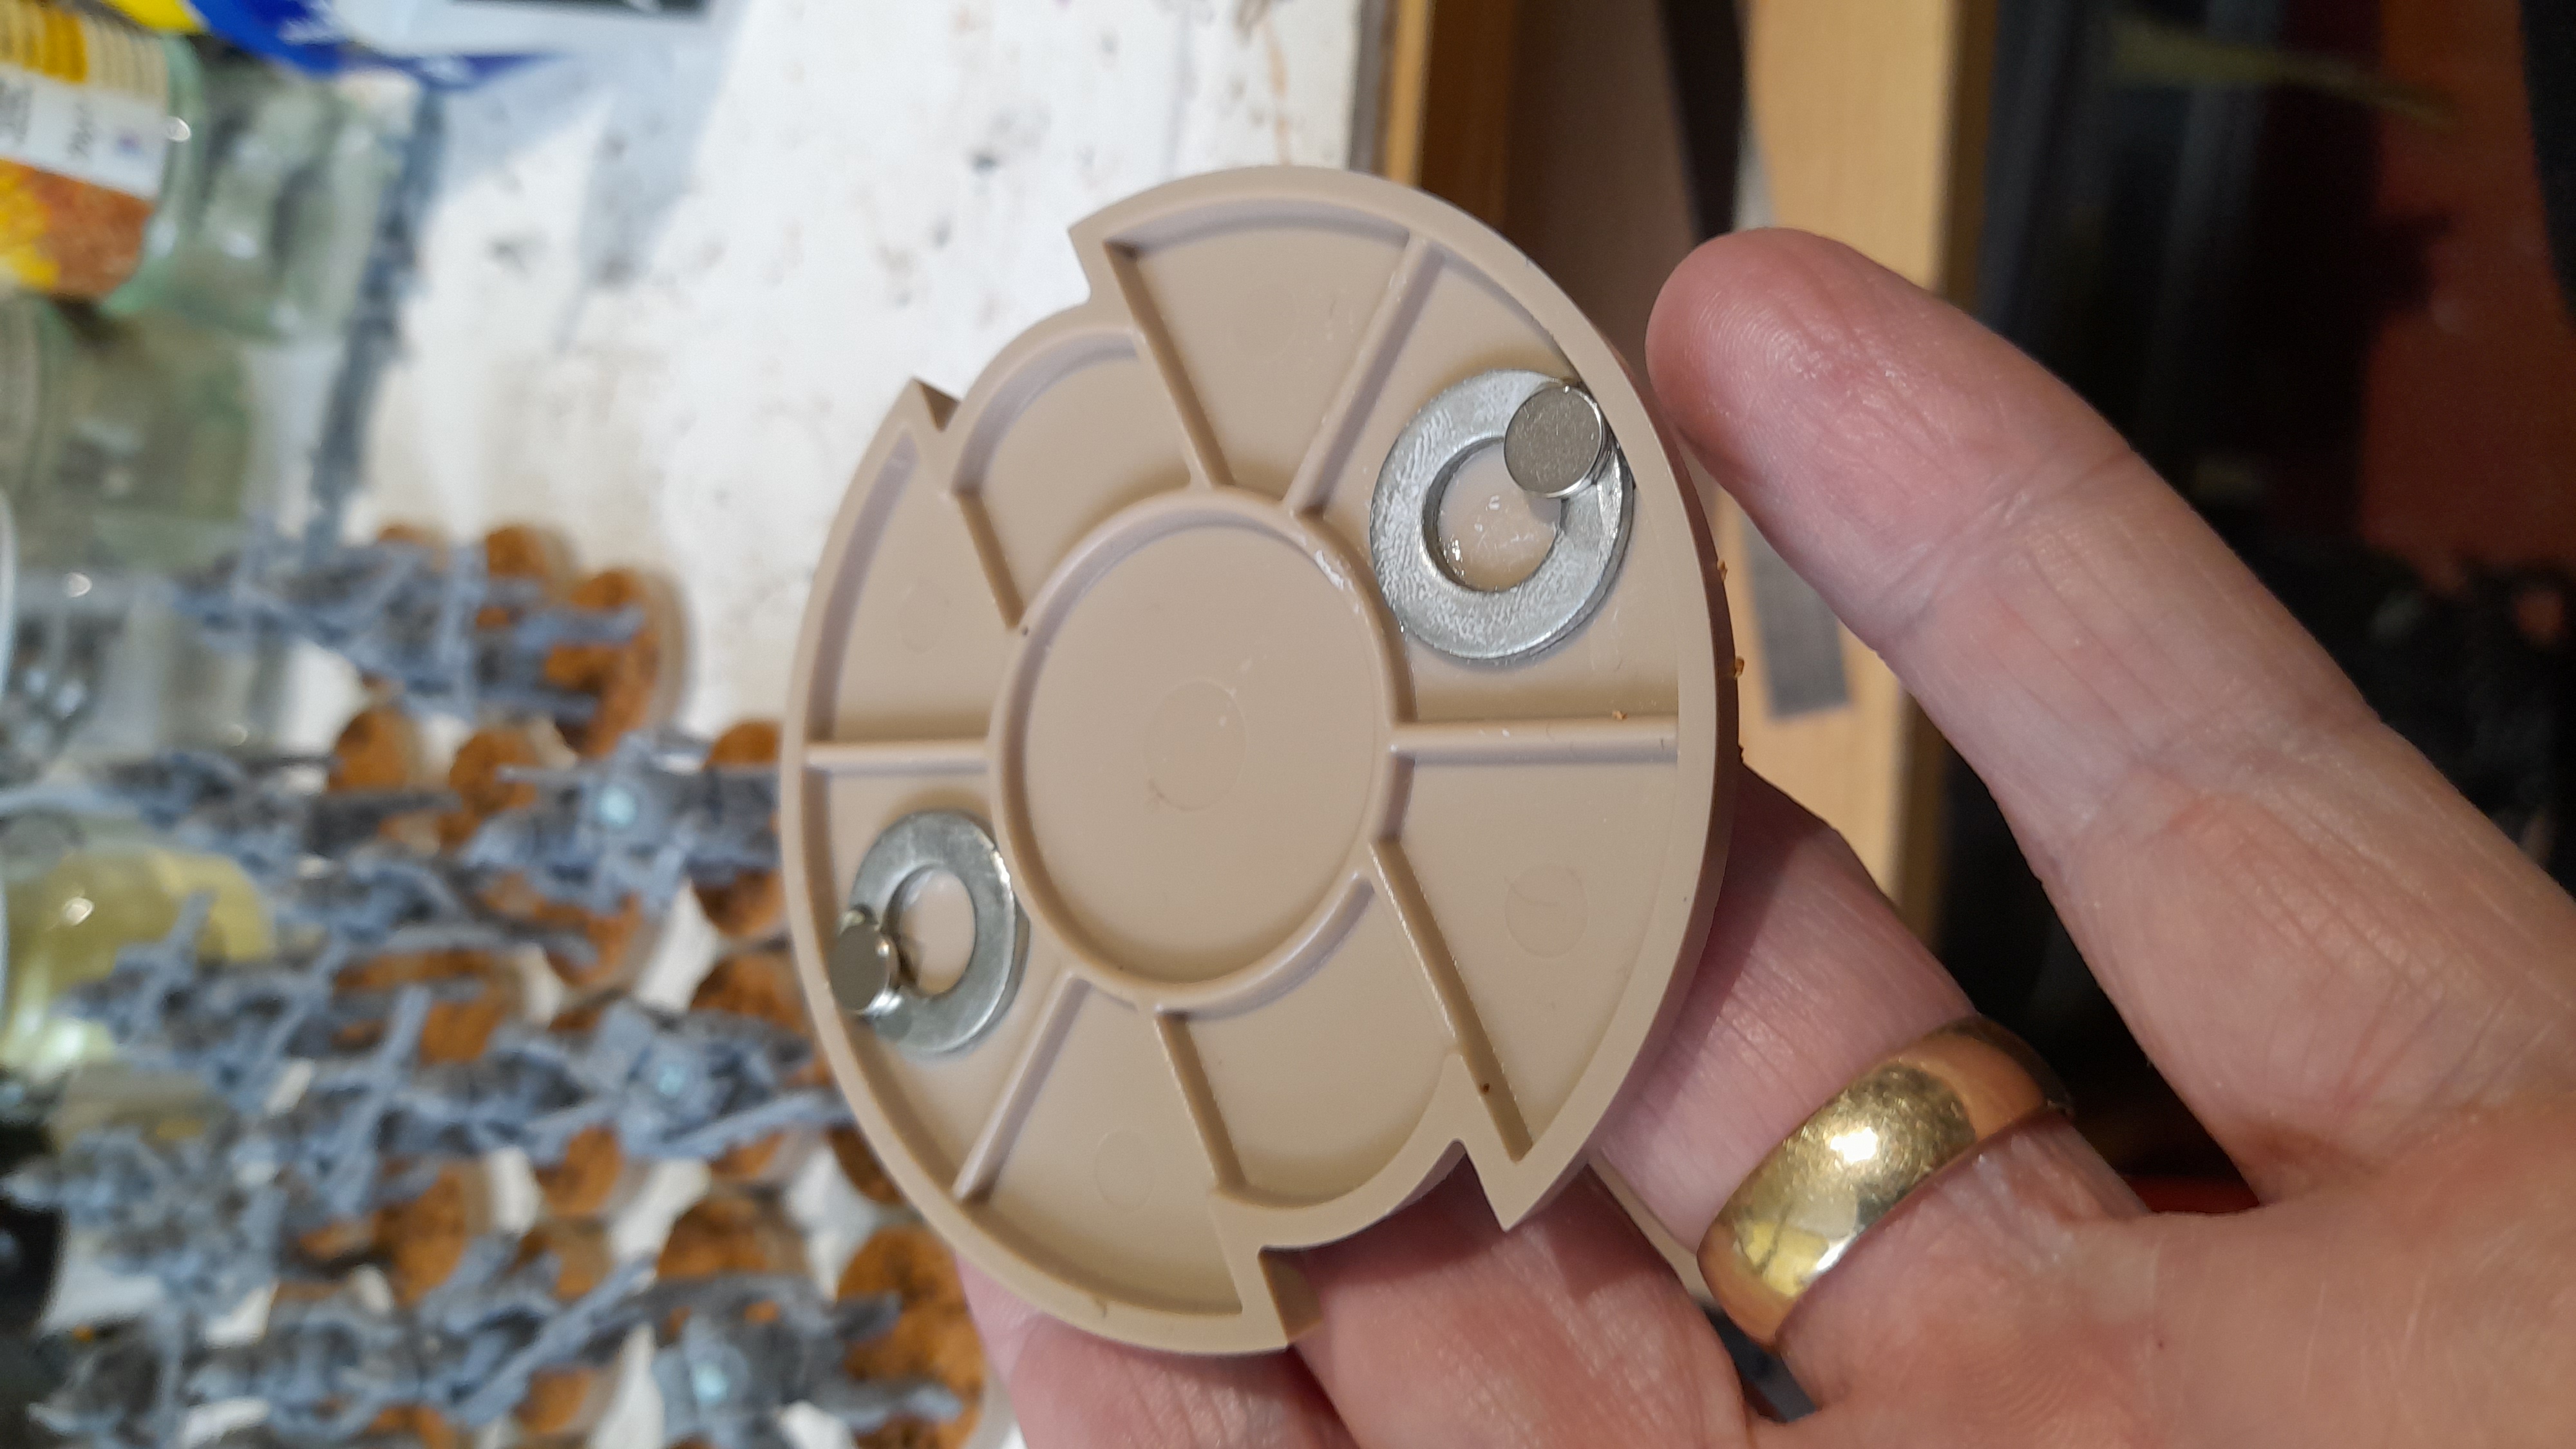
Then I decided I needed to review the magnetising option. They have quite deep bases, so I knew one magnet on its own would not work – and I didn’t want to have to milliput each one to build them up.
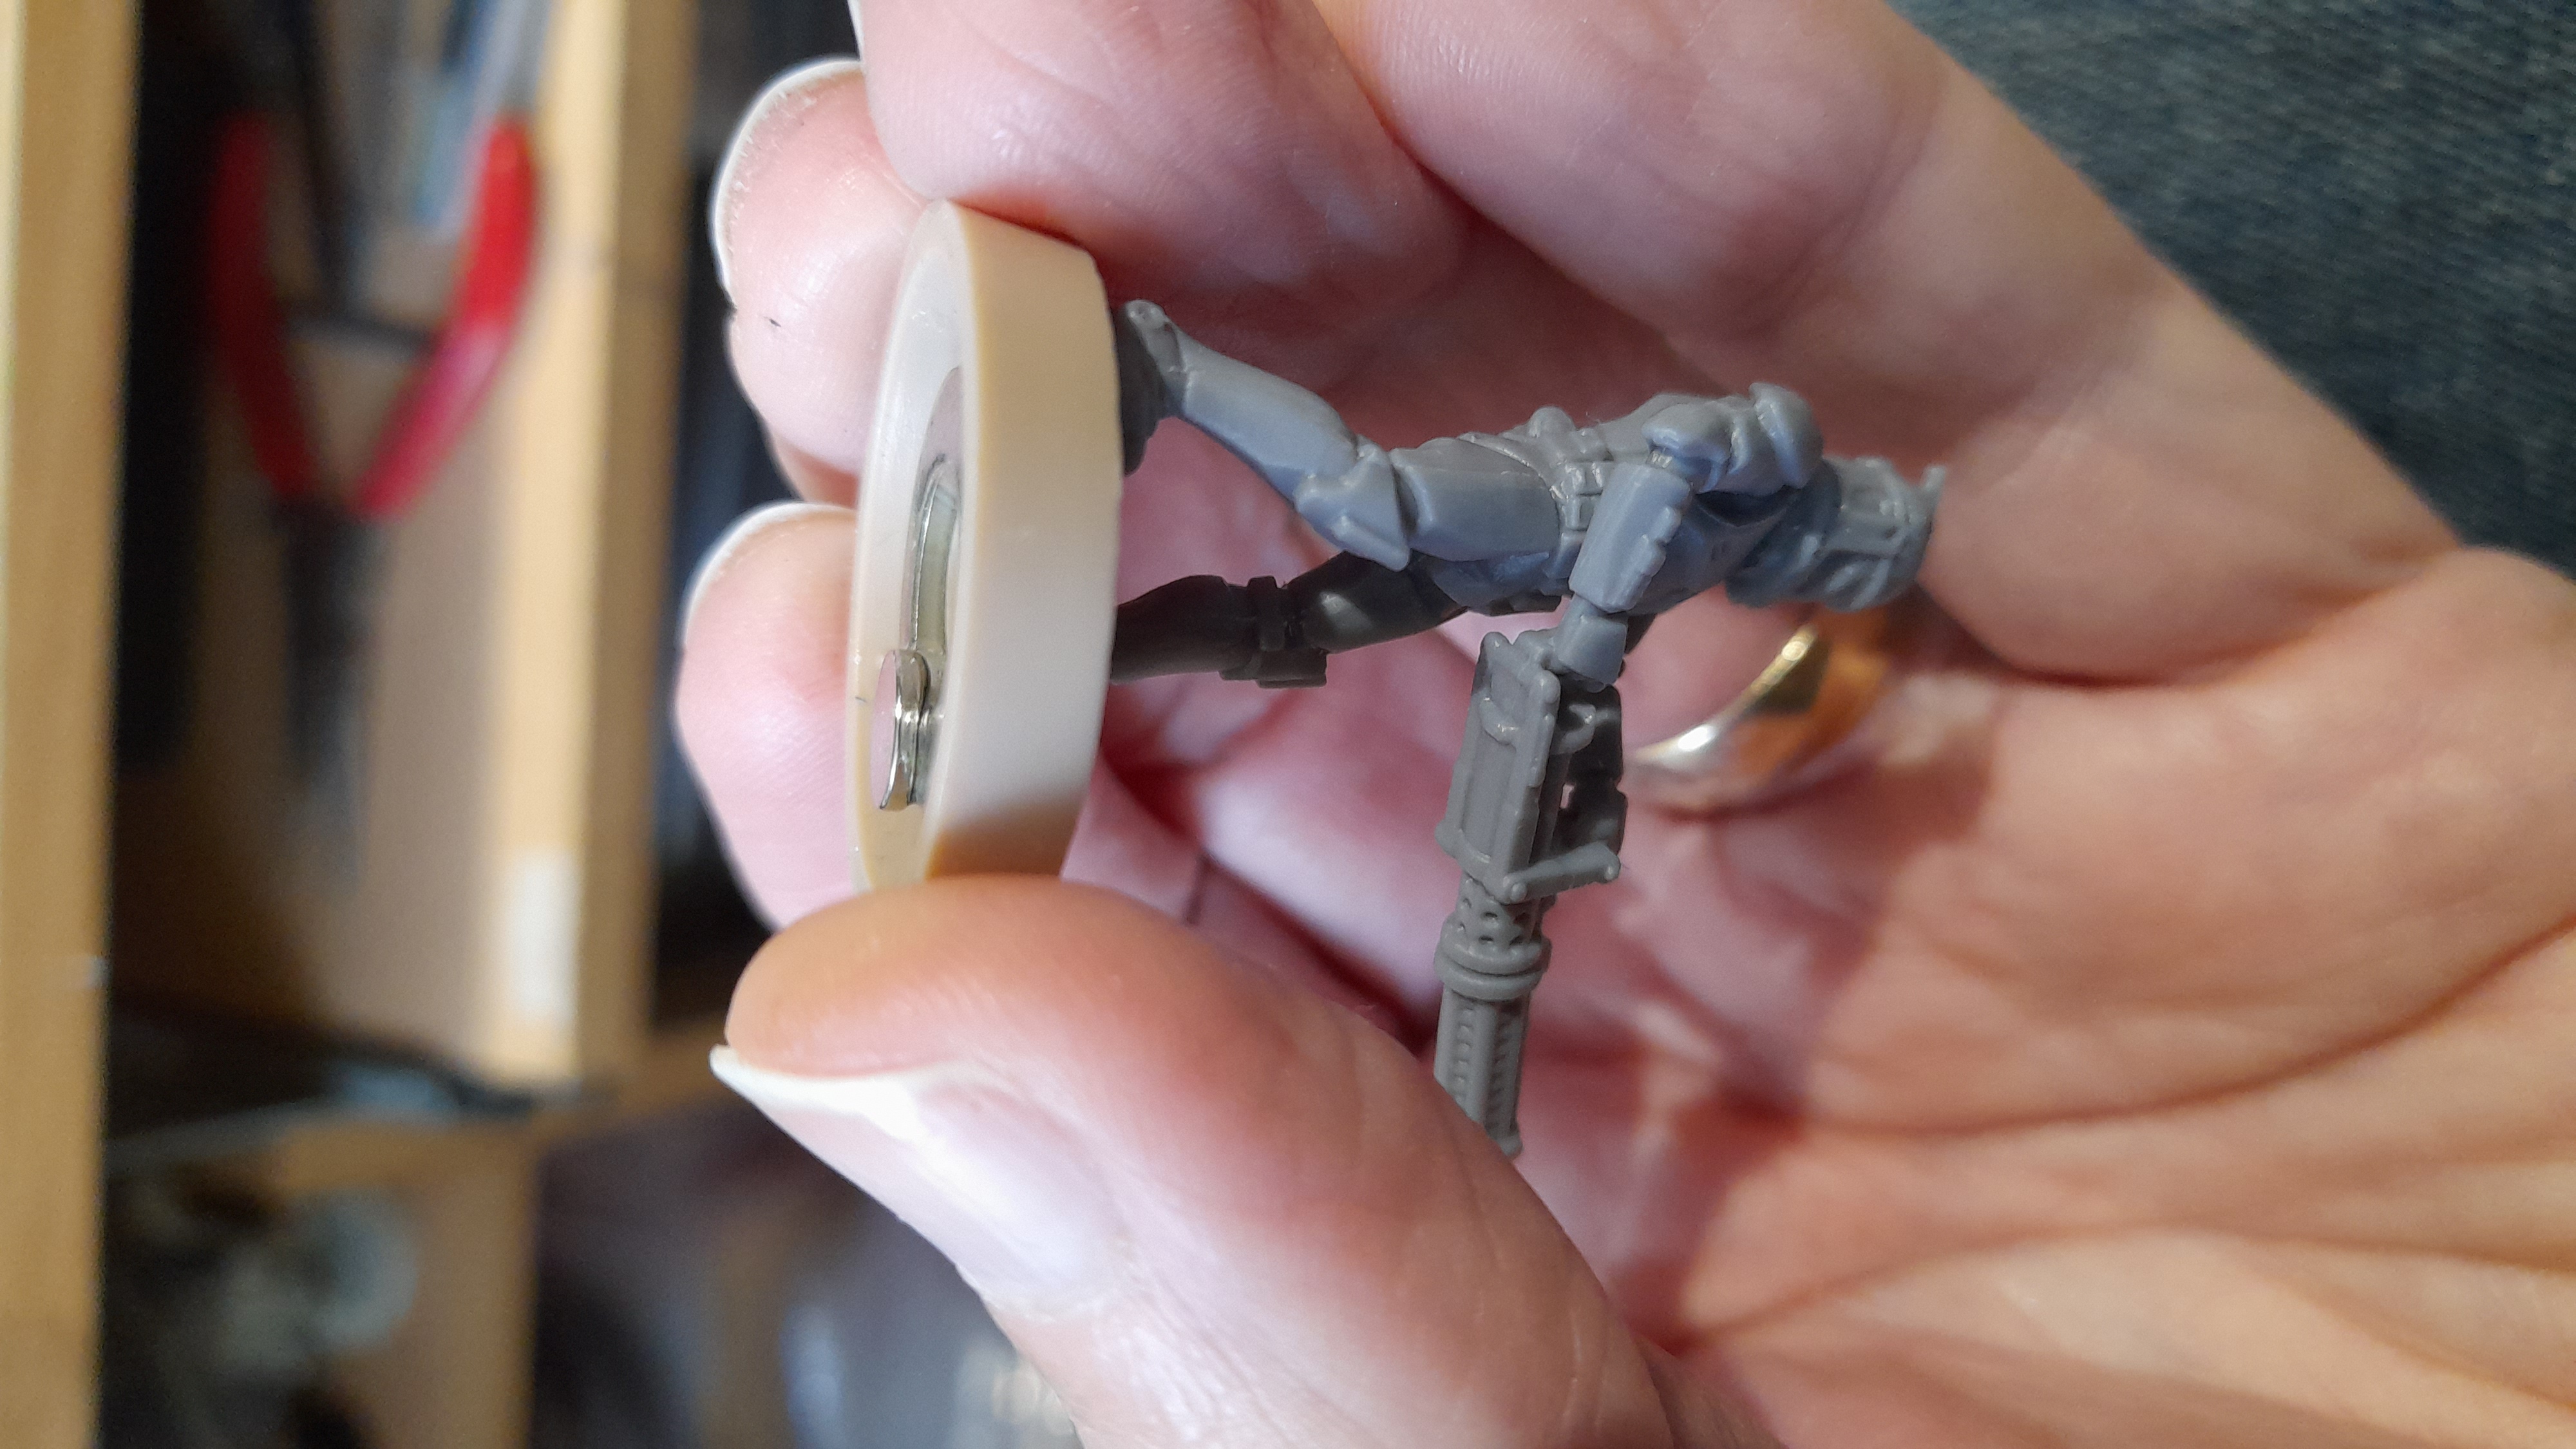
Looking around I found an old bag of washers, which, when checked, worked out to be pretty much spot on to act as a shim and make it so that when I glue a magnet on its flush with the bottom of the base. Job done ? I will roll this out at the end of the process.
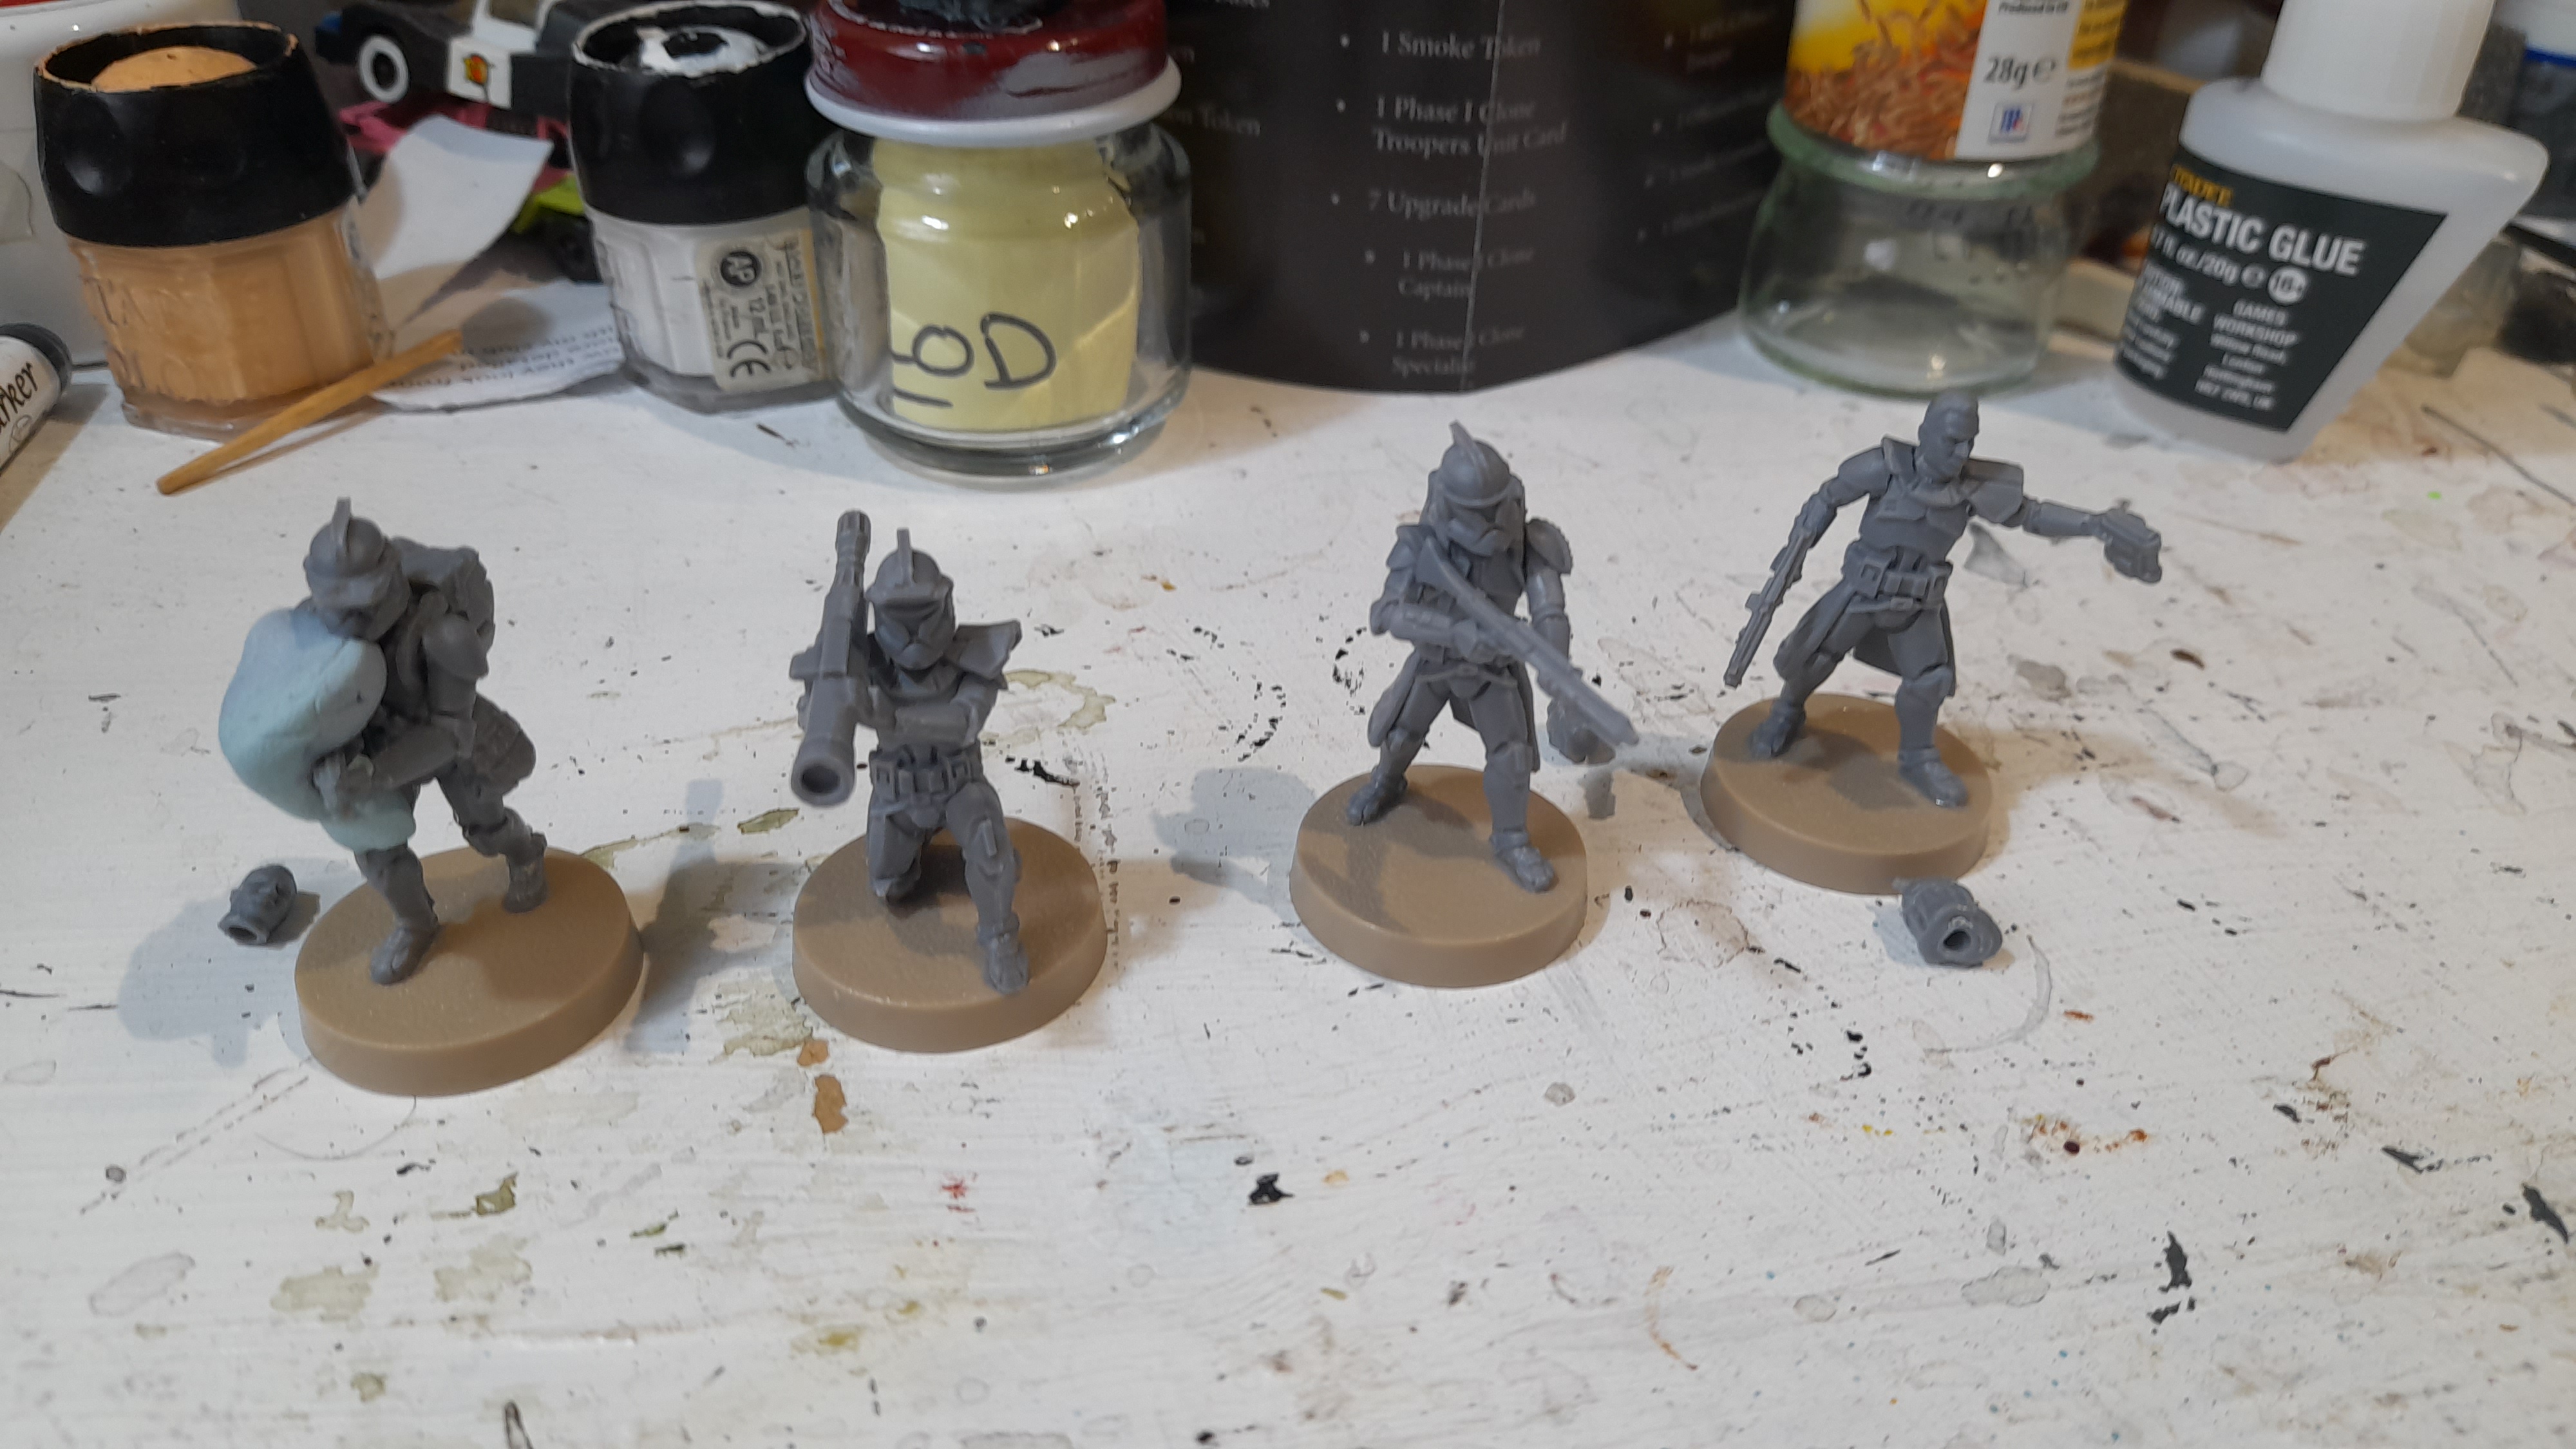
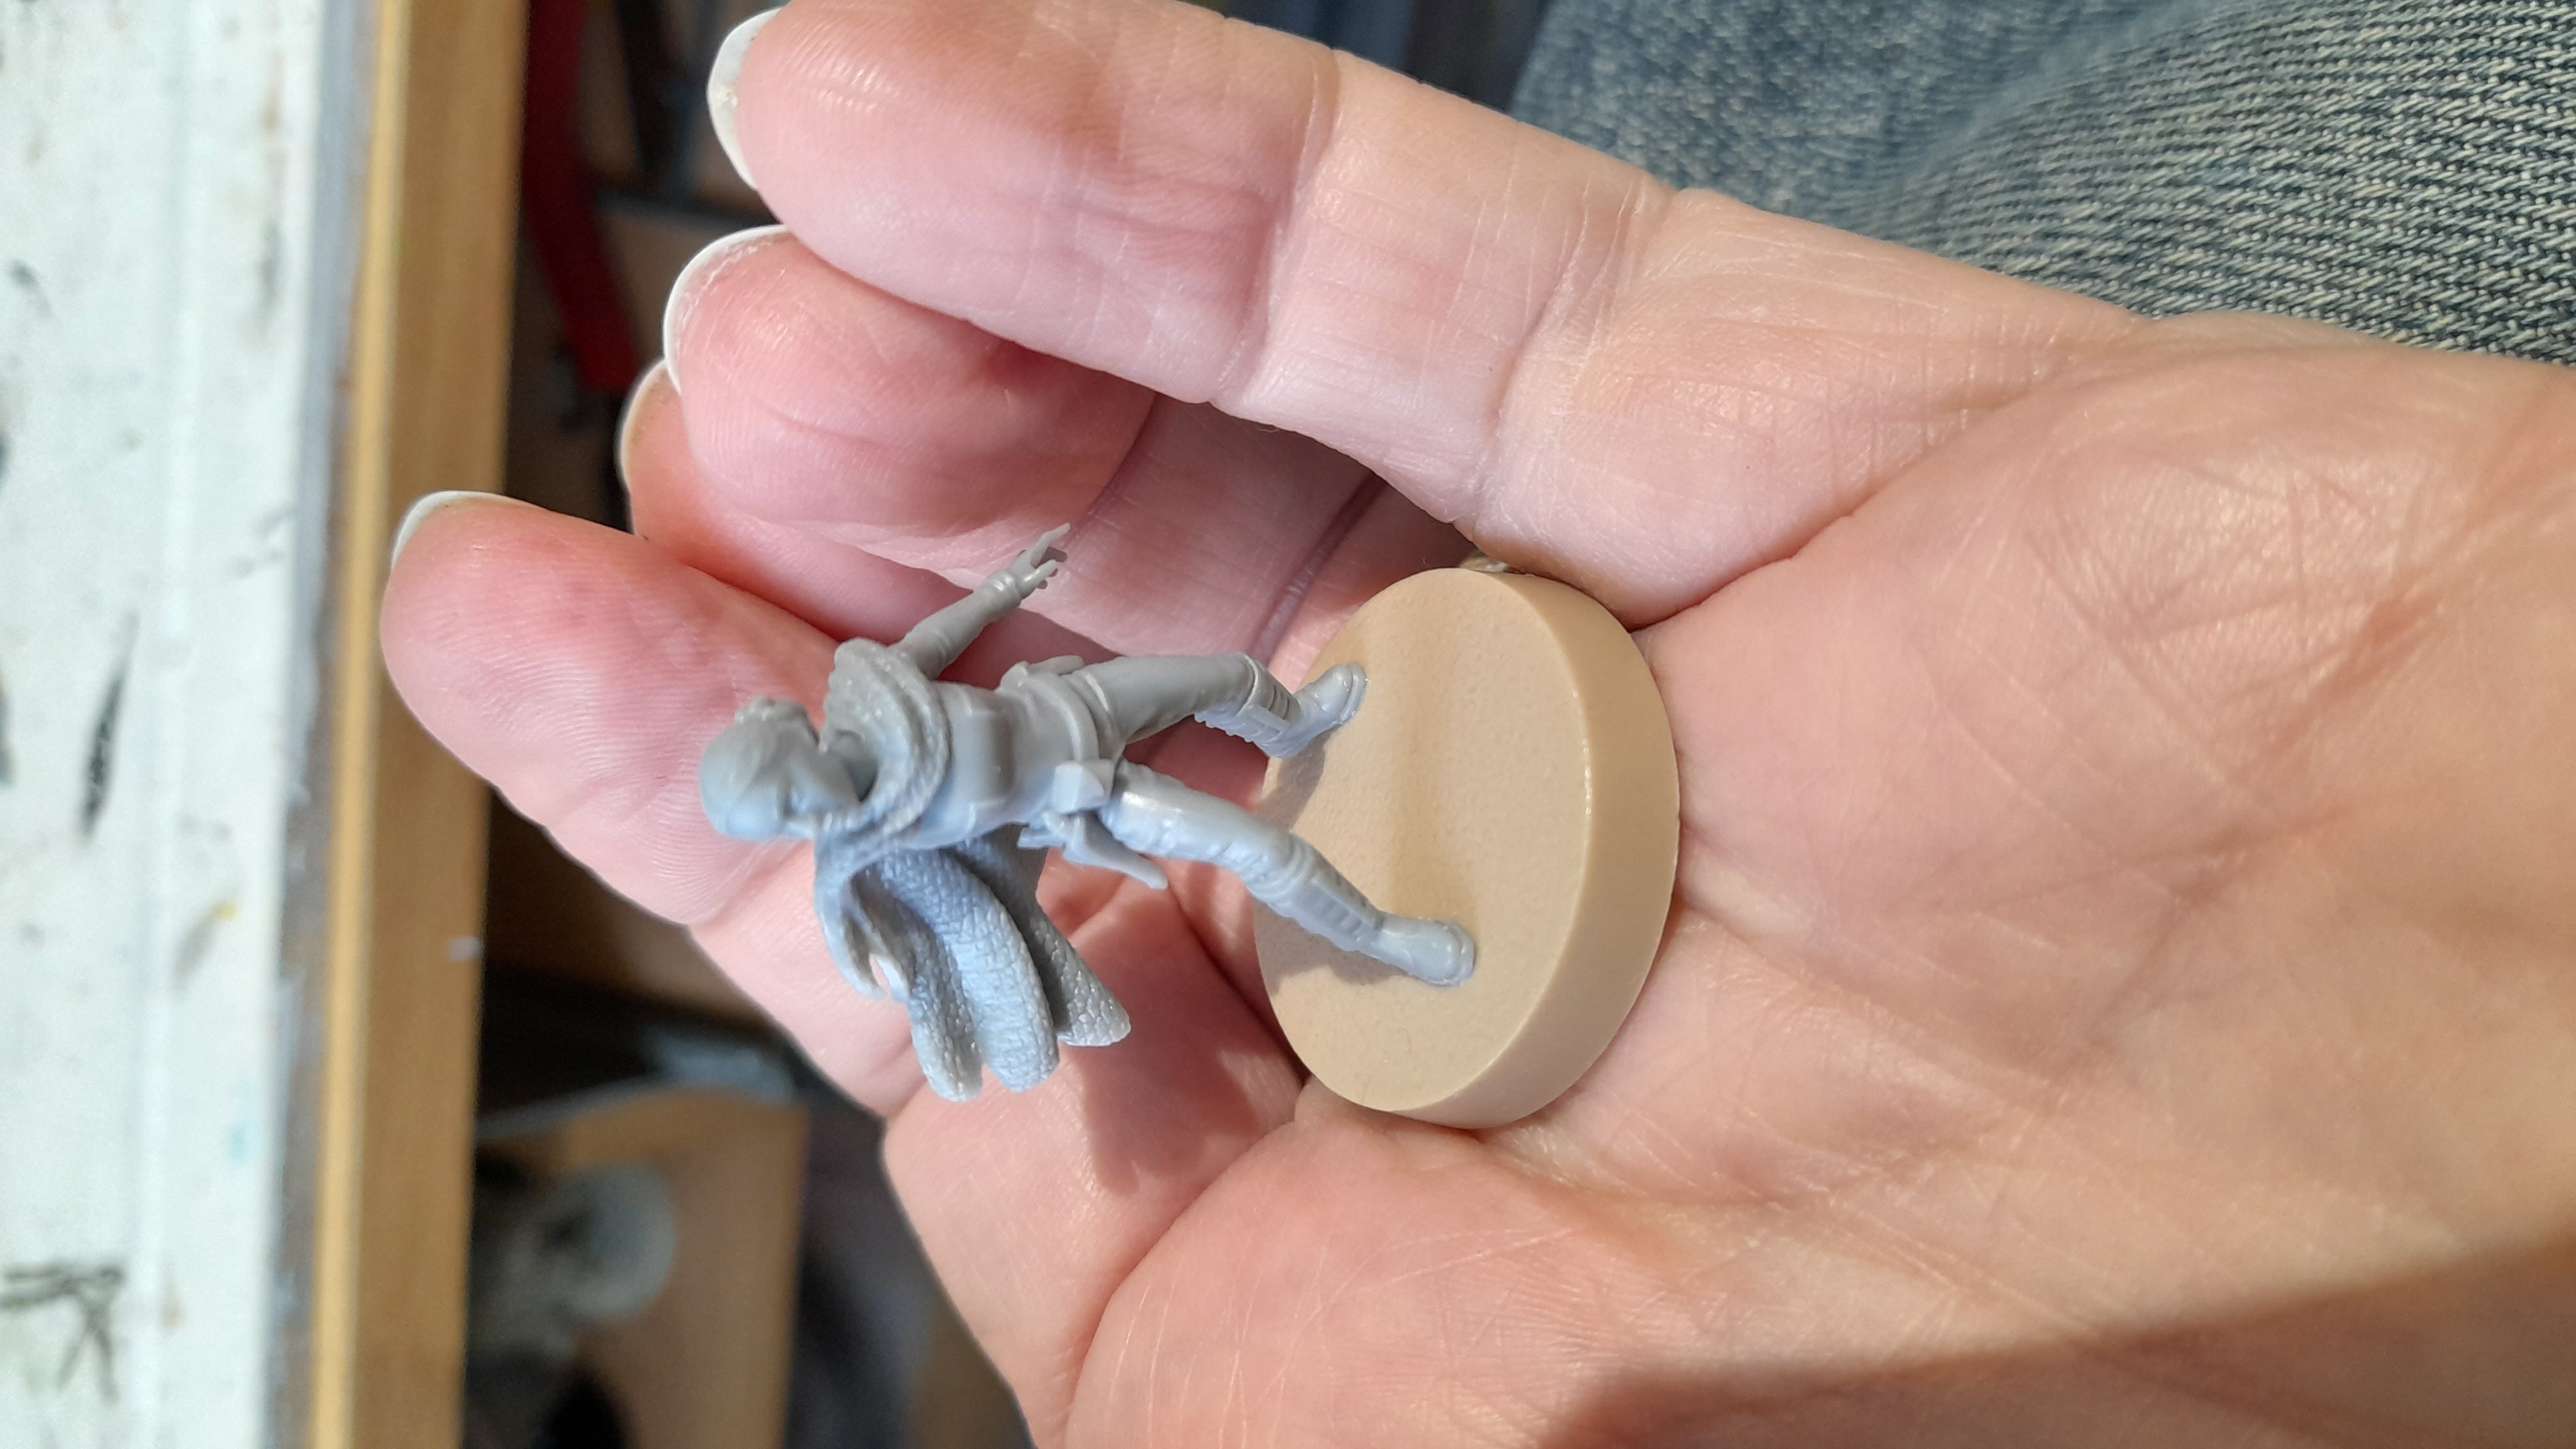
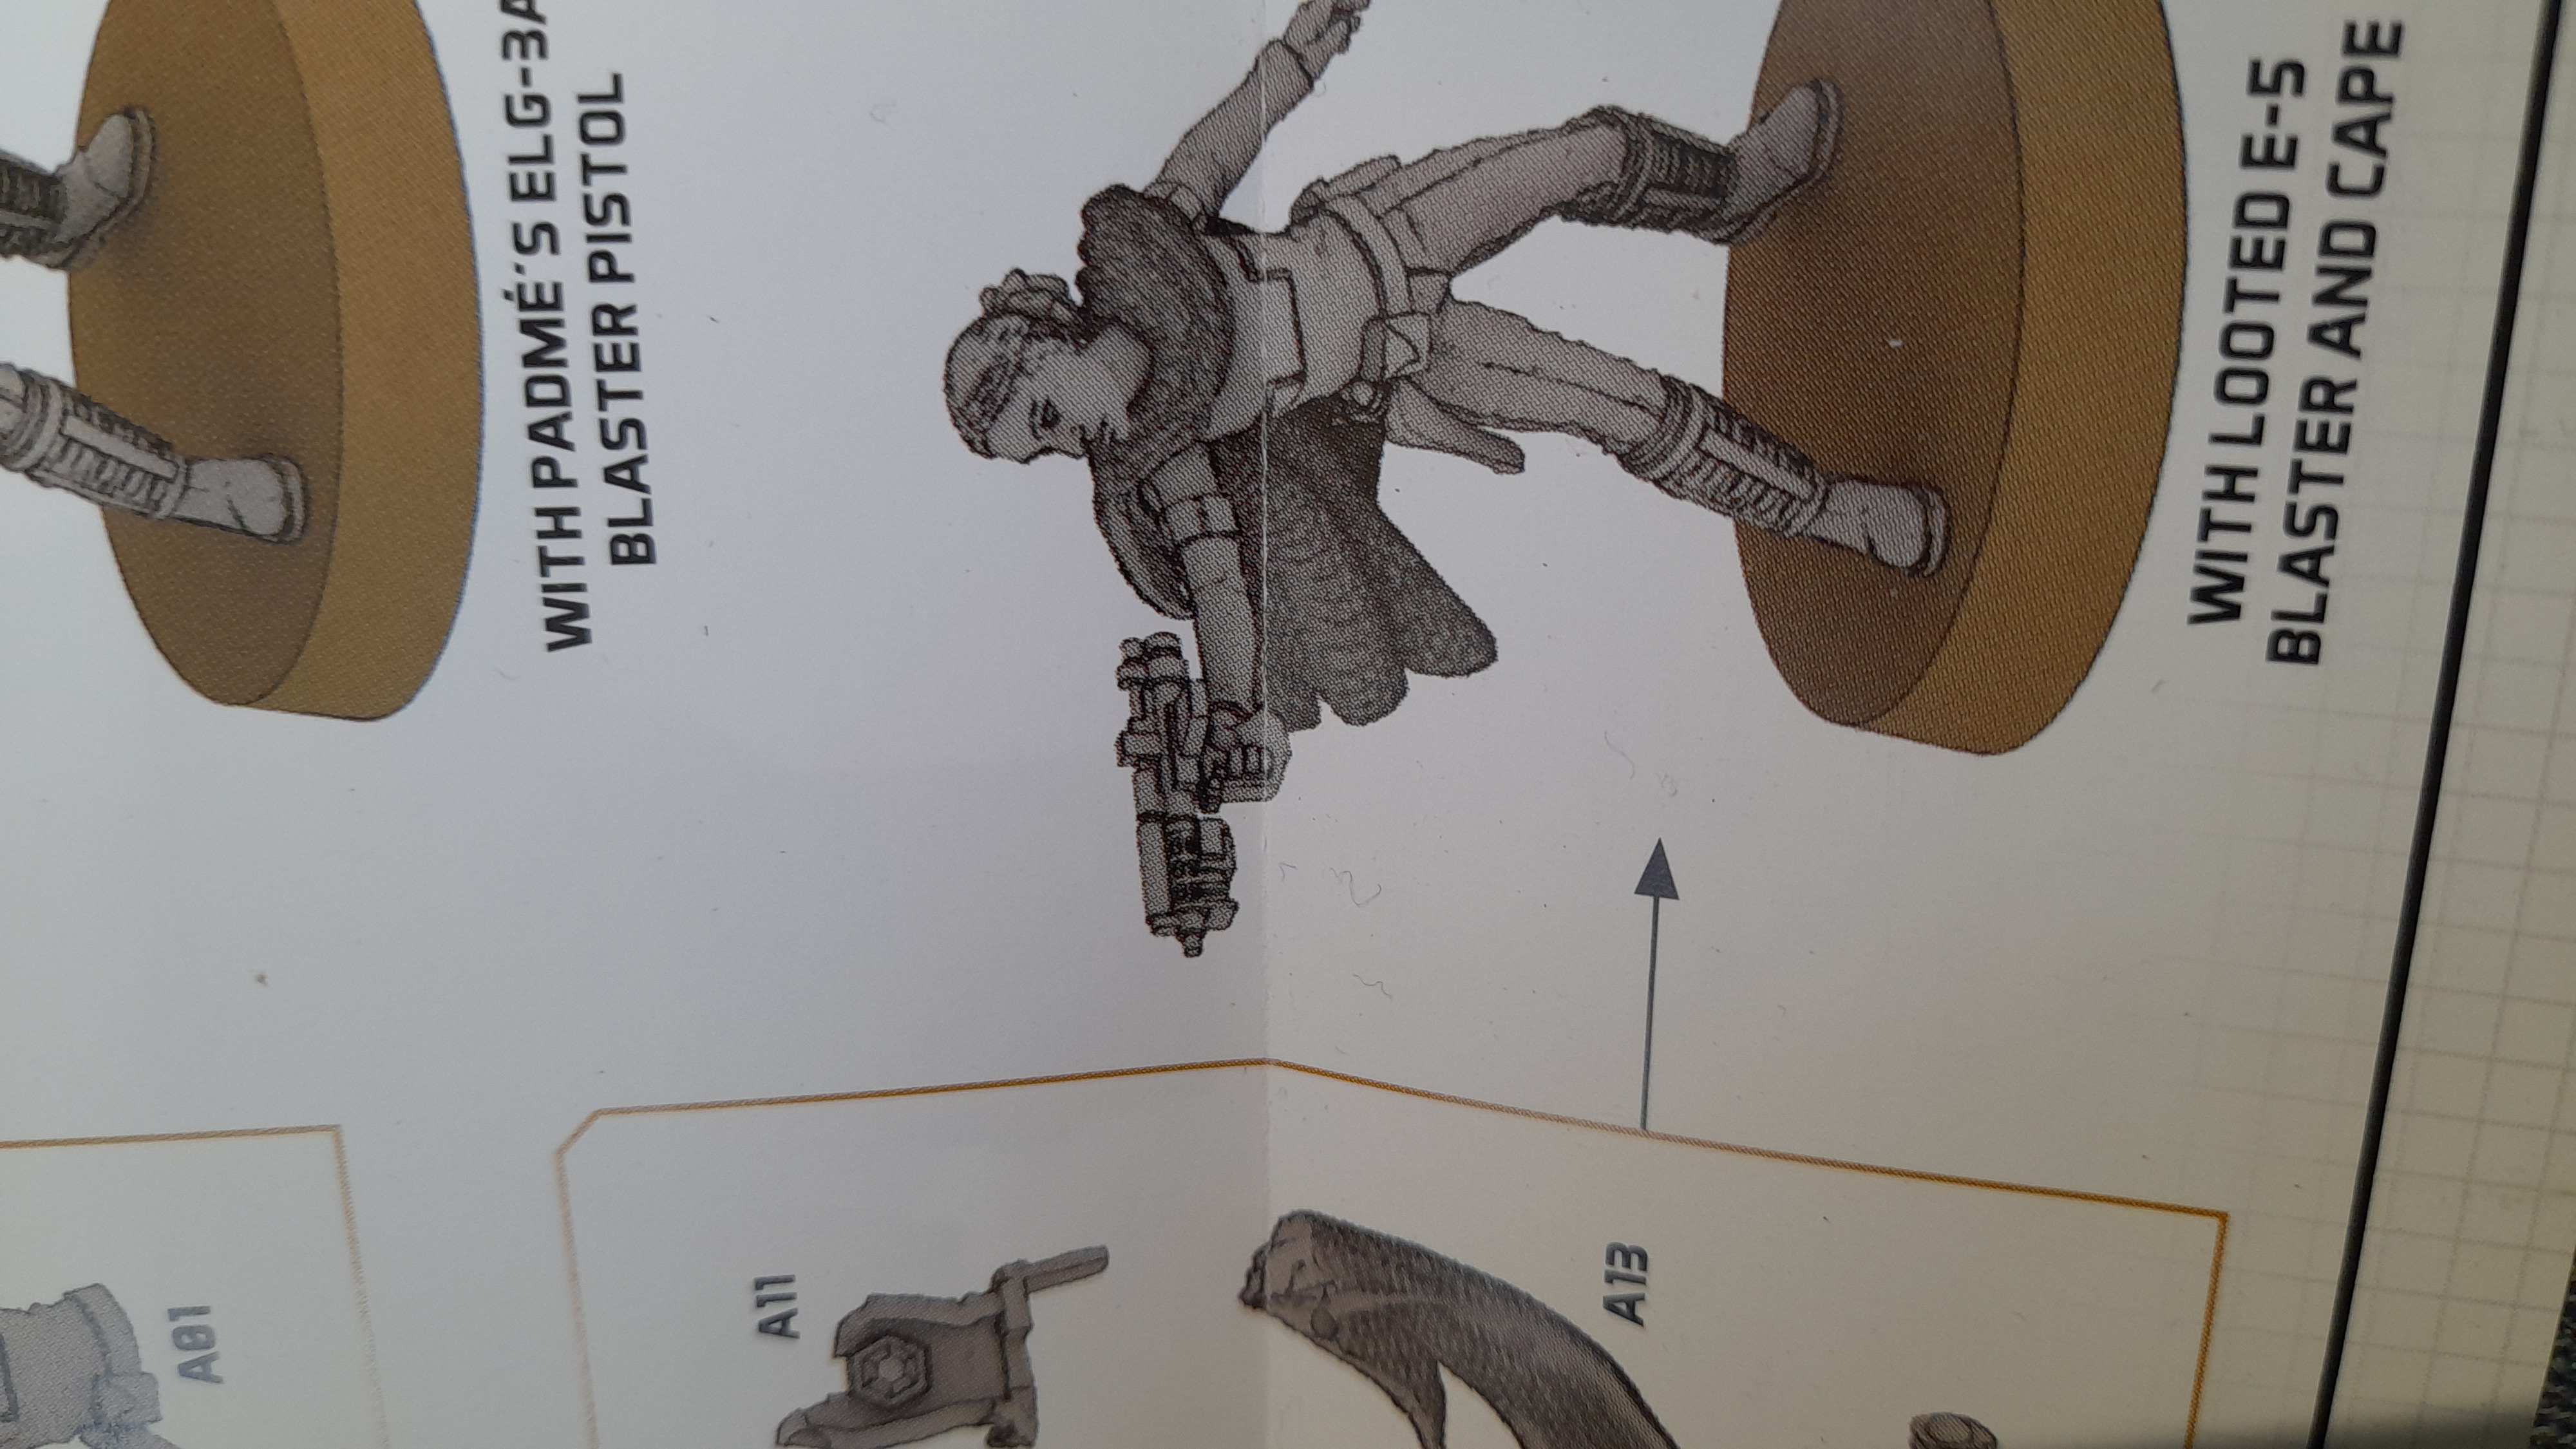
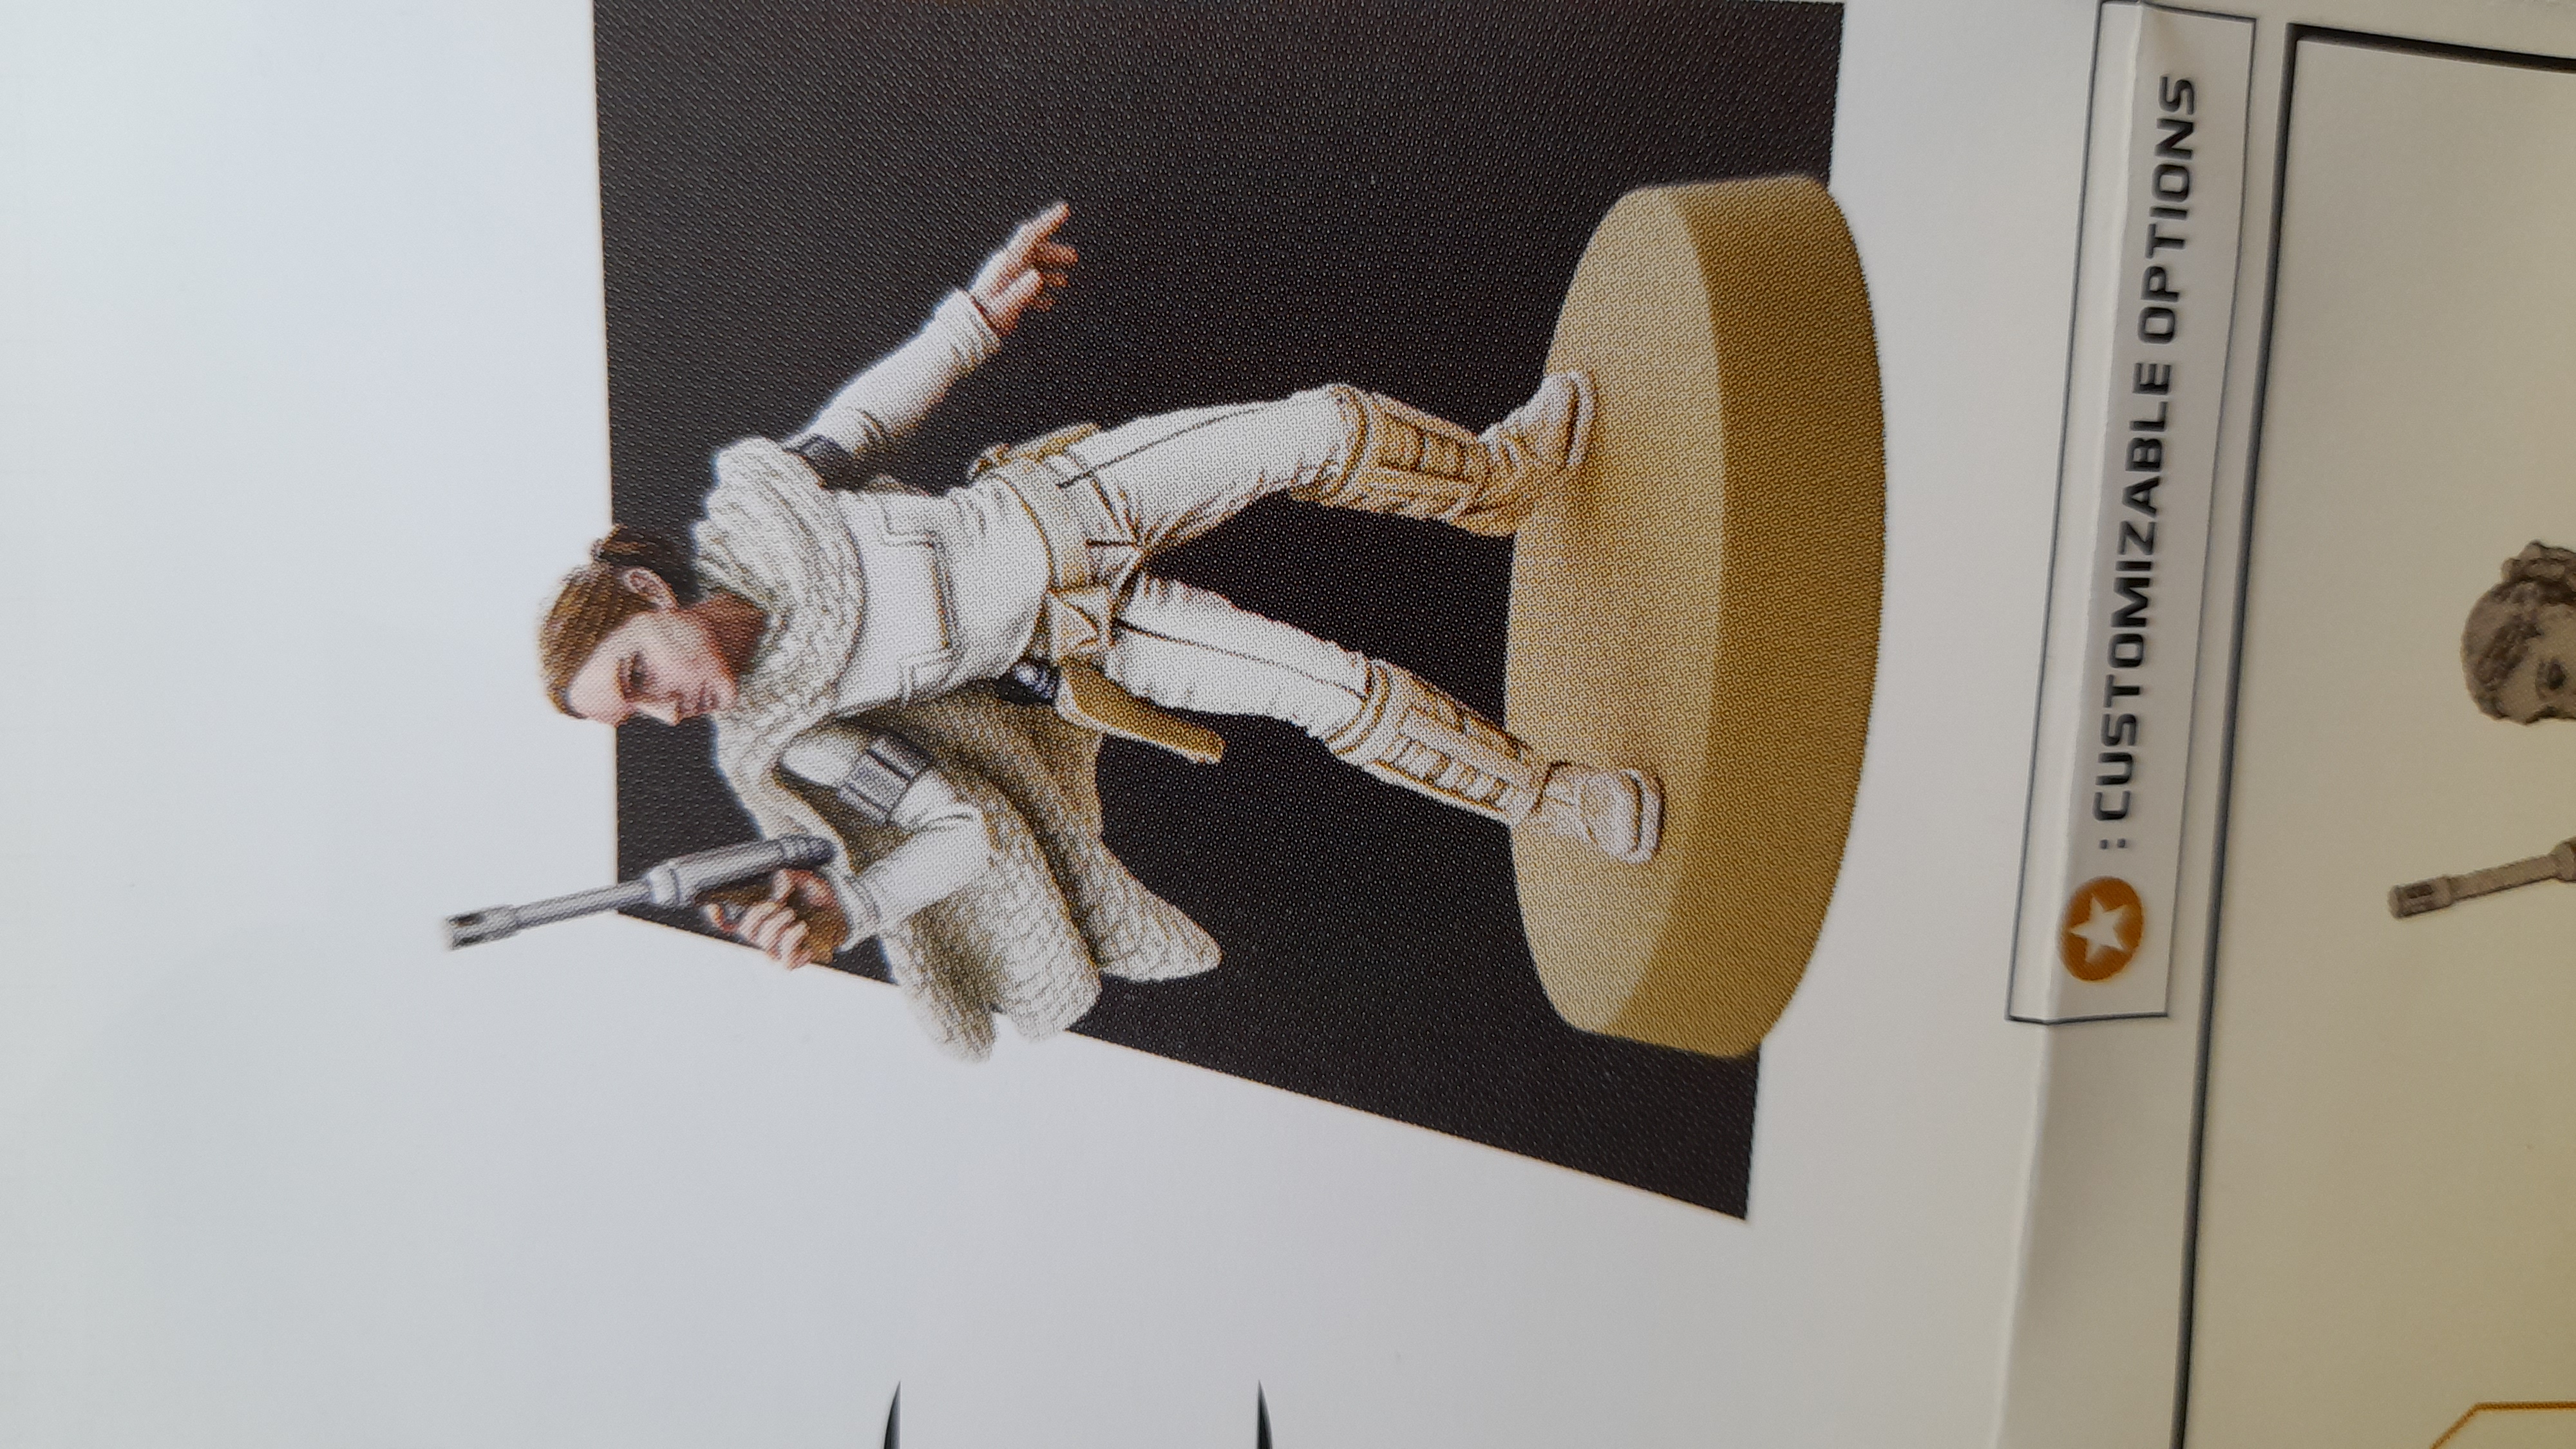
Next came the character models. Captain Rex (resin Plastic) and Padme (Hard Plastic).
I wasn’t sure on weapon choice for Padme. I like the look of the small pistol, but was concerned that the thin barrel could get snapped off in play or moving around. As such I went with the blaster option instead (hopefully that wont cause a problem with opponents. But I’m not planning to play competitively, so should be fine).
Rex had some head choices, and I went with the phase 2 helm. But may change this later perhaps.
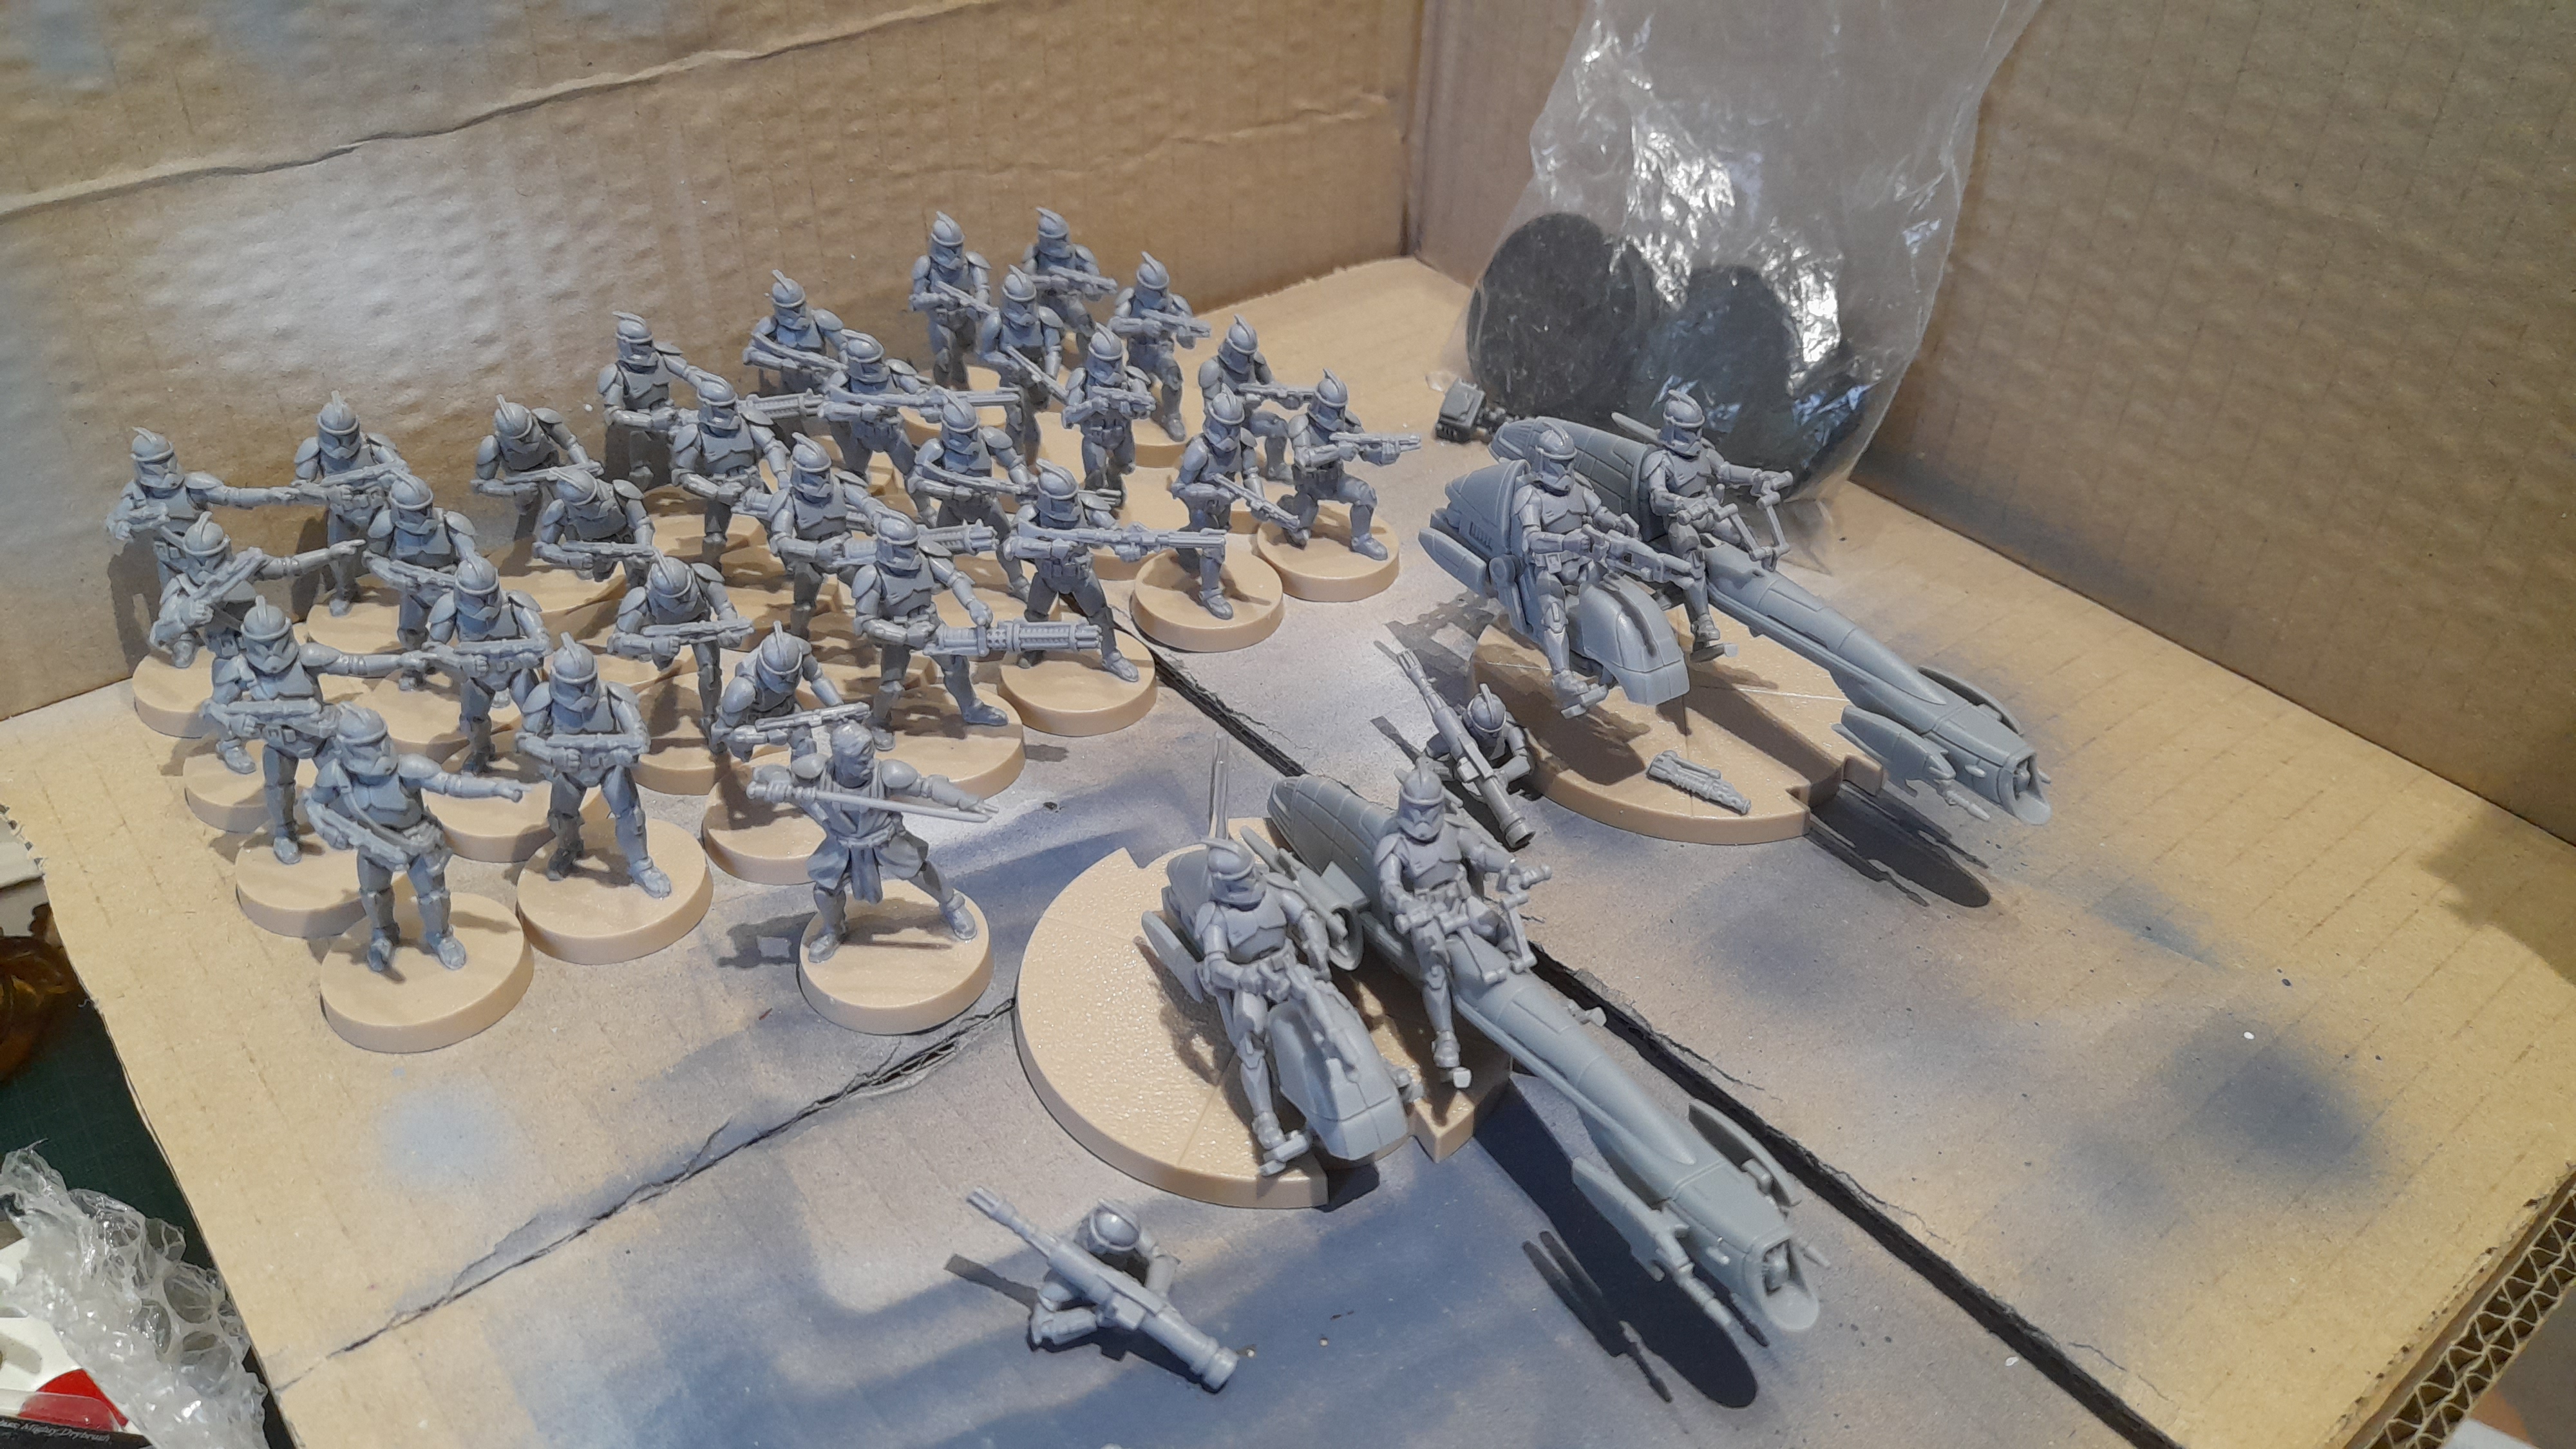
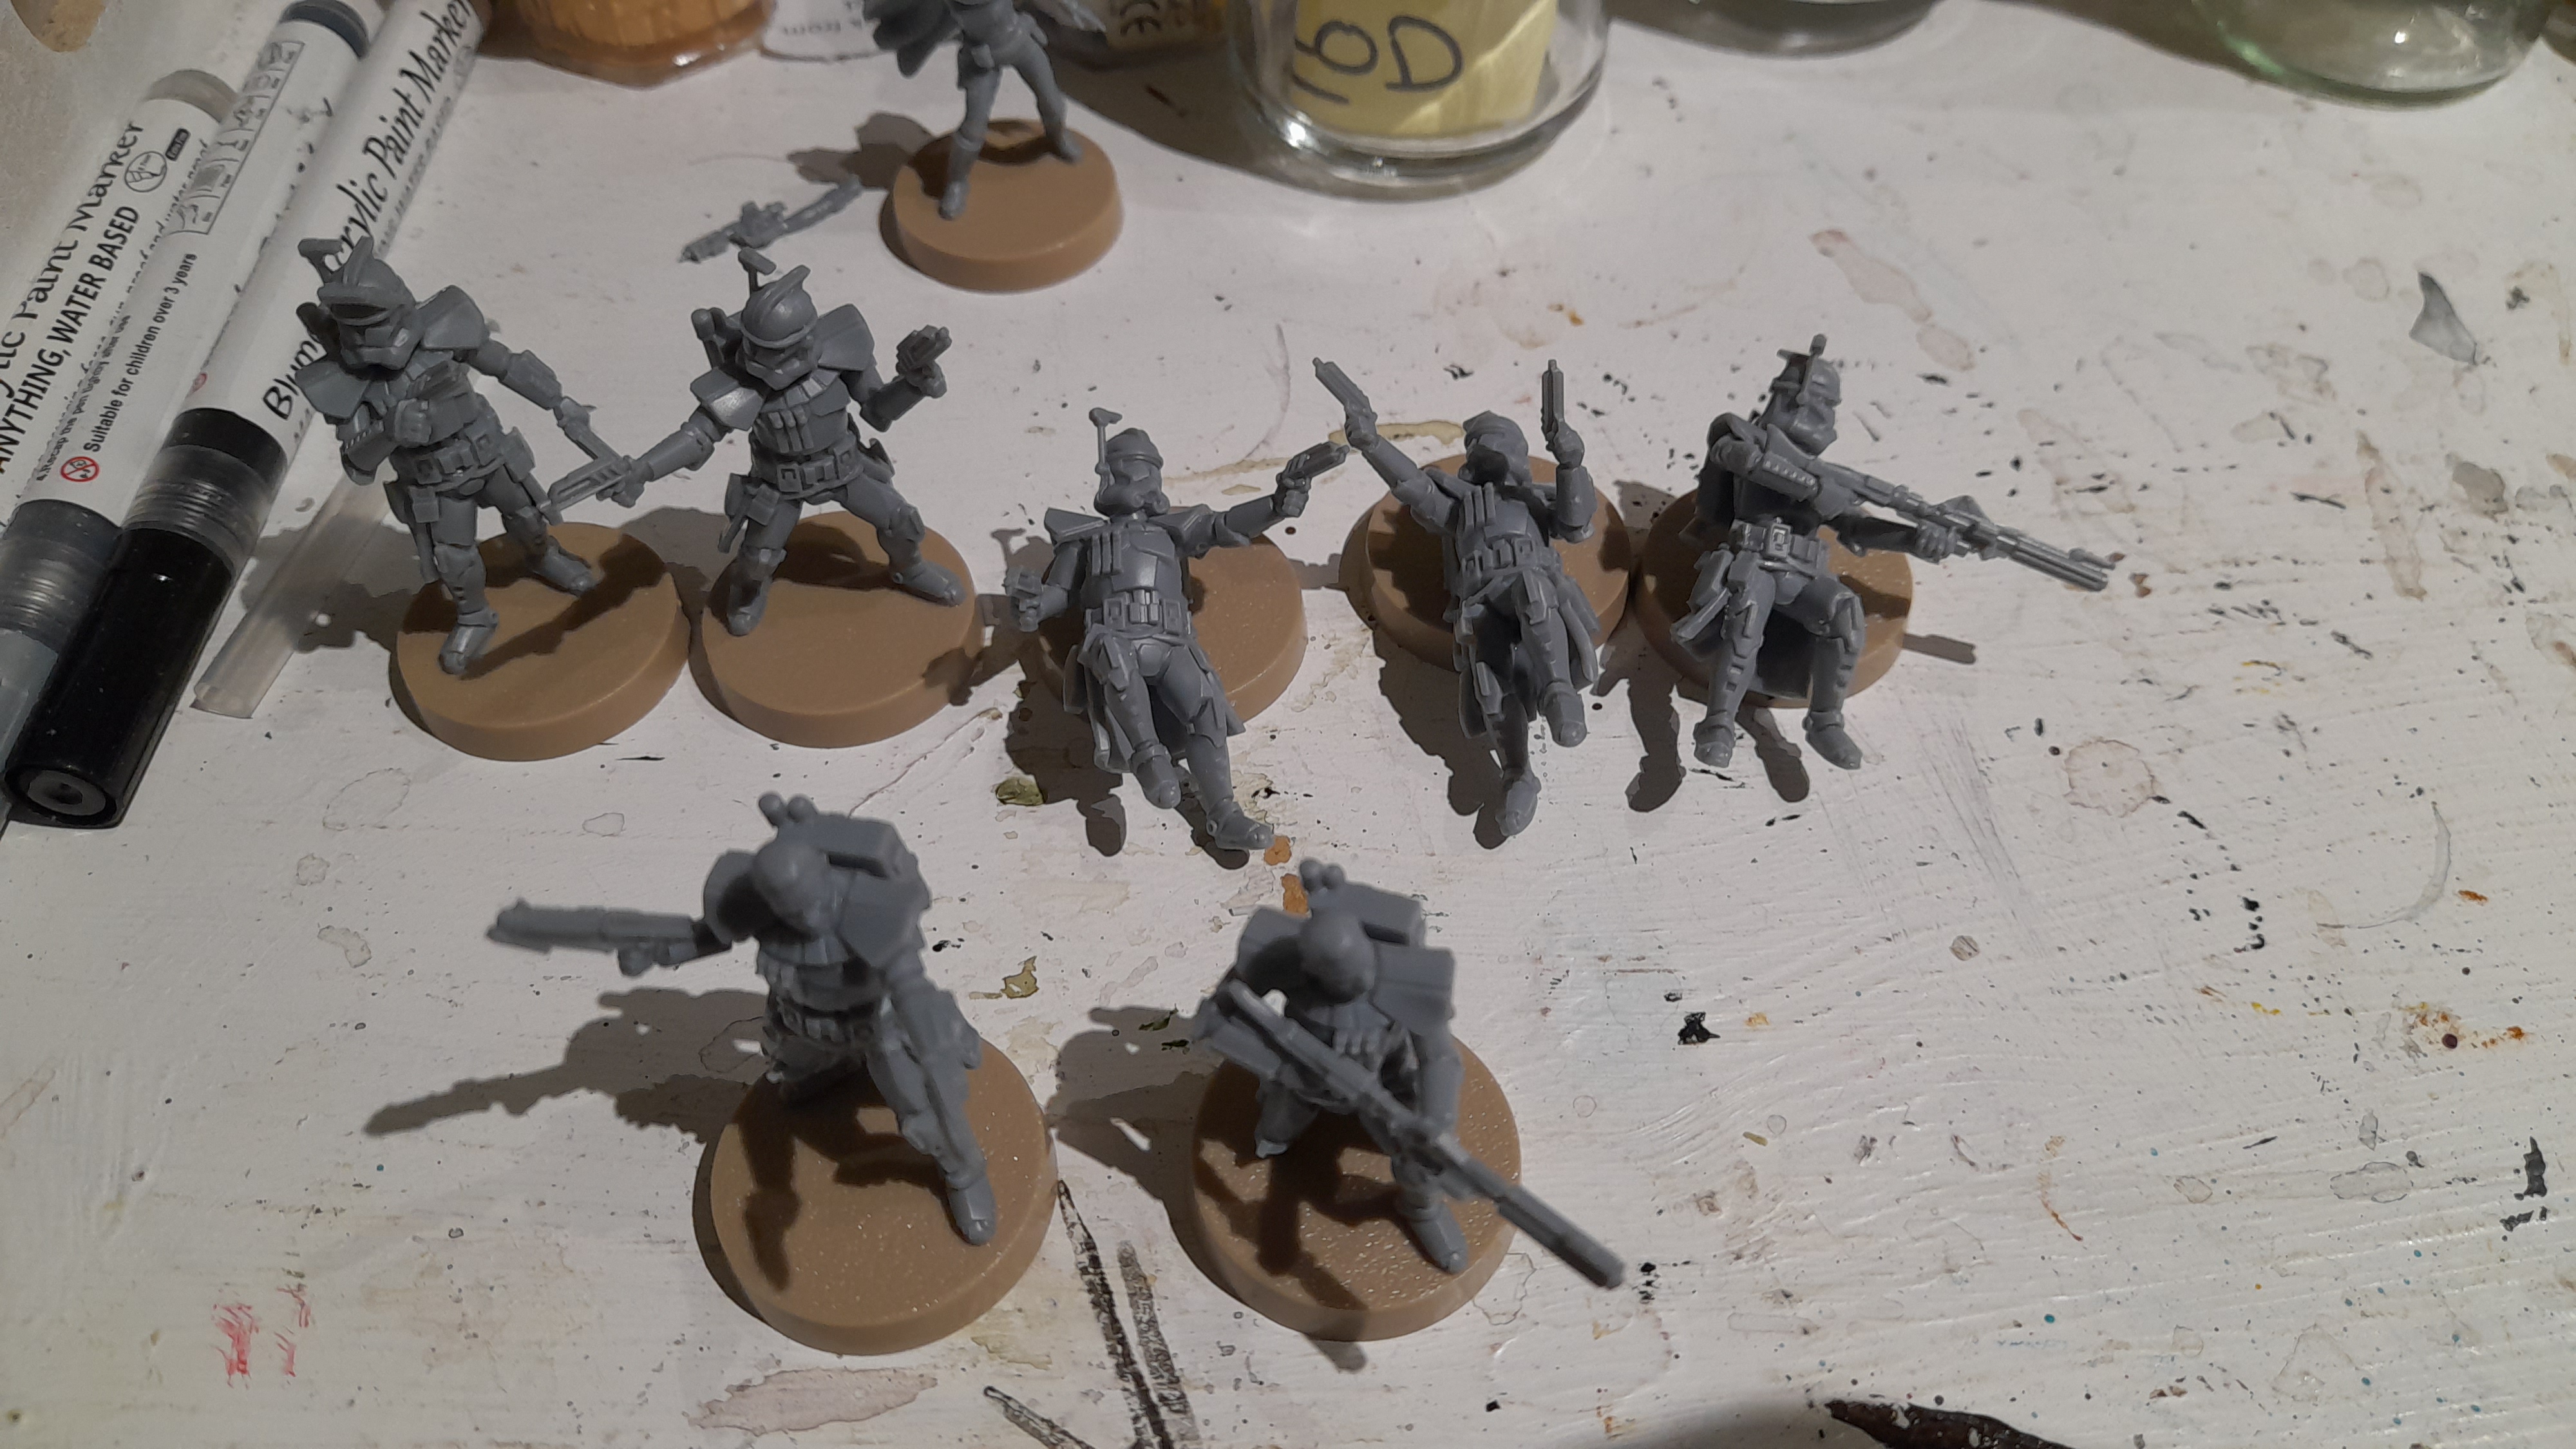
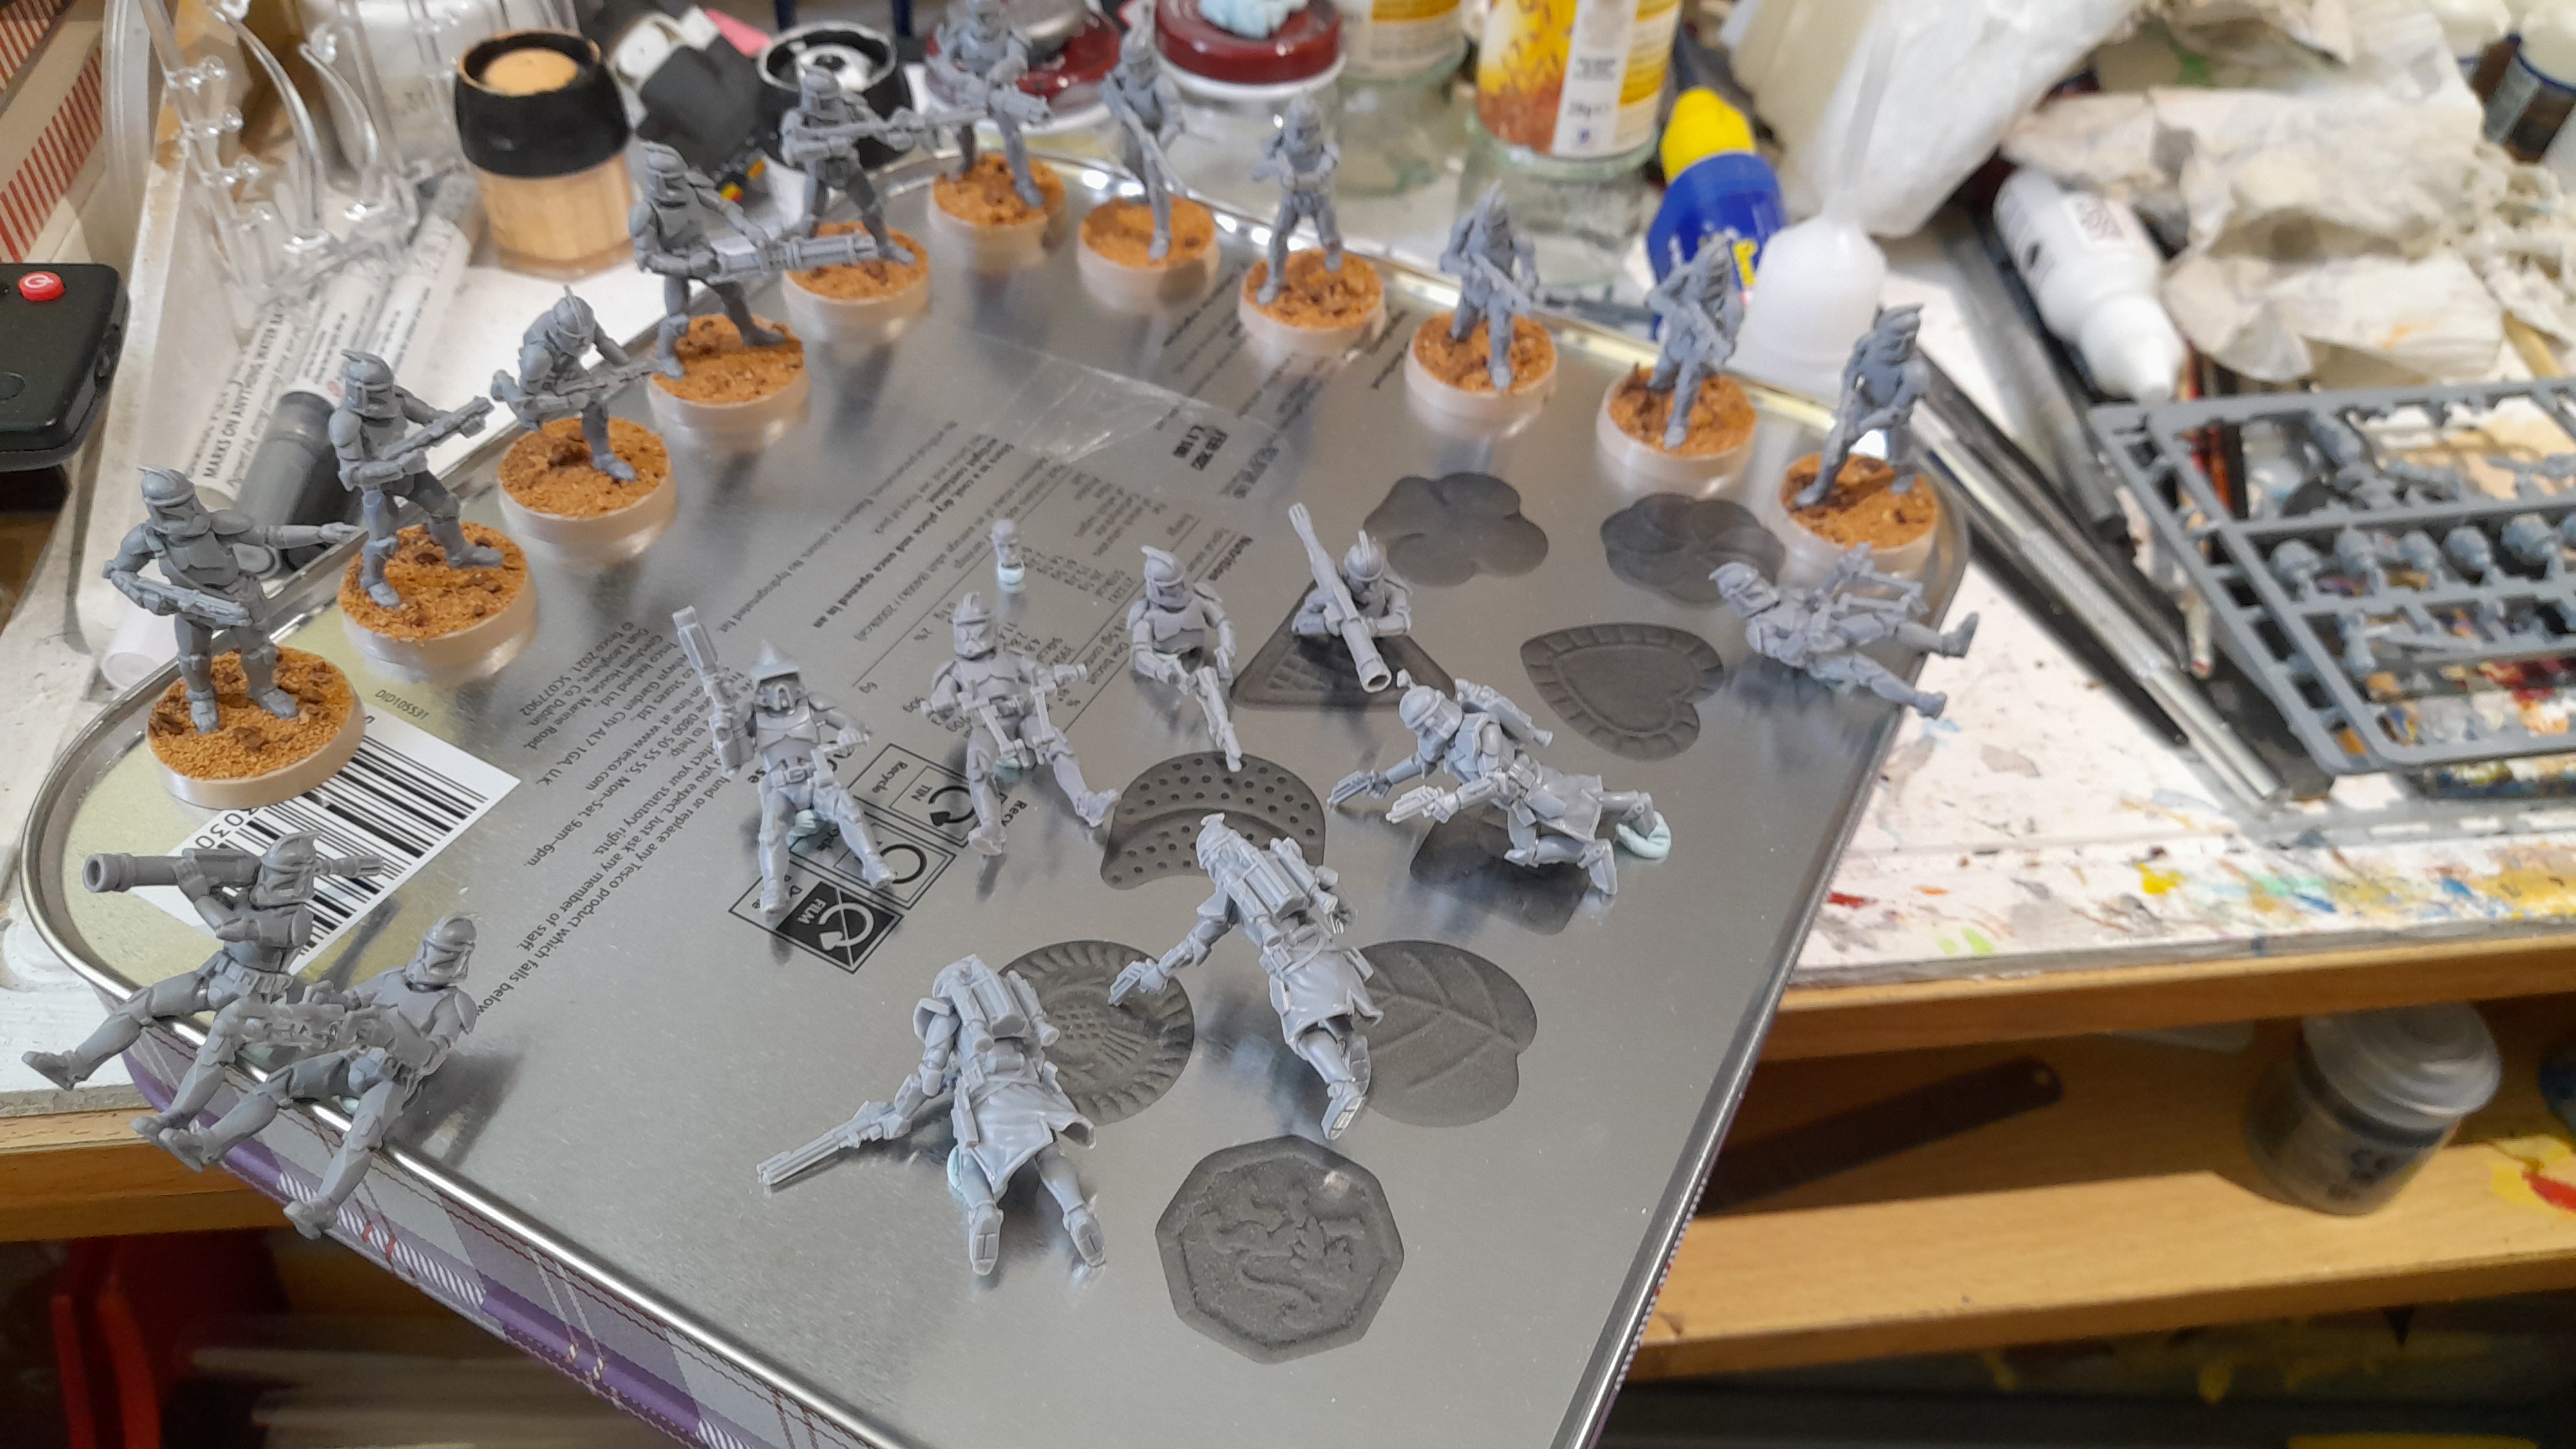
Finally for this period of work it was on to the Arc Trooper expansion (Hard Plastic). Snip, clean and build again.
Some of these are on flying stands. To avoid getting them covered in paint I have left those off for the moment, and will add them back on once the models are mostly done.
I had a bit of a debate about the trooper that could be armed with blaster or sniper type, and echo who had the same. Since there was only one DC15x (sniper type gun) upgrade card in the pack.
Then I realised that the card referred to a model armed with that. And the only way to get an extra model in the squad was via that – so I built the extra trooper with the sniper gun. Why there is an option for it to have a blaster instead I’m not sure – unless it is something to do with a strike team split maybe.
Additionally Echo (named character upgrade) can be armed with pistols or sniper type. But on his profile card he has range 1-5, so that seems to imply a sniper rifle – so that is what he got ?
So now it is just the AT RT to go from last May’s bundle.
I’m hoping that I can get that built before this May arrives…. next week…
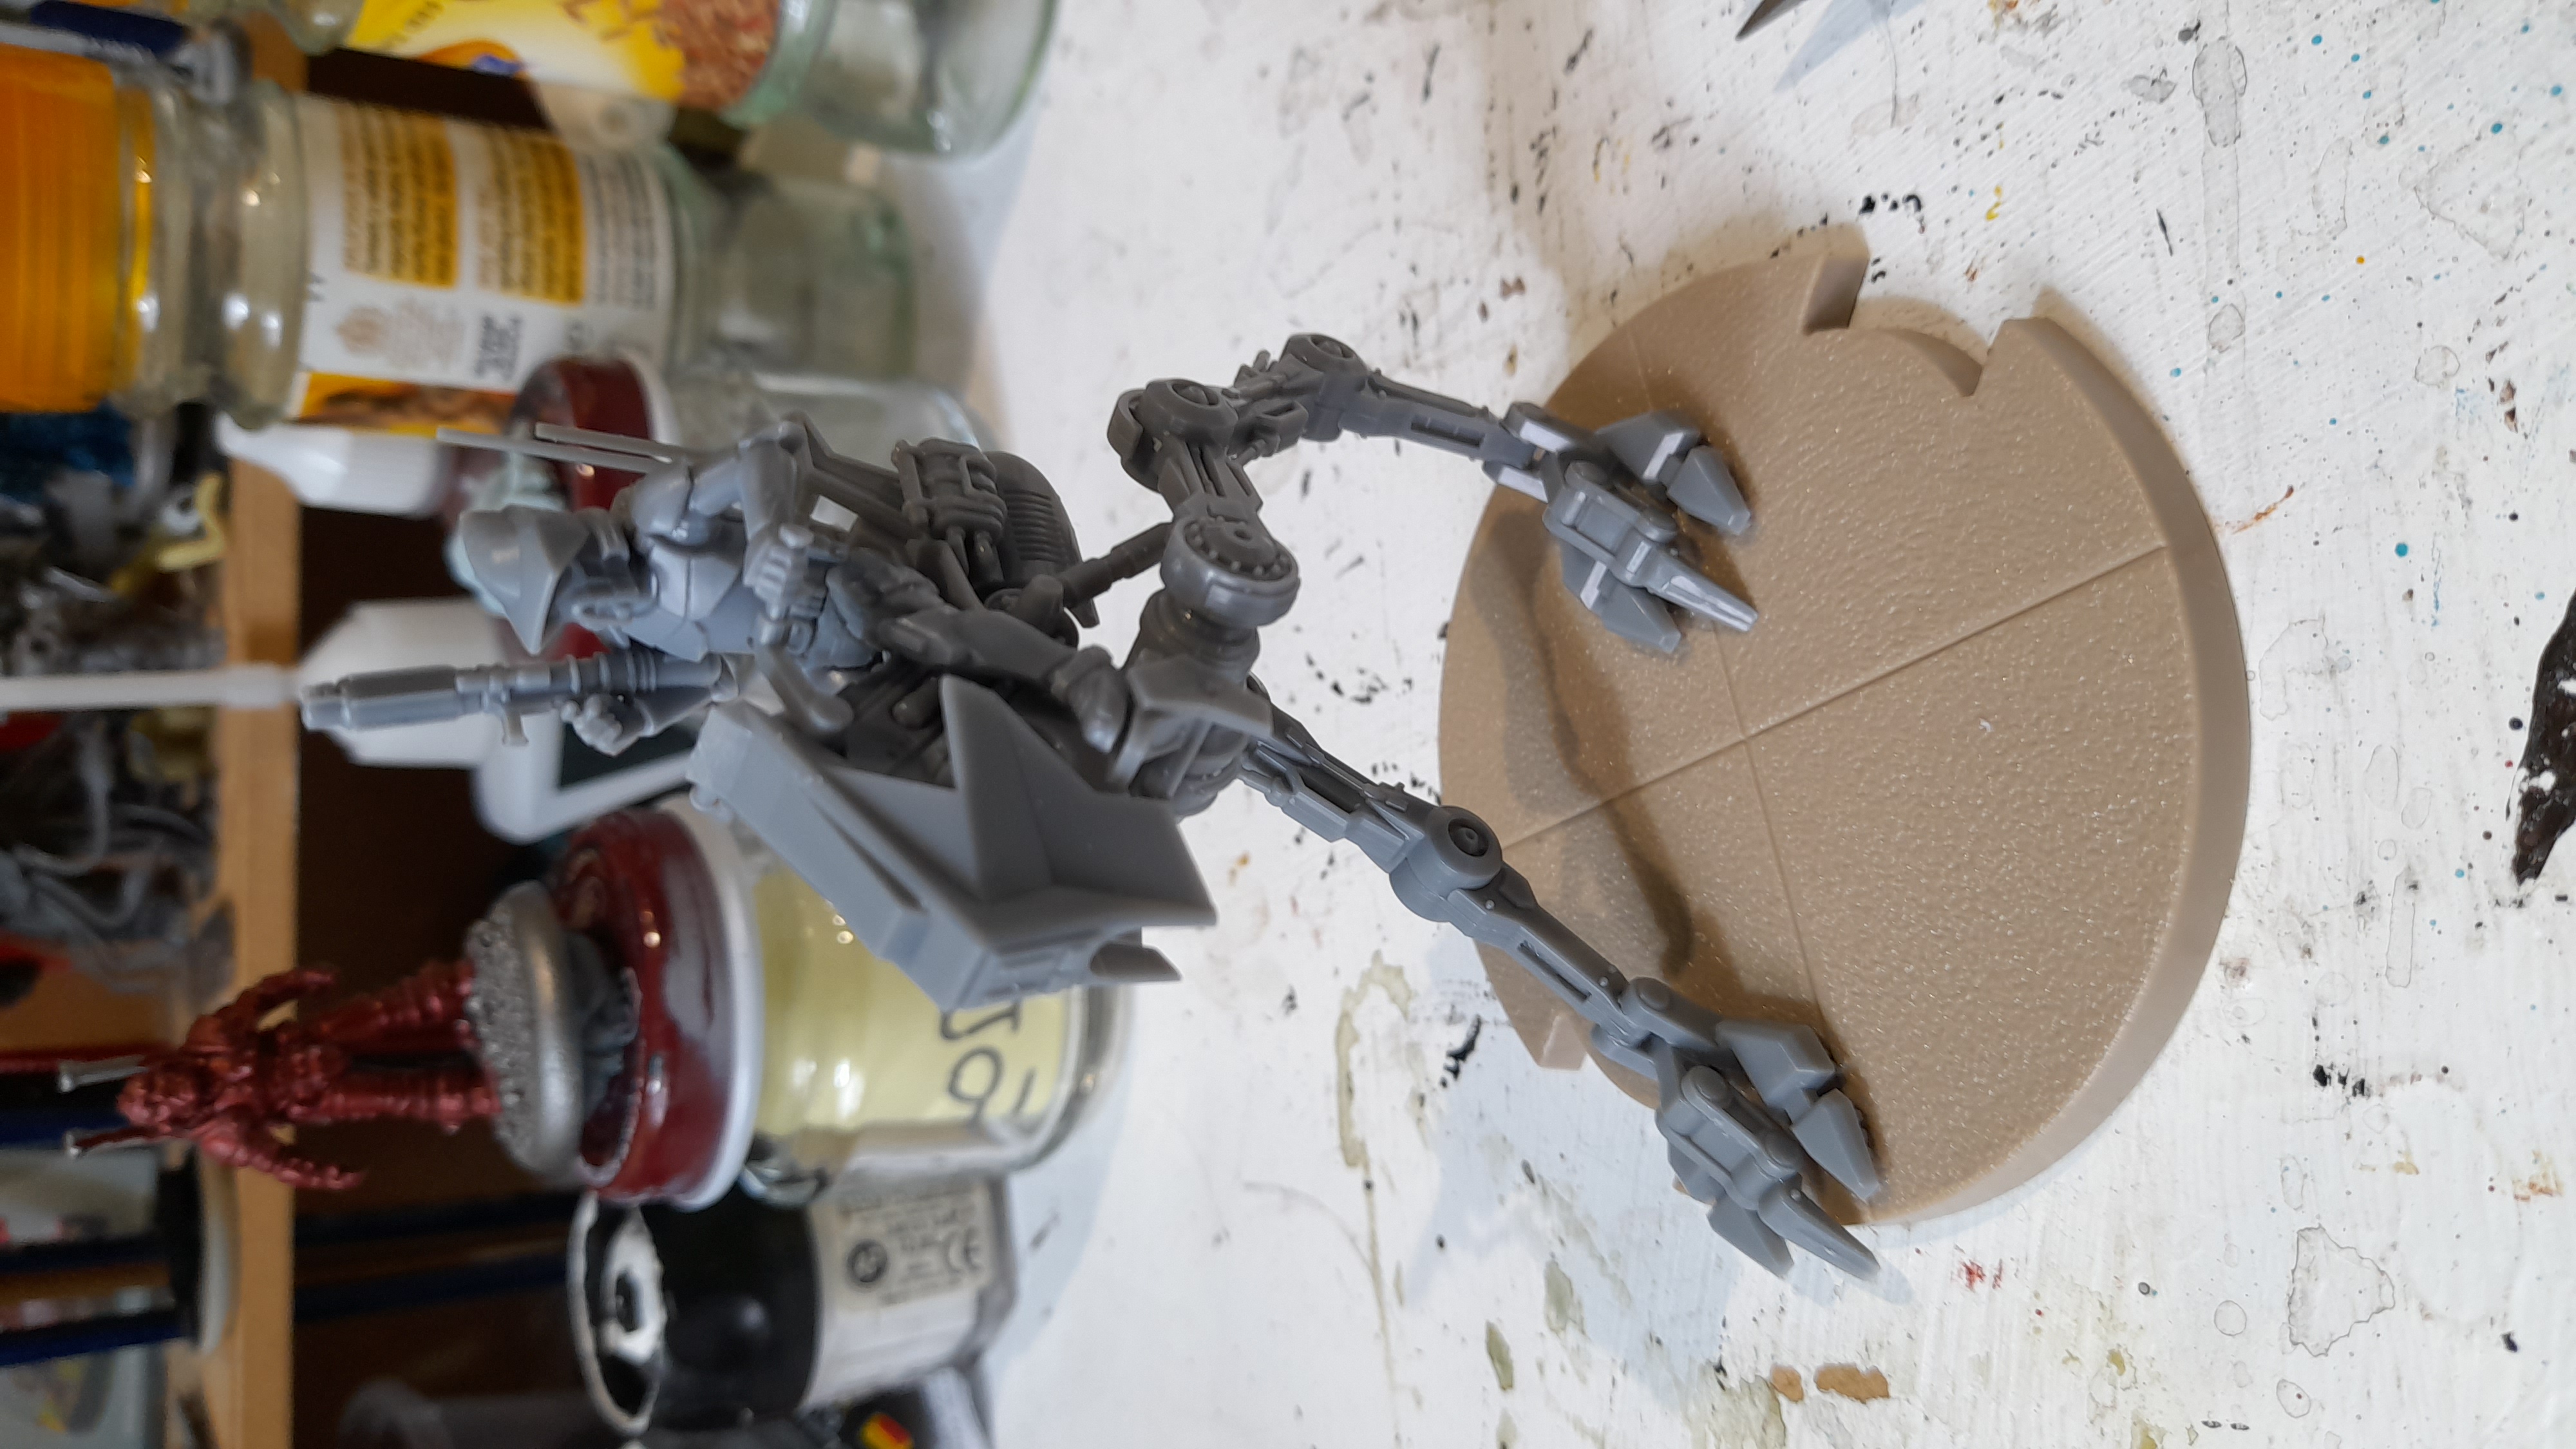
AT-RT the end of the build phase is nigh
30th April 2023.
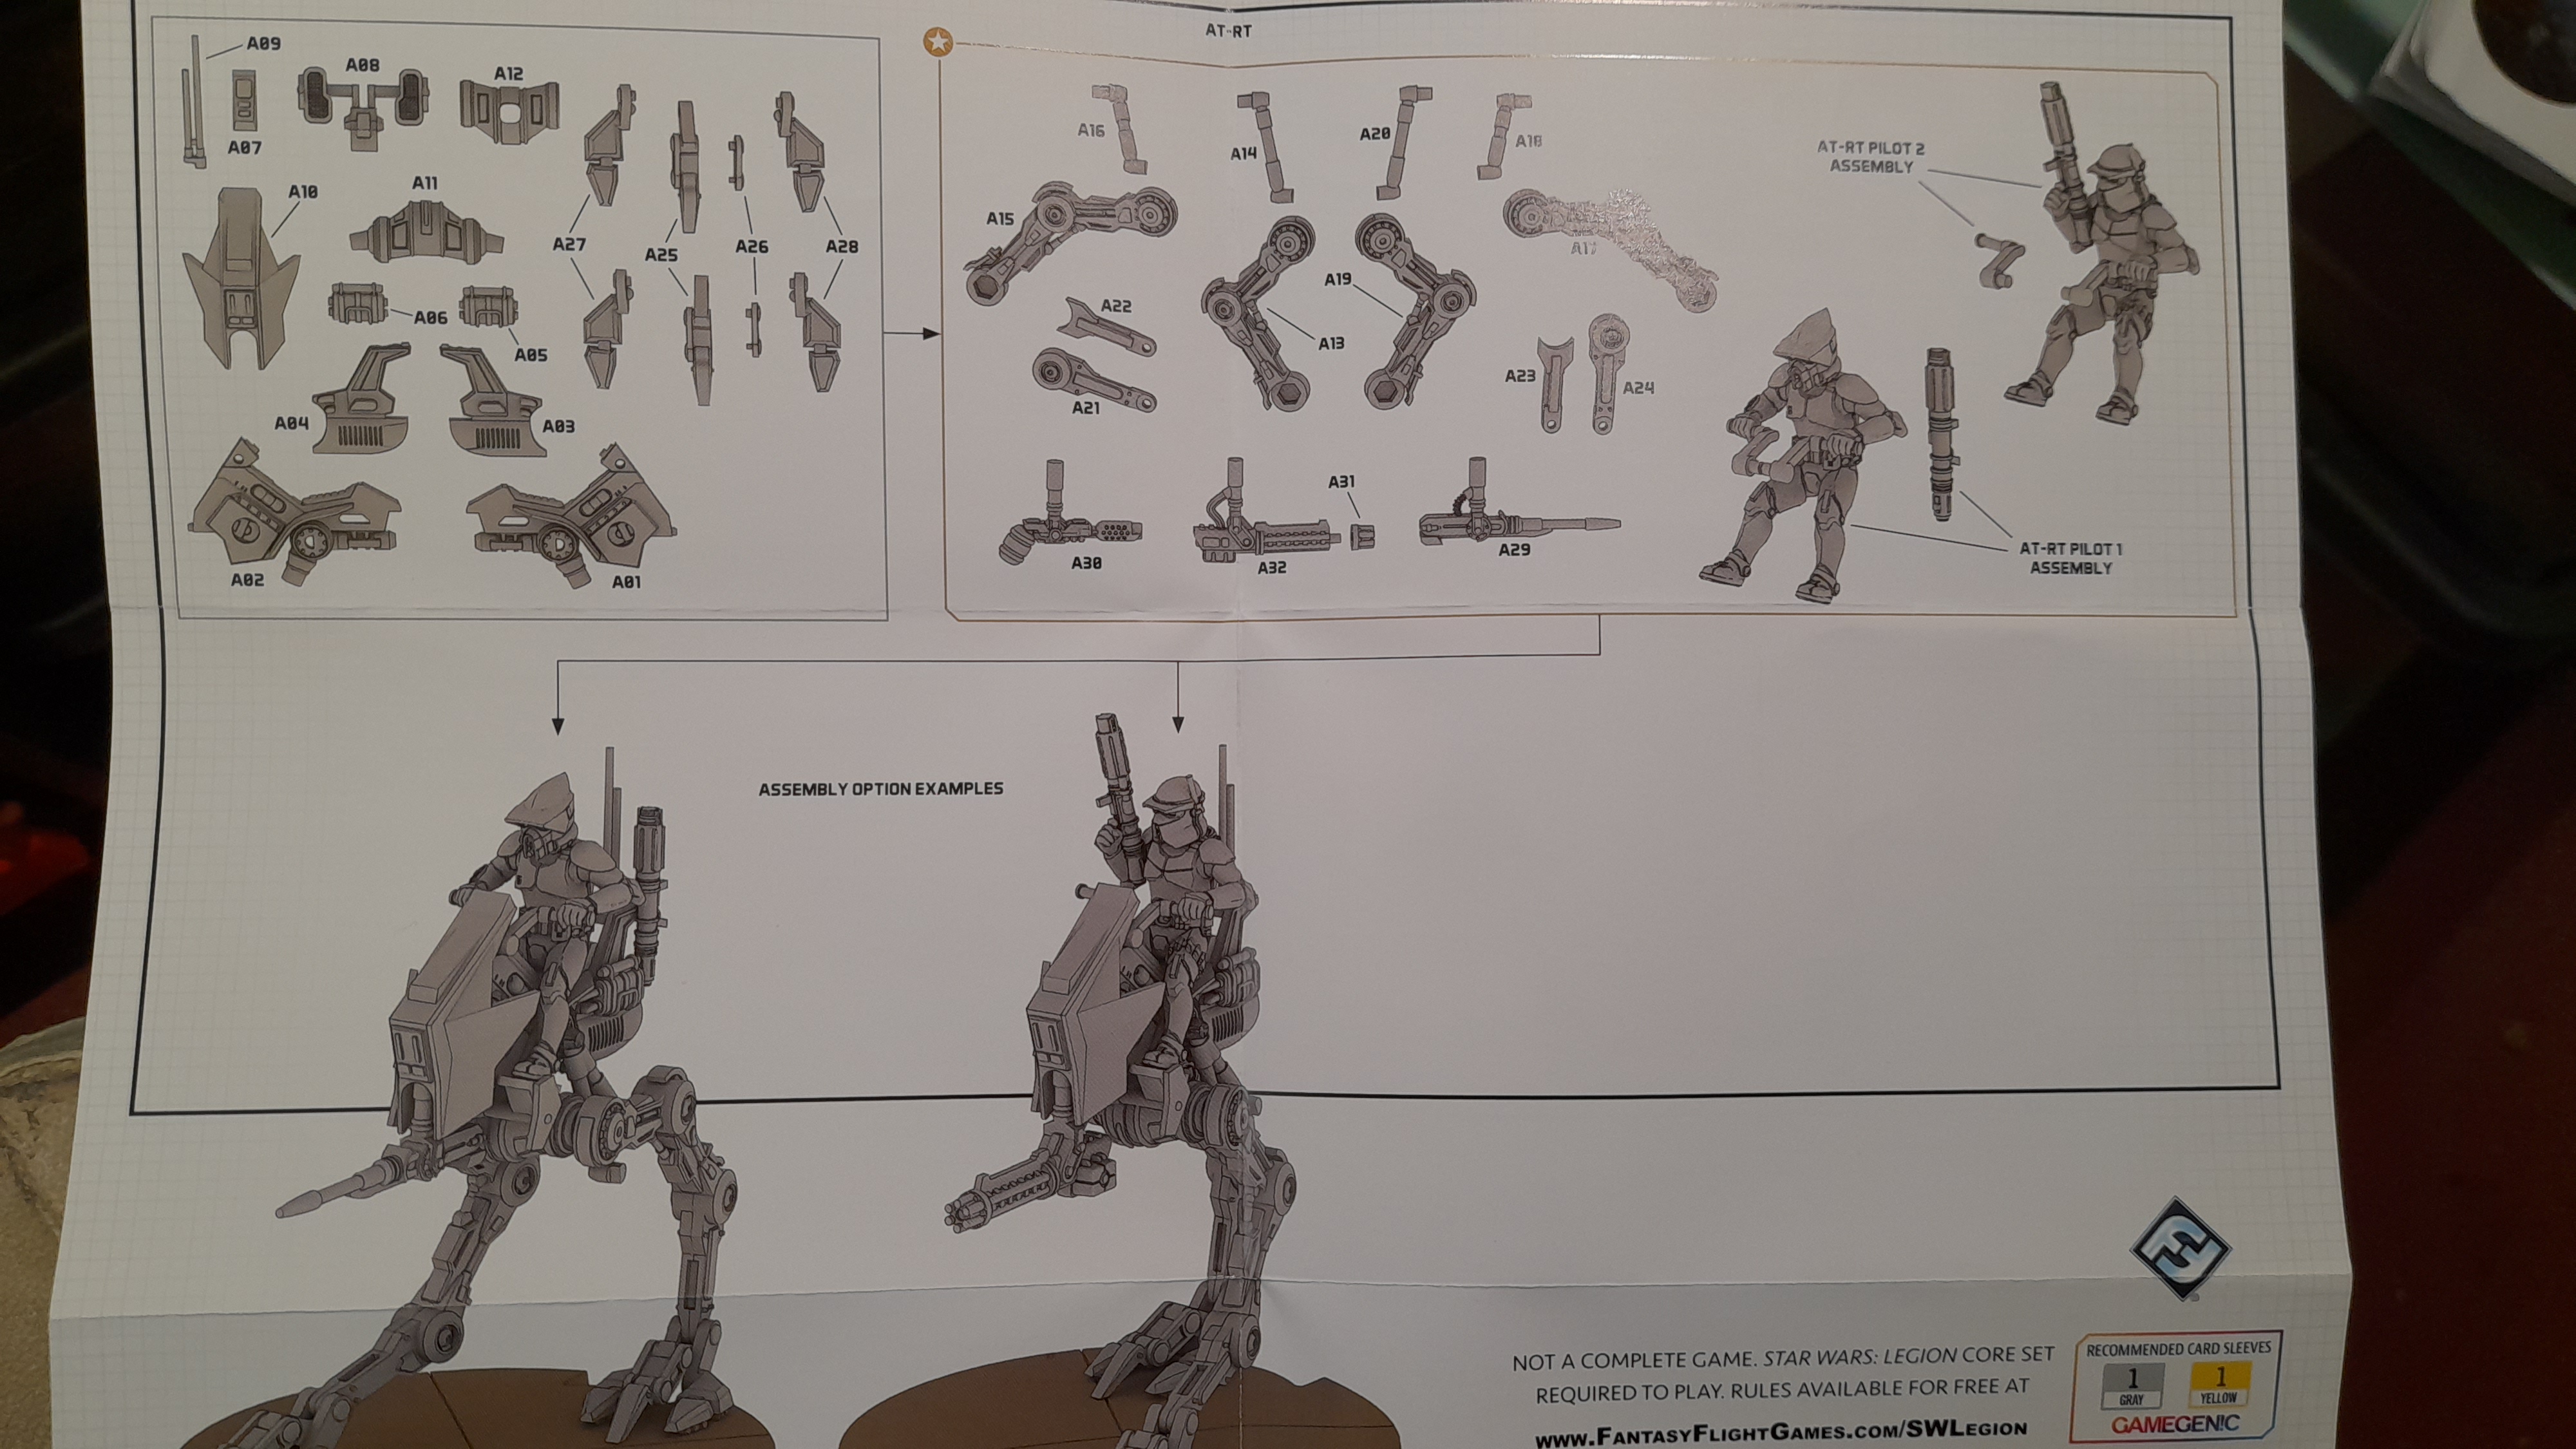
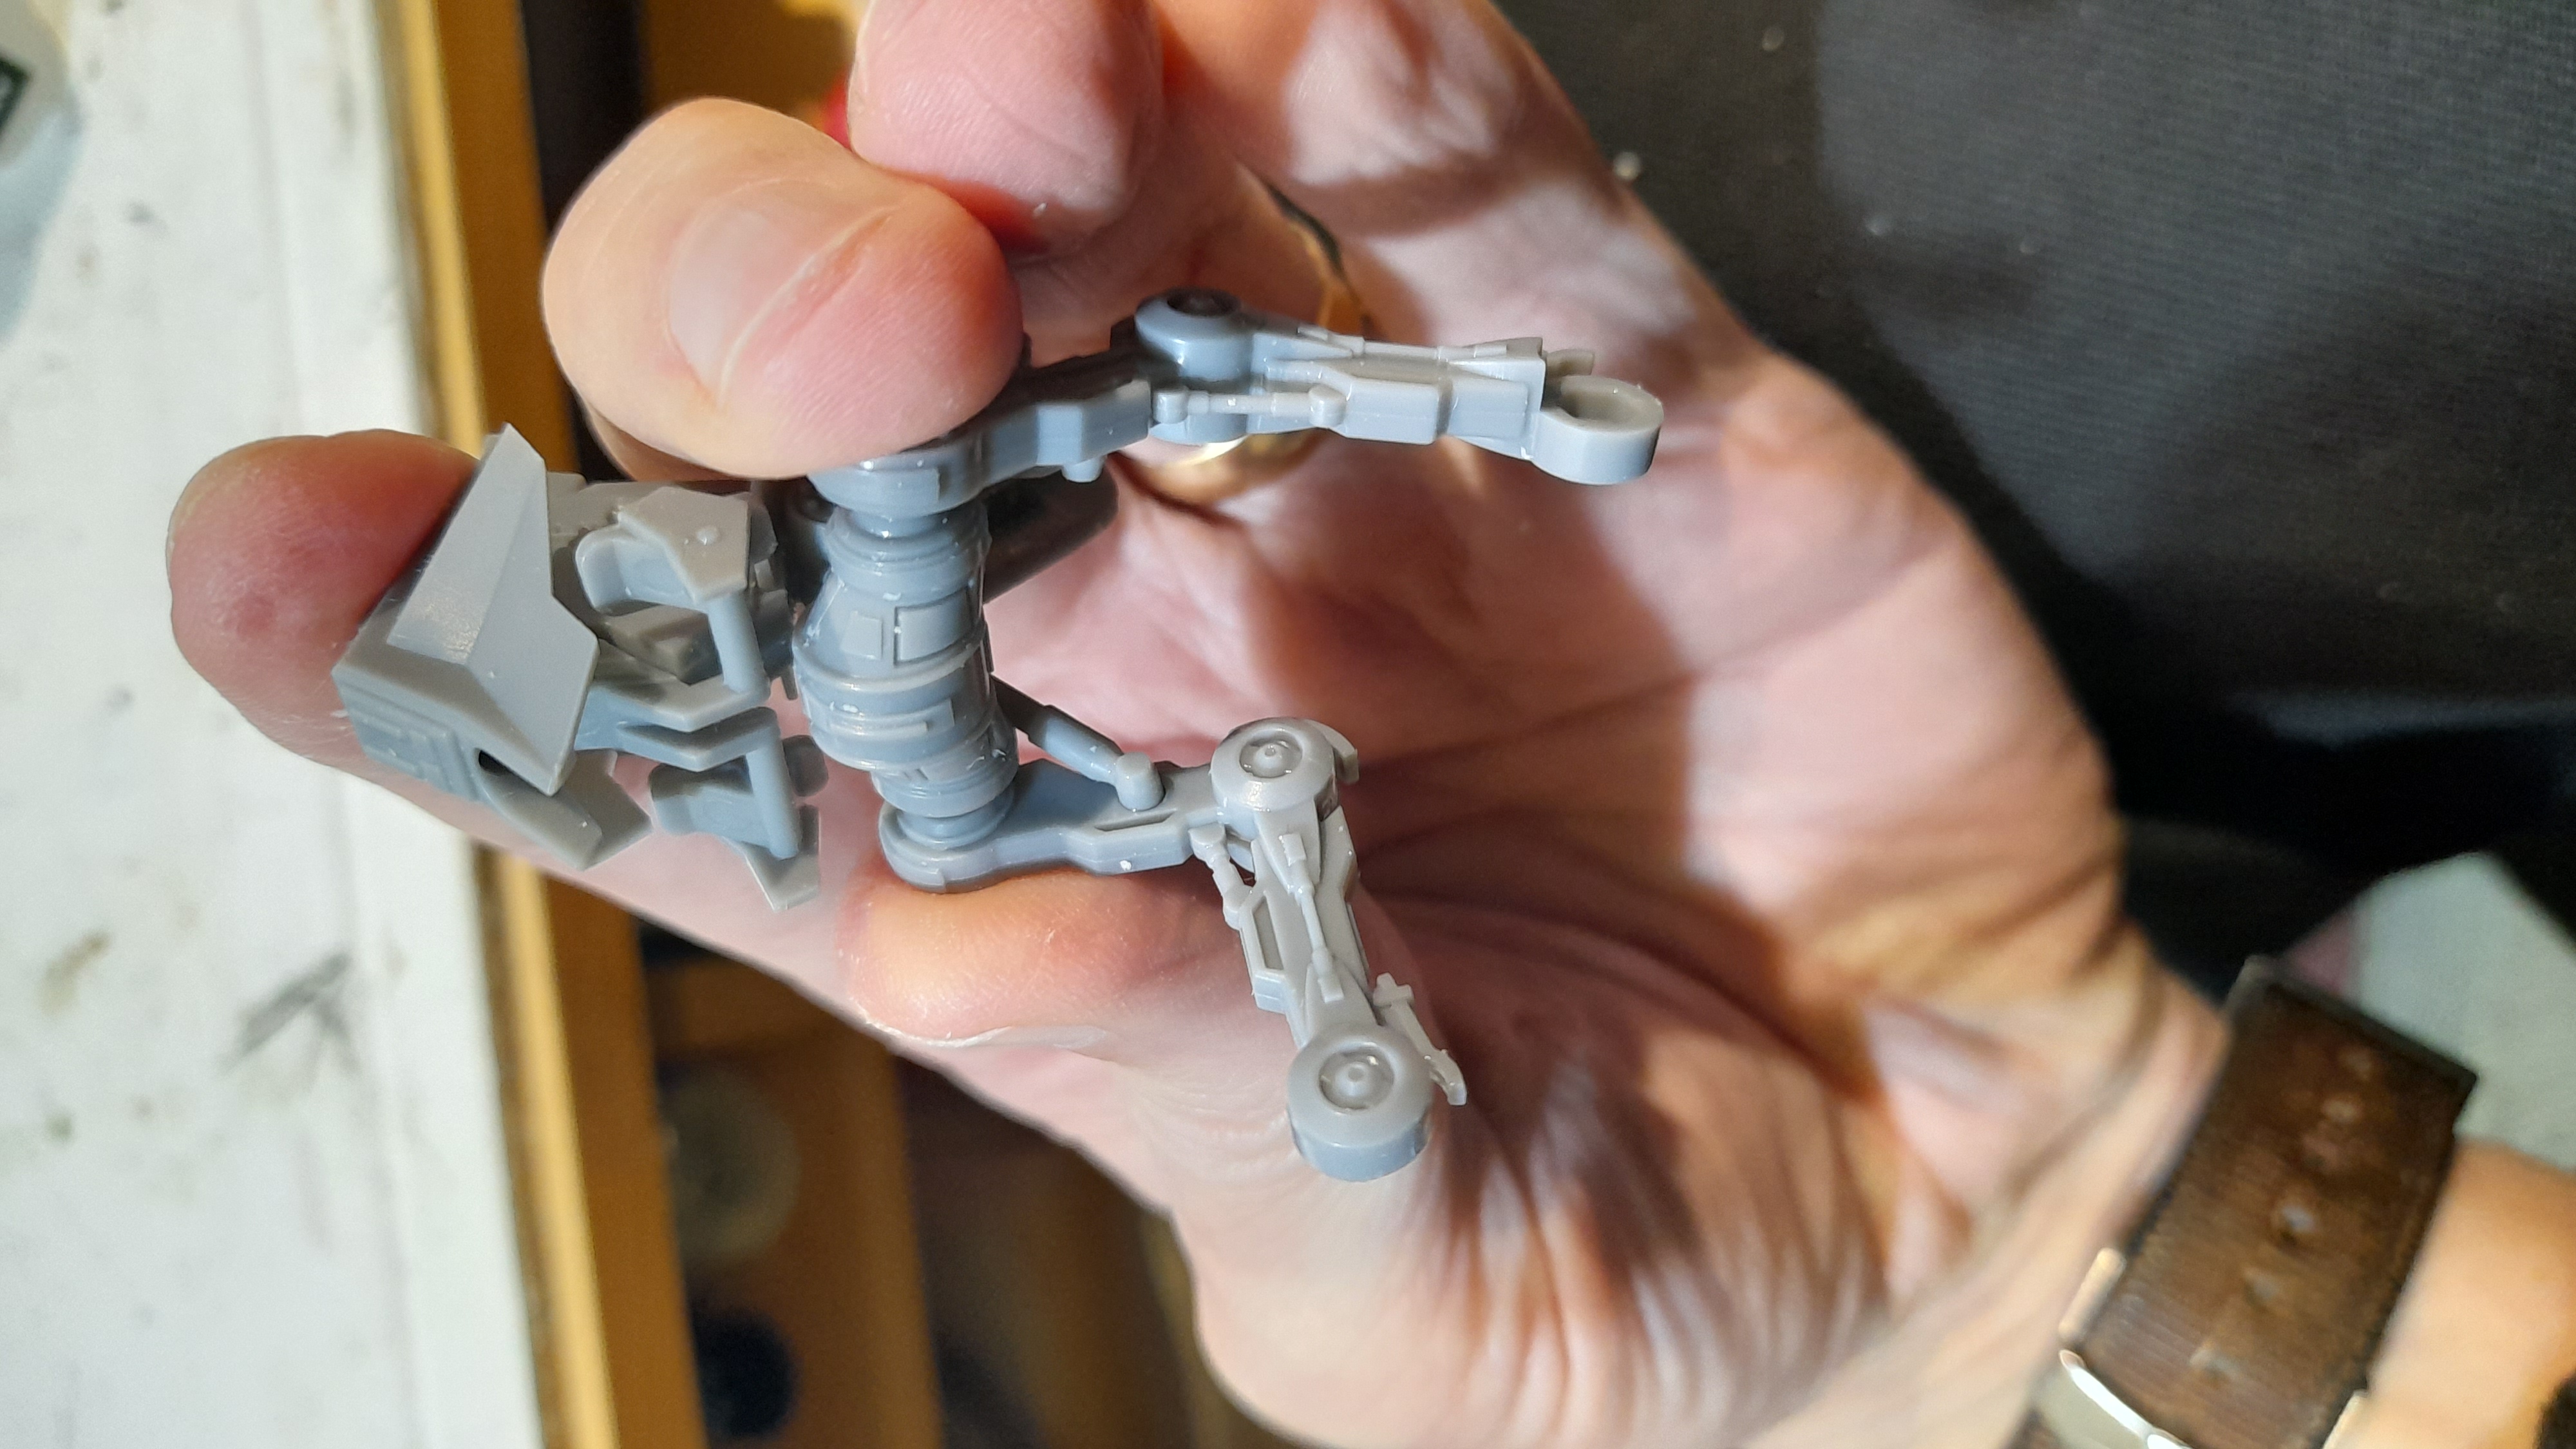
The AT-RT is the last of the Clone forces from last year’s bundle deal.
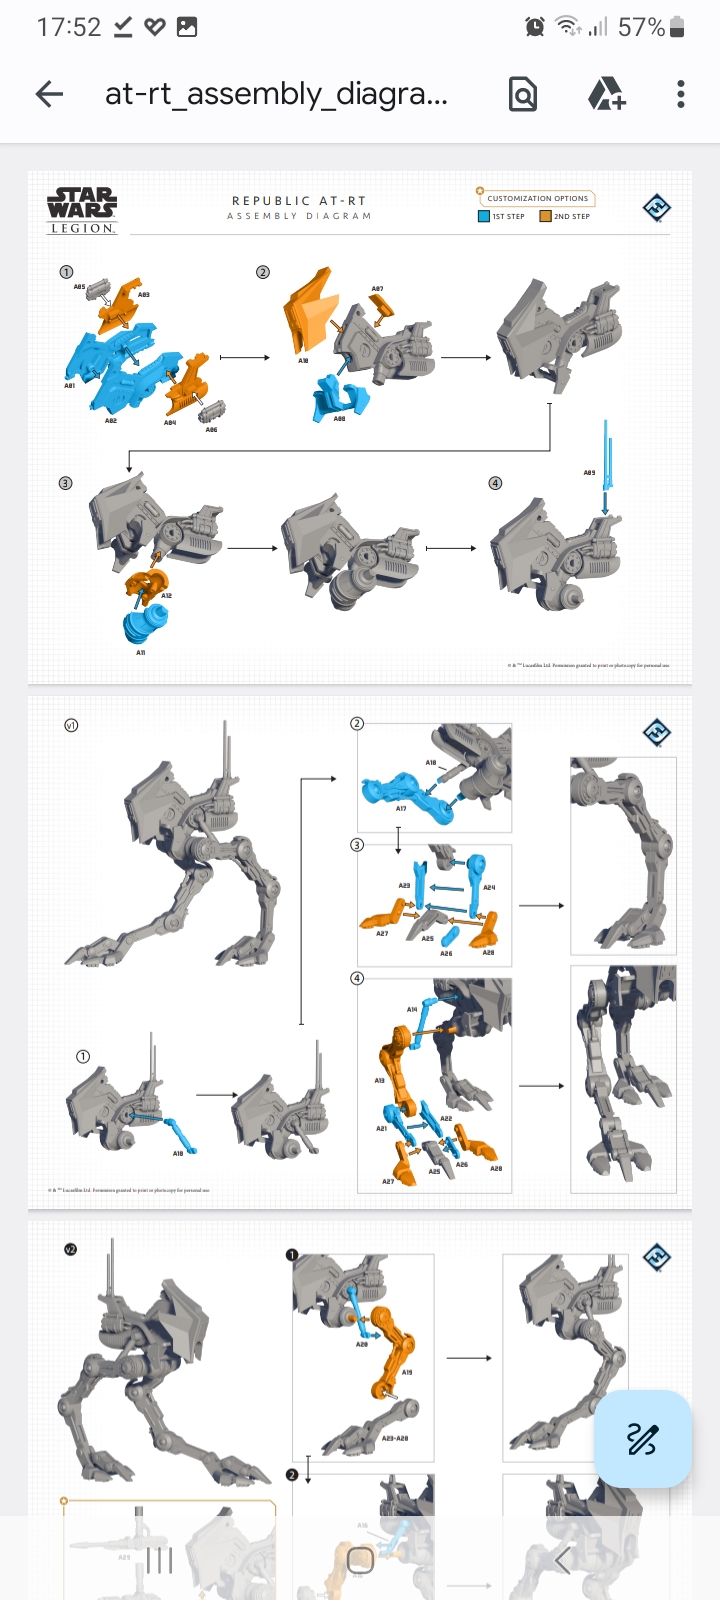
Opening the box I found the build instructions rather lacking.
Luckily there are more detailed build instructions available online.
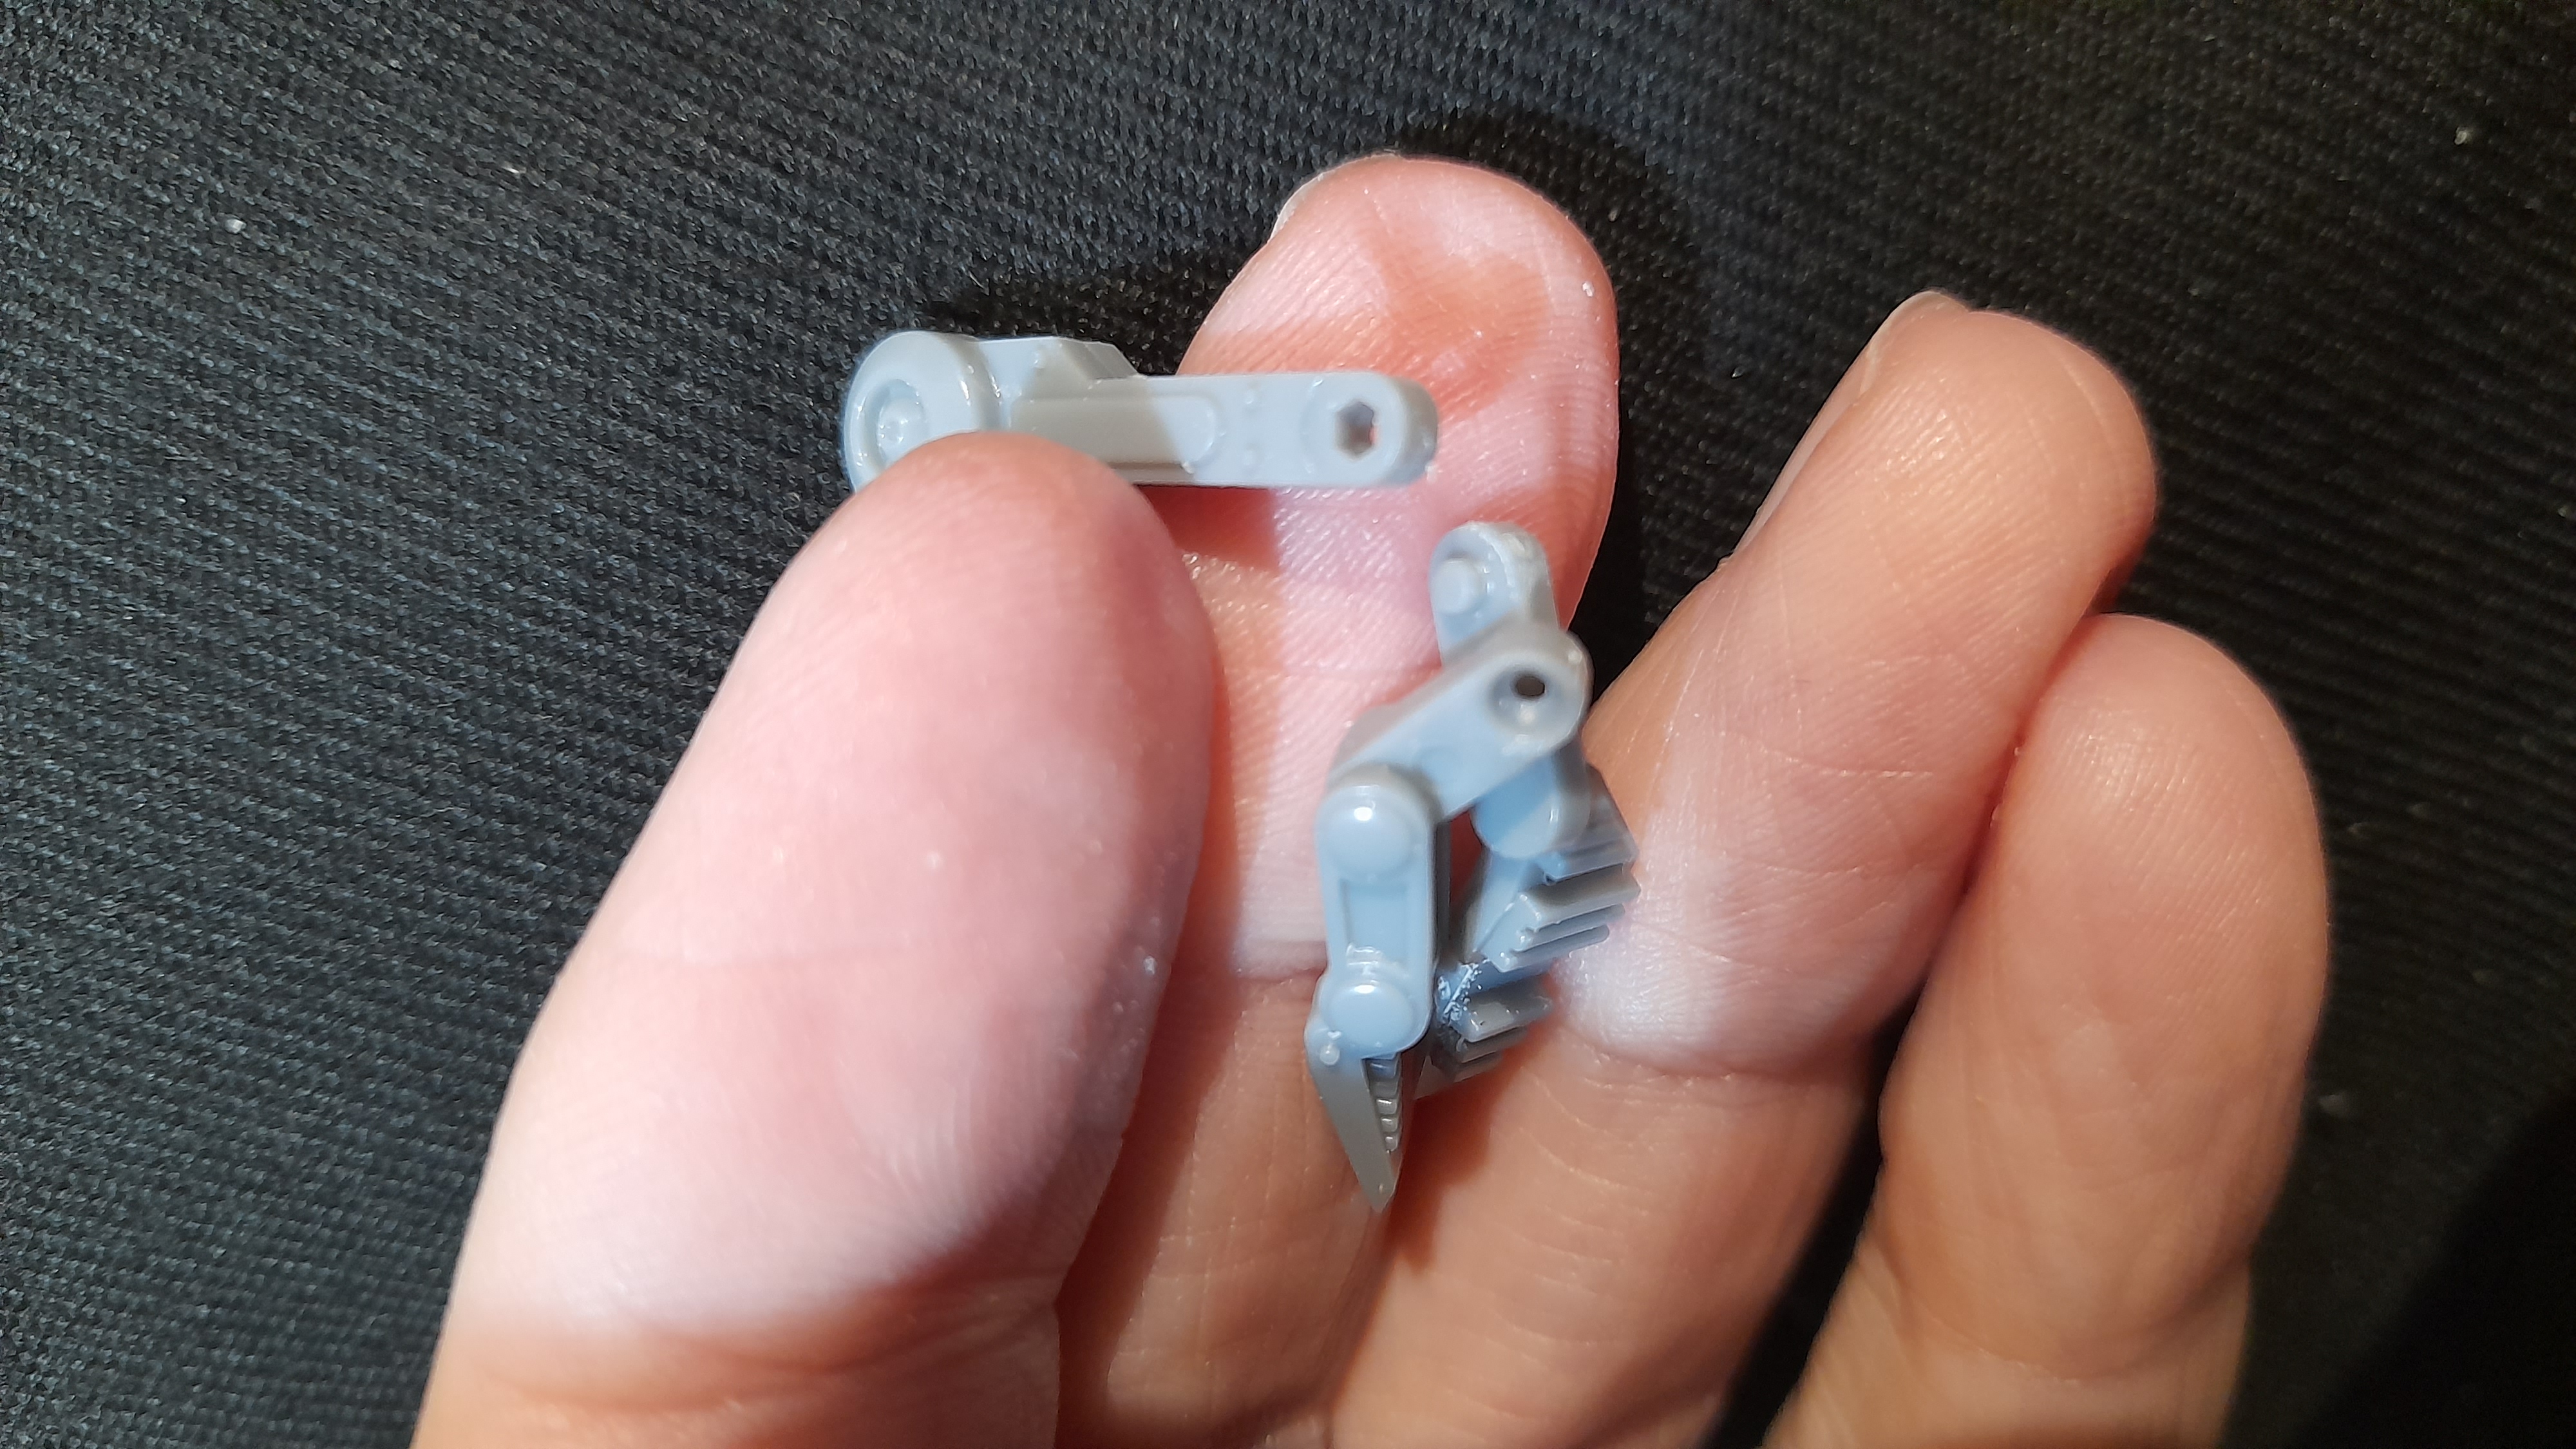
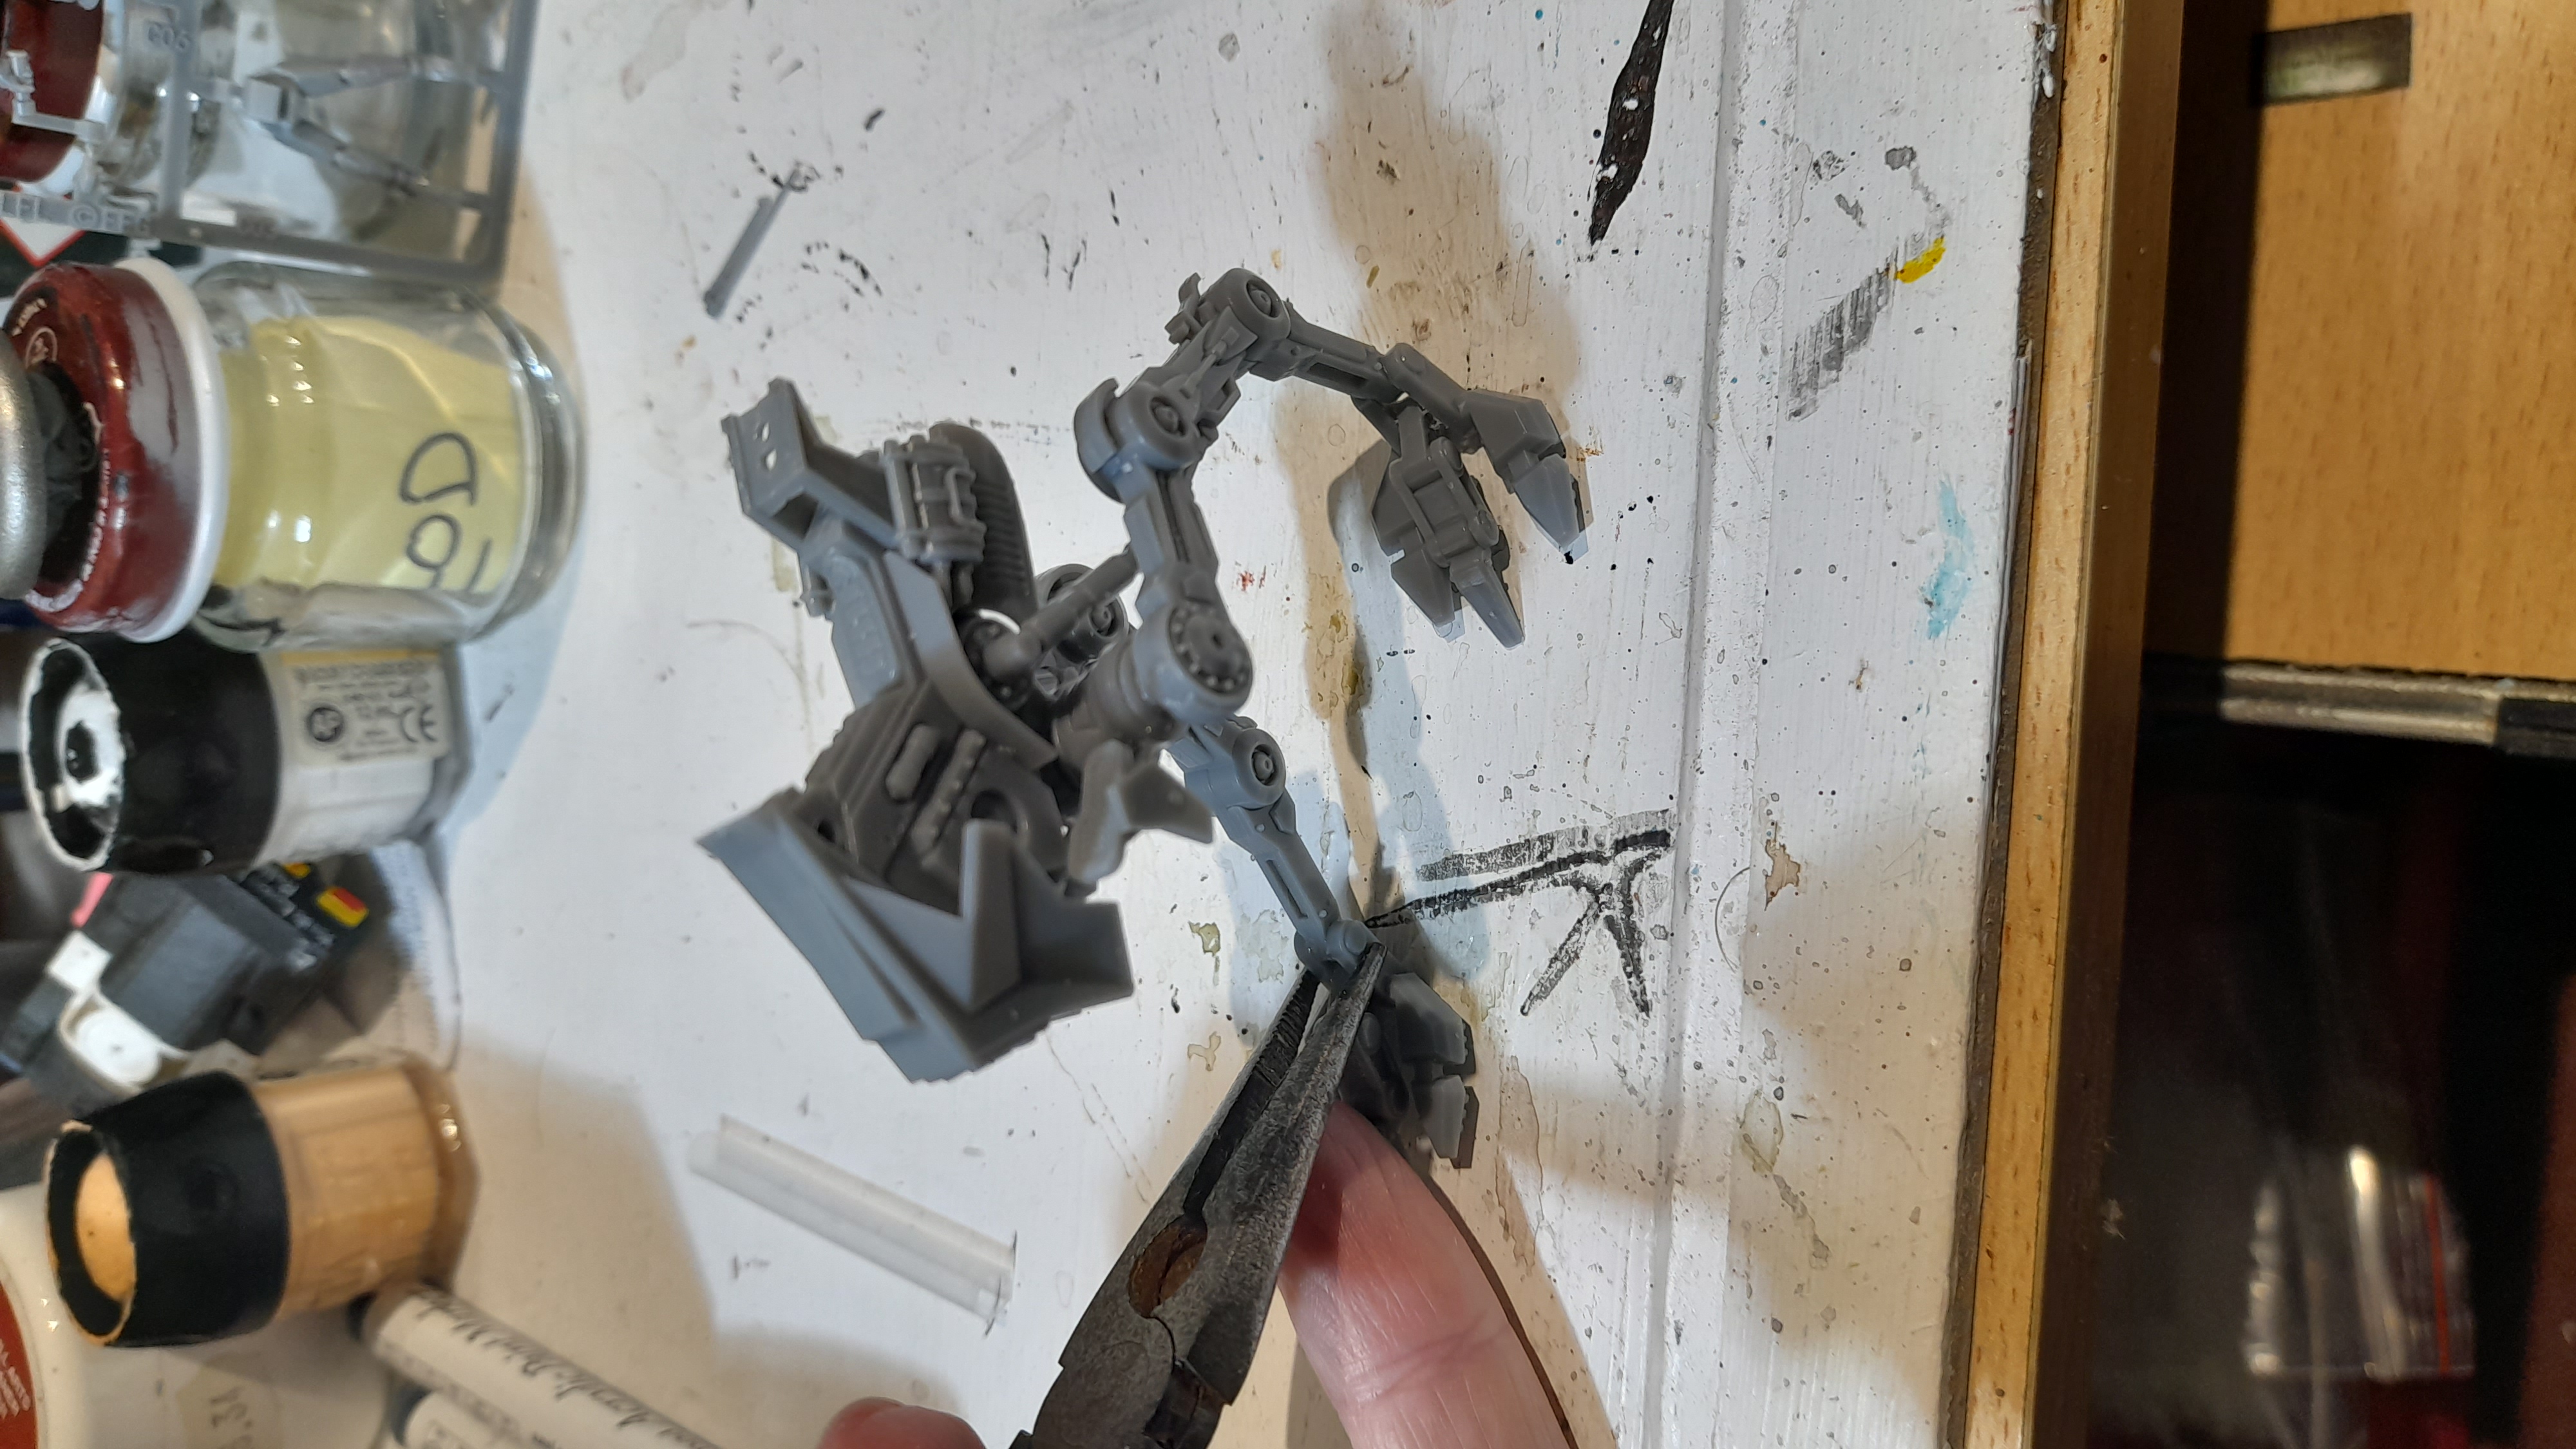
The main body part, and the start of the legs, all went together OK.
But then came the feet and lower leg….
They were rather fiddly to say the least – another time where I felt I needed another pair of hands!
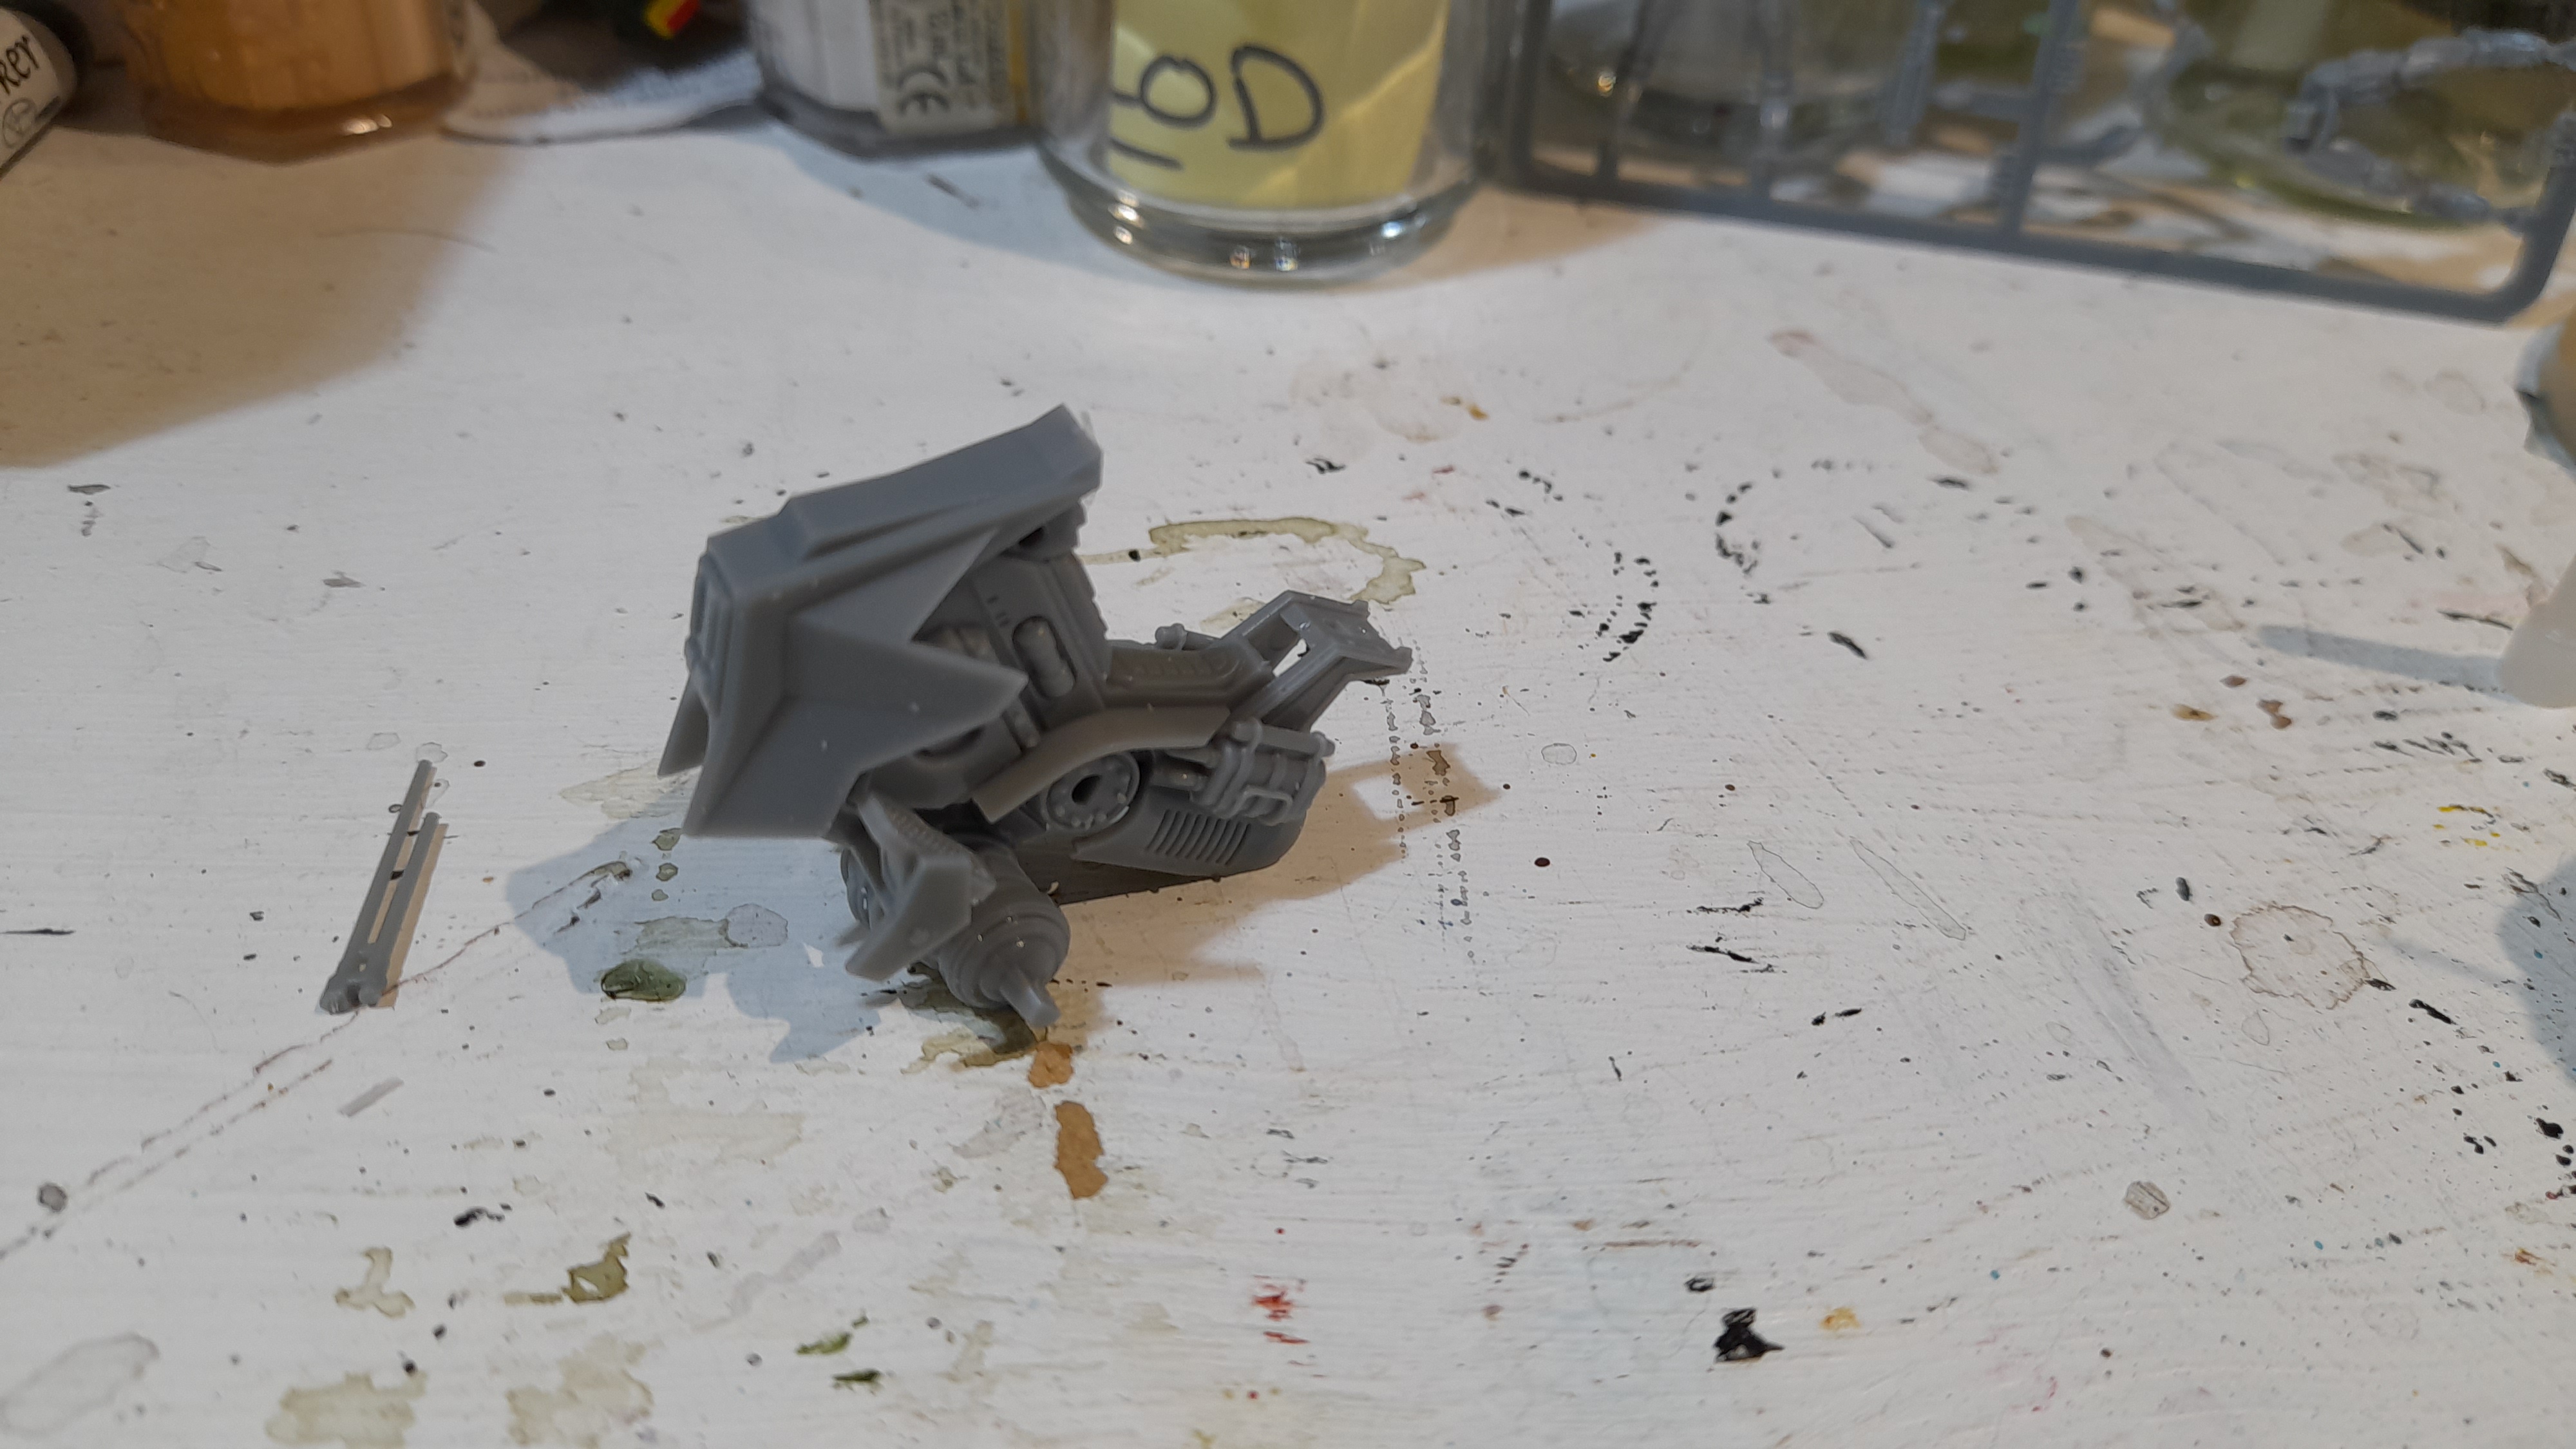
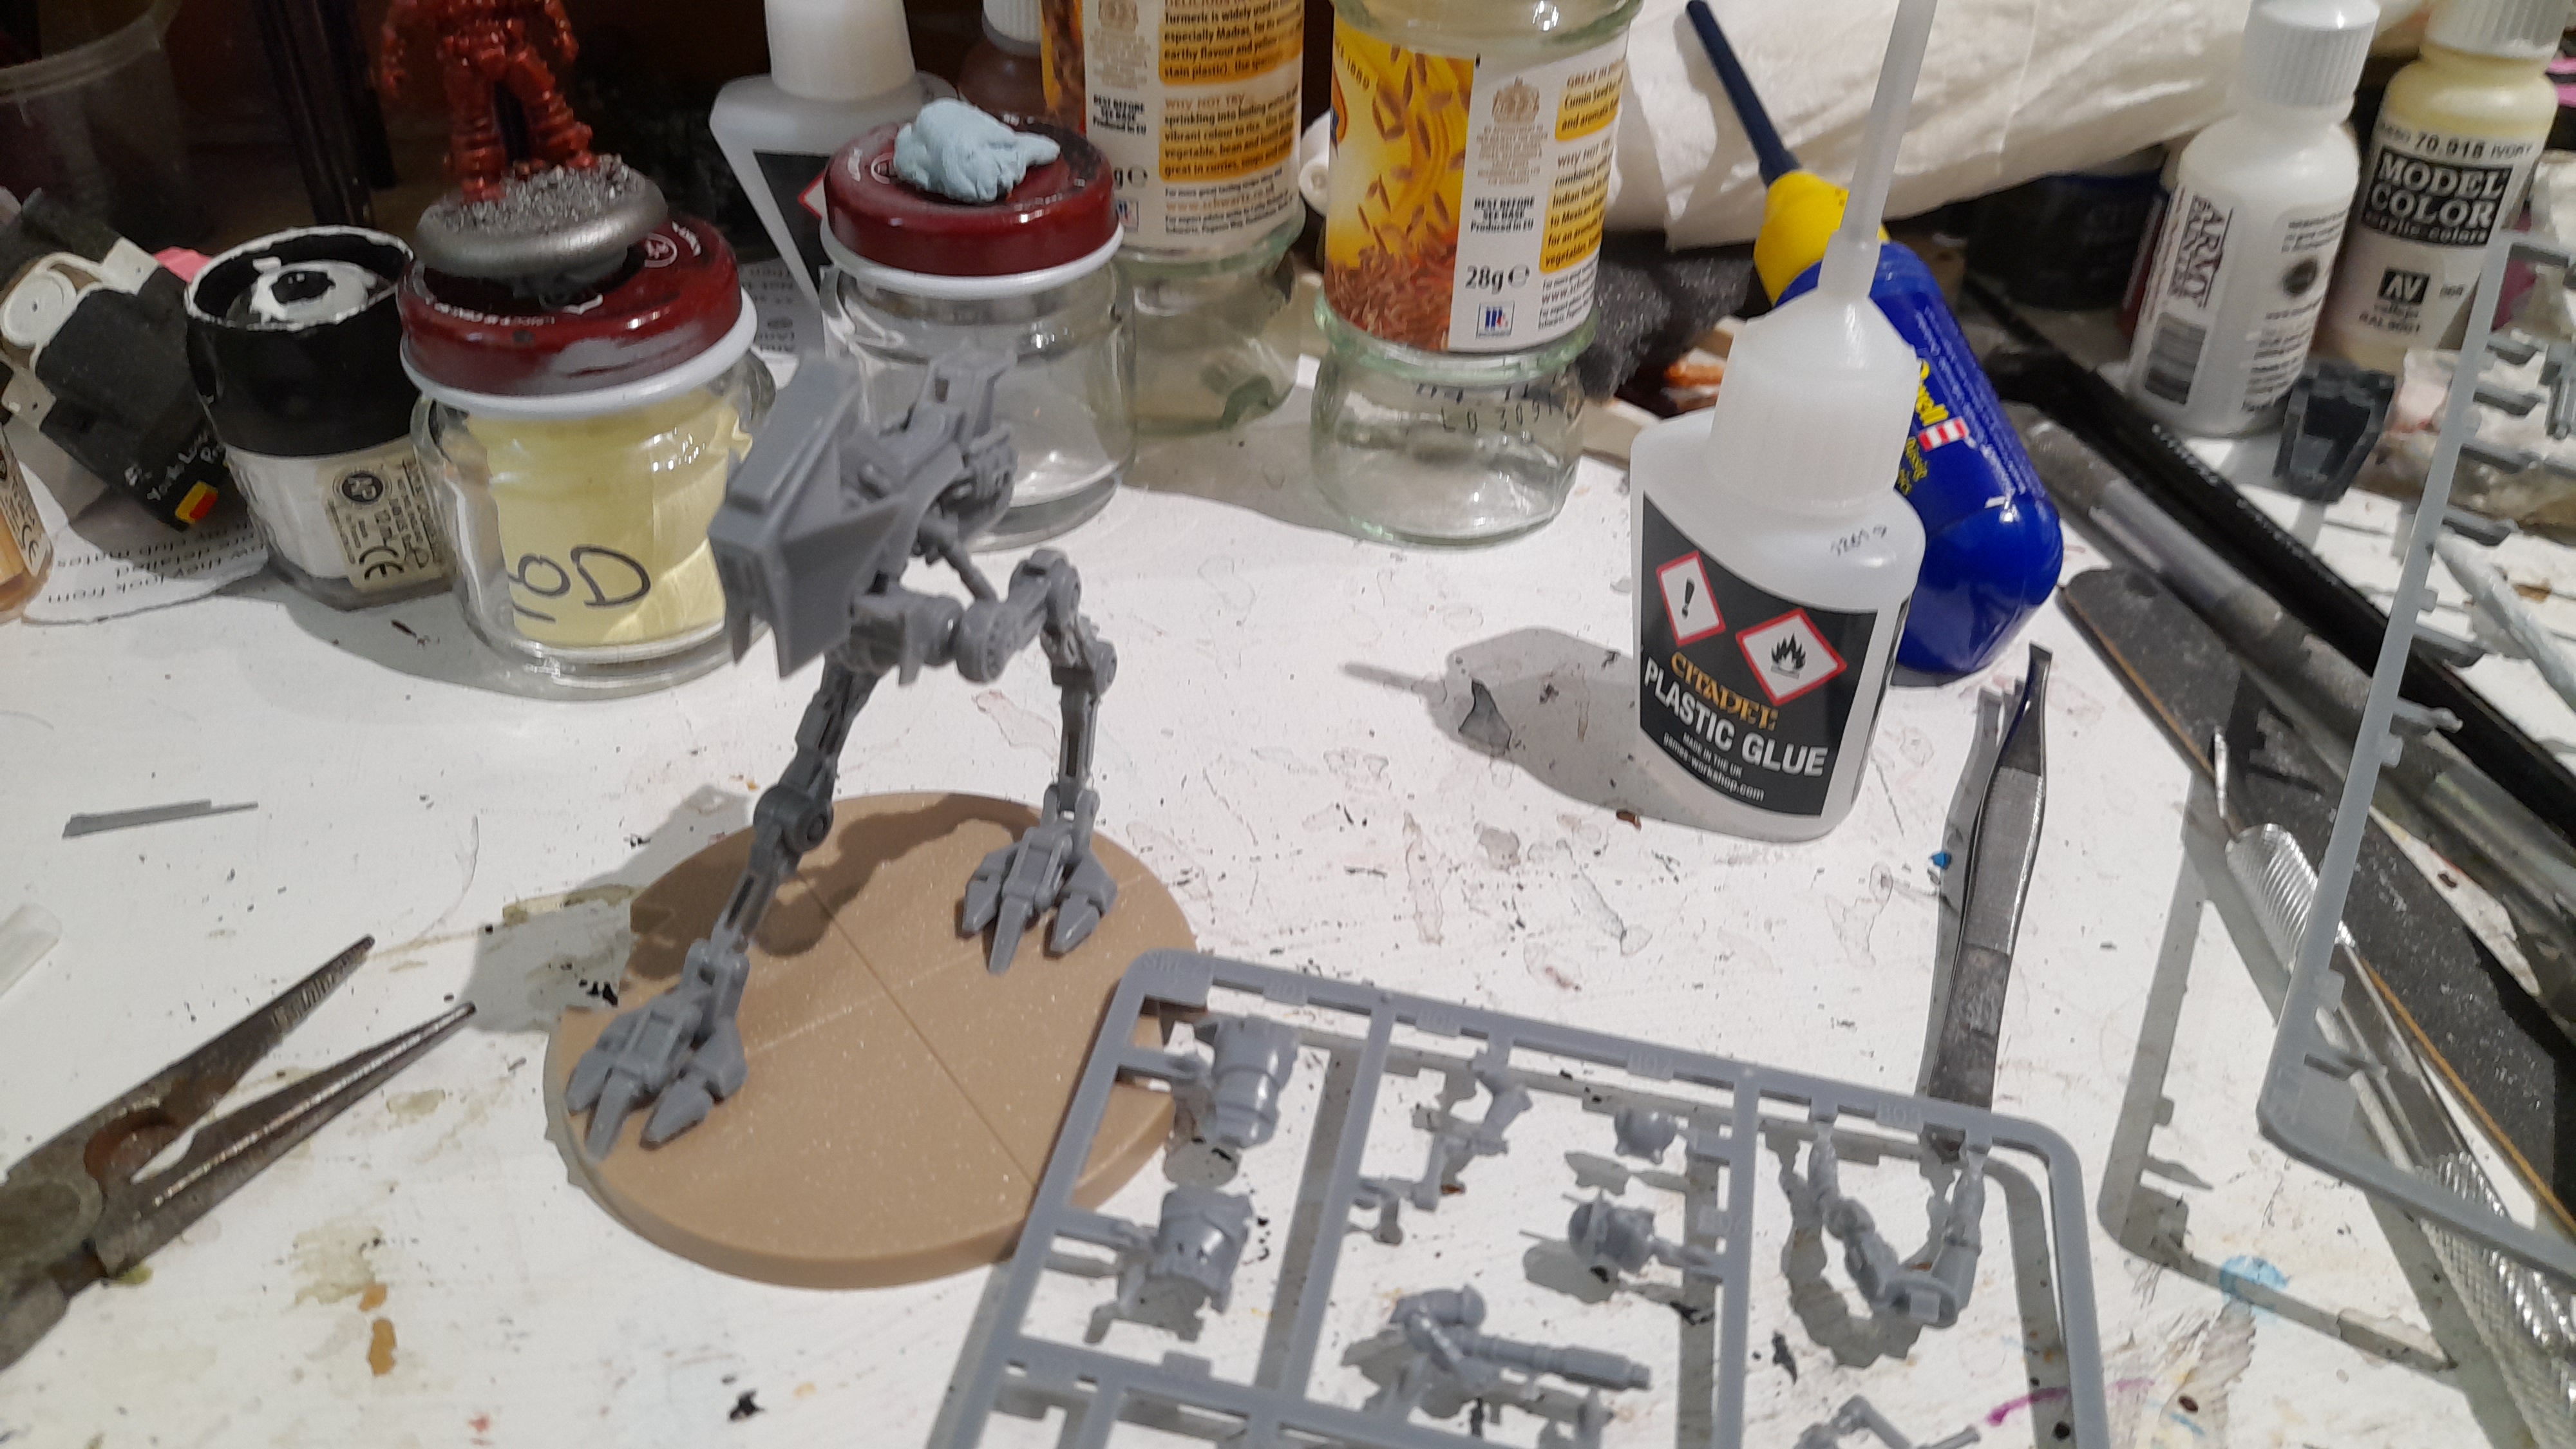
Then it was just a case of choosing which of the two drivers to use and snip,clean and glue (8 pieces for this one).
As it was I used the head from the other driver, as I preferred that head but the main pose of the weapon wielding one.
Once painted I will look to magnetise the gun. (Although I may just glue one in if I change my mind).
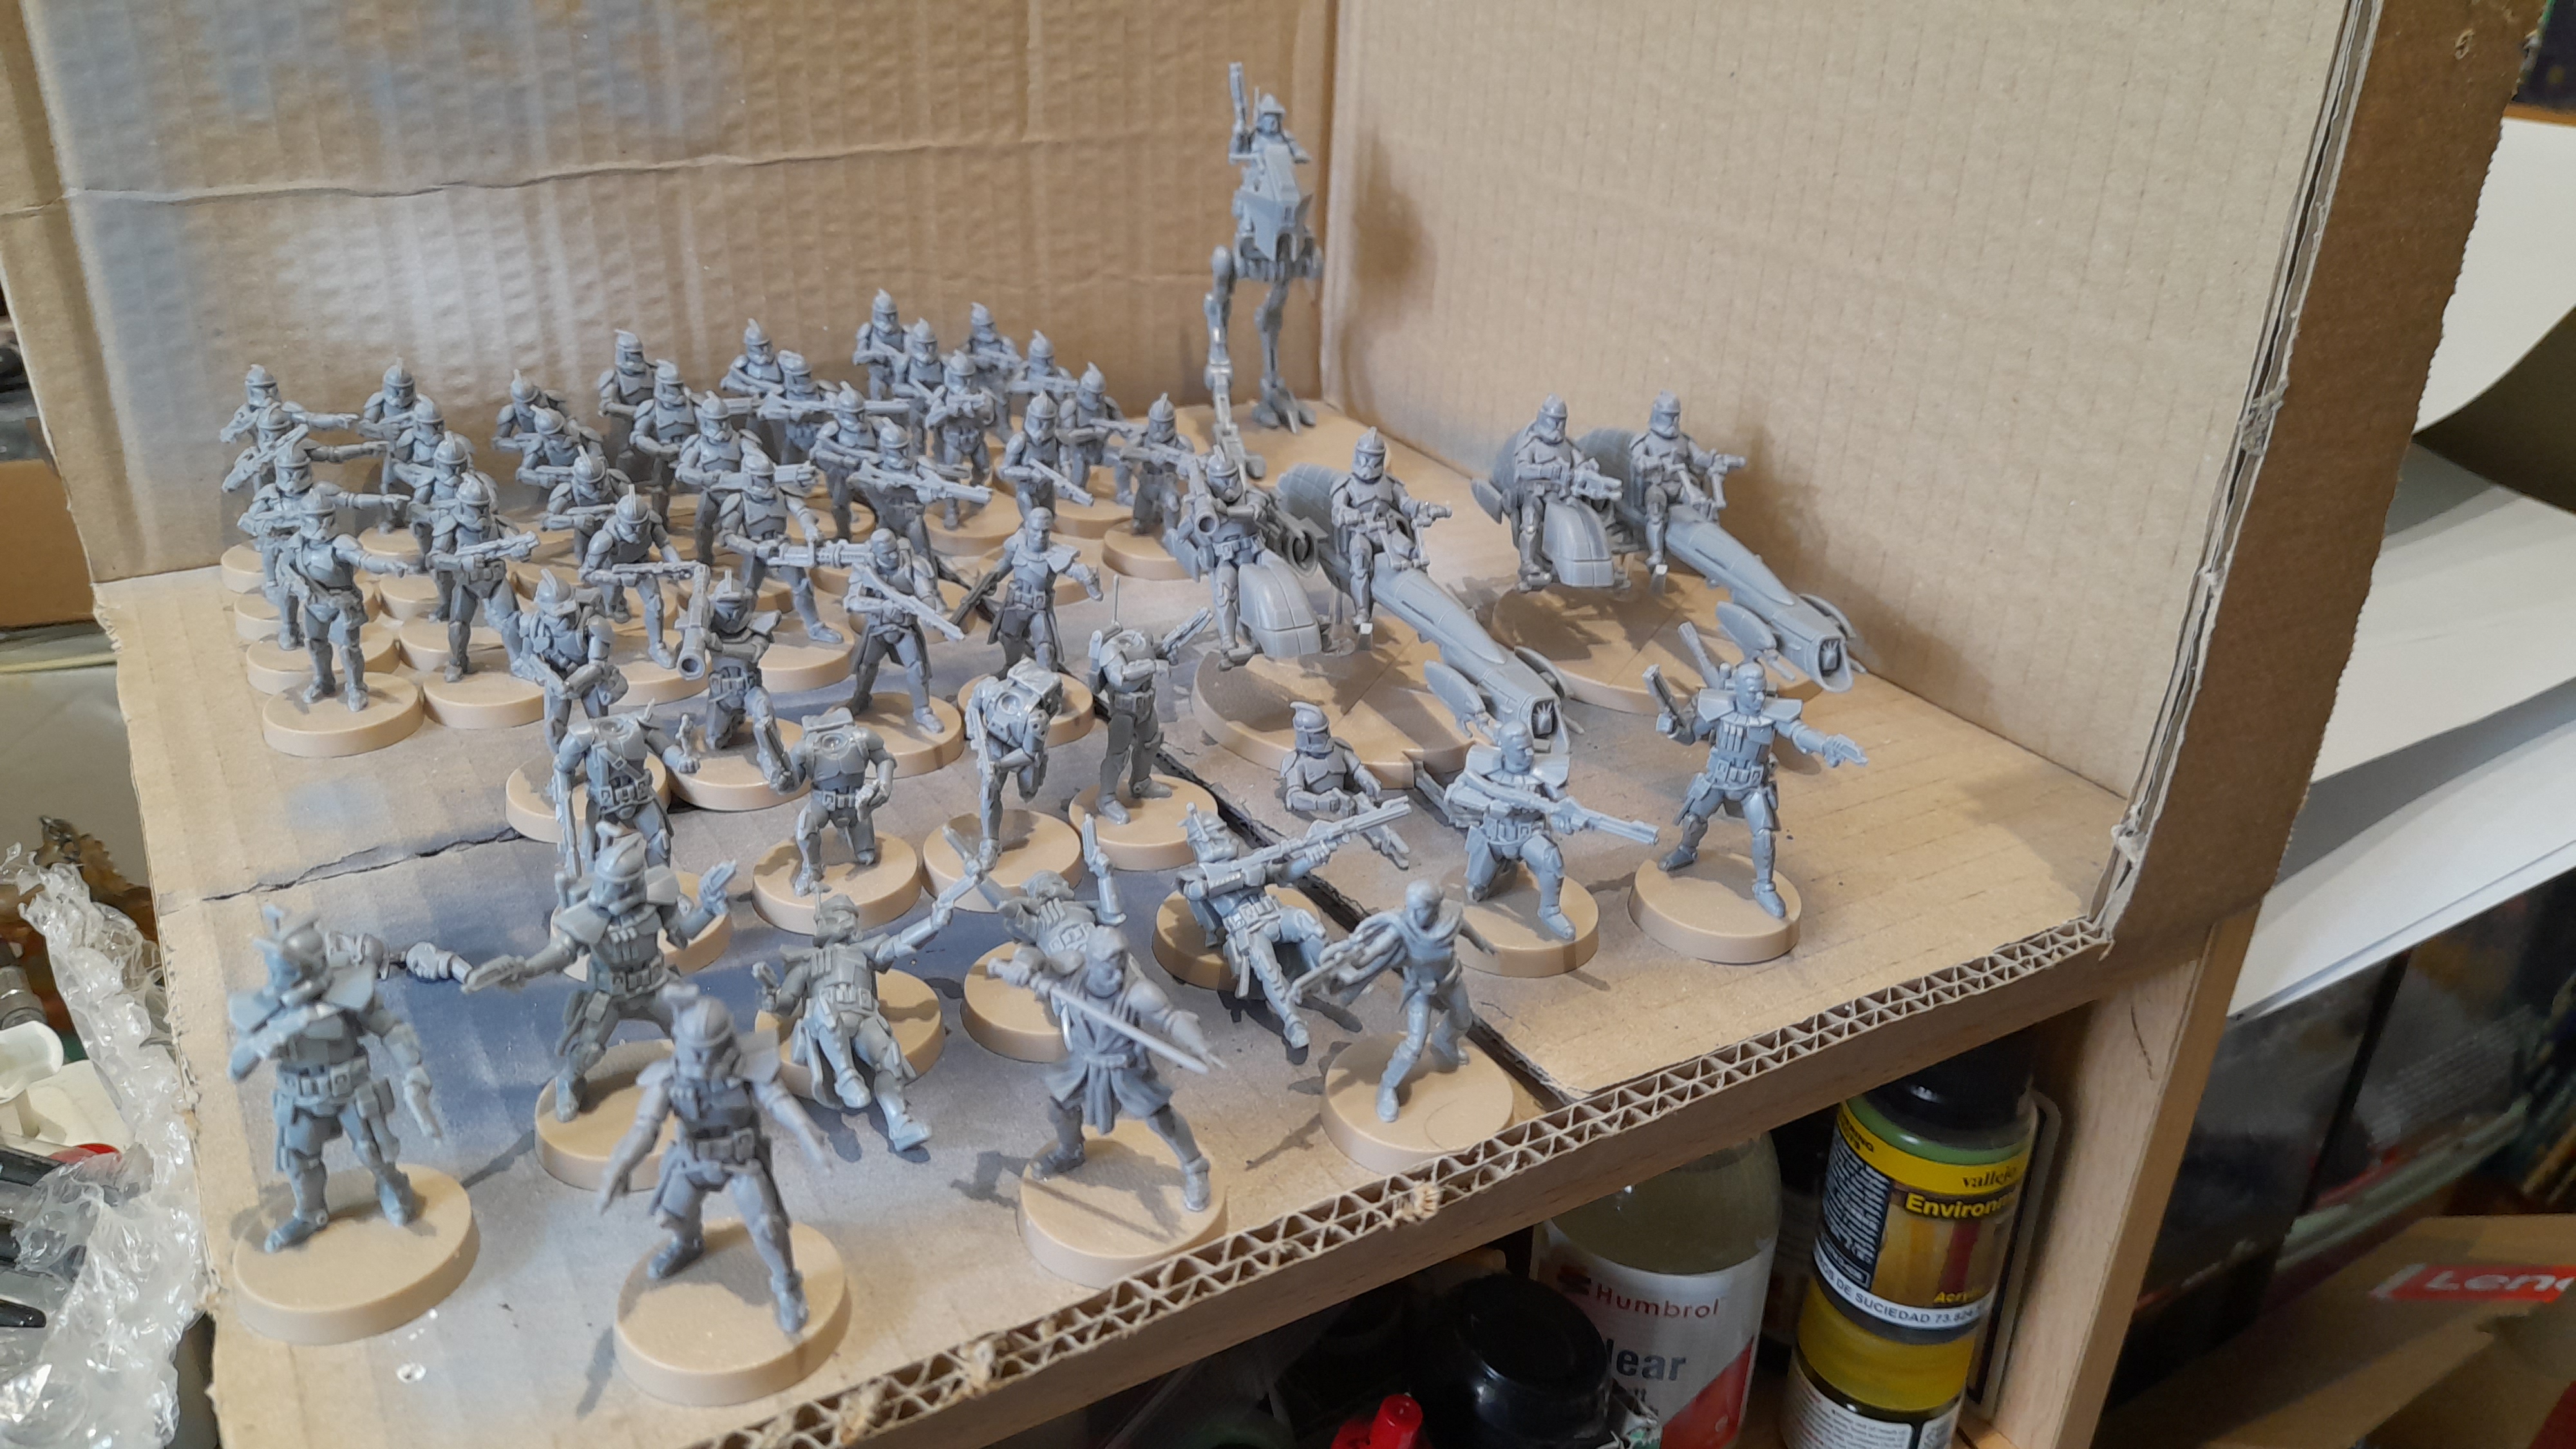
Clone forces assembled
30th April 2023
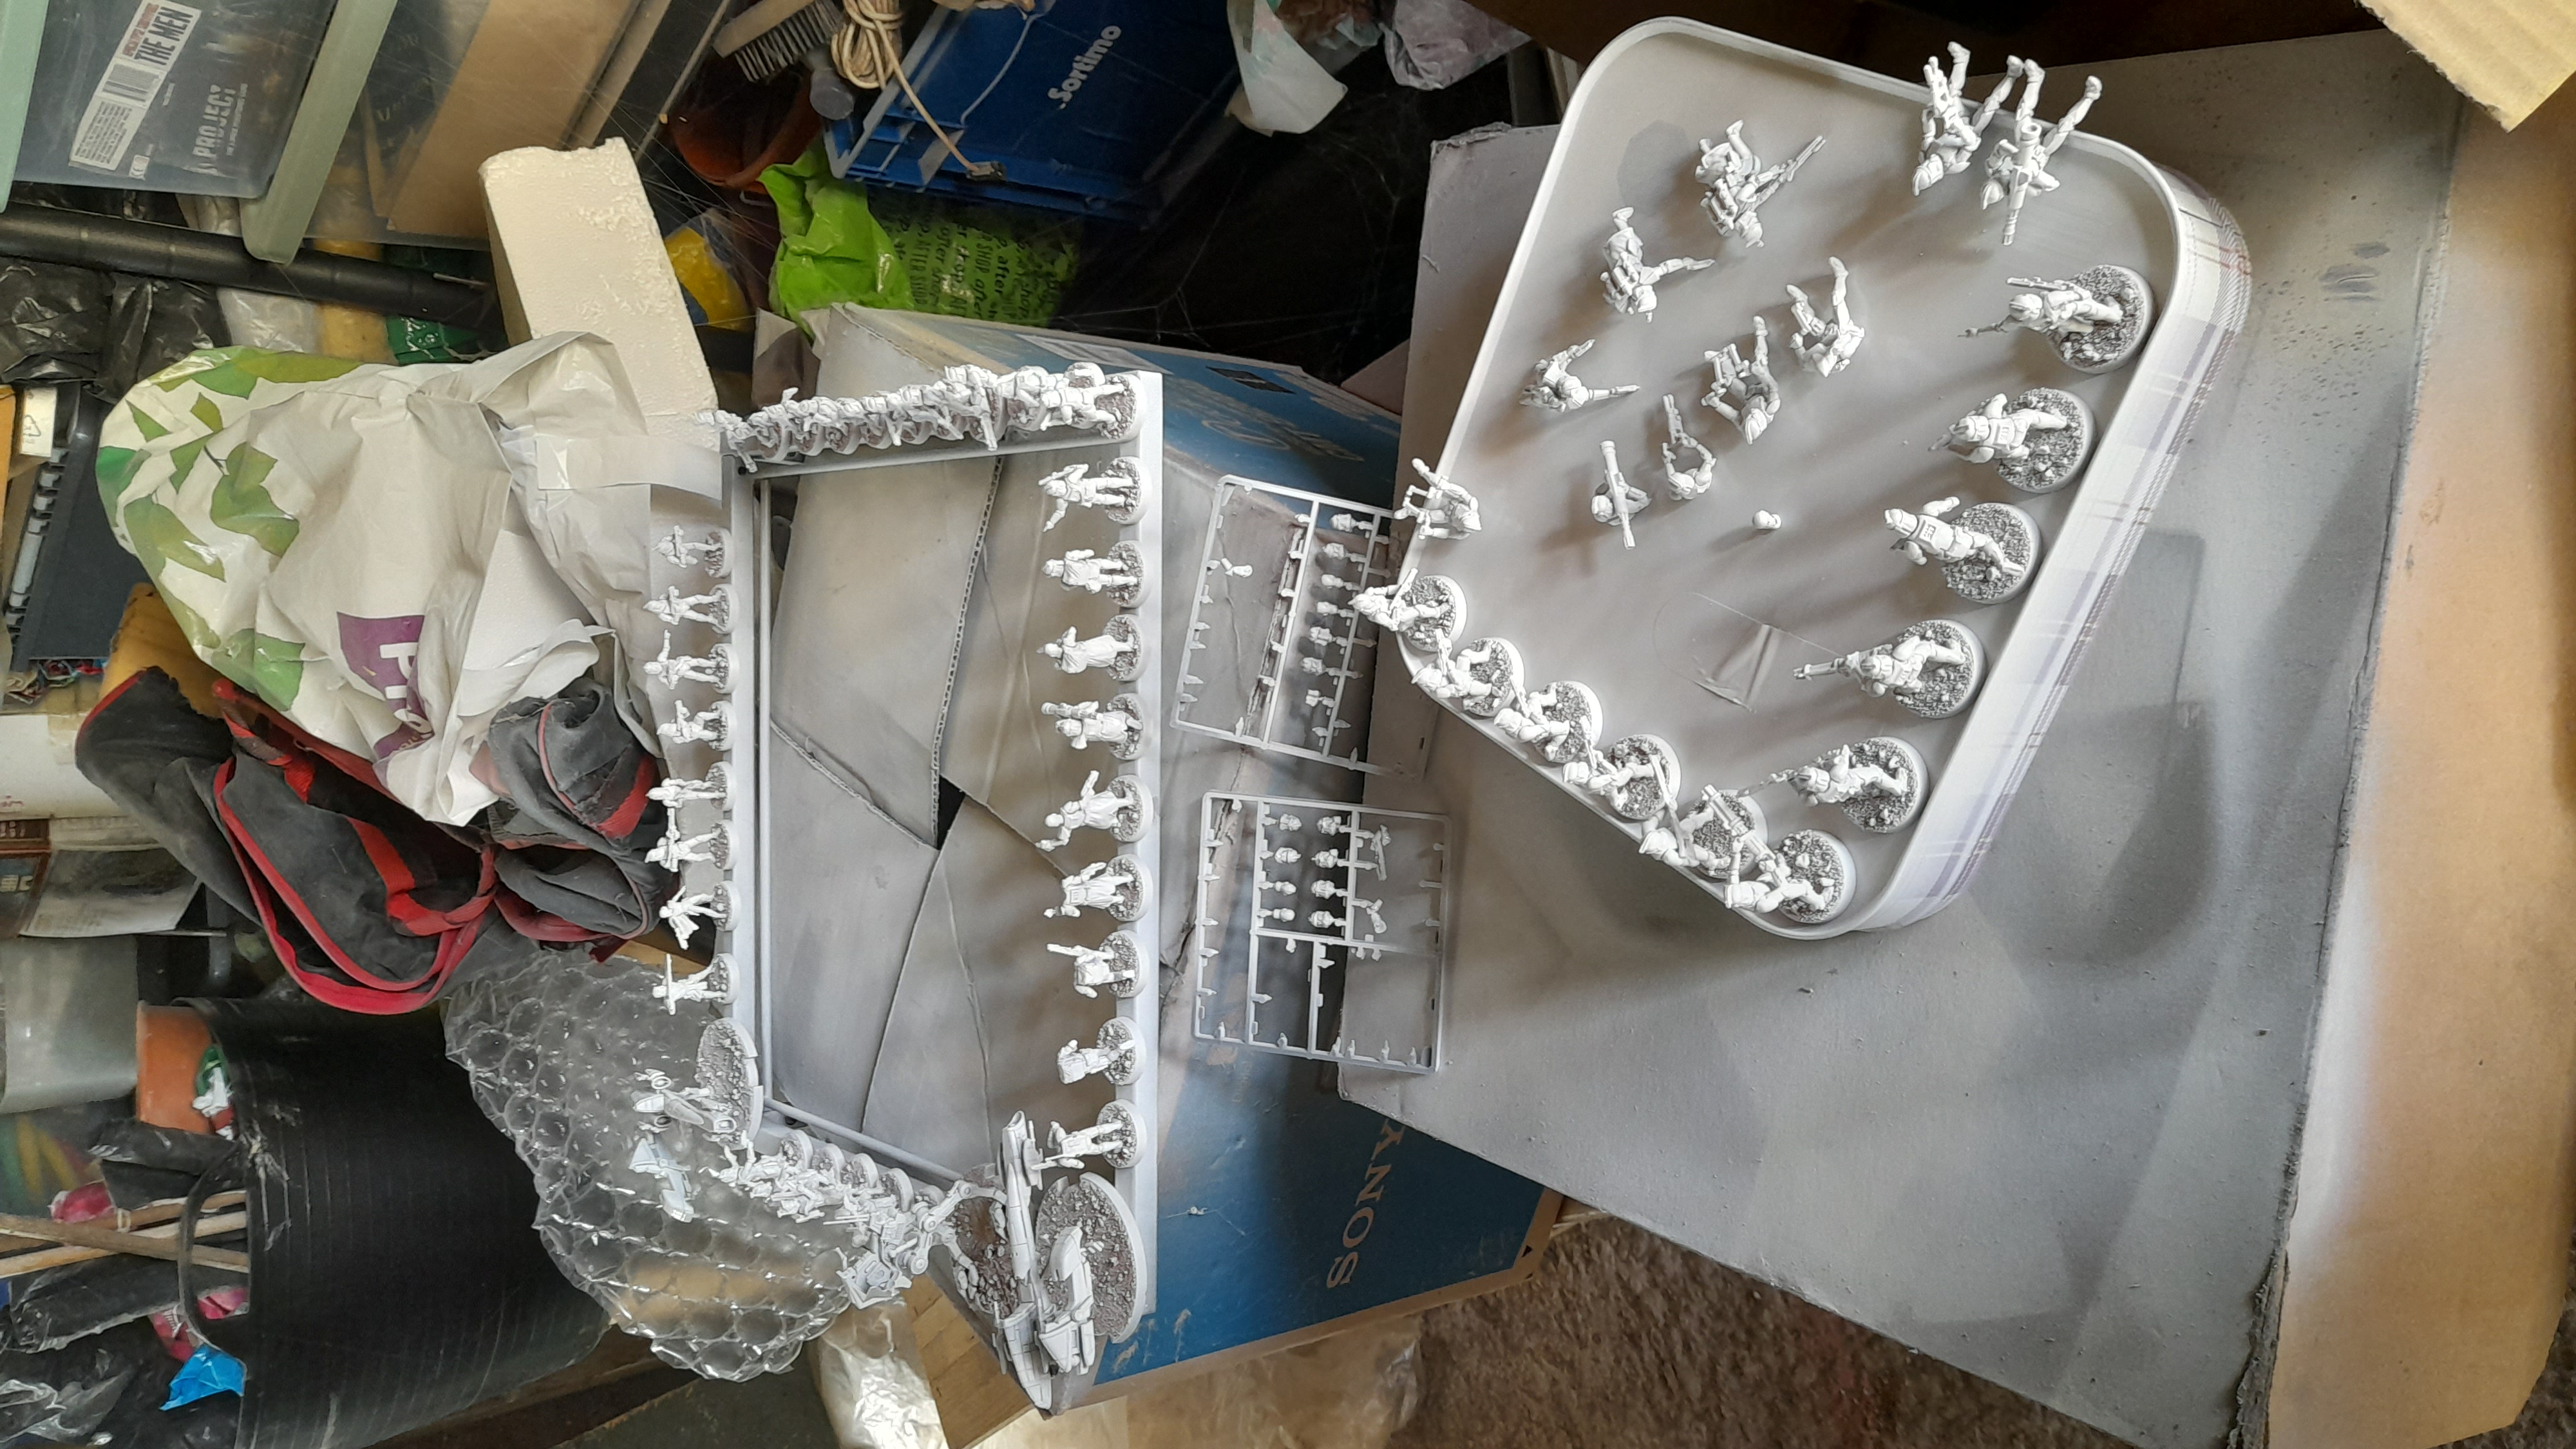
With that the Clone forces are assembled.
I now need to decide on the plan for basing, and then get out the white spray (when the air dries a bit) to get the painting underway.
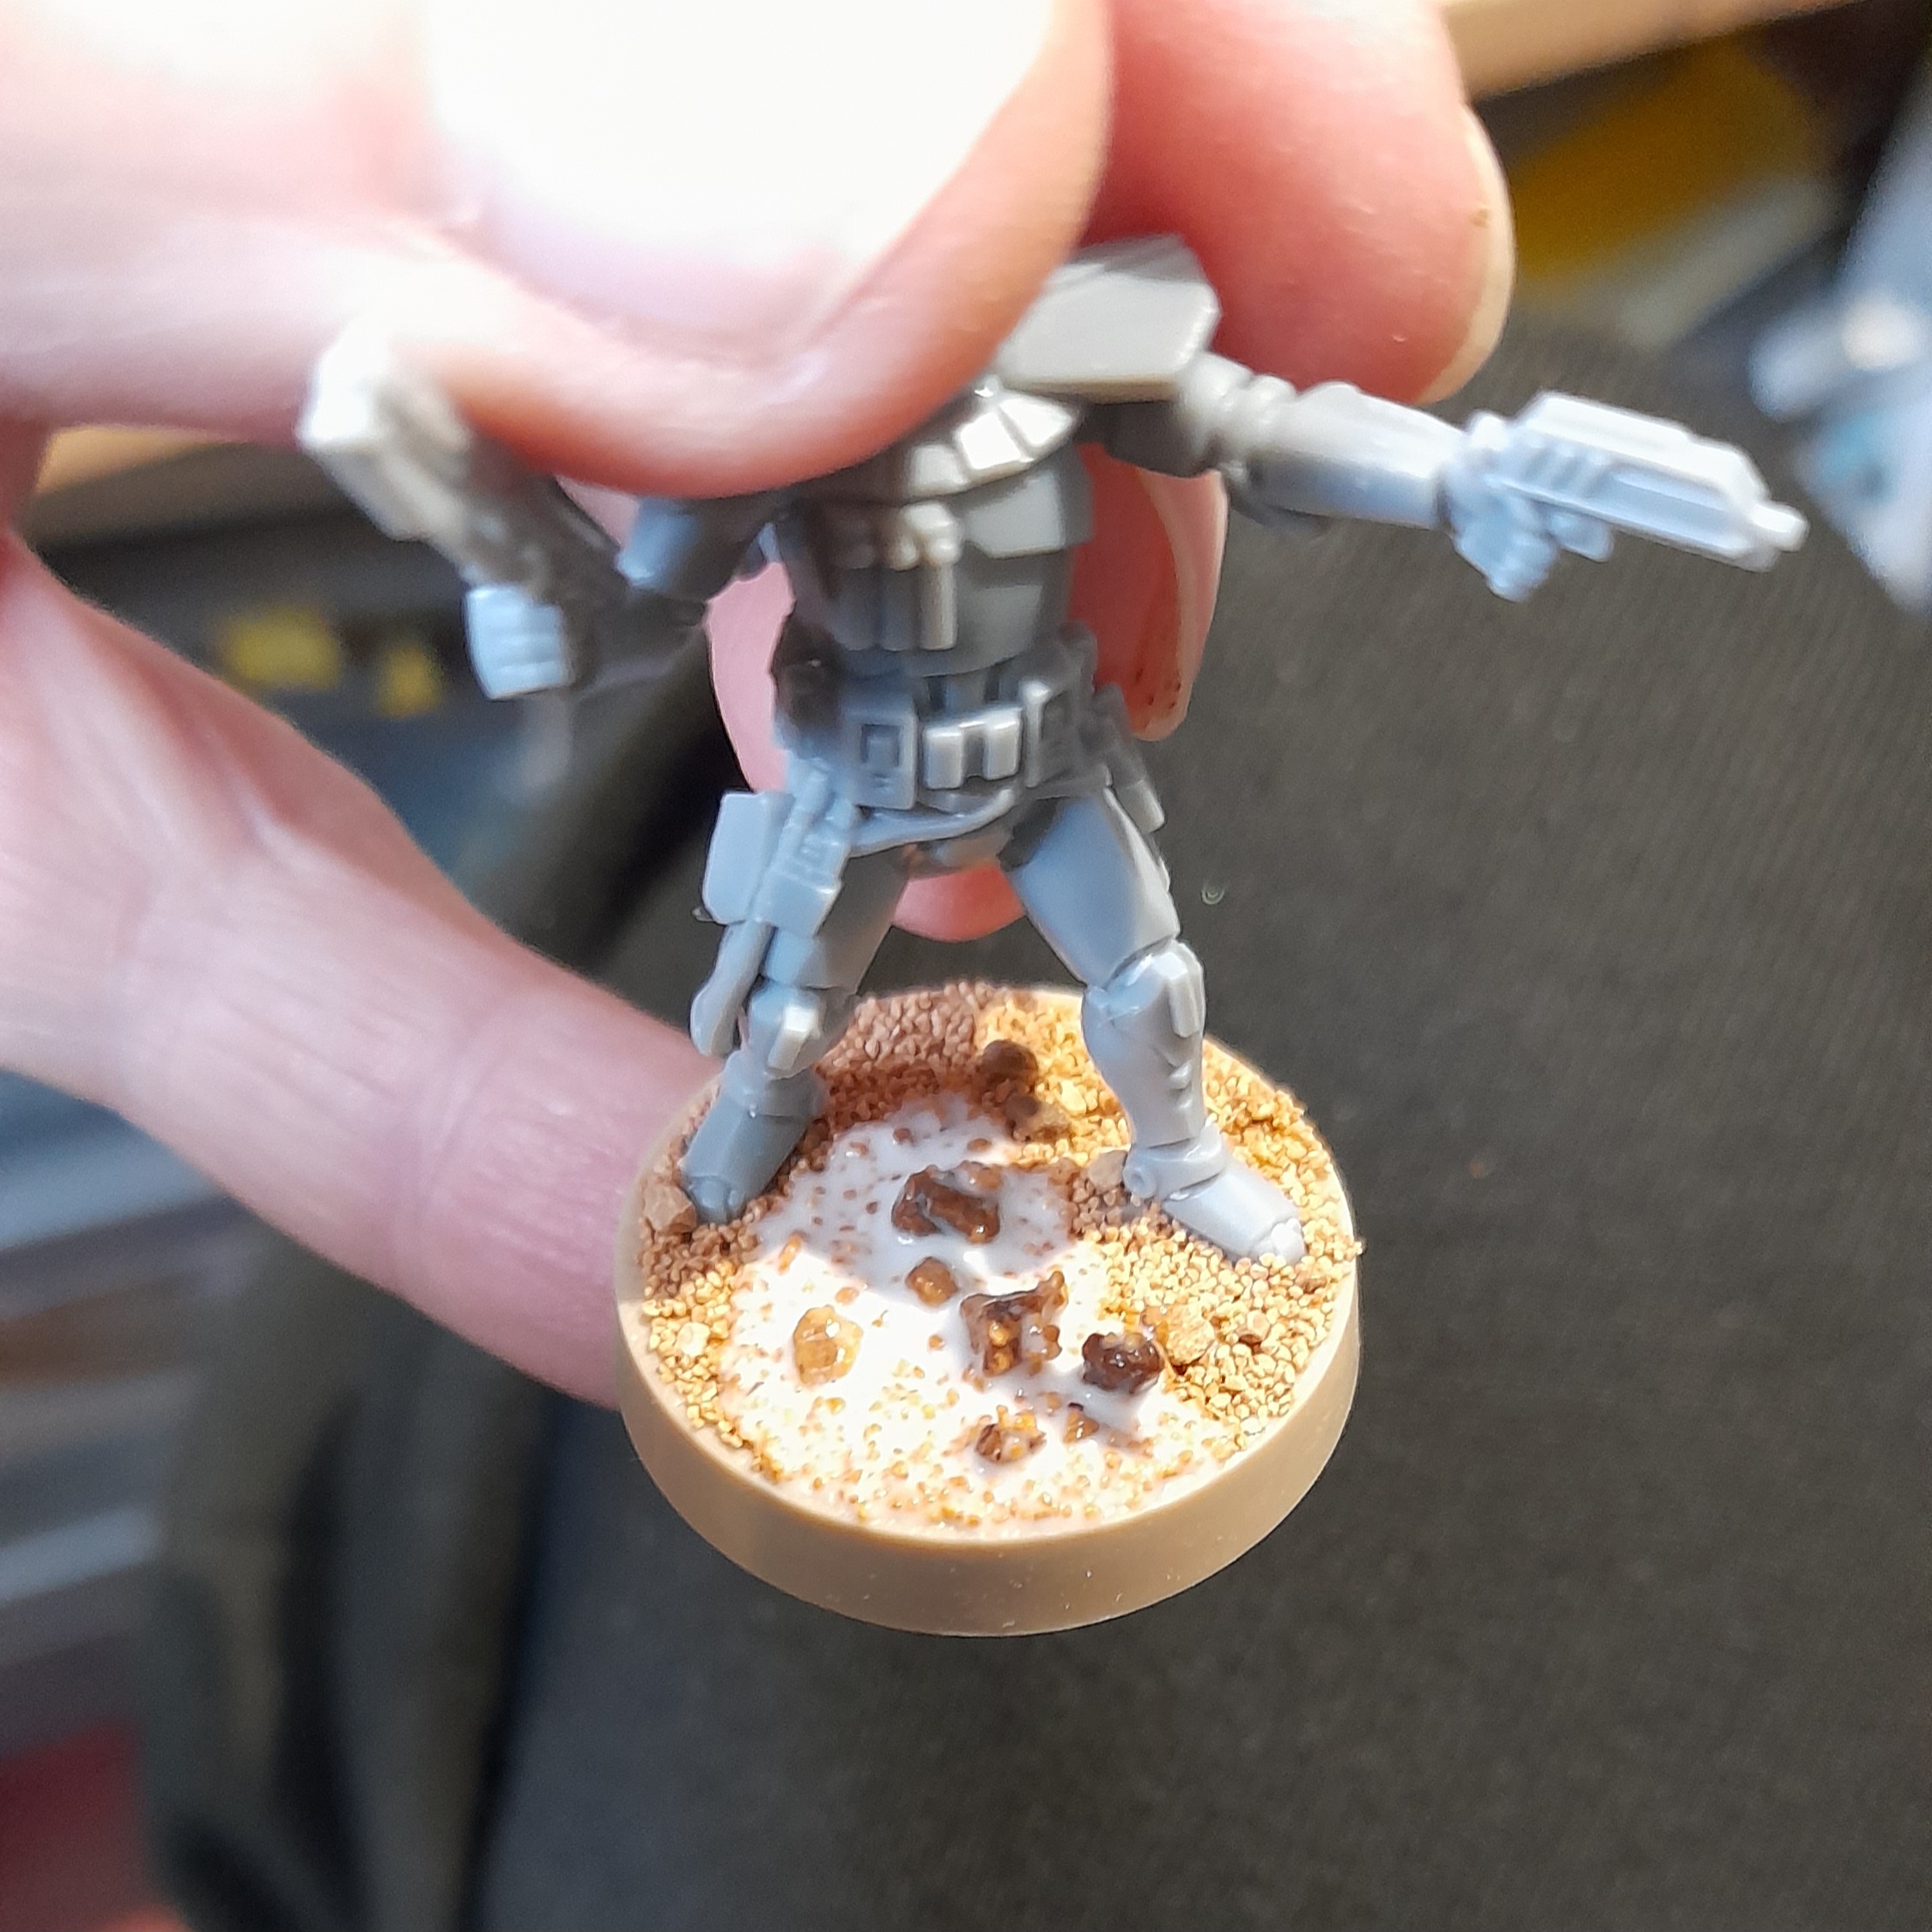
Sand and magnets
6th May 2023
My wife has fractured an arm bone, so hobby has taken a step back.
But…. there has been some progress.
I wasn’t sure what I wanted to do for the basing, but in the end I thought I would just go with some sand and gravel.
It’s basic, but I can build on it with tufts, droid parts or other stuff in the future.
For the large bases I believe the arc lines are important, so before the first layer of glue dried I scraped the basing material away from those lines.

To stop it rubbing off once applied I went over it all again with a thinned coating of pva to seal it.
Then I rolled out my magnetising to all of the bases. Using the washers and magnets (now running out…)
For the larger bases I applied two of each to ensure a good hold.
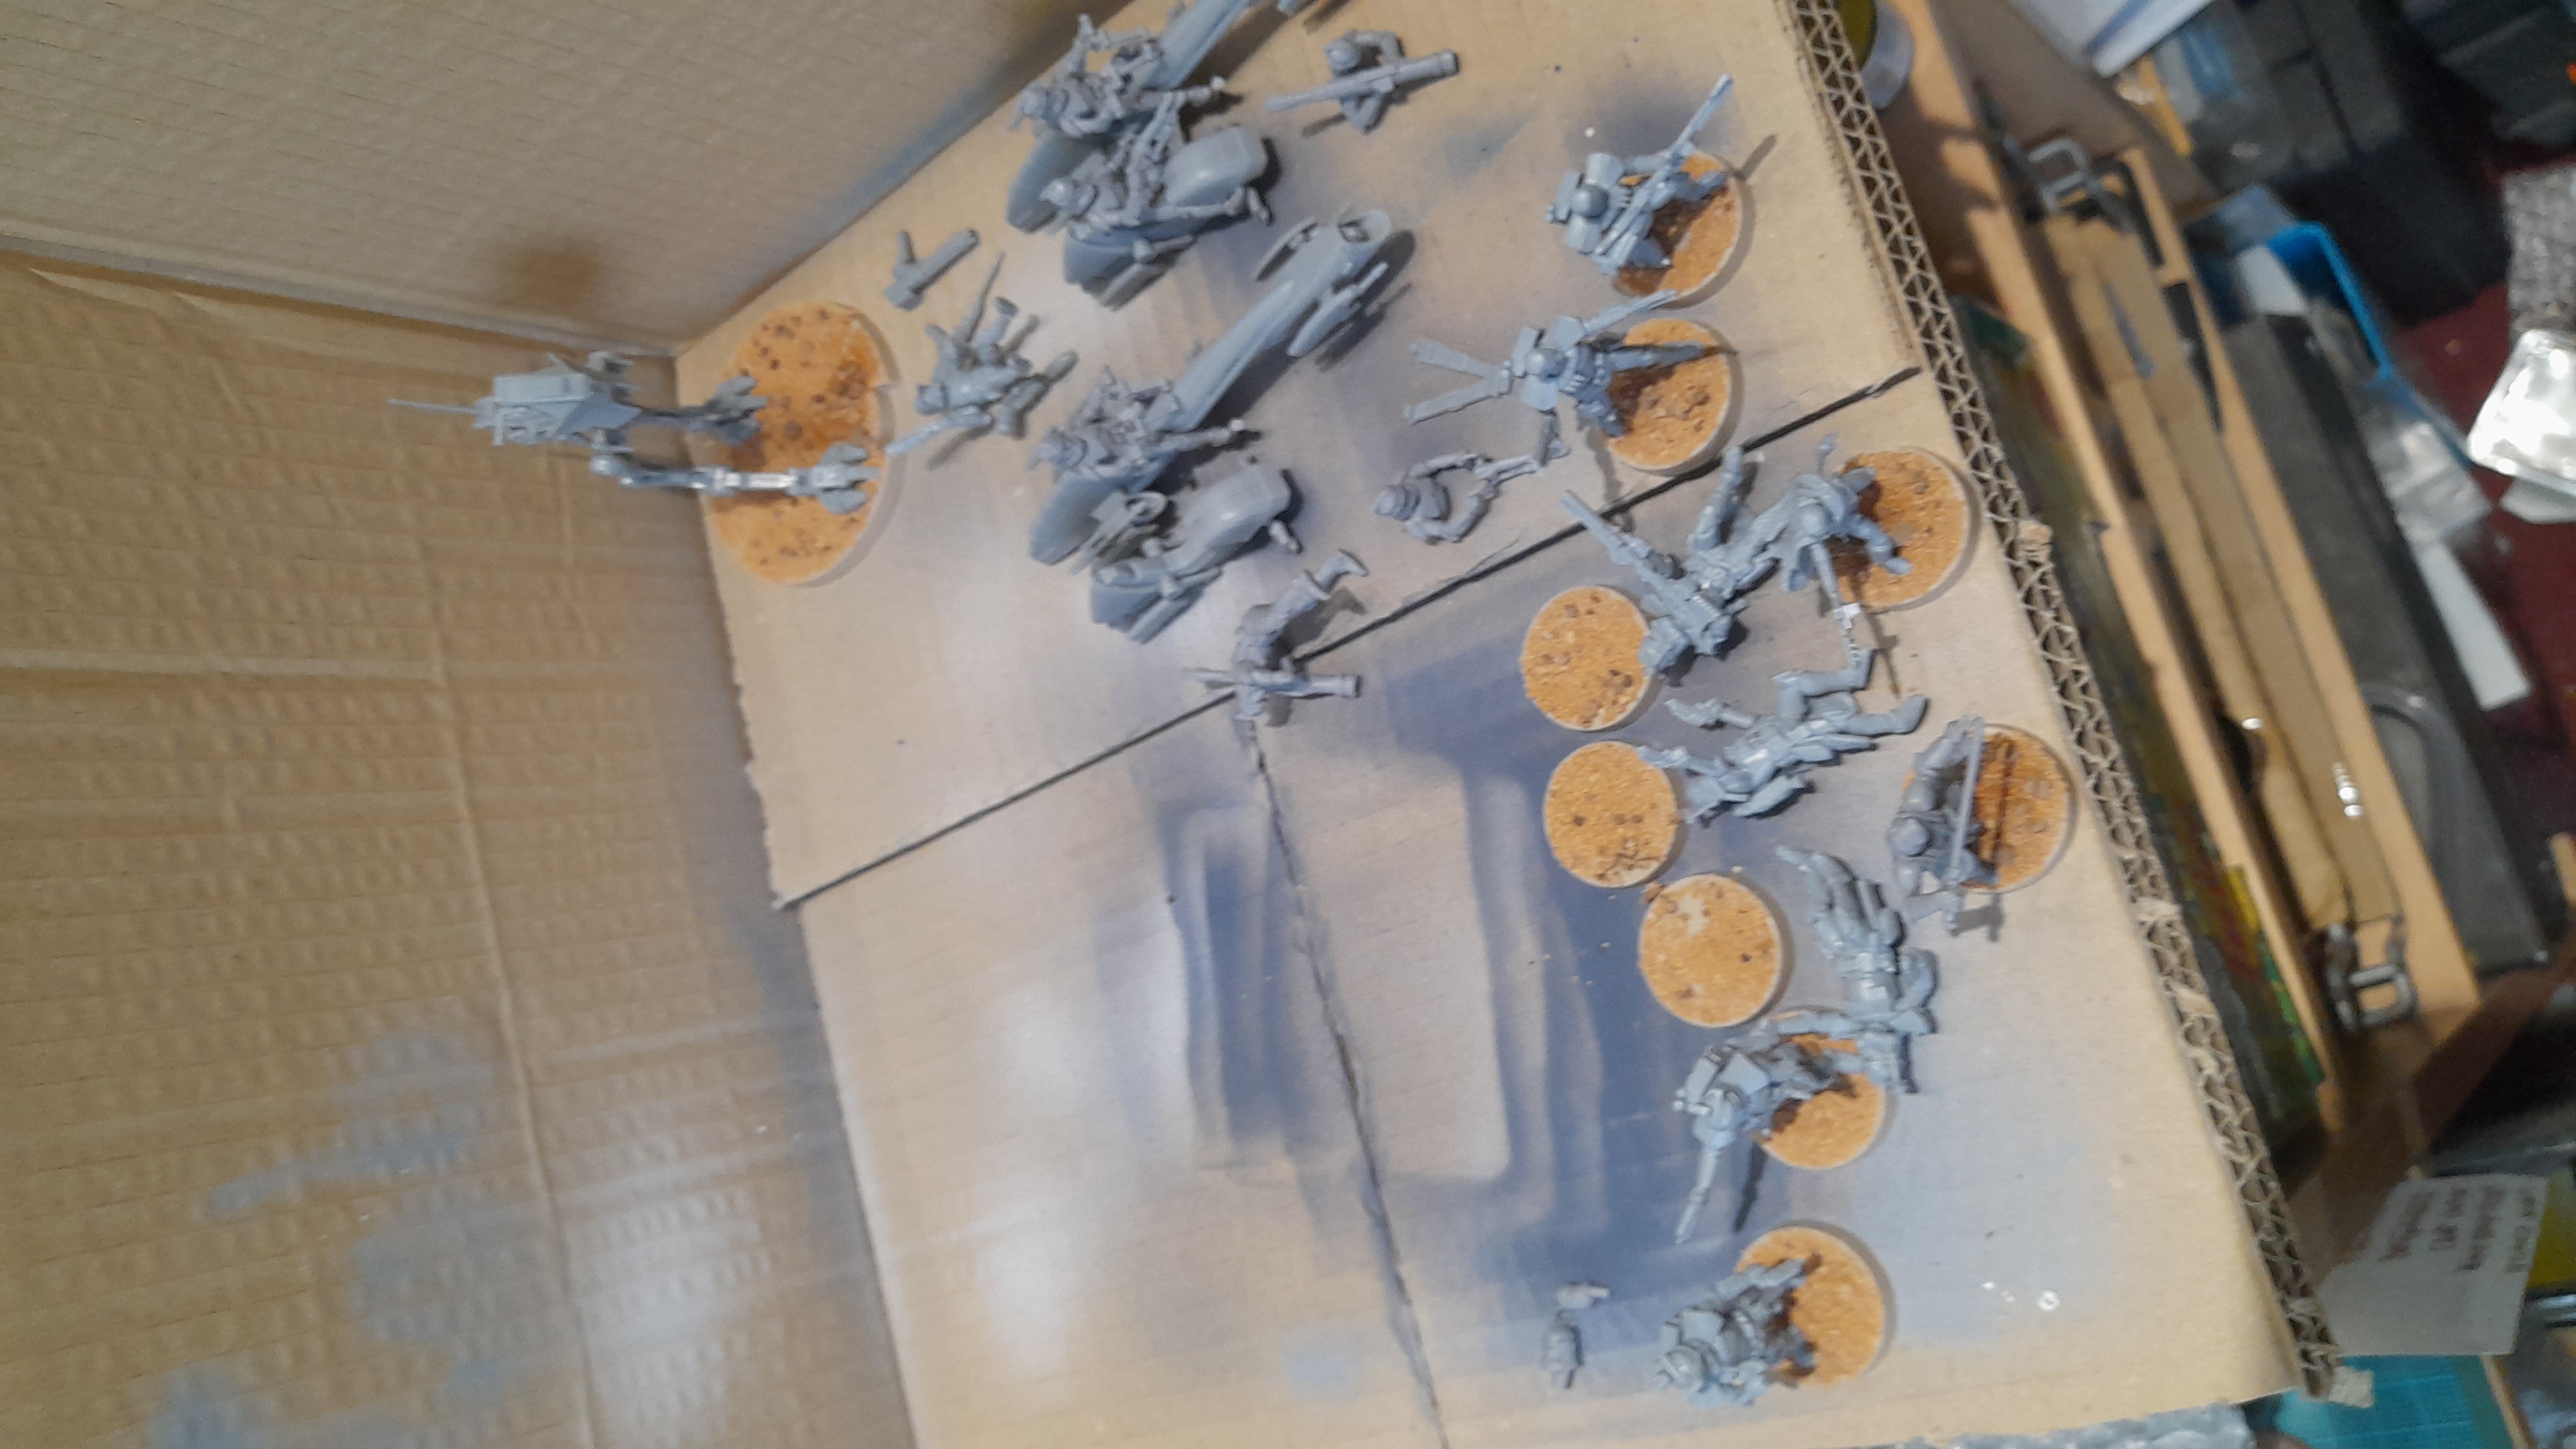
Prime time
8th May 2023
(second time trying to post up….)
With the minis being magnetised it meant I could use an old metal frame to mount most of them.
This would allow a bit better access for spray coverage.
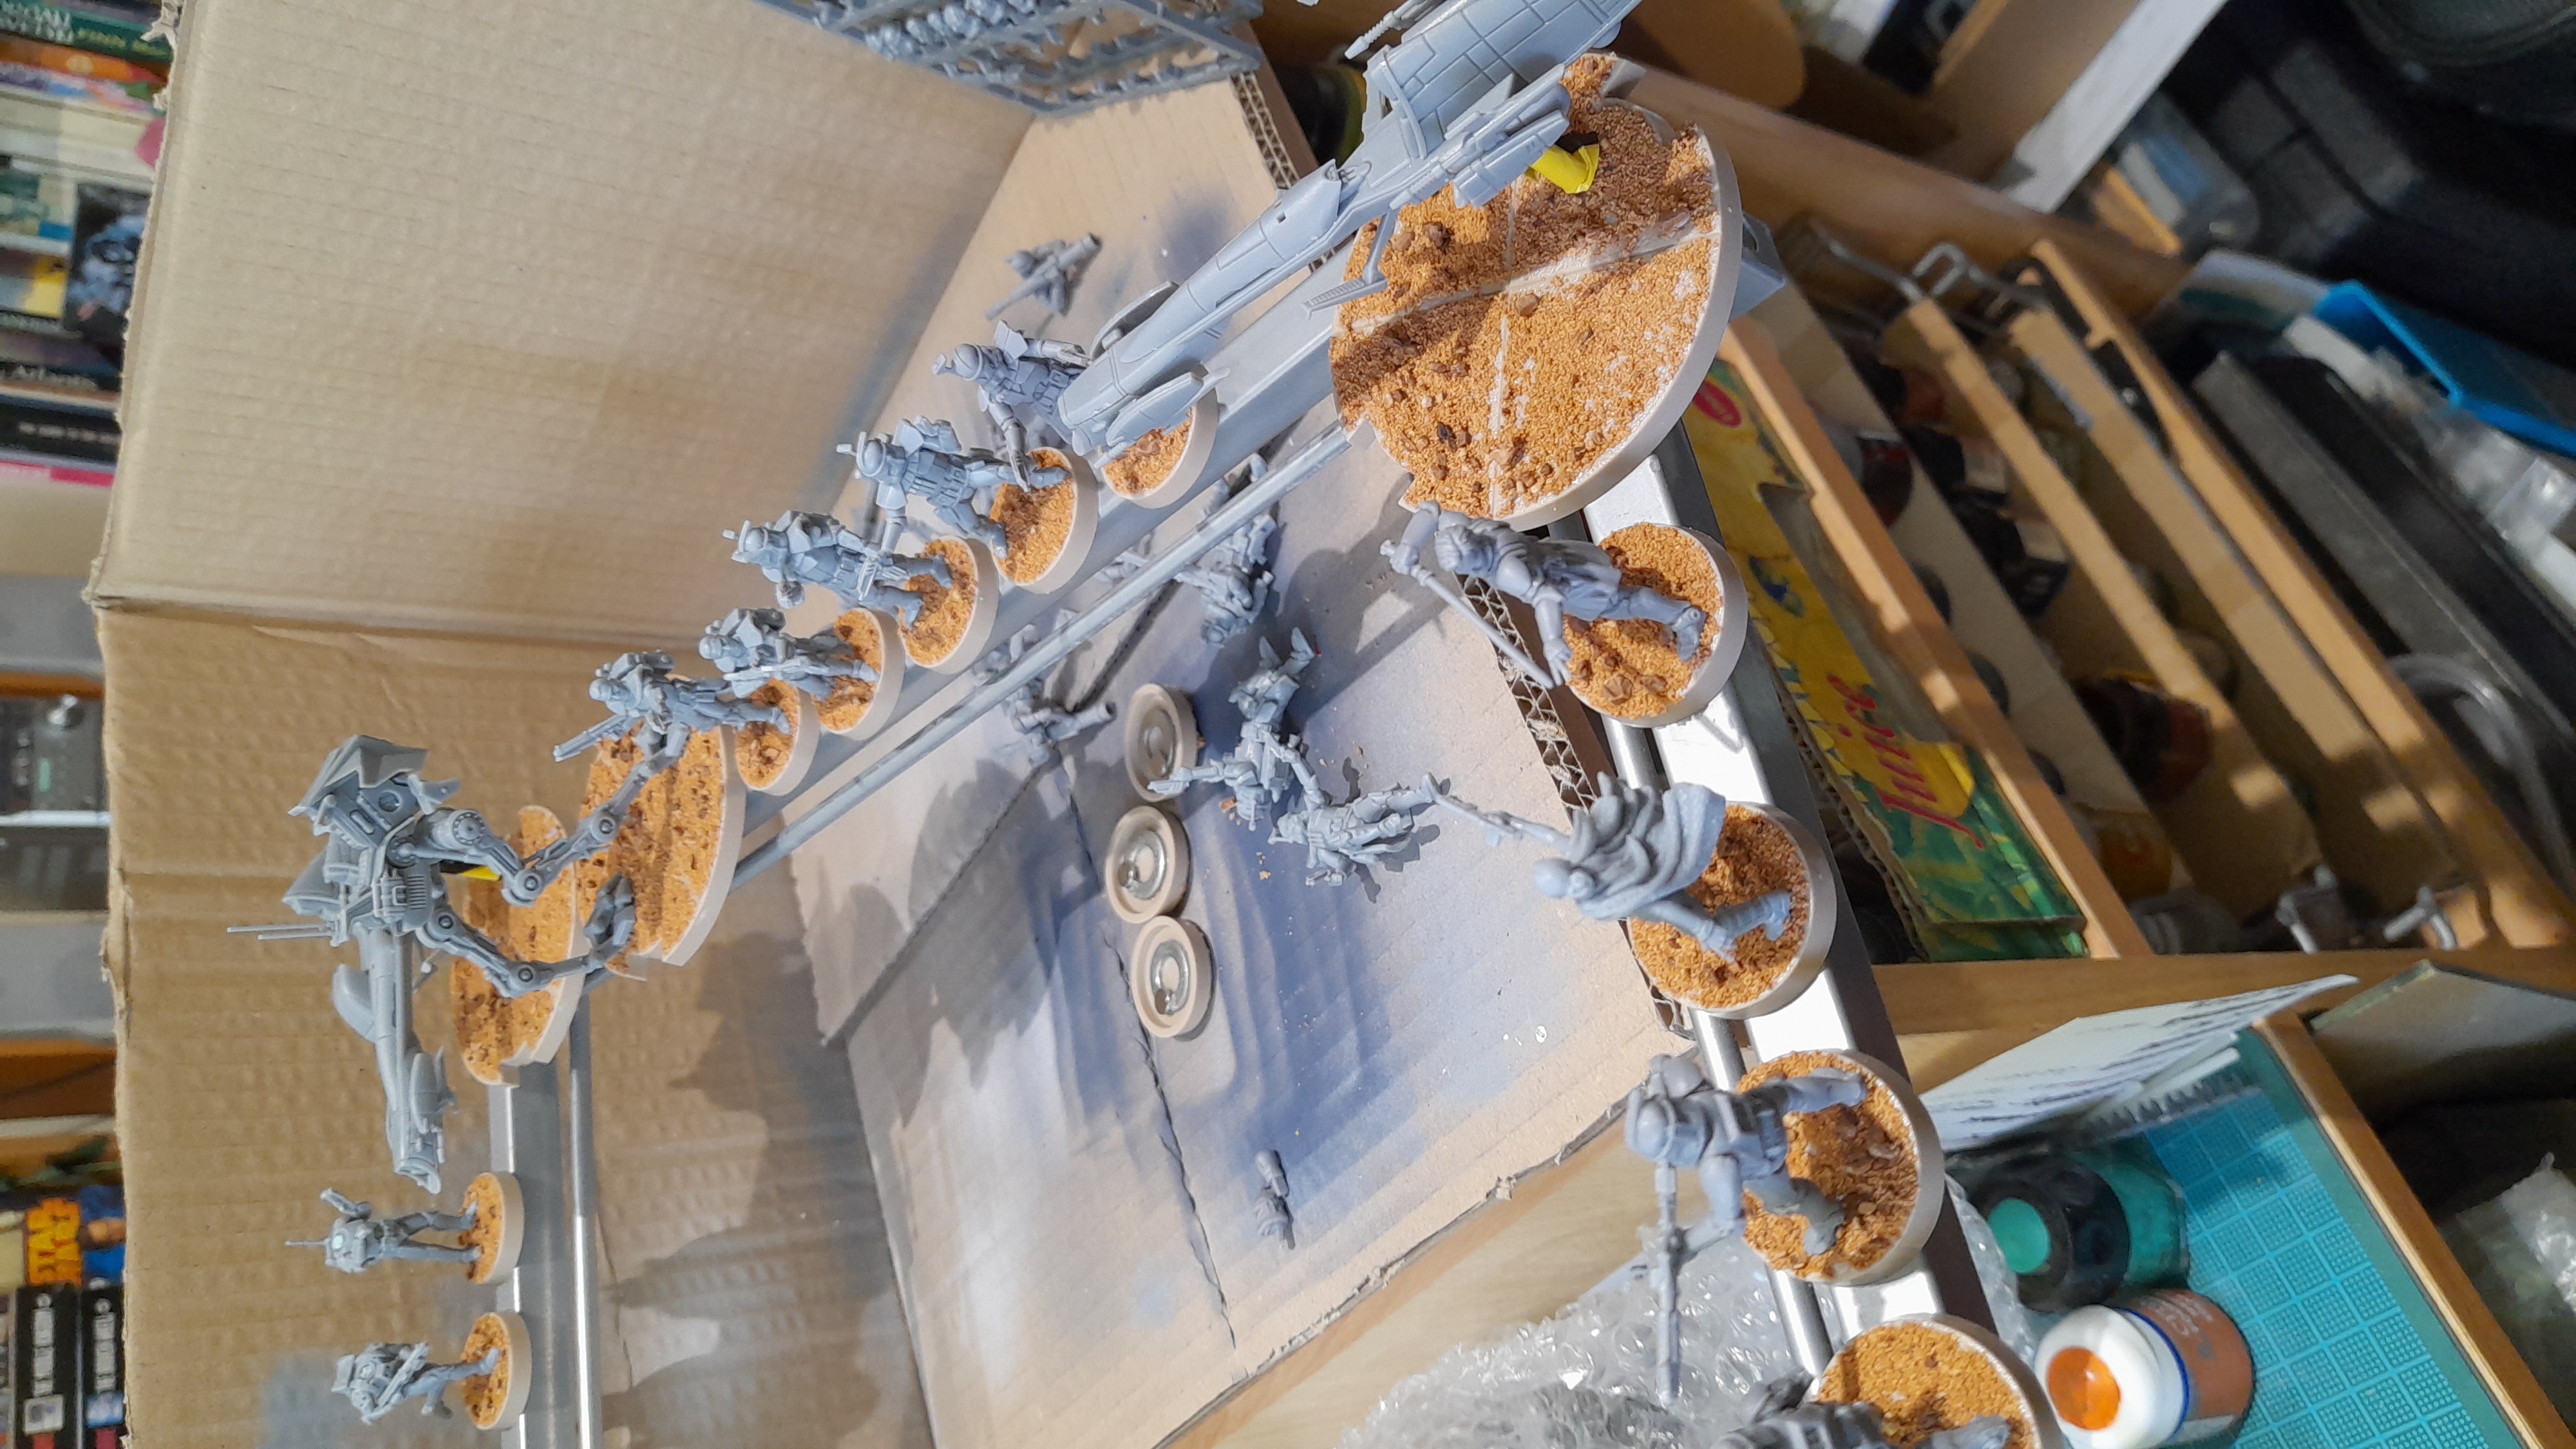
Some dry and slightly warmer weather allowed me to get the spraying carried out.
It took a couple of coats and some touch up sprays, since the TT combat white spray I have doesn’t seem to go down overly well – may have to go back to Citadel ?
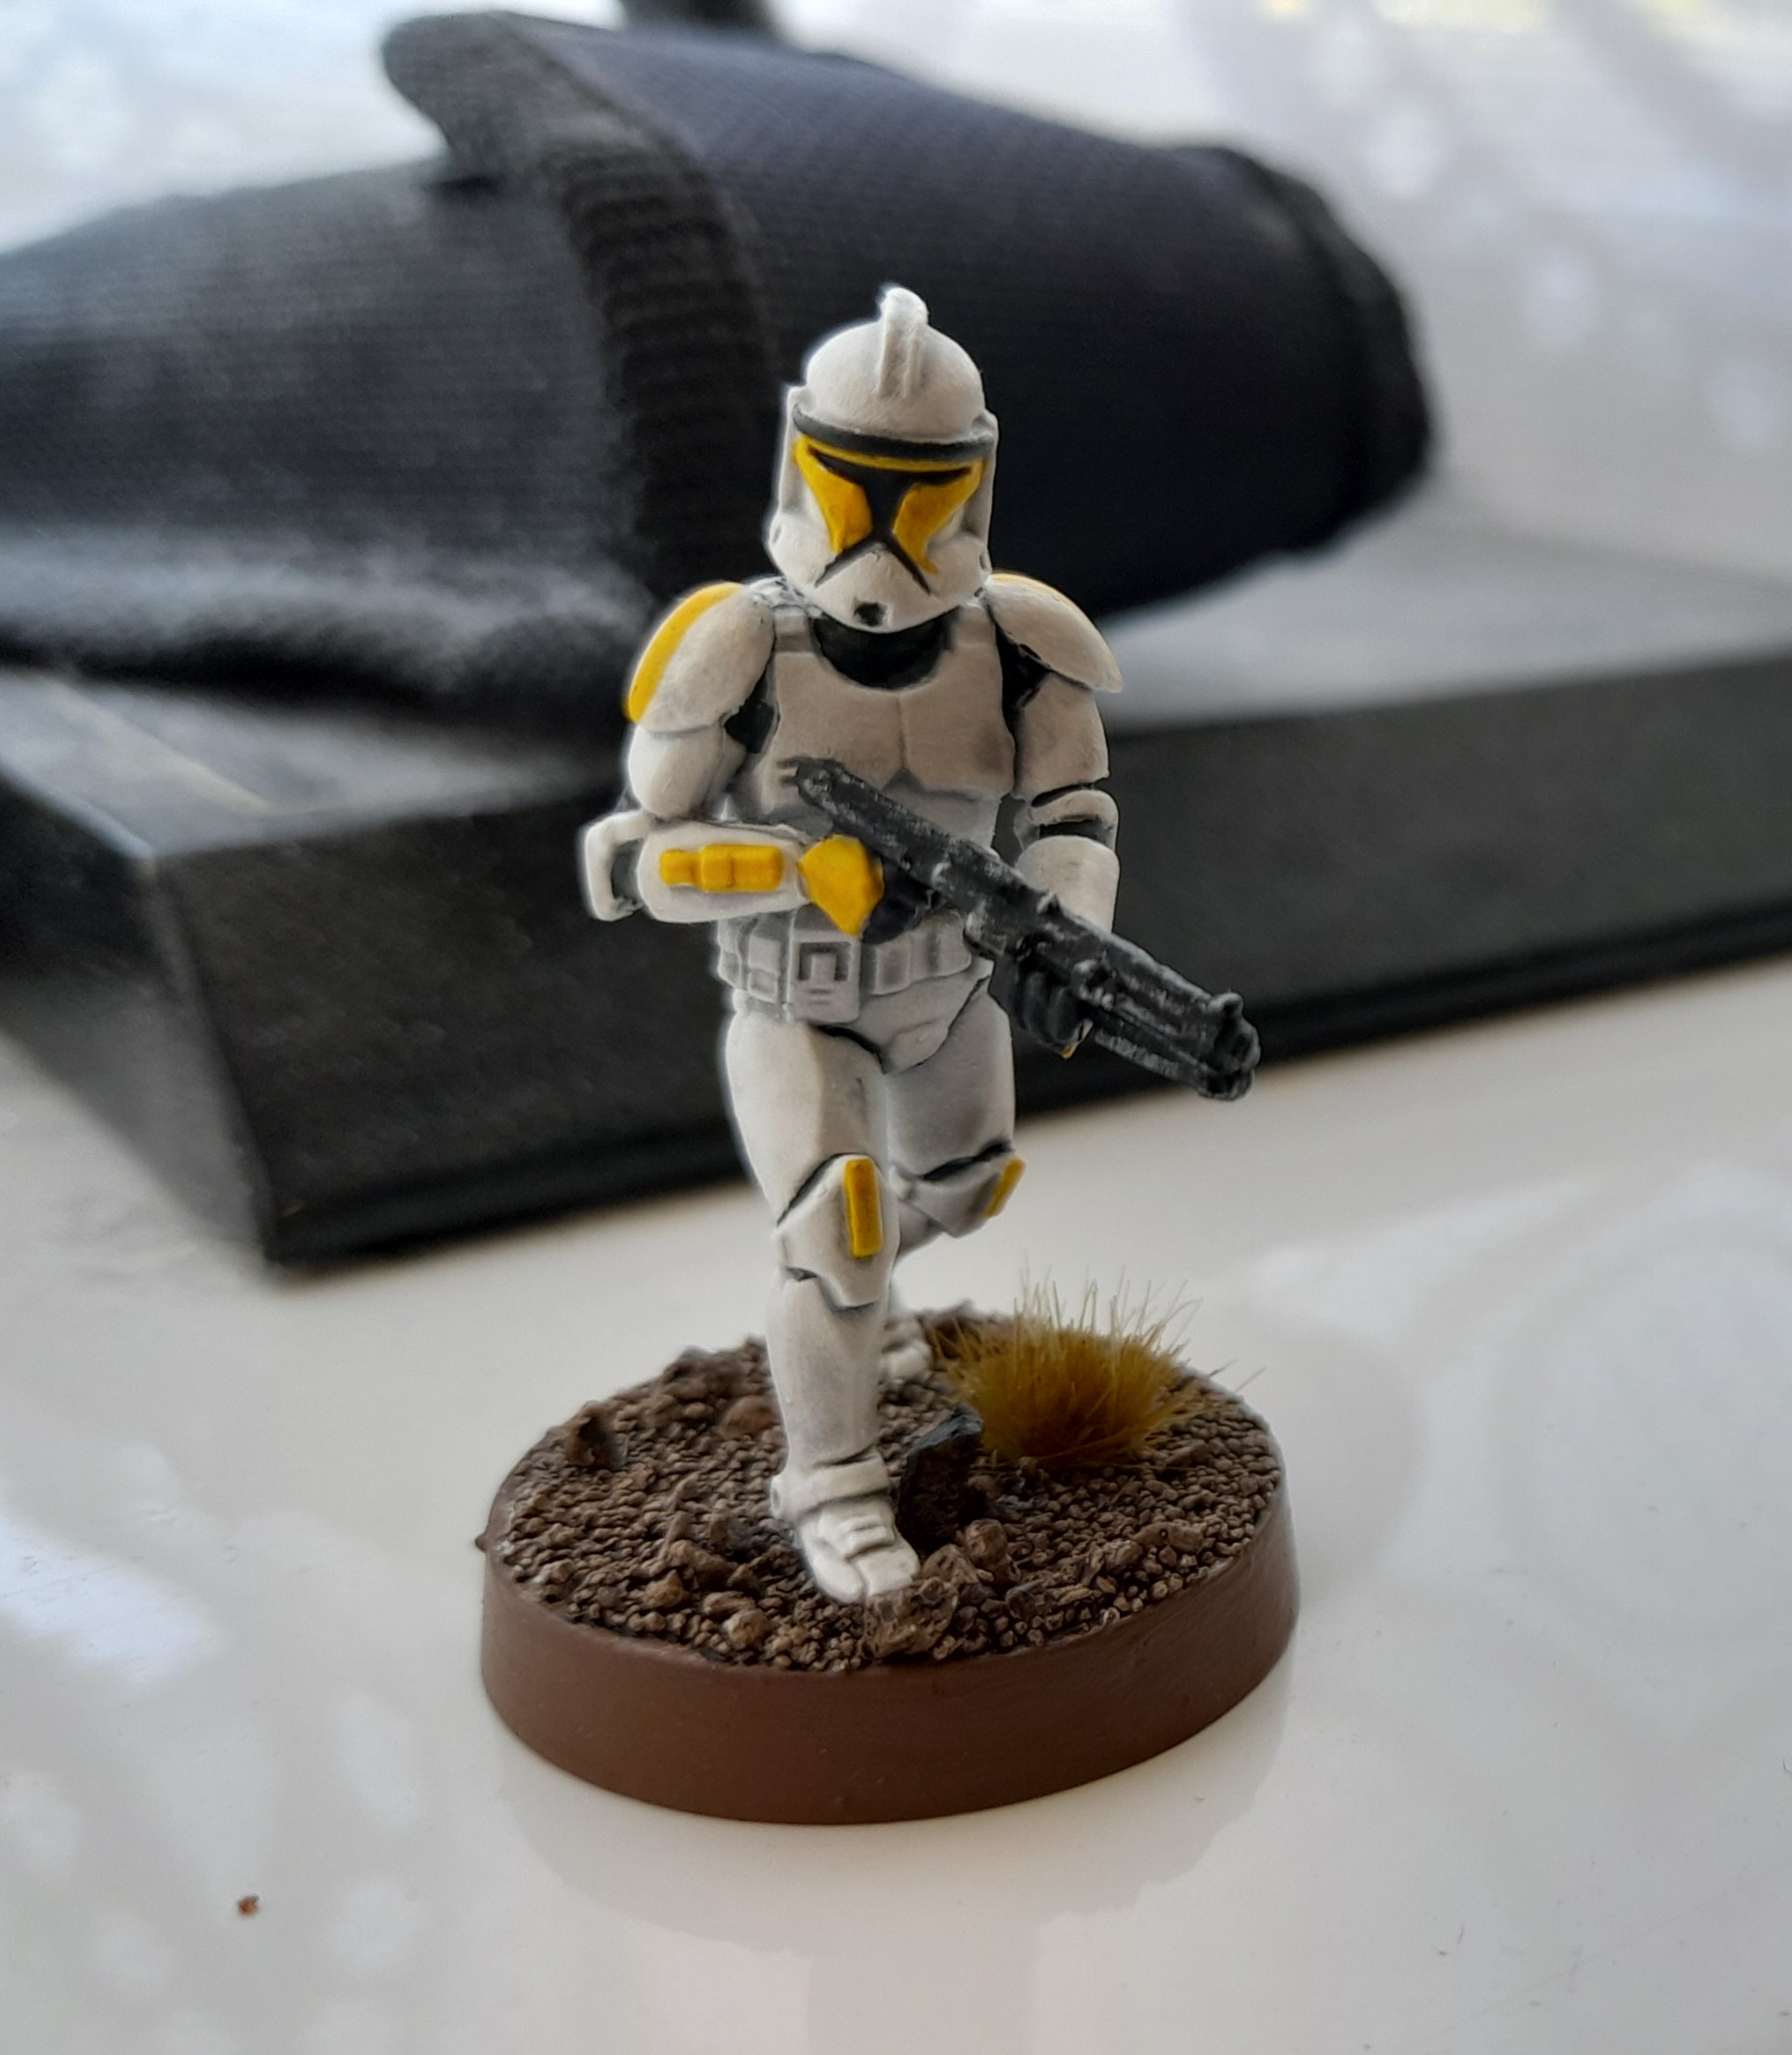
Test piece completed
13th May 2023
For the Clone armour I decided to go with Soulblight shade. Its pretty much a contrast paint tbh.
I thinned it a touch for my first test piece, but it did go quite grey.
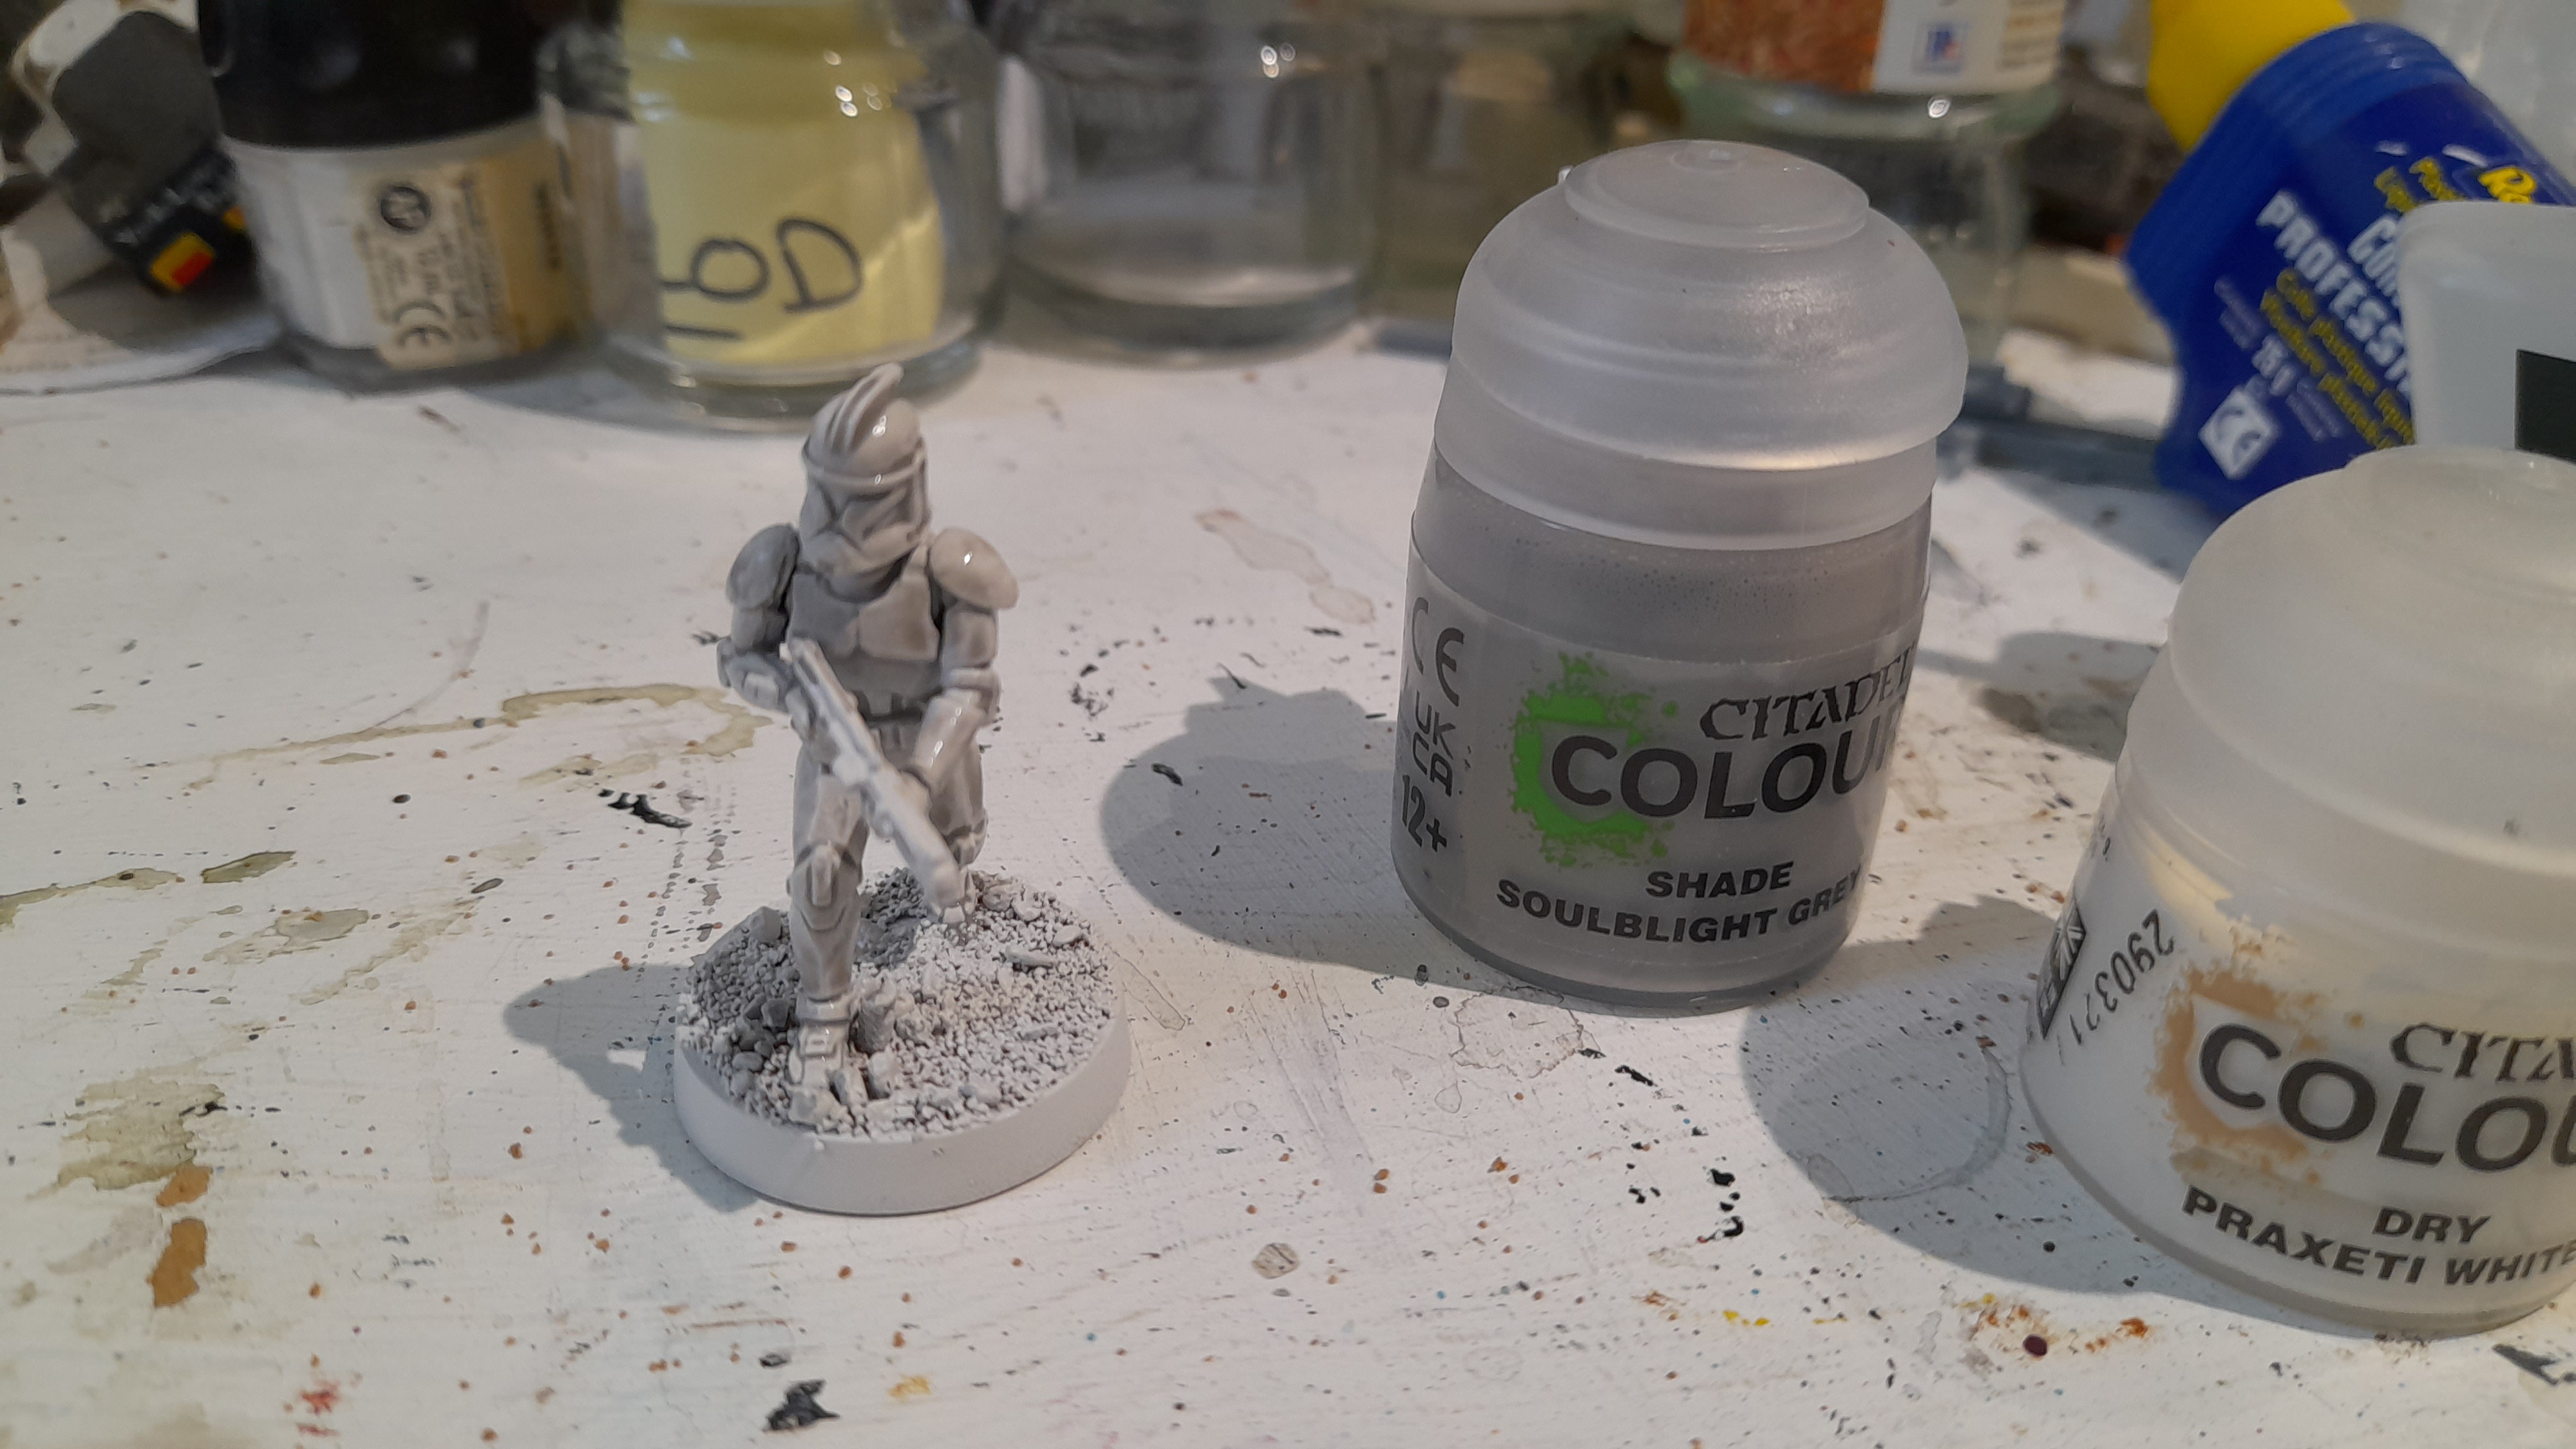
Because of this I had to give it a drybrush to bring back the white.
I started out with the gw ‘dry’ paint, but ending up just using a normal white.
I also thought I would quickly try a more thinned Soulblight grey for some other clones.
Doing it this way should cut out most of the drybrush stage, and when rolled out to almost 50 minis should save a good chunk of time.
 Slightly less grey
Then it was back to the test piece, and the stage I was dreading…. the black bodysuit, and other black detailing.
I used contrast black for this as it flows so much easier than a standard paint, making this stage a little less onerous.
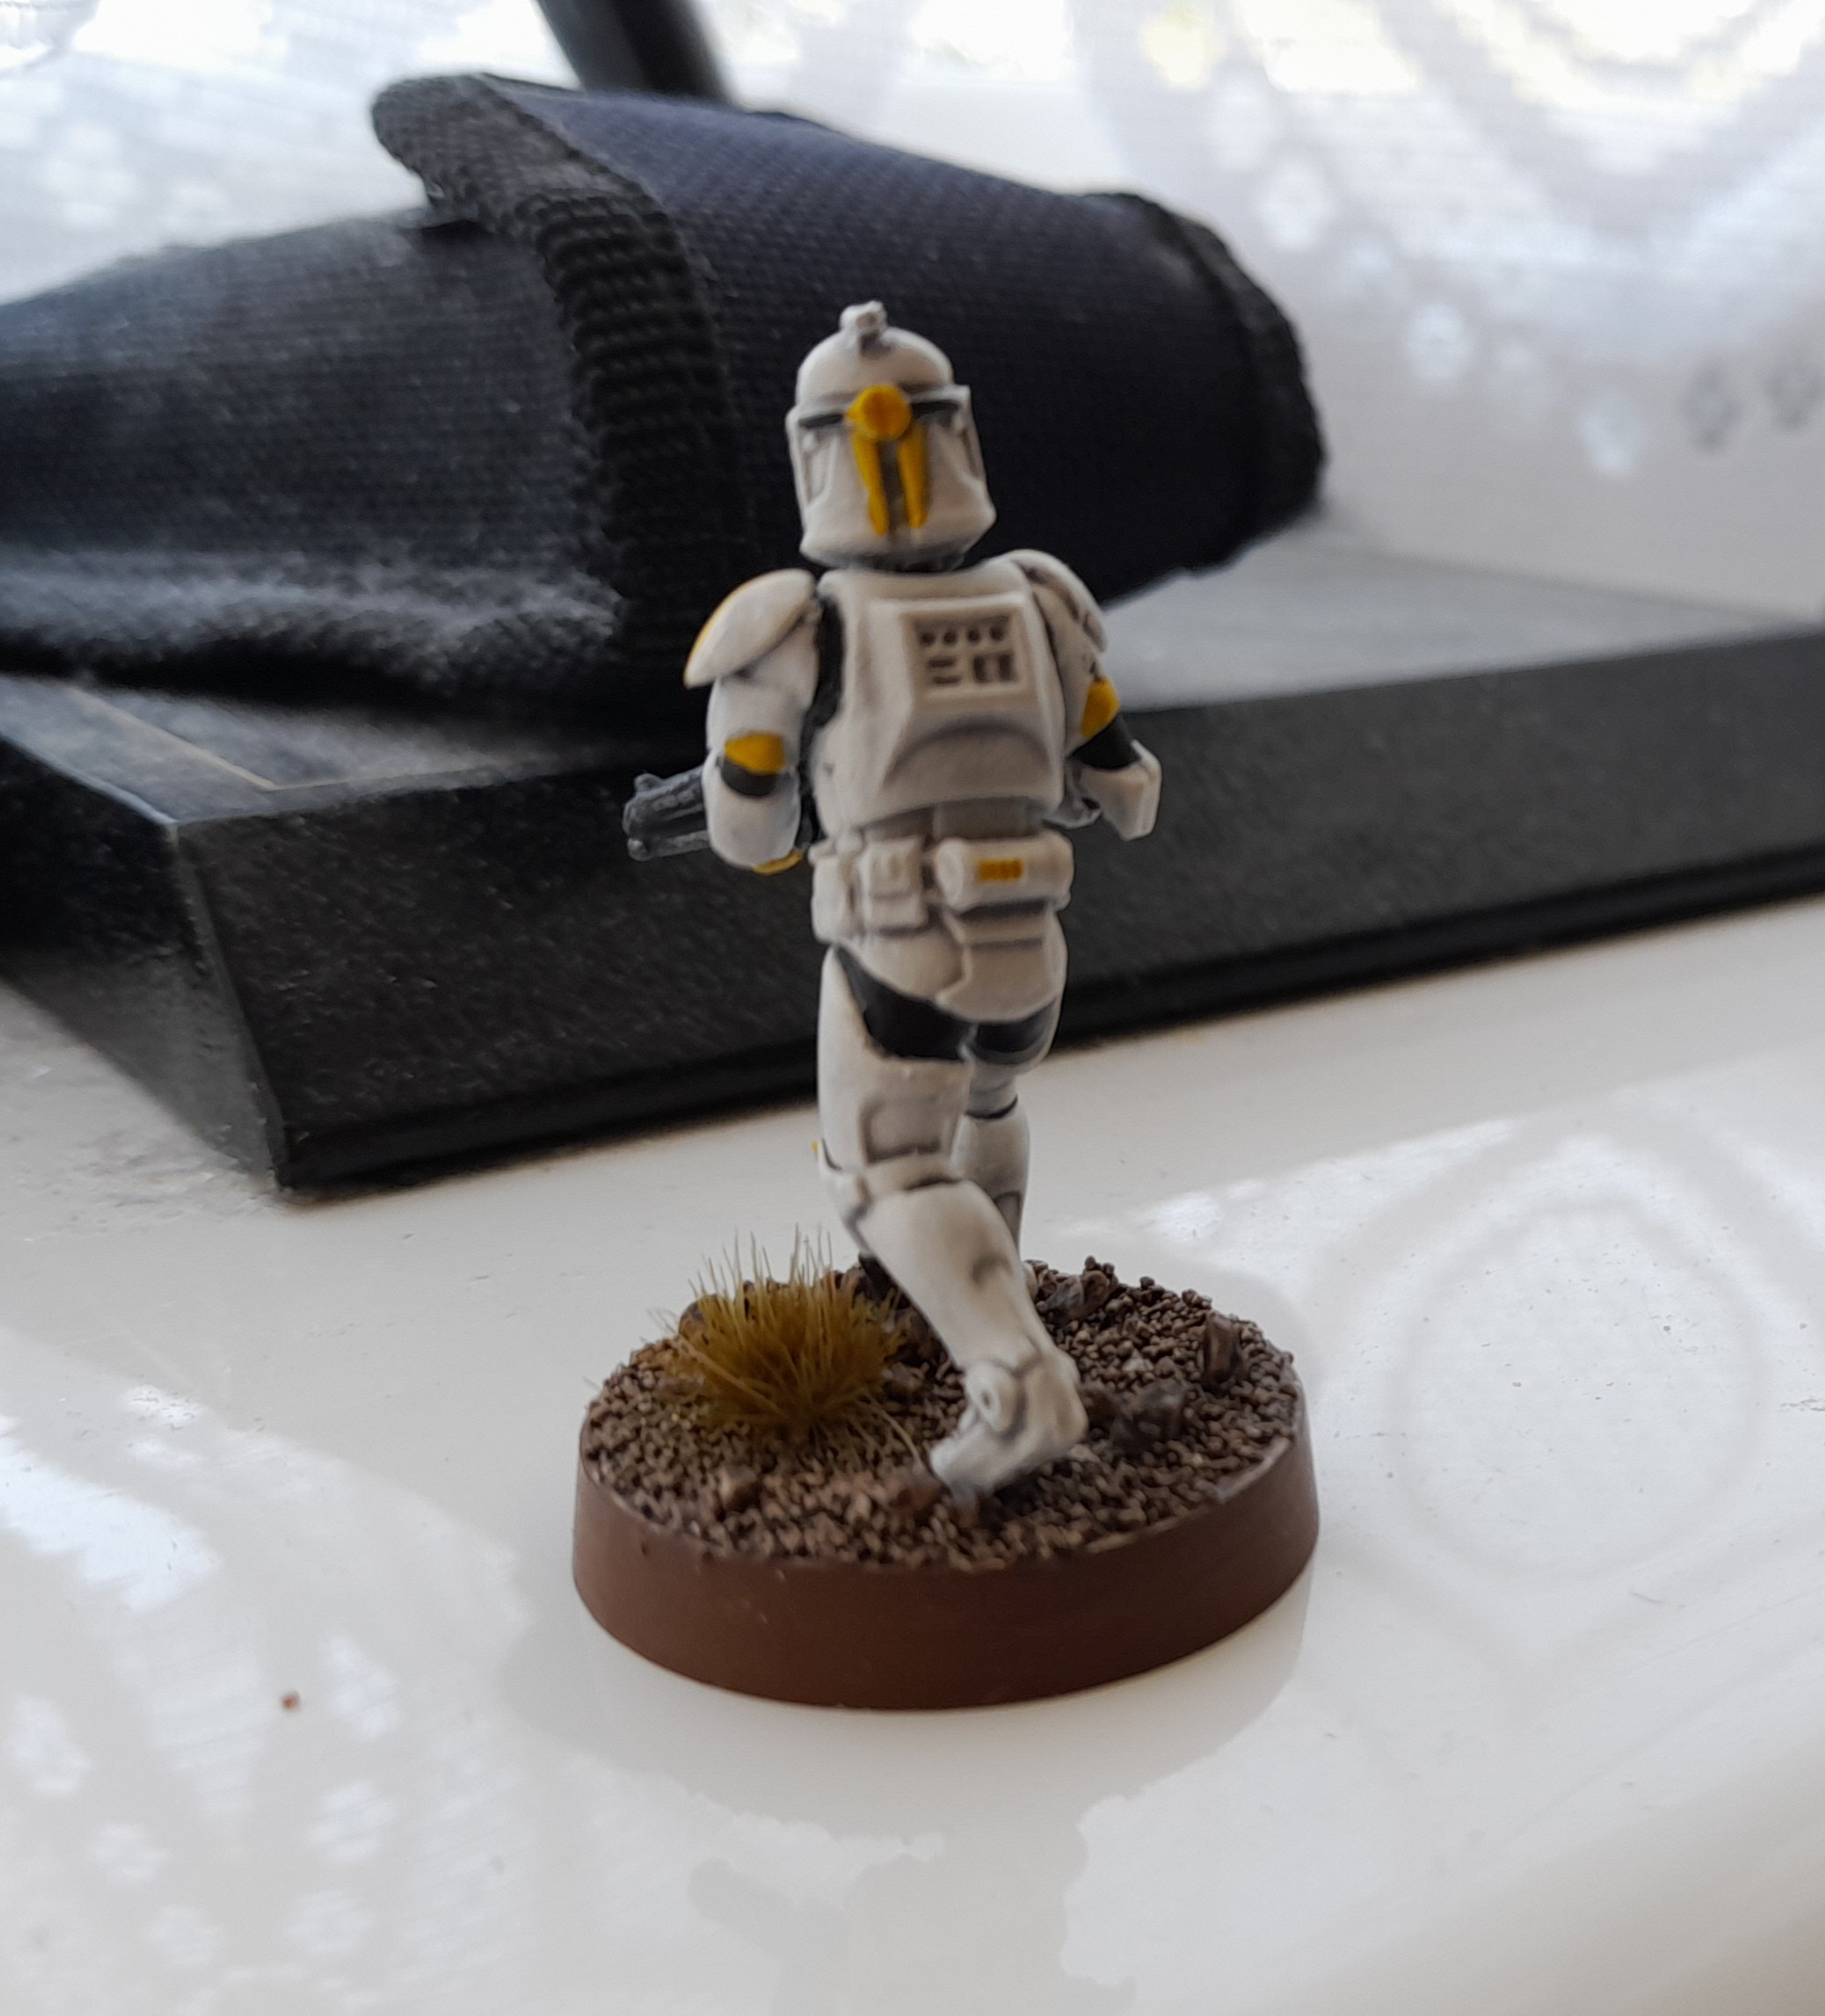
For the base I went with a simple neutral colour. Just basically used wyldwood contrast over the white, followed by a mid brown base rim.
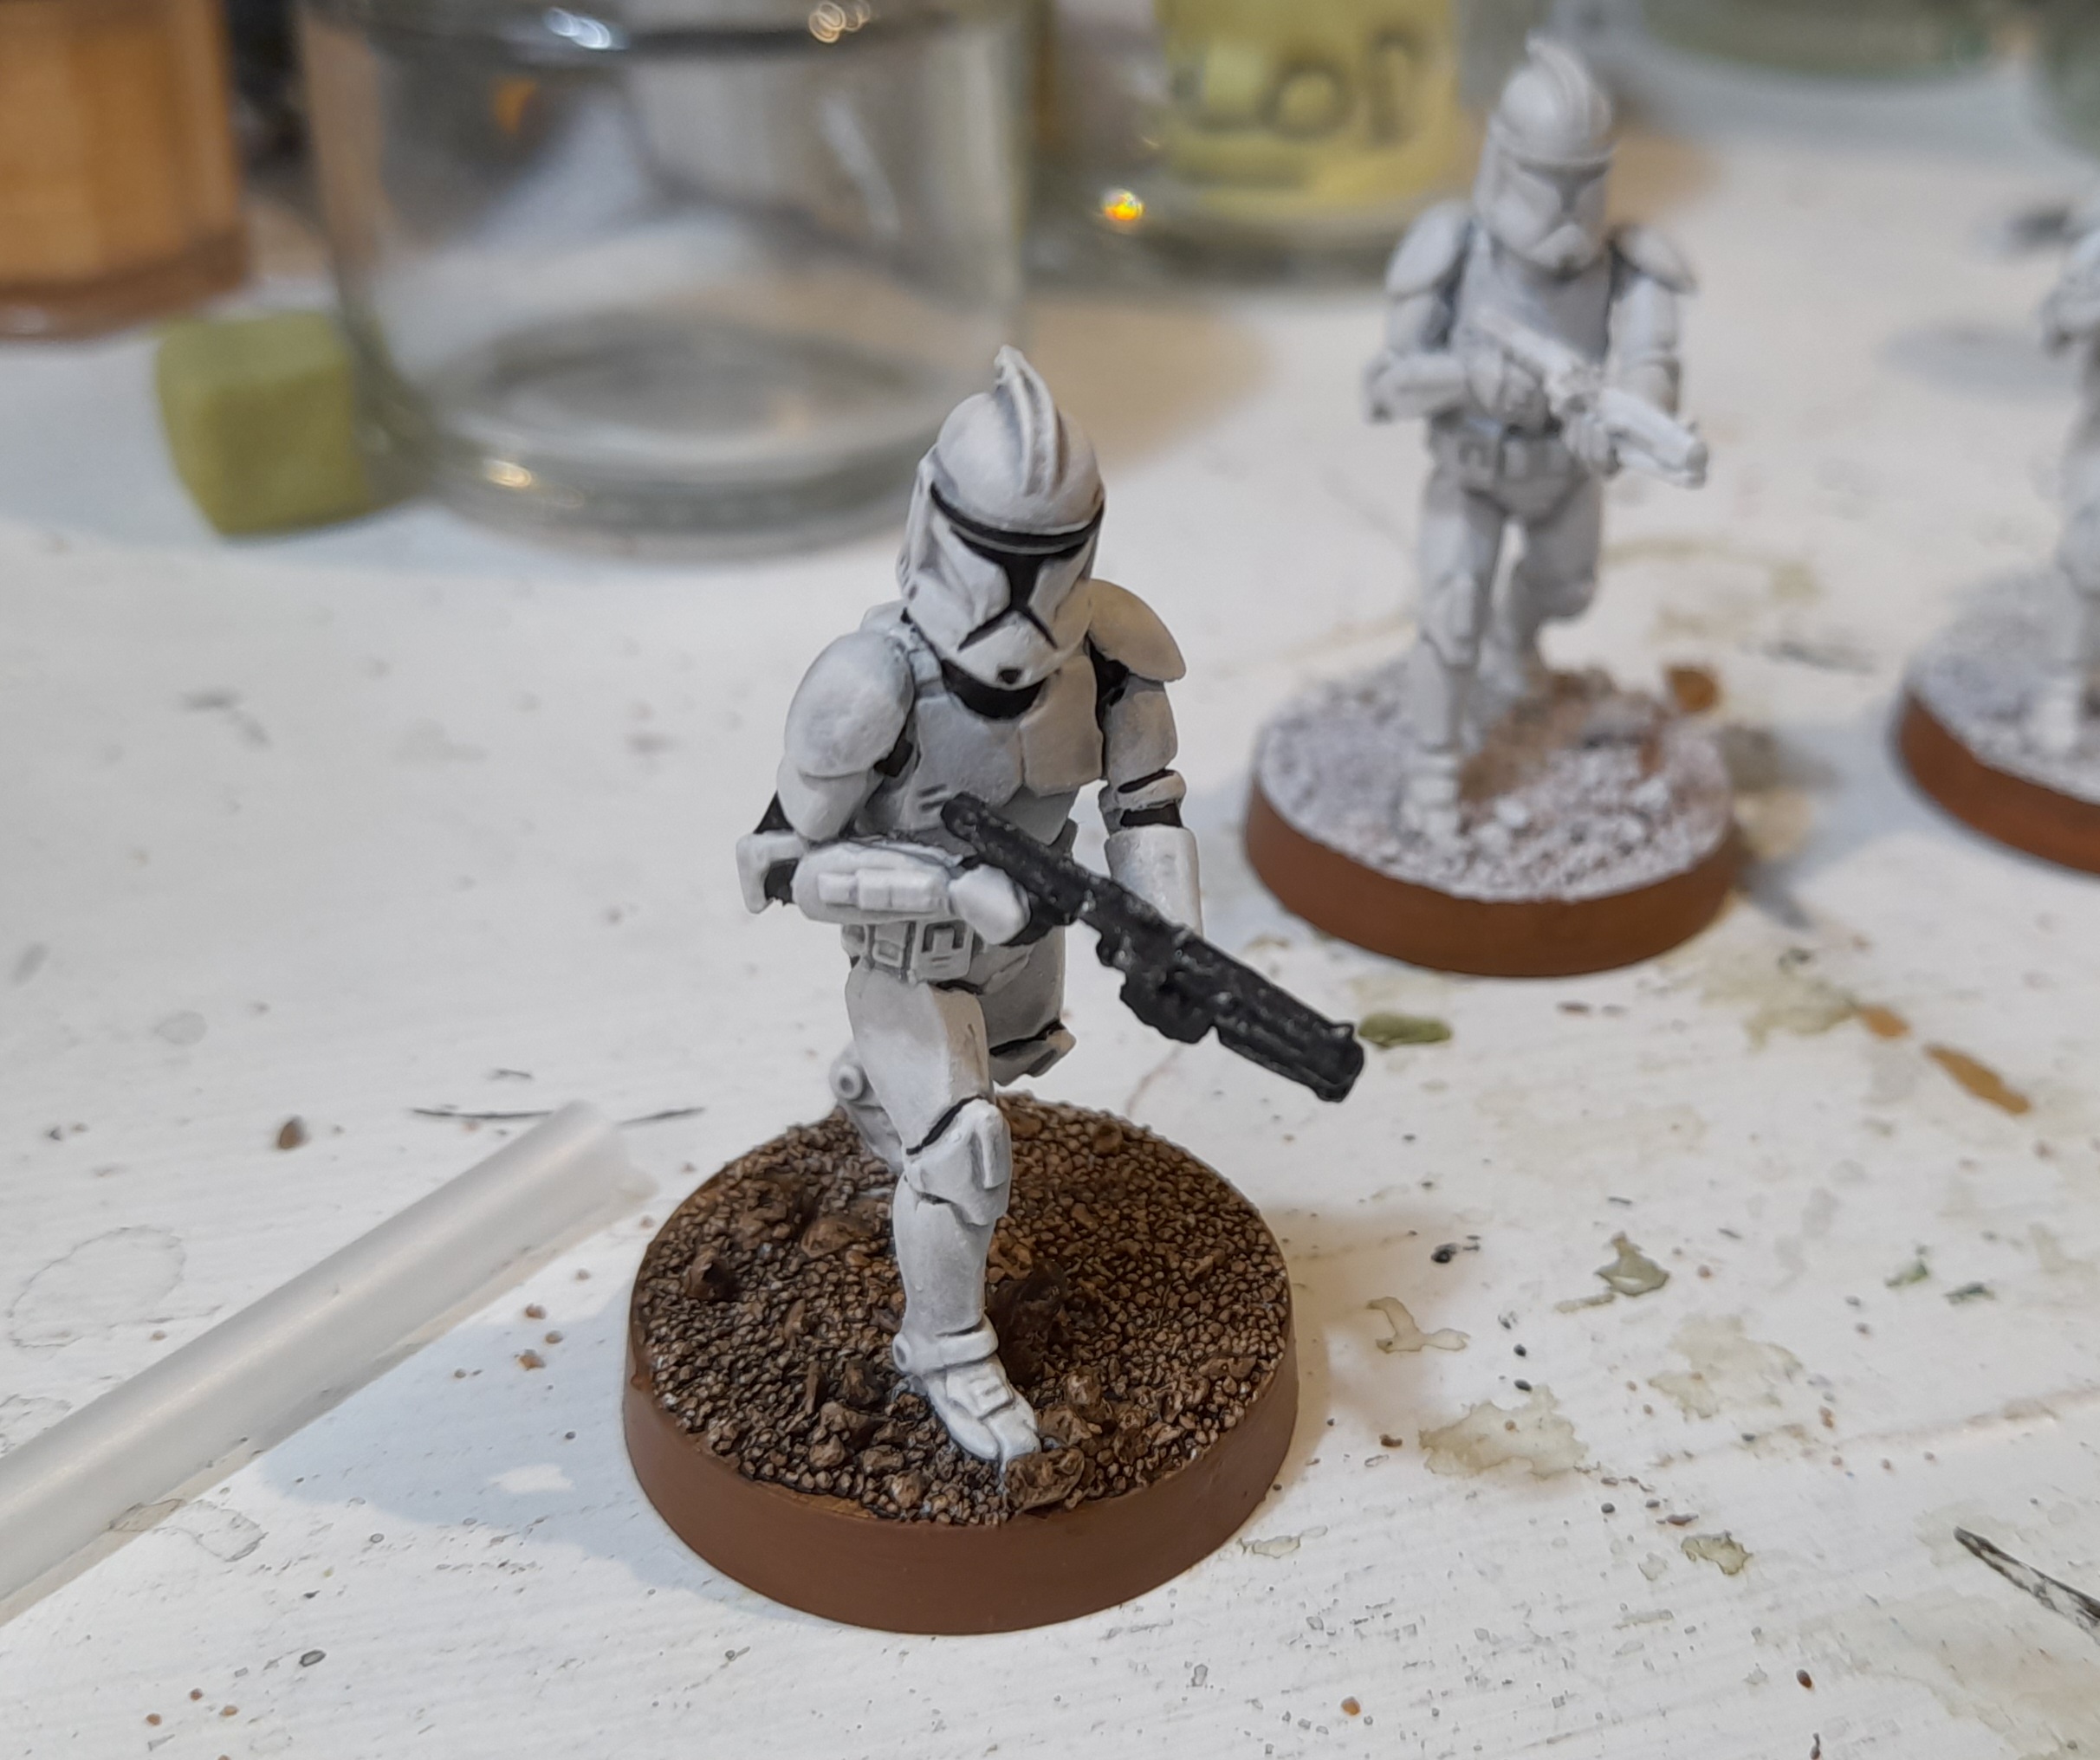
Looks a little plain really. To differentiate units on the tabletop I plan to use coloured markings on them.
I’m not sure yet if it will be different colours on each unit, or if it will be the same colour but in different layouts.
It will be less thematic but it will be more usable on the tabletop.
For the test piece I went with yellow, and also added a grass tuft for a little base interest.