


![How To Paint Moonstone’s Nanny | Goblin King Games [7 Days Early Access]](https://images.beastsofwar.com/2024/12/3CU-Gobin-King-Games-Moonstone-Shades-Nanny-coverimage-225-127.jpg)


Building the Old West


Recommendations: 1278
About the Project
I attempt to make an Old West town to play Fistful of Lead, Reloaded.
Related Genre: Western
Related Contest: TerrainFest 2023
This Project is Active
Battle Report: Cowboys vs Aliens
We had a game over the weekend playing a team up of Cowboys and Indians vs Outlaws and Aliens.
The battle report is here; https://www.beastsofwar.com/project/1885181/?order=asc
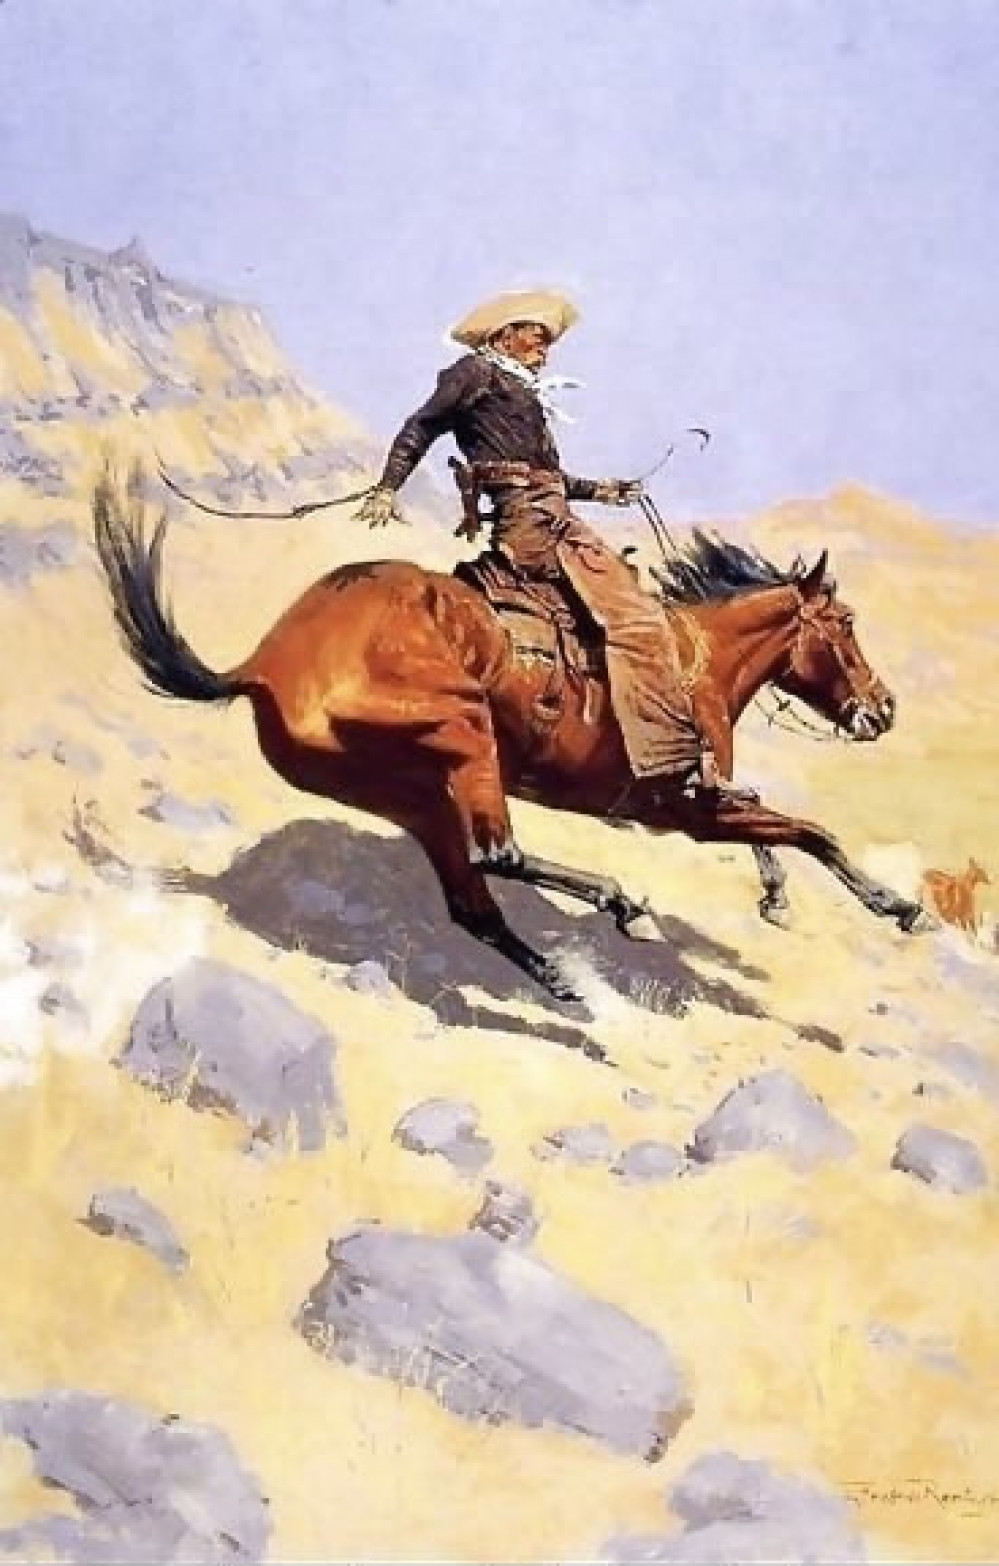
Cowboys vs. Aliens
I did a thing.
This will be for one specific scenario and if someone doesn’t enjoy the whimsy the saucermen and robots can be replaced by Indians.
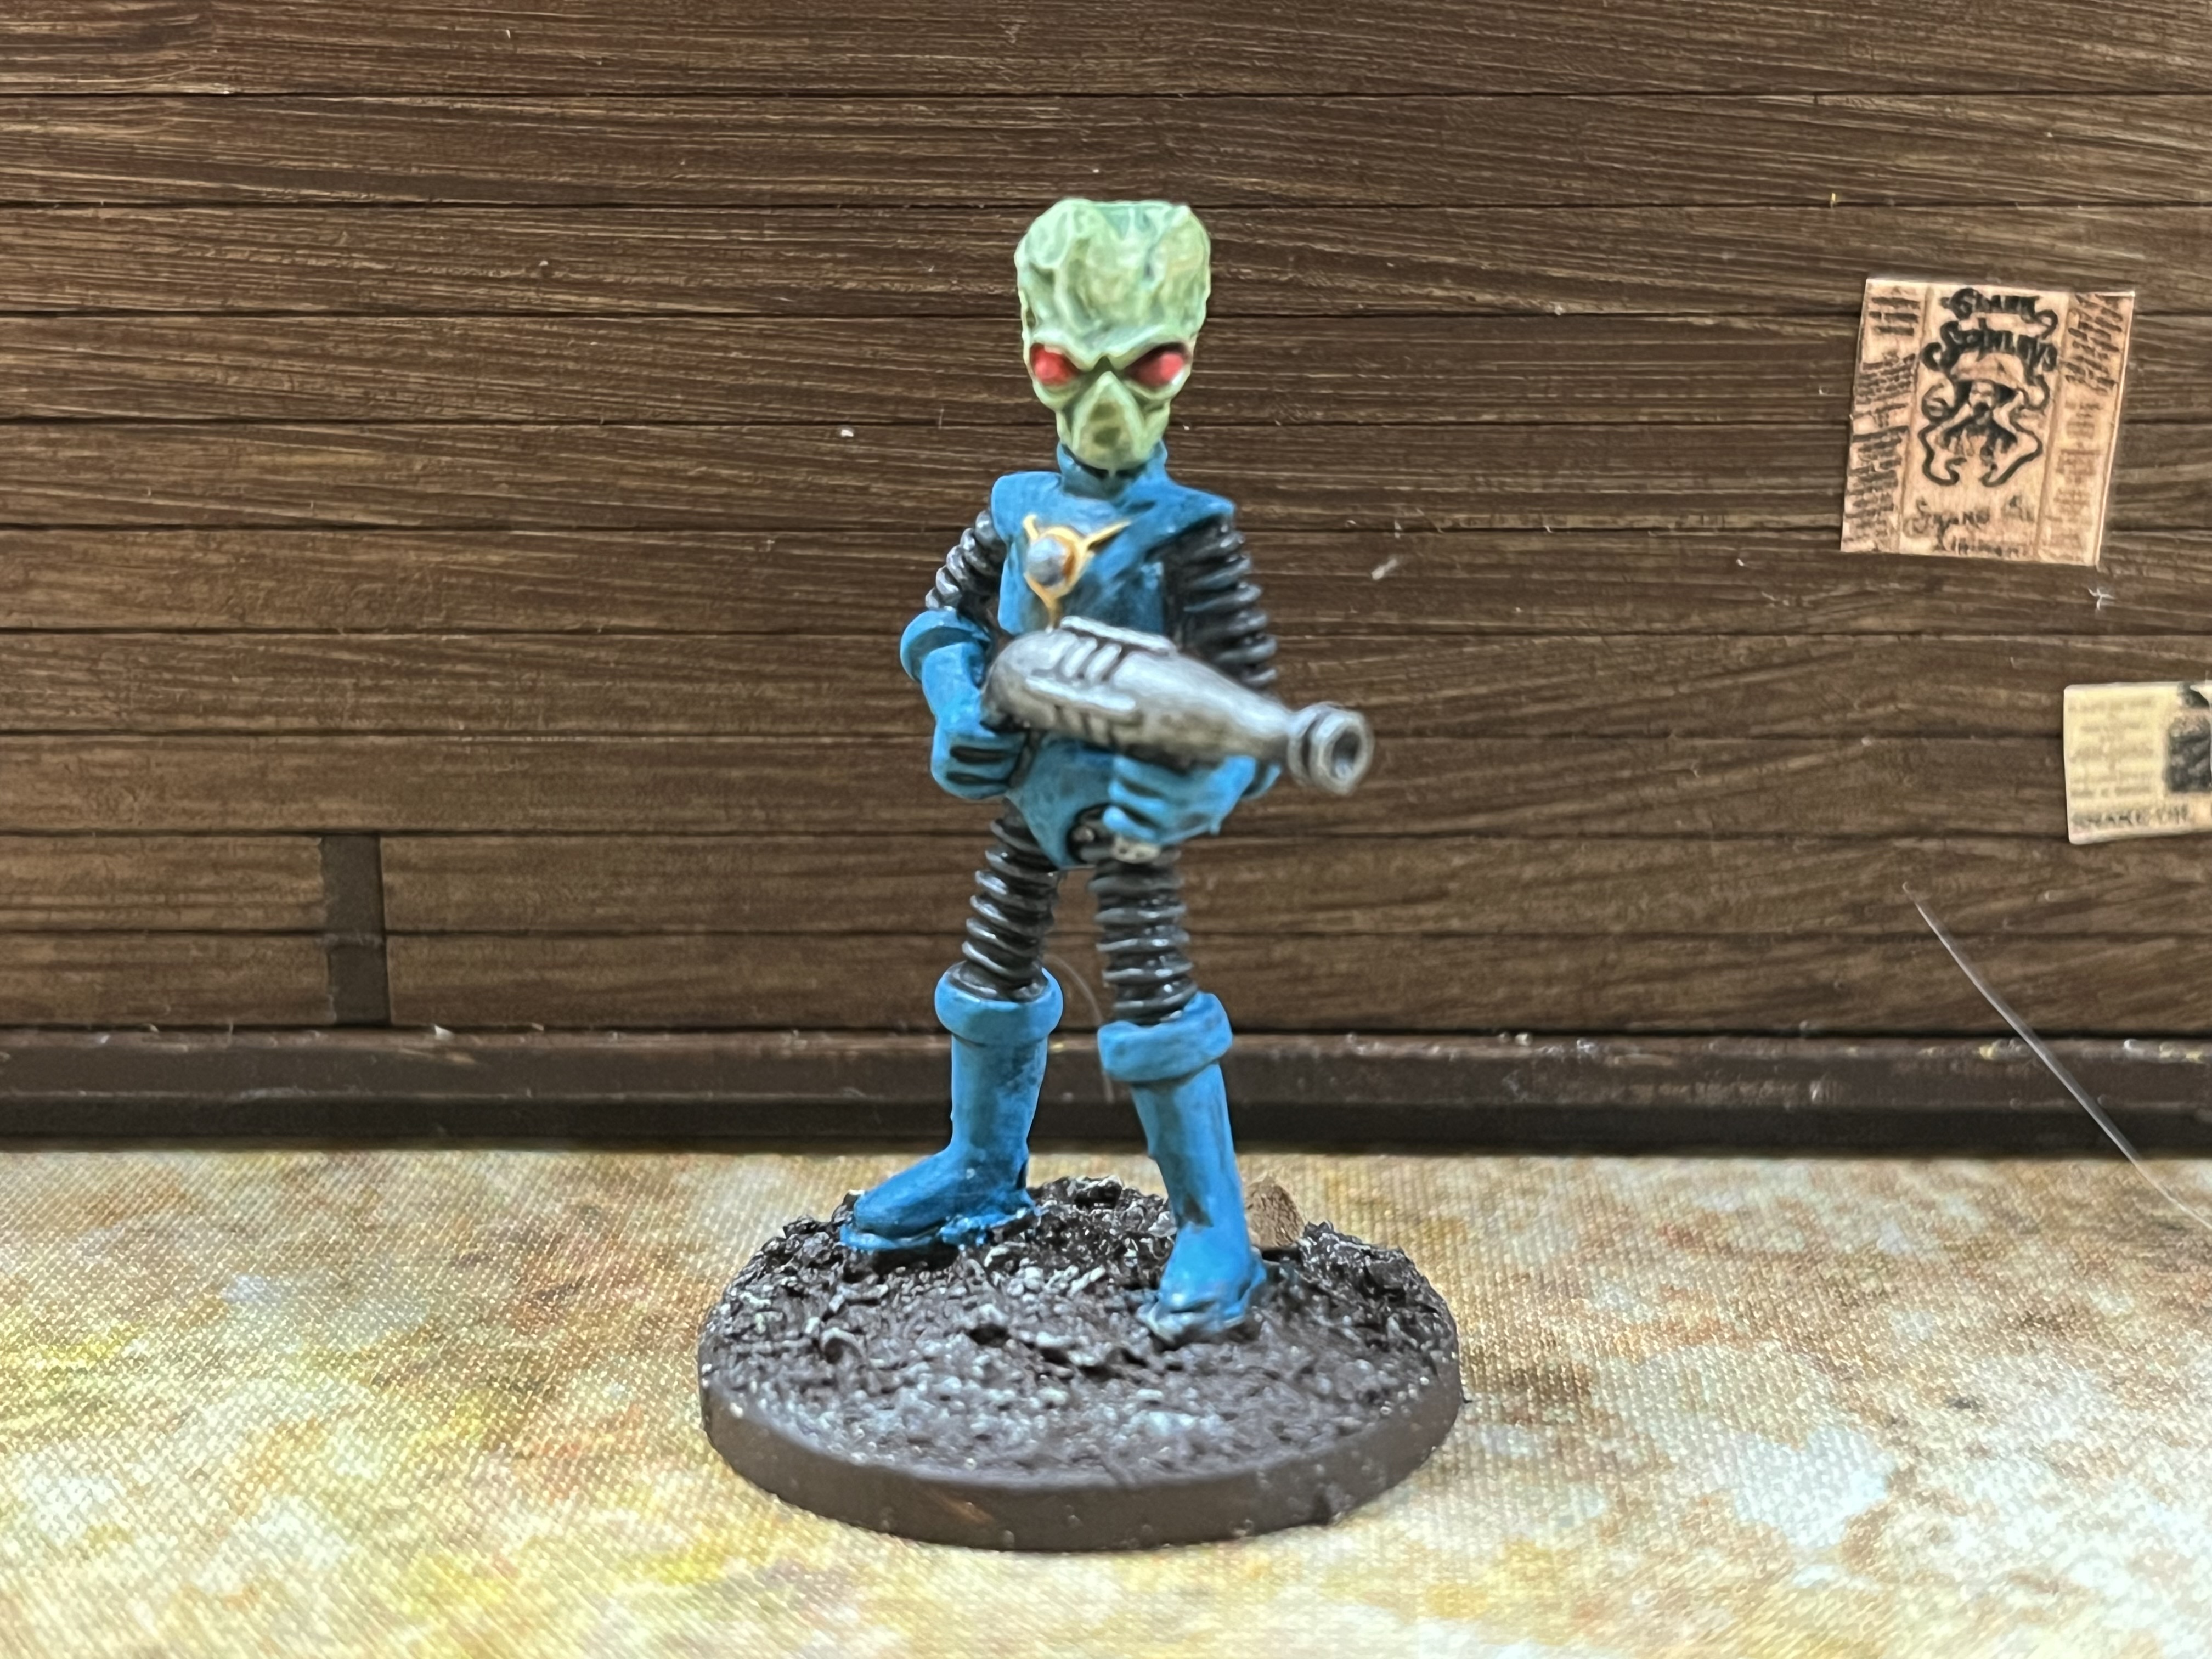 A Zenithan from Hydra Miniatures.
 I used Army Painter Necrotic Green for the head and washed it with Green Tone. The eyes are Pure Red also from Army Painter. The raygun is Army Painter Gun Metal the uniform is Army Painter Hydra Turquoise and the chest insignia is Army Painter Bright Gold washed in GW Seraphim Sepia and the jewel in the center is Army Painter Cobalt Metal. Arms and legs are GW Eshin Gray and then everything except the head was washed in GW Nuln Oil Gloss and the Turquoise parts highlighted back up with Hydra Turquoise. Everything was then given a matte coat with Vallejo spray matte.
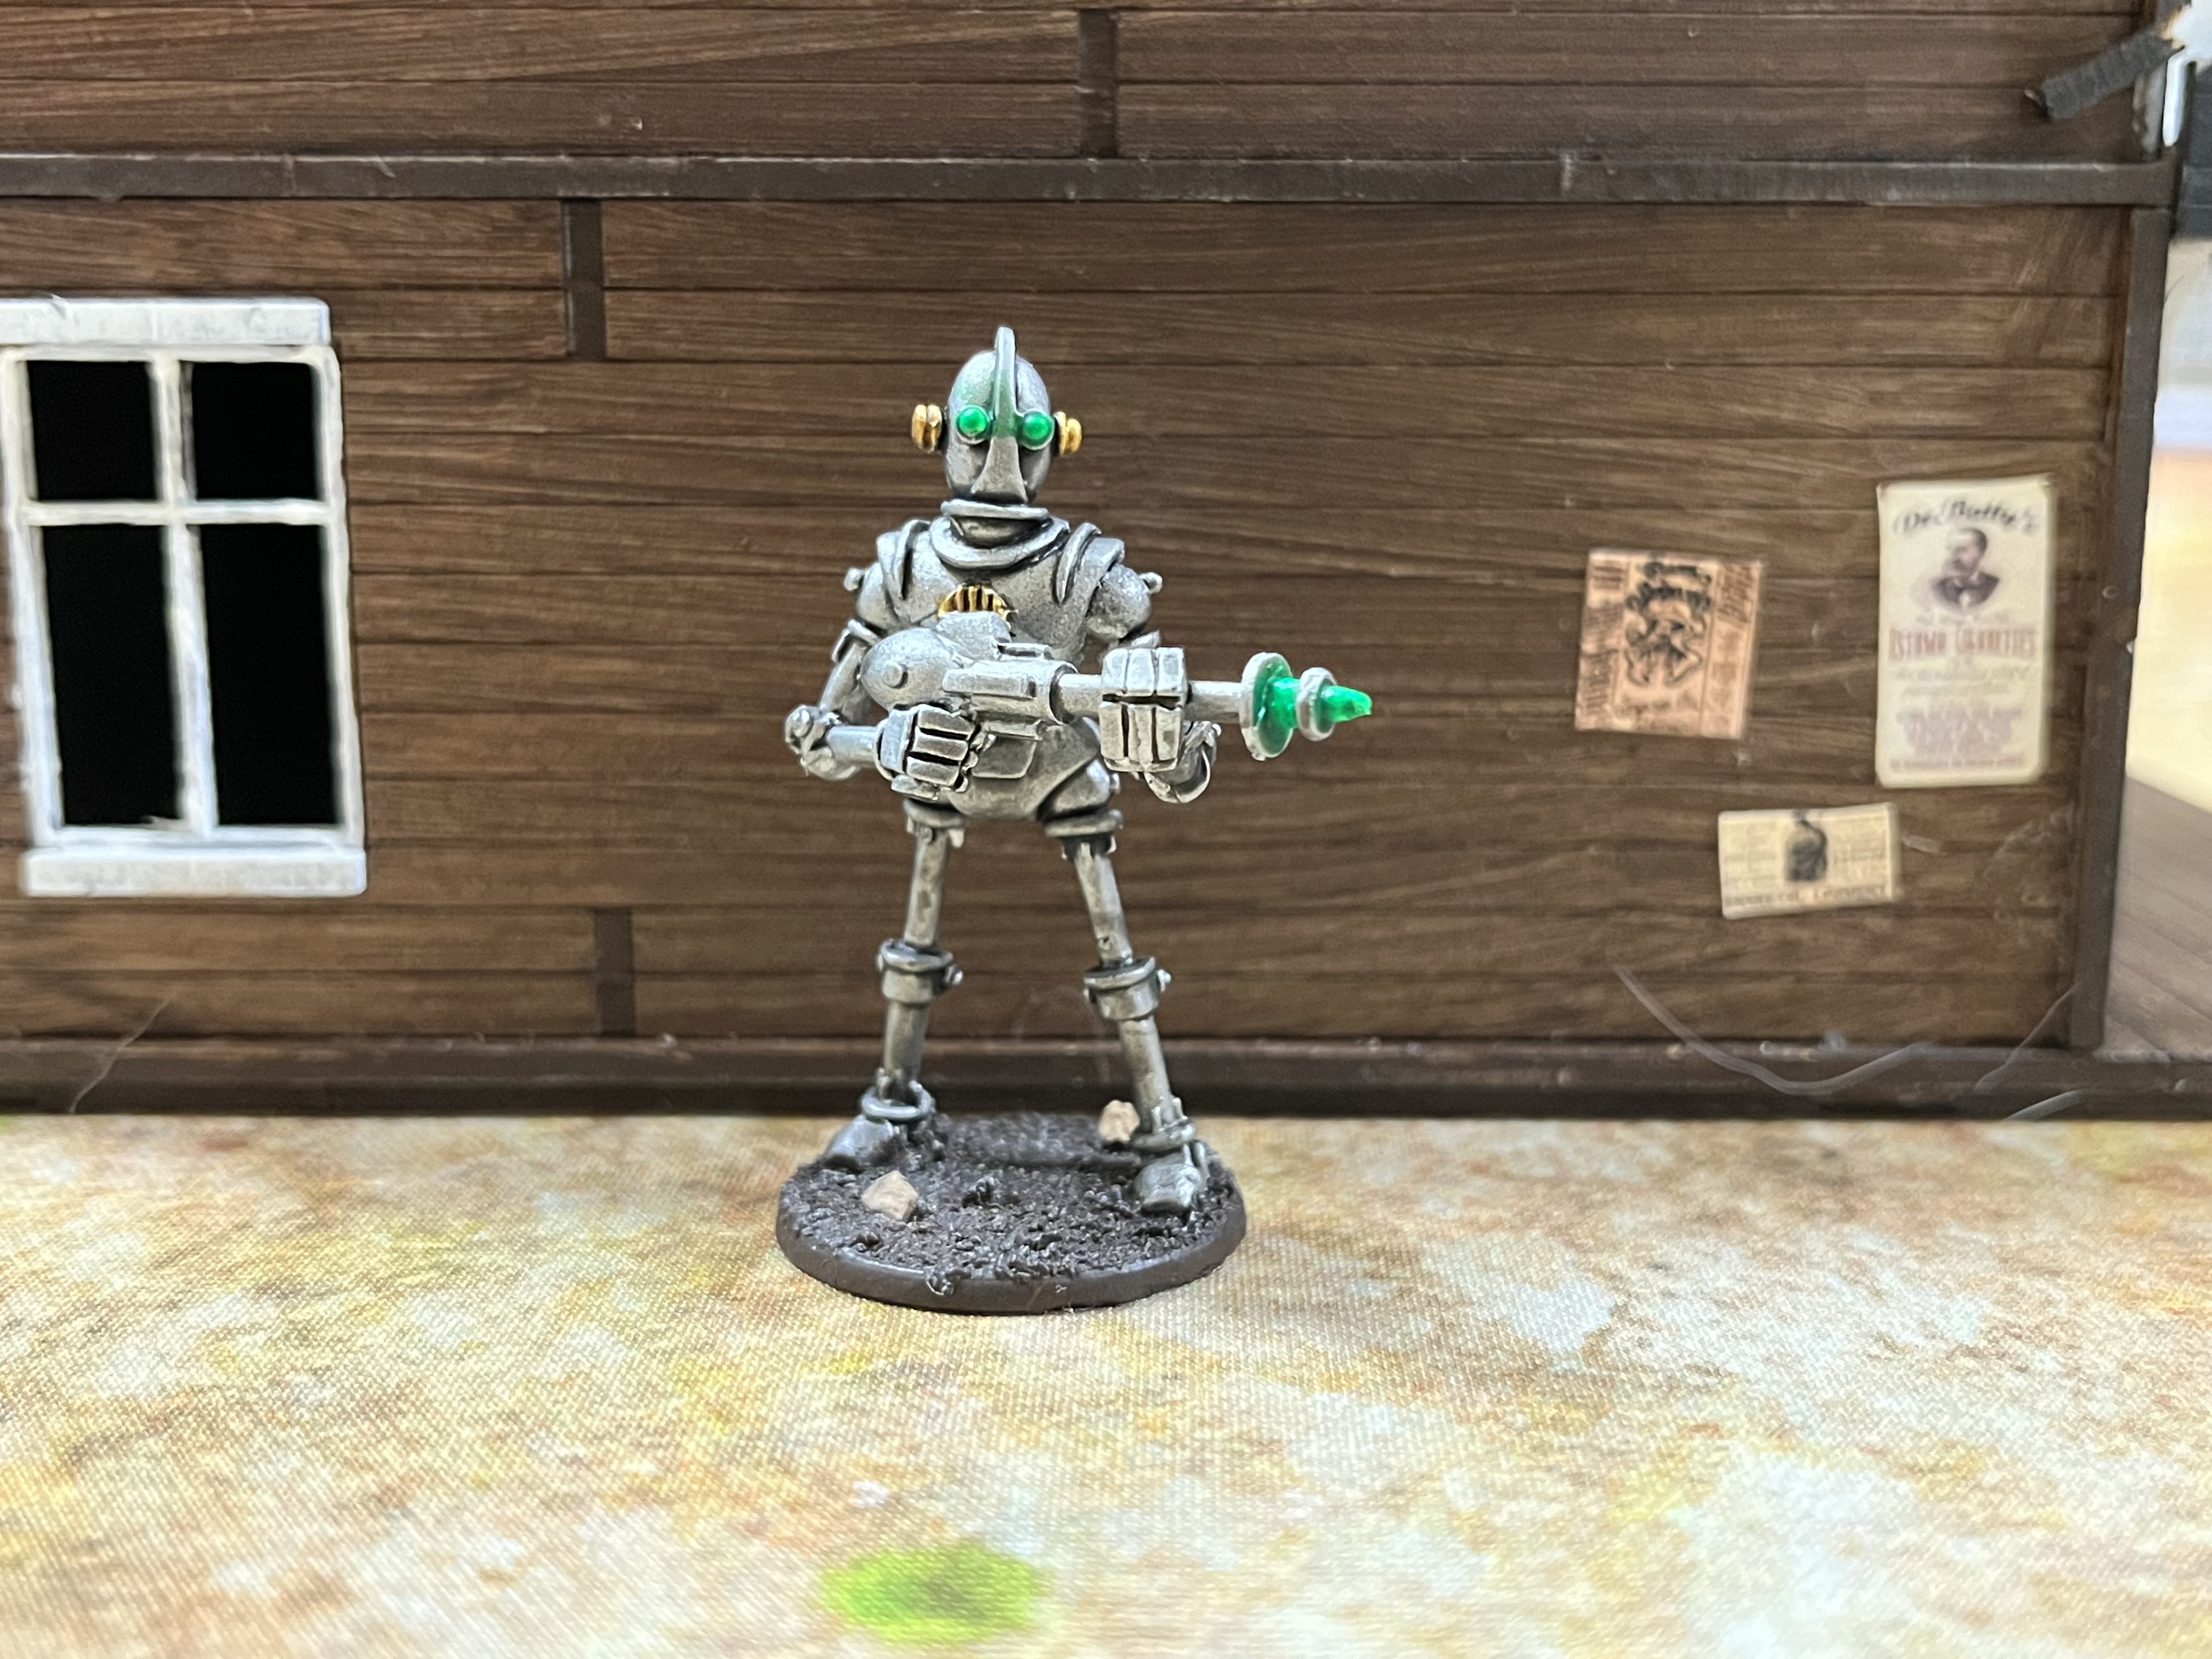 Robot Legion miniature also from Hydra Miniatures. Army Painter spray Plate Metal primer with Vallejo brass and GW Tesseract Glow? They’re from an older project.
 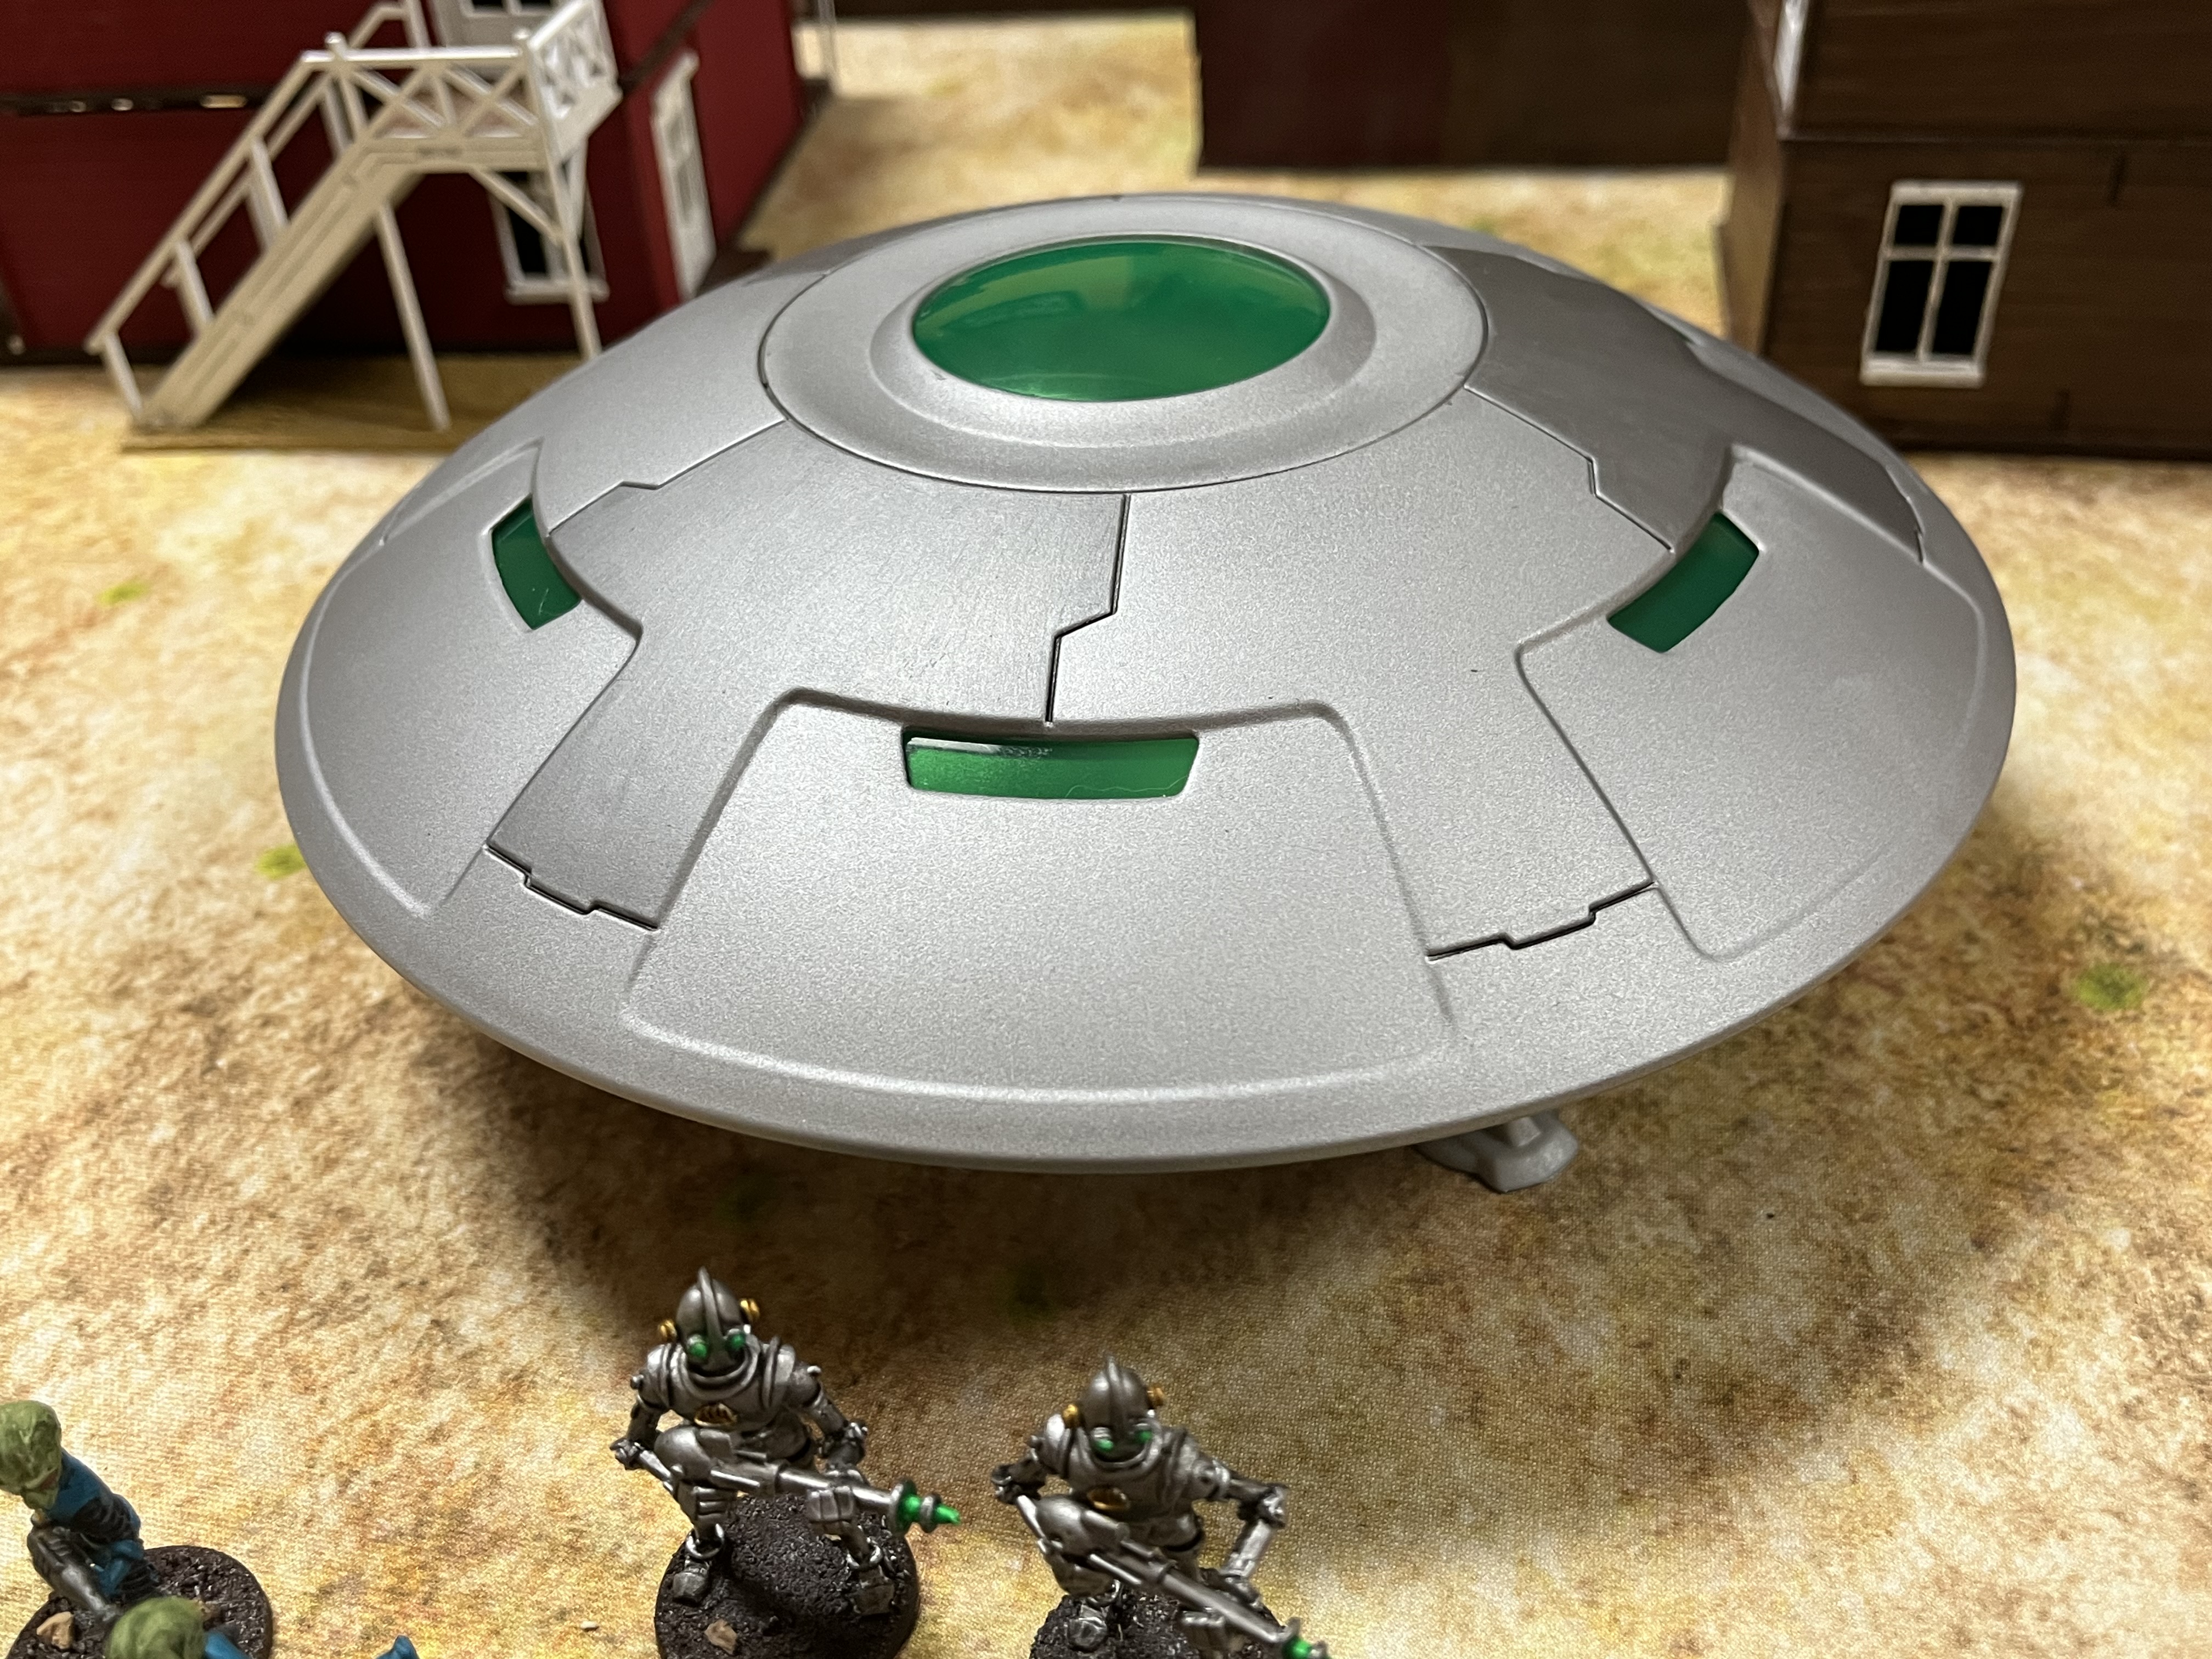 Top side of the flying saucer. It’s a plastic kit from Pegasus.
 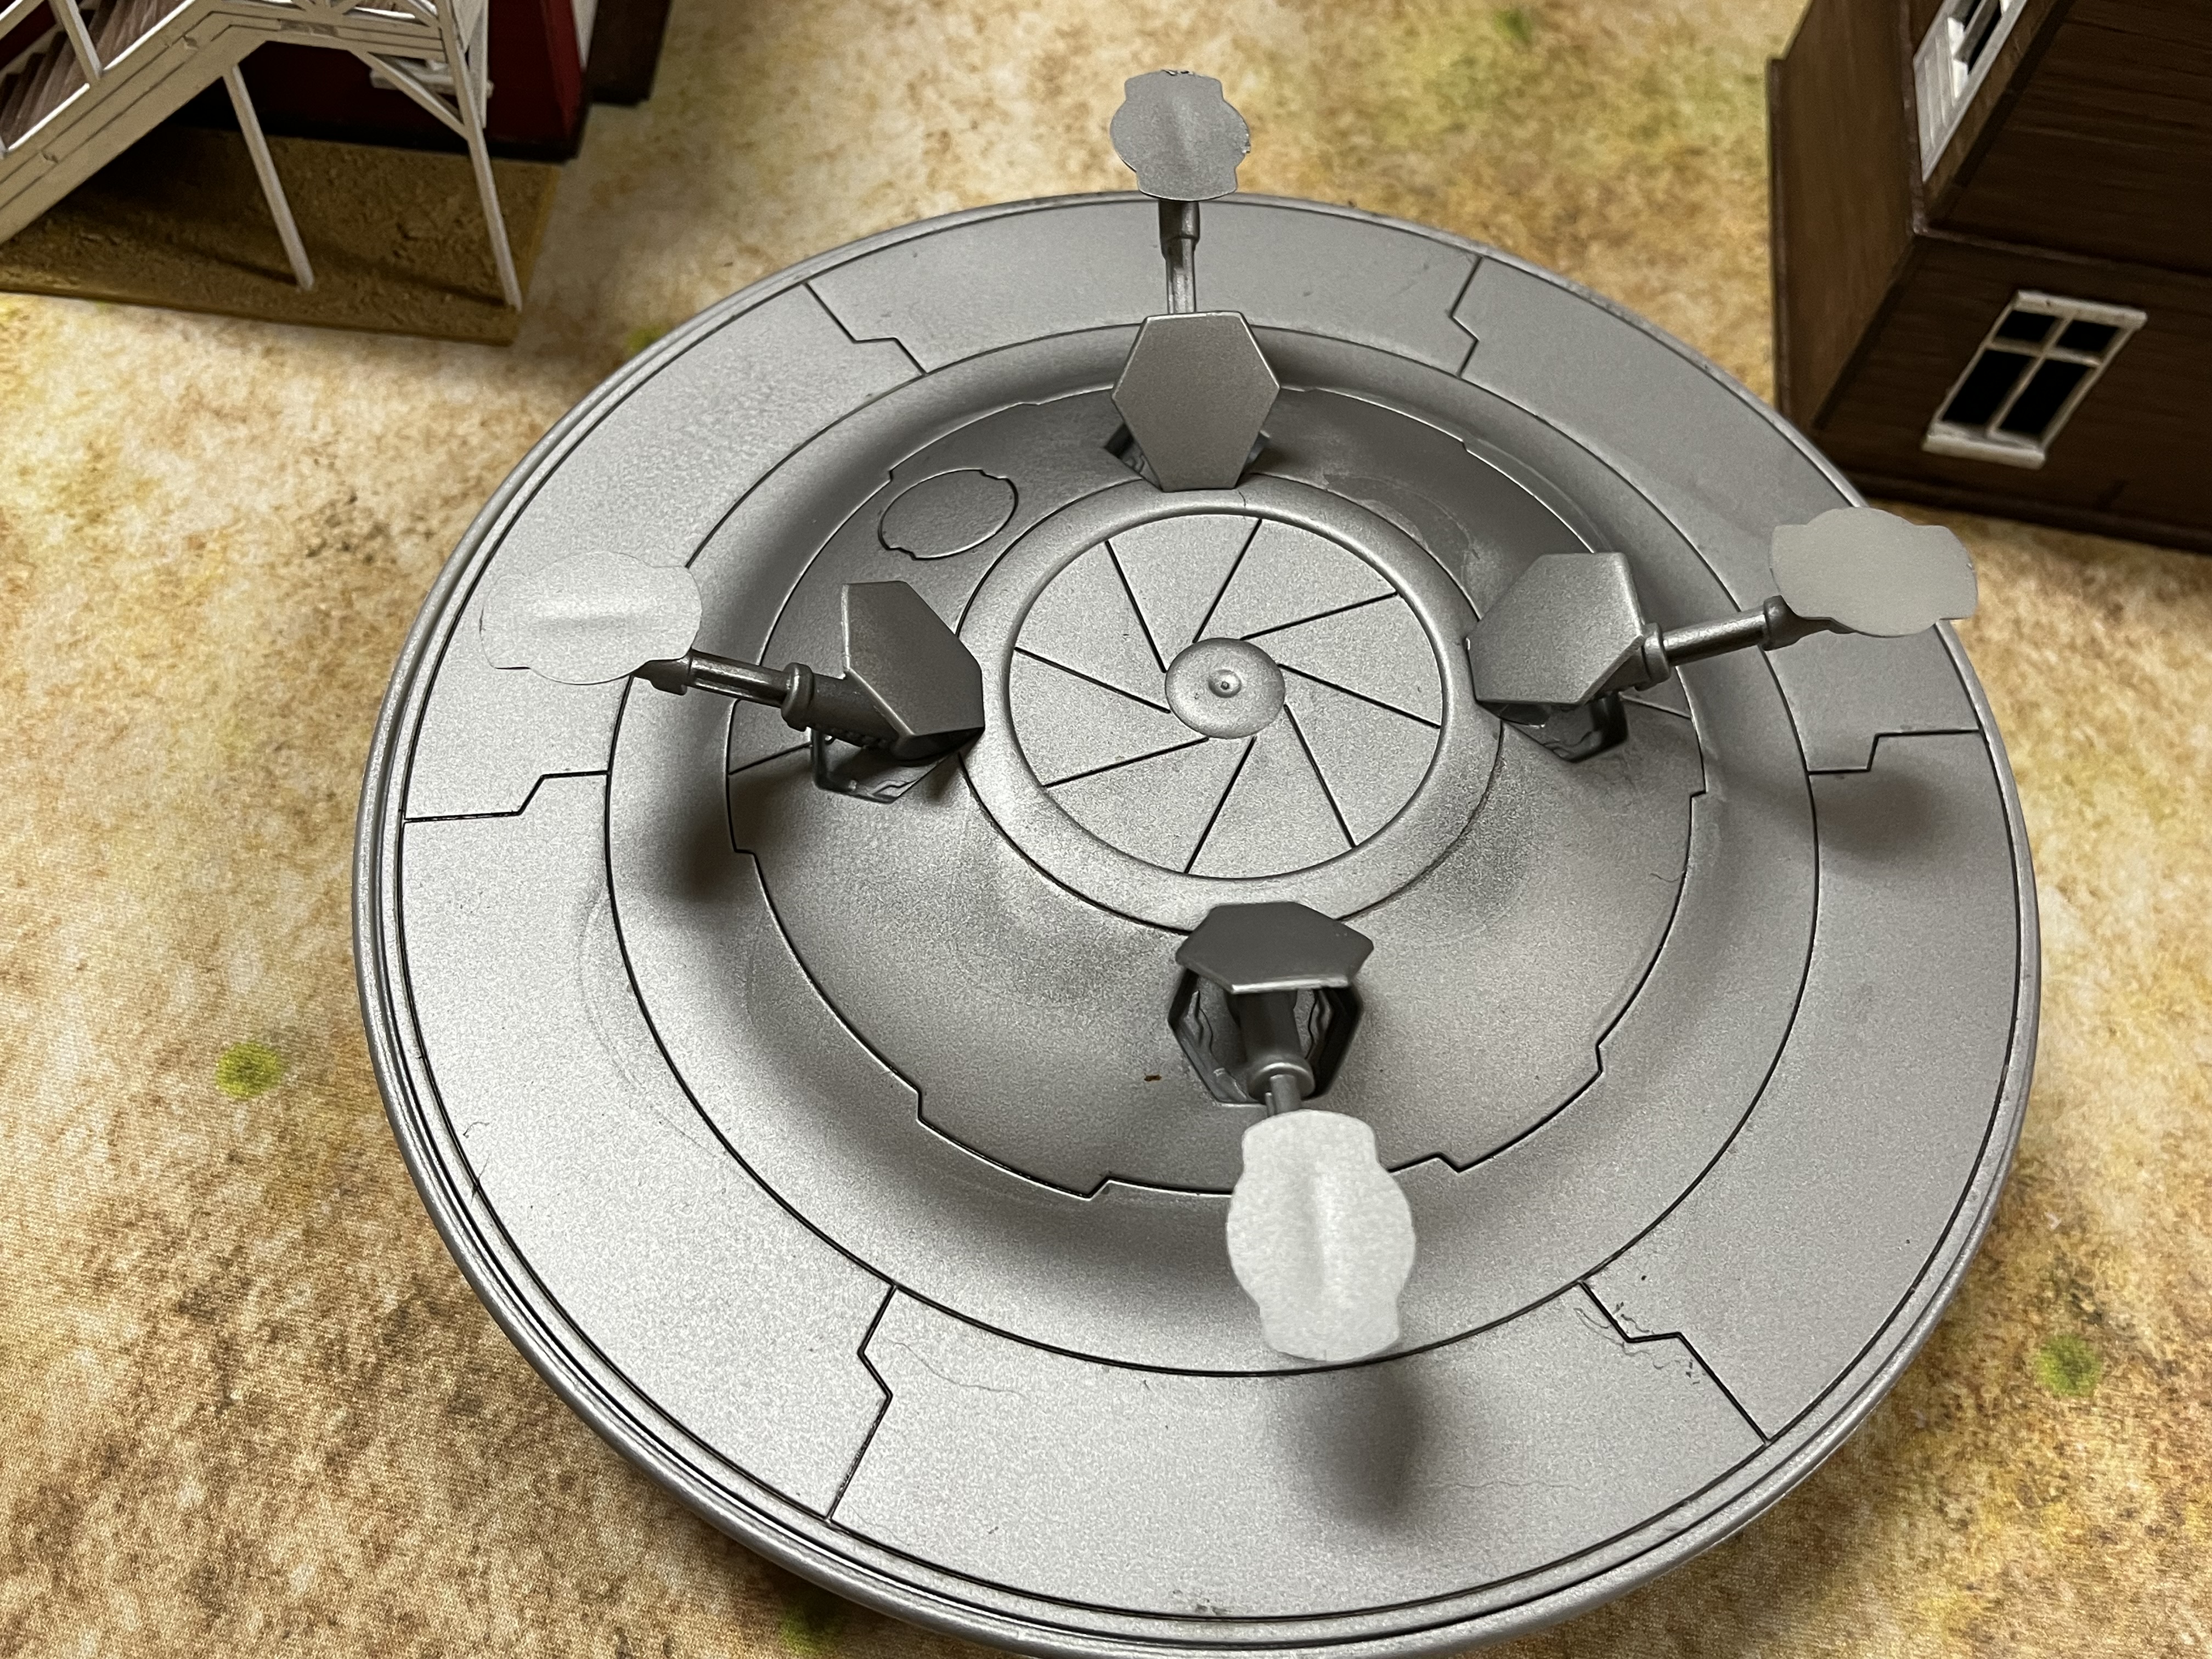 Underside of saucer.
 The saucer was spray painted with Army Painter Plate Metal and the darker panels painted with Gun Metal. Panel lines were done using Tamiya black panel liner.
I didn’t glue the two halves together as I think I can light it from the inside using one of those battery powered led candlelights.
More of a little shack
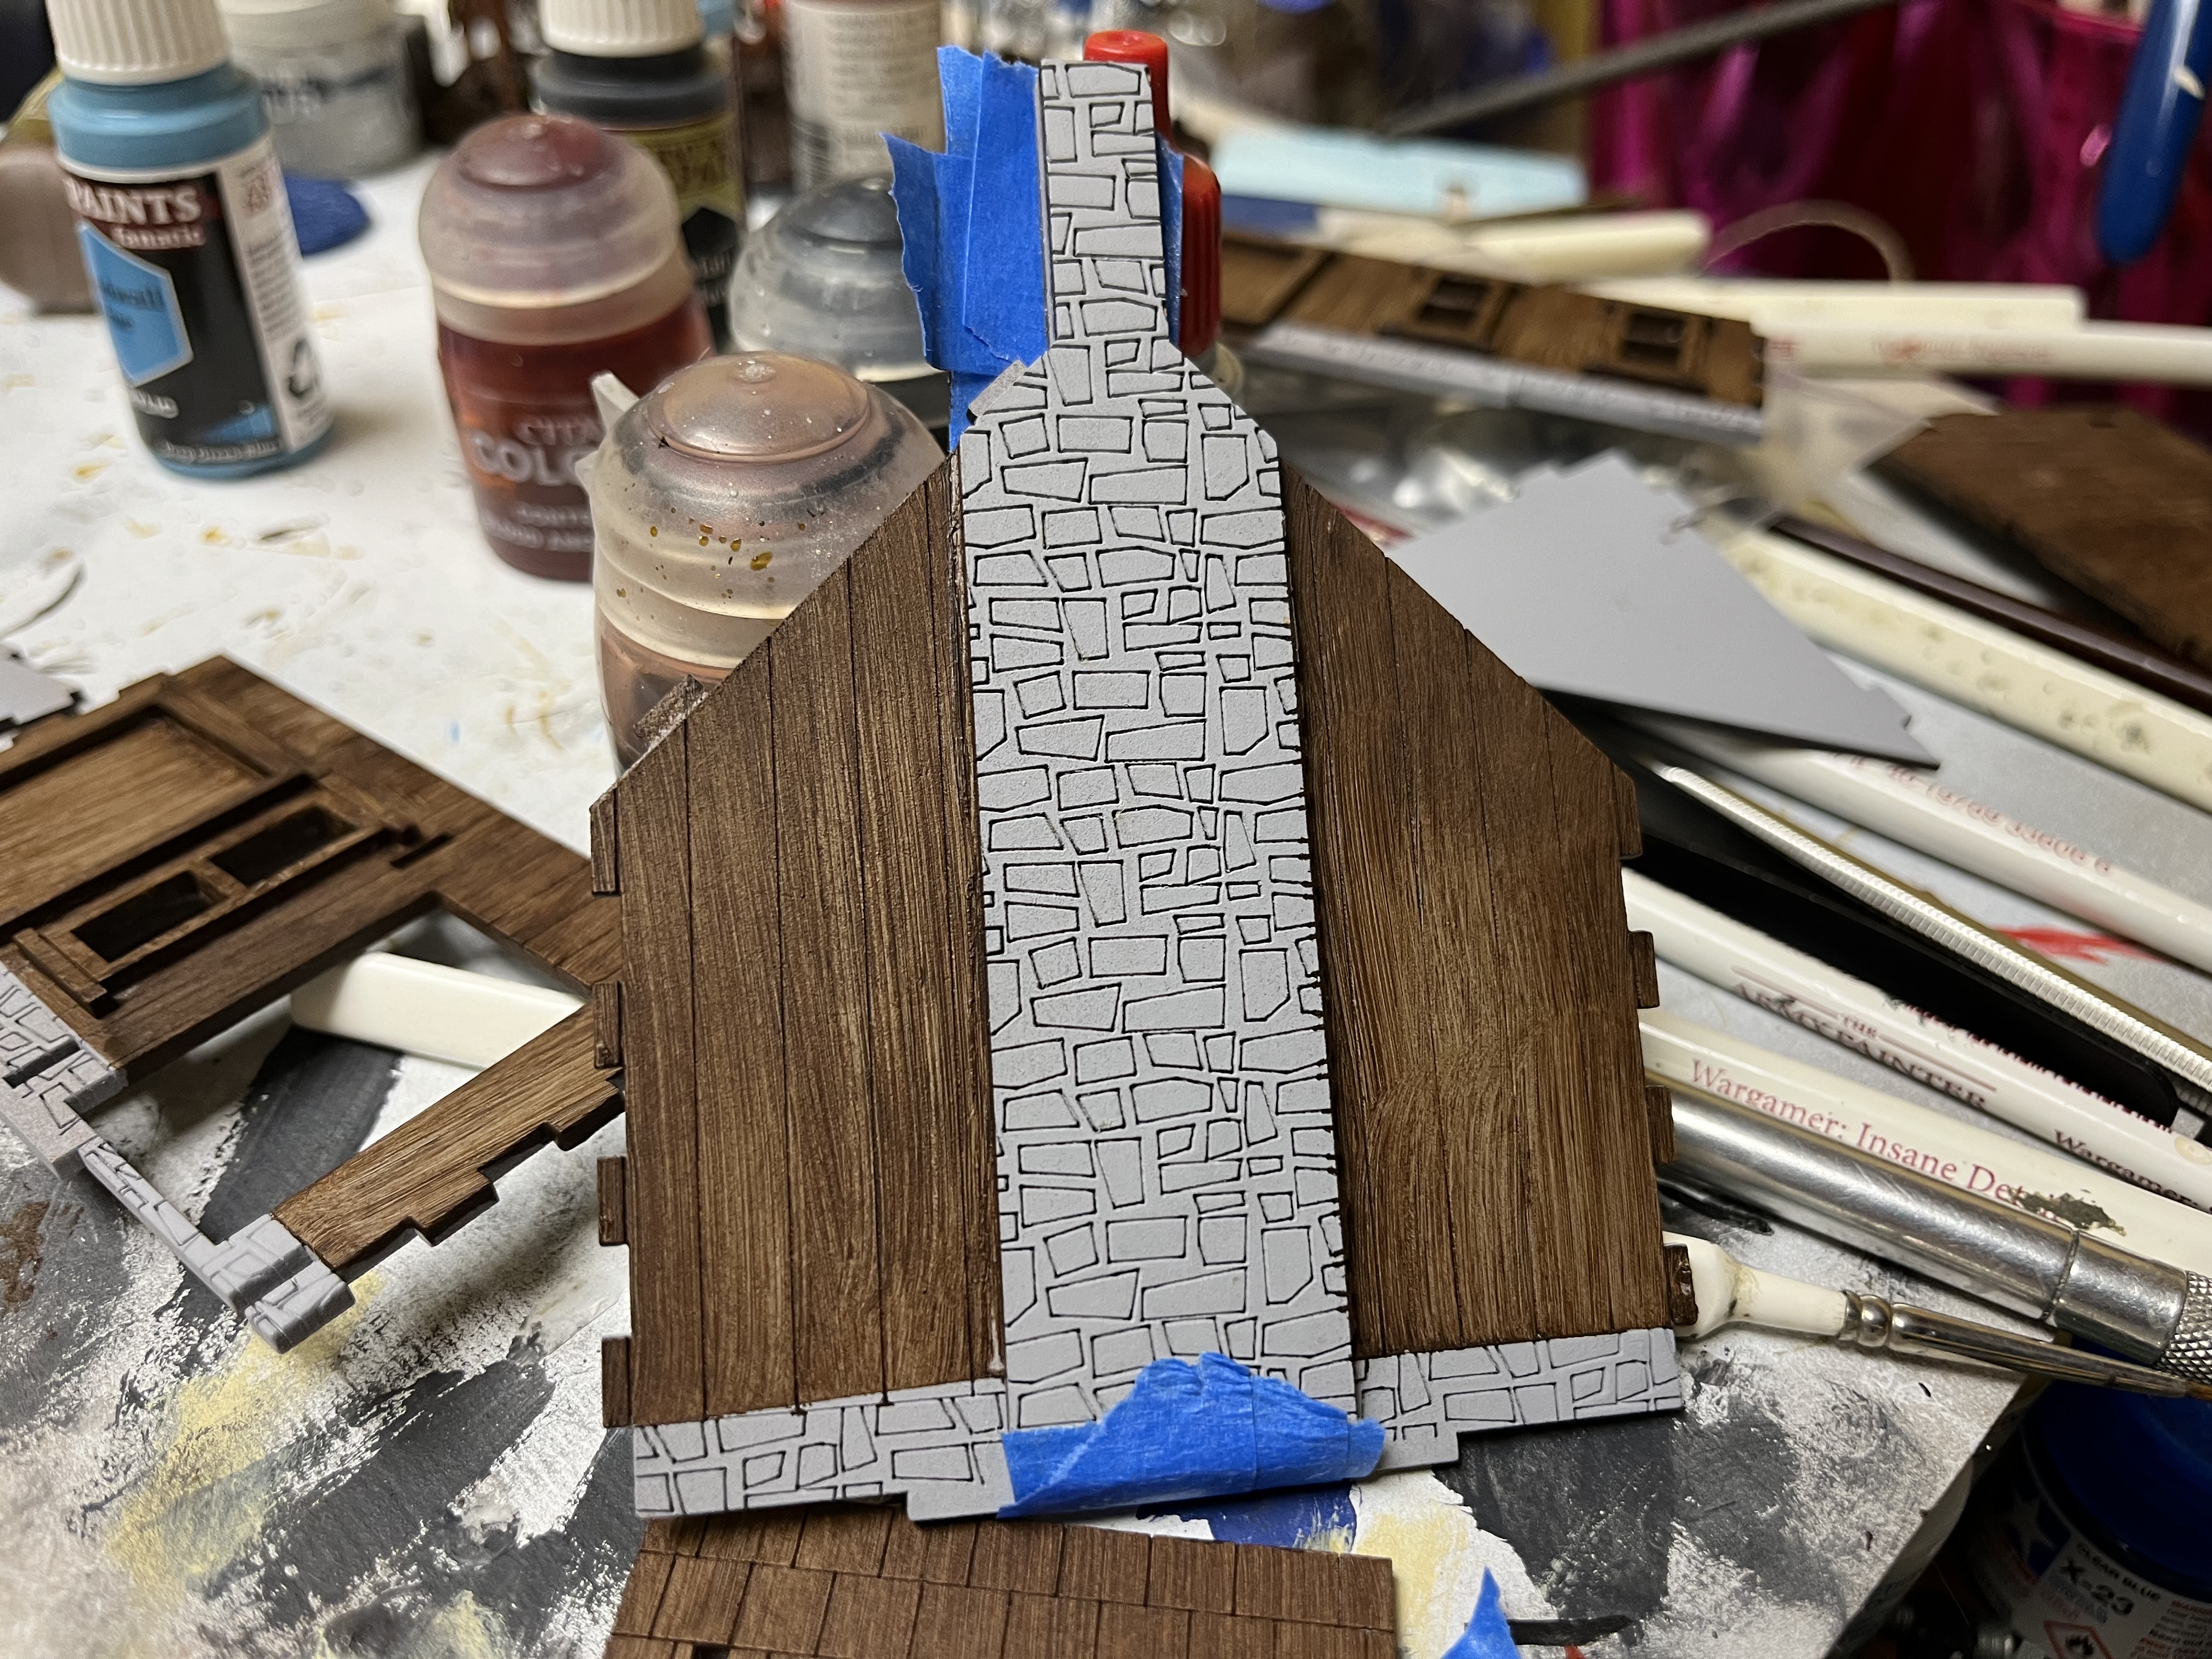 After painting the wood I began removing the masking tape.
 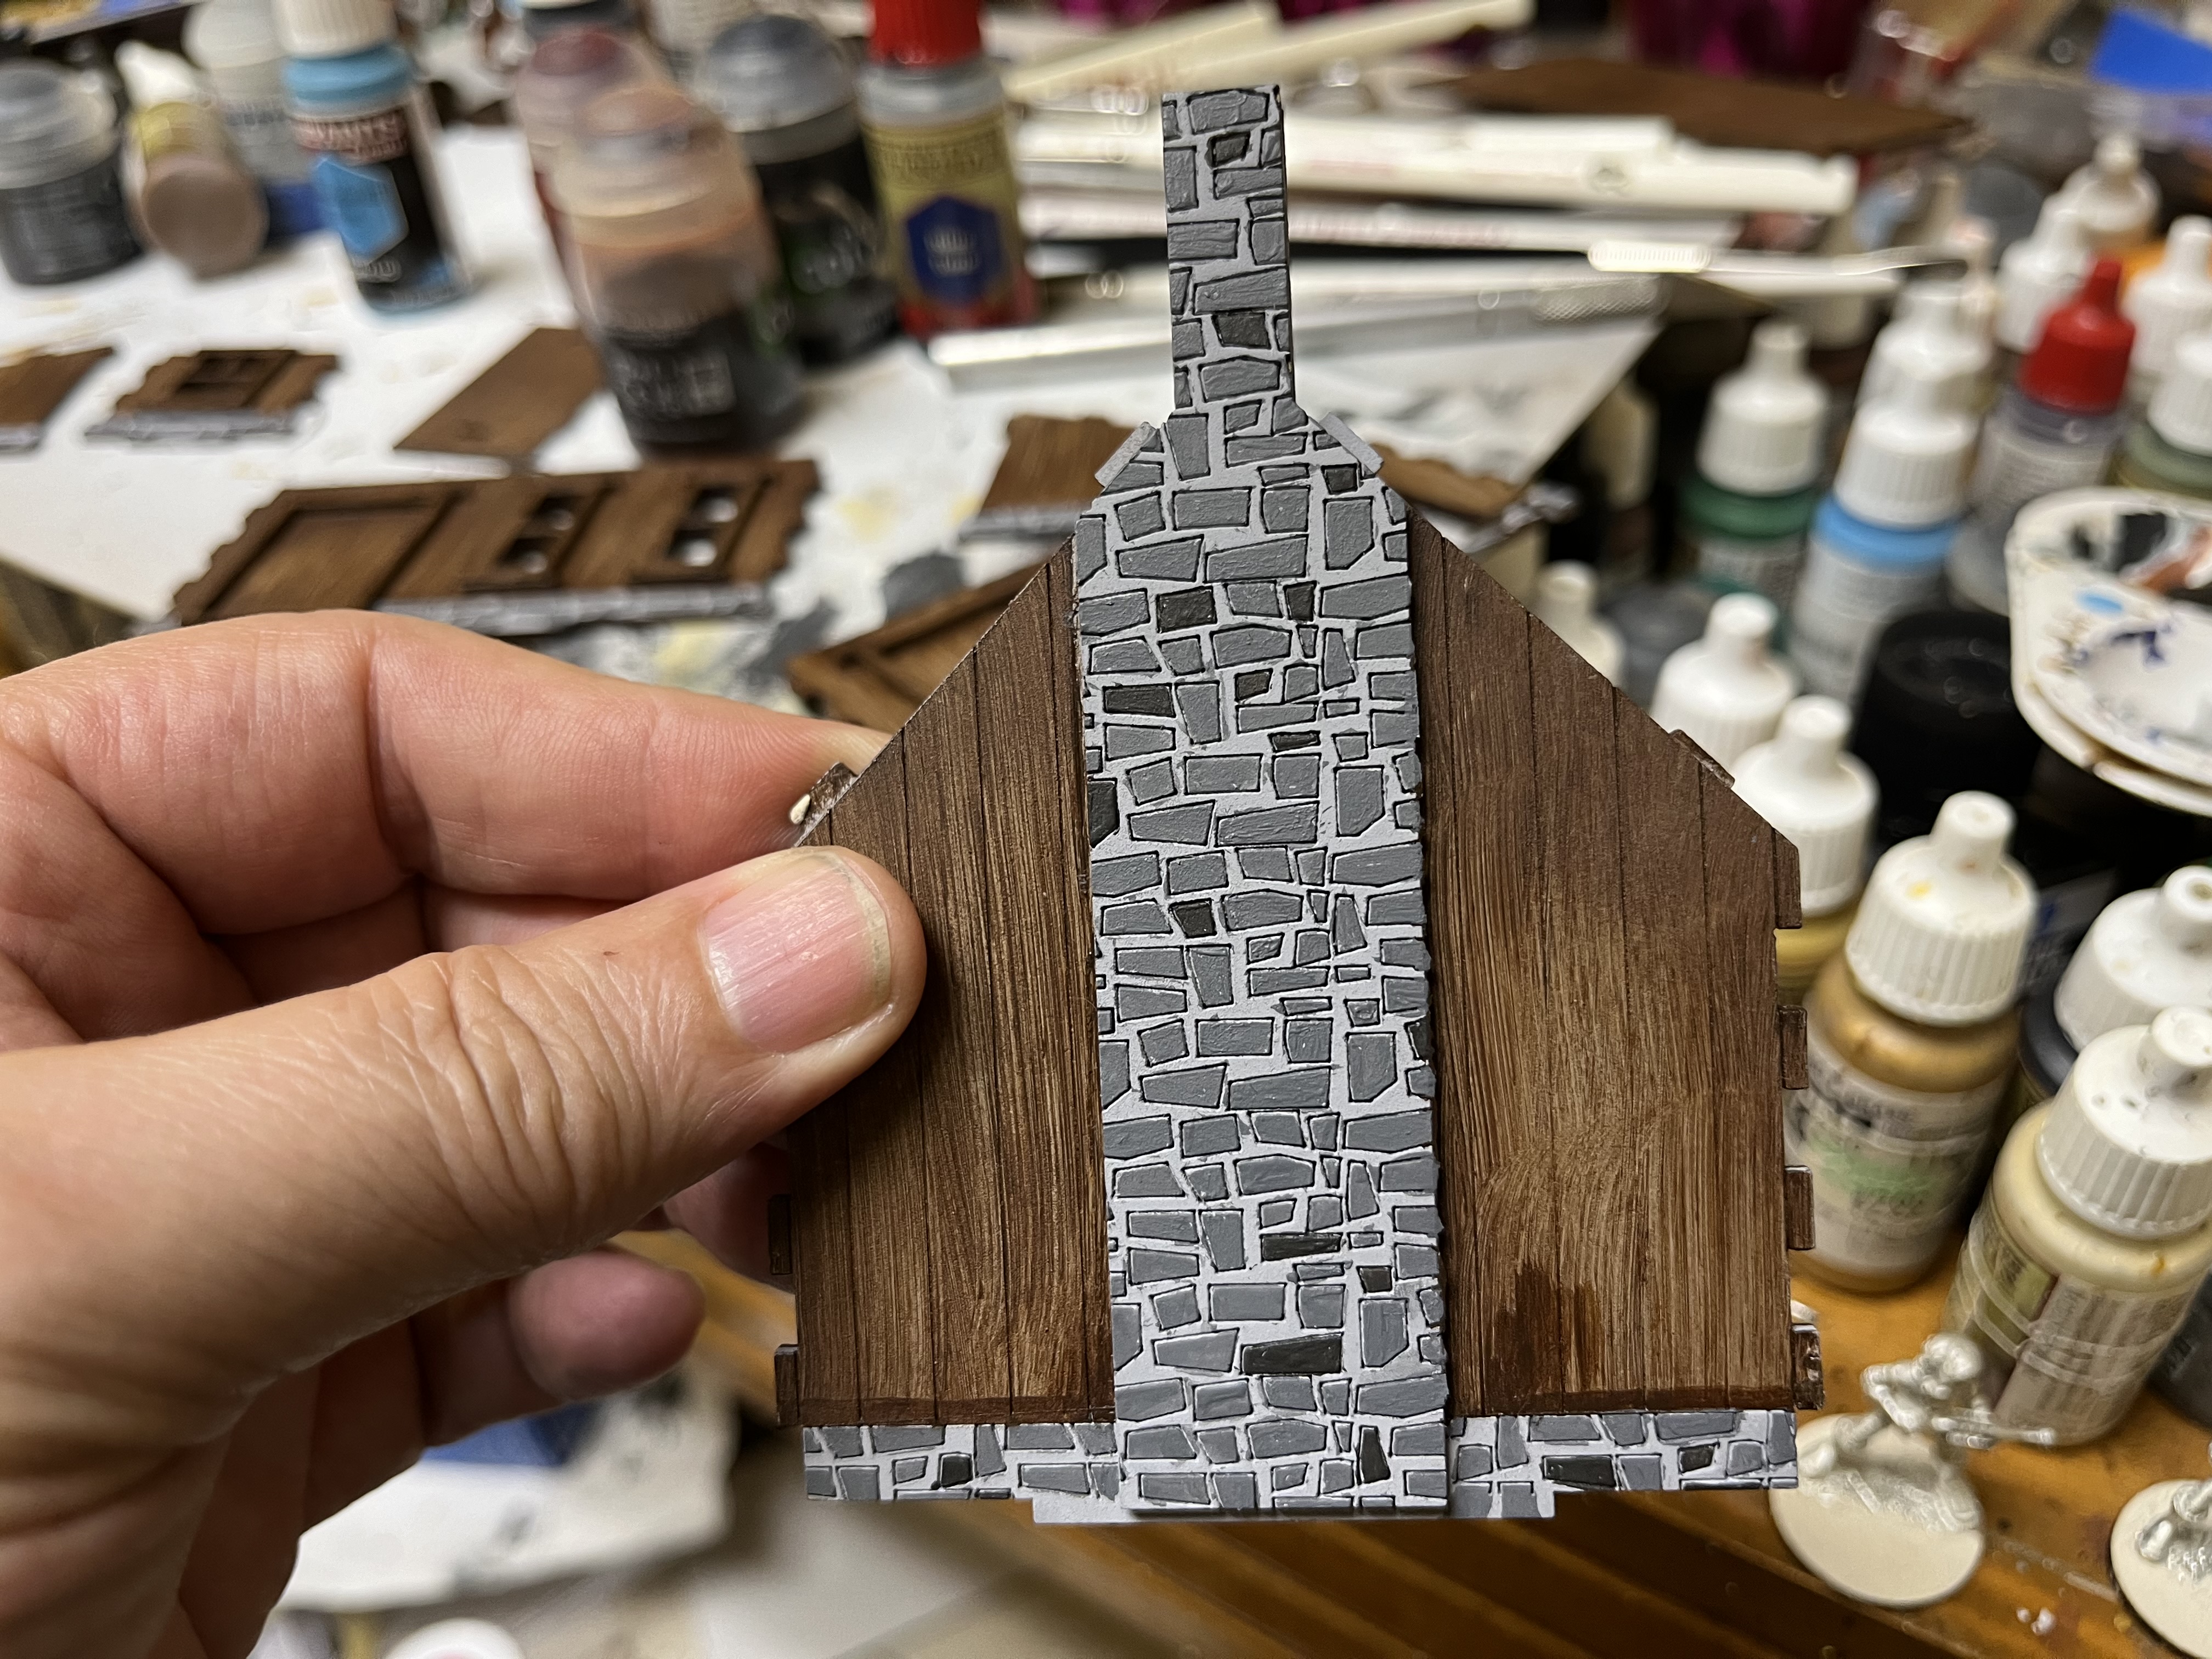 I then painted the stones using Army Painter Dungeon Gray and Hardened Carapace
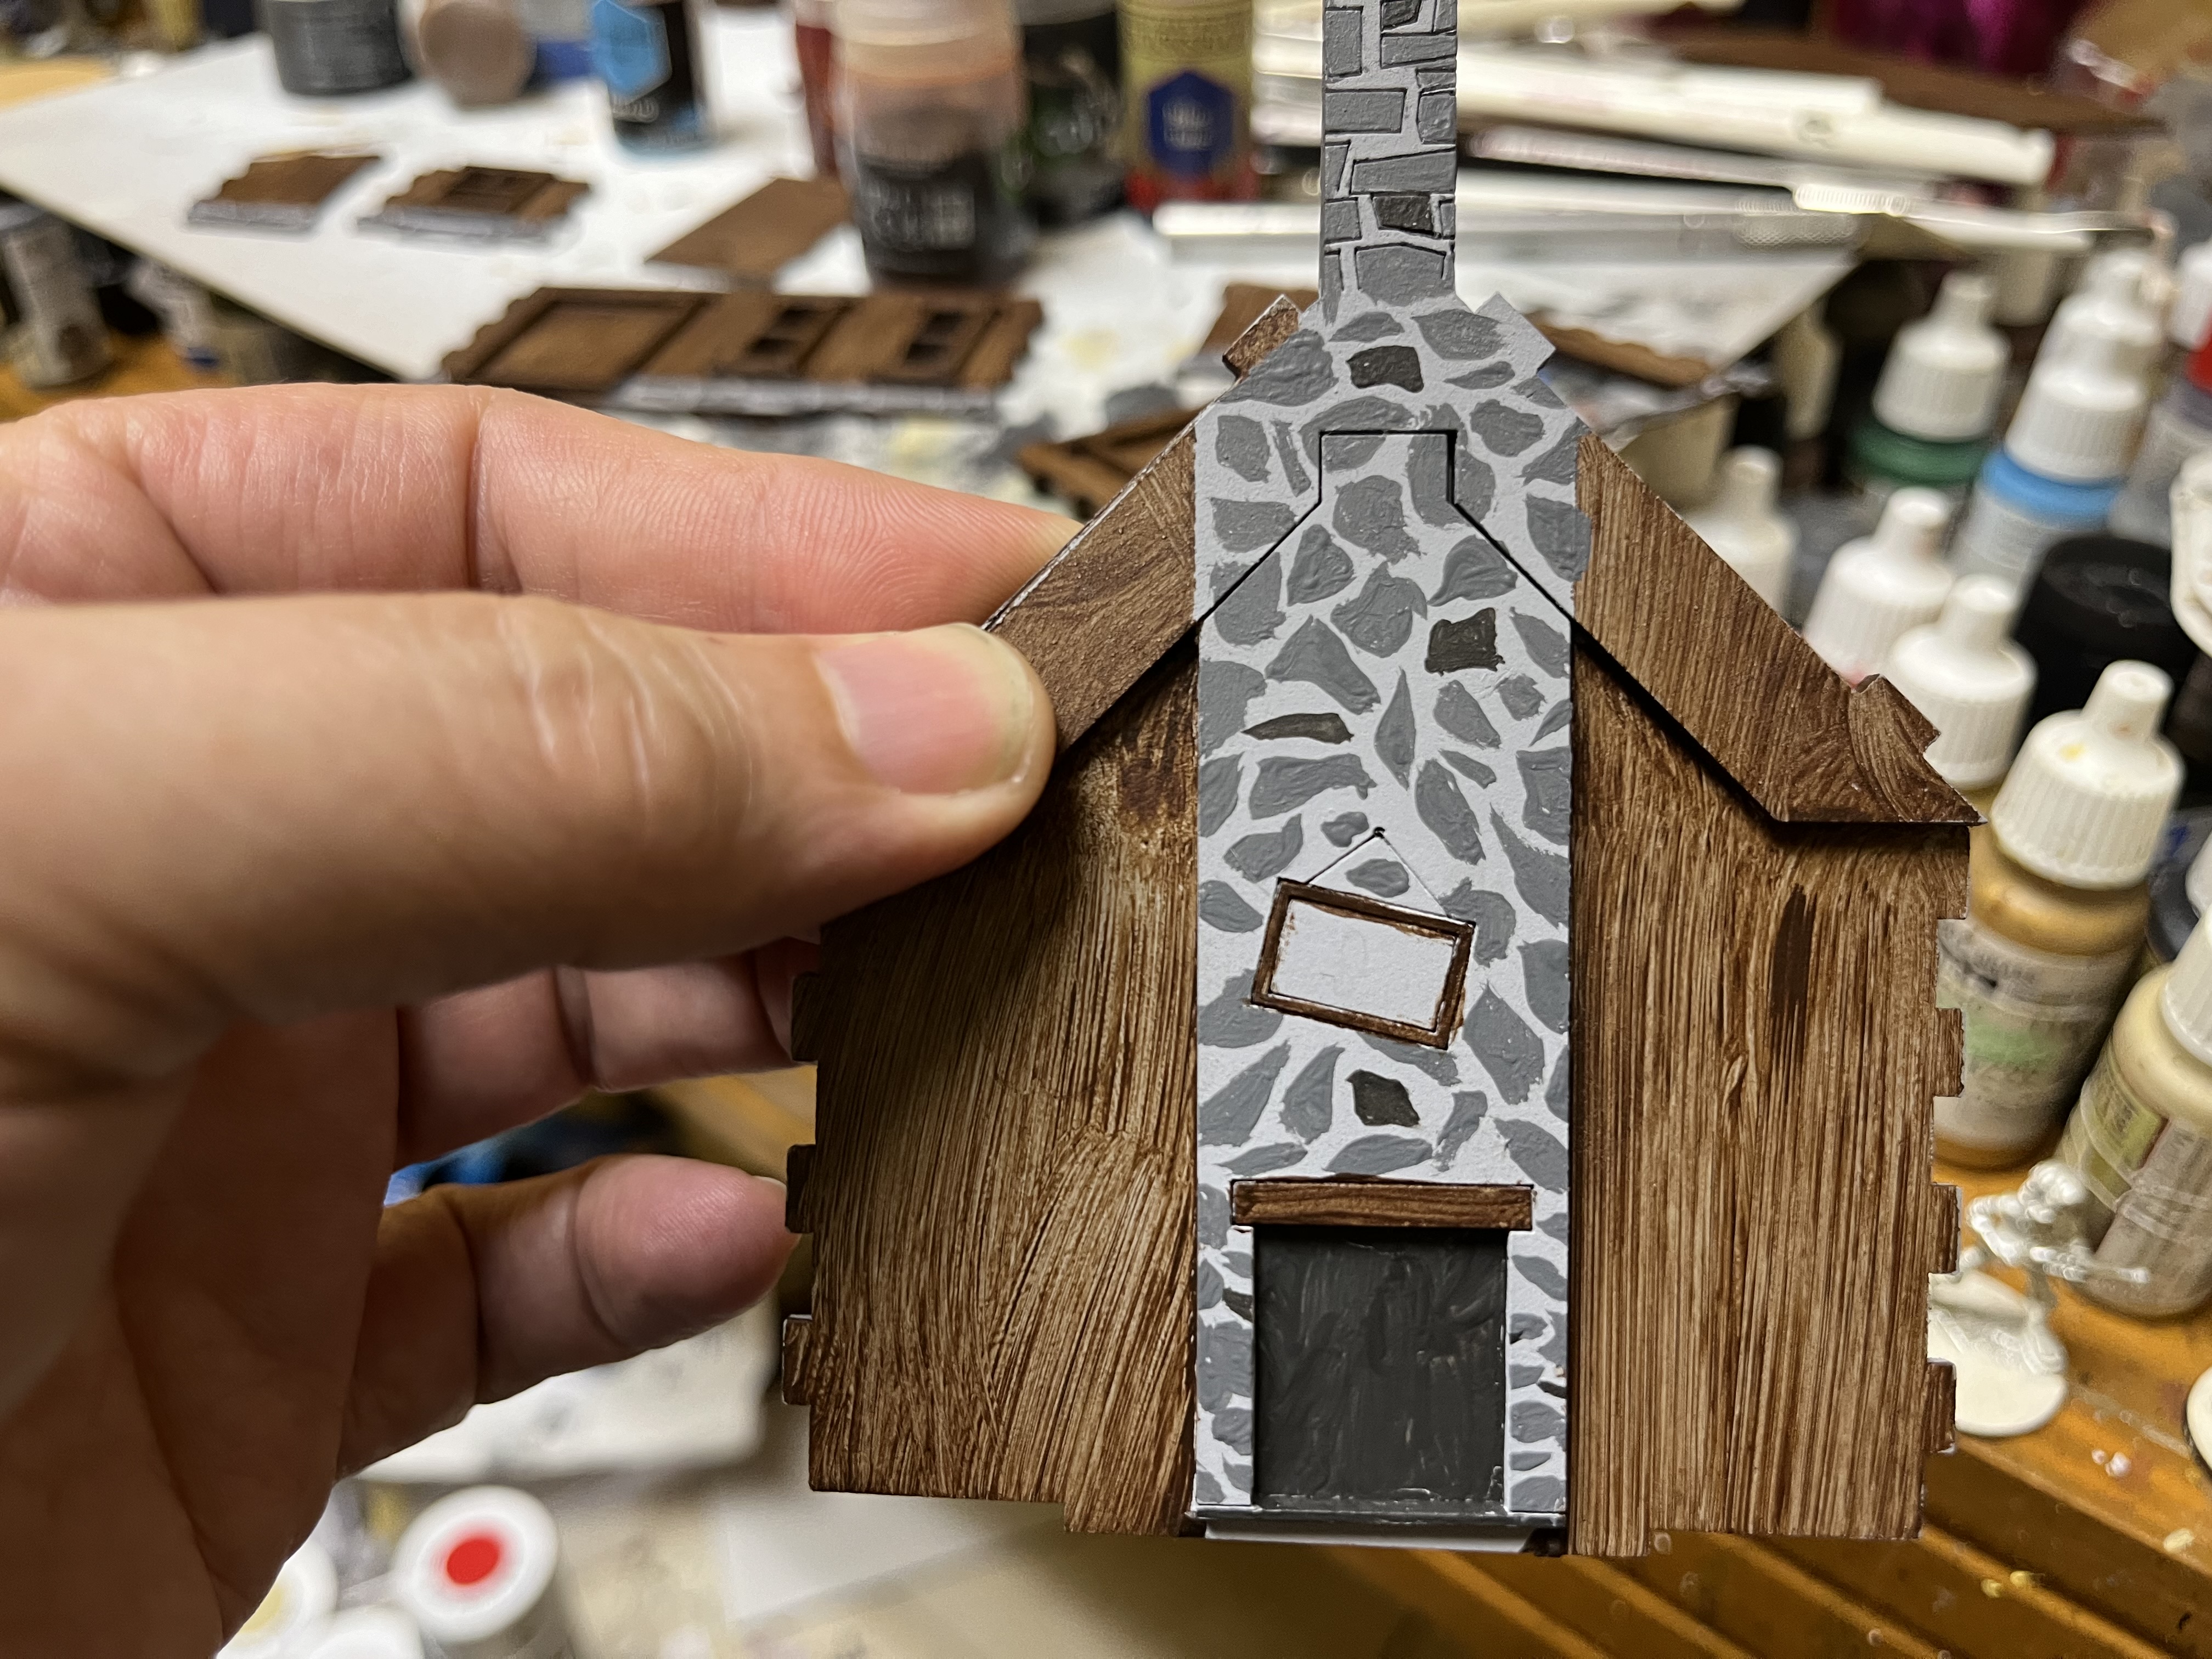 I also painted the fireplace and chimney before assembly because it was easier than trying to maneuver around with a paint brush after the assembly.
 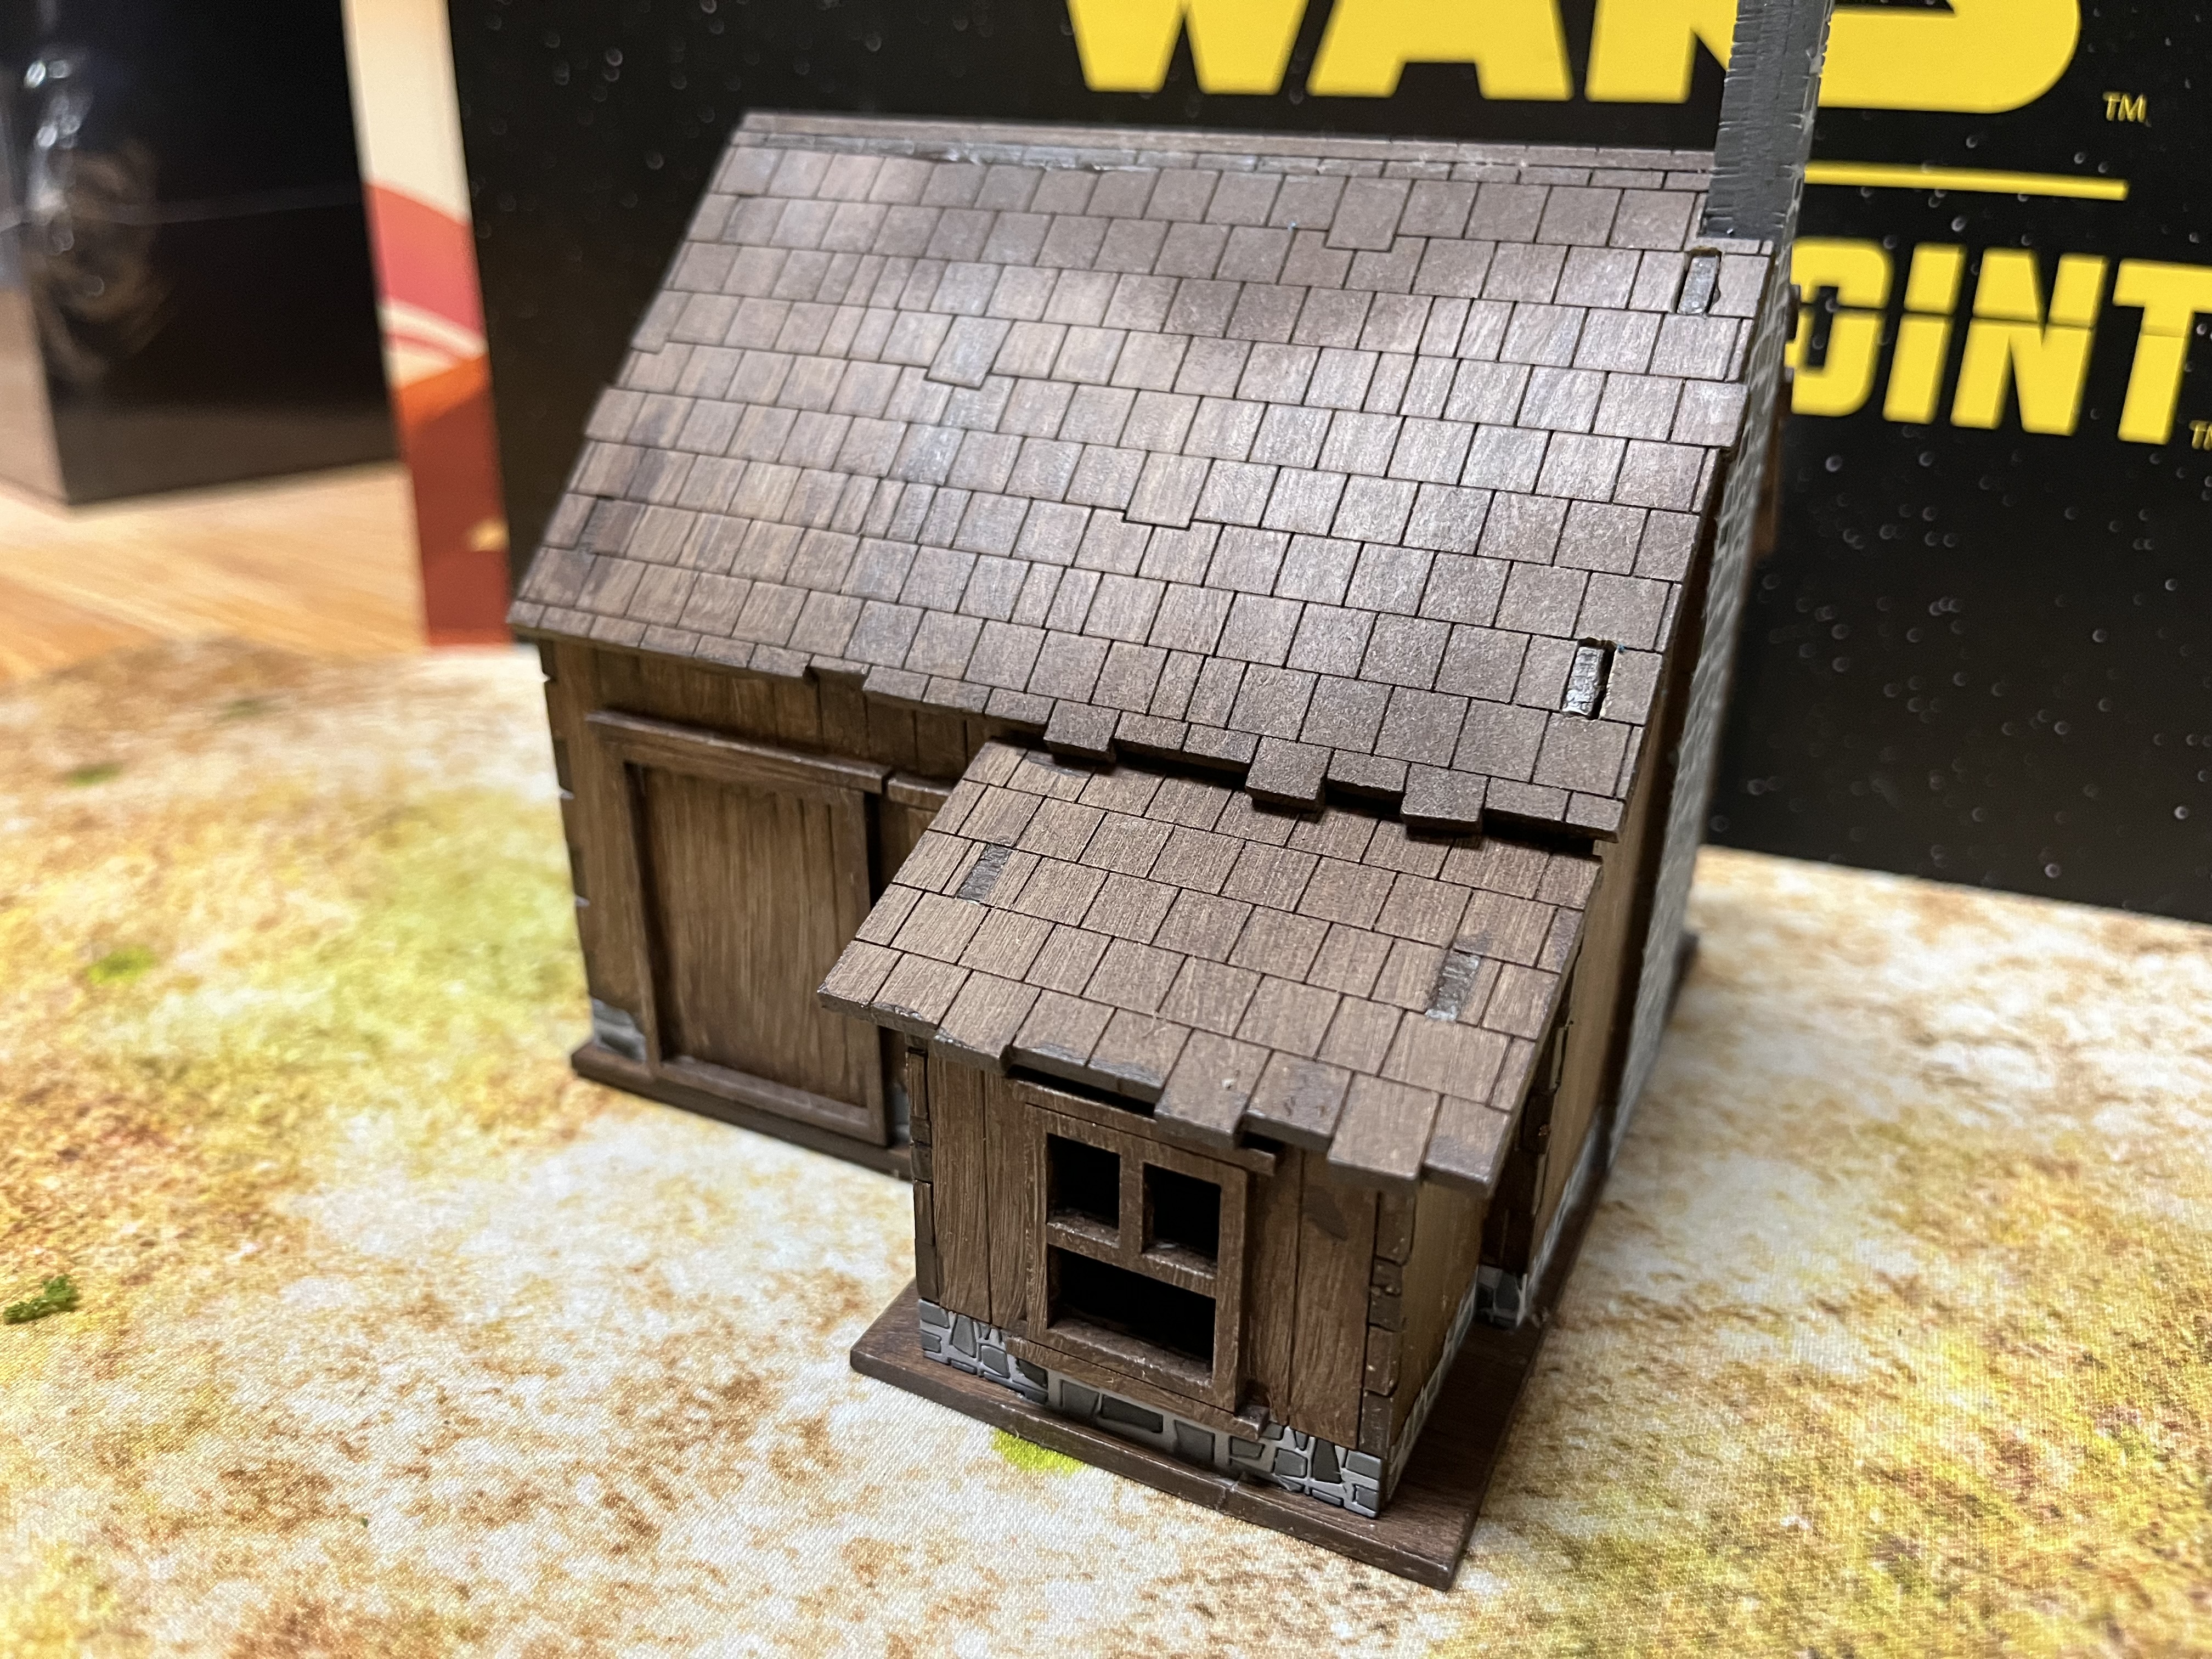 Exterior view following assembly.
 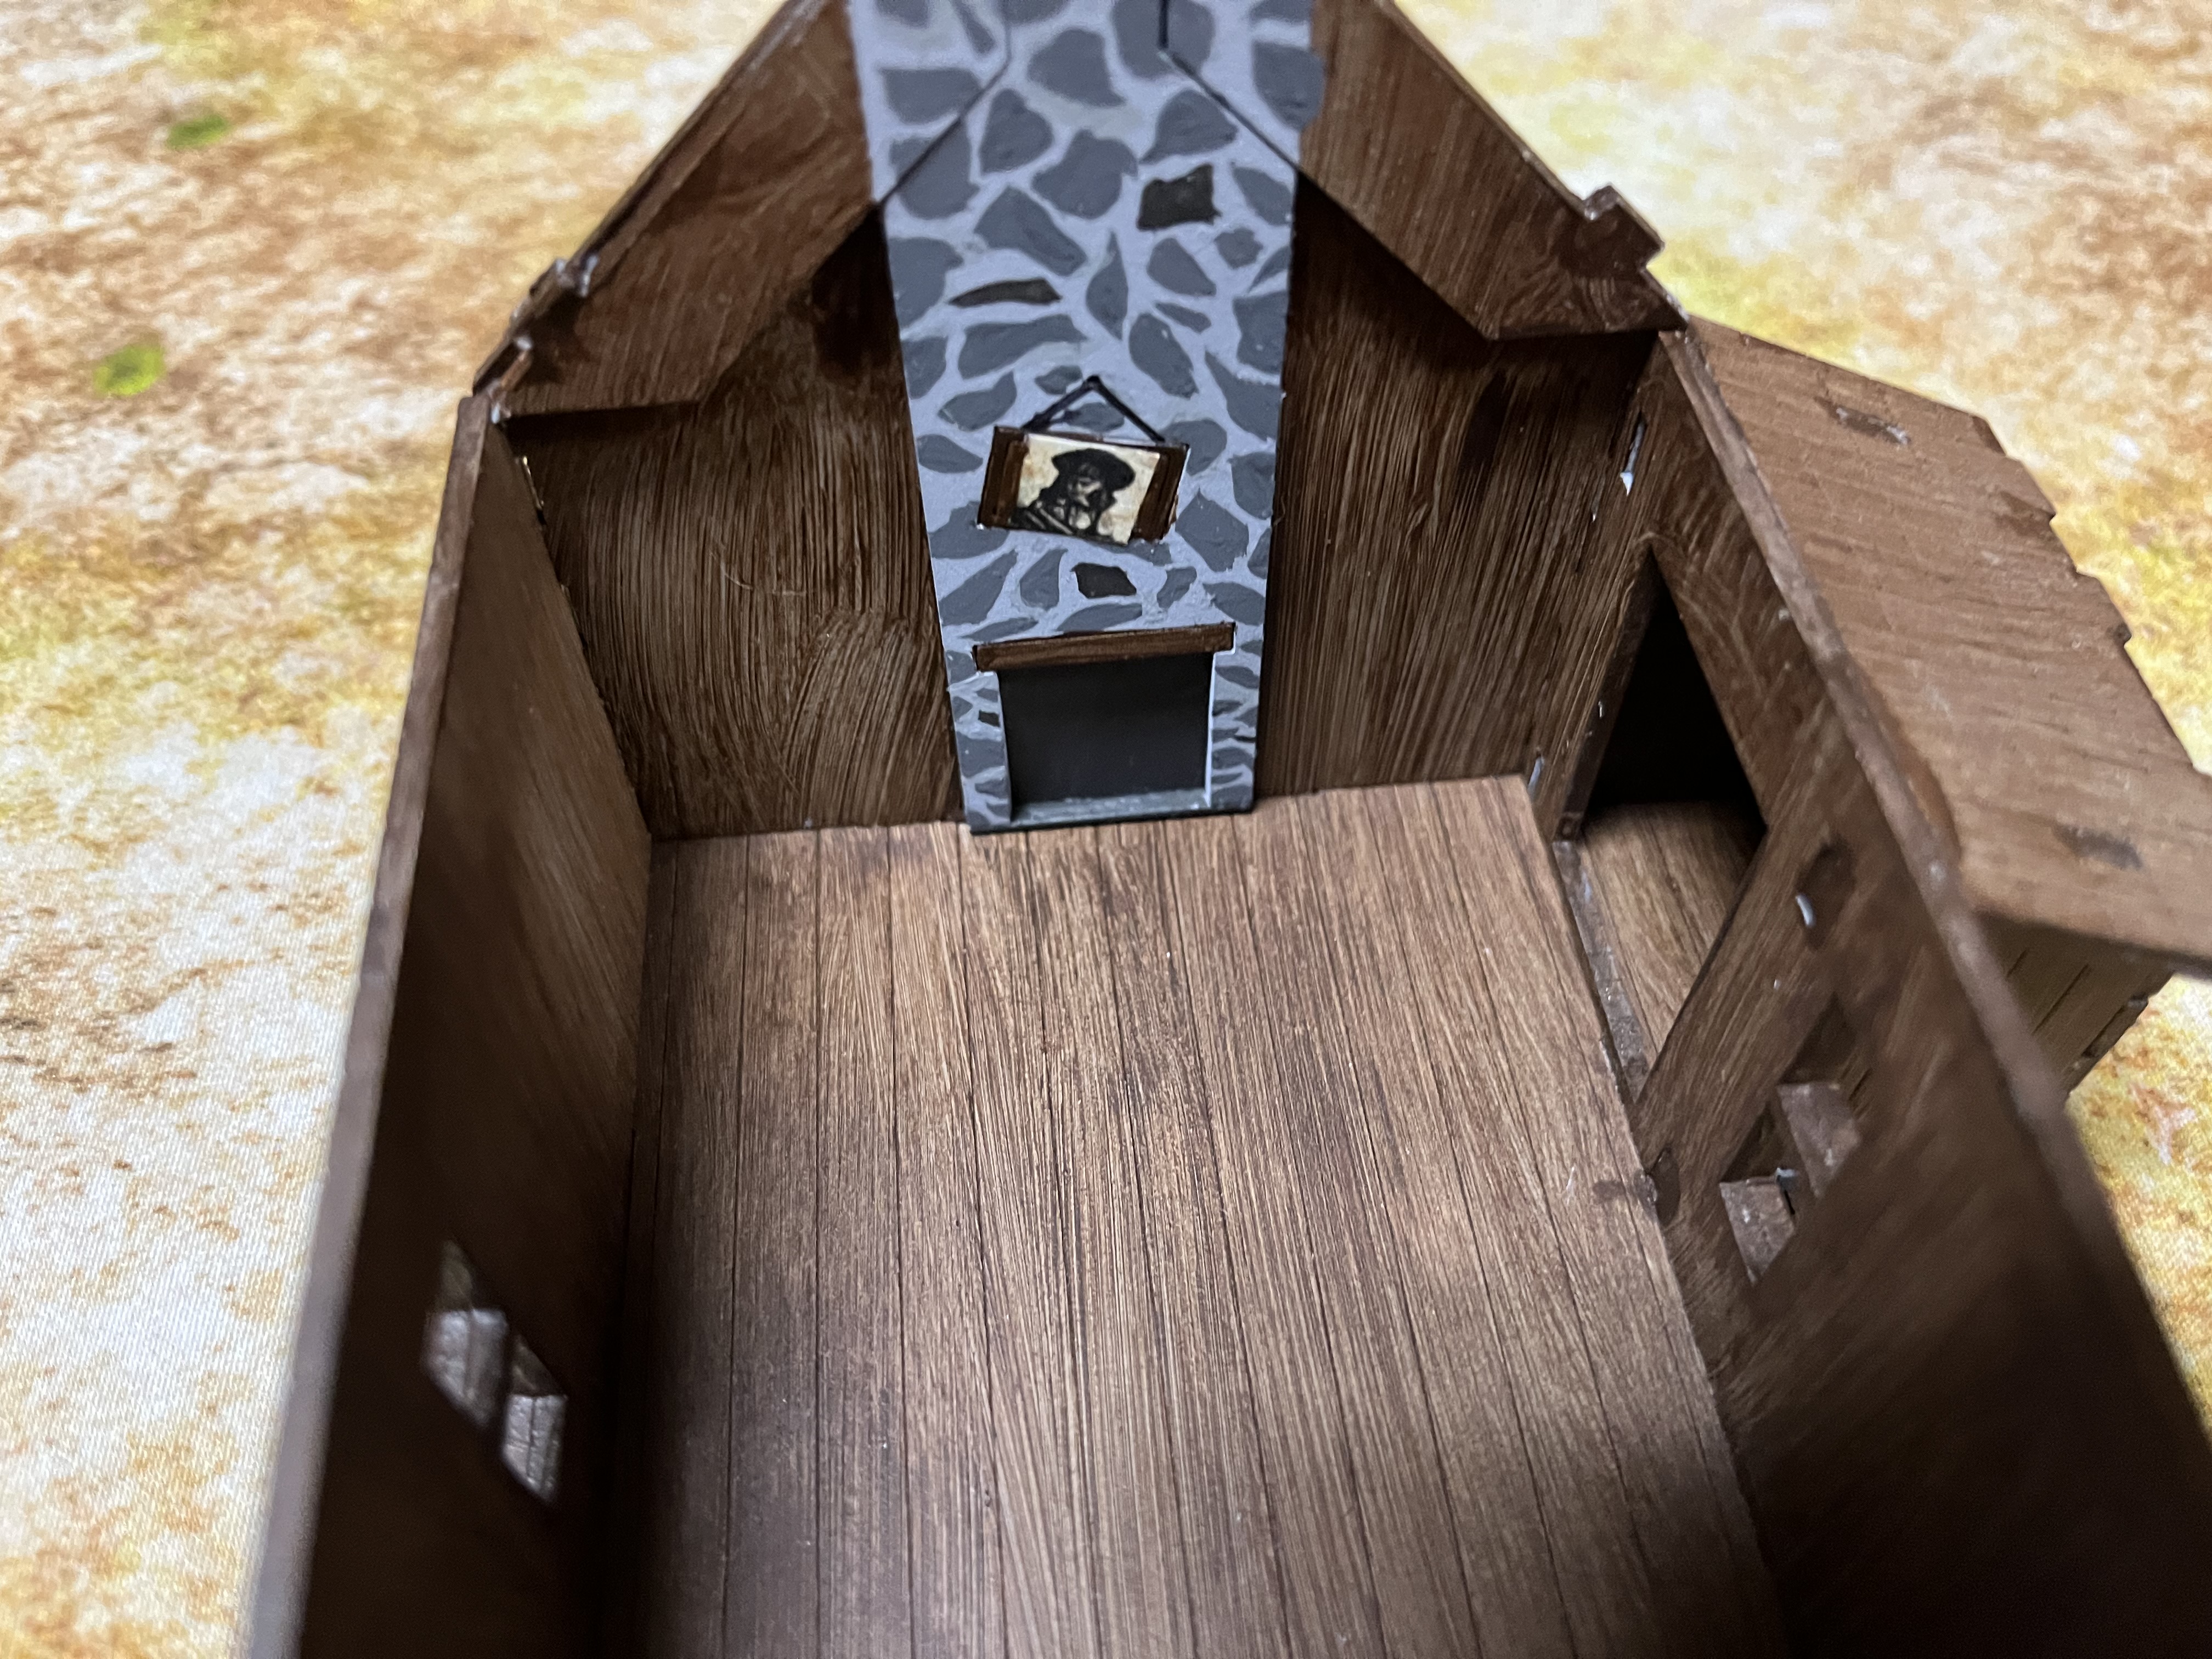 I found a PDF of a wanted poster, printed it out and cut it down to size to fit the picture frame. The wire detail was laser cut into the chimney so I emphasized it by using a fine point pen.
 A little shack
 I painted and partially assembled a small wood and stone shack. I marked off the stone areas and will paint up the unmasked areas as wood.
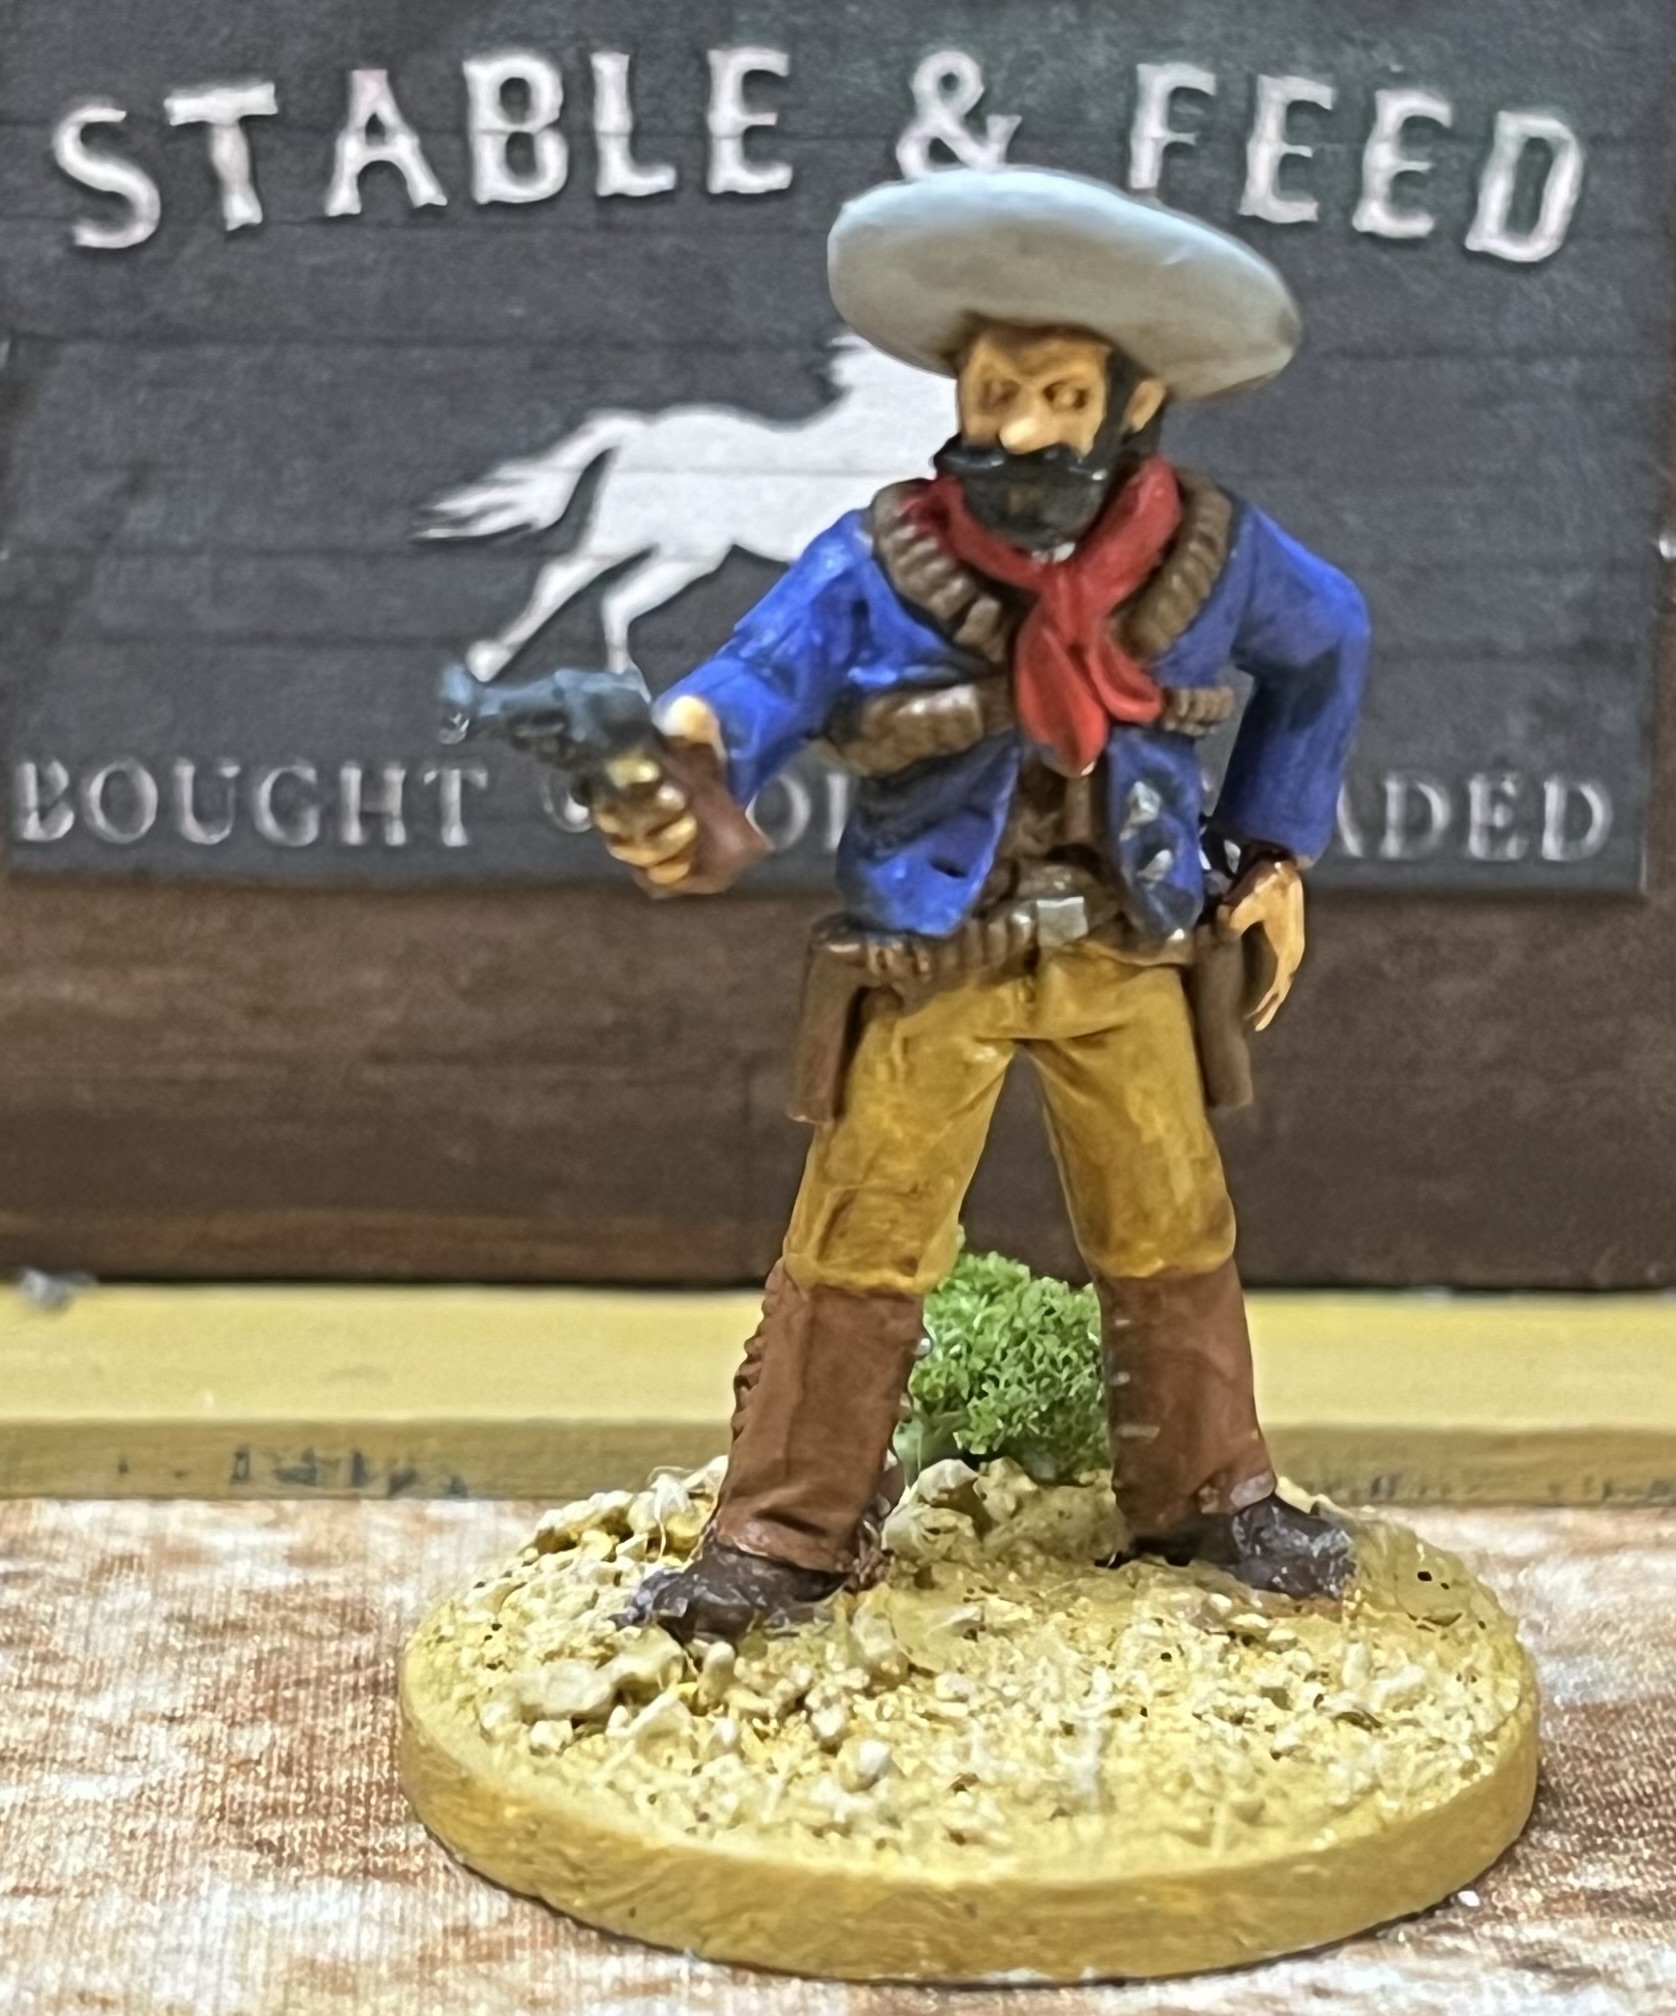
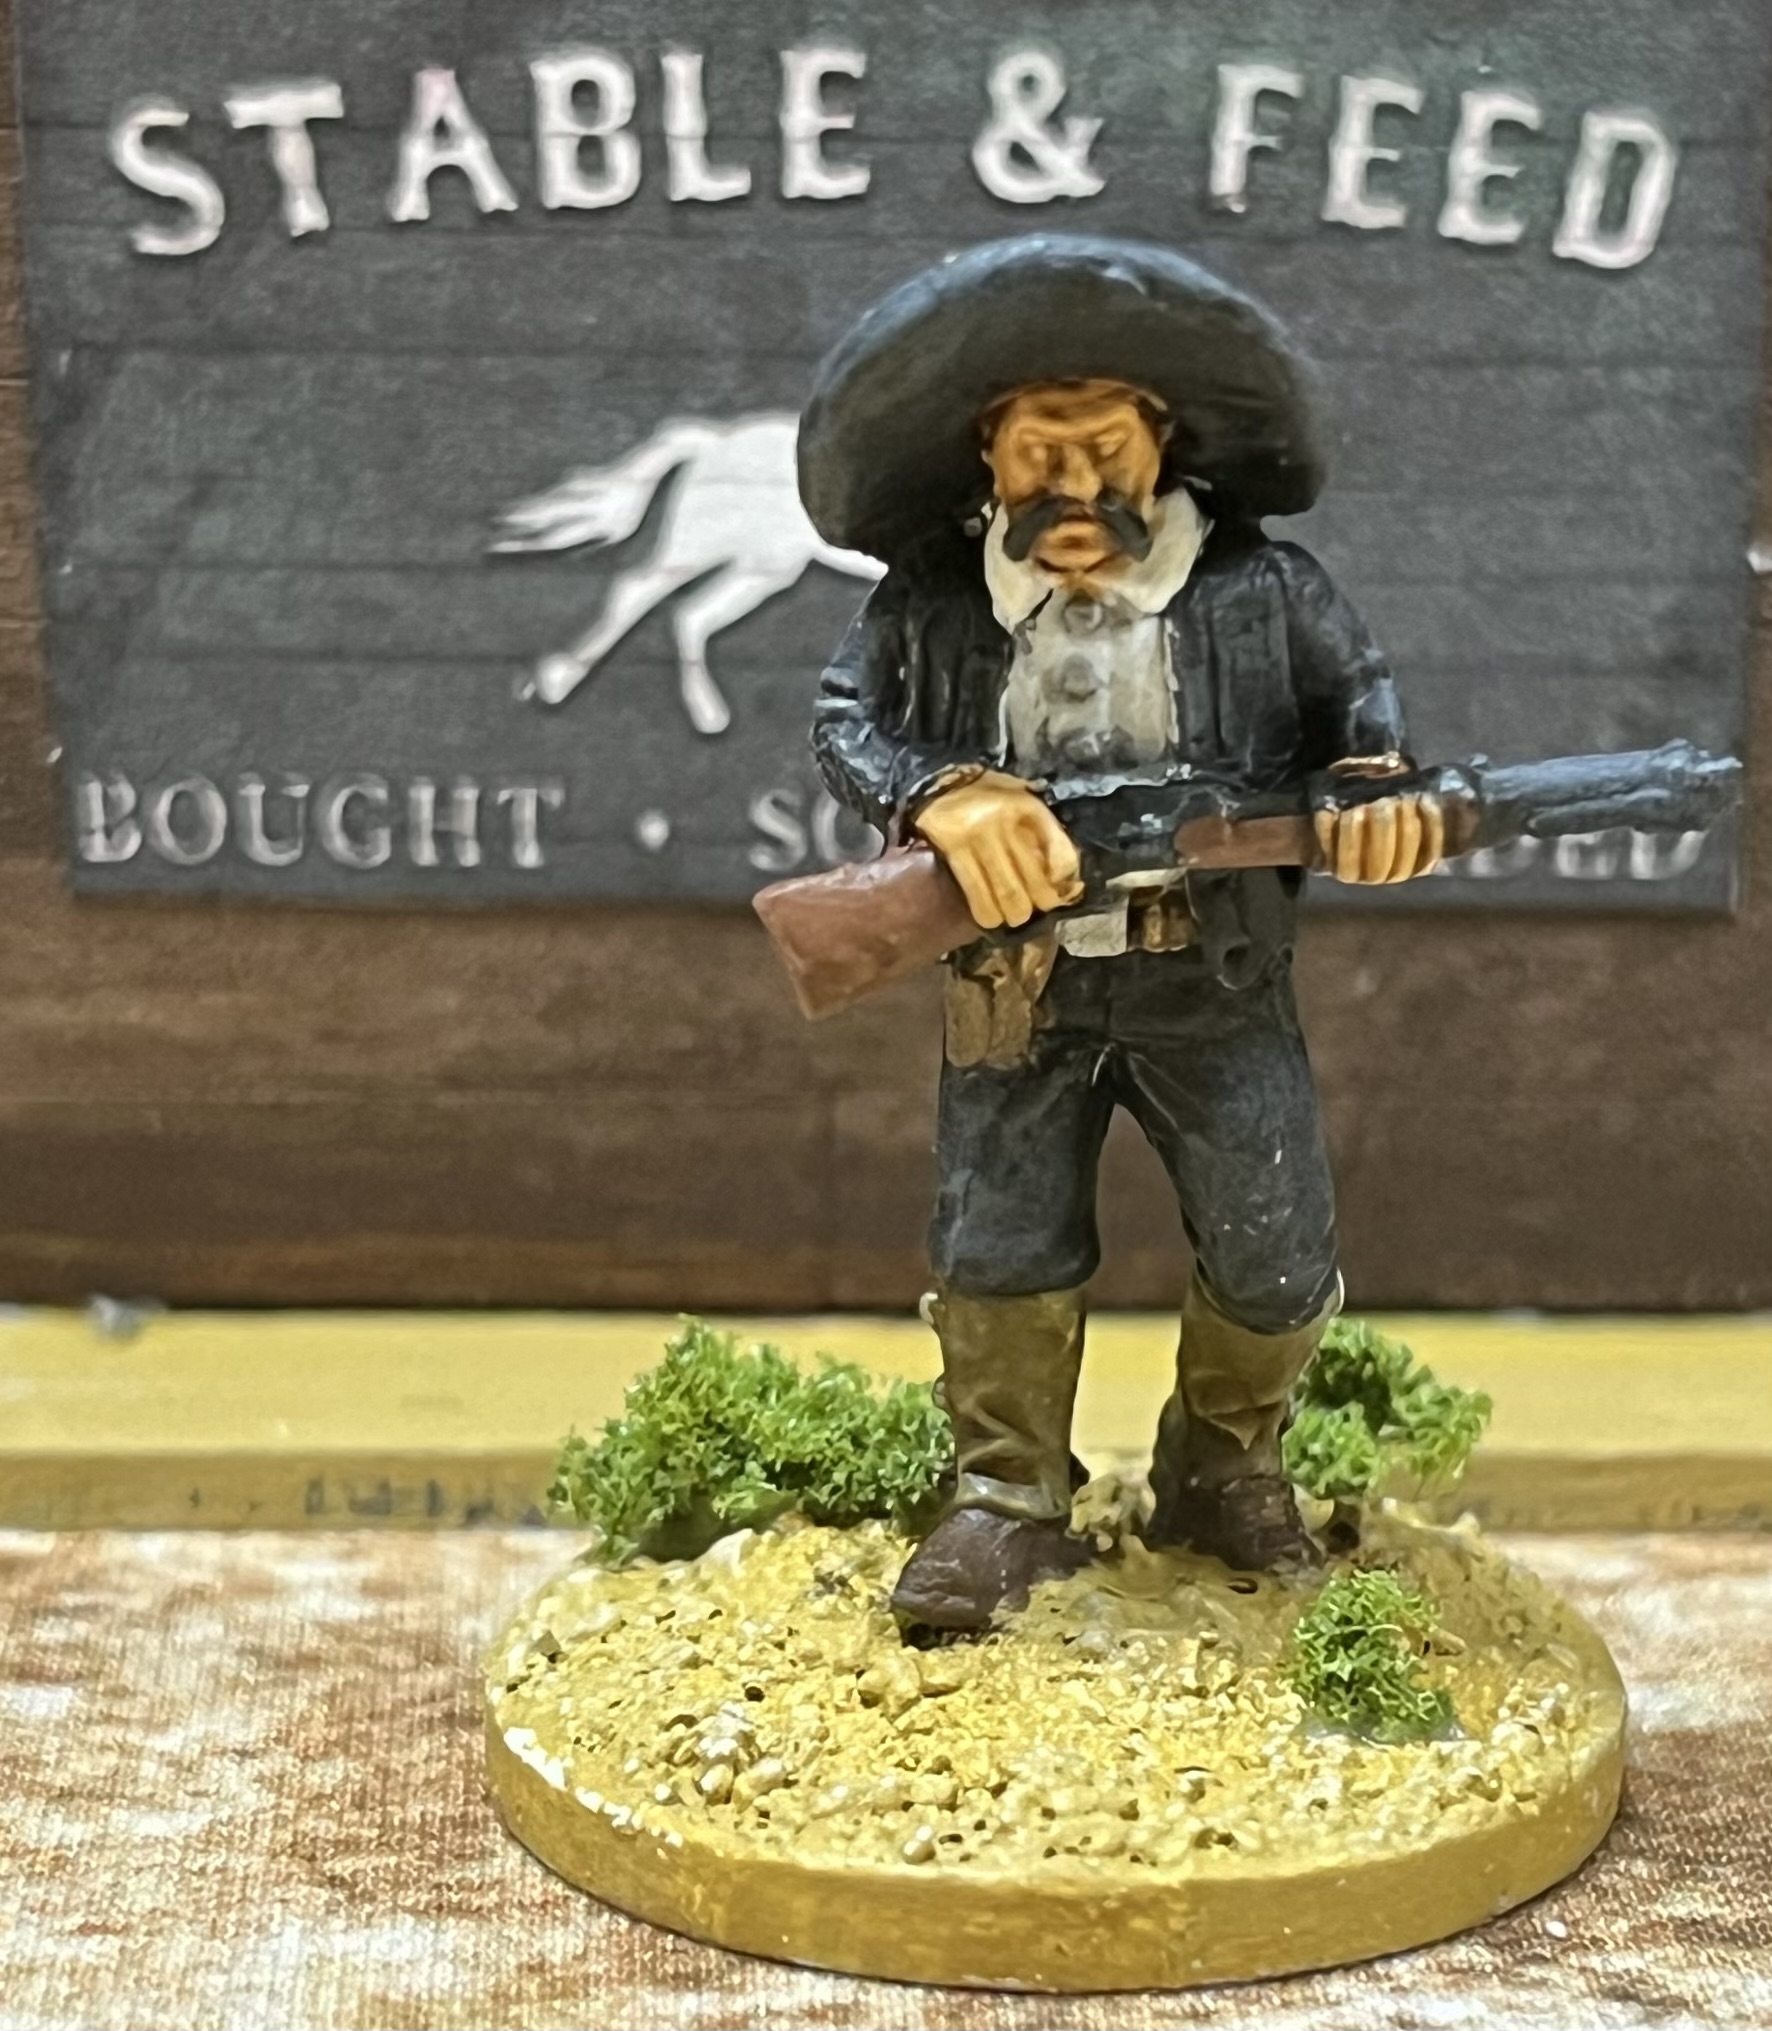
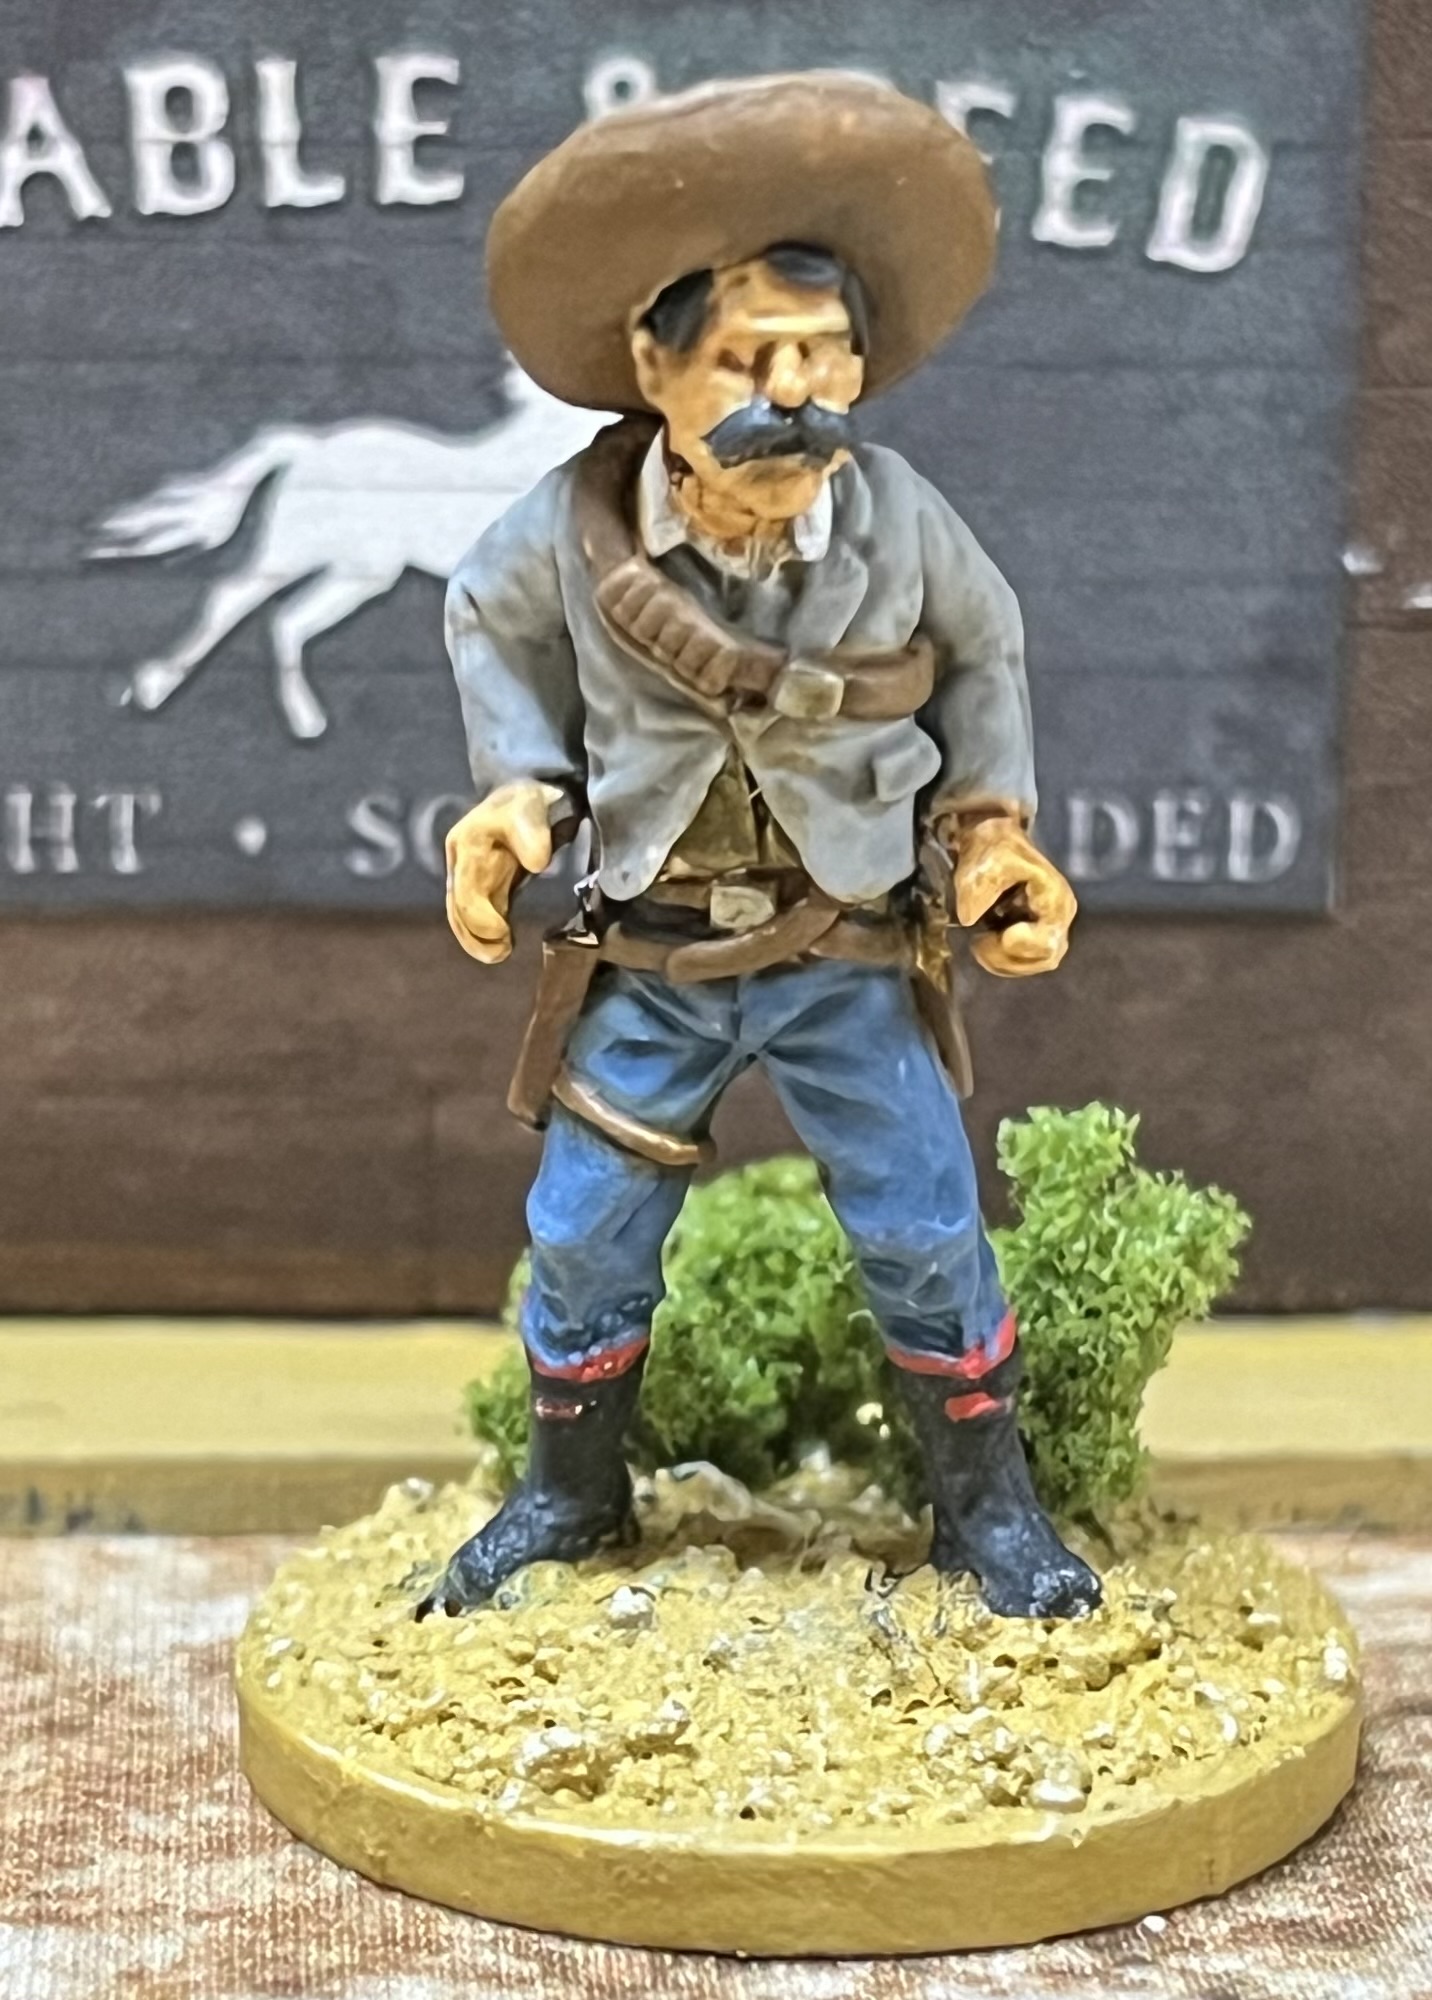
 Banditos Done
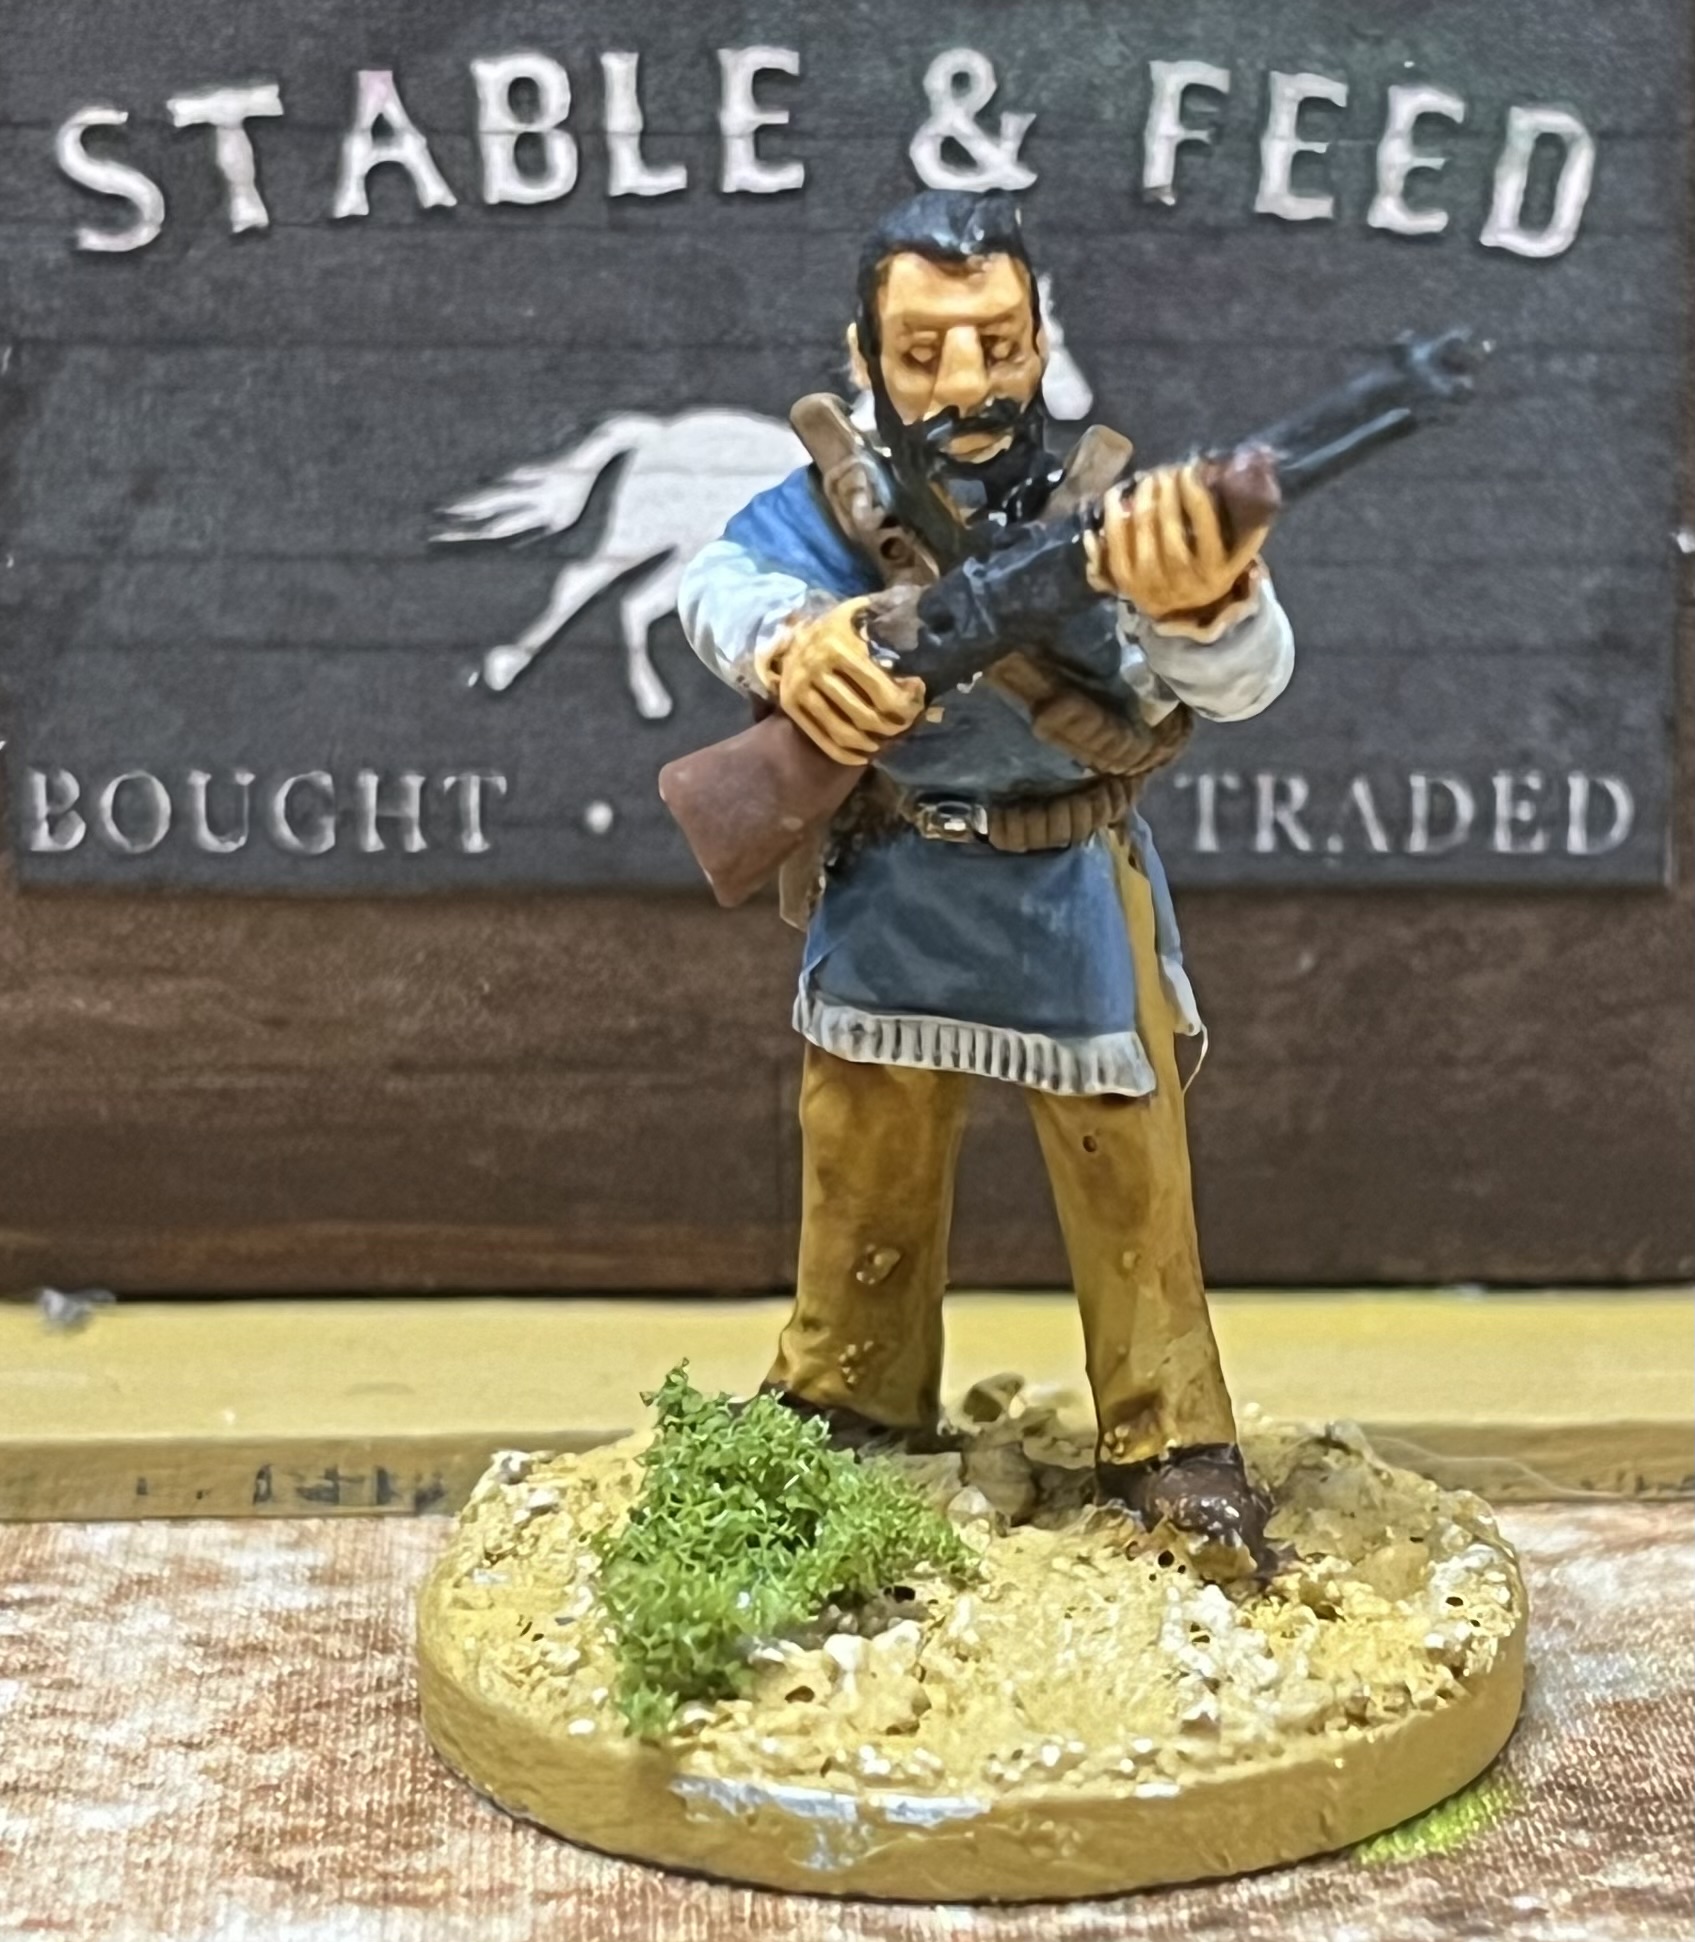
I’m be of the figures has embroidery on the back of his short waisted jacket, arms and legs so I used GW Contrast Nlood Angels Red to pick this detail out but otherwise I’m using standard acrylic paints.
It was common for cowboys and vaqueros to have their pants given extra reinforcement to the seat to make them longer wearing. Sometimes this was in a different color but not always. Two of the figures have this feature so I painted them in different colors to accentuate this detail.
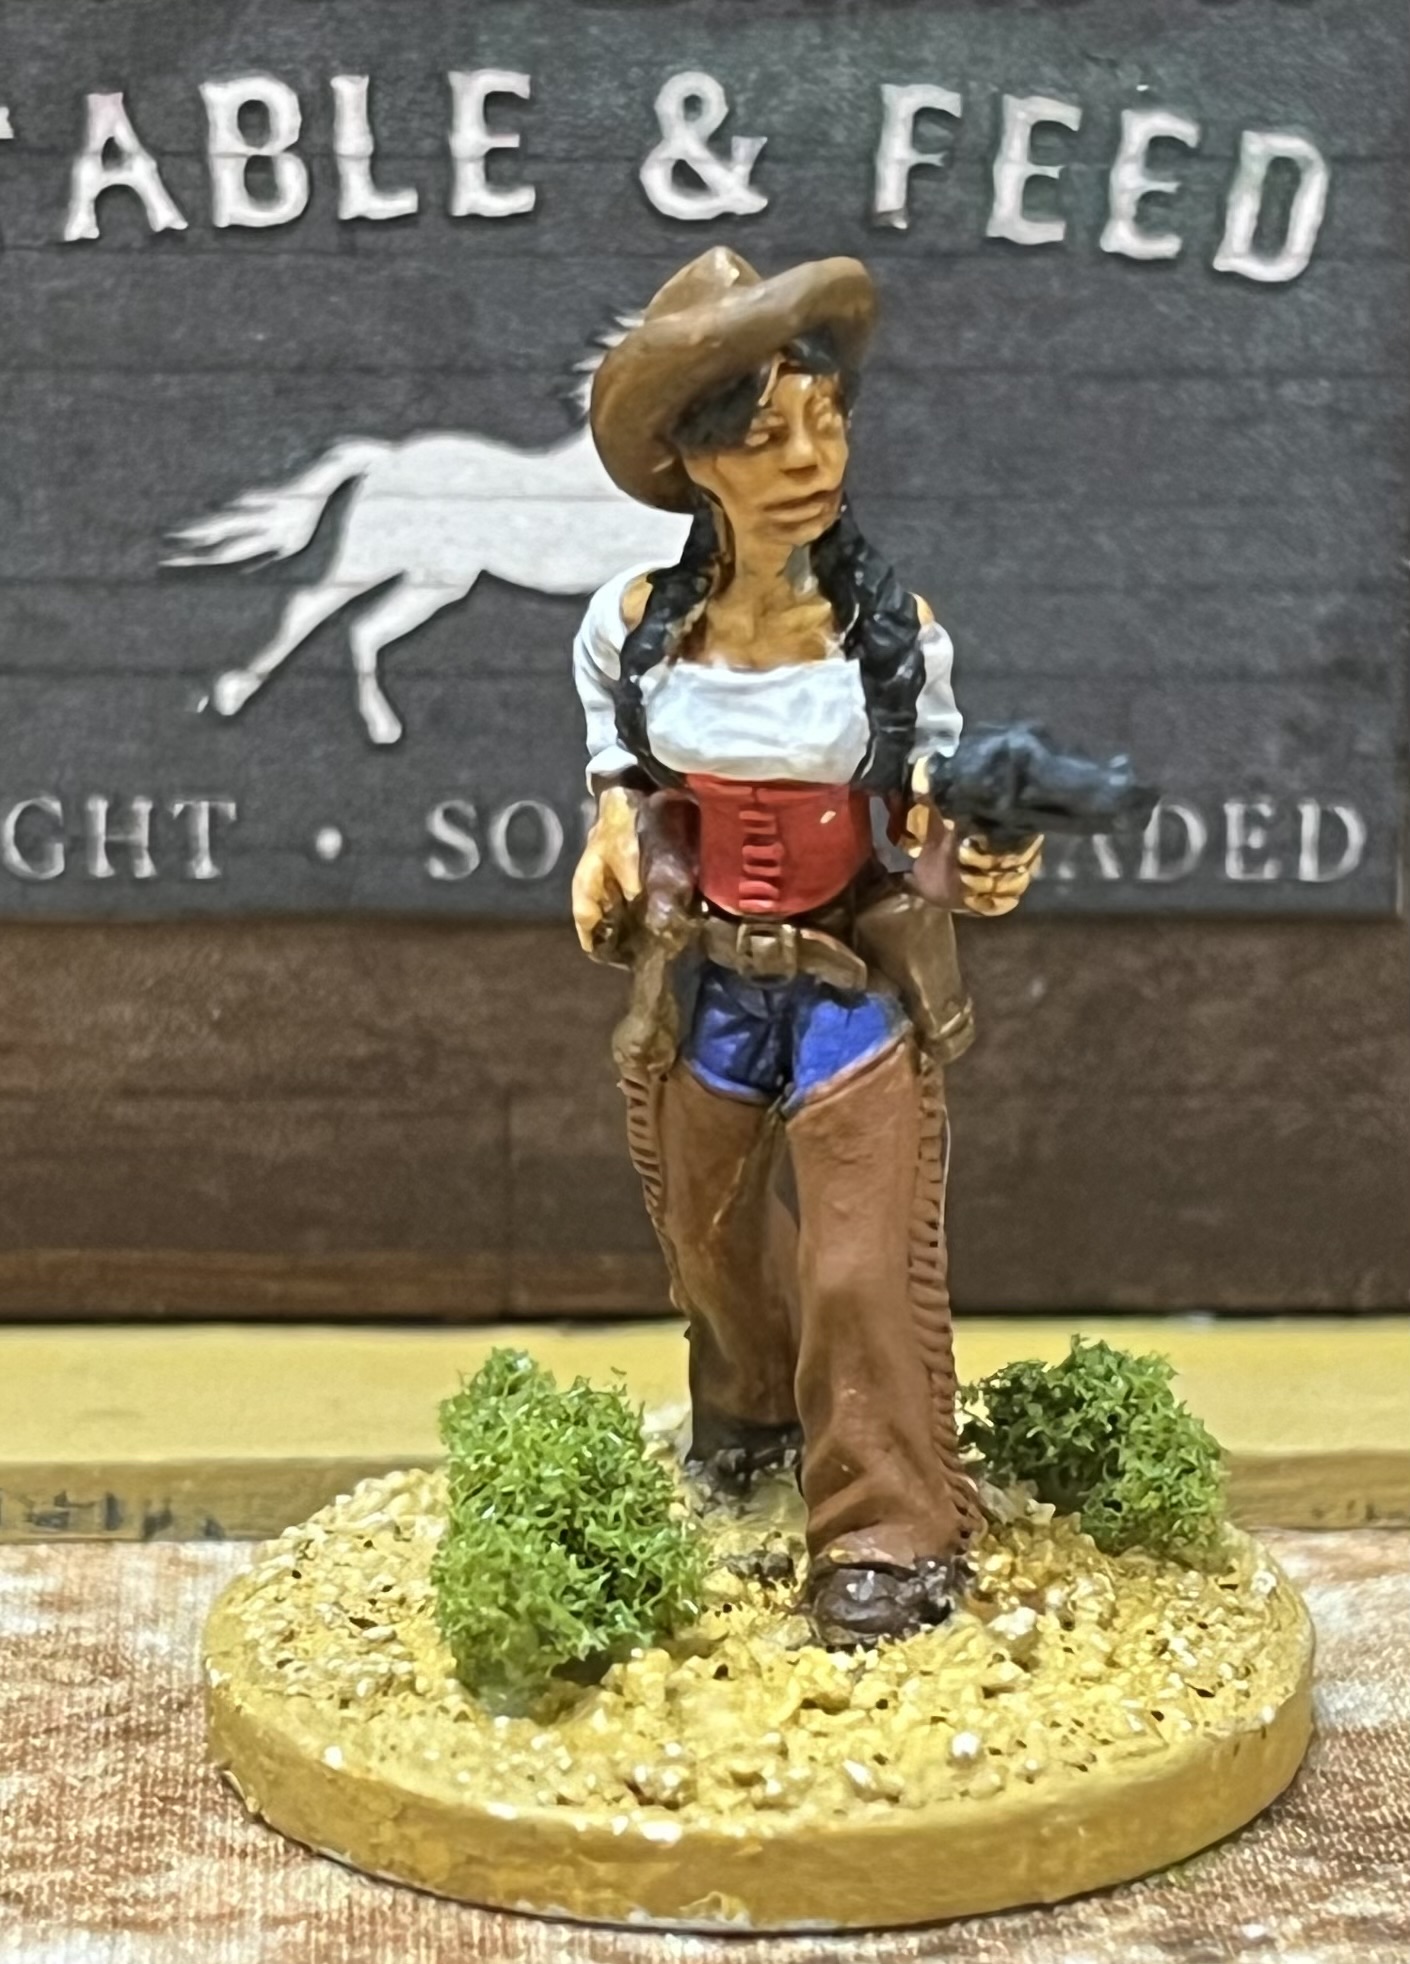
 The whole gang.
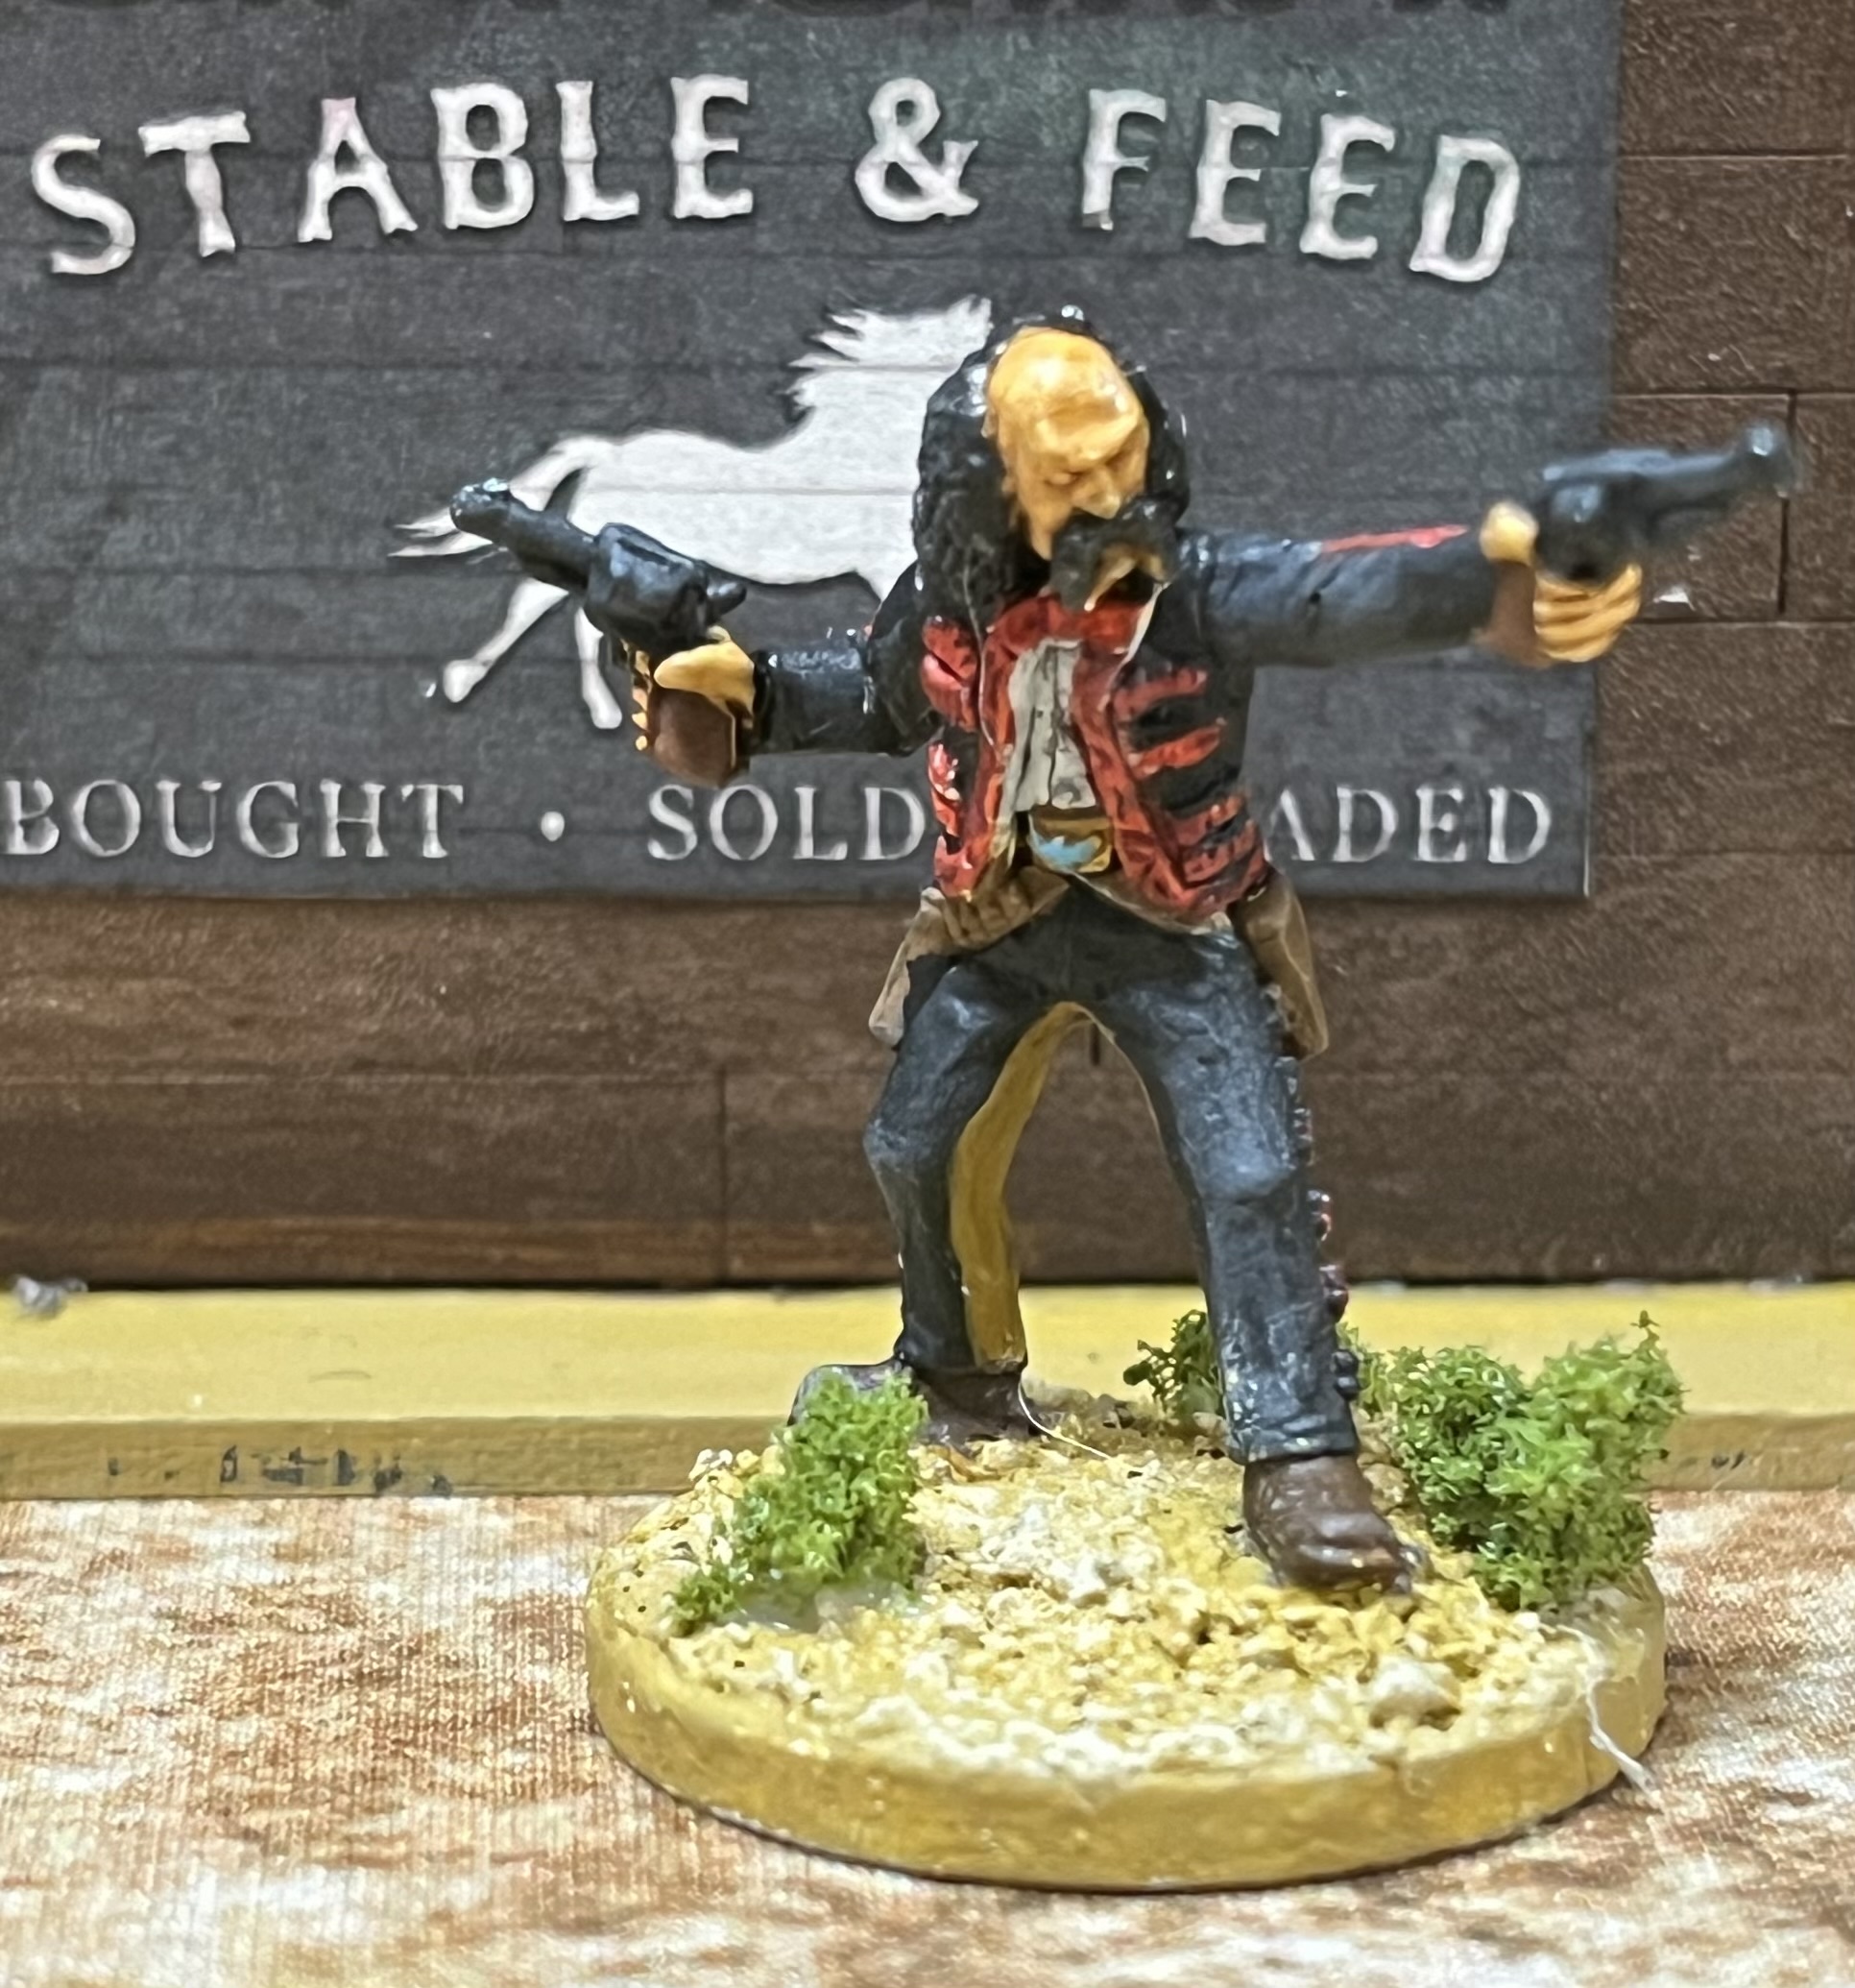
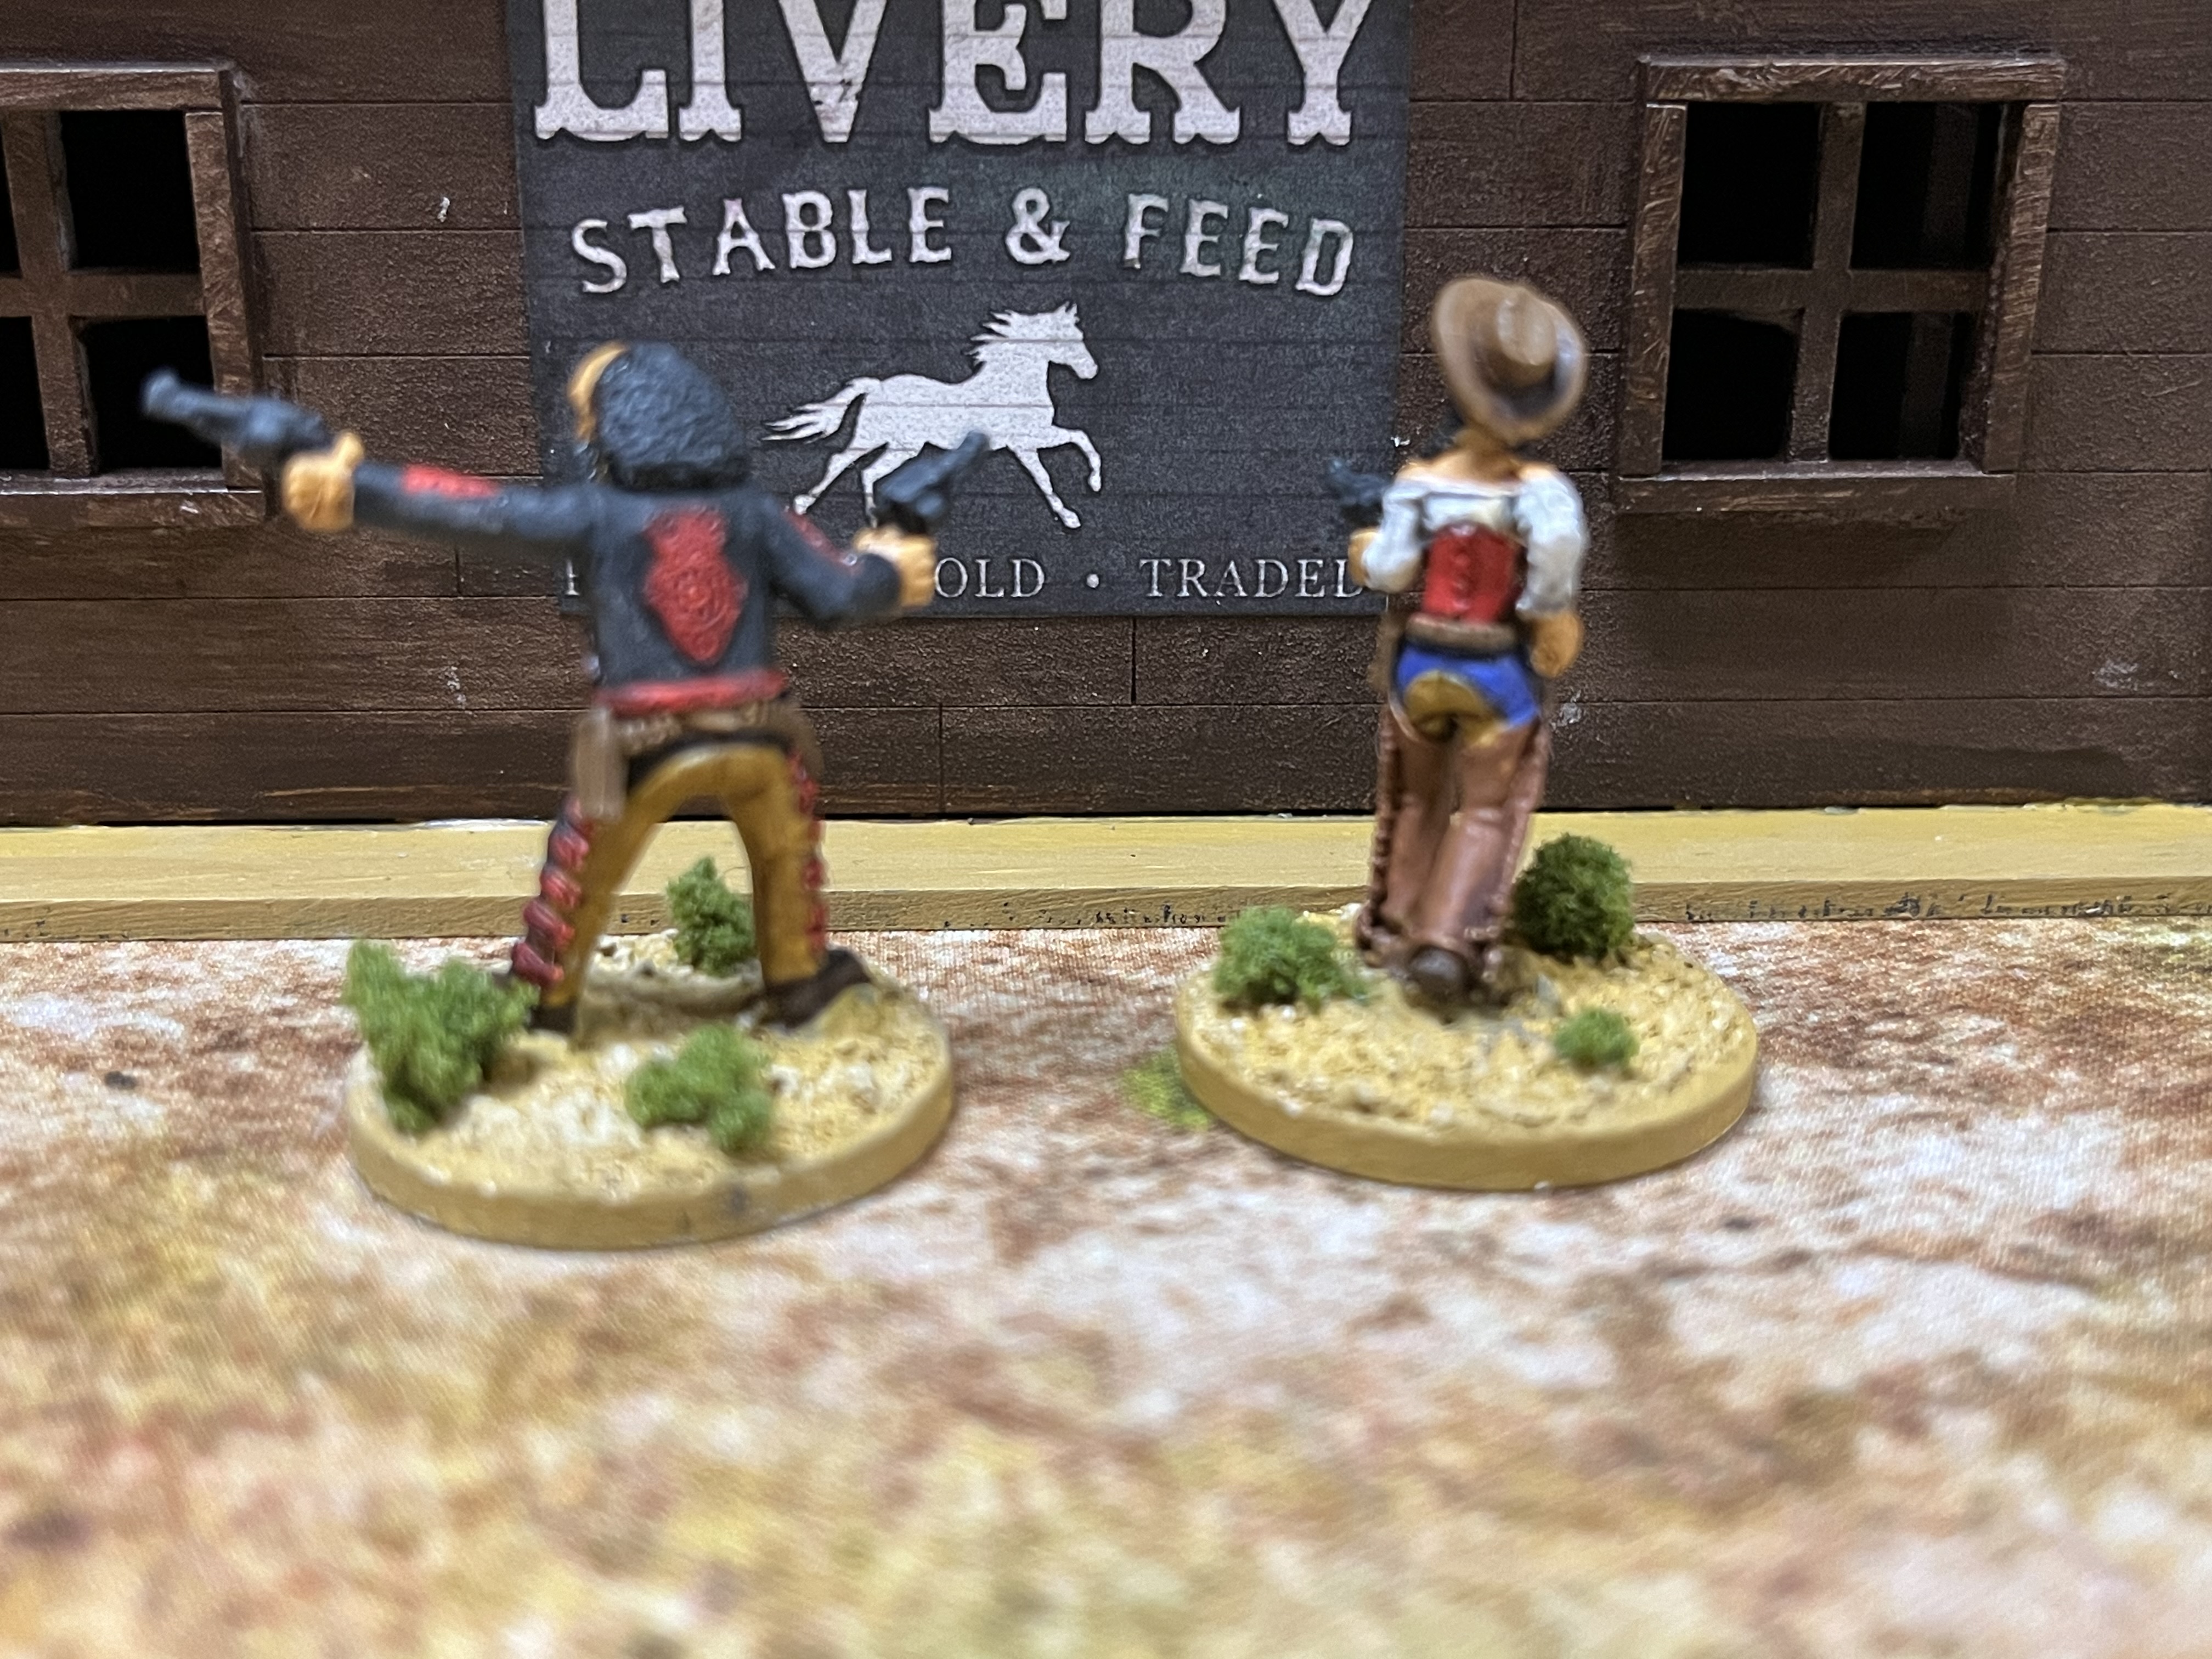 Lloyd shot.
 Banditos and Vaqueros
I’ve started on the Banditos set from Great Escape Games and have settled on the basic colors. A lot of the traditional cowboy equipment and terms came from Mexican vaqueros, including the short wasted jackets with colorful embroidery. Only one of the figures has this embroidered element but a couple of the figures have serapes and four have the short waisted jackets. All in all a pretty nice set.
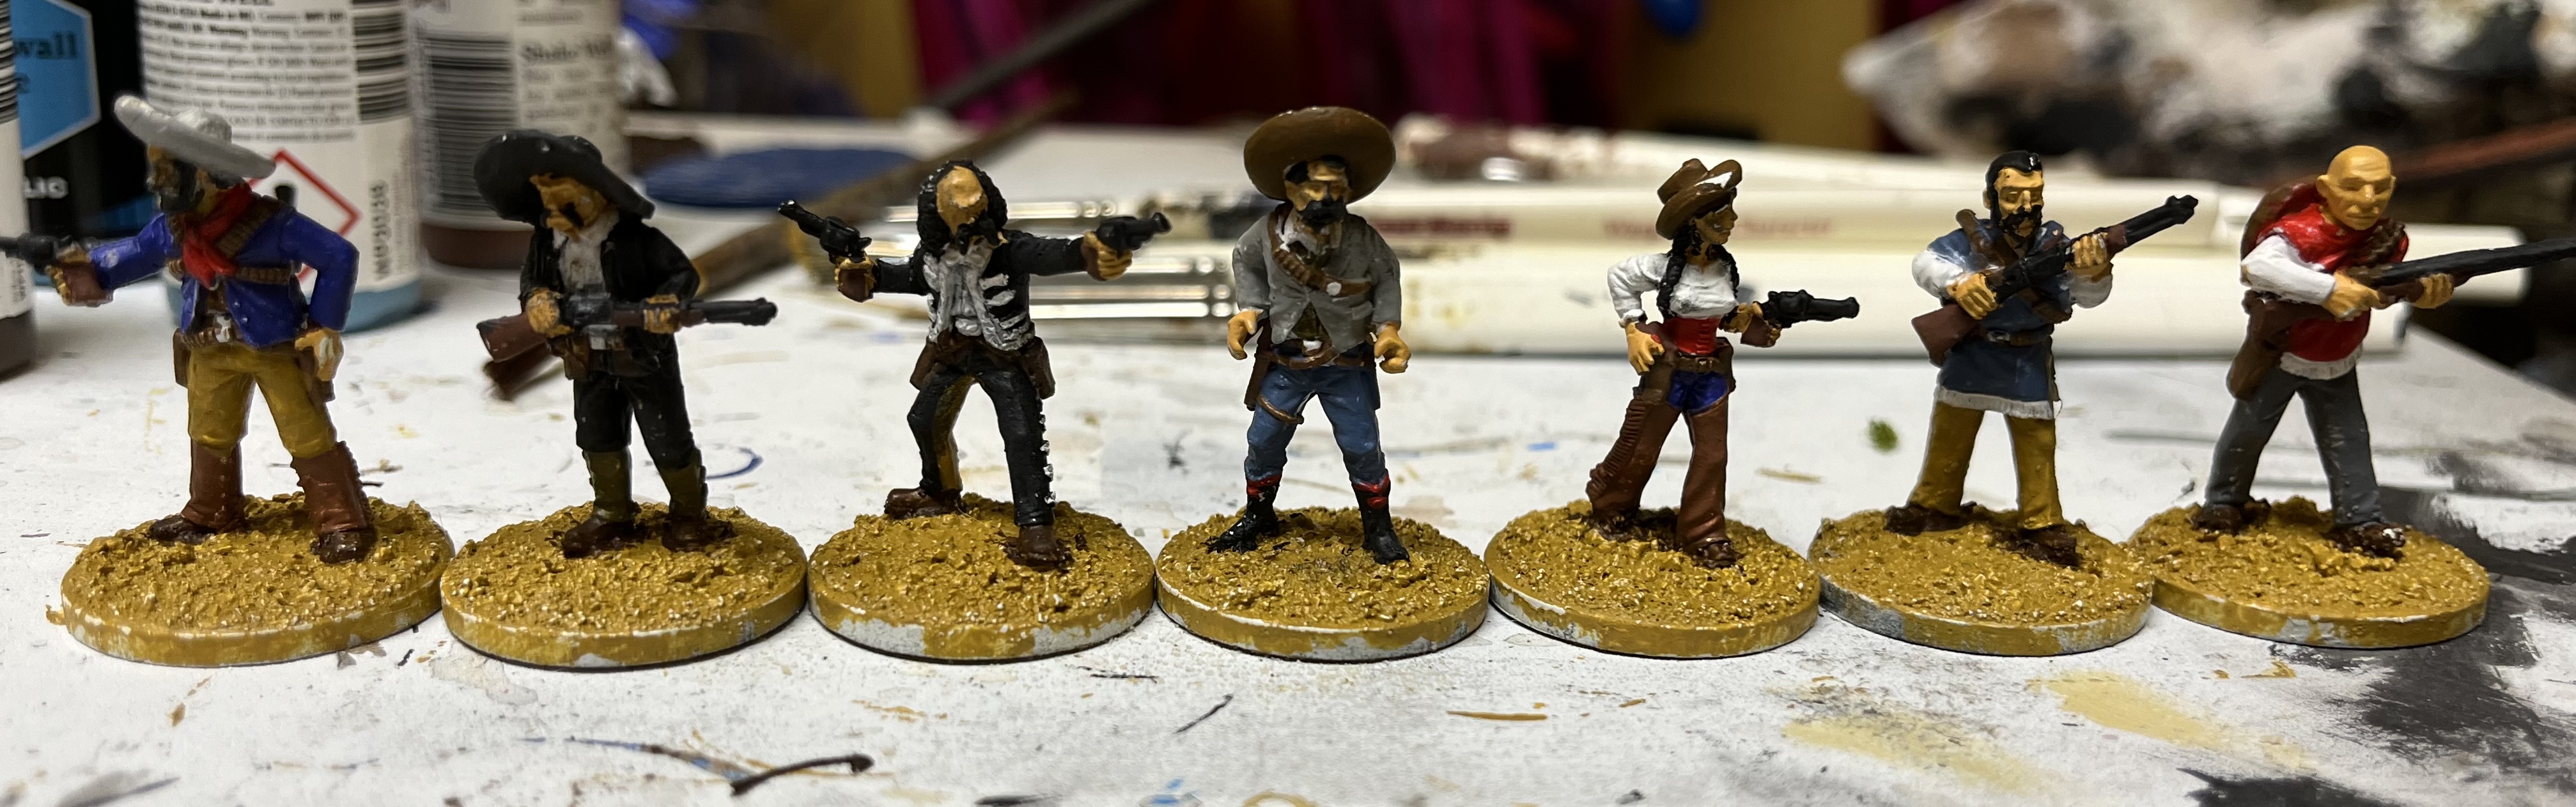 Just getting started with the basic colors being laid in.
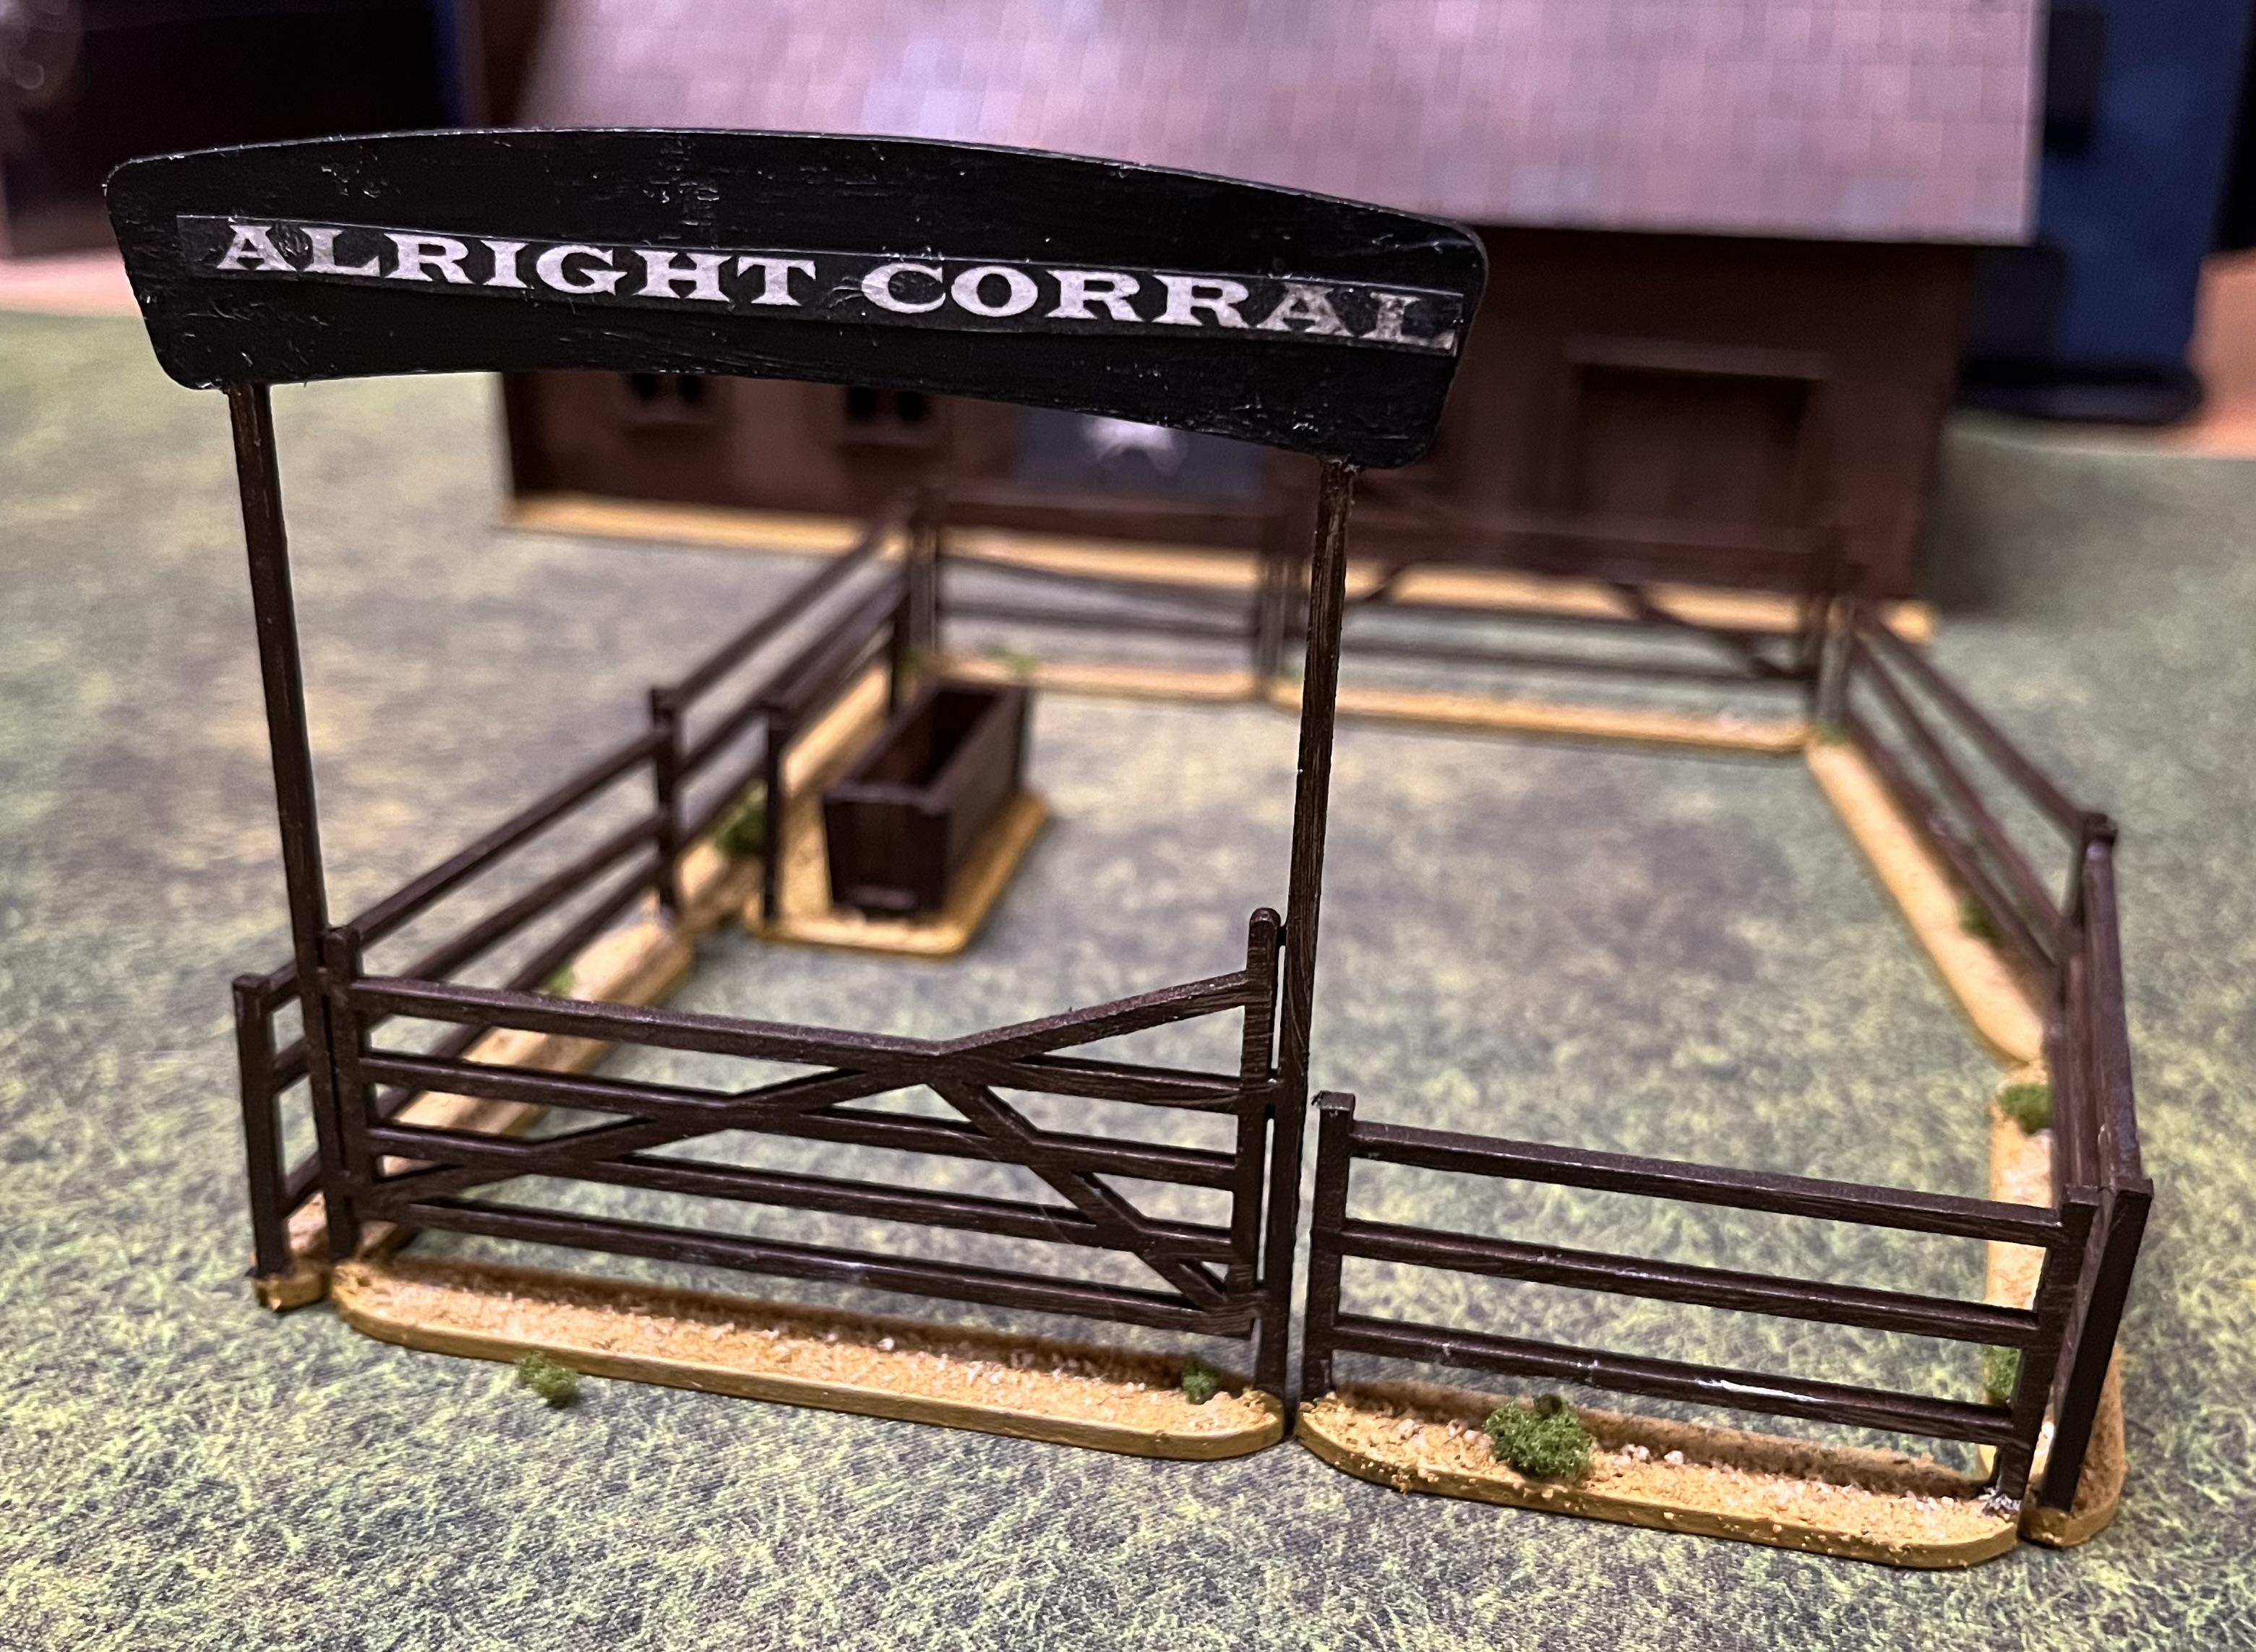
Livery Stable Part 8 (Done!)
 Mr. Glue has a very successful business.
  But it’s always a good idea to remind folks what’s at stake.
  I added the same signs to both sides of the stable.
 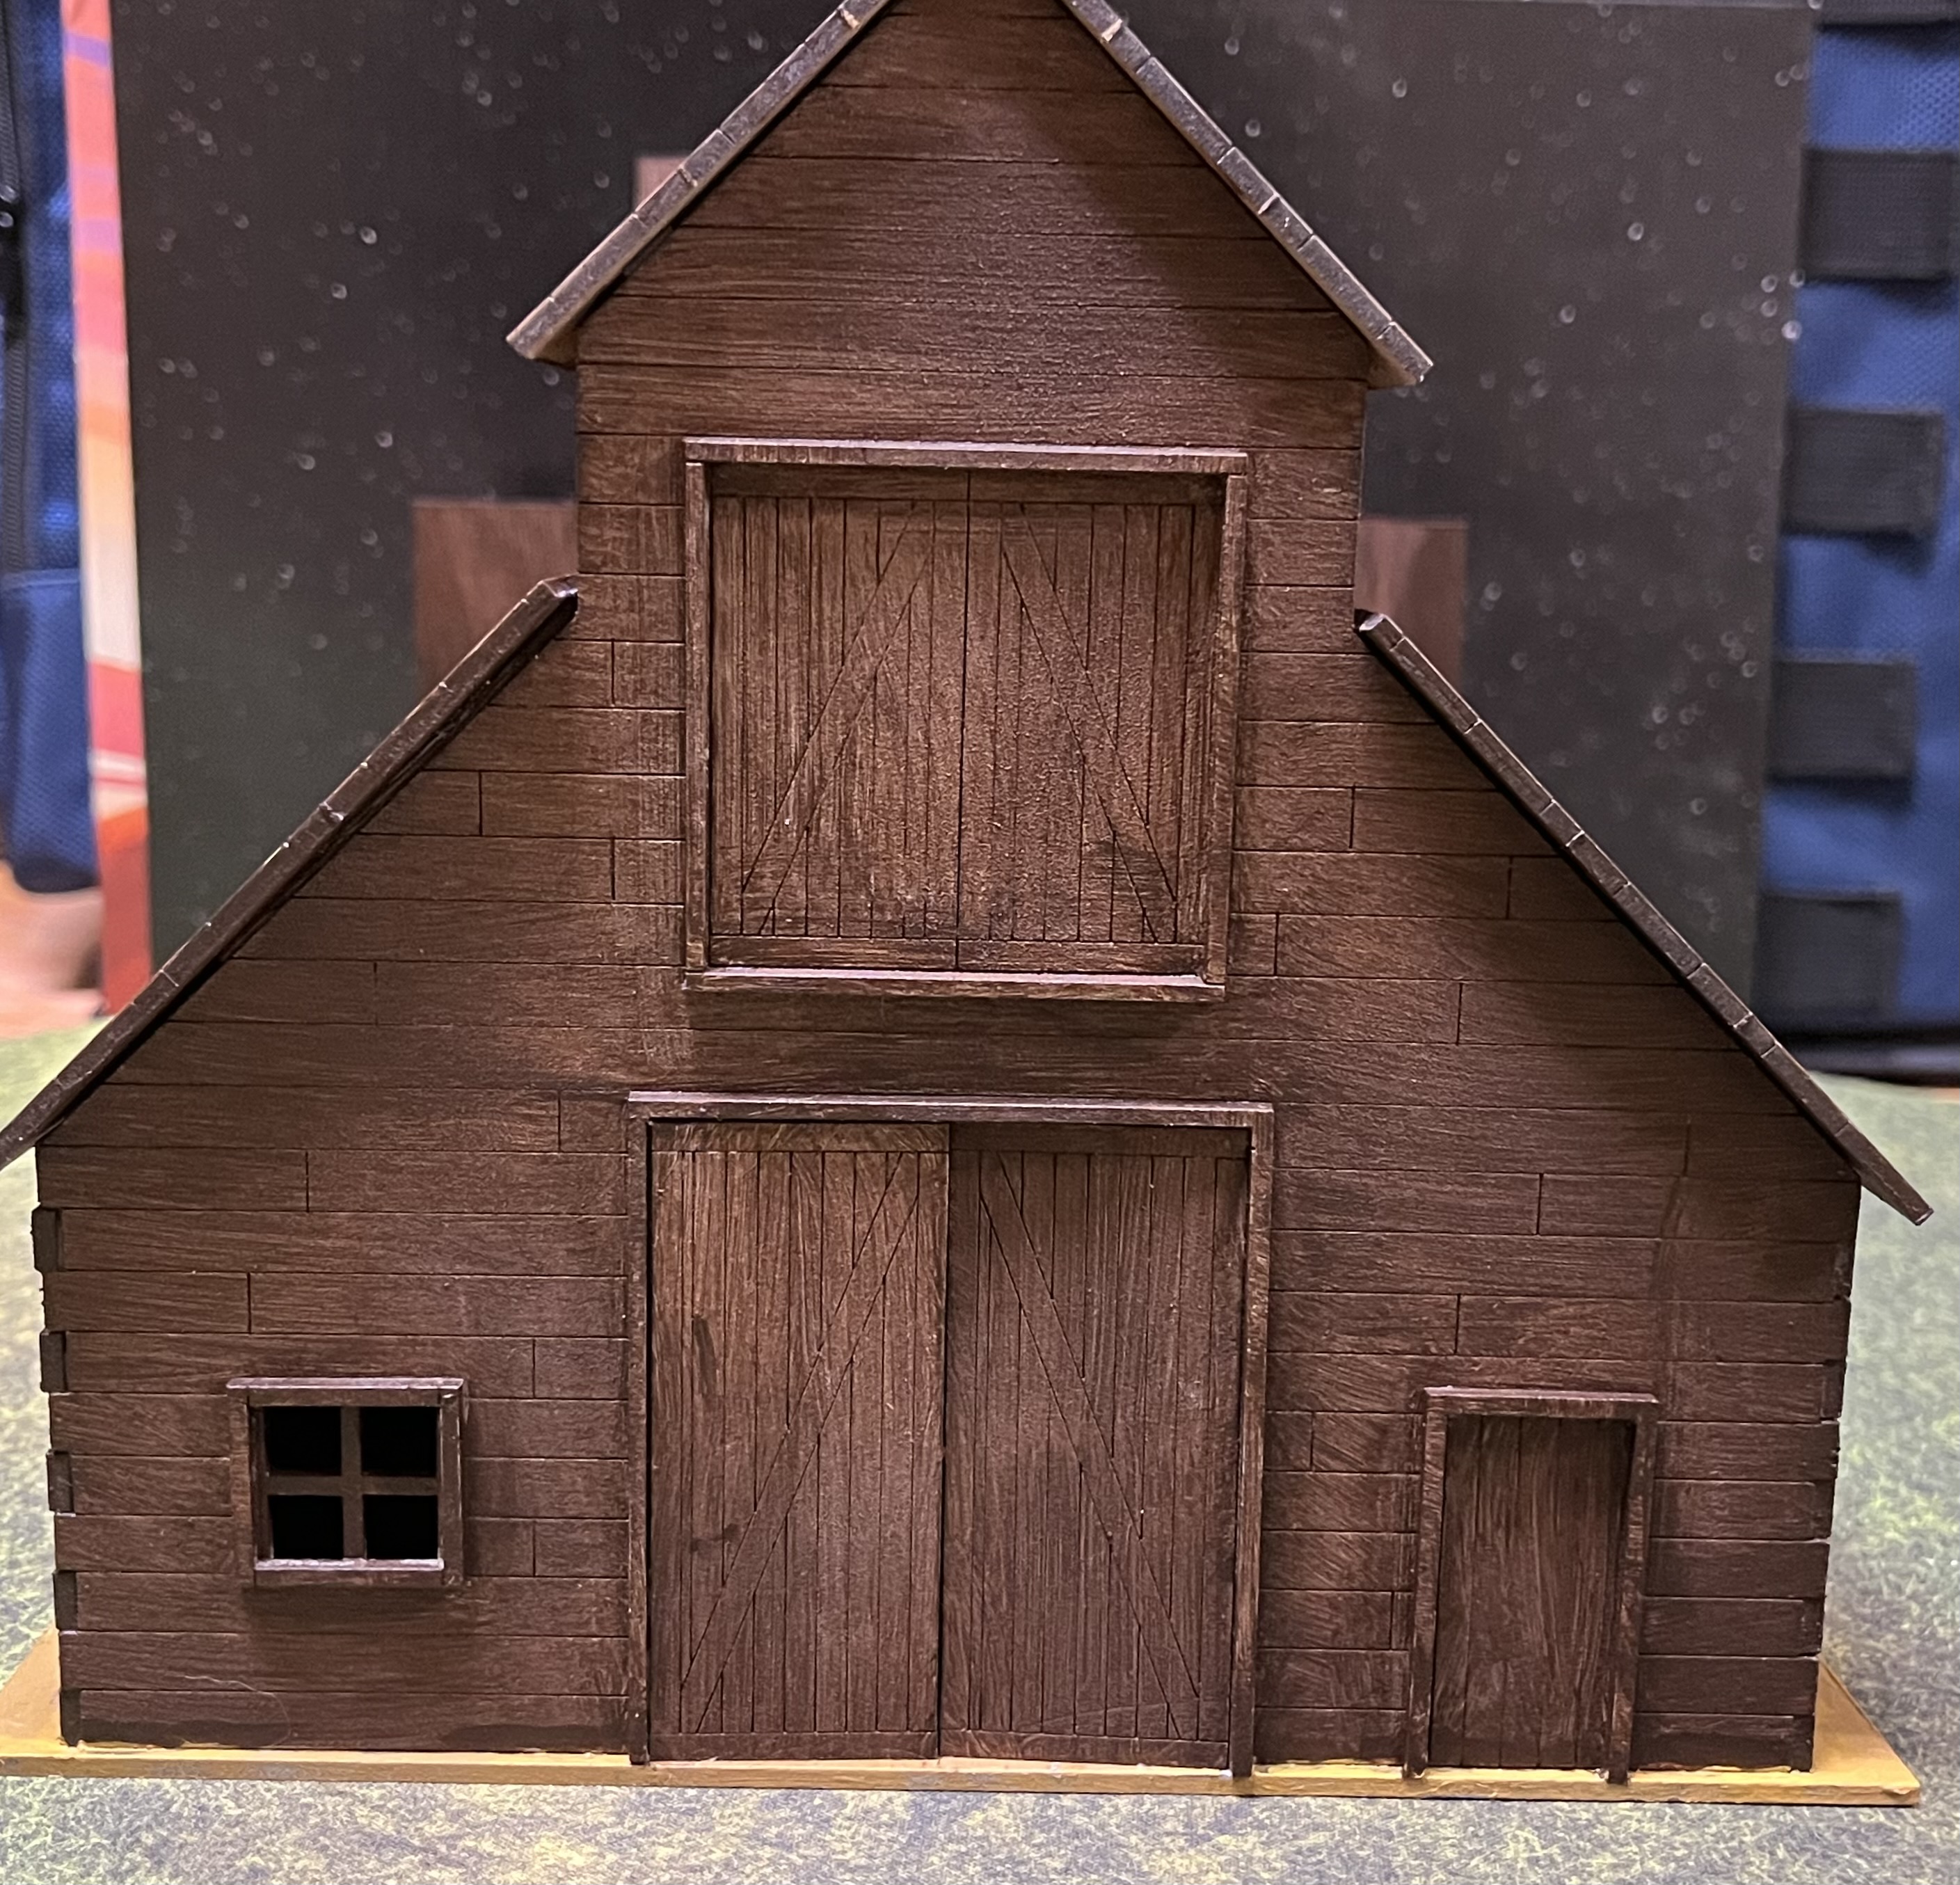 This side faces towards the corral and is less fancy for obvious reasons.
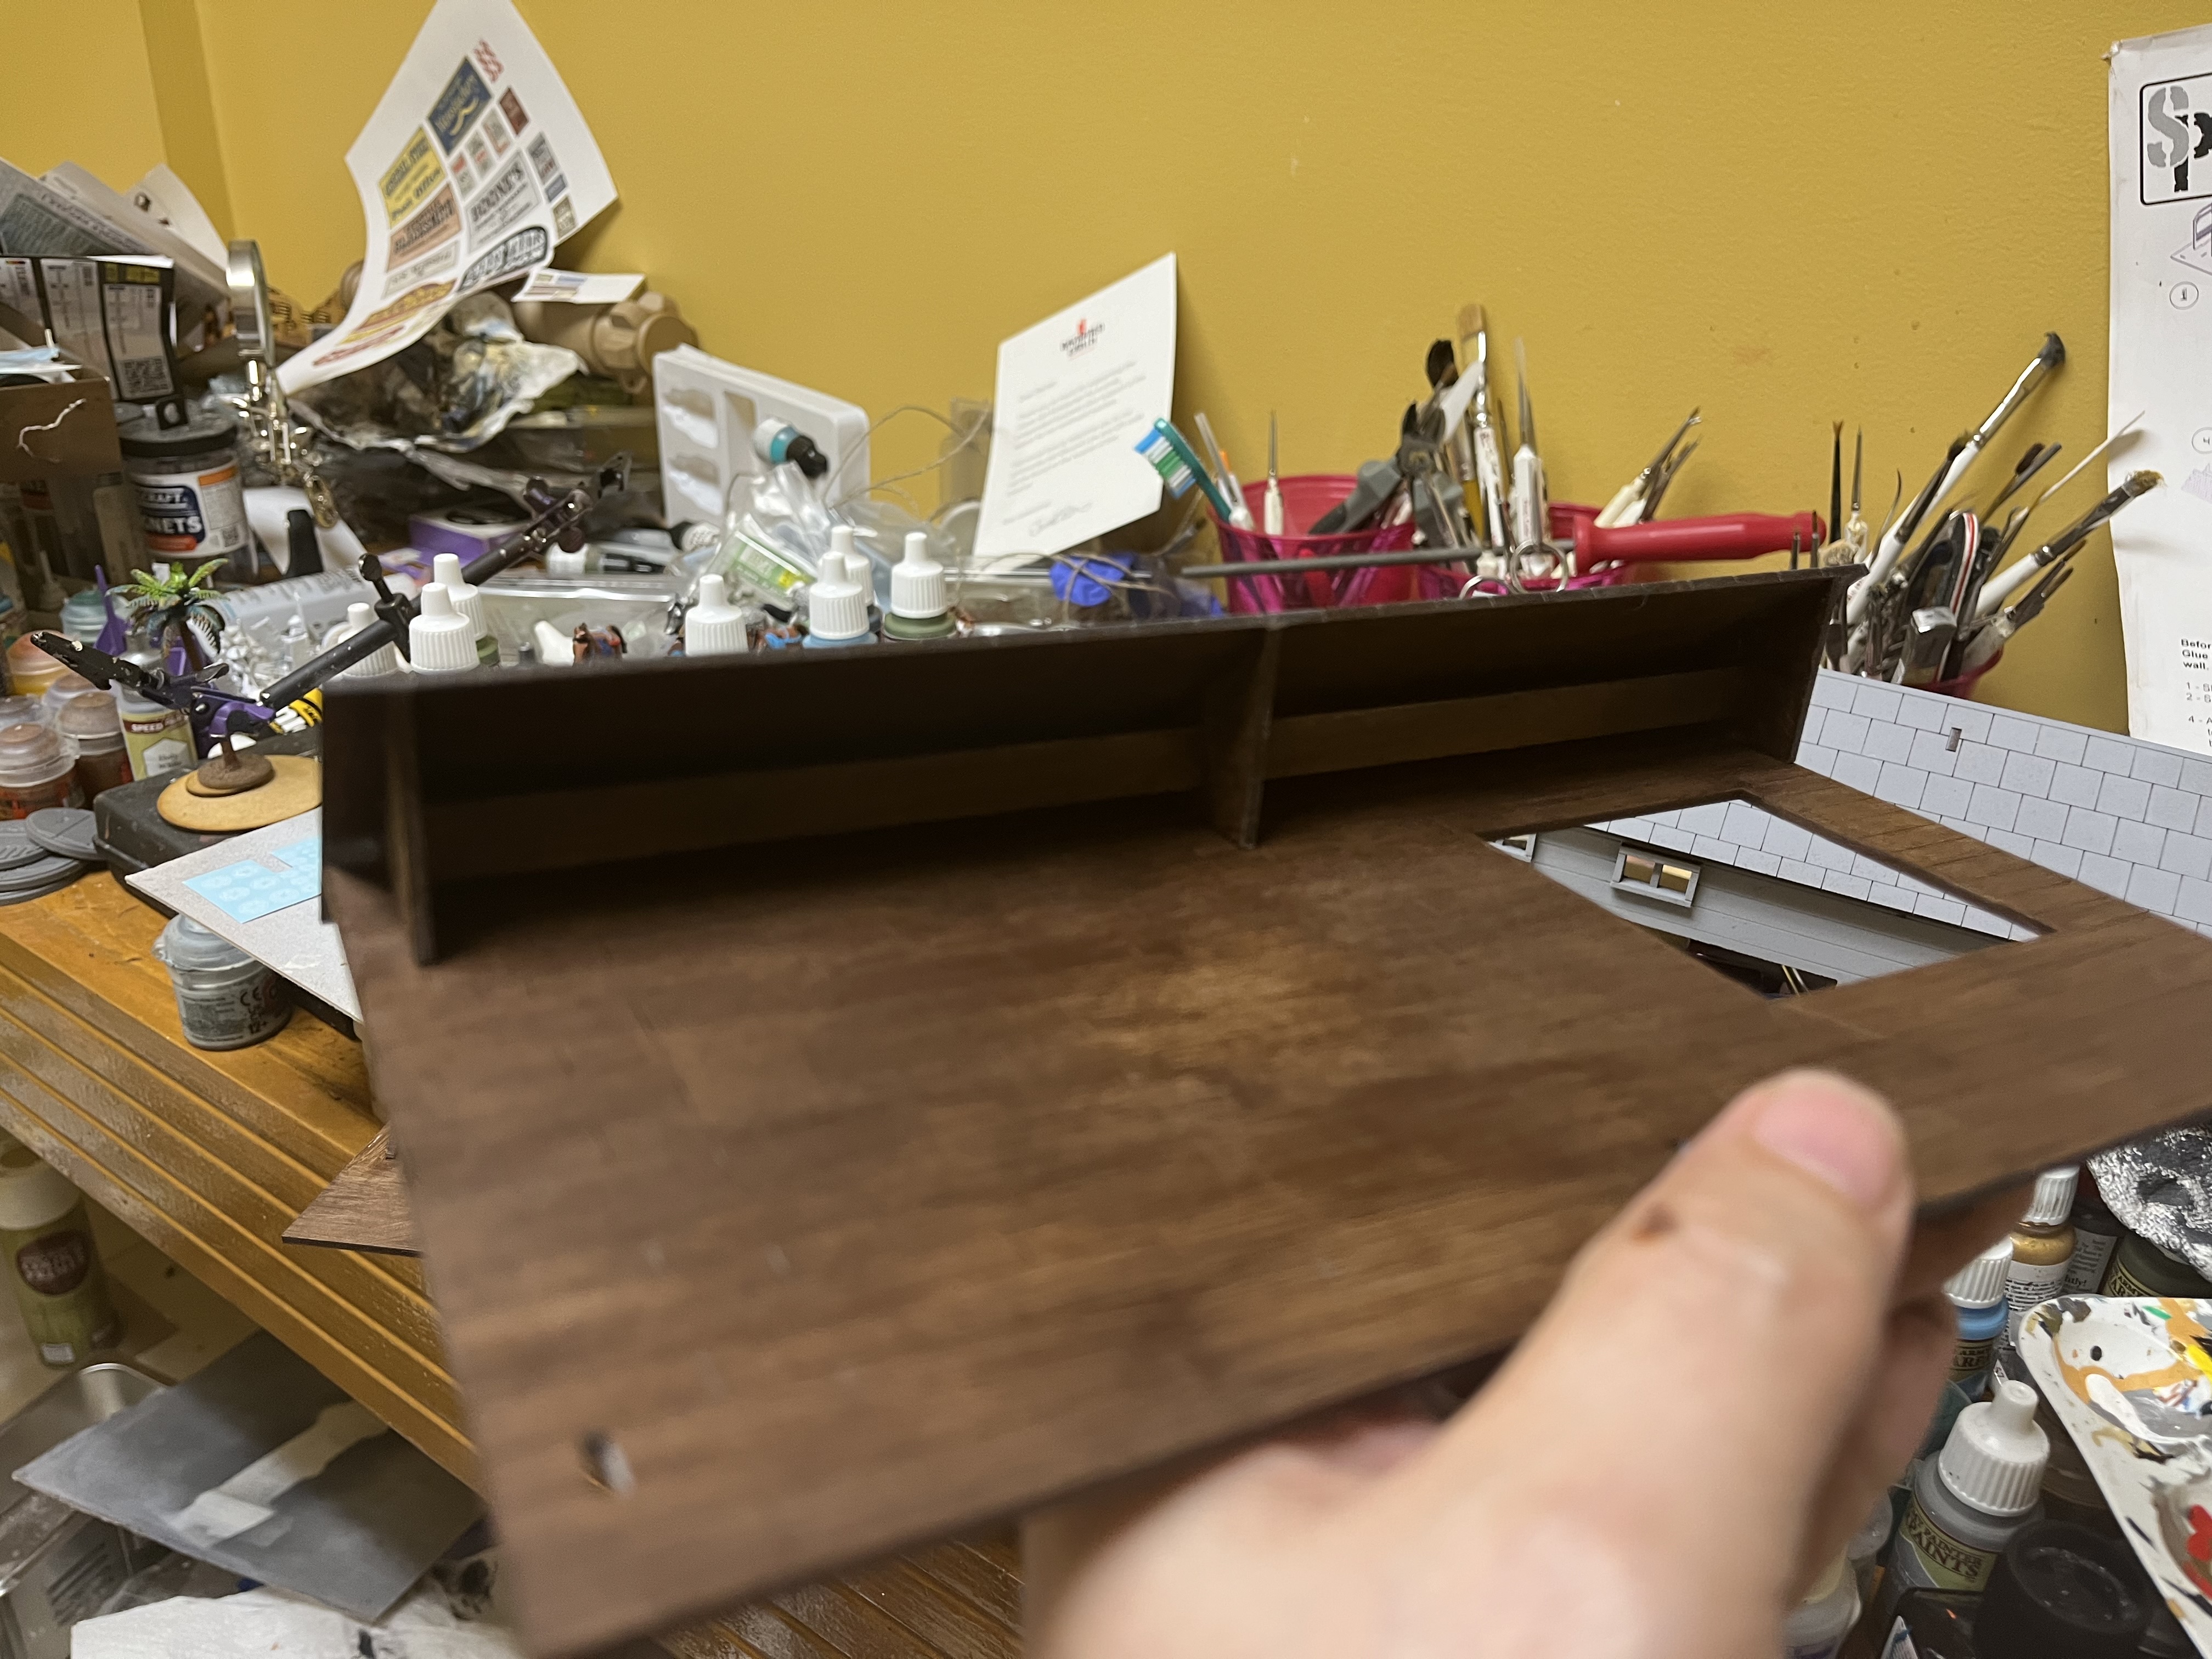
  Finished hayloft with ladder left in place.
  Finished interior. I glued the rear doors back in place after painting them first.
 Livery Stable Part 7
 Primed and assembled a corral for use with either the livery or a ranch.
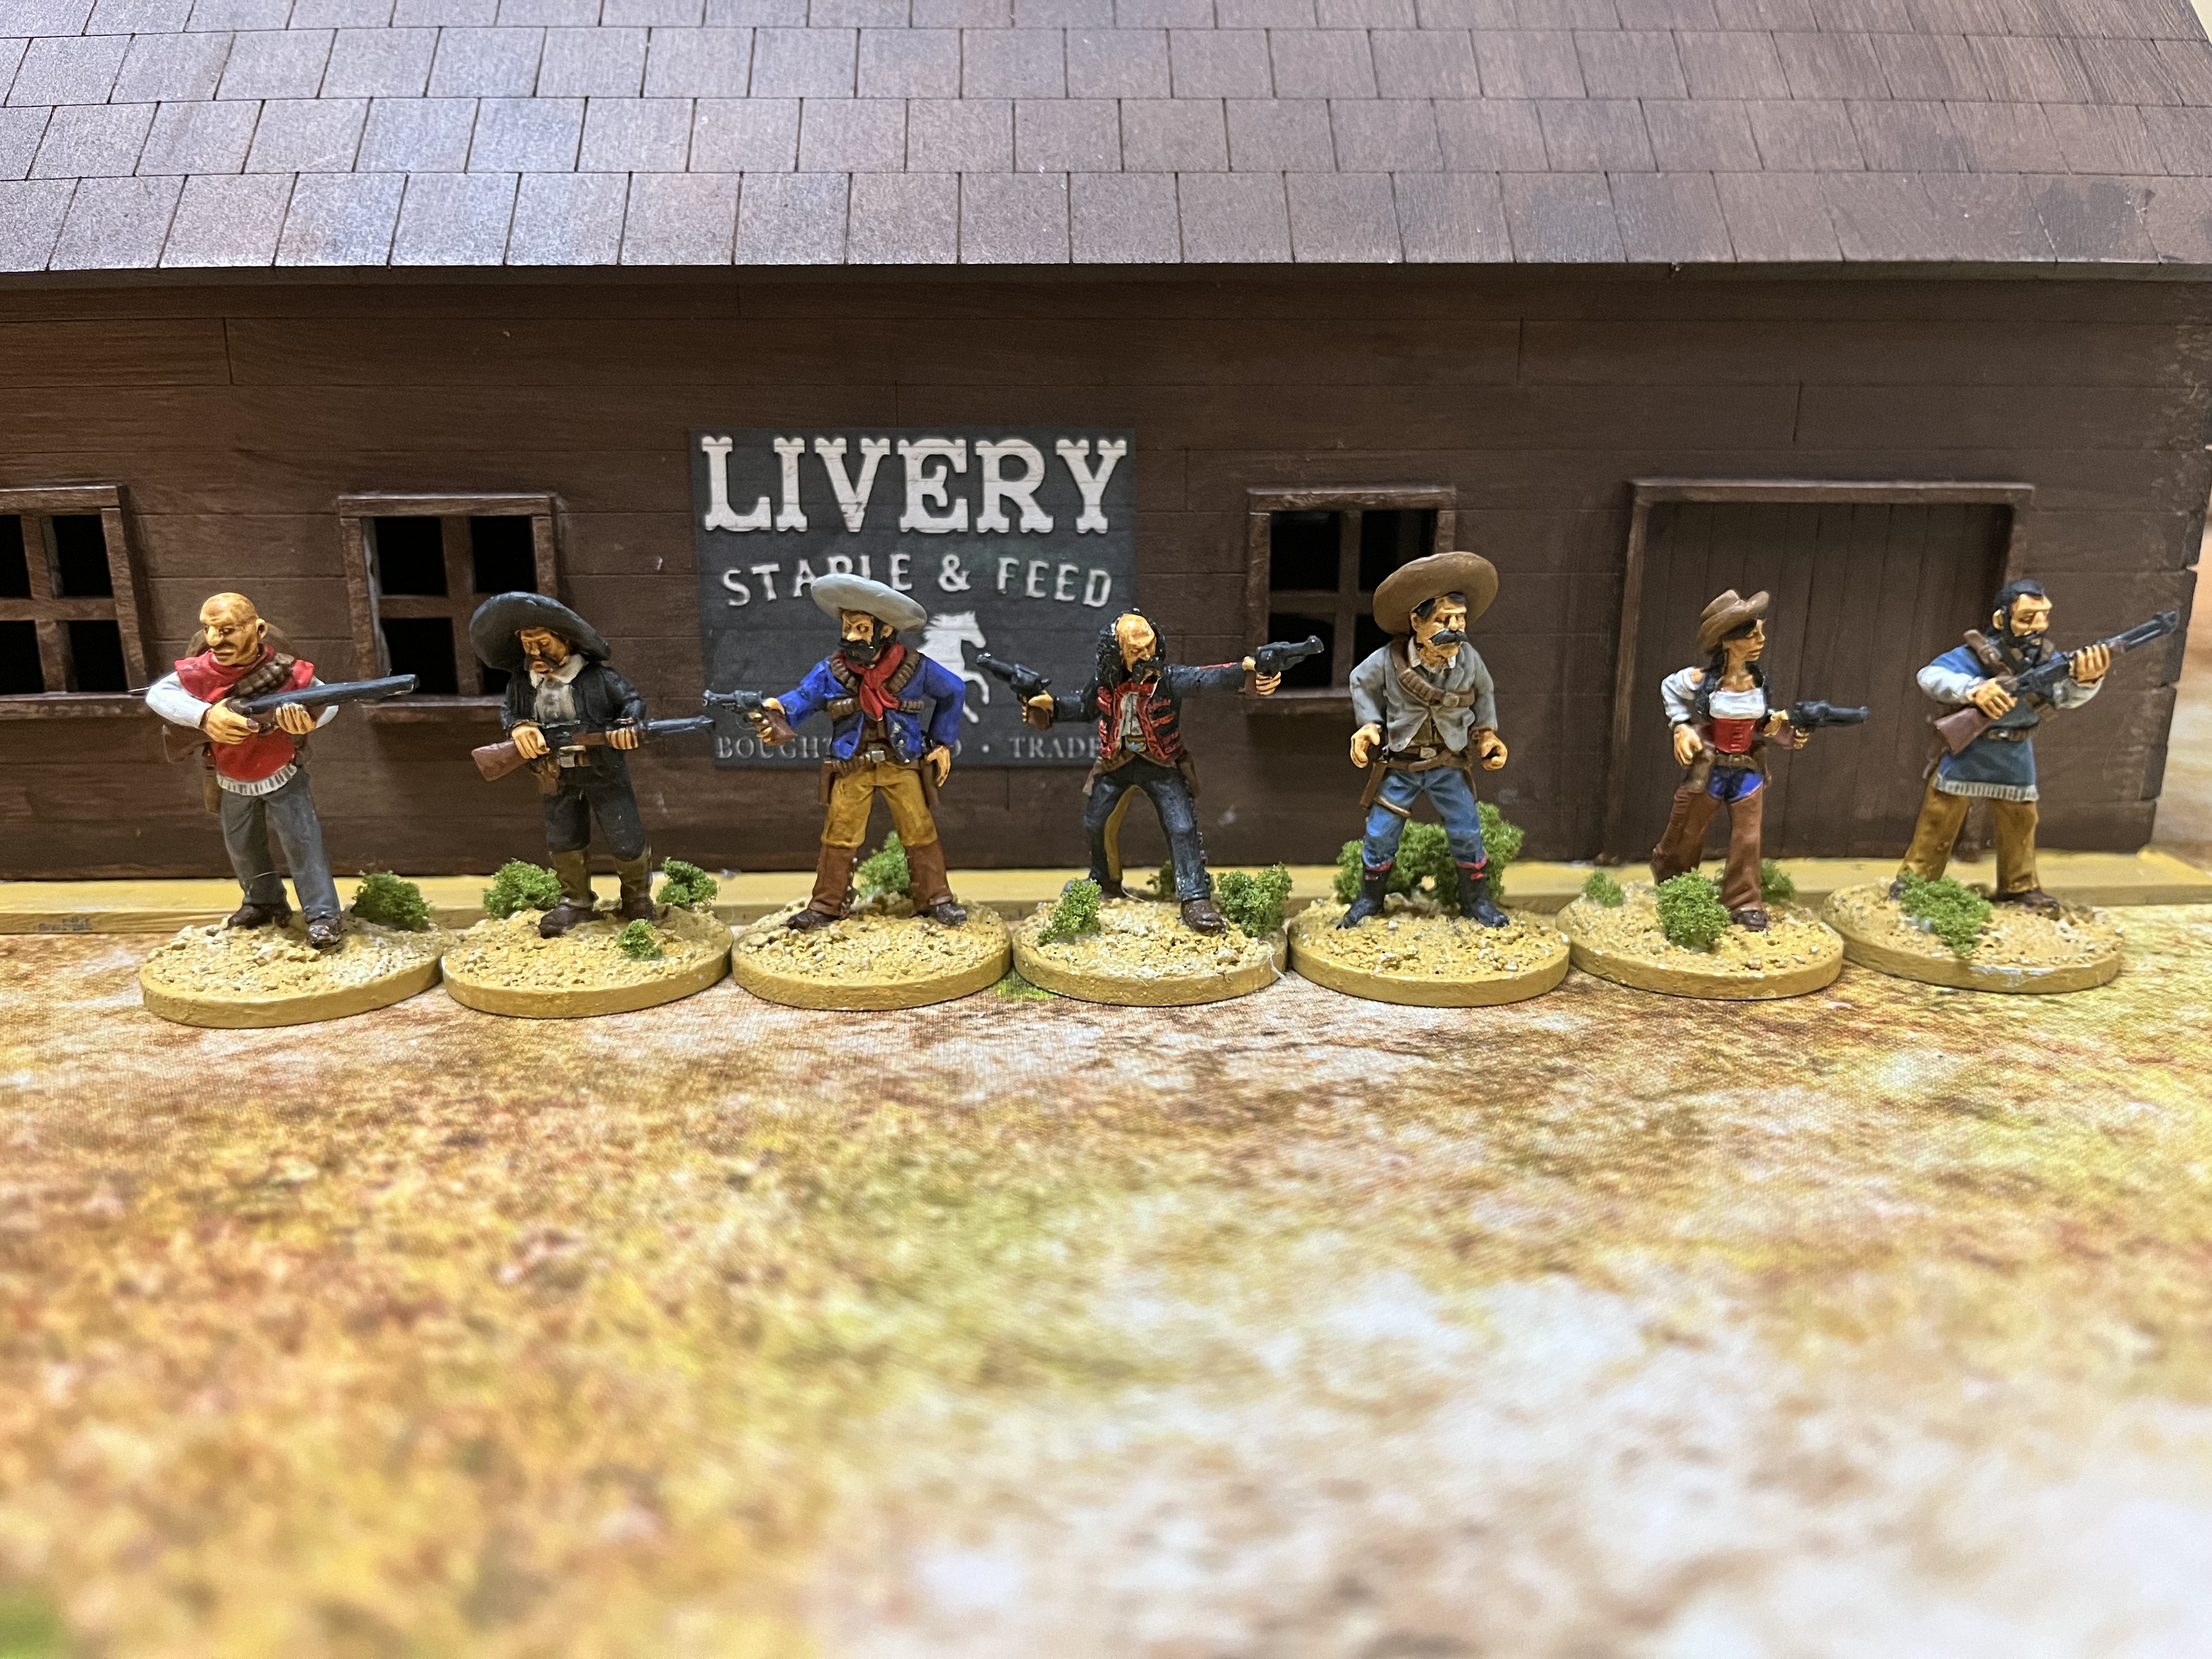
 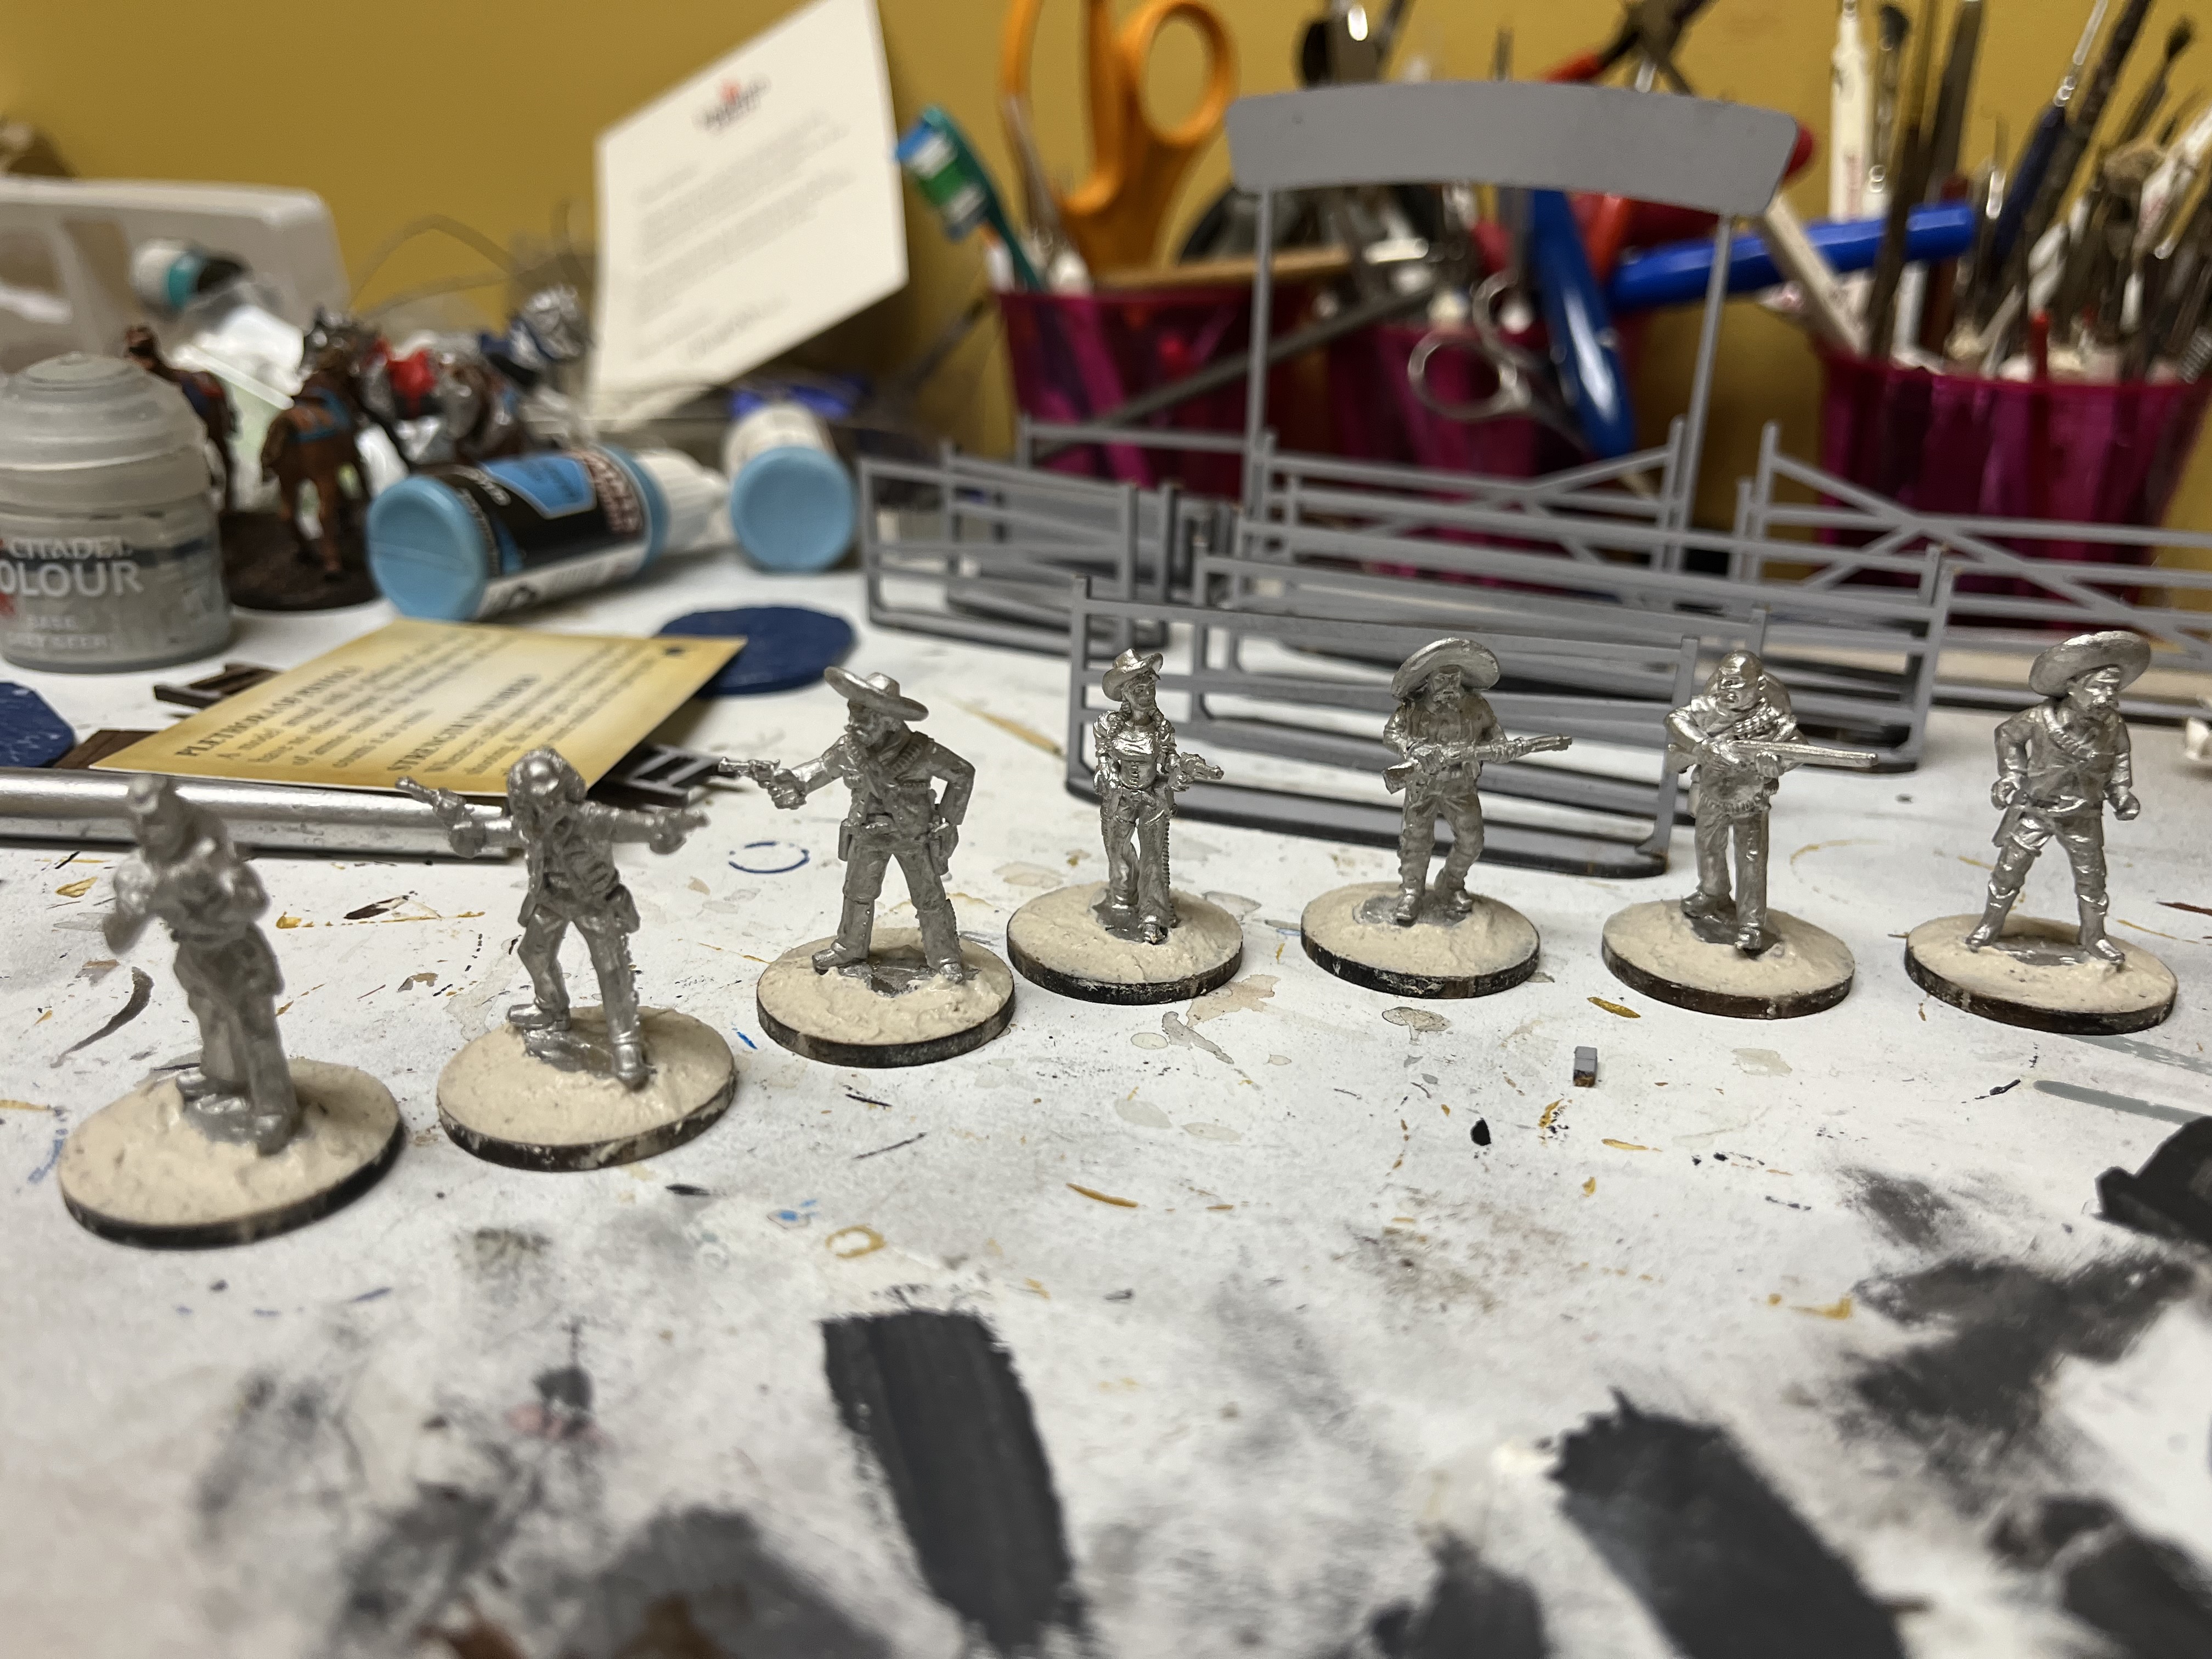 Started work on the next posse, this time the Banditos from Great Escape Games.
 Livery Stable Part 6
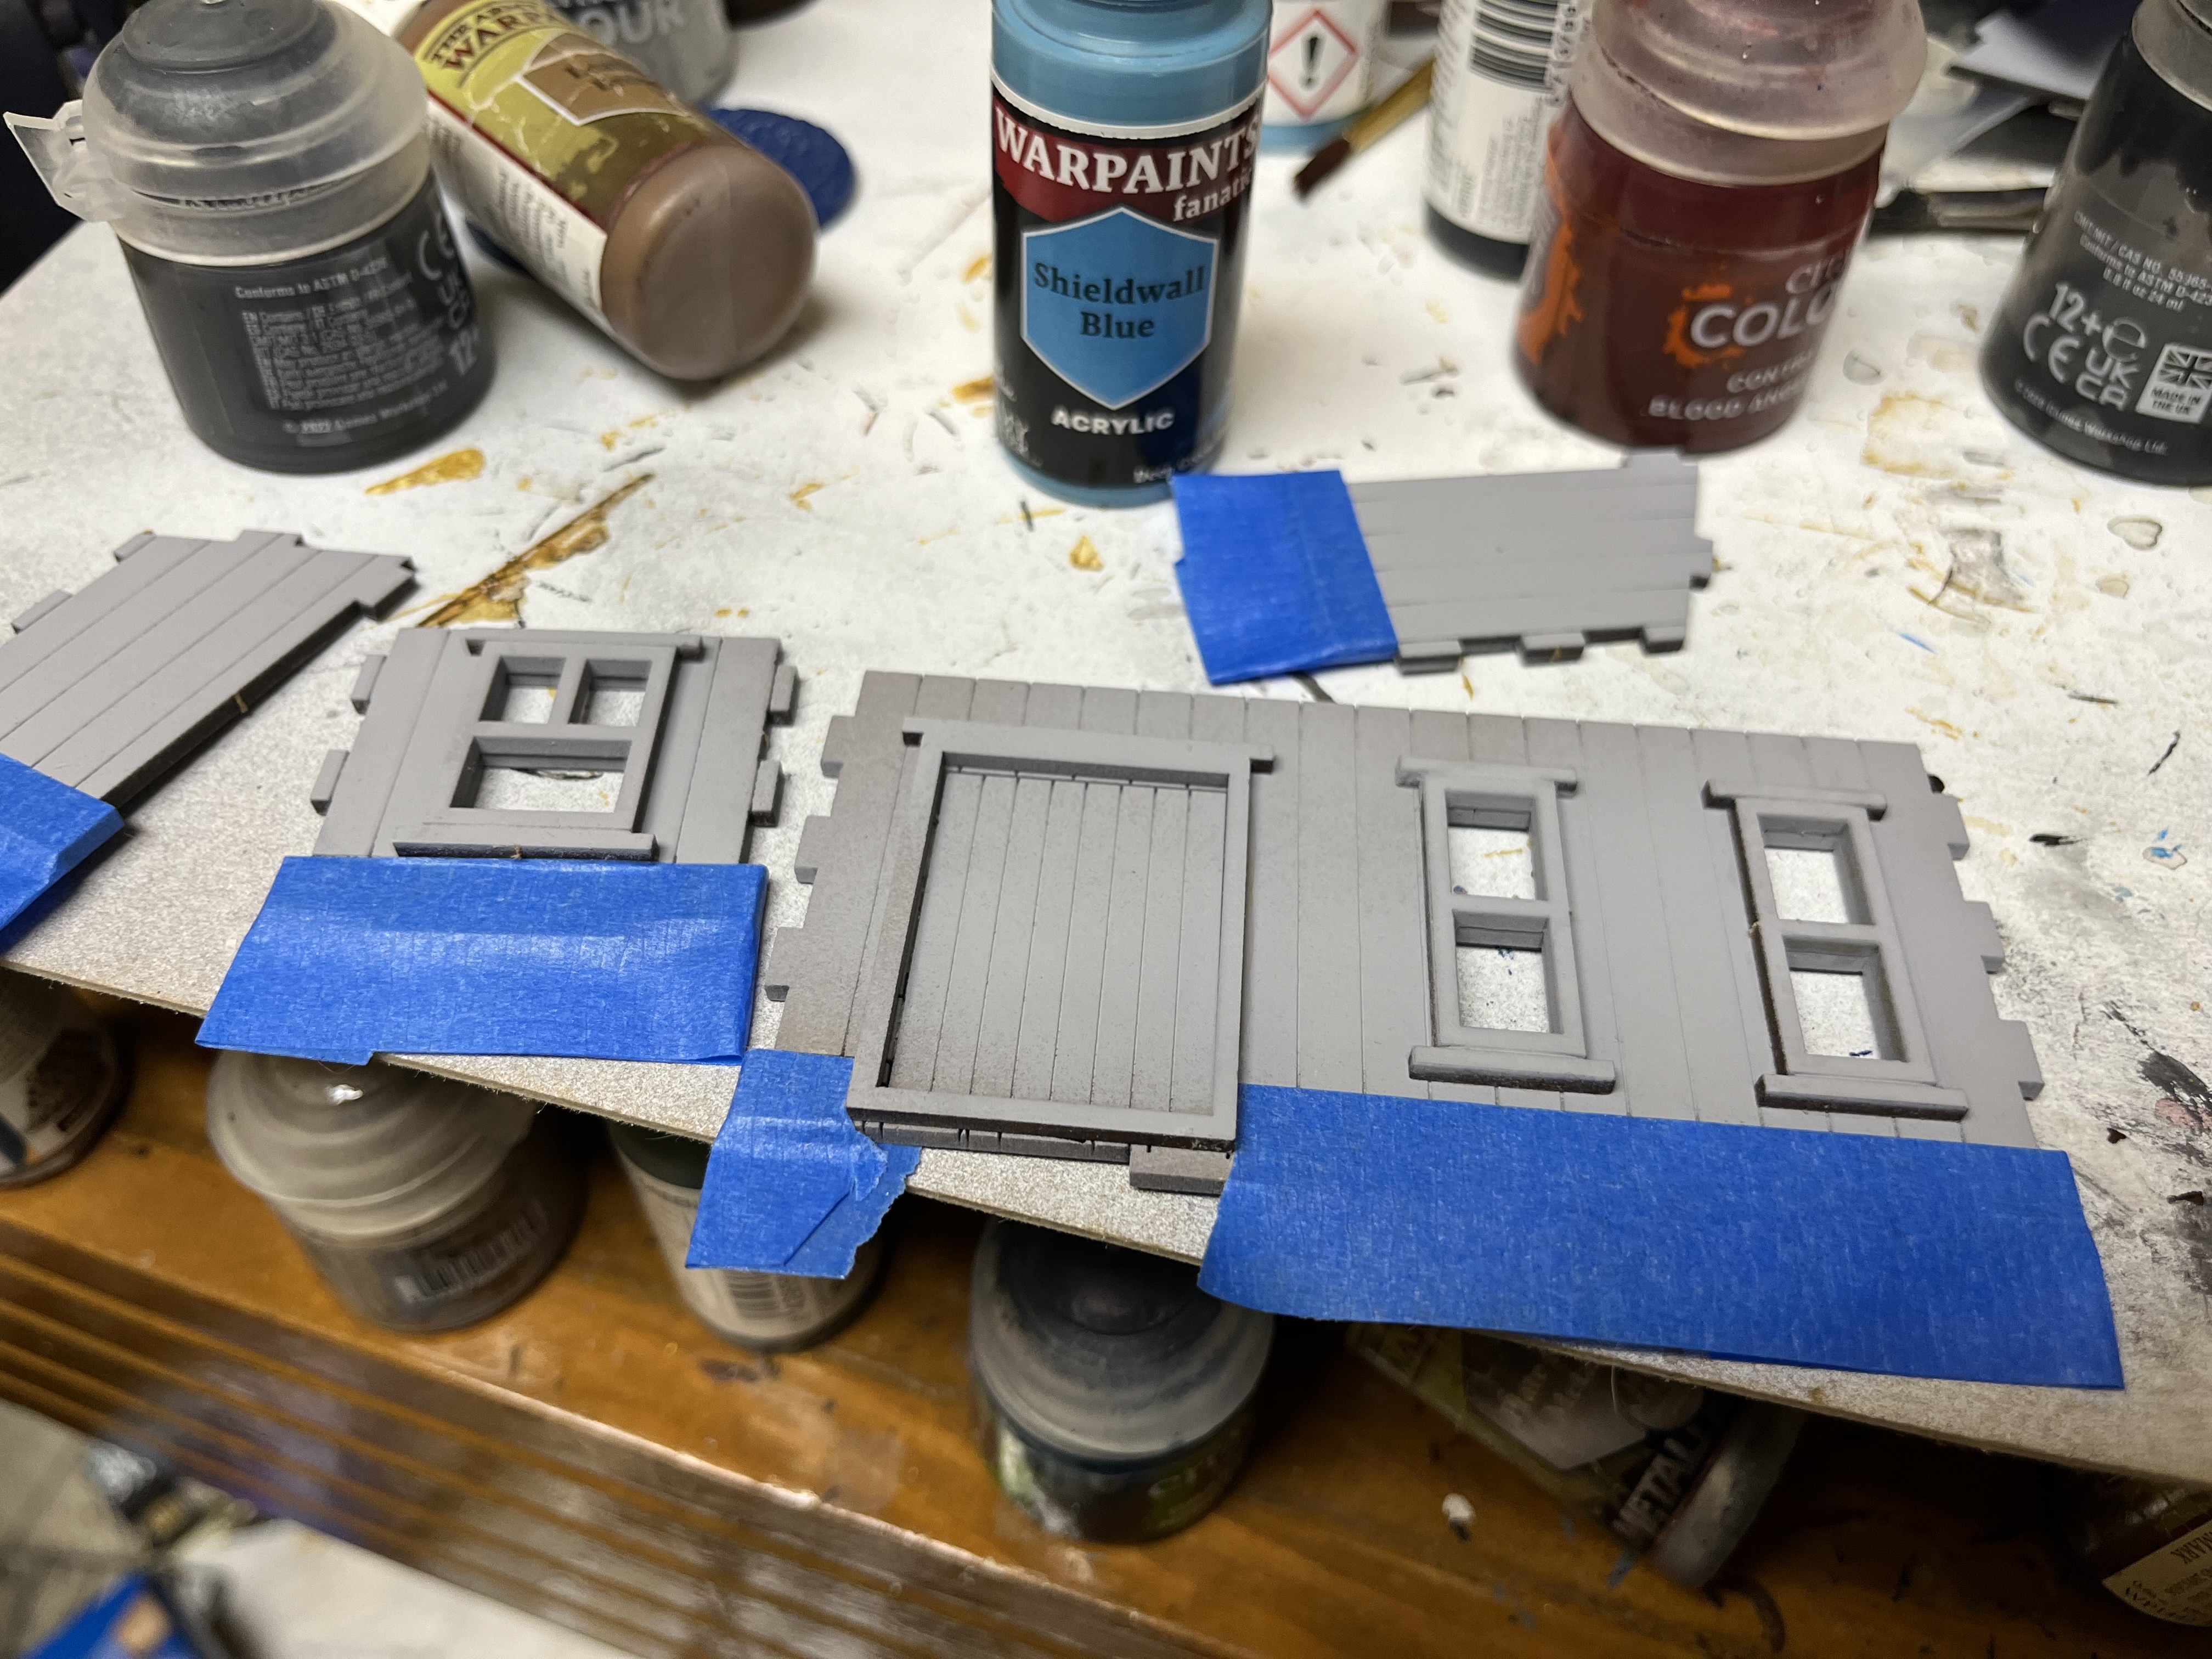
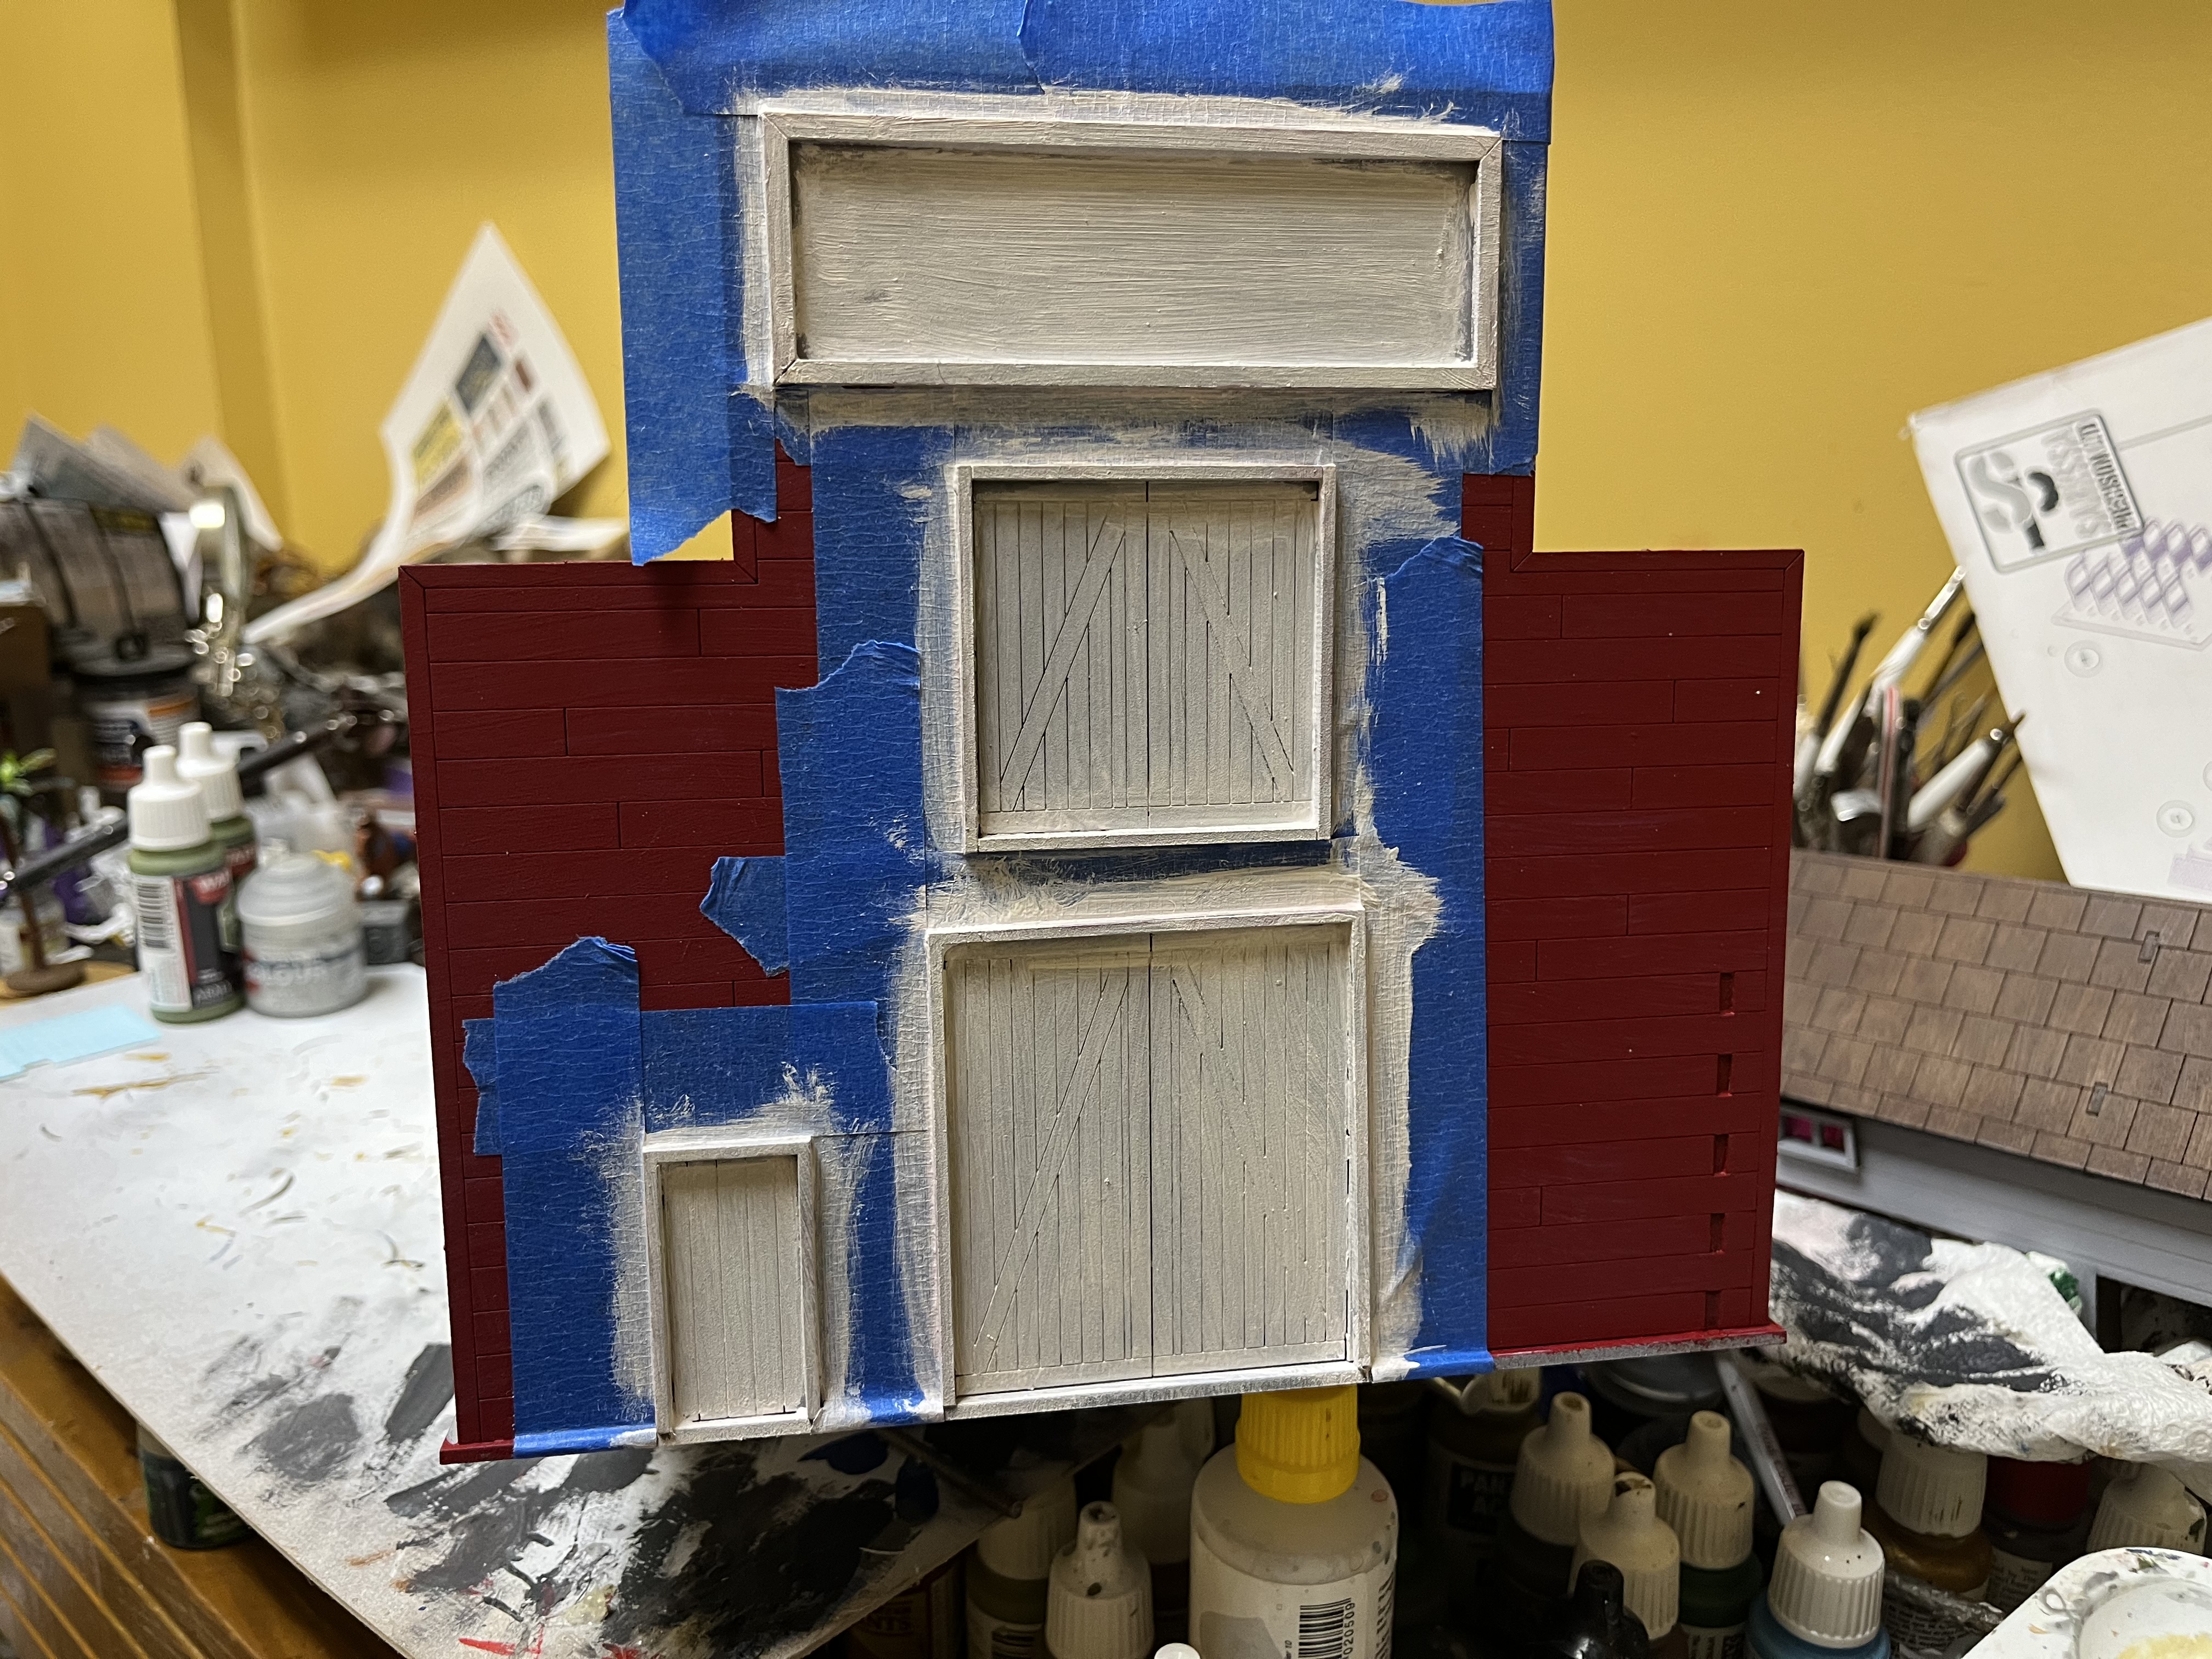 Did a quick bit of masking then painted up the front doors and signs.
 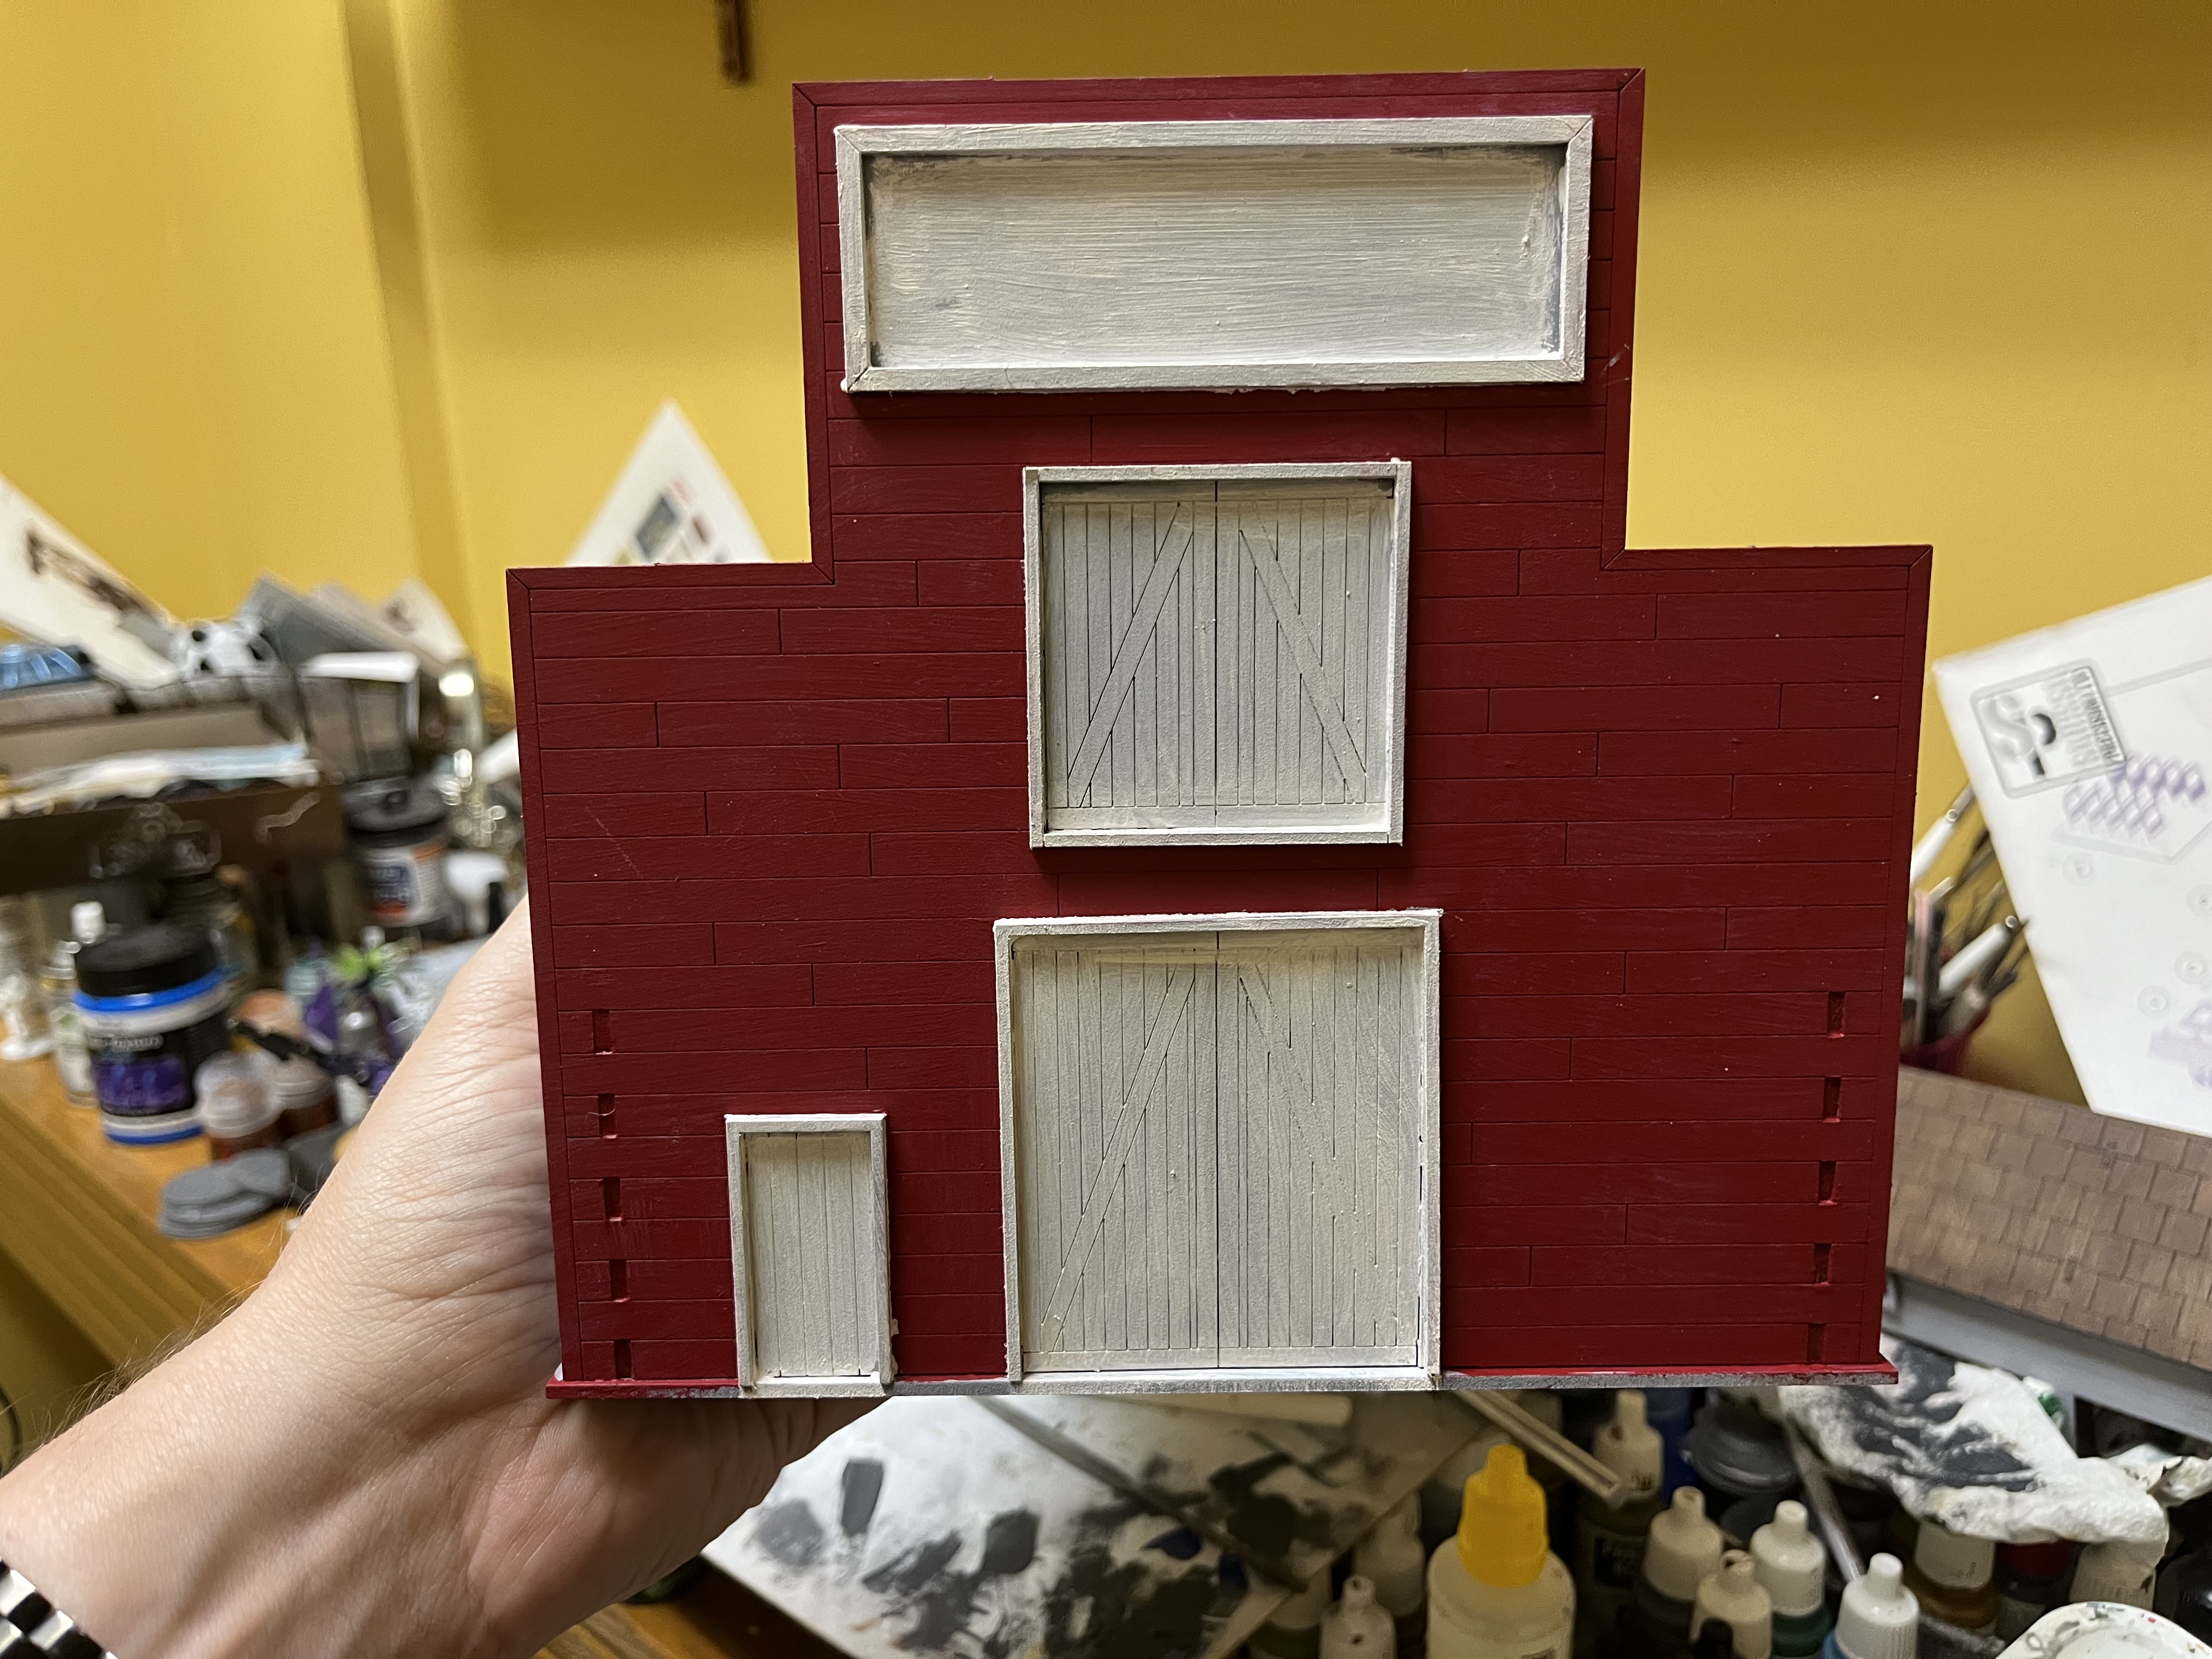 Needs a few touch ups but turned out pretty well.
 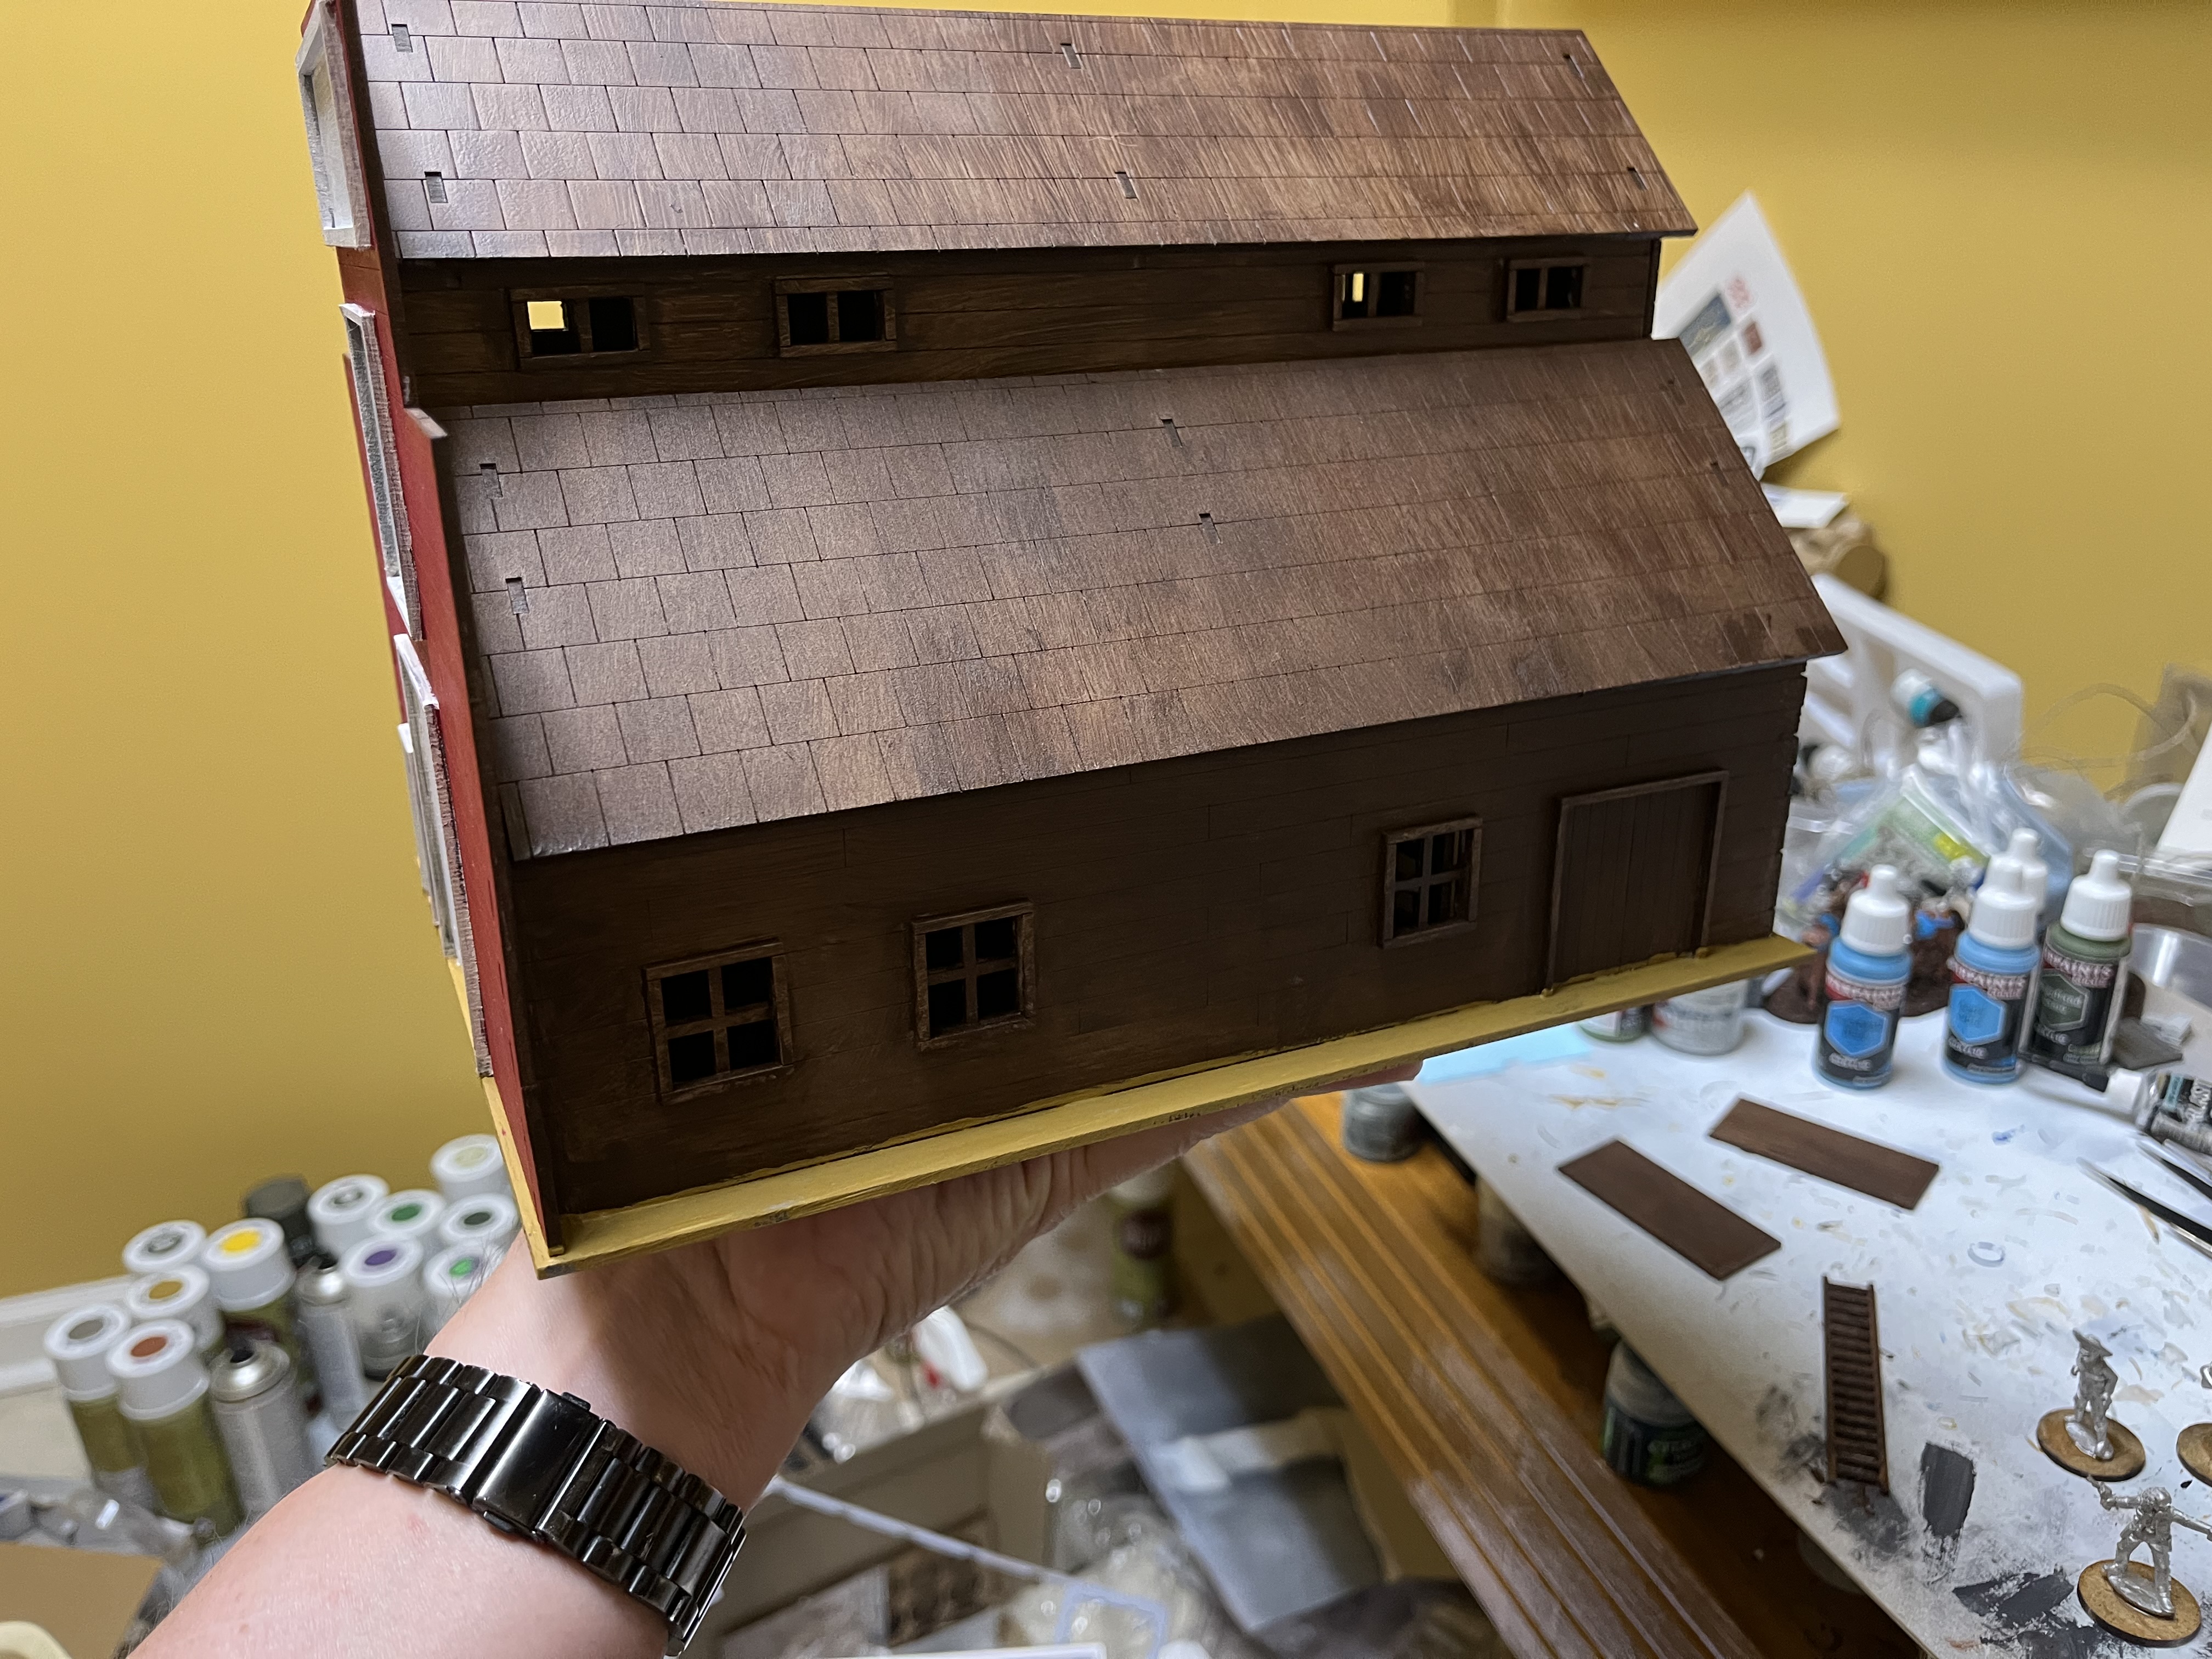 Painted up the sides and rear as unpainted wood.
 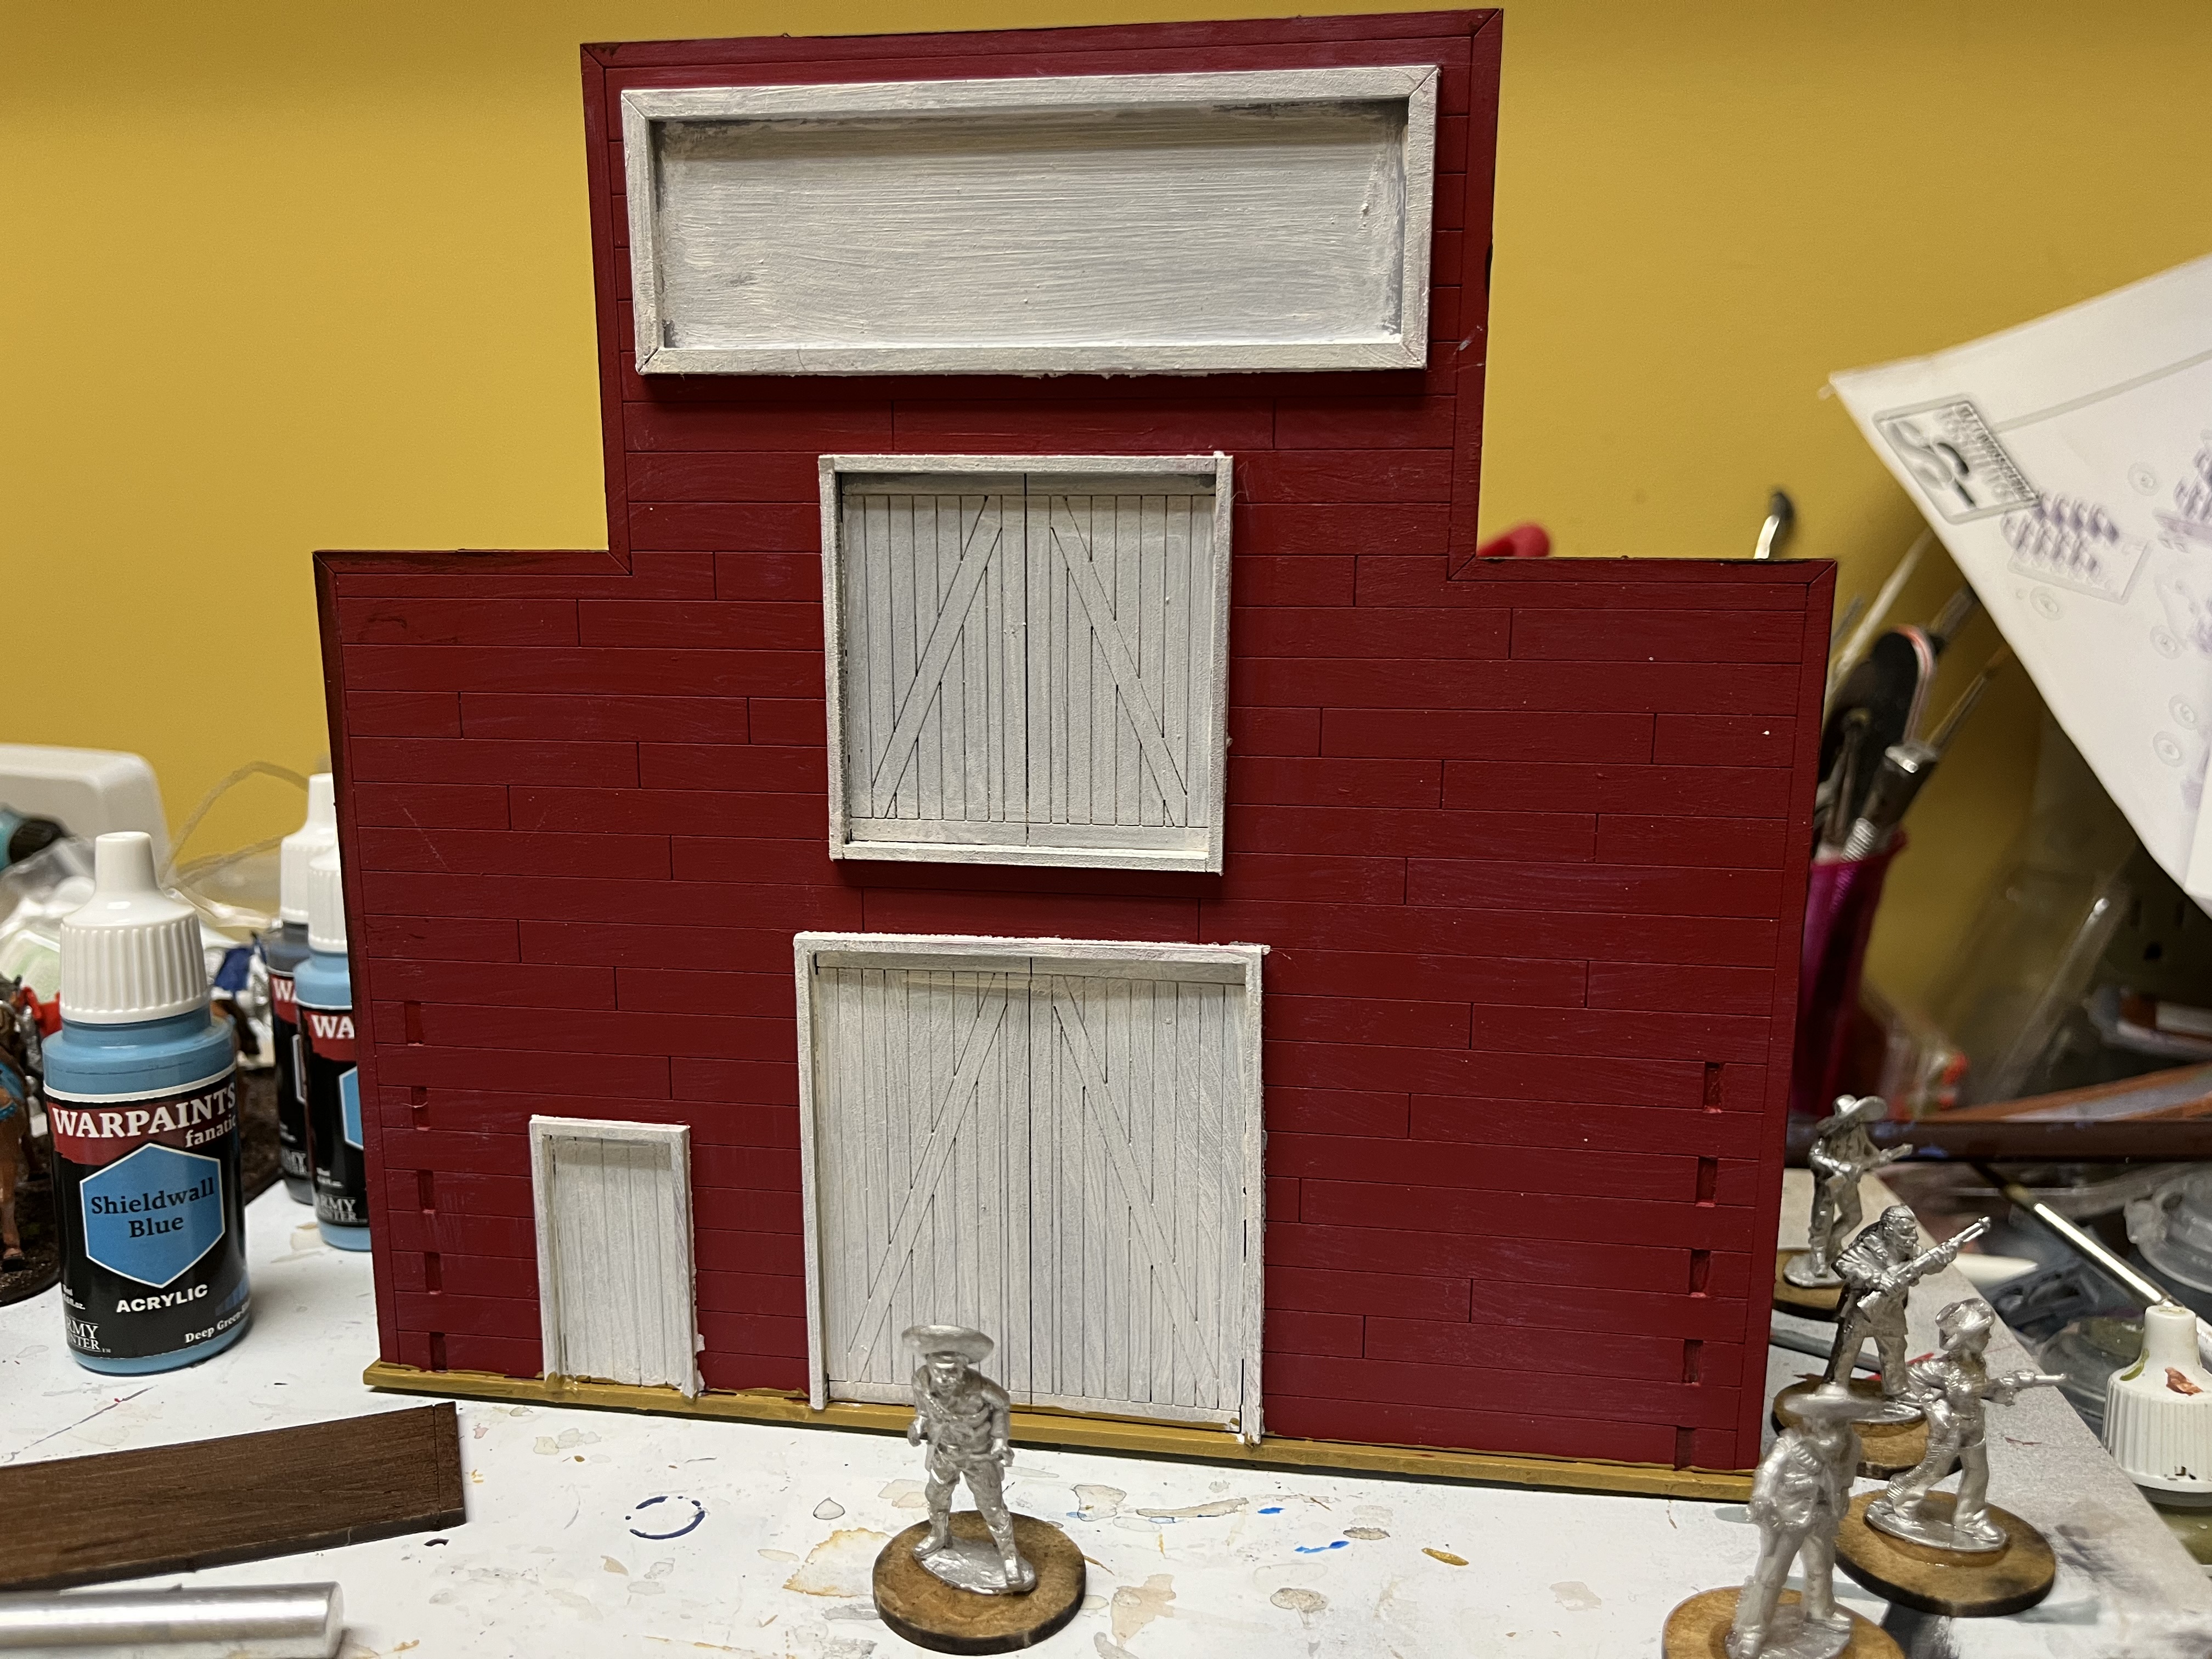 Next up are the Banditos, shown here for scale.
 Livery Stable Part 5
 Painted the roof tiles using burnt umber acrylics. Now it’s decision time on what colors to use on the rest of the stable.
 Livery Stable Part 4
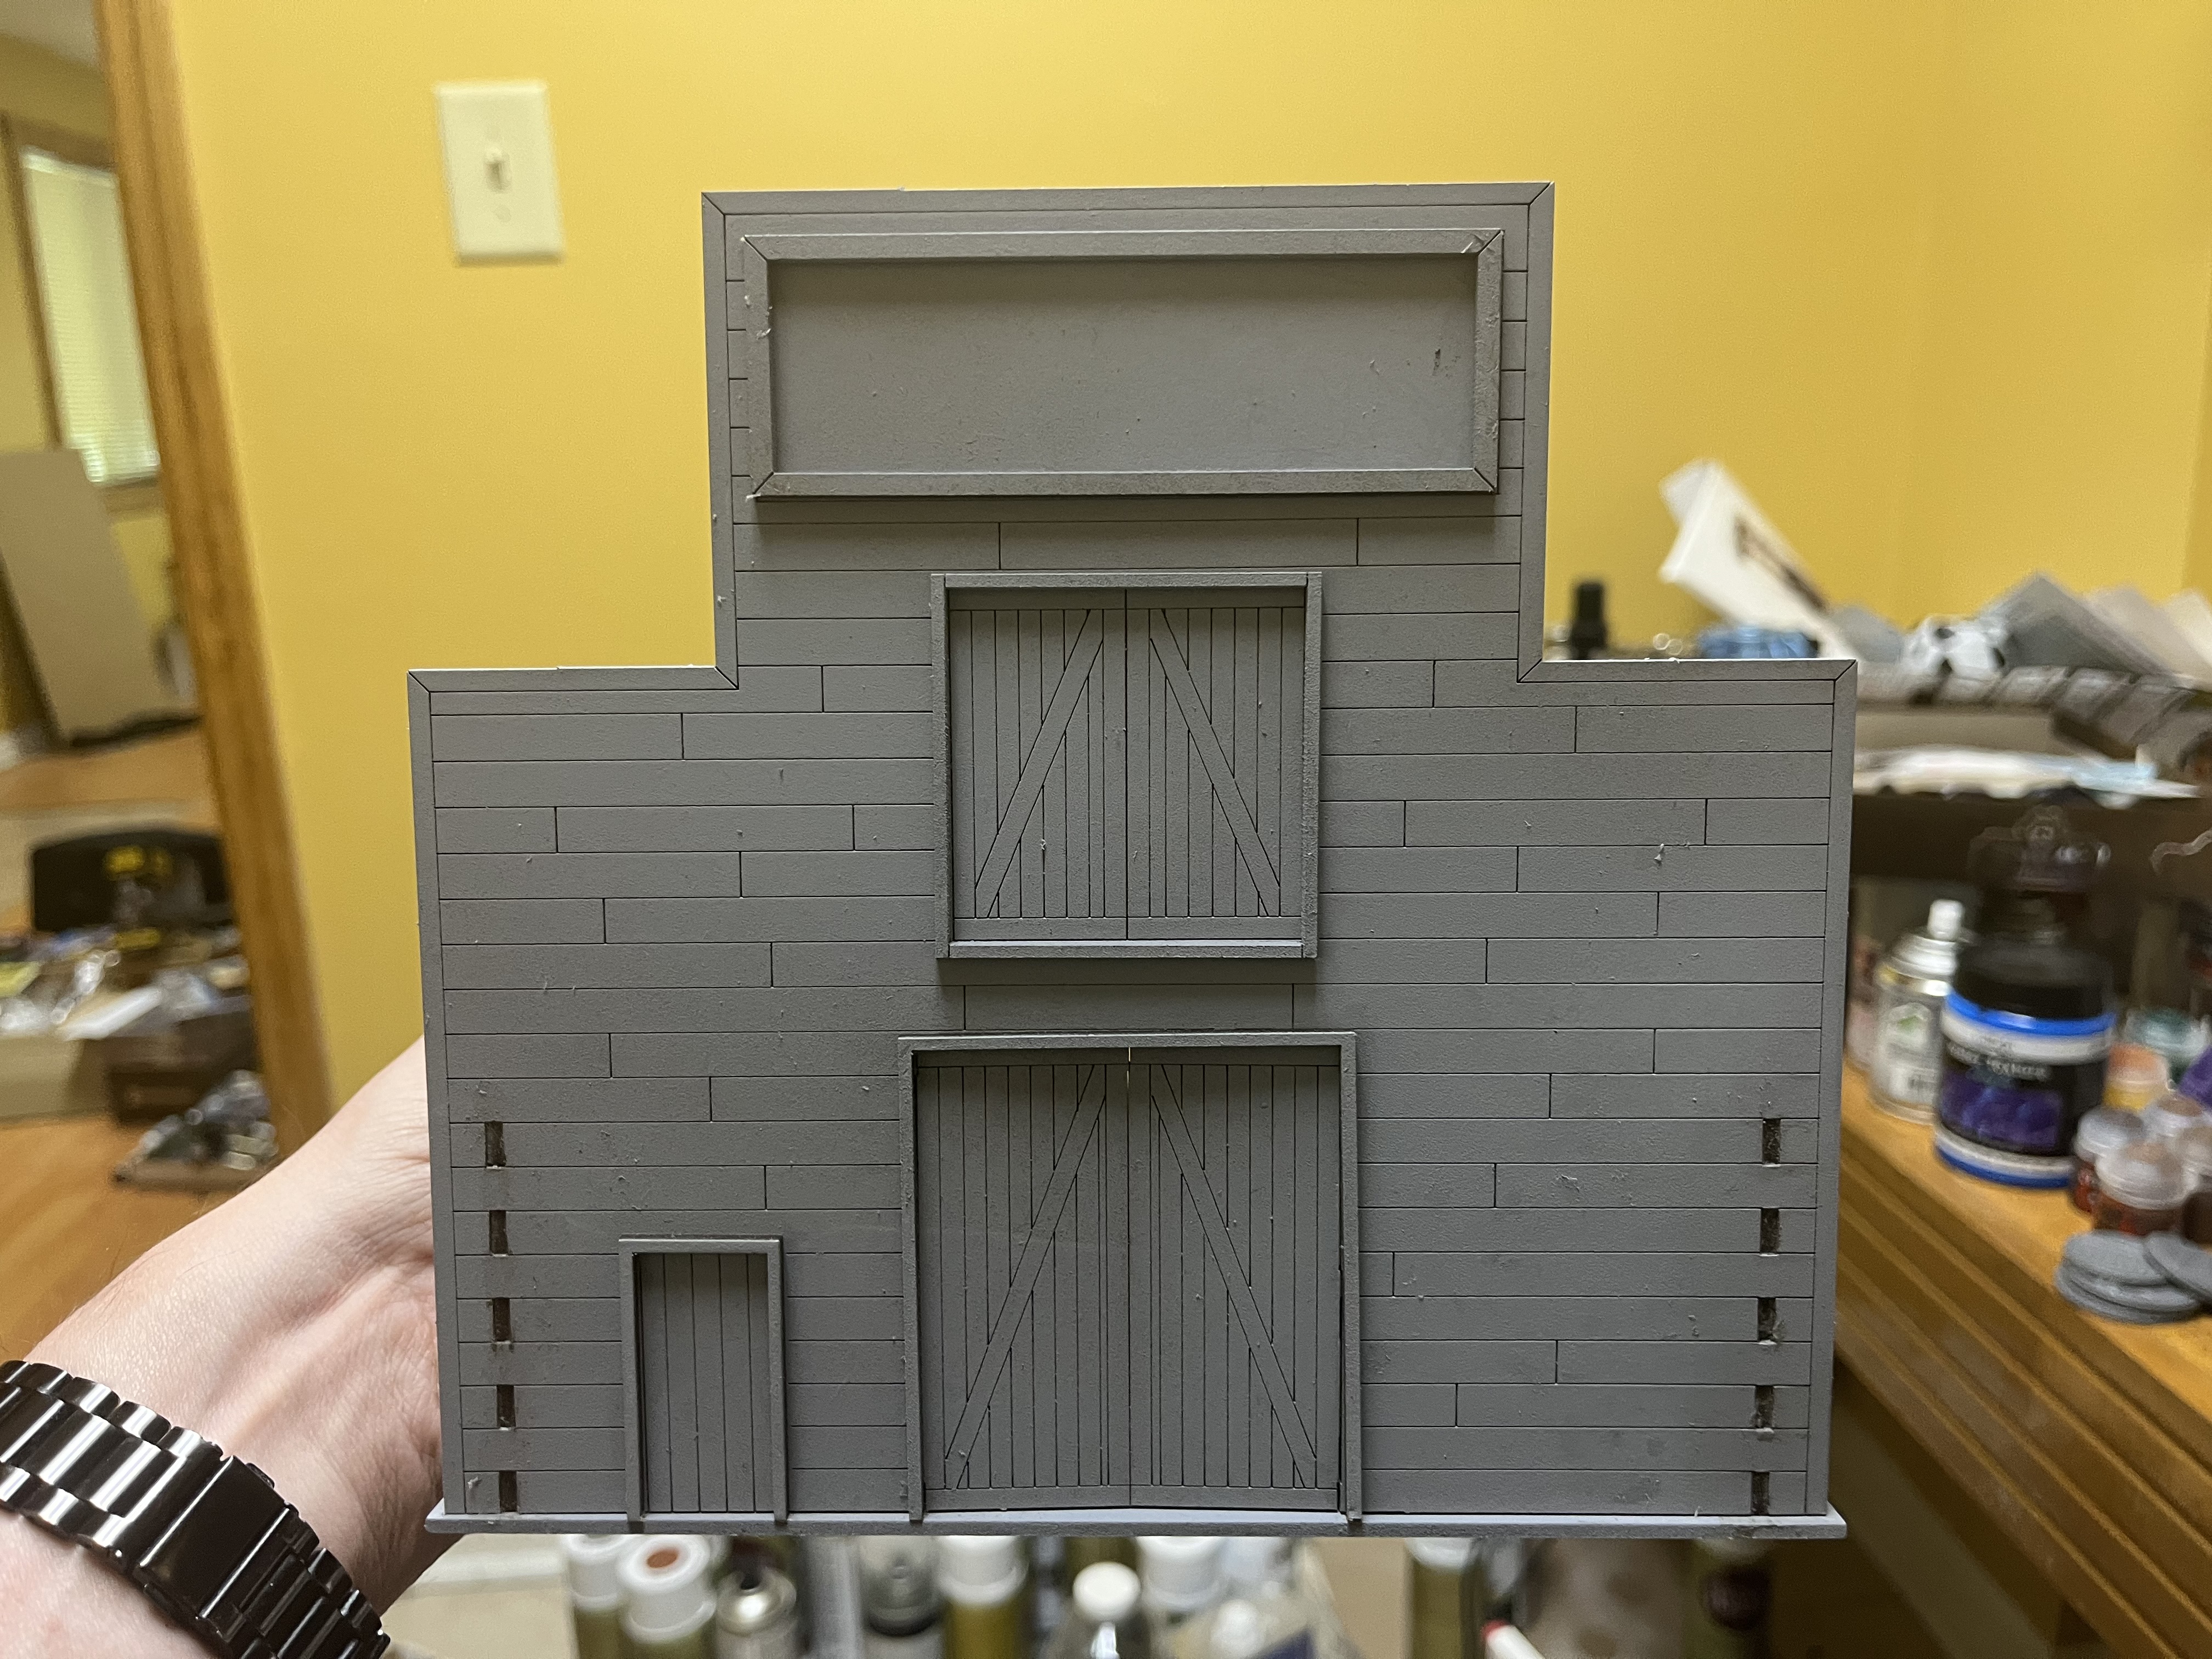
 I painted up the stable floor using a mix of burnt umber, yellow and white.
  Front facing is obviously red. Unsure if I’m going to paint everything red or just this front.
 Livery Stable Part 3
 I started painting the interior using artist acrylic burnt umber. It was easier to paint this as sub assemblies so here’s the floor and one side.
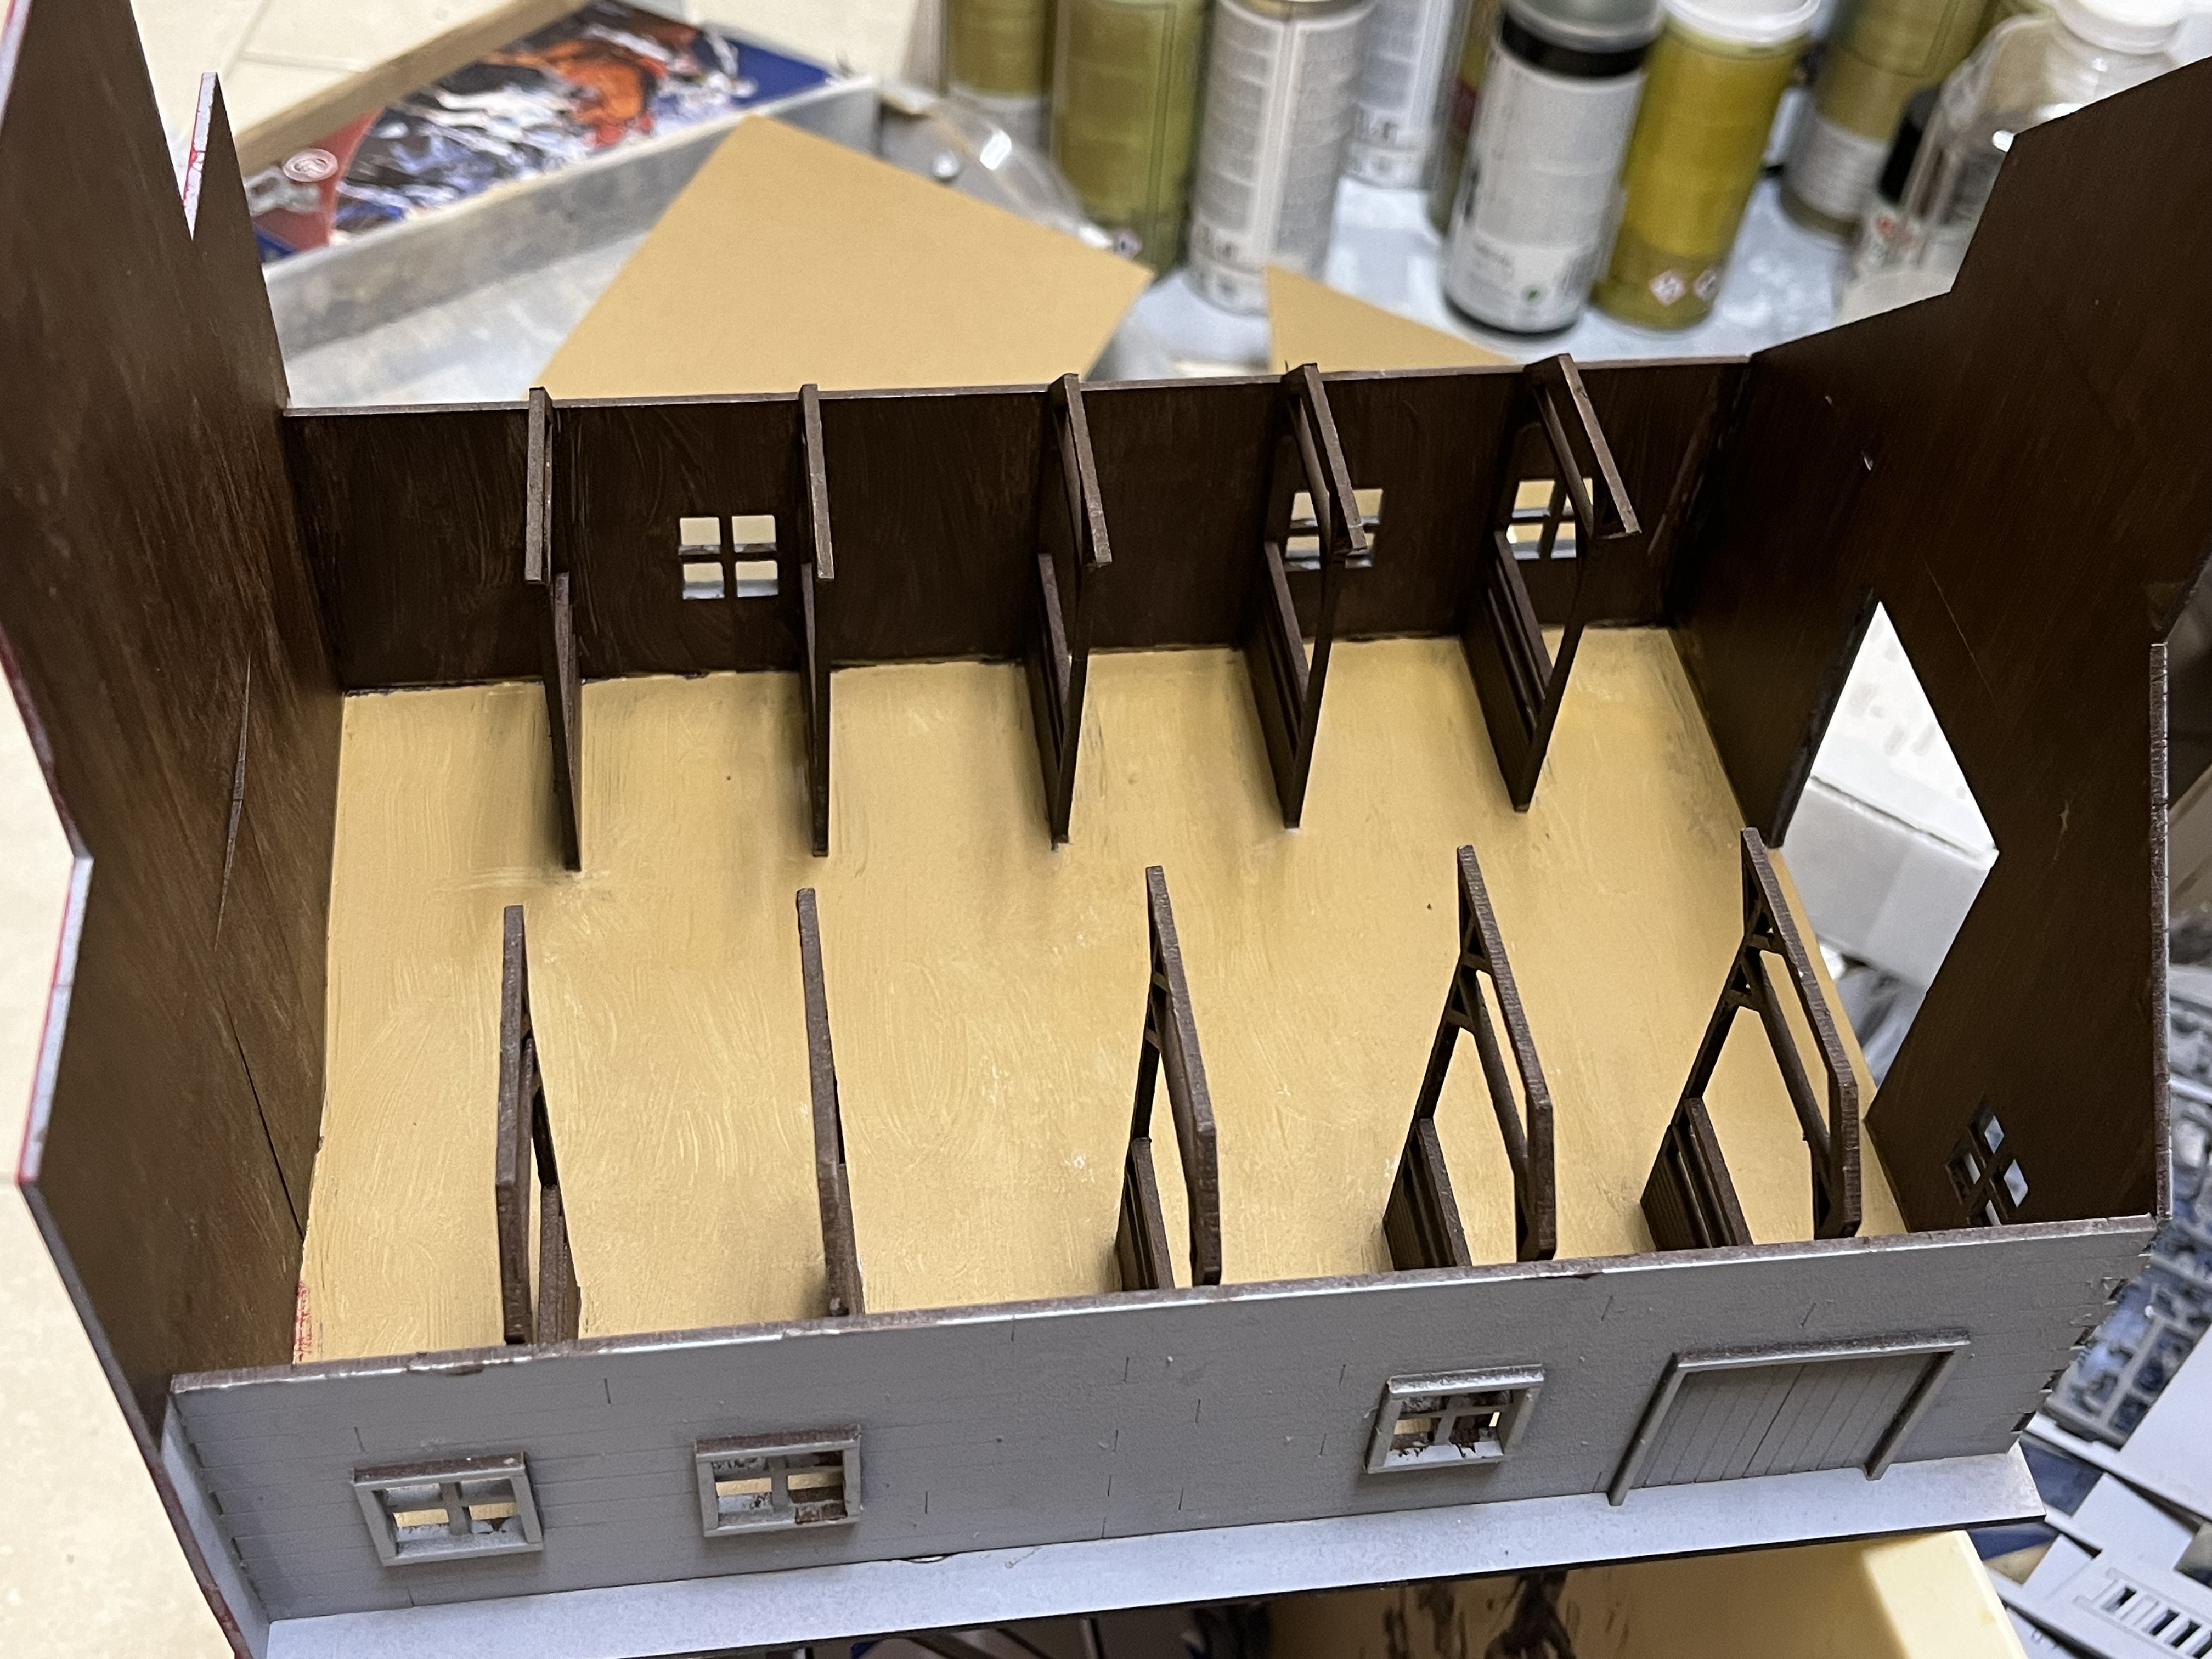
 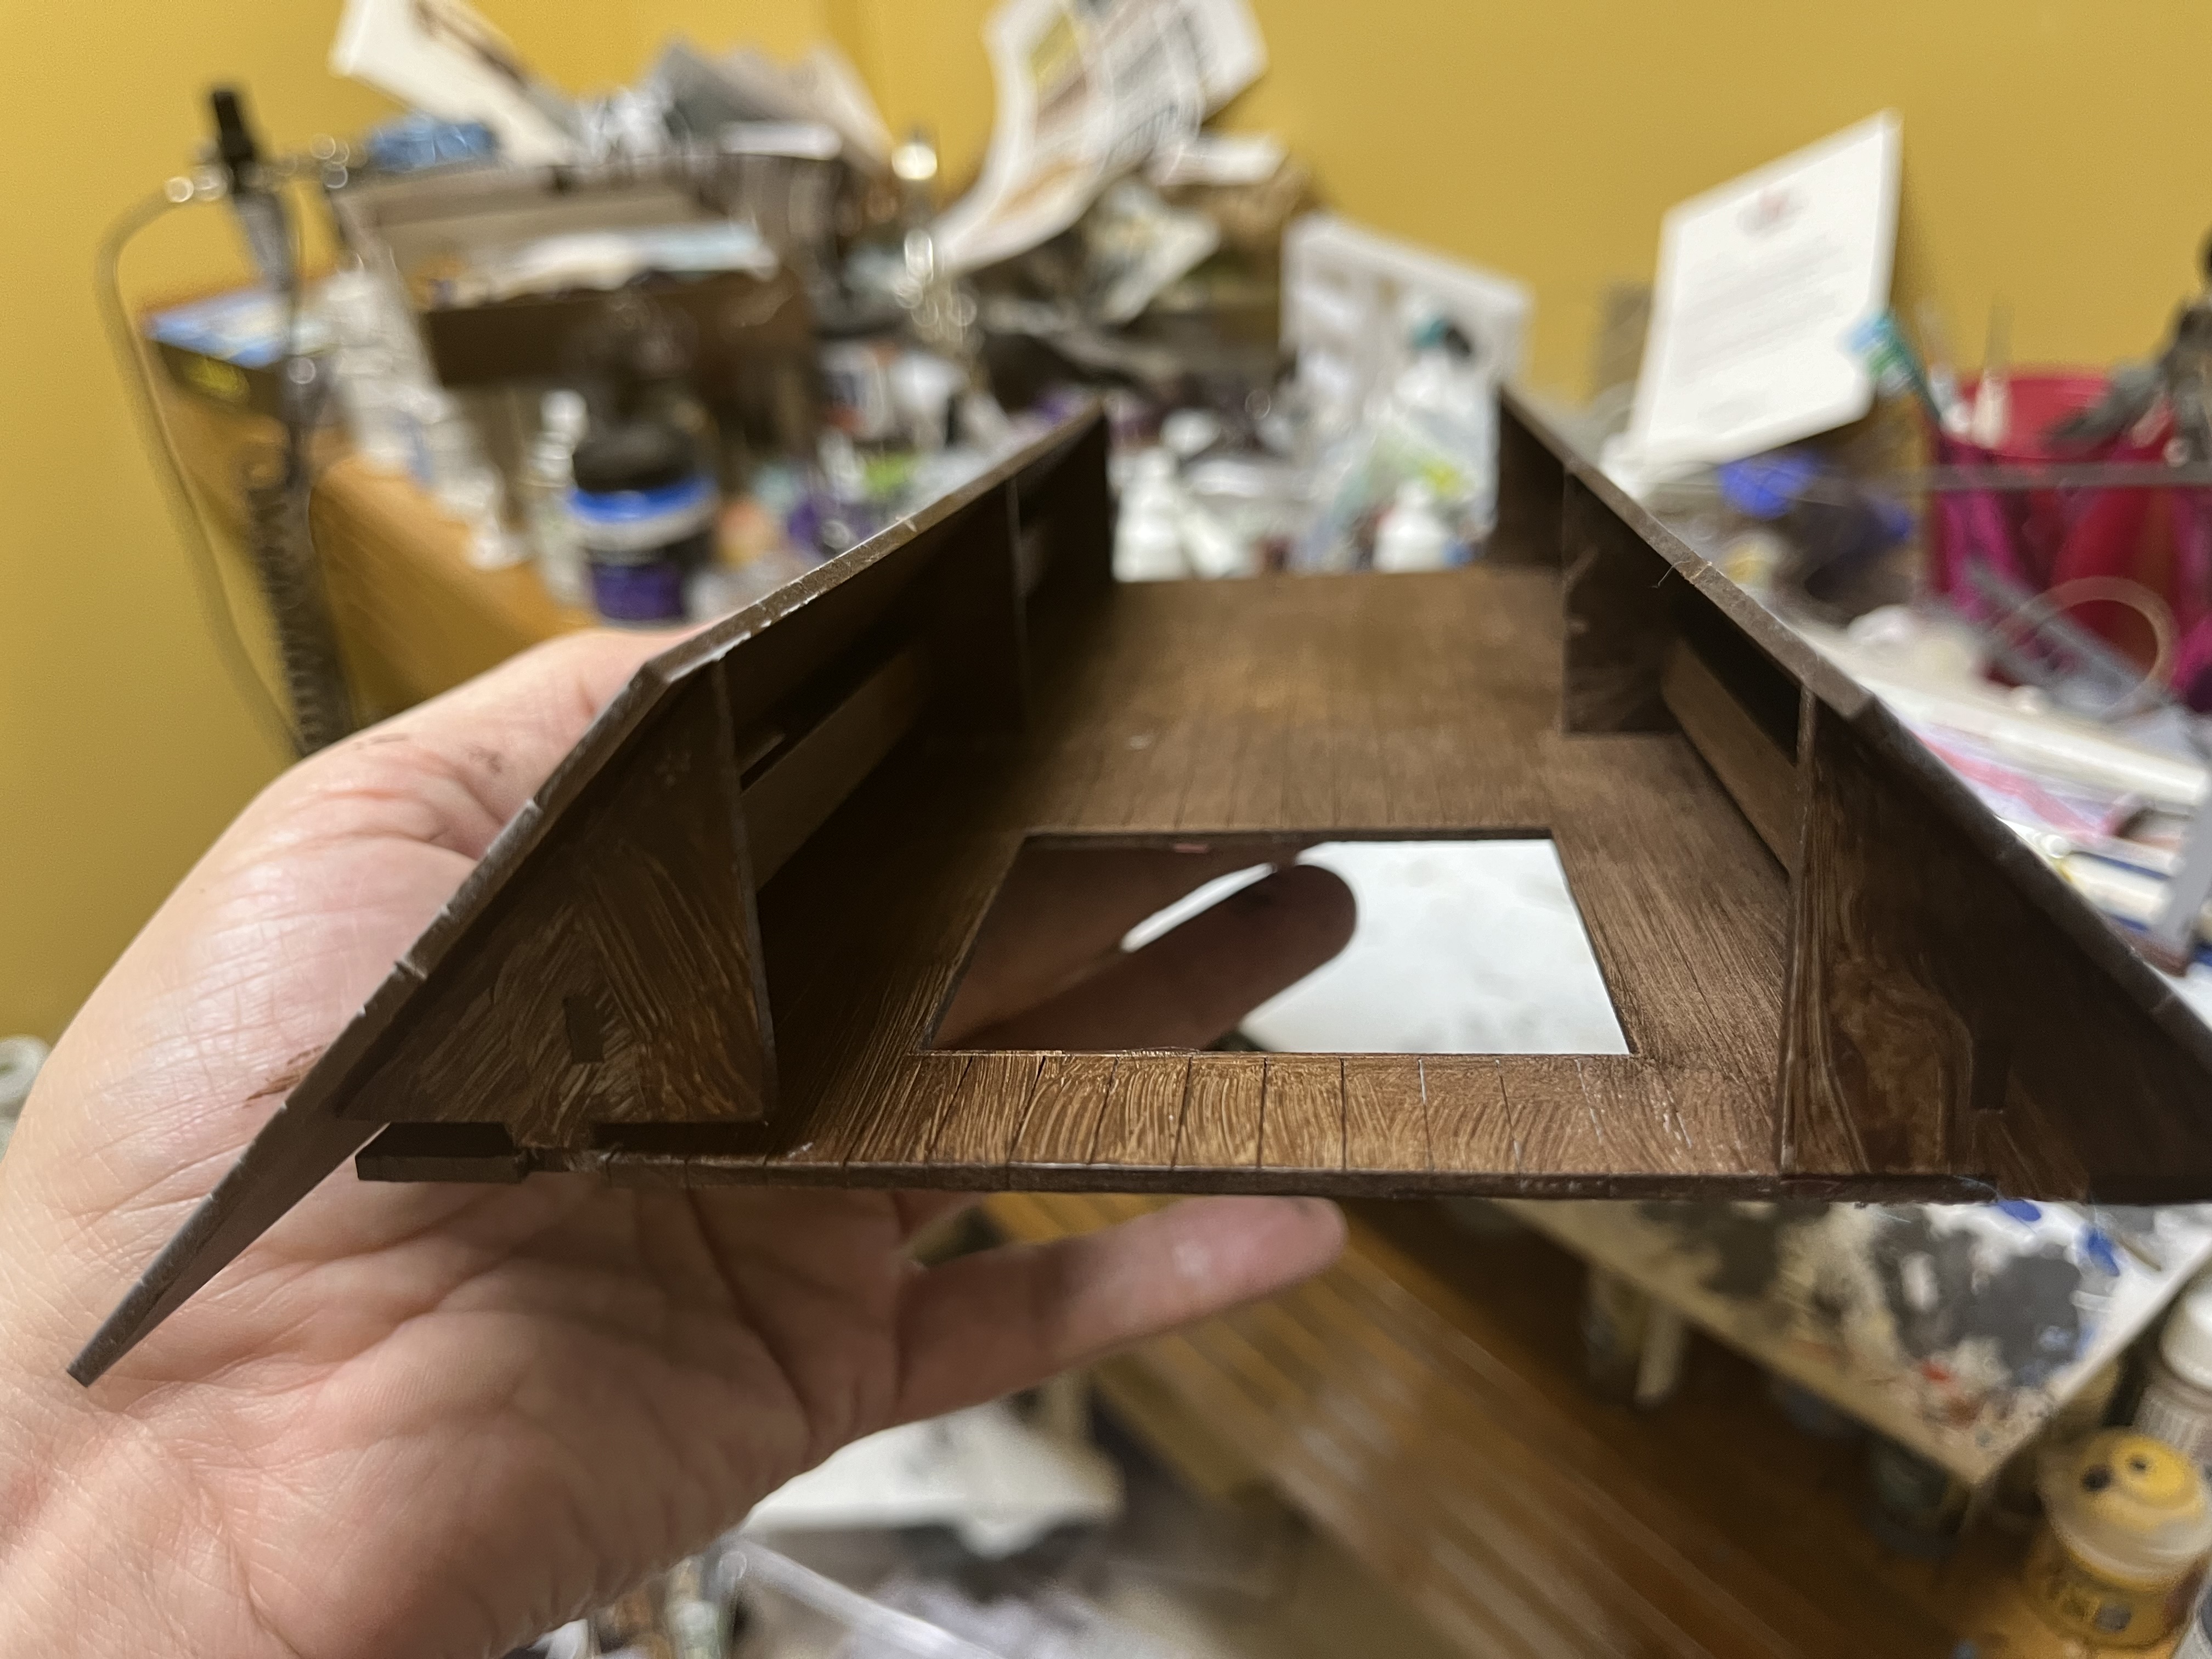 Hayloft interior finished with both sides attached.
 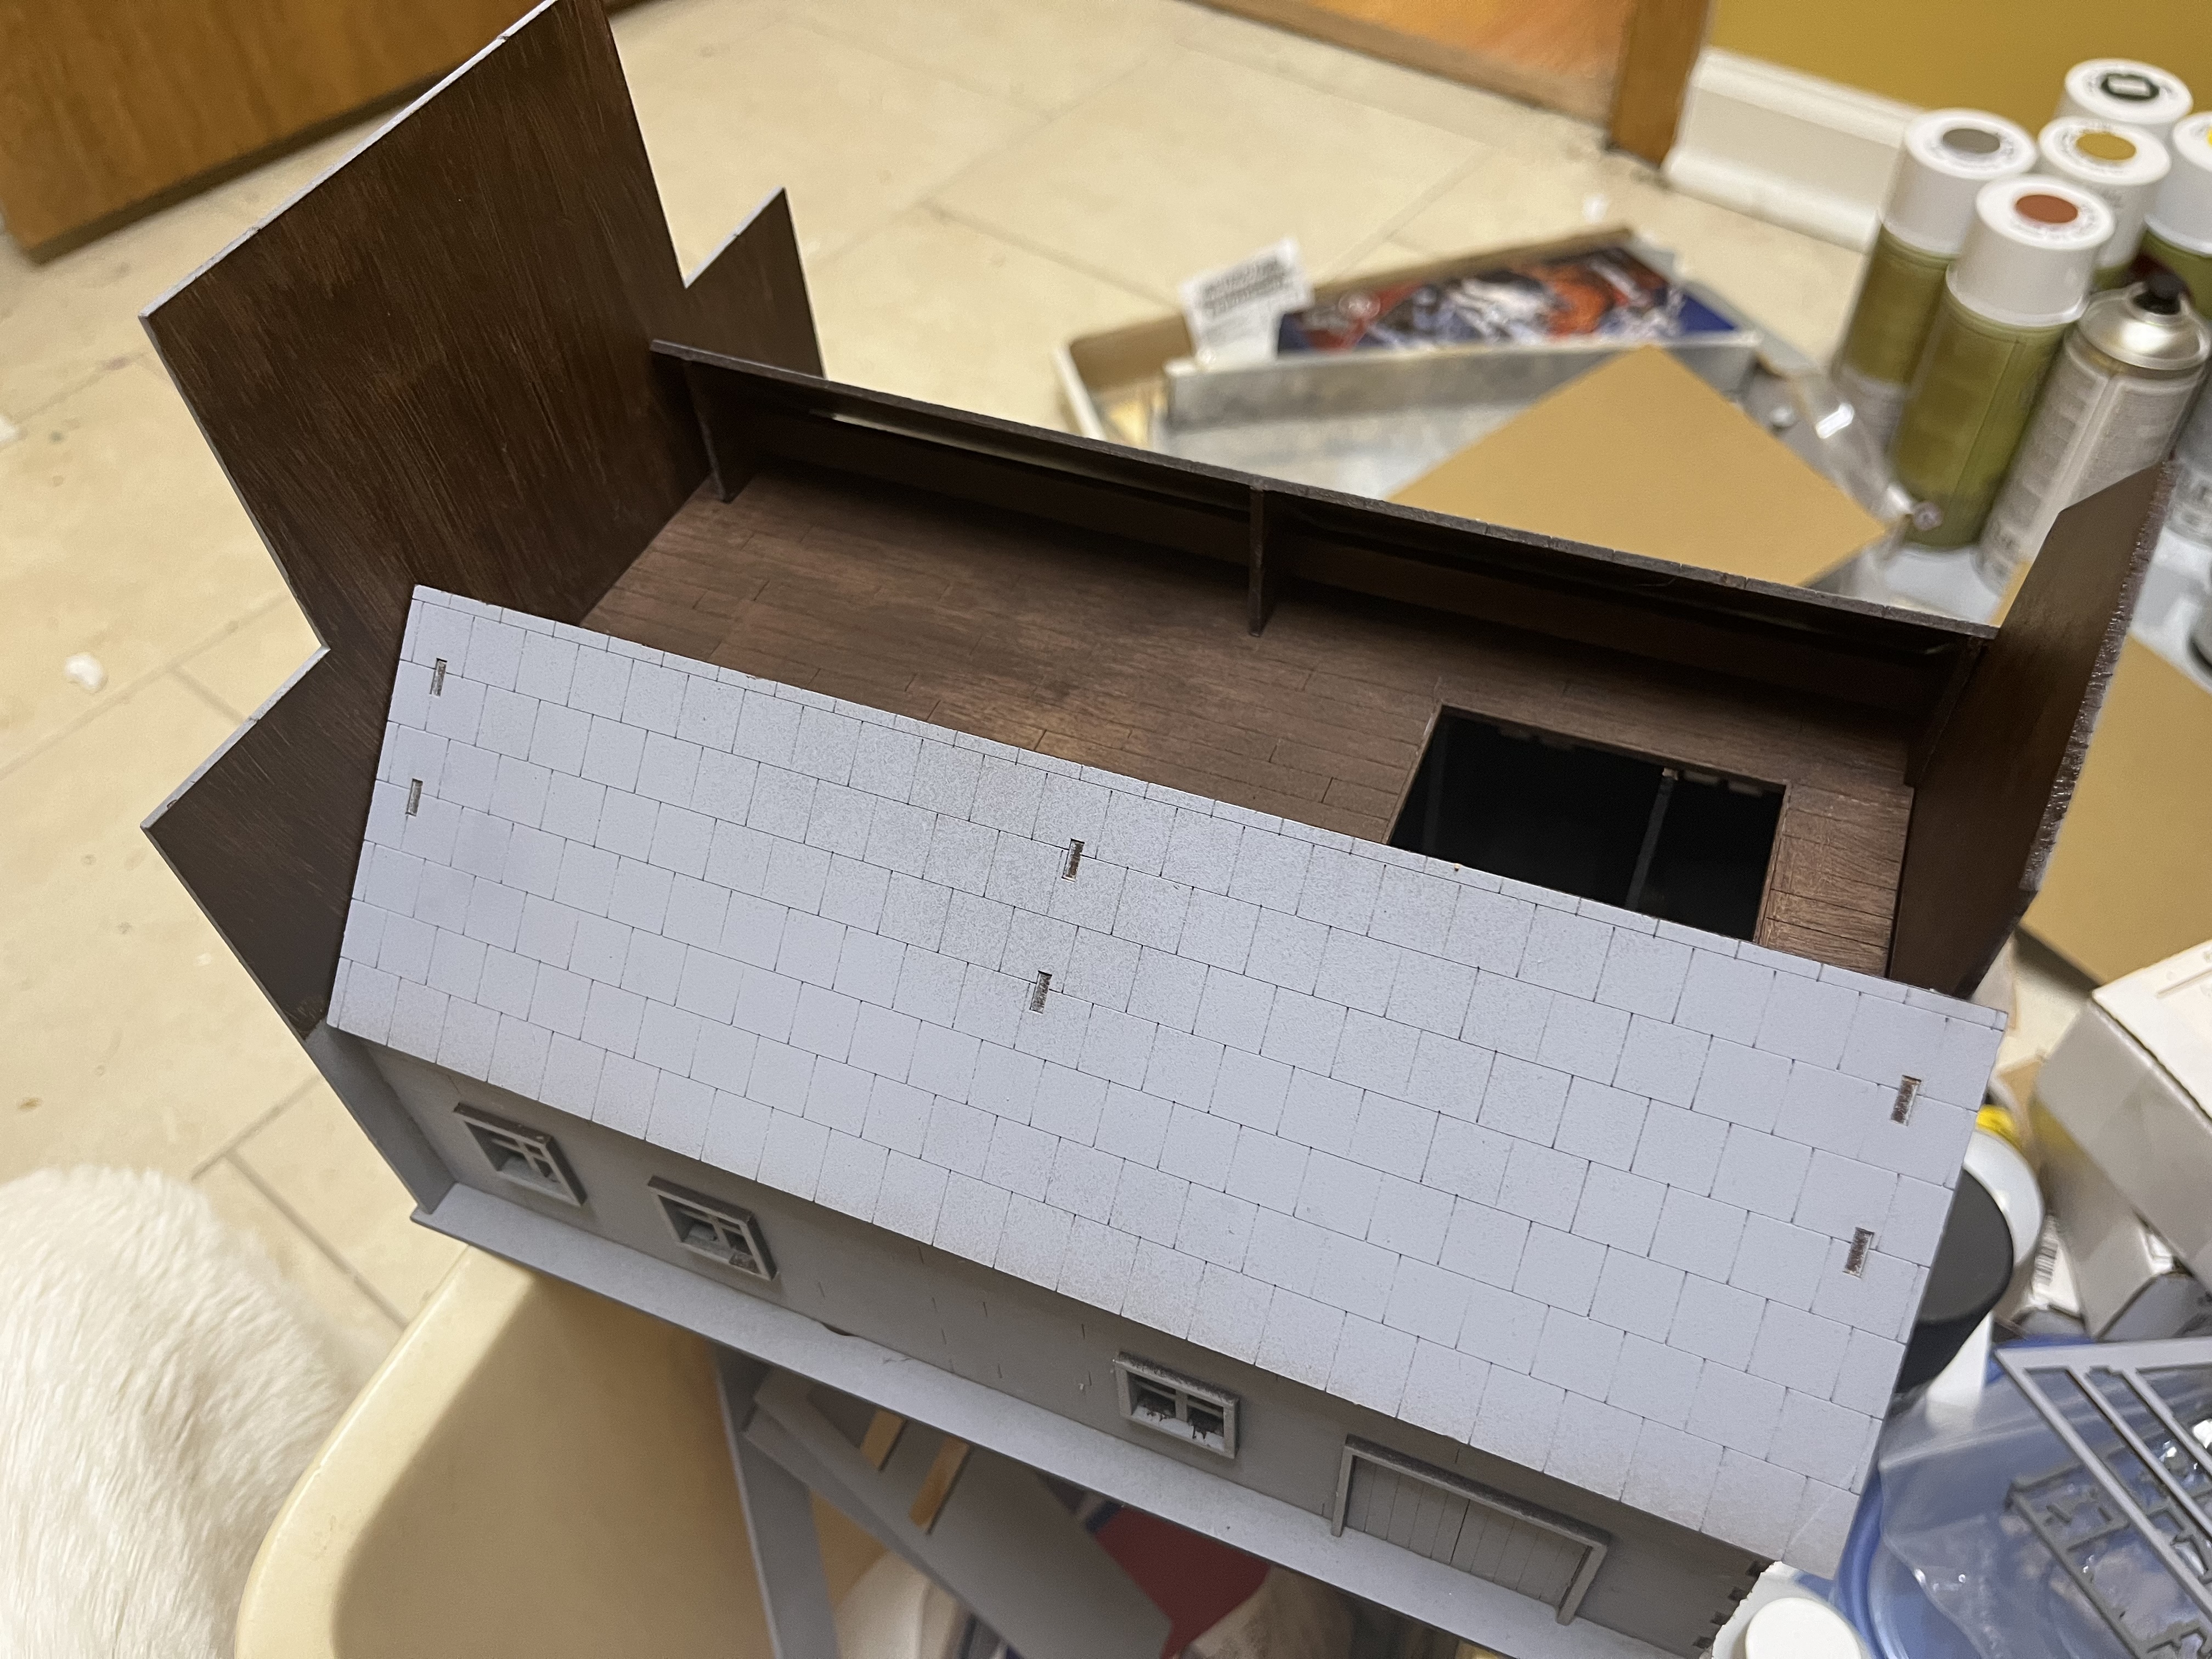 Both floors in place with skylight removed. I’ve also painted the back side of the false fronts.
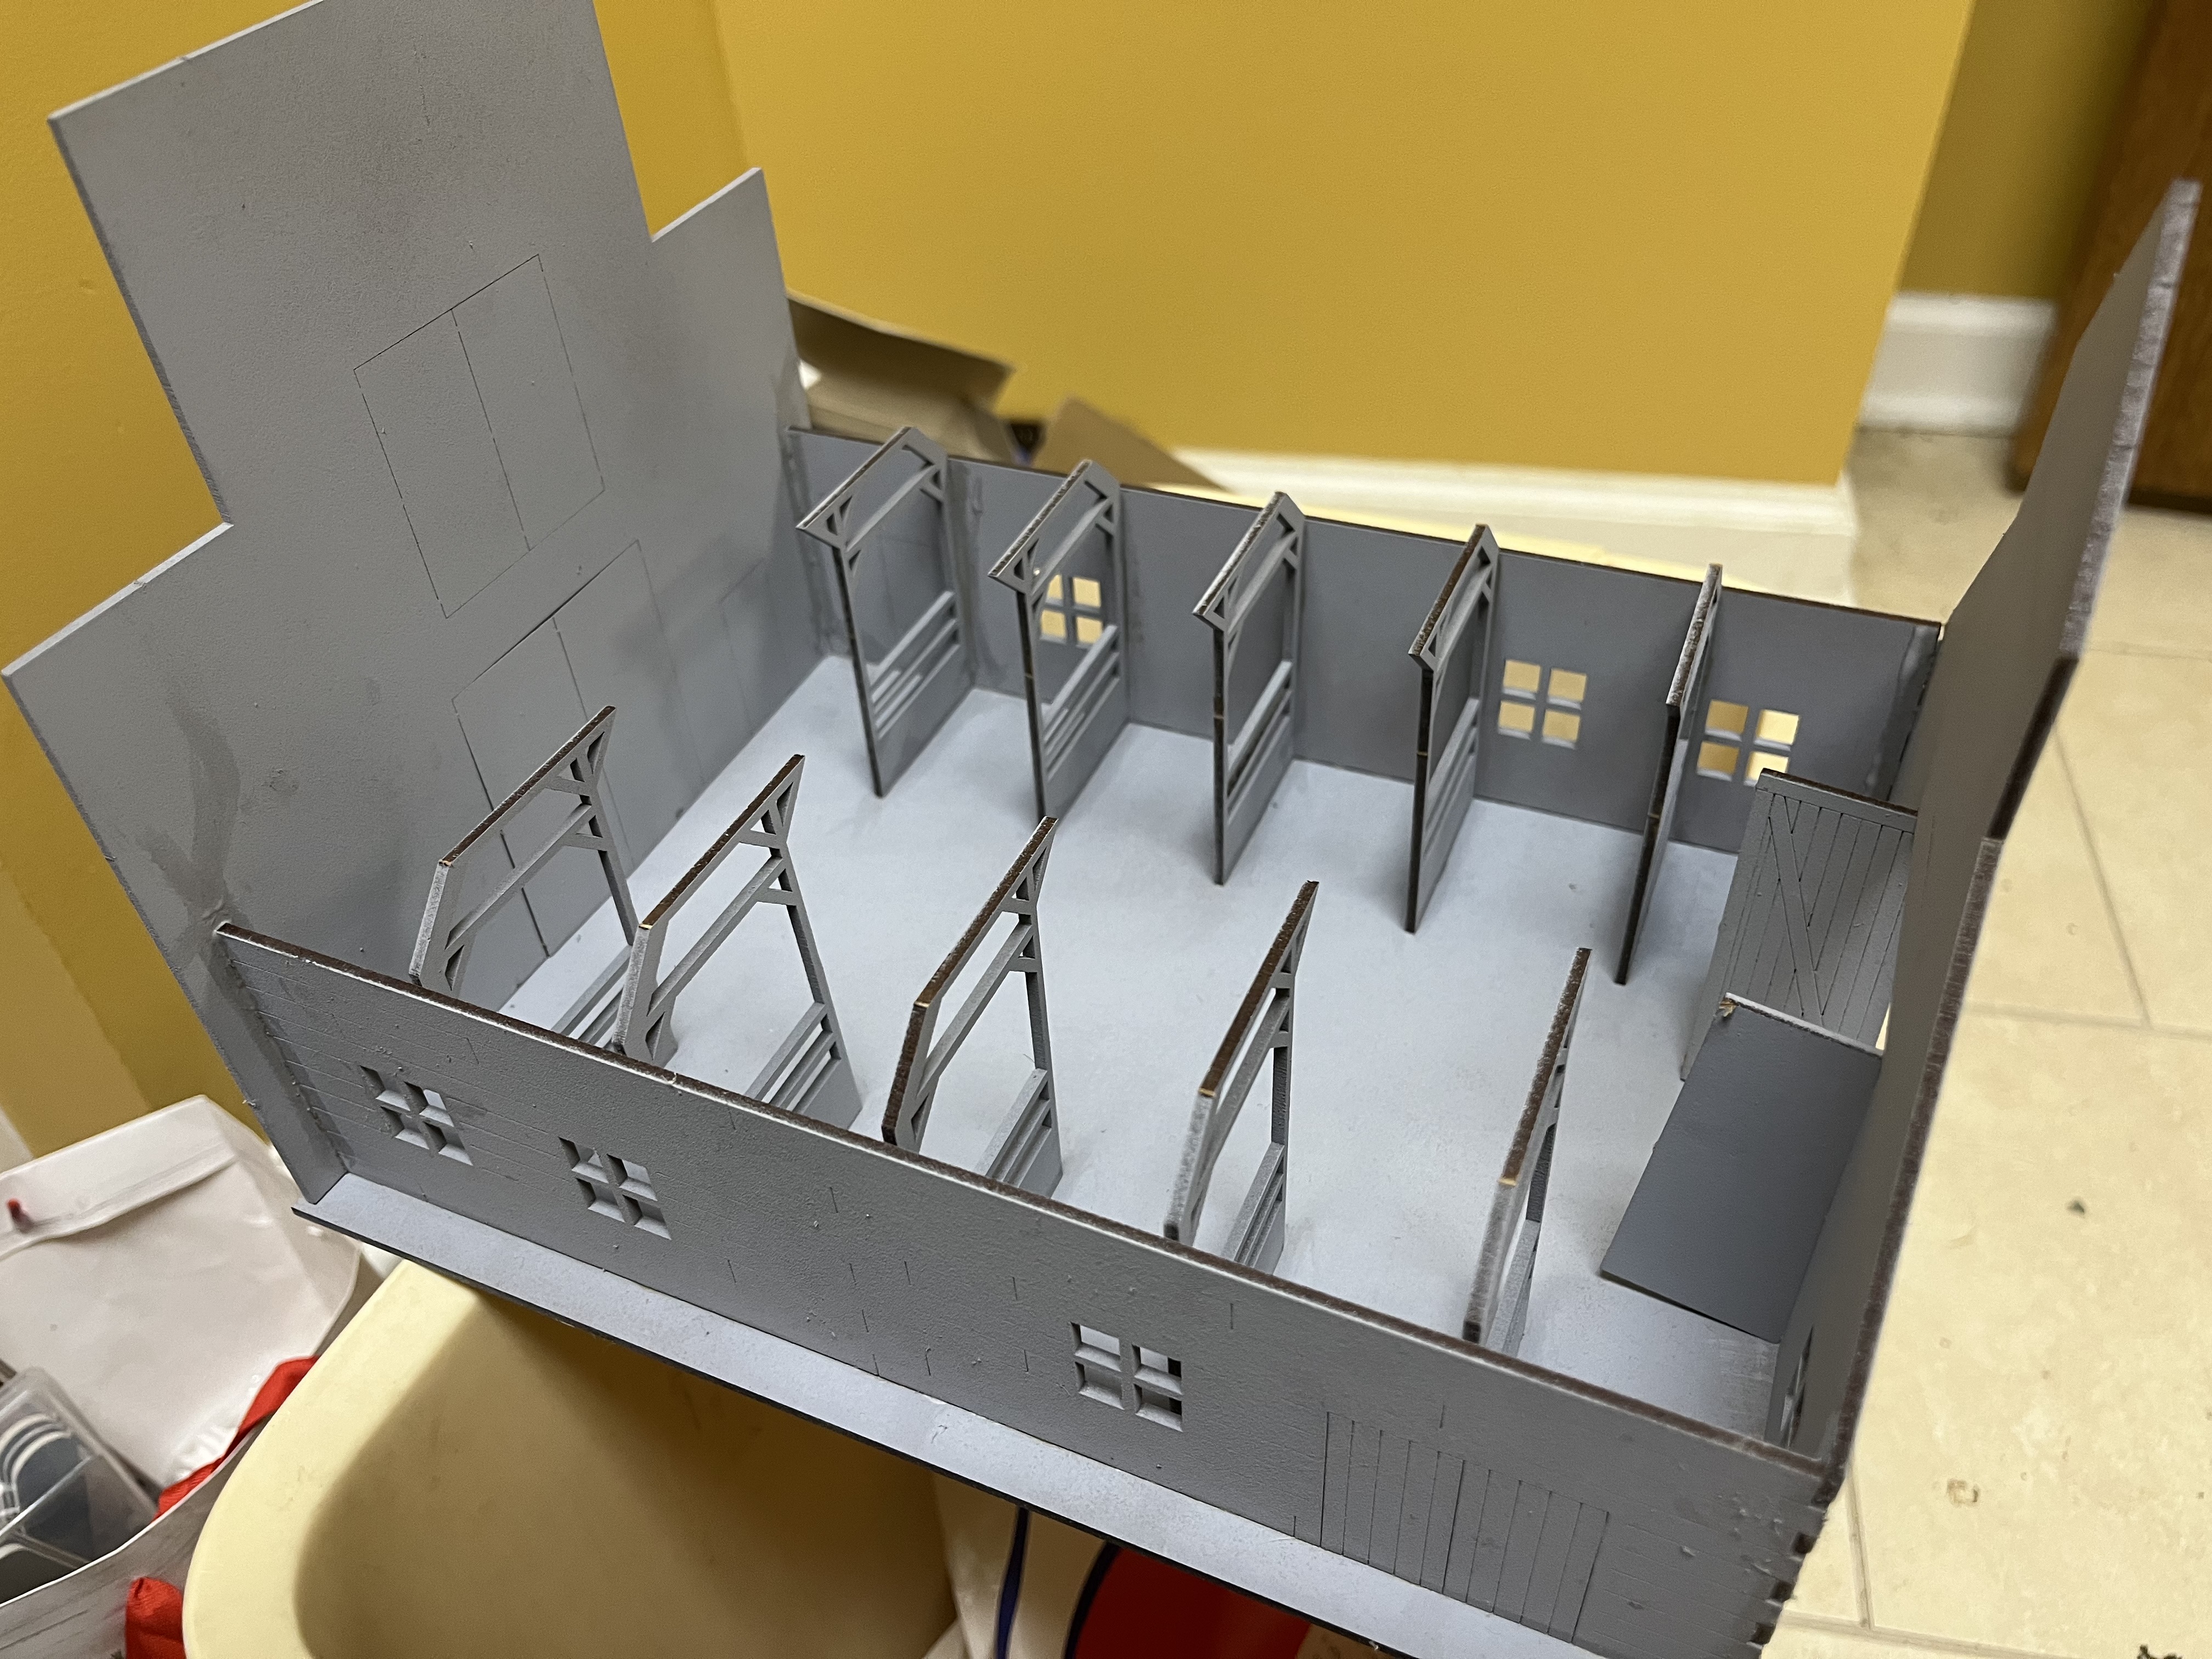
 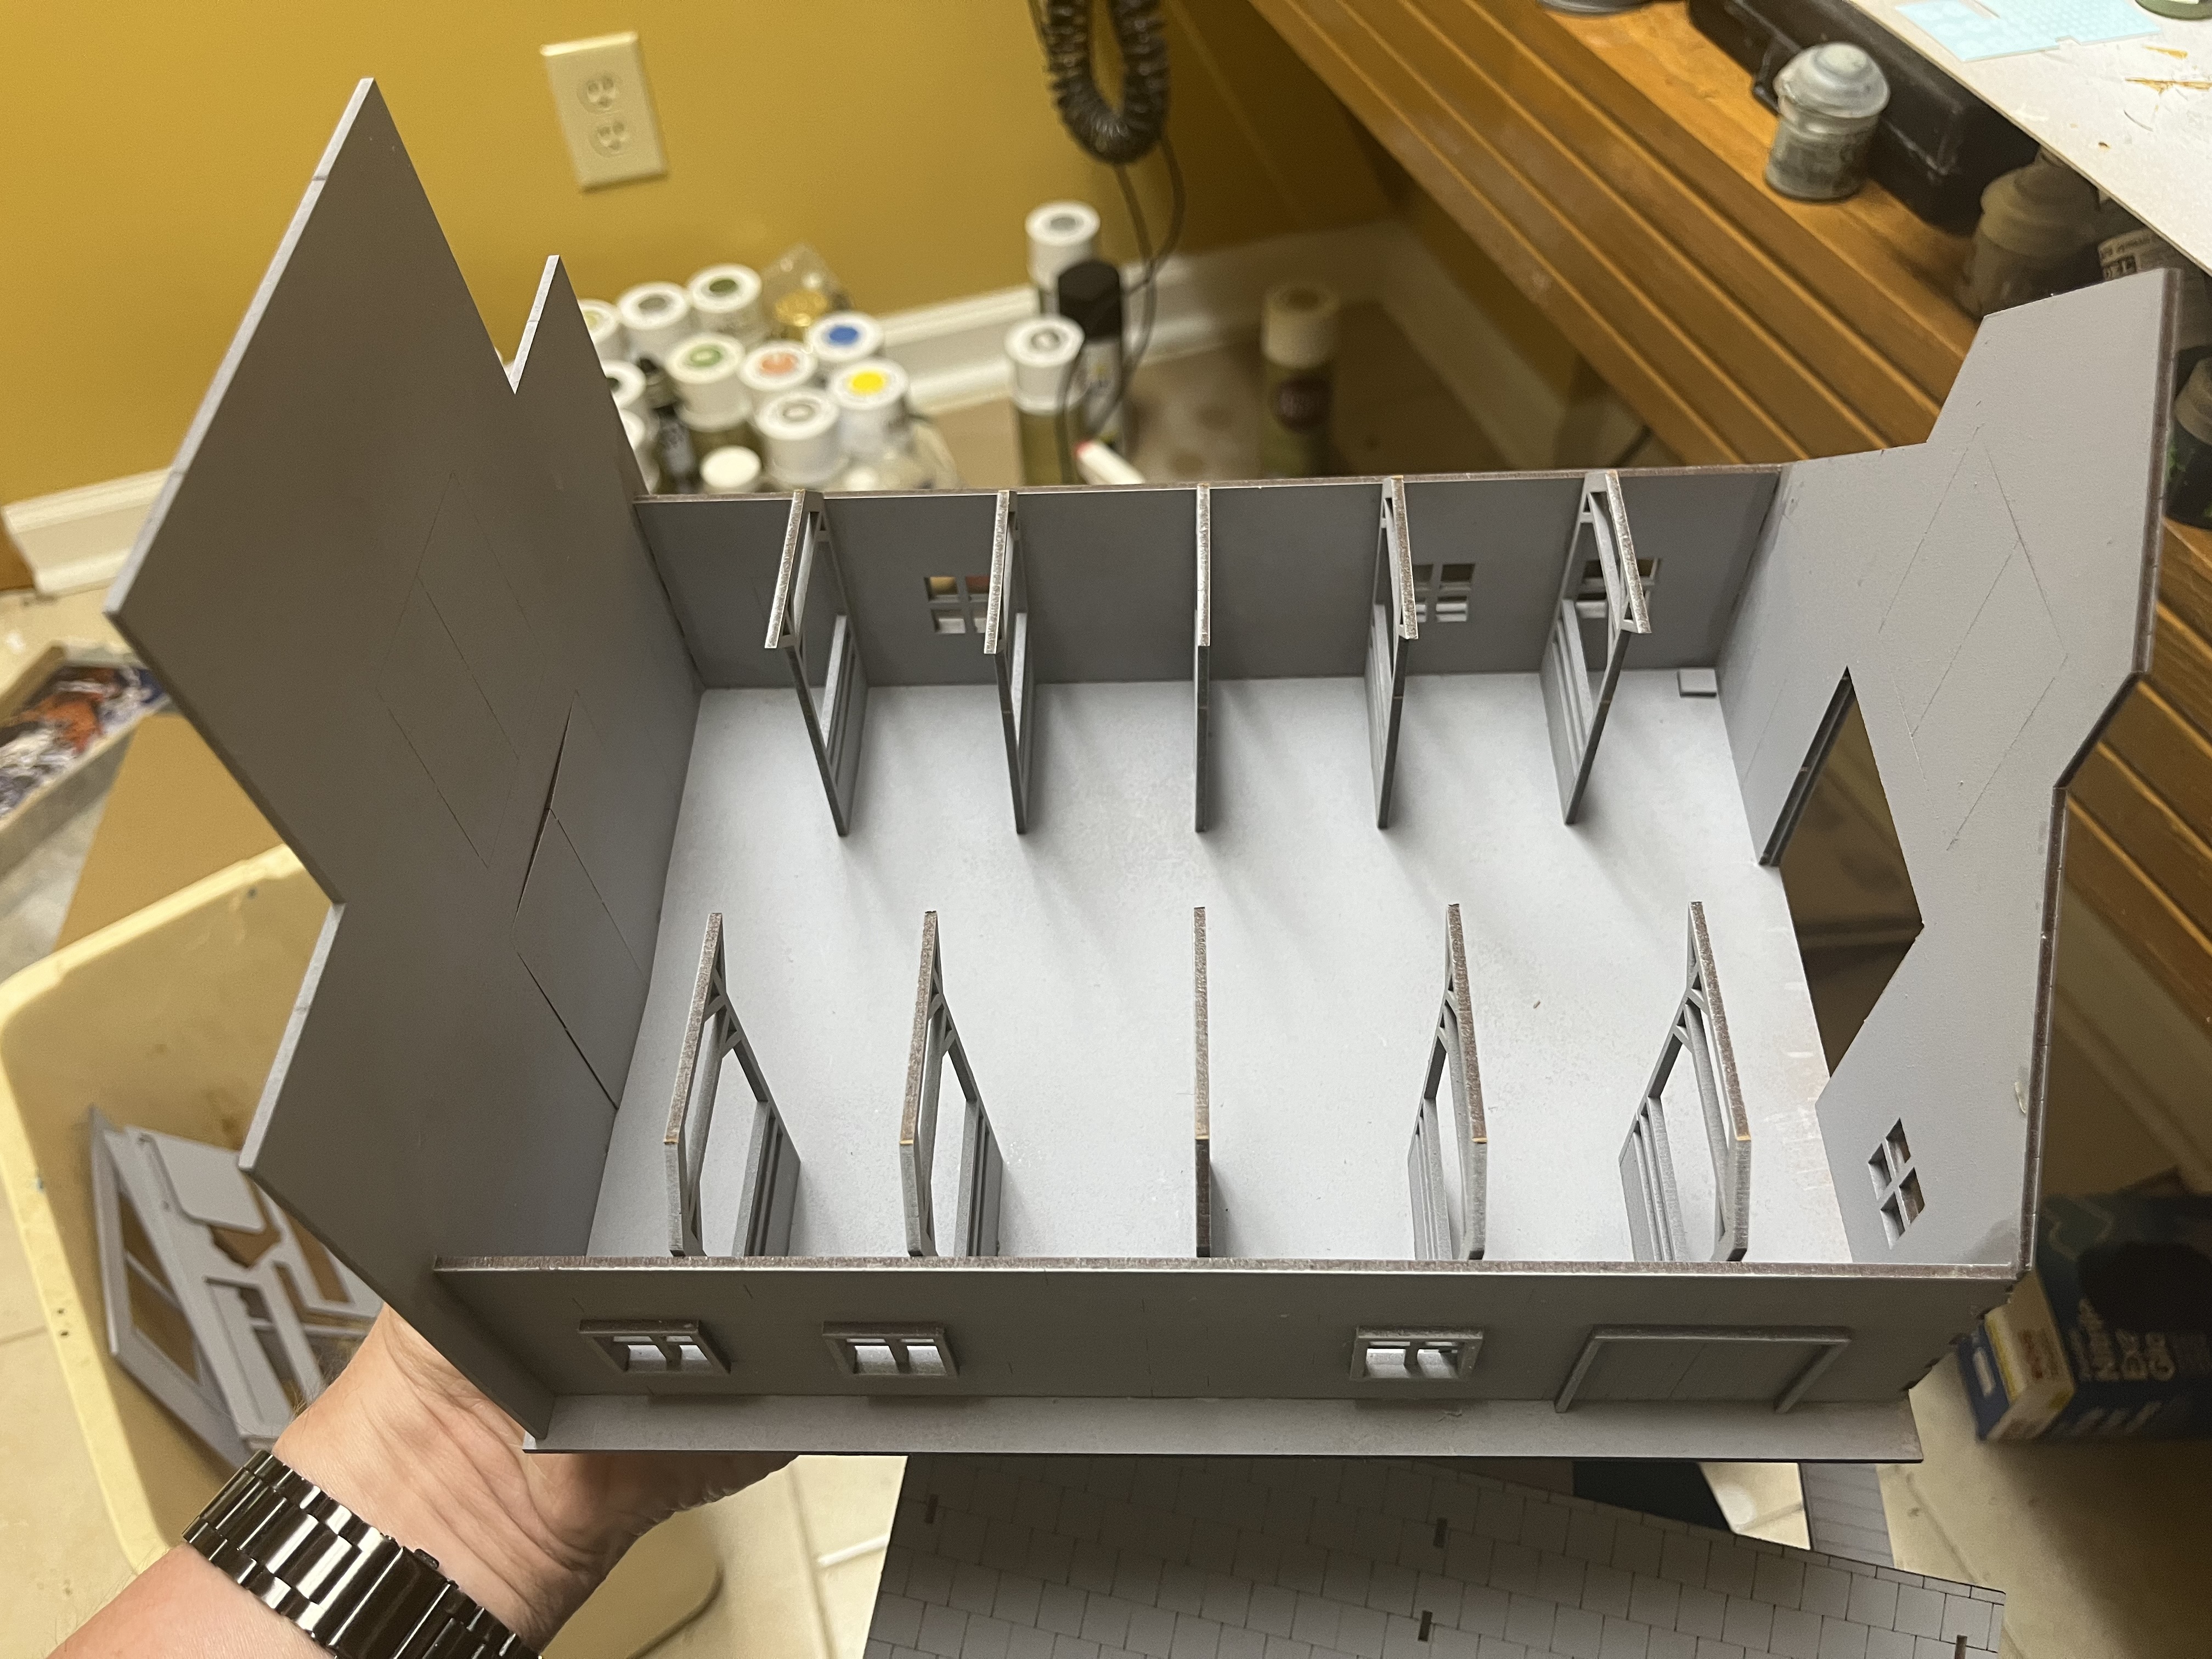 In retrospect it was probably a bad idea to glue the stalls in place. I probably should’ve painted them first then installed them afterwards as it’s going to be tricky maneuvering around them to paint everything.
 Livery Stable Part 2
I finished the hayloft and added window and door details.
 Front door, hayloft door and business sign.
 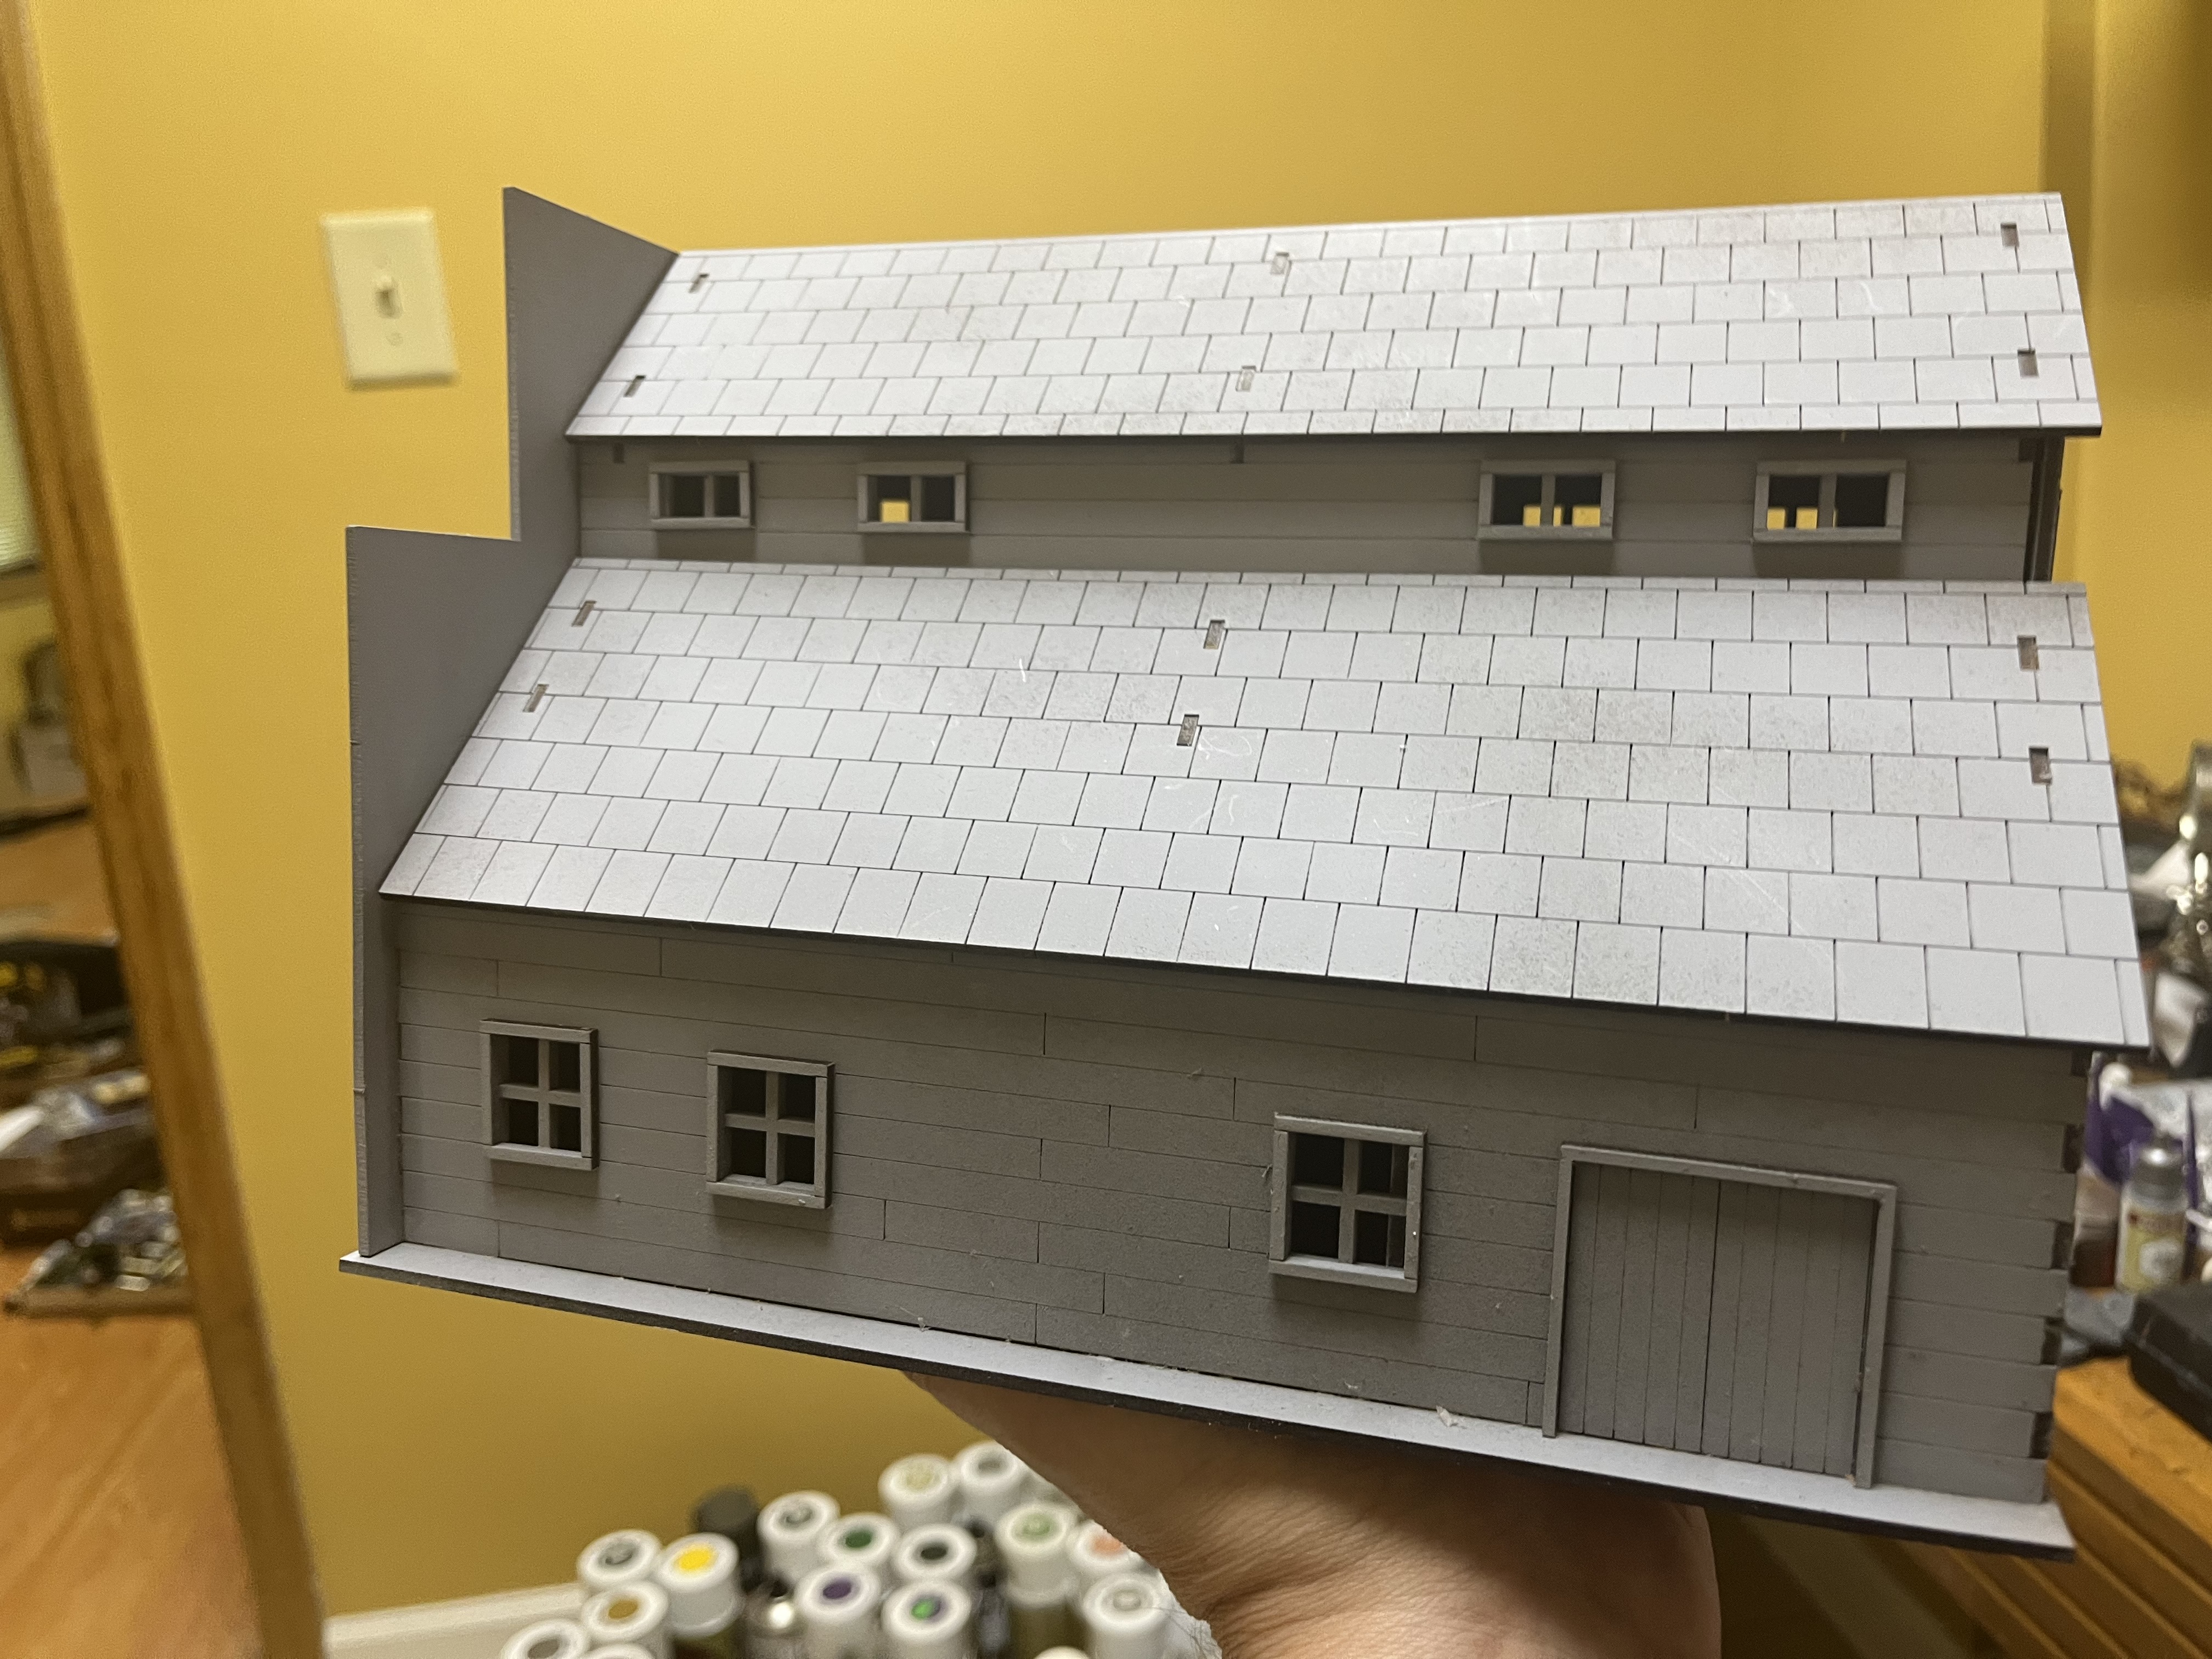 Side view with hayloft and skylight in place.
  Interior view of the first floor.
 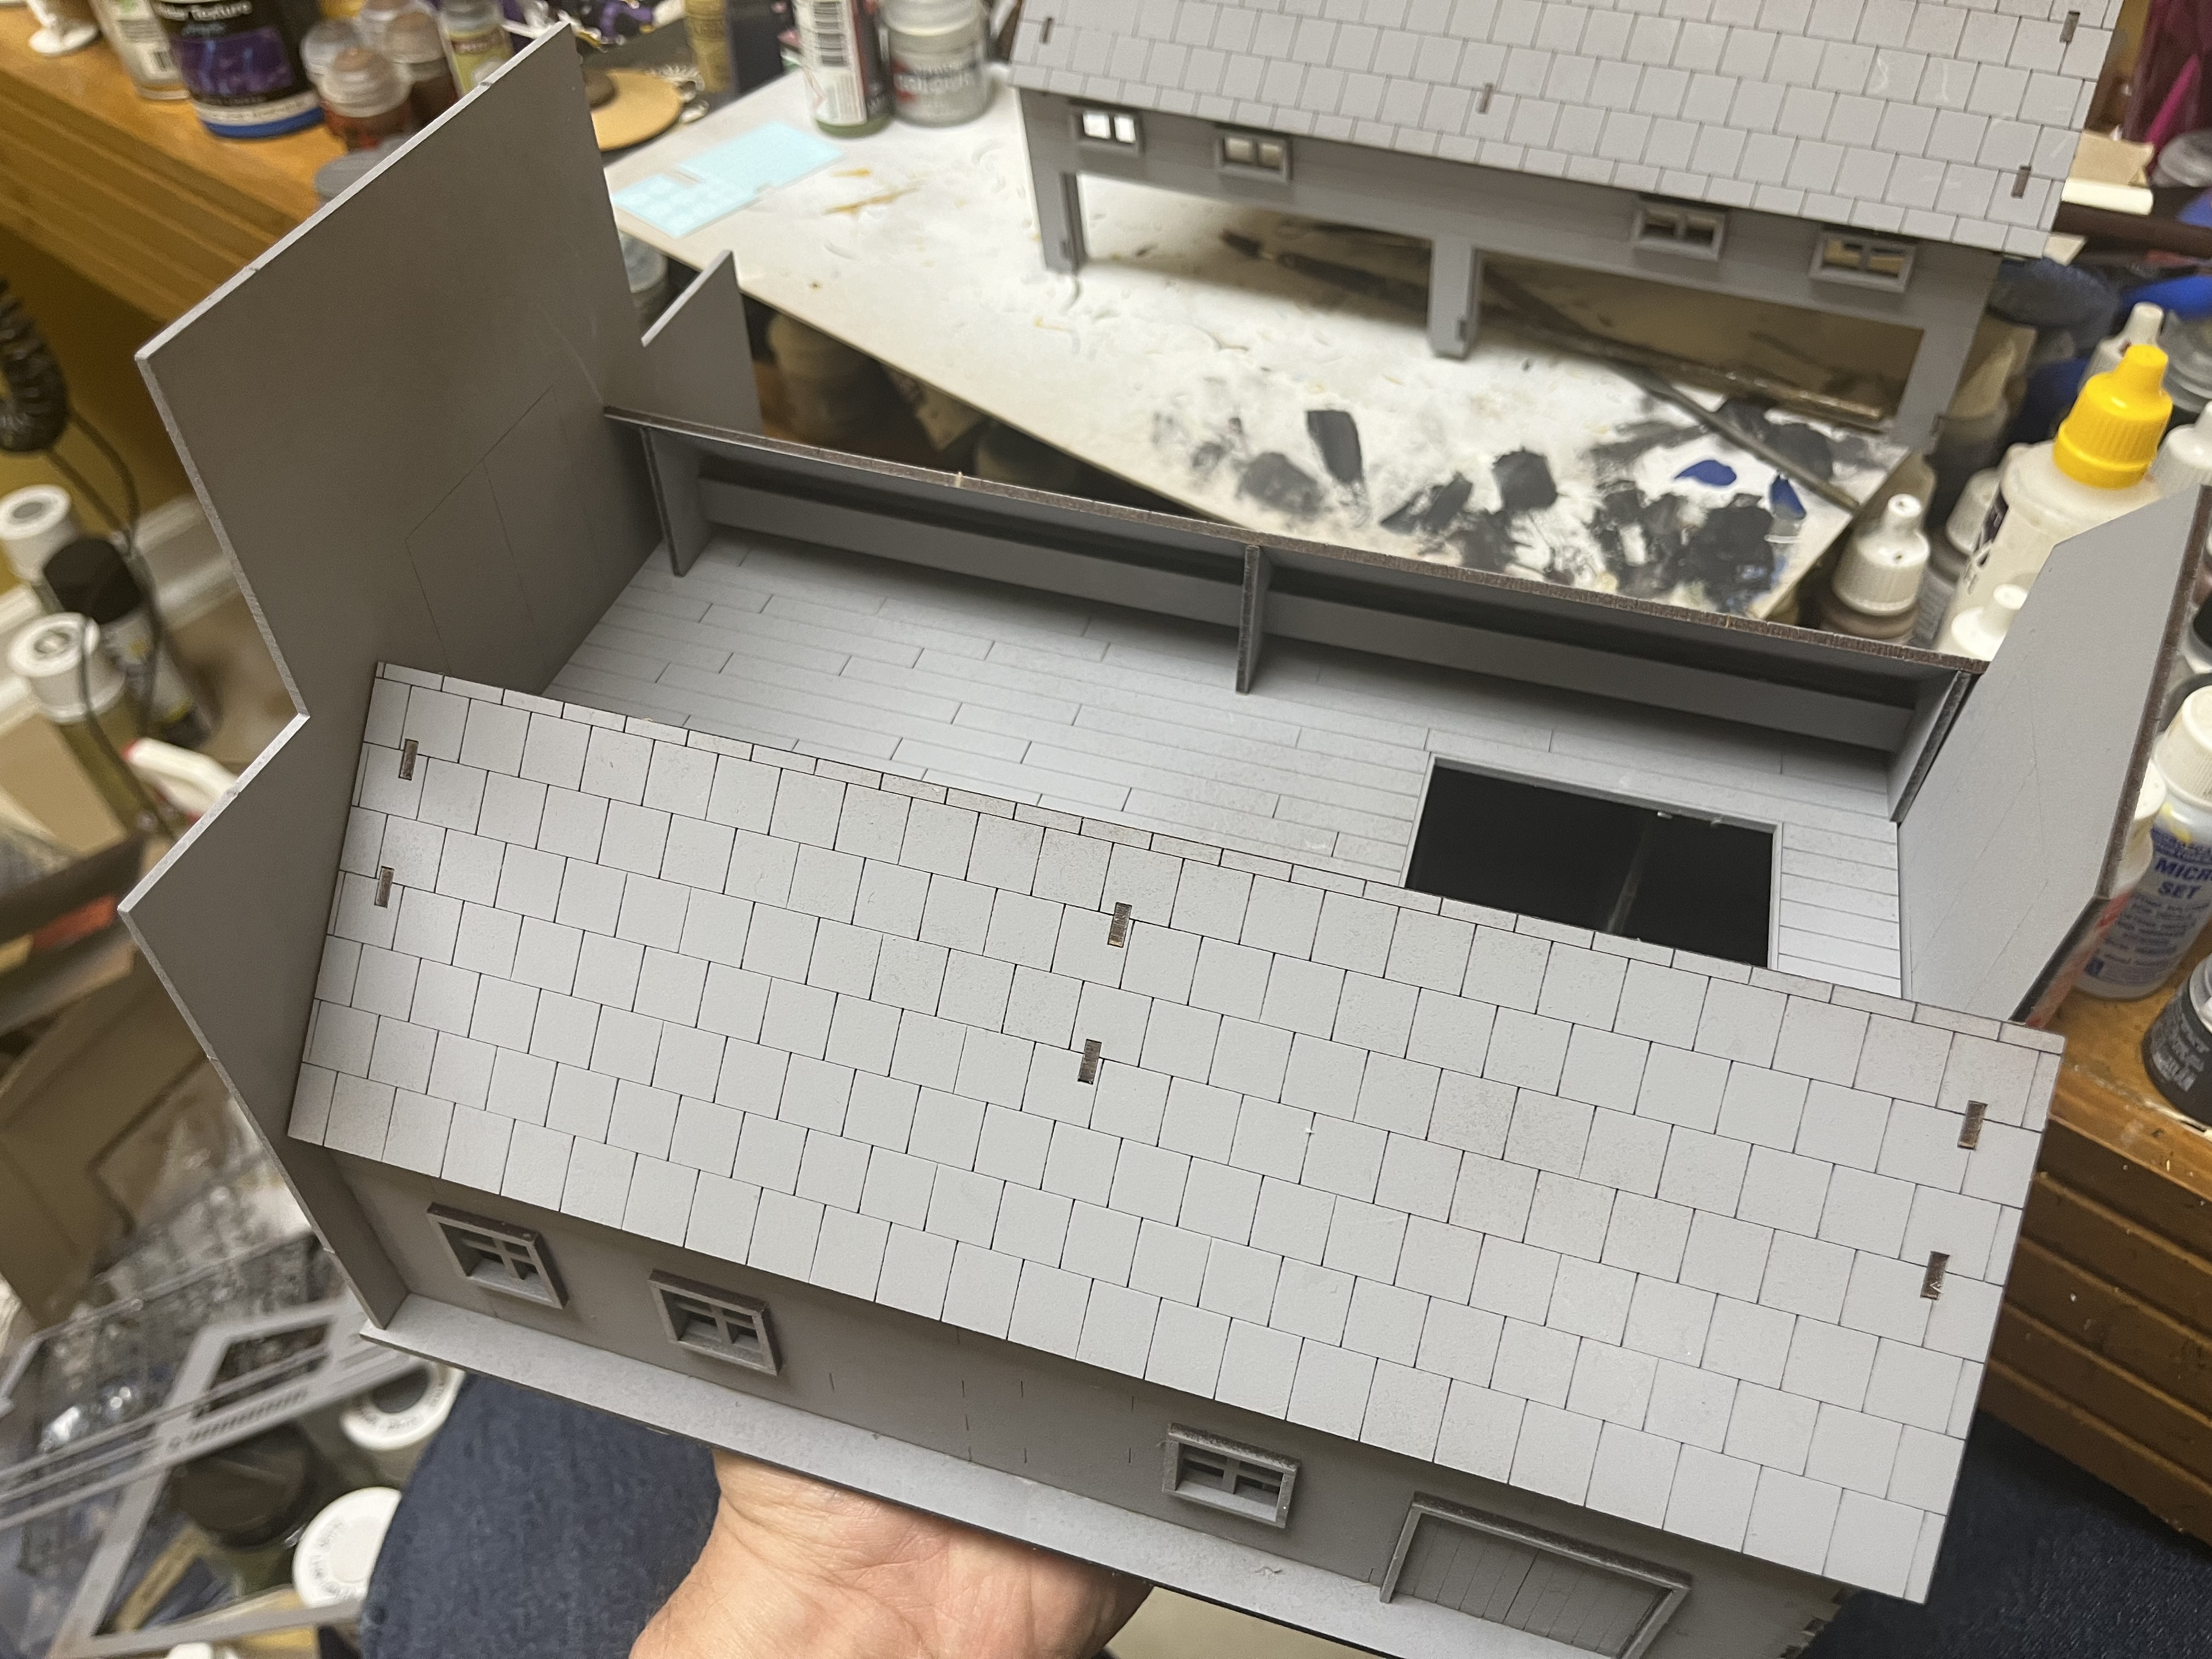 Interior view of the hayloft.
 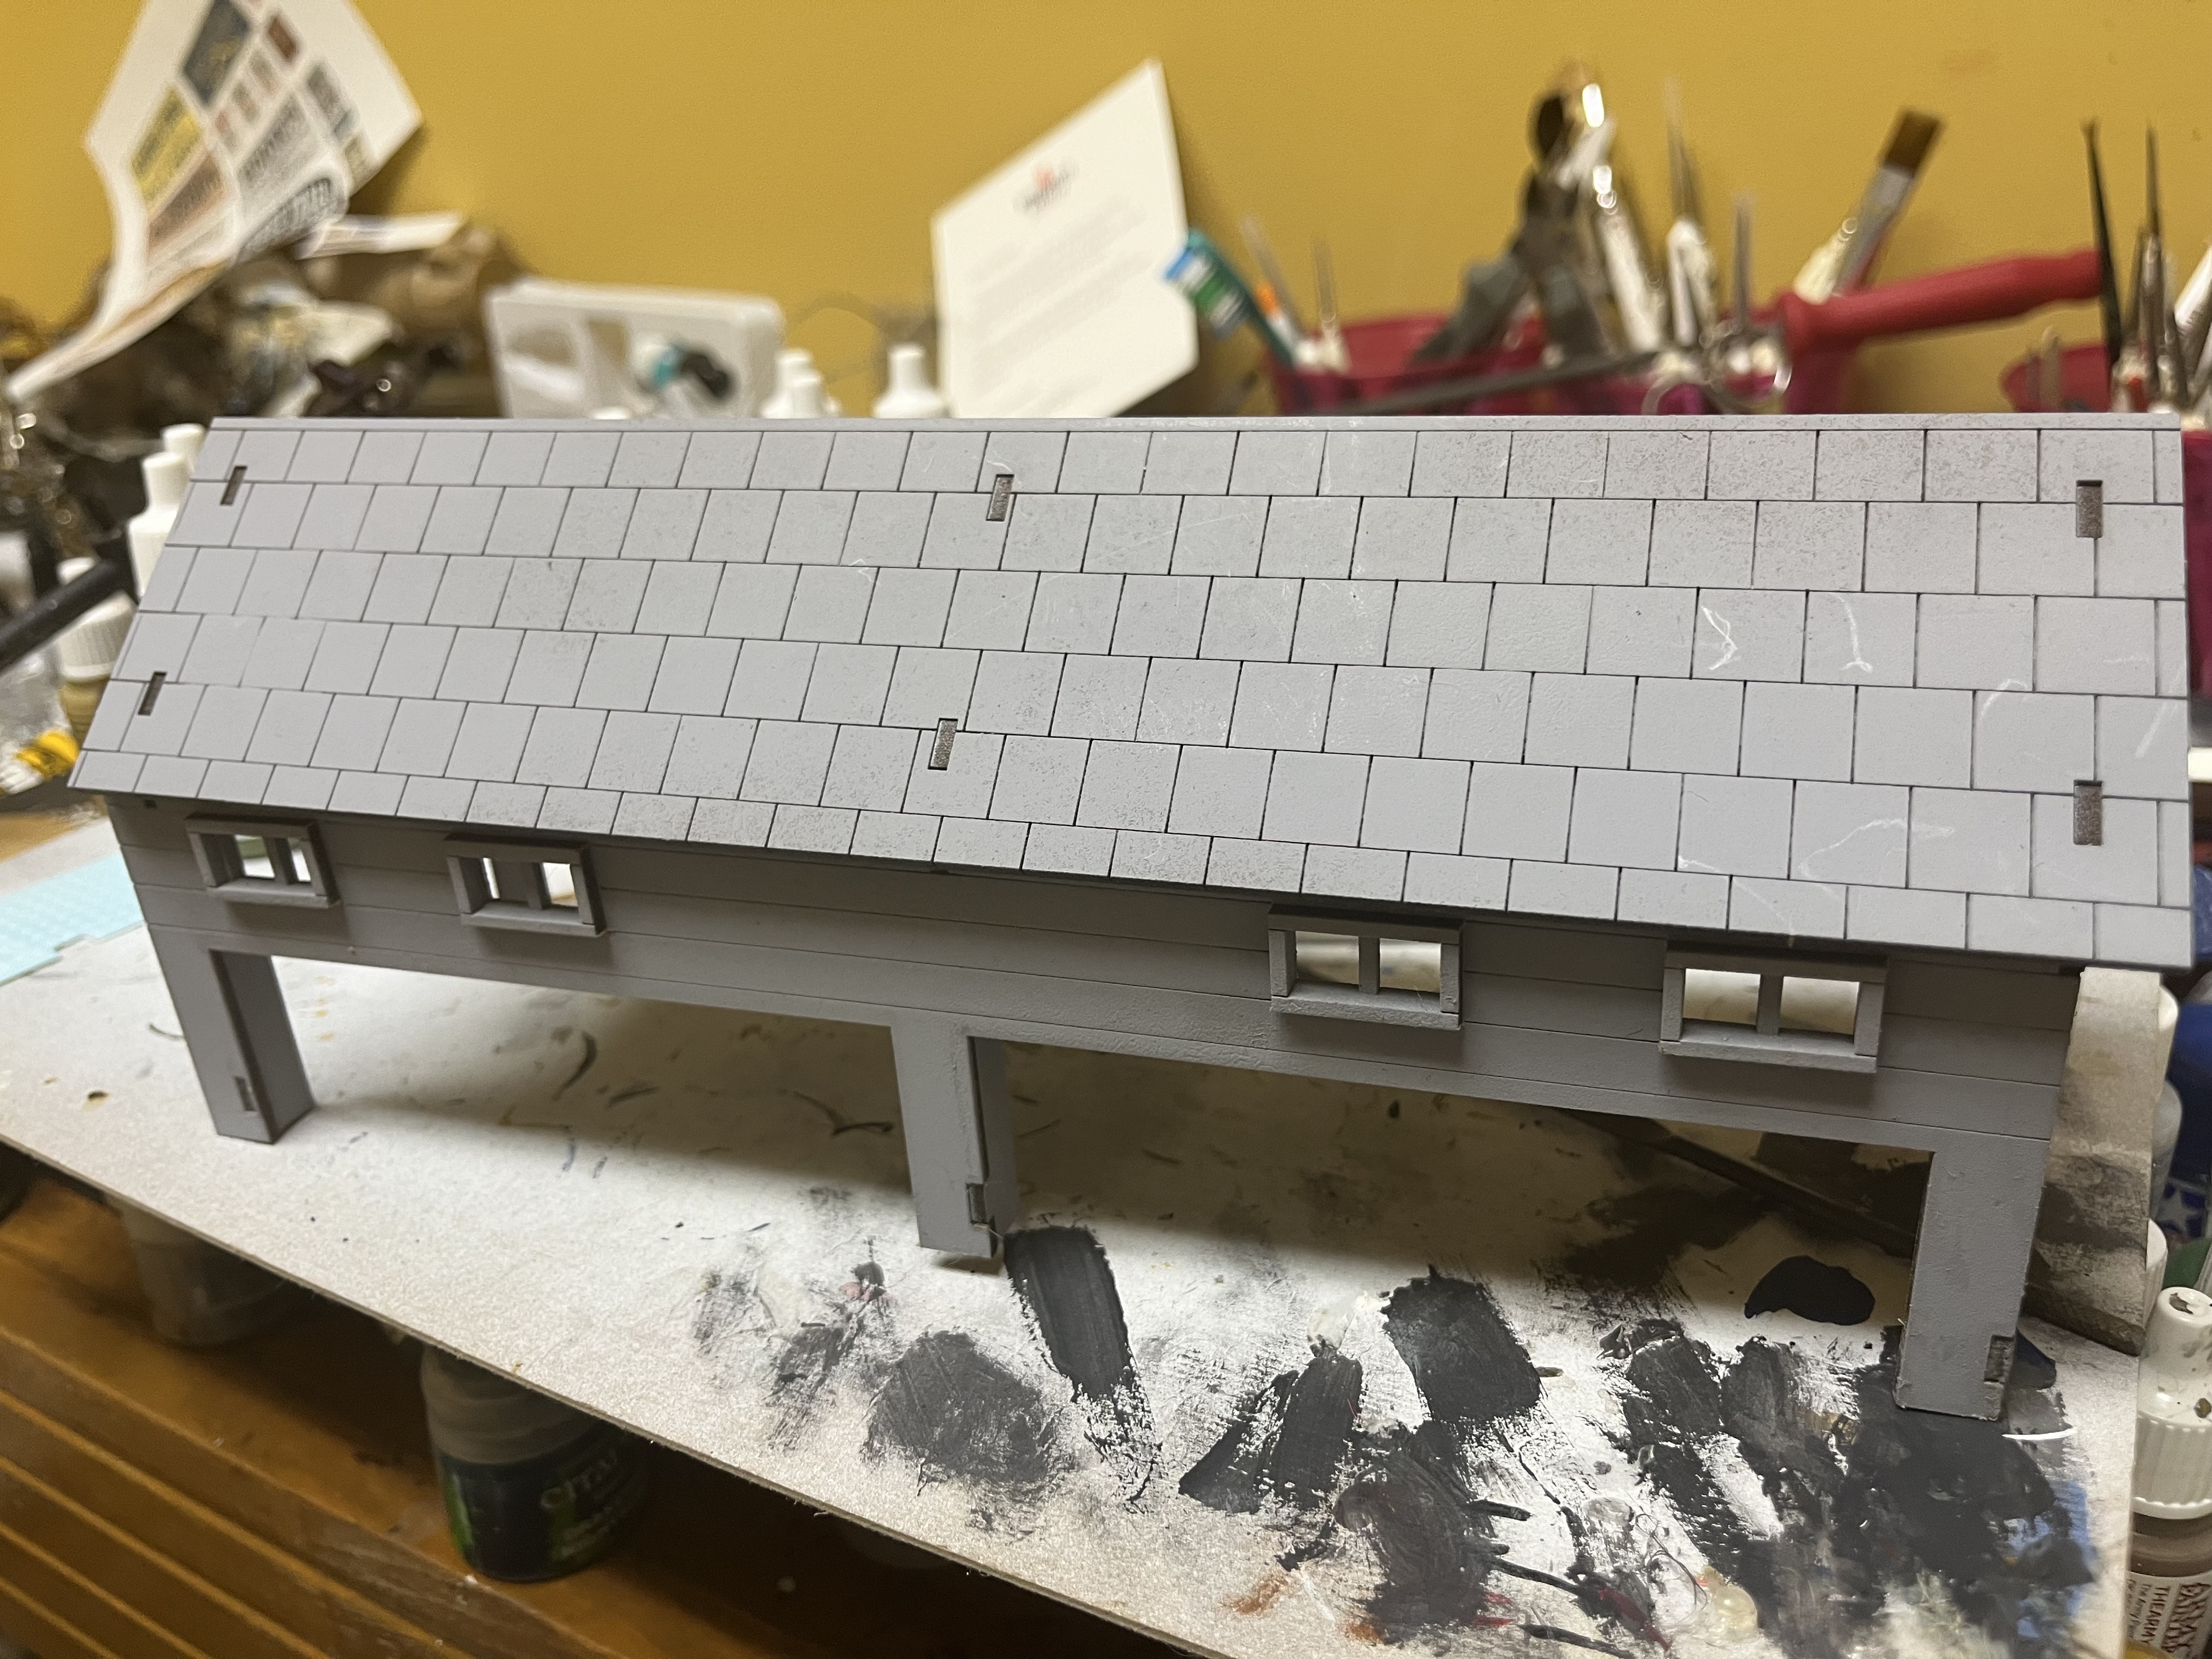 The skylight is removable and allows access to the hayloft to make it a playable space.
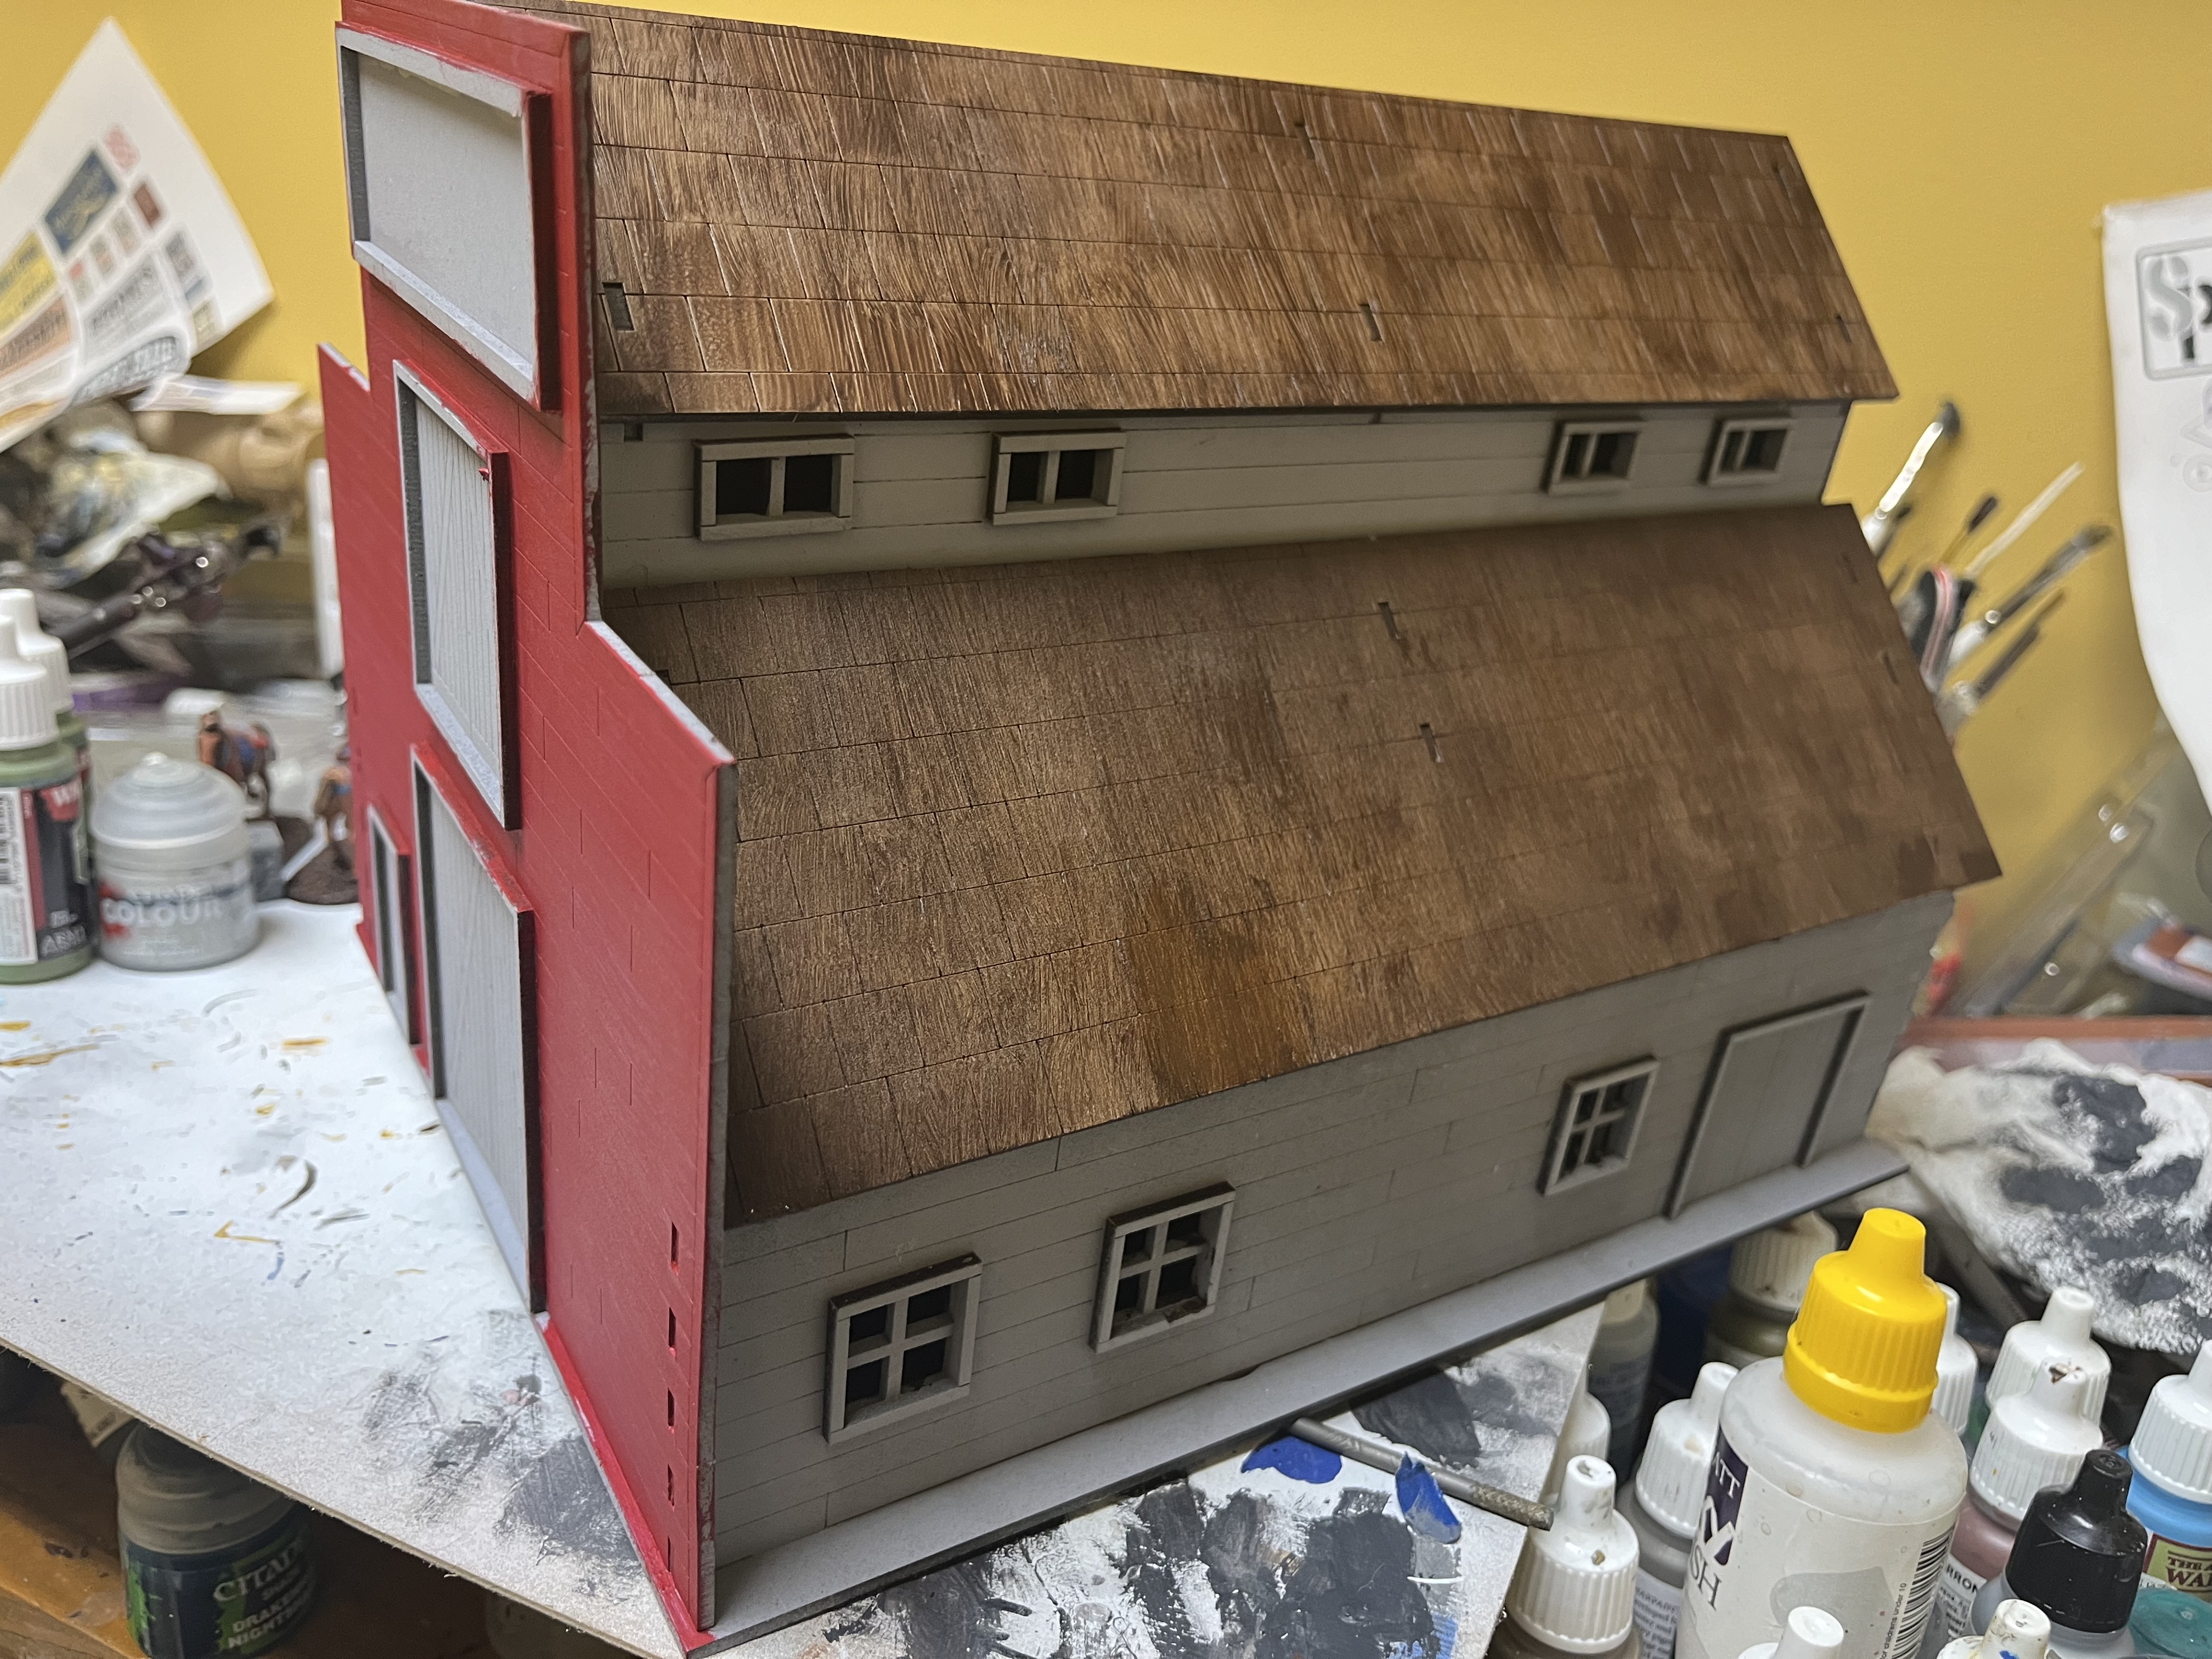
 So the next big question is what color to paint it? Most of the businesses only have the front painted up. But the livery is one of the largest buildings so it needs to stand out.
Barns are traditionally red because in this era, it’s the cheapest color to manufacture. So, maybe?
Livery Stable Part 1
Our town got bigger and is now sporting an actual livery and associated corral. A fairly big structure with two stories, multiple doors and lots of story potential and hiding places.
 Basic structure of the first floor. Second floor will be the hayloft.
 The big open doors aren’t actually supposed to be open. They accidentally got punched out during assembly so now I need to figure out what to do. Glue them back in, open or closed? And what about the doors on the other end?
Bring out y’ur dead!
Sensing a business opportunity Mr. Wiley & Sons have set up shop in our town. I suspect business will be good.
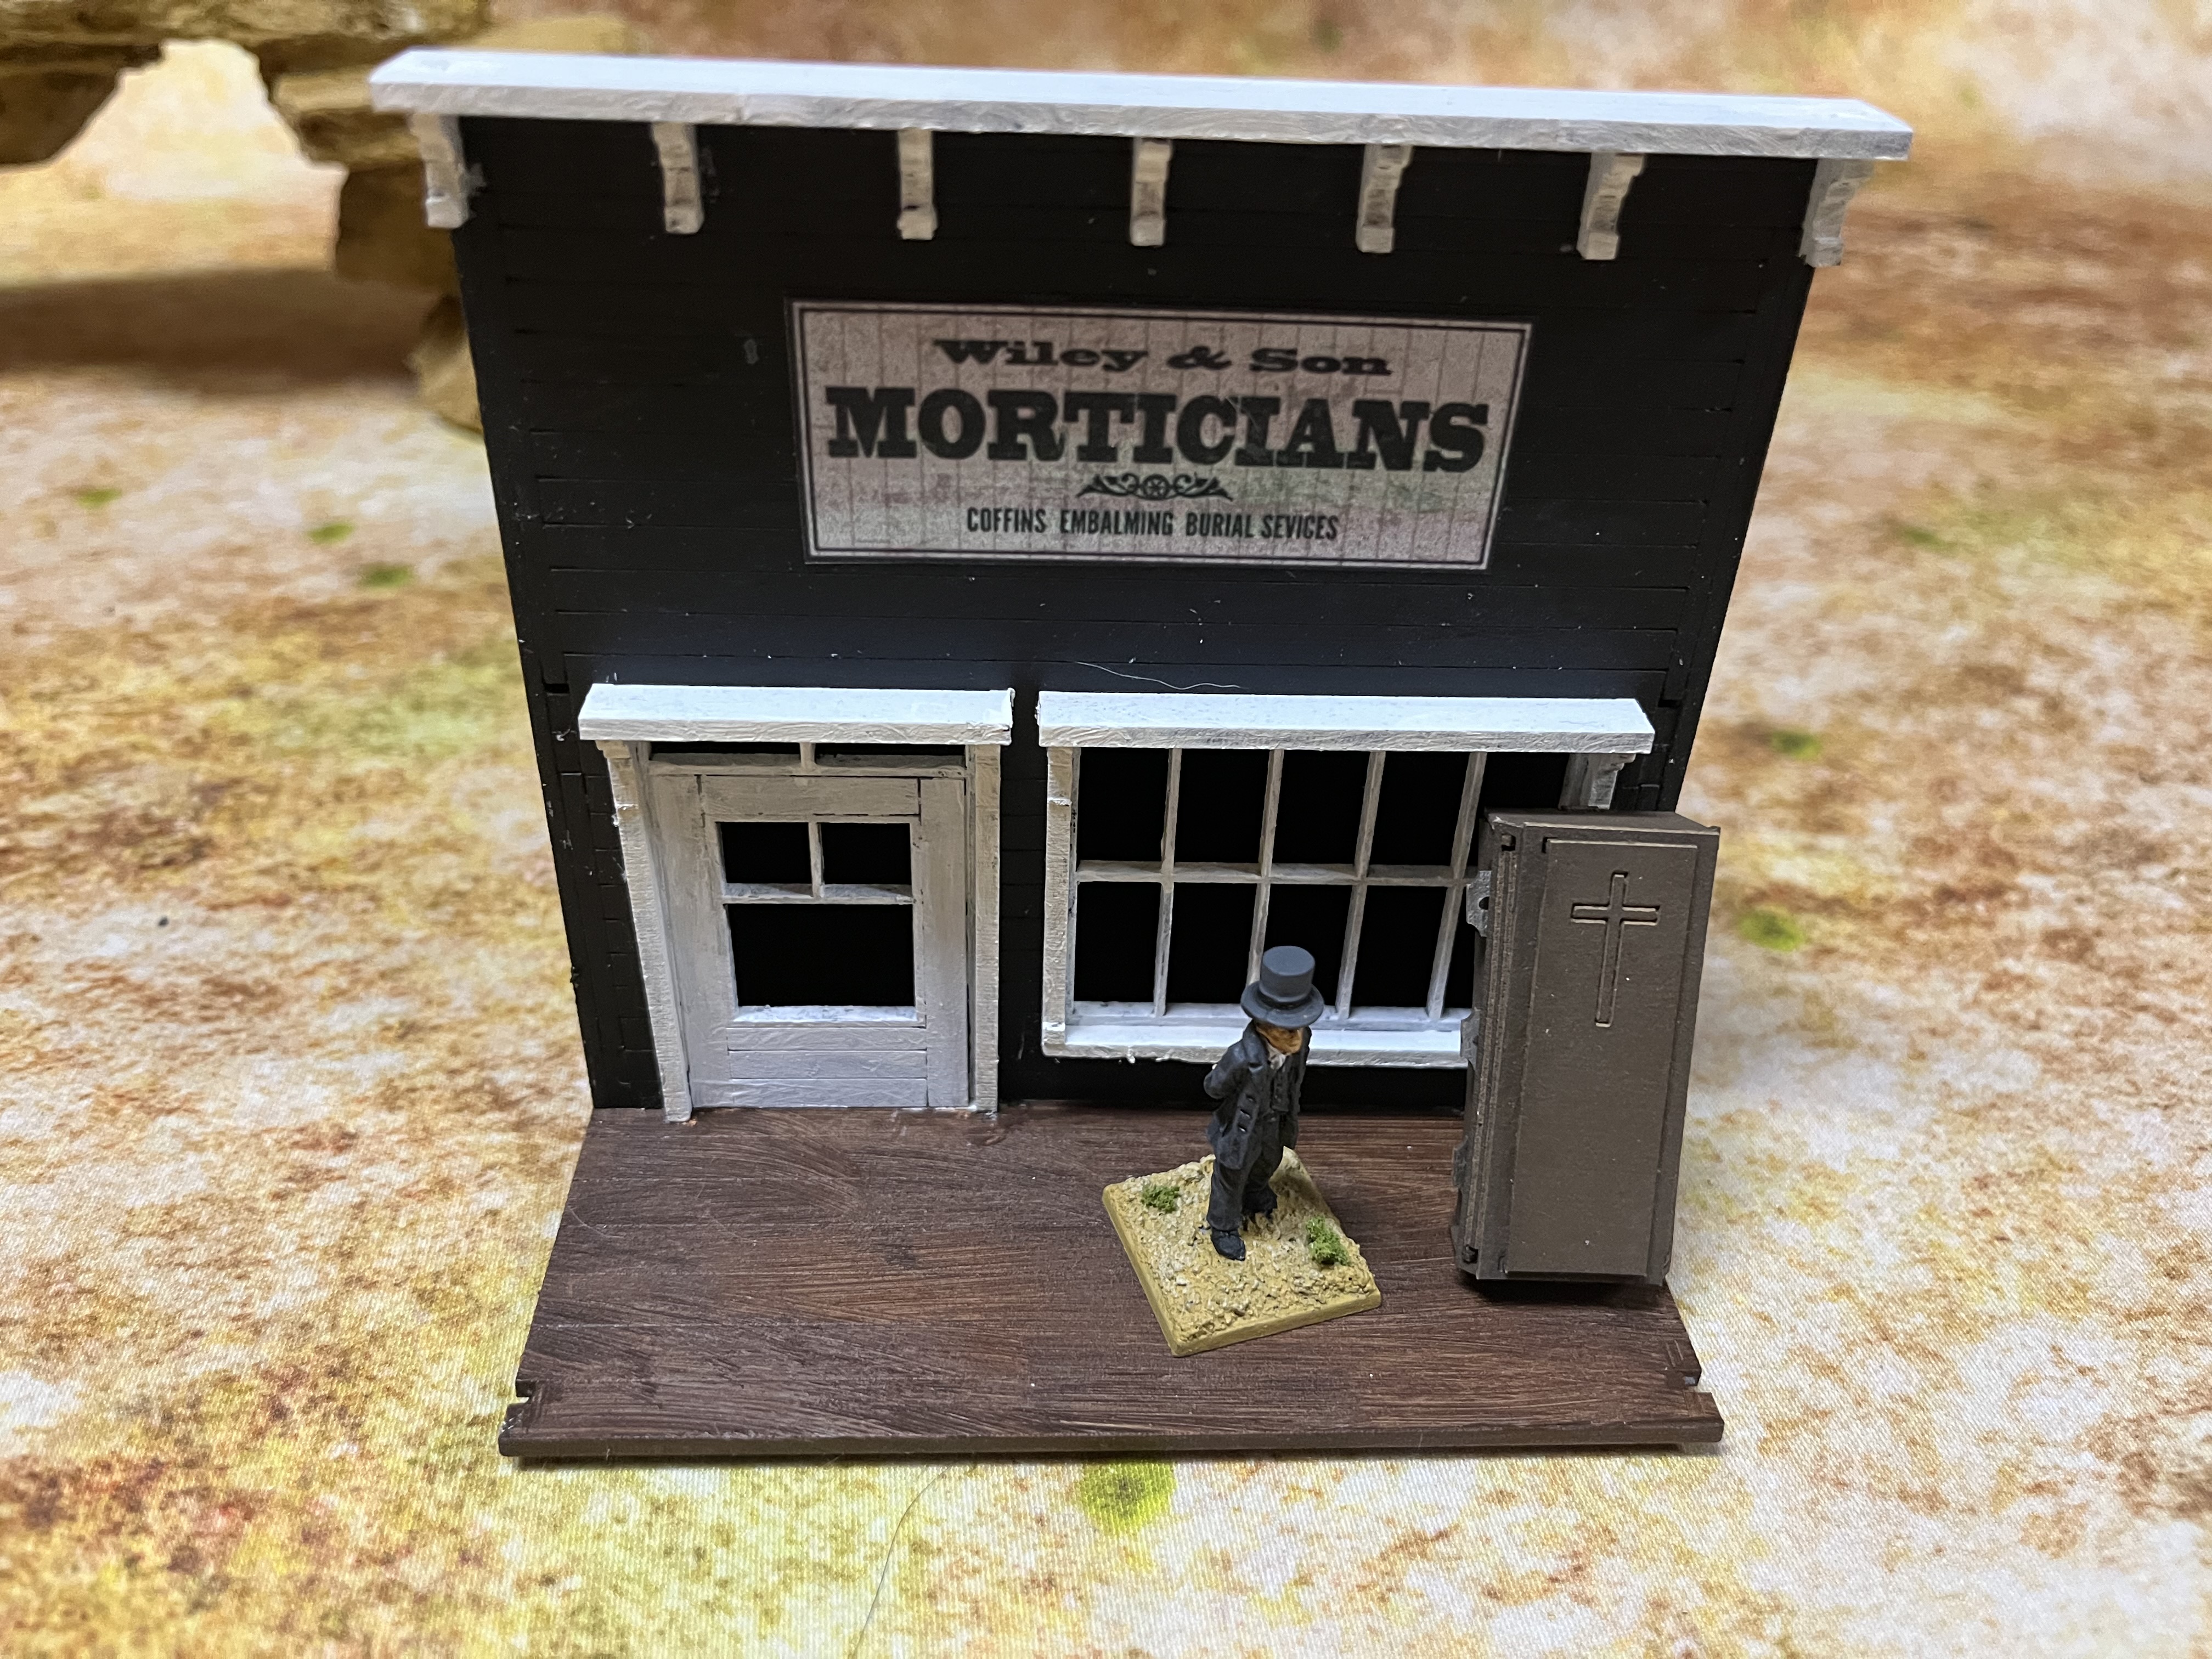 Building by Sarissa Precision, signs from Wiley Games.
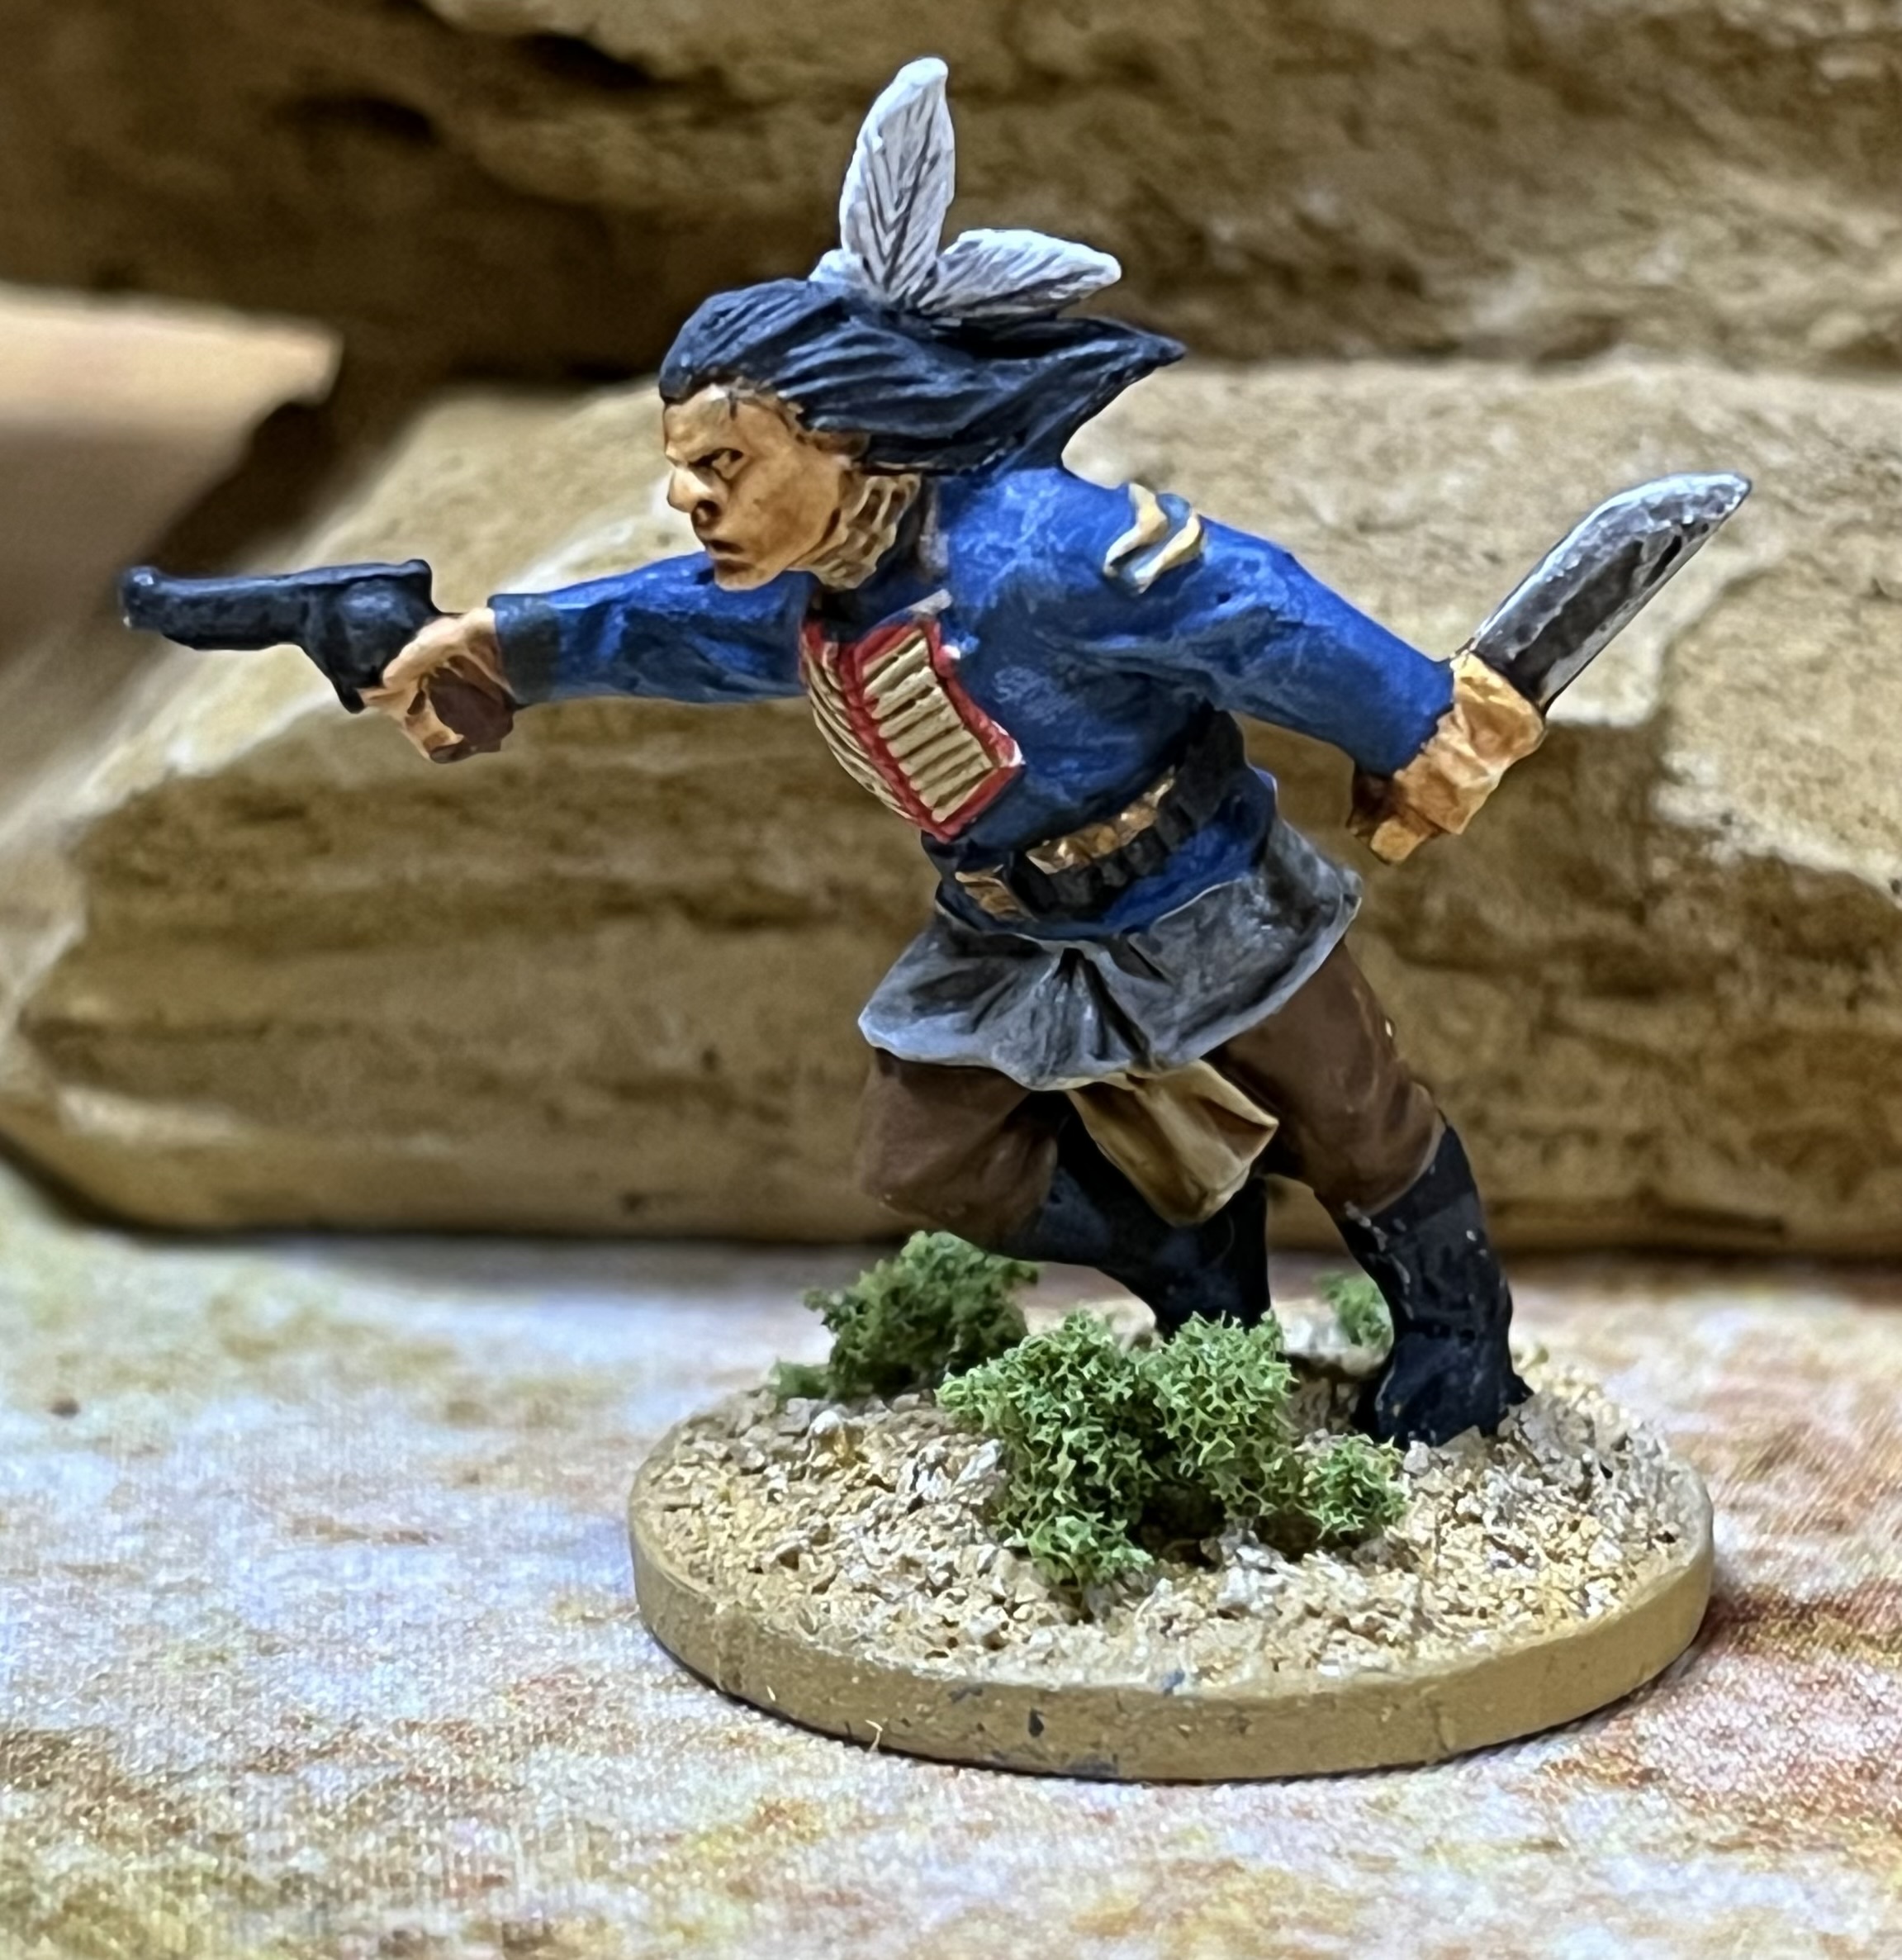
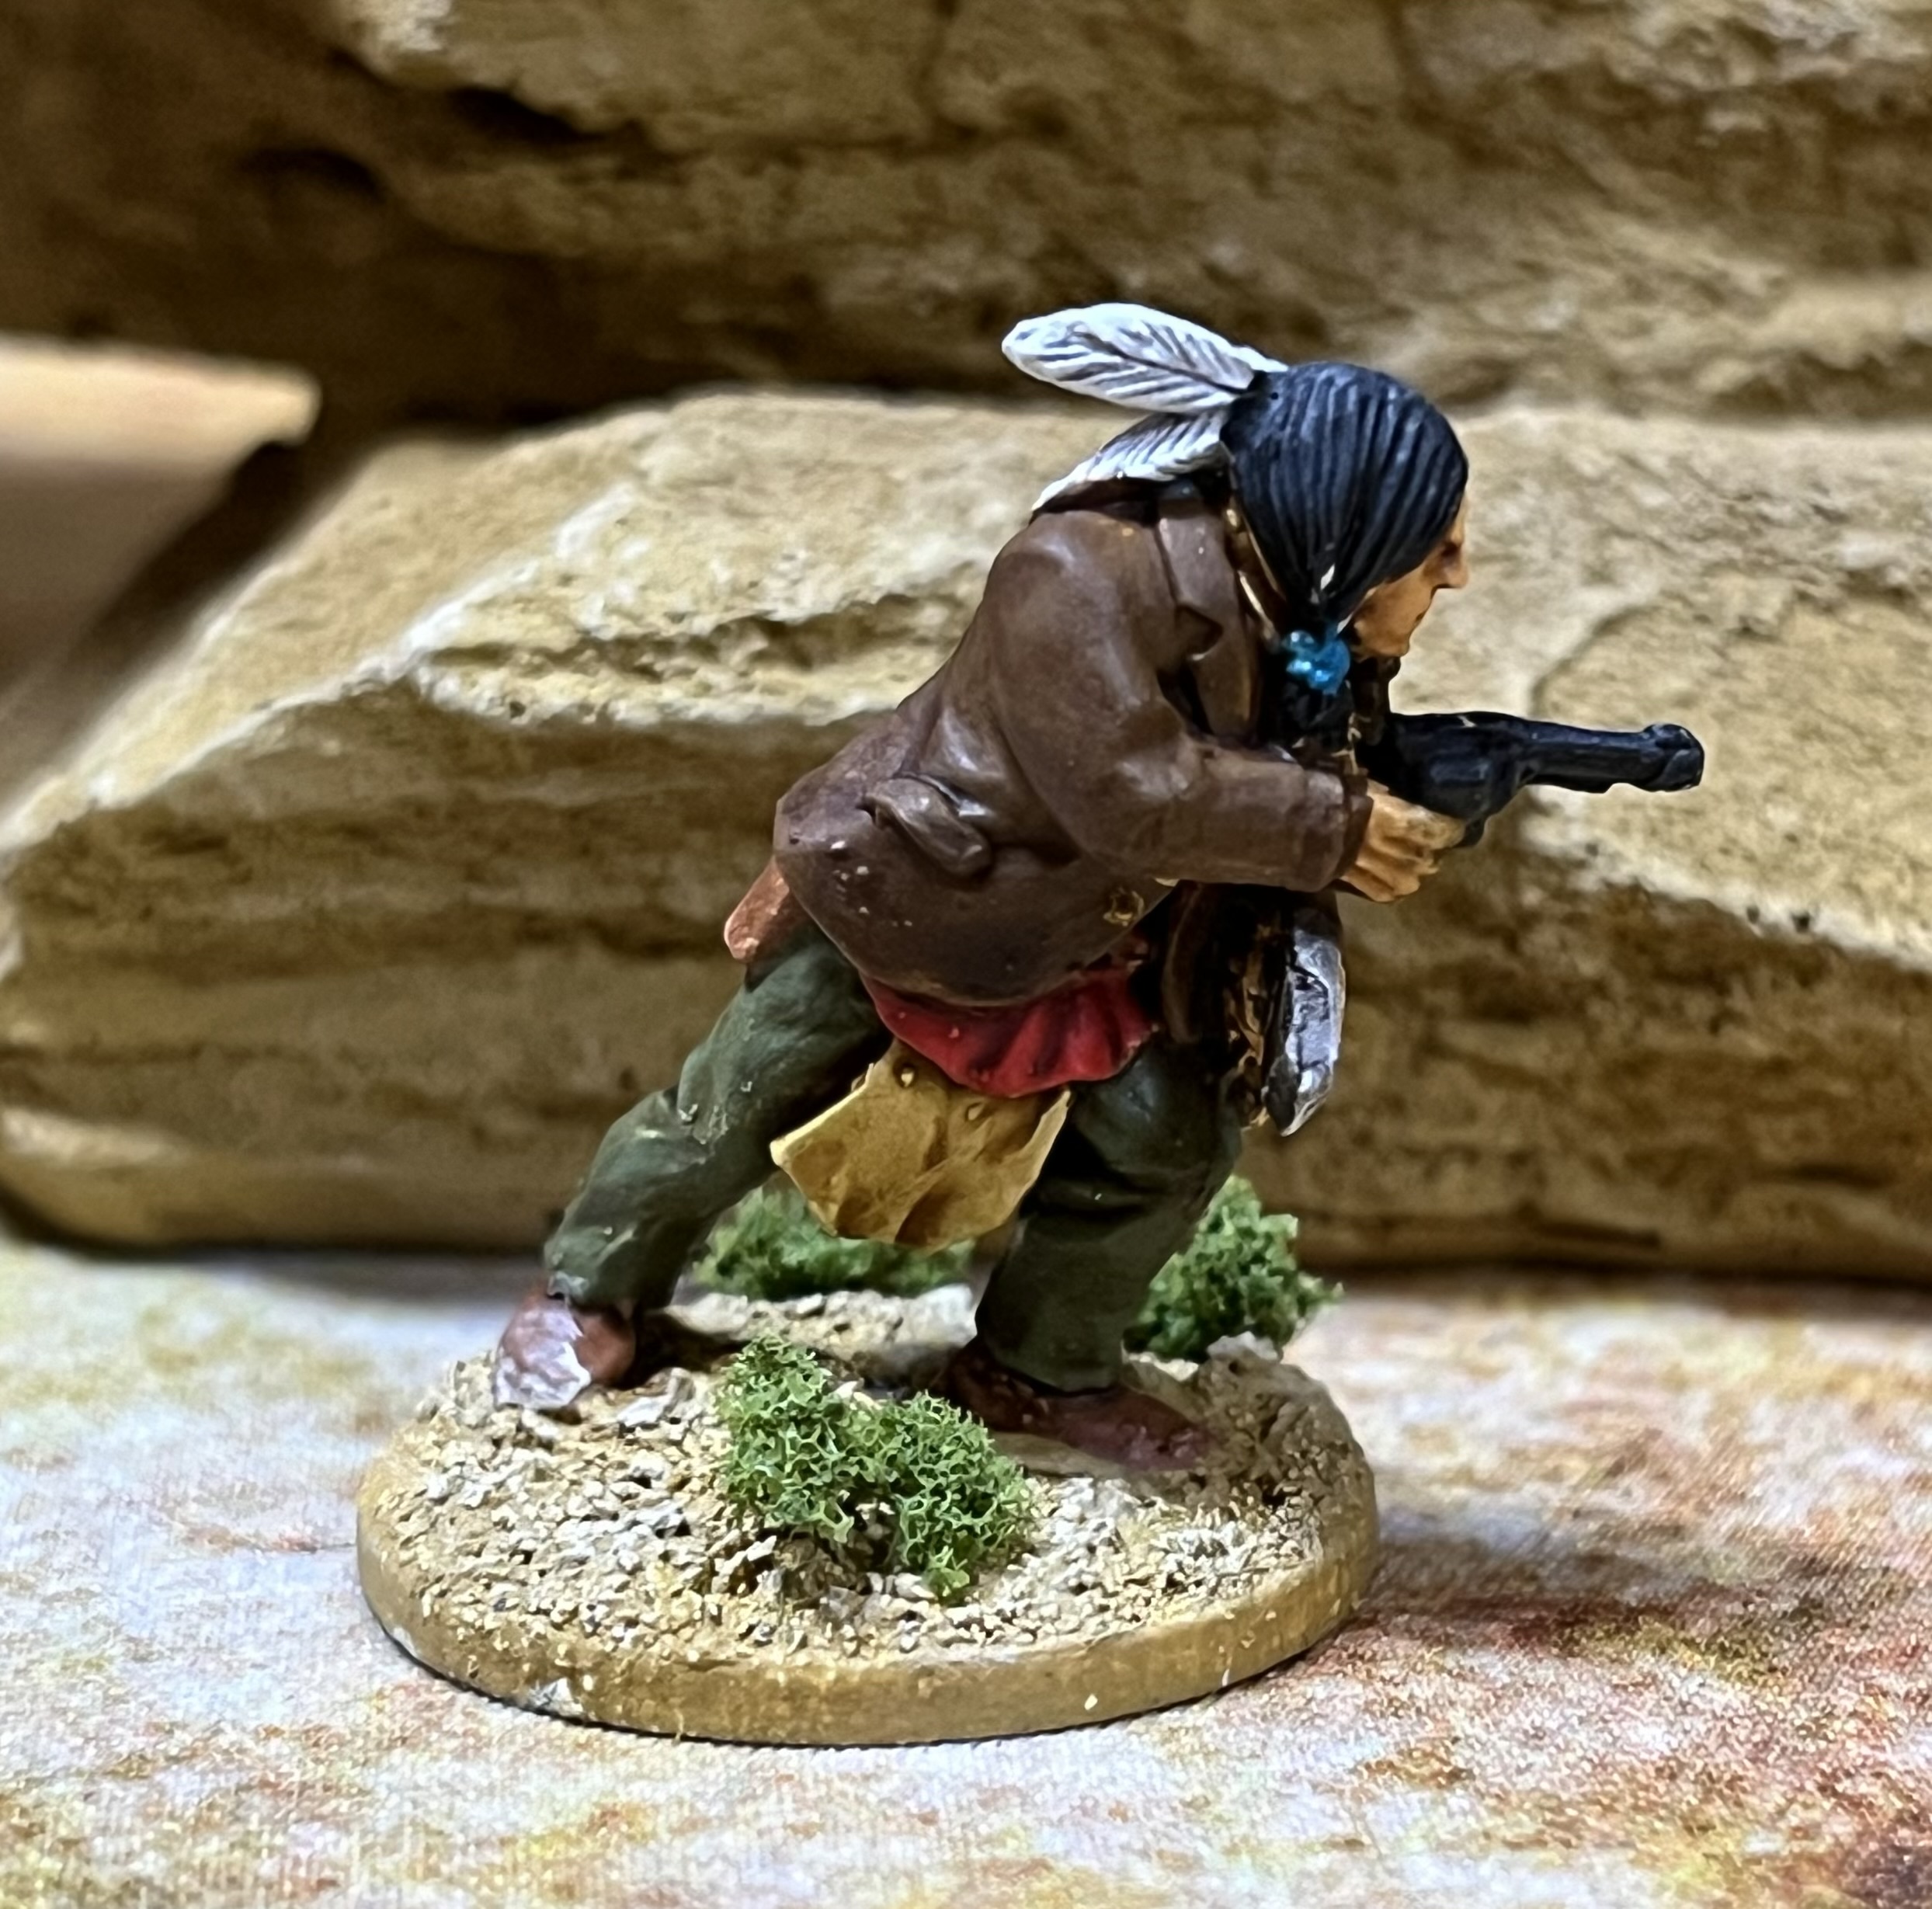
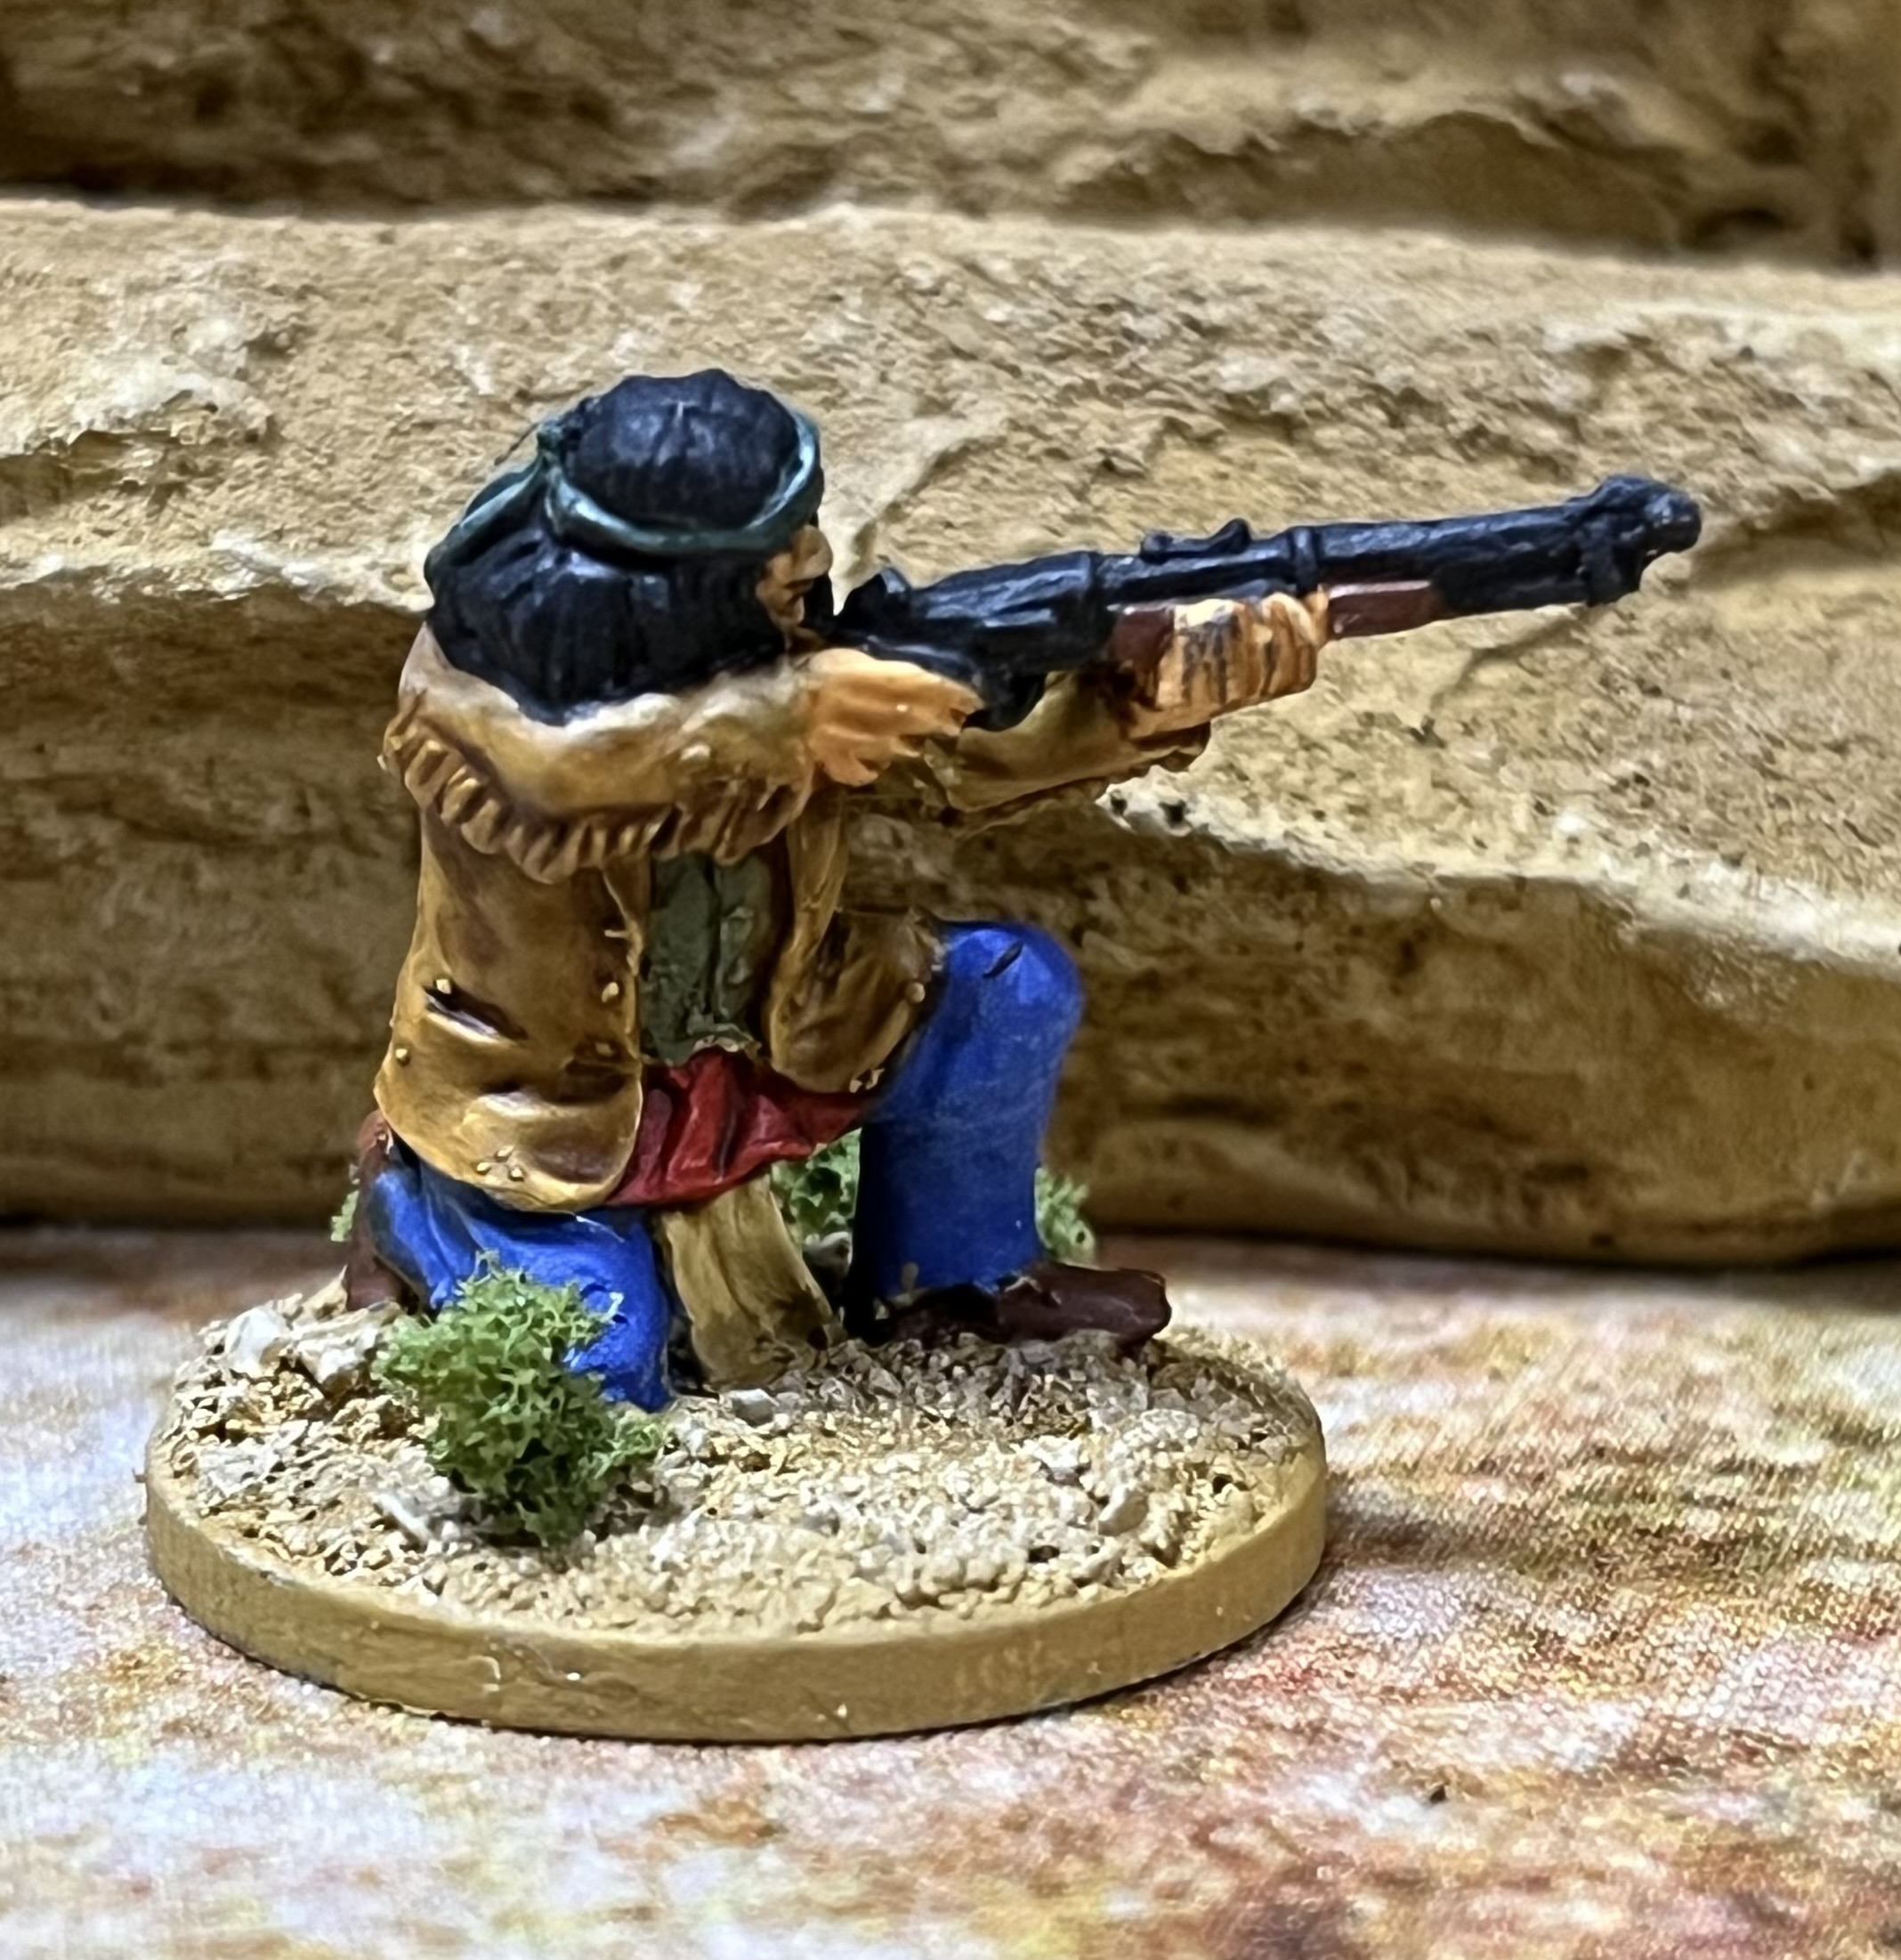
 Native Americans
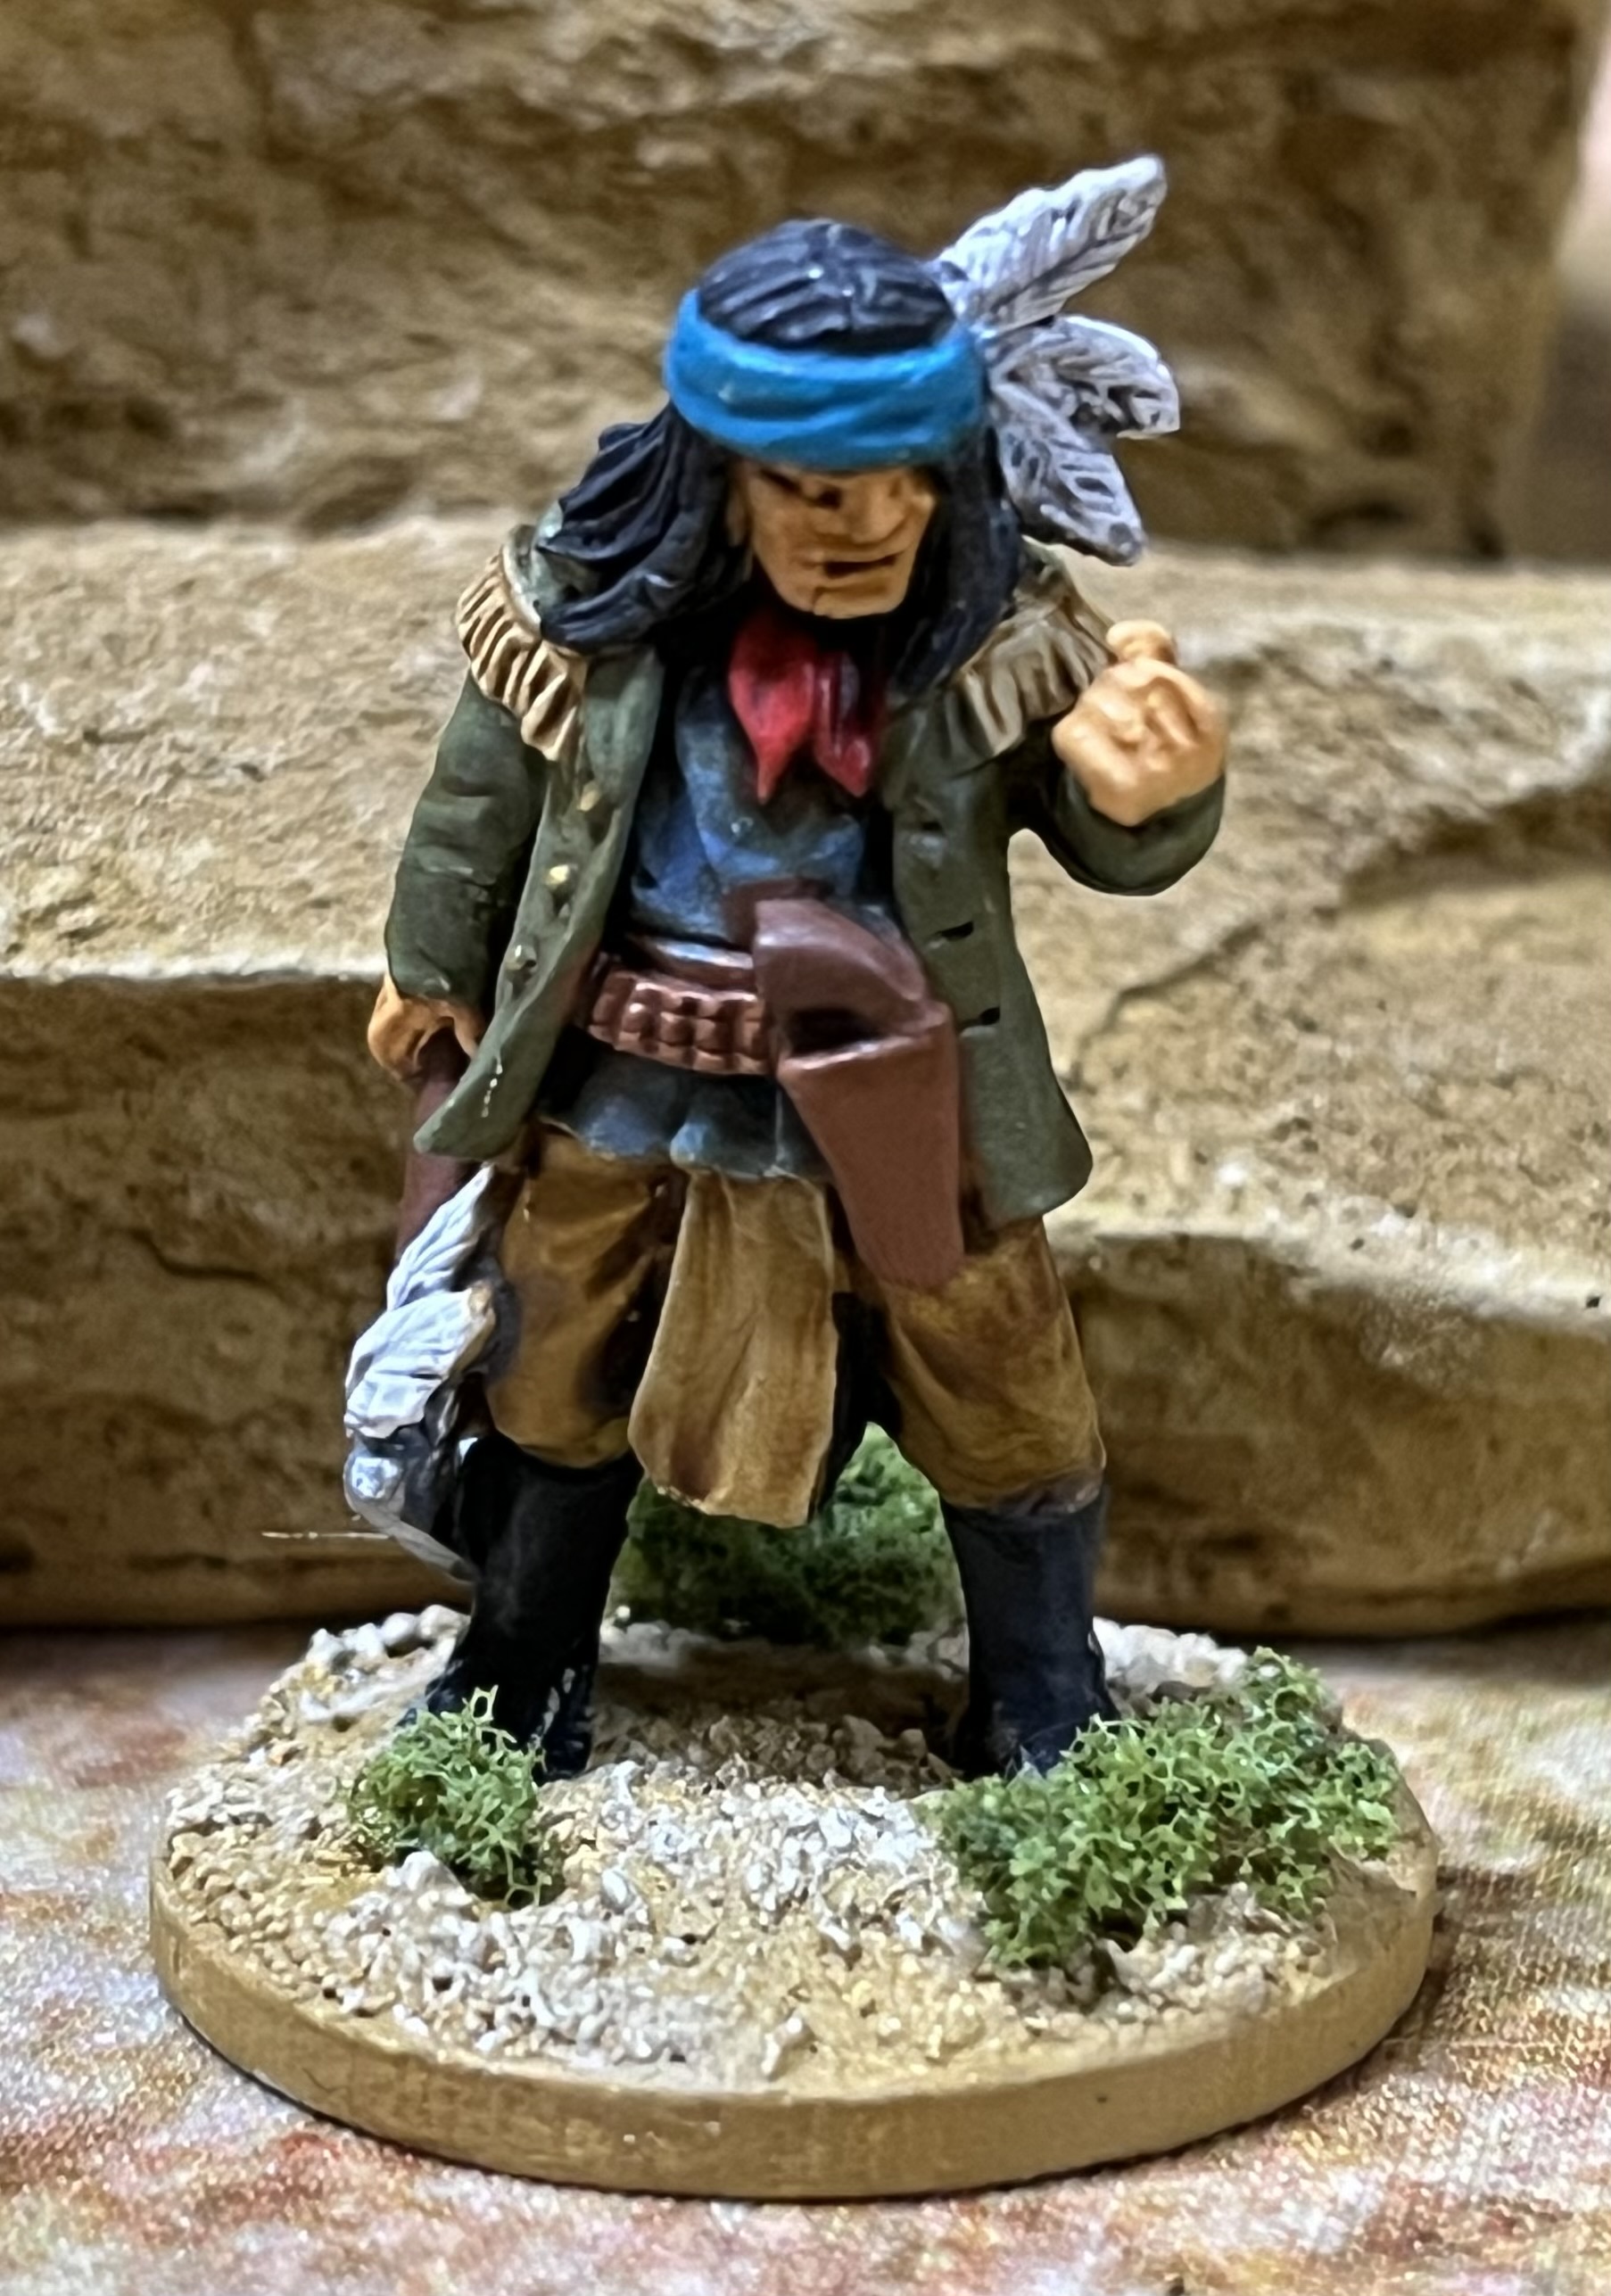
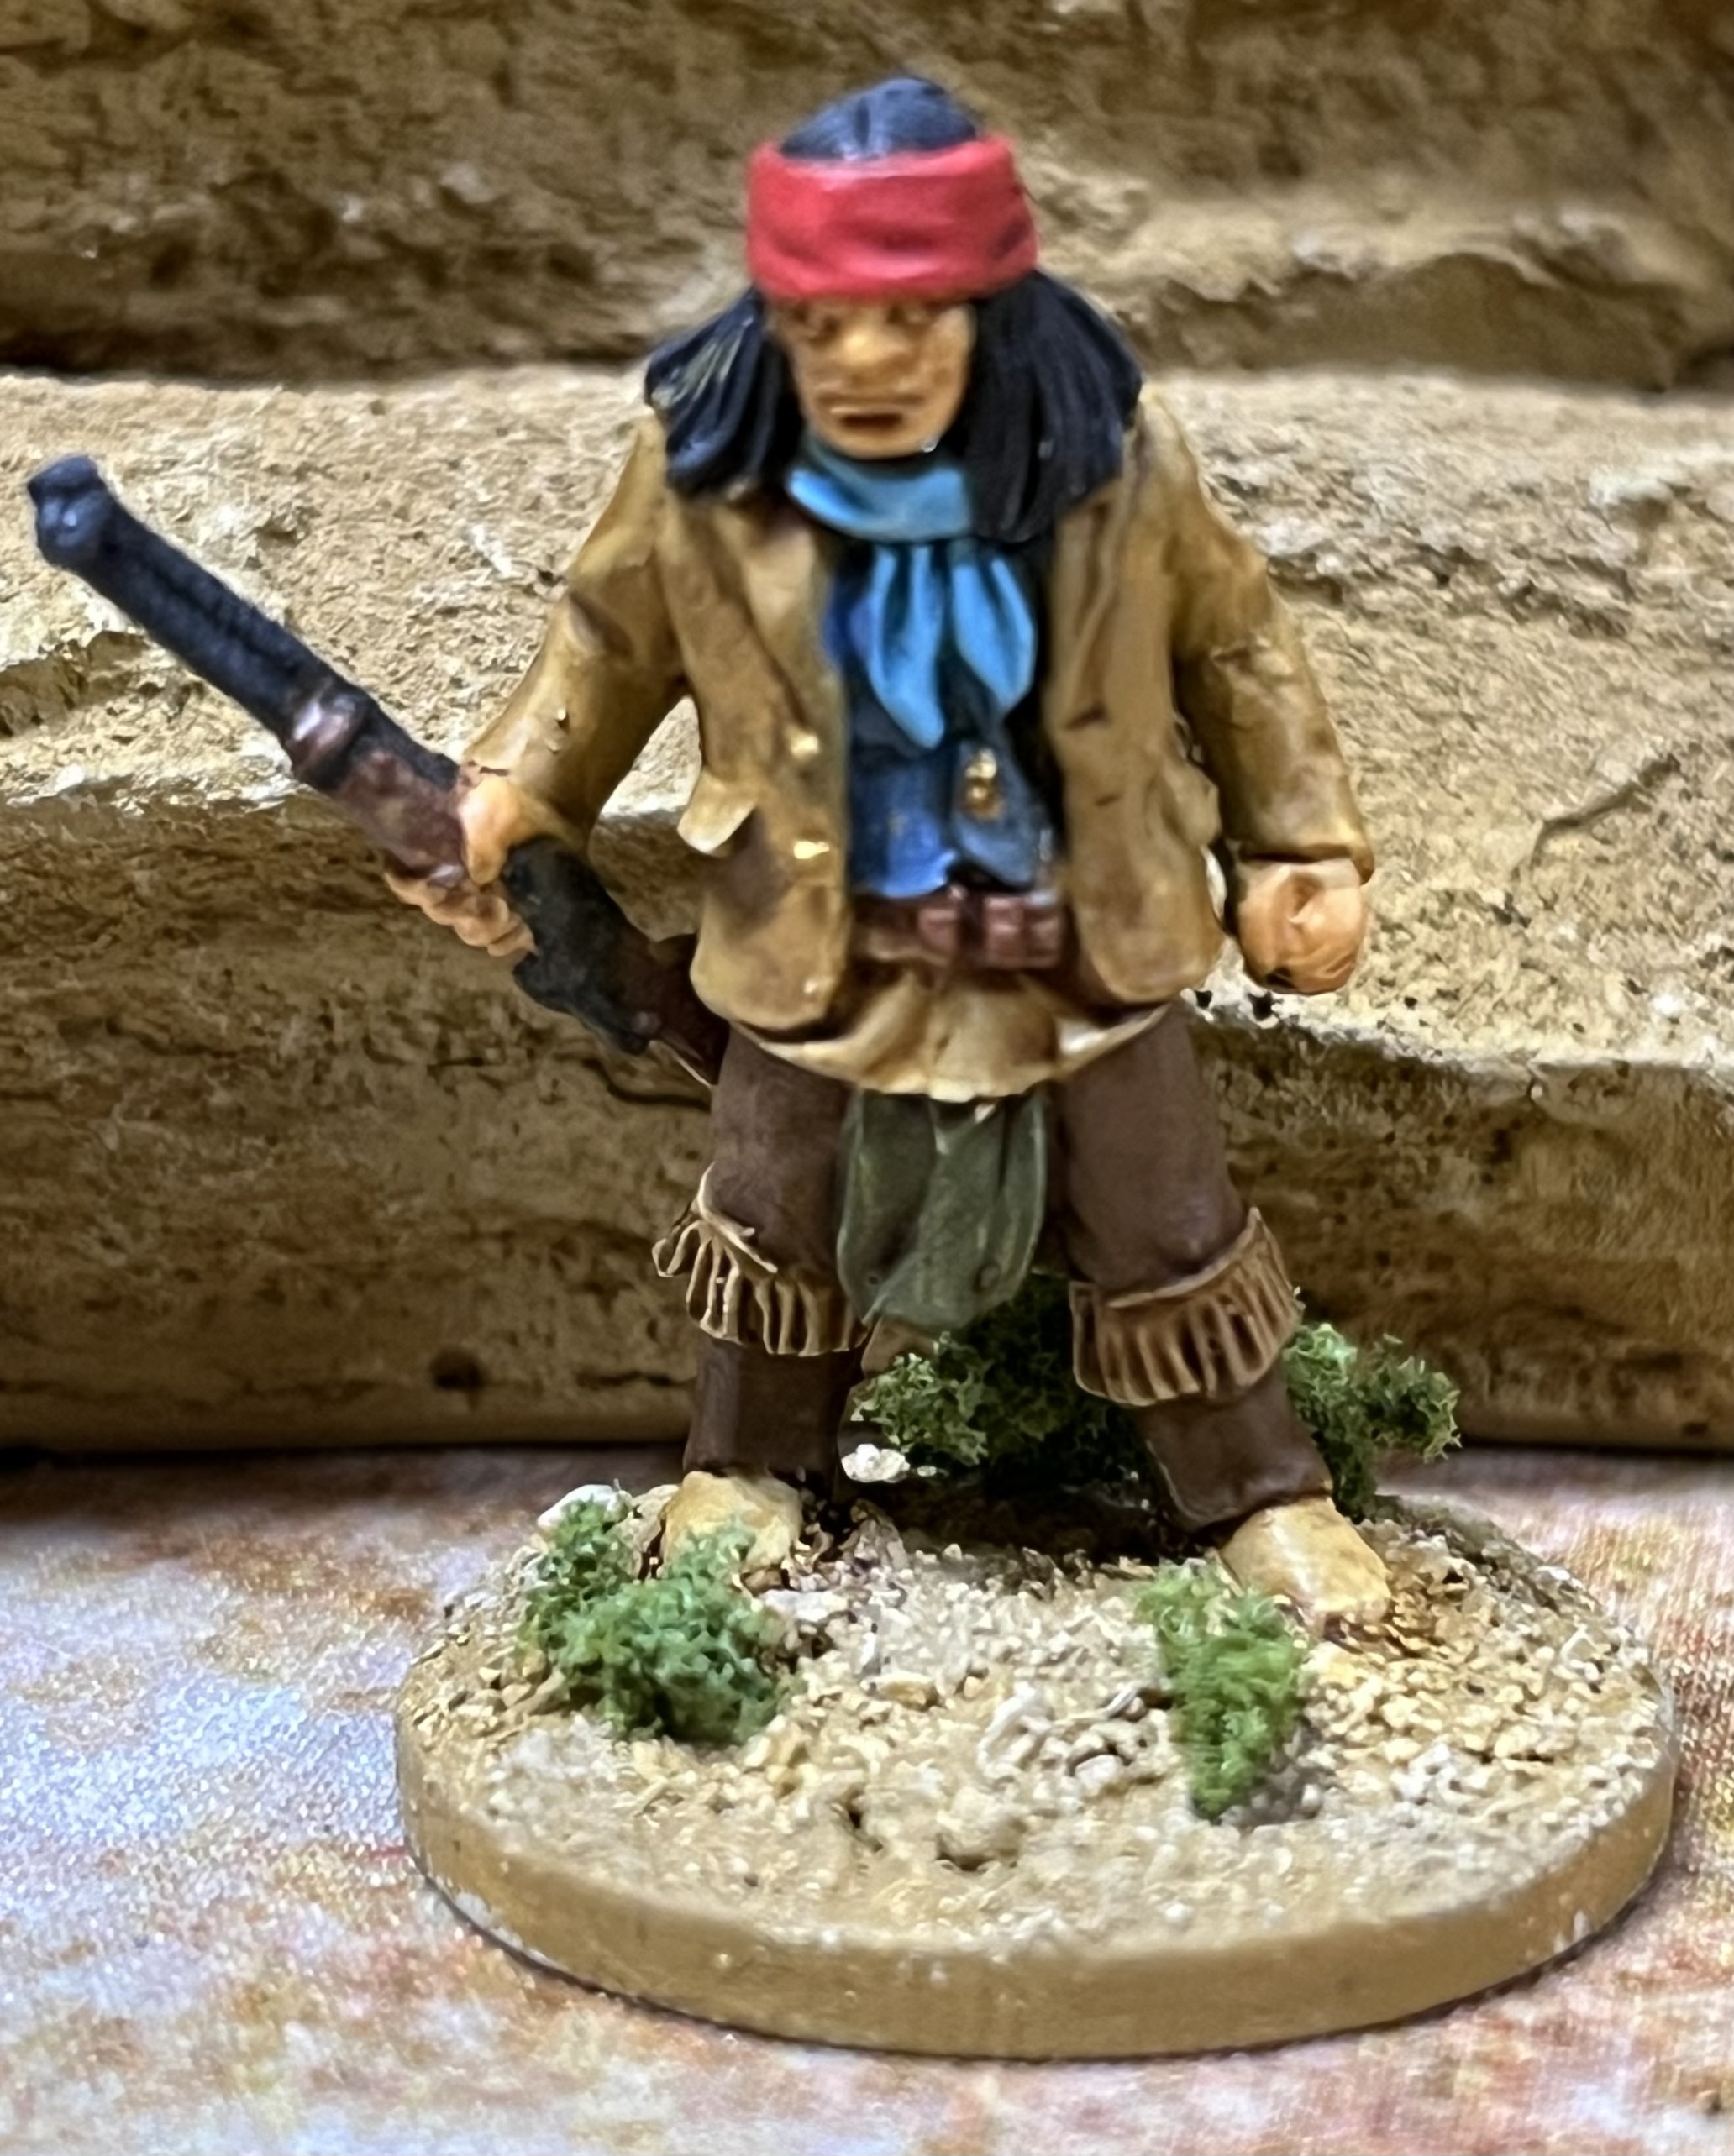
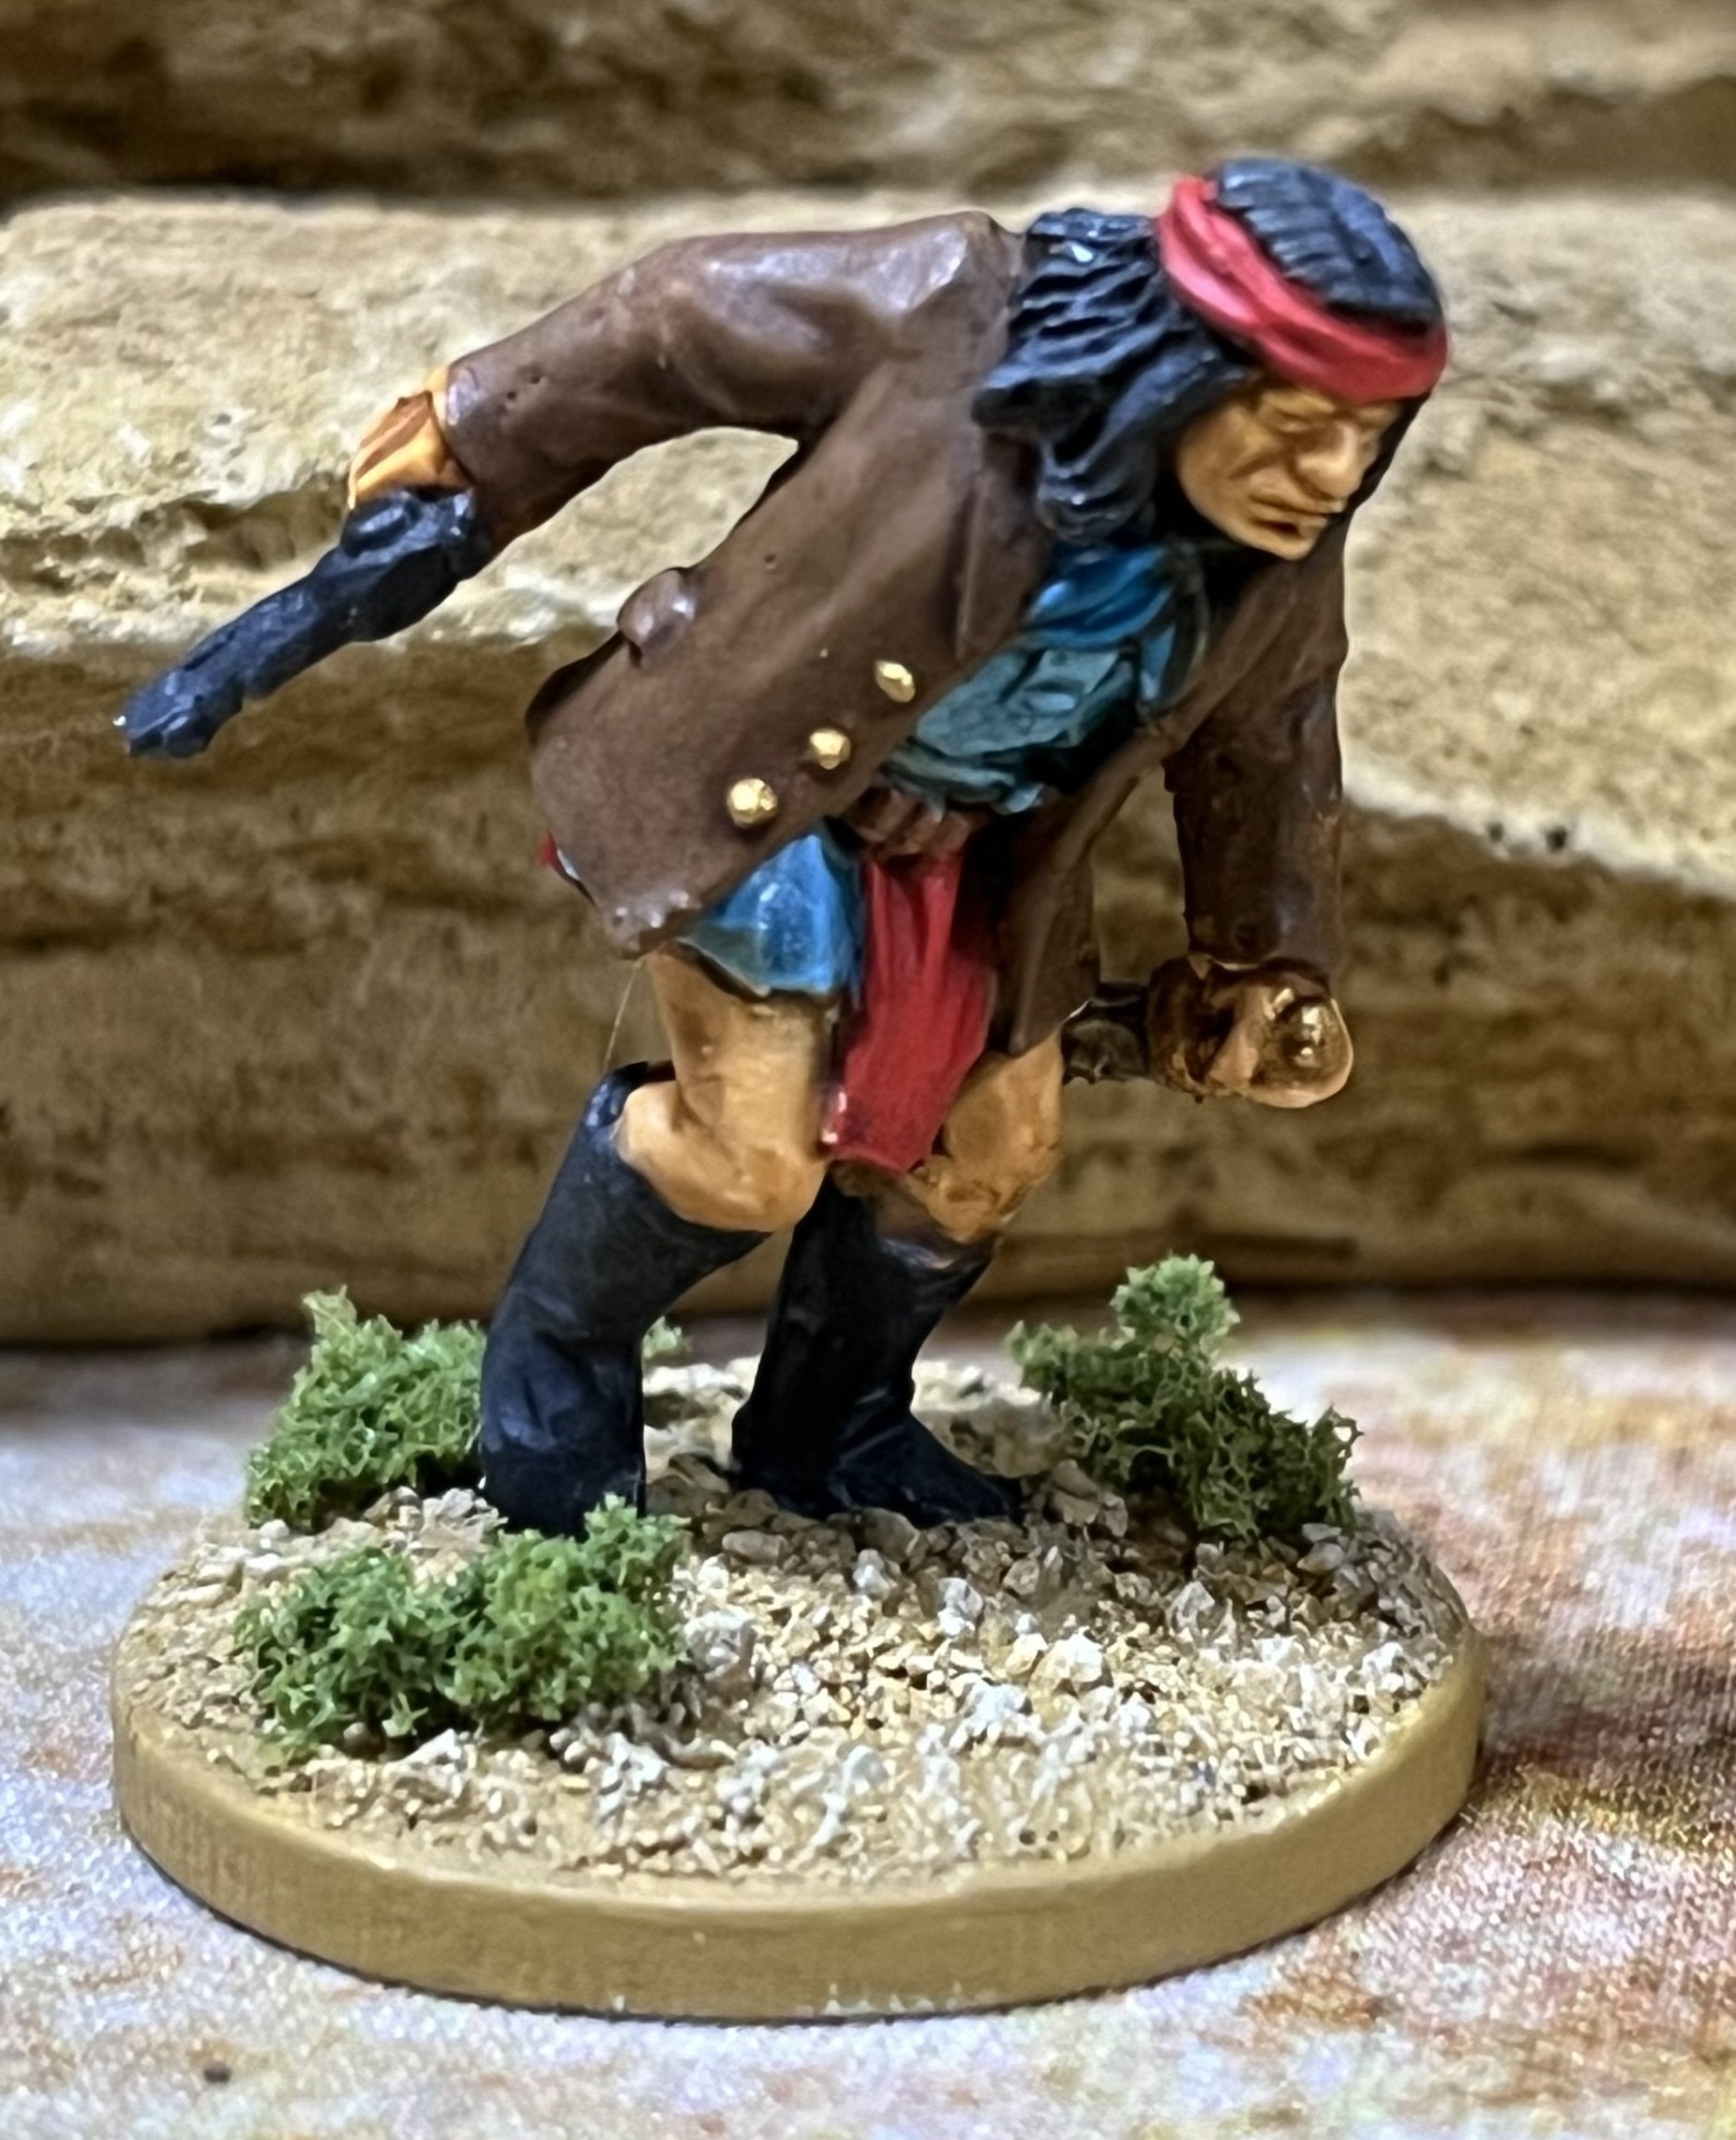
I painted up some Native Americans using Great Escape Games box of Renegade Indians. One of the figures is wearing an army coat with corporal stripes so I’ll probably add him to the cavalry posse as a Scout.
Indian Scouts had always been an informal part of the US Army but in 1866 the War Department officially authorized them. Initially issued Civil War era surplus they would eventually get their own uniforms and branch of service insignia. The insignia was a pair of crossed arrows. This insignia was later adopted by Special Forces.
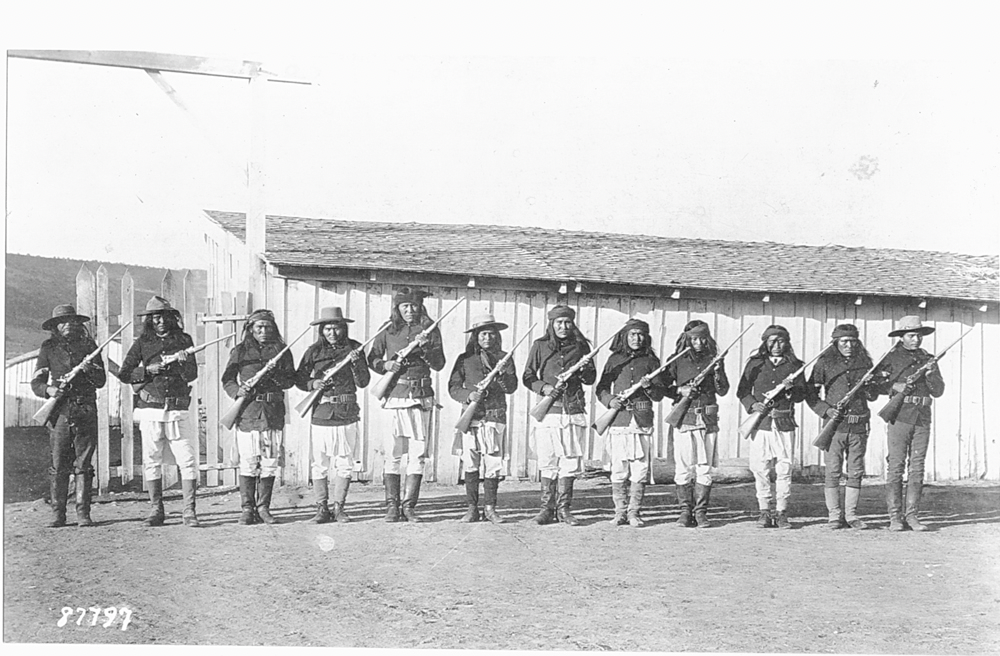 Period photo showing a mix of native dress and army issued clothing.
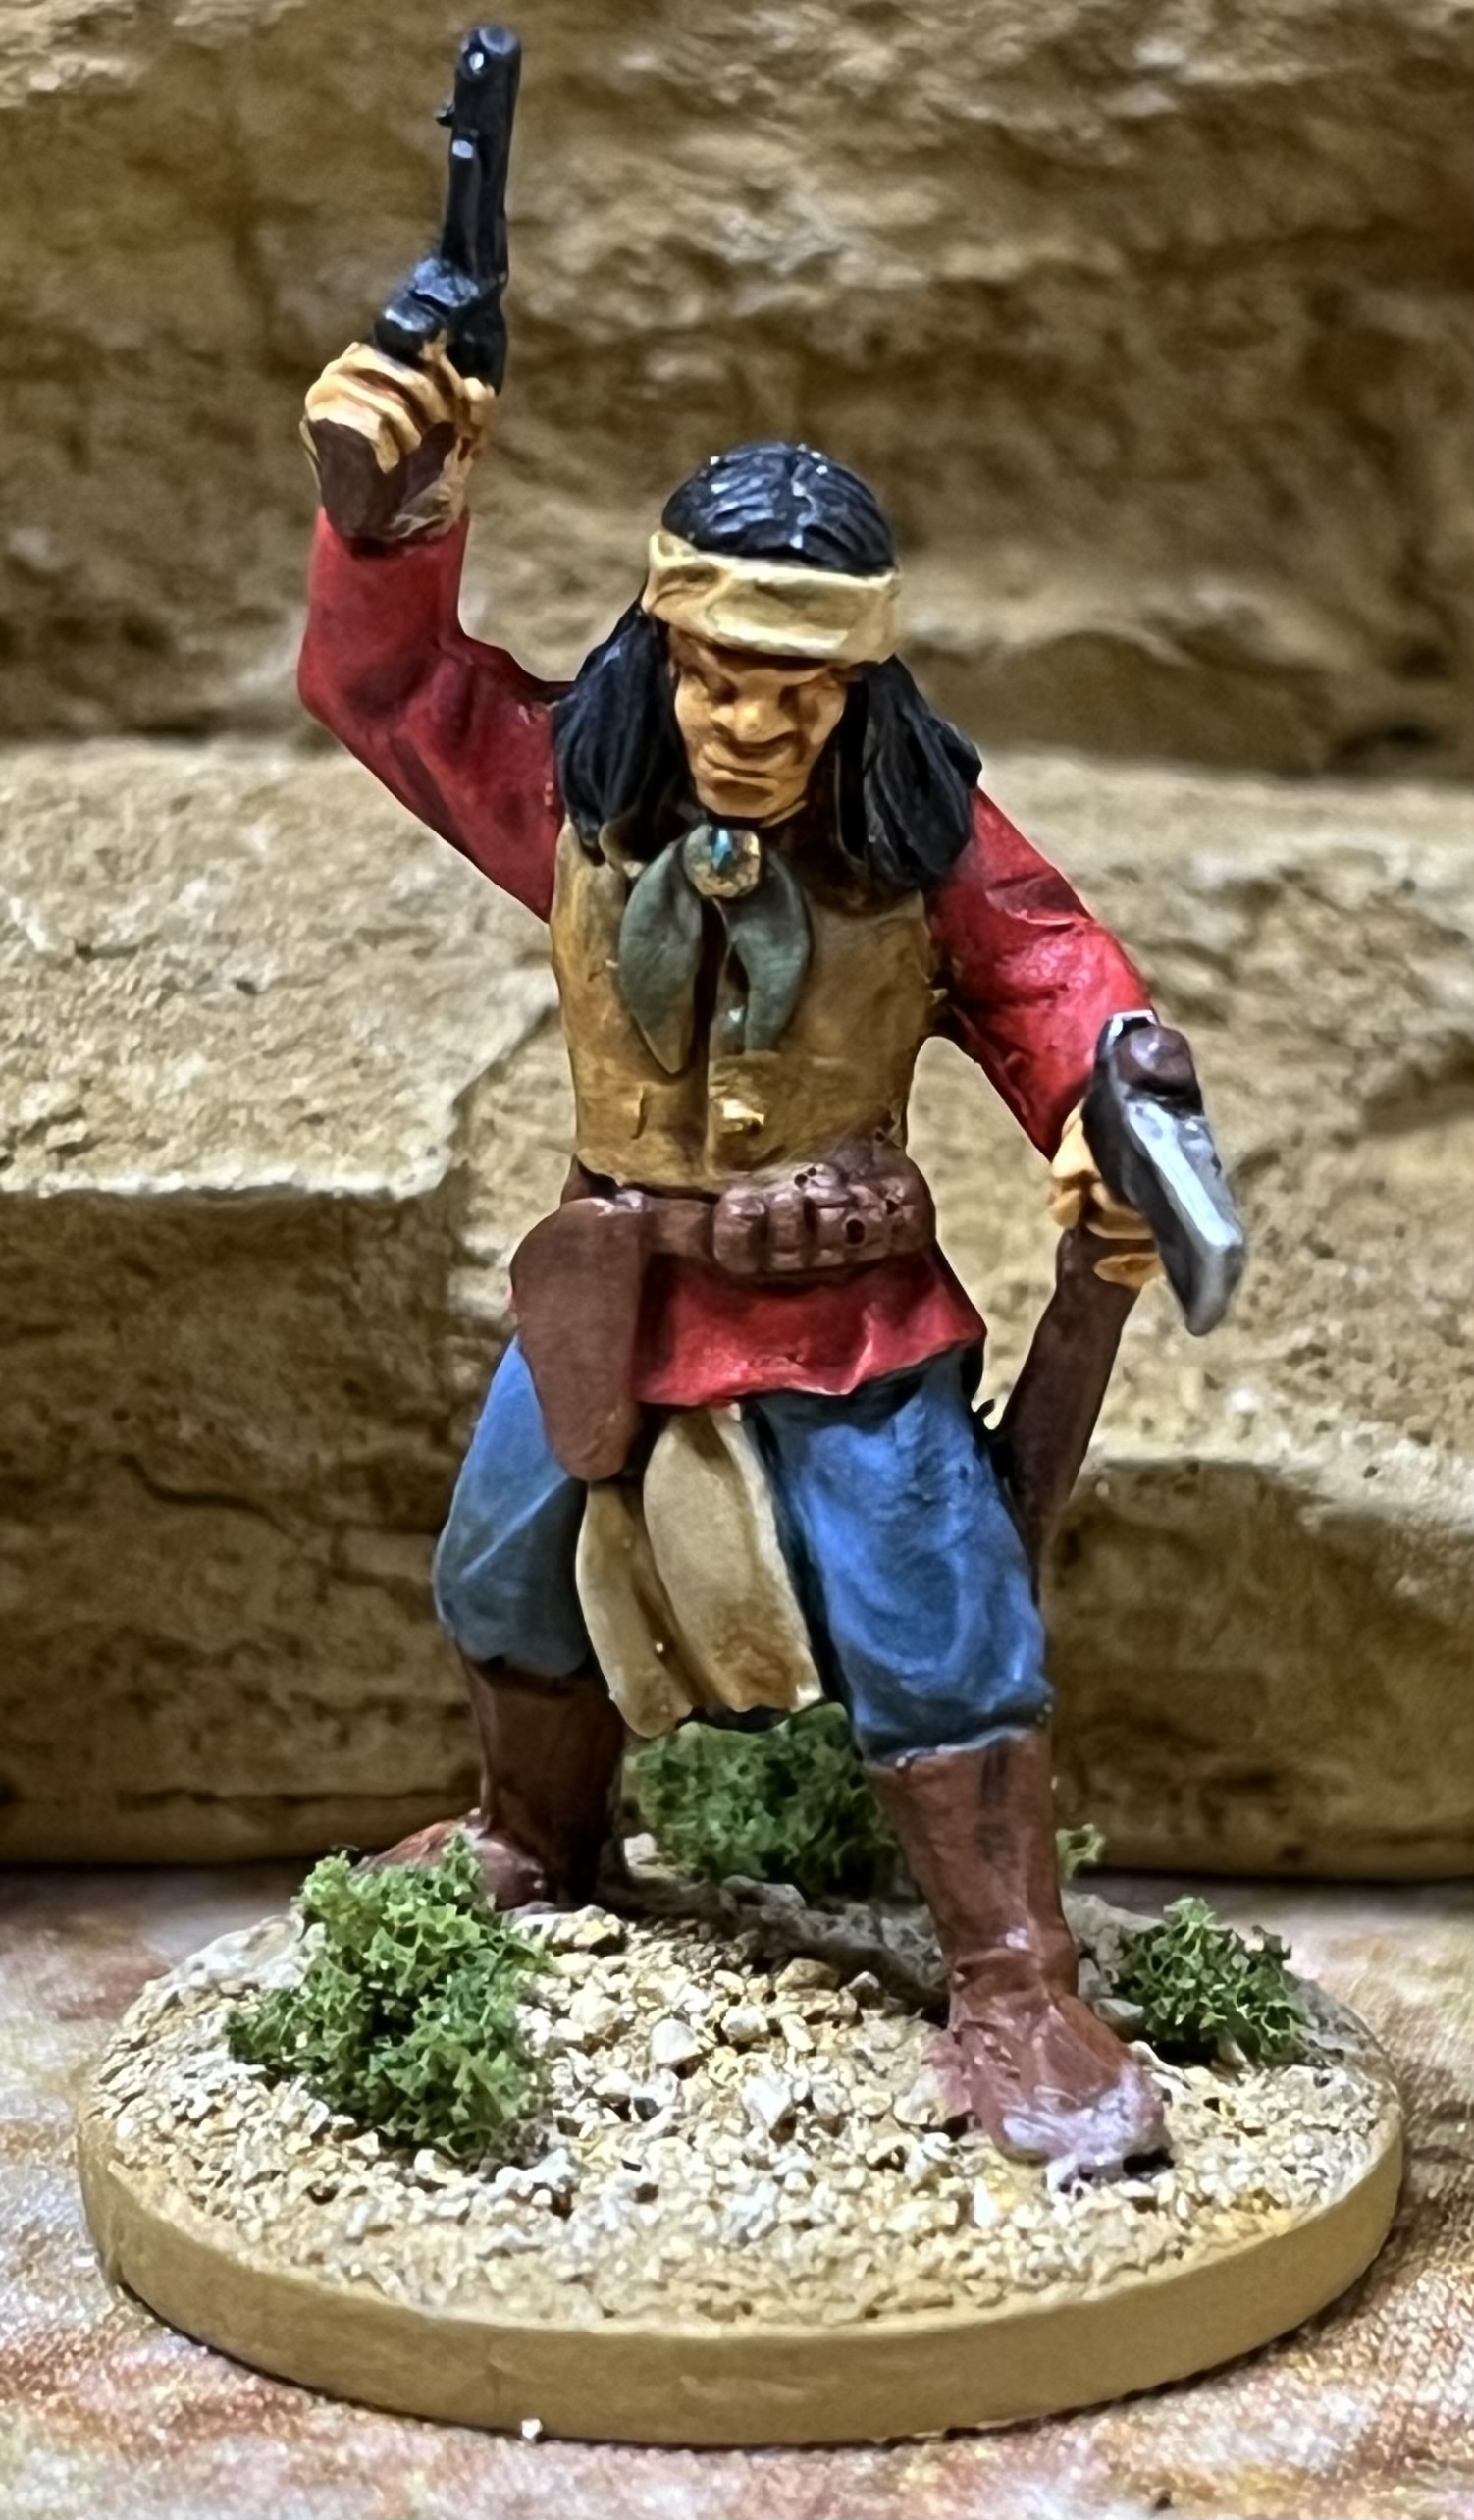
Golden Arch
 I found this in the aquarium section of the local pet shop, gave it a spray and a quick dry brush.
 Fancy foothills
I decided to fancy up the existing hills while working on even more ridges, hills and mesas. I used some PVA glue and sand on the flat horizontal surfaces to add some interest. I then gave everything a drybrush of Army Painter Skeleton Bone. I then glued some foam tufts to act as foilage.
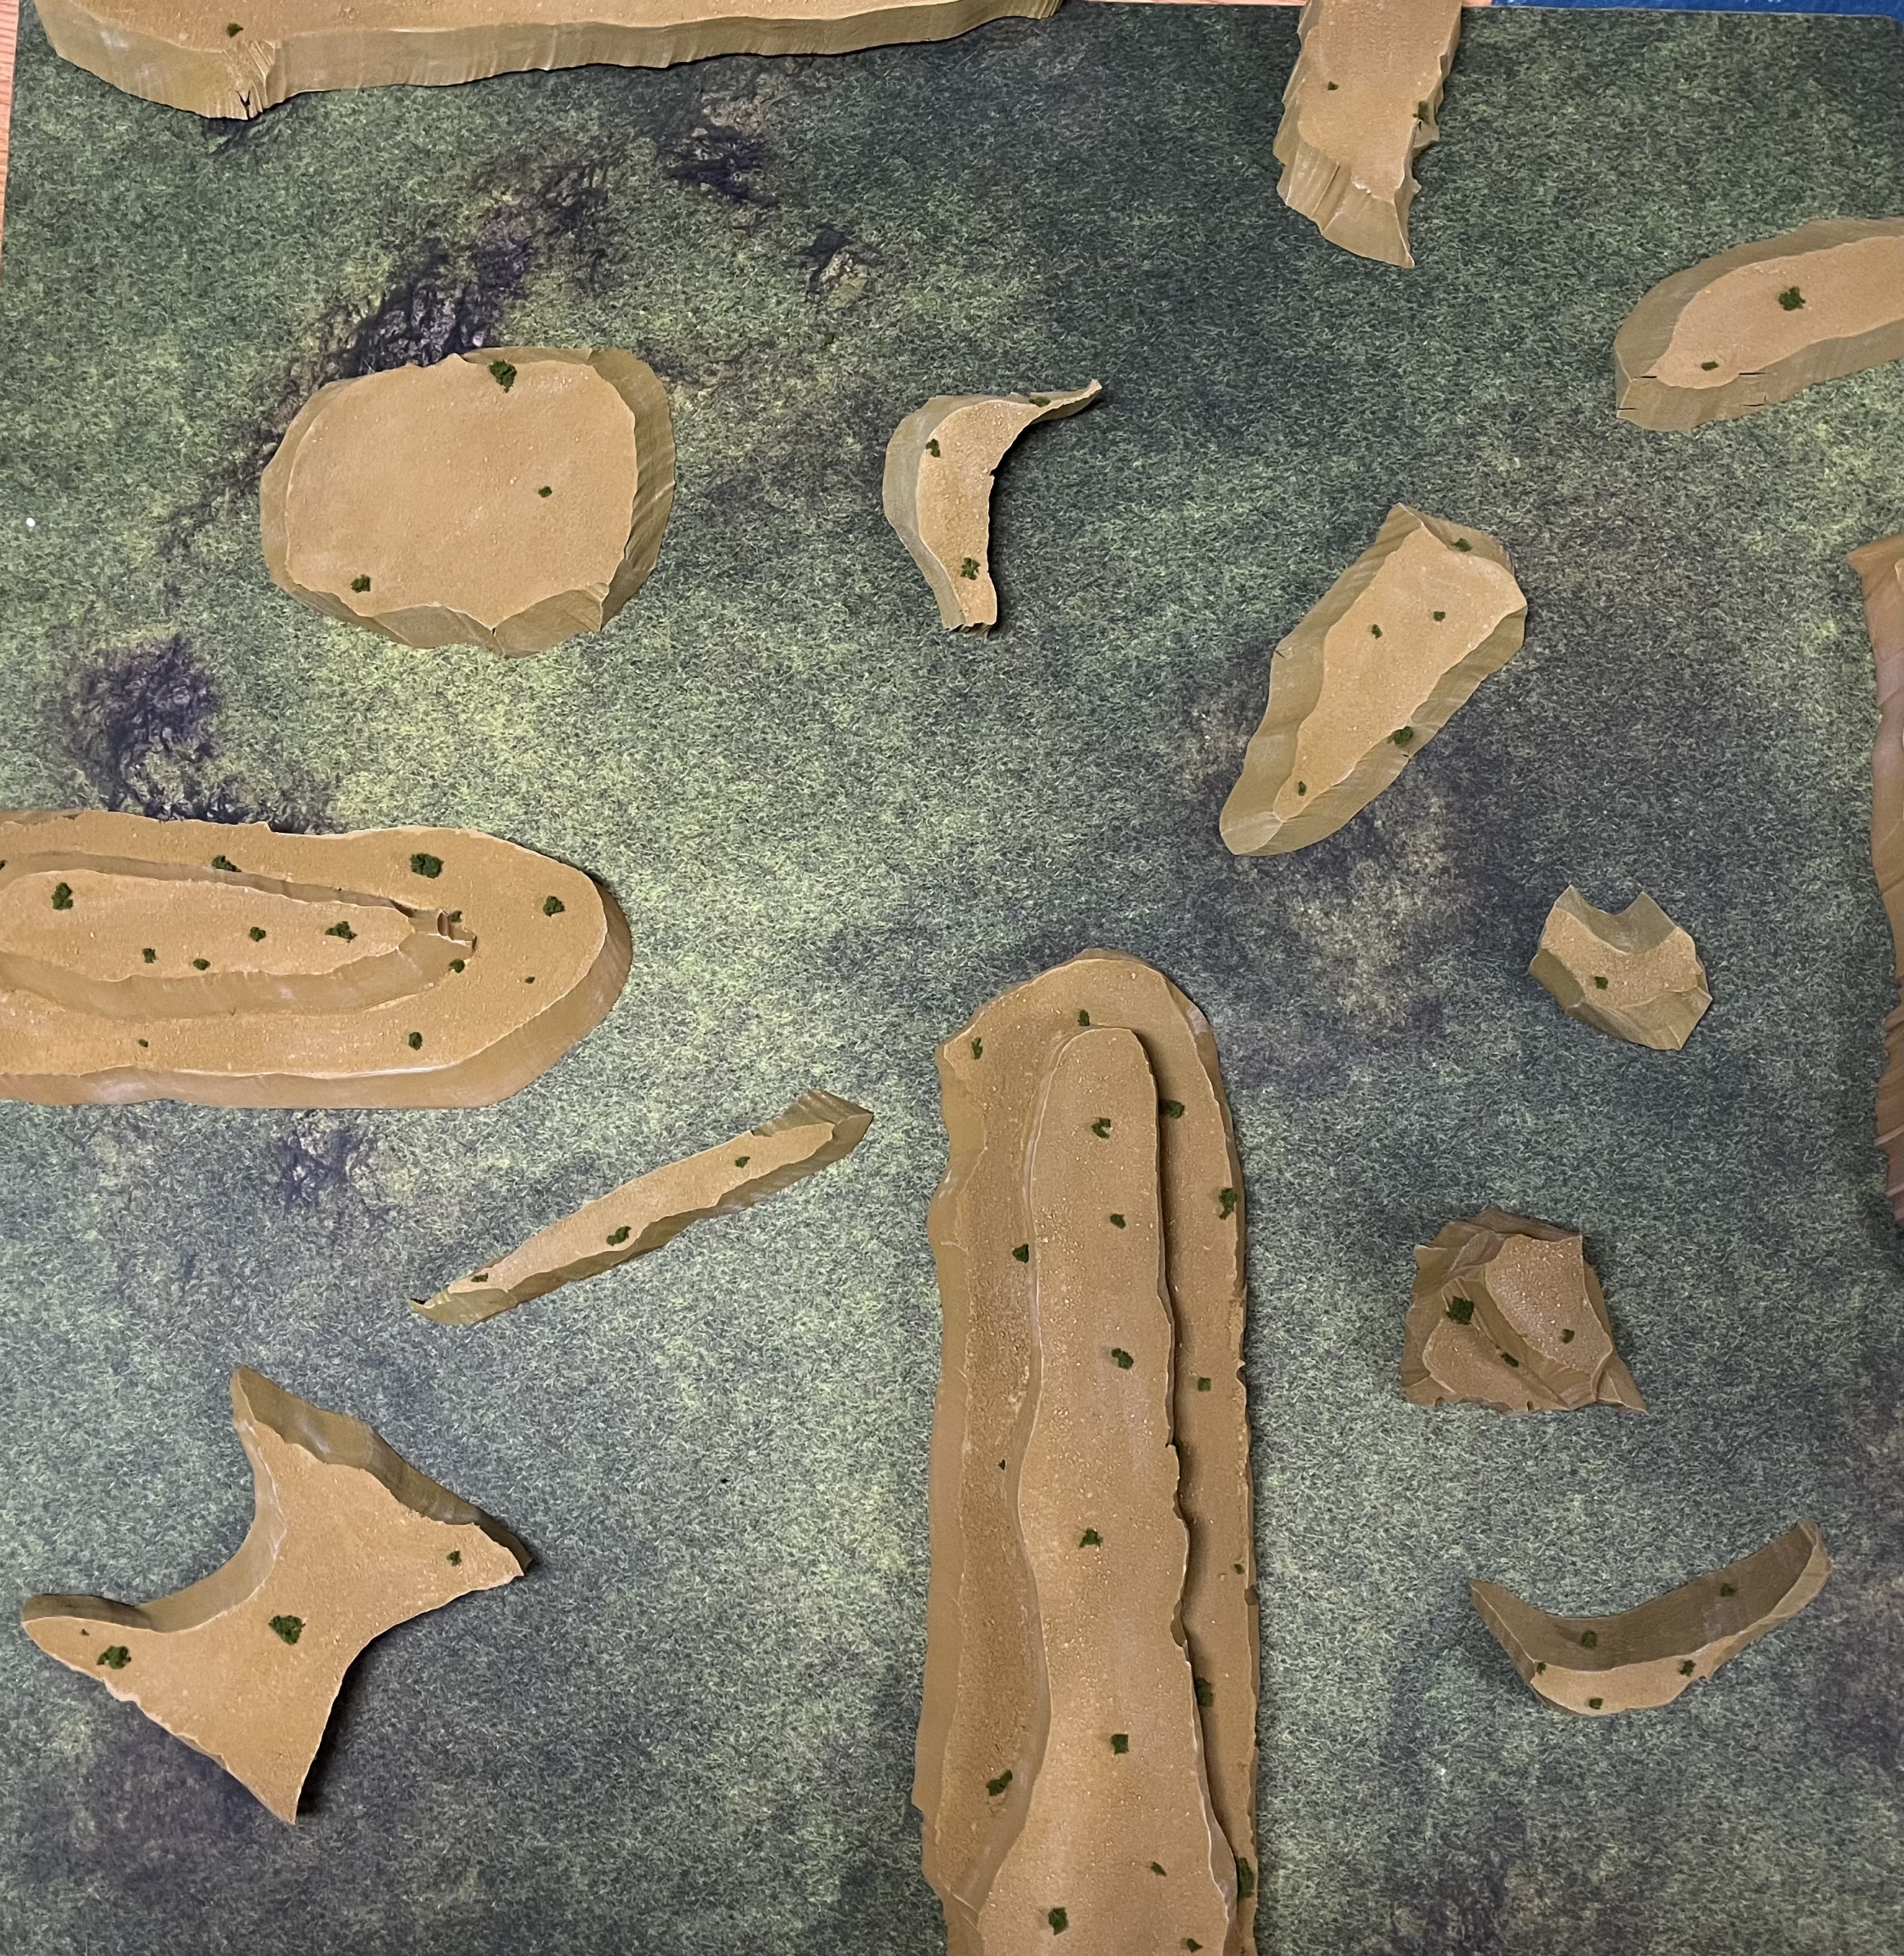 Overhead shot of all the completed foam pieces on a 3x3 mat.
 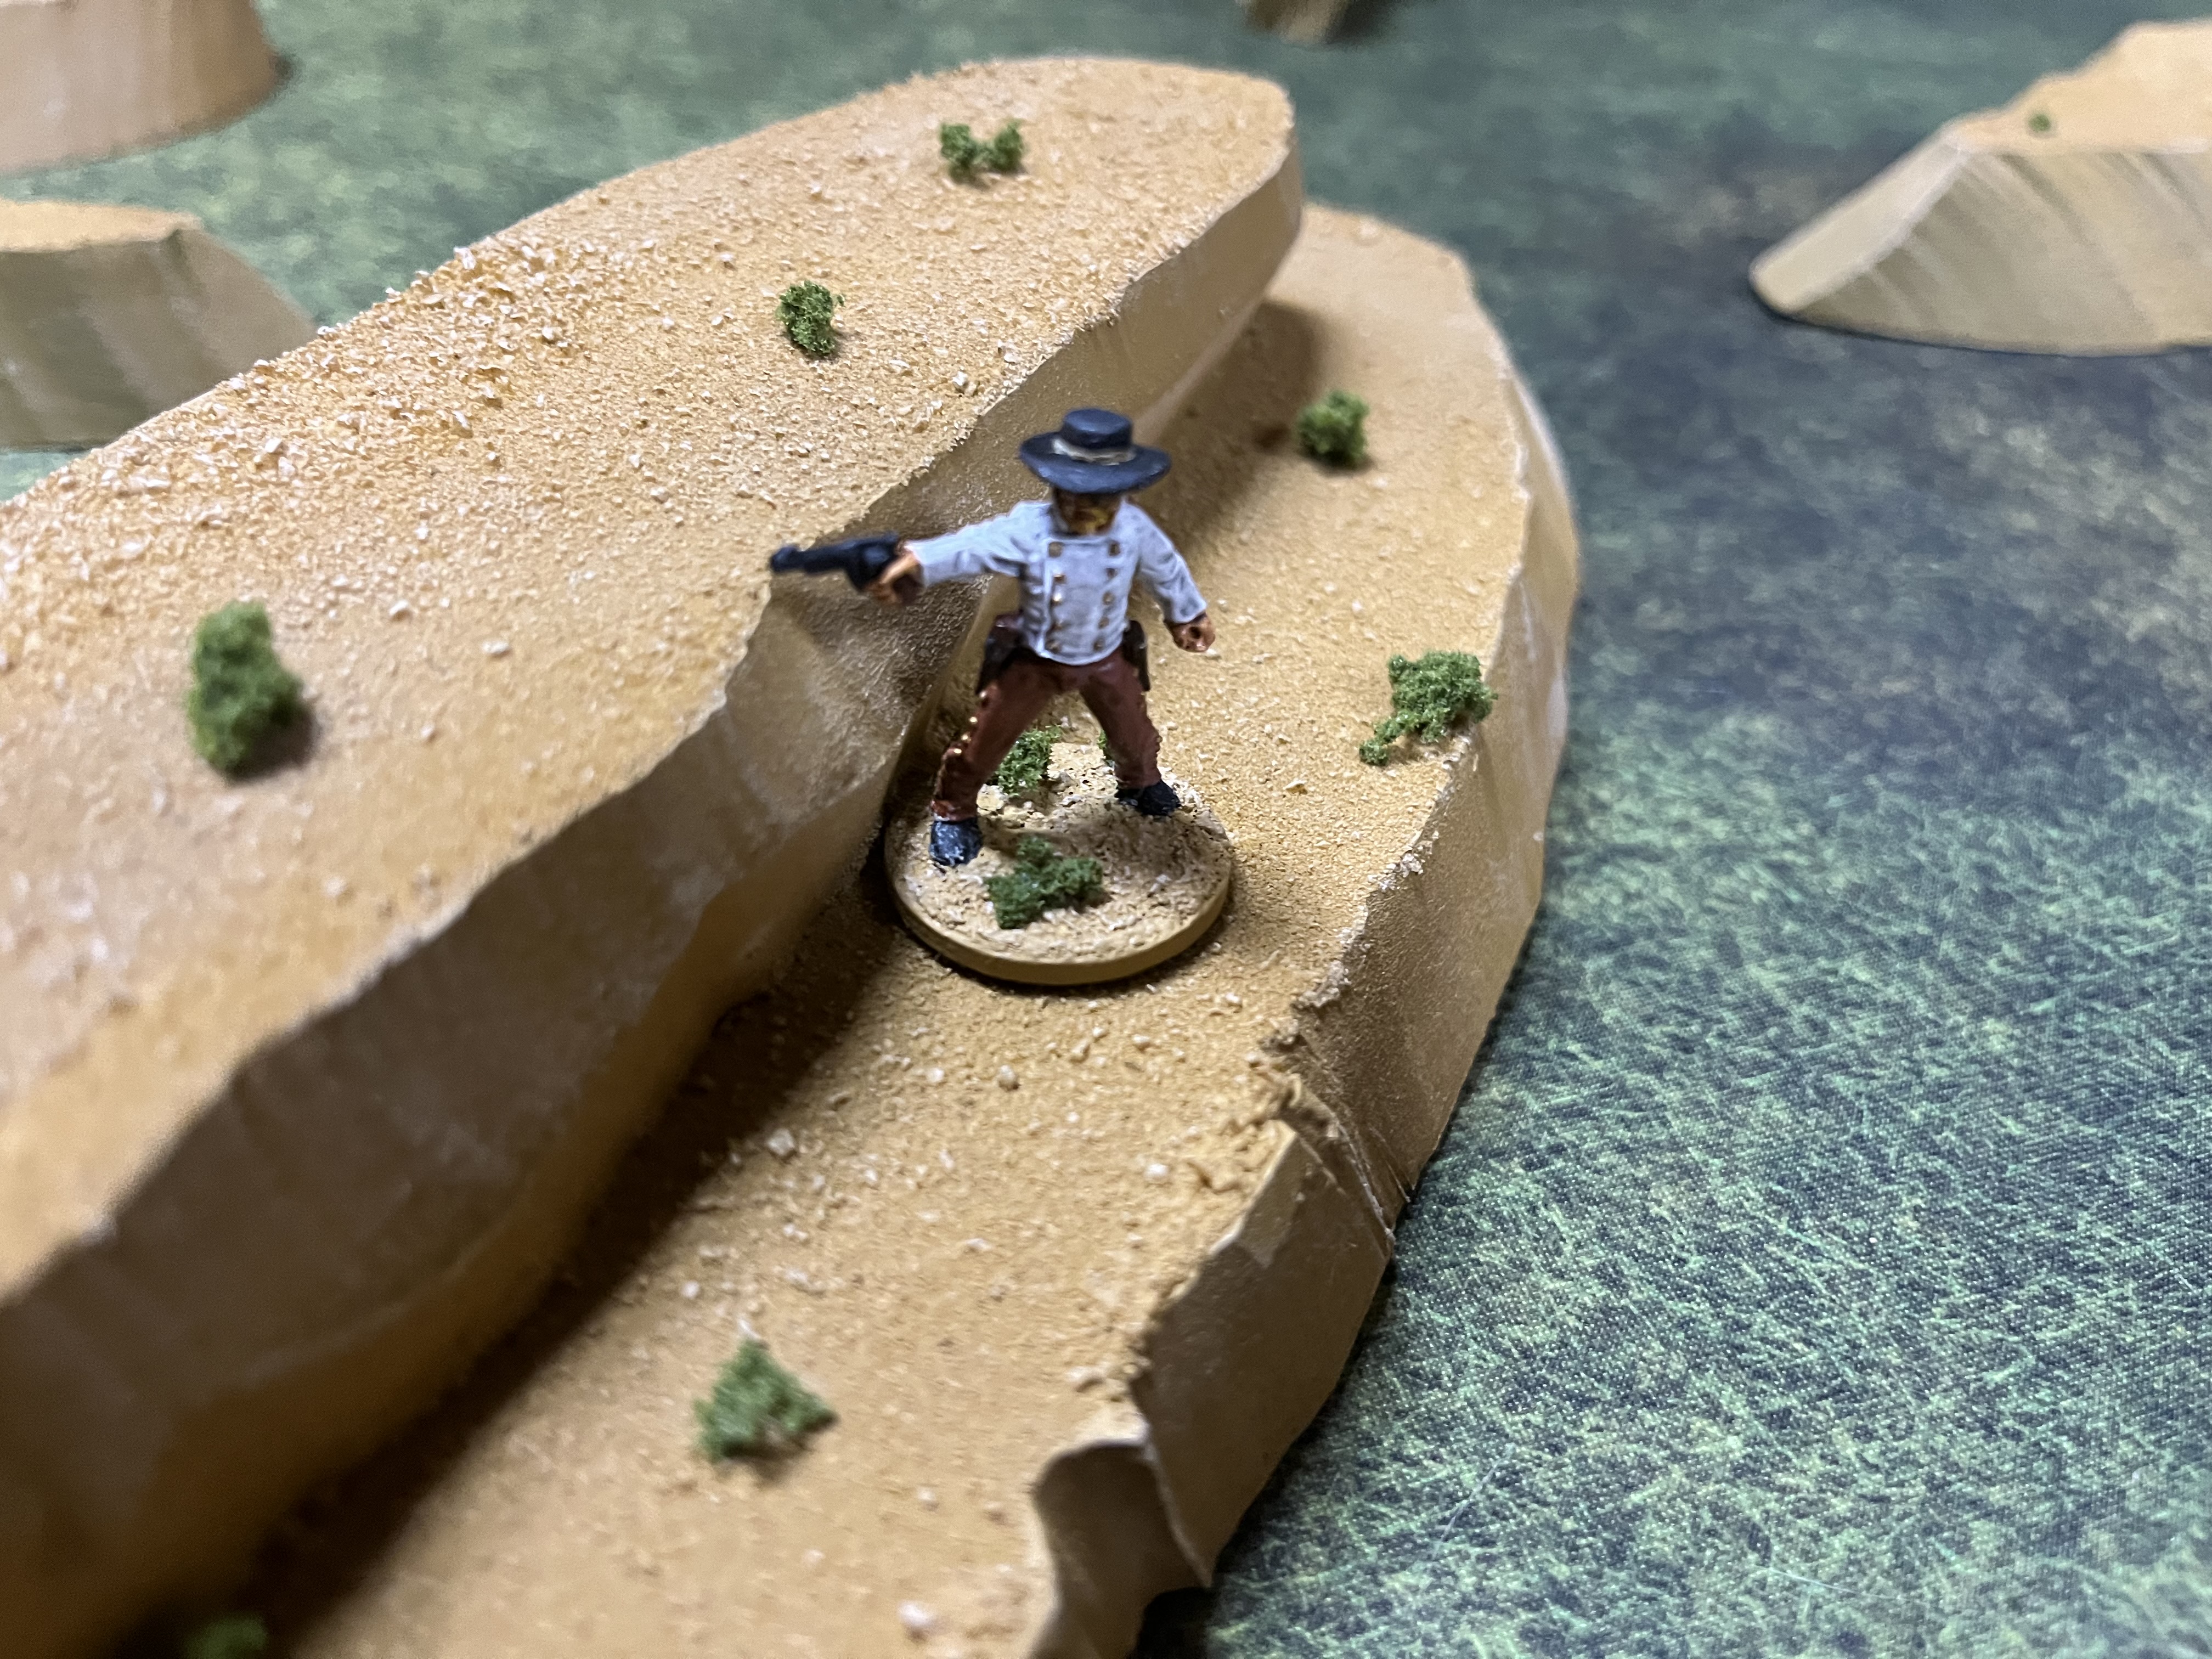 A bit abstract but should be practical for gaming and definitely gives off the vibe of an old Hollywood western.
 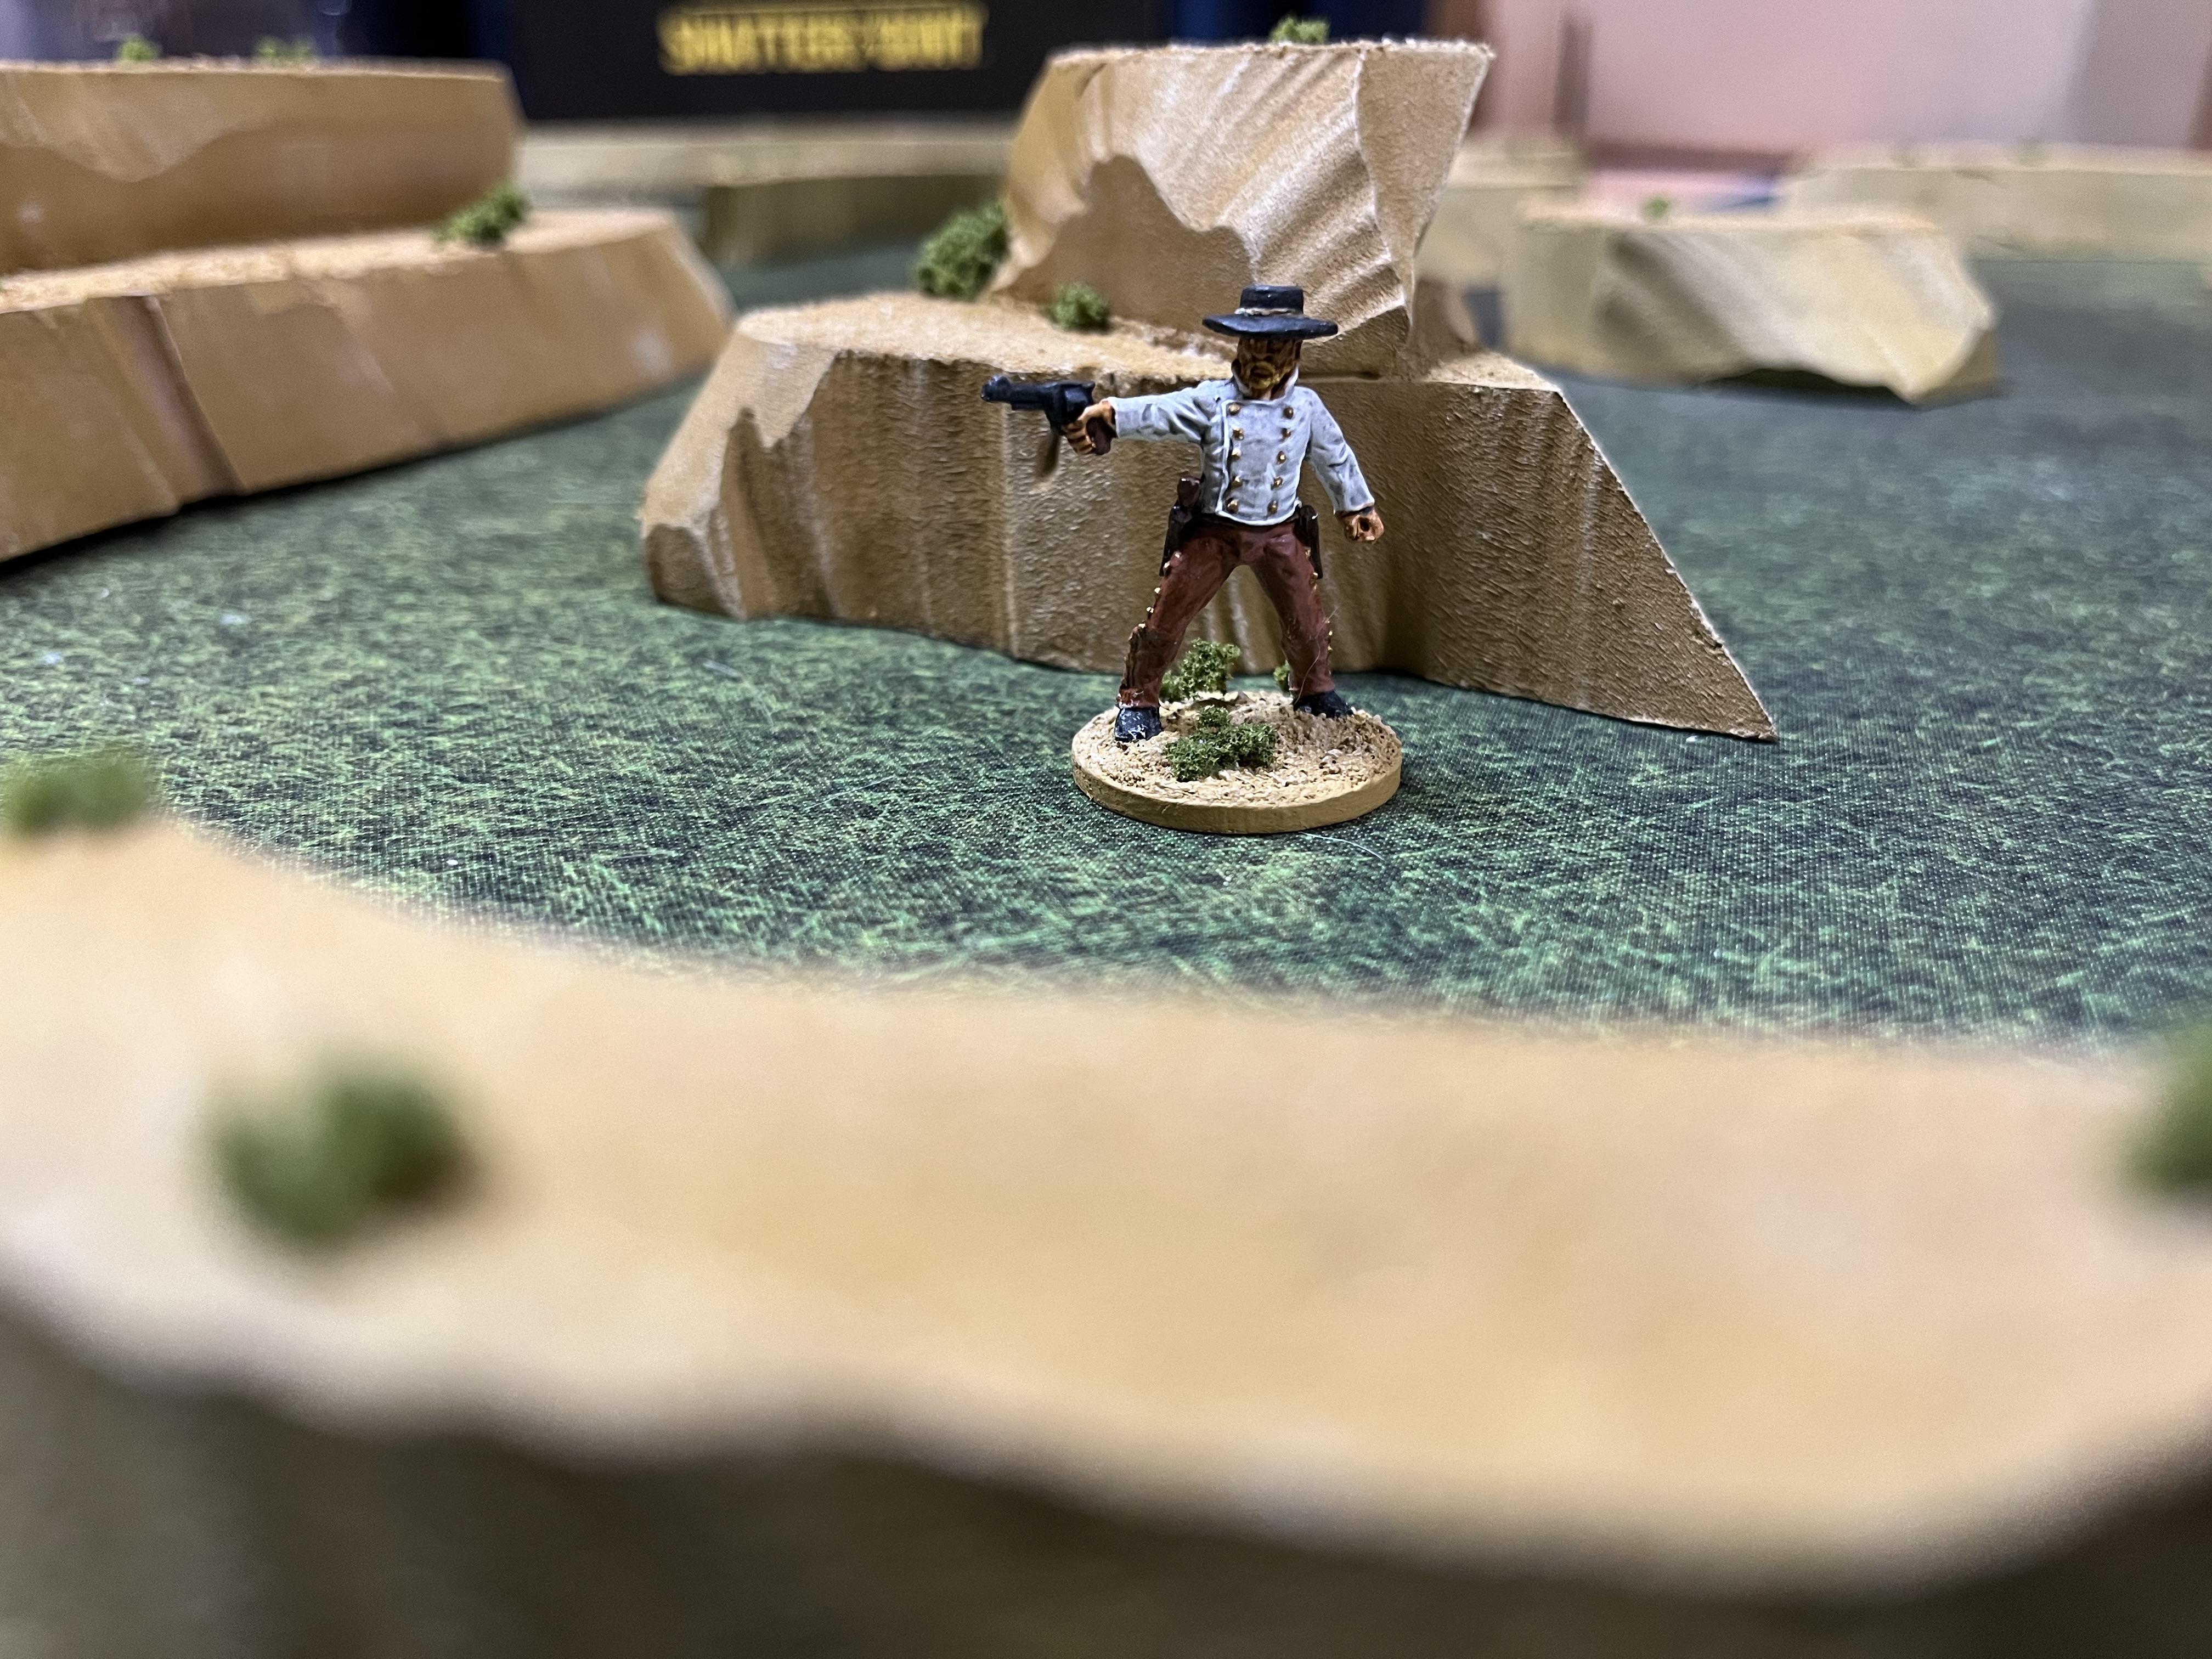 Charlie Prince is a bad man in the badlands.
 I was framed!
I’ve been thinking about adding some door frames to the jail for awhile now. I finally got around to using some leftover MDF sprues to make two door frames. Once I cut them to size I glued them together in the proper shape, primed and then painted them.
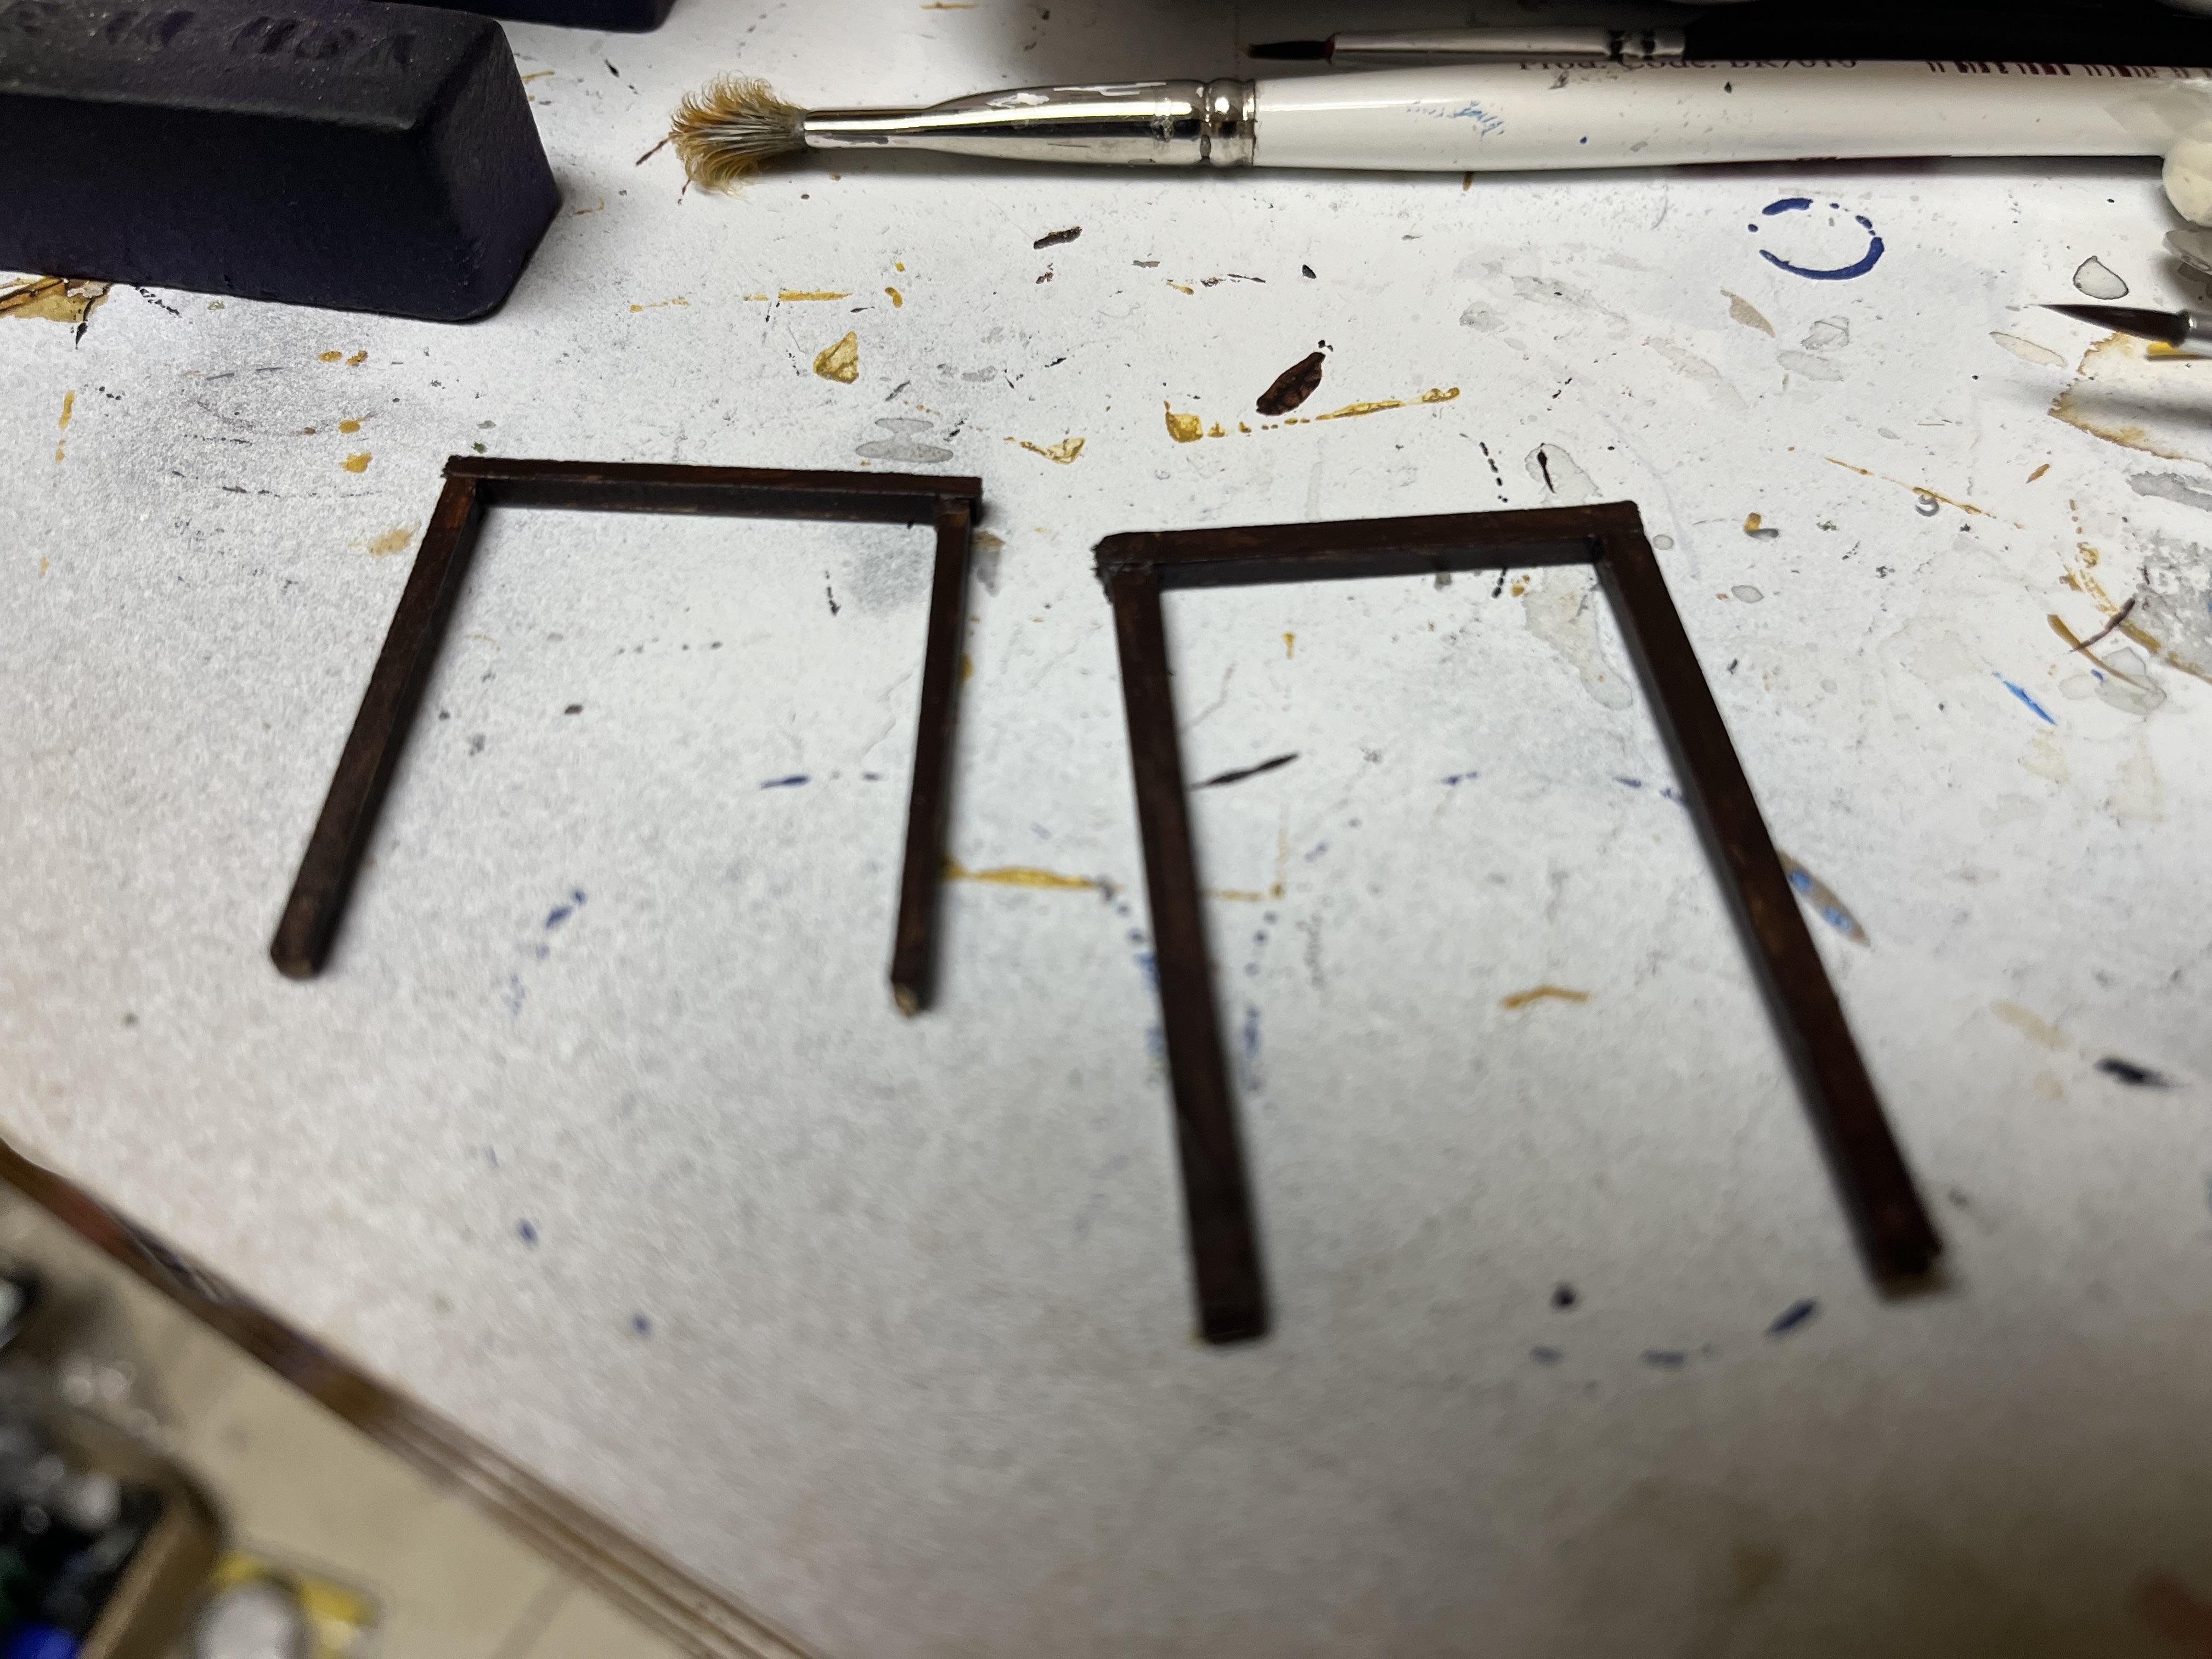 The completed door frames.
  Front door frame glued in place. I may frame the front window too.
 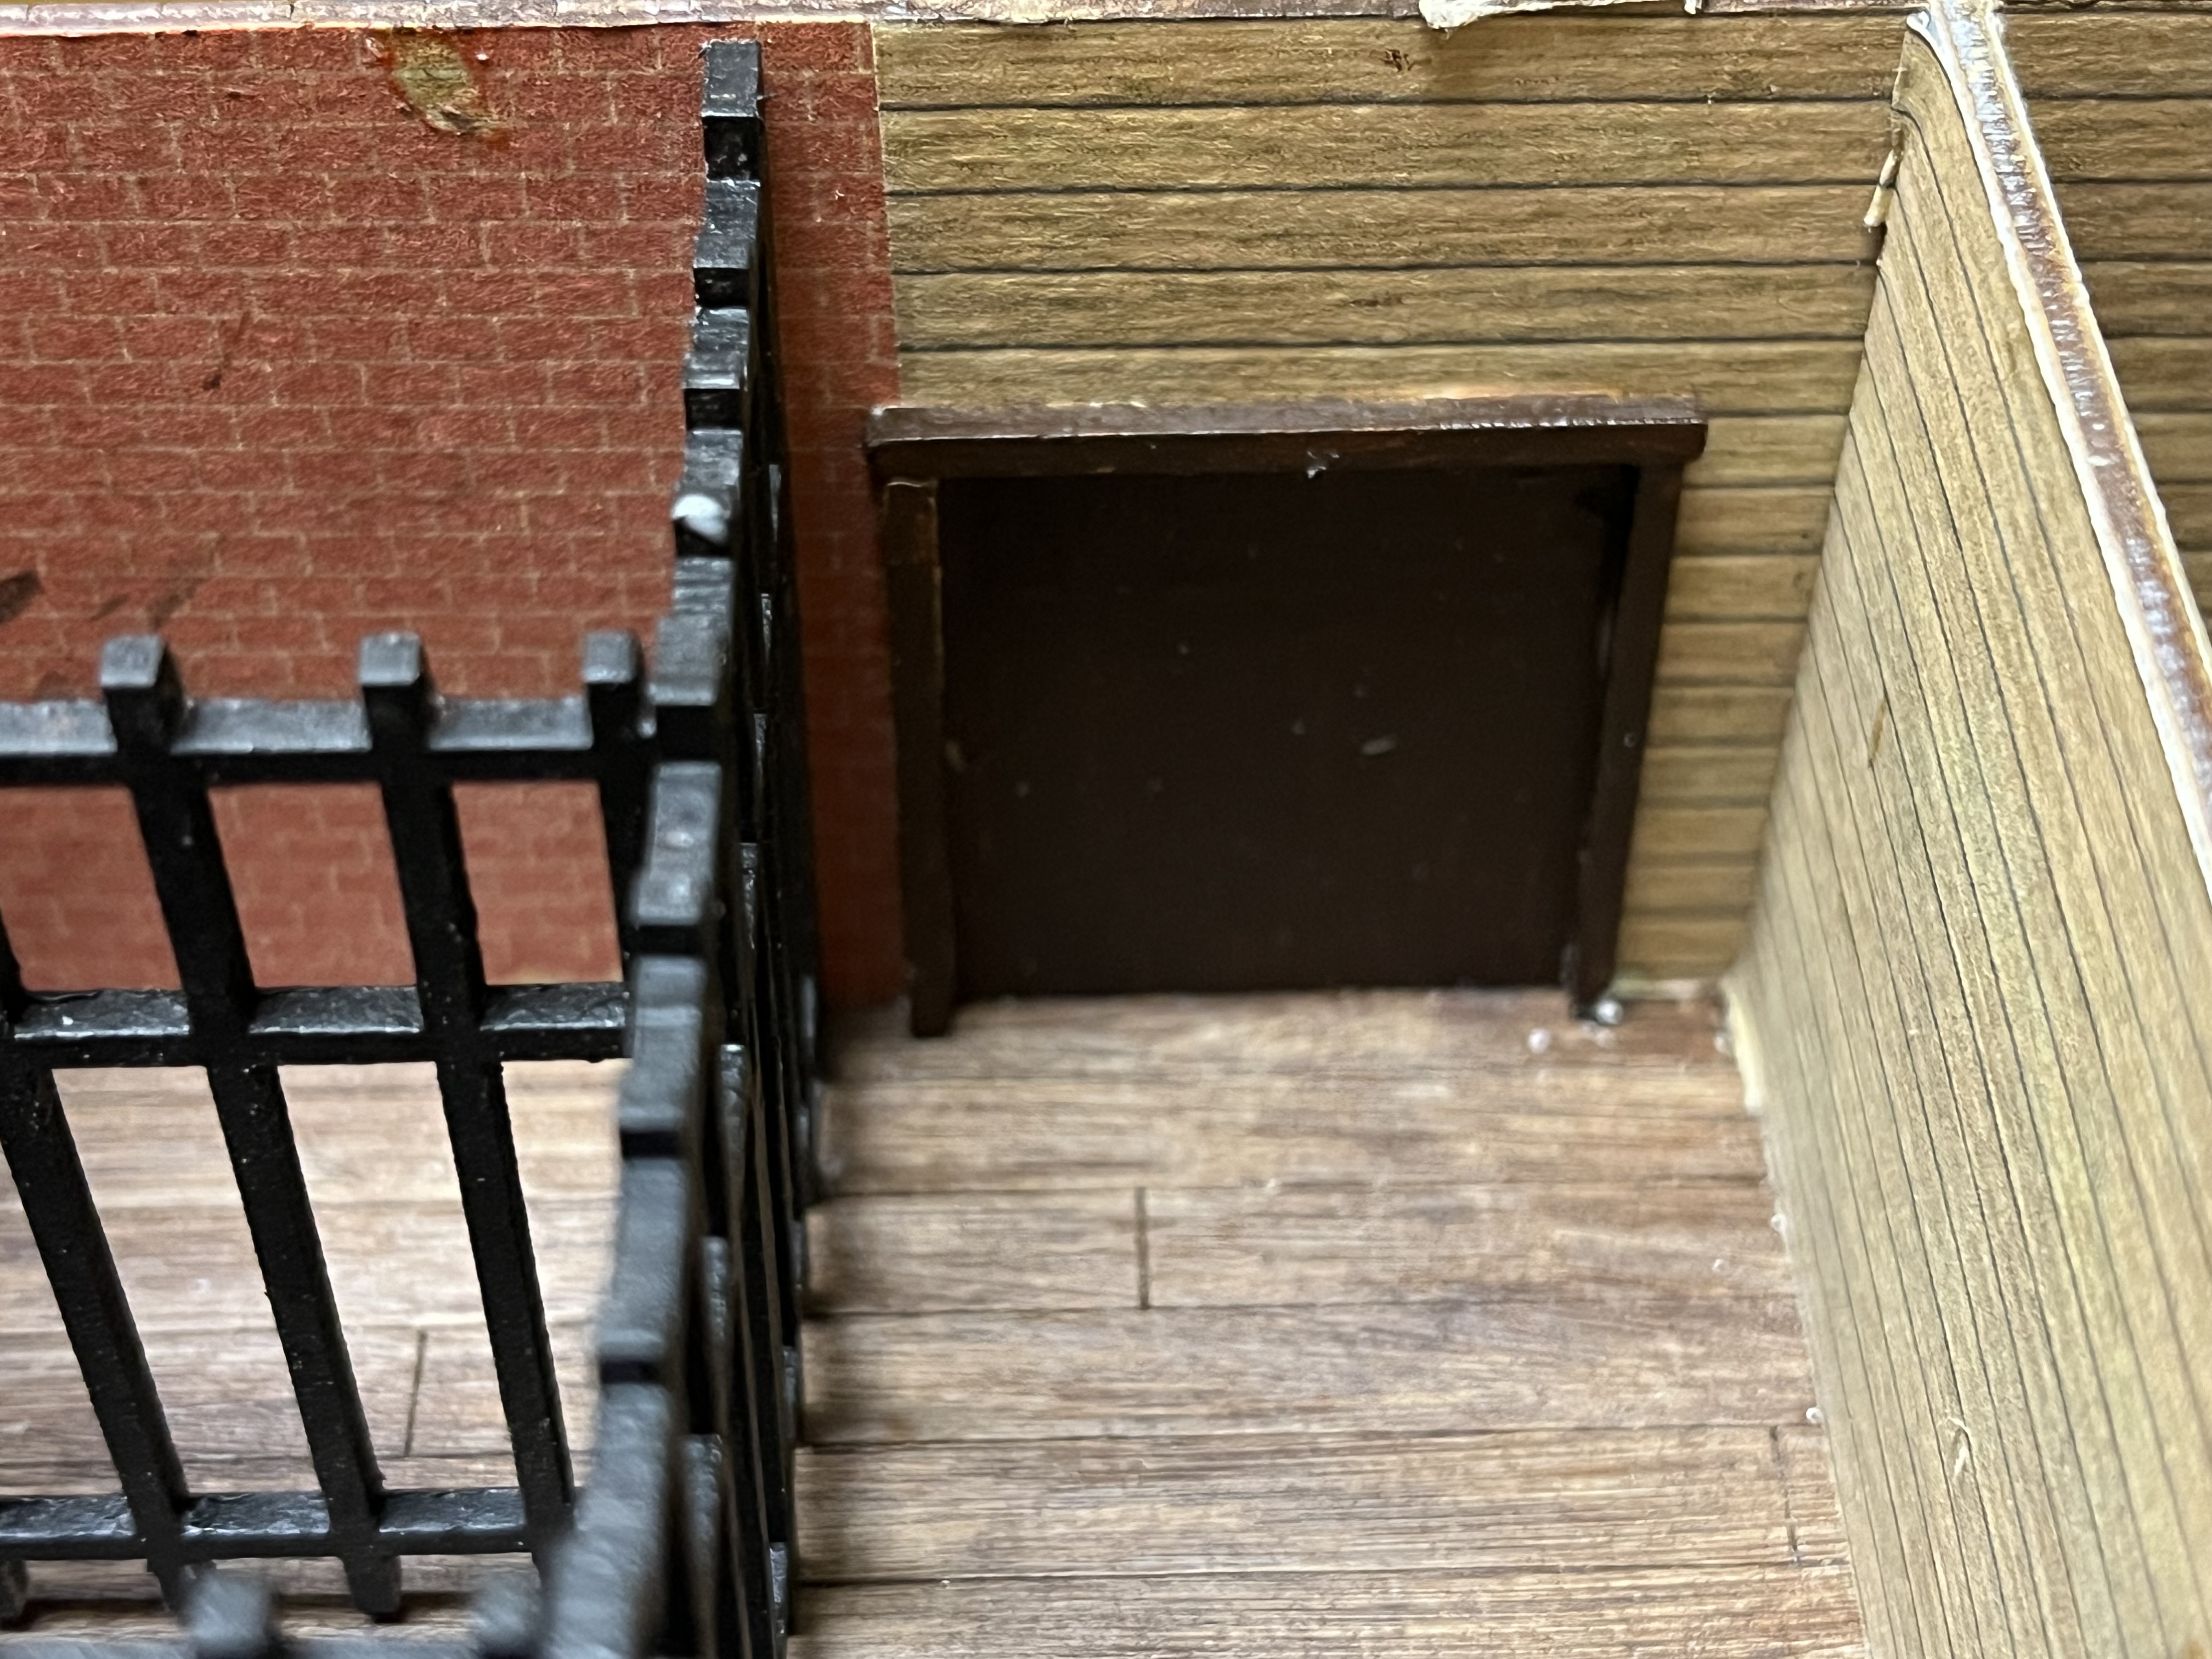 Side door frame glued into place. There are some windows in the cells I may get around to framing someday.


