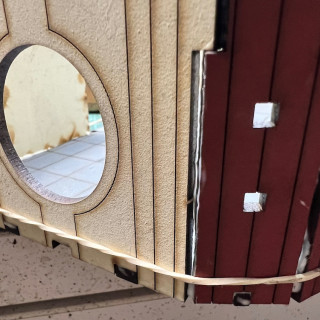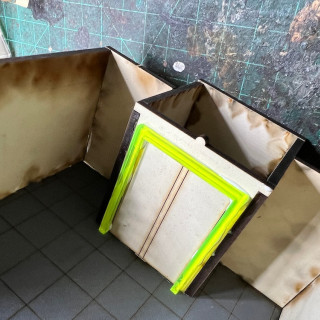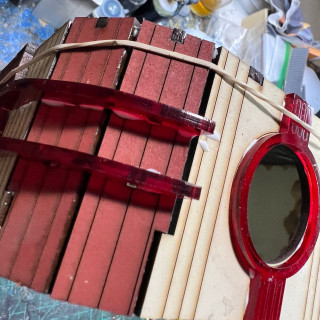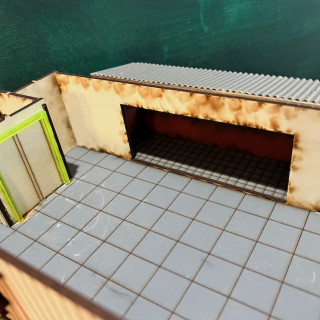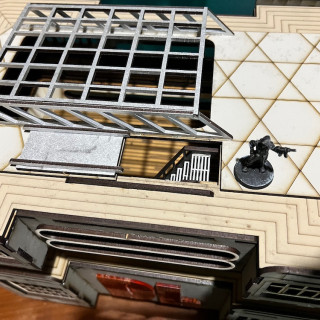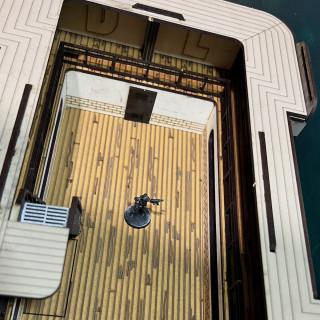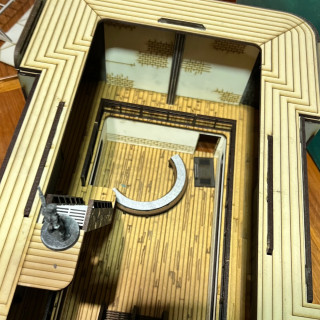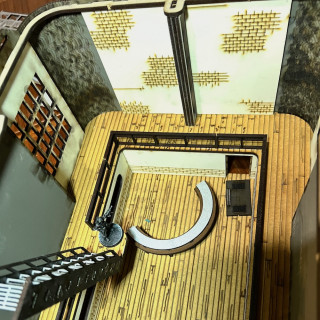
Cyberpunk Urban Growth with 144artist
Recommendations: 46
About the Project
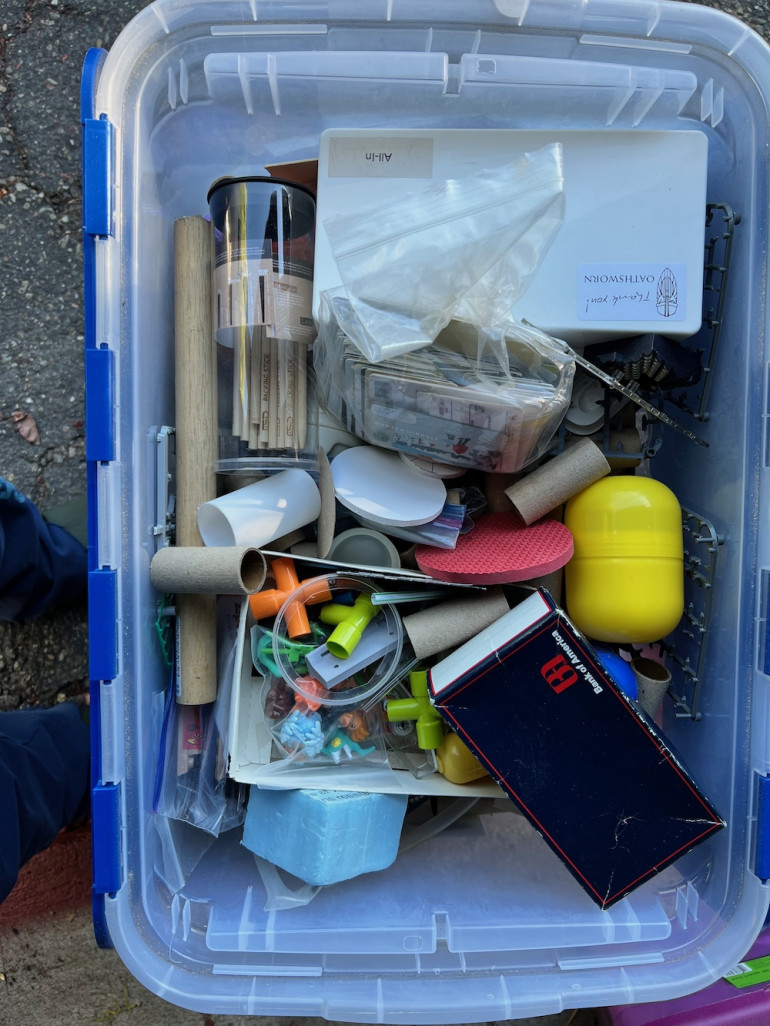
Still on a journey to build my own little Bladerunneresque tabletop terrain collection. I have a solid mix of MDF and scratch built projects in mind. In addition, Mantic claims that my Terrain Crate sci-fi trees are on the way from the Kickstarter I backed AND I have a box full of Maki-tainer pieces tucked under my desk. So there should be plenty of options to work on this month including a noodle bar that's waiting for paint.
Related Genre: Science Fiction
Related Contest: TerrainFest 2023
This Project is Completed
So it Begins... Again
As I got little progress done on my Spring Clean Challenge I decided to roll it over into the Terrain Fest. So I want to finish painting the noodle bar I assembled as well a number of MDF kits I’ve collected. Having spent a day playing Space Weirdos using the terrain I’ve finished inspired me to break out the Black Site Studios kits in my (now organized) garage to get started. I’ve acquired a few more of Antenocistis’ Workshop kits as well and as the company is no more, they are cherished. Now if I can just find their Police Station kit I will be beside myself.
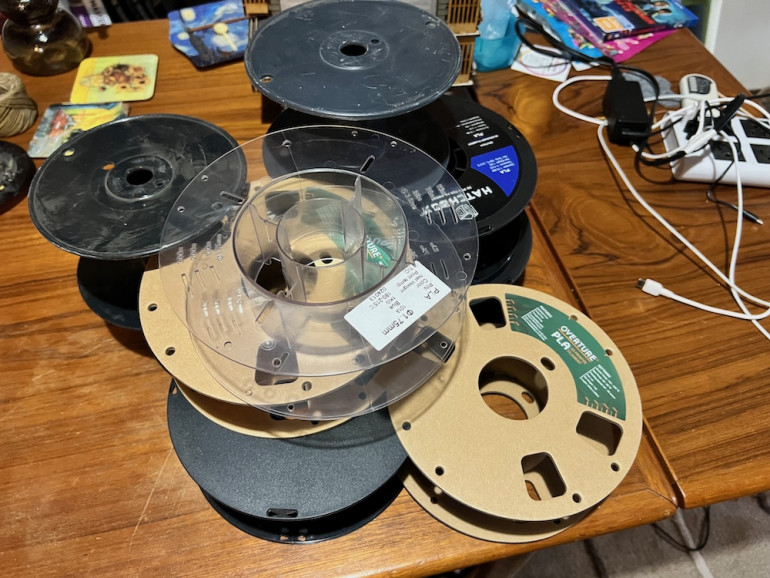
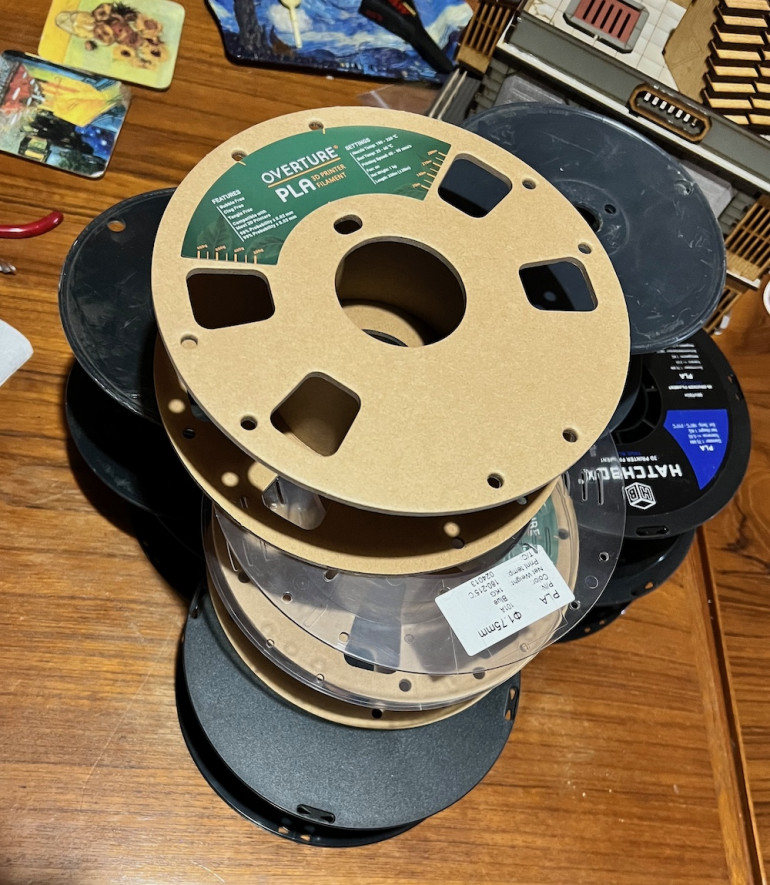
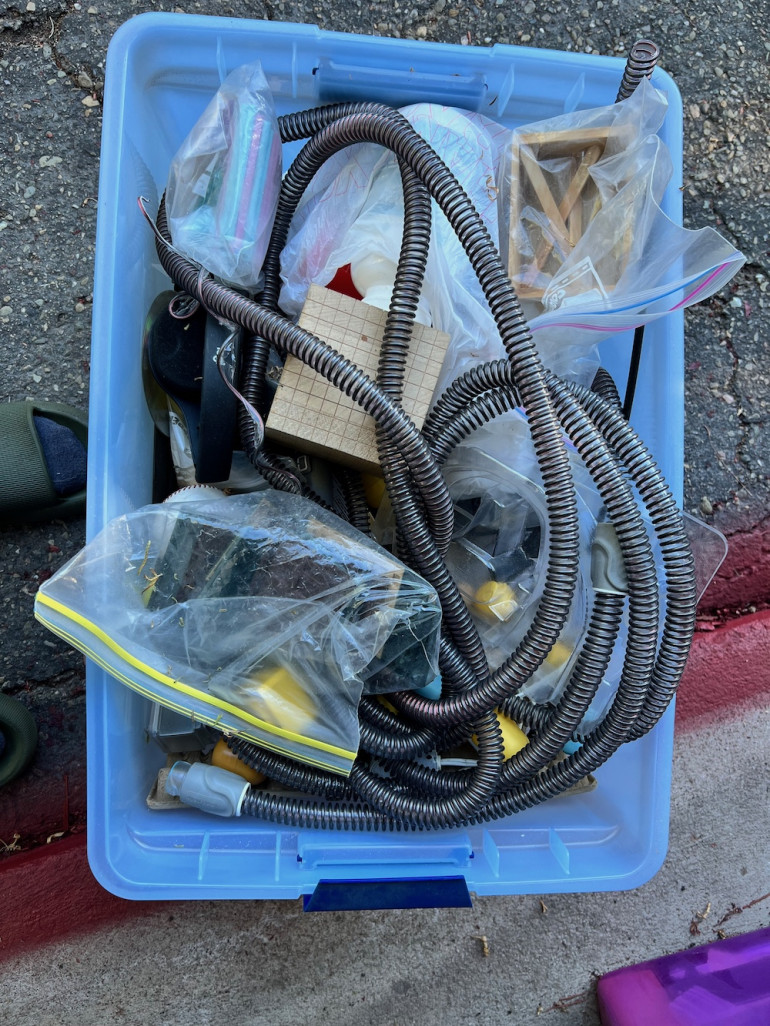
Finally, my friends have been giving me their filament spools from their 3D printers to make more industrial cylinder pieces.
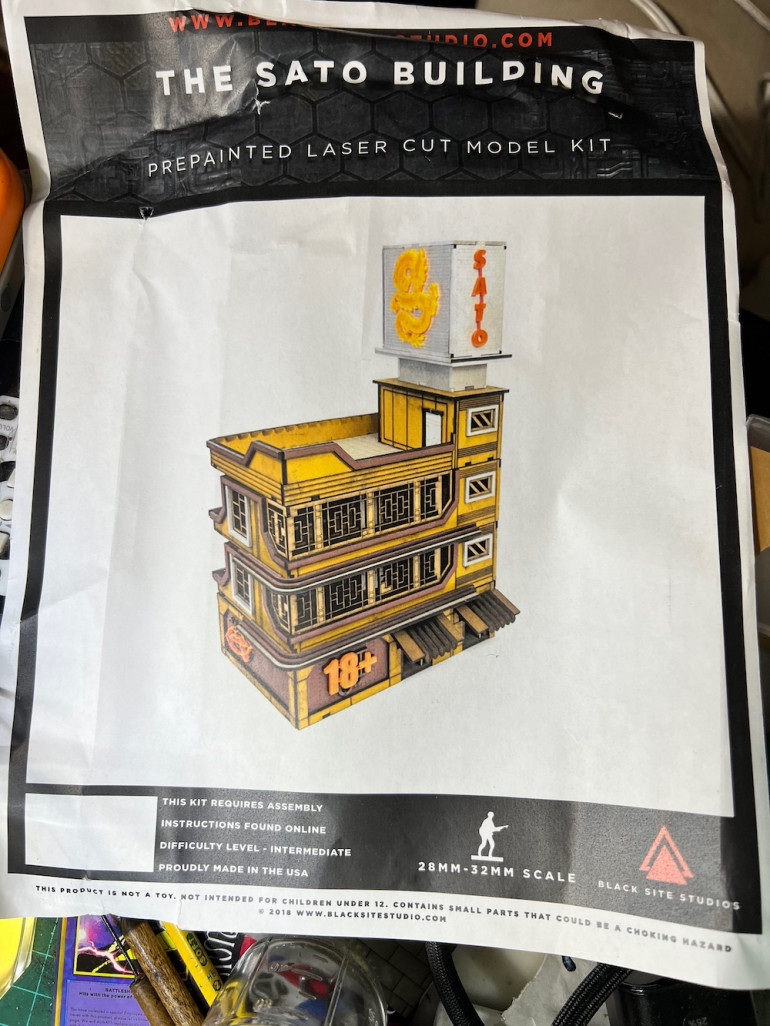
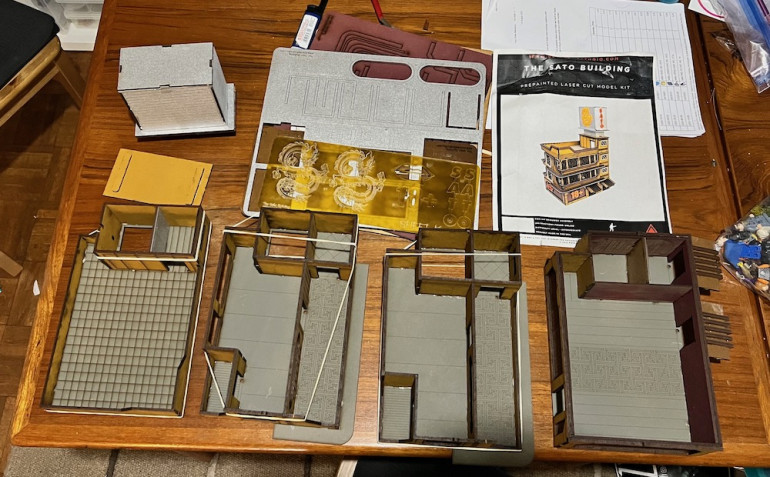
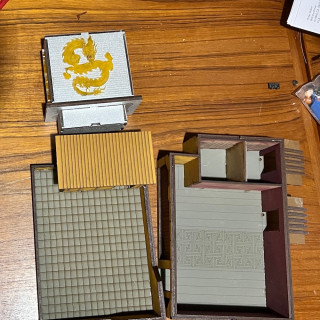
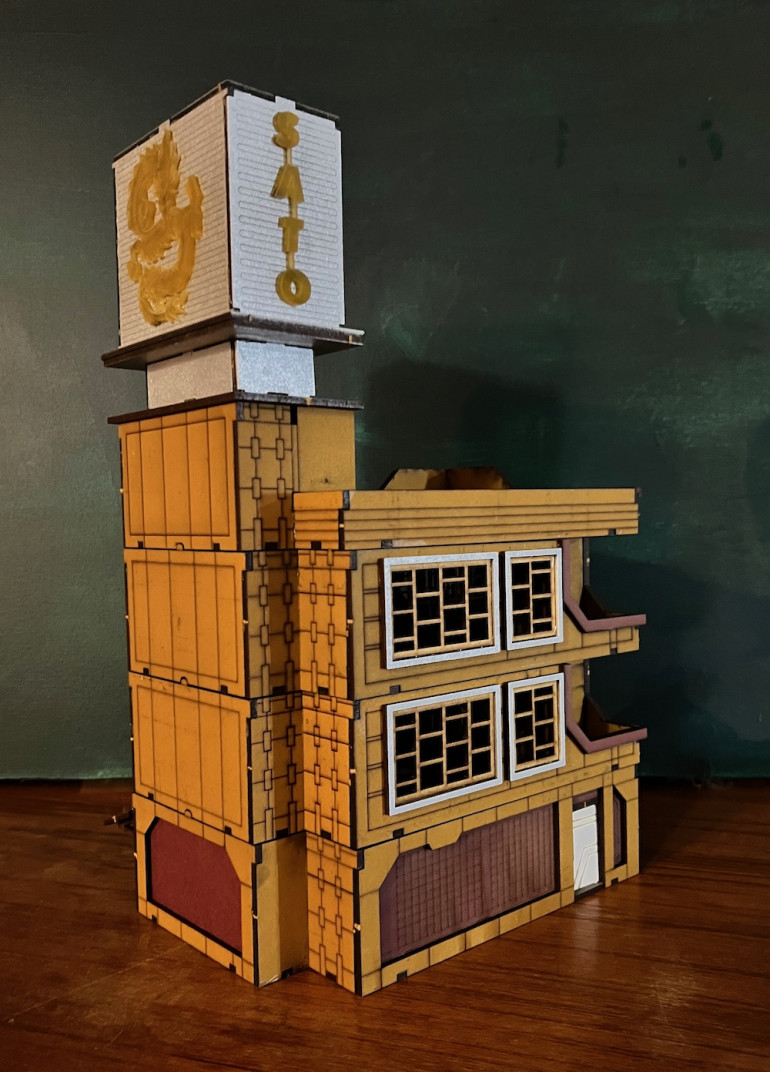
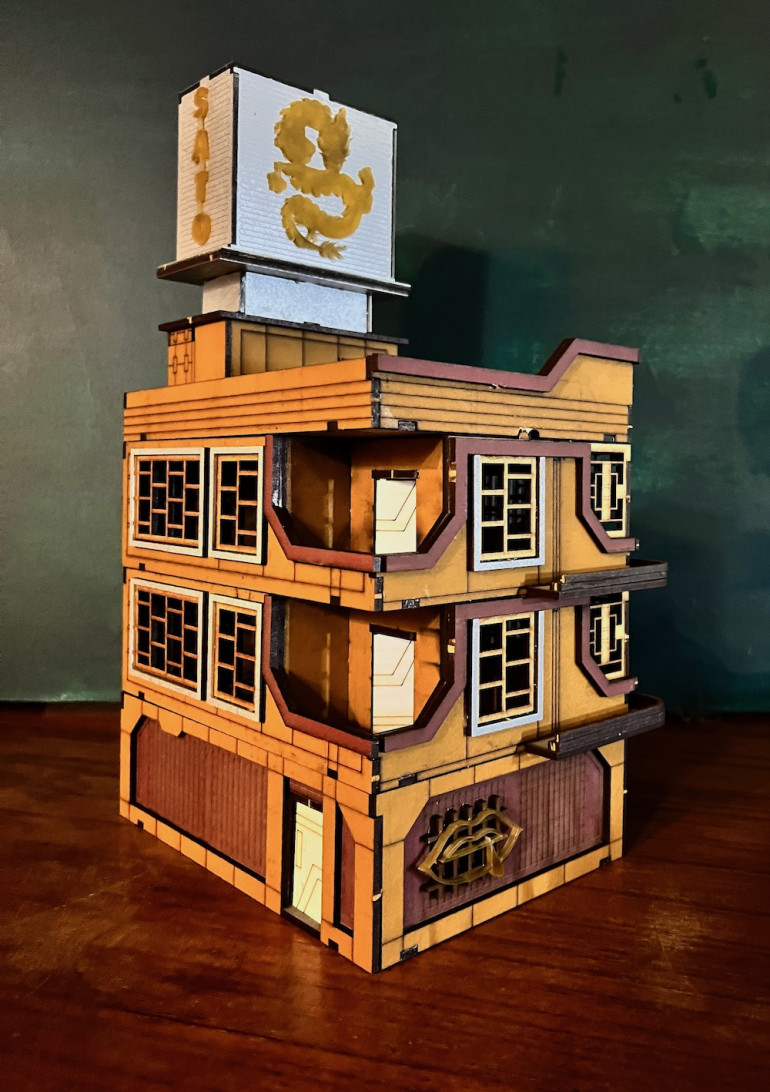
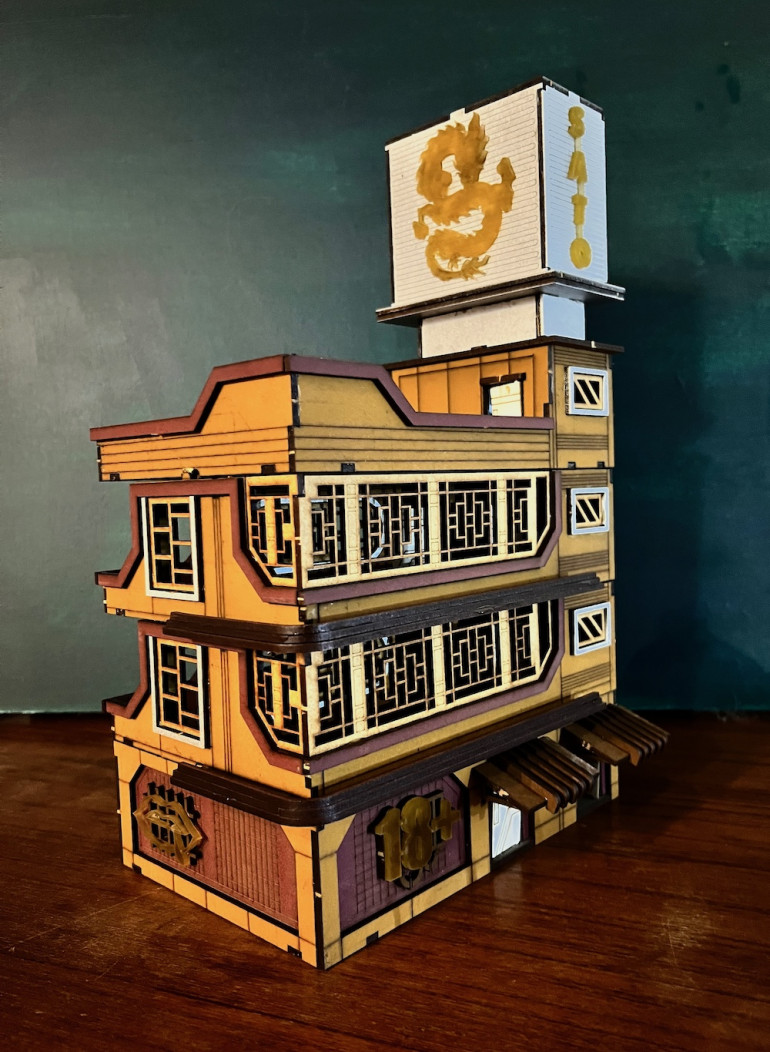
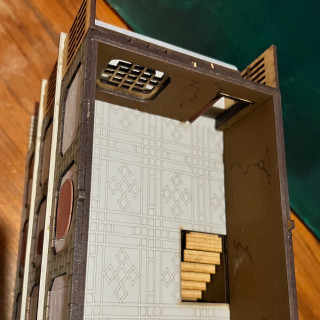
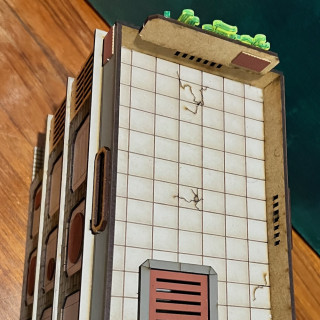
Sato Building is Open for Business
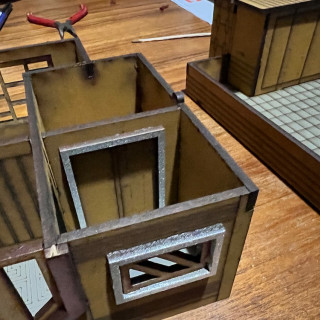
First, when building MDF kits, I can not stress enough the need to dry fit EVERYTHING. Even when I do I still find myself making dumb errors though the test fitting does make said errors fairly easy to fix.
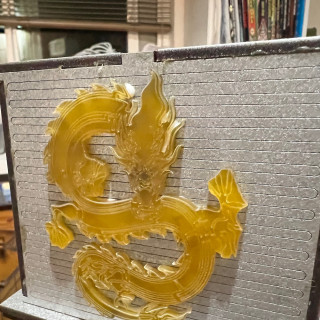
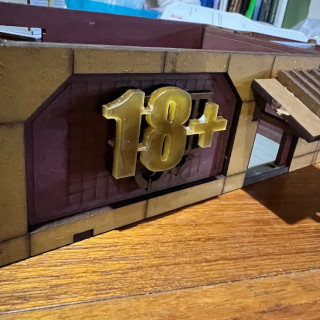
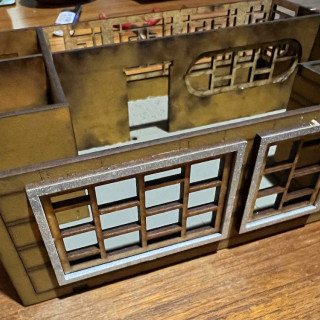
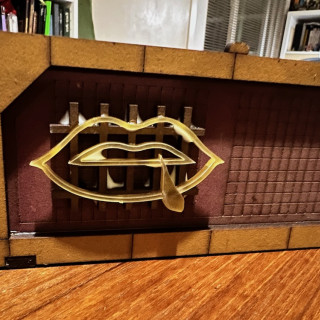
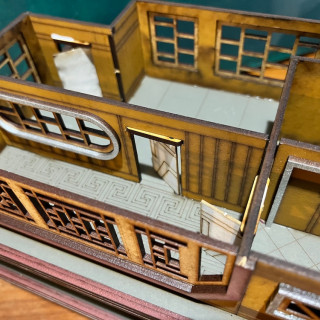
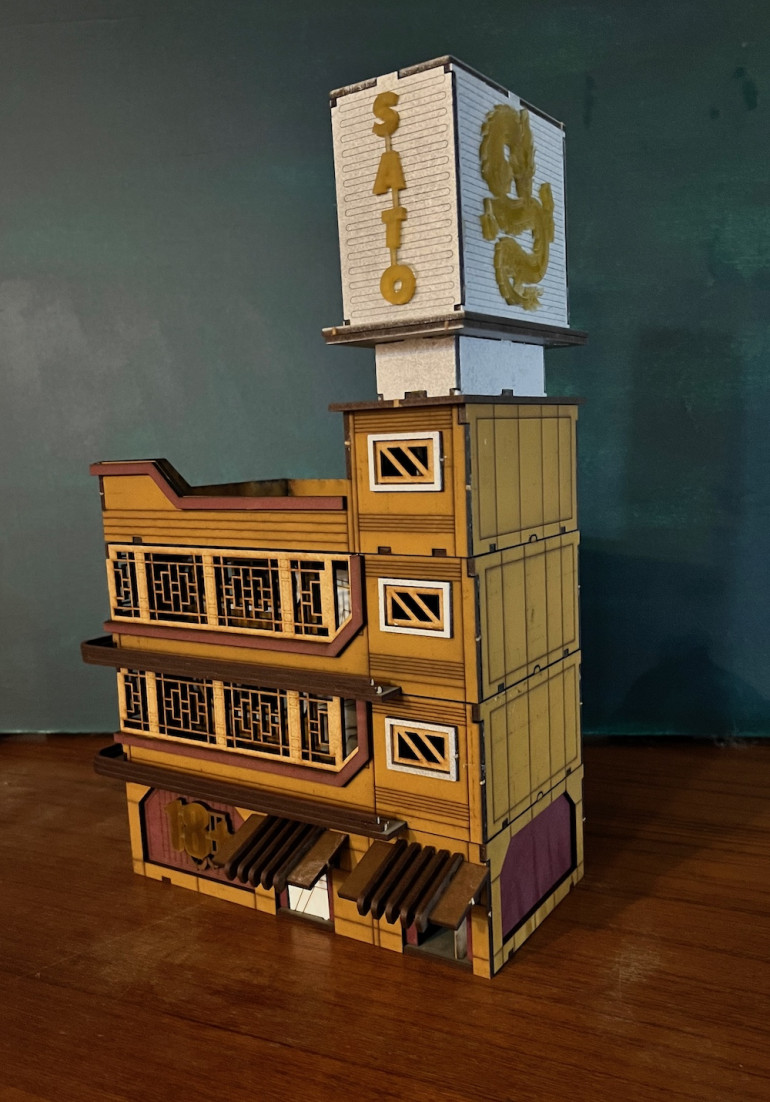
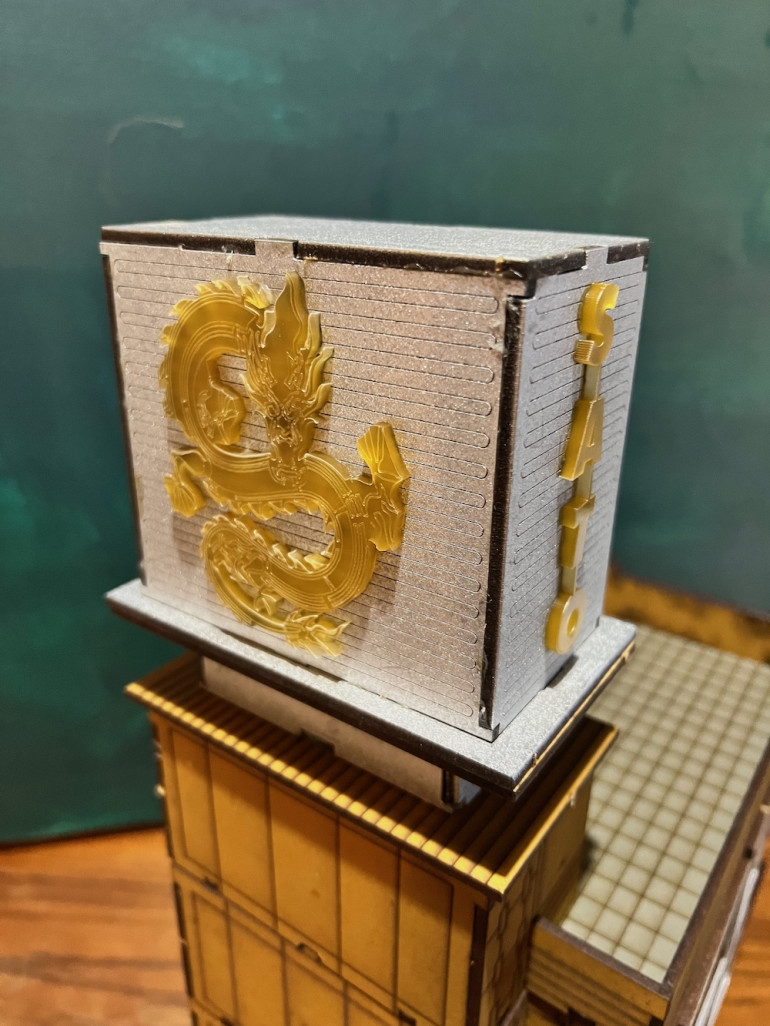
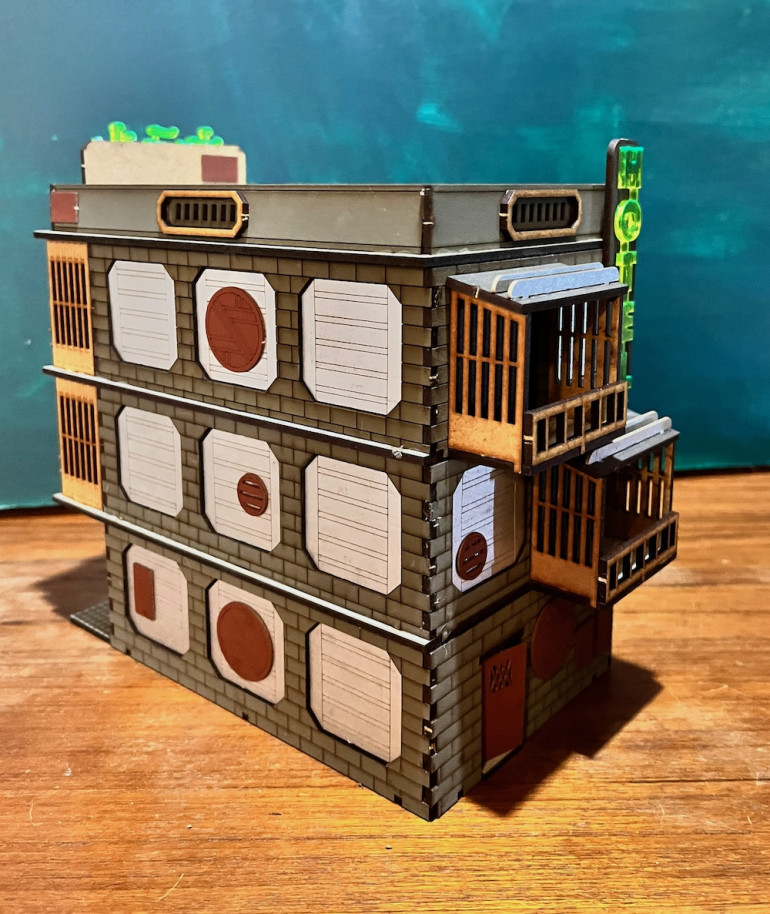
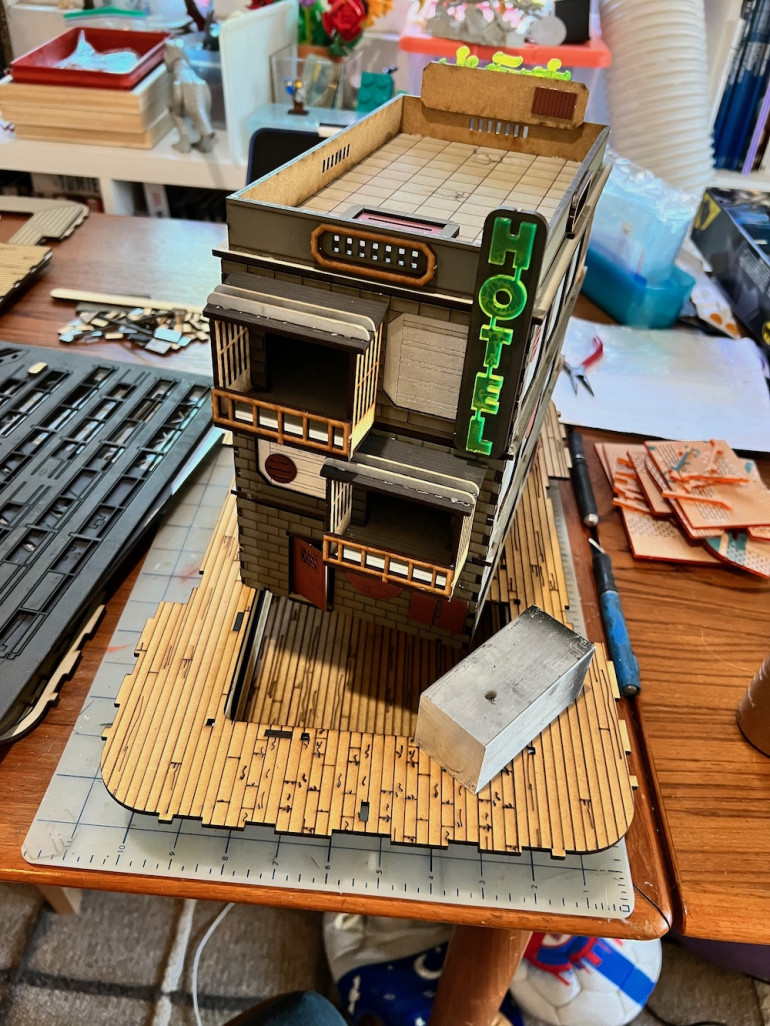
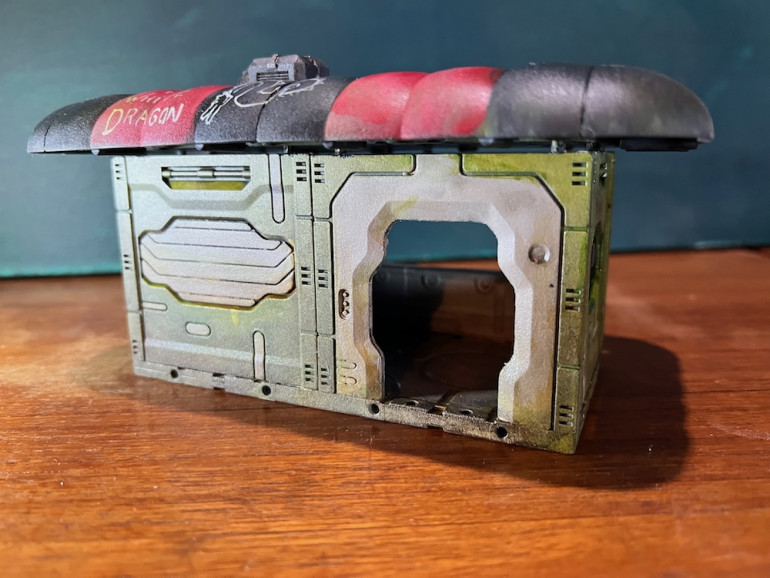
The Sato Building is a wonderfully tall construction even without the huge sign. With the sign it is probably the tallest building in my current collection. Going to be a nice sniper’s nest or target as there is no cover there. I like Black Site Studios’ kits. They don’t have a lot of the finest detail of Antenocistis Workshop, like transparent windows or multilayered doors but they do have doors that open and close as well as full interiors. I love the signage and eastern details though as it really has that Bladerunner feel I crave. All in all, my construction errors aside, I really like the look of this kit. Great lines, great details, and lots of playable space.
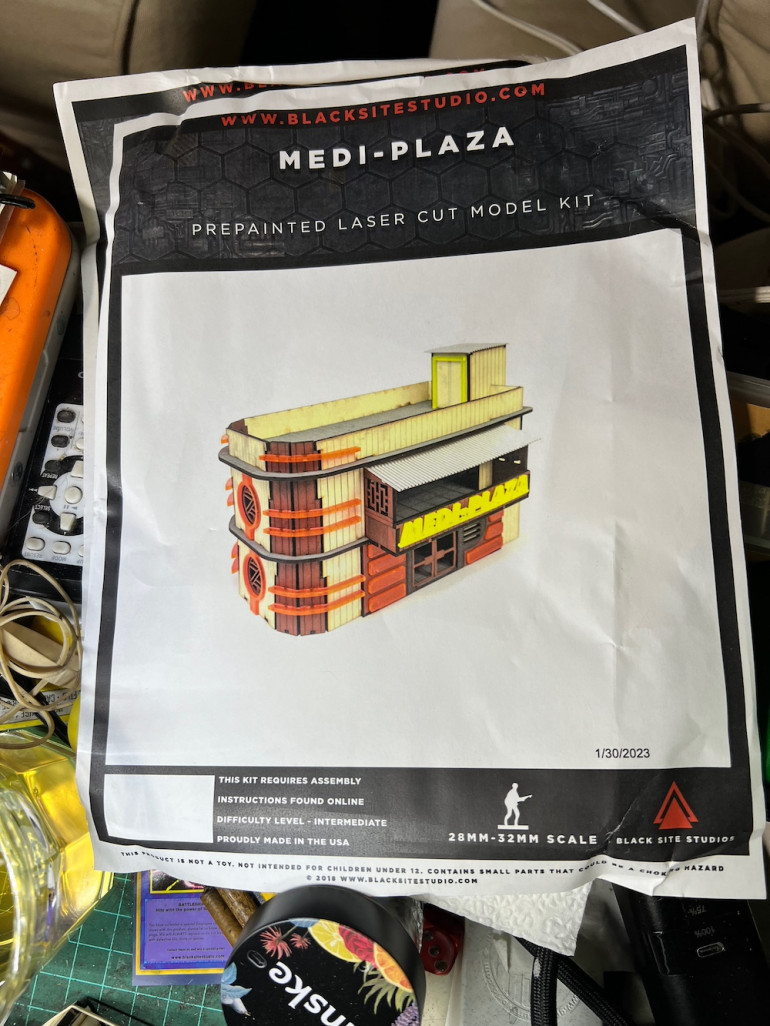
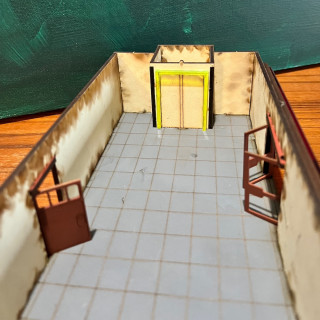
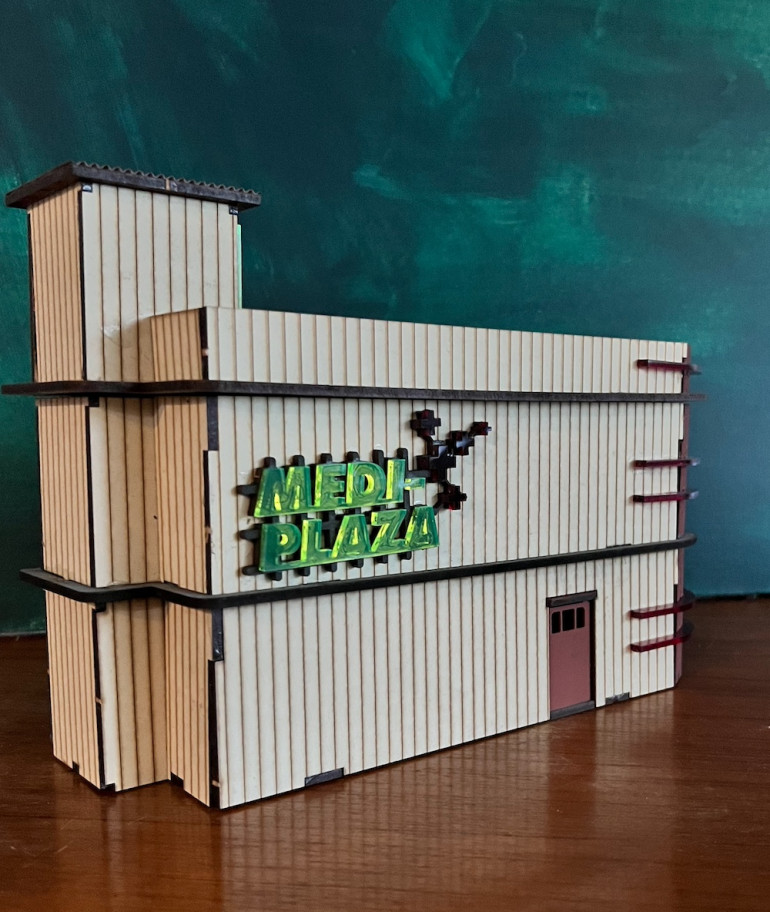
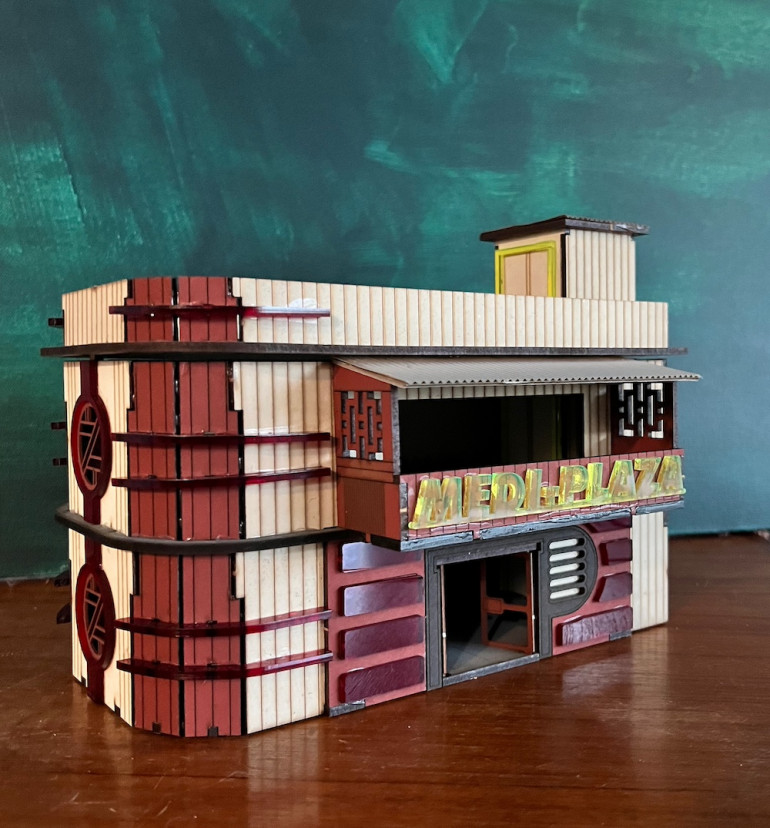
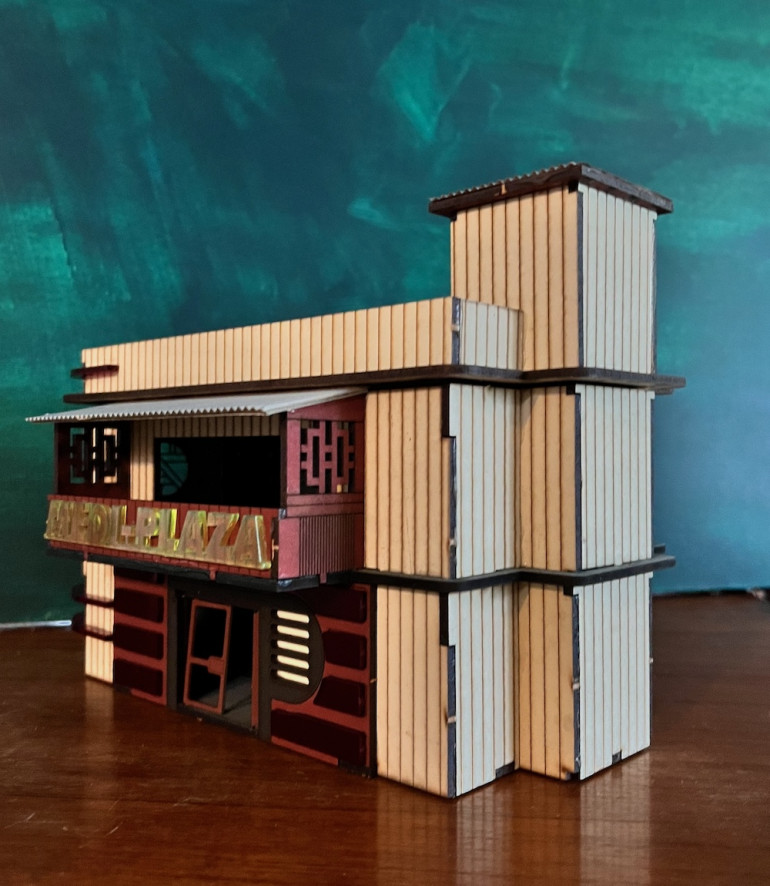
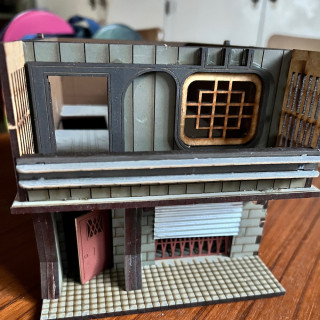
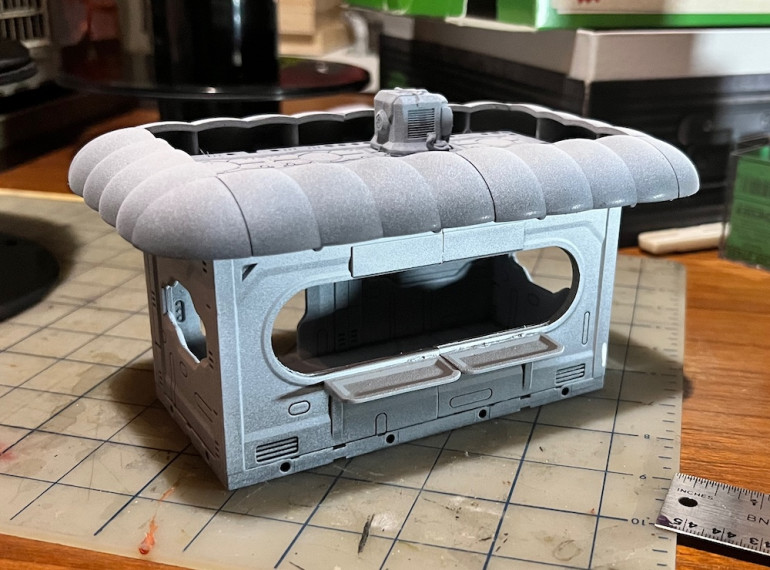
Medi-Plaza Comes online
Knowing how important miniature health care is in a miniature wargame, I initially ordered it because I saw a clear game objective. The fact I have some Mantic Terrain Crate pieces that will fit nicely is bonus. Besides, they’re already done so will show up some time in my Damacles Sector project Blog I’m sure.
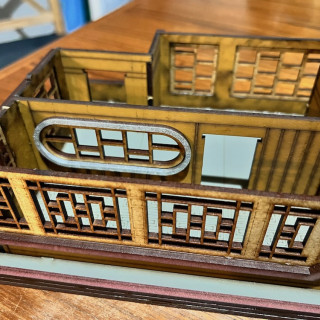
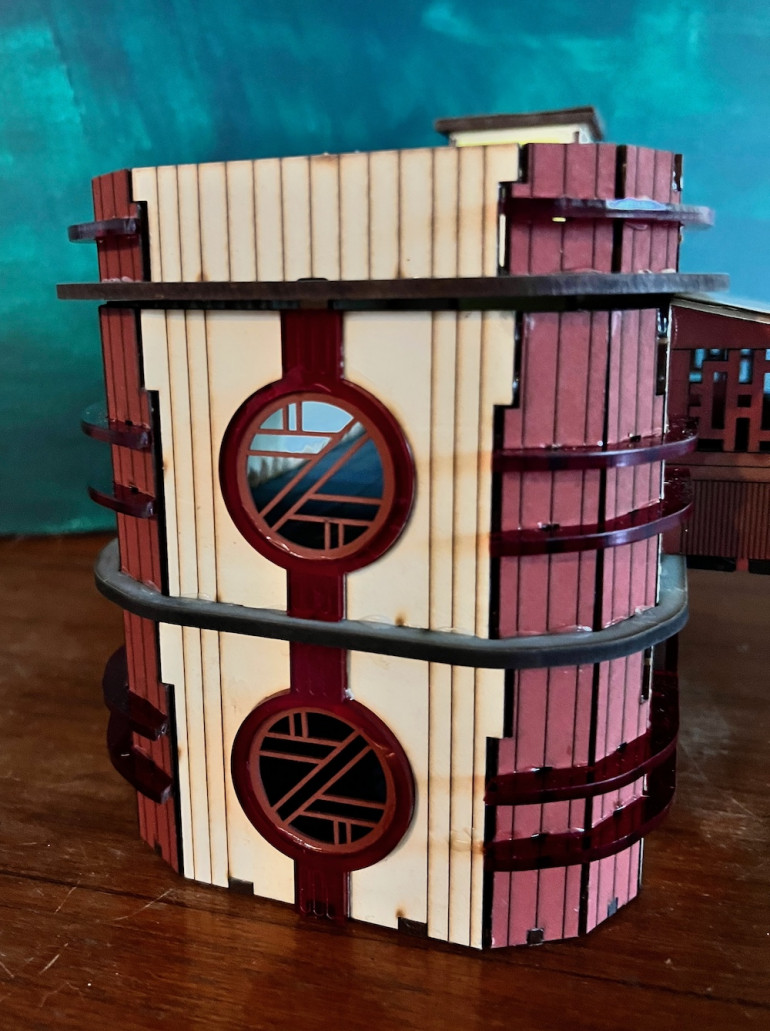
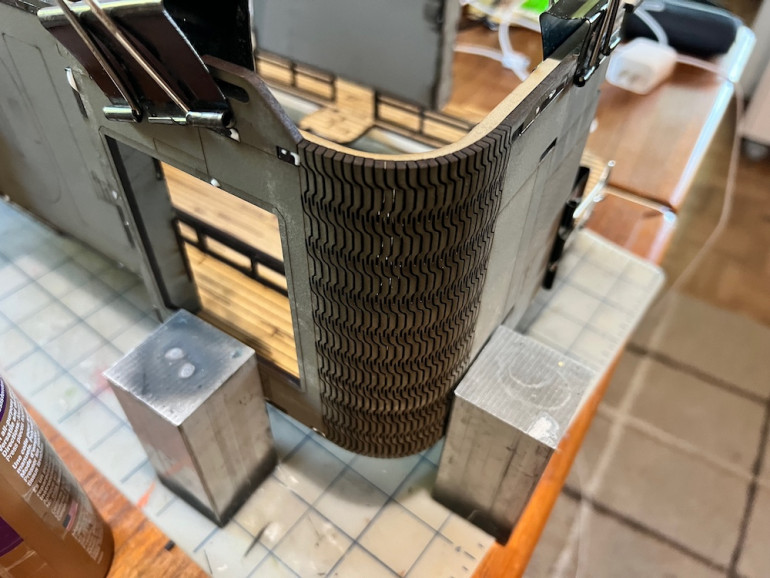
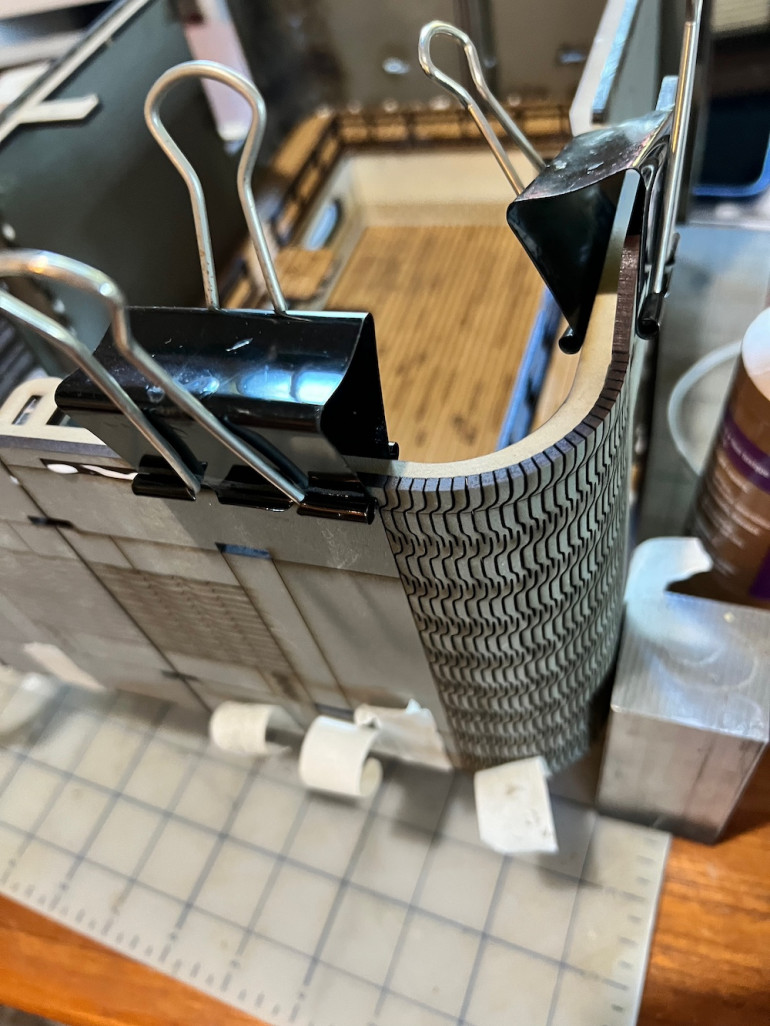
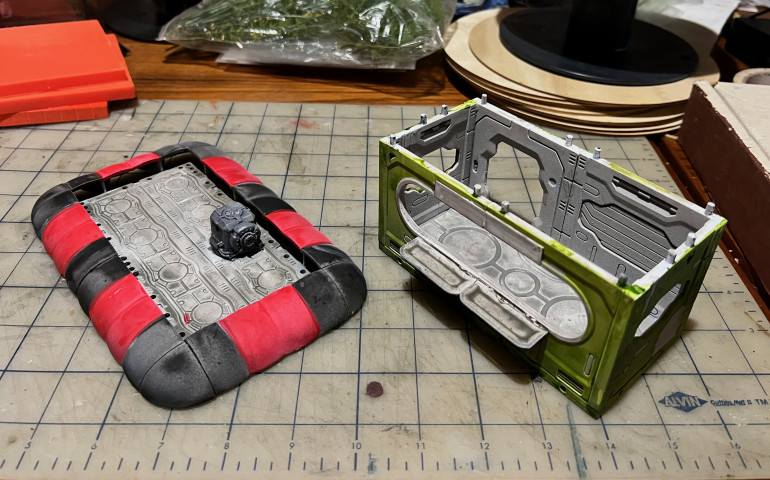
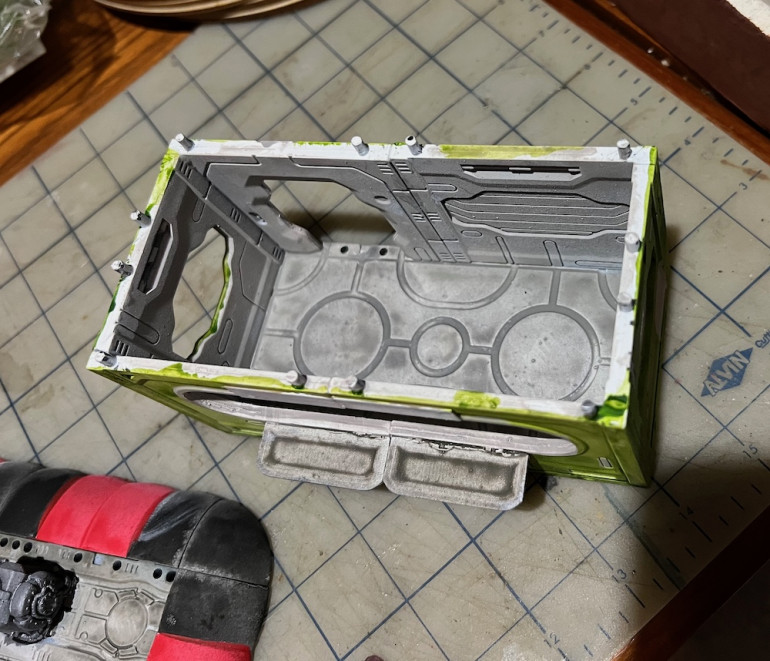
This kit is a pretty straight forward build which means a “decorated box” in my opinion, which is no bad thing. Elegance through layered simplicity has made Lego a world power after all. There is the addition of two curved corners done with angles and thin pieces which do require care when gluing but nothing too frustrating. As always, dry fitting everything before gluing is really helpful and highly recommended
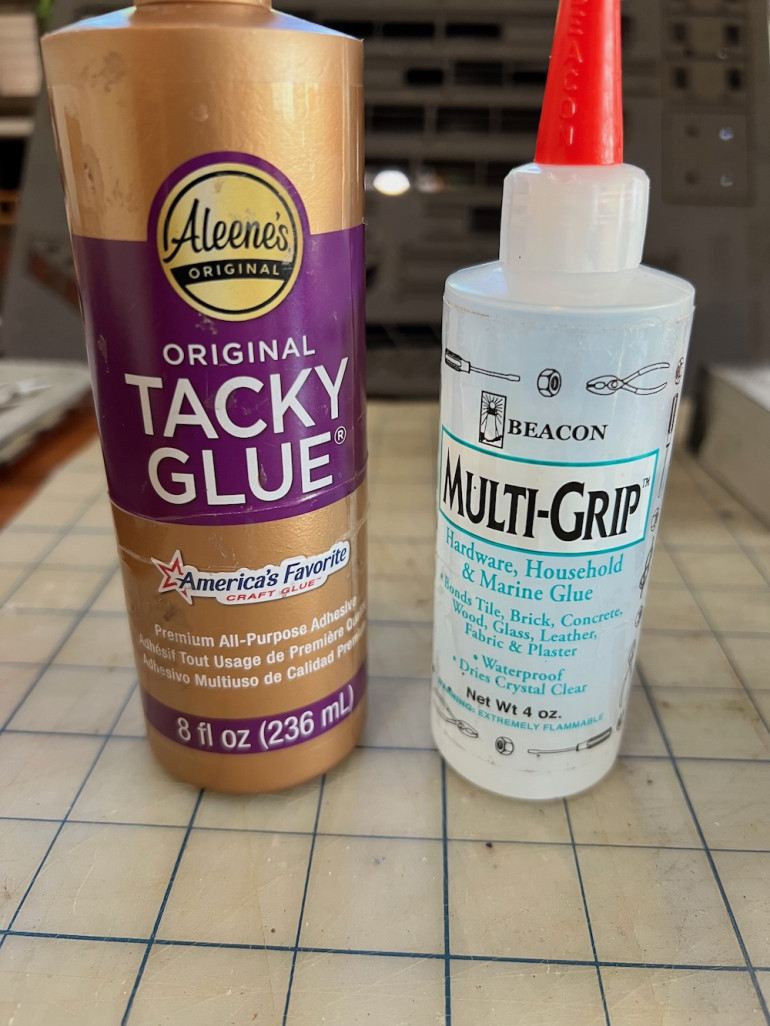
On the point of gluing, there are mixed materials in this build, something I think Black Sites Studios do very well, which mean to take care to test your glues on part on the off cut plastic before applying it to the pieces. I just use Aleene’s Tacky Glue for pretty much everything. It is much stronger than other white glues, slightly flexible, dries slow enough I can make adjustments (also called-fix my mistakes), and doesn’t fog plastics. For the transparent windows in my Wolsung kits I use Beacon Multi-Grip as it is completely transparent.
Final tip, I use Wet Wipes or just a damp rag to clean all the edges of the pieces as I cut them off their frames. This cleans up the remnants left by the laser cutting process, keeping my hands cleaner, the pieces cleaner, and leaving a better surface for the glue to attach to.
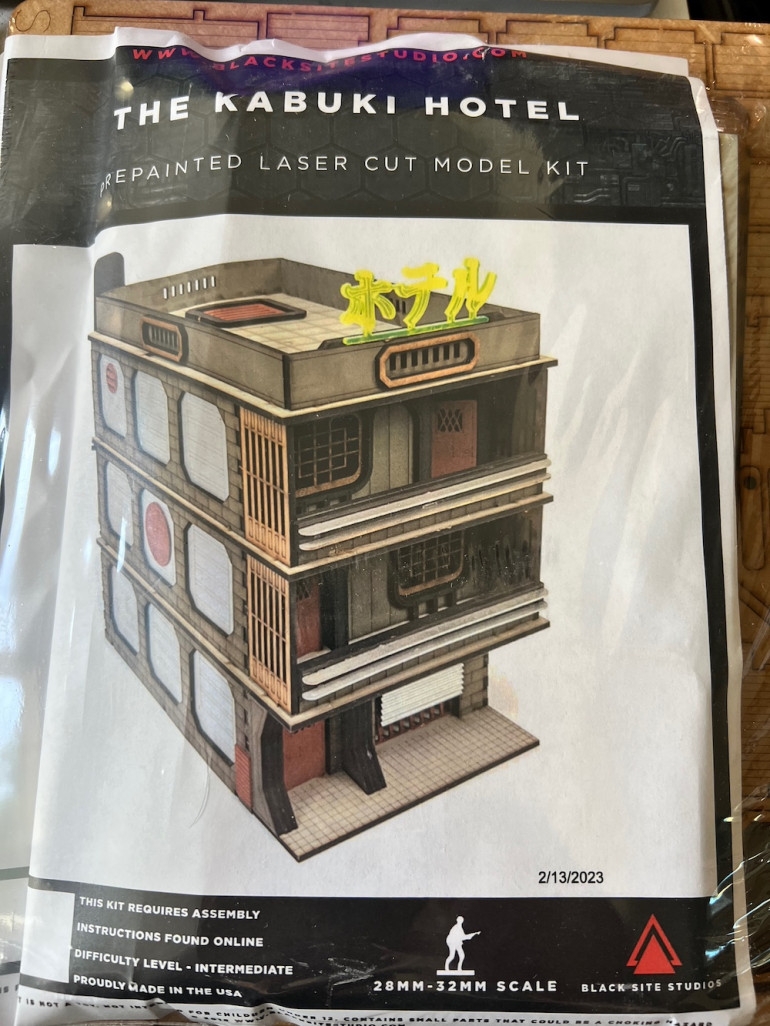
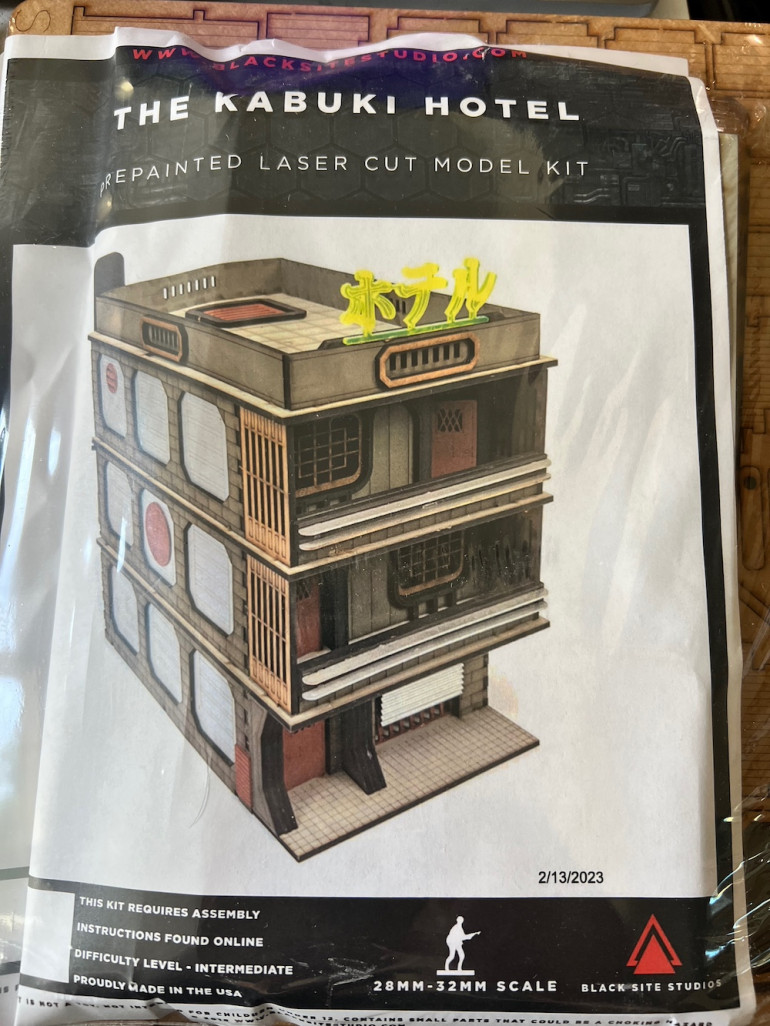
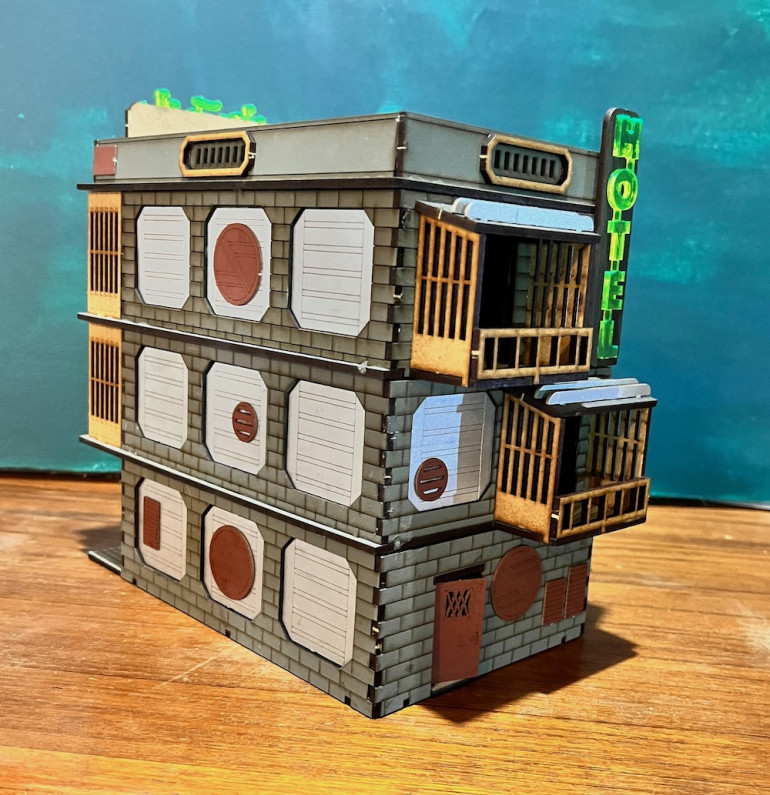
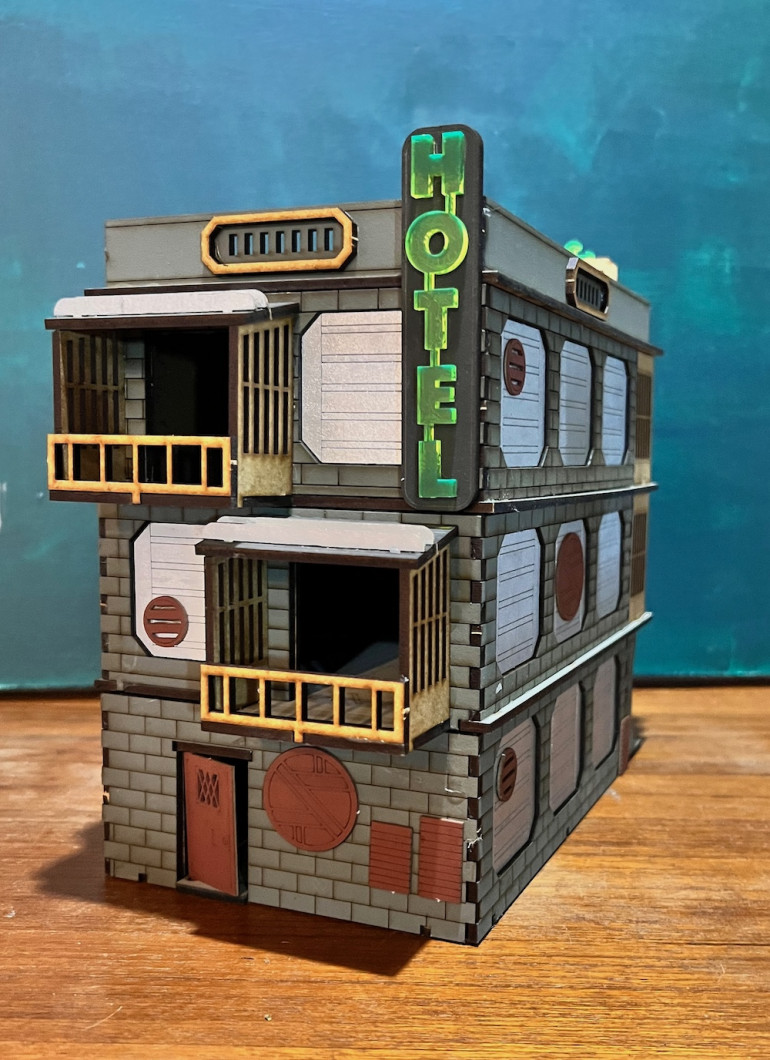
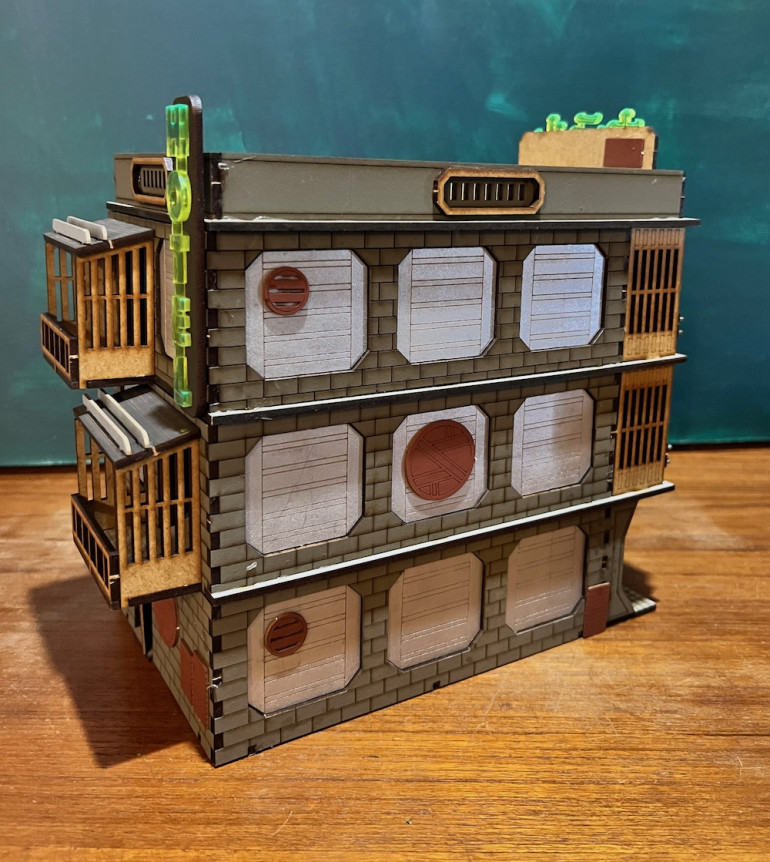
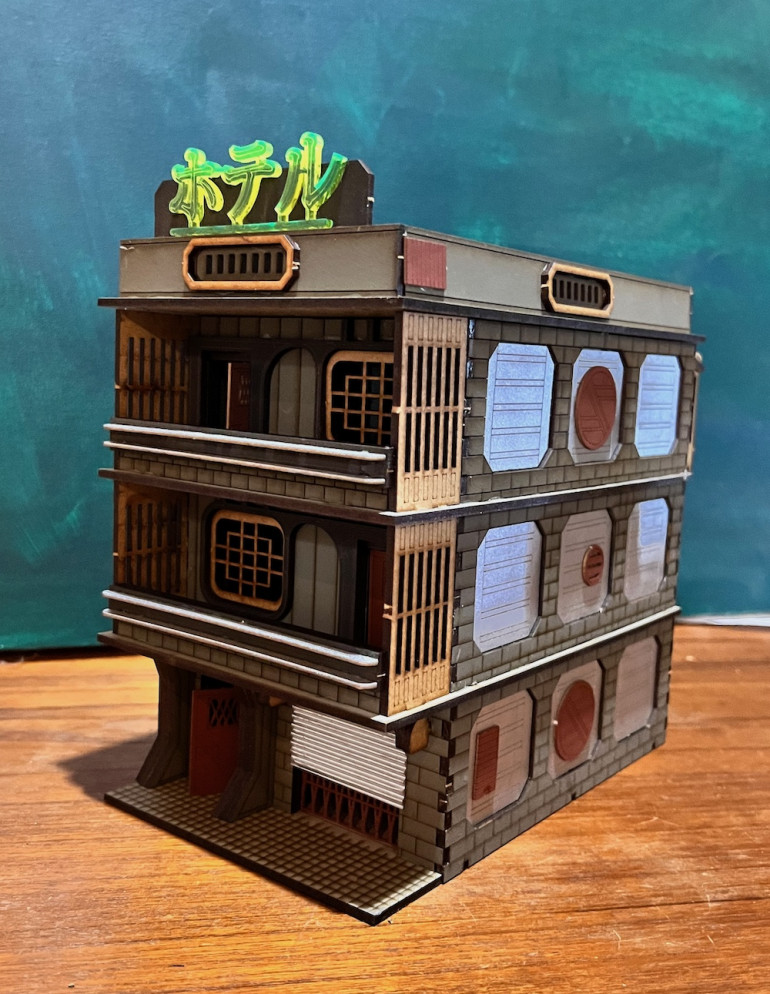
Check In Time at the Kabuki Hotel
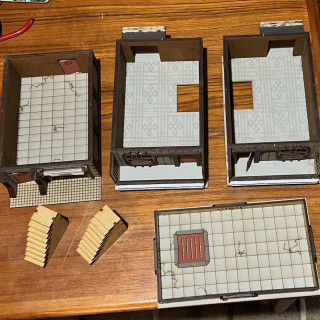
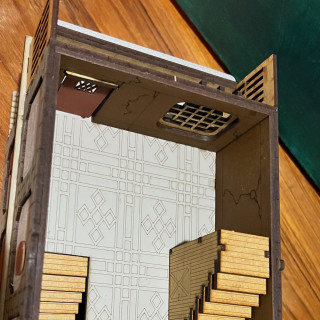
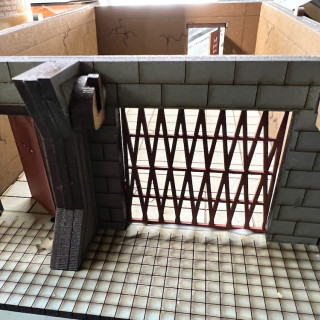
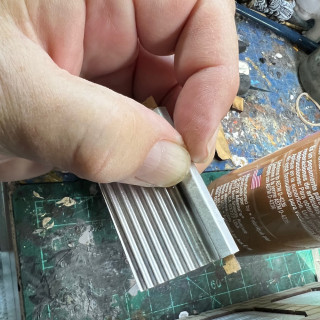
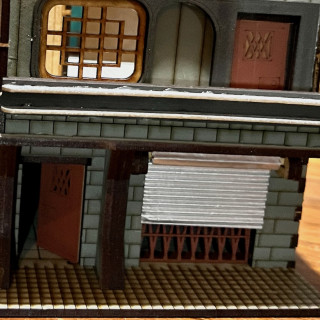
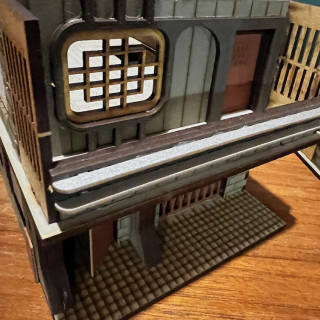
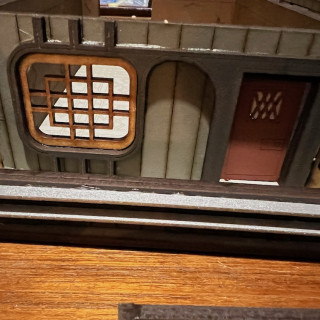
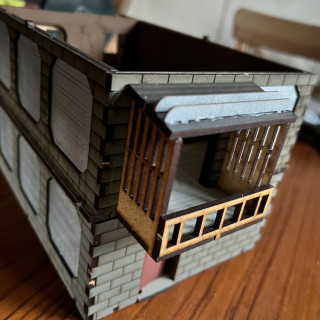
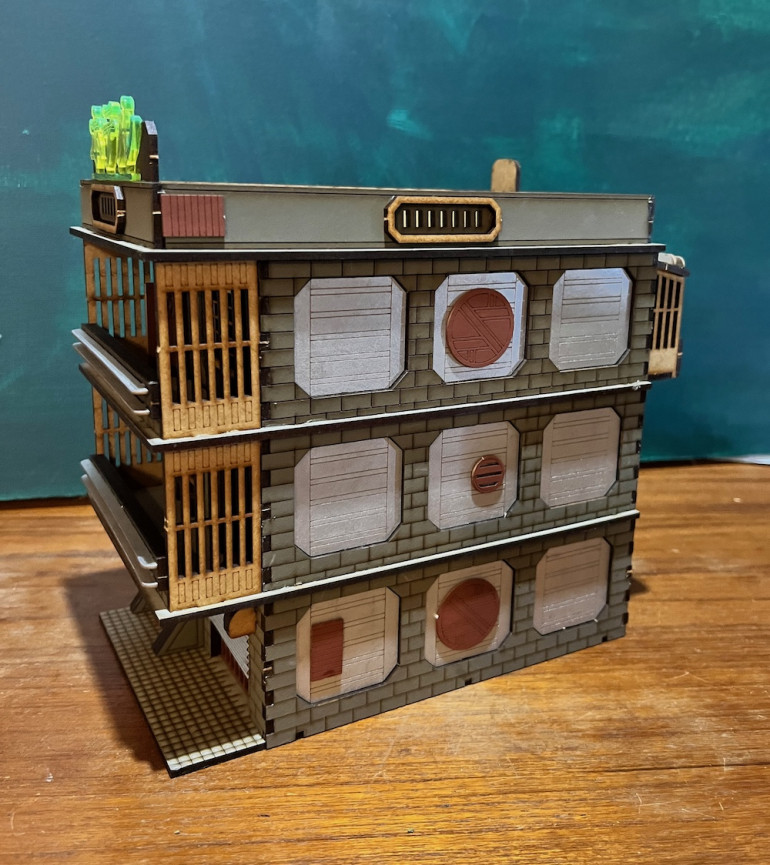
The Kabuki Hotel is another simple construction that really comes together nicely and looks great when finished. Nothing too tricky but I do recommend double checking which floor one is using as they are nearly identical with the only real difference being where the hole is drilled for the balcony door to attach. I only noticed this the morning after it had all glued overnight. Fortunately I was able to drill a couple of new holes for the doors. Also, the corrugated paper used to make the rolled security door is a little stiff so I suggest rolling it around a pencil to soften it up a bit. Then glue it to the post in the position one wants it when finished. Set this aside, tape or rubber banded, to dry before attaching it to the building. Otherwise it will want to unroll while the glue is drying. I can actually see adding a couple floors to this structure though I’m not sure I want to order another kit.
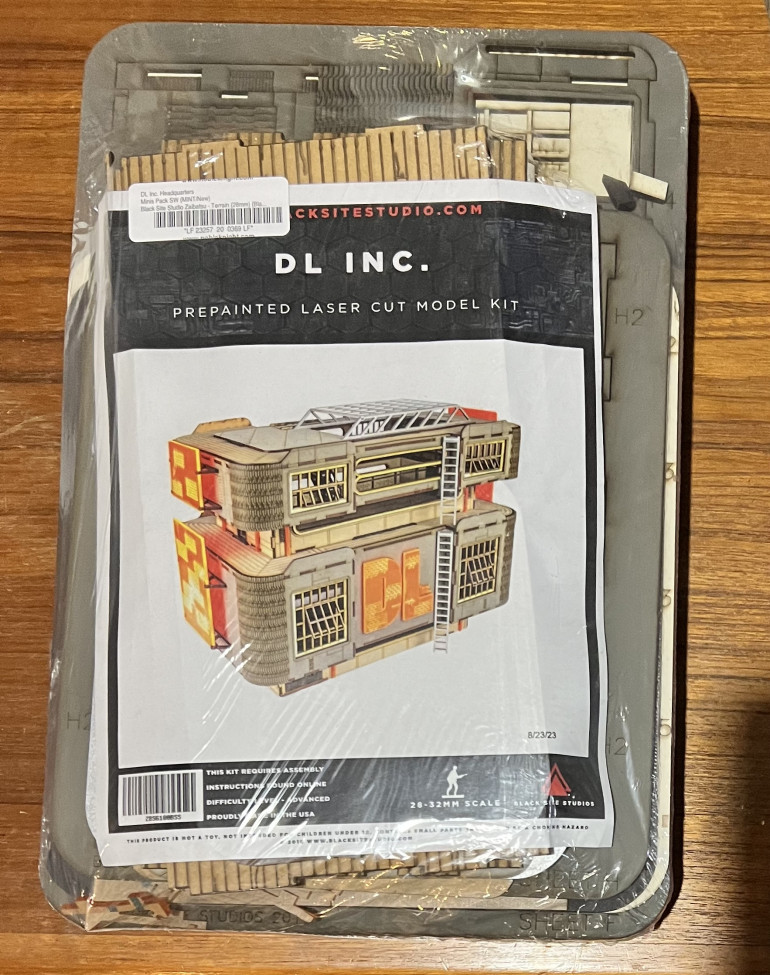
DL Headquarters Begins Construction
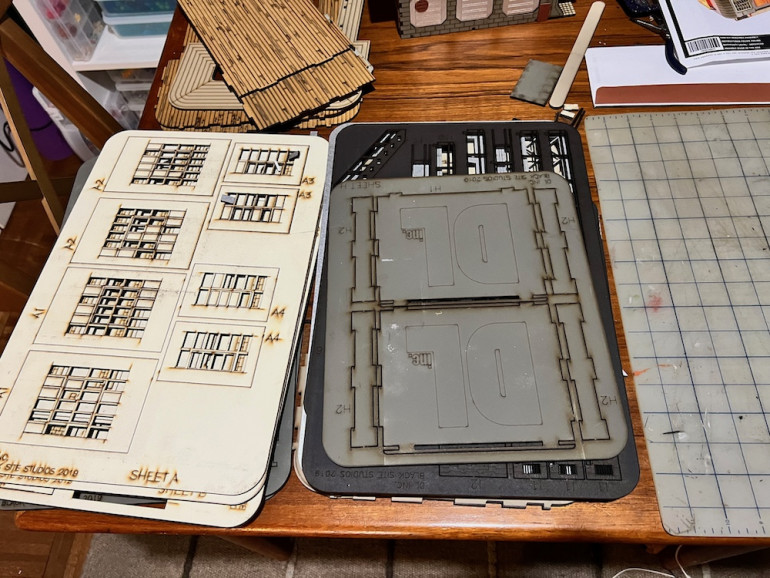
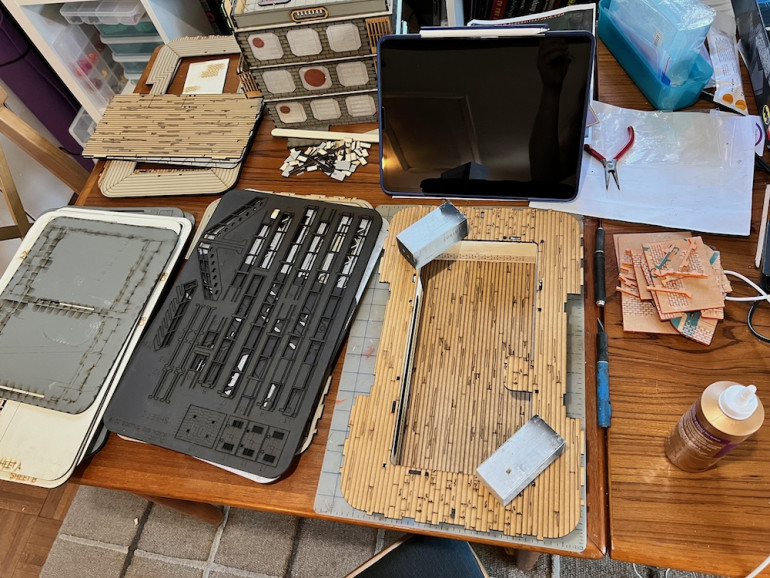
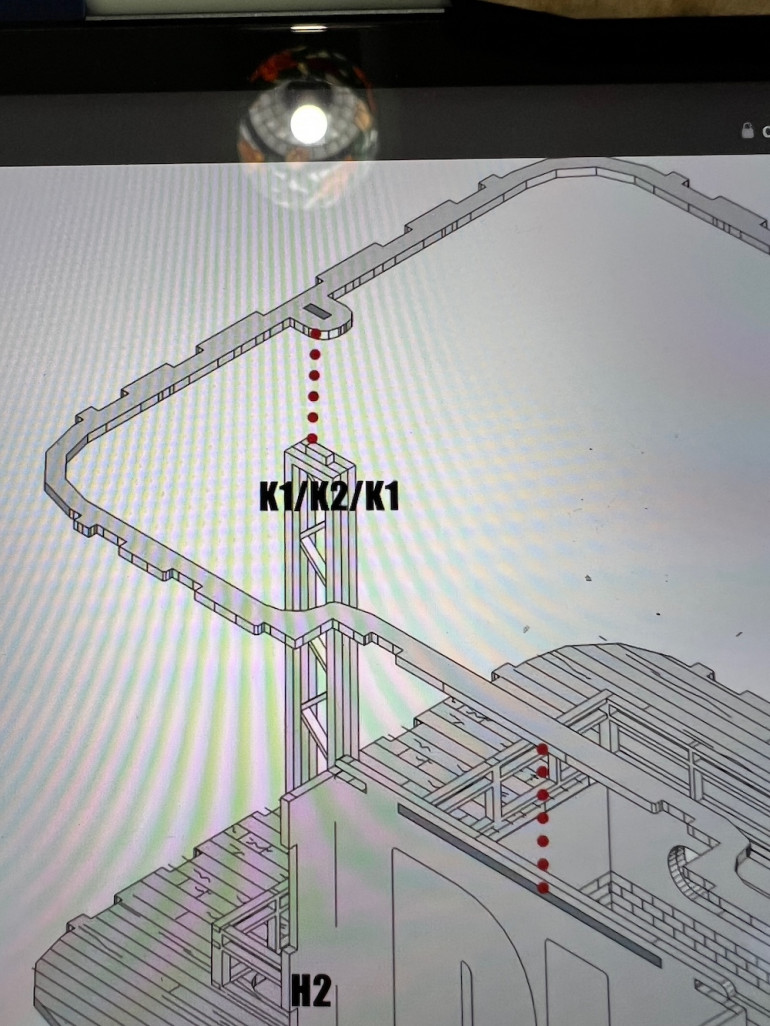
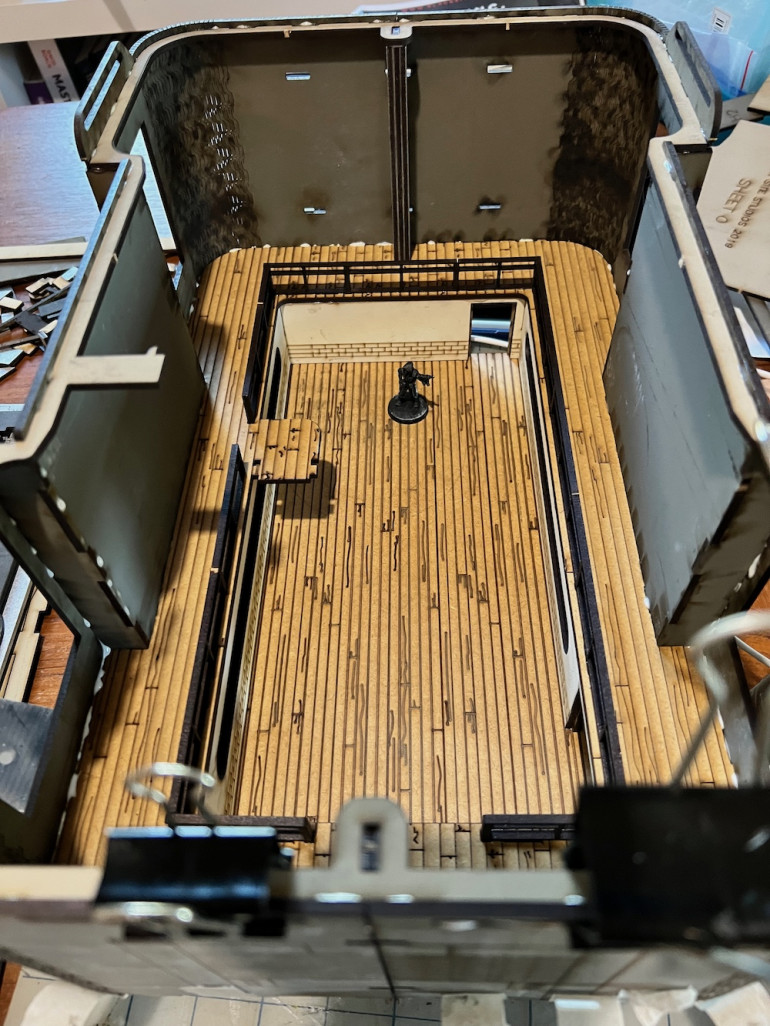
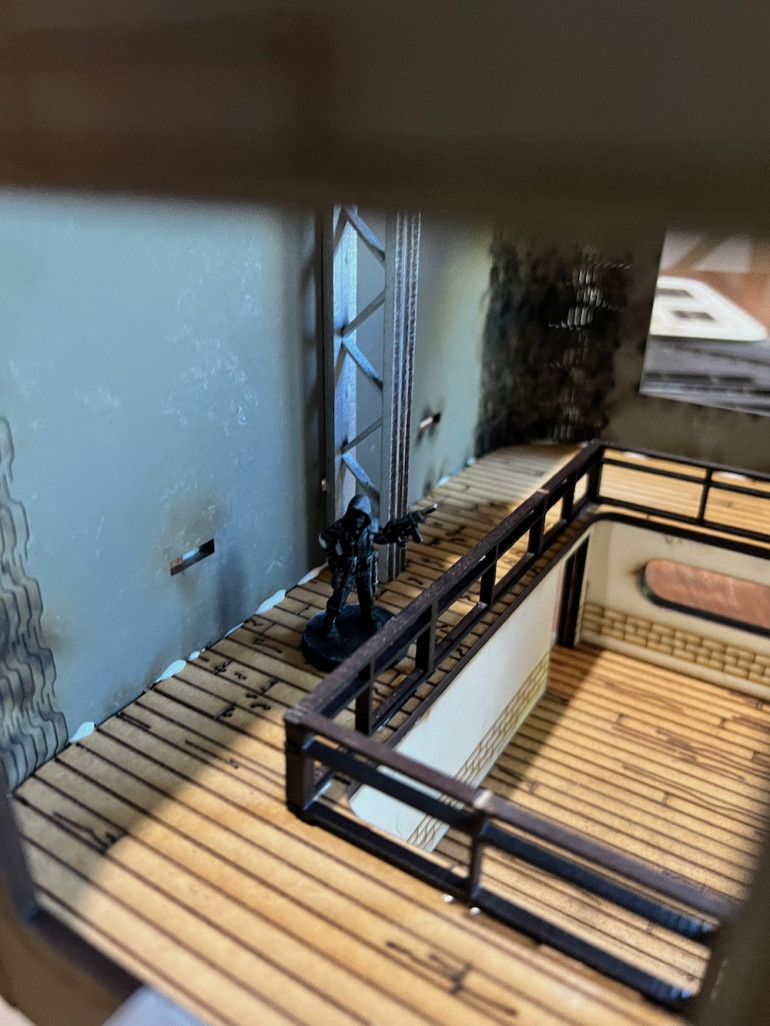
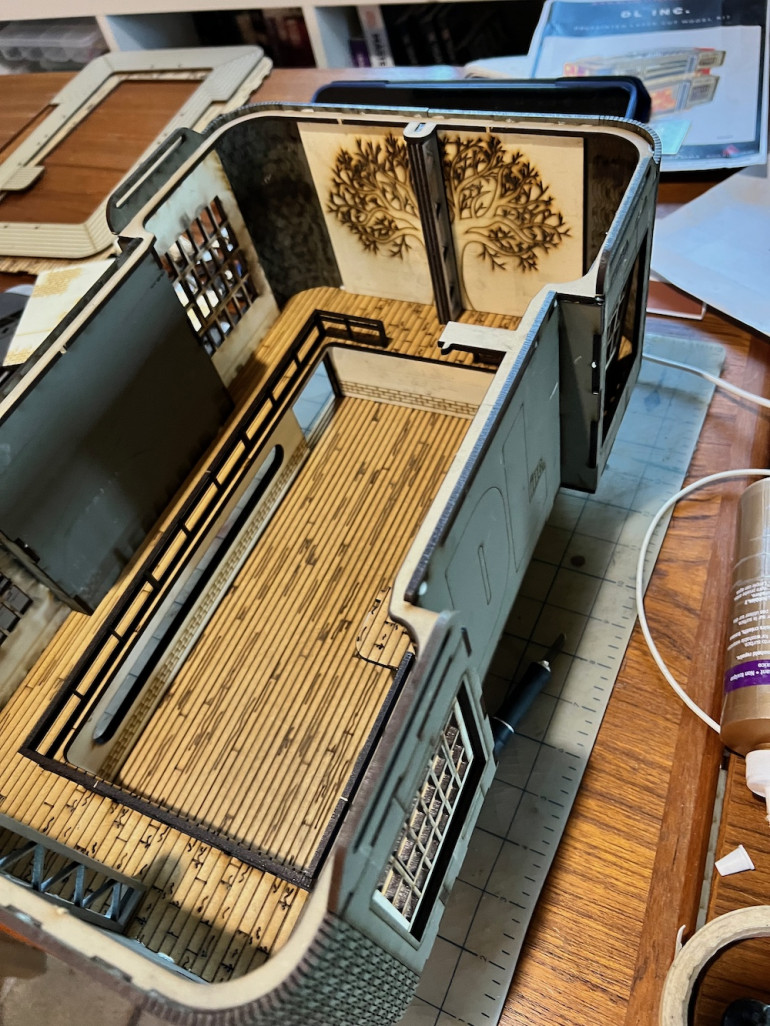
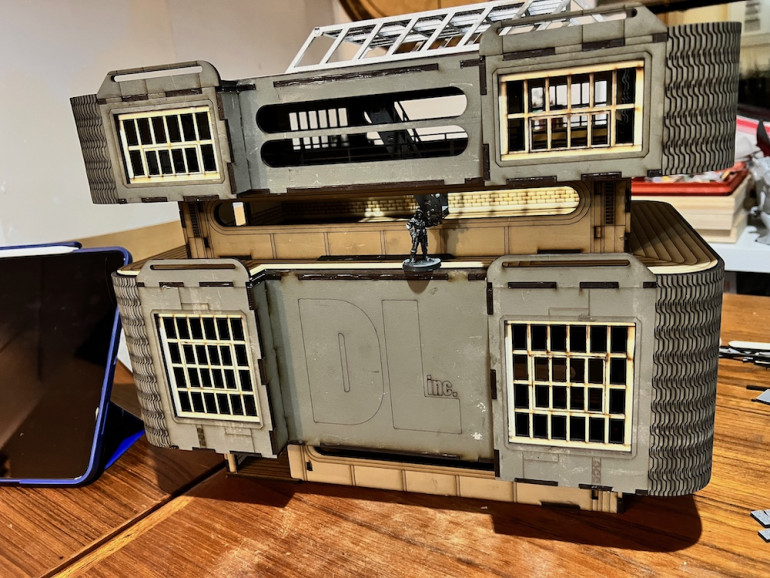
This kit is big, I mean really big. Thank goodness it is all pre-painted. First thing I did was look through the stack of frames and make sure they were in alphabetical order. The plastic pieces were set aside as I knew they would be the last parts glued on. I found it took over most of my dining room table once I sorted the frames and began gluing. I always go through the instructions at least once before I begin cutting any pieces free. I have found some minor errors in the online instructions at Black Site Studios. Nothing terrible just an occasional mislabel or lack of label for pieces. For example, the first section of the building has two thick beams that made by assembling three parts for each, one shape between two matching shapes. The instructions reverse the part numbers which is pretty easy to spot when one has the pieces in hand.
DL Headquarters Is Finished and Ready For Occupants
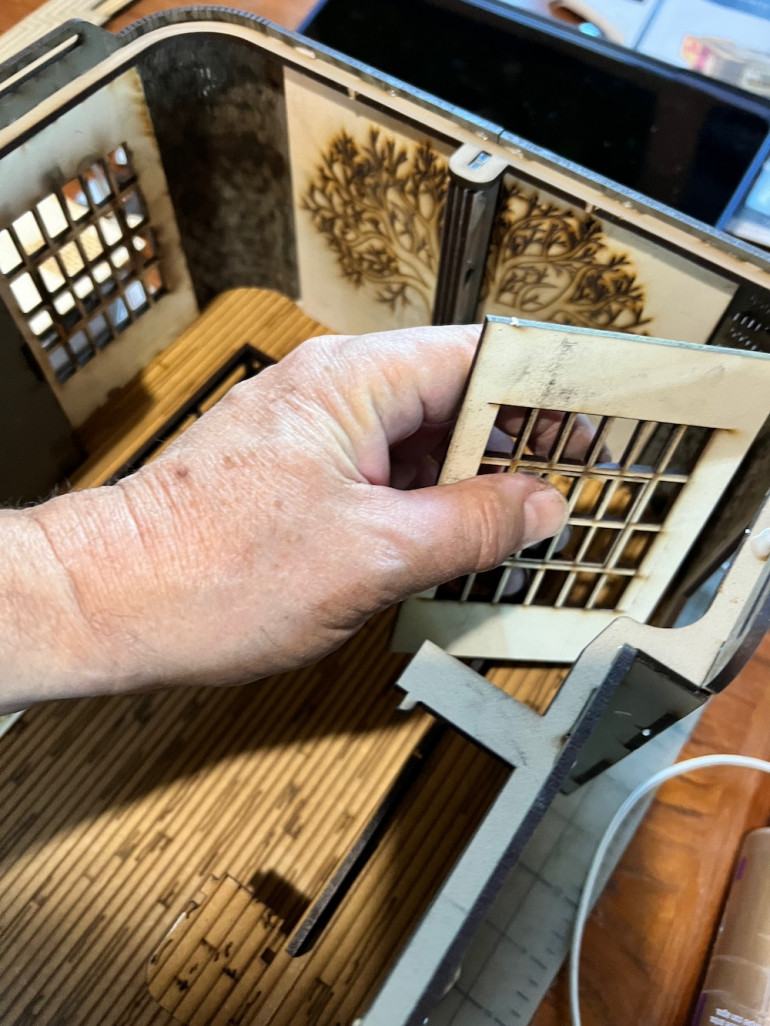
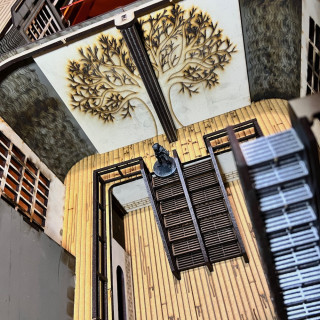
The next step was to glue the interior details into the first section. I like the laser cut tree design and the brick pattern is used throughout the model as part of the corporate identity. Pay attention not to glue down the roof pieces as these are designed to lift off to give full access to the interior. It really is big enough to be an objective room in Infinity or an entire battlefield.
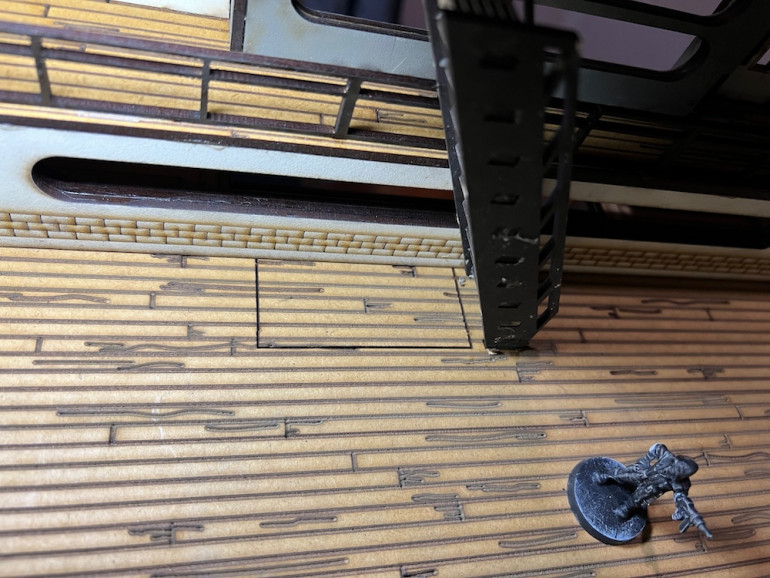
When installing the windows, definitely dry fit them as they are not symmetrical and only fit one way. The interior walls are easy to put in but each have one way and place they fit. The second section went together much as the first though it has spot where the first floor stairs come up. The piece is cut so one has the choice to remove or leave it. I took it out but will need to make a railing for it.
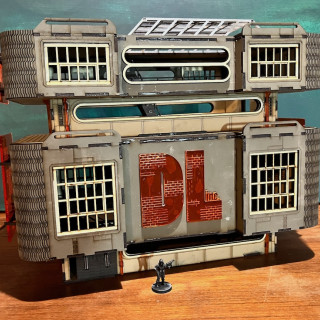
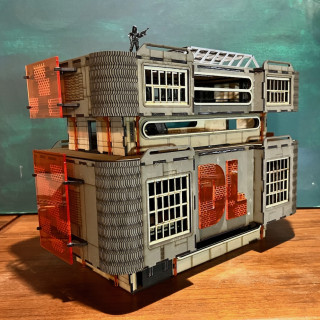
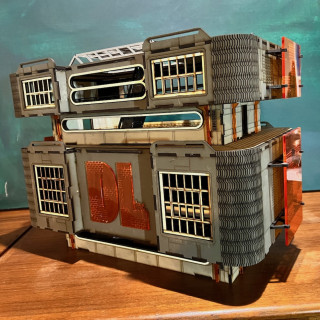
The building is finished. Sadly, once the exterior details were glued on, the building no longer fits into the standard plastic box I use for my terrain collections. I will have to find one that it does fit into. Regardless, it is a great addition to my collection and will be a lot of fun to use in games. It will also look great in pictures which is a big deal to me. Oh, and there is a second roof without a skylight so folks have the option.
Walkway
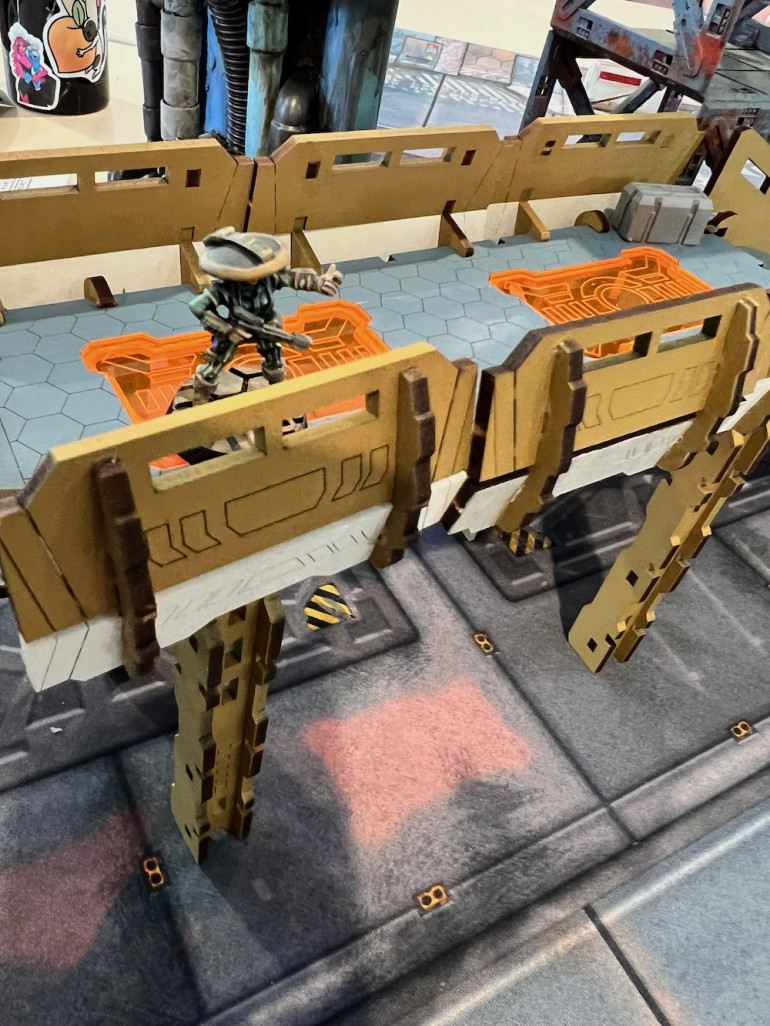
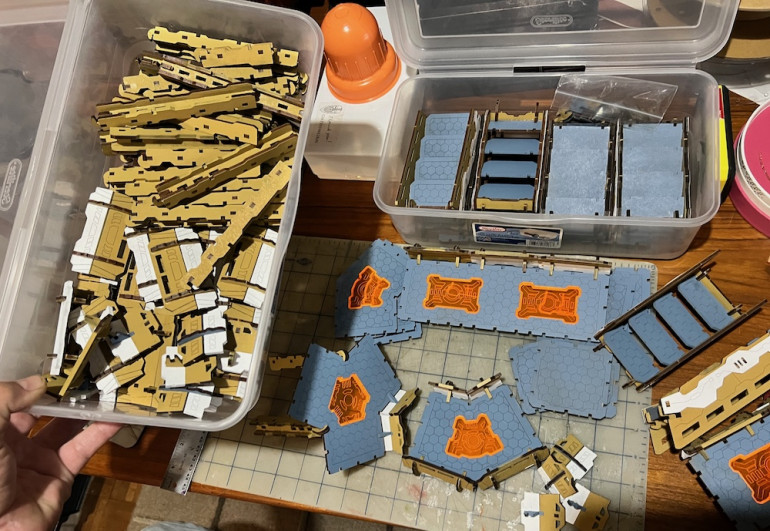
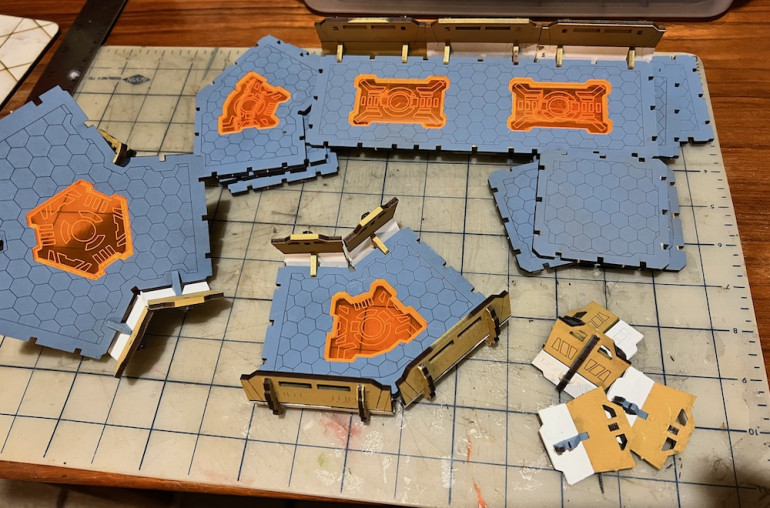
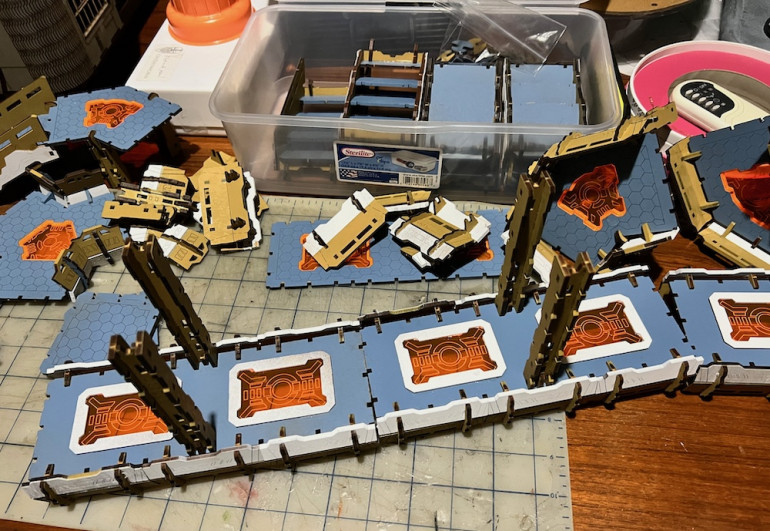
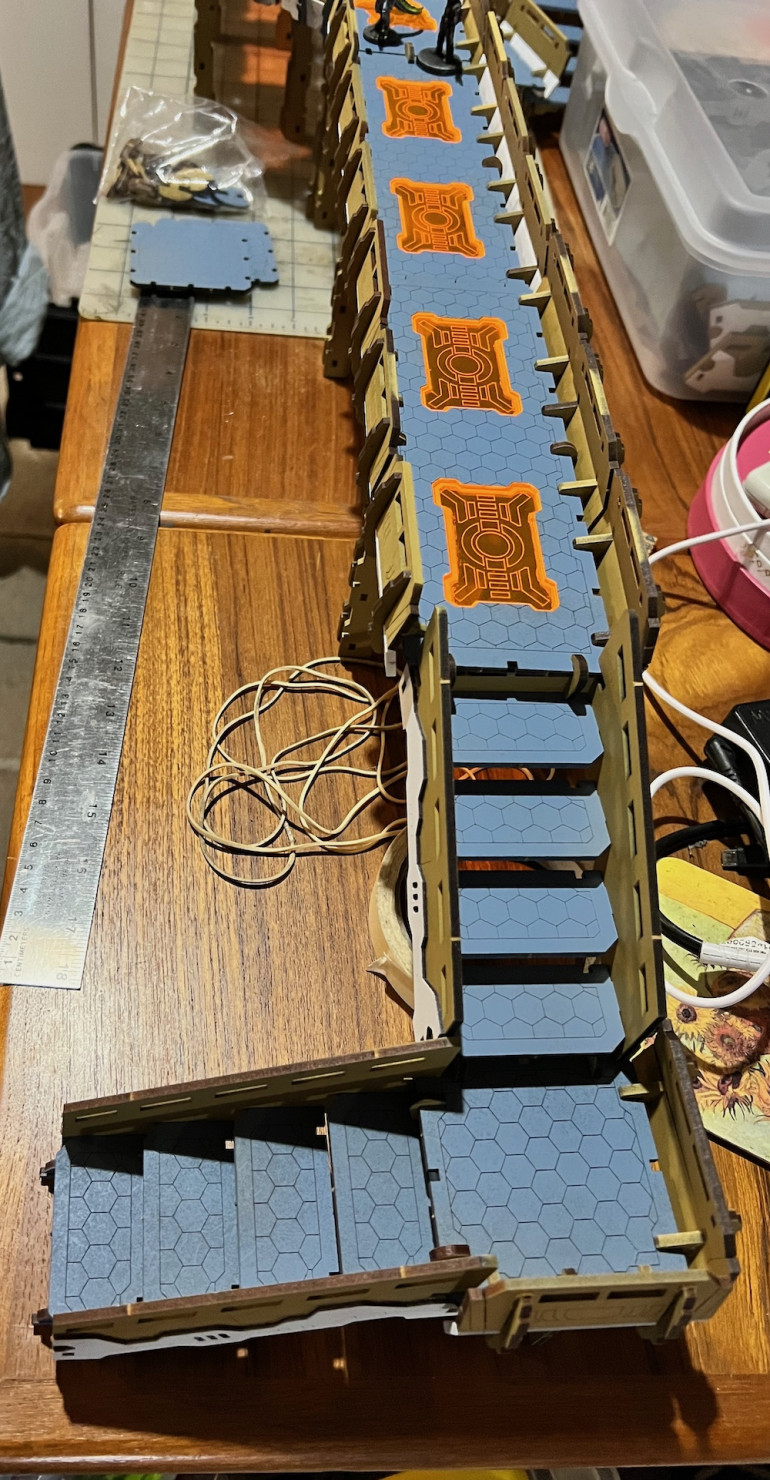
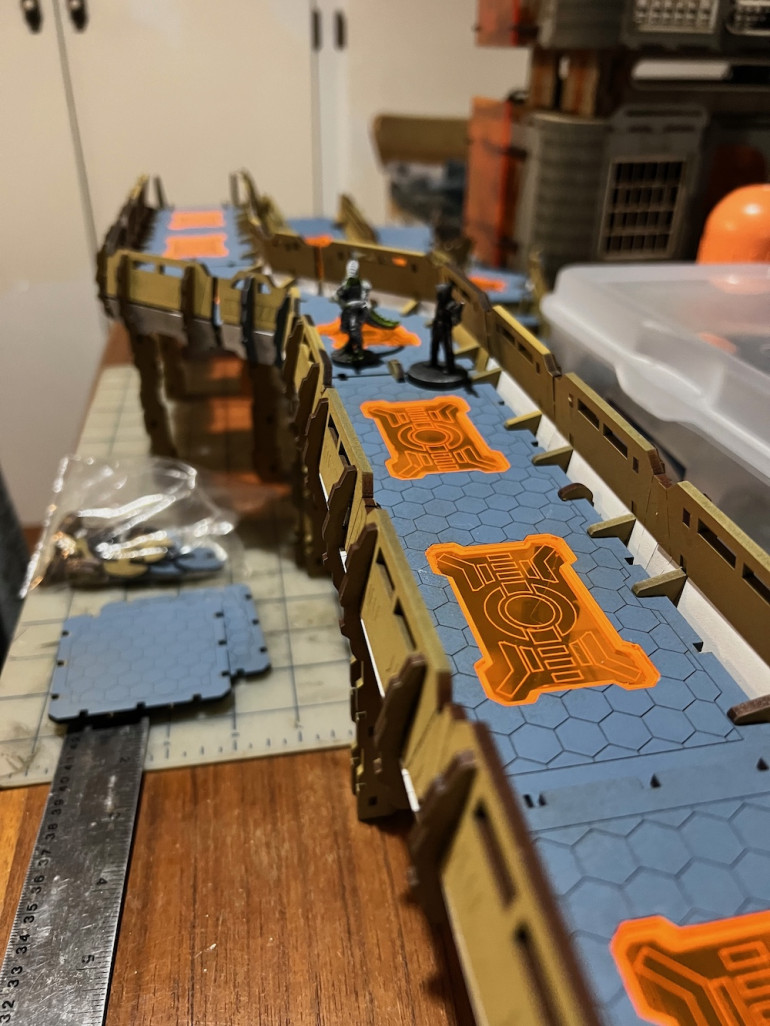
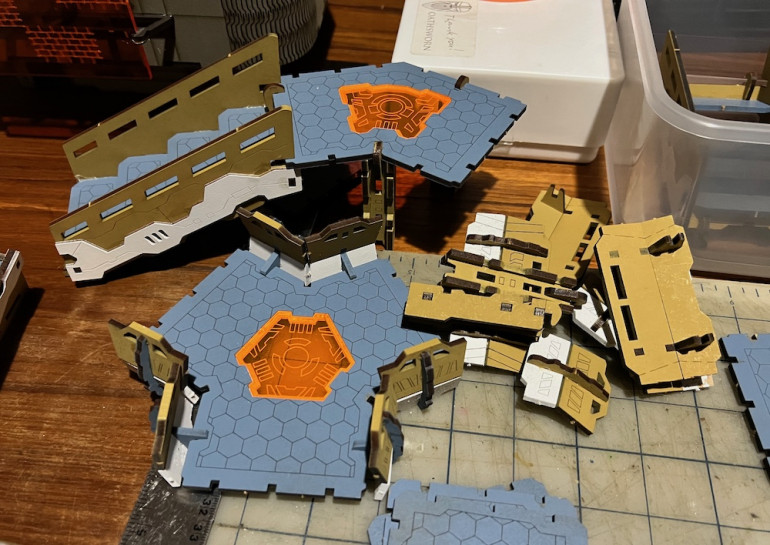
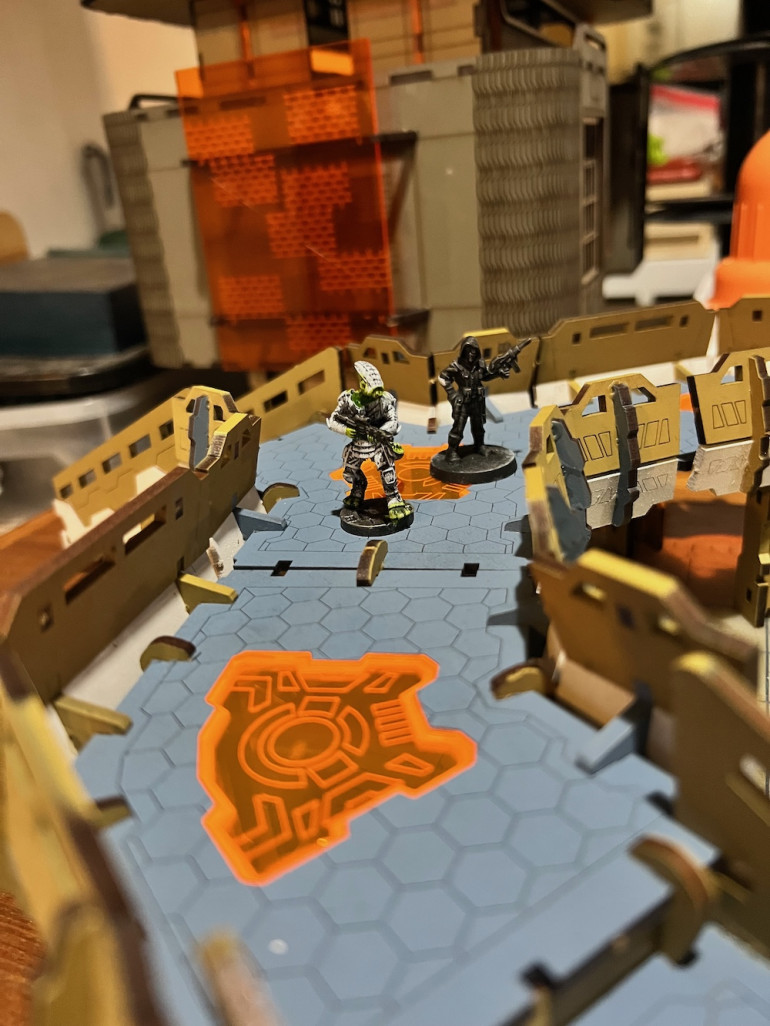
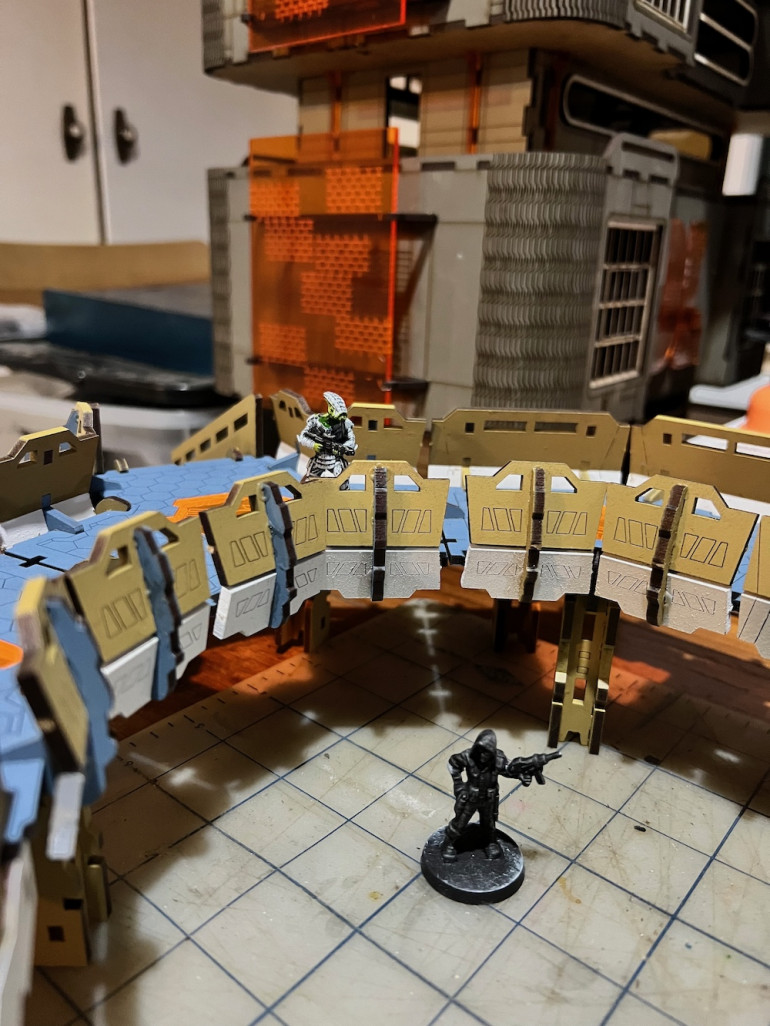
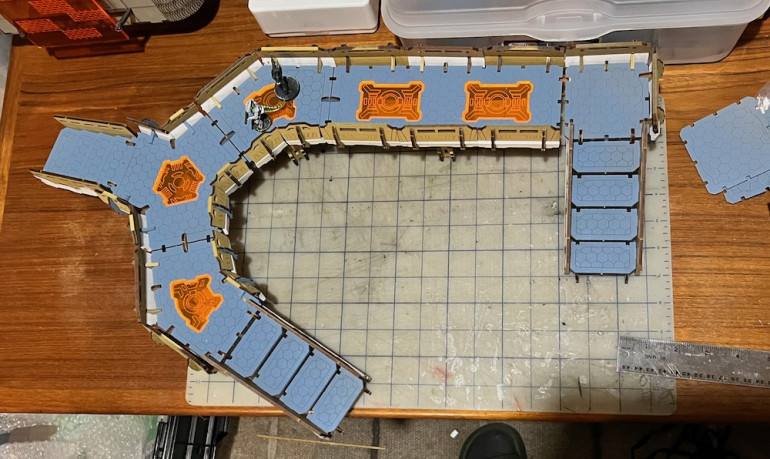
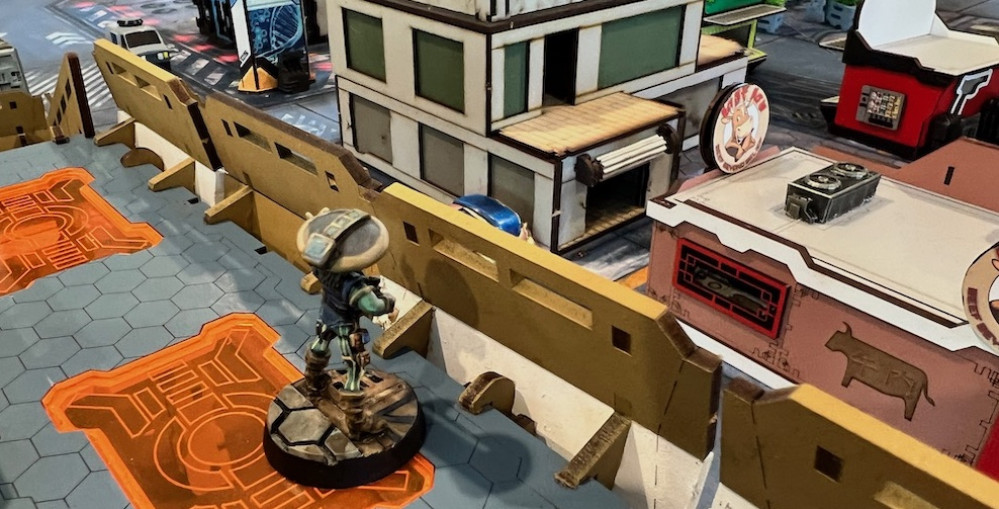
I had painted and assembled my collection of MicroArts Walkways but stored them un assembled. This was a great space saver but when we were setting up Space Weirdos it was far from efficient. It is also hard on the MDF which isn’t the toughest of materials. I’ve got a few of the kits so have supports for tall and short walkways and one three way split piece of flooring. I decided the best thing to do was assemble sets of pieces that would be a lot easier to put together and take apart though require a new storage solution.
Next I’m back to the White Dragon Noodle Bar.
Fungal Distraction
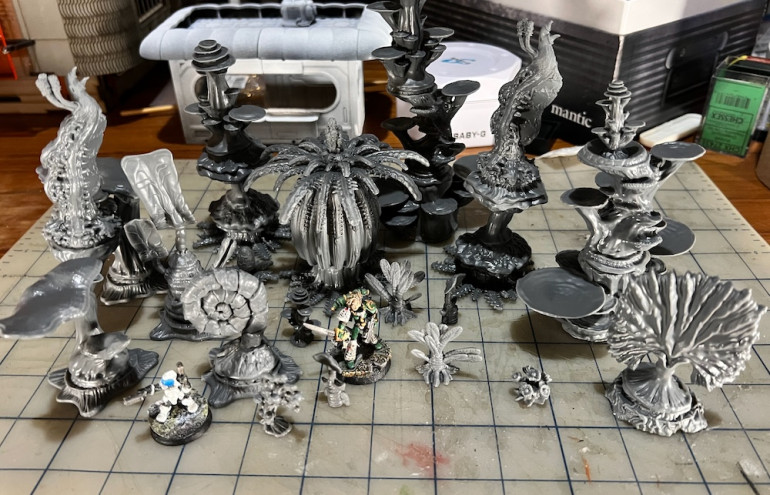
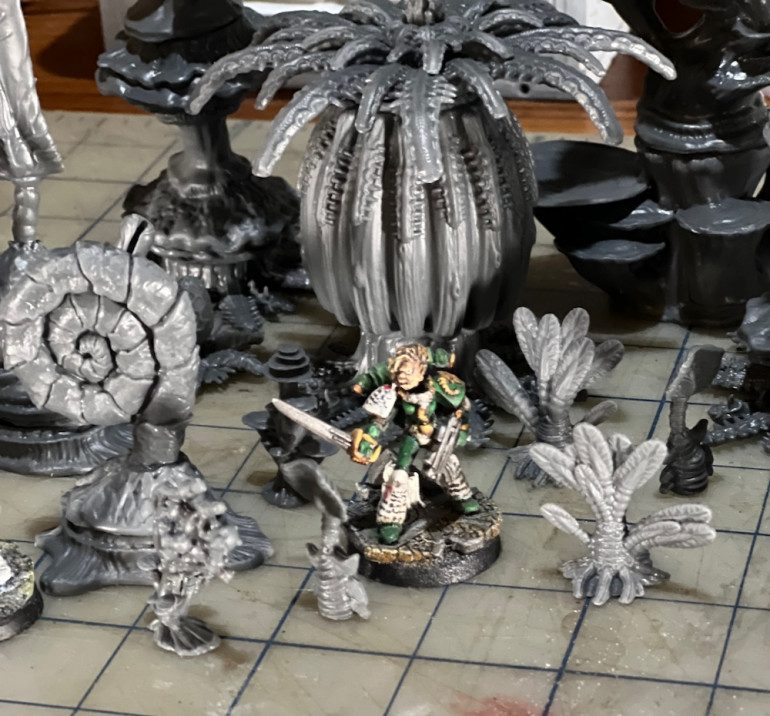
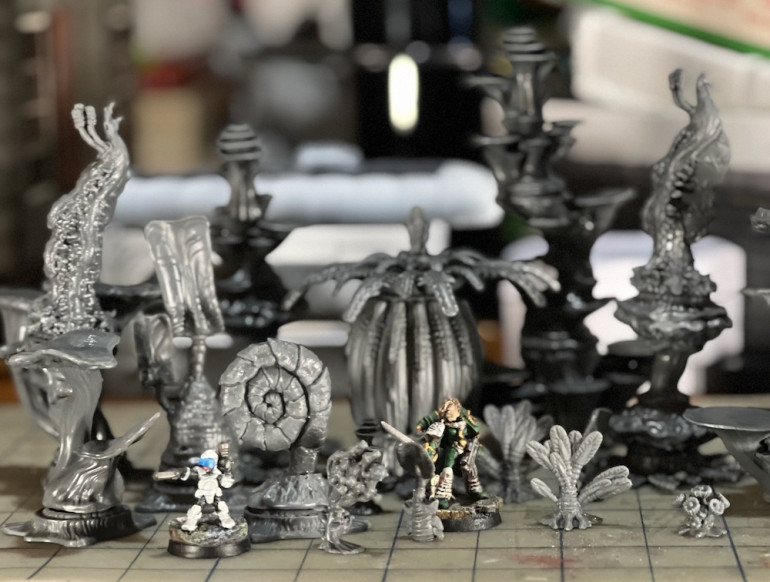
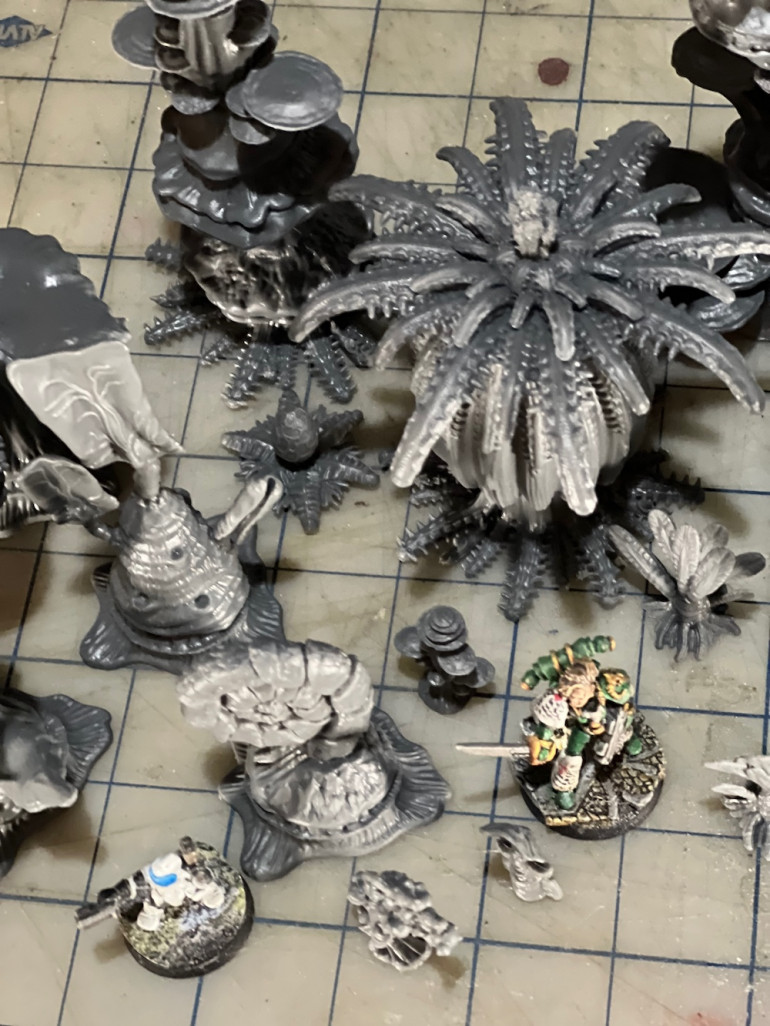
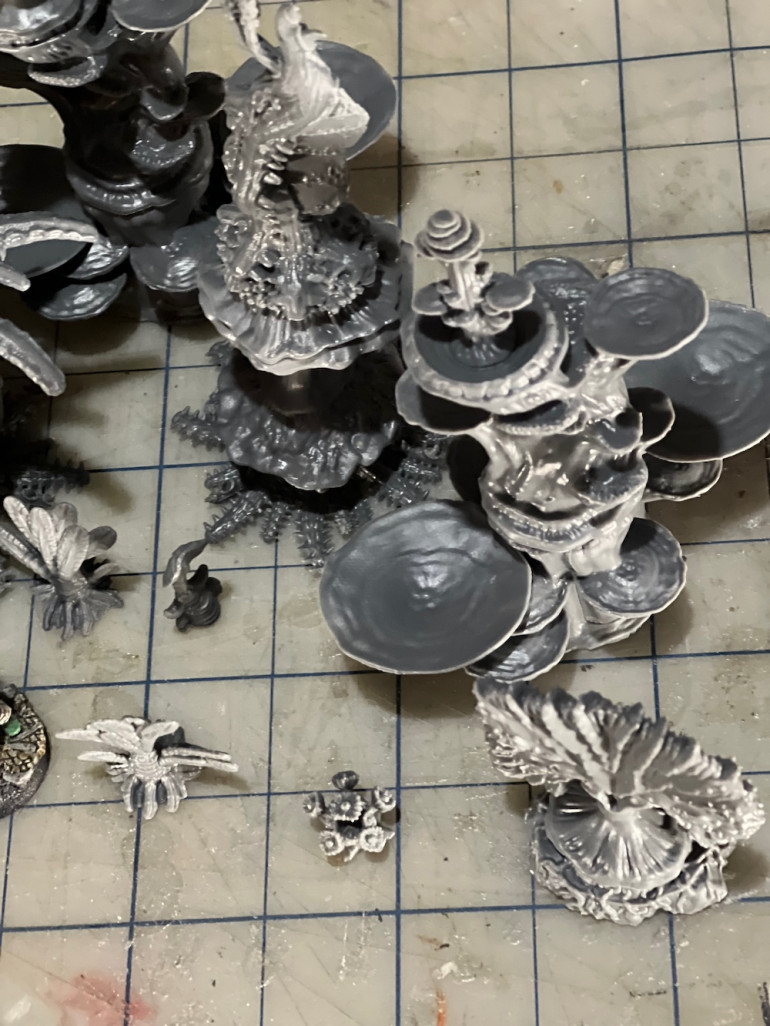
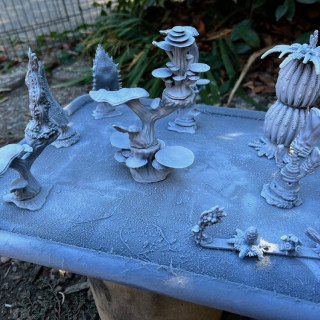
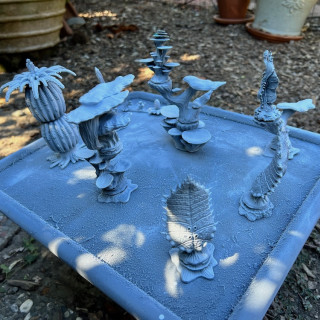
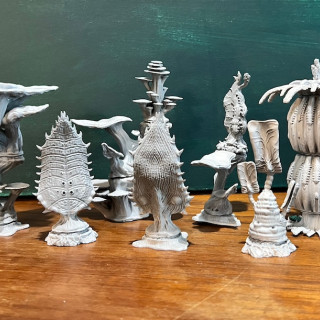
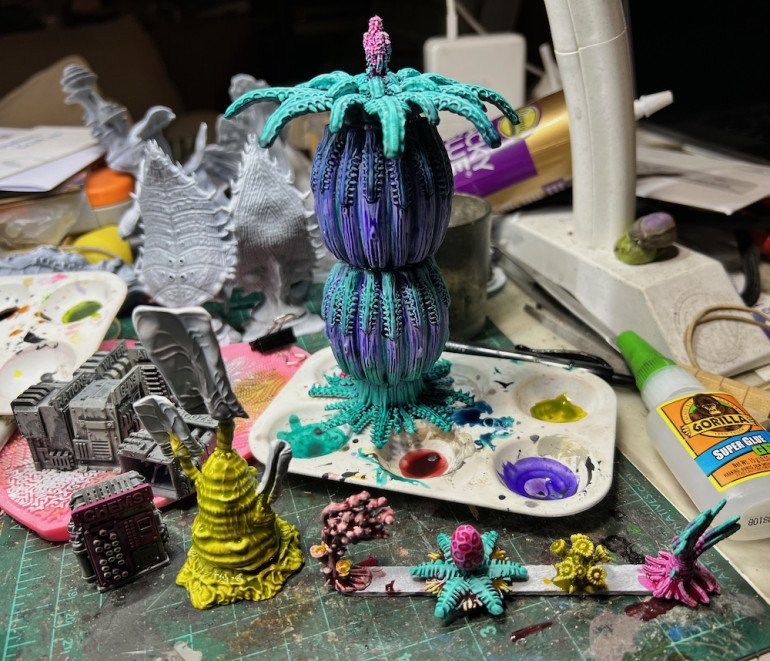
Just when it looked like I was making progress with reducing my pile of MDF kits, my Terrain Crate3 rewards arrived from Mantic. While I have gone crazy on the two previous campaigns, I do love me some tiny furniture, I only picked up one of the sets they created, Alien Forest, but did get two crates as I want to create forest sections. I have been happy with the majority of the pieces Mantic has created but really love these alien plant designs. They are designed to stack in different ways and even have holes cast in them for magnets. That seems rather fiddly to me as I plan on gluing everything together and then onto bases. After seeing them in person, it is clear I will be able to create a very Nausicaä forest. These should great with my orange and white habitat pieces.
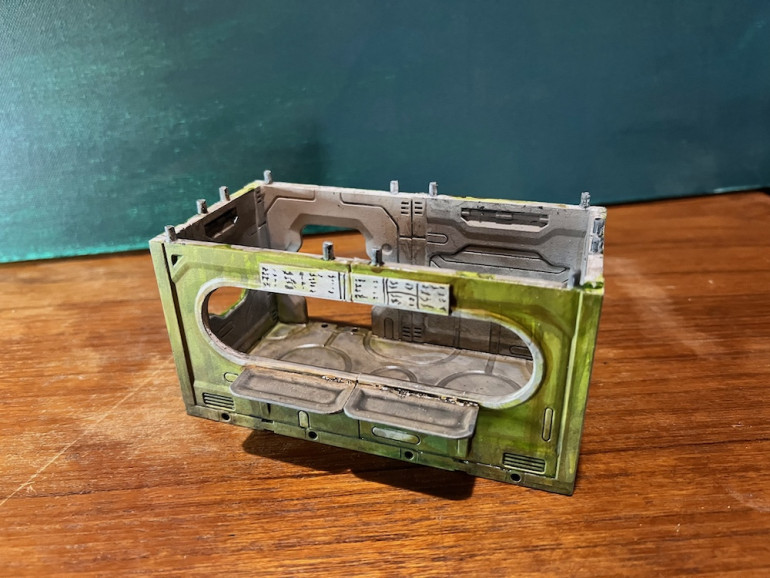
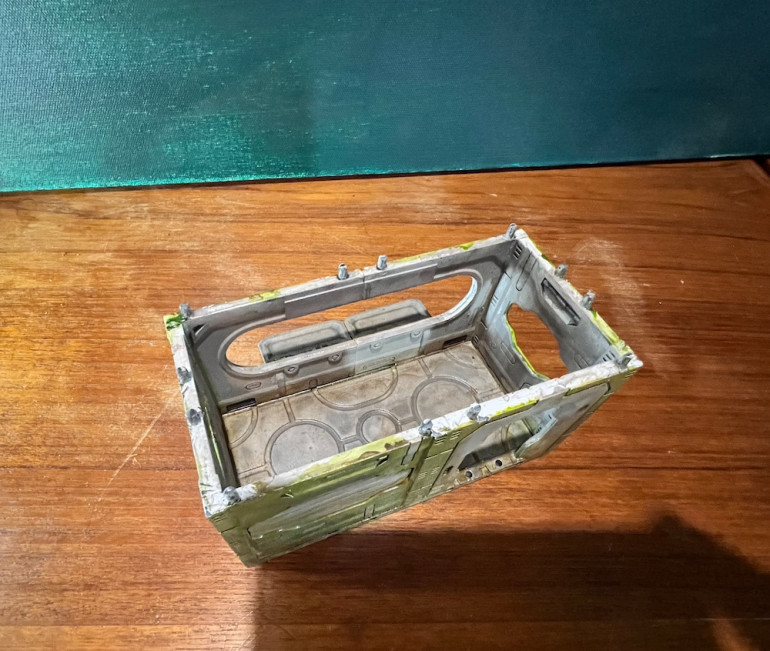
Noodle Bar Is Base Coated
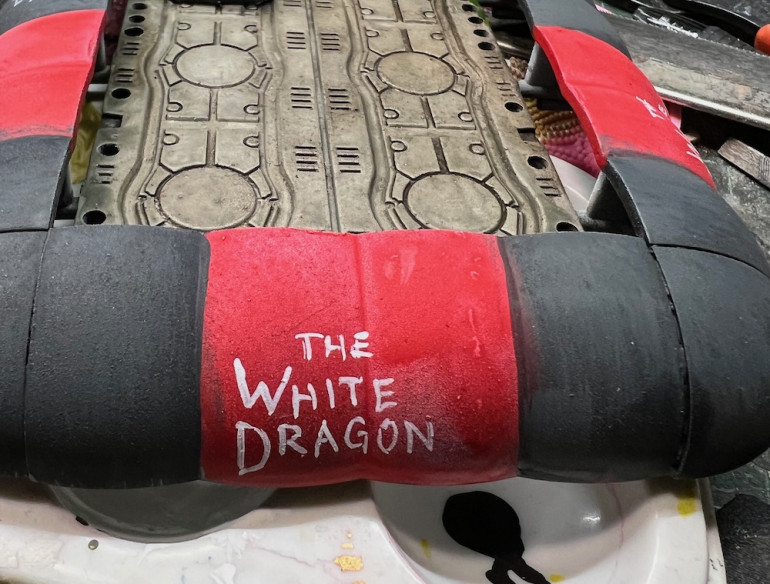
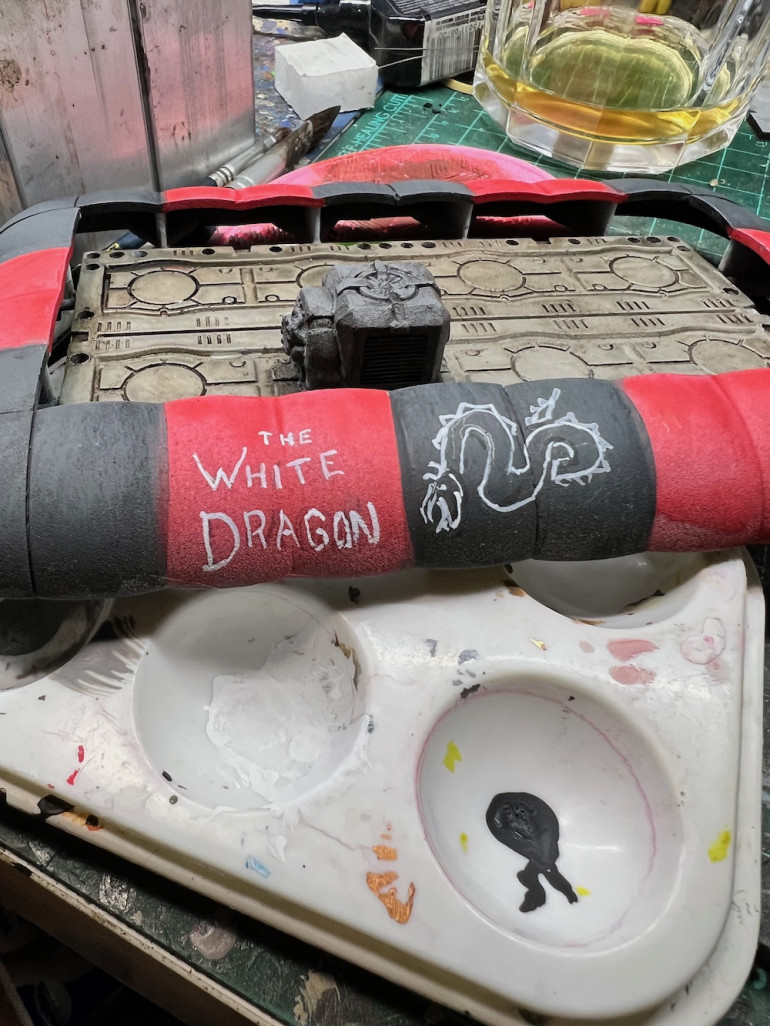
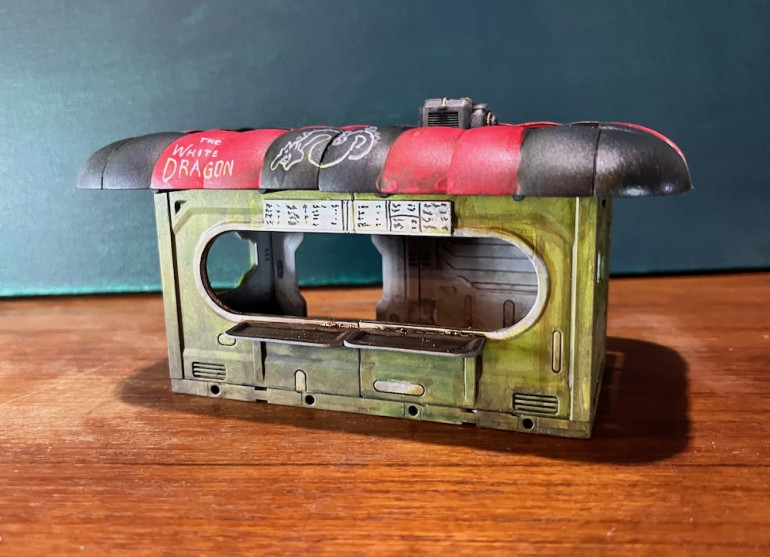
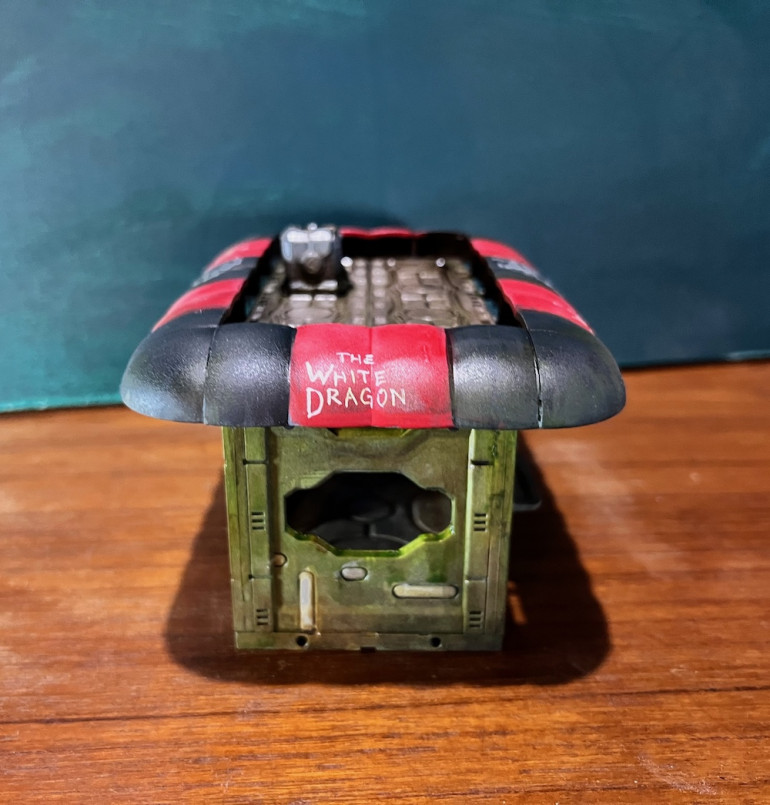
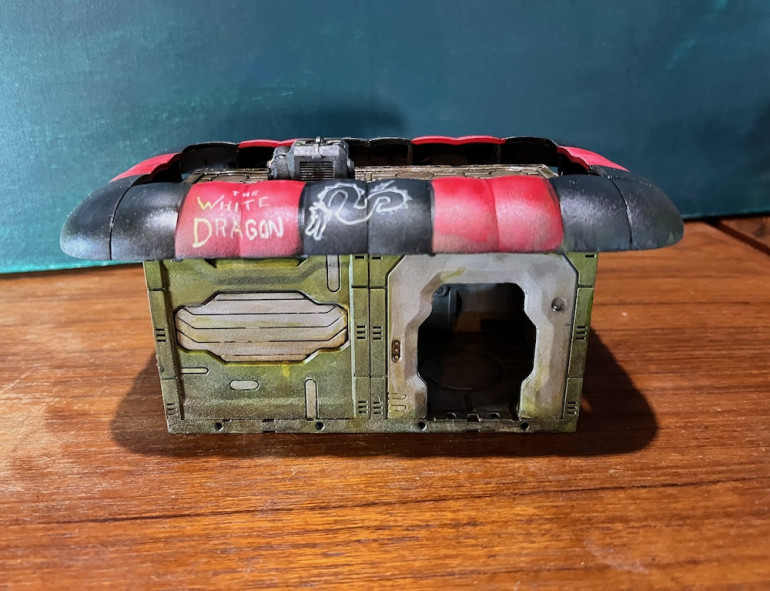
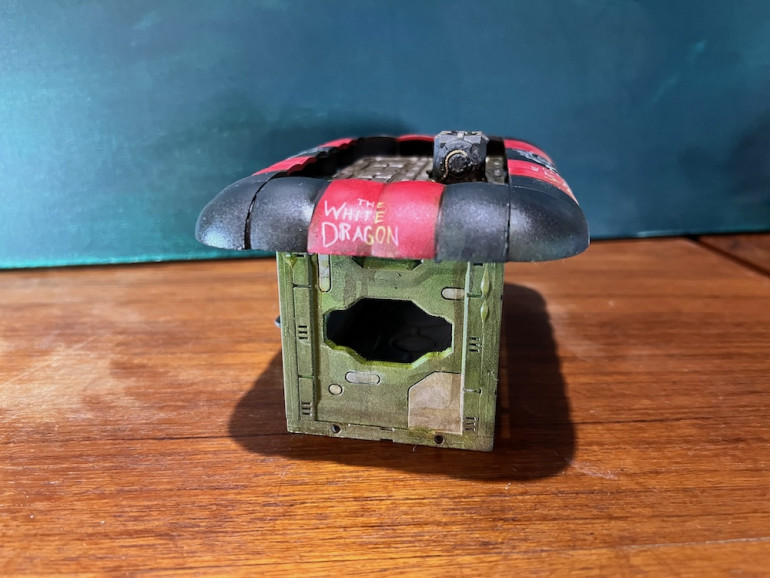
I’ve been looking at any reference material I can find for the White Dragon Noodle Bar from Bladerunner. This includes images from the computer game from 20+ years ago. I decided to keep the colors fairly basic as I am going to weather it a great deal and want to focus on the signage. This is important as I have no neon sign for the roof yet.
I decided to go with red background for the name and a black background for the mascot. I’ve included a couple of my reference shots. This is just the base coats so I am hopeful it will all come together well with the highlights, details, and weathering.
Brainstorming the Spools.
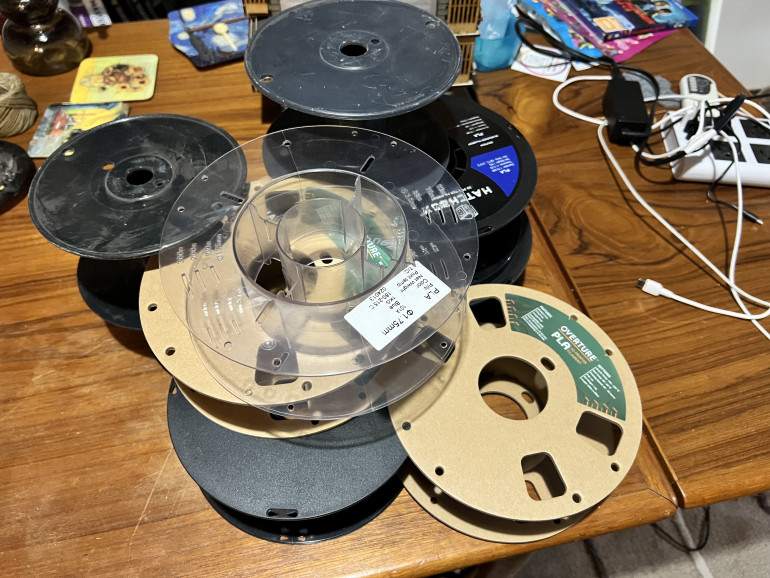
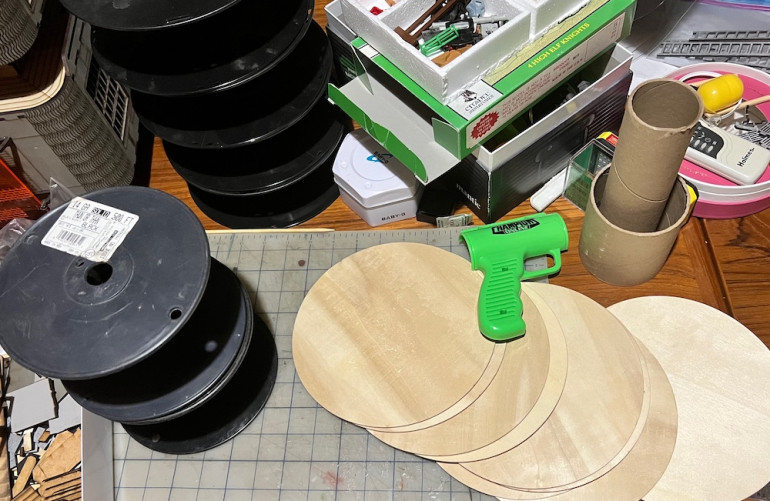
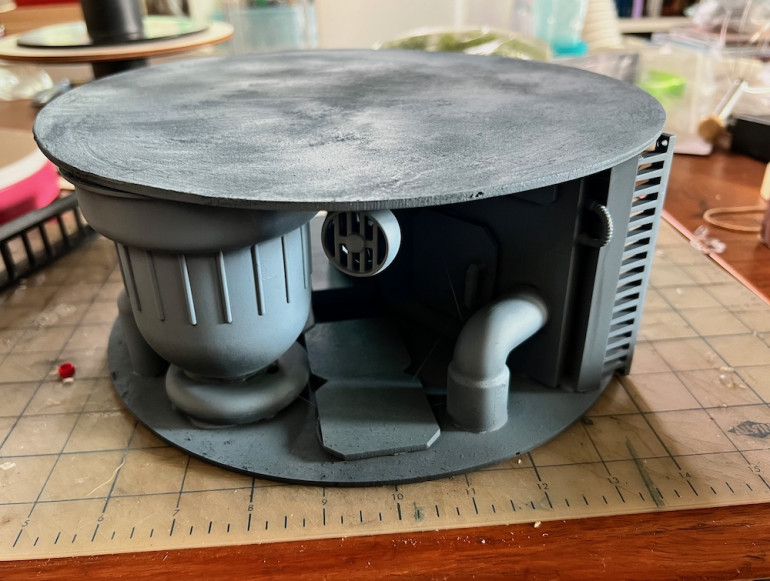
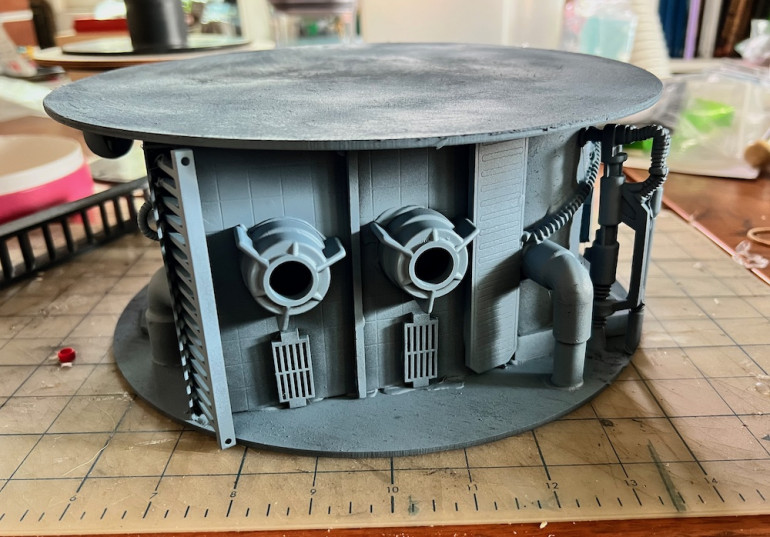
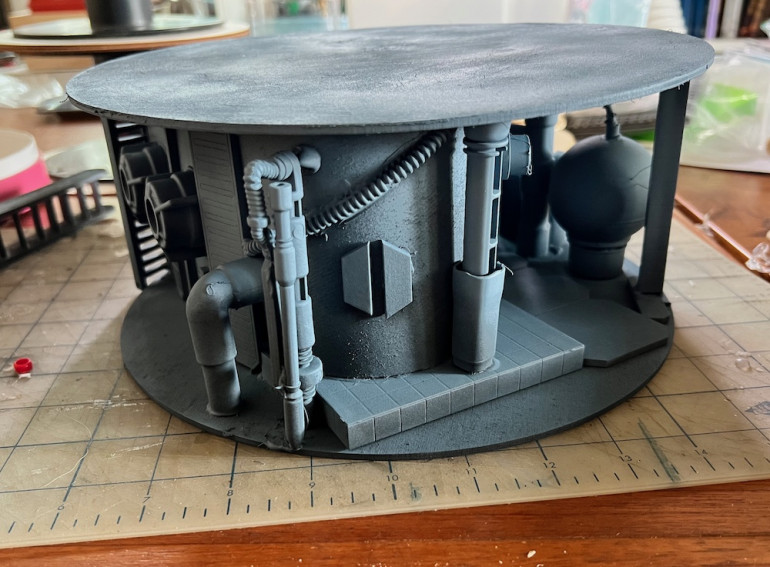
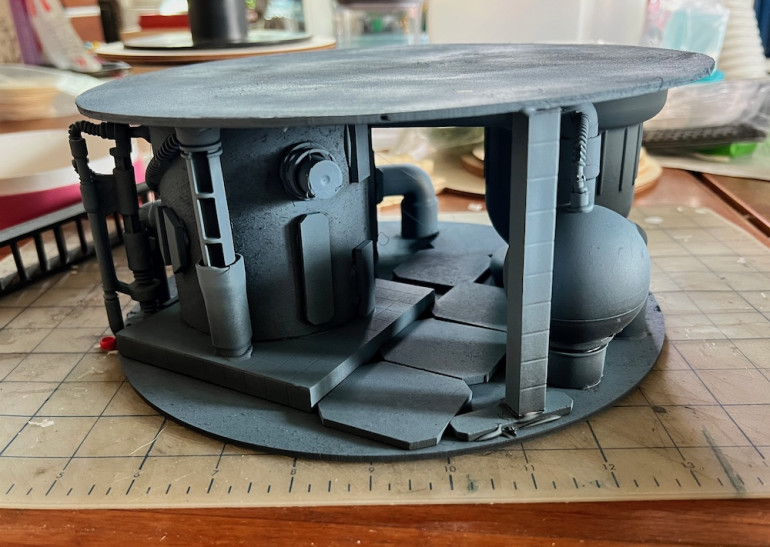
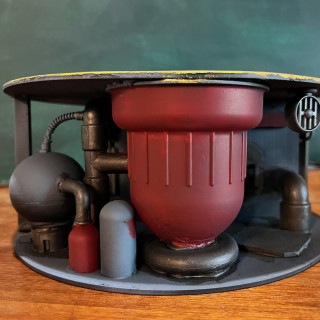
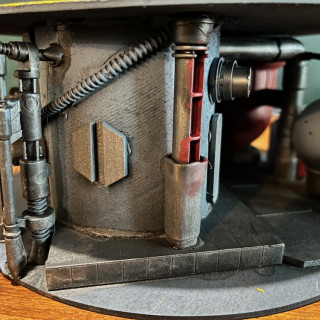
While I do not claim to engage in the hobby of 3D printing several of my friends do and they share their left over spools with me. I’ve got a nice size collection going as I have this long running plan to make more spools into terrain and my friends print a lot. I also own a fair number of wooden discs of various sizes as I want different diameter bases and tops for different spools to break things up visually. Looking at my choices I set aside the two cardboard spools and the clear plastic one to focus on the black ones. Of the six, four are identical and shorter while the other two match each other and are a little taller.
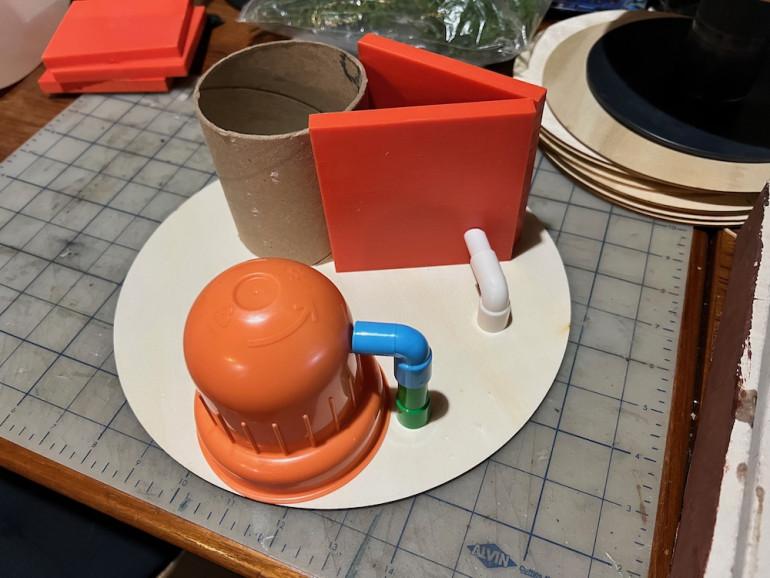
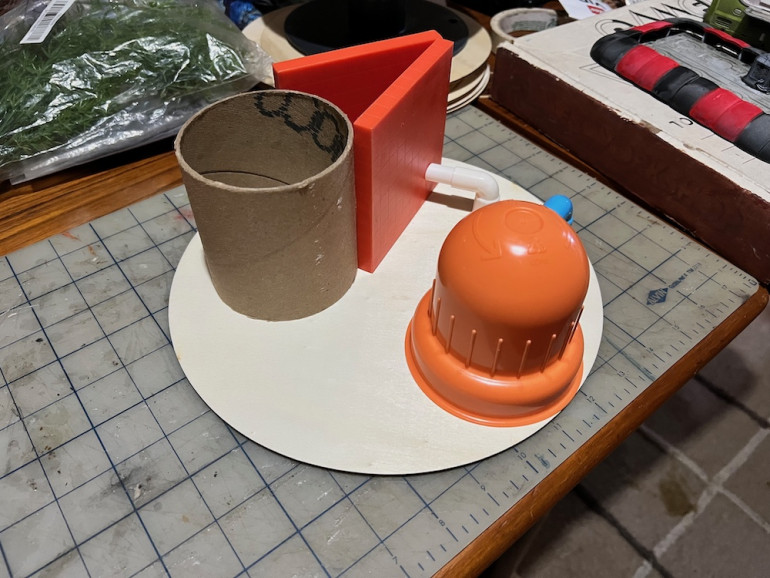
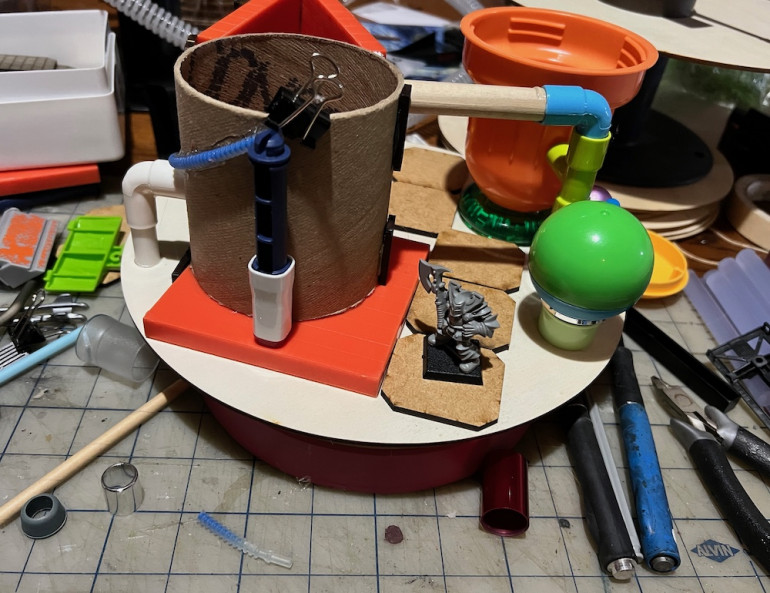
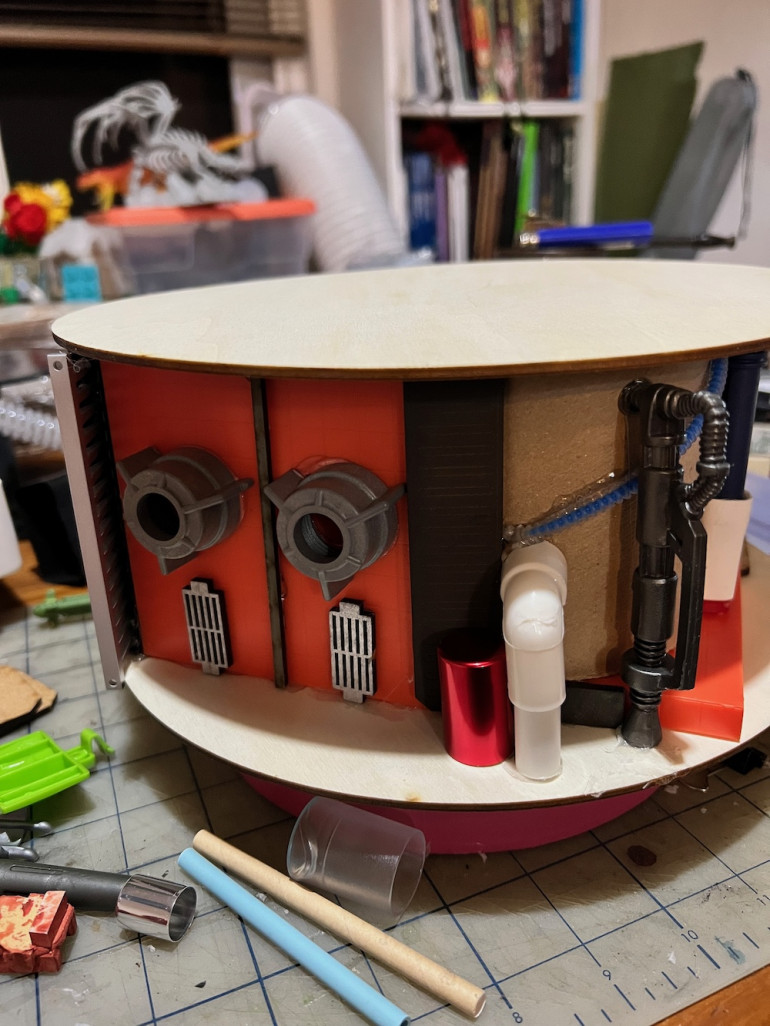
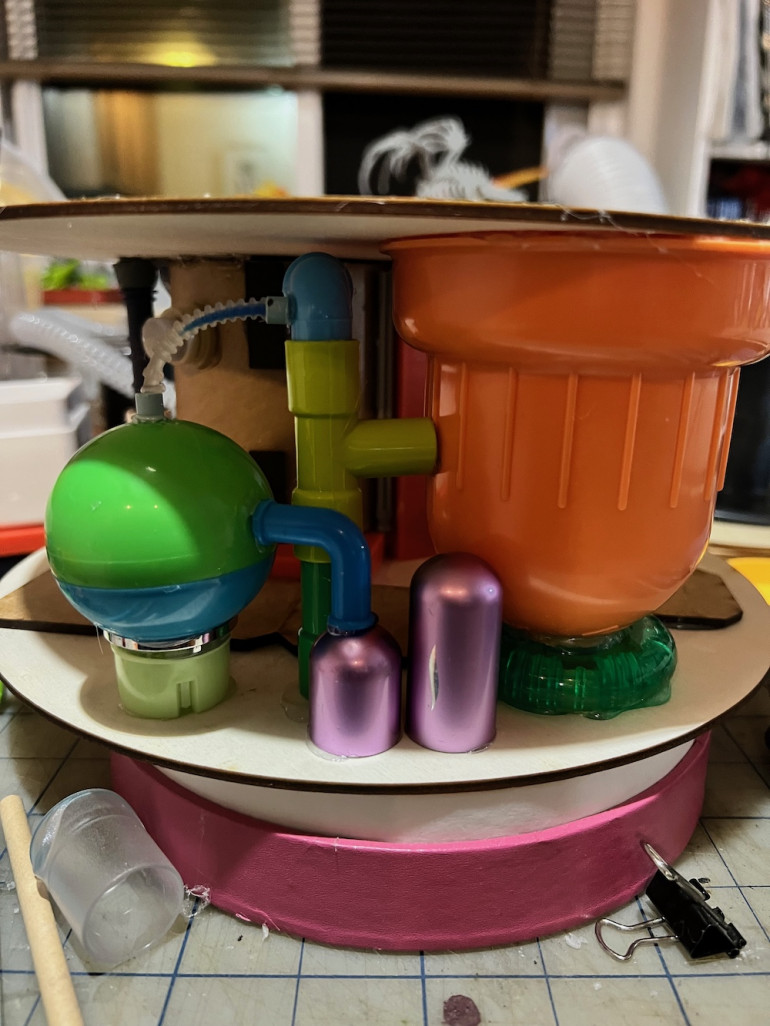
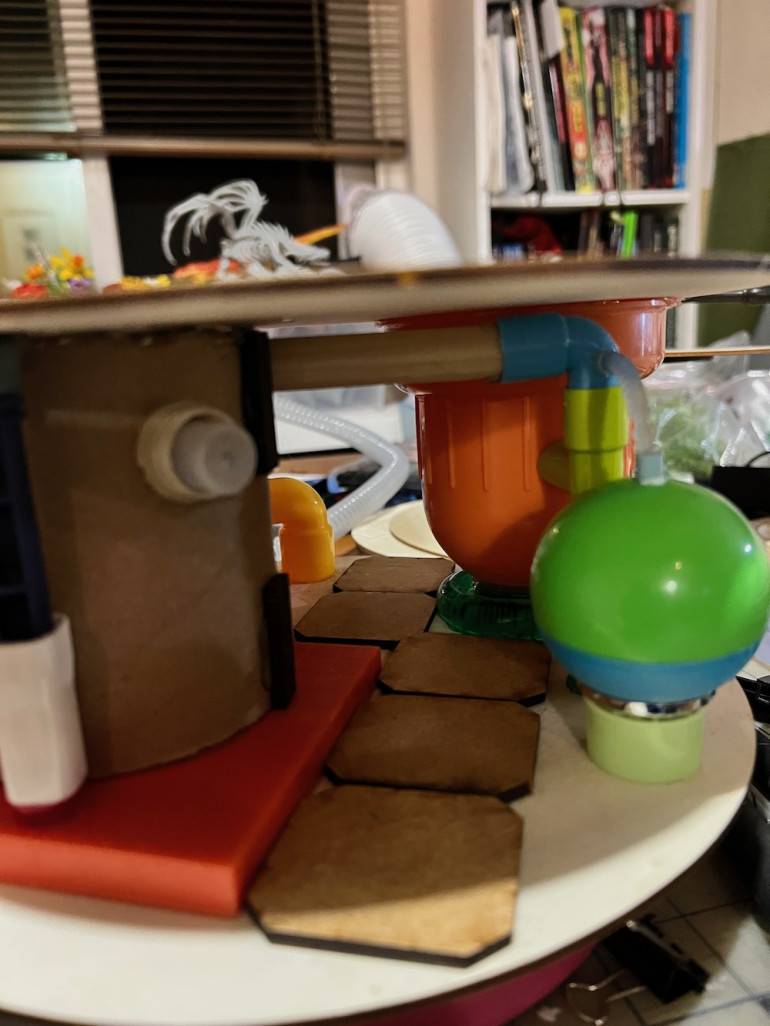
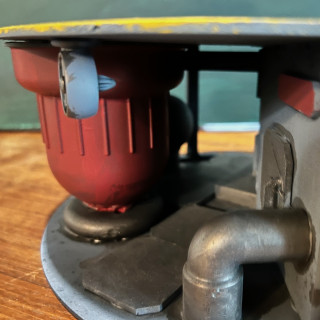
So with all these spools available to me, after a day of messing around I settled on using some of my 12 inch discs to make a spool shape from scratch. It’s just that I had a number of big pieces I really wanted to use but they wouldn’t really fit on the spools. This also gave me the opportunity to create terrain that miniatures could move through, not just around and over.
Reuse and Repurpose
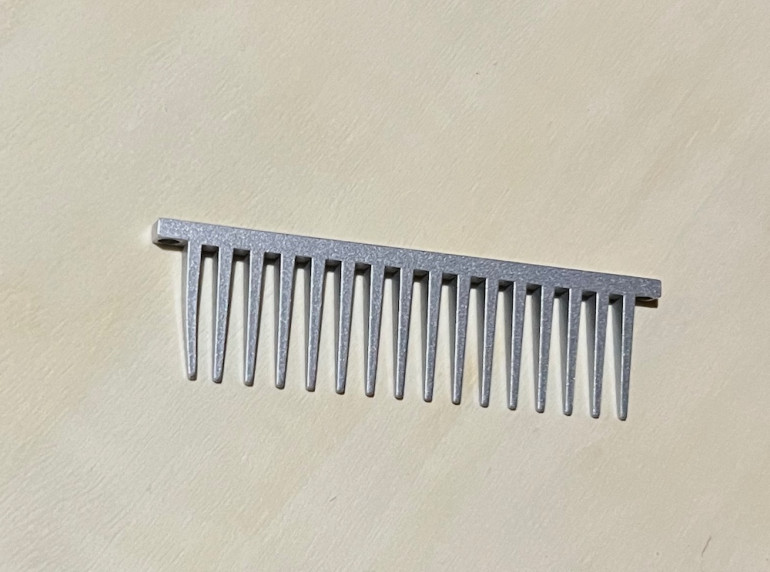
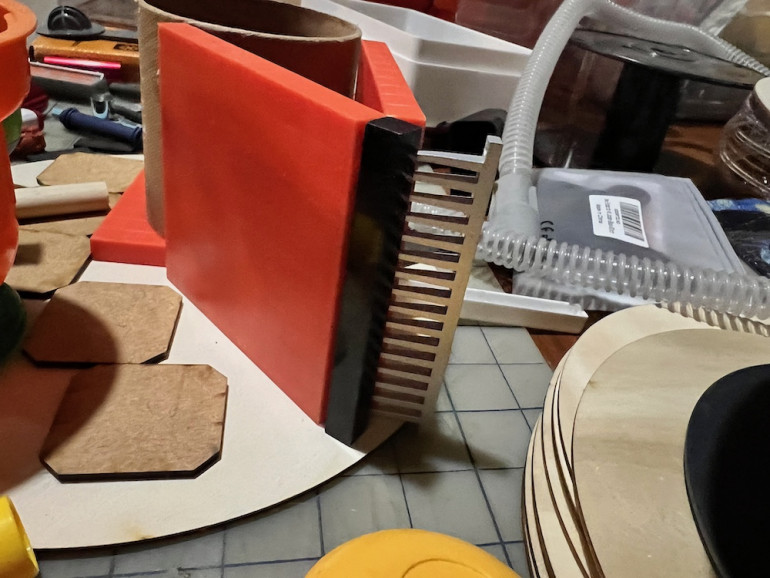
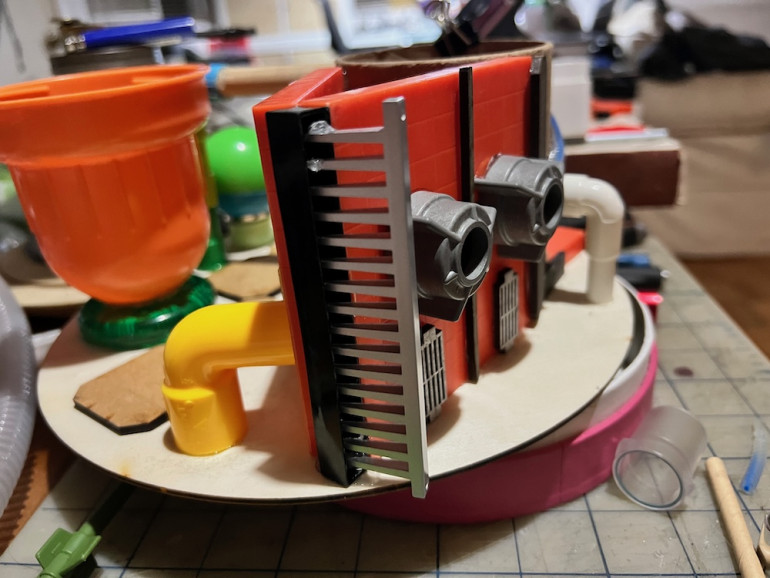
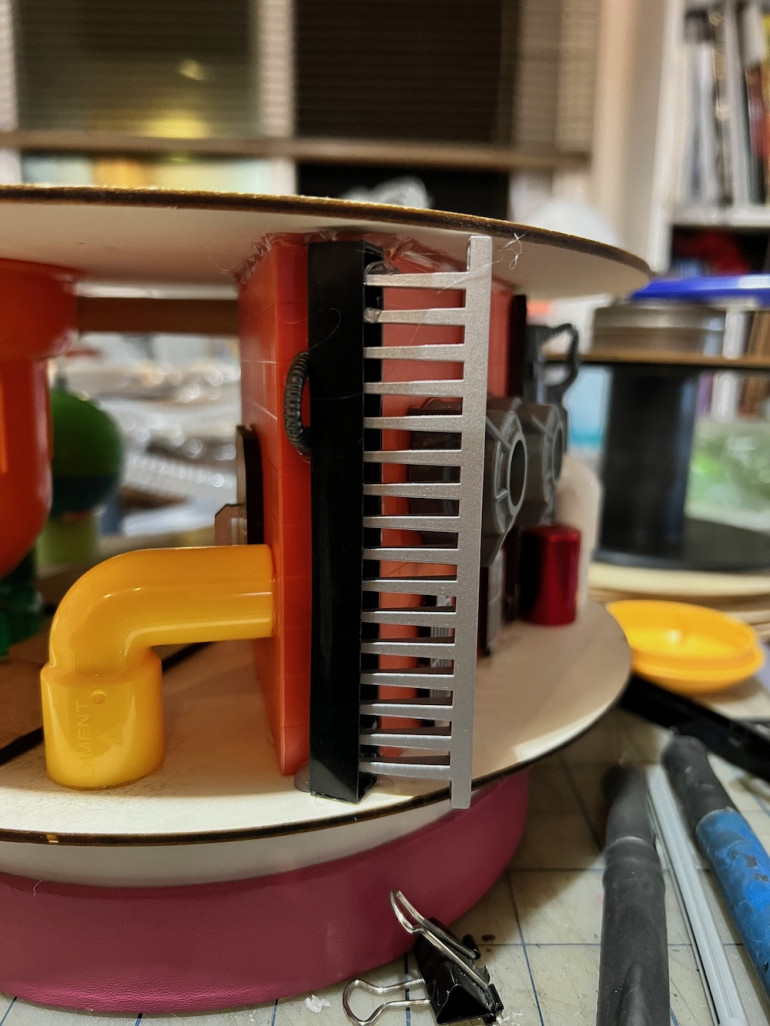
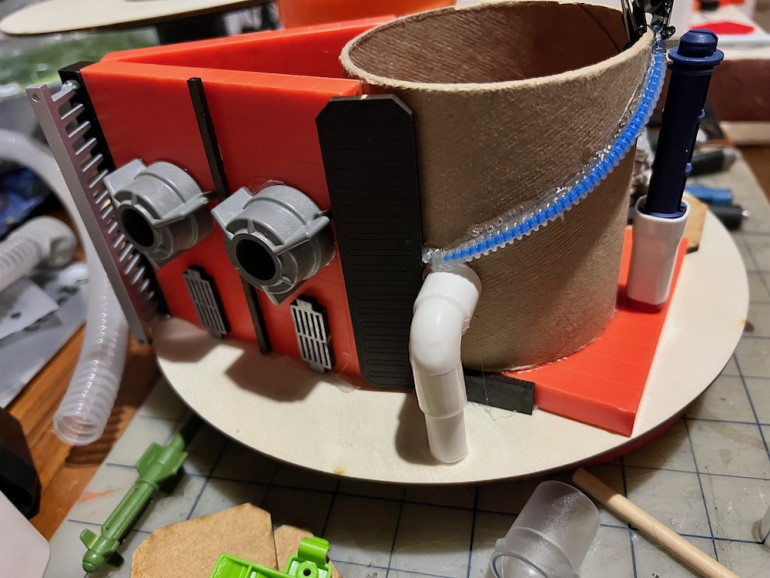
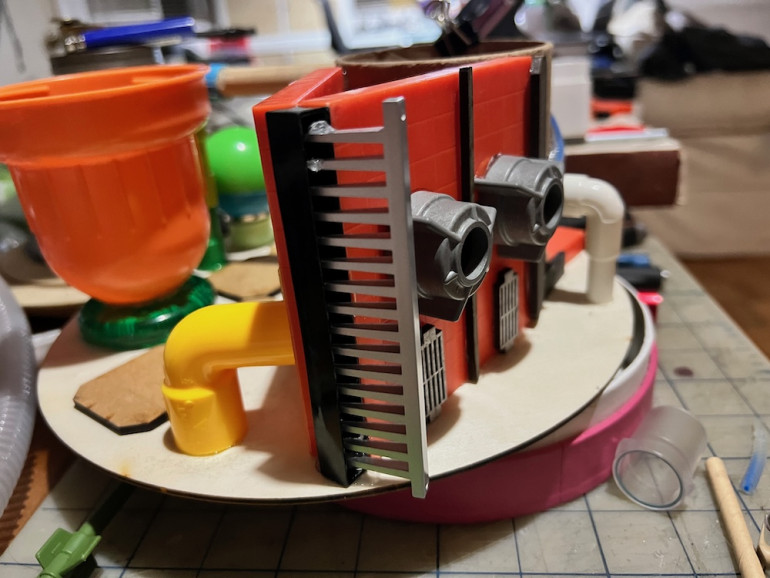
One of the challenges I like to set myself is to reuse or repurpose junk, off cuts, and broken items. My partner got a new blowdryer recently and didn’t need the comb attachment. I immediately thought it looked like a ladder and set it aside for such use. This “spool” seemed the perfect opportunity.
More Reuse and Recycle
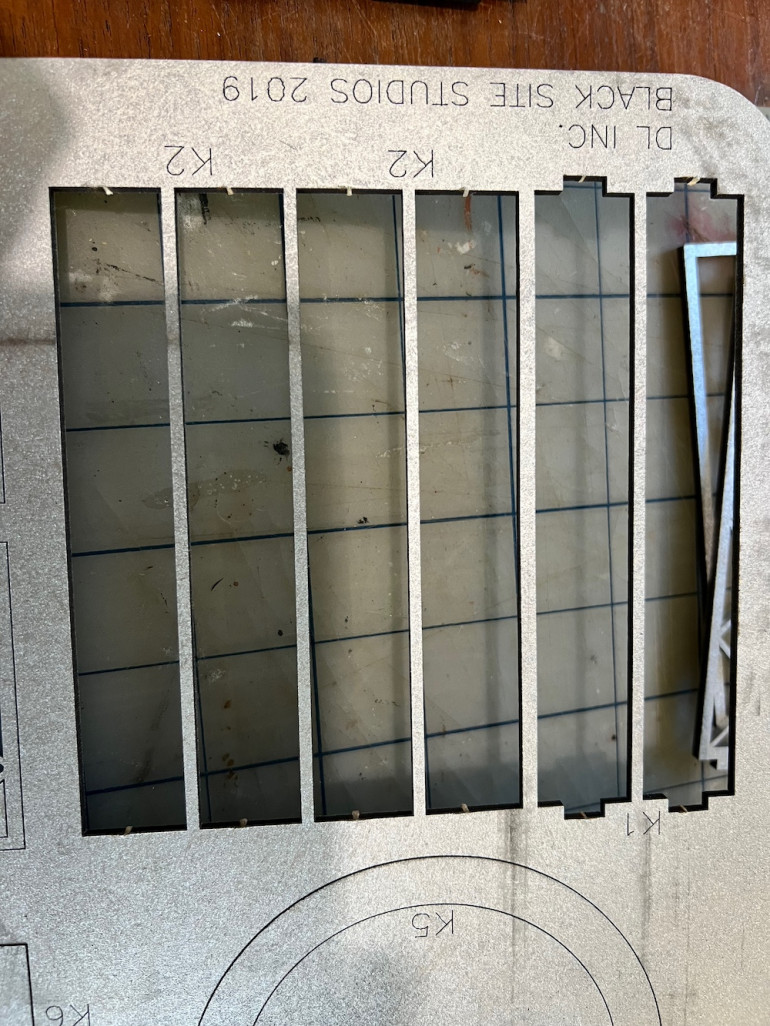
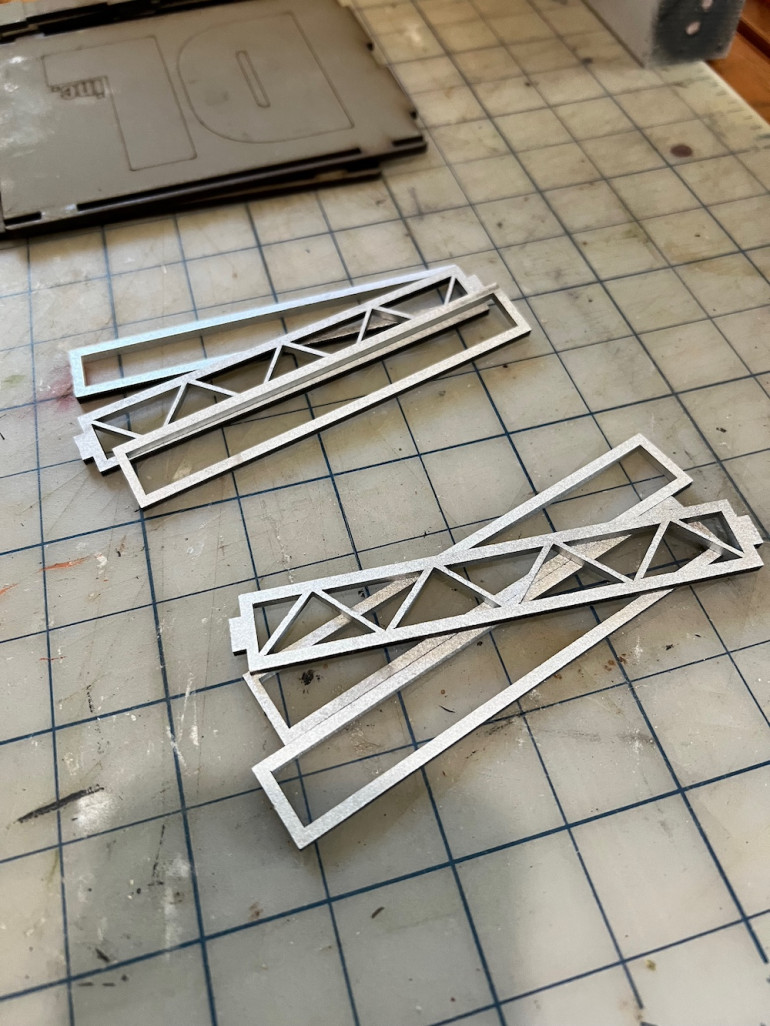
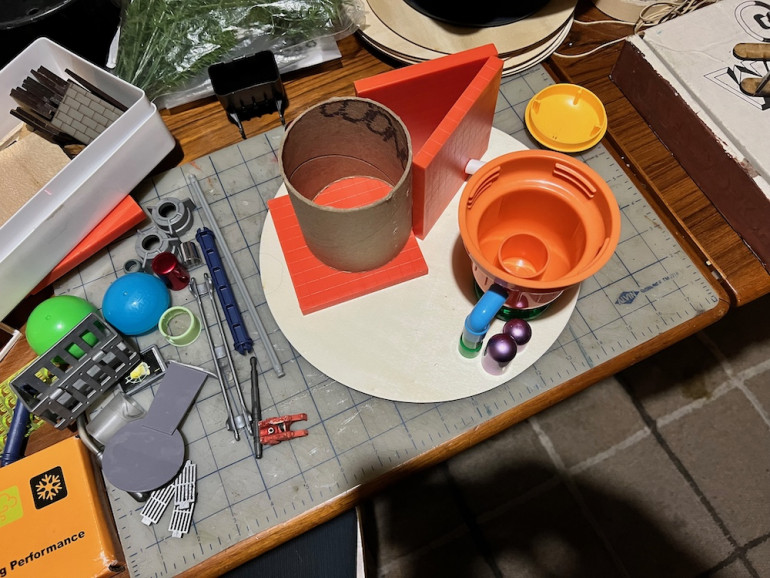
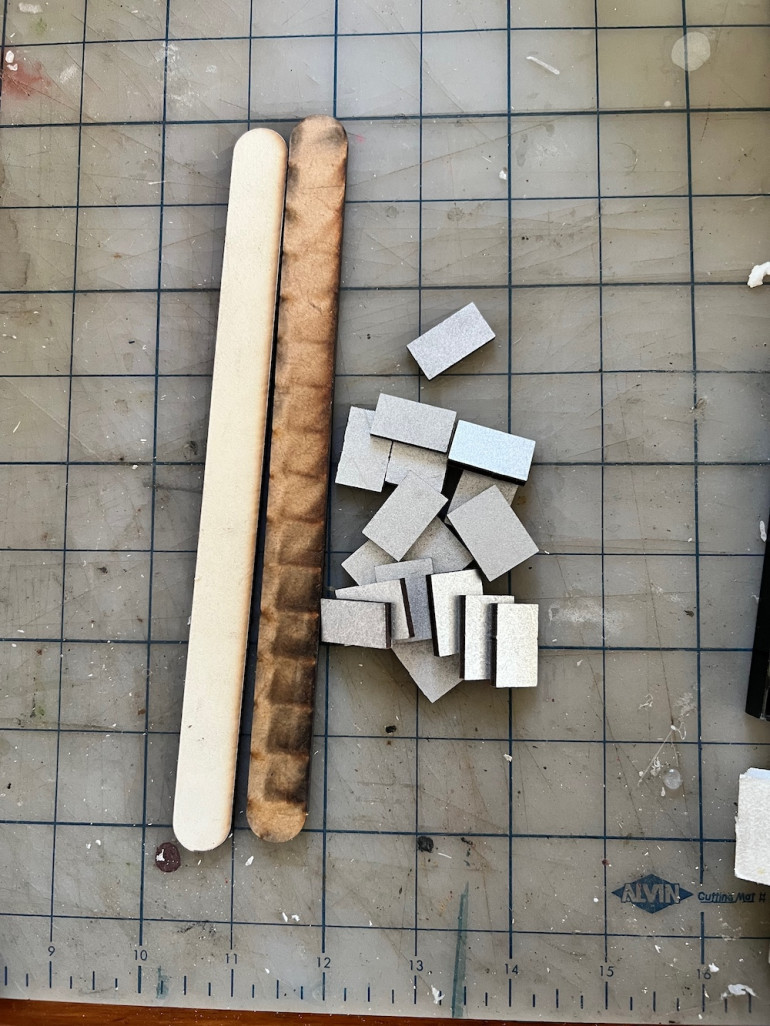
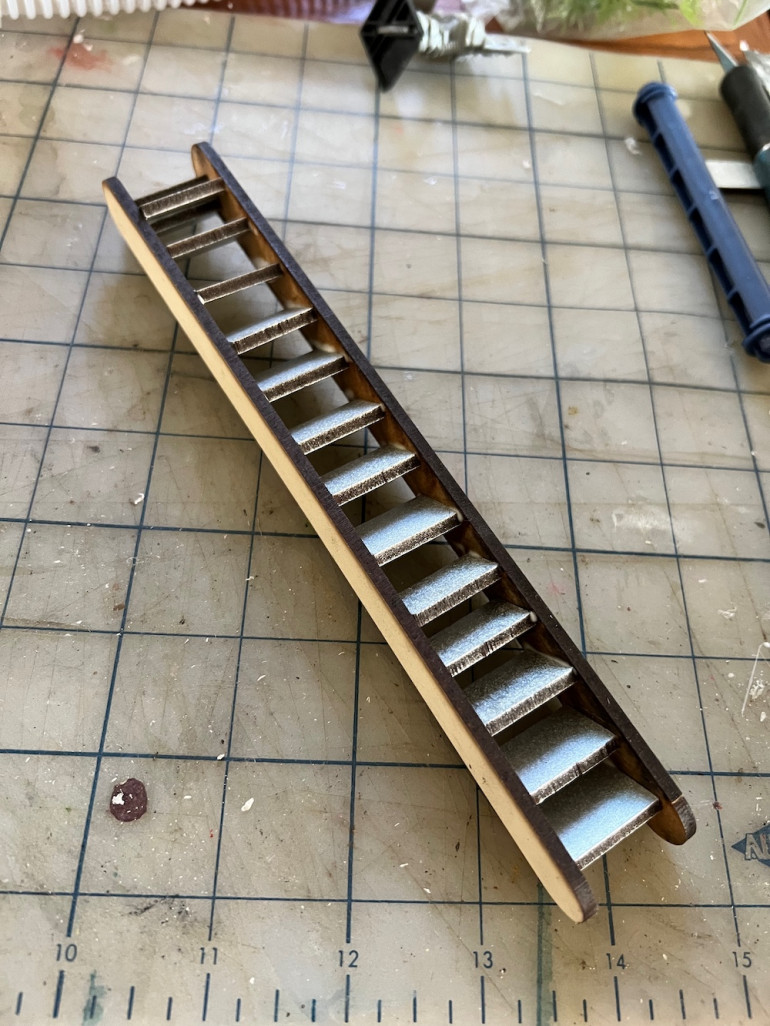
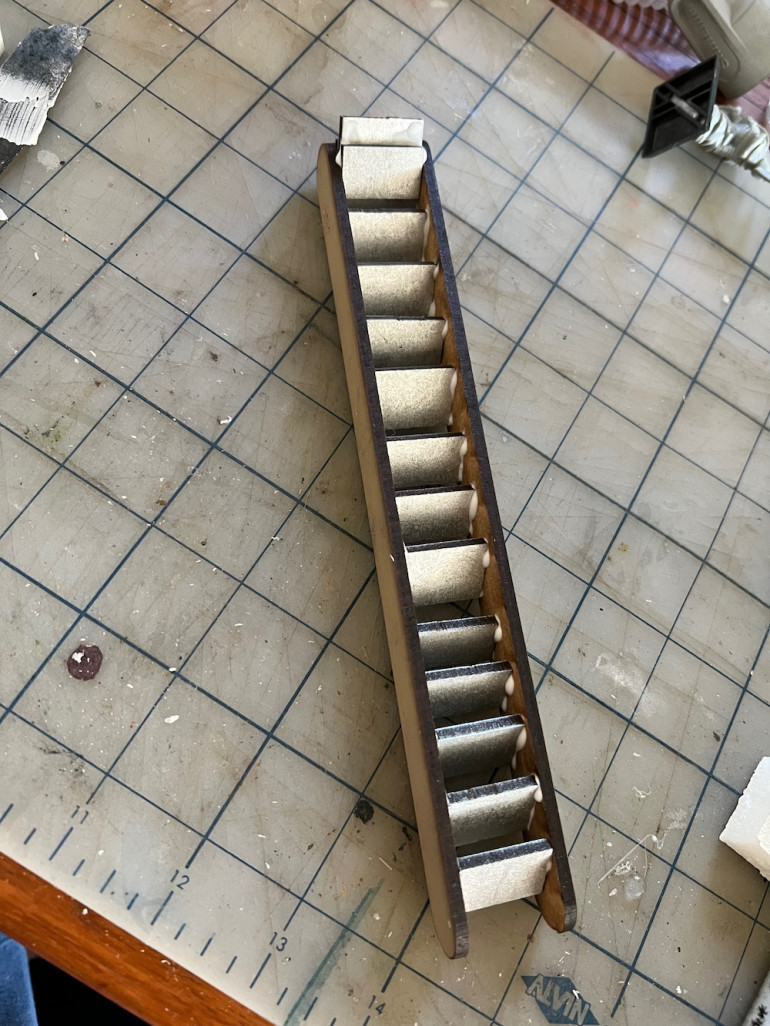
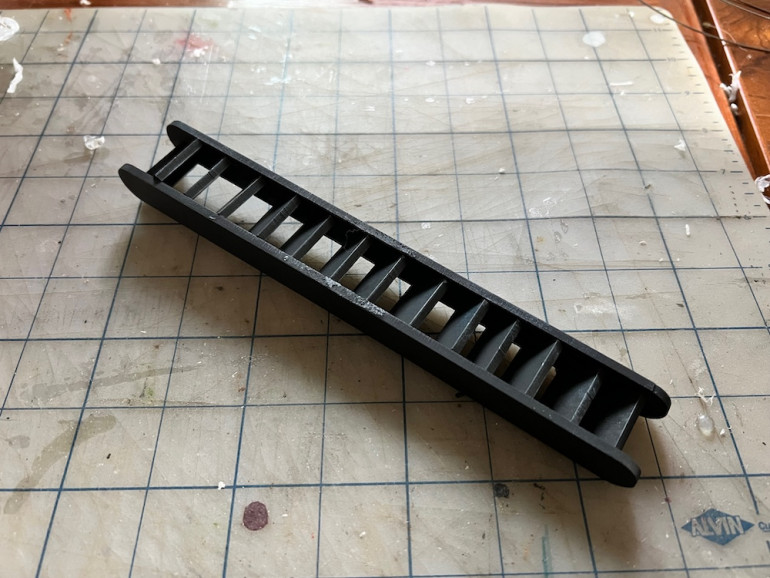
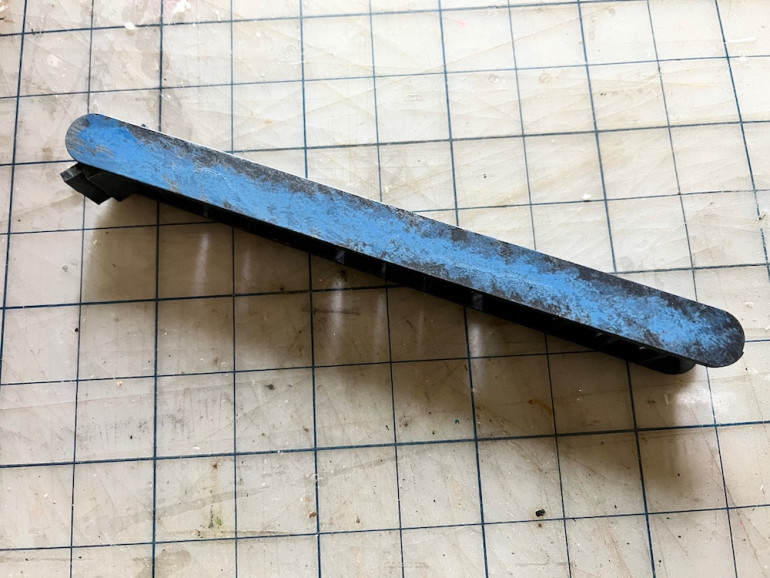
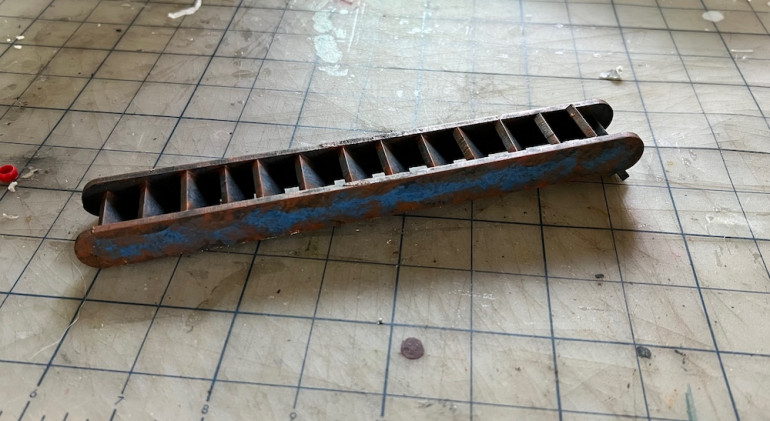
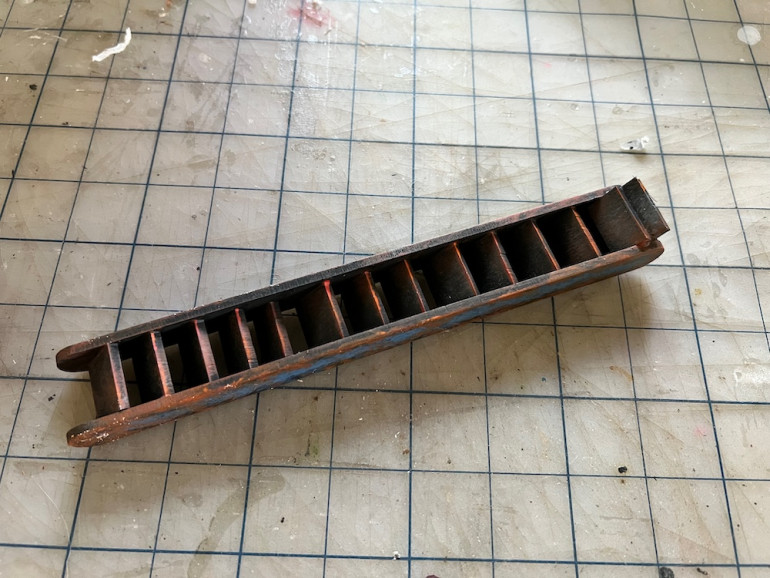
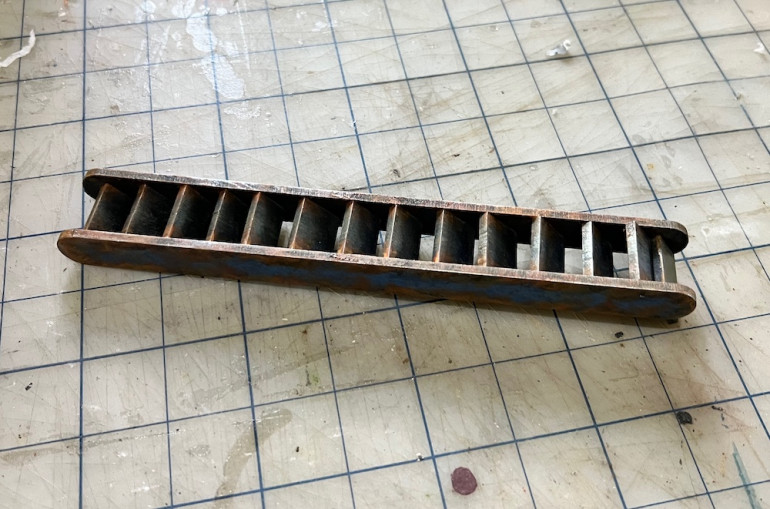
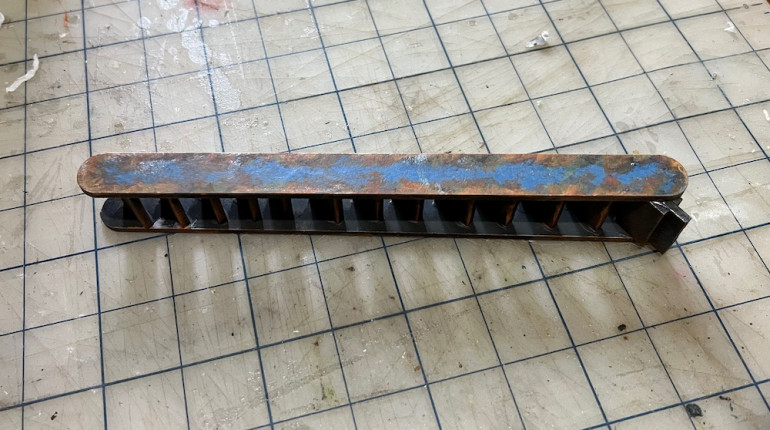
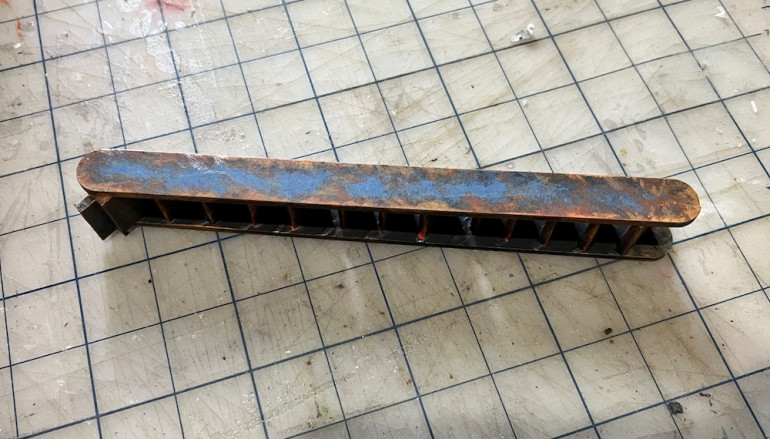
Assembling all these MDF kits means one has a bunch of offcuts left afterward. I had two long pieces with rounded ends left from the DL HQ building as well as all those pieces from the windows. My first thought was a ladder but decided on stairs instead.
The Homemade "Spool" Nears Completion
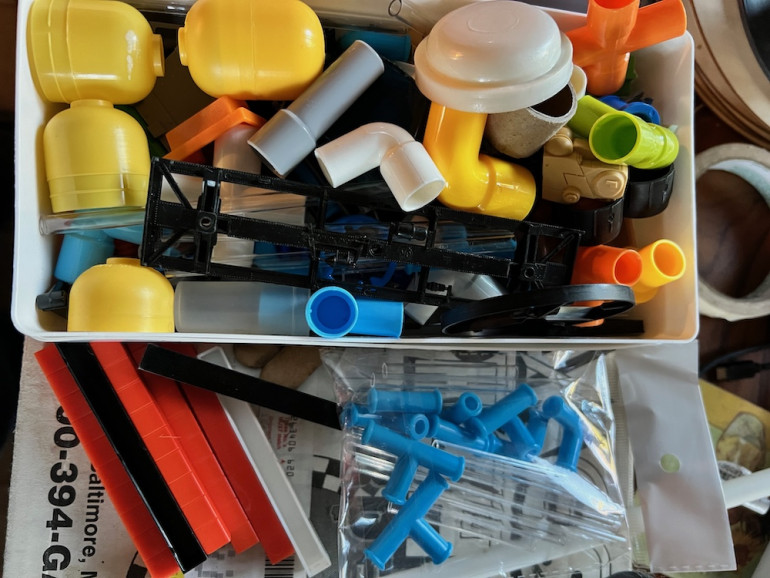
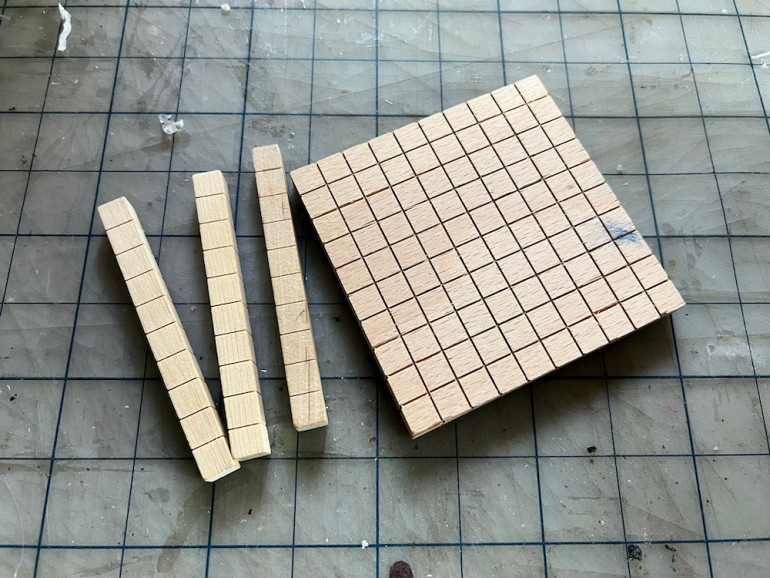
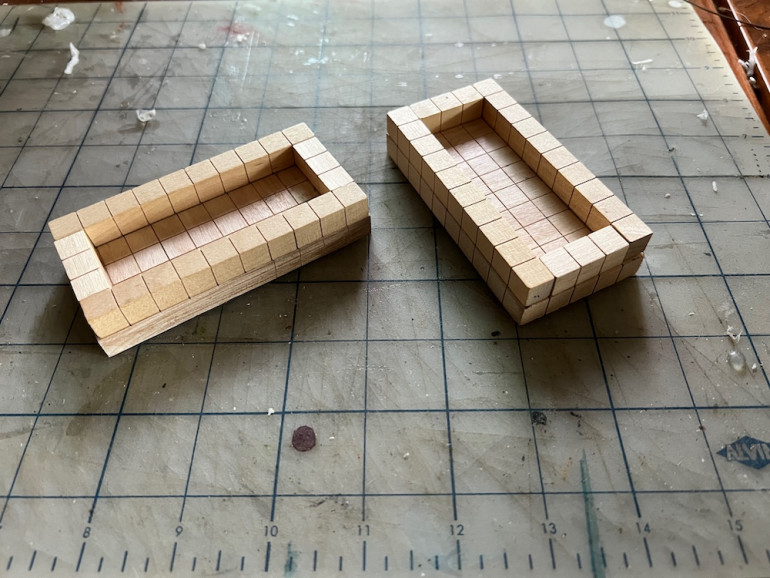
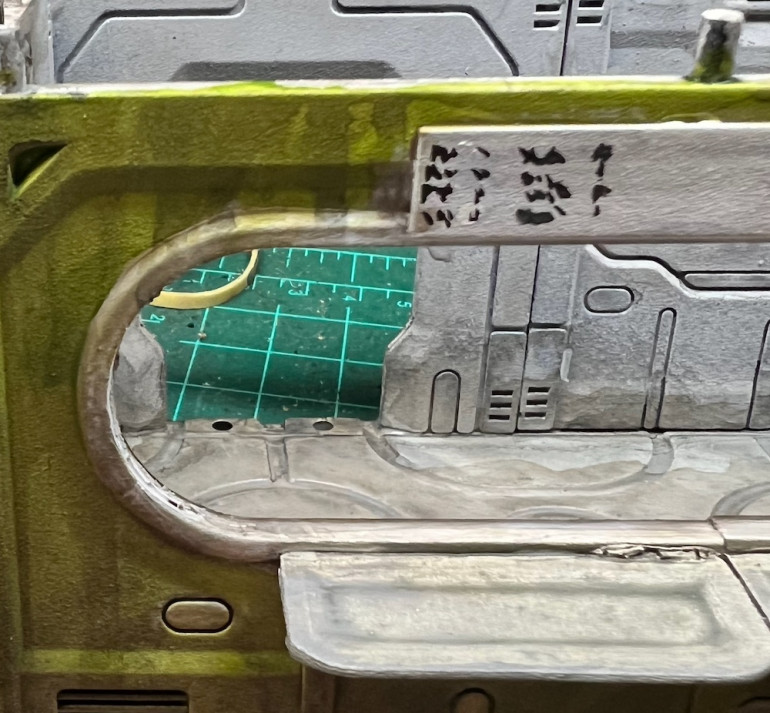
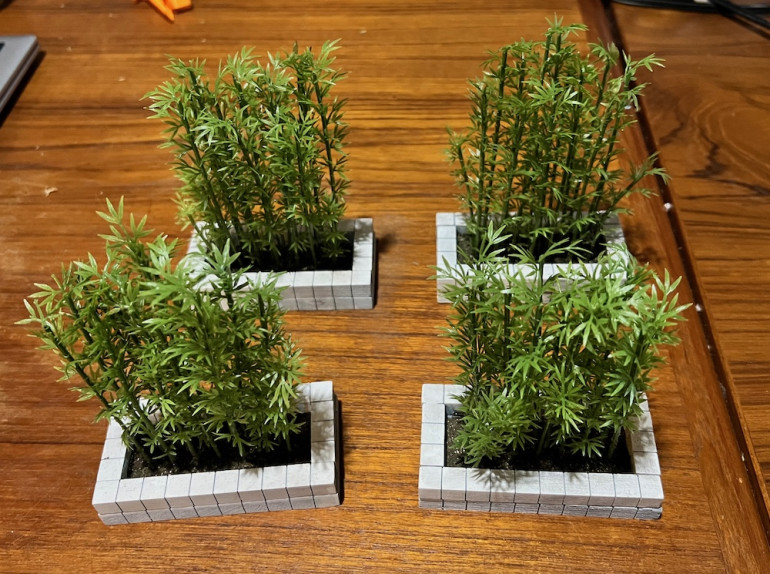
As previously posted, I chose not to use any of the spools I had collected so far and just built my own. This sort of thing can happen when one has way too much collected in “Bits Boxes”. I really like the pass through in this piece and know I will need to make more like it. I have a bunch of old “manipulatives” from a Math teacher who retired that made nice walls so know they will be included in more of my future constructions. The grid pattern and uniform sized pieces are rather handy. I have an idea to adapt wooden ones for planters.
Most everything was attached with hot glue. A few of the tiny details were superglued in place. I kept the details fairly large as I want this one to paint up quickly. Primed the entire thing black from every direction before applying a zenithal layer in grey. I love how pieces look once they are primed.
Making Planters From Junk
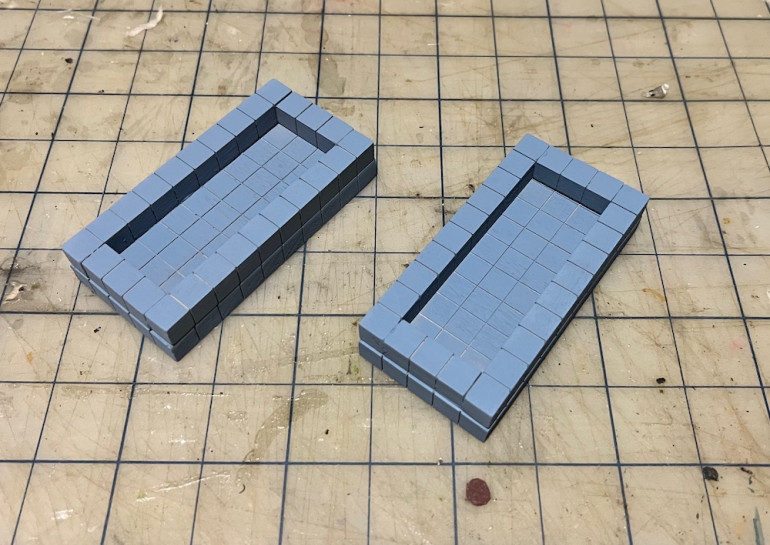
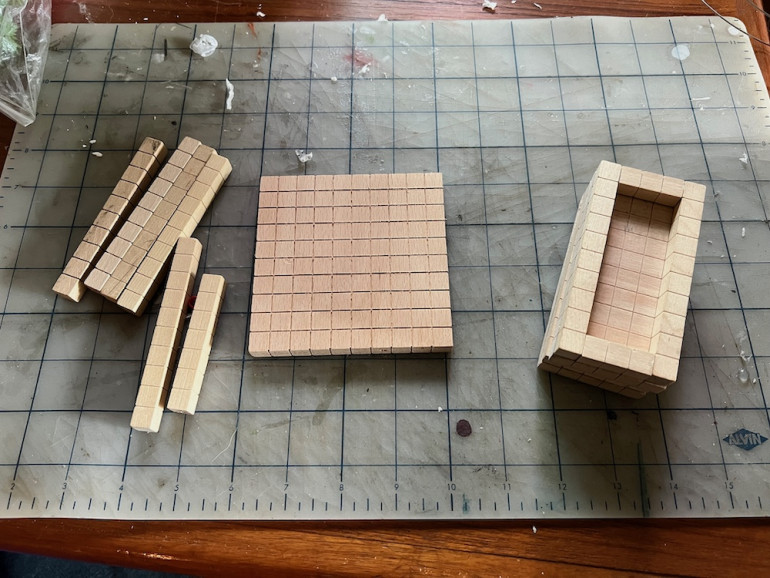
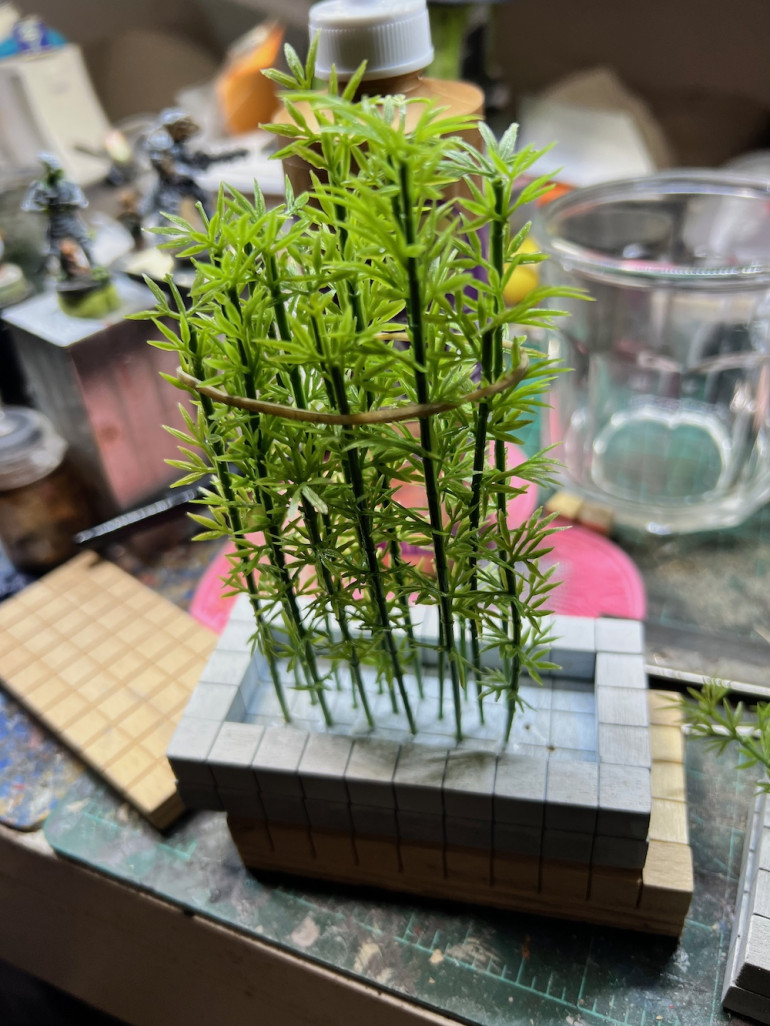
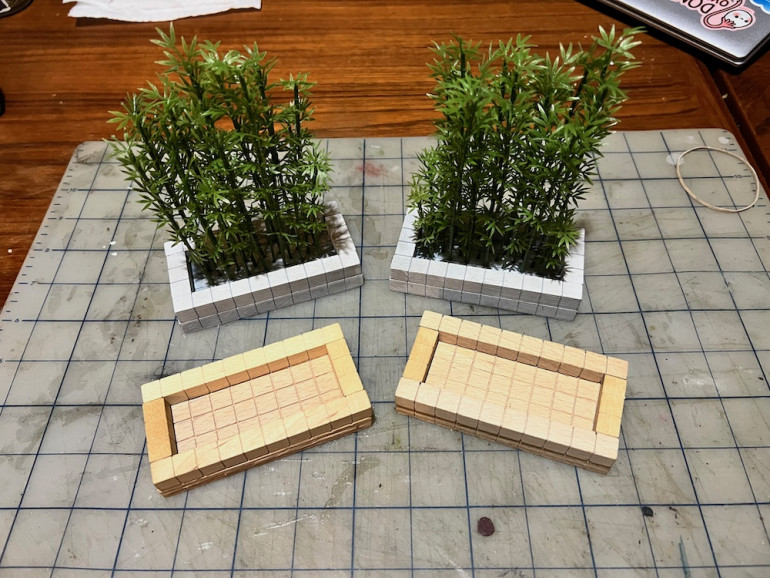
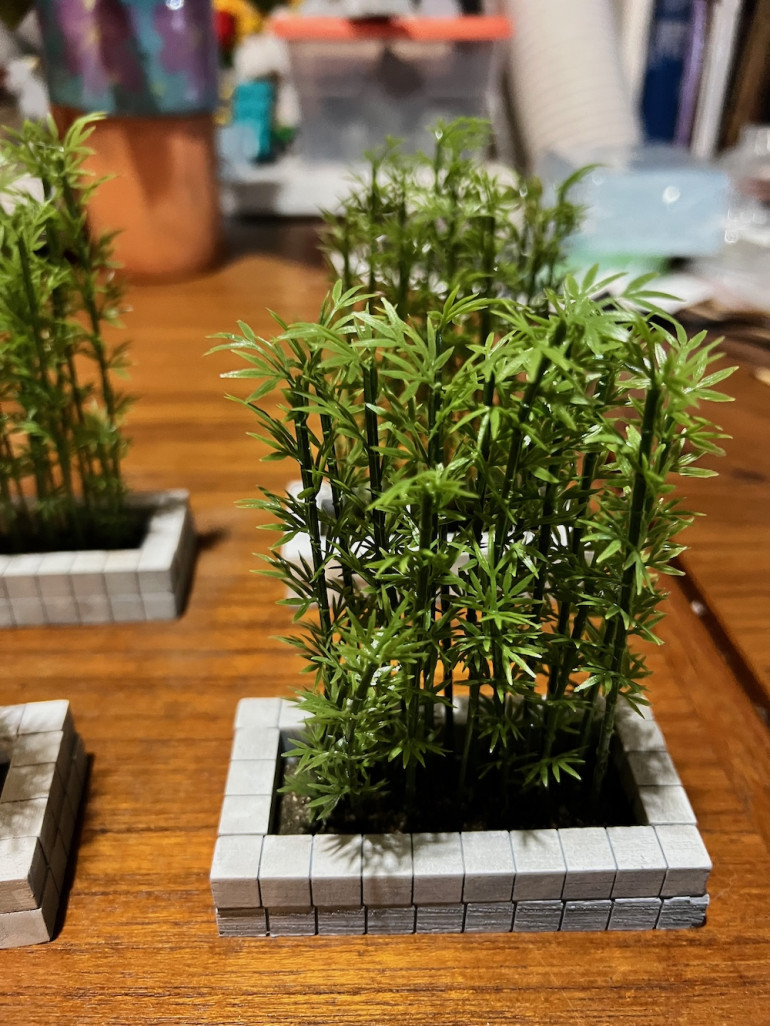
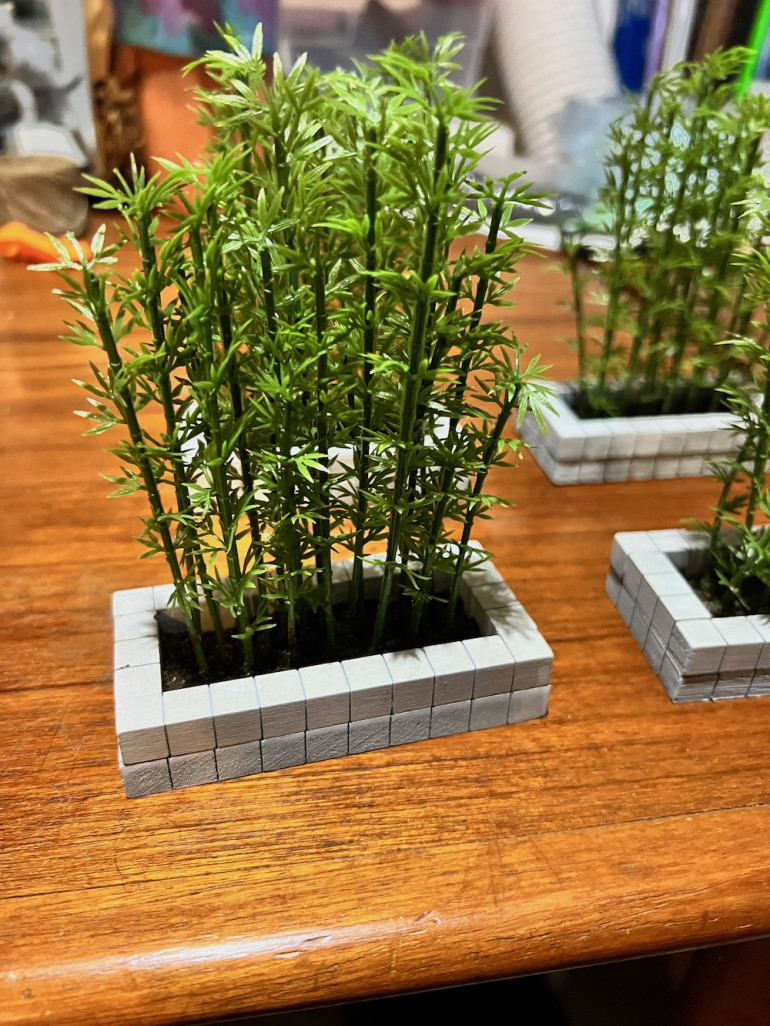
I have been a public school teacher for over twenty years now. When other teachers retire they get rid of everything they have stored away in their rooms. Often times this includes odds and ends that are no longer used. One such math teacher had a great collection of what are called manipulatives, 3D objects that can help students understand abstract concepts. There are a few different sets with some being made out of plastic (I used a few of those on my homemade spool) and others being wooden. The latter is what I used for these planters. After cutting one made of oak in half, I realized the other set was plywood which will be far easier to cut.
Planters Planted
Drybrushed the planters with light grey and then white before weathering with a bit of Agrax Earthshade. The grid on the pieces make placing the drilled holes easier. I have a big bag of plastic bamboo left over from the samurai terrain I built ages ago which were perfect for this project. I used the same Tacky Glue to attach the stalks into the holes. I am still undecided what I will cover the ground with. I had considered just water but am not in the mood for a resin pour right now.
Some Work in Progress
Really busy day so got little time at the painting desk but I did finish painting and planting the last two of my planters. Now they need some kind of soil or rocks. I will be looking through my collection of such tonight.
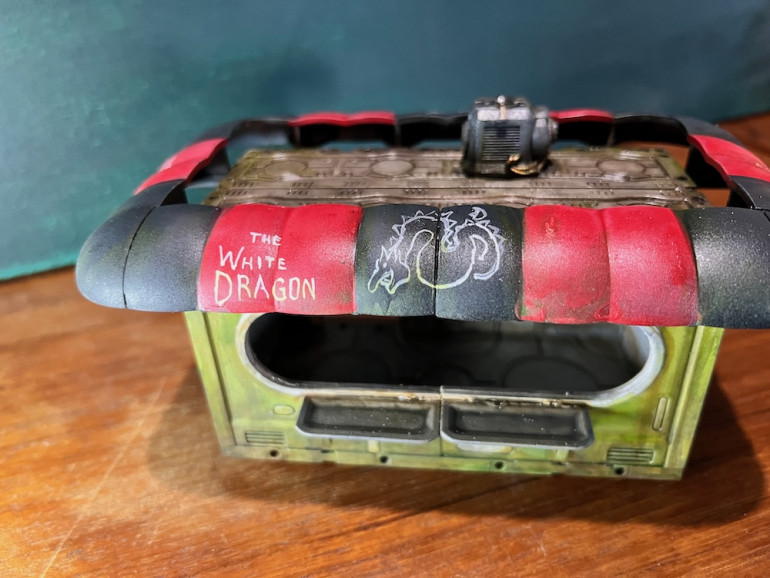
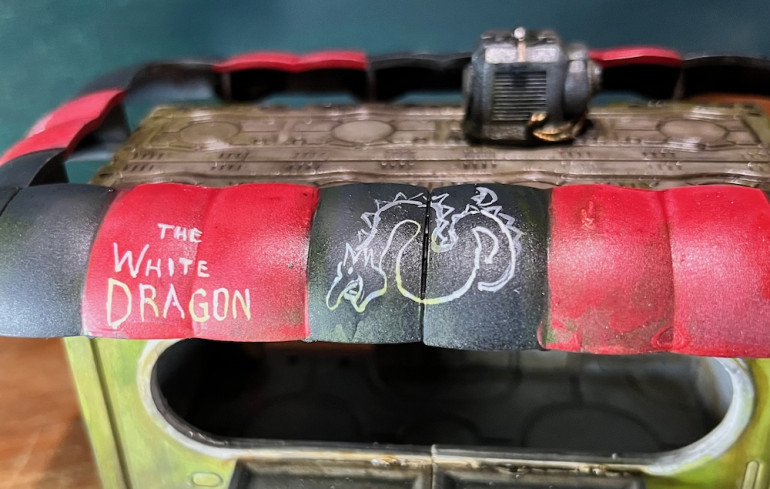
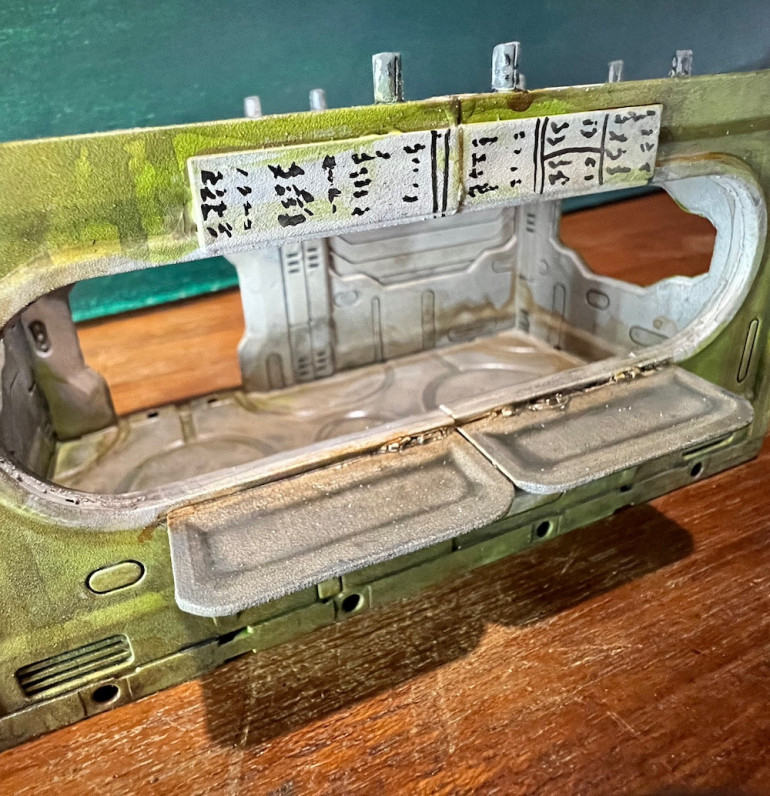
Started the detail painting on my noodle bar. Since I failed to do much with it during the Spring Clean Challenge I am determined to finish it this season. I continued weathering the building and began on the signage. I decided that matching any font at that size is just too hard so I focused on legibility. I even got one of the White Dragon logos done though IO’m not entirely happy with it yet.
White Dragon Noodle Bar open for business
It only took two separate seasonal challenges from the folks at OnTableTop but I finally finished the White Dragon Noodle Bar. I can think of a few more things to do but I am happy with the result, all in all. I might even have a lead on a sign for the roof! A great little kit that I am fortunate to have another of. Unfortunate that Maki-Tainers seems to be no more as I really like the product. Good thing I have a collection of pieces left to build something impressive out of.
Some More Work in Progress as the Month and Challenge Come to a Close
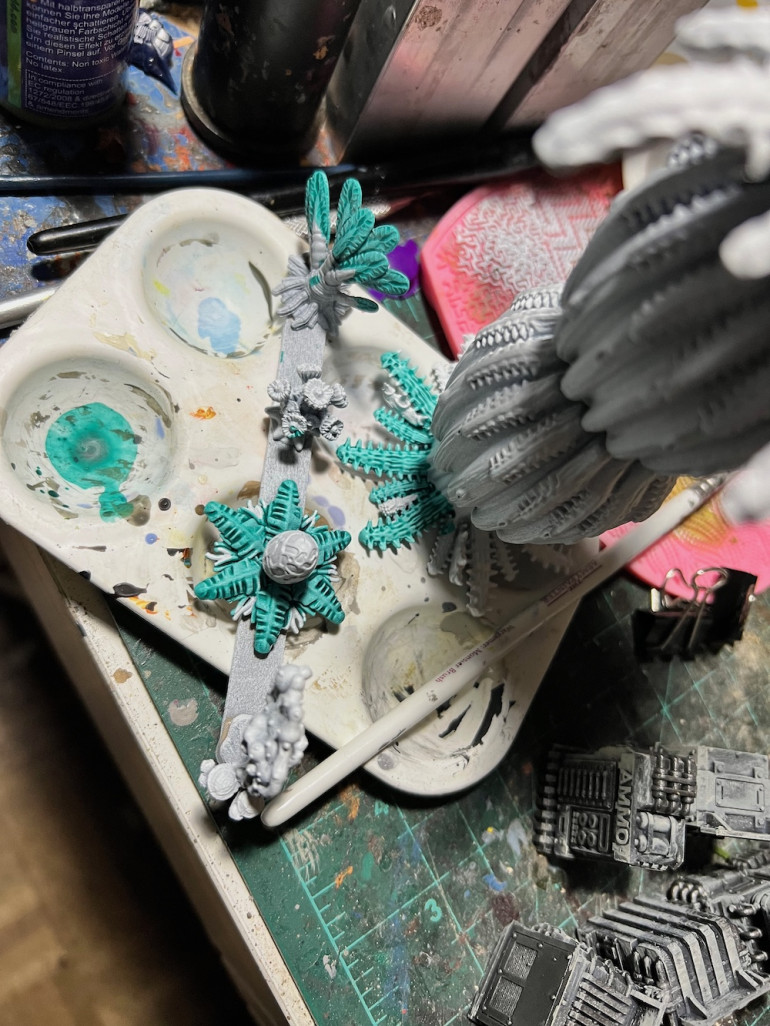
Digging through boxes in a quest for some Litko bases I picked up and packed away ages ago, I discovered a couple of hand cut bases left over from a previous project. While not enough for the Terrain Crate3 fungus forest I have in mind, it is a great place to start working with these super cool pieces. I assembled a nice little grove worth of “trees” and primed them grey with some of the small bits. I then sprayed them white from above.
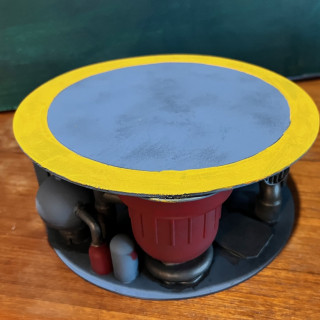
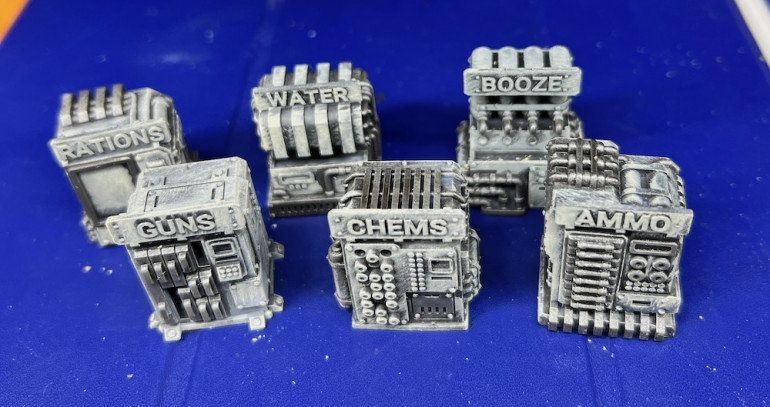
While those dried I began the painting of my industrial spool. I know it isn’t really a spool but it is round and fits the other spools so is an honorary member. It’s not for me to judge. I used a smaller disc to make a border on the edge of the top disc. This will be classic black and yellow stripes. Got a lot of work to do on this piece still but wanted to post the progress before the month of terrain ends and I’m doubtful as to whether I will have any time tomorrow to either paint or post.
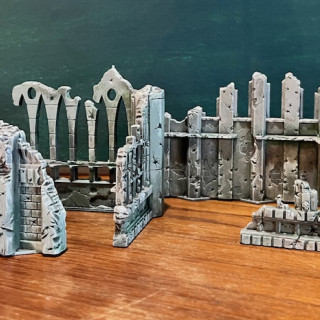
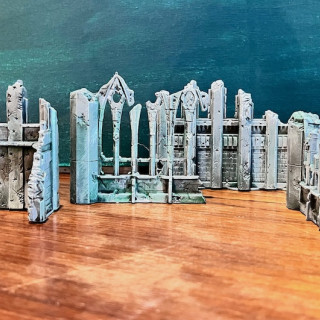
Finally, I include the set of old GW ruins I finished painting at the start of the month. Not really what I would use with my cyberpunk cityscape but simply terrain for the terrain god.
Thanks for all the inspiration, CoGs!!!!!
A Little Halloween Hobby After All
I have to man the door here on Halloween. I live in a safe neighborhood with no hills so we tend to get our fair share of costumed kids coming by. I was only able to get a little initial color onto my plants and prepped some scatter terrain a friend gave me. So here in the last few hours of the month I was able to throw a little paint between doorbell rings.


![How To Paint Moonstone’s Nanny | Goblin King Games [7 Days Early Access]](https://images.beastsofwar.com/2024/12/3CU-Gobin-King-Games-Moonstone-Shades-Nanny-coverimage-225-127.jpg)


