Dan’s 2024 Side Projects
Recommendations: 191
About the Project
This is just a place for me to document the various models I paint during 2024 that are not part of any particular event, such as Dungeonalia or Spring Clean Challenge.
Related Genre: General
This Project is Active
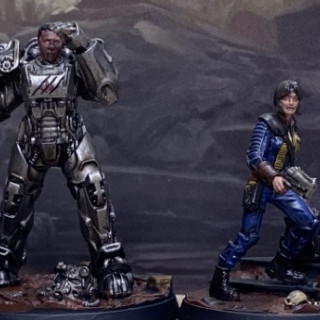
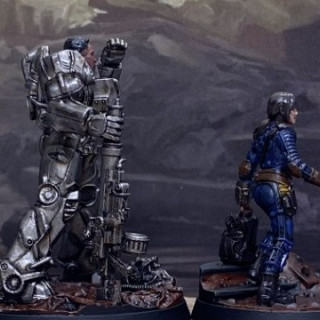
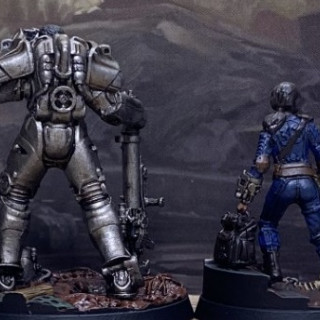
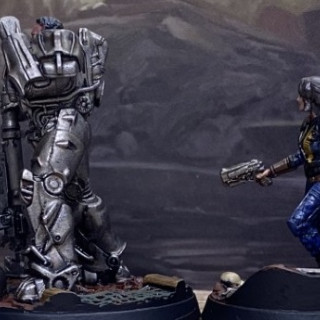
Fallout Hollywood Heroes
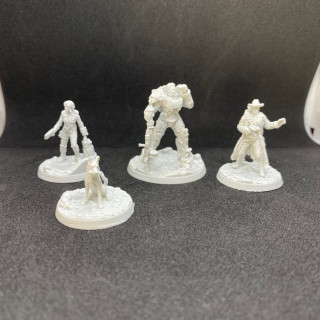
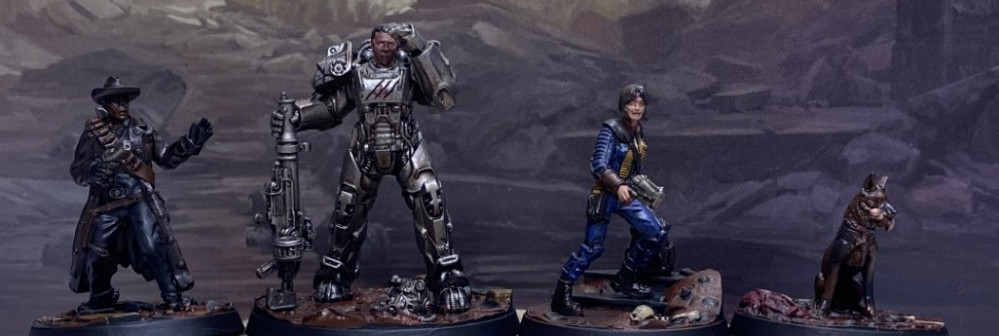
I picked these up at Salute and finally got around to painting them this week. Fallout is quite a gritty setting so I’ve gone with a slightly grubbier painting style than I usually would.
The human skin was painted bugman’s glow. Lucy got a reikland fleshshade wash followed by a cadian fleshtone highlight, while Maximus just got an agrax earthshade wash.
The Ghoul’s flesh was painted mournefang brown then washed reikland fleshshade.
The leathers and clothes were painted rhinox hide, dryad bark or corvus black.
Lucy’s jump suite was painted macragge blue with averland sunset trim.
The metallics were painted leadbelcher.
The bases were painted doombull brown with waaagh! flesh for some fencing, xv-88 for the wood, skavenblight dingefor stone, ushabti bone for bone, and khorne red for the dead radroach.
Then everything (except Lucy and the Ghoul’s skin) got a was of agrax earthsade.
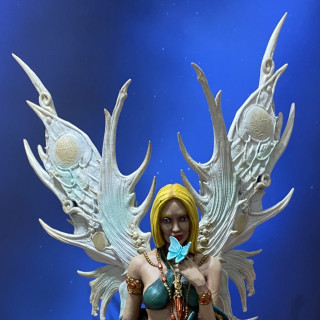
Butterfly Athalia
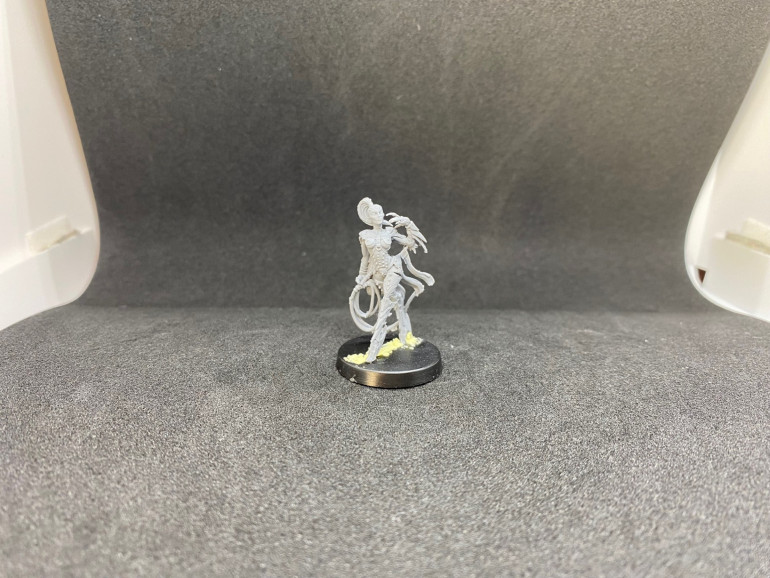
This is a 3D print from a Kickstarter a couple of years ago.
https://www.kickstarter.com/projects/printomancer/butterfly-athalia-the-winged-sorceress-stl-model-1-12-scale/description
The model is 1/12th scale, so with the wings it stands about 30cm tall.
The skin started with a basecoat of bugman’s glow, and was then layered us over about five layers, adding in first cadian fleshtone, then kislev flesh, and then flayed one flesh.
The clothes were painted caliban green and they layered up with more and more skarsnik green being added.
The gold areas were painted xv-88, then retributor armour, and then highlighted liberator gold. The ruby areas were also painted this way and then painted spiritstone red.
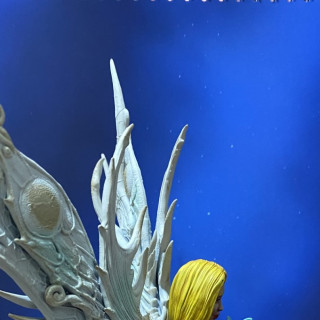
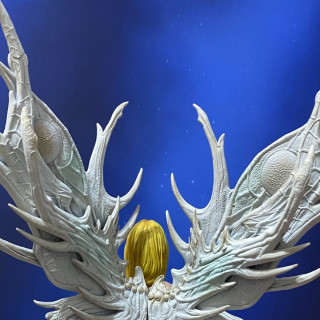
The hair was painted averland sunset and then layered up with flash gitz yellow being added in and then a bit of white scar.
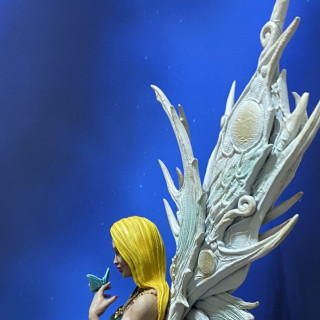
The eyes and butterflies were painted ulthuan grey. The lips, toe and finger nails were painted evil sunz scarlet. The eye irises were painted lothern blue and then the pupils abaddon black.
The wings were left with their white undercoat and then lightly drybrushed in areas with hellion green and golden griffon. I was trying to give the wings a light, delicate, almost ethereal appearance.
The butterflies were painted aethermatic blue.
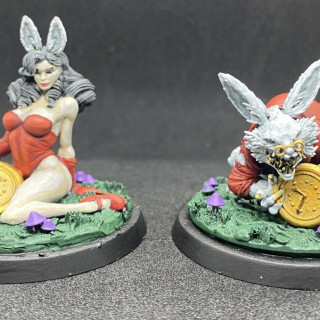
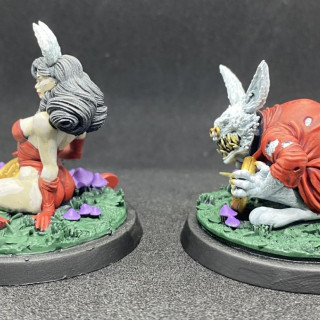
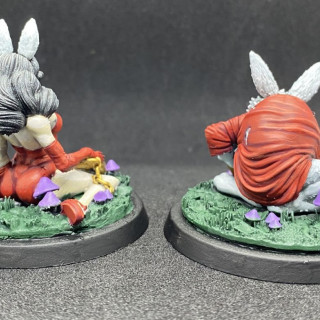
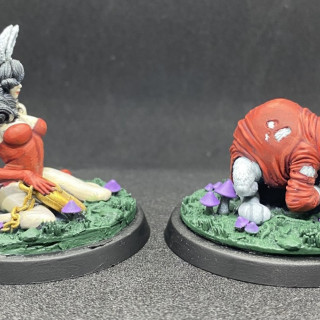
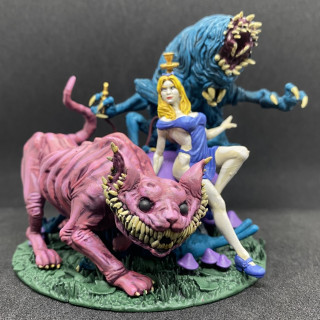
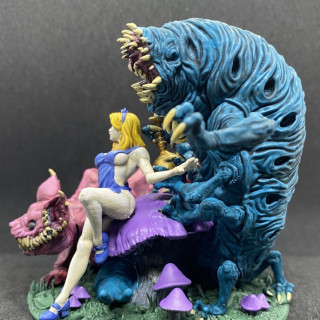
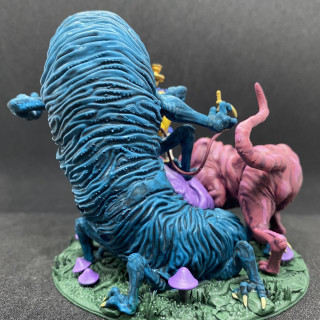
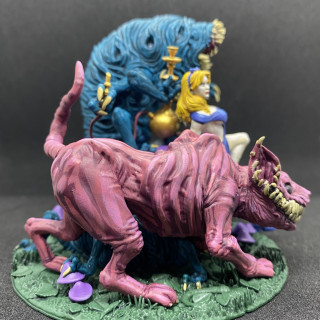
Alice in Creepyland
Which white rabbit would you like to follow?
These models are a 3D print from a recent kickstarter.
https://www.kickstarter.com/projects/siryllart/alice-in-creepyland-stl/description
The model was undercoated black and then given a zenith of grey.
The skin was painted rakarth flesh and then highlighted flayed one flesh and then pallid wych flesh.
The rabbit fir was painted celestra grey and then highlighted ulthuan grey and then white scar.
The blue apron was painted macragge blue and then highlighted altdorf guard blue and then calgar blue.
The red leotard and jacket were painted khorne red and then highlighted evil sunz scarlet and then wild rider red.
The watches were painted retributor armour and then highlighted auric armour gold.
The caterpillar was painted sotek green and then washed coelia greenshade.
The blond hair was painted averland sunset and then highlighted flash gitz yellow.
The black hair was simply washed nuln oil and the previous zenith did the rest.
The Cheshire cat was painted screamer pink and then highlighted pink horror and then emperor’s children.
The caterpillar’s mouth were painted screamer pink and then washed carroburg crimson.
The teeth and claws were painted ushabti bone and then washed seraphim sepia.
The bases were painted waaagh! flesh and then washed biel-tan green.
The mushrooms were painted genestealer purple.
Eh Oh!!!
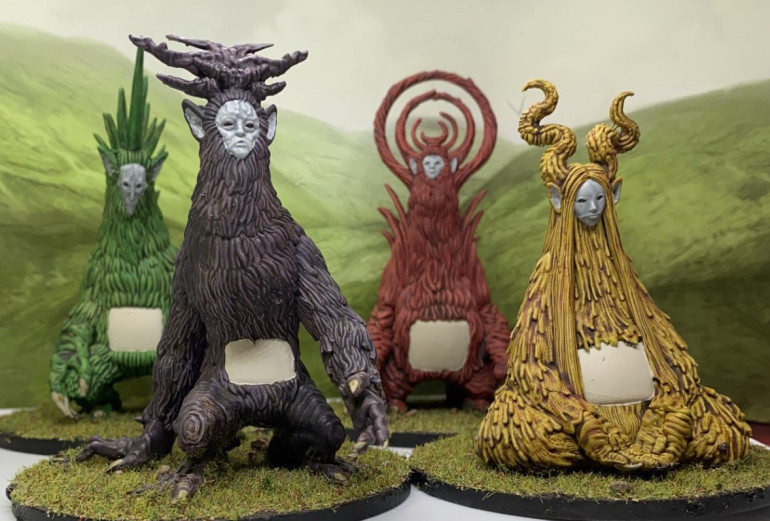
These are some unusual minis from a recent kickstarter, the Eldertubbies.
https://www.kickstarter.com/projects/voidrealmminis/rise-of-the-eldertubbies?ref=user_menu
I took the “150mm” models and scaled them down to 66% to make some “100mm” scales minis which are a bit more practical for display.
I imagine these models represent the tellytubbies once they’ve got to late middle-age and life has beaten them down, combined with the fact that they’re actually monsters. They like to wonder the forest and eat children that wonder too close to watch their TV tummies. They struggle with drug addictions and bad life habits like smoking and alcoholism.
The base colours were warp lightning, iyanden yellow, blood angels red or syish purple contrast paints. This looked too clean for these darker themed minis, so they all got a layer of skeleton horde to grubby them up.
The faces and inner ears were painted grey seer then painted with apothecary white.
The claws were painted grey seer then painted skeleton horde.
The tummies got several layers of wraithbone to get a nice clean TV picture.
Salute 51 Mini, Frostgrave Beastwarden, Frostgrave Heritor, Rythali-in, Expiatrix from Raging Heroes
An eclectic mix of minis. The Frostgrave ones came from last year’s Secret Satan. The Salute Mini obviously comes from my visit to Salute. The other one I bought for Dungeonalia but decided it was too small.
Colours used was nothing special, just my usual base, wash, two highlights approach.
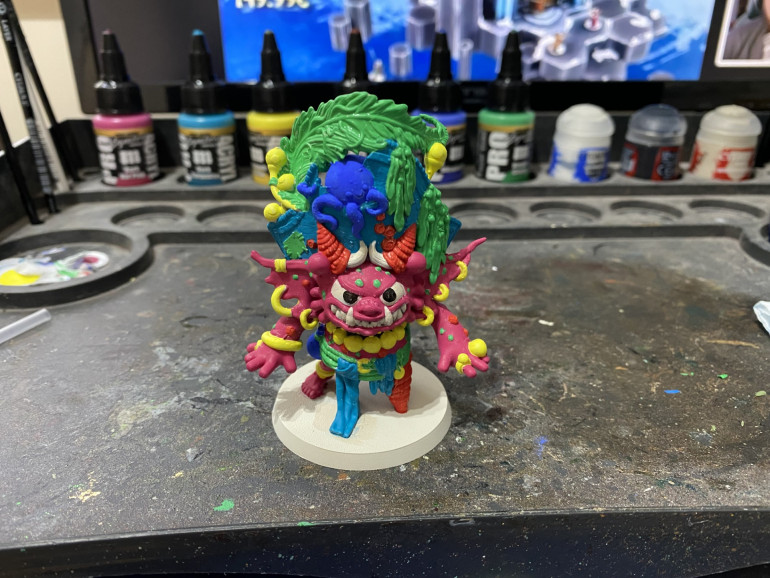
Rascaltown Pirate - Part 2
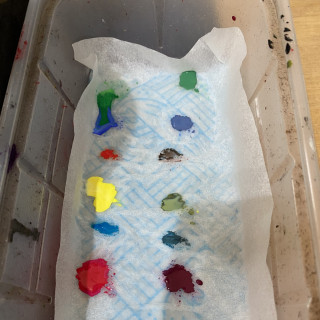
I turned each colour into a wash. The paints had been on my wet palette for about 24 hours, so were already diluted a bit. I took a few drops of paint, watered them down with several drops of water from my brush, and then added a small amount of black from by brush (i.e. I just had a bit of paint on the tip of the brush).
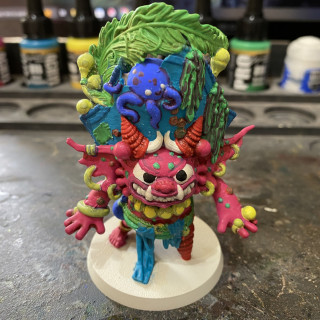
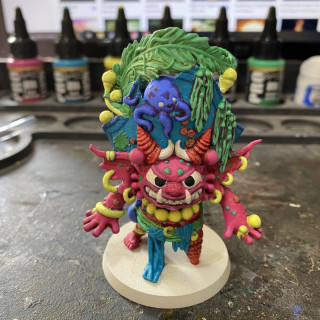
I didn’t necessarily use washes on the corresponding base colour. E.g. I used the blue wash on the yellow base painted areas. The red molluscs were washed green. The skin was washed purple.
Also, rather than applying washes everywhere, in the larger areas I deliberately limited the washes to the recesses.
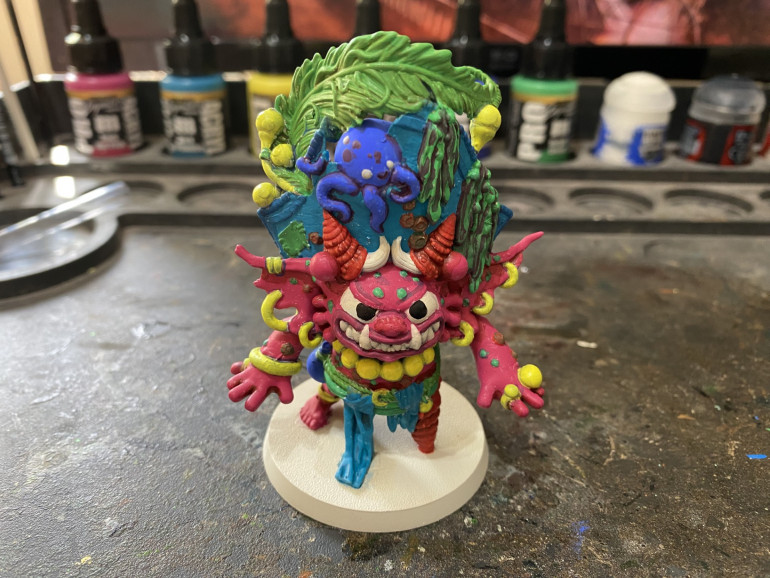 The yellow areas looked "mucky" after the blue wash so they were tidied up with another coat of yellow.
I mixed highlights by taking a drop of each paint (fresh from the bottle) and mixing it roughly 50:50 with white paint.
The highlights were applied more or less to each colour to match the base colour.
For the base I thought I’d paint it brown and then apply some sand to give a beach effect.
In order to stick to my initial intentions, I tried mixing a brown using the paint colours I’d limited myself to. It did work and I got a decent sand brown. Unfortunately one coat wasn’t sufficient and I hadn’t mixed enough for a second. This was always my fear with mixing paints – struggling to duplicate the colours achieved.
So I gave up and just painted it zamesi desert.
I also realised I mixed all my sand in with other flocks to make a basing mix for my Bolt Action years ago. So I just stuck with a basic brown base. I feel it fits the cartoonish colour scheme.
Rascaltown Pirate - Part 1
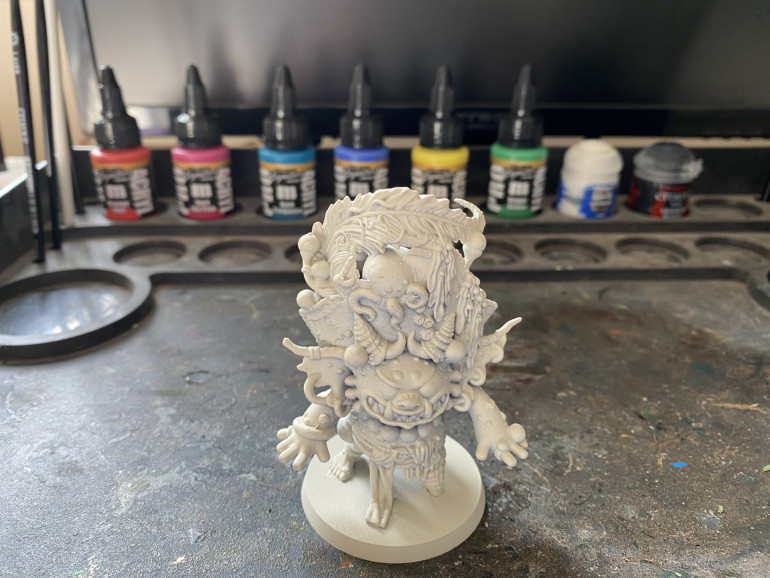
This is another Rascaltown Goblin. This one was released at Salute, where I picked it up. I’ve also picked up the Rogue Hobbies signature paint set. I want to use these paints to try and paint the model in a very different style from how I paint, so I’m limiting myself to just those paints, plus black, white, and wraithbone (just for tidying up mistakes).
Signature Series Set 6 – Rogue Hobbies
These paints are all very bright, poppy colours. Rogue Hobbies have put out a couple of videos lately encouraging people to try to break away from the GW paint system (which I admit I usually default to).
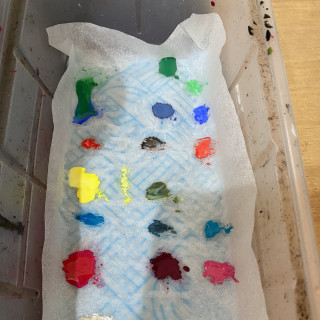
The colours in the set are orange red, dark hot pink, bright green, dark turquoise, ultramarine, and bismuth yellow.
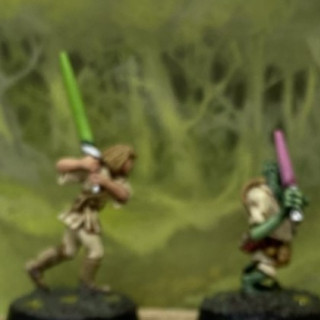
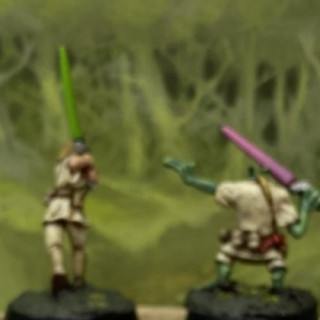
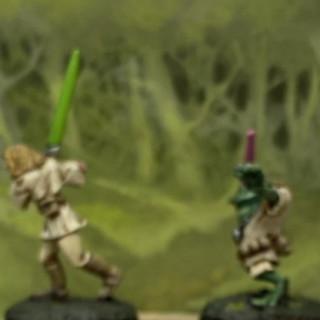
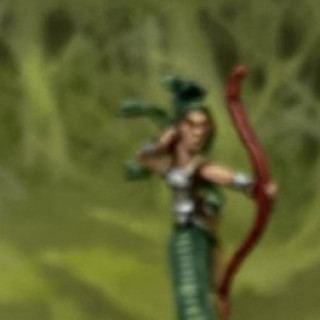
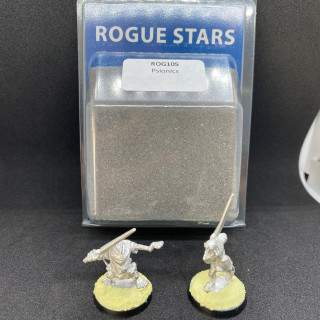
A psionic apprentice and his frog-like master, a Gorgon, and a Goat
A rather random selection of models that I received as part of last year’s Secret Satan. The psionics are a fantasy take on some famous sci-fi characters. The Gorgon is a well establish Greek fantasy monster. And who doesn’t want a goat?
I didn’t notice until I’d put my phot rig away that my camera had focussed on the front of the platform I put all the models on, rather than the models themselves, so the photos are all a bit blurry.
There’s nothing special in the paints used (i.e. its the typical paint combos I usually use).
Sabine Wren
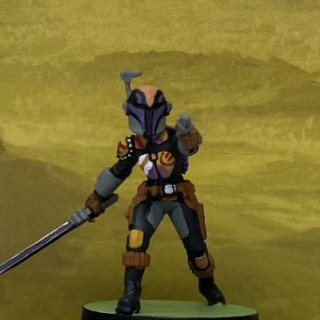
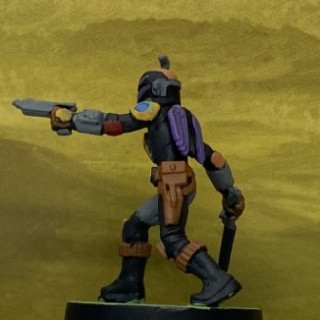
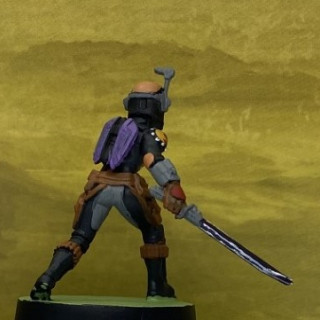
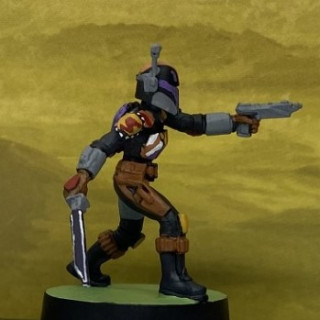
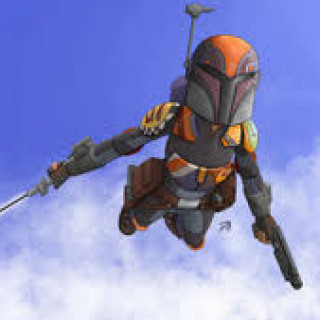
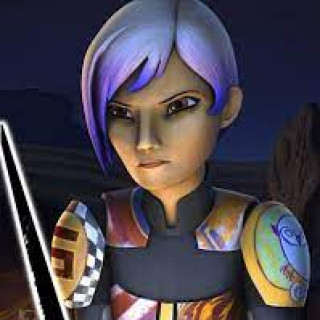
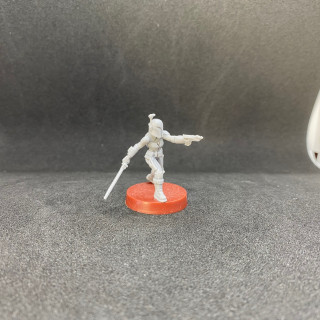
For this model I wanted to try and copy the animation style with bright block colours more than the usual shades and highlights. This also worked better with Sabine’s armour which has lots of bright colour patterns on it (see reference images).
The under armour was painted corvus black. The armour panels were then painted with the following colours: averland sunset, jokaero orange, mephiston red, genestealer purple, skarsnik green, white scar, caledor blue, calgar blue.
The gauntlets and pistol were painted dawnstone.
The darksaber was painted naggaroth night then edge highlighted white scar.
Yet more Multi-Award Winning Moonstone - The Fencer
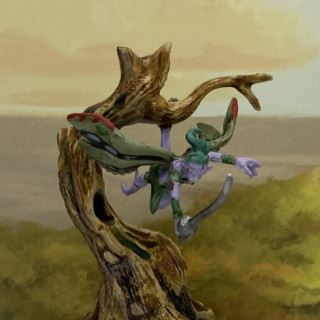
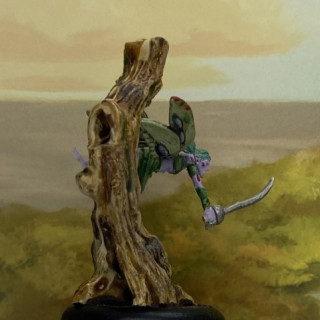
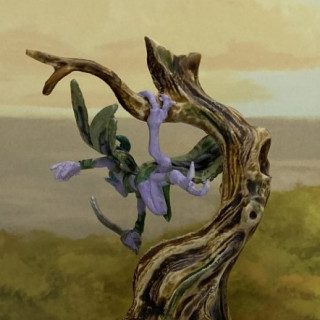
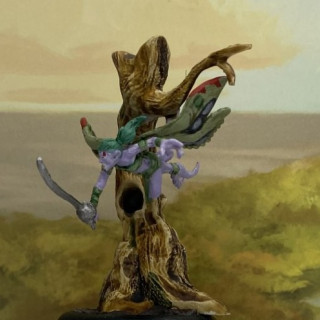
If I thought the last model was a bit frail, this entire fairy model hangs from a tree by only two toes! Every brush stroke caused the model to swing around on the tree.
Colours were the same as for the previous models, except:
Wing details were either corvus black with dawnstone followed by administratum grey highlights, or mephiston red highlighted evil sunz scarlet.
The rapier was leadbelcher highlighted ironbreaker followed by runefang steel.
Multi-award Winning Moonstone - Fraya
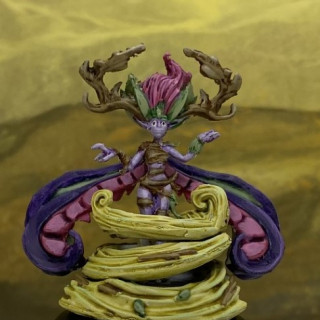
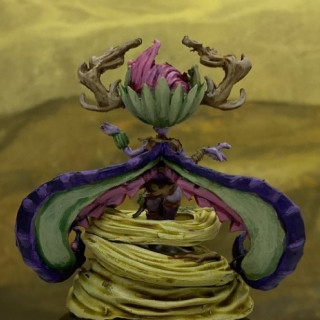
Another petite fairy model. The size was a bit of a challenge. Also the model is very fragile. For example, the head and antlers sit on the models neck which is less than 1 mm3. The large wings are also only attached to the shoulder blades by very small joints.
The colours were largely the same as the previous model, with the following exceptions.
The vortex was painted plaguebearer flesh then drybrushed hellion green.
The pink areas were painted pink horror, washed druchii violet, then highlighted emperor’s children.
The green areas were washed with biel-tan green rather than athonian cammoshade.
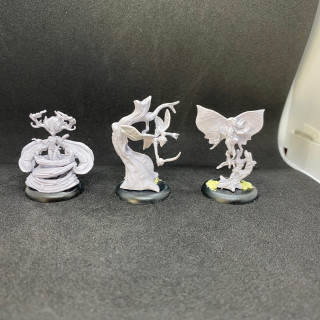
Multi-award Winning Moonstone - Teetoe
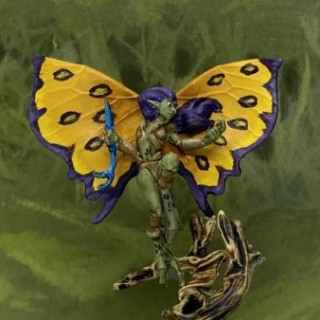
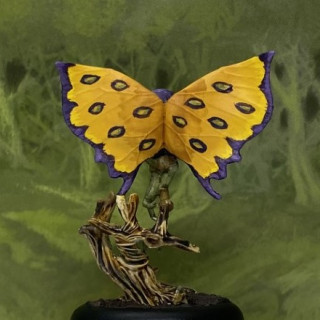
Another model I purchased on a whim at Salute. This is the first of a set of three fairies that I bought. Aesthetically speaking they’re on the complete opposite end of the spectrum compared to the last models I did – Iron Man and Hulk Buster.
The model was undercoated wraithbone.
The tree was painted with a variety of contrast paints: skeleton horde, wyldwood, snakebite leather and a few patches of militarum green. It was finished with a drybrush of tyrant skull.
The wings were painted with various blends of averland sunset and flash gitz yellow to give a transition from bright yellow at the tips and darker towards the body. Seraphim sepia was also used in a couple of layers to darken the area near the body.
The dagger was painted teclus blue, highlighted lothern blue, then washed drakenhof nightshade.
The skin was painted straken green then highlighted nurgling green. It was finished with a wash of athonian camoshade.
The clothes were painted steel legion drab, then highlighted tallarn sand followed by karak stone. Then the area was washed seraphim sepia.
The purple was painted naggaroth night then highlighted xereus purple followed by genestealer purple.
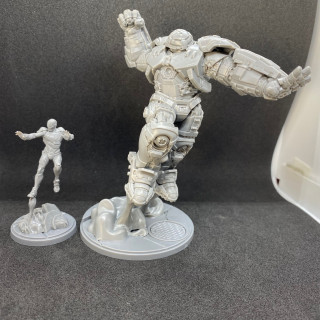
Hulk Buster and Iron Man - Part 2
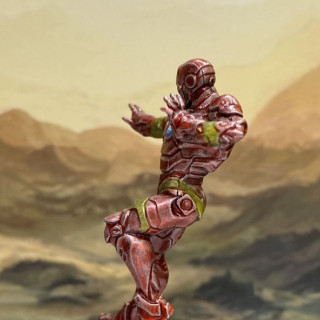
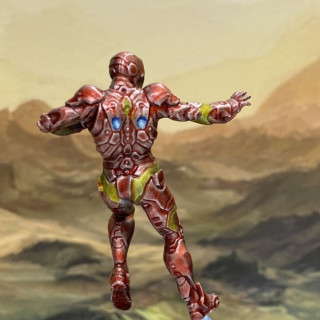
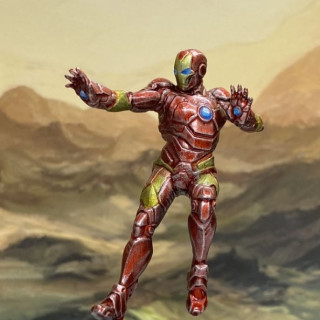
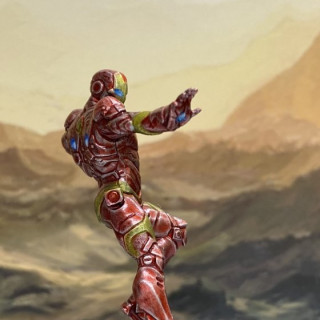
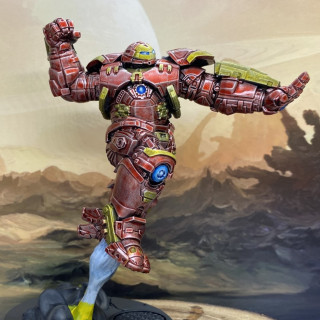
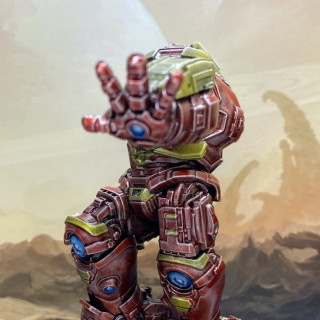
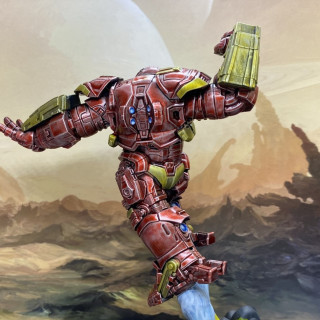
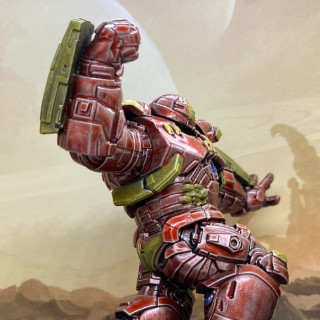
For the gold I painted one coat of lamenters yellow over the silver areas. For the red I painted two layers of a now-discontinued Forge World airbrush paint, angron red (clear). I’m really happy with how well these colours turned out. It’s a really good metallic effect.
The blue arc-reactors and eyes were layered calador sky, teclis blue, lothern blue and then fenrisian grey.
The jets were layered the same blue colours in bands, starting from the darkest near the source and ending with a band of white scar near the smoke clouds. I then mixed a white wash with about 1 part white scar to 4 parts lahmian medium and then washed over the jets.
The bases were painted skavenblight dinge.
The clouds were painted with a wash of 1:1 stormvermin fur and lahmian medium.
To create the glow effect coming from in the clouds I made a wash of 1 part flash gitz yellow to 4 parts lahmian medium. I applied three or four coats at the base of the jets and the inner parts of the clouds, making each layer smaller than the last.
Hulk Buster and Iron Man - Part 1
The plan for these models was to give non-metallic metal a try again. I’ve done it once or twice before on parts of some models.
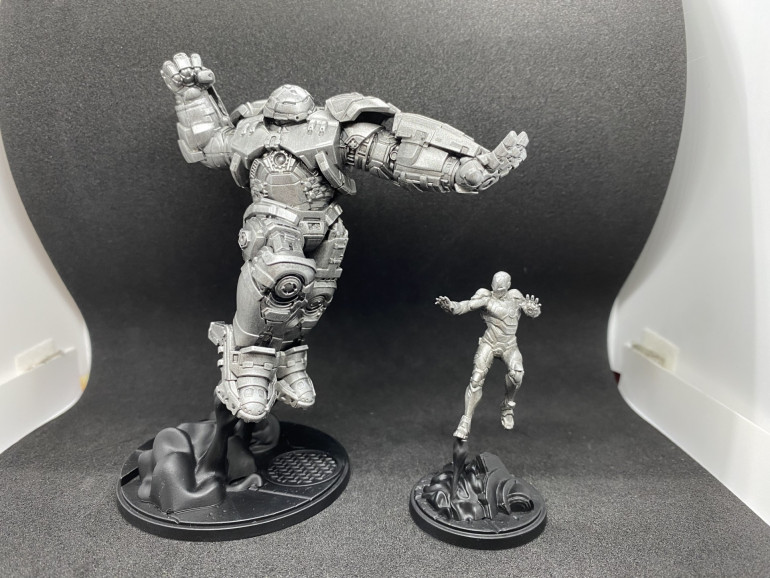
After sitting and staring at the model for an entire painting session, I decided that was a bonkers idea. The Hulk Buster in particular is a very big model and on both models there are lots of complicated shapes that I don’t even know how to begin painting in non-metallic metal.
Therefore I decided to go with conventional metallic paints to be coloured with inks and glazes.
So I ensured the undercoat was a good solid abaddon black. Then the model was base coated leadbelcher, then dry brushed ironbreaker followed by runefang steel. It took about half an hour whereas I’m sure non-metallic metal would have taken many painting sessions.
Shilluk Characters
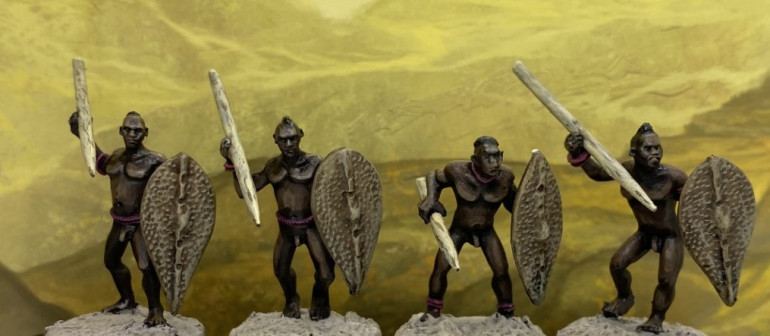
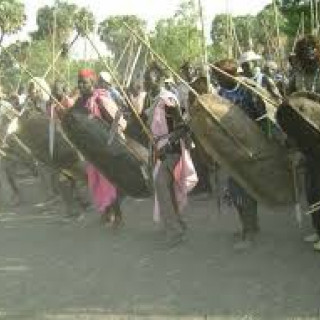
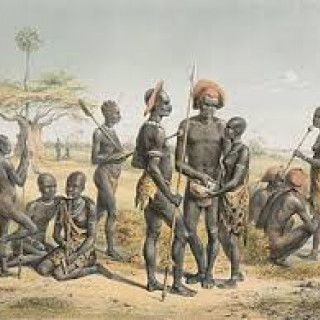
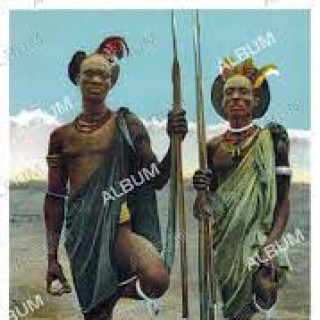
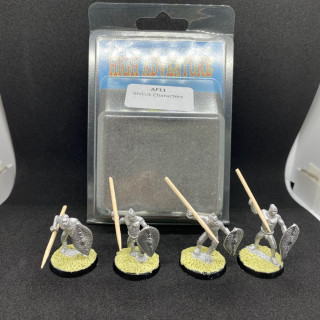
Before painting these models I did a little research on the Shilluk. These are a tribe that are native to the upper Nile region of Africa. They have a strong warrior culture history. I found a few pictures online to guide my painting.
The skin was painted dryad bark, washed agrax earthshade, then highlighted gorthor brown followed by baneblade brown.
The spears were painted zandri dust, washed agrax earthshade, then layered ushabti bone followed by screaming skull.
The shields were painted steel legion drab, washed agrax earthshade, then dry brushed tallarn sand followed by karak stone.
The hair was painted corvus black.
The bits of cloth were painted pink horror and then washed druchii violet.
The bases were painted rakarth flesh then dry brushed flayed one flesh.
Salute haul and secret santa minis
I was inspired by last week’s unofficial hobby hangout, in which Sundancer was assembling minis, to get all my models assembled.
As such, the top array of images are my haul from Salute. Below that are all the minis I received from the secret Santa. Then finally there’s a Raging Heroes left over mini from a recent project.
I’ll get these undercoated at the weekend and then I’ll be painting them up as my whimsey takes me until OTT start their next big participation hobby event.
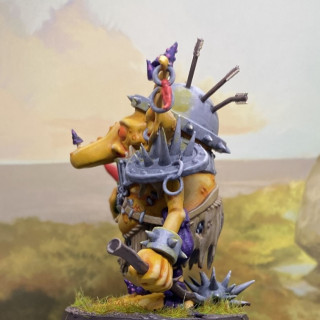
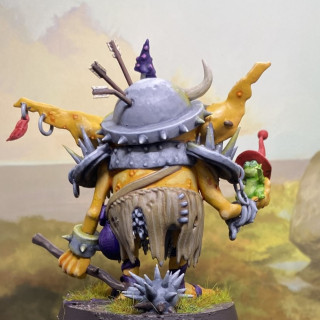
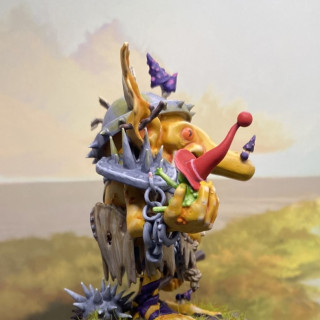
Rascal Town Knight Goblin
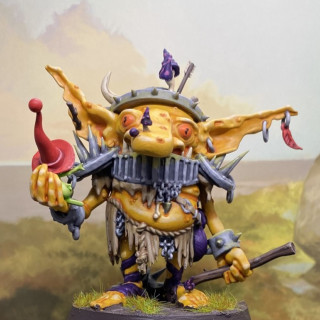
This model comes from Rogue Hobbies and is their third release. It’s a goblin about 75mm scale – I think. I liked the idea of trying to paint something more whimsical than I usually do.
For all the paints used on this model I diluted them a little bit with lahmian medium to help them flow a bit better and try and improve my blending. When layering I also used various mixes through the colours, rather than just using each colour on its own as I usually would.
The skin had a couple of coats of averland sunset, had a wash applied into the recesses of casandora yellow, then highlighted with flash gitz yellow through to flayed one flesh.
The metal areas were painted mechanicus standard grey, then highlighted through dawnstone, administratum grey, and then ulthuan grey.
The mushrooms were painted naggaroth night then the spots were painted emperor’s children. The purple bits were then highlighted xereus purple followed by genestealer purple.
The eyes were painted jokaero orange and then trollslayer orange. The irises were drawn in with a technical pen.
The teeth and horn were painted zandri dust, then layered through ushabti bone and screaming skull.
The wood was painted dryad bark, then highlighted through gorthor brown and baneblade brown.
The leather areas were painted steel legion drab then highlighted tallarn sand through karak stone.
The frog was painted moot green and then highlighted with a mix of moot green and flayed one flesh. It was washed with beil-tan green in the recesses.
The frog’s hat was painted evil sunz scarlet and then highlighted with a mix of evil sunz scarlet and flayed one flesh. It was washed with carroburg crimson in the recesses.
Lamenters yellow was glazed on to the metal where I imagined the skin would be reflecting off the metal. I hope this gives the impression of the metal being shiny and reflective.


![How To Paint Moonstone’s Nanny | Goblin King Games [7 Days Early Access]](https://images.beastsofwar.com/2024/12/3CU-Gobin-King-Games-Moonstone-Shades-Nanny-coverimage-225-127.jpg)


