


![Very Cool! Make Your Own Star Wars: Legion Imperial Agent & Officer | Review [7 Days Early Access]](https://images.beastsofwar.com/2025/12/Star-Wars-Imperial-Agent-_-Officer-coverimage-V3-225-127.jpg)


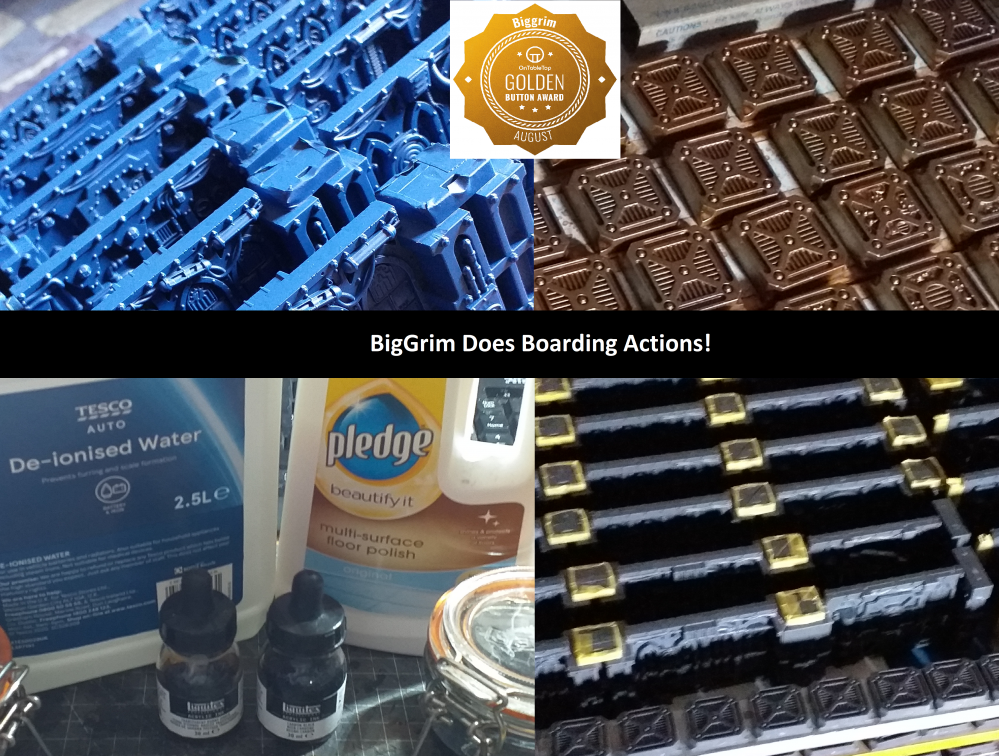
BigGrim Does Boarding Actions!


Recommendations: 710
About the Project
Boarding Actions is great fun. It's also a pain in the bum as a terrain set as there is a lot of prep work to make it easier to use. This Project Log with detail the steps I have taken to prep a set I'm gonna paint for my Friendly Local Store, The Pop Shop in Elgin, Moray, Scotland. I'm glad the owner wants to showcase this game mode as it really is damned good fun, thus why I have taken this project on. I have two copies myself to work on too. I show the process for one of those sets, as well as some of the units I'll make for Boarding Patrols.
Related Game: Warhammer 40,000
Related Company: Games Workshop
Related Genre: Science Fiction
This Project is Active
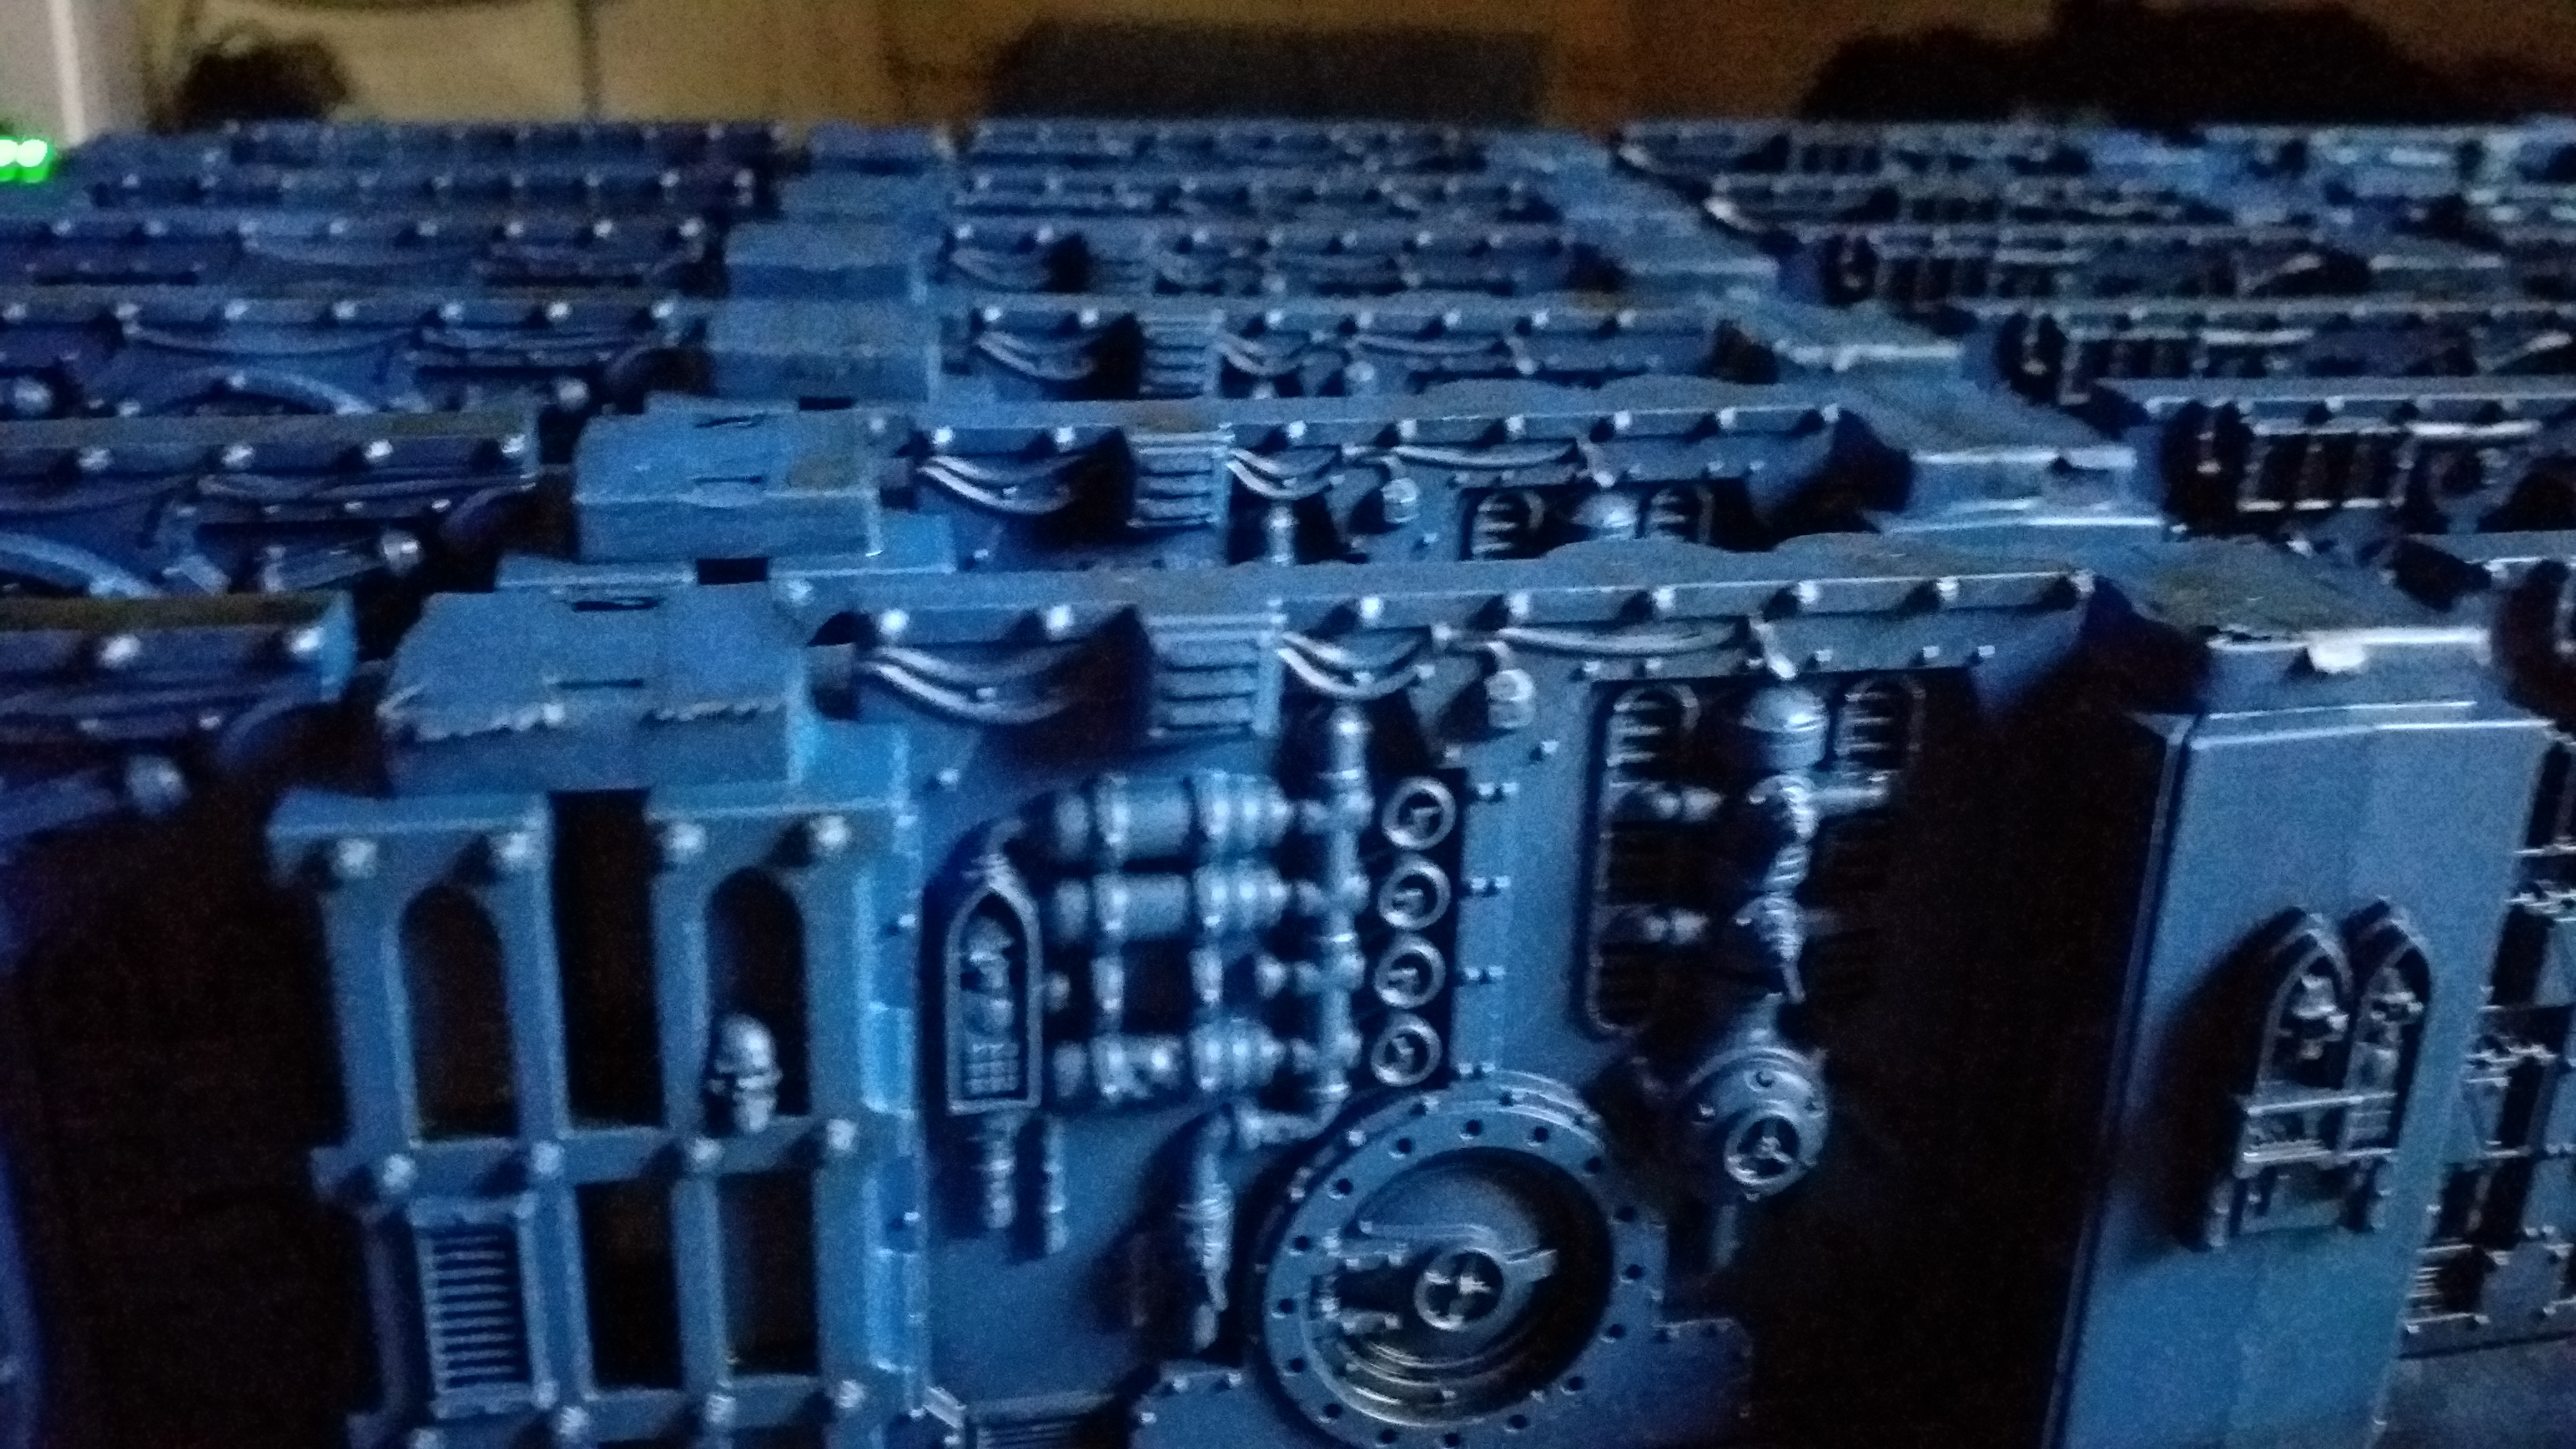
Minor highlighting!
A quick update today! Gave the newly darked walls a gentle drybrush highlight of Maccragge Blue. The silver was drybrushed with Leadbelcher.
Overall, I’m pretty happy with how this is looking so now, I reckon it’s time to do the detail work. First up, GW Contrast Nazdreg Yellow over certain pieces for a gold effect. Then block in screens and do things like dial needles and the like.
Not doing skulls. On a GW kit, that way lies madness!

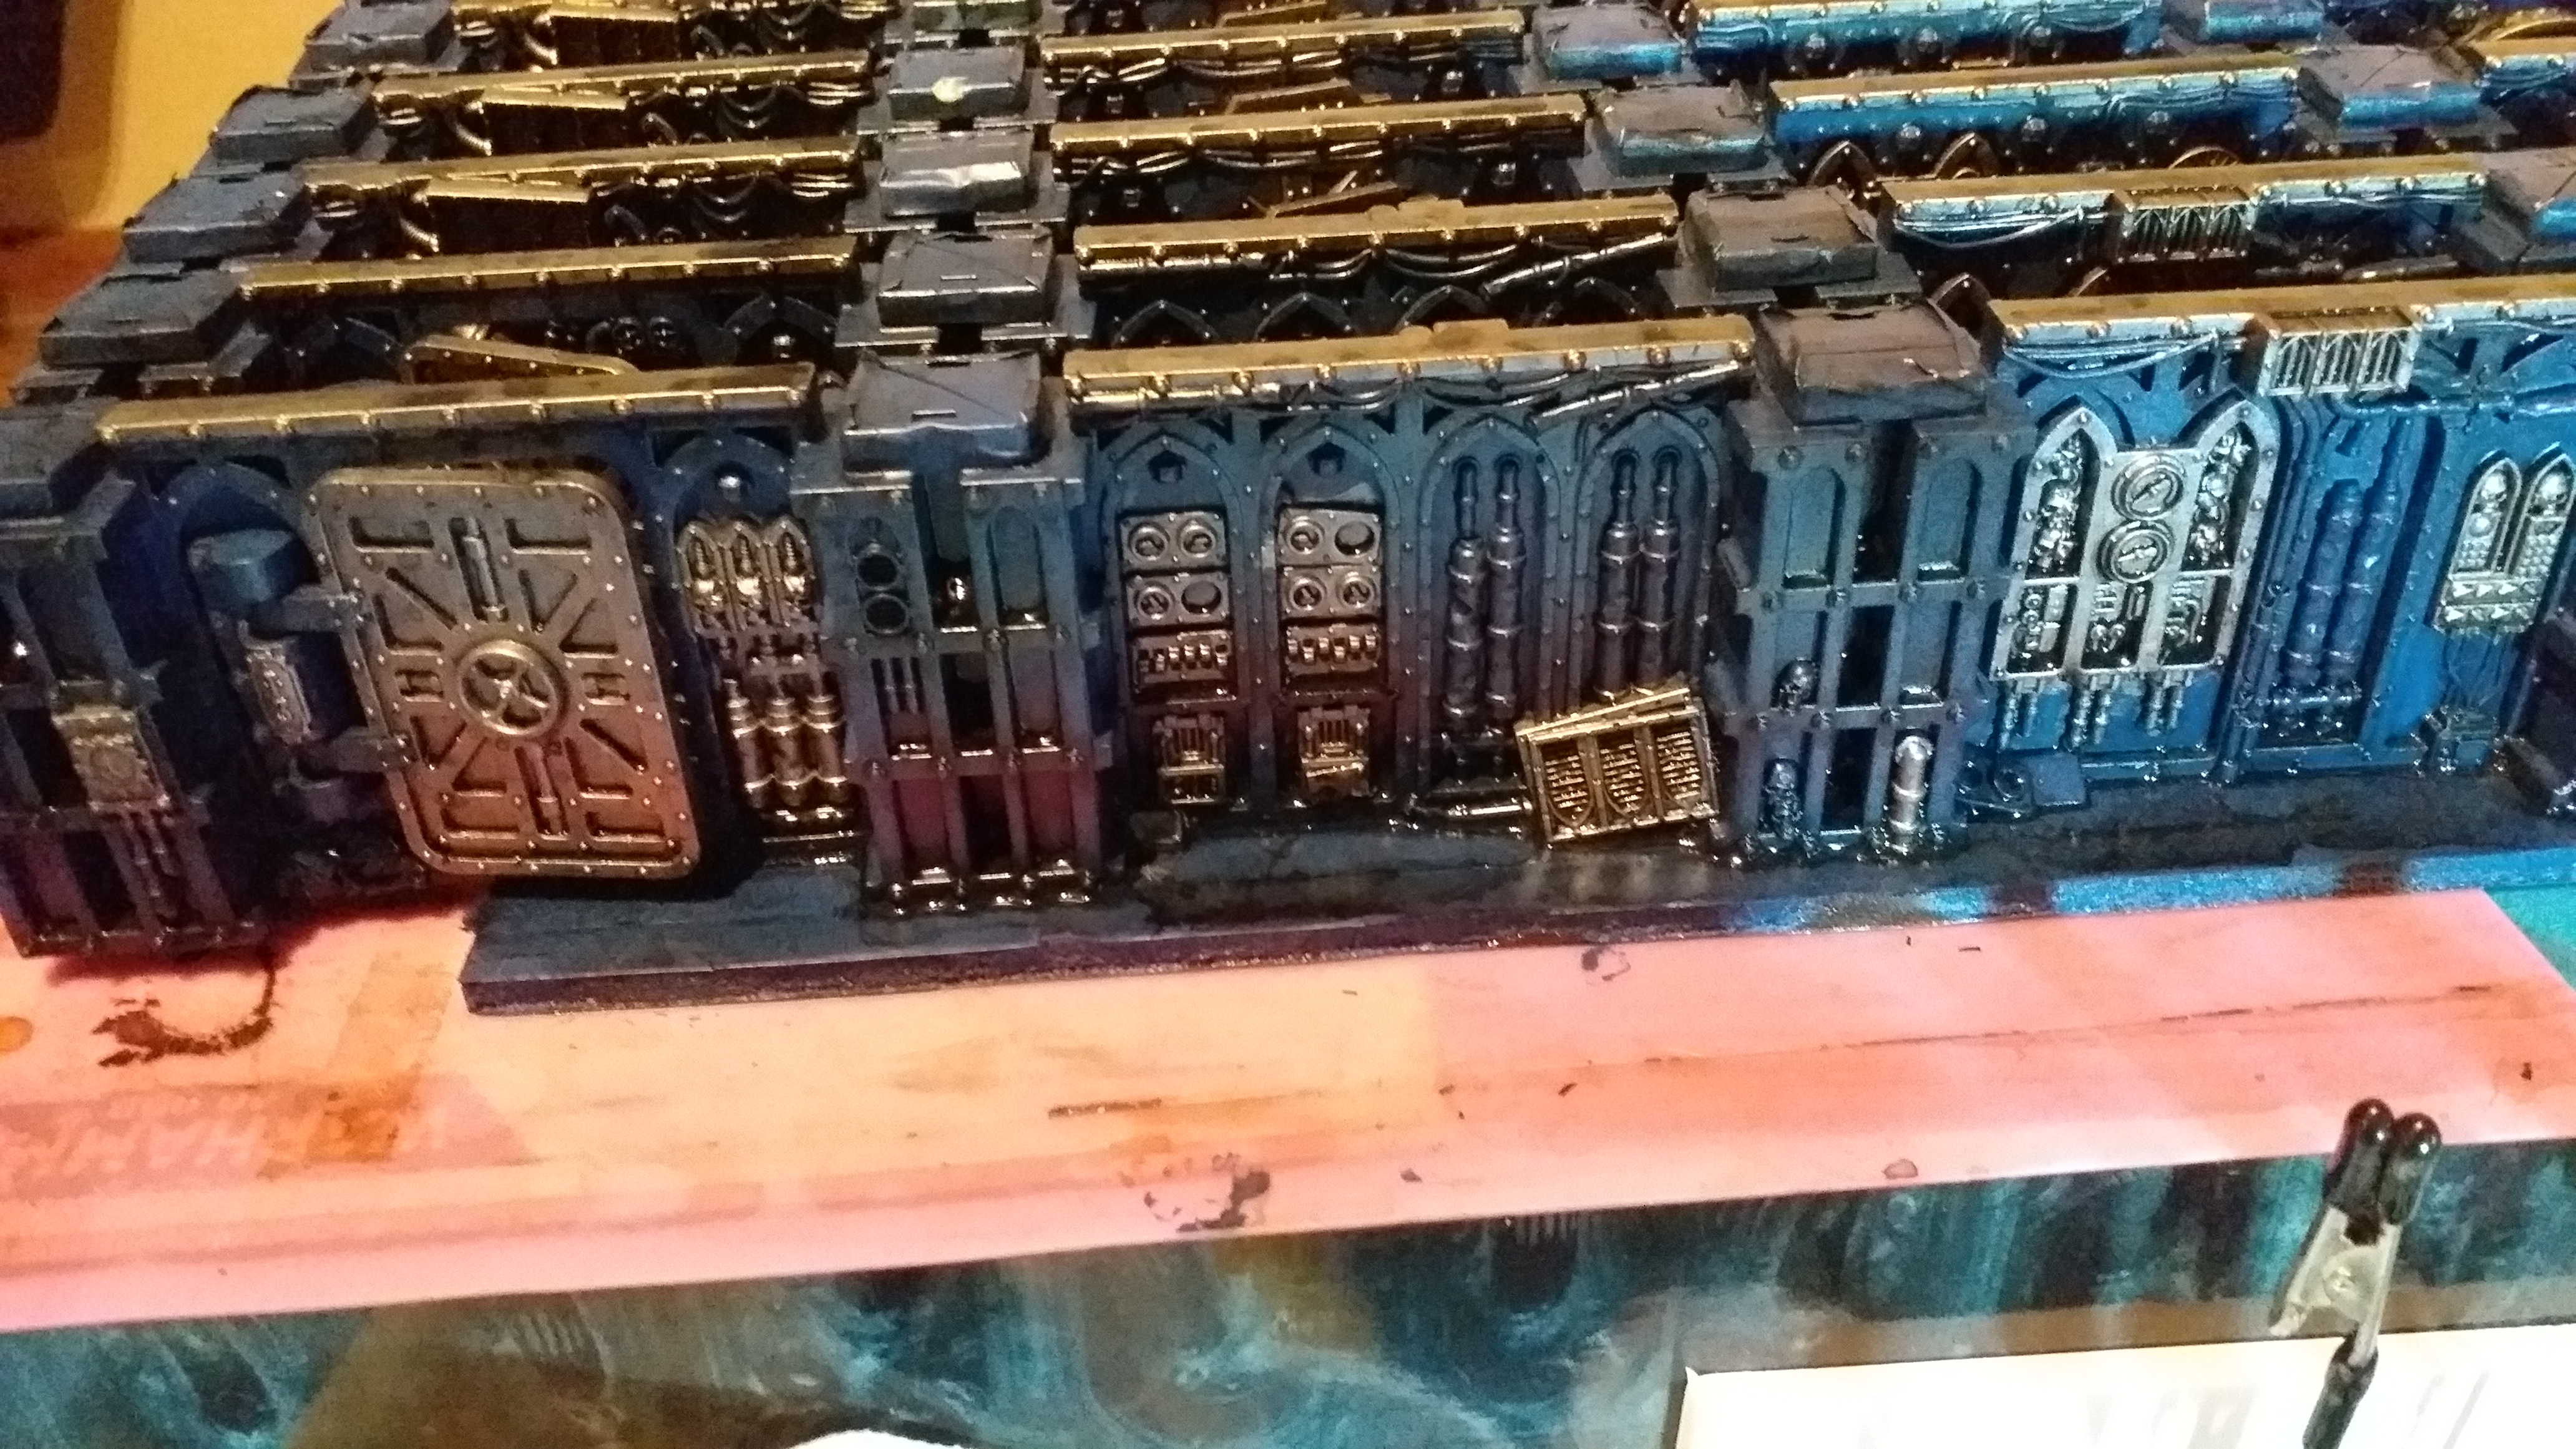
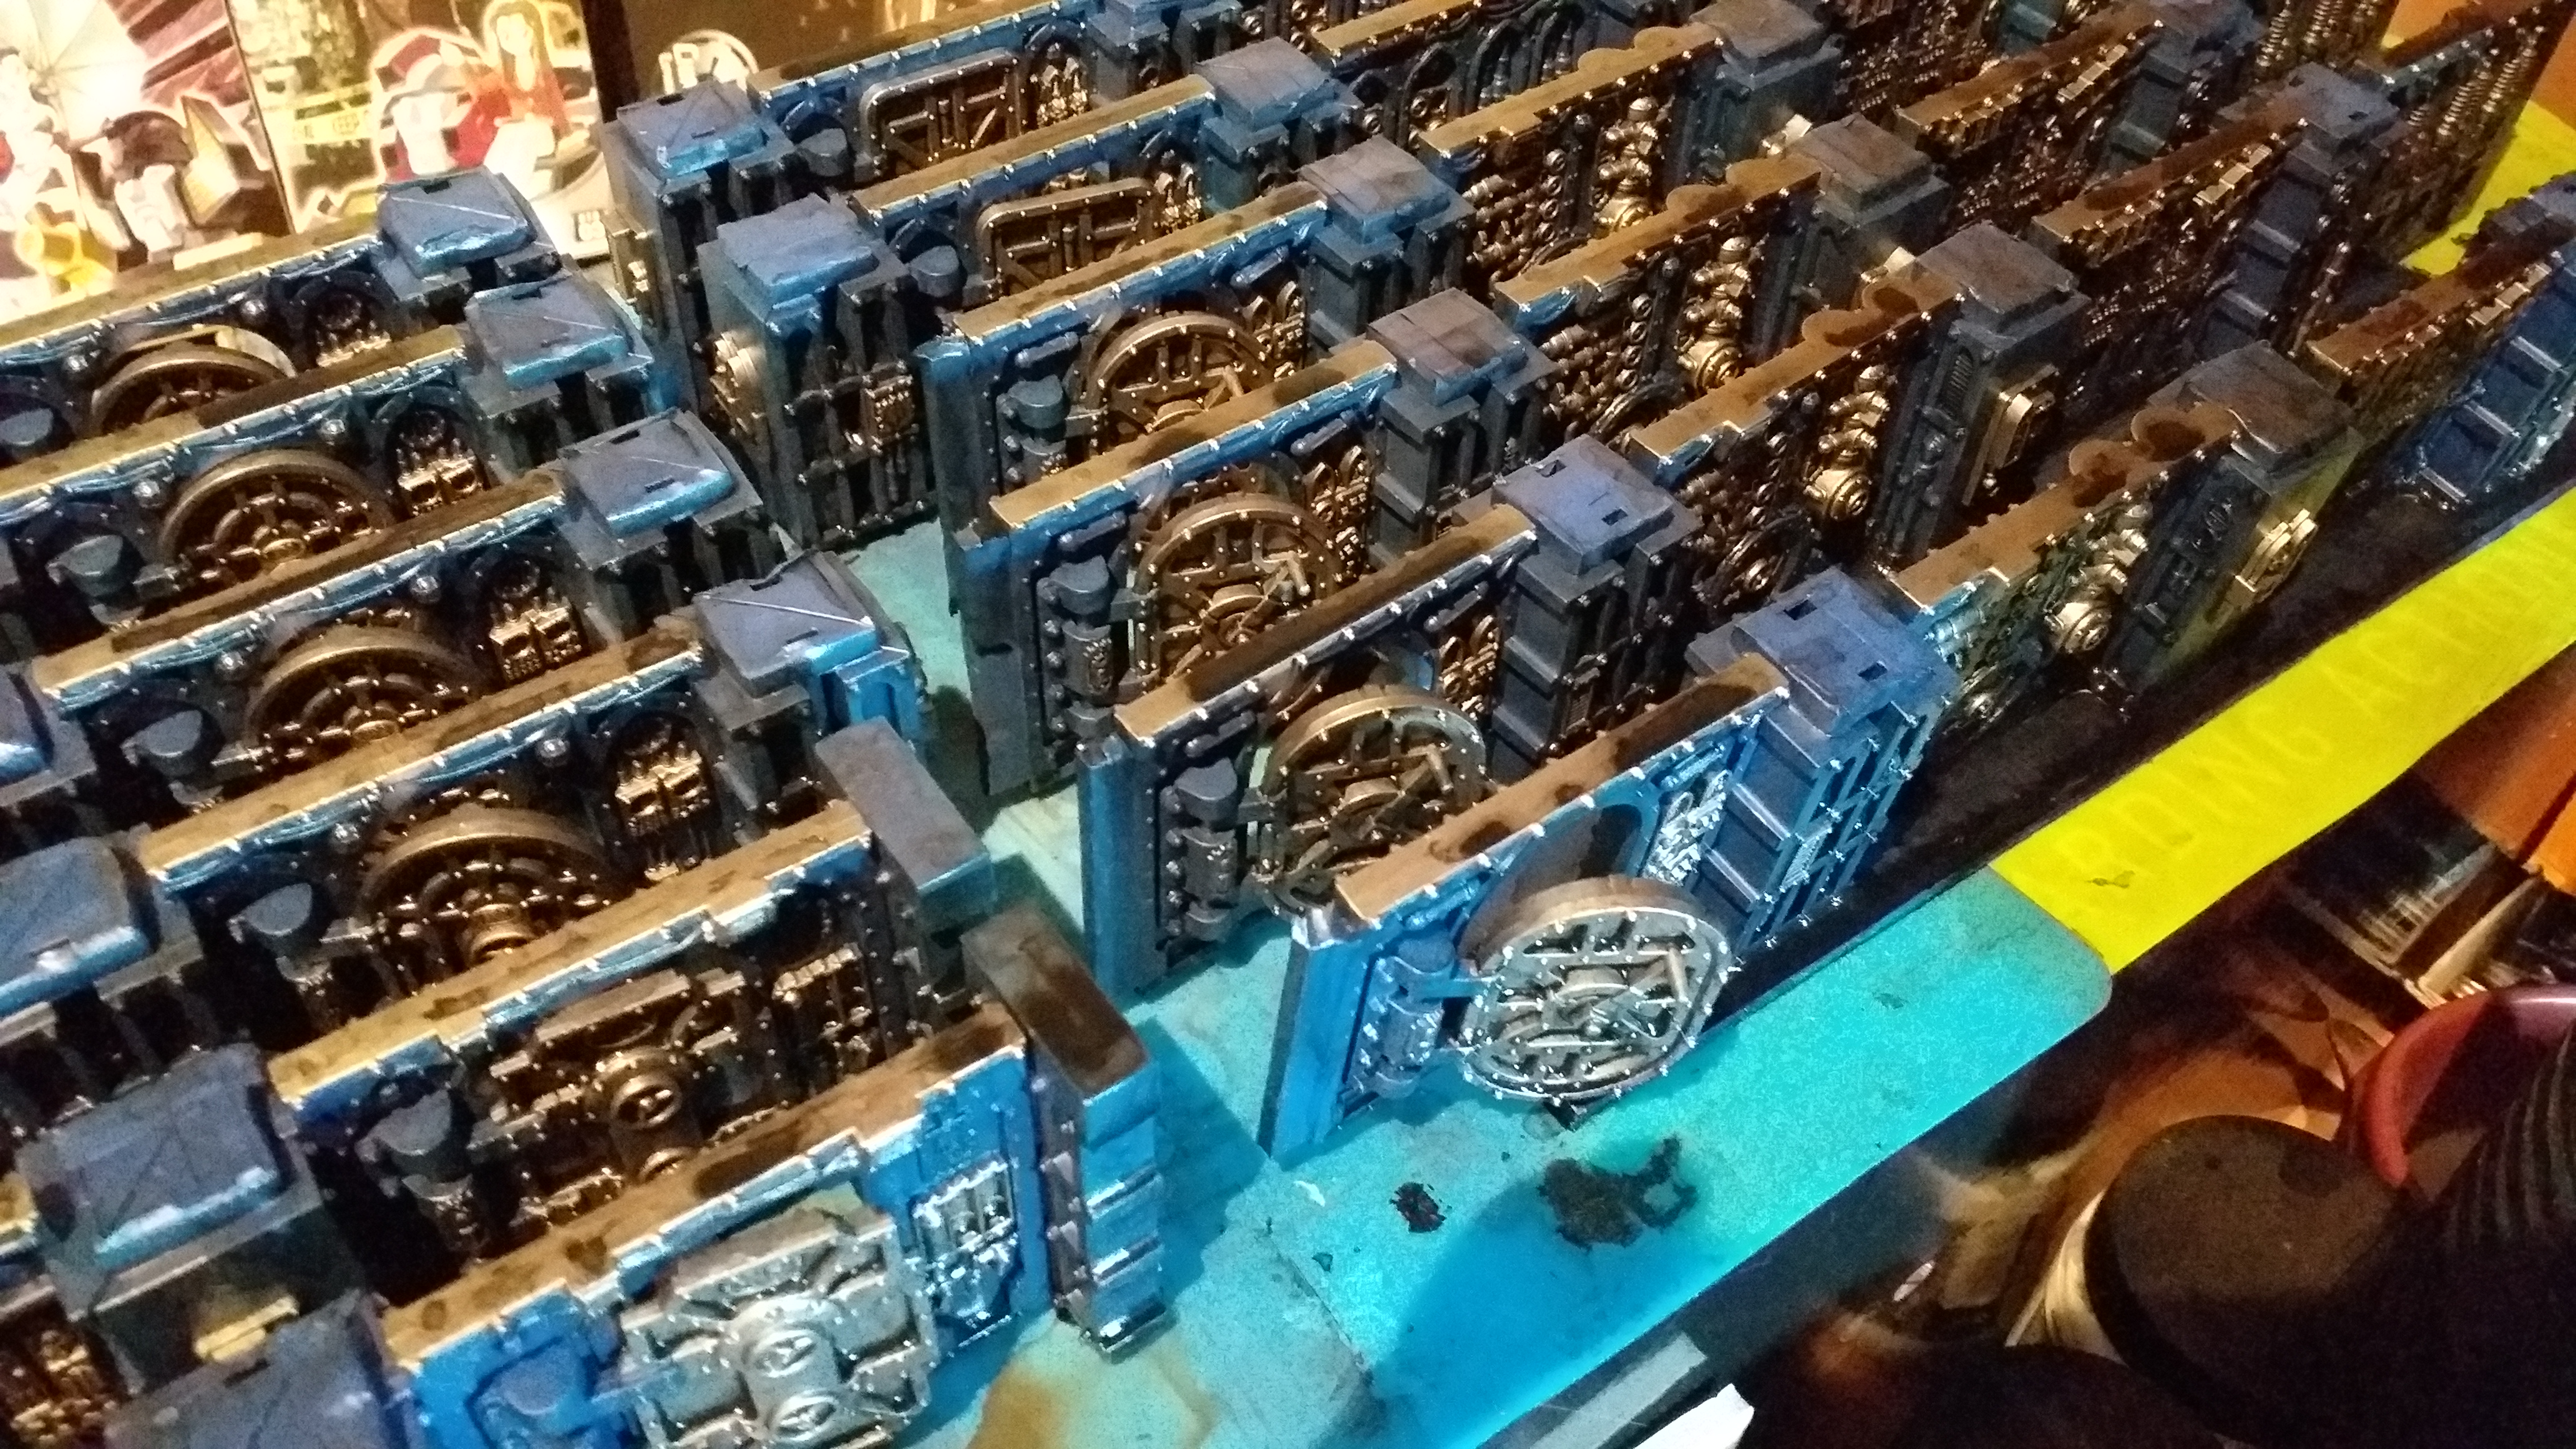
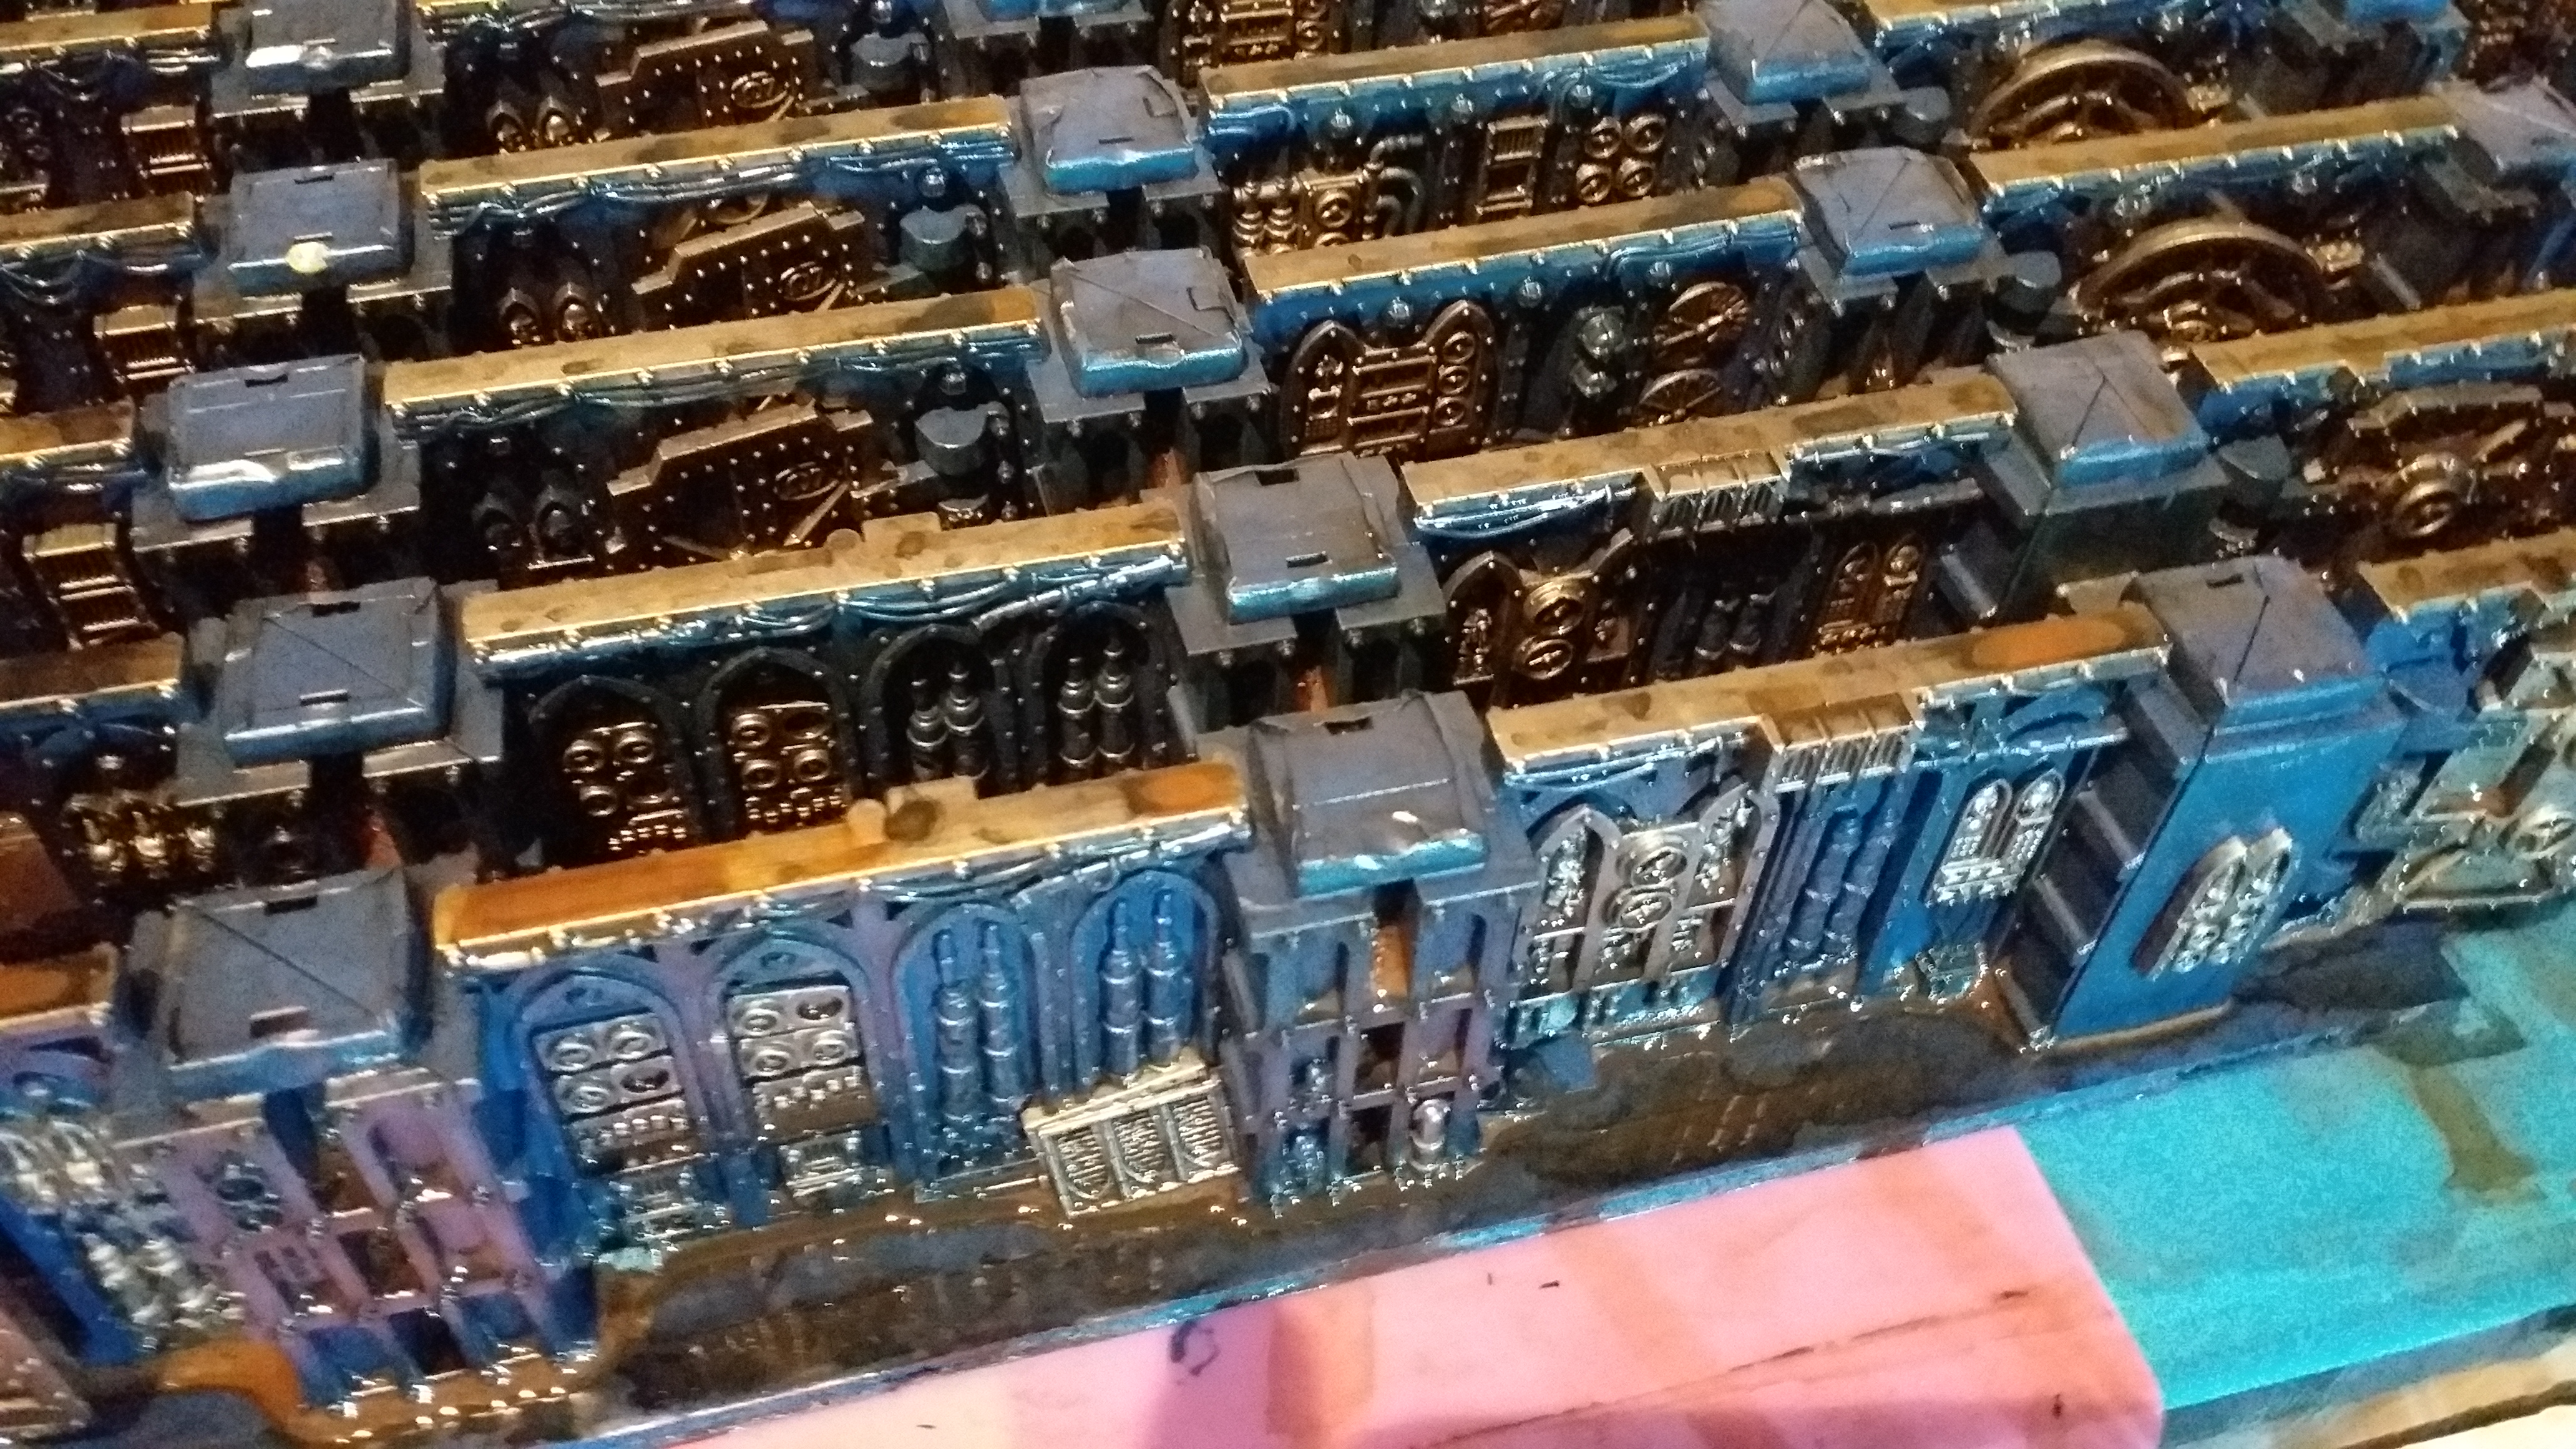
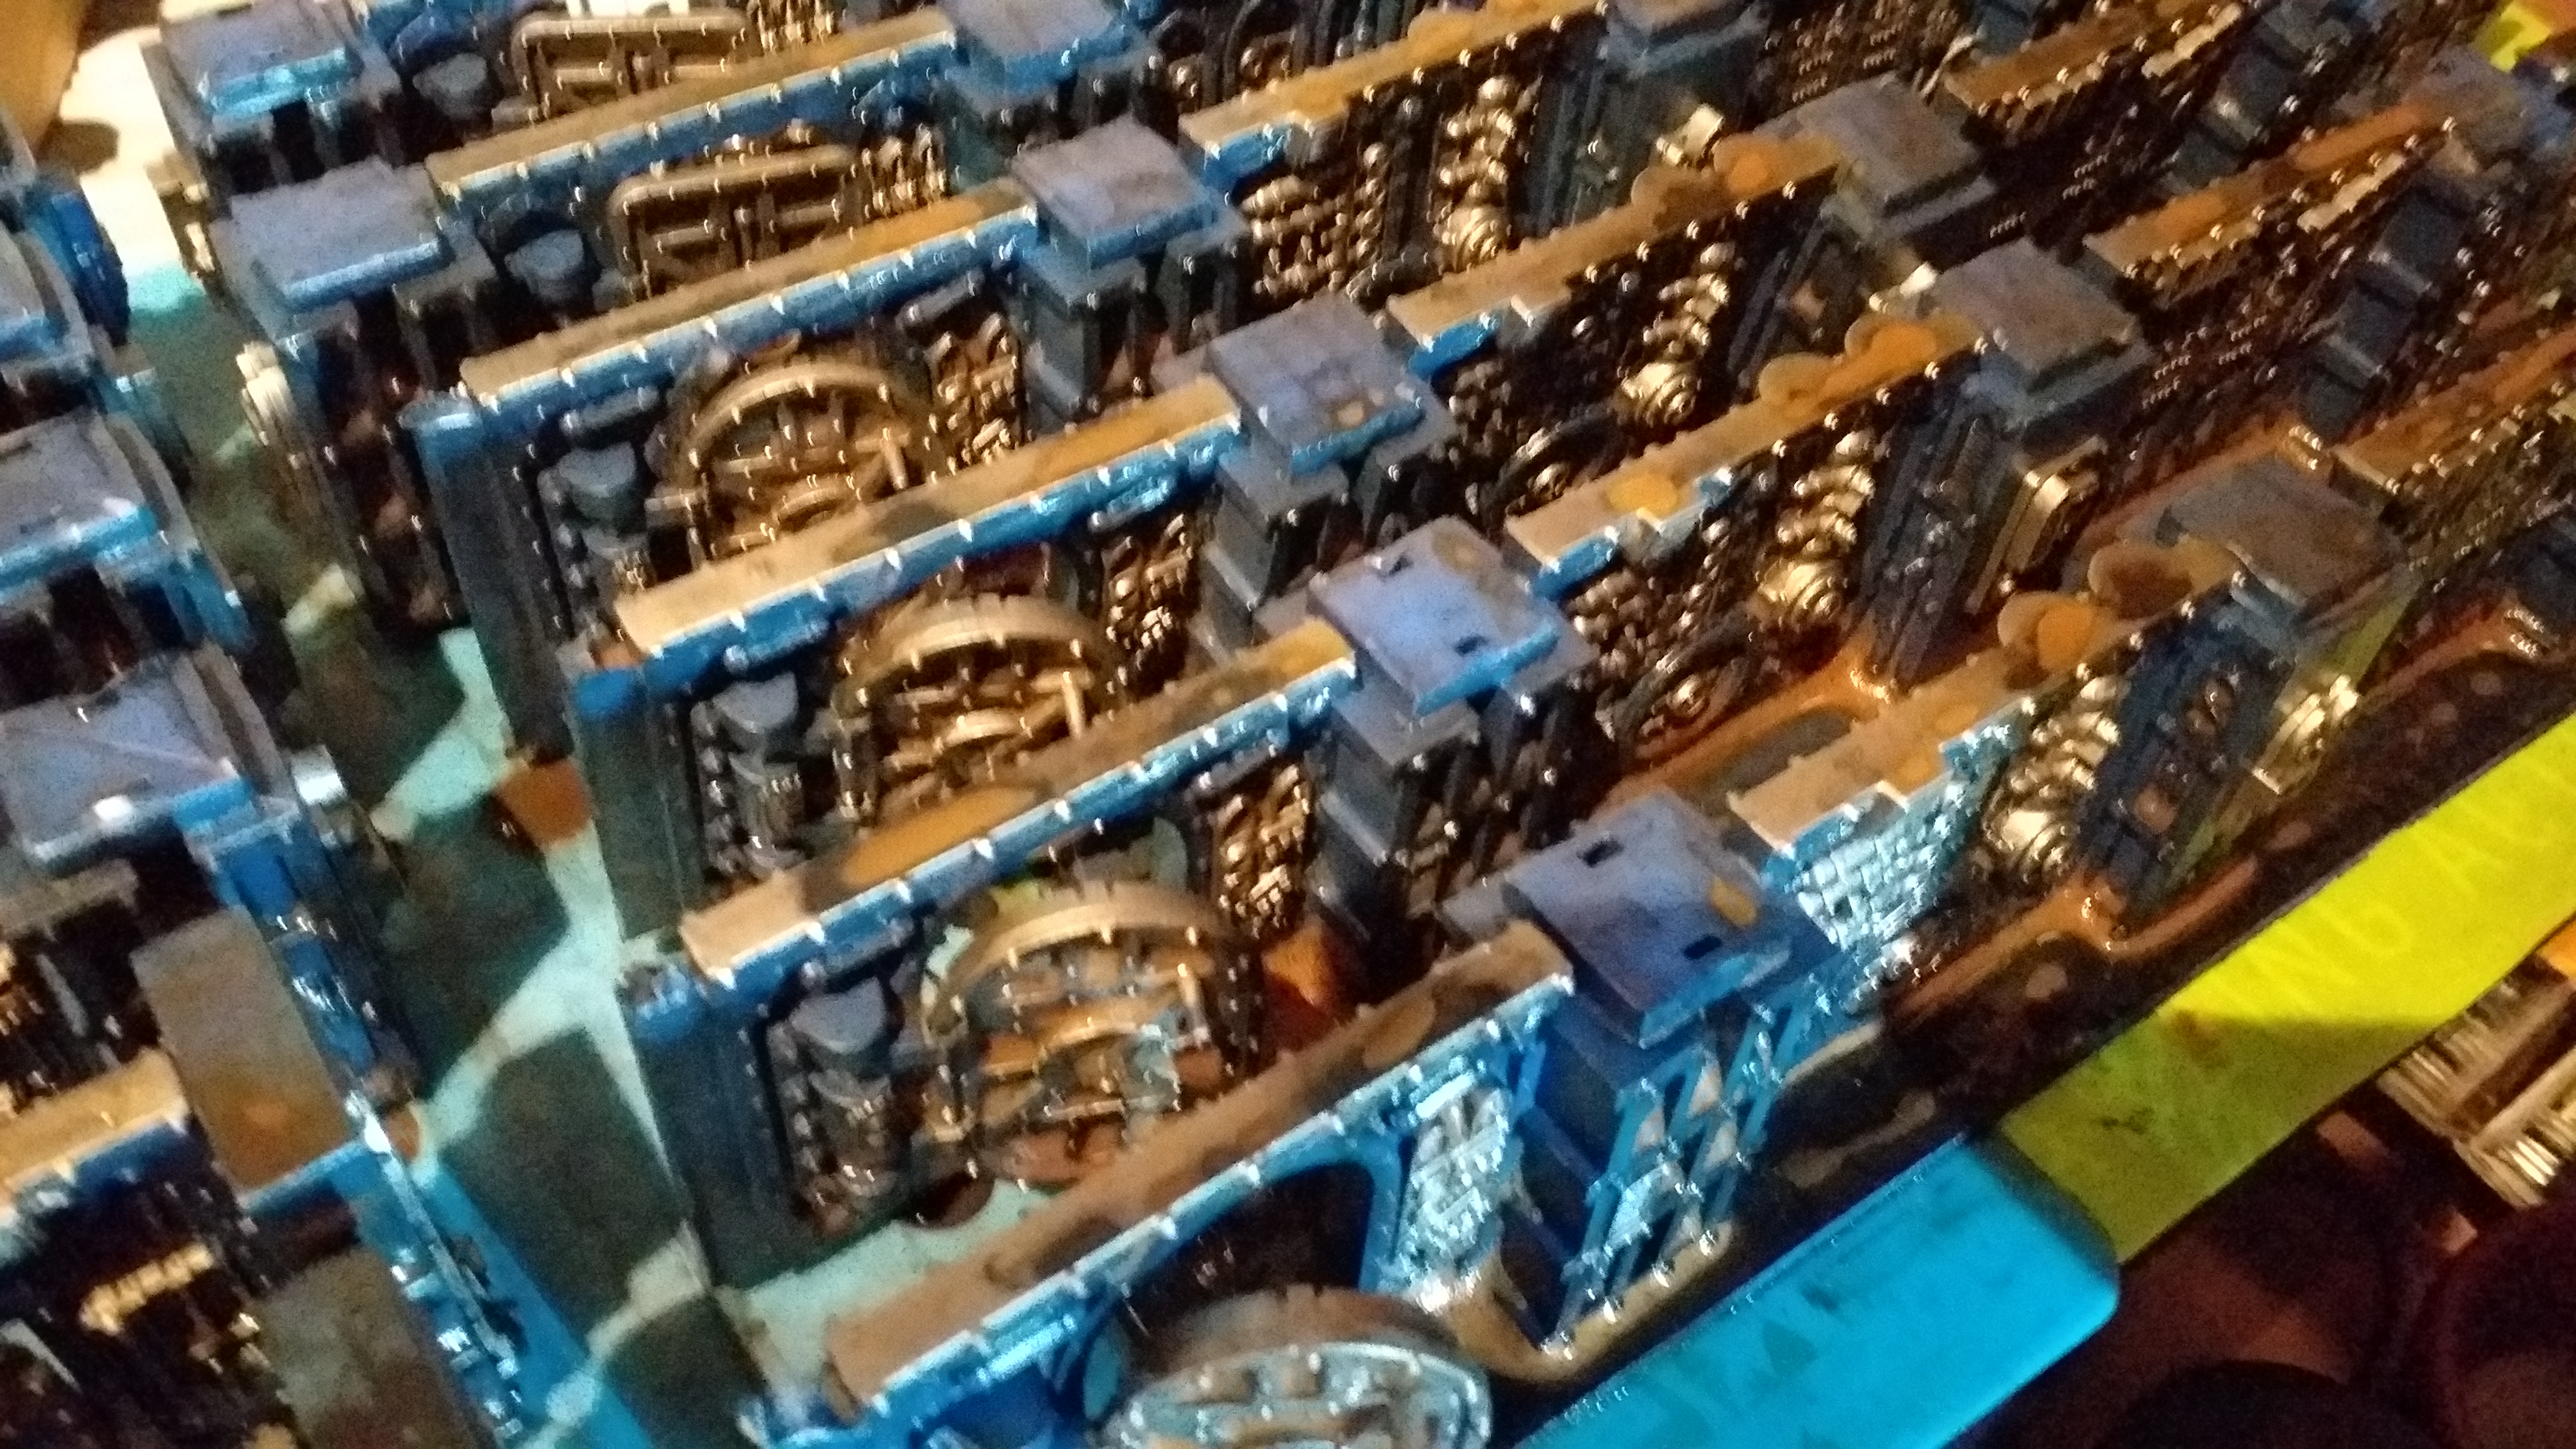
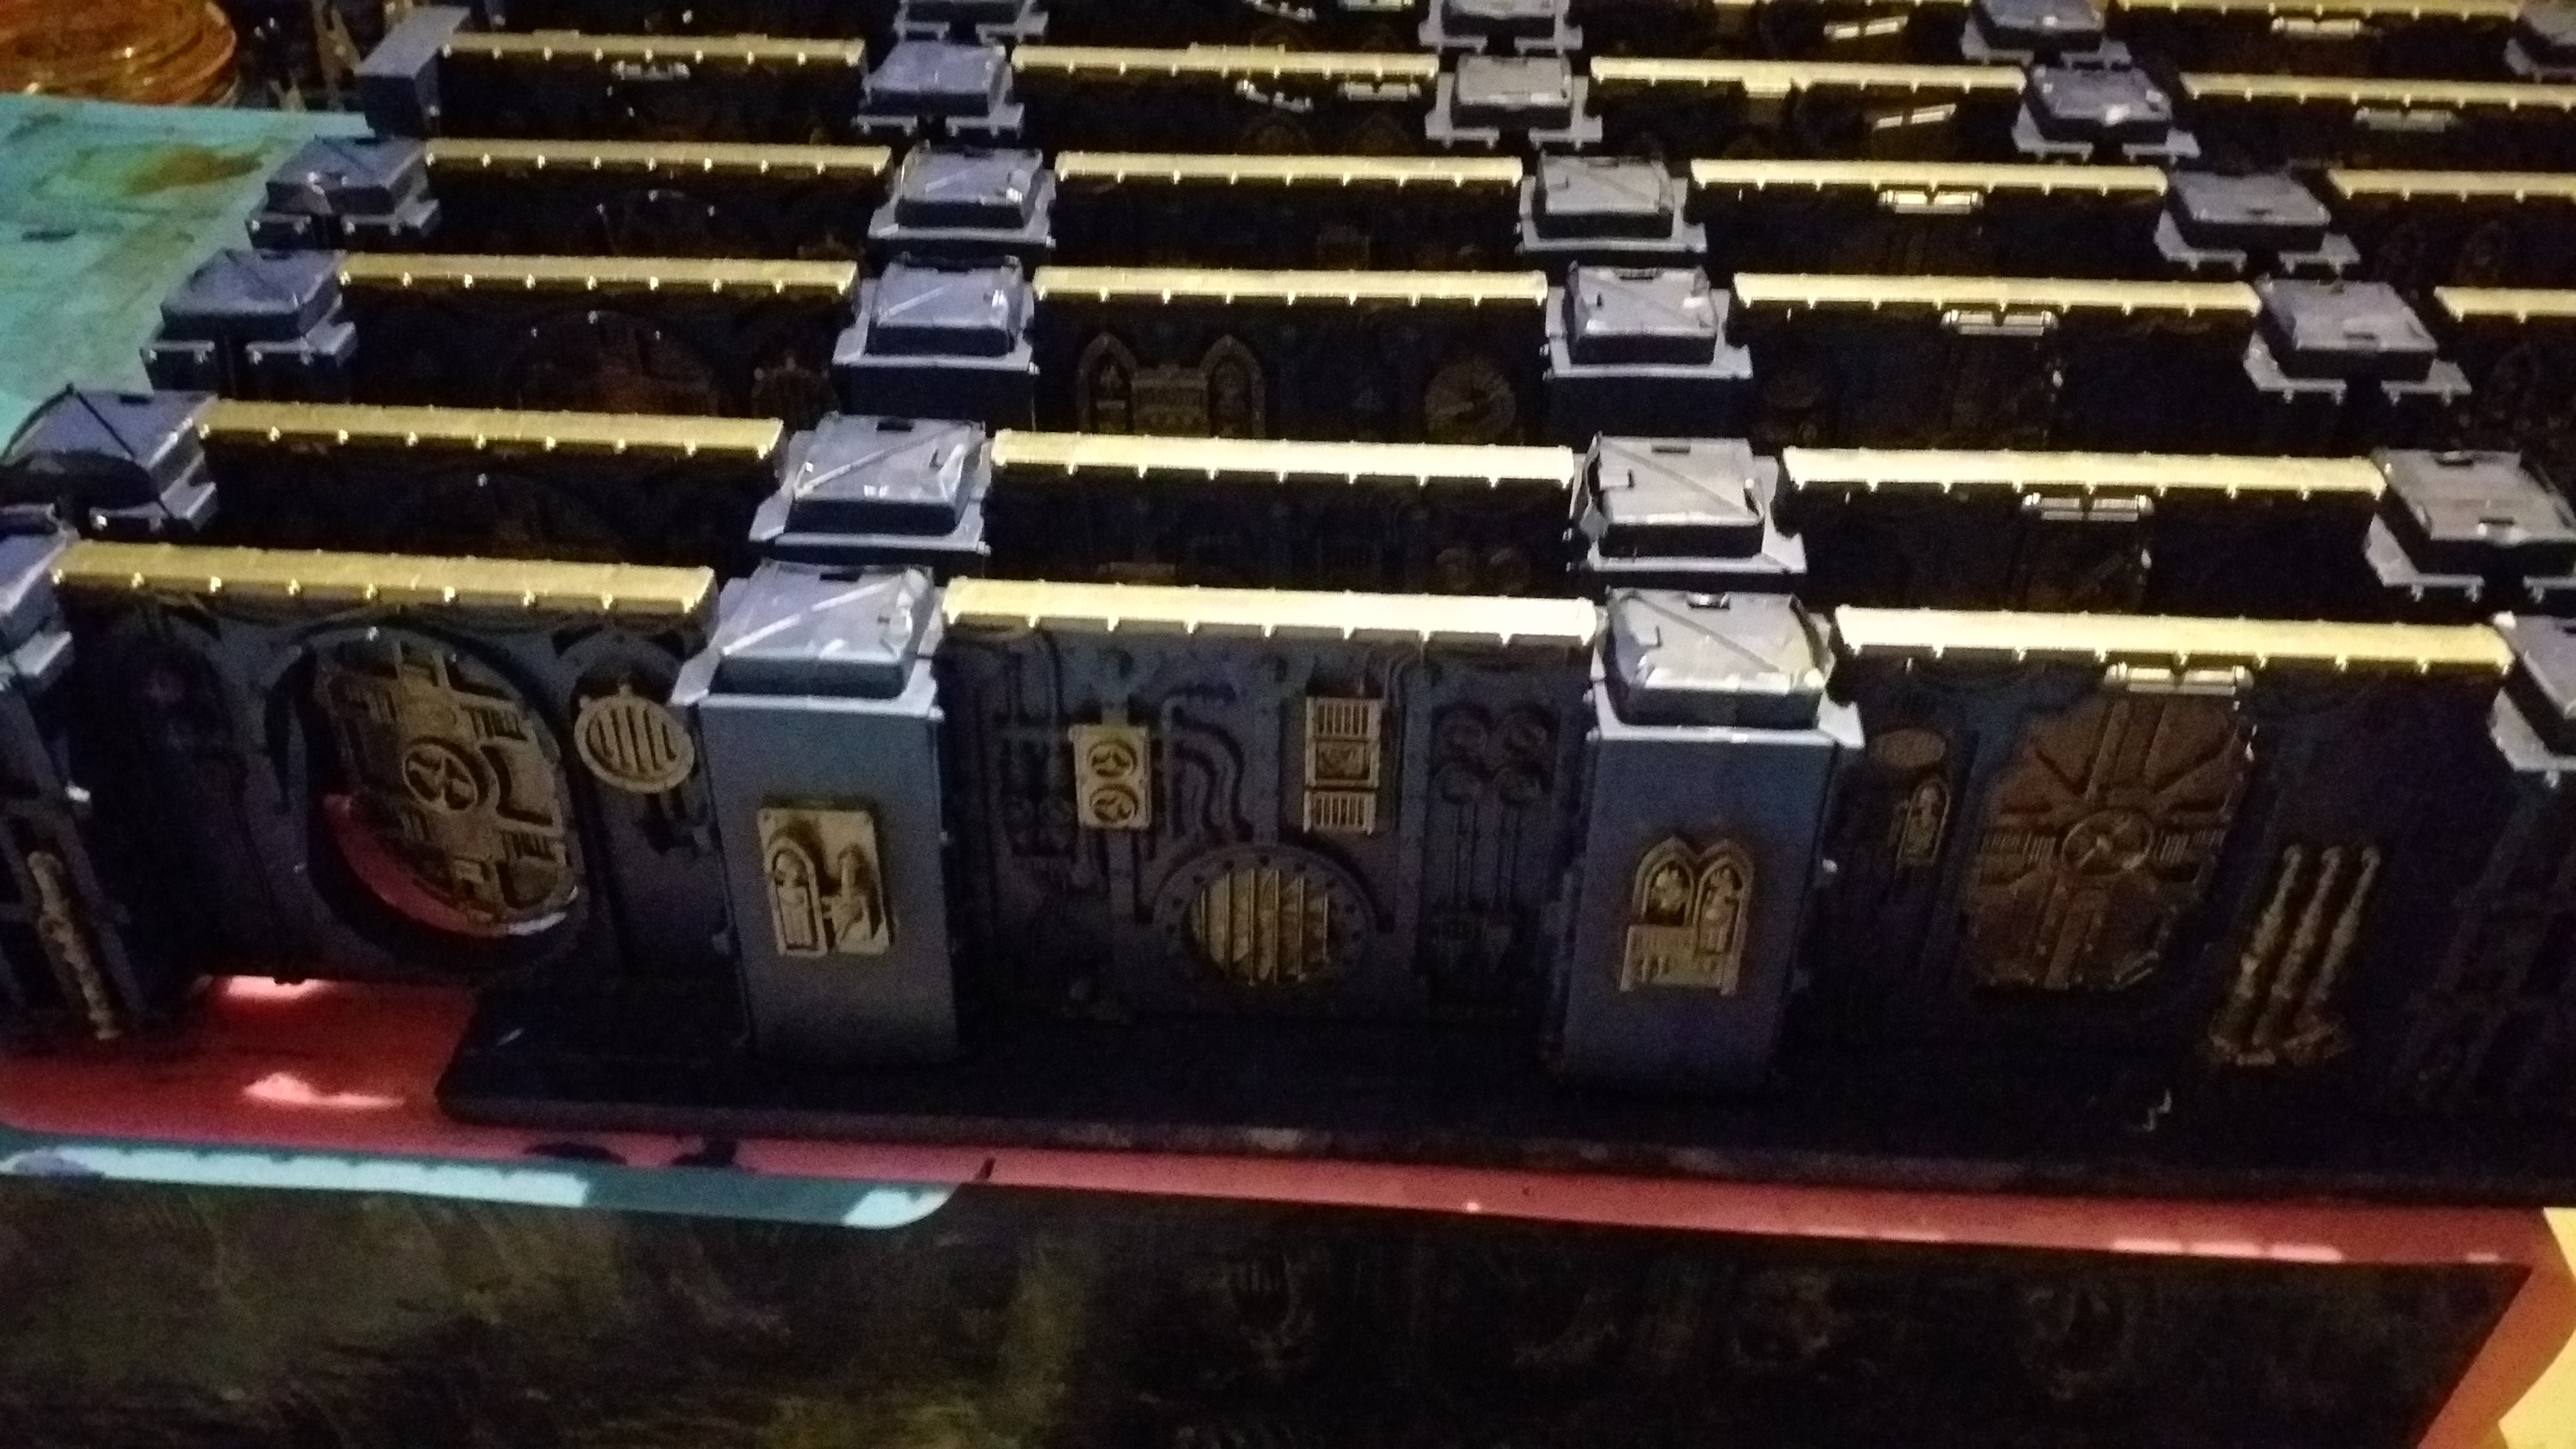
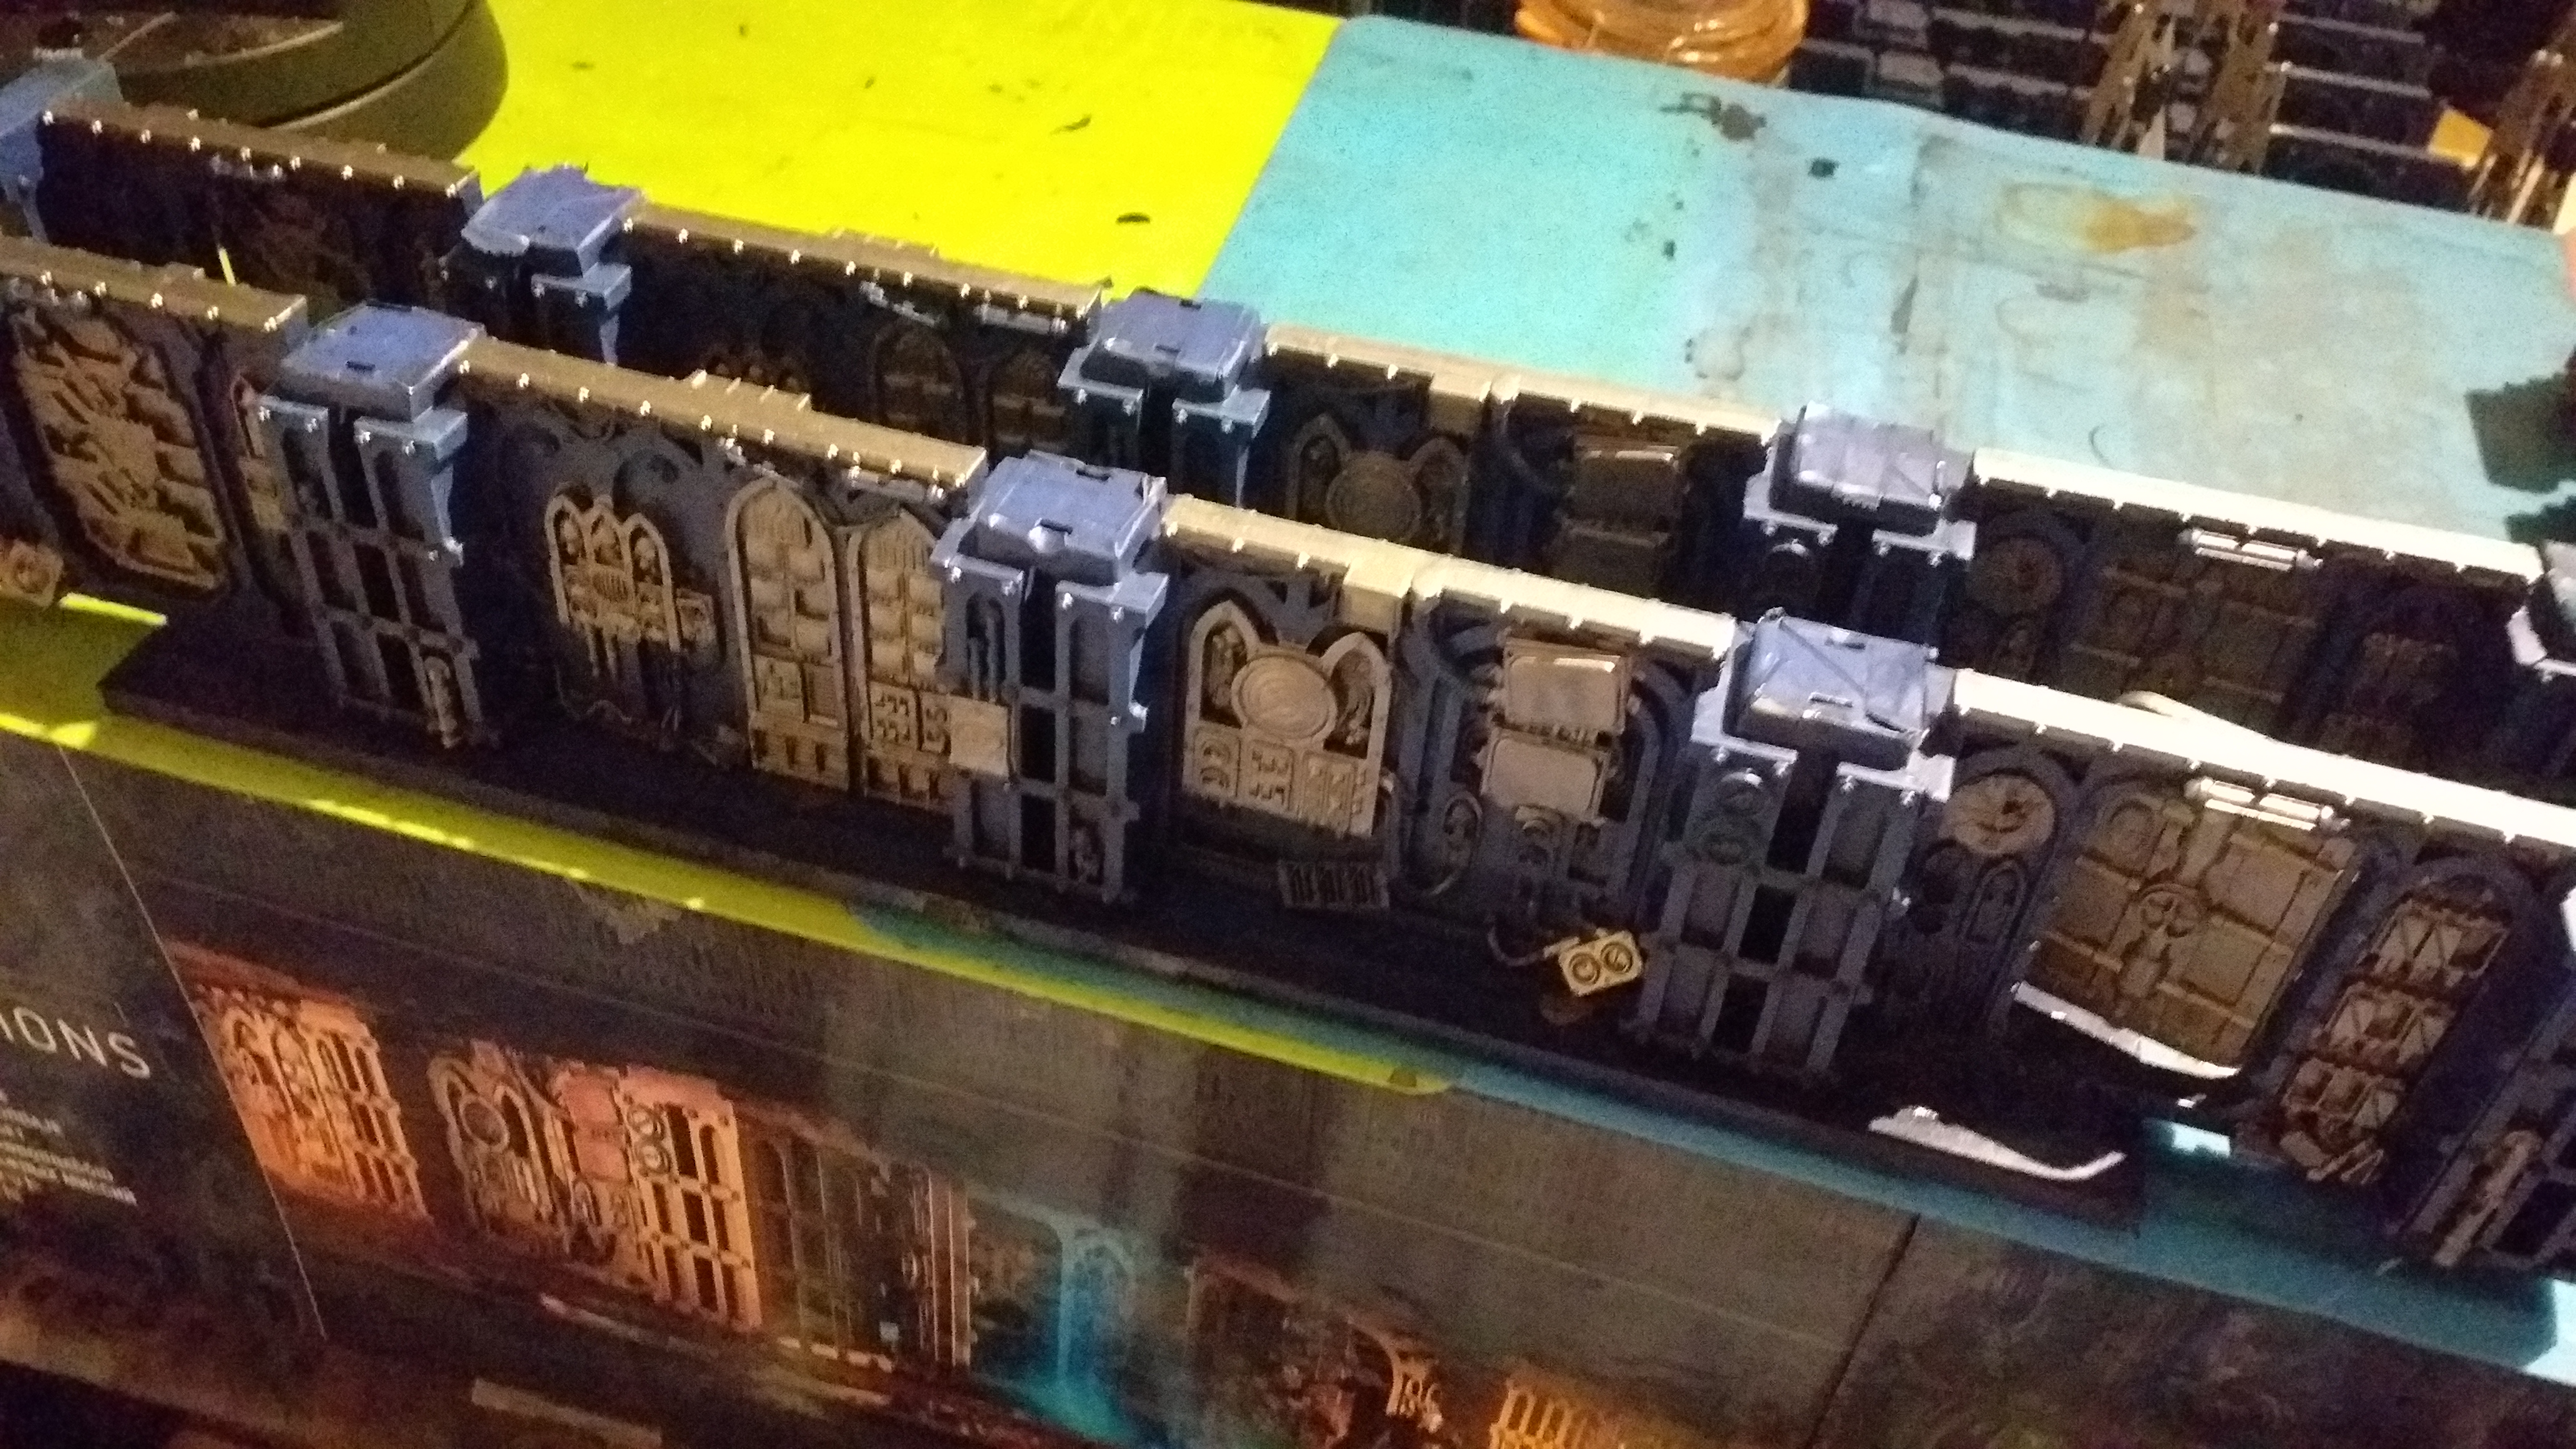
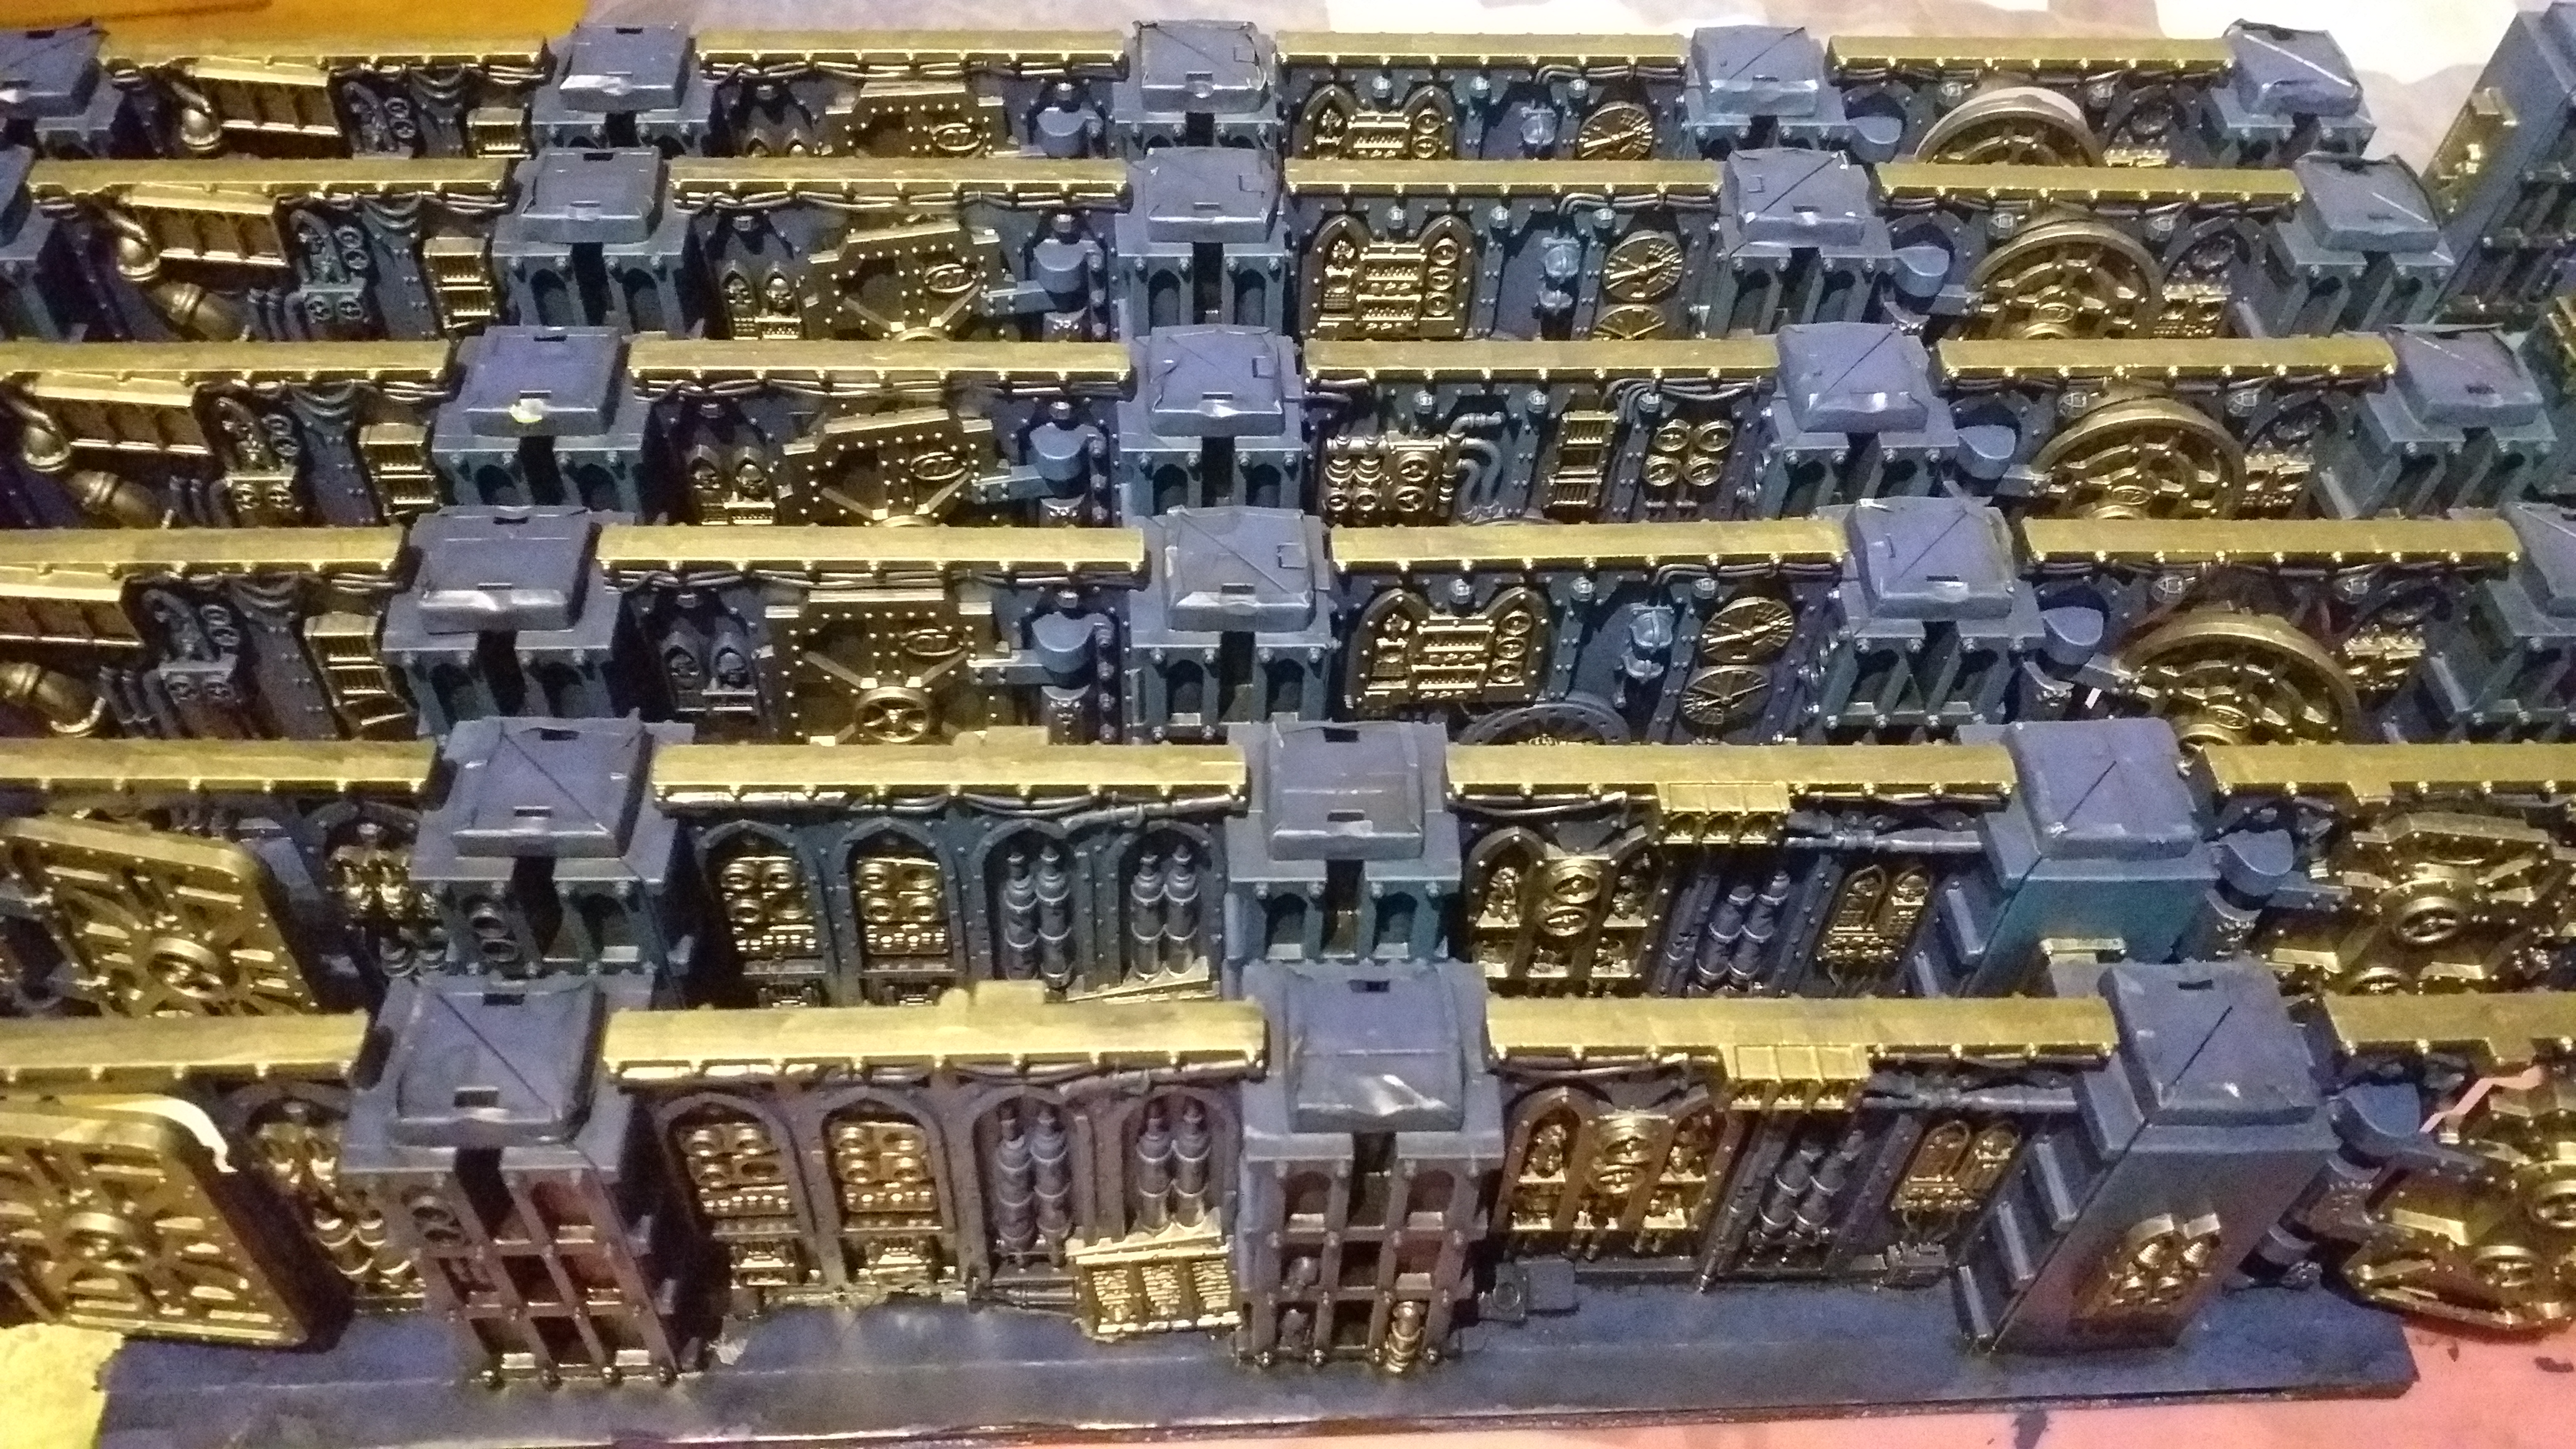
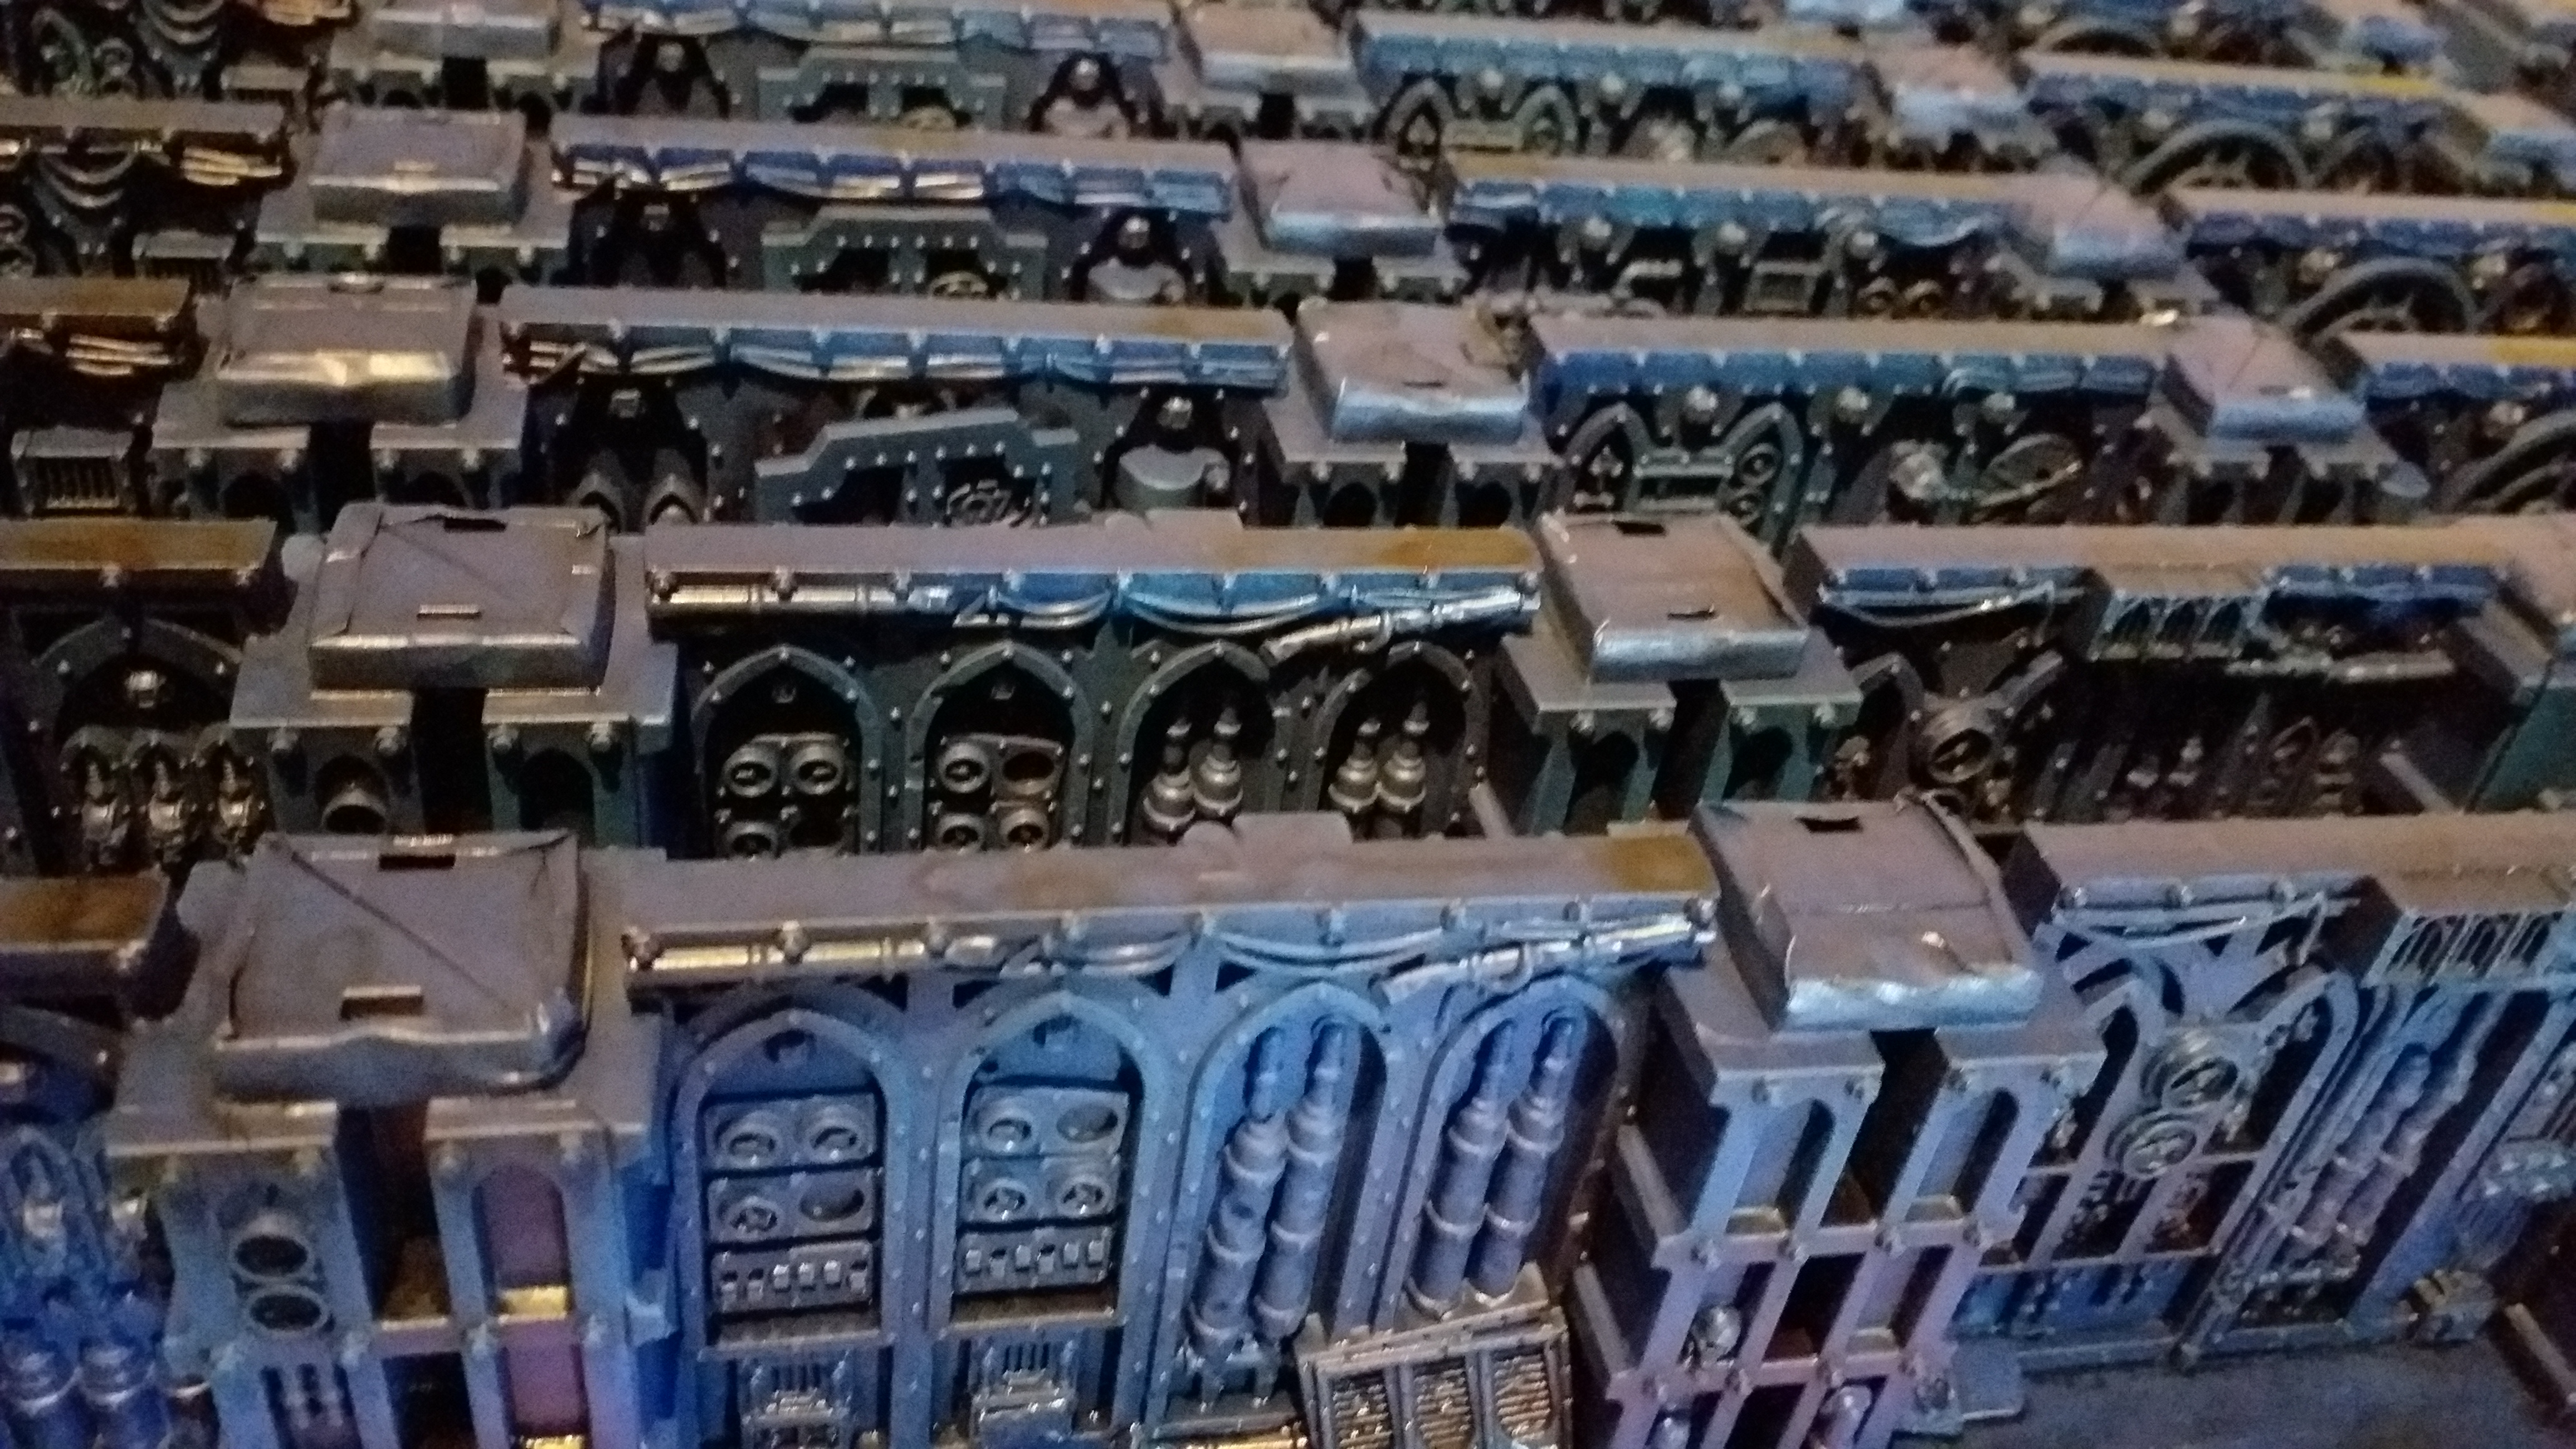
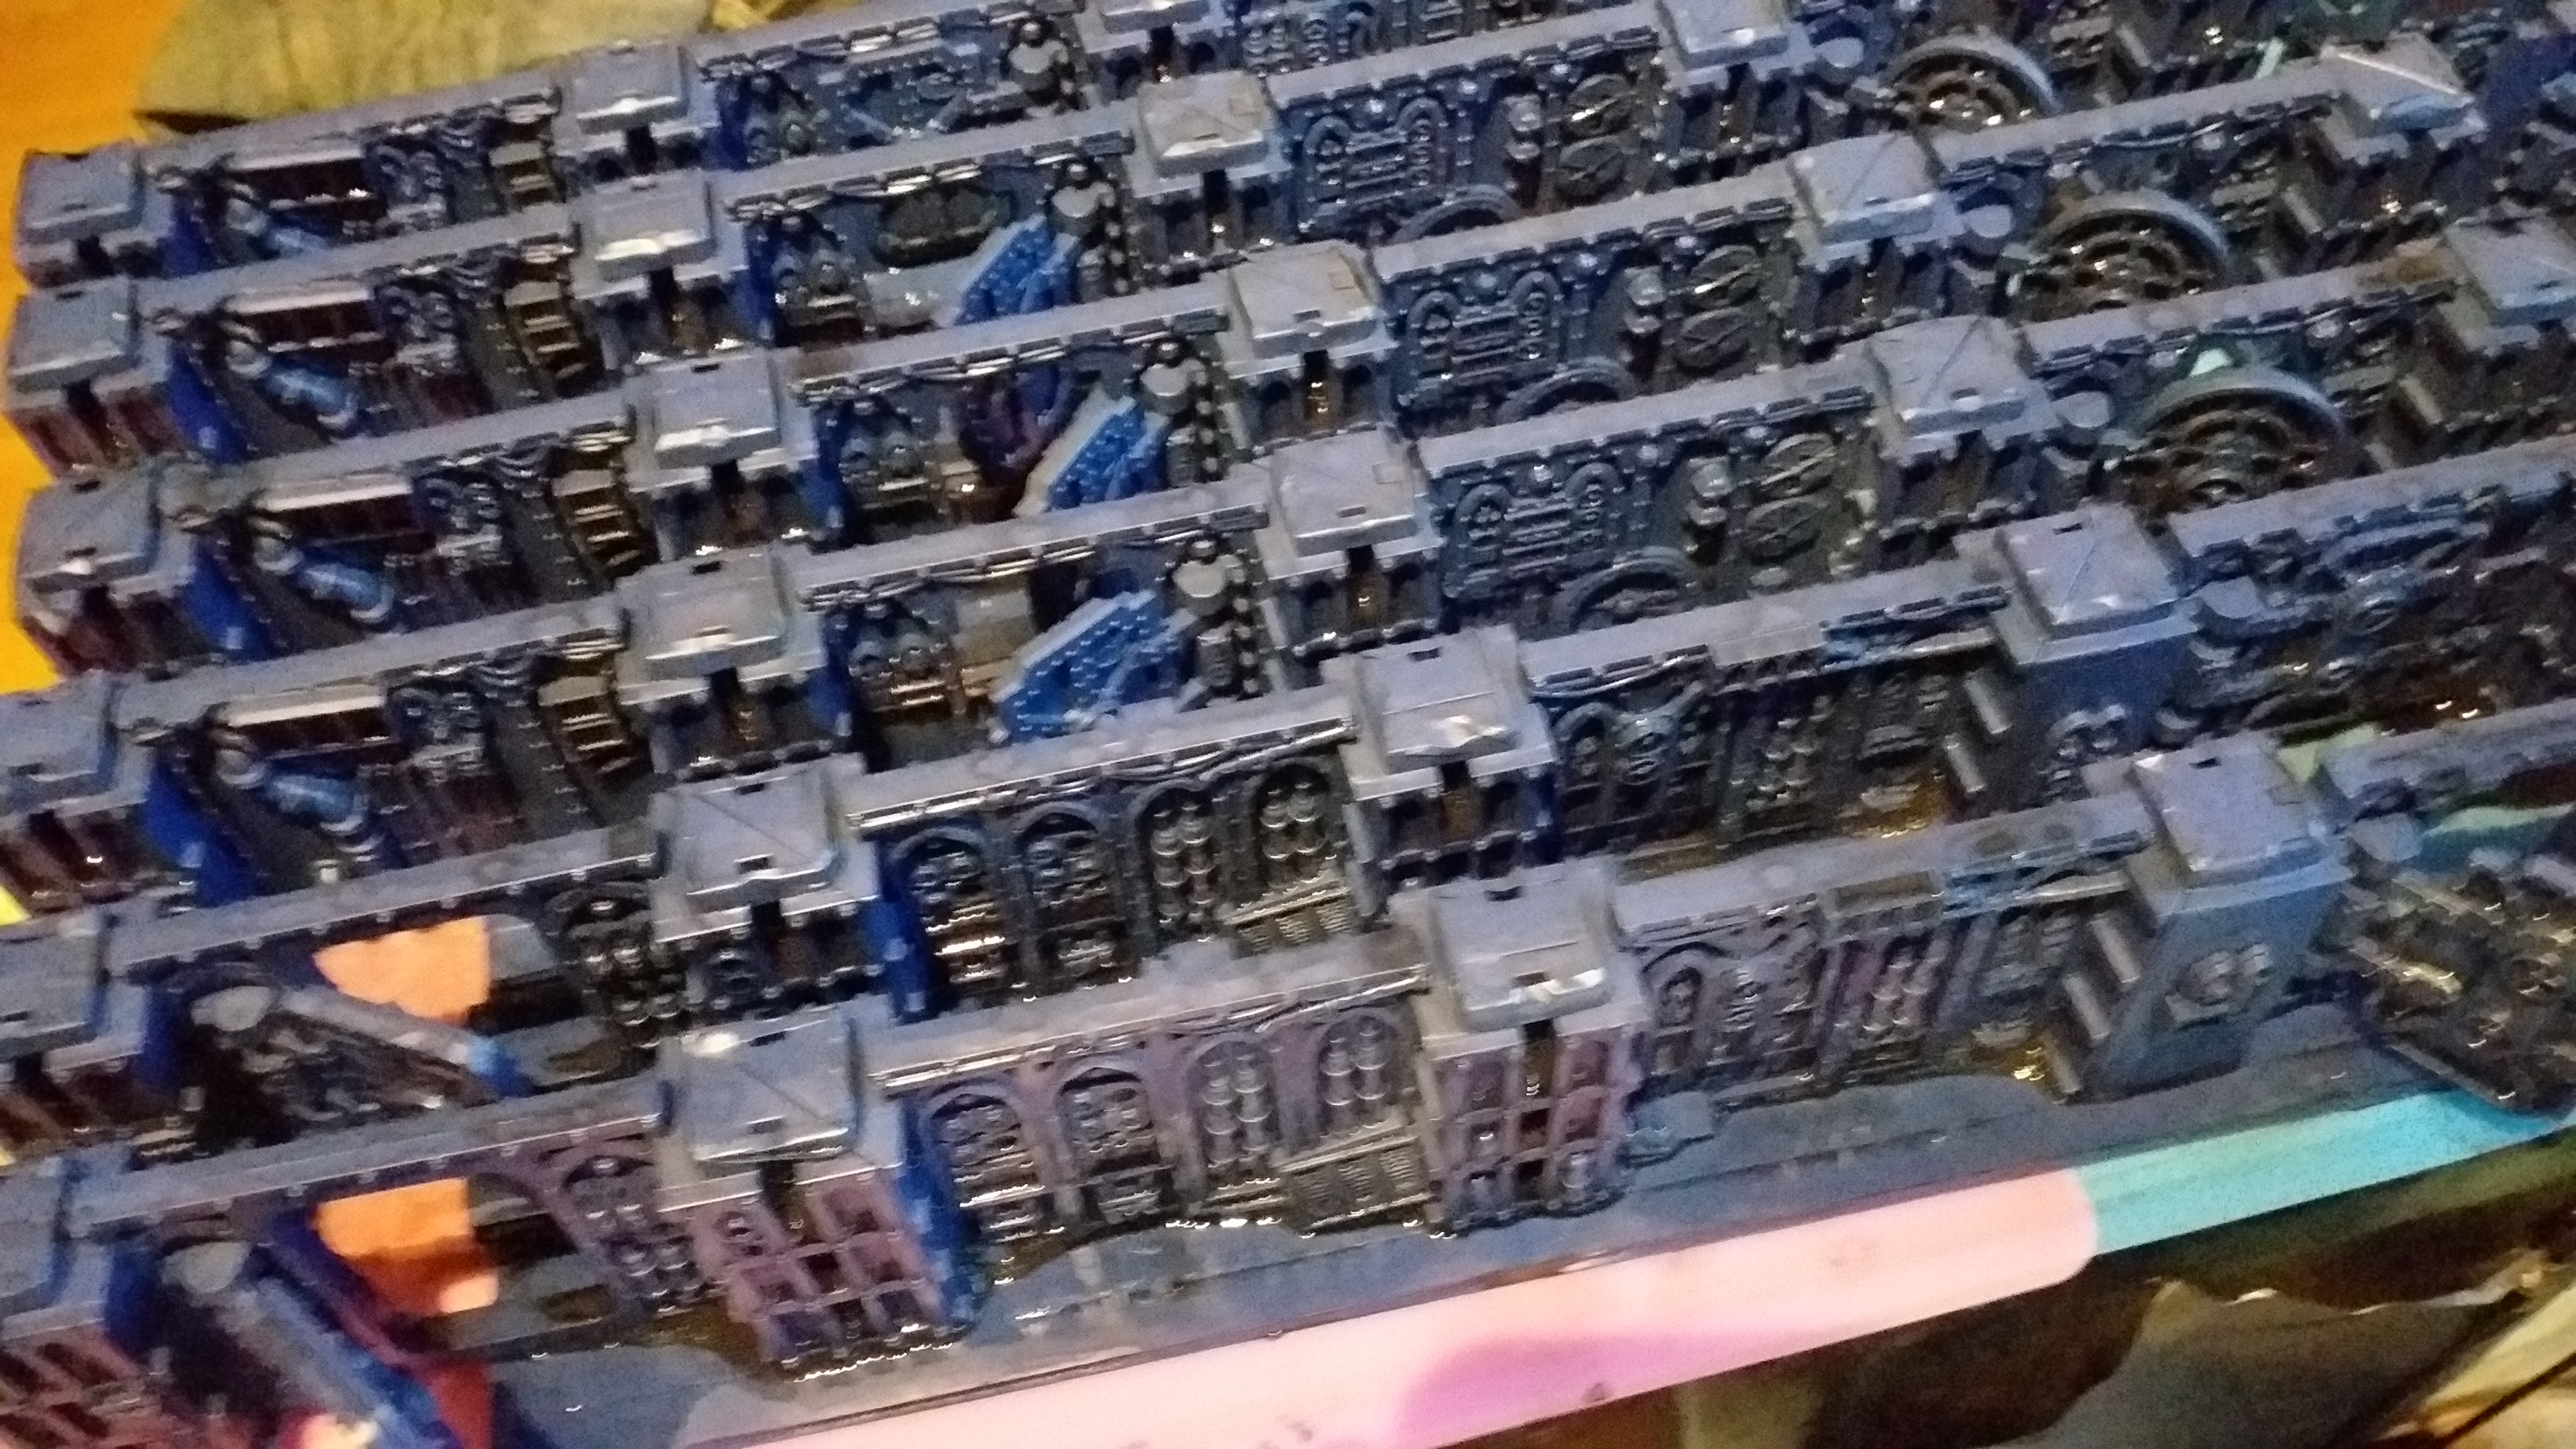
Third and fourth washes.
With the Leadbelcher blocked in, I took an evening to give the walls an all over wash of slightly stronger black ink wash. These are images 1 & 2.
The next night I did the same with slightly stronger brown wash, images 3 & 4.
I am leaving them to dry overnight again and I’ll see if the blue needs highlighting before highlighting the silver. Further updates soon. 🙂
Leadbelcher!
Finally got around to blocking in details using GW Leadbelcher. I picked a slew of particular sections to paint. It’s all down to personal preference. I chose places that broke up the vast swathe of blue. There are no right or wrong answers here in my opinion.
BLUE!
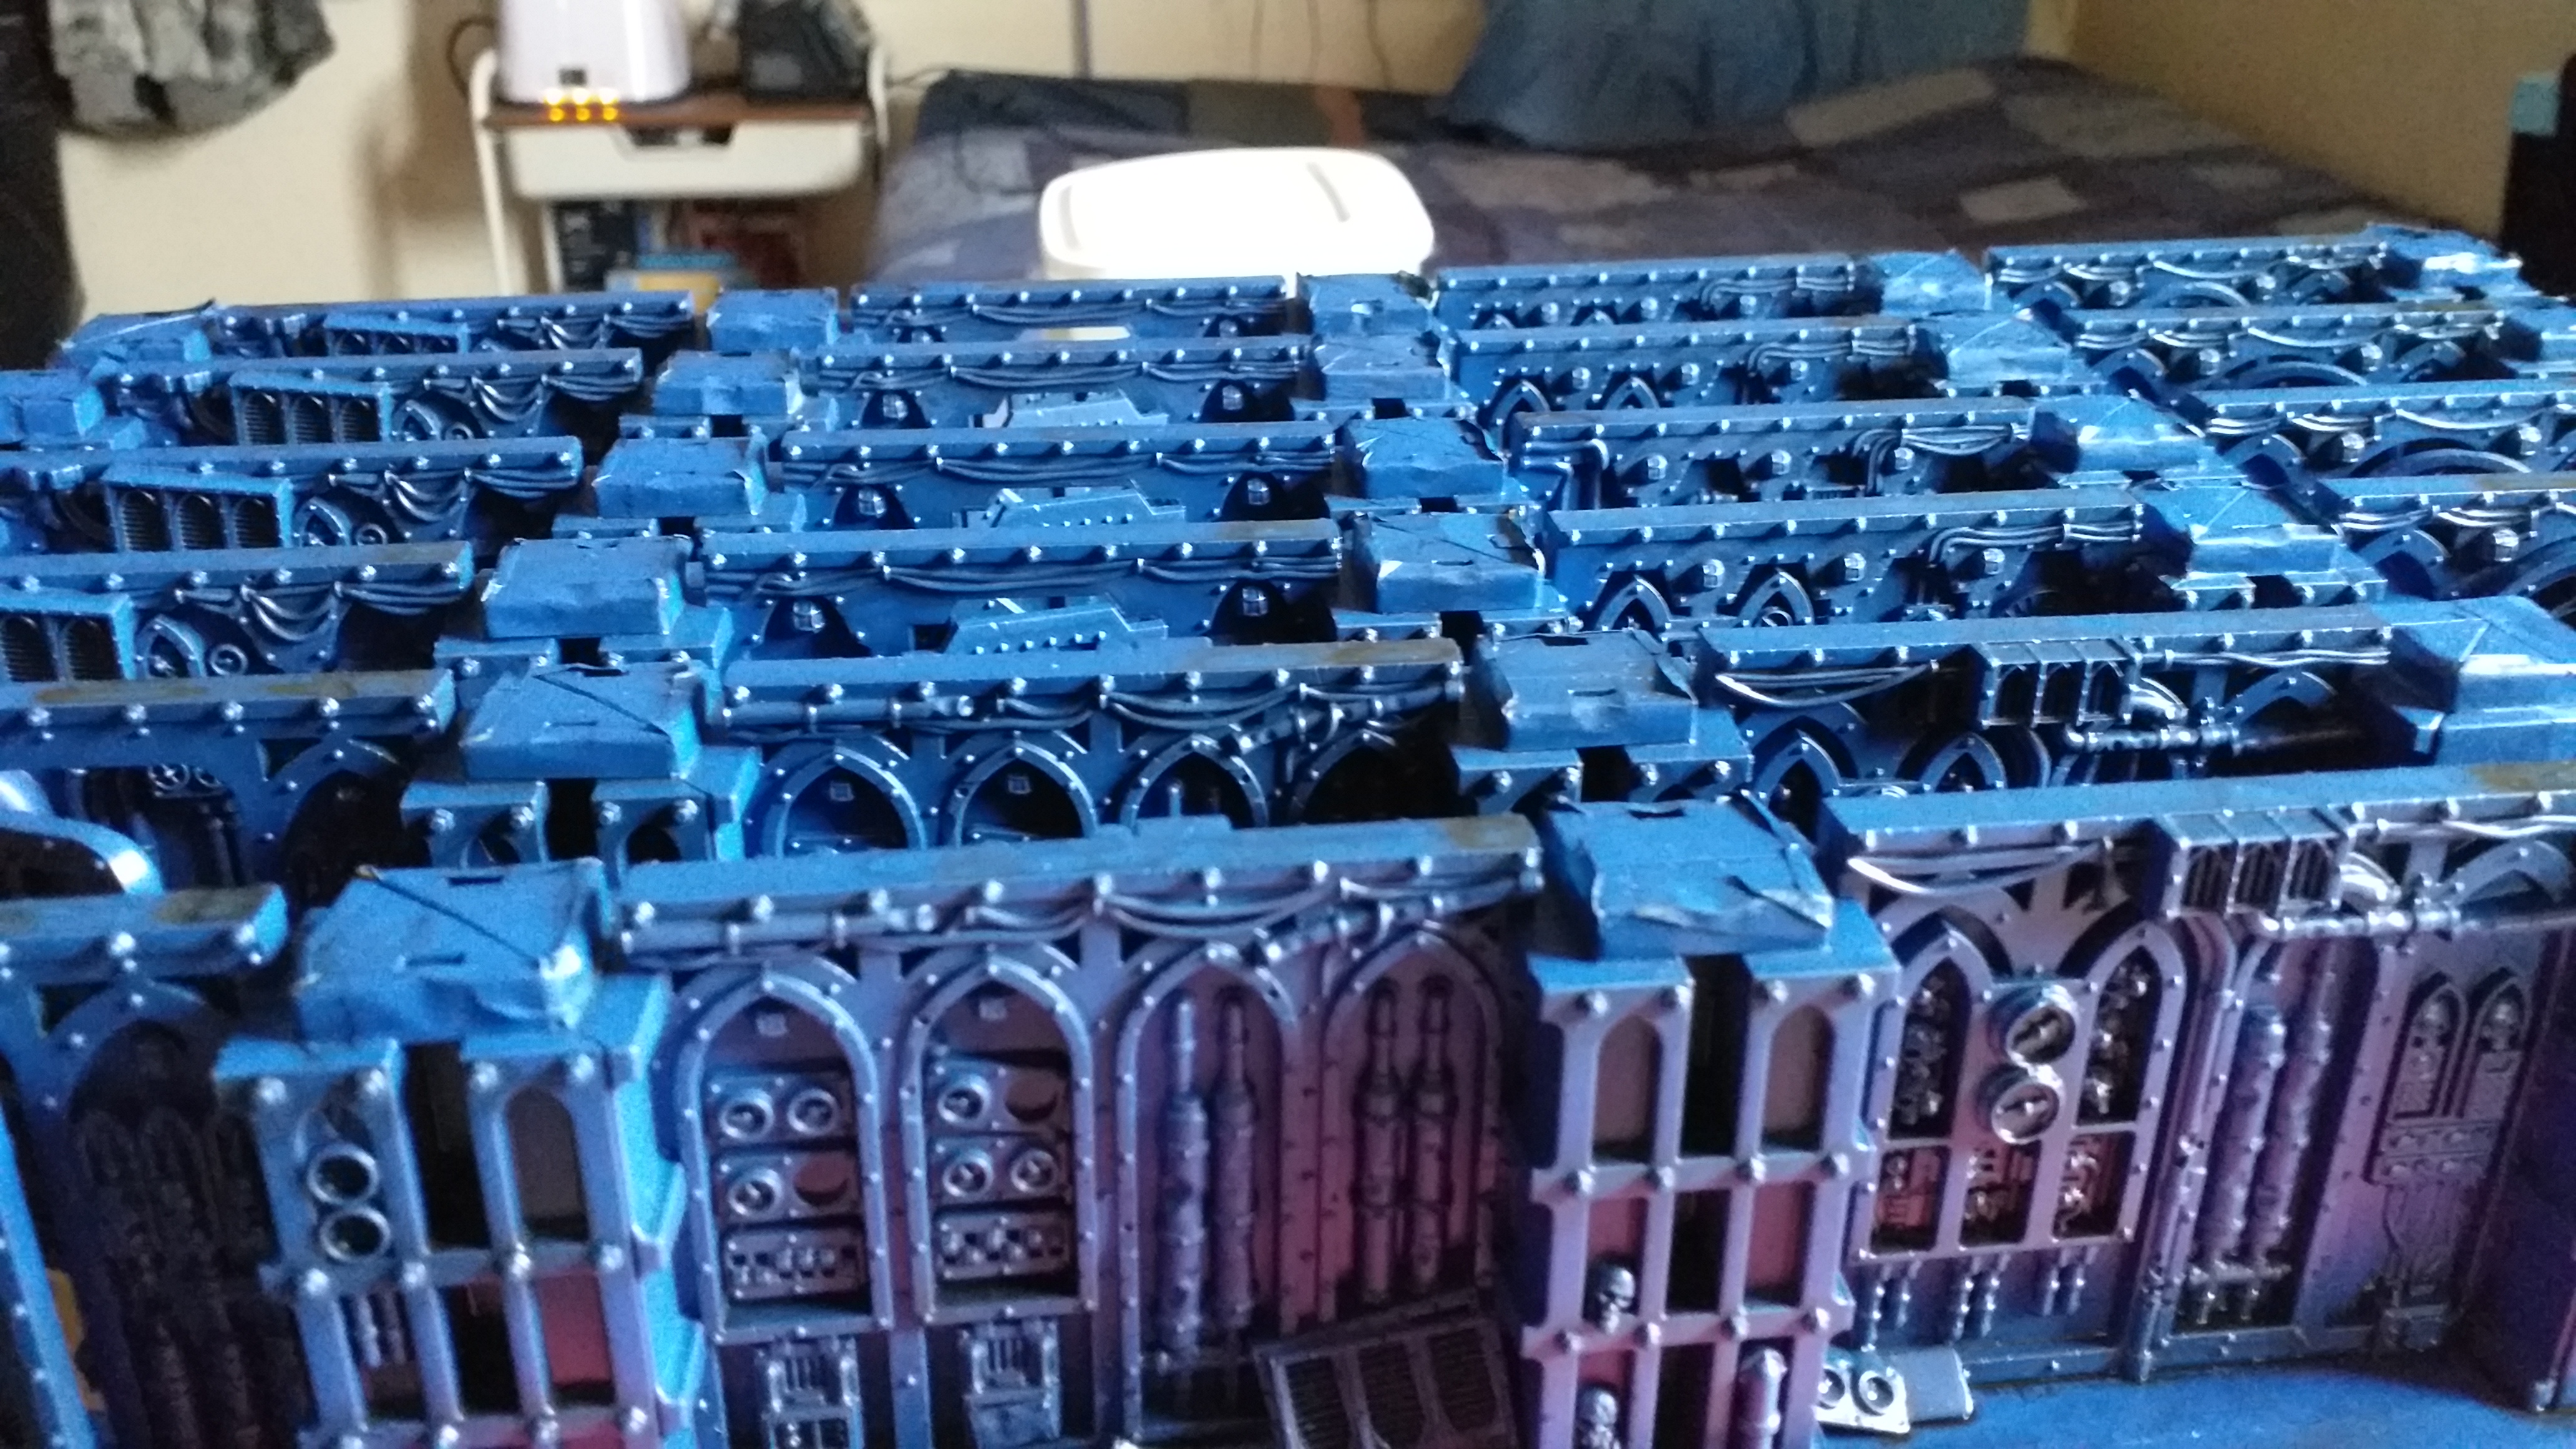
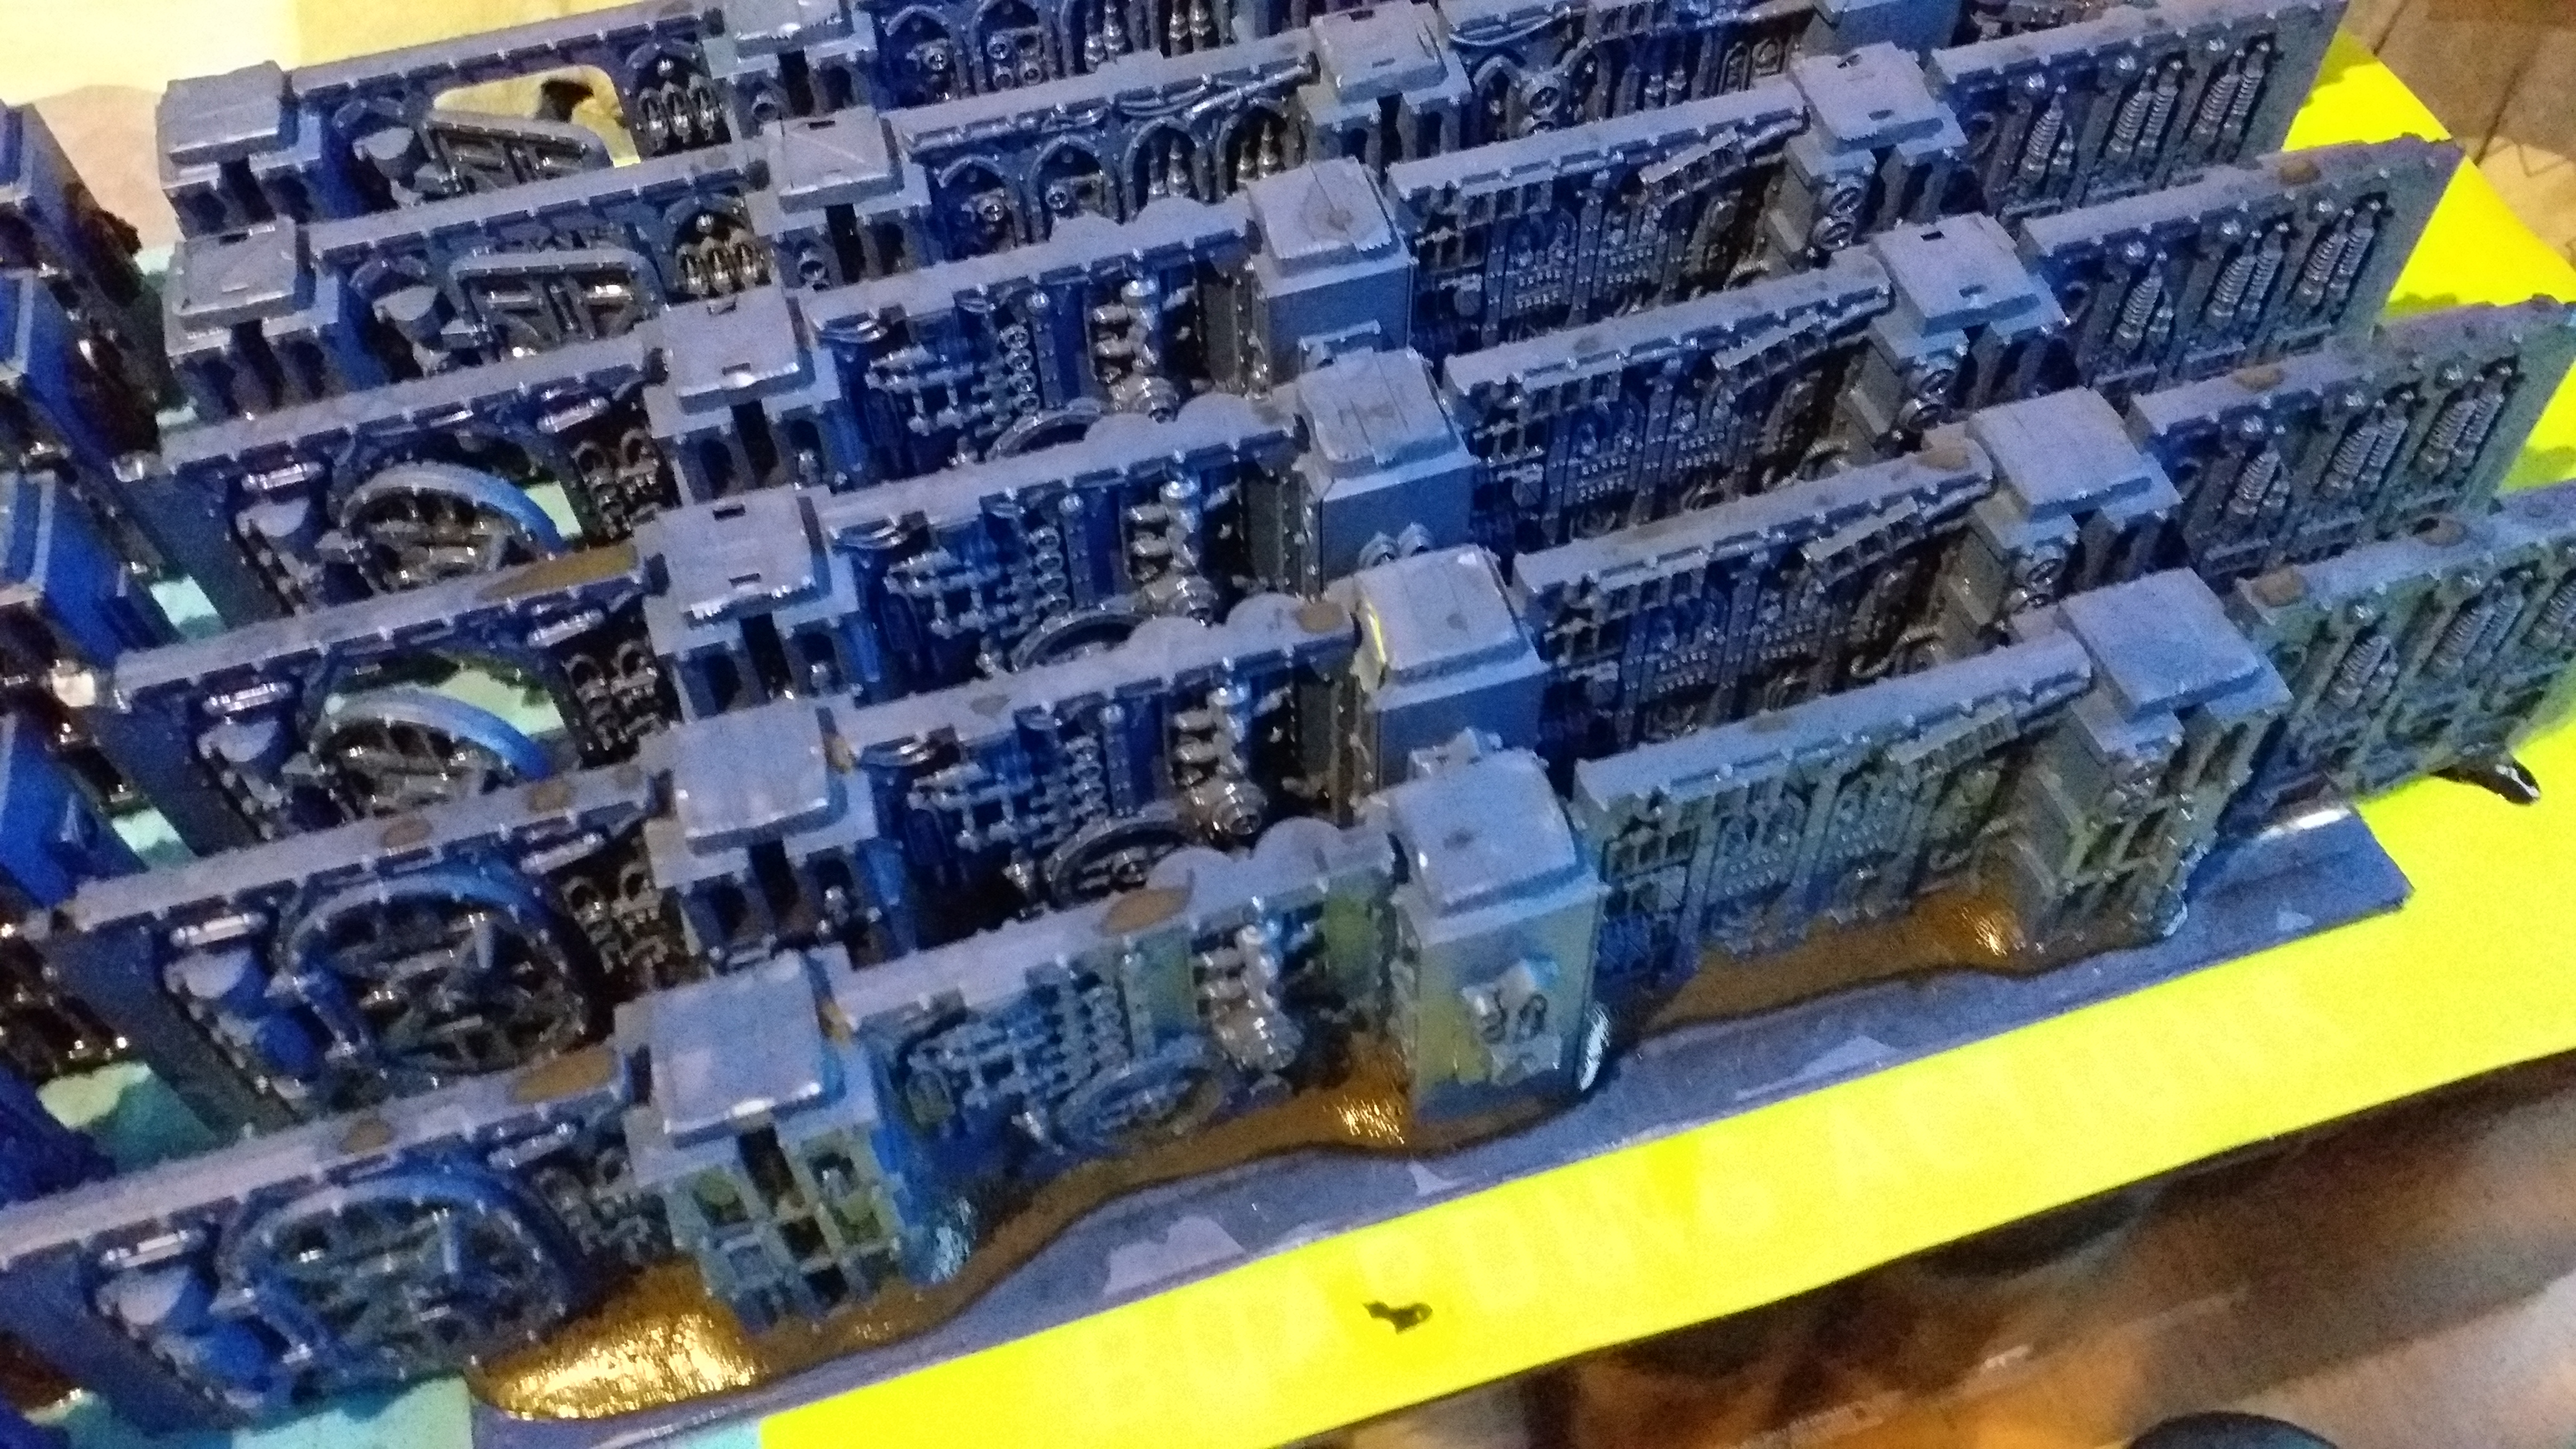
Today I drybrushed the walls blue. All paints today are GW.
First, an all over drybrush of Maccragge Blue. Once dry, a coat over the top half of the walls with Altdorf Guard Blue. Finally a light drybrush of Teclis Blue over the very top of the walls and we’re done with blue.
Brown Wash!
The walls dried and now I’ve given them a heavy wash of brown homemade wash. They are now drying…
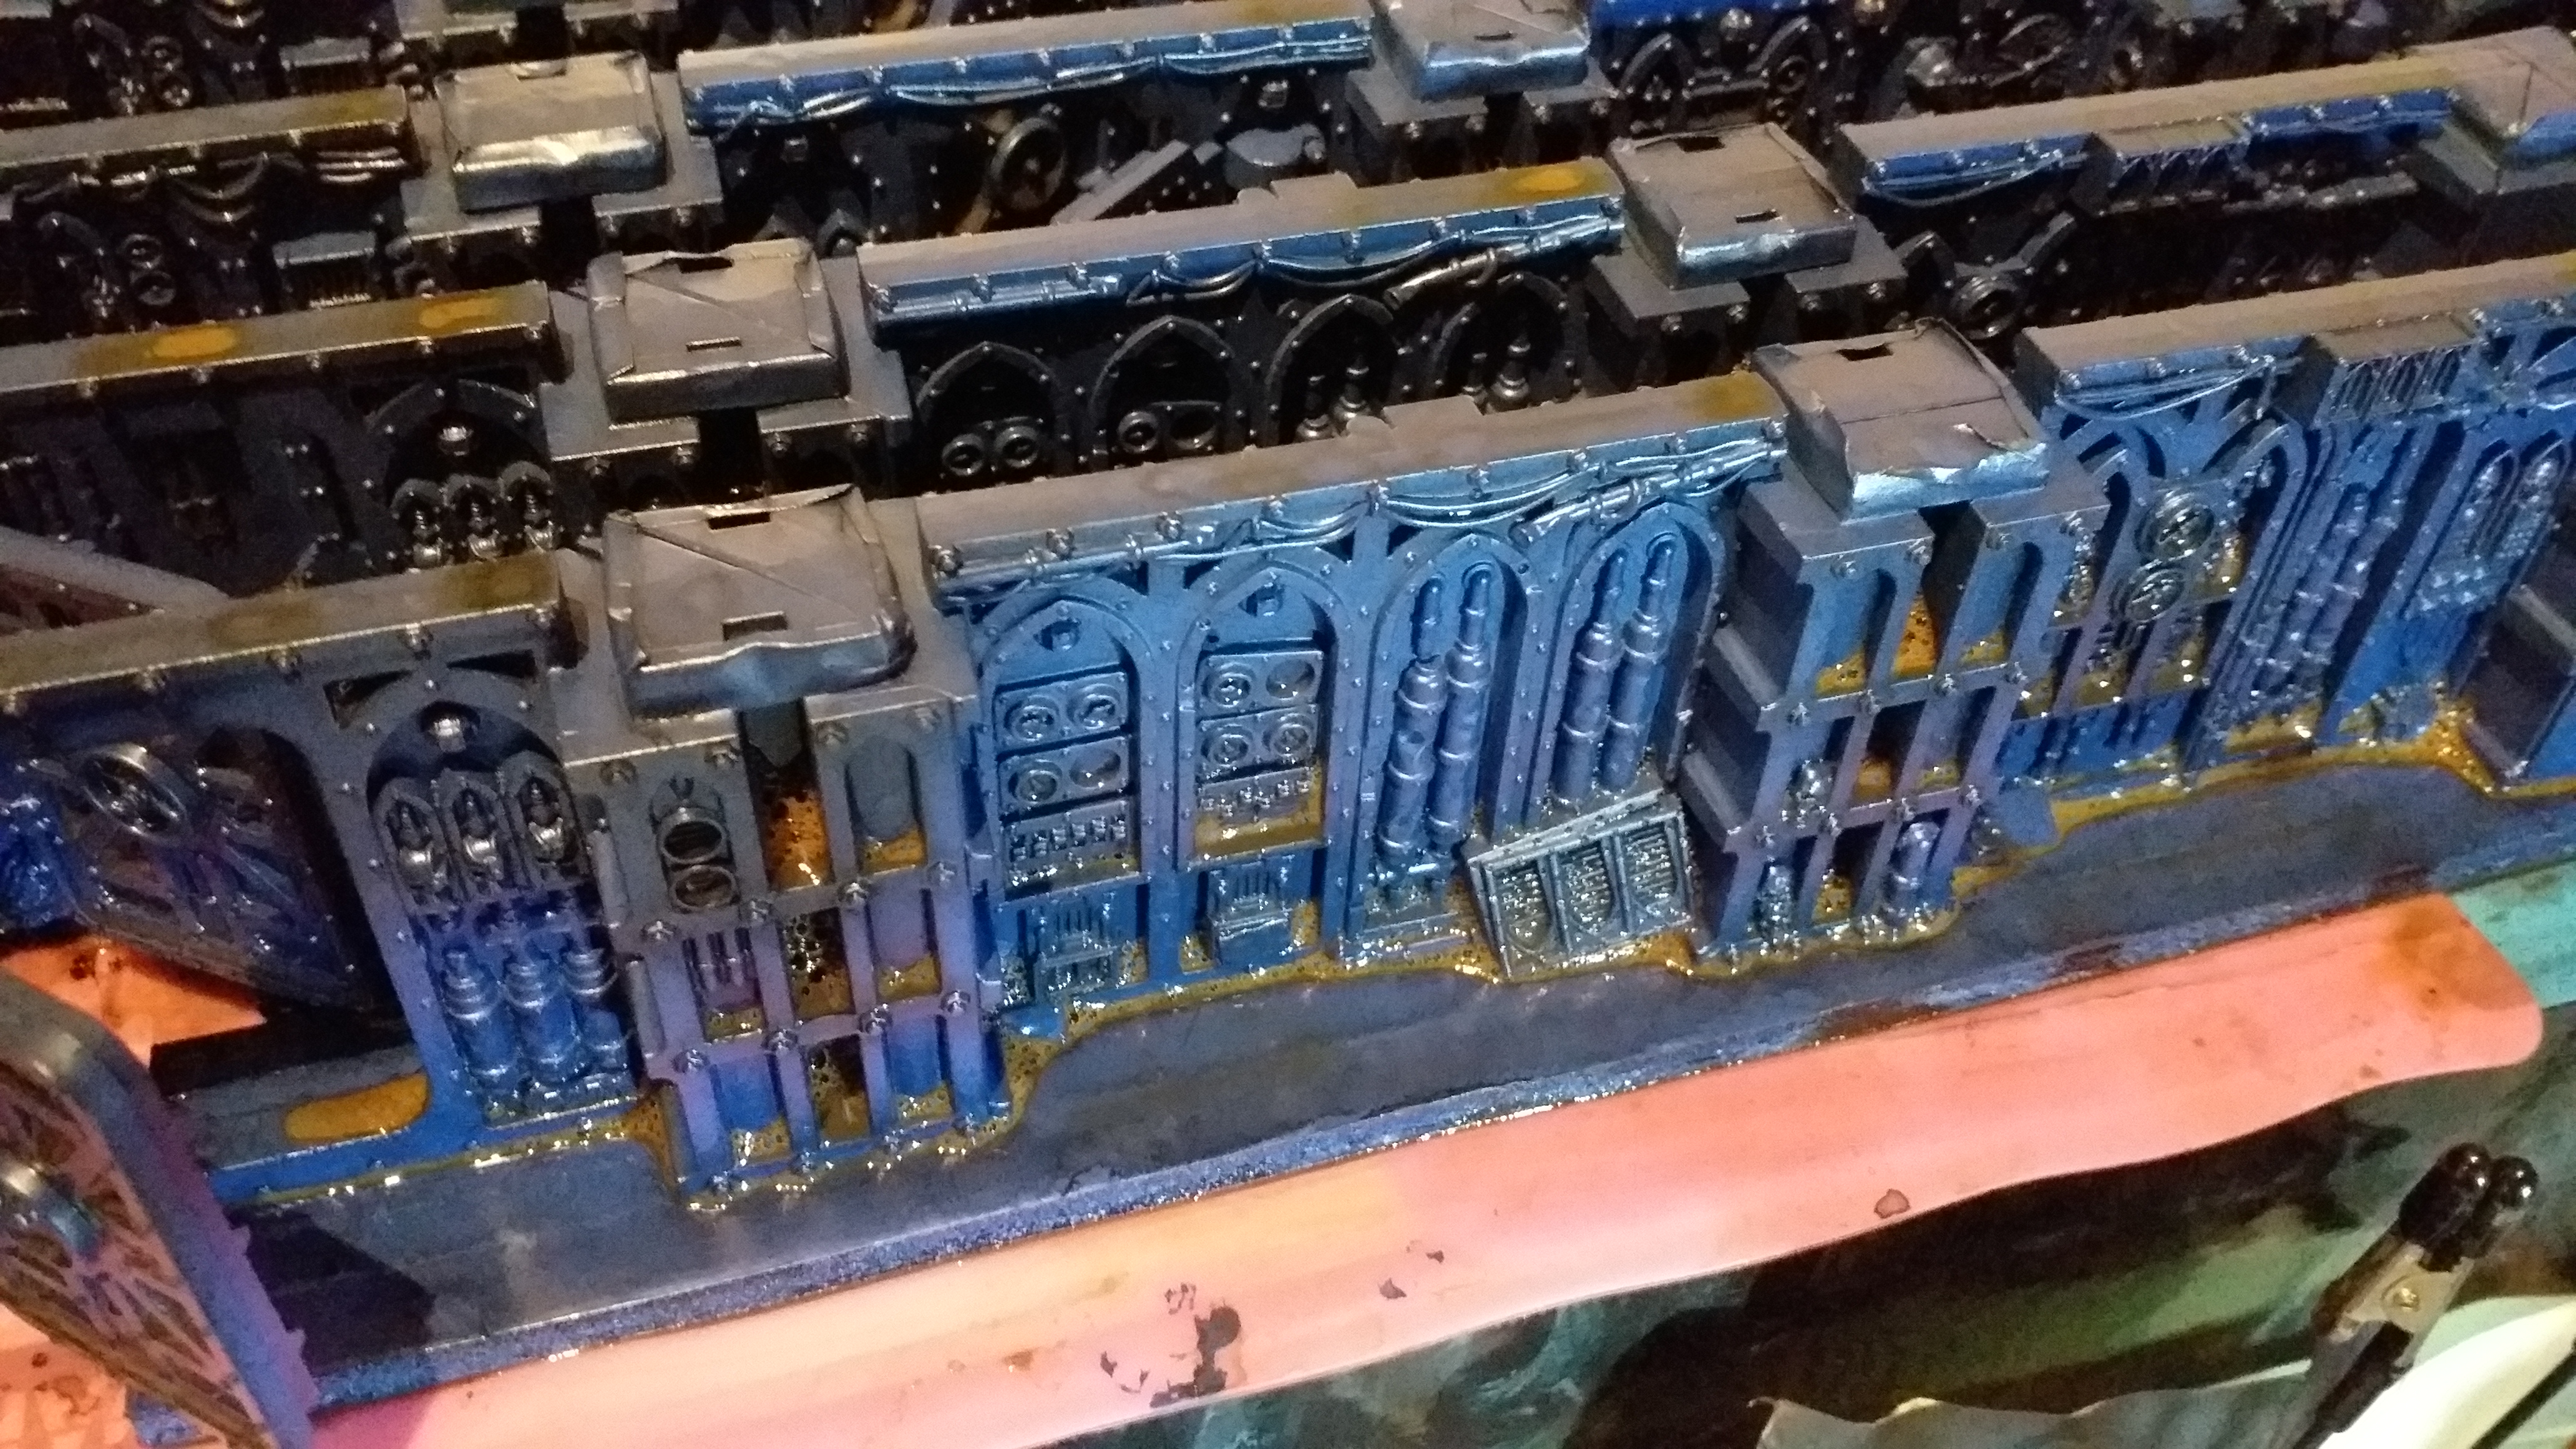
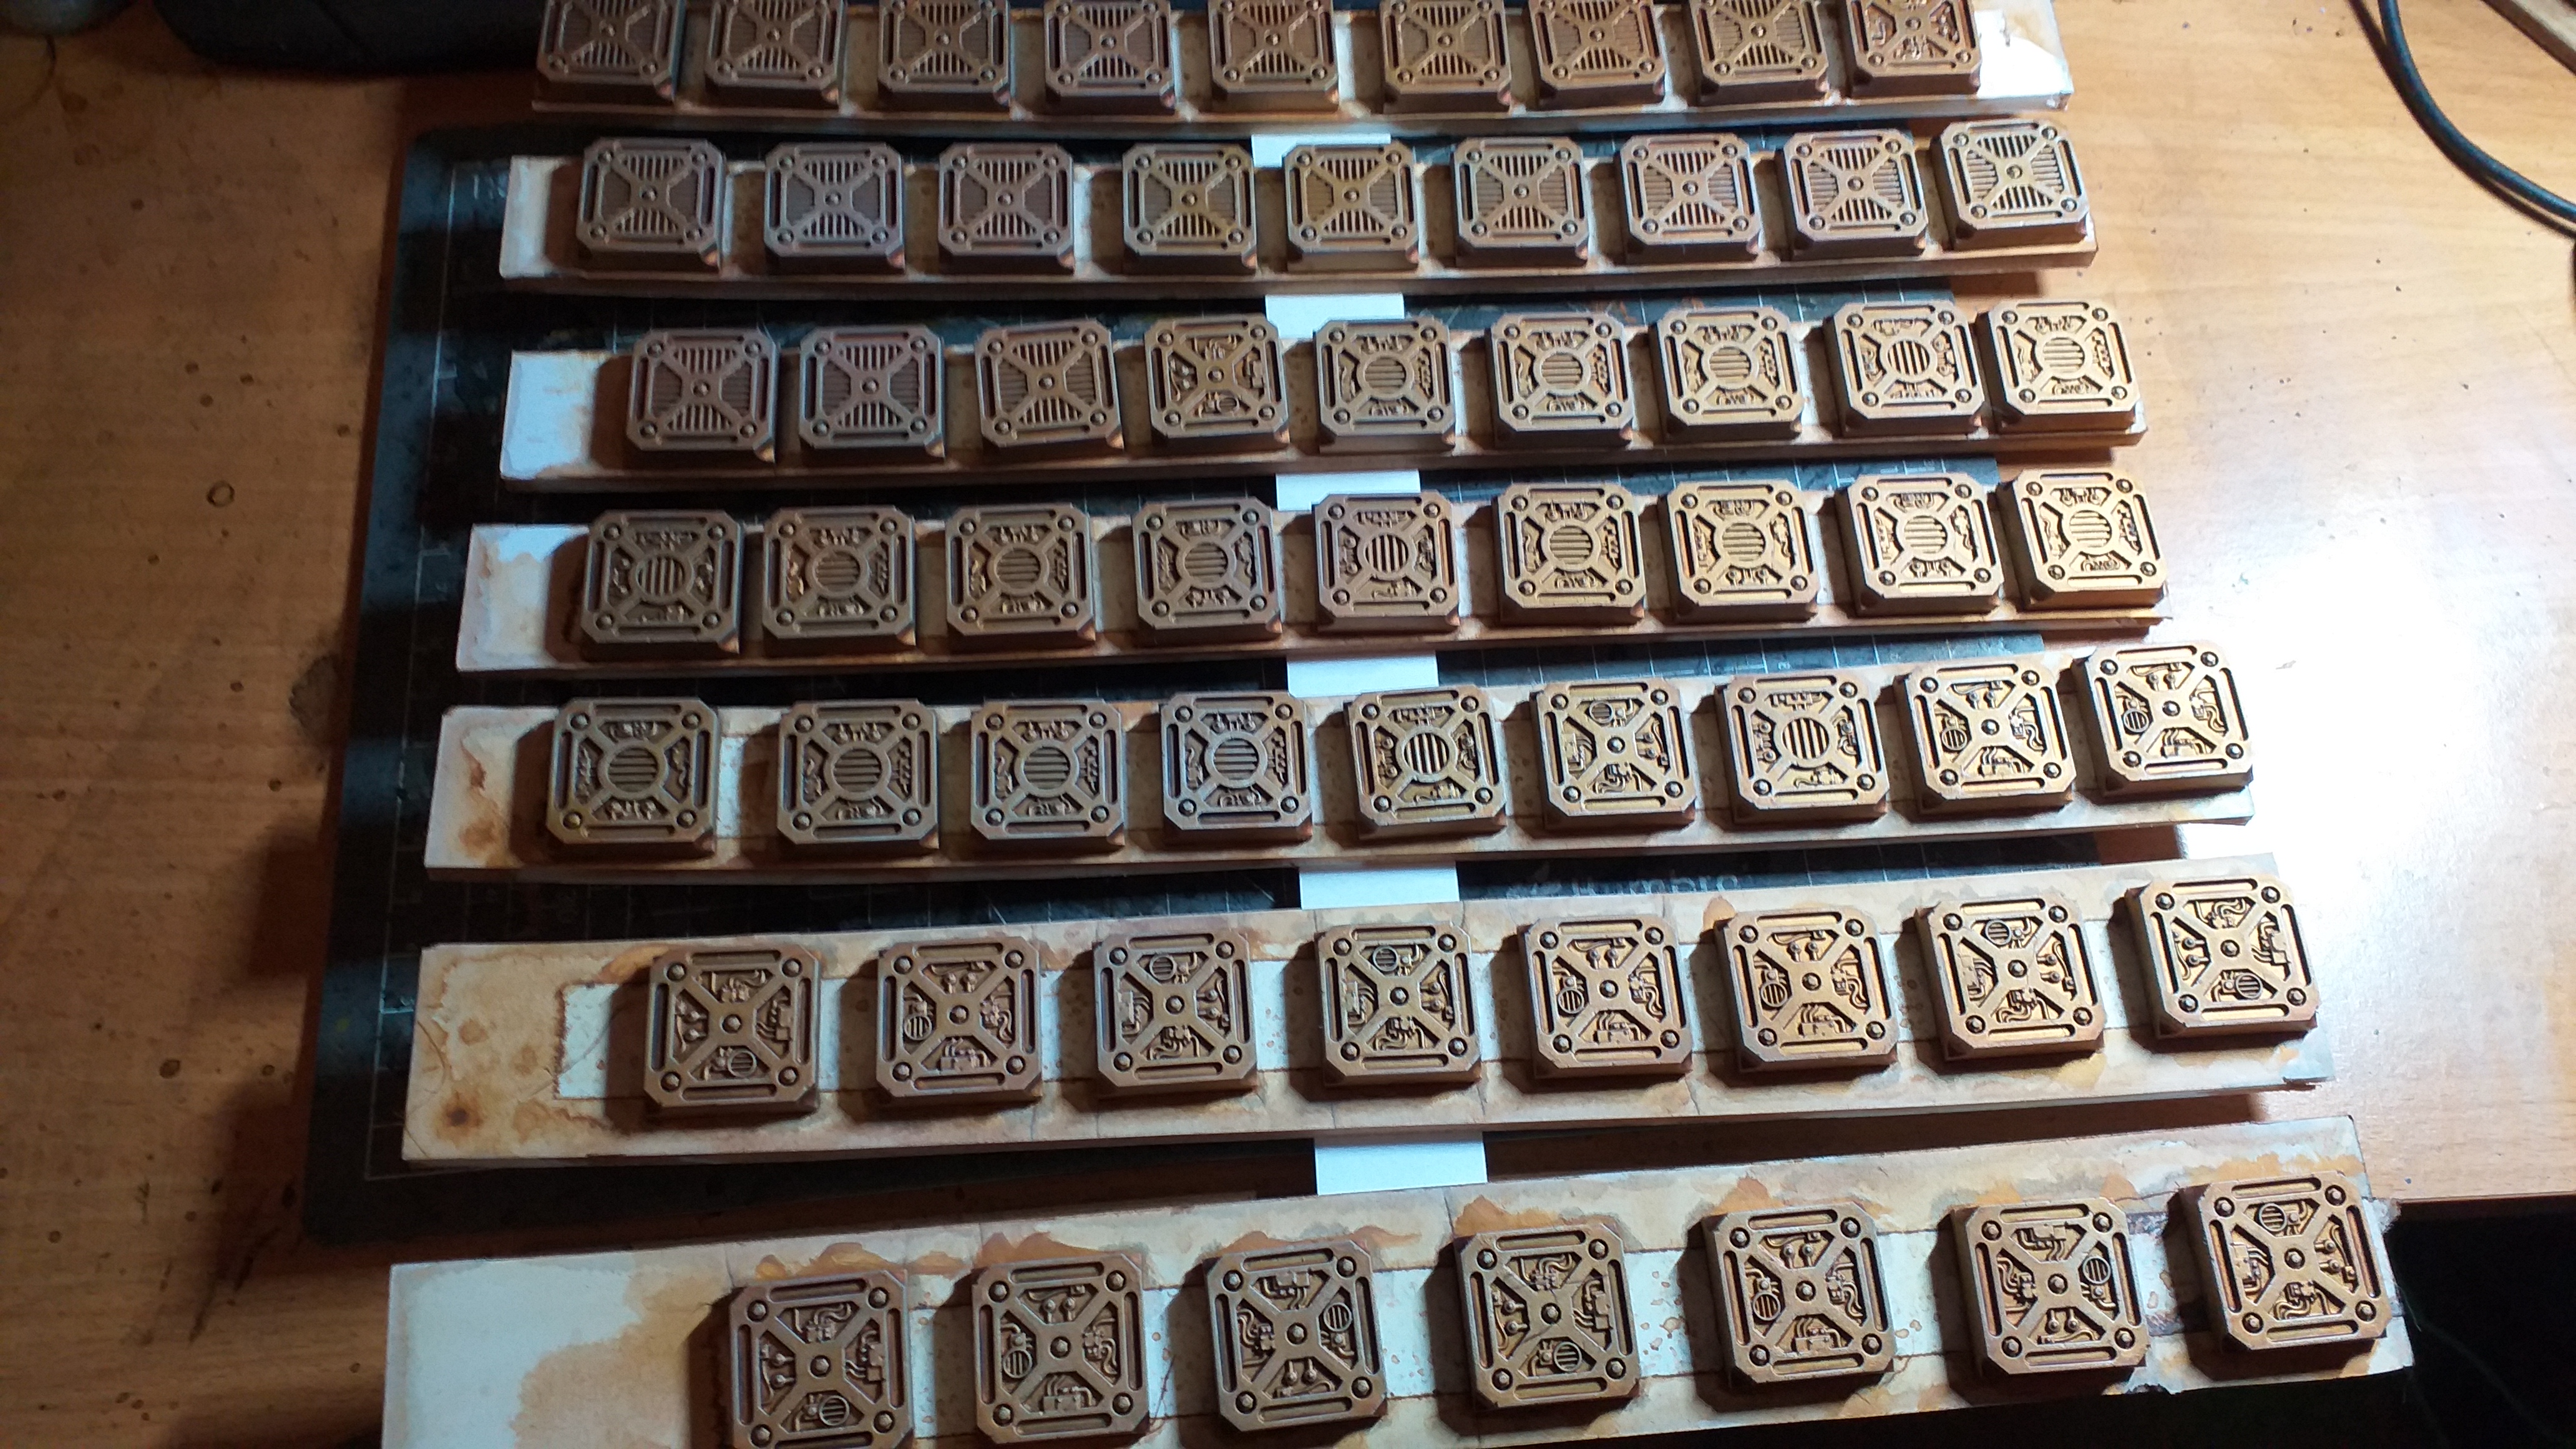
Varnish and Wash.
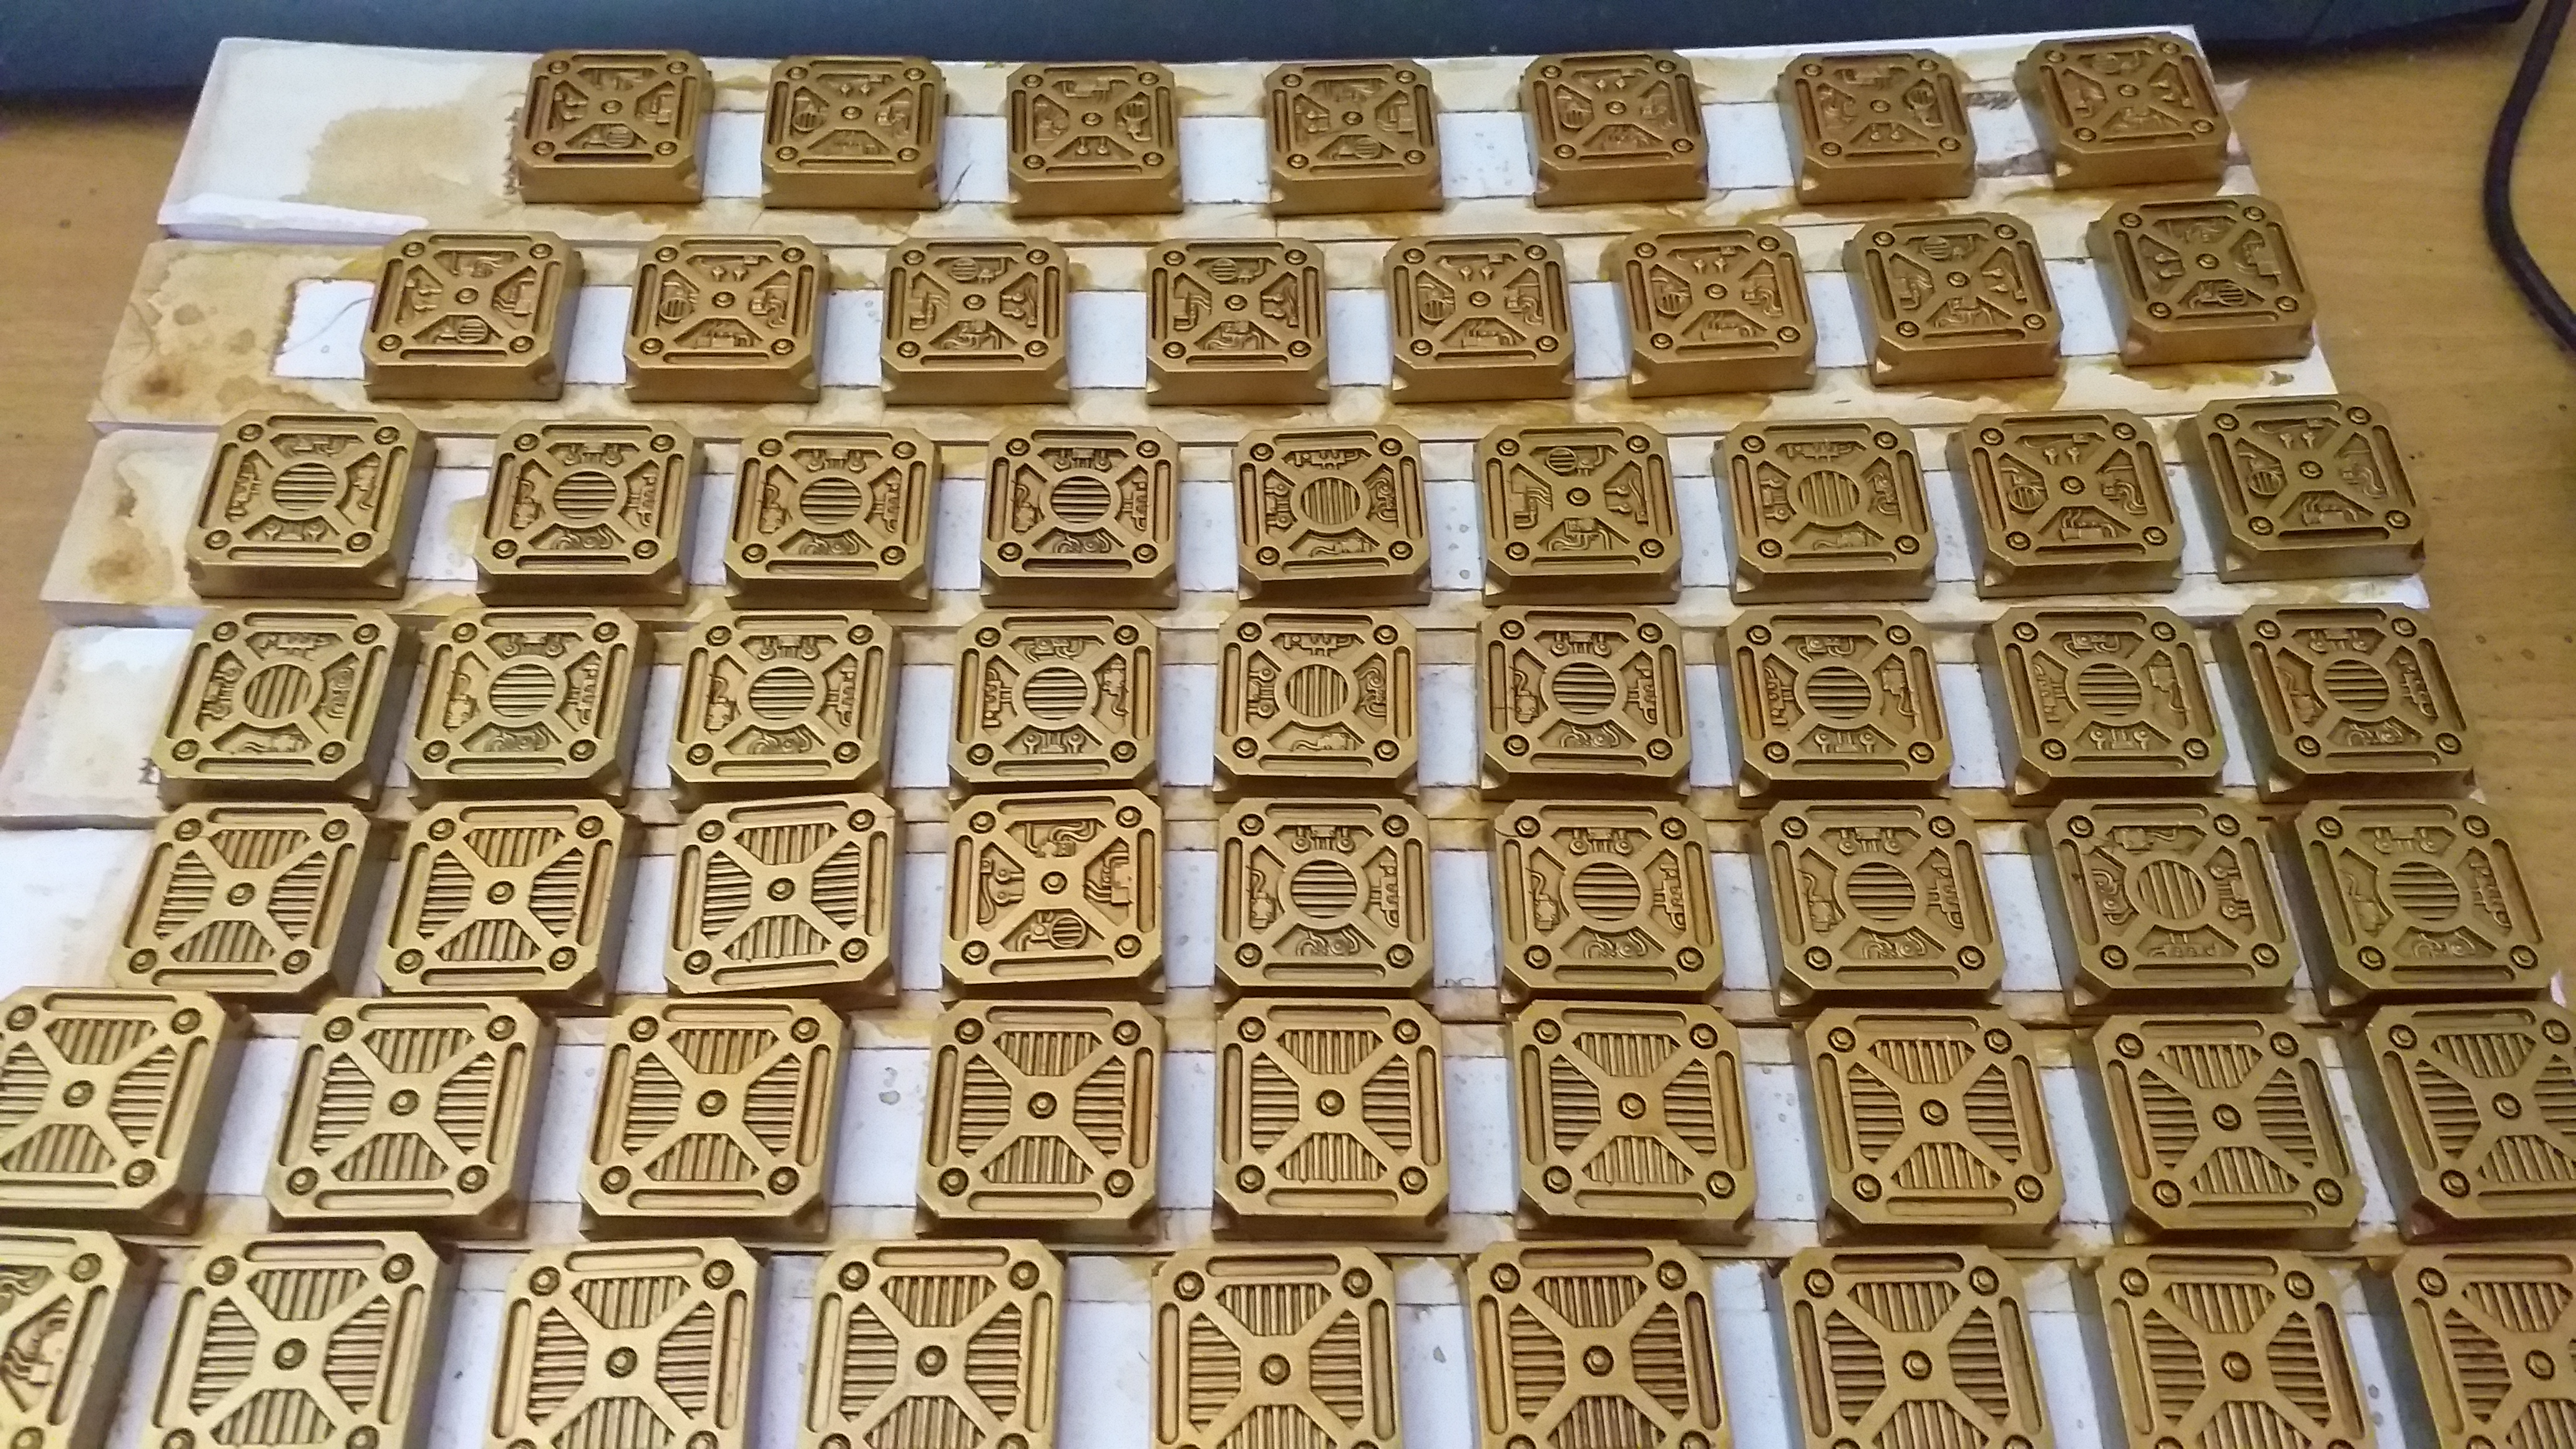
Pillar Caps have now been drybrushed. First a coat of Retributor gold, then Stormhost Silver. Finally, they’ve been varnished with Colour Forge Mat Varnish.
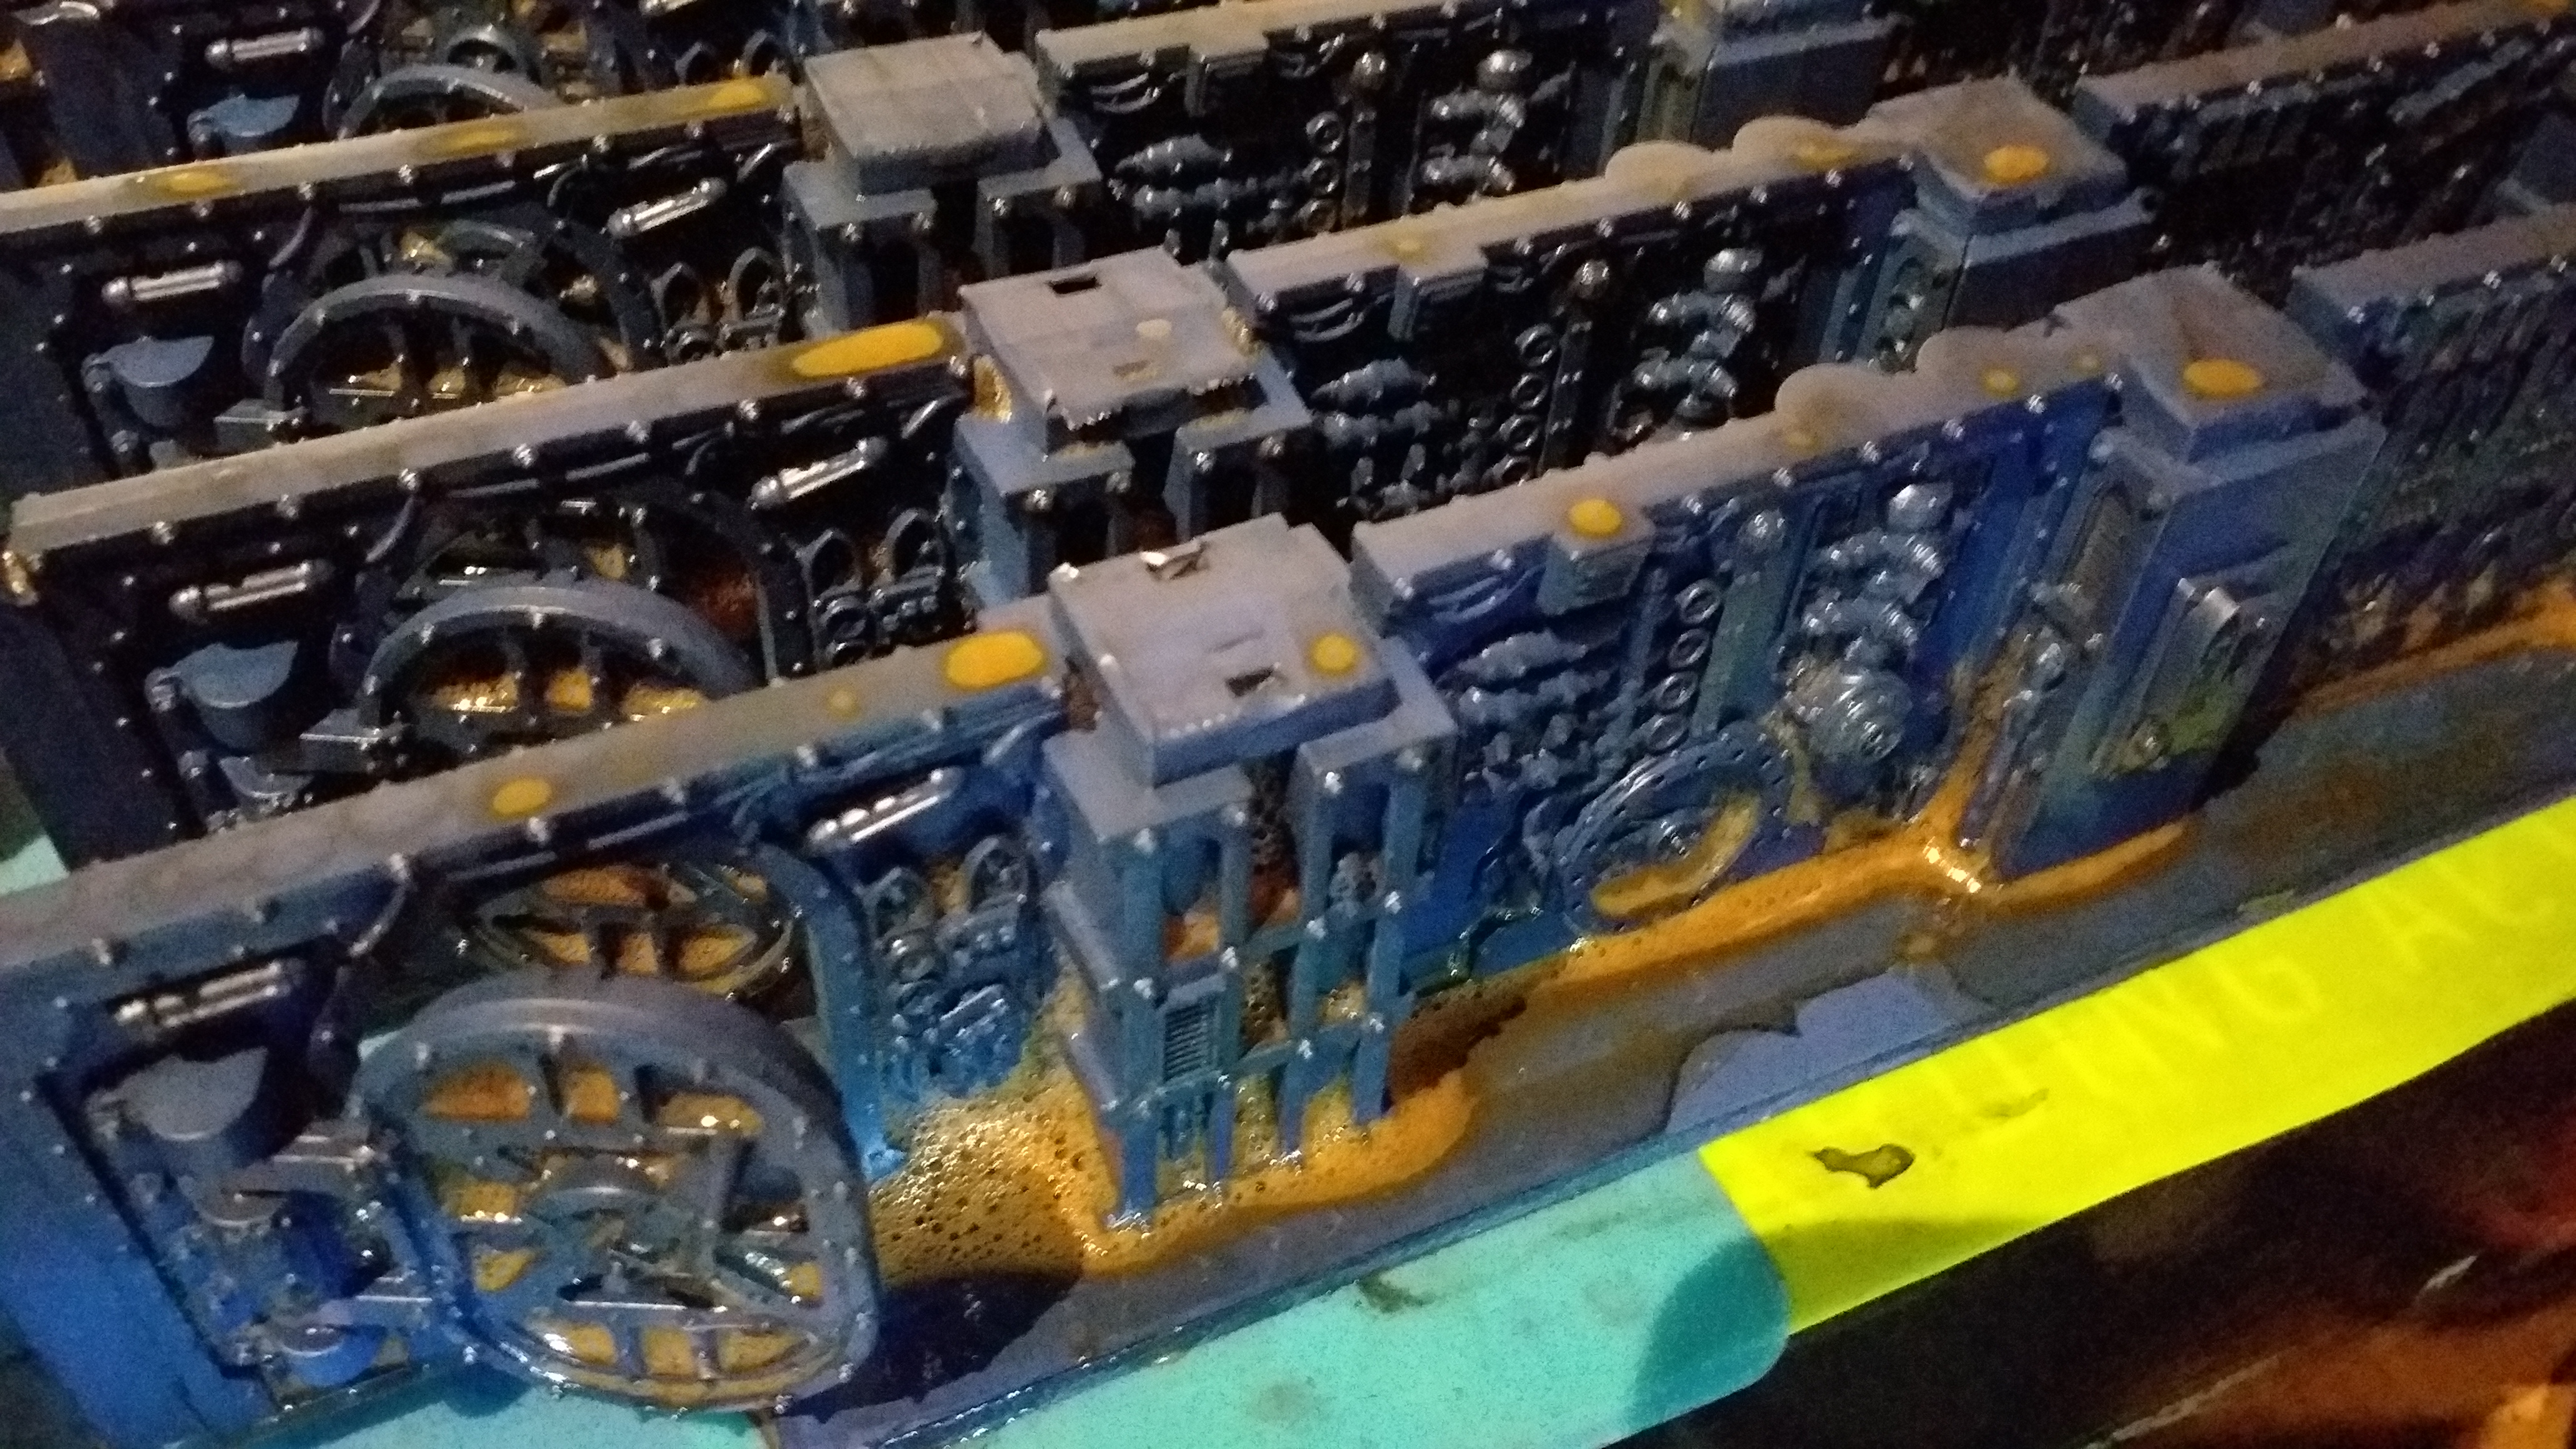
The blue walls have now been given a heavy wash of homemade black wash. As mentioned previously, the wash foaming up is no bad thing as i can burst and deposit the ink in the recesses.
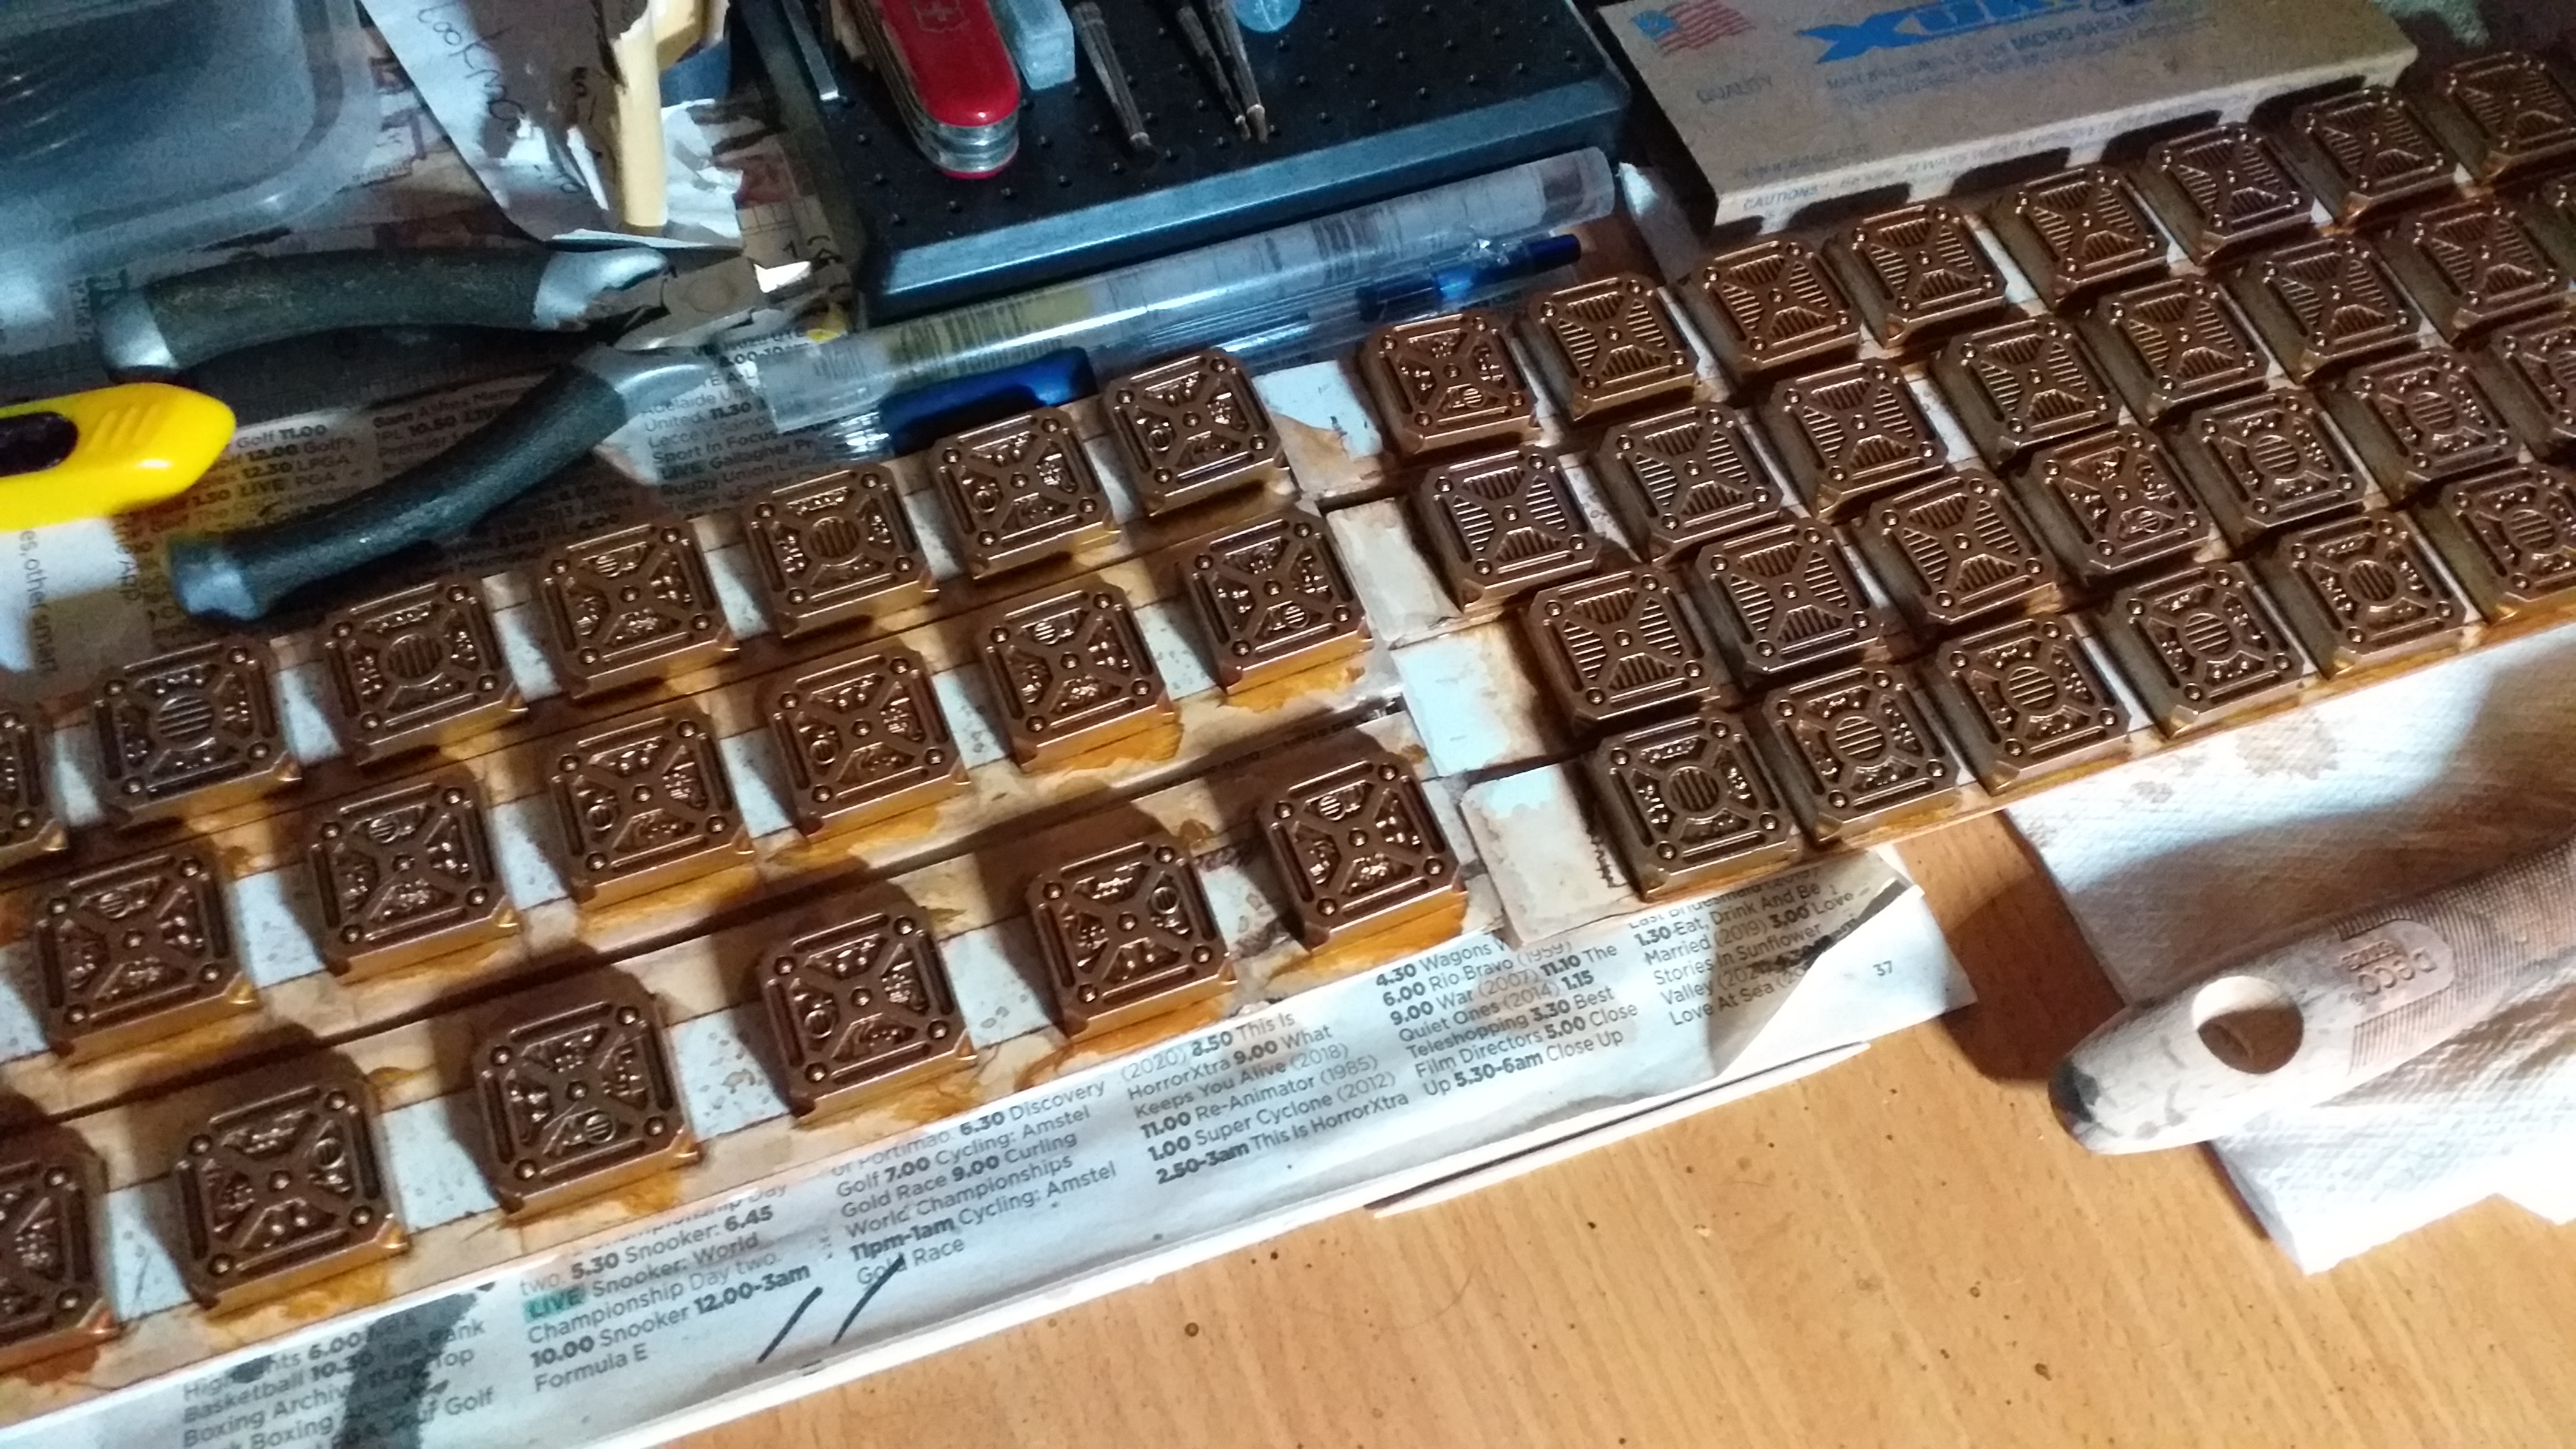
Pillar Caps Inked!
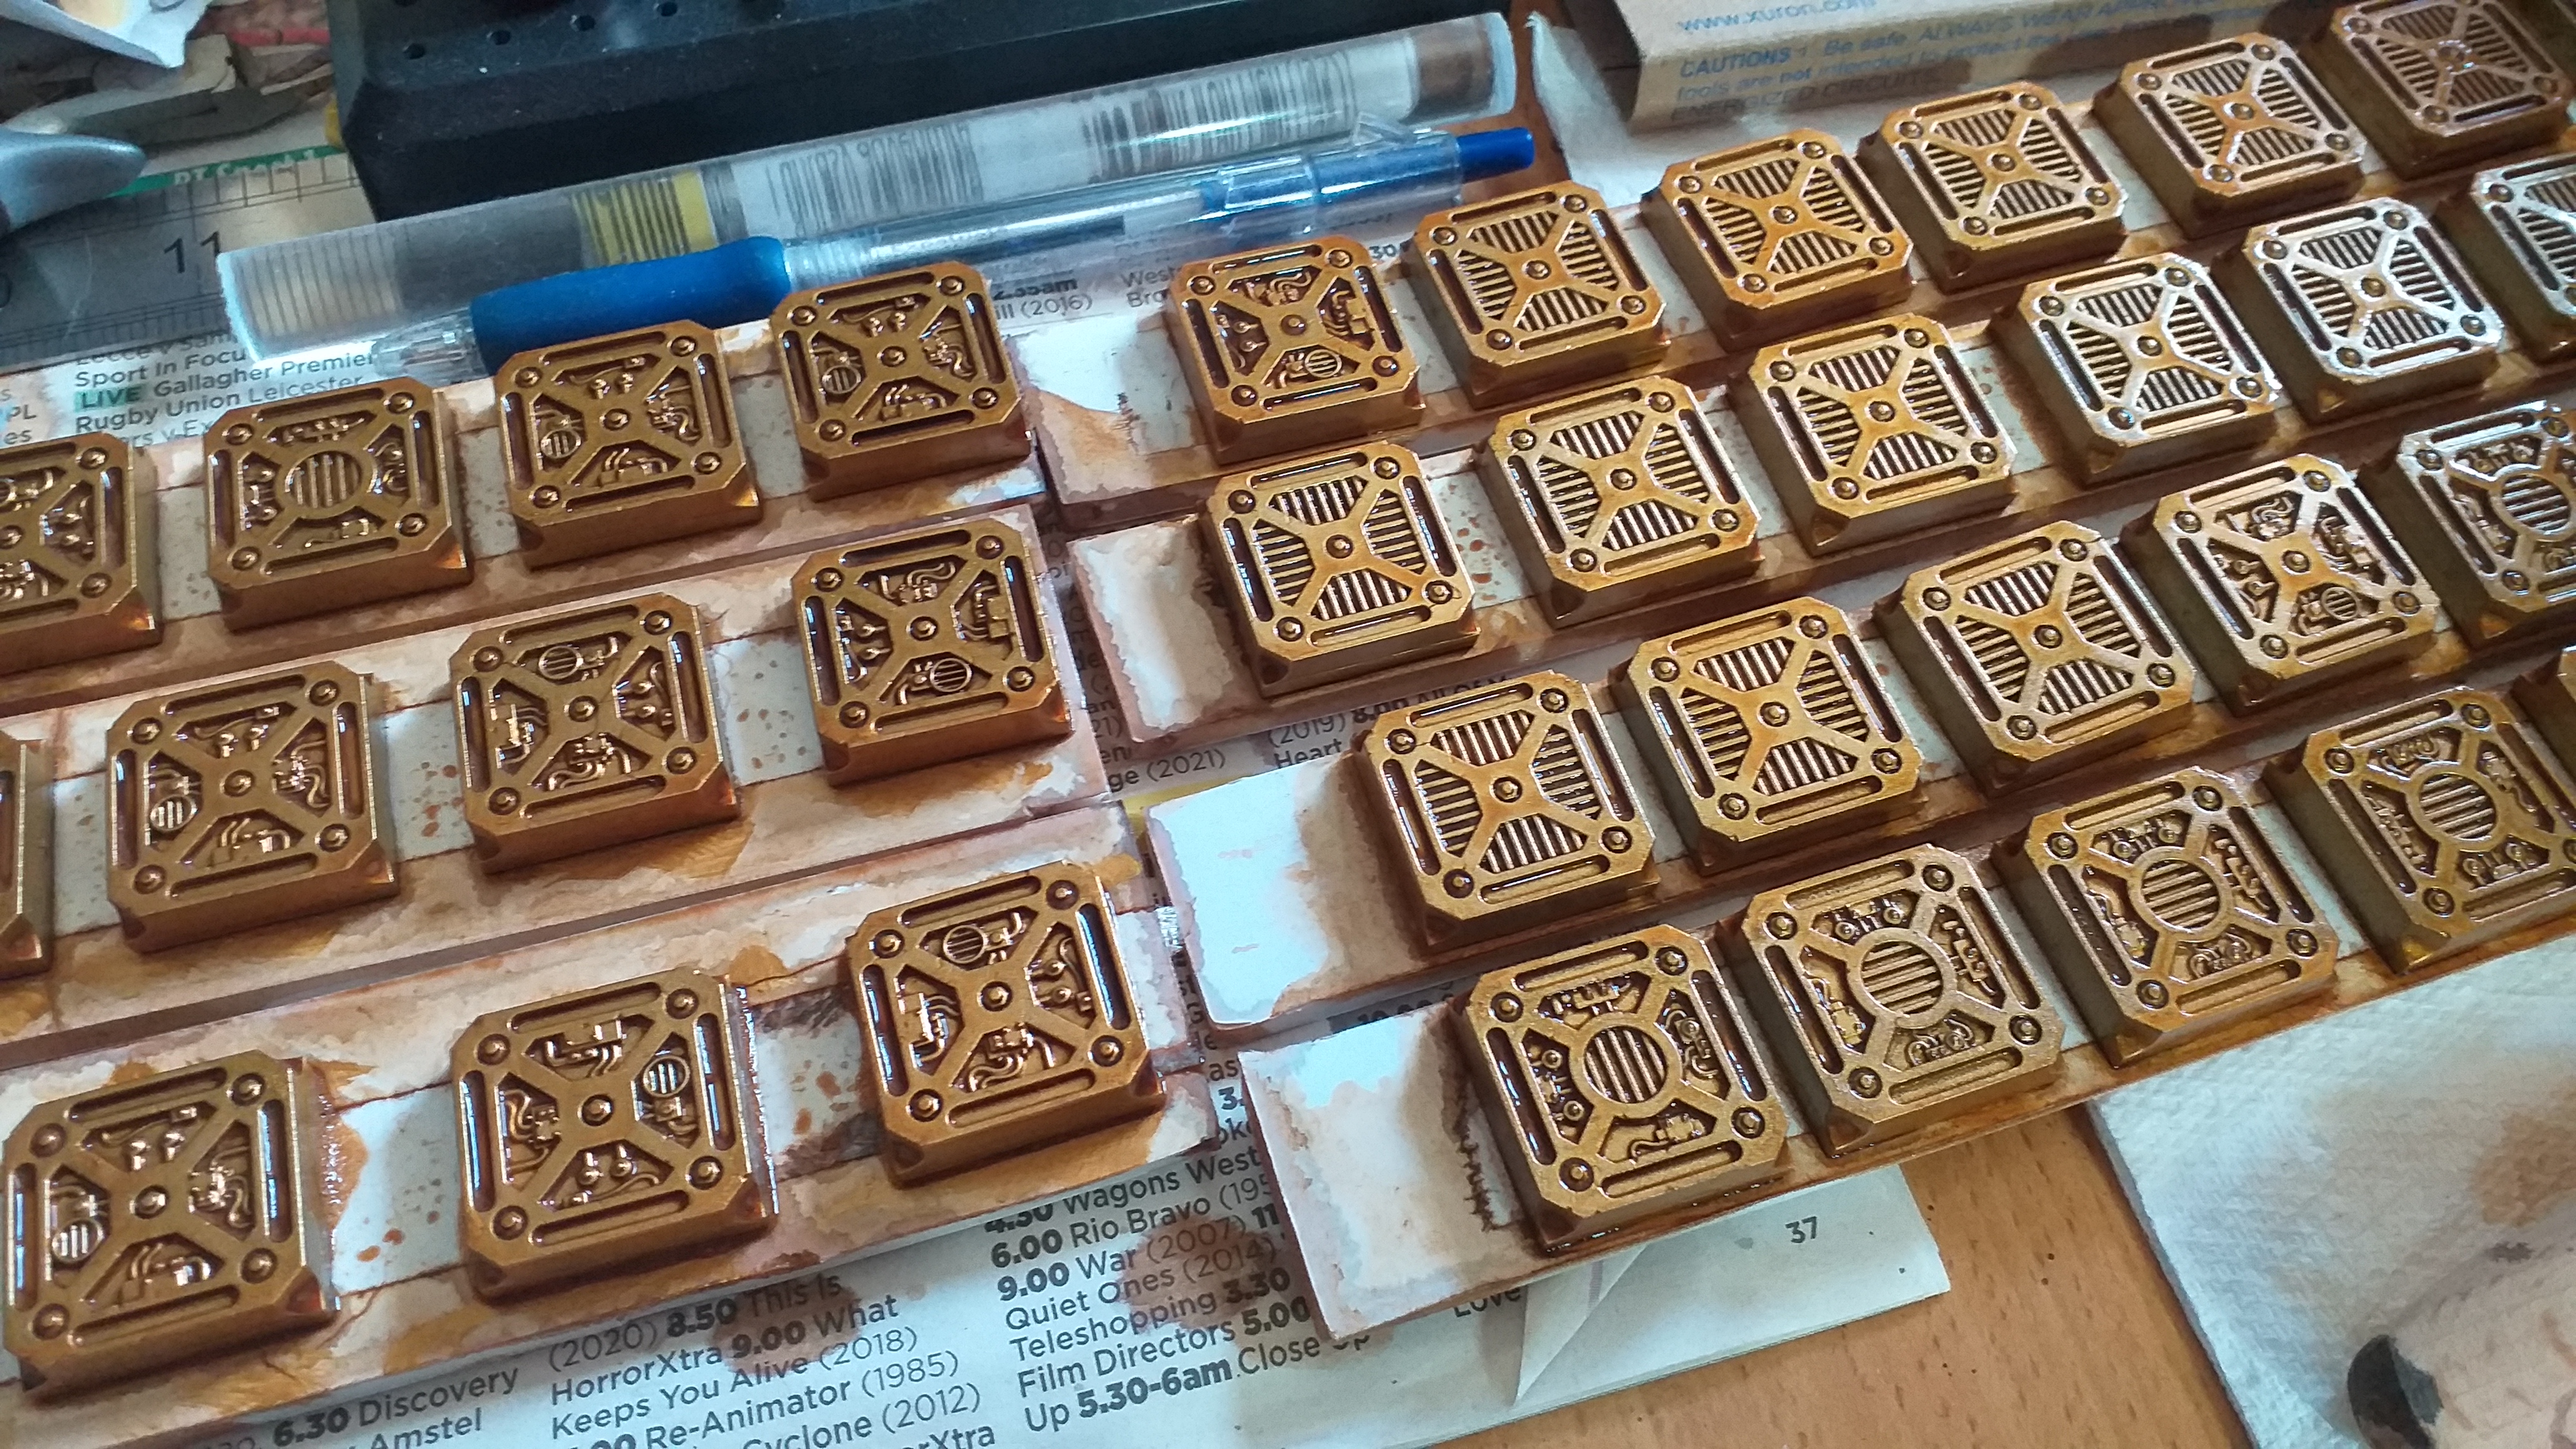
Here are the golden pillar caps with one heavy wash of home made brown ink.
And here they are a second heavy wash of brown ink. Once dry, I’ll give em a light drybrush of Retributor Gold and then a super light dusting of silver. Probably GW Stormhost.
Time for the homemade wash!
When it comes to terrain, I do not use GW inks and washes. That way lies madness and bankruptcy. Instead, I make my own.
I mix a 50/50 ratio of de-ionised water and pledge multi-surface floor polish in a small kilner jar. To this I add between 20 and 30 drops of Liquitex acrylic ink. For brown I use Transparent Burnt Umber and for black, I use Carbon Black.
Give it a mix and slap it onto the terrain with a big ol’ paintbrush. (Y’know, the kind you use fer your walls.) I use a 30. Don’t worry that the wash foams up. This can actually be a plus, as it hangs around and deposits the colour is various nooks and crannies.


