


Moonstone with not a multi award winning paint job


Recommendations: 368
About the Project
I have finally decided to make a project with some of the numerous miniatures that need painting. So thought I would start with Moonstone. I am at best an average painter. But thought that this may encourage me to try and up my game with some internet based encouragement/judgement. I have won a couple of buttons which is nice. Not necessarily merited but nice.
Related Game: Moonstone
Related Company: Goblin King Games
Related Genre: Fantasy
This Project is Active
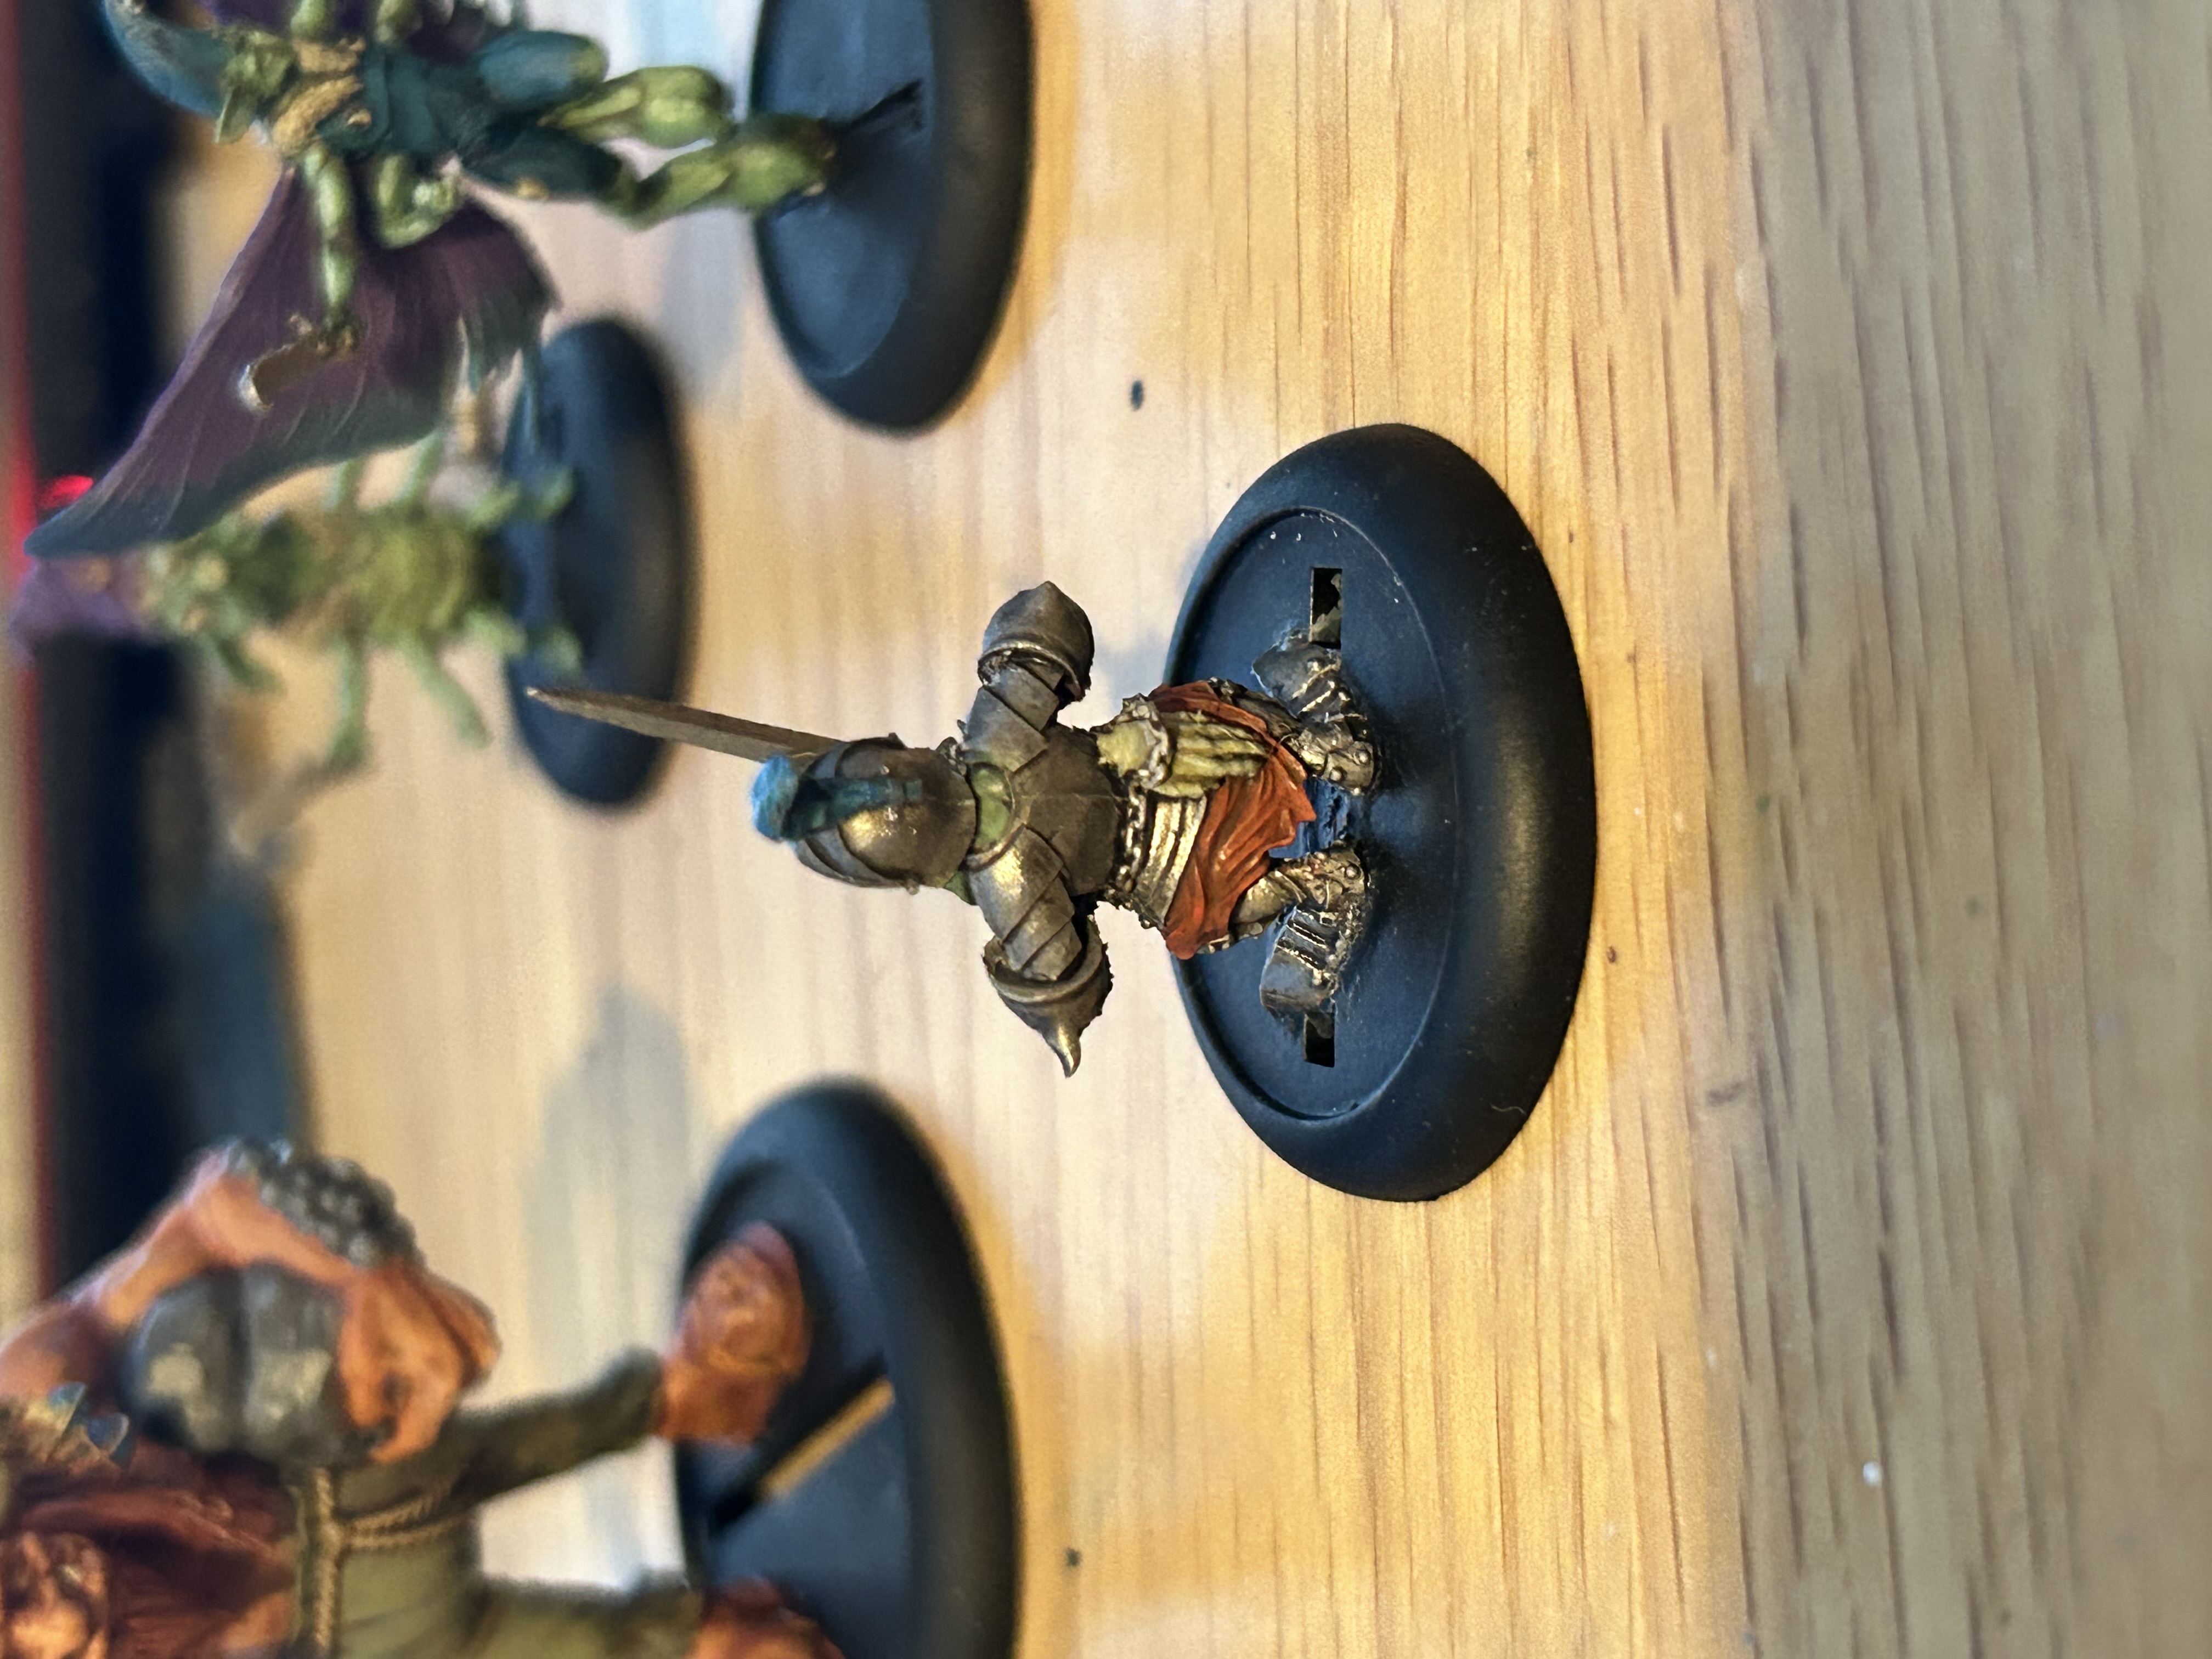
Administration of Justice
So completed my last commonwealth humans. Poppycock and old calders are probably two of my favourites that I painted. Tabby, I couldn’t get the skin right but she turned out ok


I still have the Jackalope and murder bunnies to do, but after them, I may put this on the back burner for a while. I have some shades and cultists built but not primed and priming always get put off.
I have too much in the pile of potential, so need to focus on some other mini’s that have already been primed.
So there is unlikely to be any other posts for the time being as I look into MCP, Burrows and Badgers, or Star Wars Shatterpoint. There is also Blood Bowl that needs sorting.
Firespitter
So, I have completed the painting of my goblins – may at Christmas look to get the rest of the faction.
Firespitter turned out alright so have moved onto to my last Commonwealth box.
 Front image
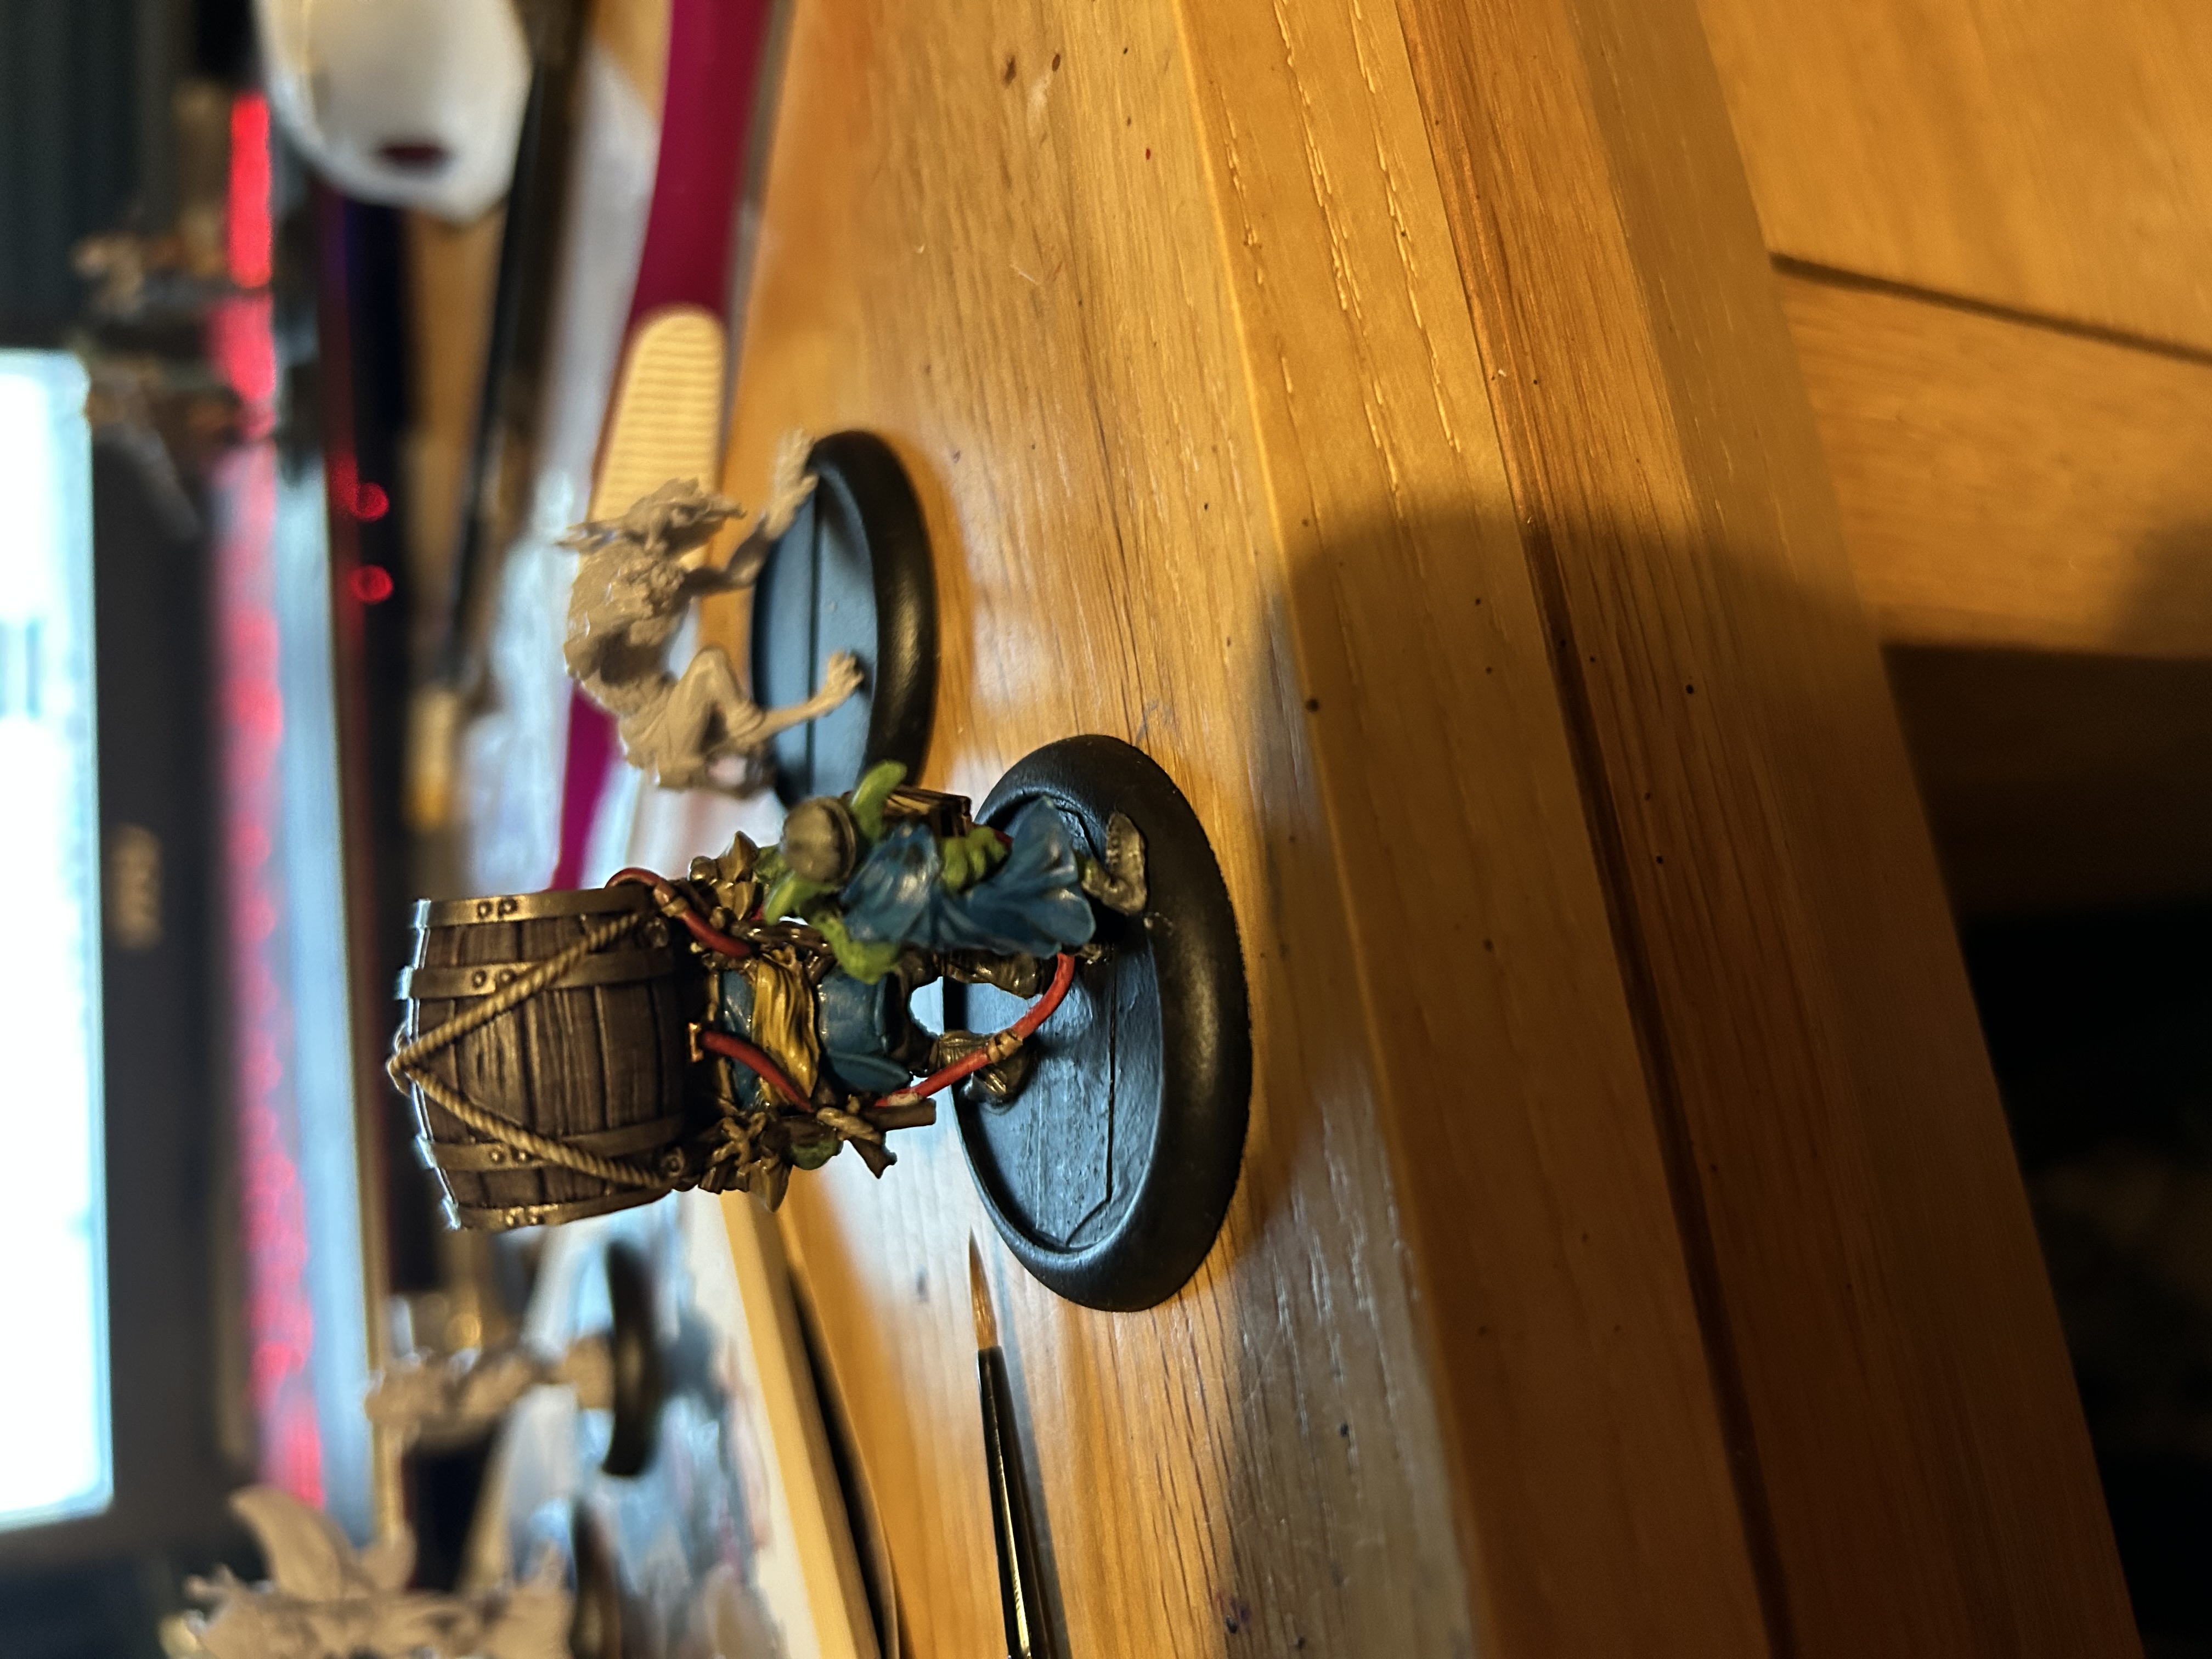 Back image
My photos are still rubbish but mostly show off the model. The only thing I am not happy with is the slightly gloss finish. In person it looks better but may add a matt varnish to help
Some fauns
So life has got in the way of painting but I have got 4 of the fauns done.
Not massively happy with the results and haven’t enjoyed painting these. But they are good enough and will do for the time being.
Will move onto Firespitter and then sir poppycock, old calders, and the librarian .
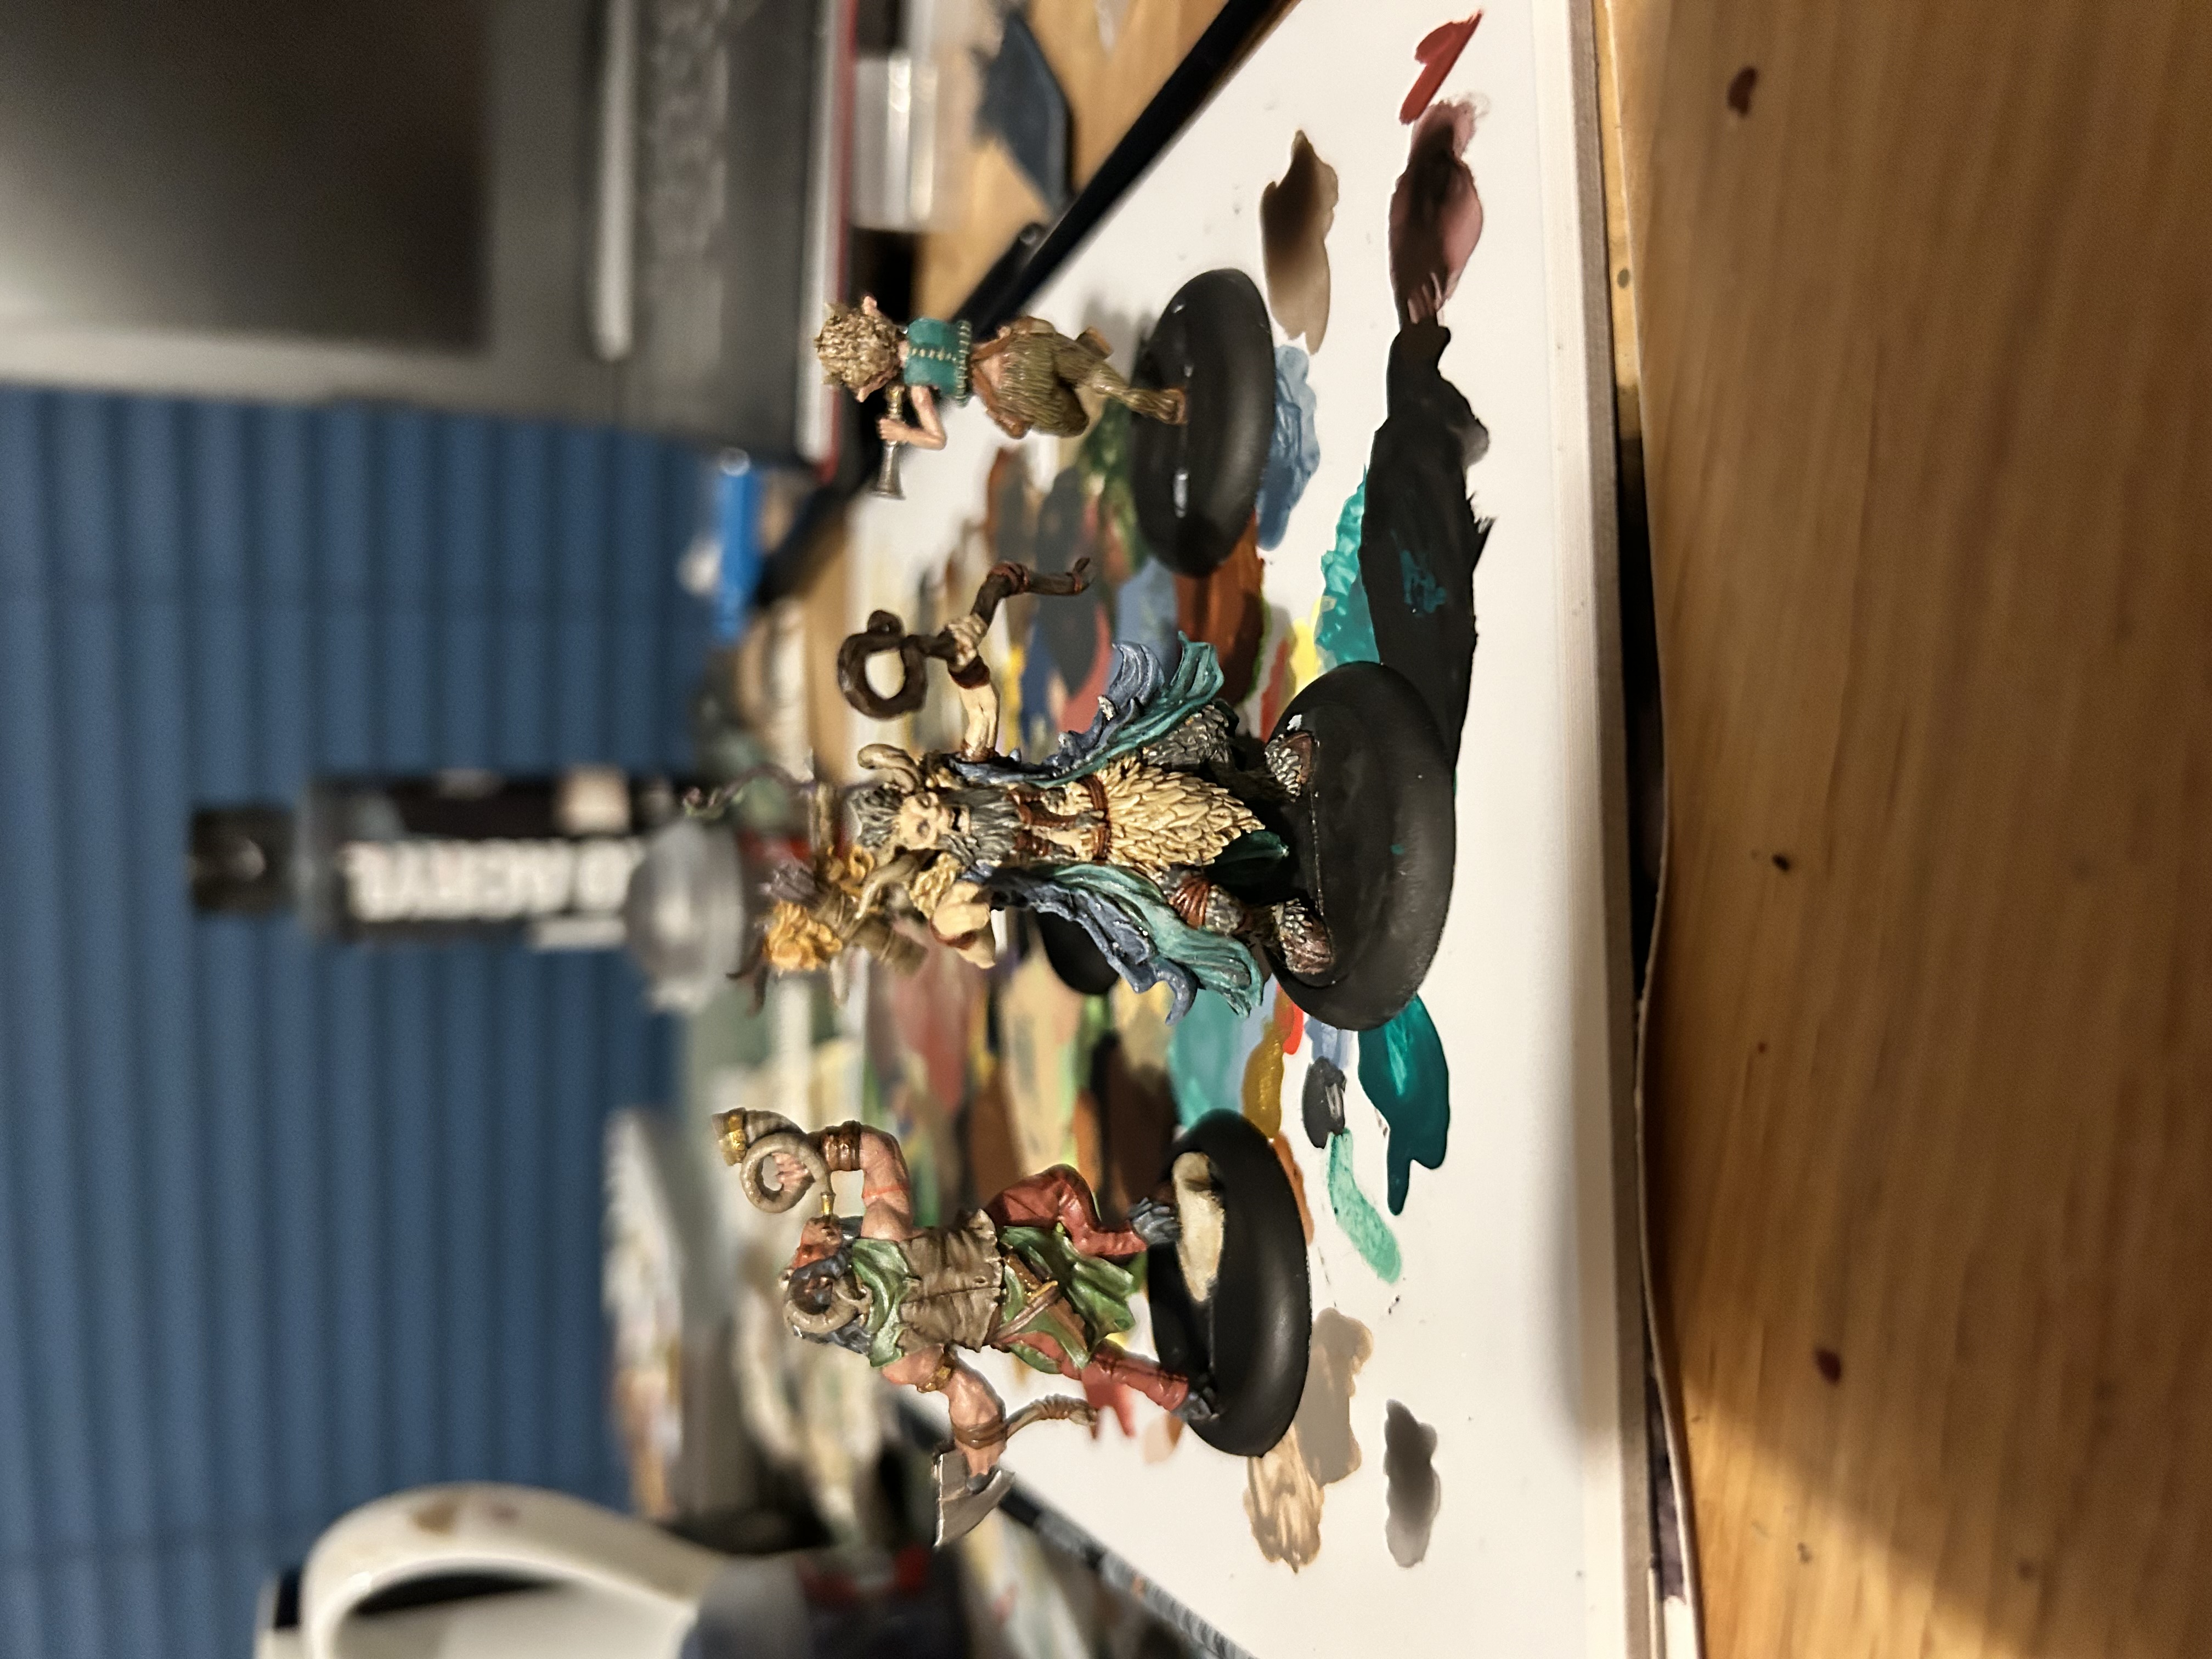
My photography has not improved but will do some better photos in the future after I have revisited them.
TBH I found painting Toodles and Jayda difficult. The miniatures constantly felt as though they were going to break every time I tried to paint them.
What’s next?
I have made a few more purchases, so have a few more models to make before deciding what to do next.
Models to build:
Wild things box
Boris the bunny summoner
The Jackolope
Administration of justice box
Firespitter
Charge of the fright brigade box
Freaky fugday box
Never Ending Knights box
My likely plan is to do Firespitter first, then the rest of the commonwealth minis. After those are complete I can then decide whether to do fauns or shade.
alternatively I do have 3 fauns already built so may just do them as it always take me an age to build and prime a miniature
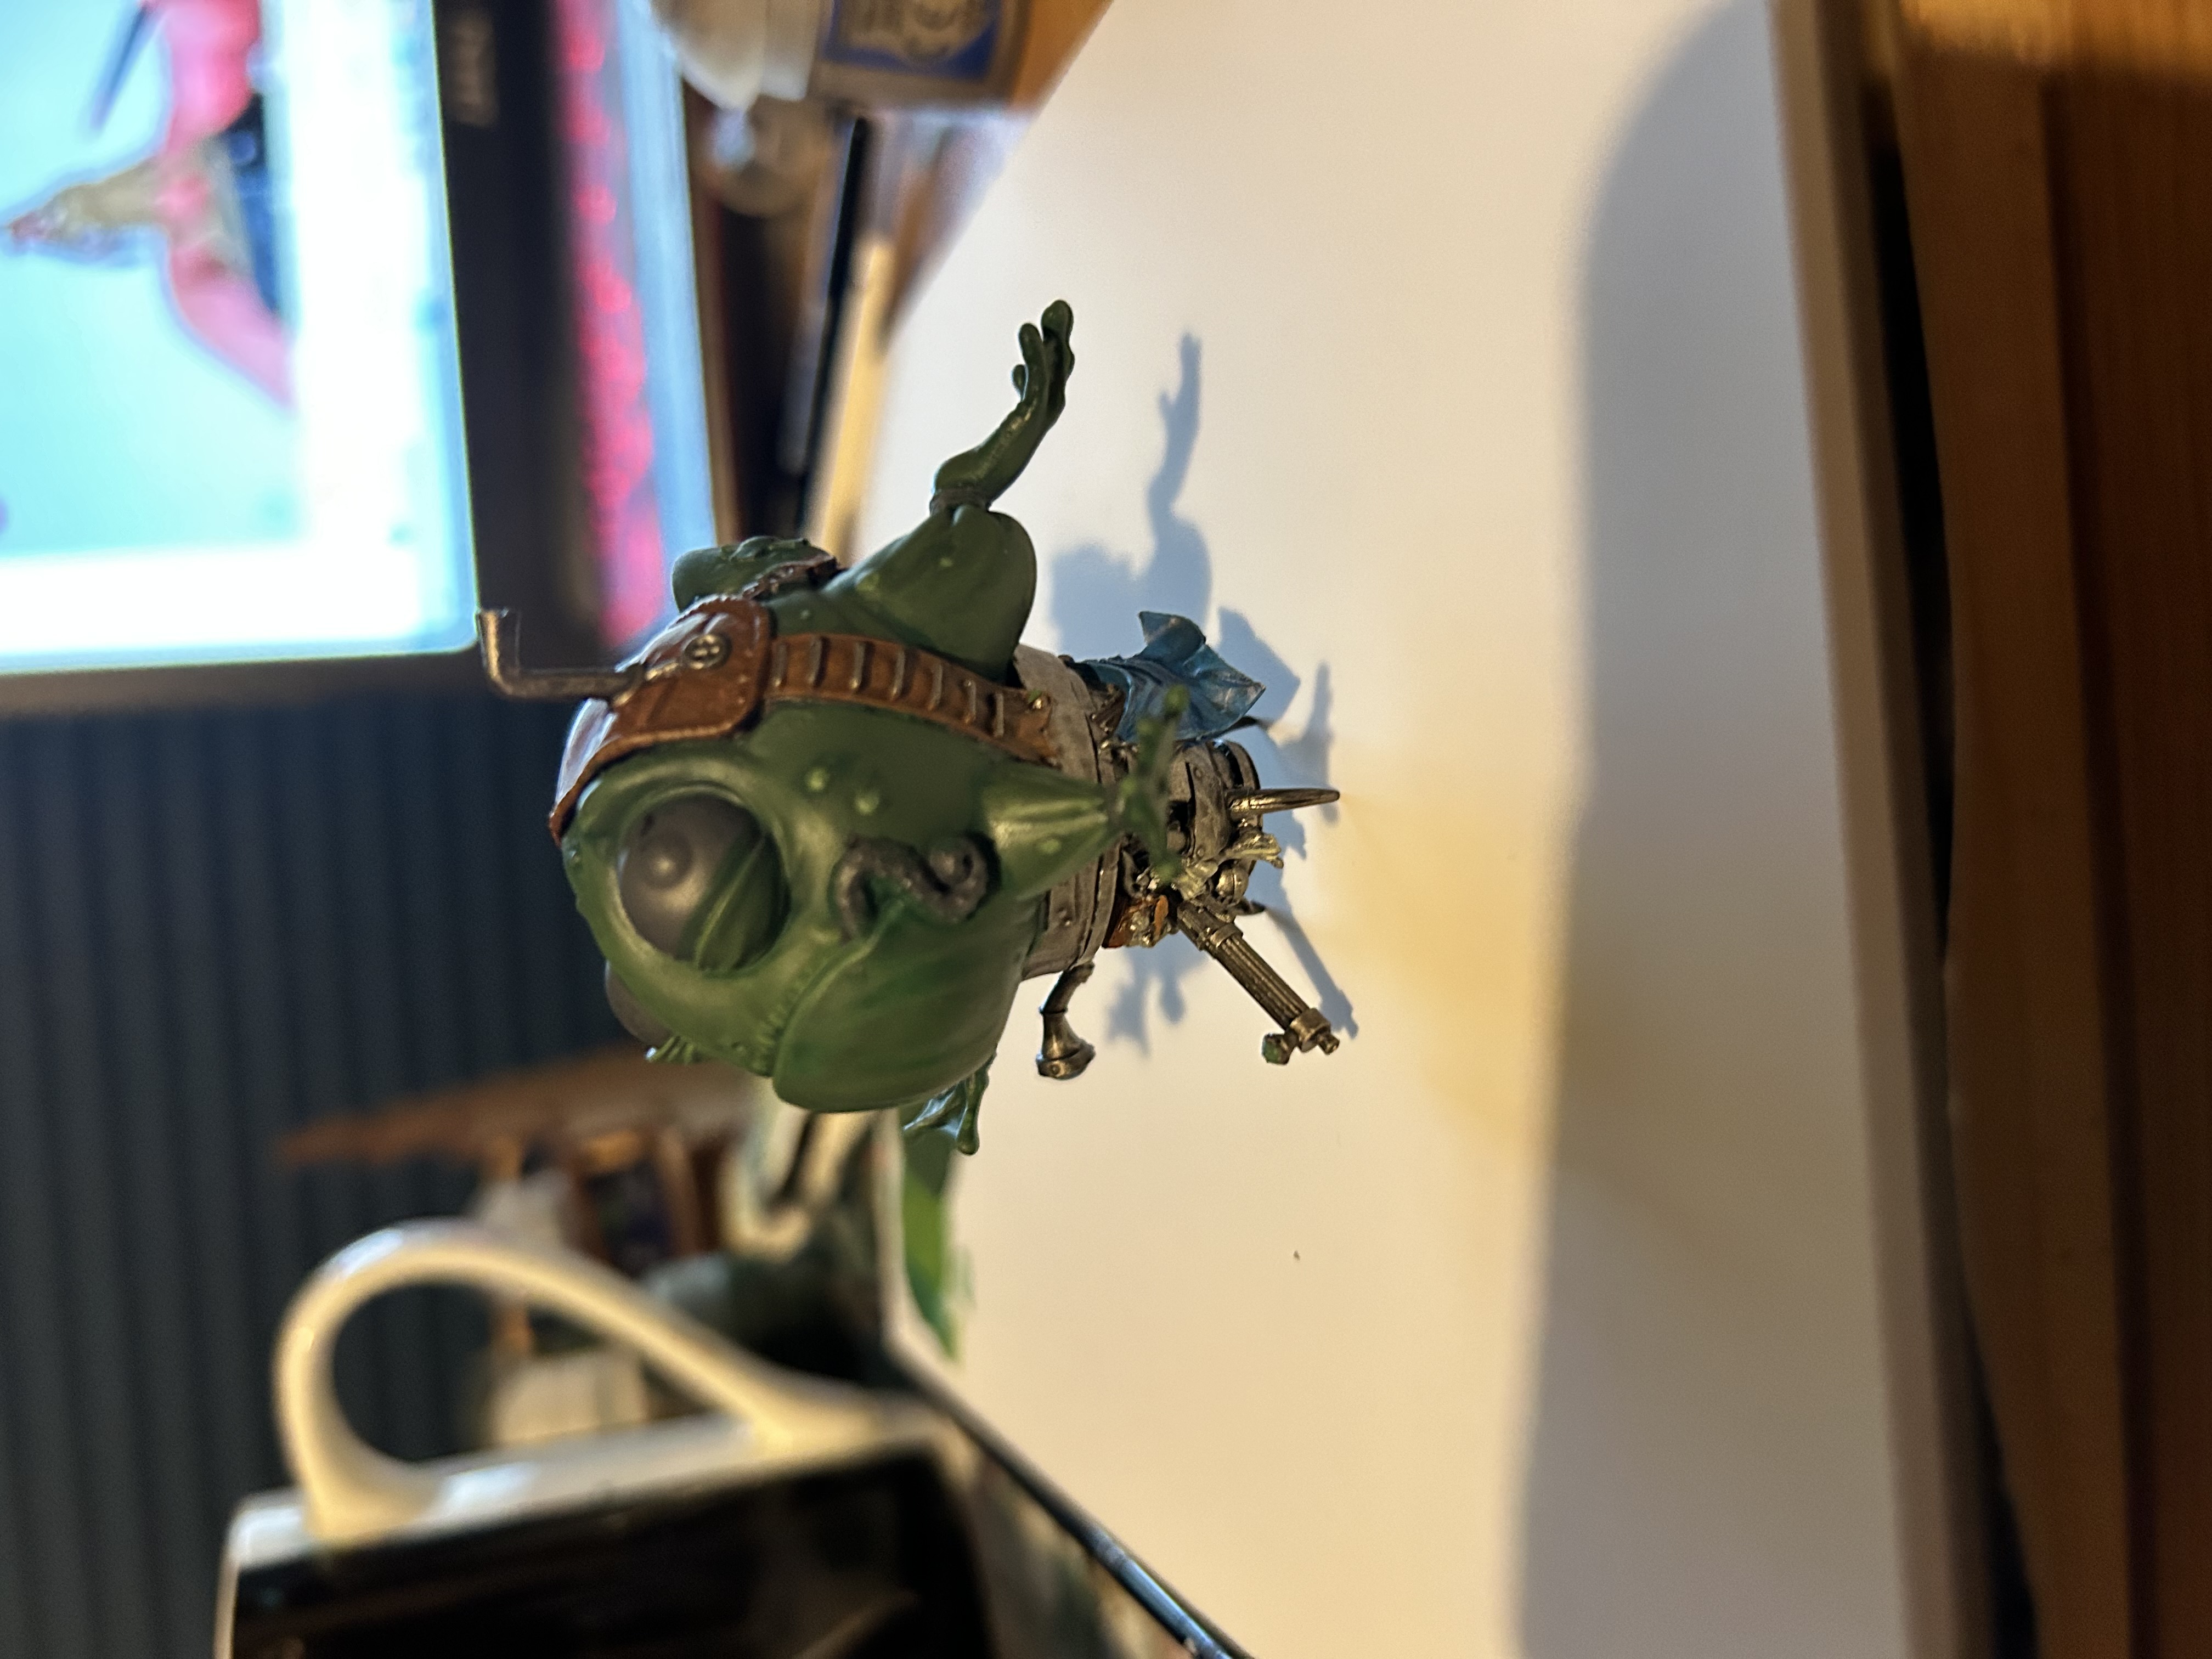
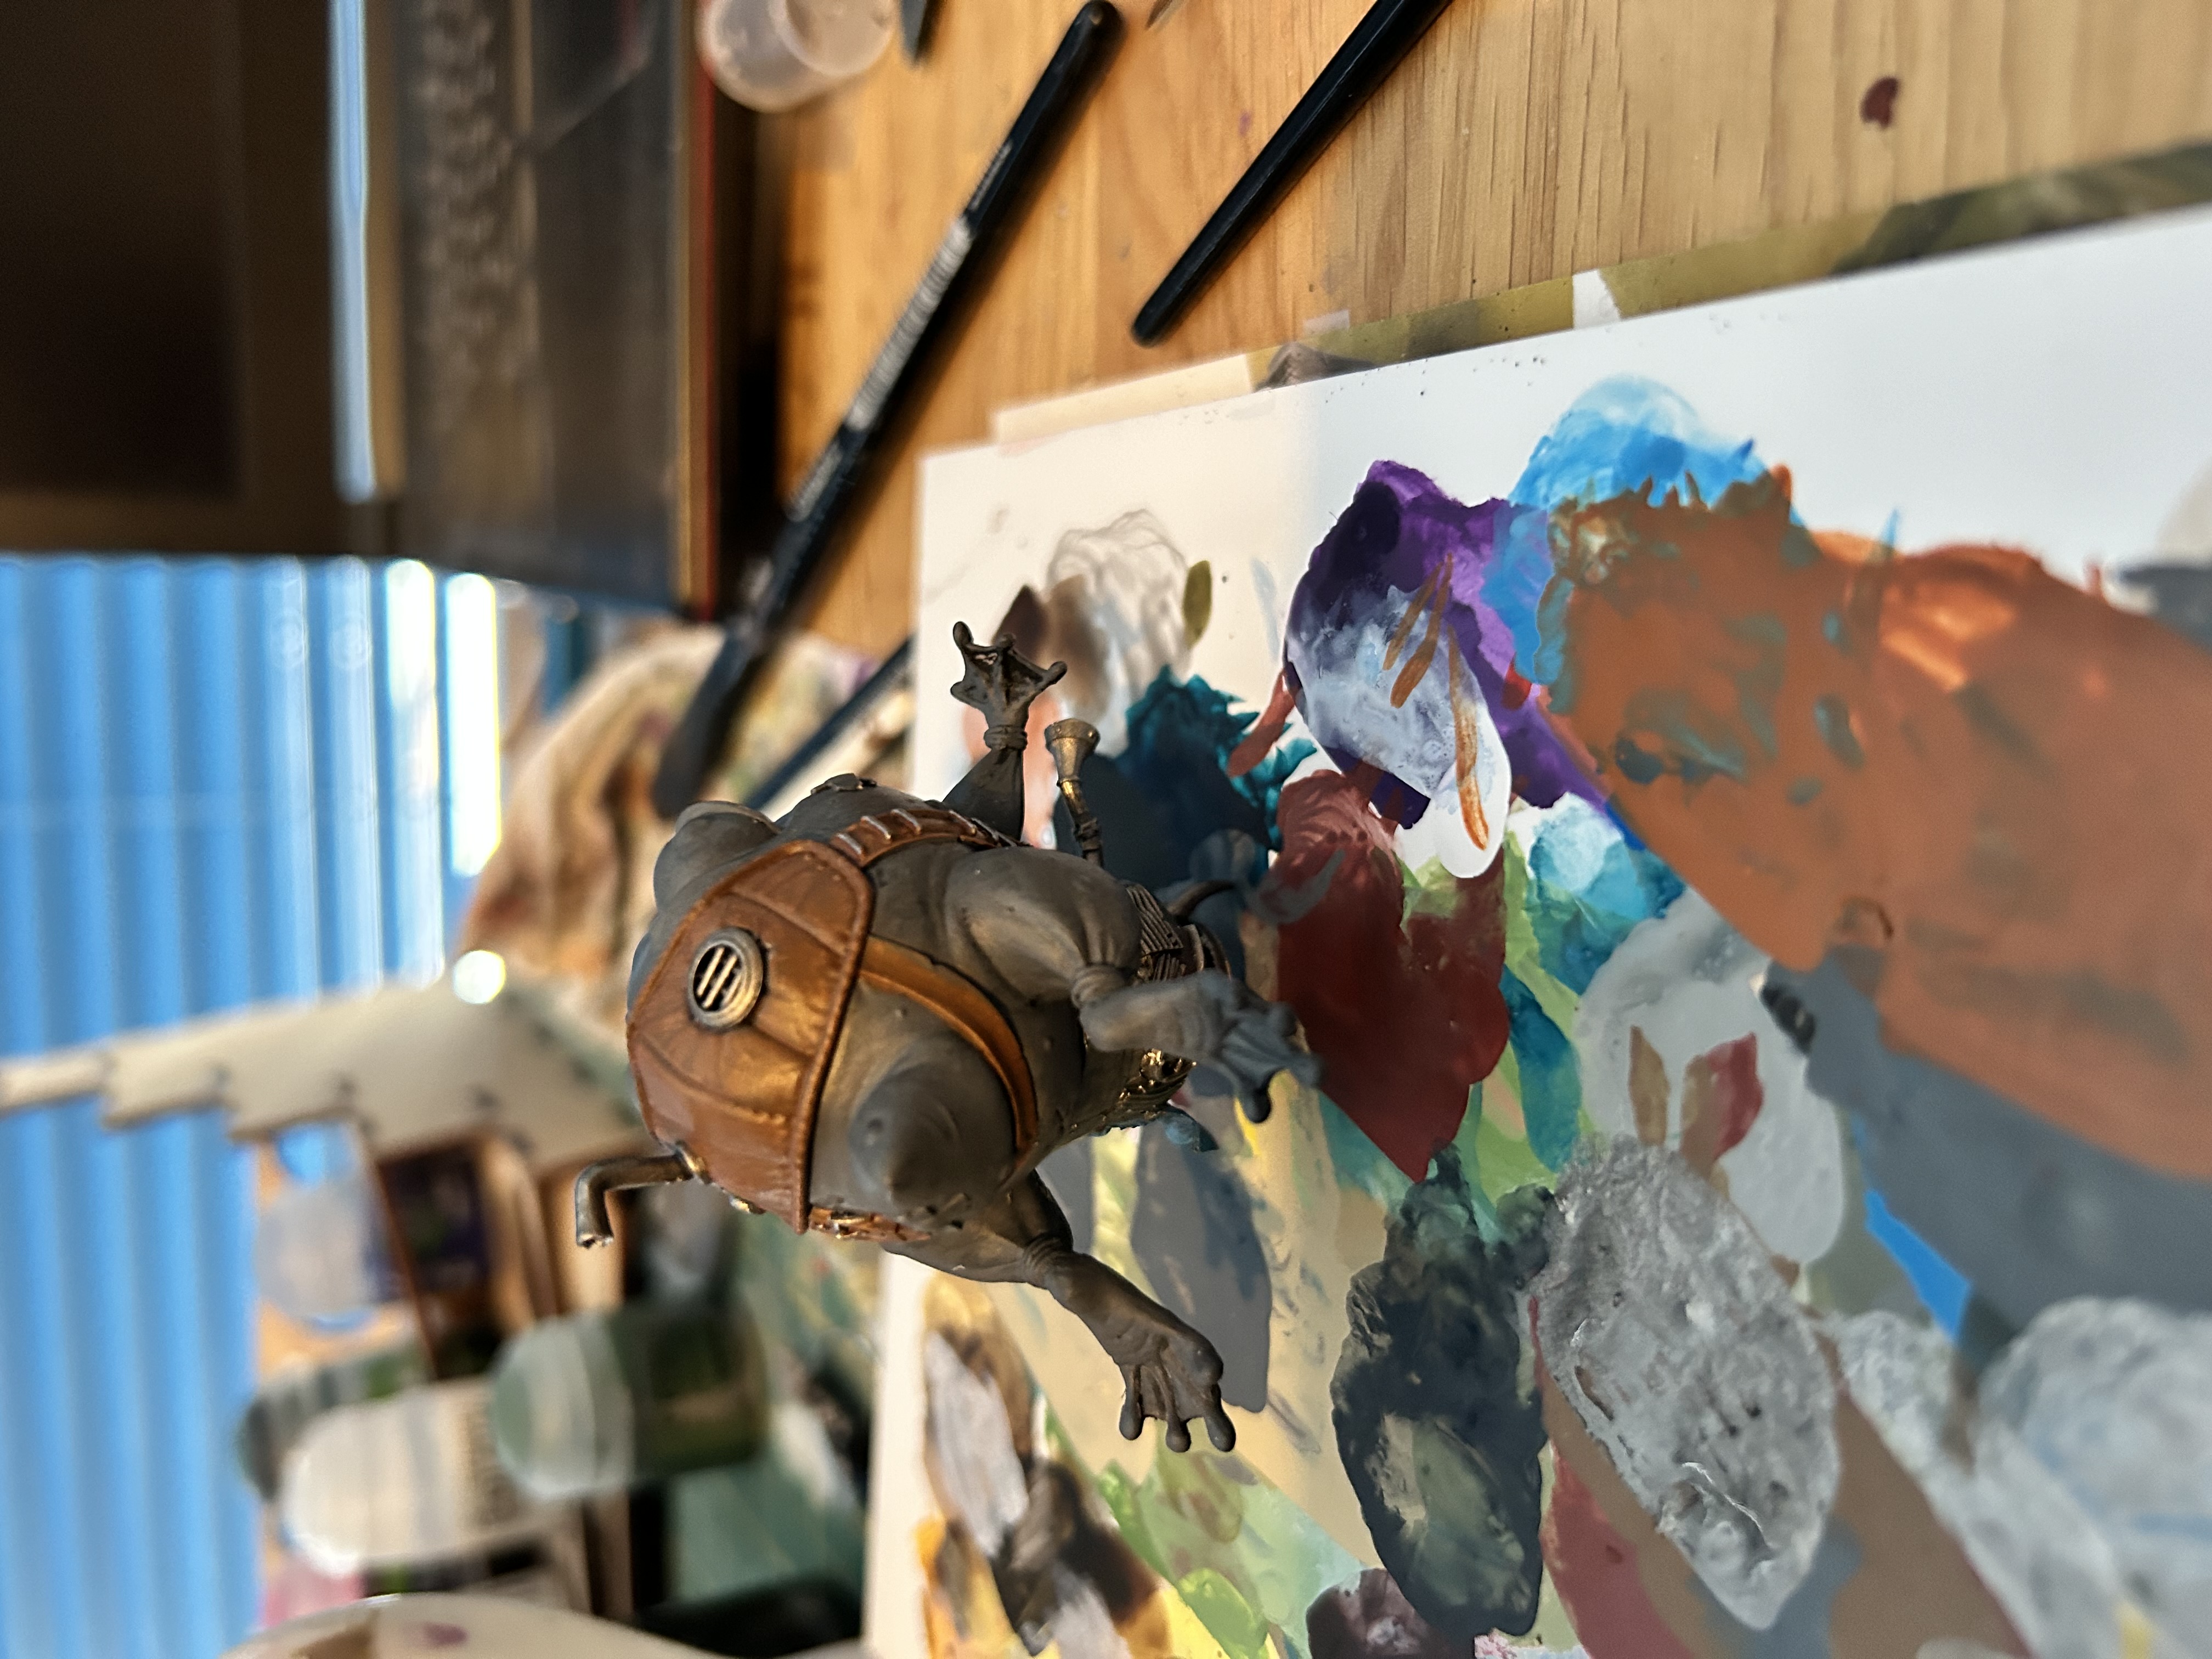
The Goblin Airship part 2
Step 6
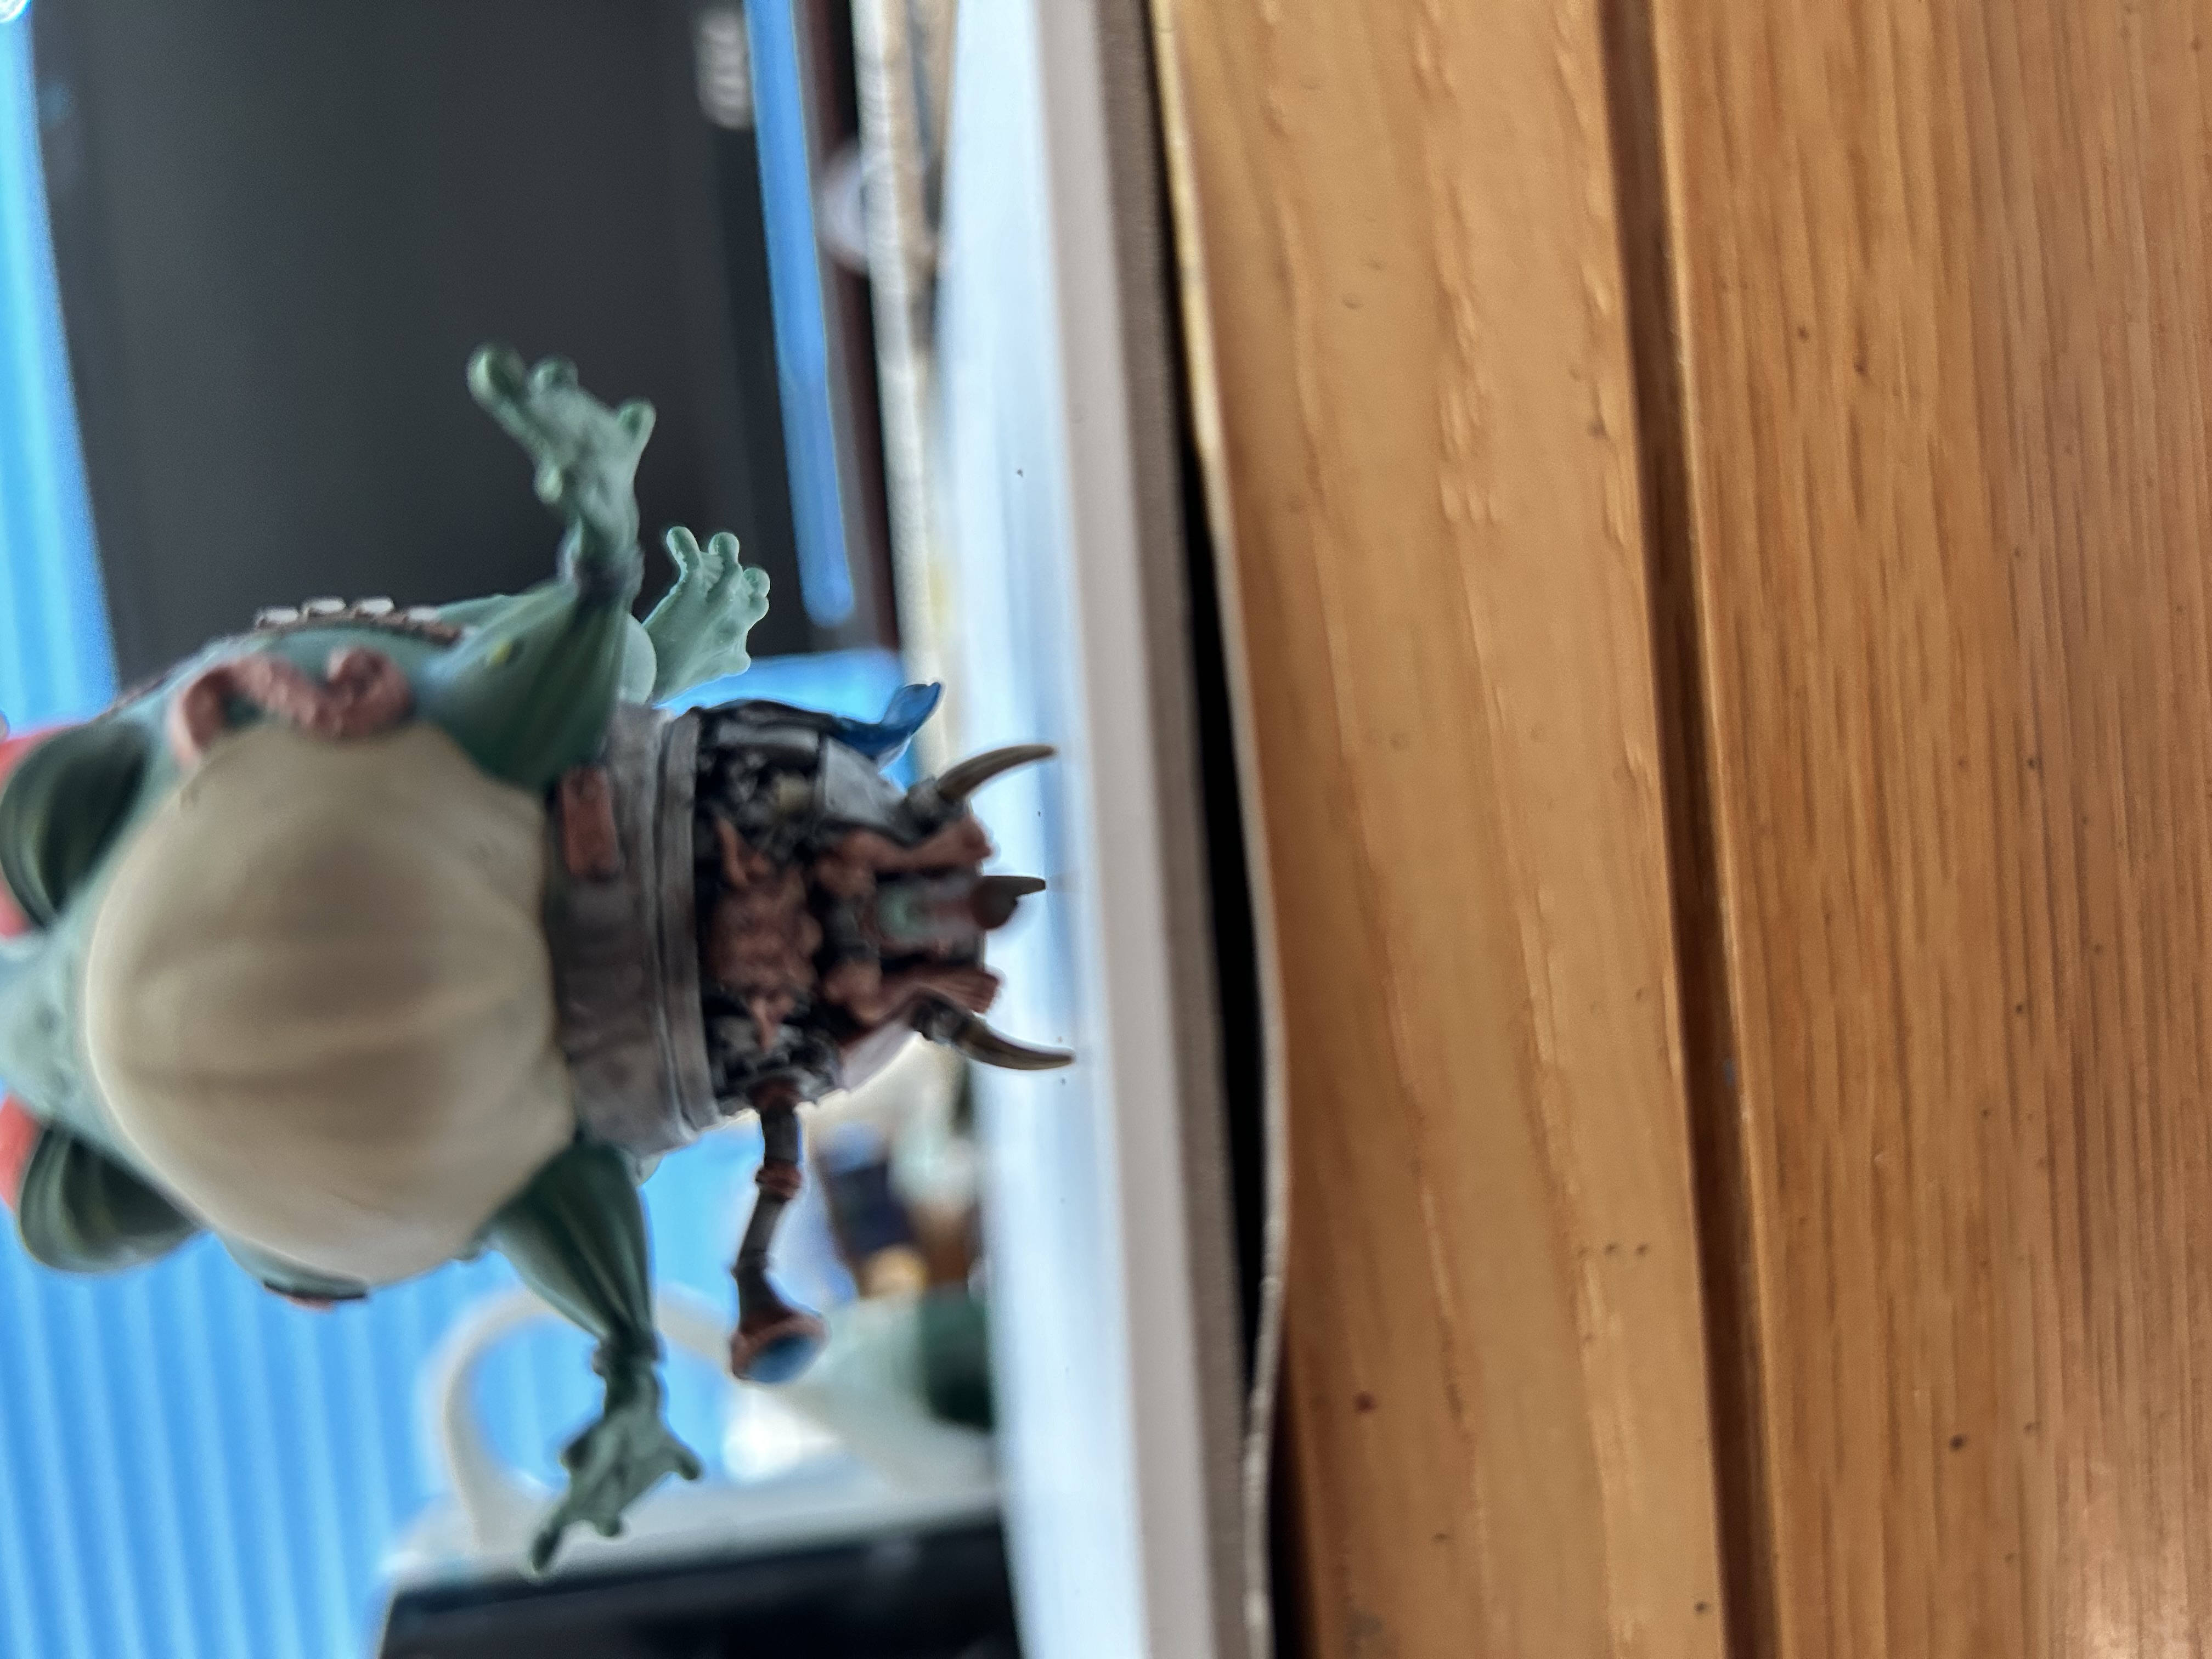
Painted the wood. This is minor section but went GW Dryad bark and then used Gorthor Bron and Baneblade brown
Step 7
I painted the entire frog green using P3 Gnarls green. I then used Rakarth Flesh for the pale underbelly. Even after a few coats it looked garbage – I couldn’t even take a picture of it. So repainted with the same green. It did give me slight variations in the skin tone, so ended up not being a complete waste.
I then highlighted using GW waagh green then warboss green and skarsnik green. This was followed by a heavily watered down phalanx yellow for a final highlight and to lighten the belly slightly.
Step 8
i painted the GW eyes ironach skin to lighten them up, then used Vallejo white
Step 9
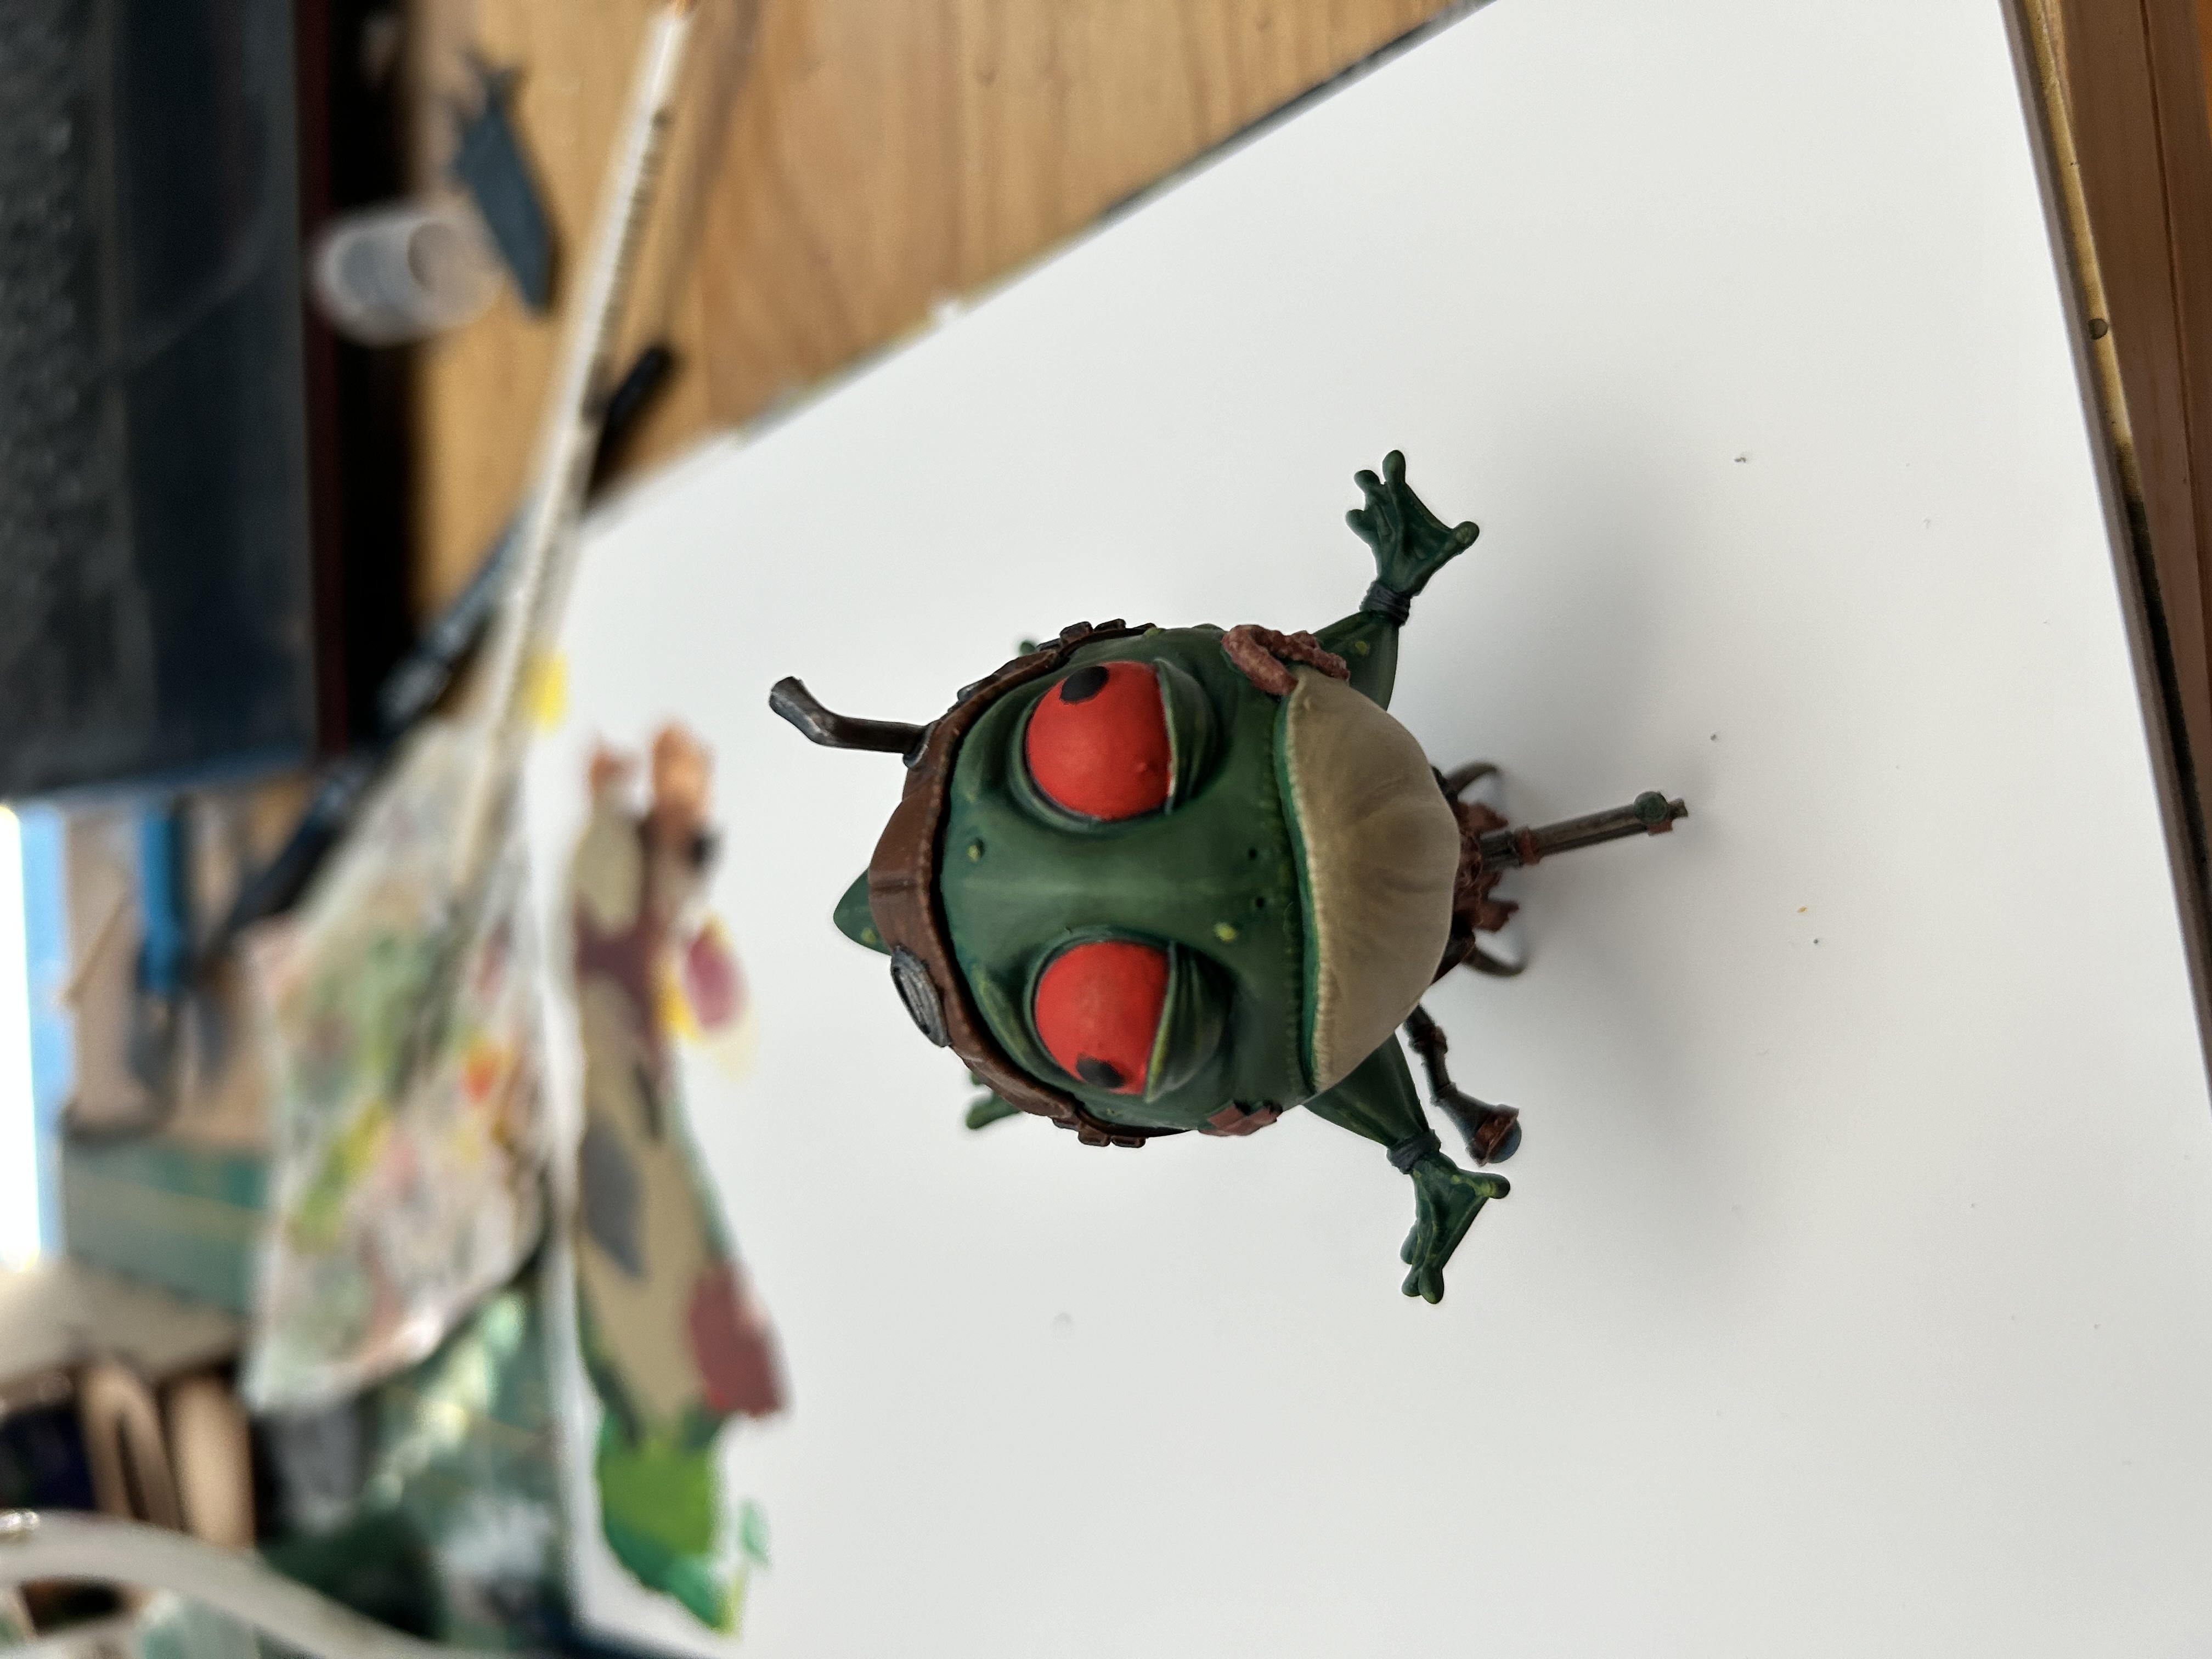
the eyes were fine but I didn’t like them so checked out a few frog pictures and decided the red eyed tree frog looked cool, so would try that. I used Scalecolor Aldern red. Used black for the pupils.
I also painted the frog’s tongue and the pilot’s skin GW busman’s skin to Cadian flesh to Kislev flesh.
 Steps 6 +7
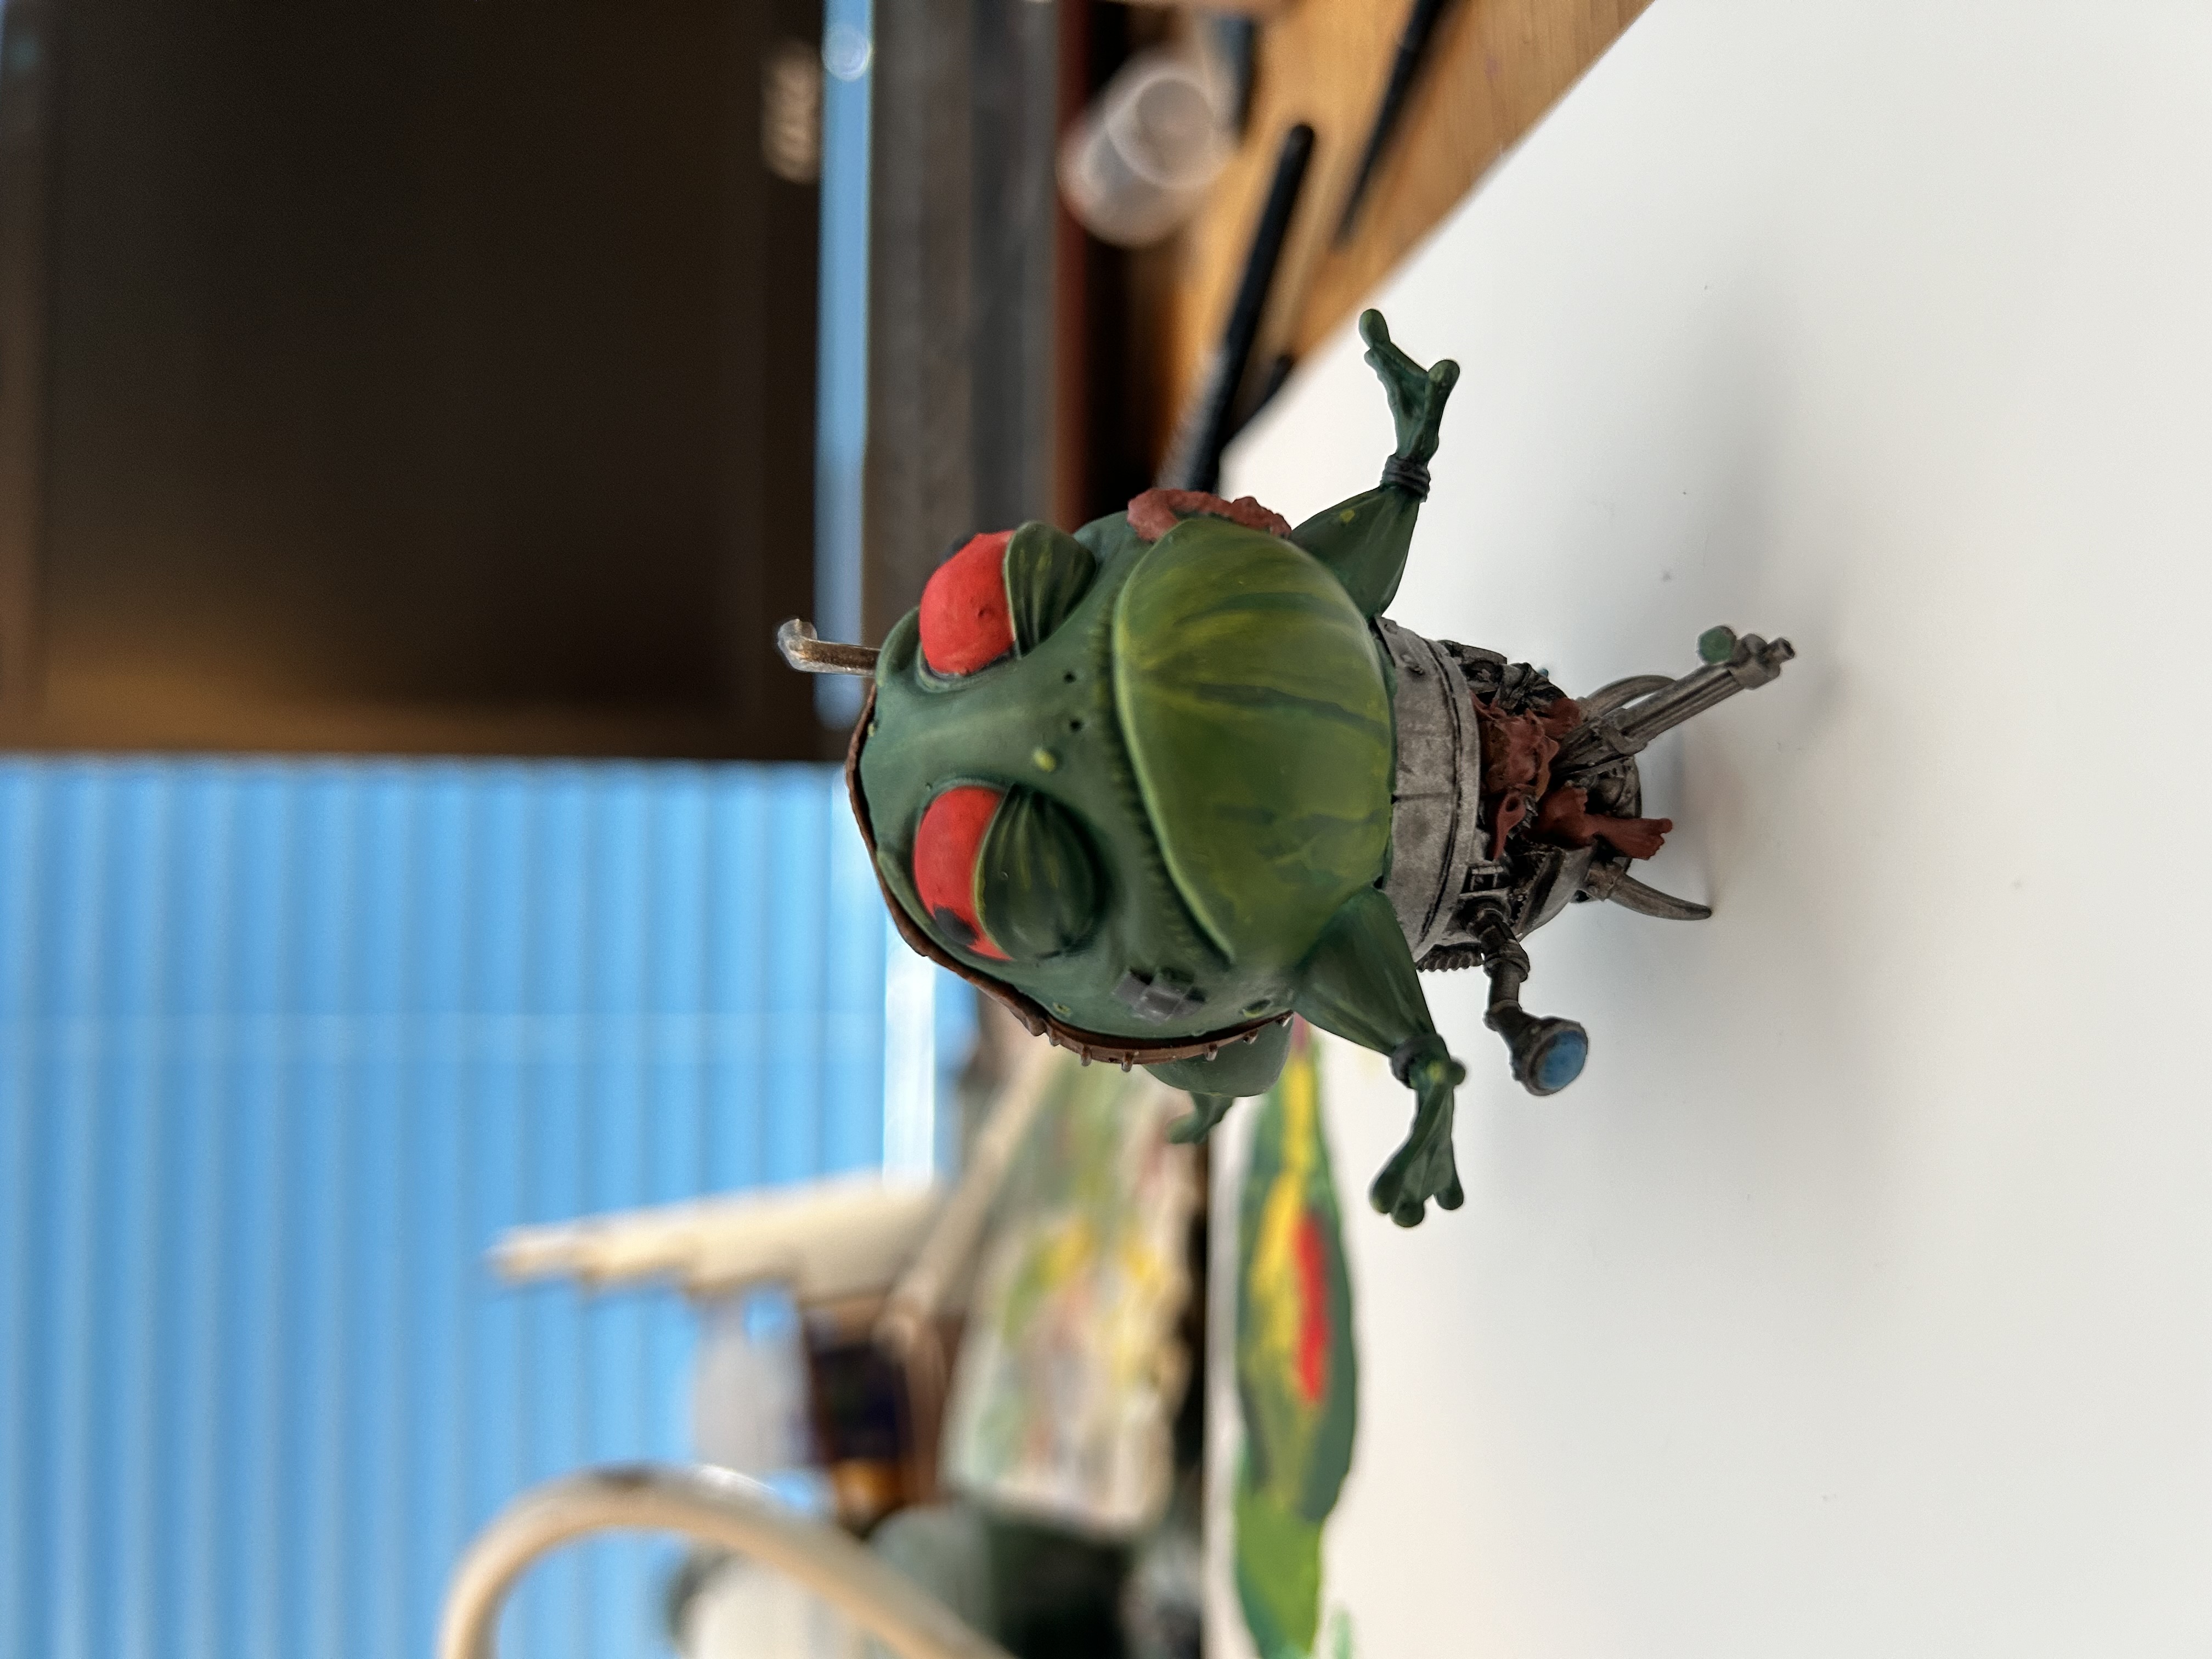 Steps 8+9
Step 10
as I liked the tree frog, I thought I would try the paler belly again. This time I went GW Zandri dust. Then highlighted with ubshanti bone and screaming skull
step 11
gave the metal a wash with some thinned down nuln oil, then highlighted the silver back up
there may be few other things that I forgot to mention but this does cover most steps.
i do now need to find a 40mm base as i seem to have lost this one but i can sort that out some other time.
If anyone has any suggestions on doing something differently, feel free to comment
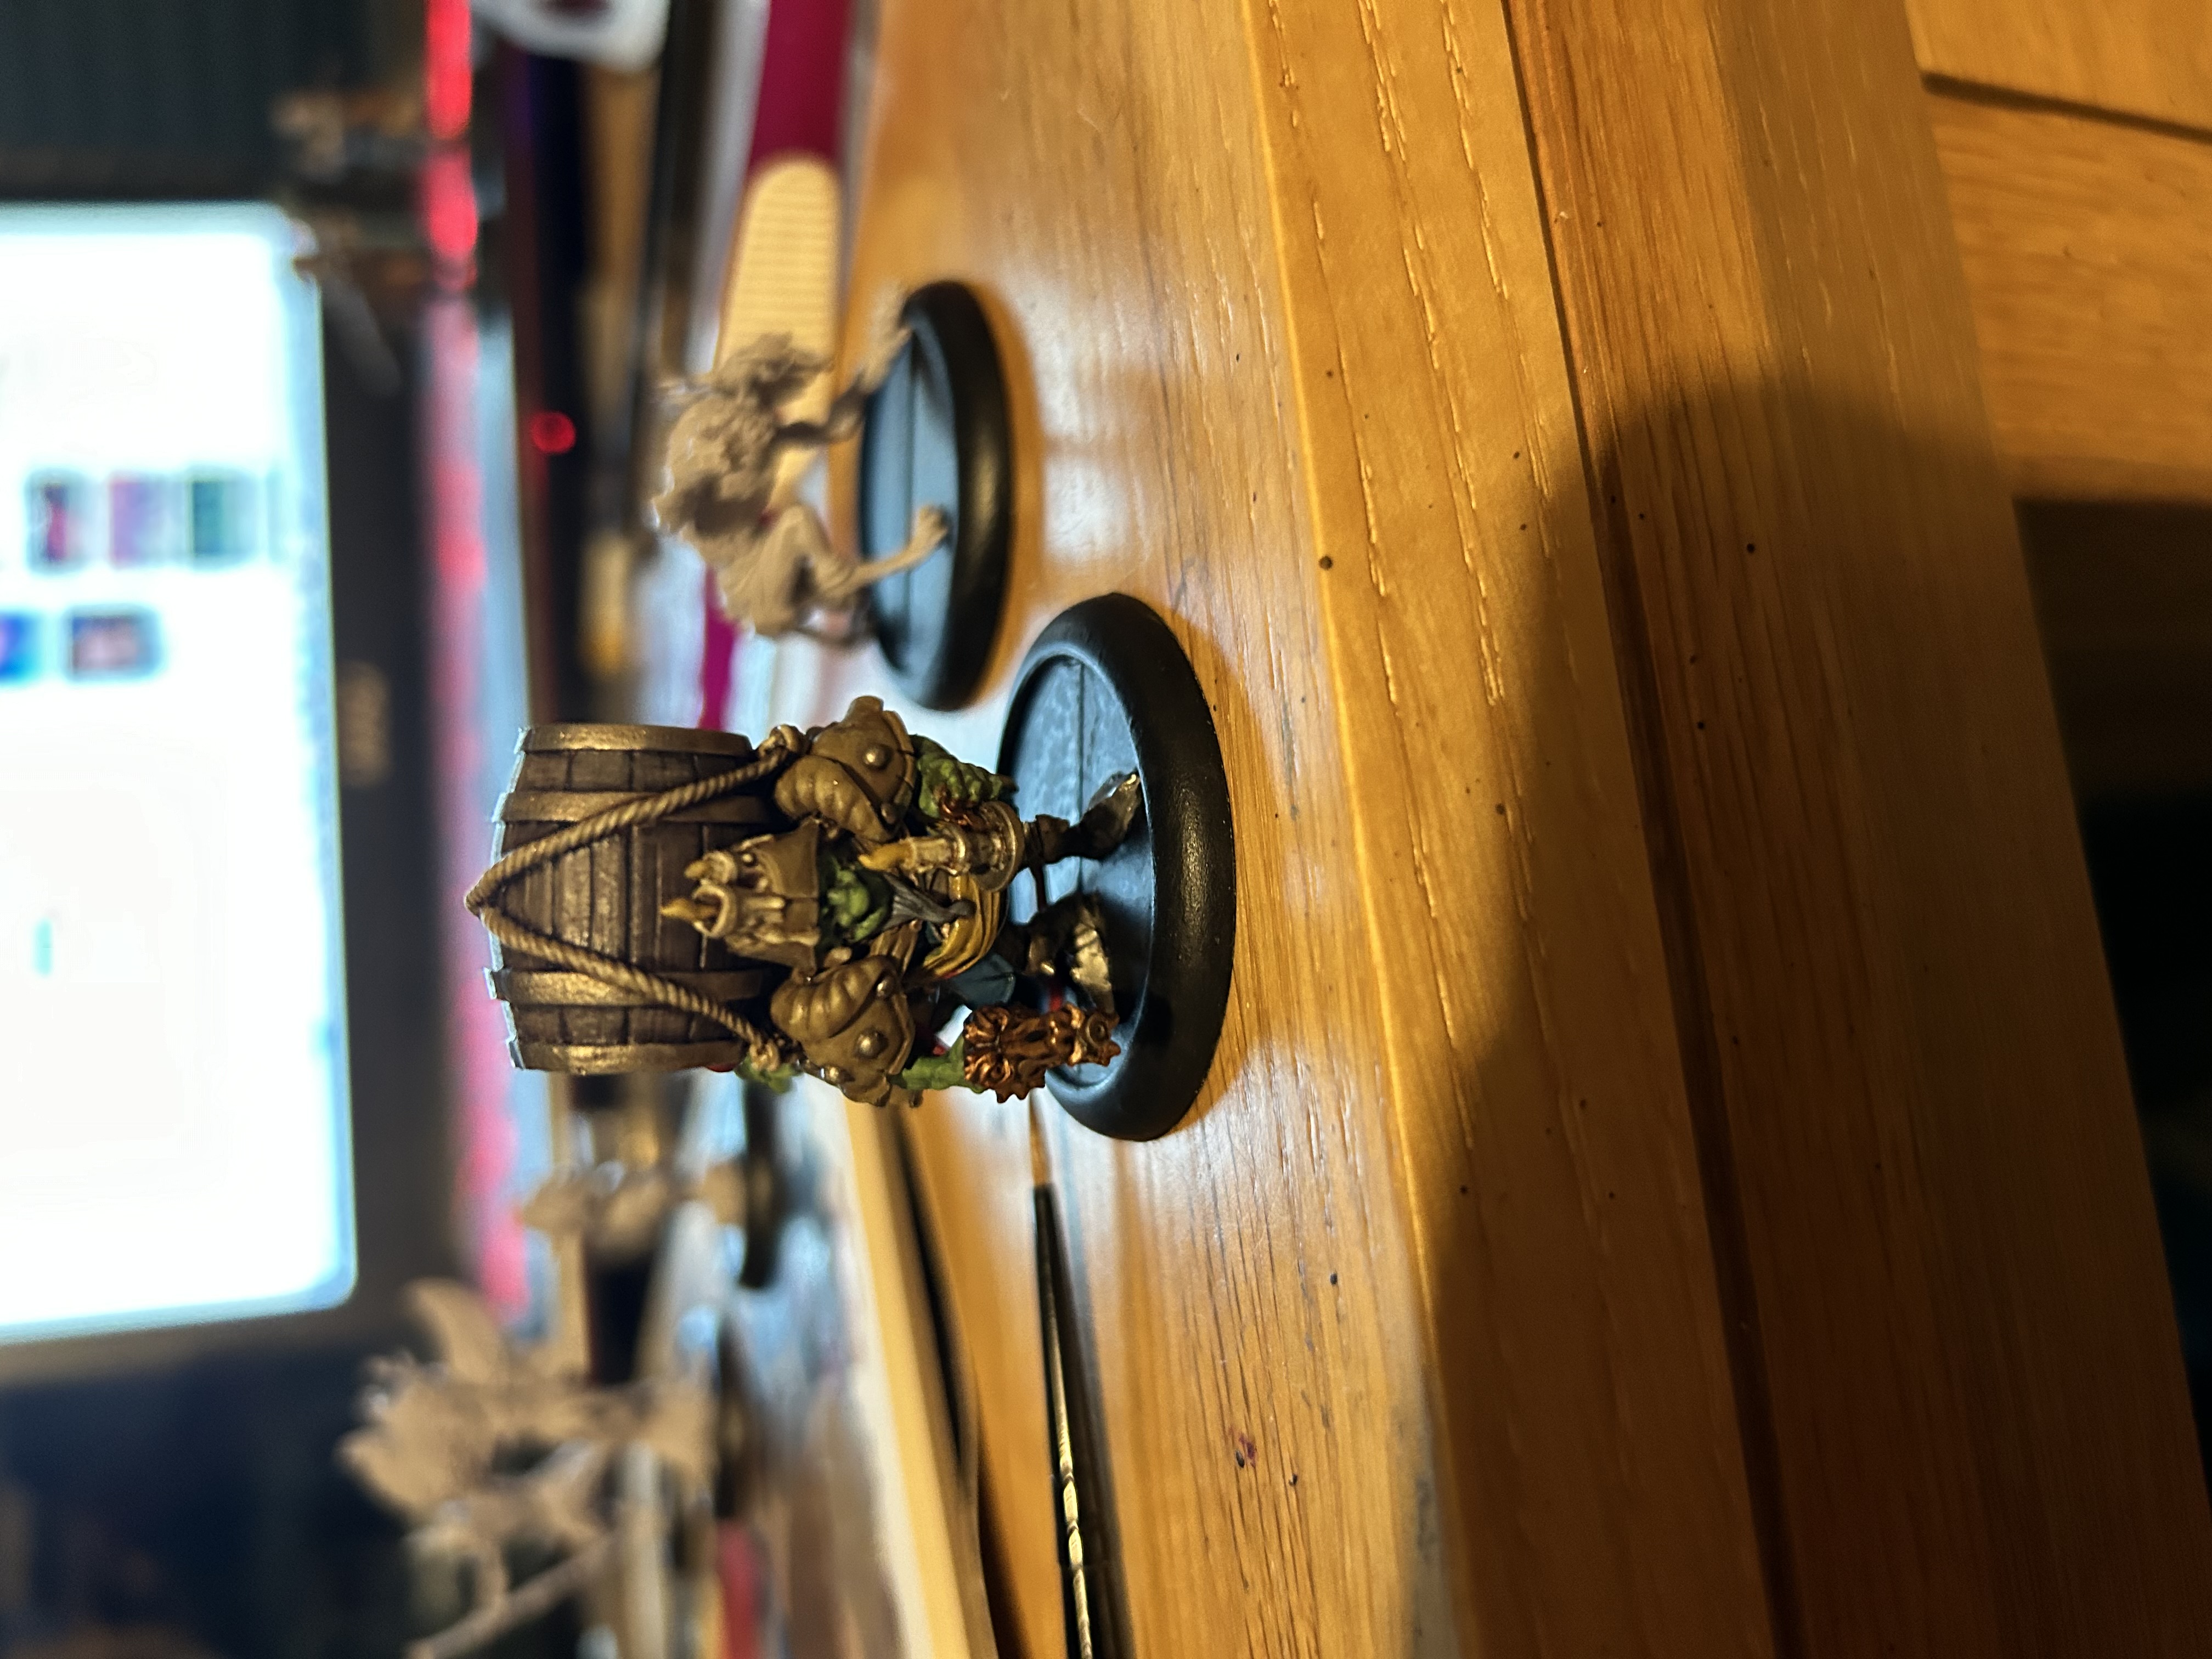
The Goblin Airship part 1
Over the last couple of weeks I have worked on the goblin airship which will complete my built Moonstone Goblins.
Step 1
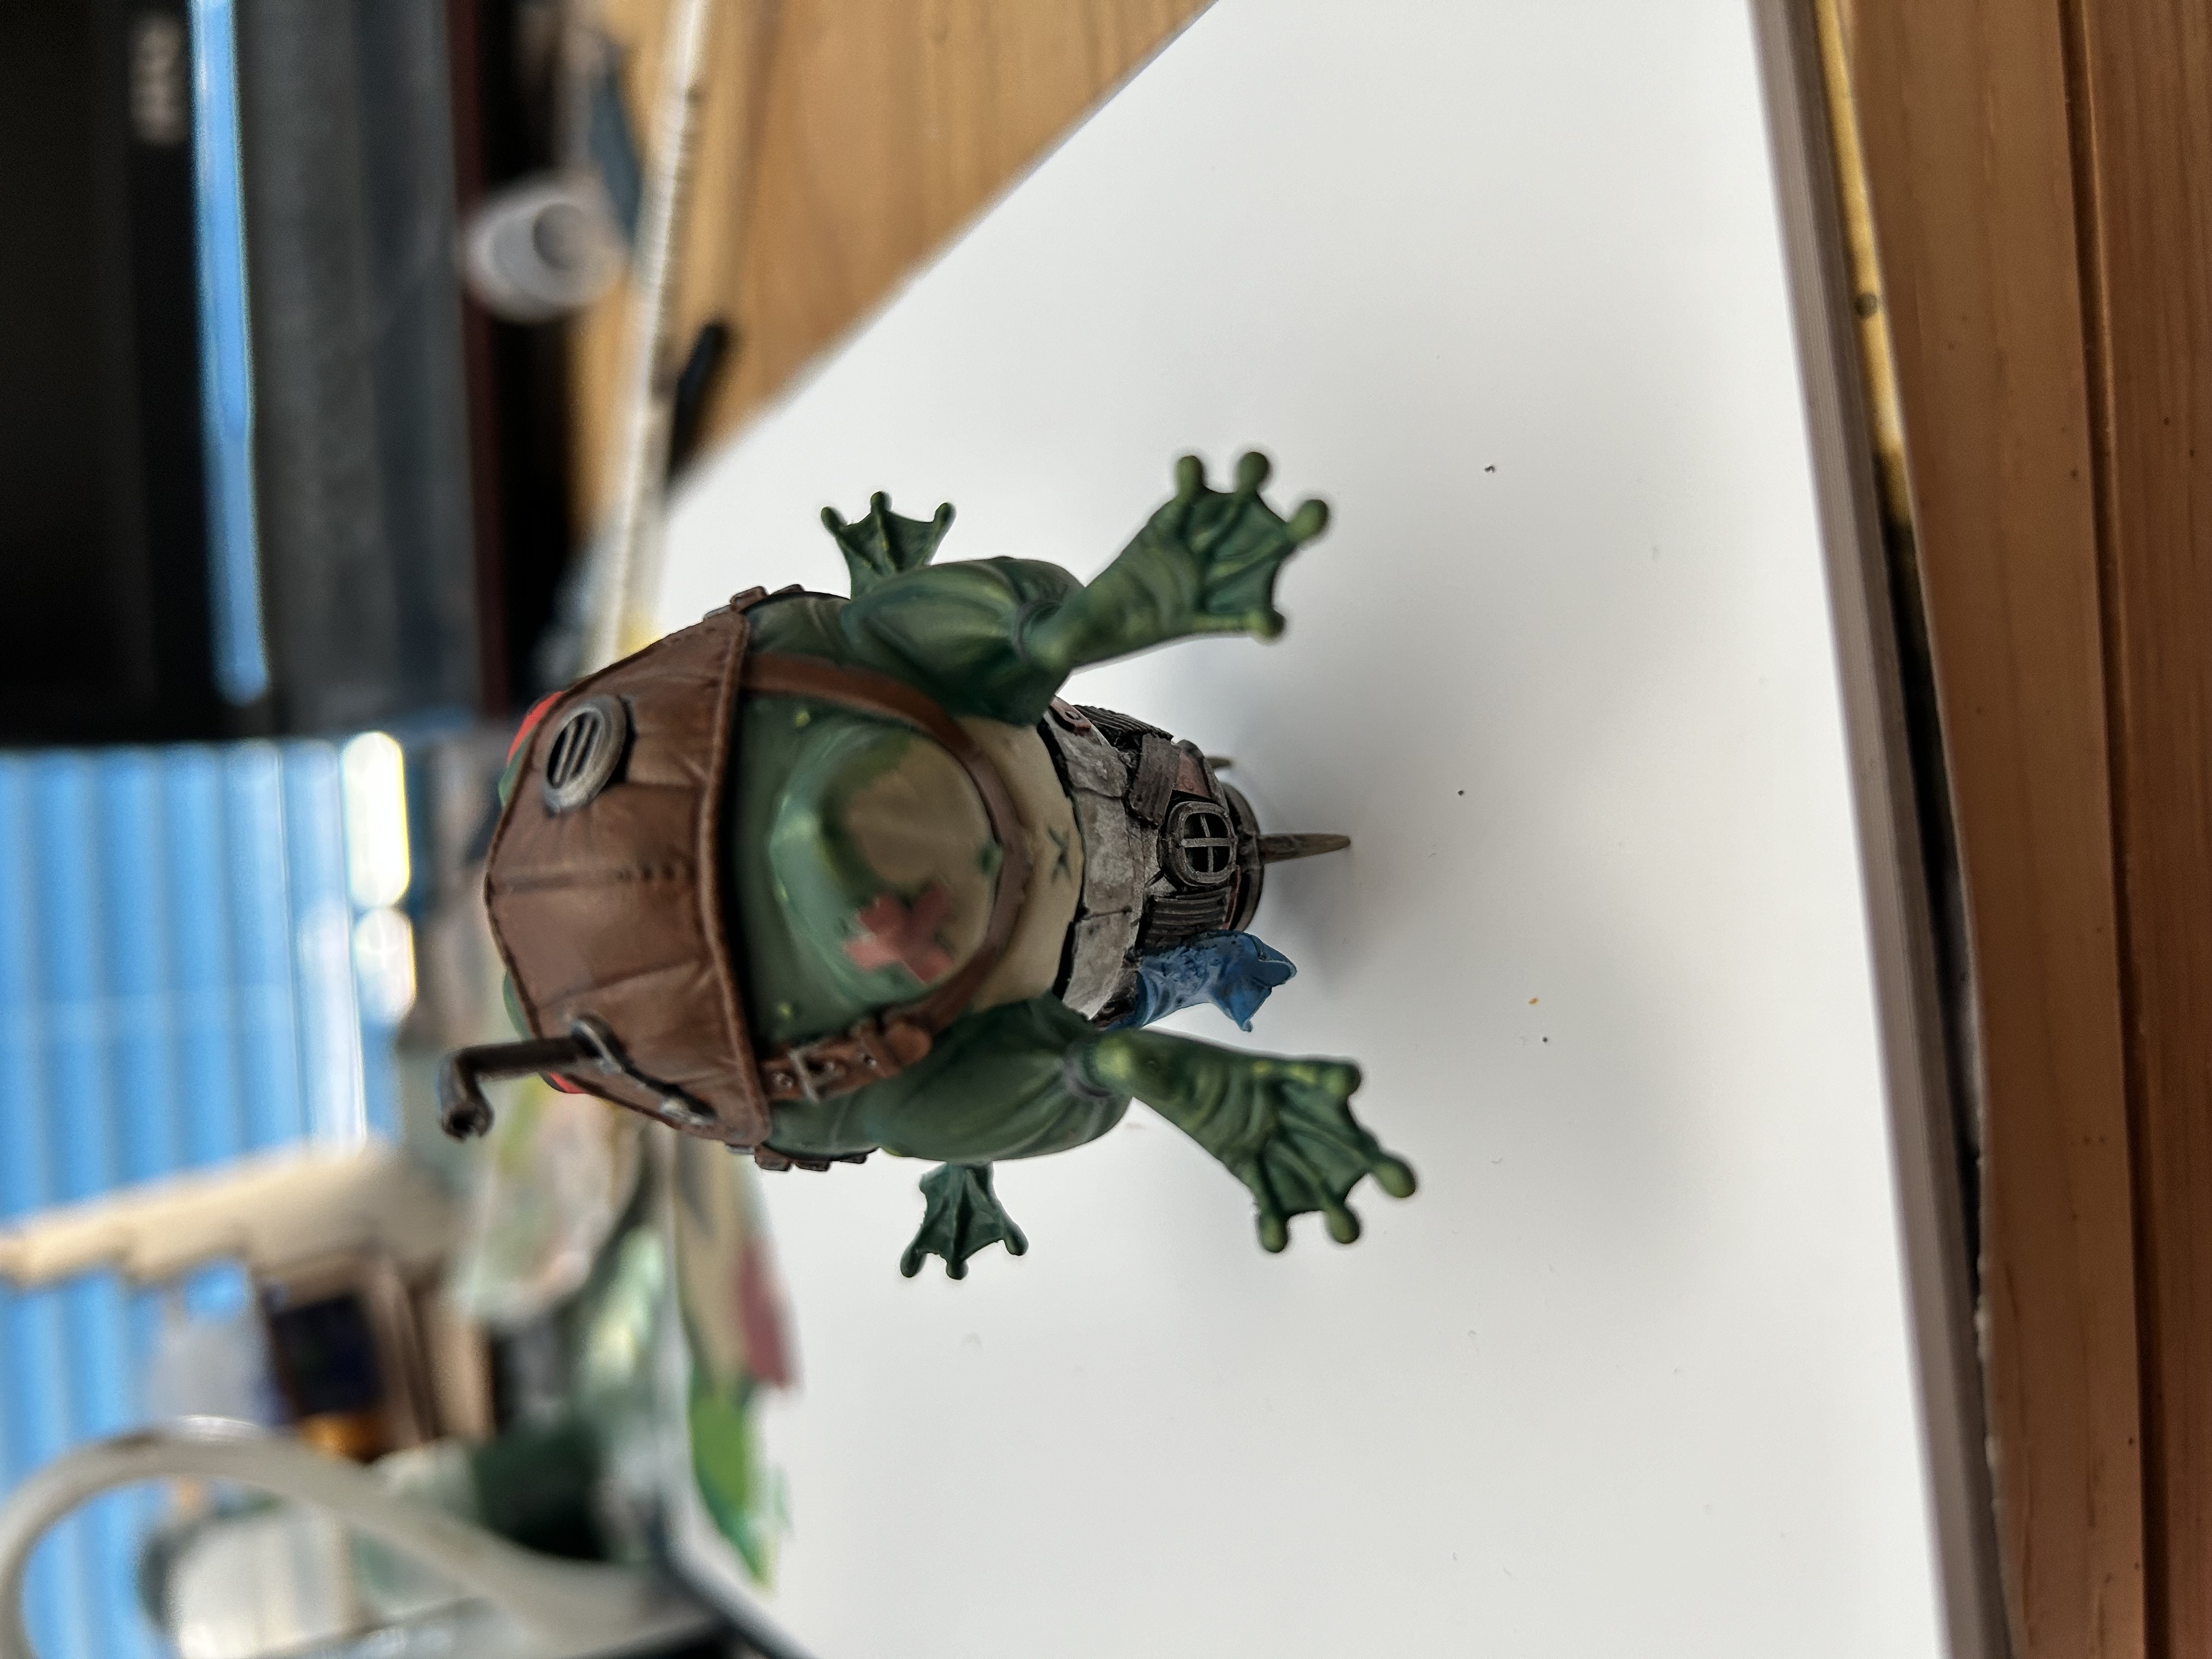
Fill in any obvious gaps. The main issue was the fabric on the ship itself that had a large gap but a little green stuff sorted that out
Step 2
I primed the model in black, then had to release the model a couple of times as it just wouldn’t stick. Finally I get a nice even coat. It may just be me not being thorough enough but I do seem to have issues with Moonstone resins
Step 3
I then decided that black was too dark to work with my colour scheme so I painted the model grey. I went with GW mech standard grey. I then painted the bottom section silver – GW lead belcher, I also painted the metal at the top this cover. When dried I then gave the metal colour a wash – GW Agrax
 Steps 1-3
Step 4
Painted the fabric blue Use P3 Cygnar blue highlight then mixed with increasing amounts of white for the highlights. I also used this on the telescope lens.
Step 5
I then painted the leather. I went for GW Mournfang for the base colour. Highlighting up by first mixing in Scrag brown and then Deathclaw brown. I think it turned out alright
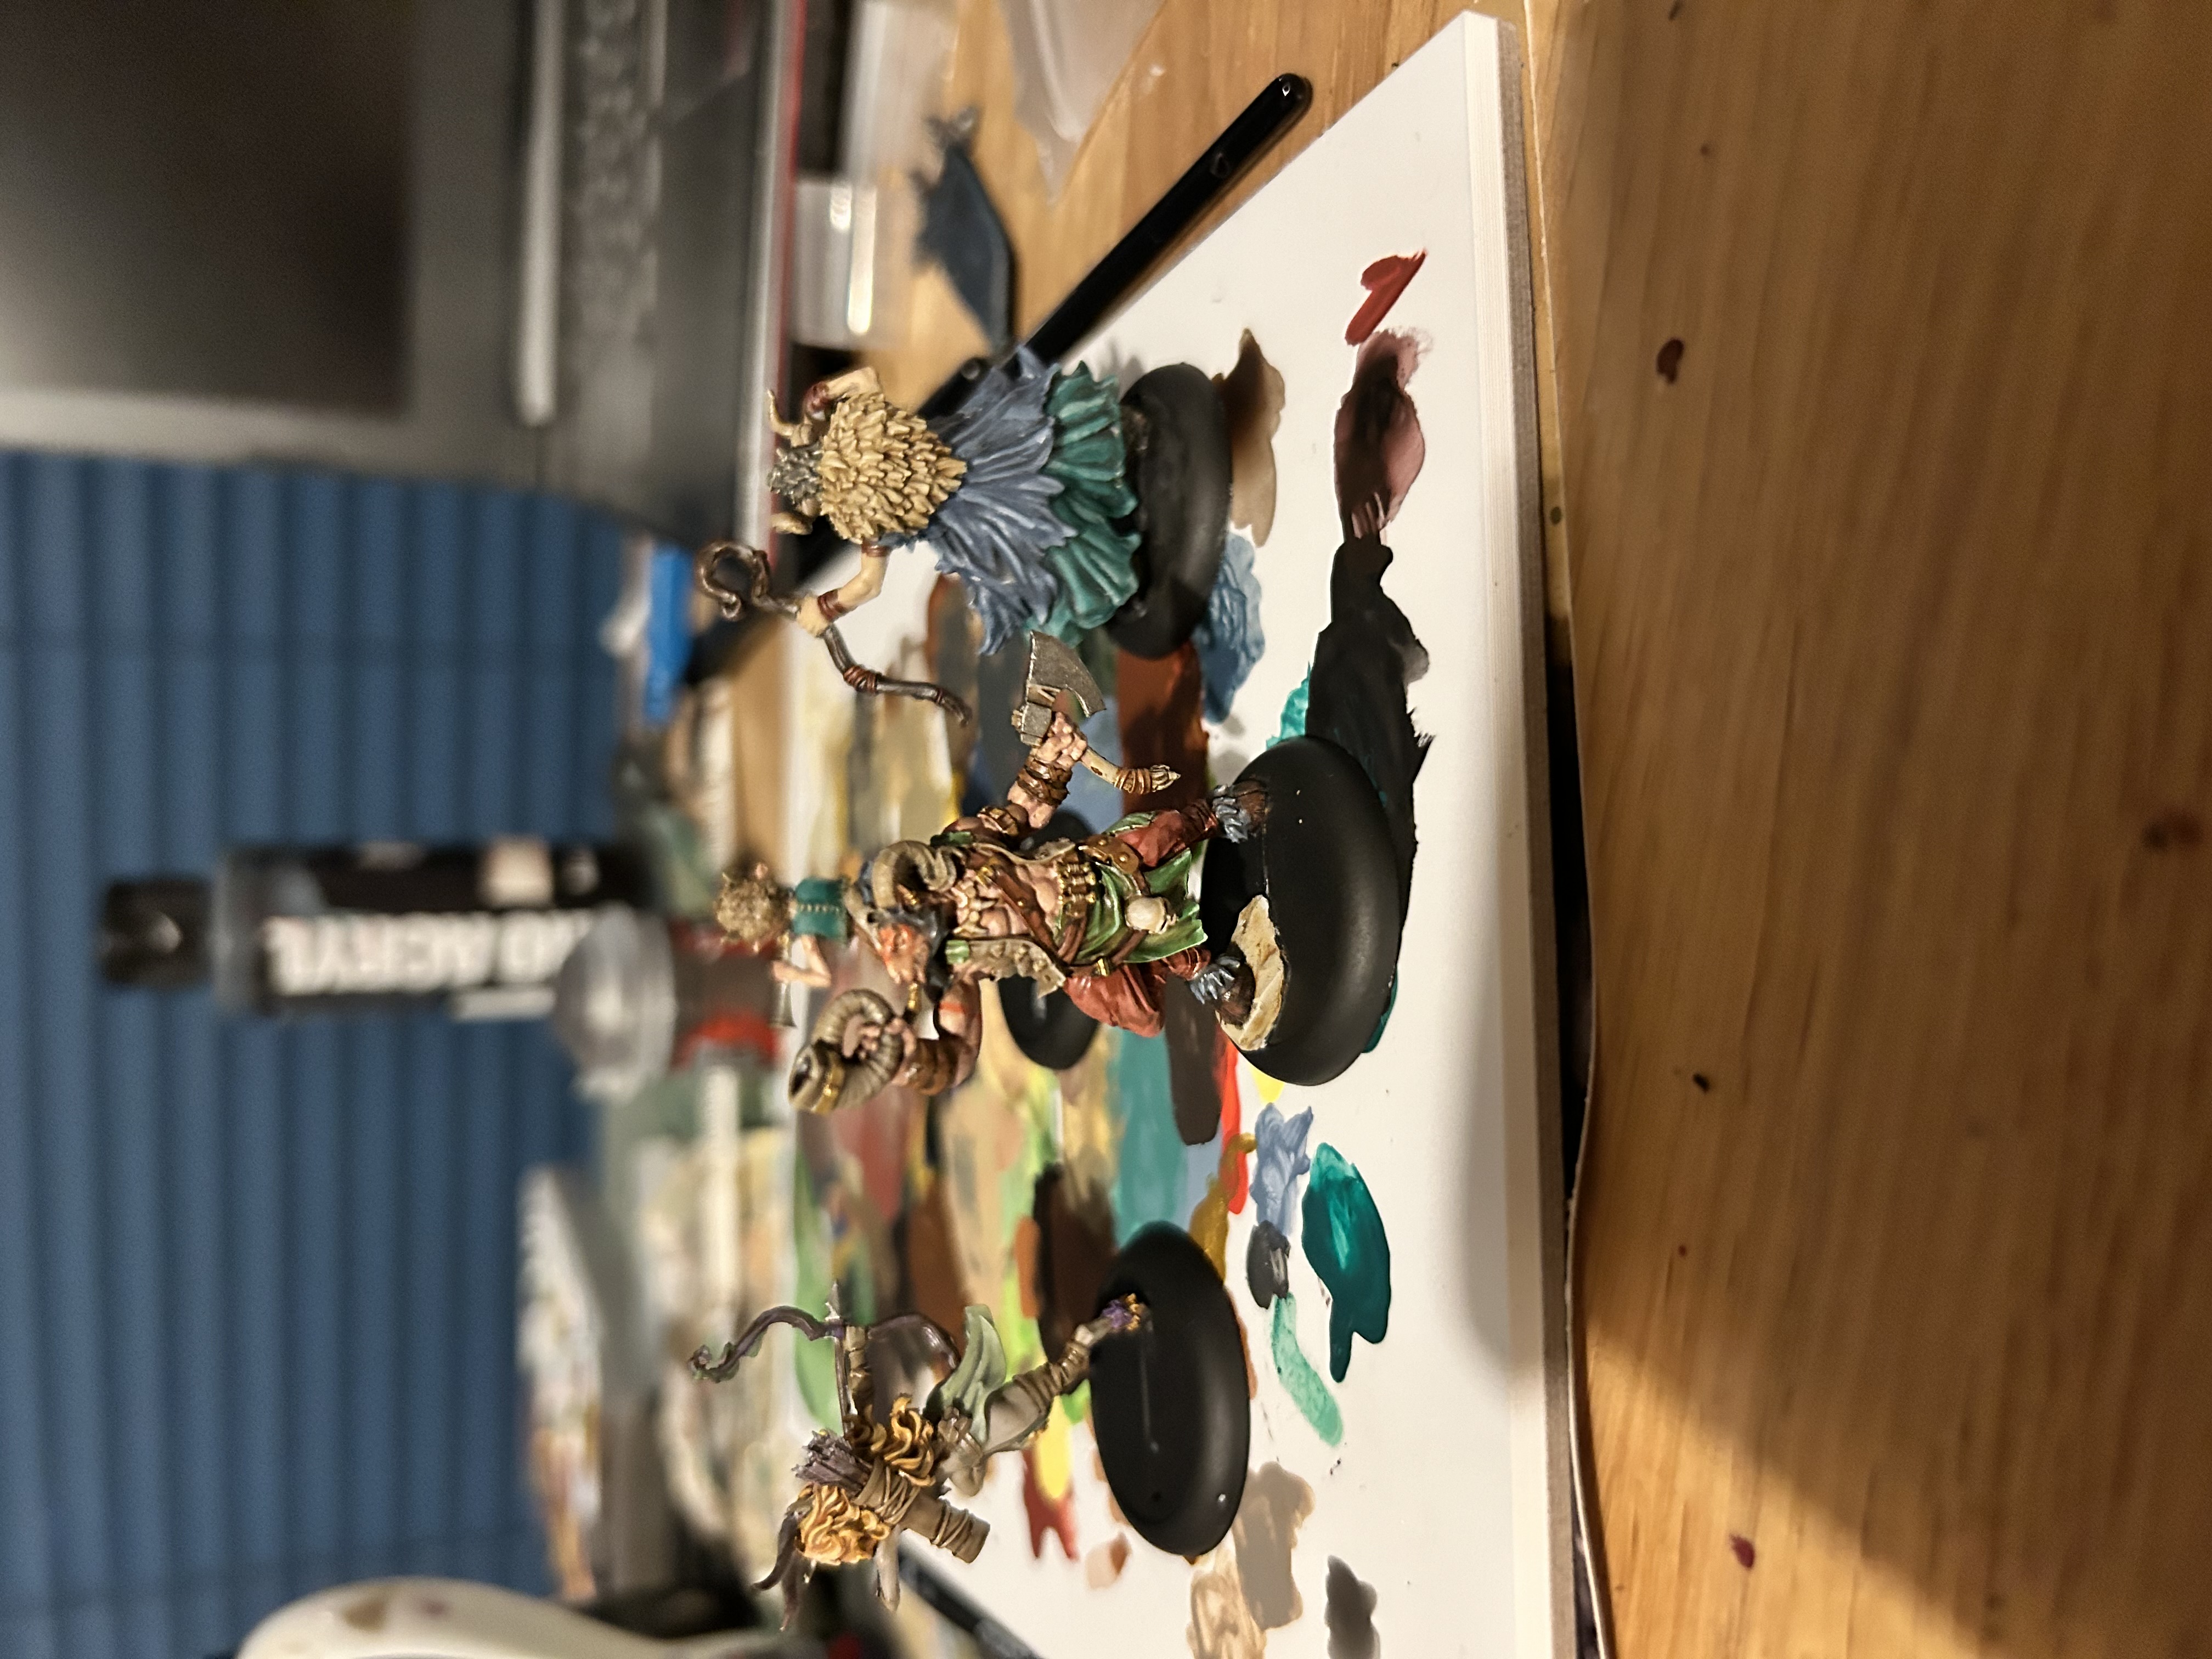
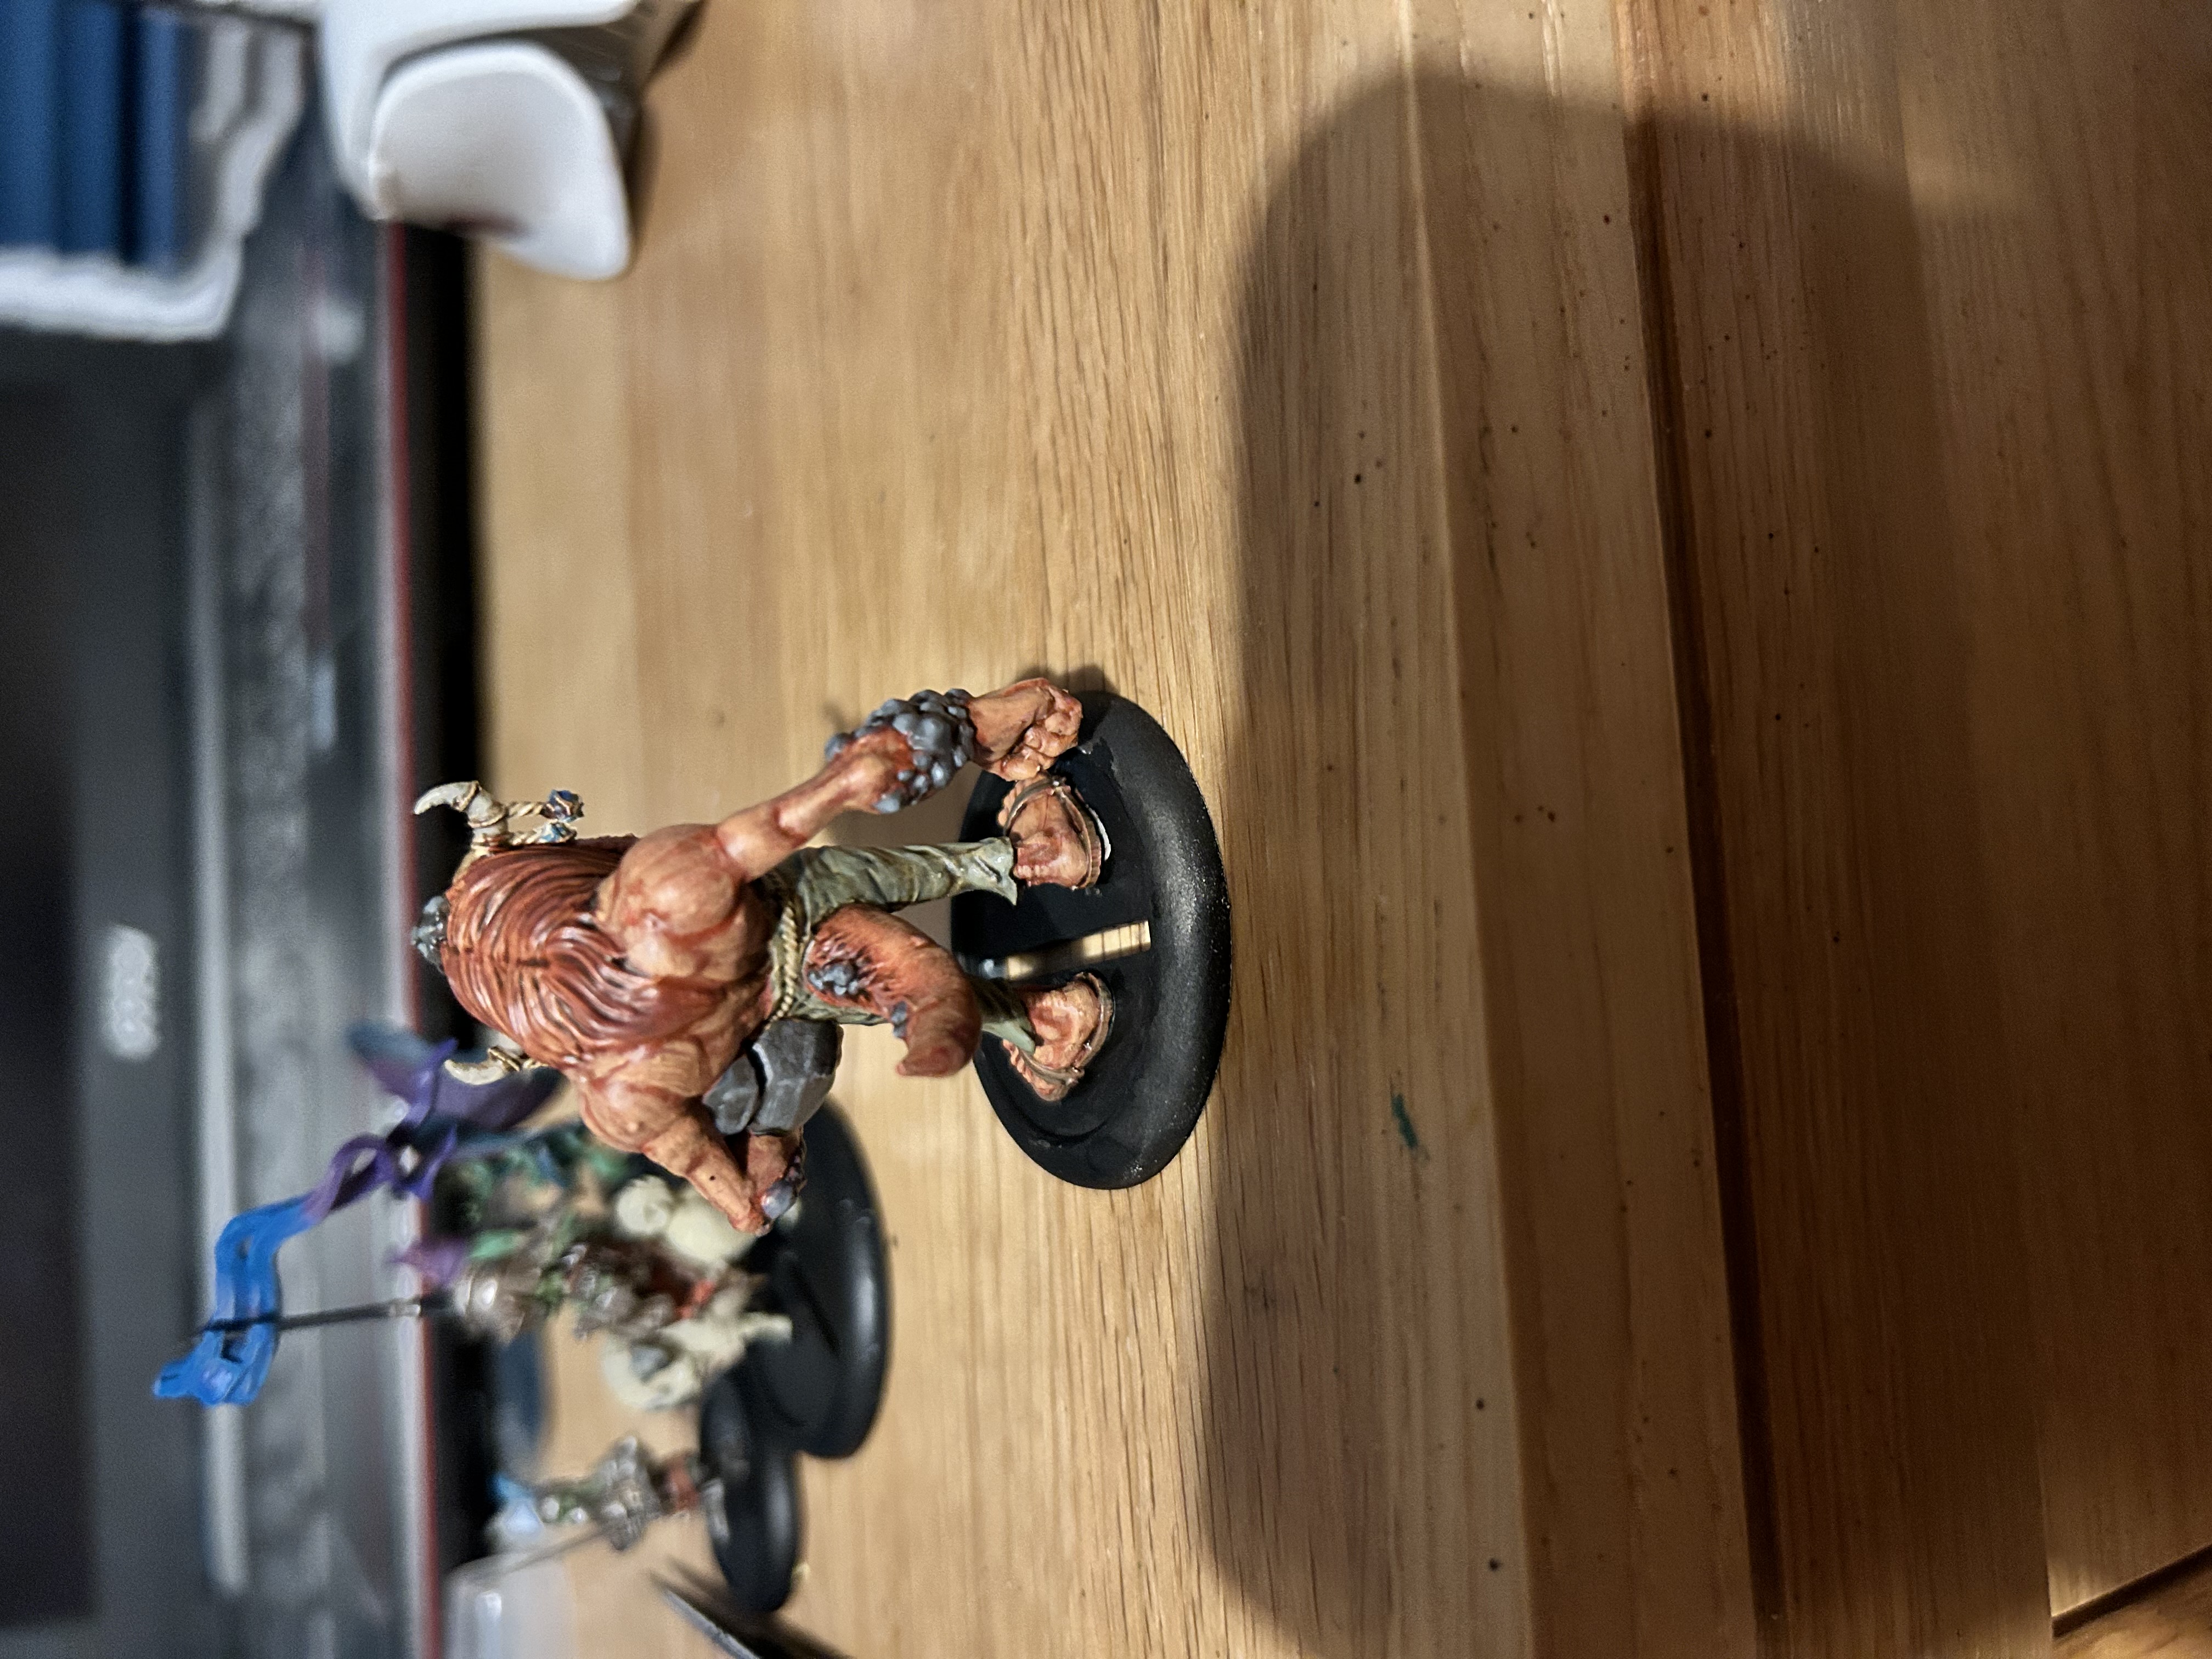
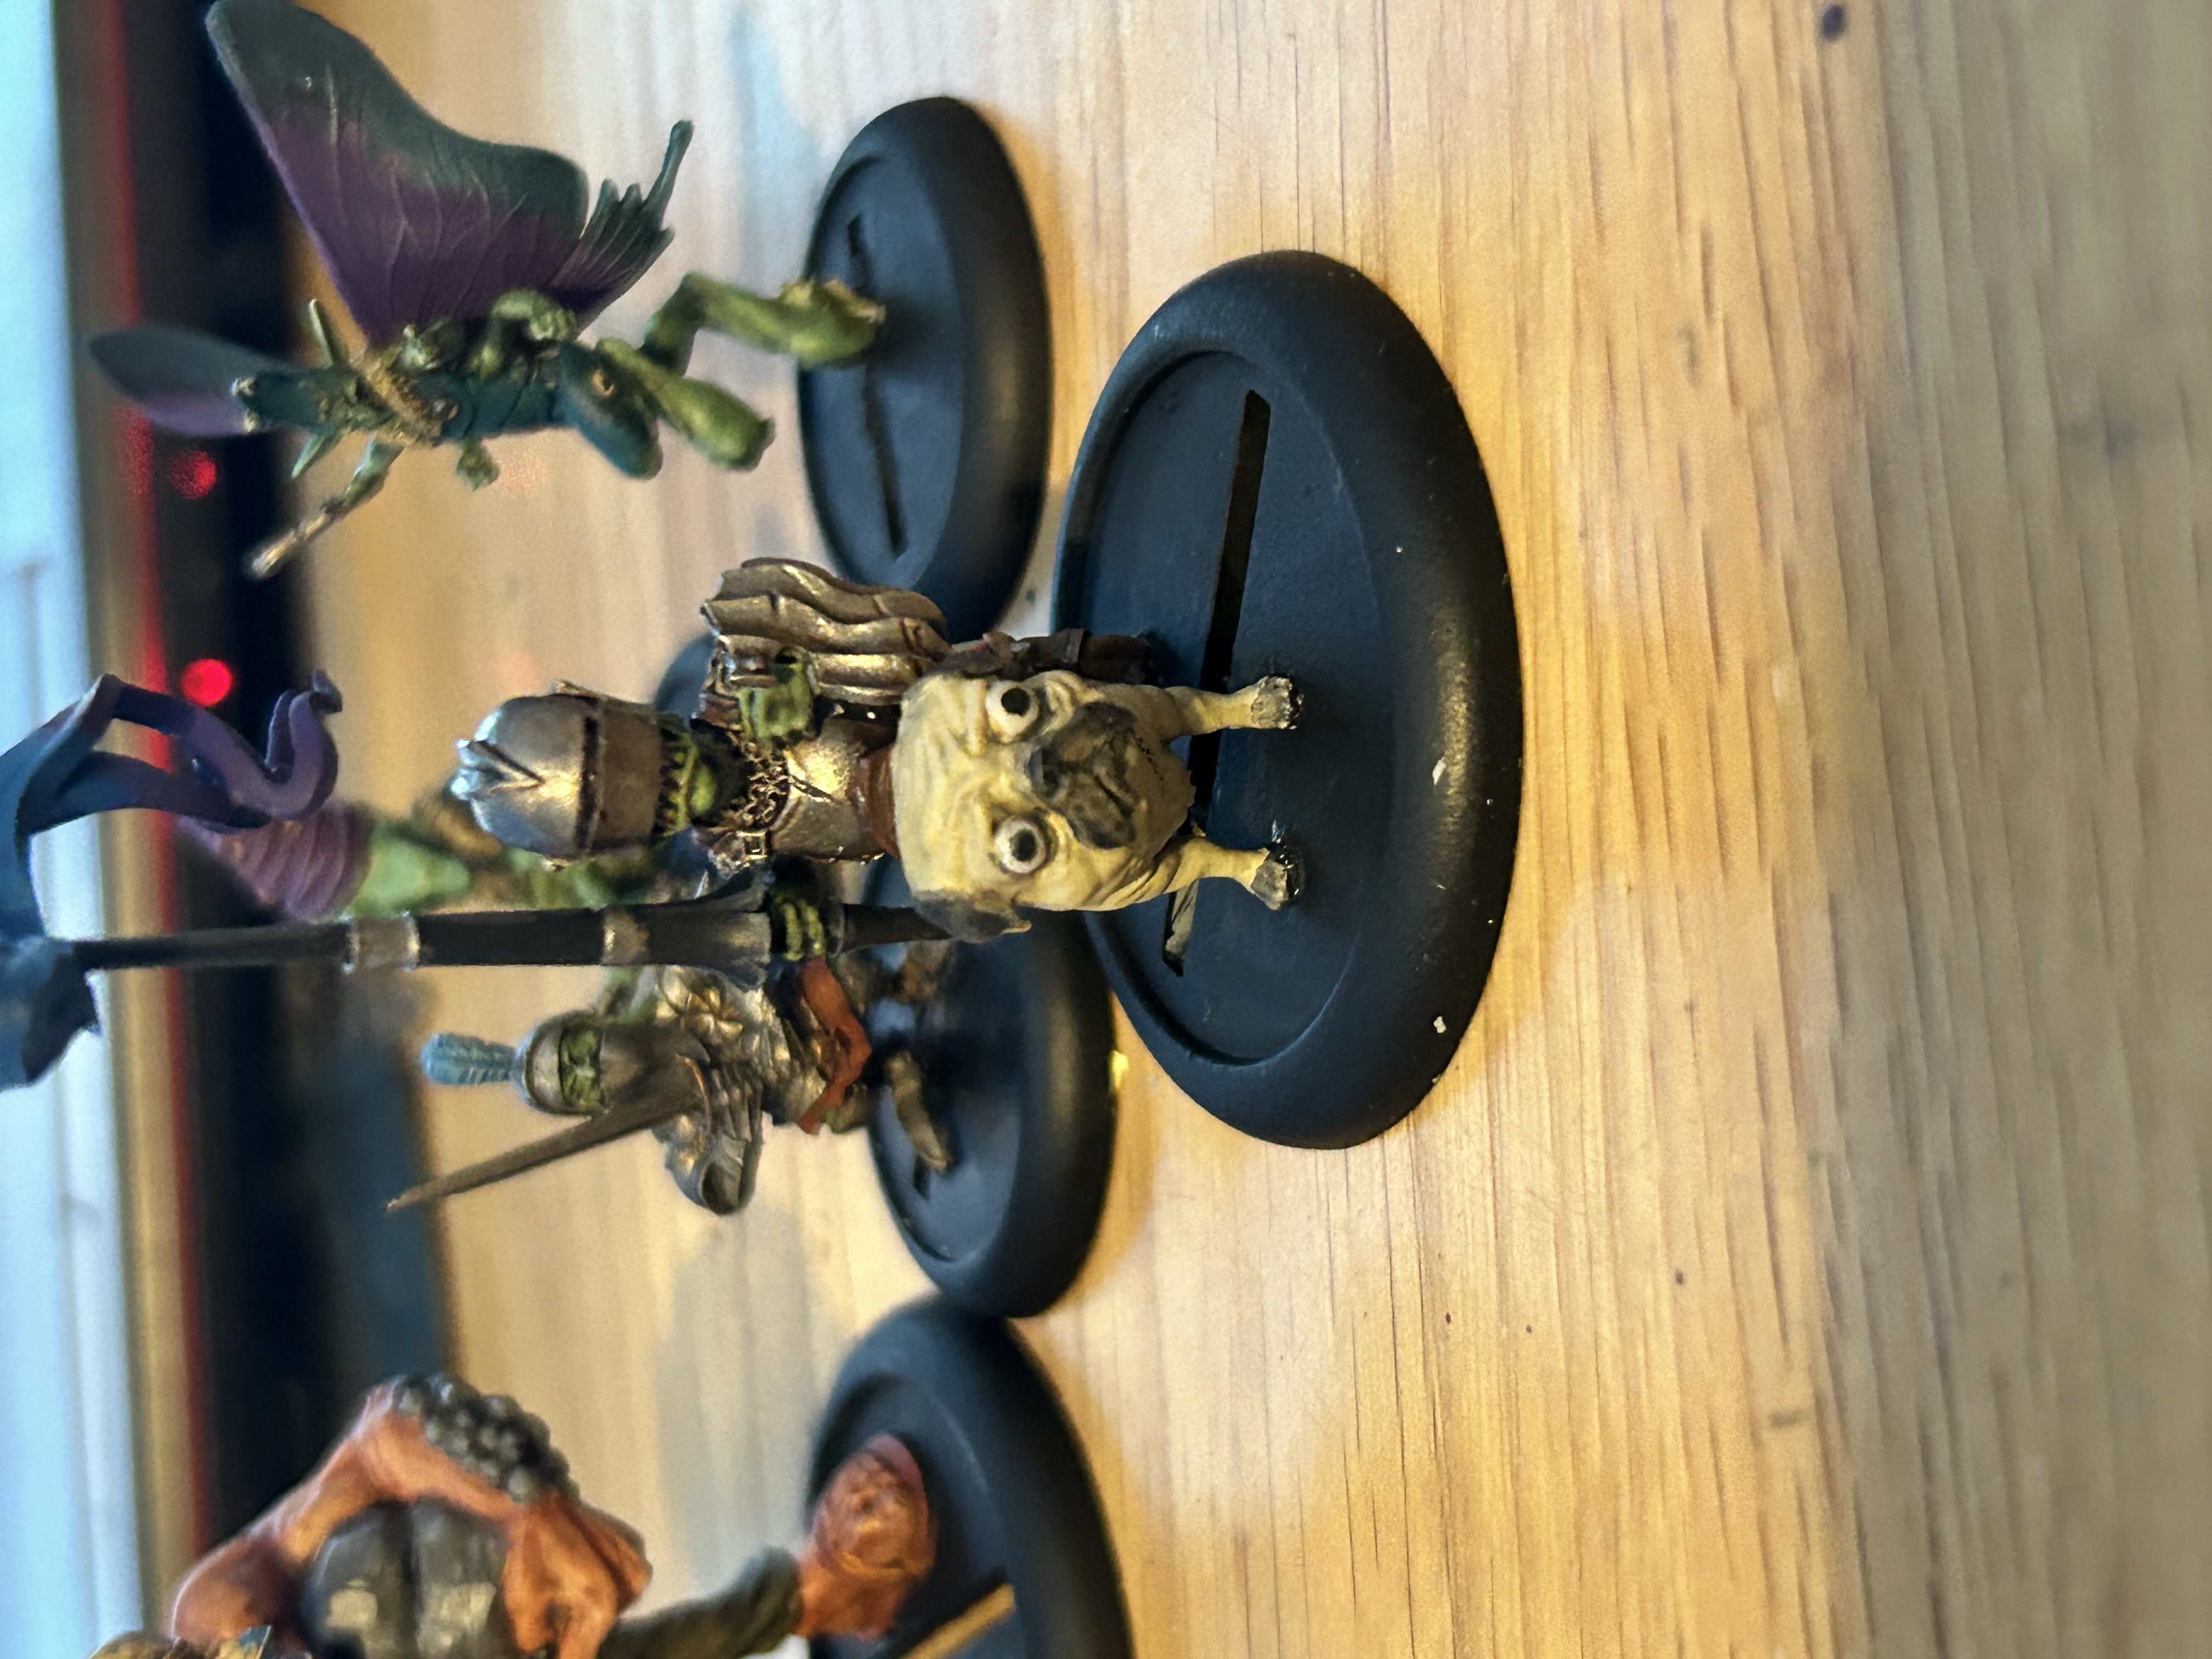
Boulder
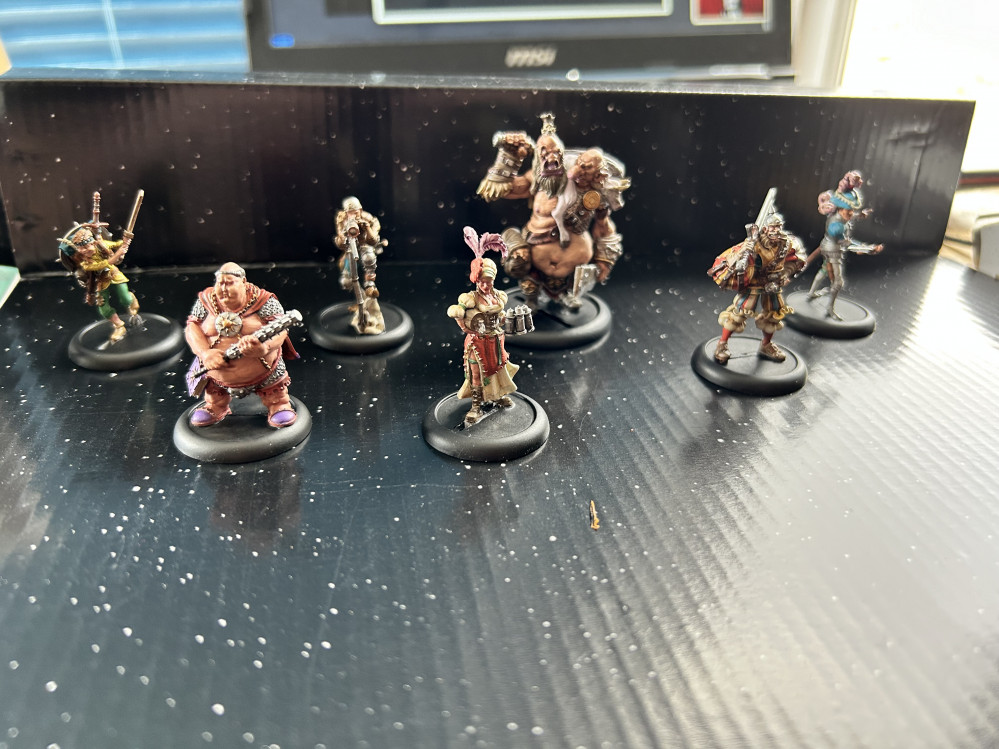
And a troll to go with the goblins.
I decided to go with a different colour scheme to see what it looked like. TBH I think I prefer the one in the books but I took inspiration from a rather old film.
I think I should have made the skin darker and the hair lighter but it will do.
I have also included a group shot – hopefully the photography meets Ben’s standards after his comments from the other week.

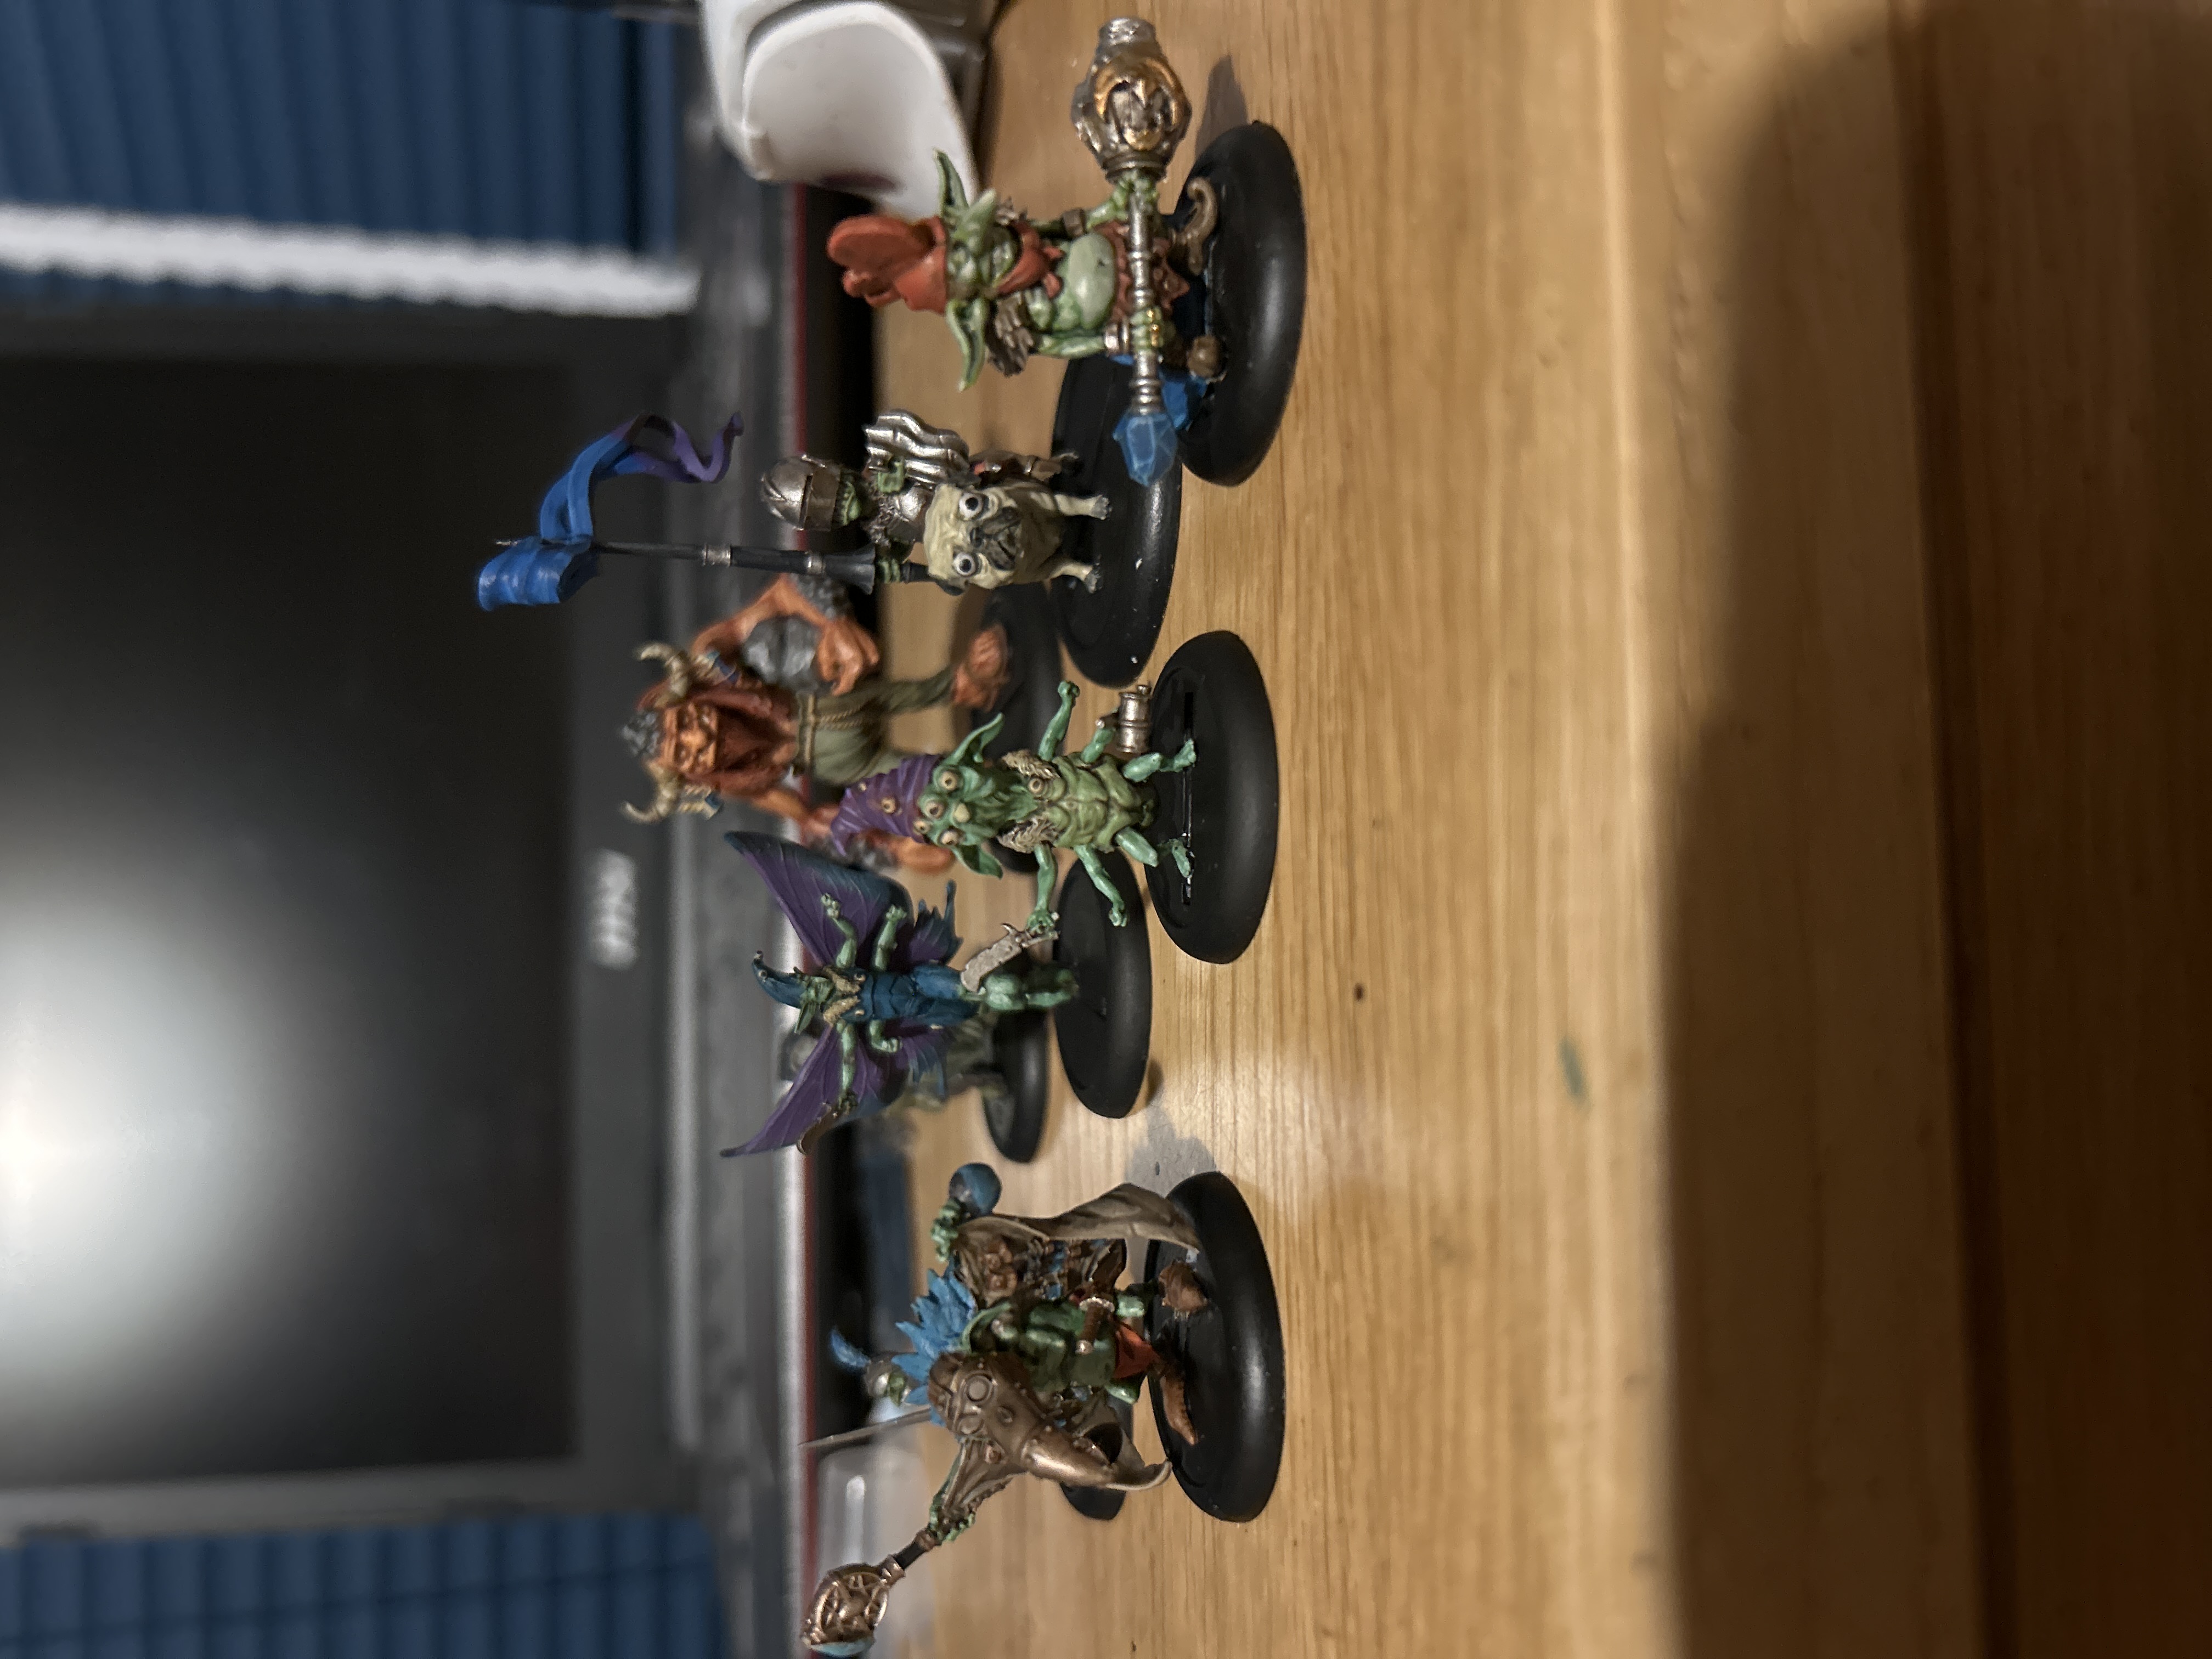
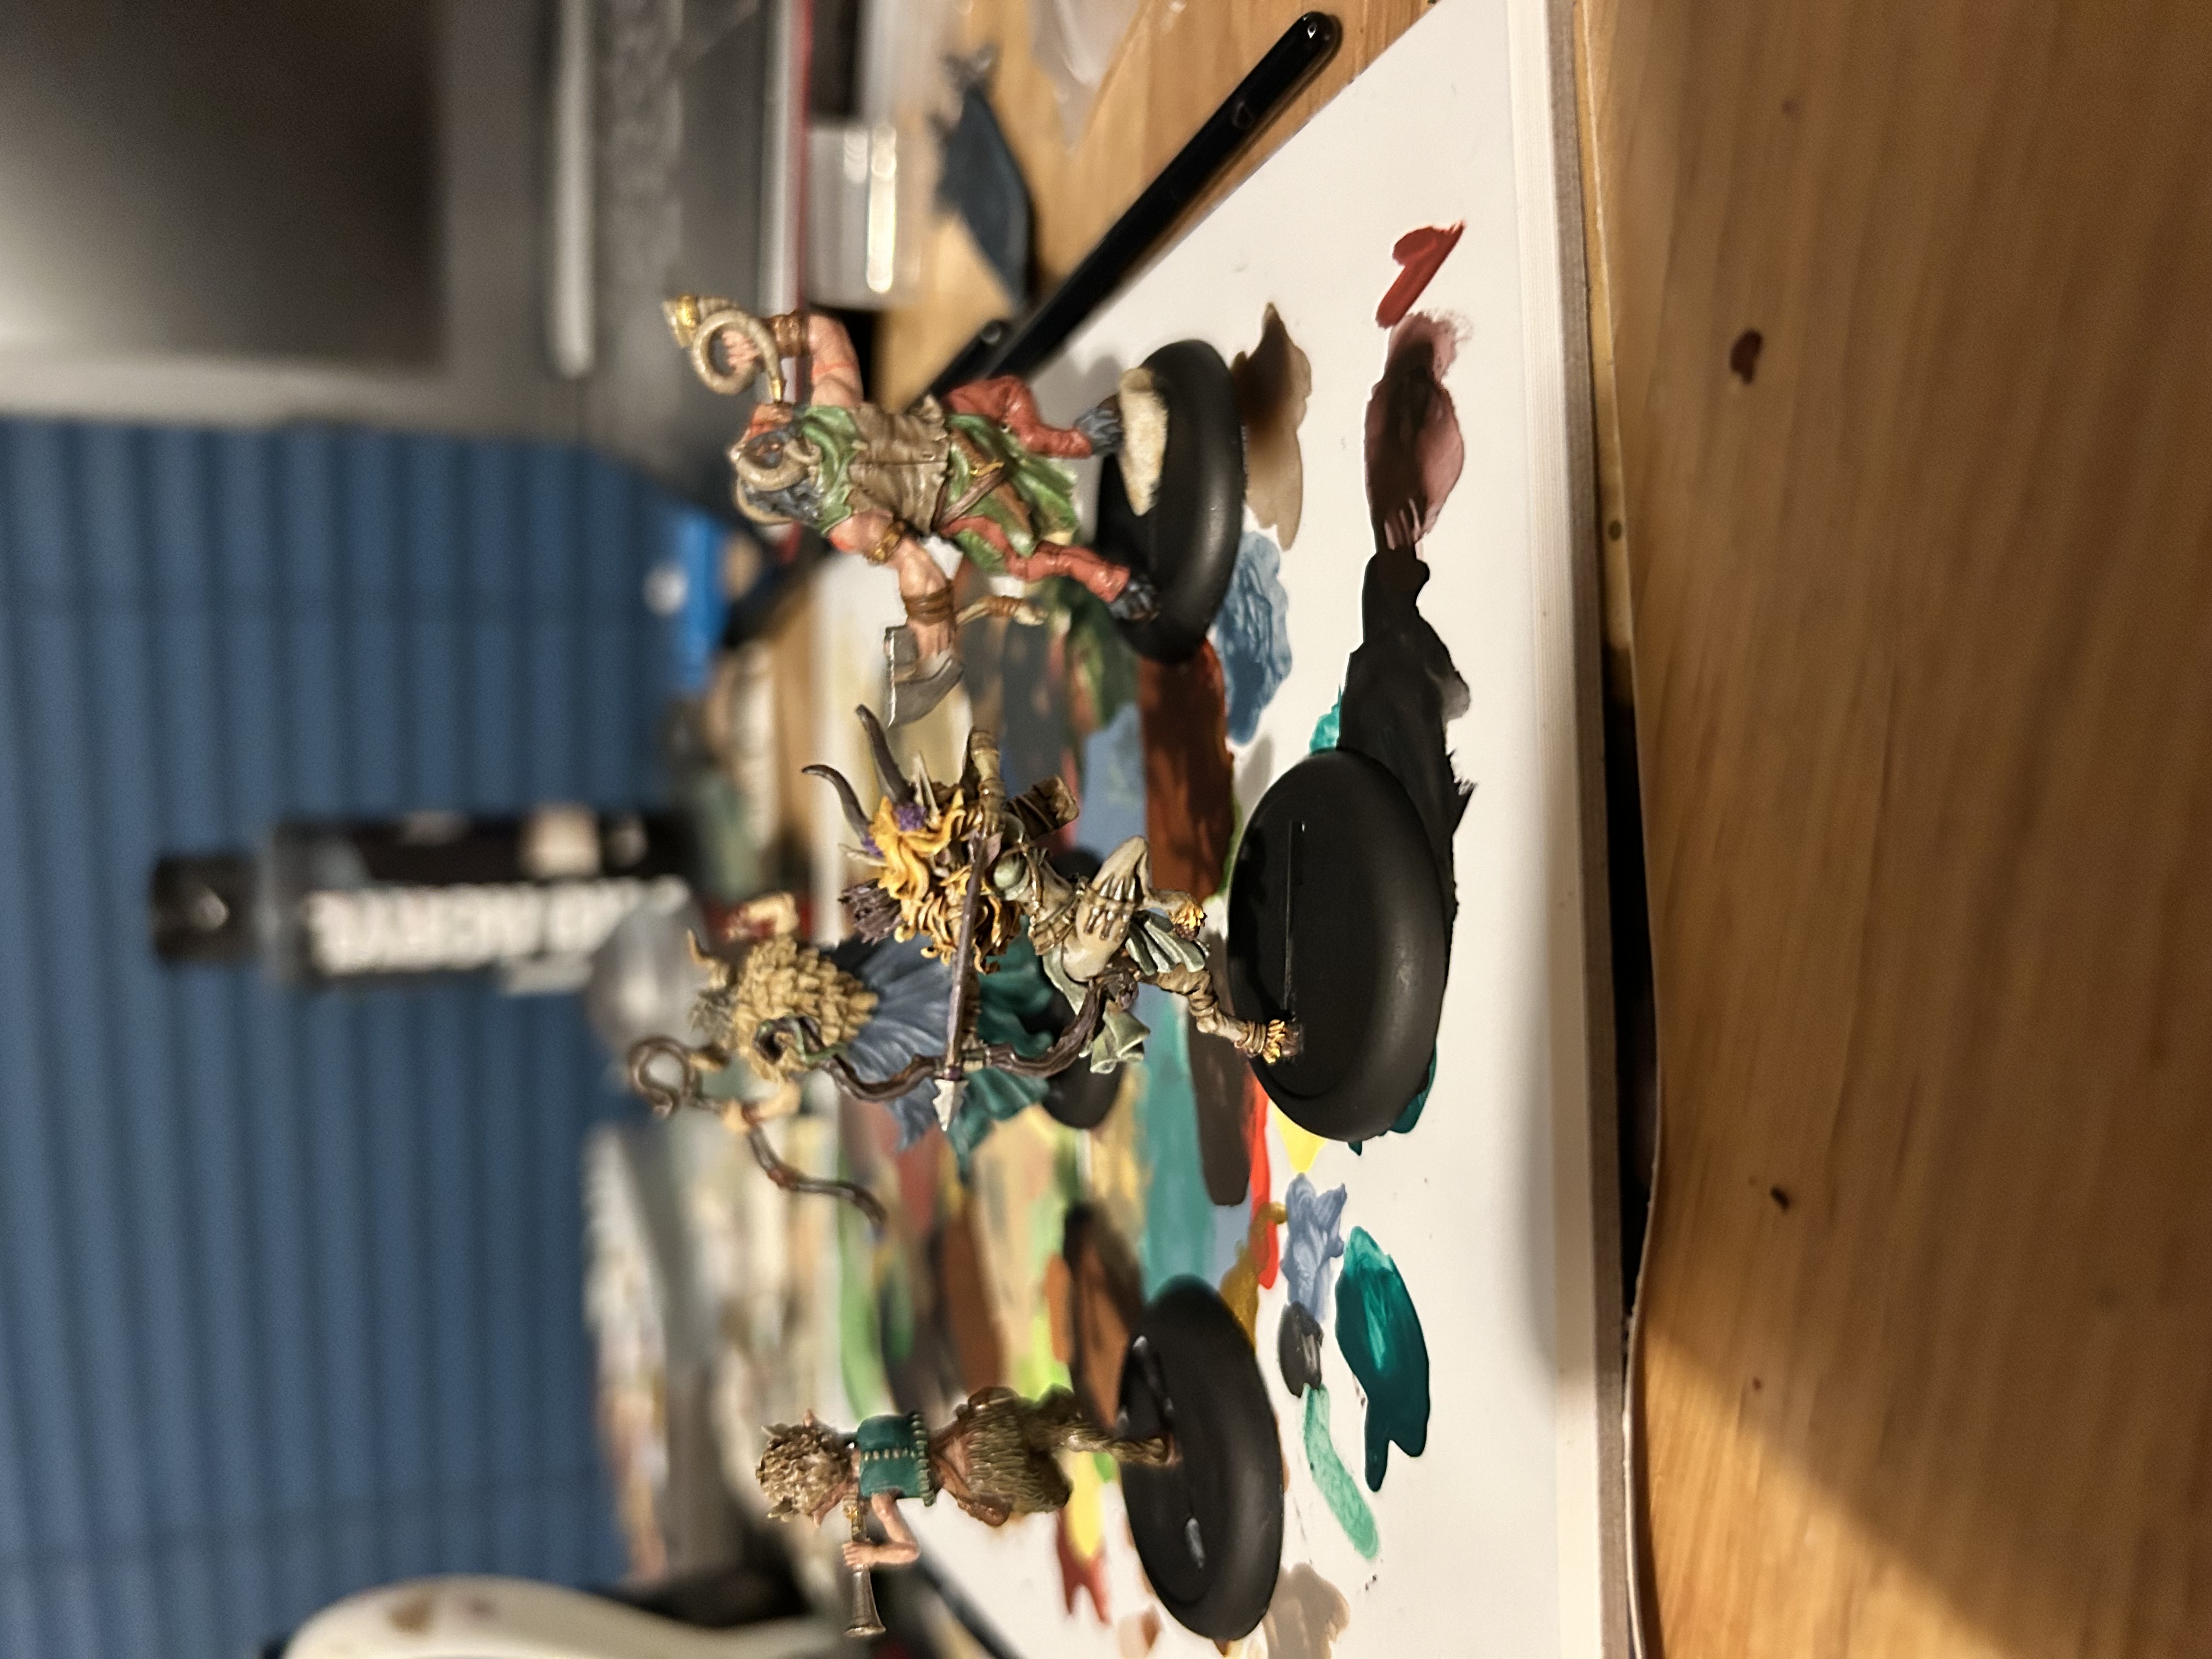
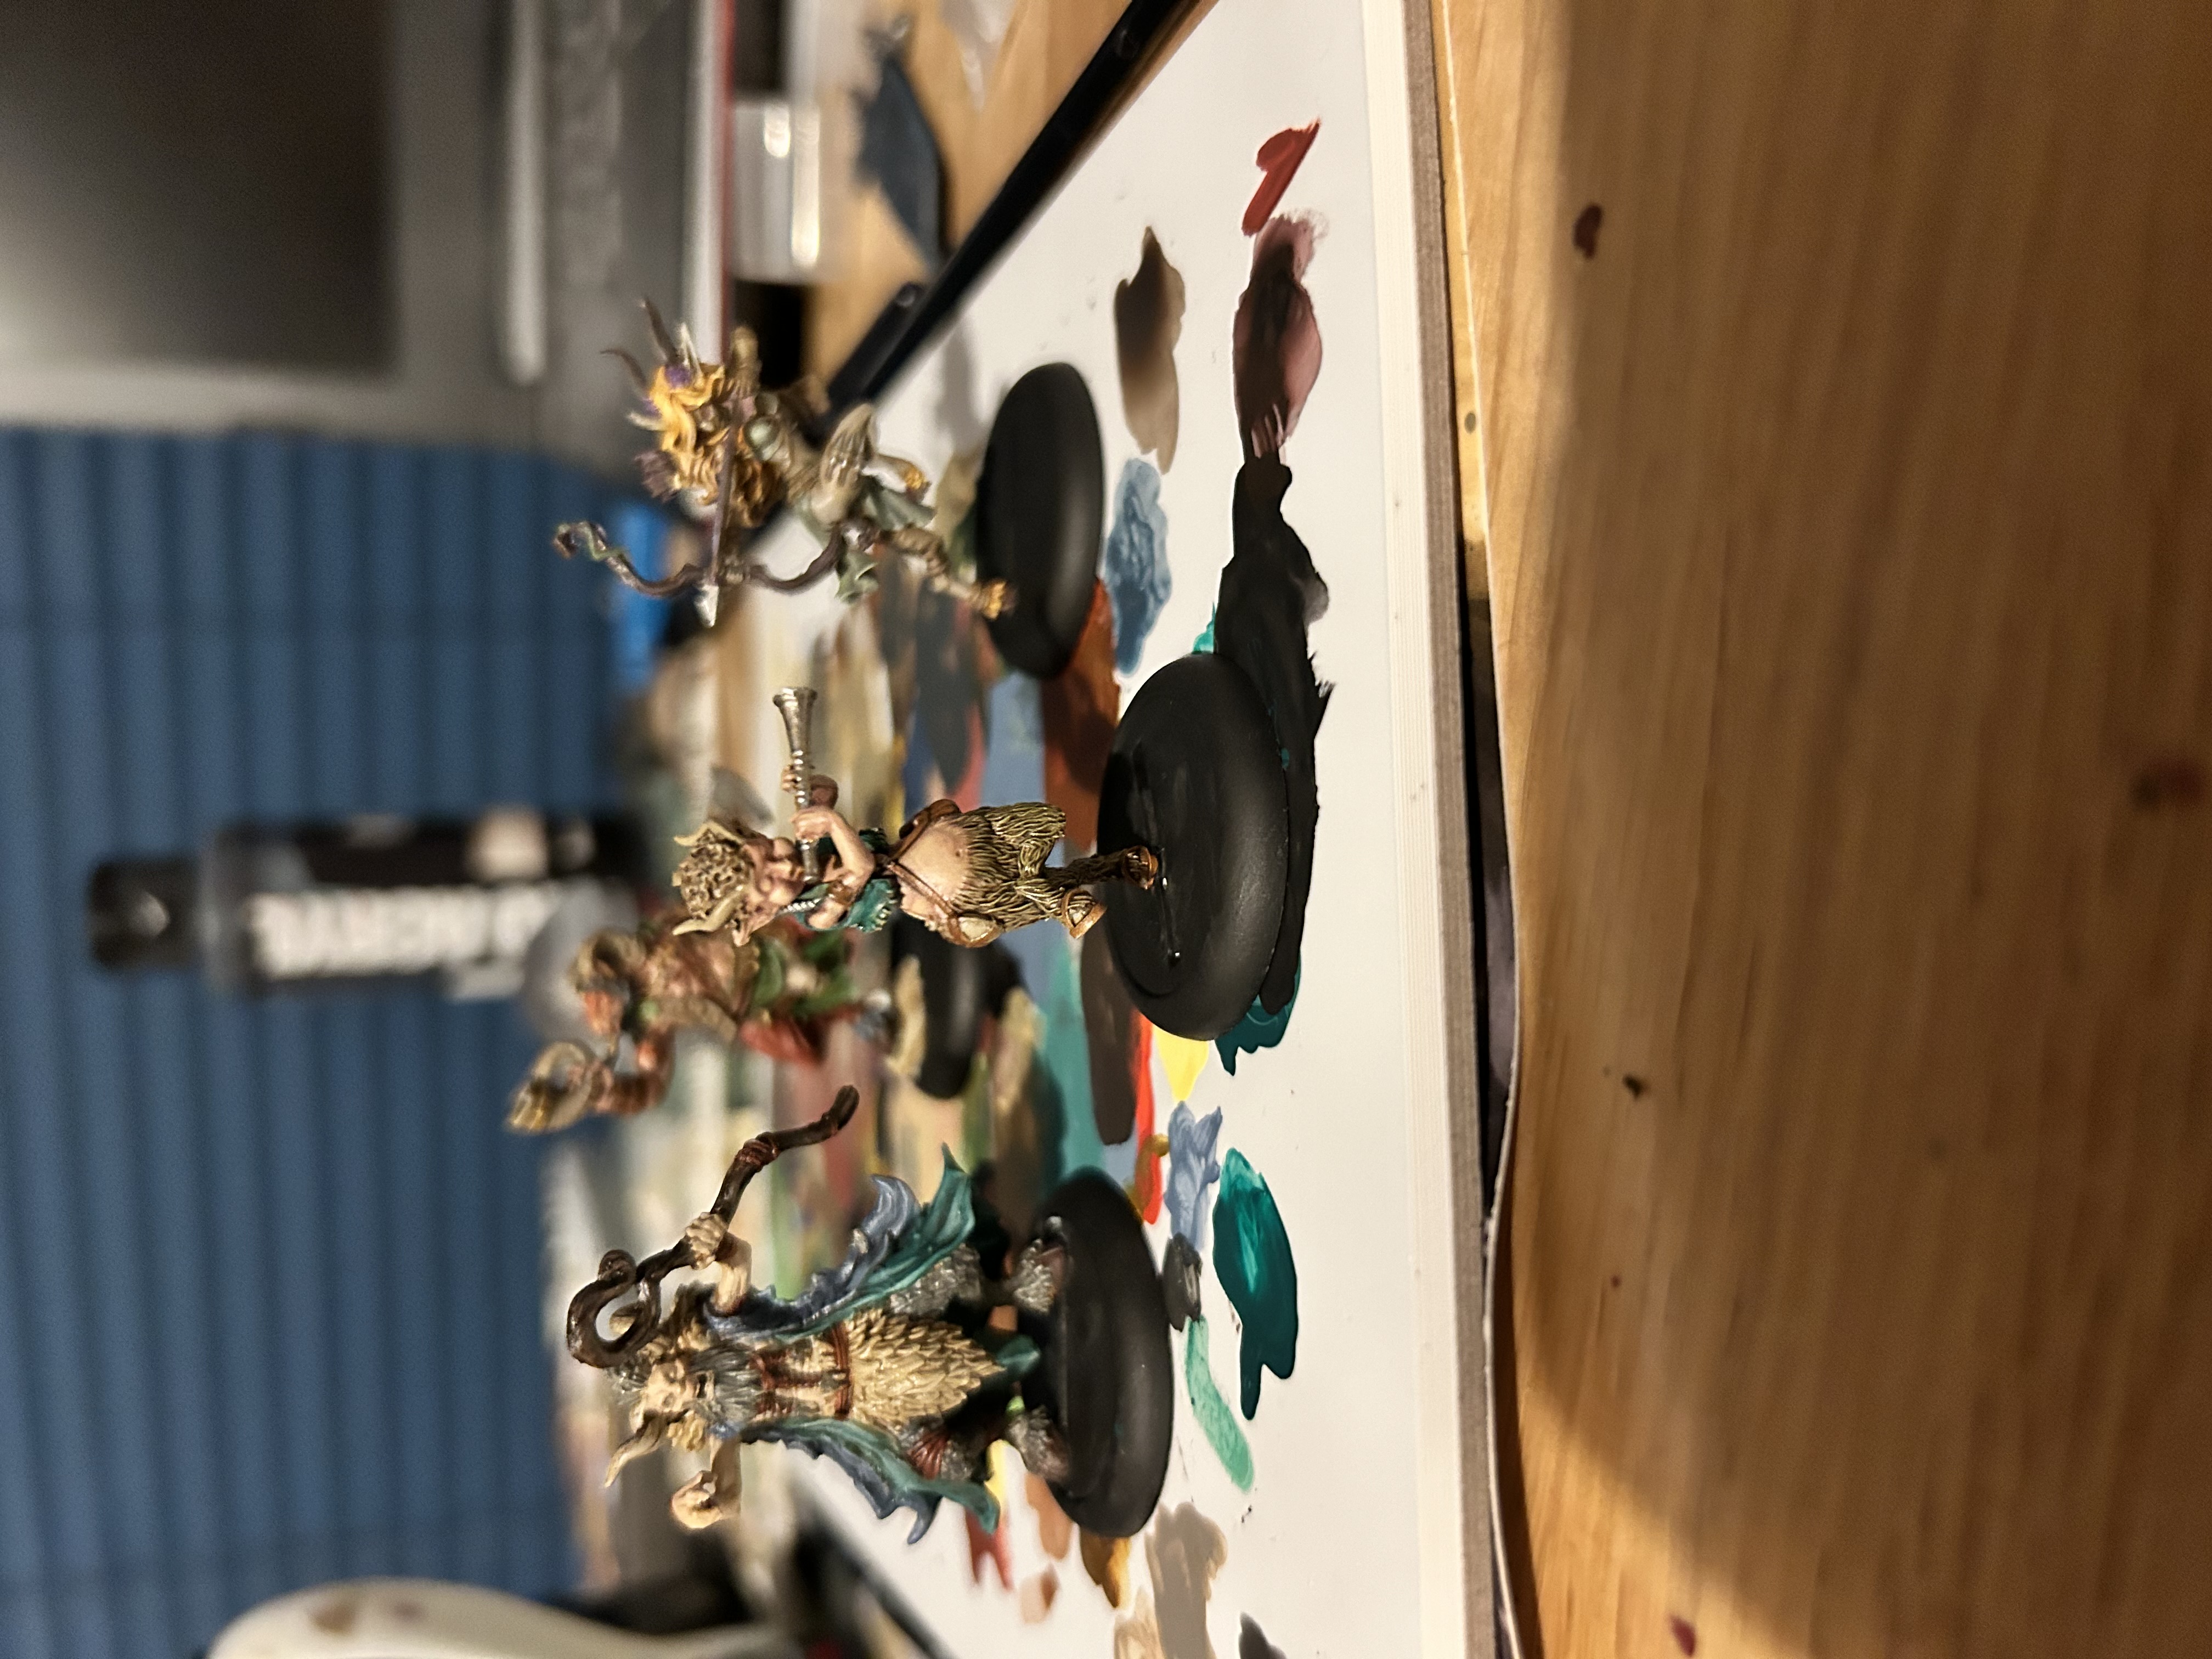
More Goblins
So I have managed to get some more of the Dominion painted. Just the Goblin Airship to go and then my built Goblins will be finished will be finished.
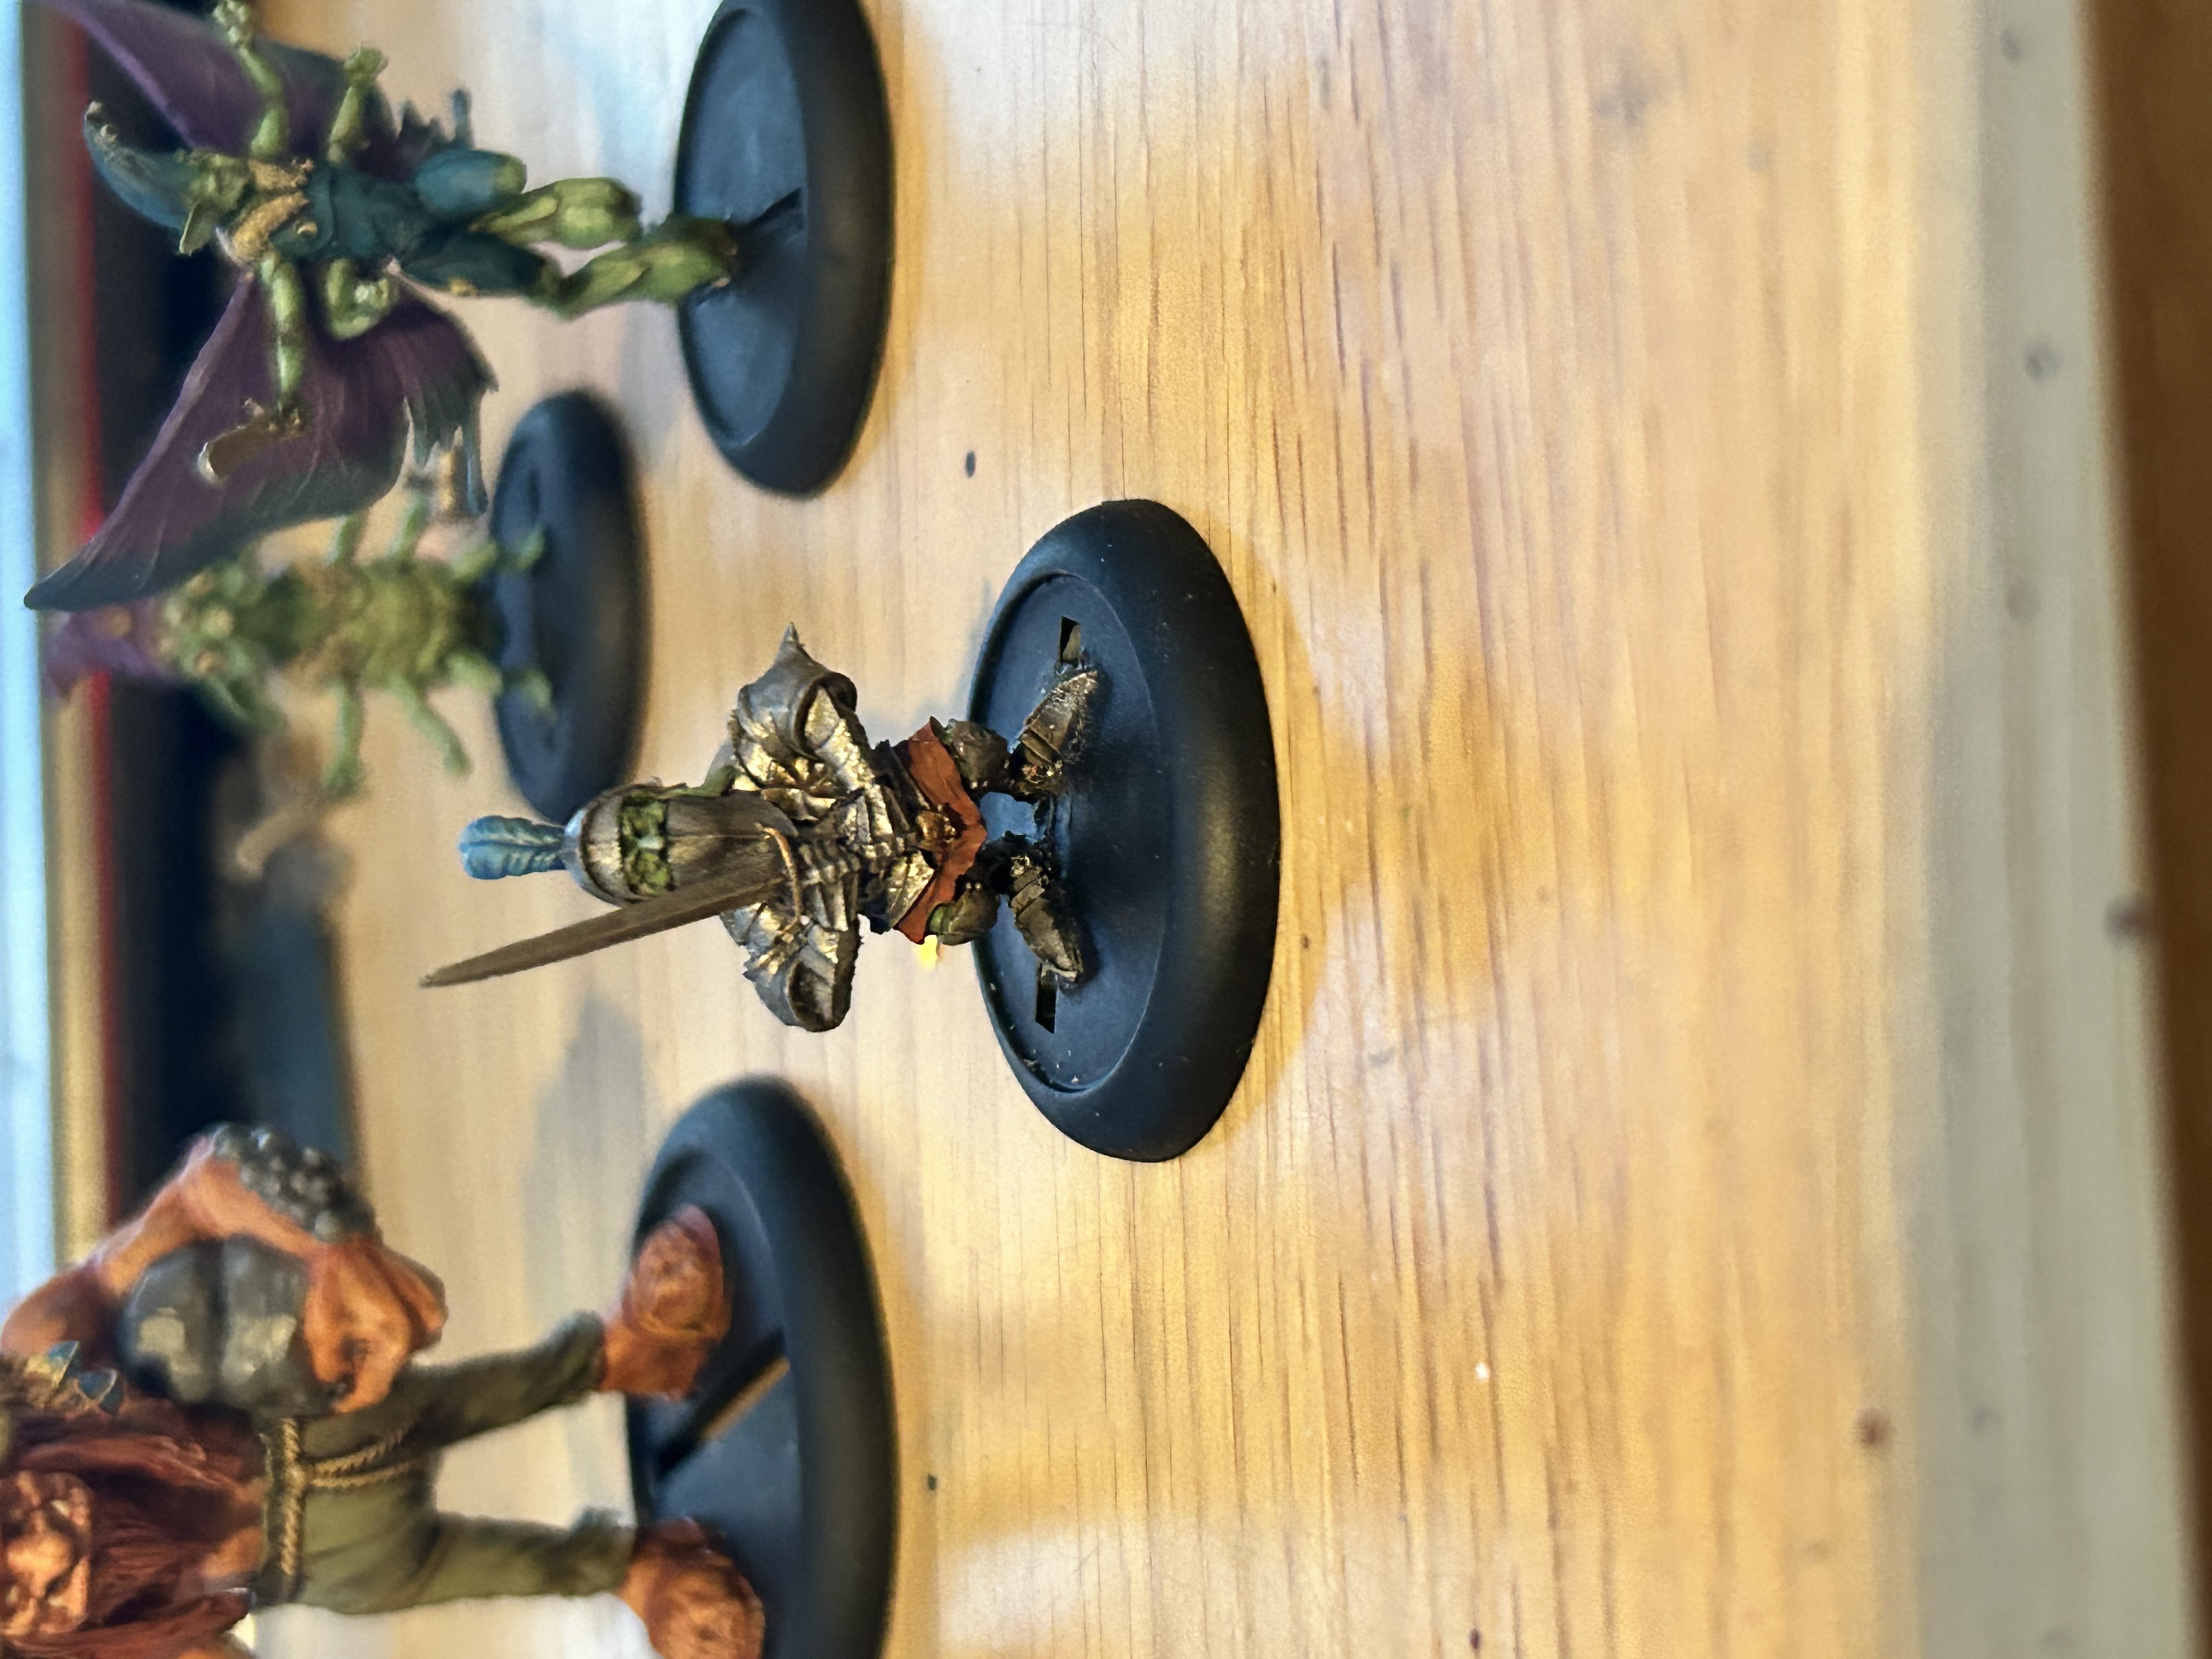
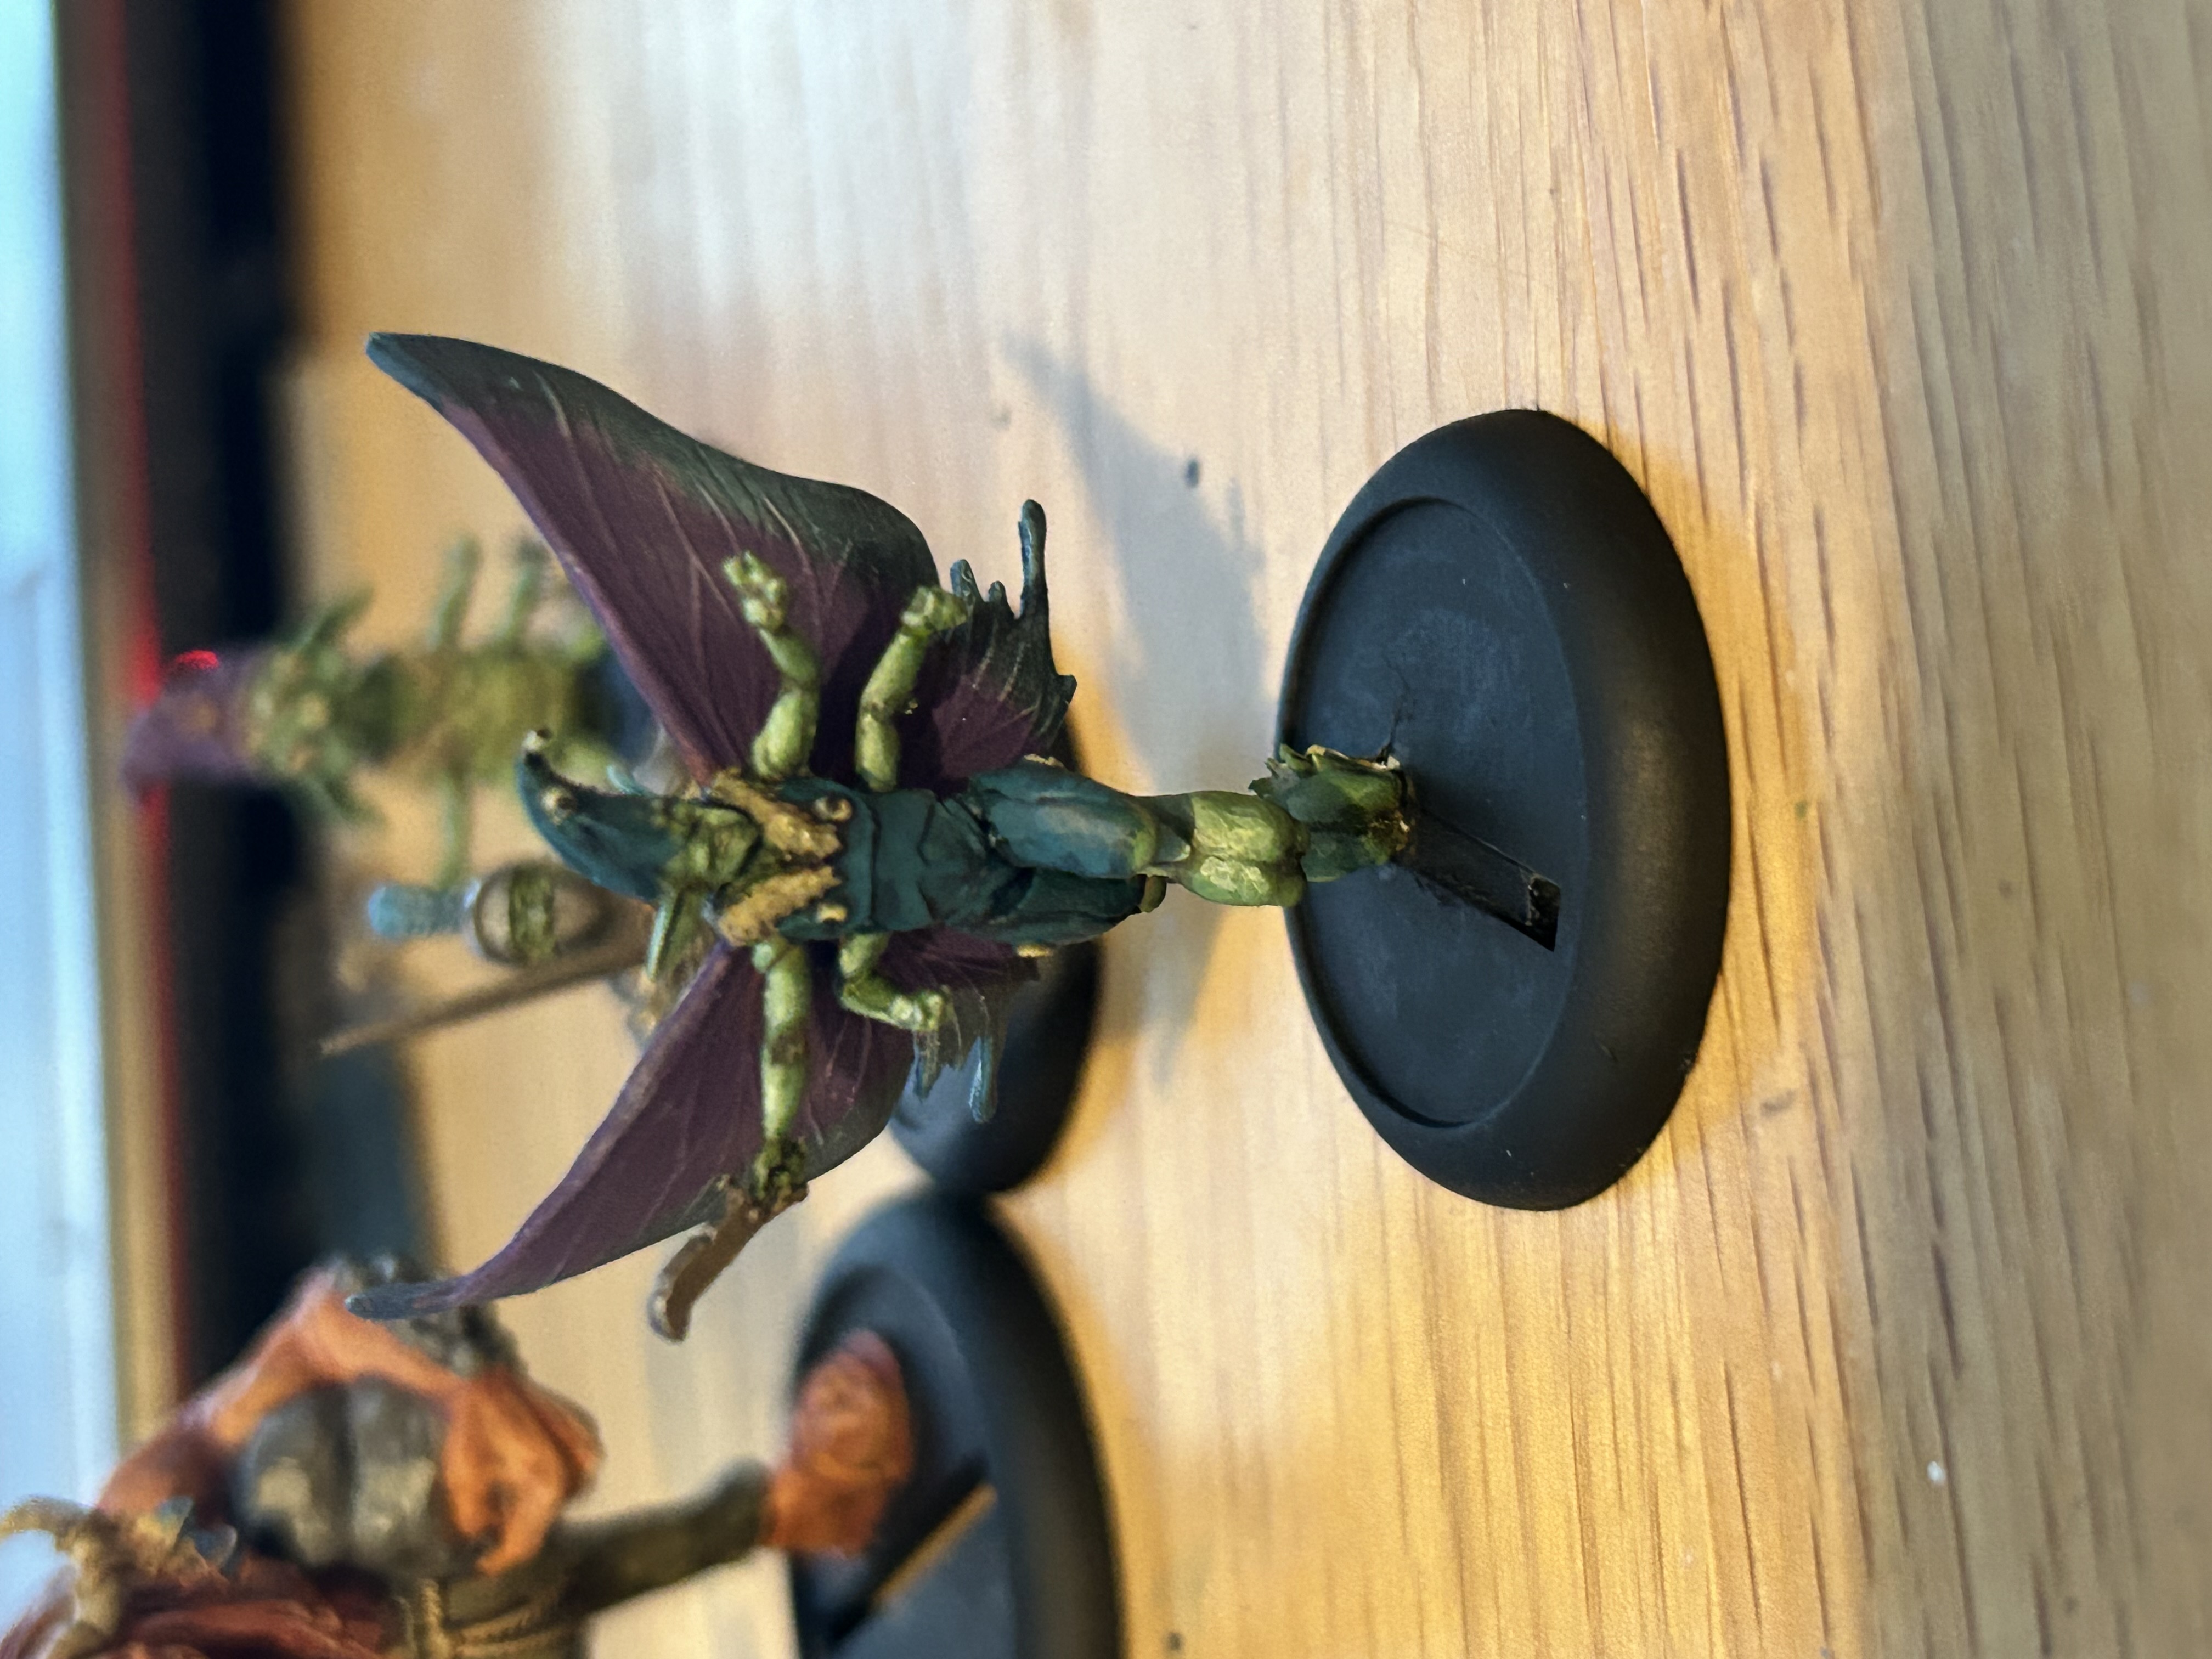
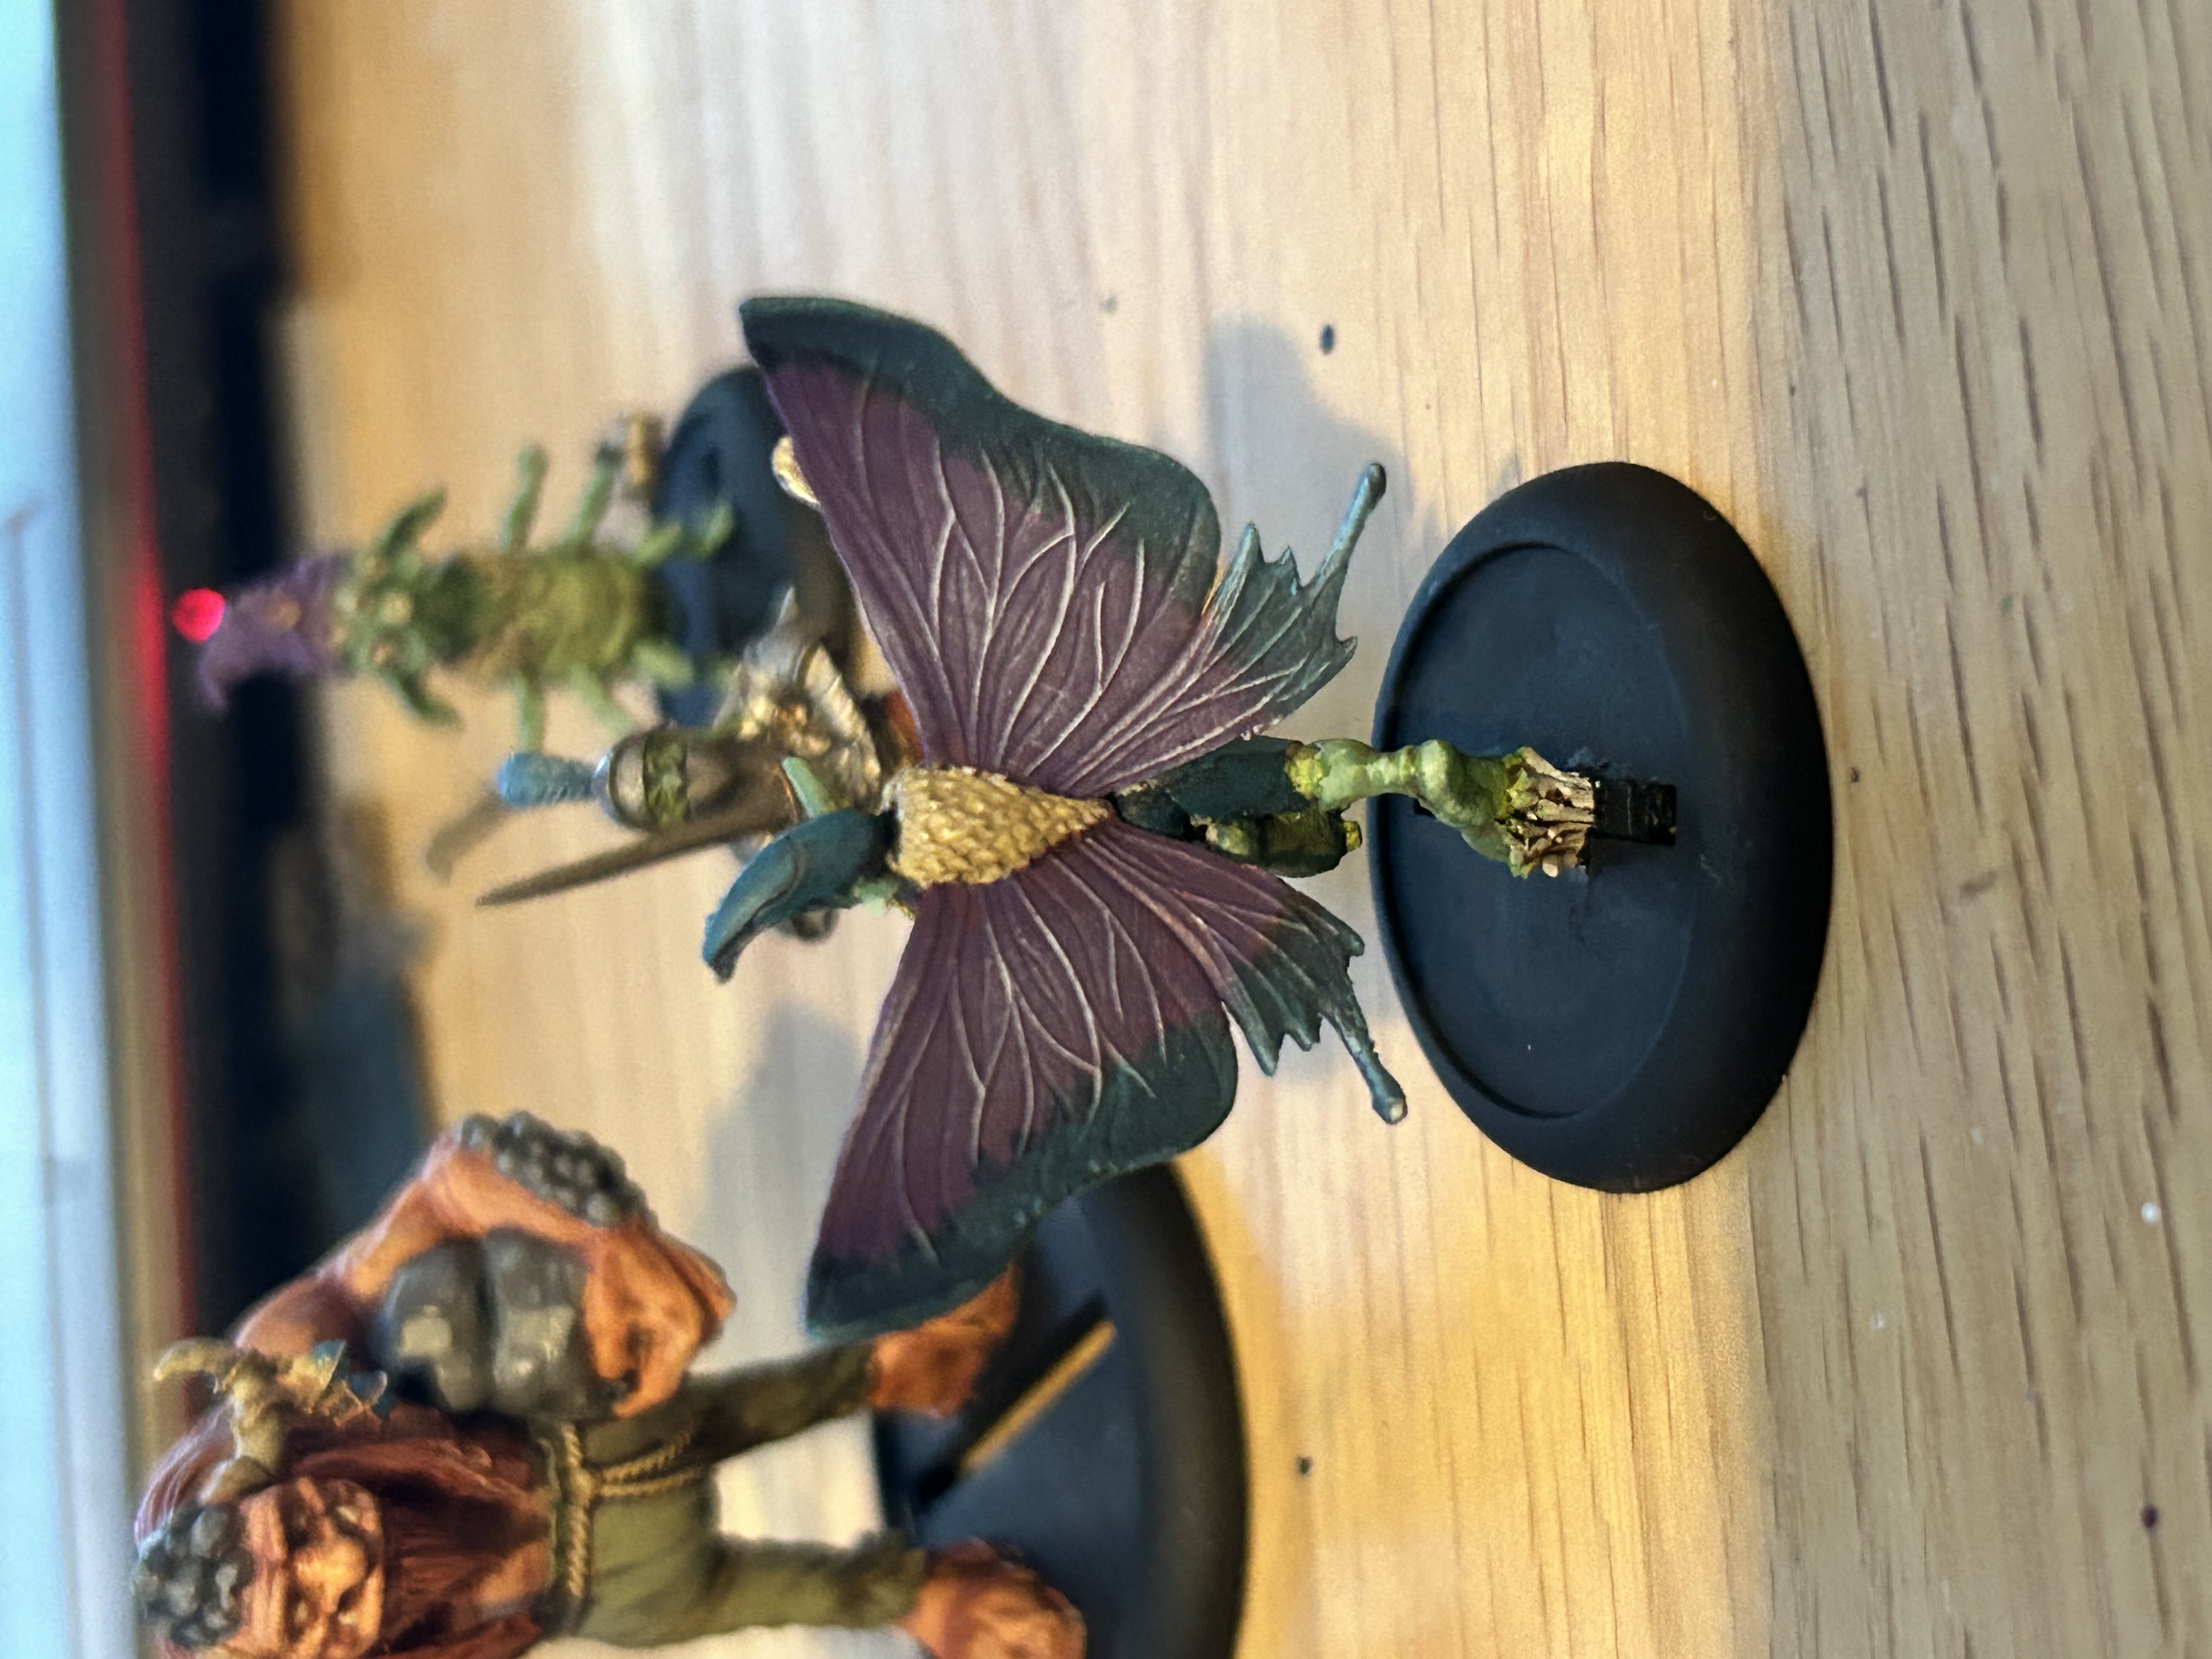
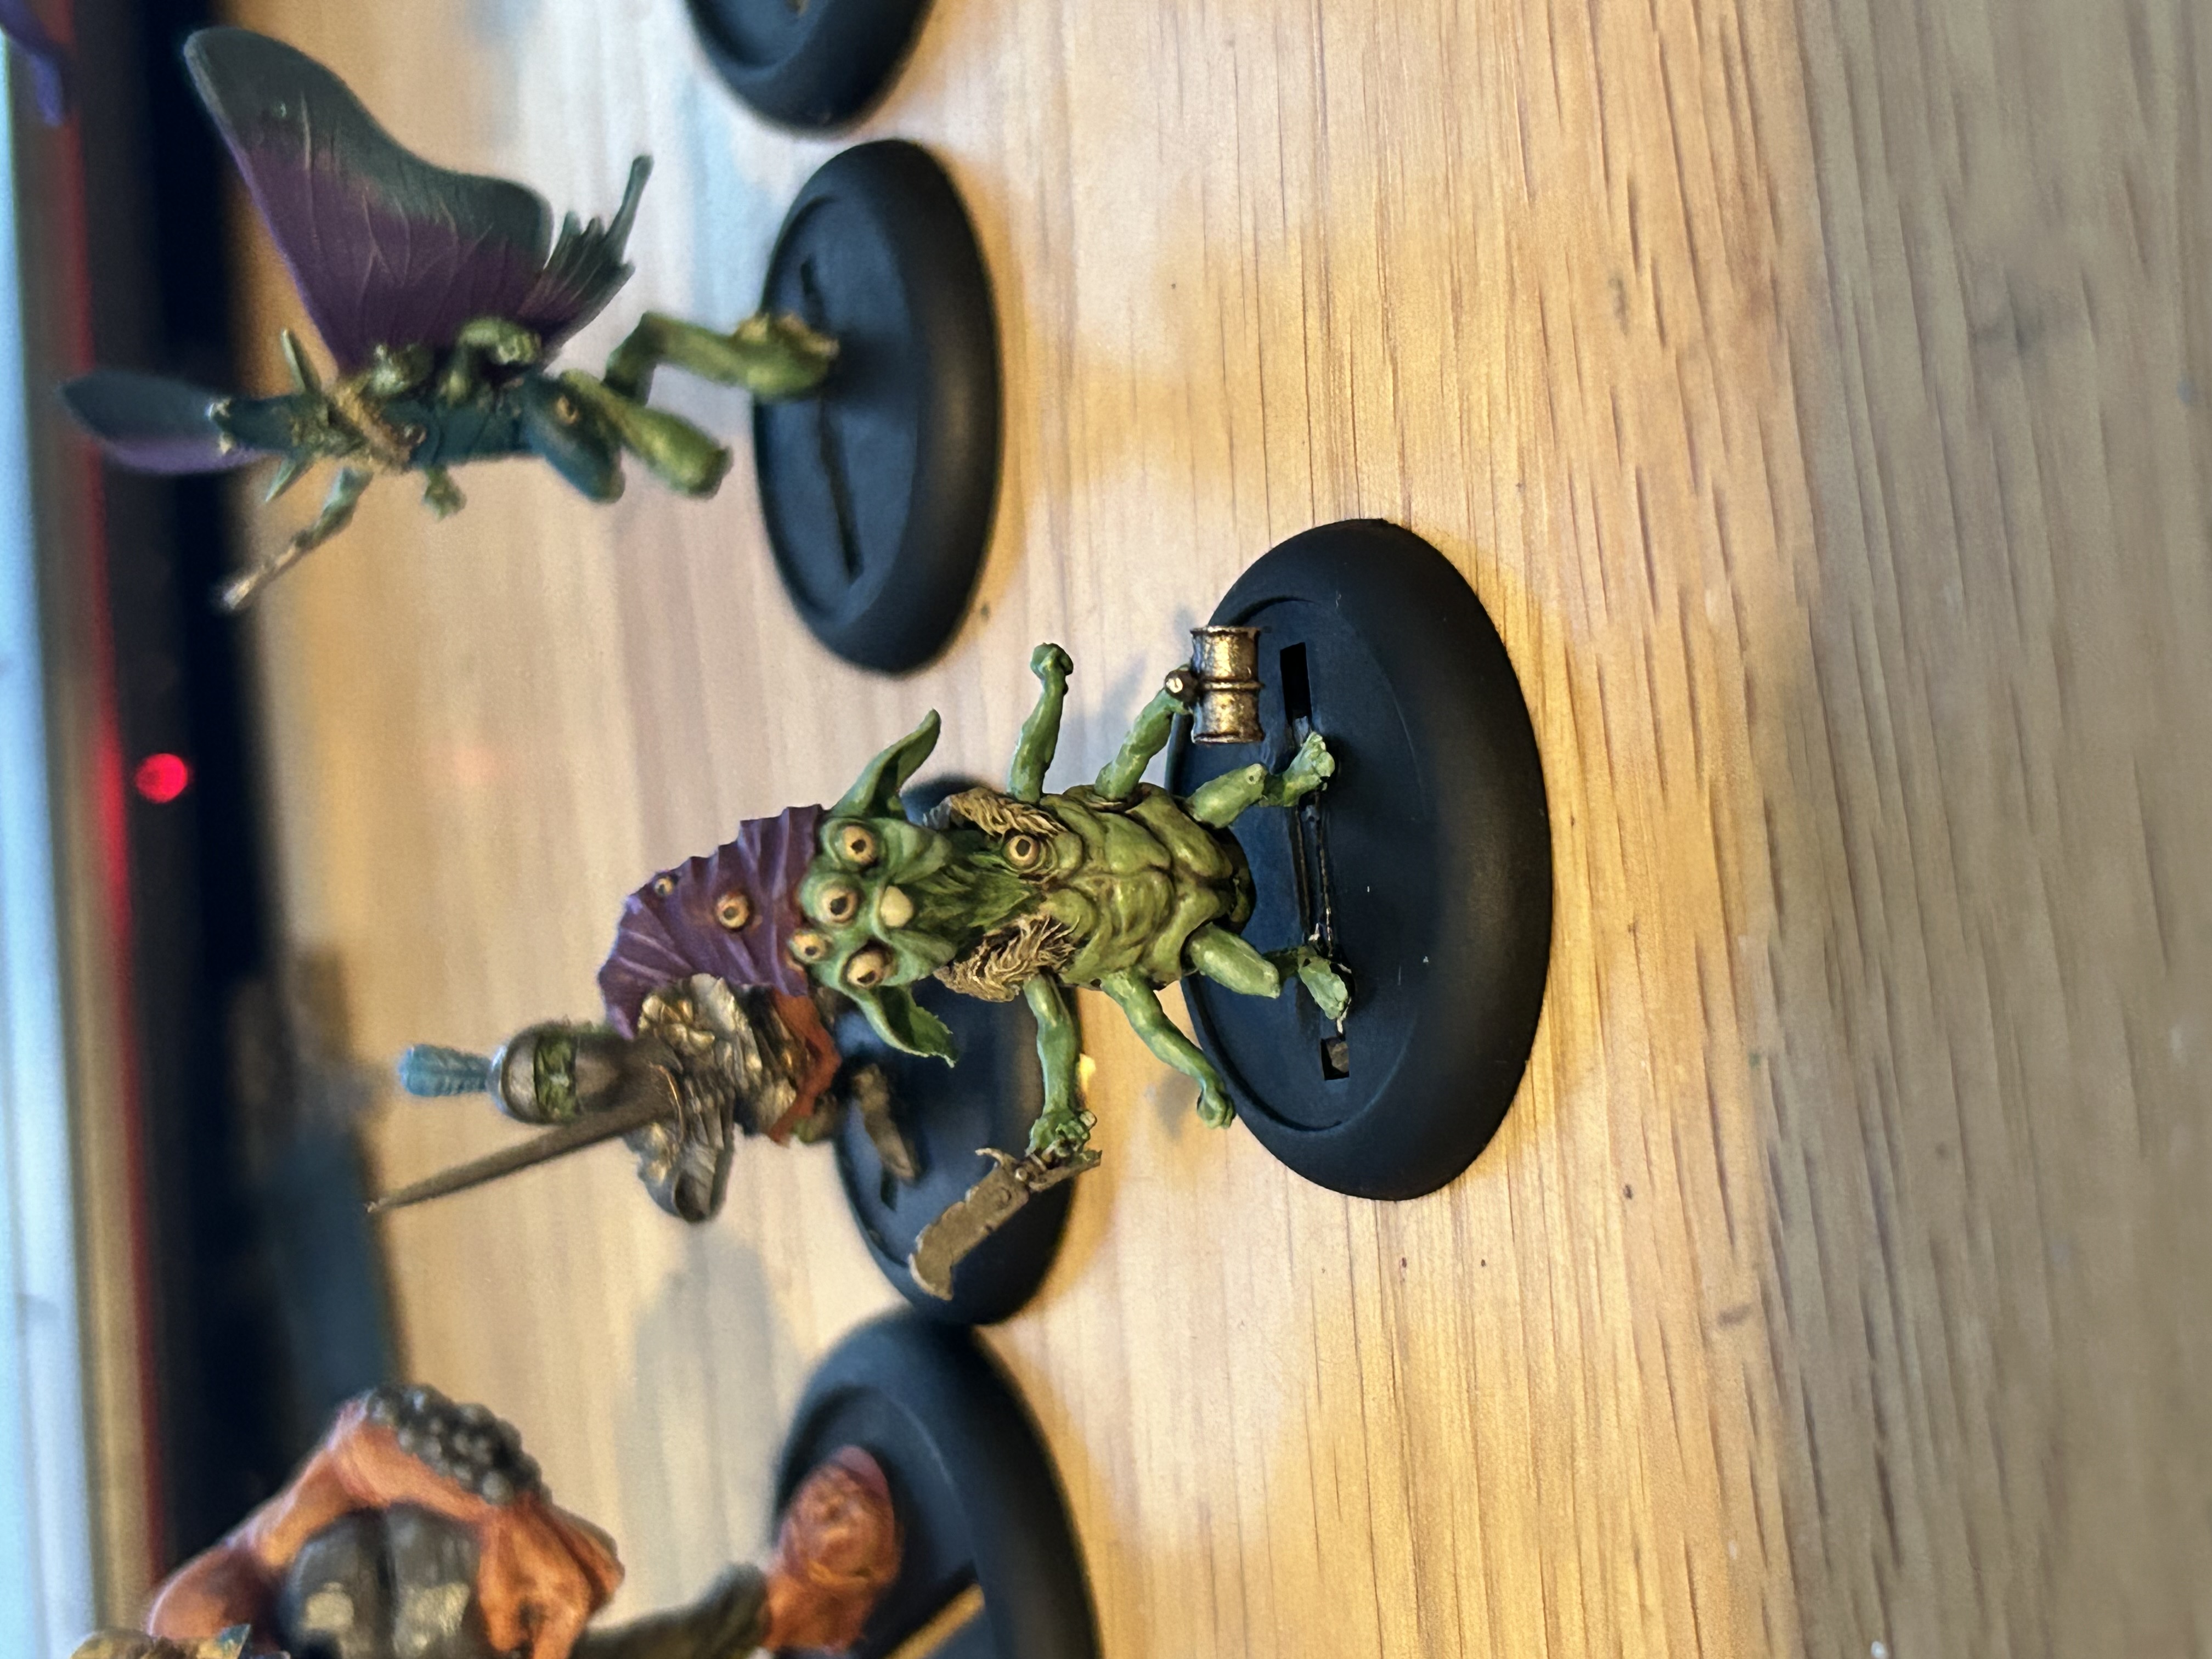
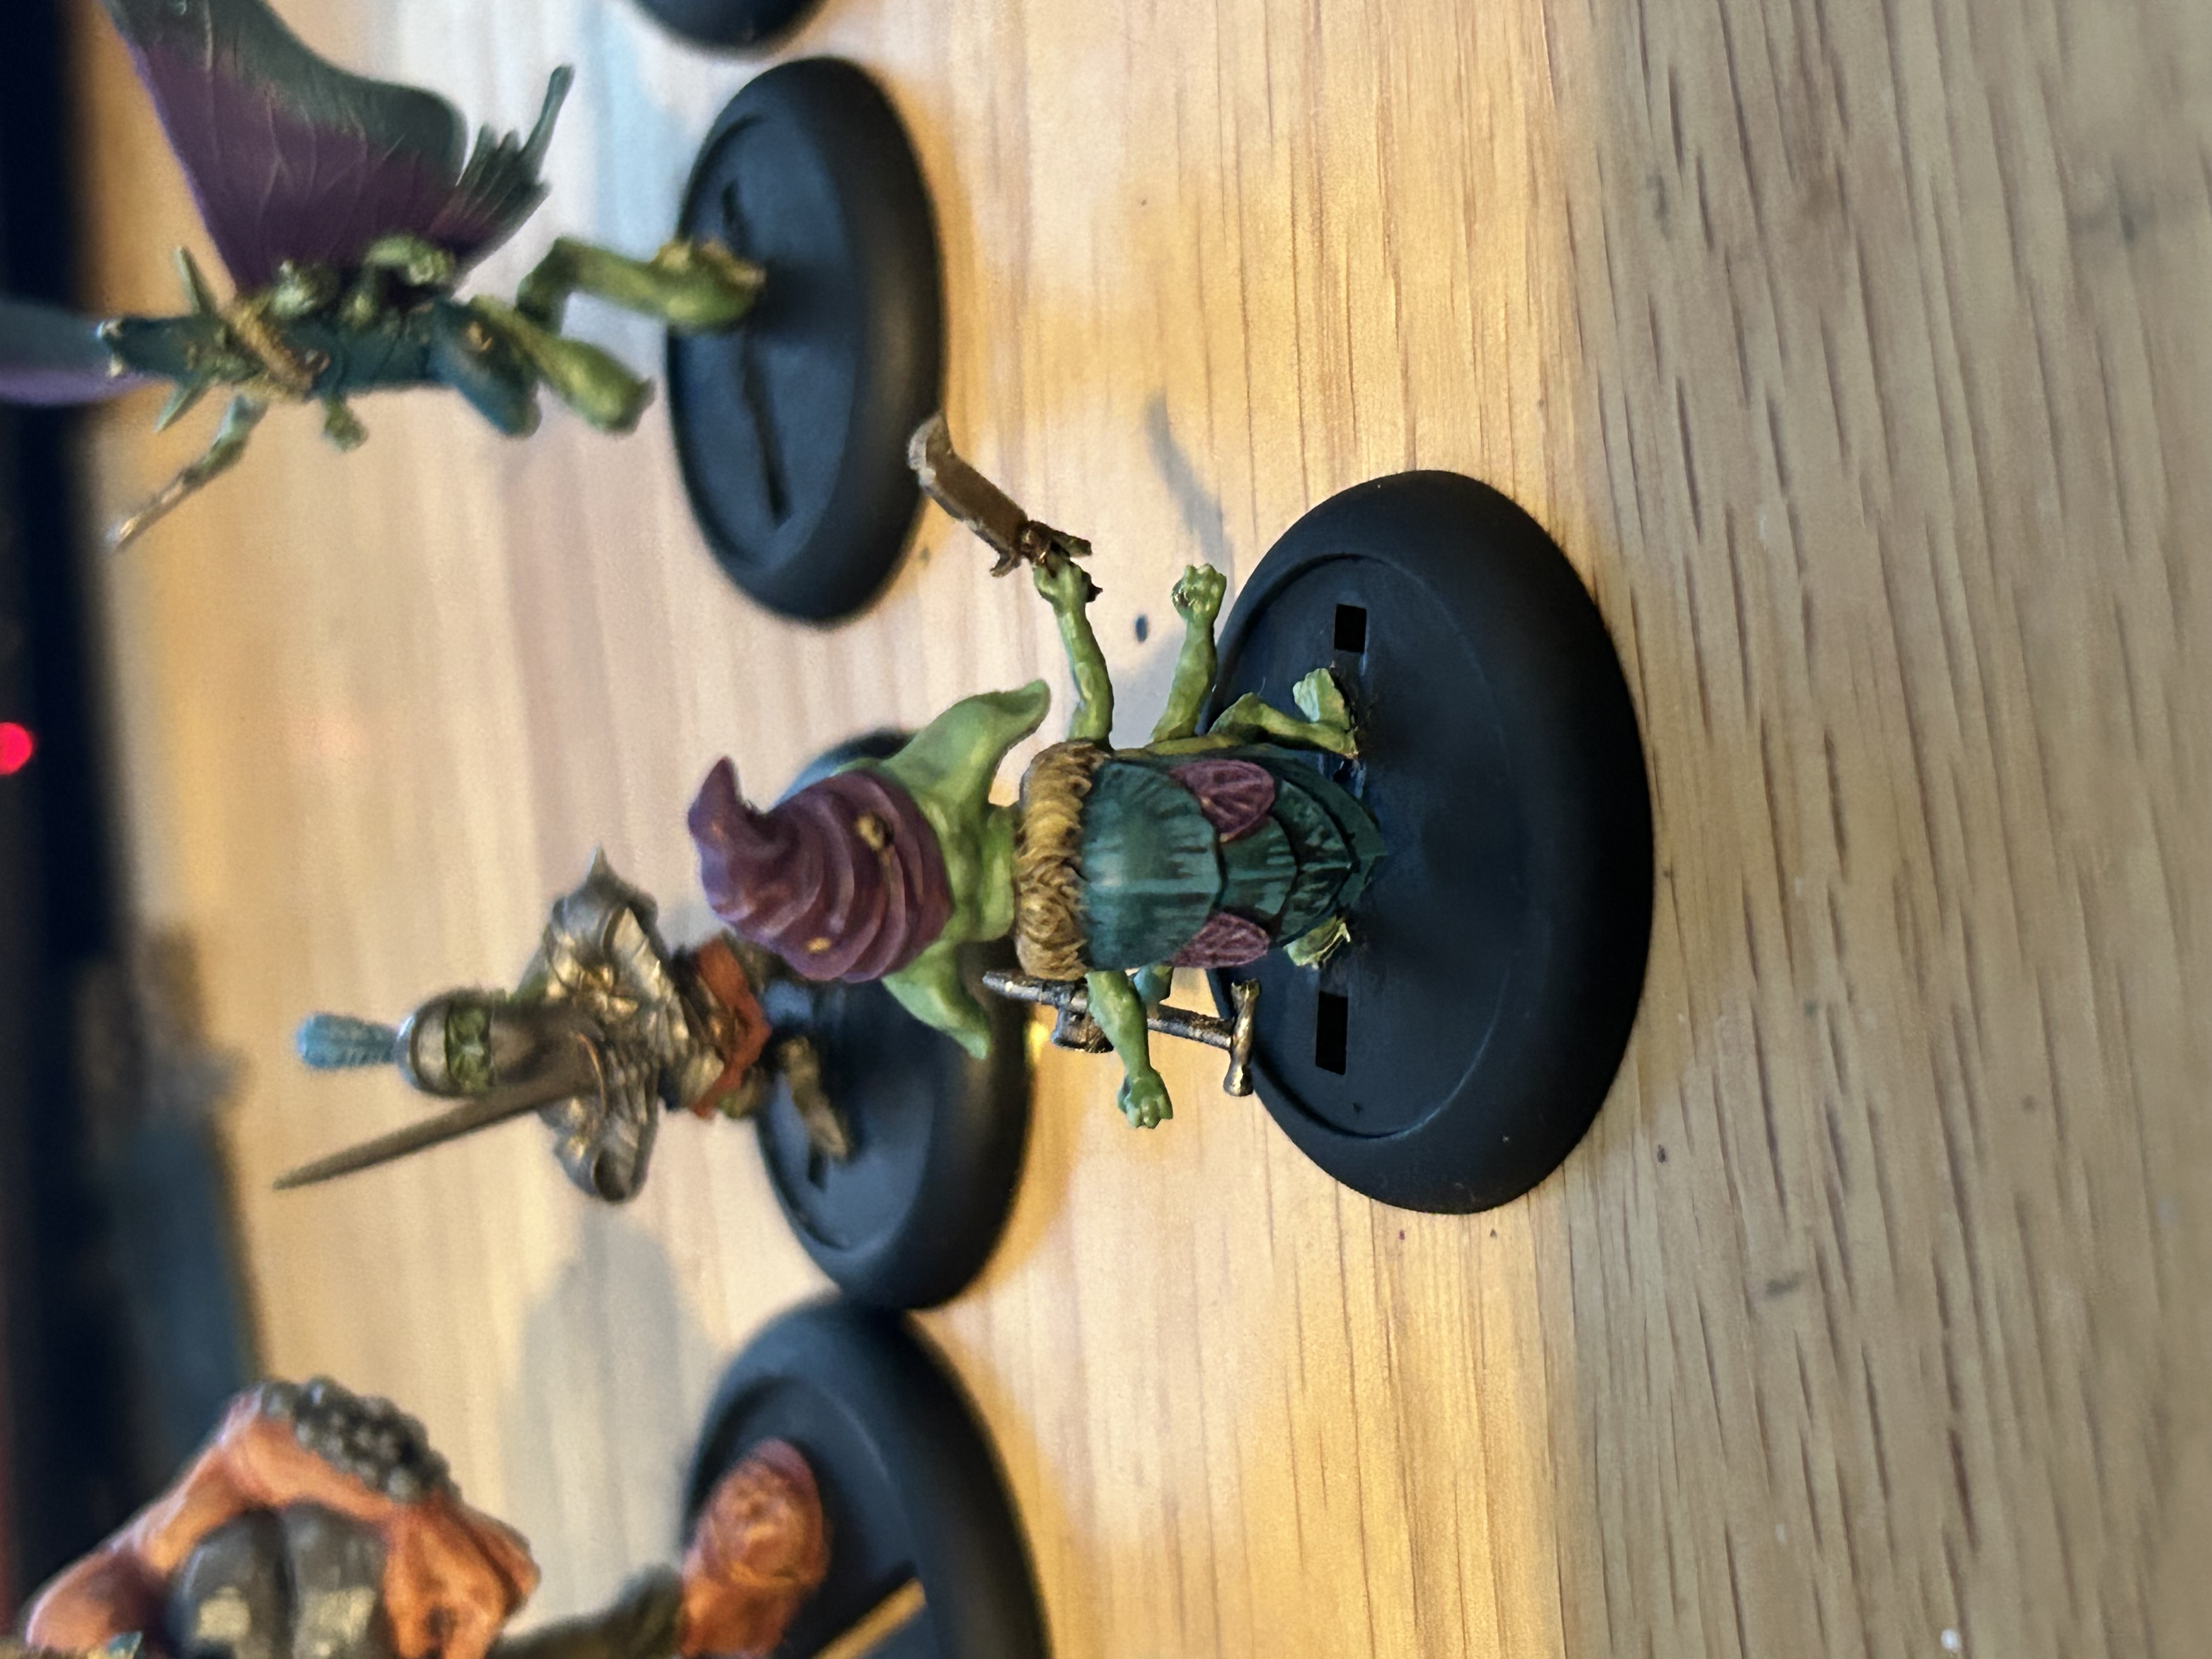

Of these models I think that Grub turned out the best but the others are acceptable. When I can face it, I will come back and highlight a few more things and may add a little more detail to the wings on Herbert.
i have practically finished boulder so will post the picture in my next post.
After that I may do the airship but also considering a palette cleanser and doing something else for a while.


