


Painting my Secret Weapon Dungeon Tiles


Recommendations: 70
About the Project
With the arrival of my Secret Weapon Miniatures Kickstart rewards I was faced with quite a collection of dungeon tiles from their new Tablescapes range. To avoid the trap of "getting to them later" and because I'd much rather store things painted than not I began work on them right away. I decided to start this project blog to help maintain my motivation. Let's hope it works because I have a lot of bits and bobs waiting for paint.
Related Genre: Game Aid
This Project is Active
The Process Unfolds
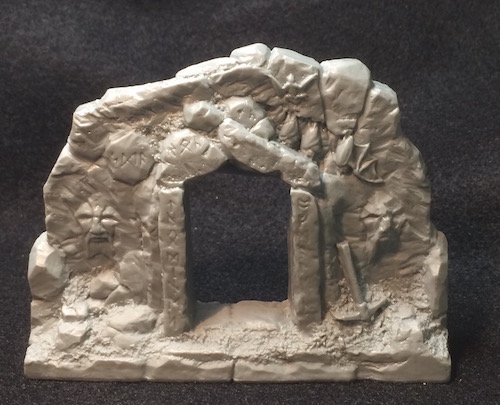
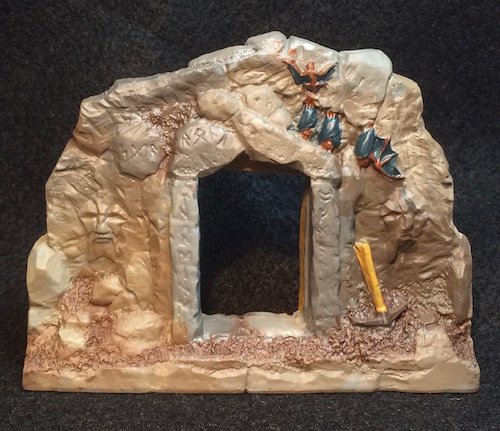
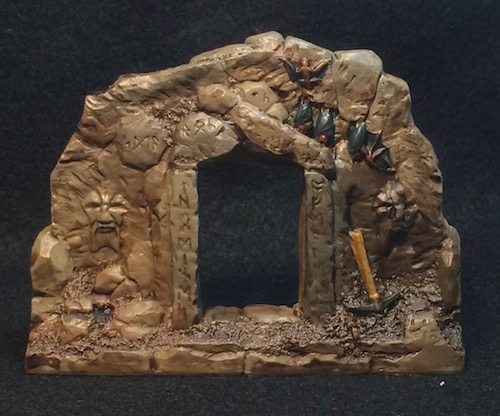


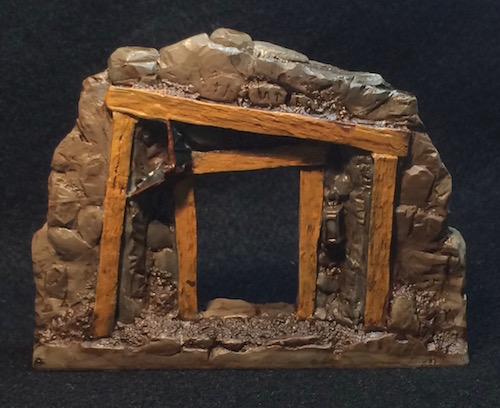
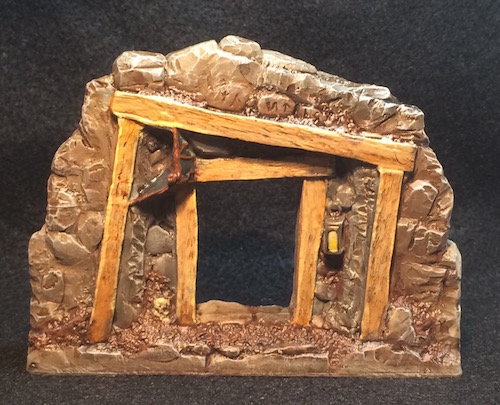
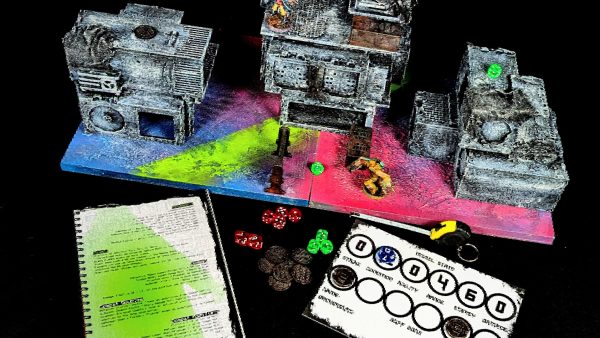
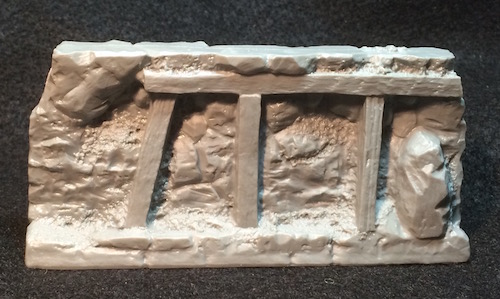
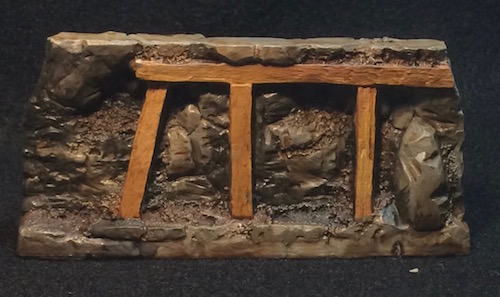
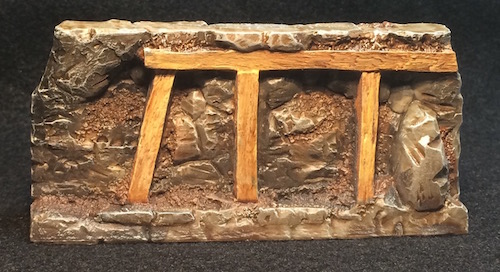
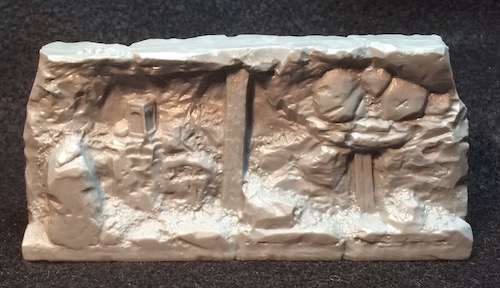
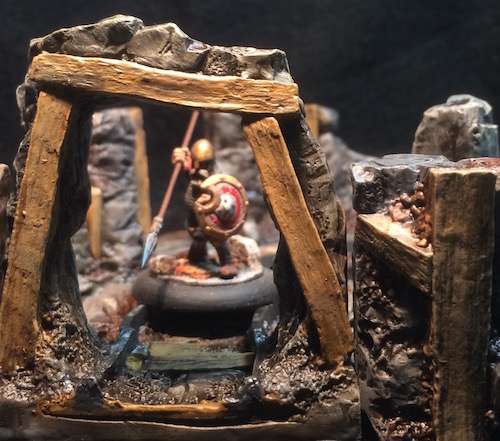
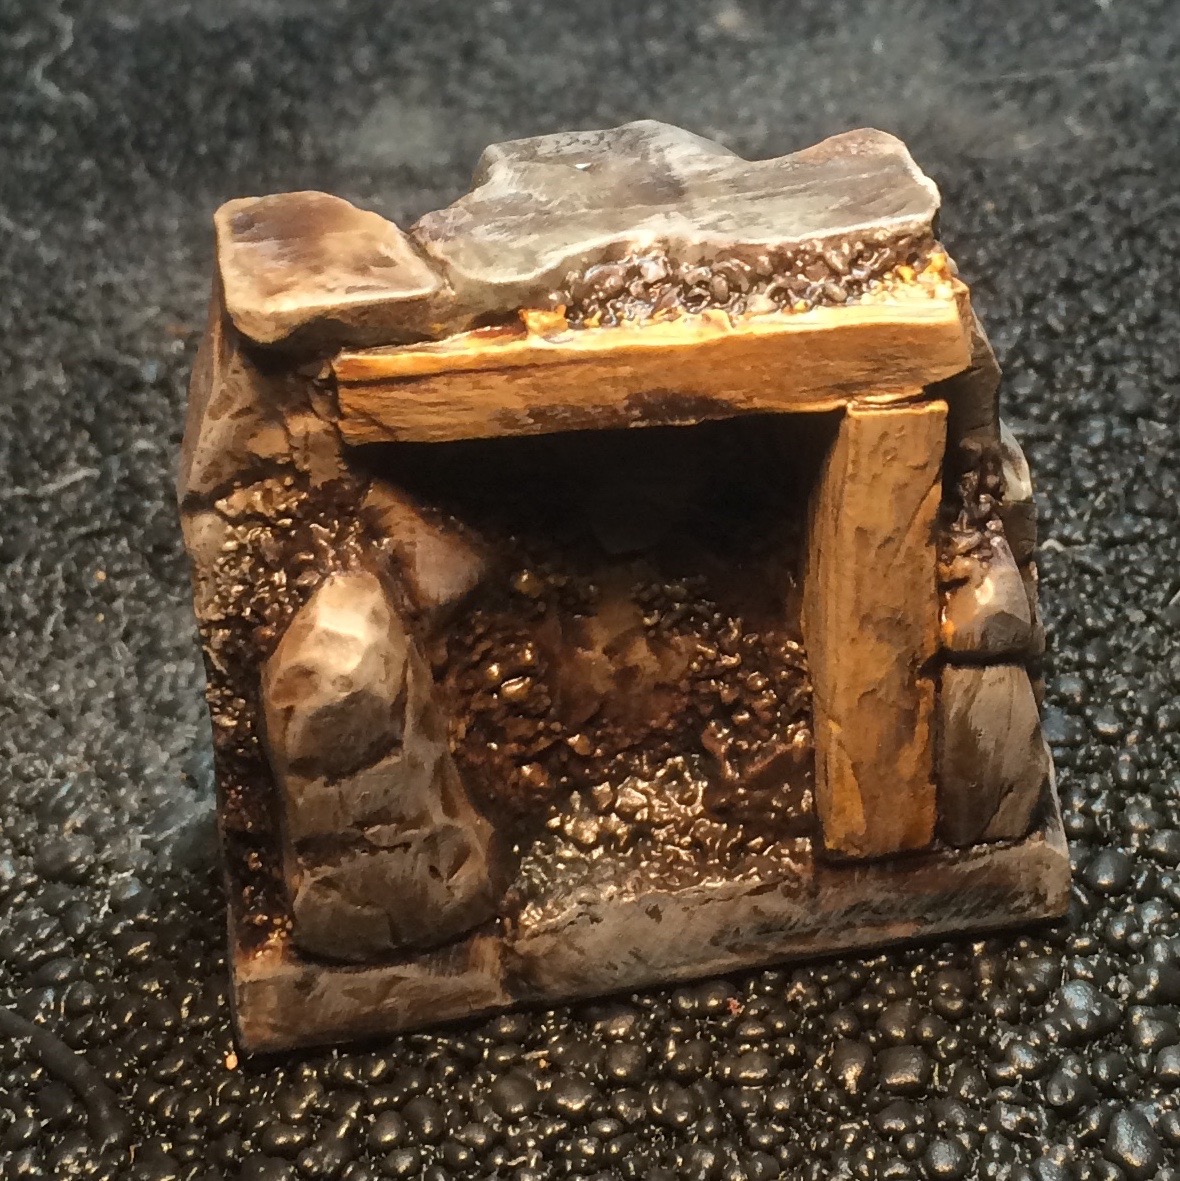
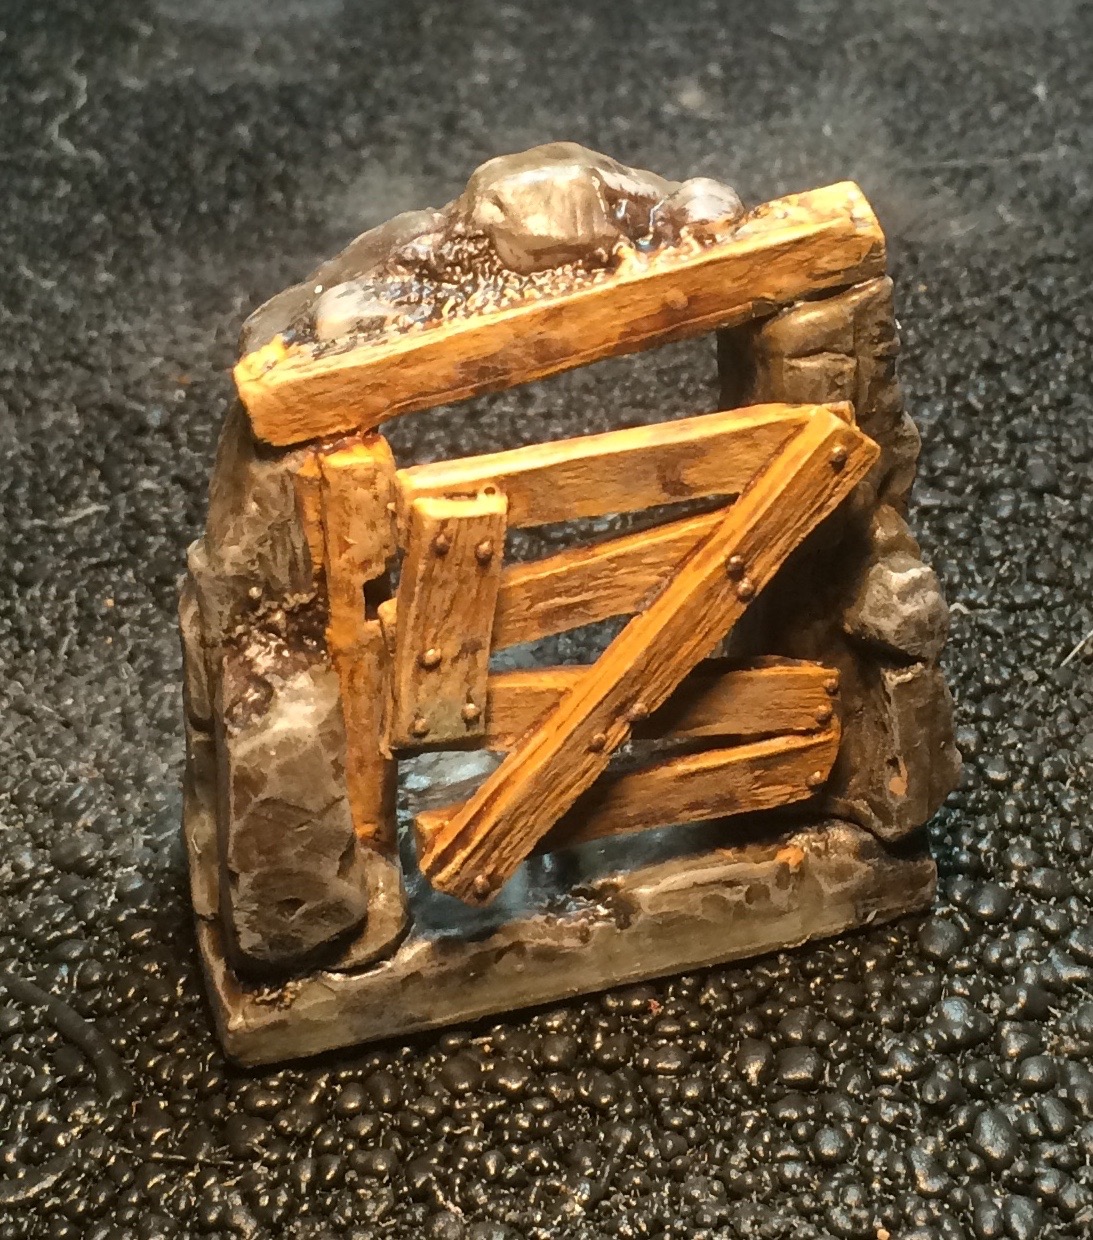
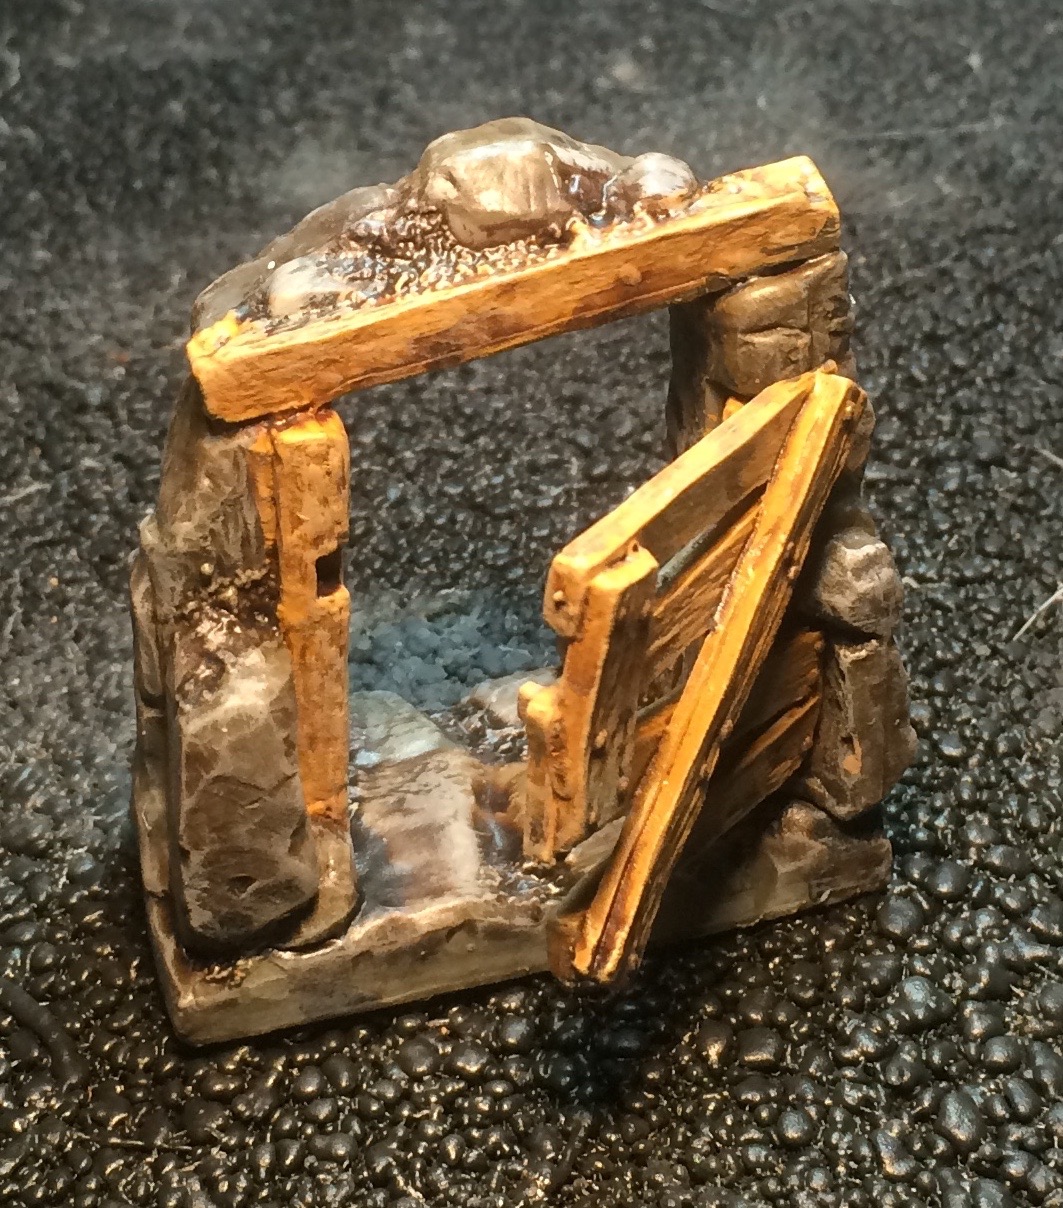
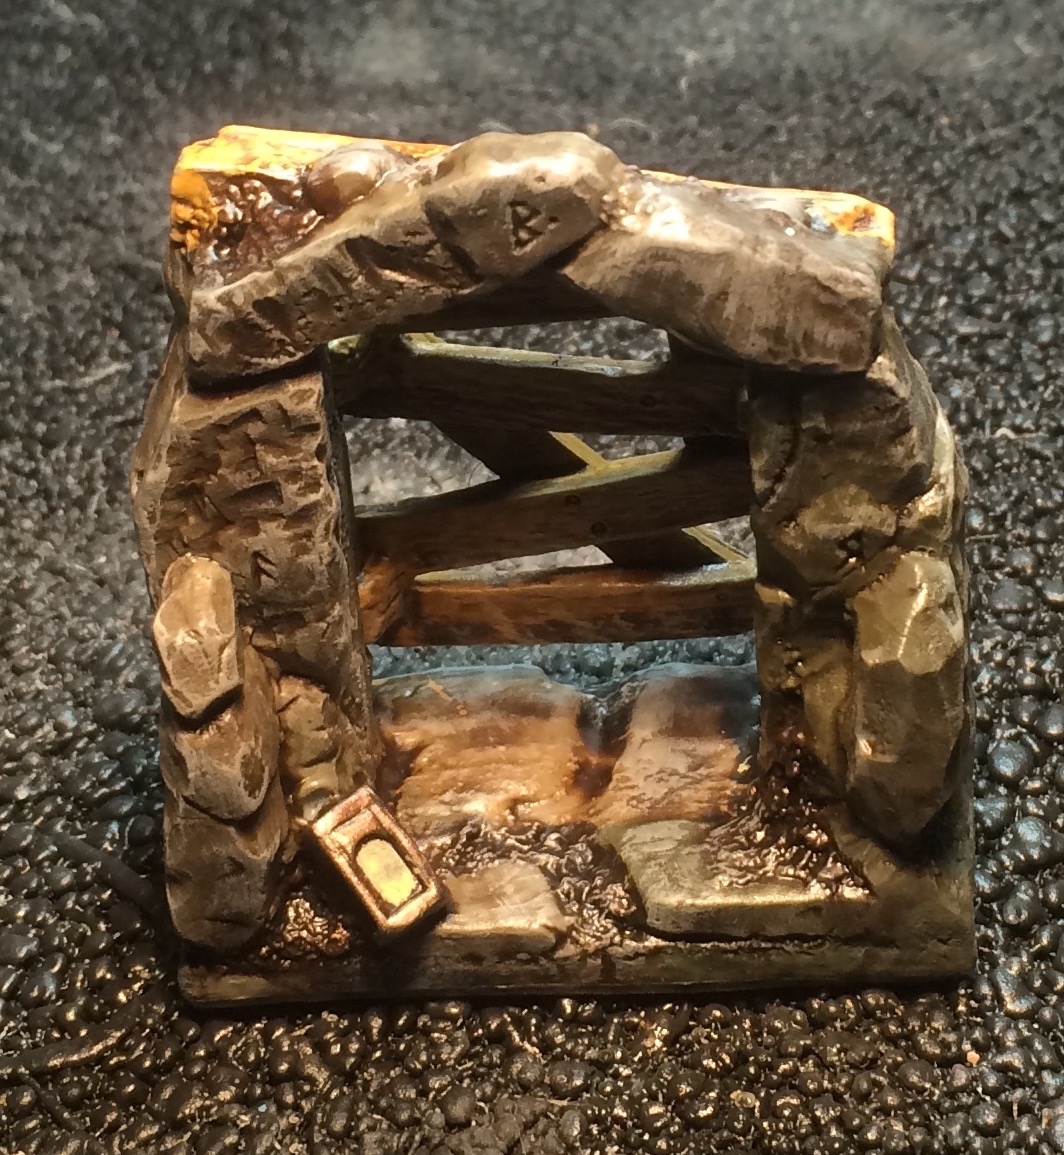
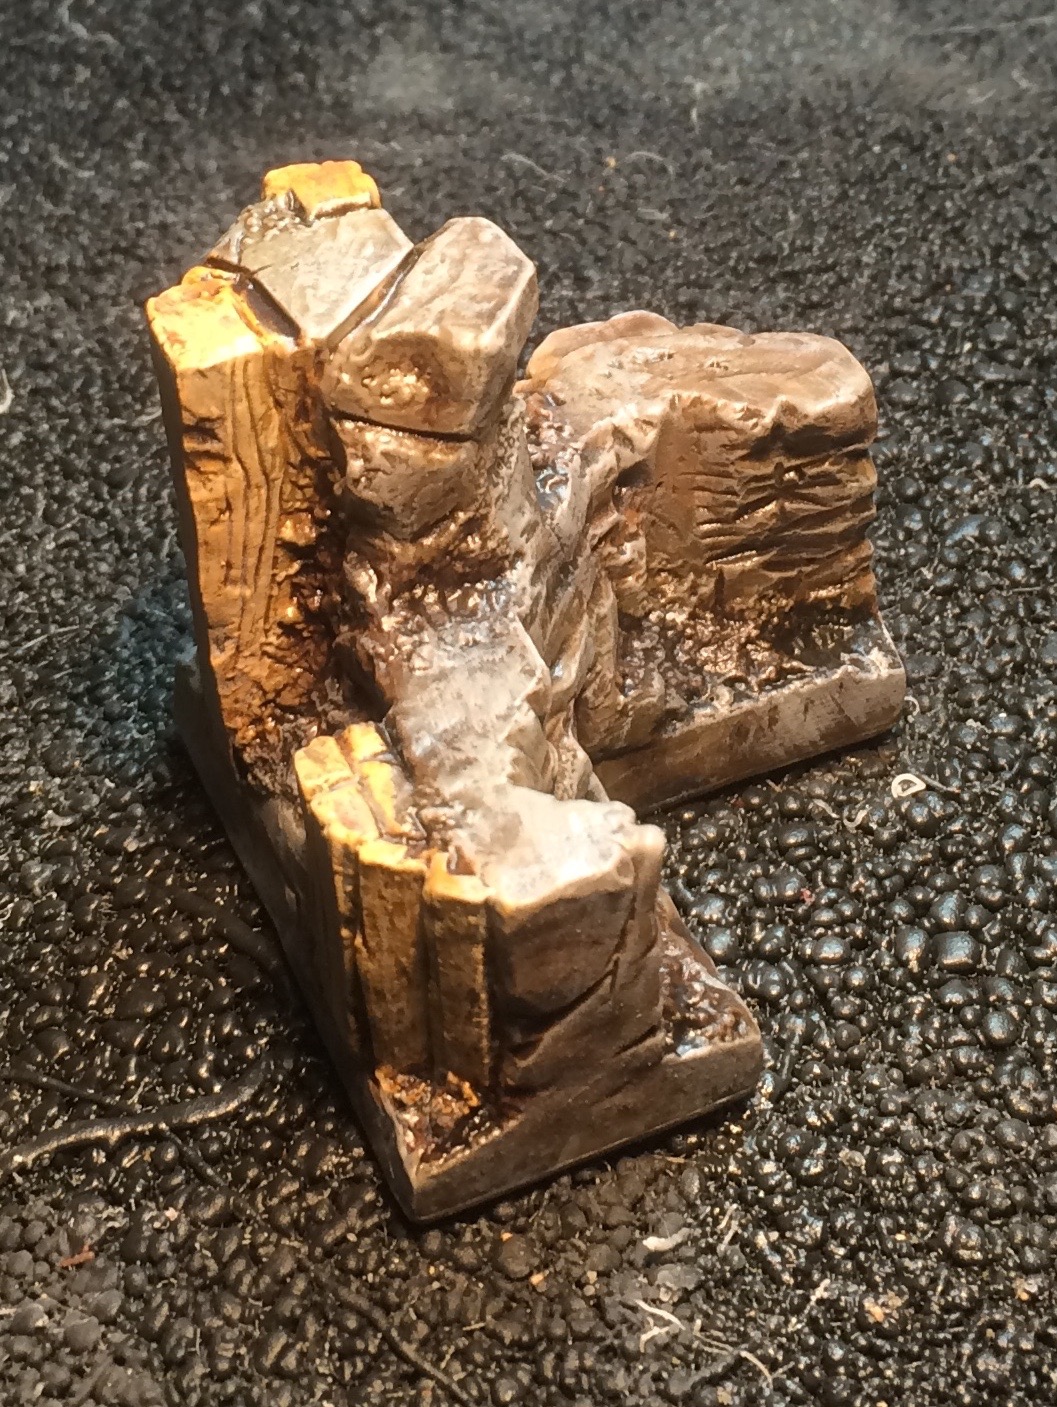
Here we have the main entry piece, both front and back (or outside and in depending on perspective) showing the four stages the pieces go through. The first picture is the bare Bones plastic though it is darker in person. The second is the base coats and the third is after the stain. The fourth picture is the finished piece mostly dry brushed but details are picked out carefully.
As with army painting, I find neatness really speeds up the entire process. I probably do paint a little slower but don’t spend any time cleaning things up except some details in the final stage.
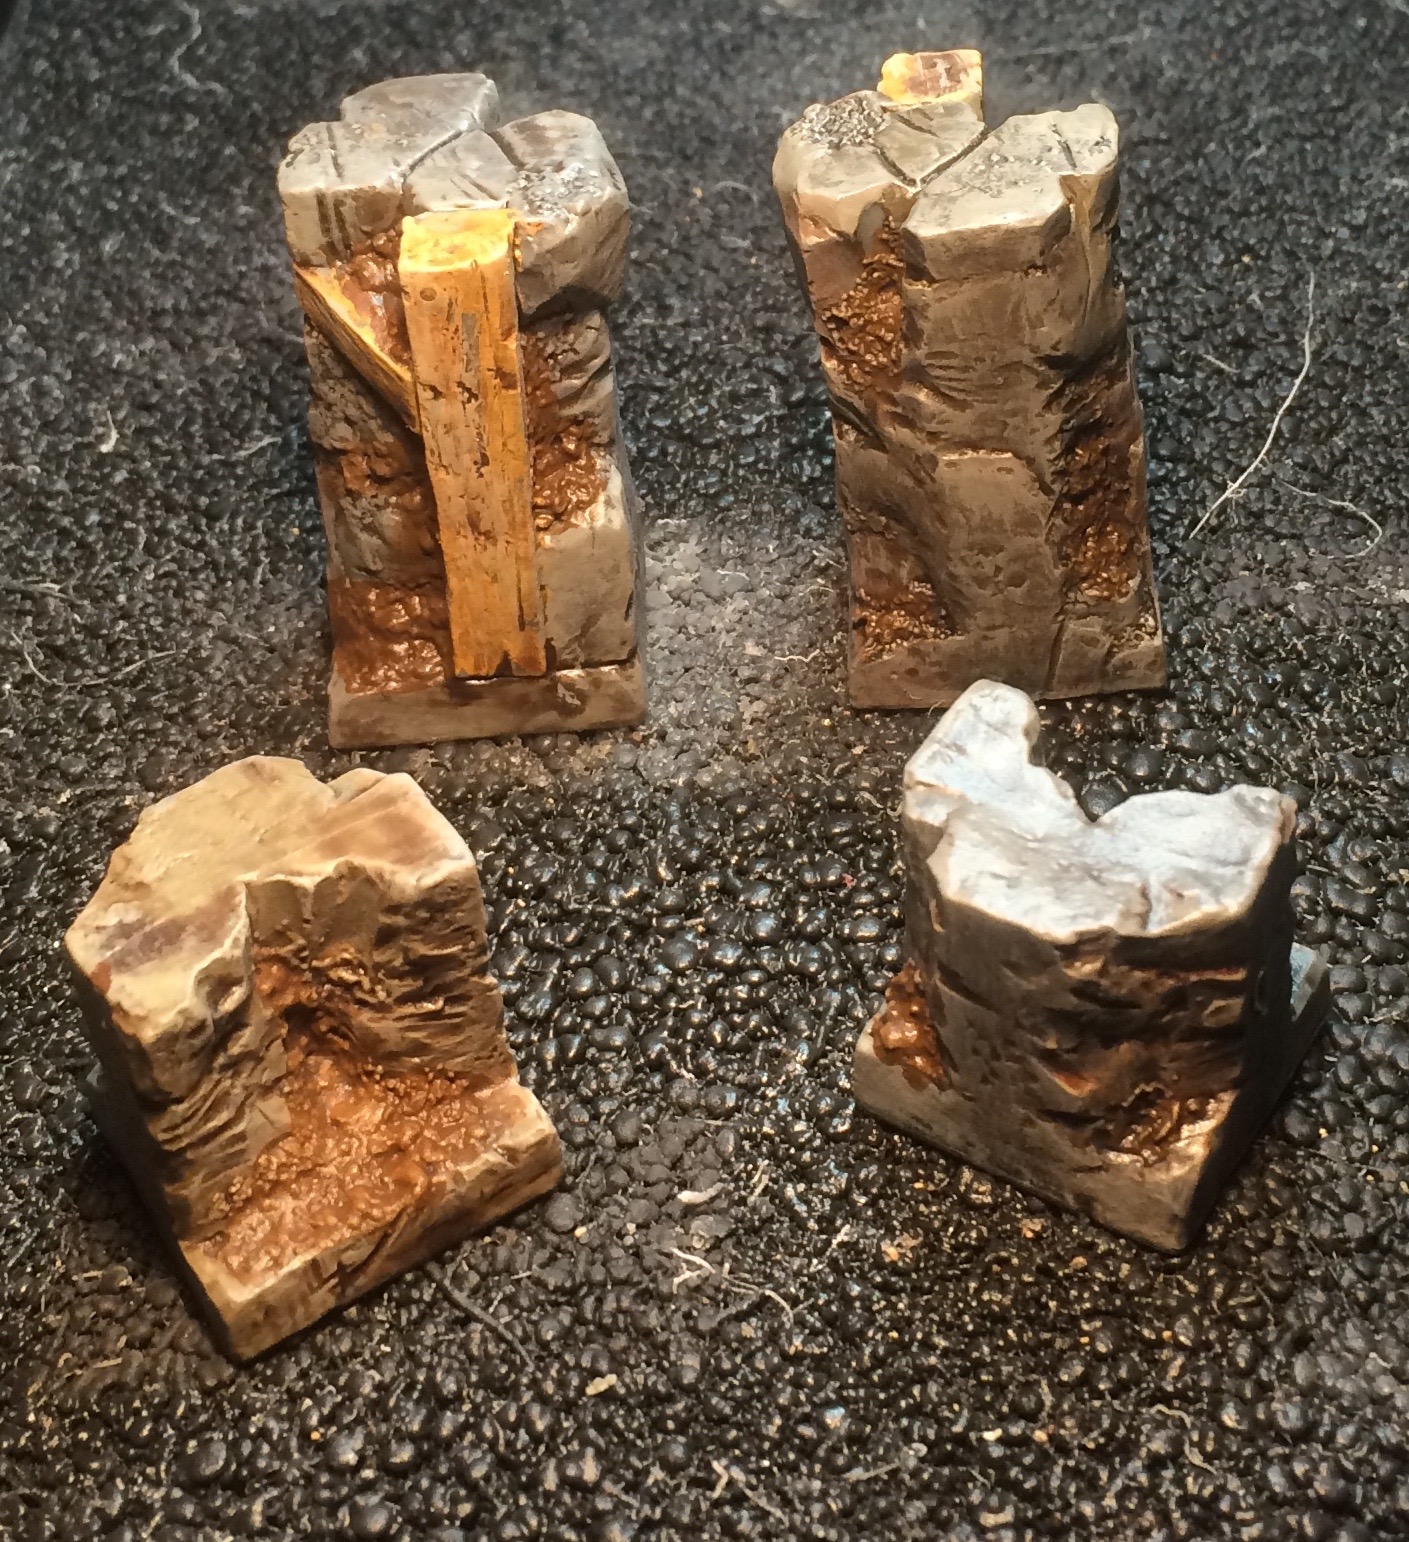
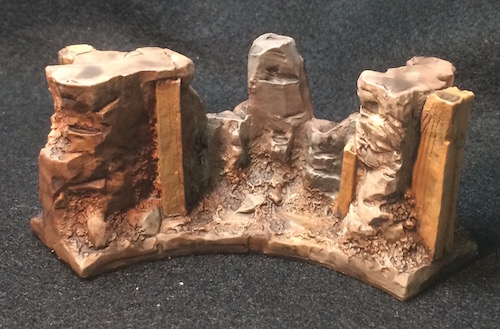
Here’s another piece illustrating the same process. I’ll be photographing the individual sets after I pick up a larger piece of black felt.

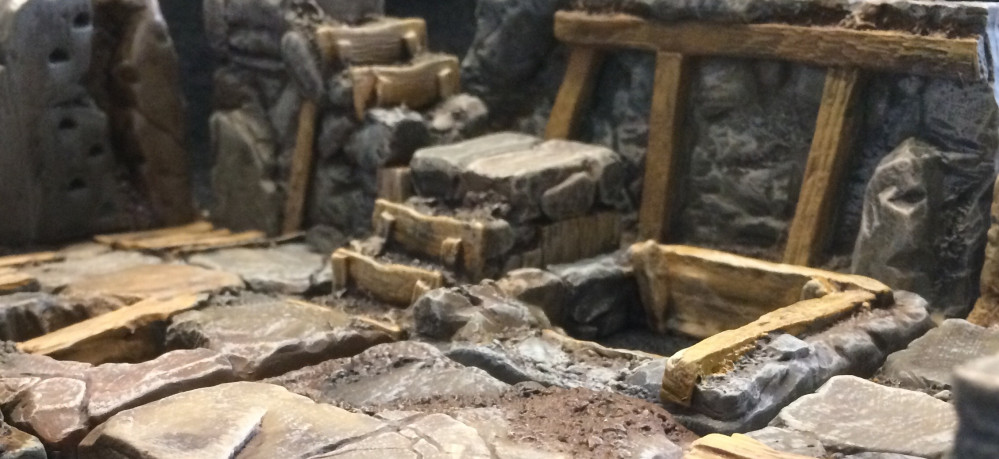
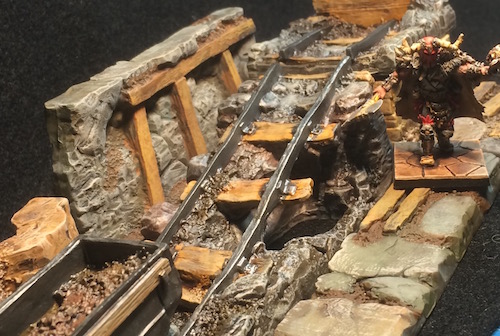
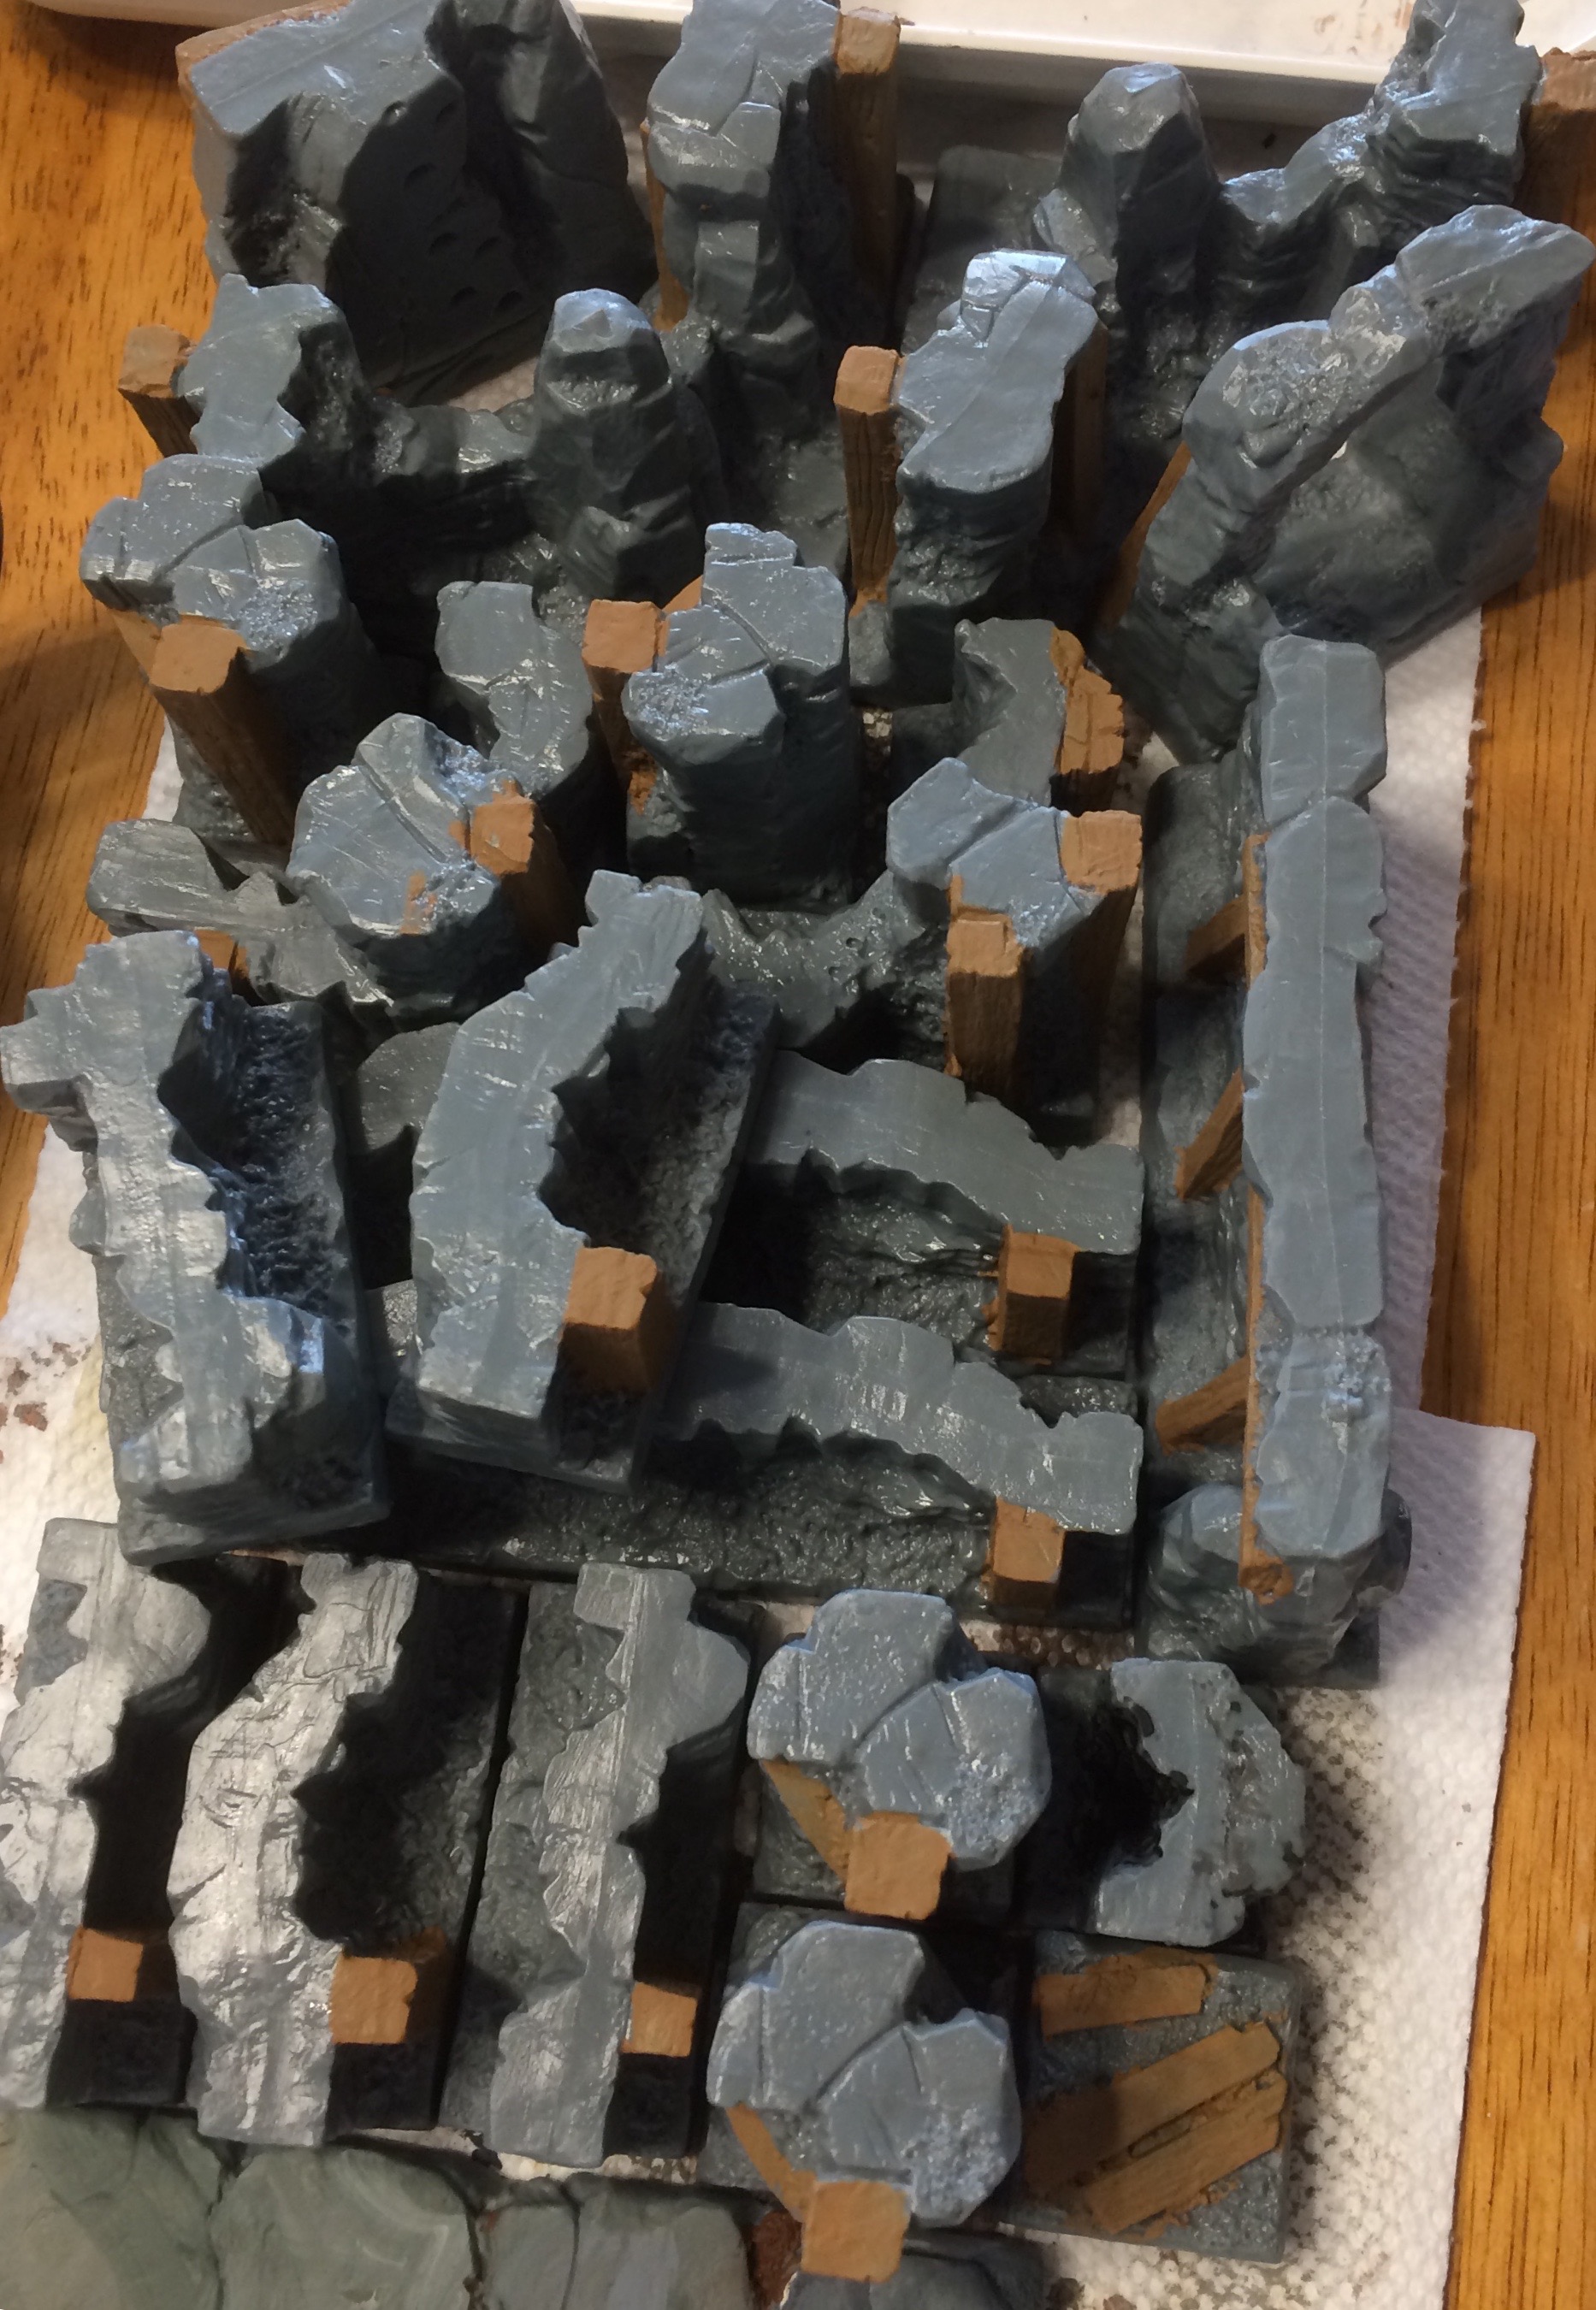
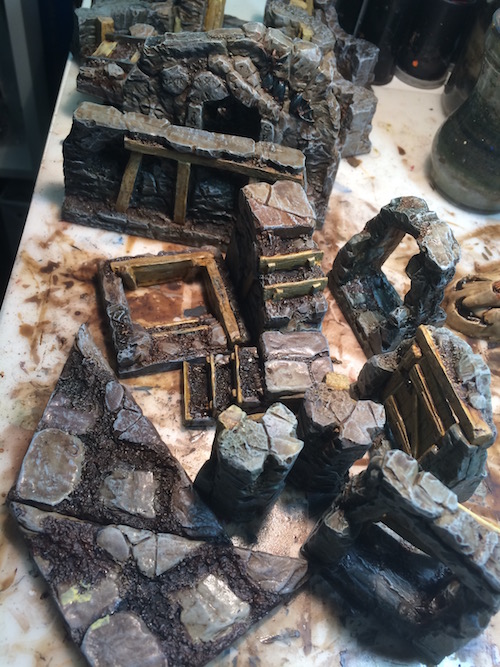
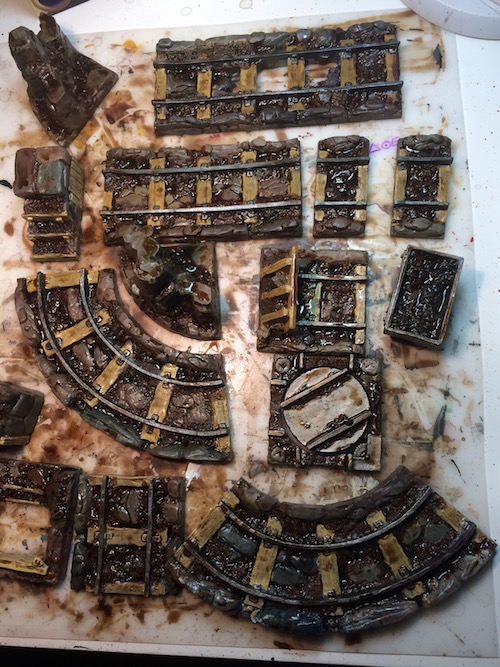
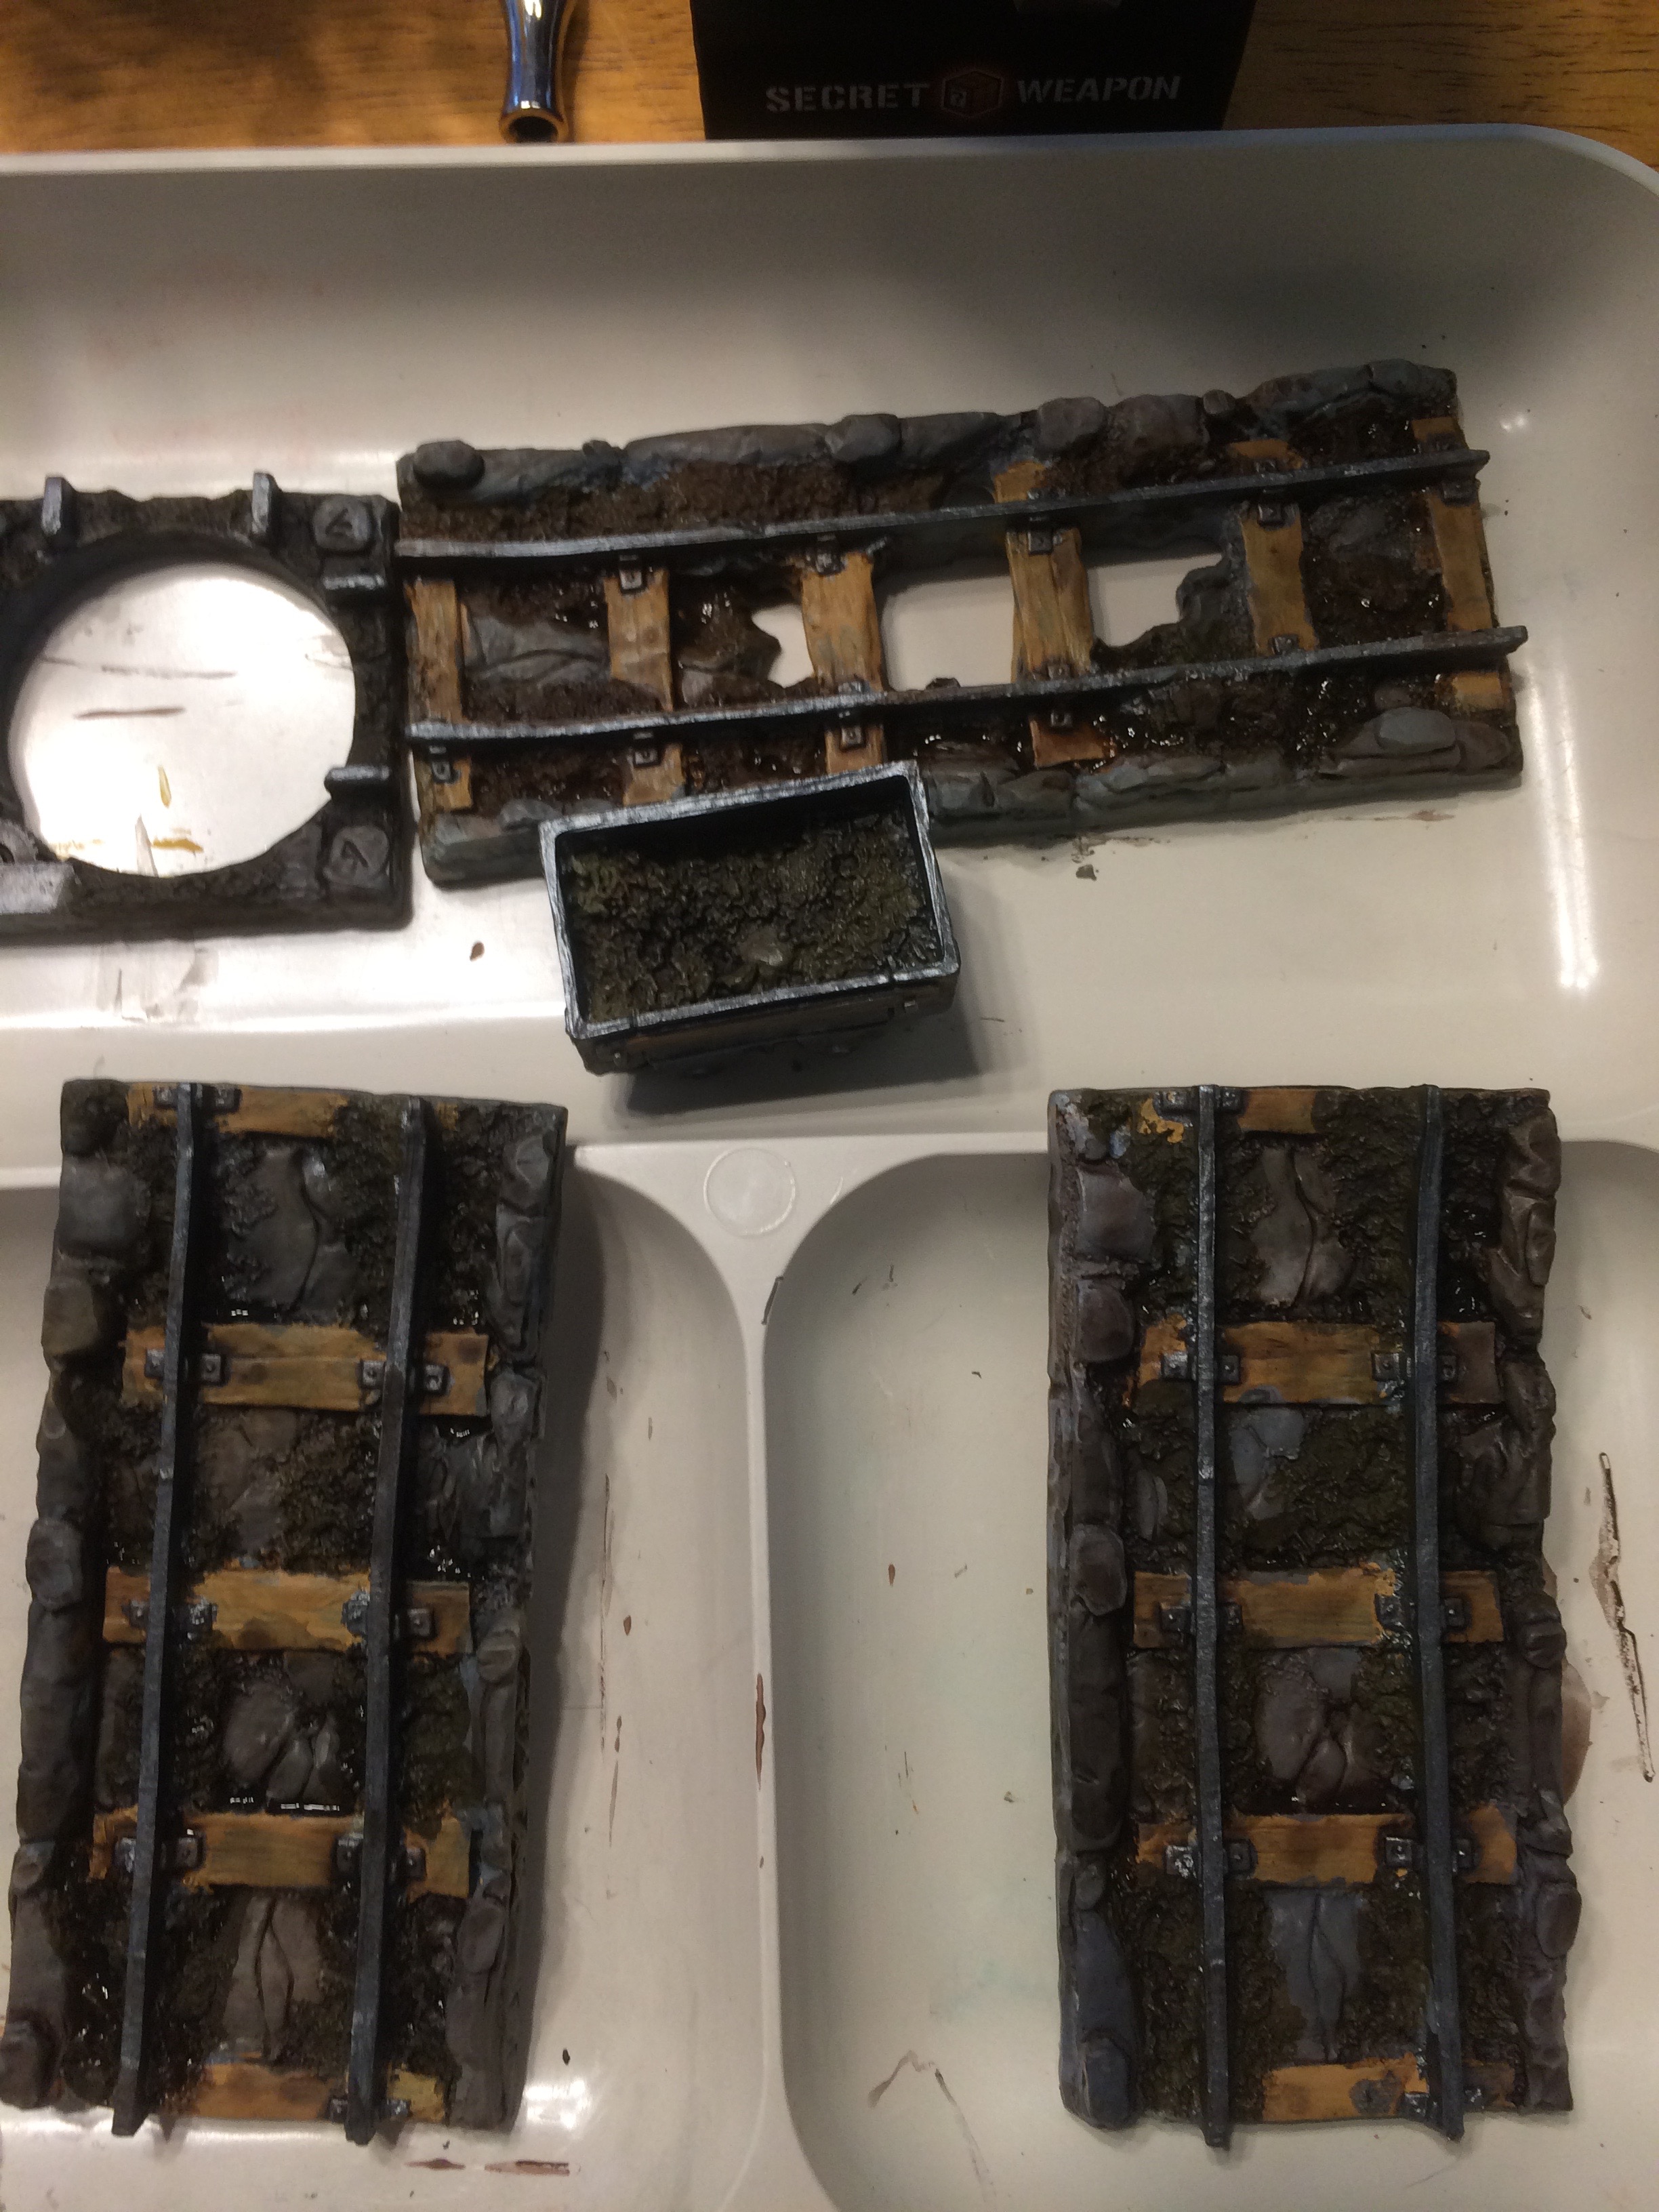
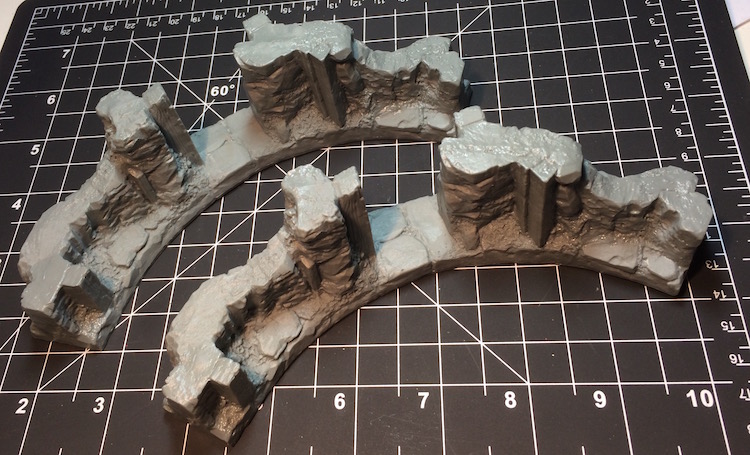
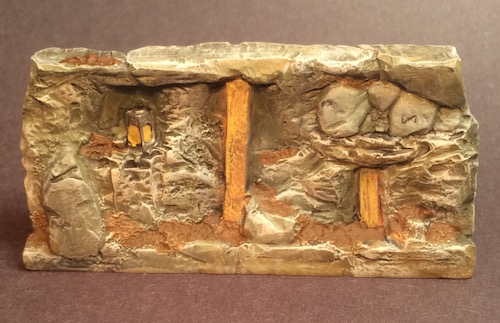
The Mines are mine
 That's far enough, stranger.
The Mine Tracks and Mine Walls were the next two sets I tackled after the first starter box was complete. Being a lifelong dwarf player, both RPGs through to mass wargames, I was looking forward to these pieces and have three sets to build with. Like just about everything I have seen so far from Secret Weapon Miniatures the pieces are well sculpted, nicely cast, and full of fun details. I love the turntable and how the cart slides along the tracks.
 Mantic figure for scale
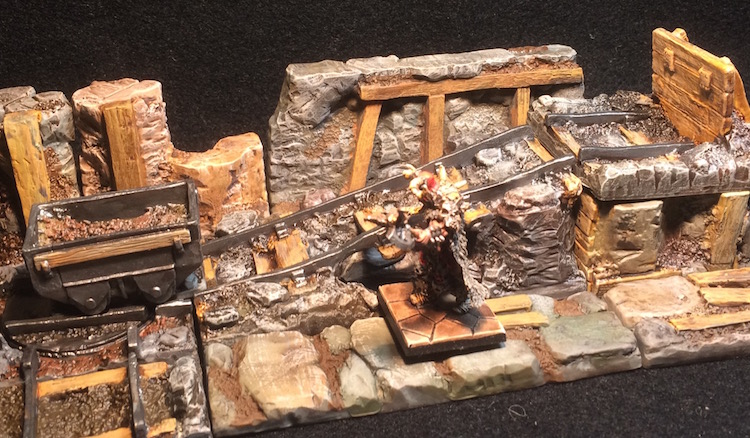
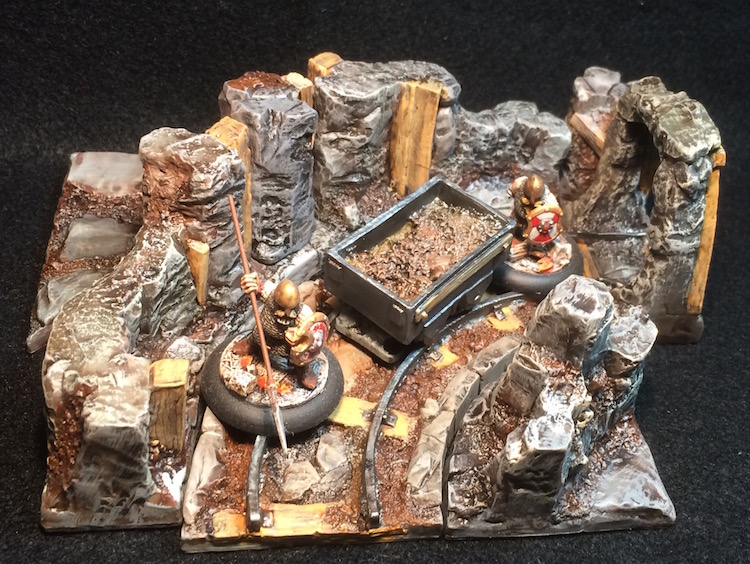 Hasslefree Minis for scale
Production Line Painting
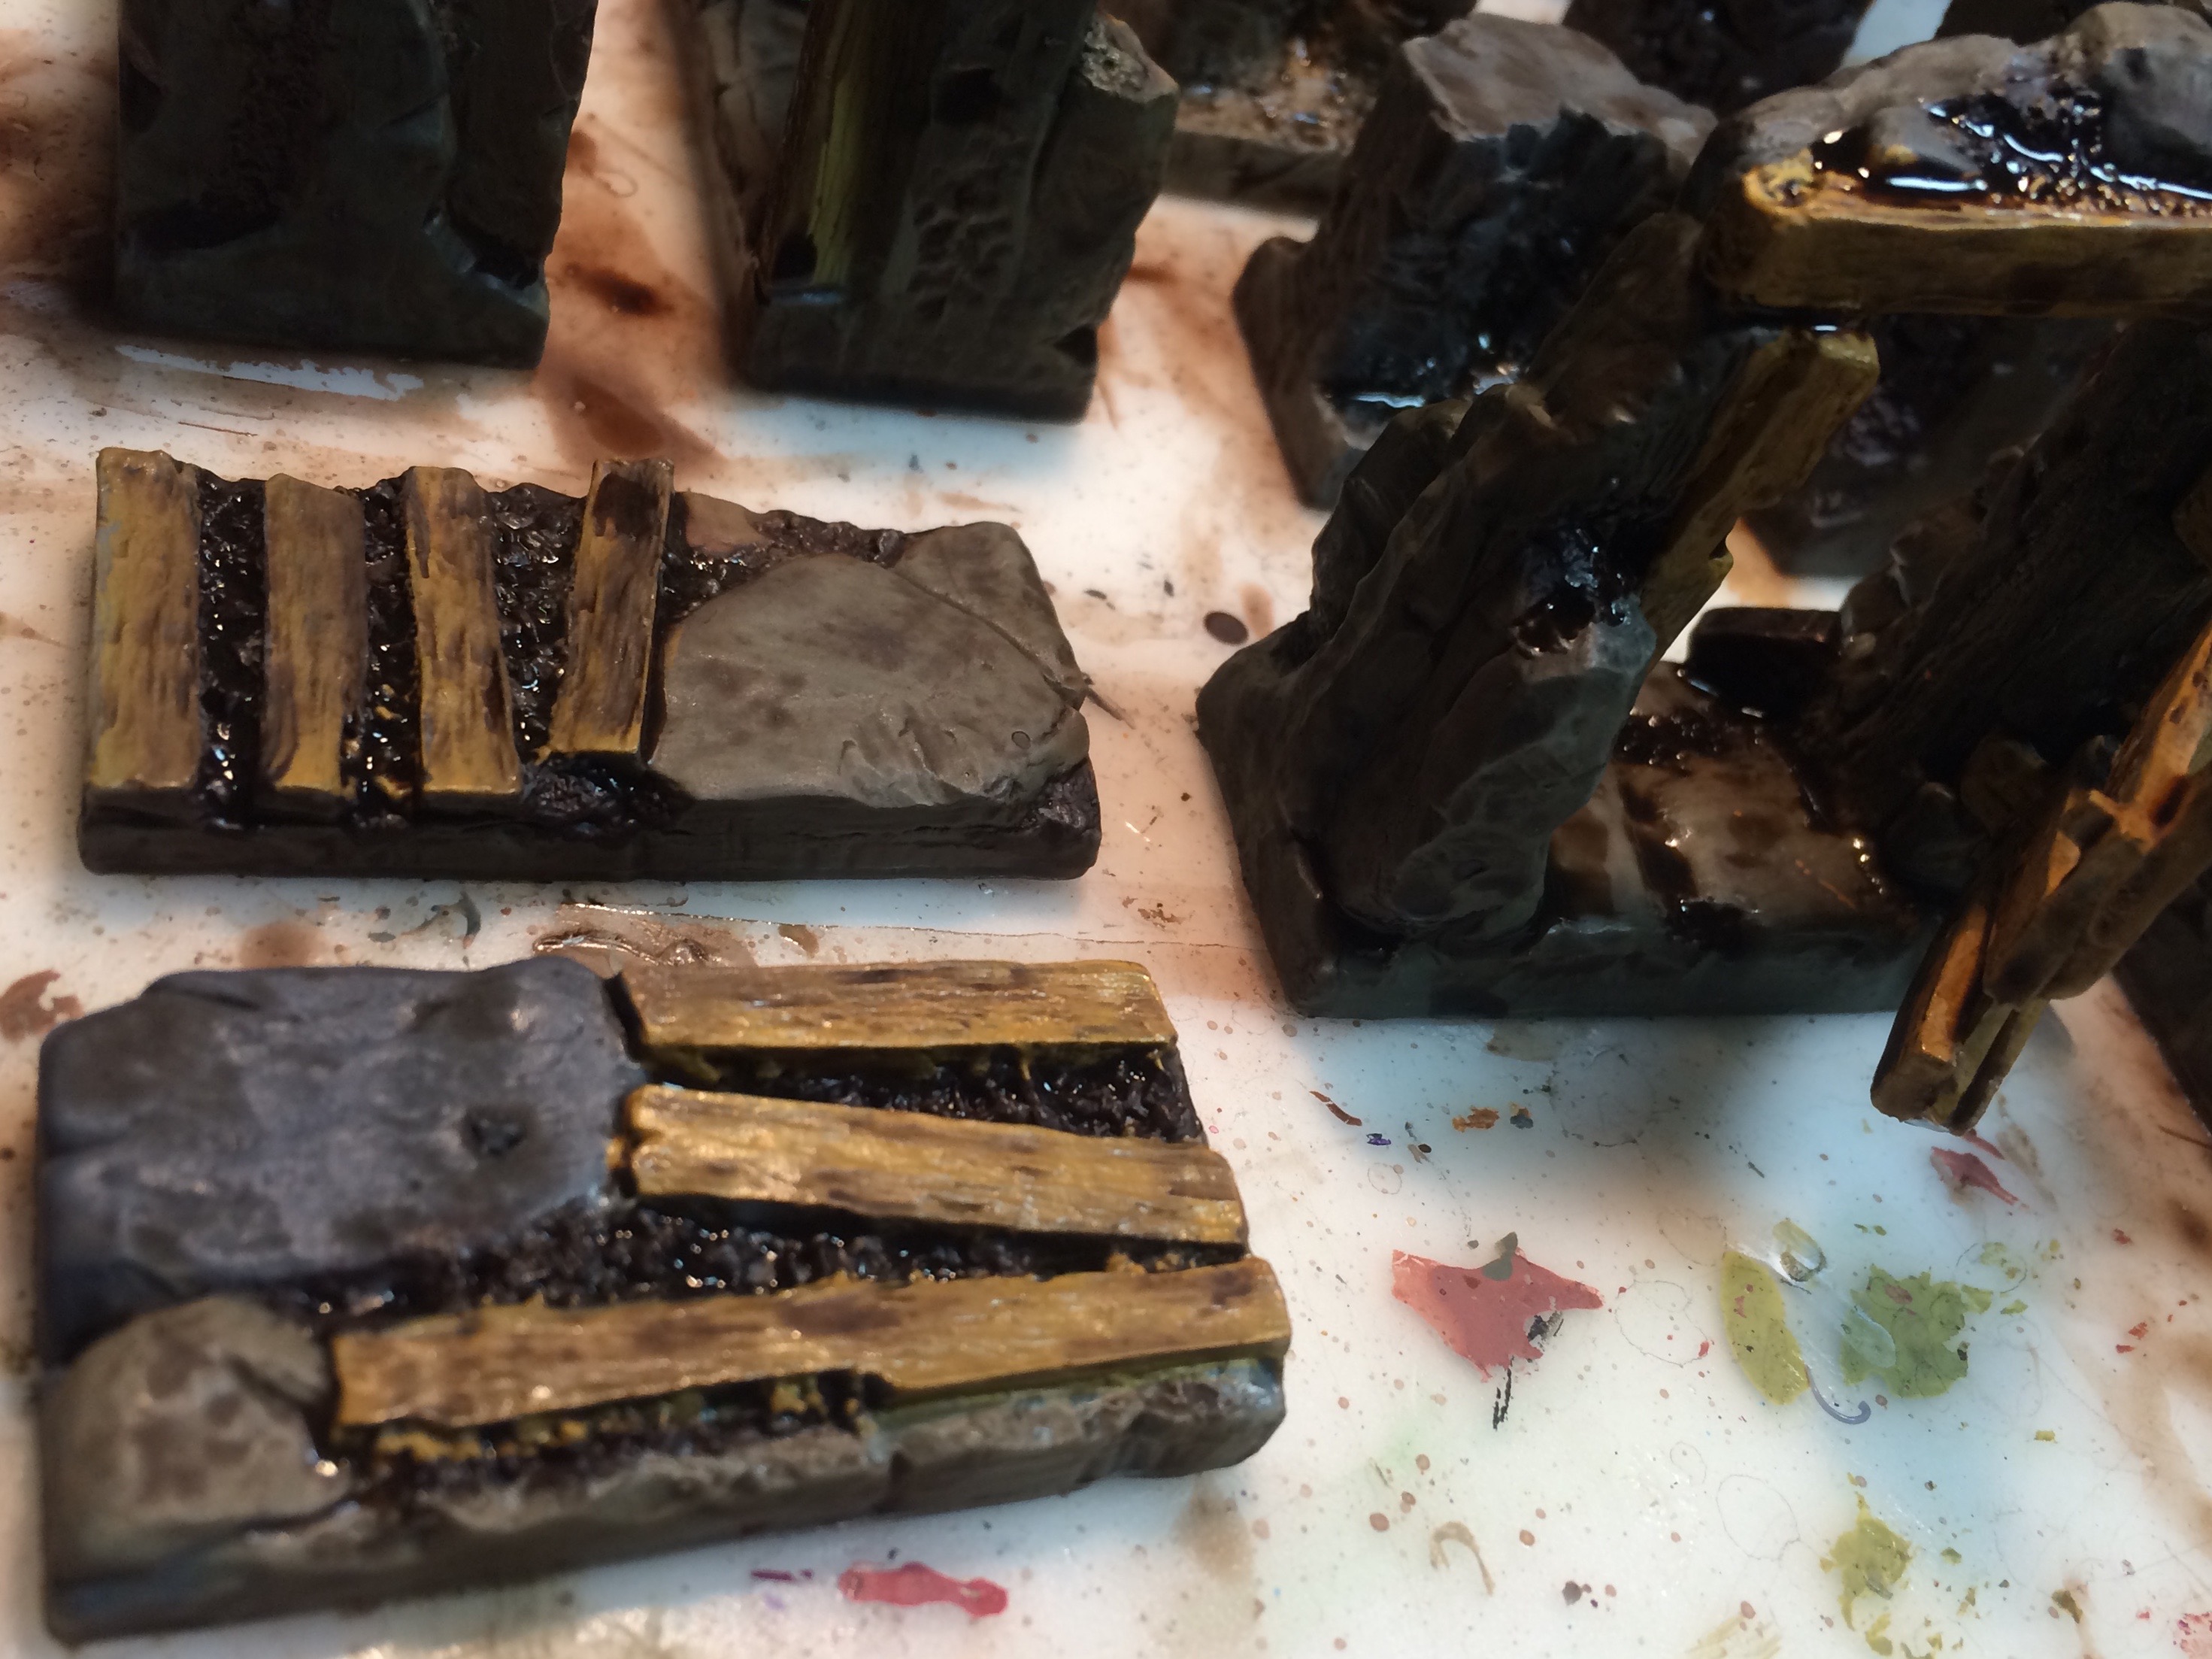
Once I had figured out my process I’ve started working though pieces in batches, washing one set while another dries, base painting a batch as the stain dries on the previous one. I’m currently sealing a batch every day so I’m on track but I can’t waver now. Those Wolsung minis and Dwarf adventurers are calling out from the edge of my desk but I fear any distraction will slow my progress so I will resist their siren call. So here a few pictures of various batches at different stages.
Now then, looks about time to open another Starter Set and start scrubbing…

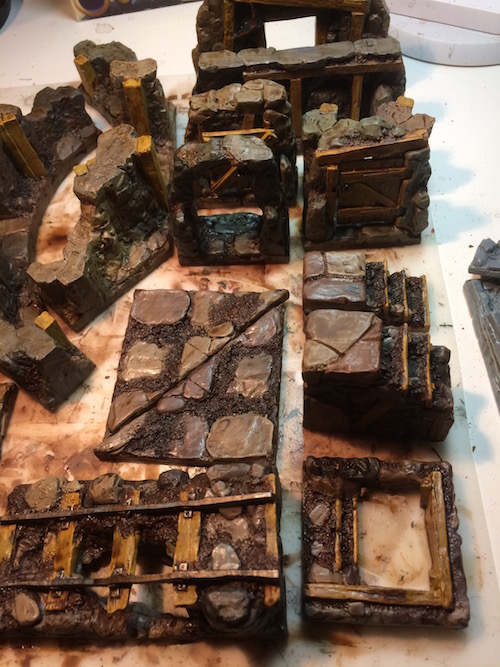
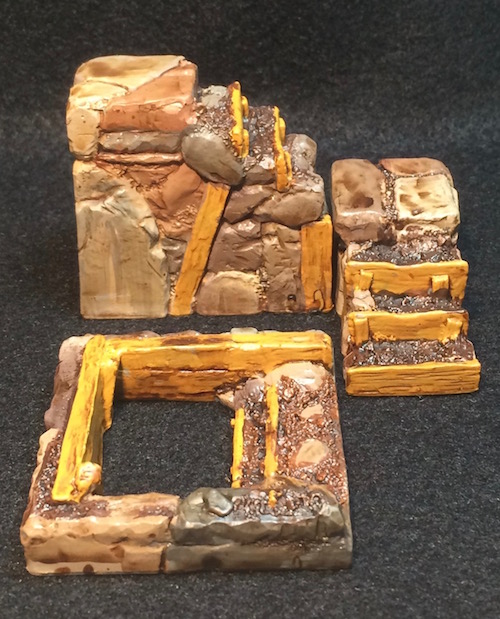
Some of the early pieces
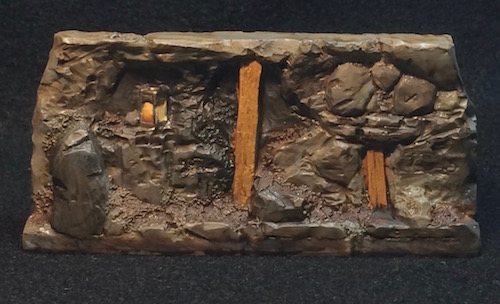
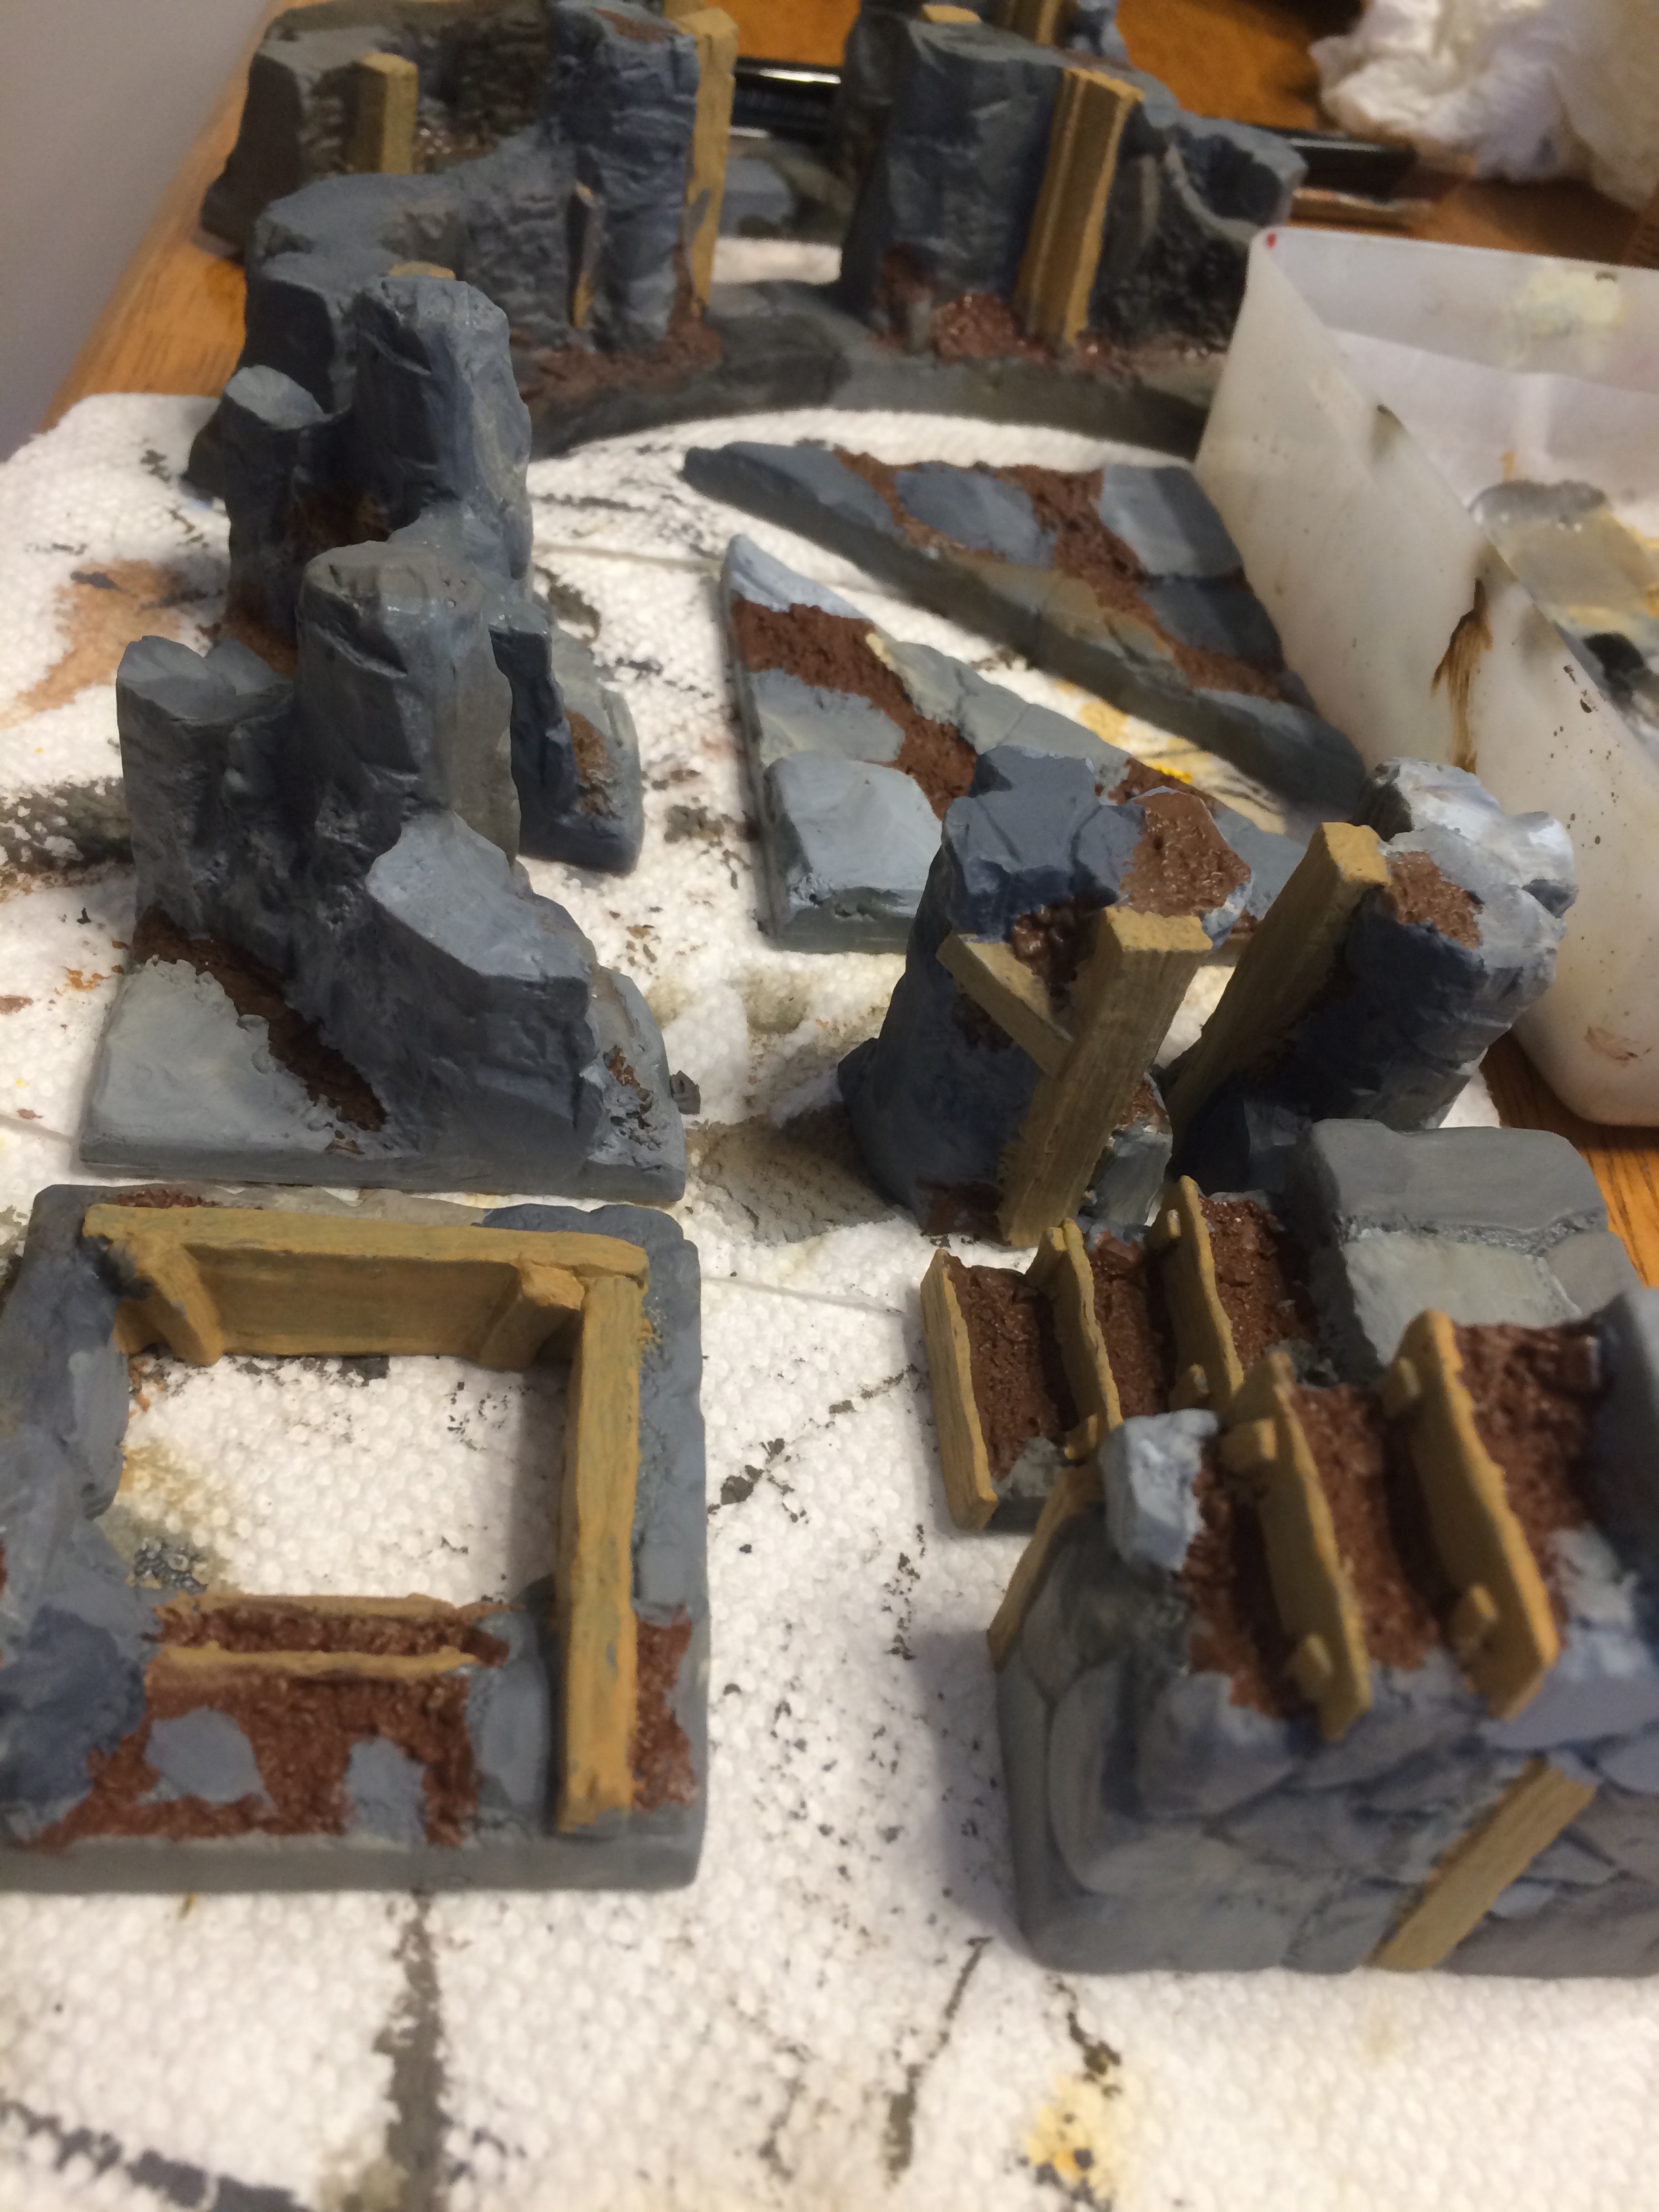
I ran out of GW’s Purity Seal so went with some of the Army Painter Satin on a batch of finished pieces. No complaint with either product but I decided I prefer the flatter look of the GW sealant. Here are some of the pieces before I softened the shine with a coat of Purity Seal. It is a great look if one wants a wetter looking mine (so I wanted to show how they came out) but the flatter ones are easier to photograph as well.
Awash in dungeon tiles
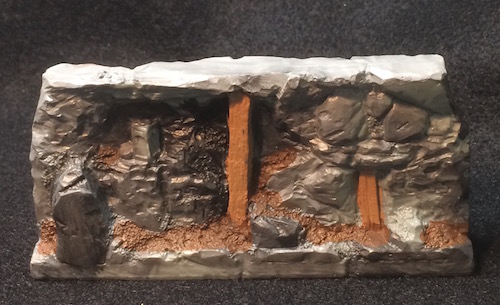
After the base coats have dried completely they need a good wash to bring out their details. I went with straight Agrax Earthshade for my test pieces which worked fine but lacked some variety. The pieces I completed using my “travel kit” were done with Reaper paints and Army Painter Washes (Dark Tone mixed with Mid Brown). My latest were all washed with Agrax Earthshade and Seraphim Sepia not mixed so much as poured one atop the other. As the well in my palette empties I refill it randomly so it is rarely the same twice.
 Everything gets darker, well it is underground after all.
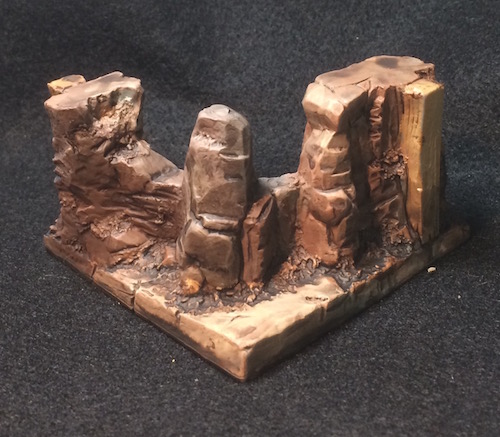
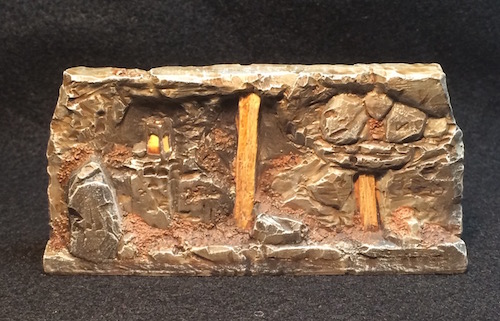
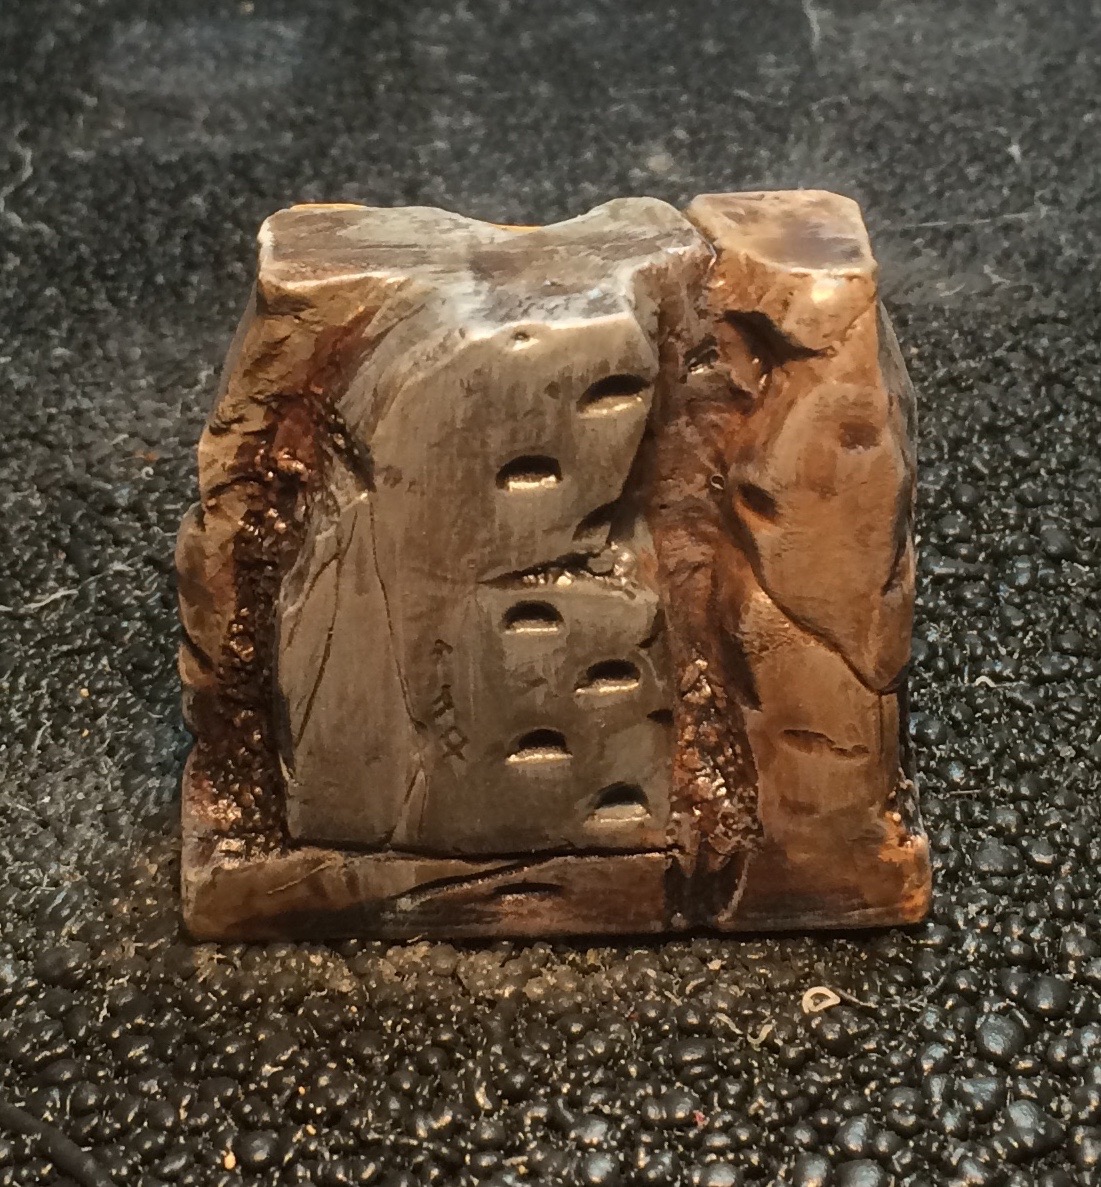
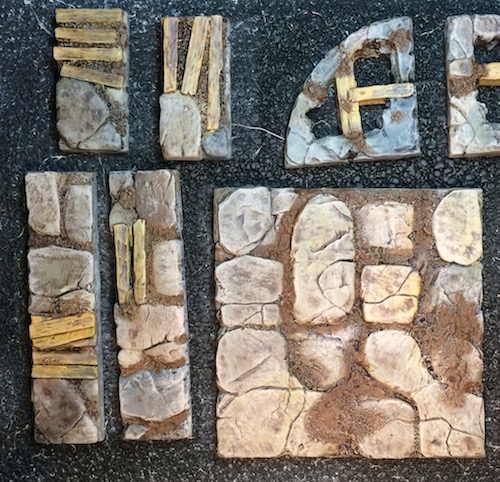
 Such nice texture and detail that these look done already though I plan to add a highlight layer next.
Some Basics
Secret Weapon Miniatures used the same plastic that Reaper Bones are cast in. This makes for some lightweight, flexible, tough pieces that take acrylic paint beautifully. They don’t even need primer. Being a flexible plastic some pieces can come out bent or distorted. A few of the smaller pieces (doors, planking) were a little warped but only one of the larger castings showed distortion. It was the largest curved wall from the Mine Walls set and didn’t fit snugly against the curved track pieces.
 Luckily a soak in a bowl of warm water (same as a hot cup of tea) and the pieces are soft enough to press against the track piece to cool for a minute. After that it's ready for paint.
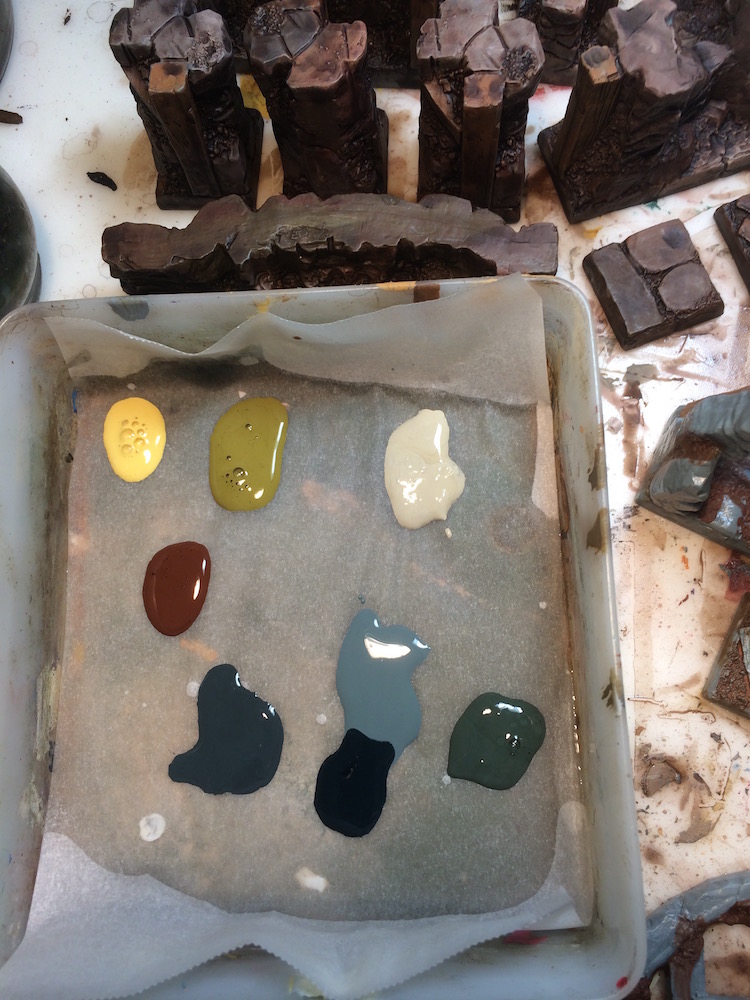 Here is one of palettes I started my base coats with. I use a wide flat brush and mix colors as I go.
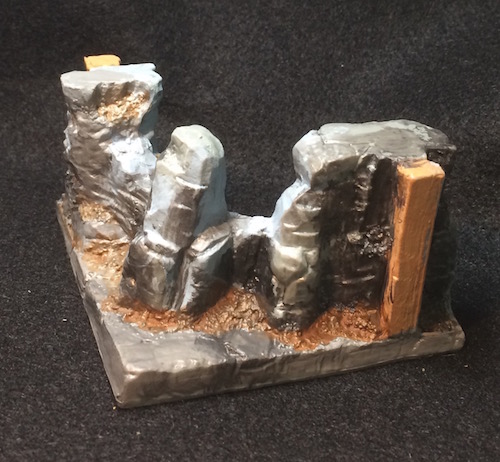 Other than the wooden beams I don't worry about neatness.
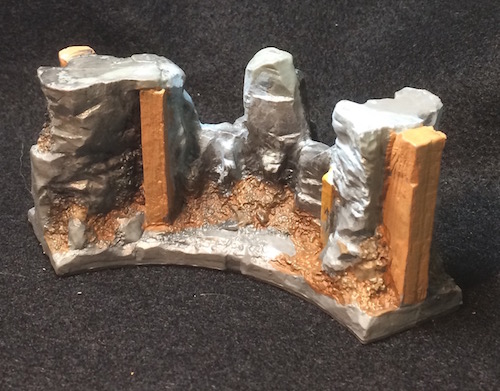 Seems a little light now but the wash will change that.
Some Floors
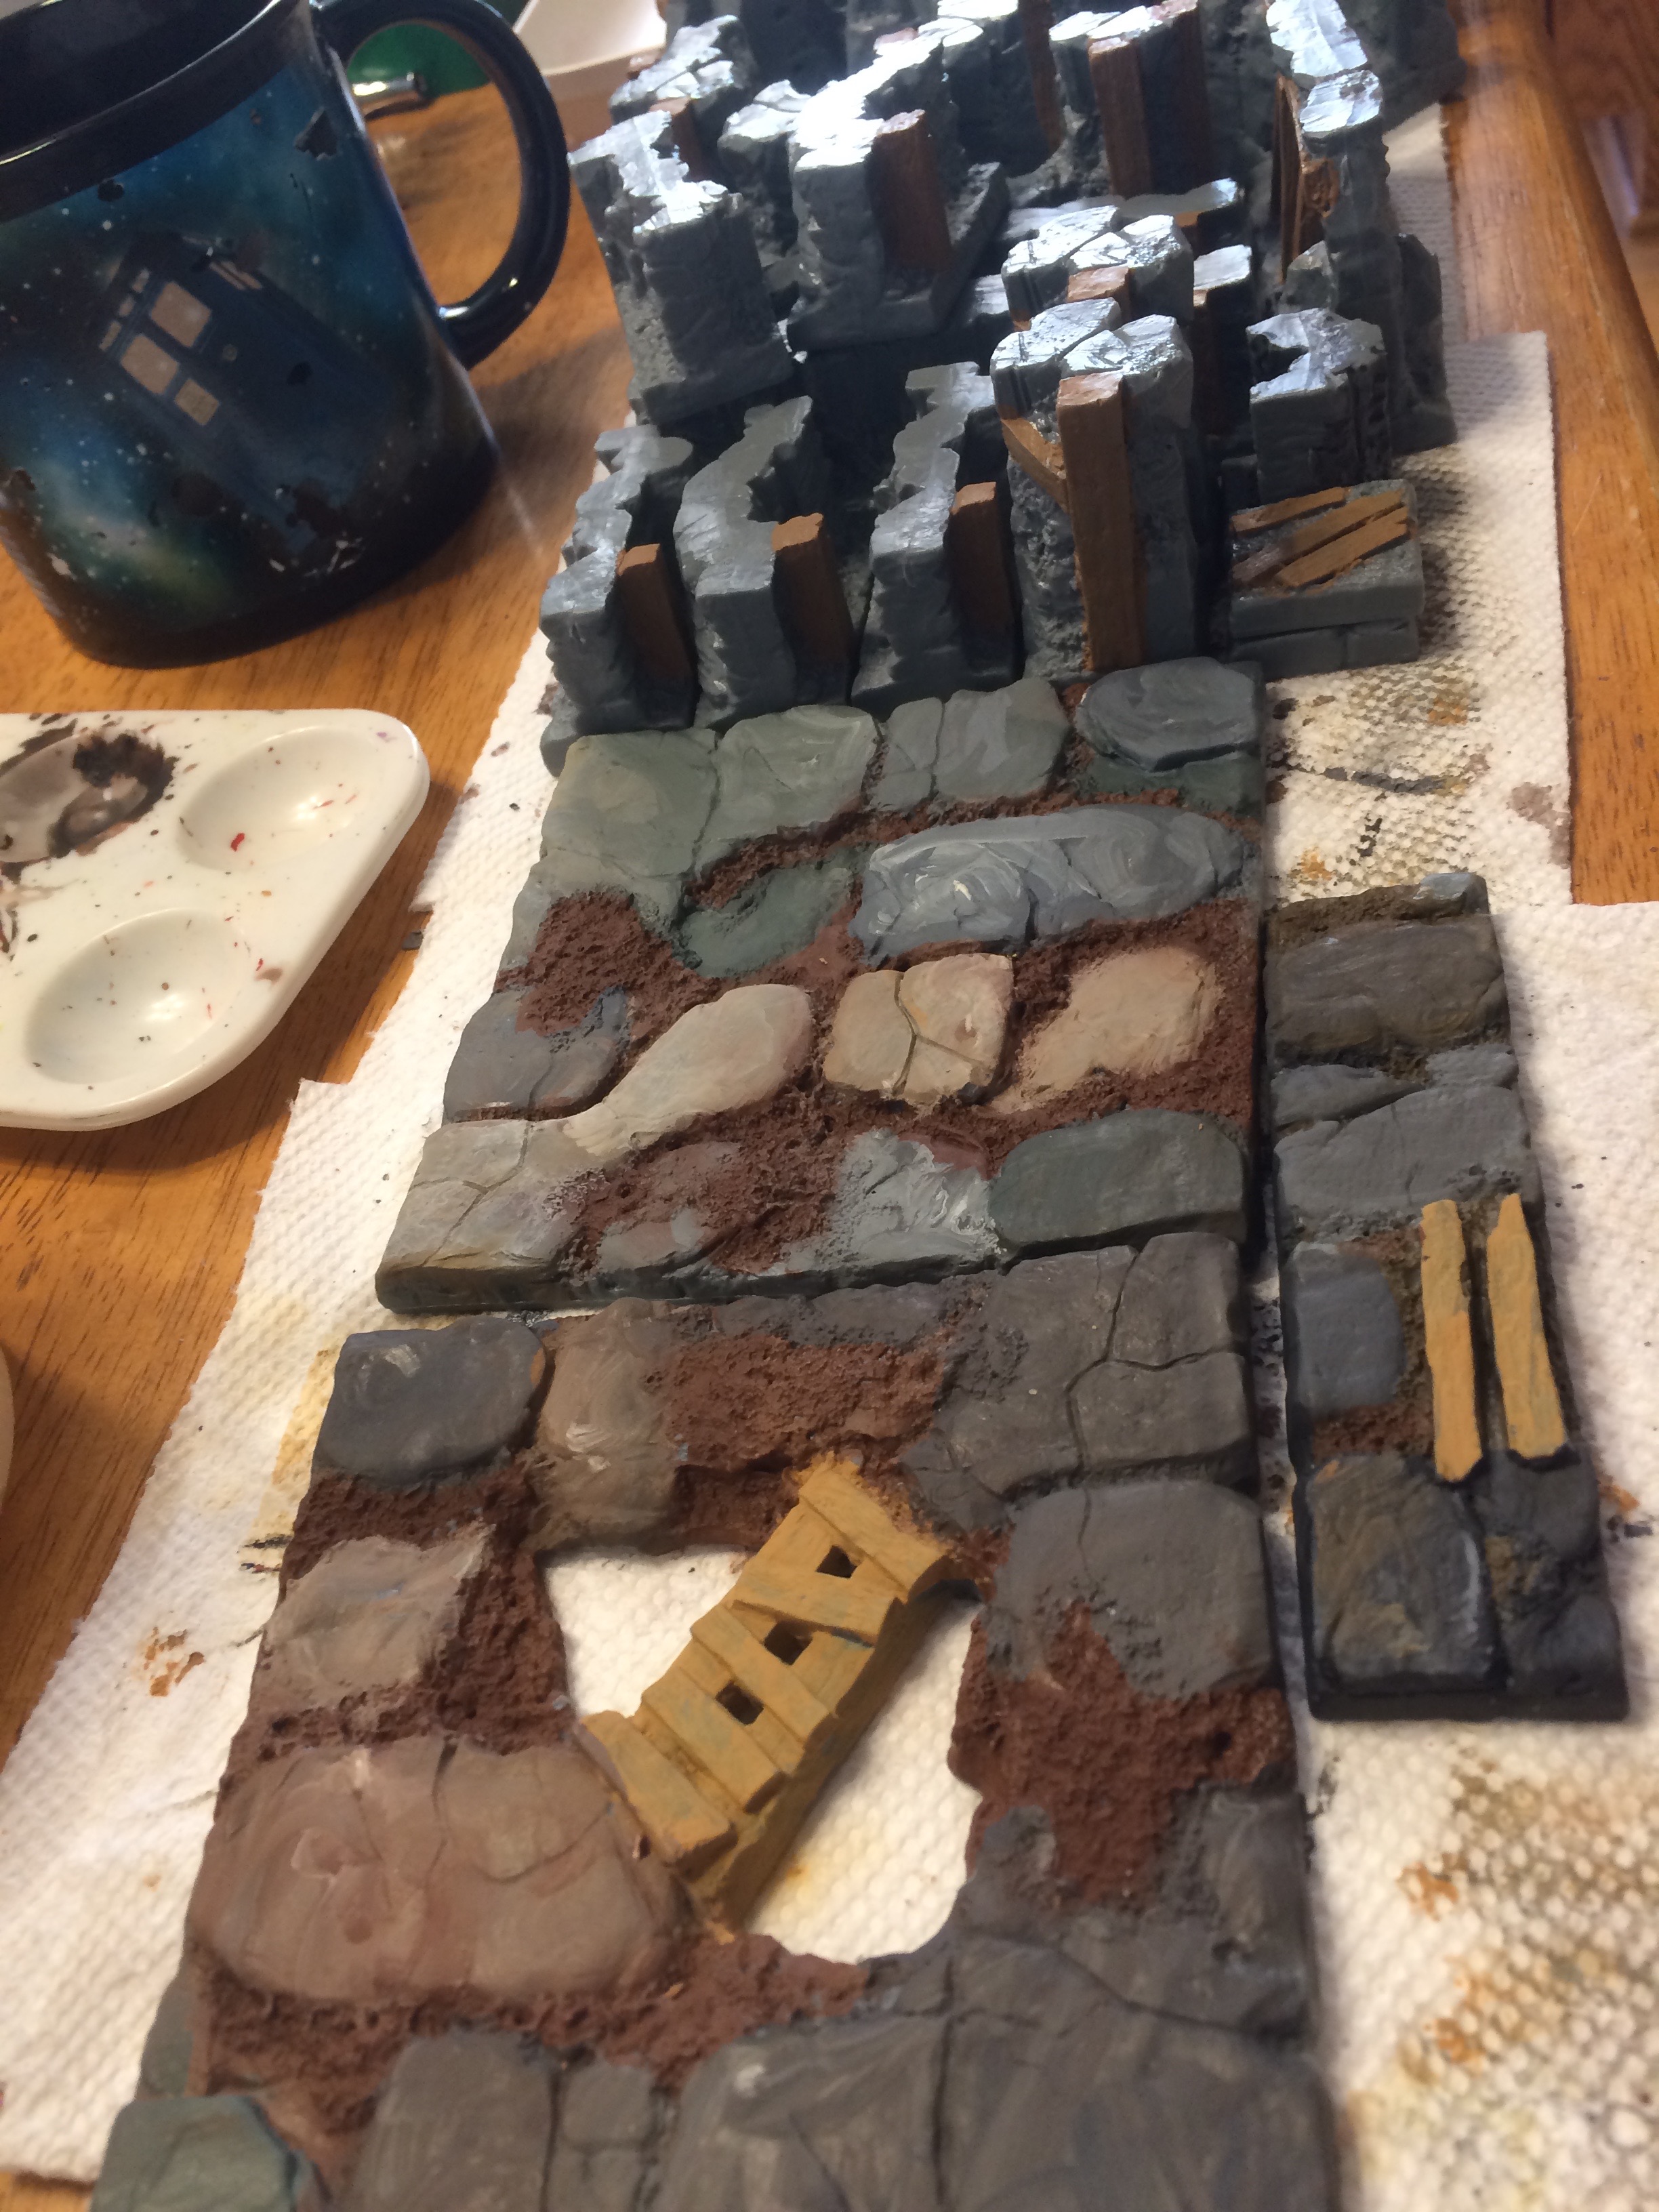
 Seems a good idea to start at the bottom and work my way up. With that thought in mind I began with the floor pieces from one of the Starter Sets.
 Using a wet palette loaded with earth tones I wet blended base coats, washed with Agrax Earthshade, and drybrushed with my starting palette.
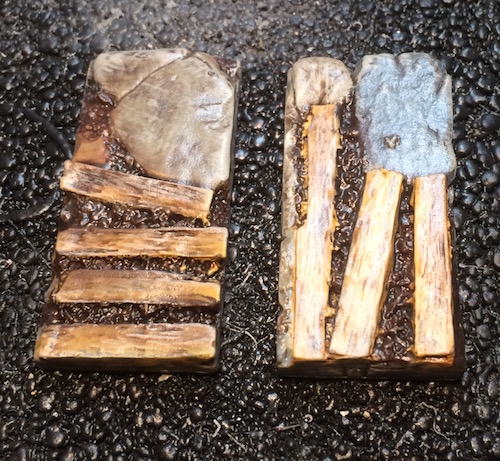 Army Painter Satin Seal is just a bit shiny for my tastes so I will be sticking to Games Workshop's Purity Seal
I’ve decided to paint one of each set to begin with, saving the Orc and Troll warrens for last. While I was waiting for parts of the first Starter Set to dry I washed down a Mine Tracks, Mine Tracks Walls, and a Bridges set. I also scrubbed down all of the stairs sets as they are small and seem quick to finish.
First Attempts
 After scrubbing the pieces in watered down dish soap I started on a few pieces.
 Still finding little details all over.
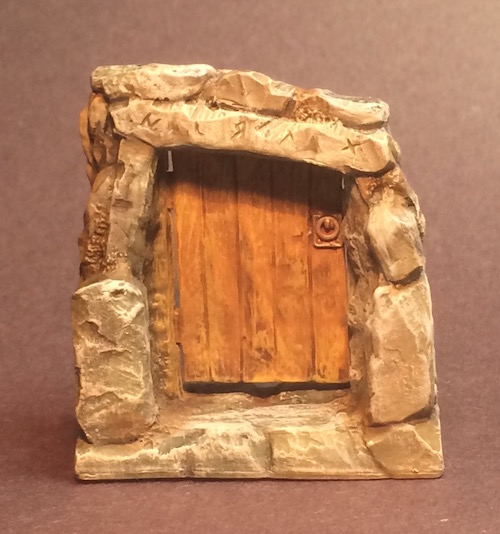 The door really opens!
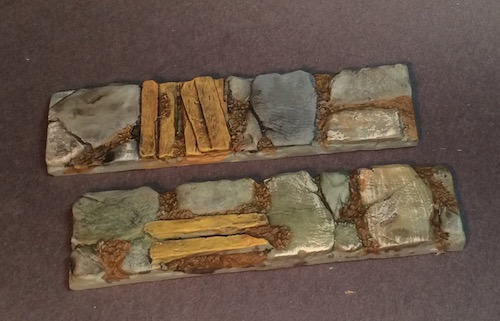 I like the planking on the floors. I think I need a darker background as the colors seem washed out in these pictures. I'll have to work on that as well. I'll share my methods and techniques once I actually refine it.