


![Very Cool! Make Your Own Star Wars: Legion Imperial Agent & Officer | Review [7 Days Early Access]](https://images.beastsofwar.com/2025/12/Star-Wars-Imperial-Agent-_-Officer-coverimage-V3-225-127.jpg)


Redvers and Son Get Into Bushido


Battle Report No. 12
I wanted to try something different and, like a lot of games, there are always different ways you can put together your faction. In this case, I wanted to really lean into the fire aspect, so selected Wanyudo and Waku the Soul Collector as they both dish out fire tokens like confetti. I also took Ibara, a low cost model that can also dish out fire tokens. Mo Ises and Mokoti provide some useful Control shenanigans and Rokuro rounds out my faction, providing some combat abilities. I’ve also given Rokuro a couple of upgrade cards to improve his combat.
In addition to the above, I’ve taken a terrain card called refuse pile that generates a small rat swarm whenever someone wins a victory point. I also have the Pariah’s Voice event card, that allows, once per game, for one of my models to reduce an opponent’s Ki ability prior to making an opposed Ki challenge – handy for the Control Ki feats that I have. I also have the Crush the Oppressed event card that, when played, automatically doubles all of the tokens currently in play on enemy models. Given that I’m planning on dishing out a lot of fire tokens, this will get to double them when played – think of it as a big can of petrol!
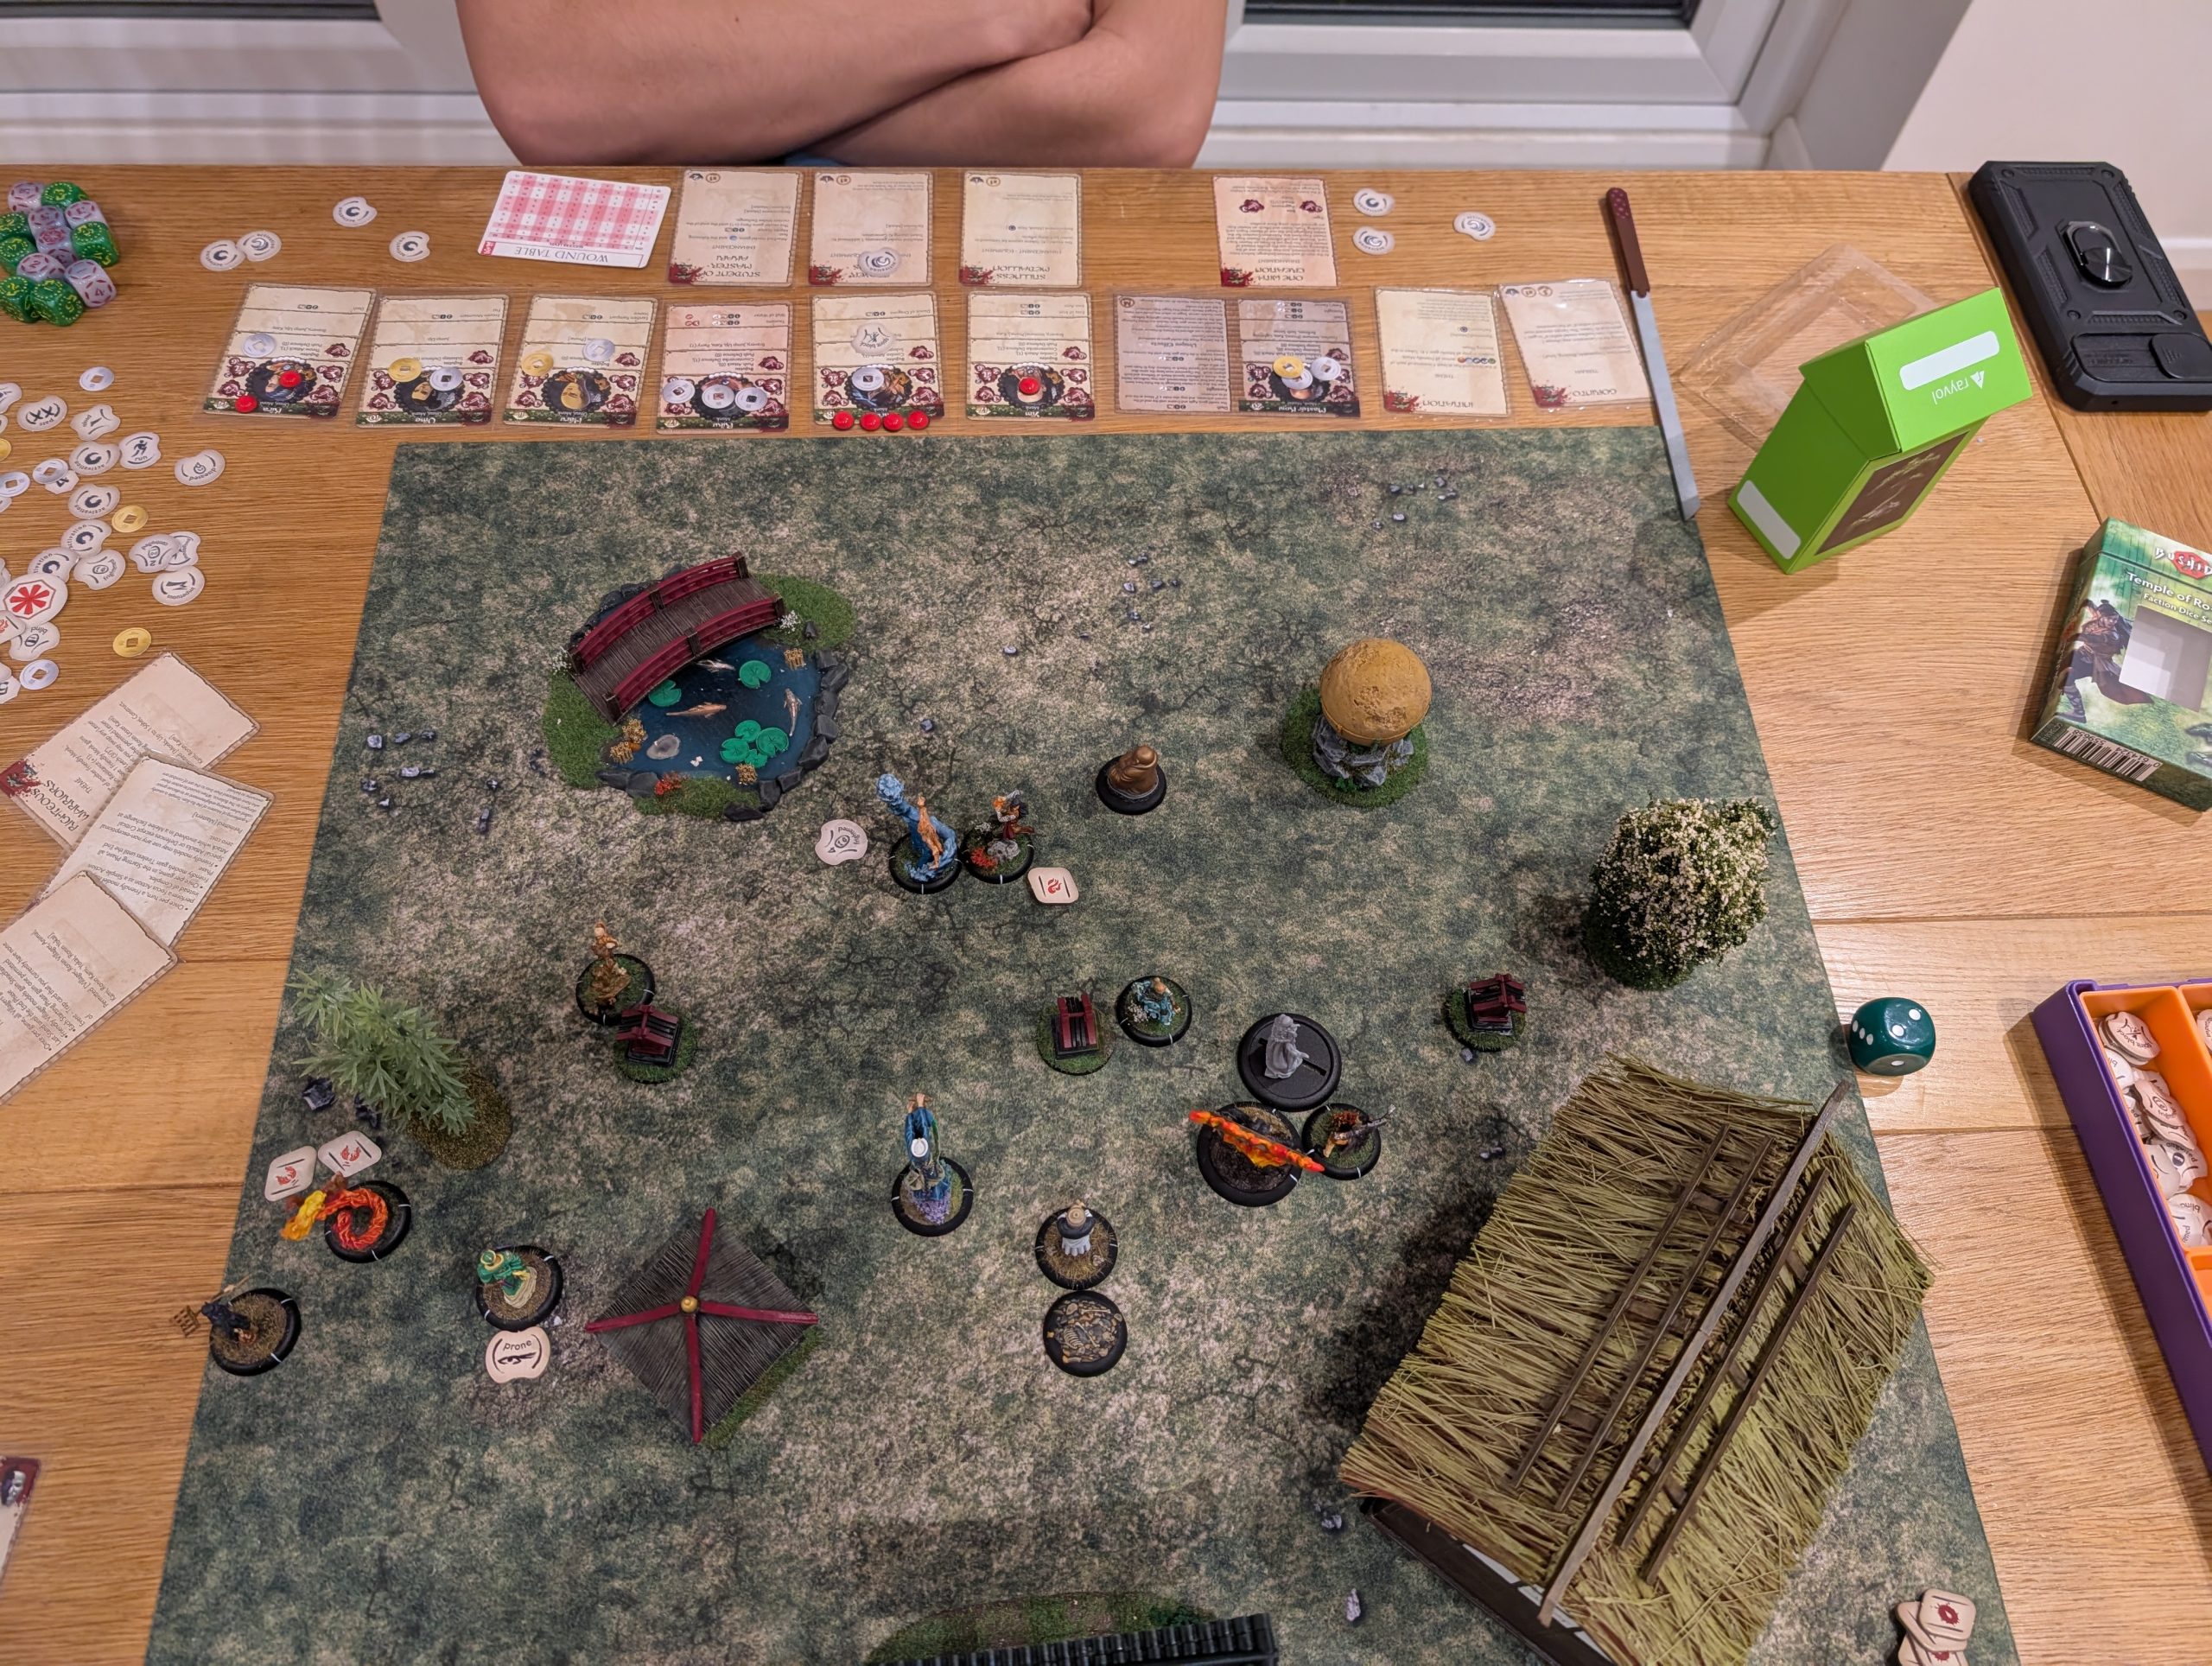
My son took his Temple of Rokan force with a lot of monks, all led by Master Koju.
For this game, we have three shrines deployed along the centre line of the board at 6” internals. They all start neutral but models can expend an activation when in BtB with the shrine to influence it from unfriendly to neutral or from neutral to friendly. At the end of Turns 2, 4 and 6, whoever has the most friendly shrines will gain a Victory Point.
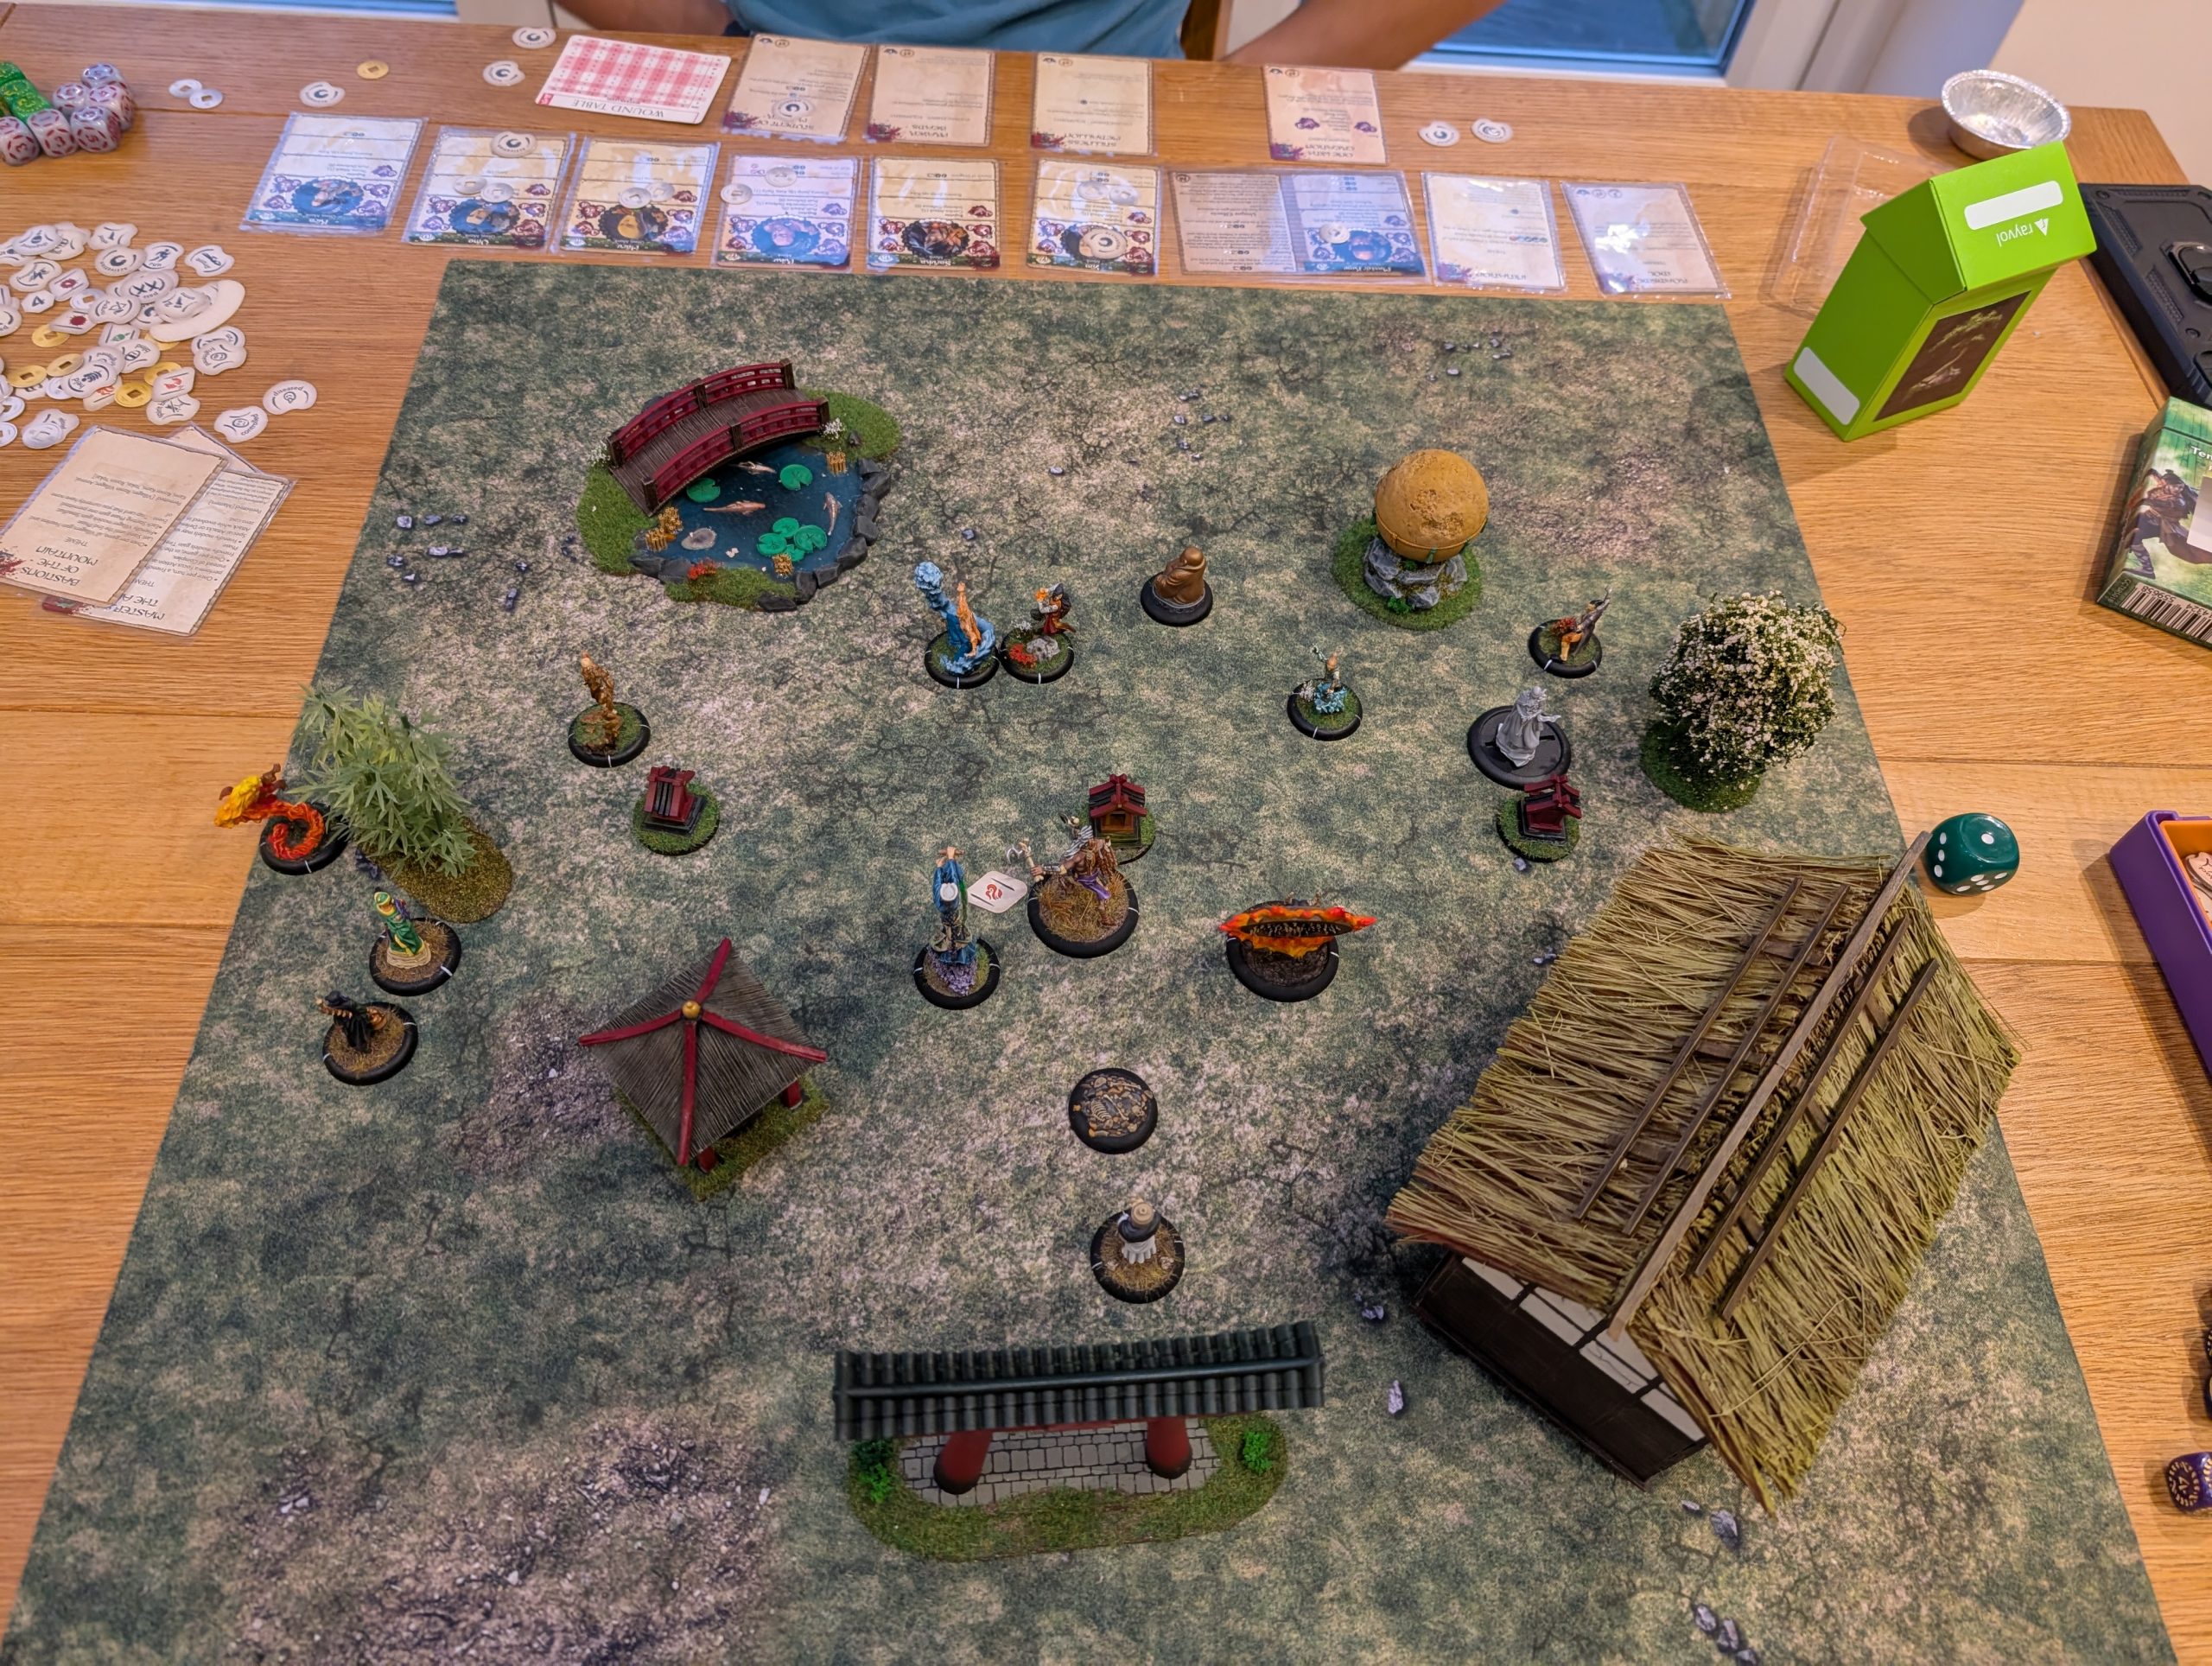
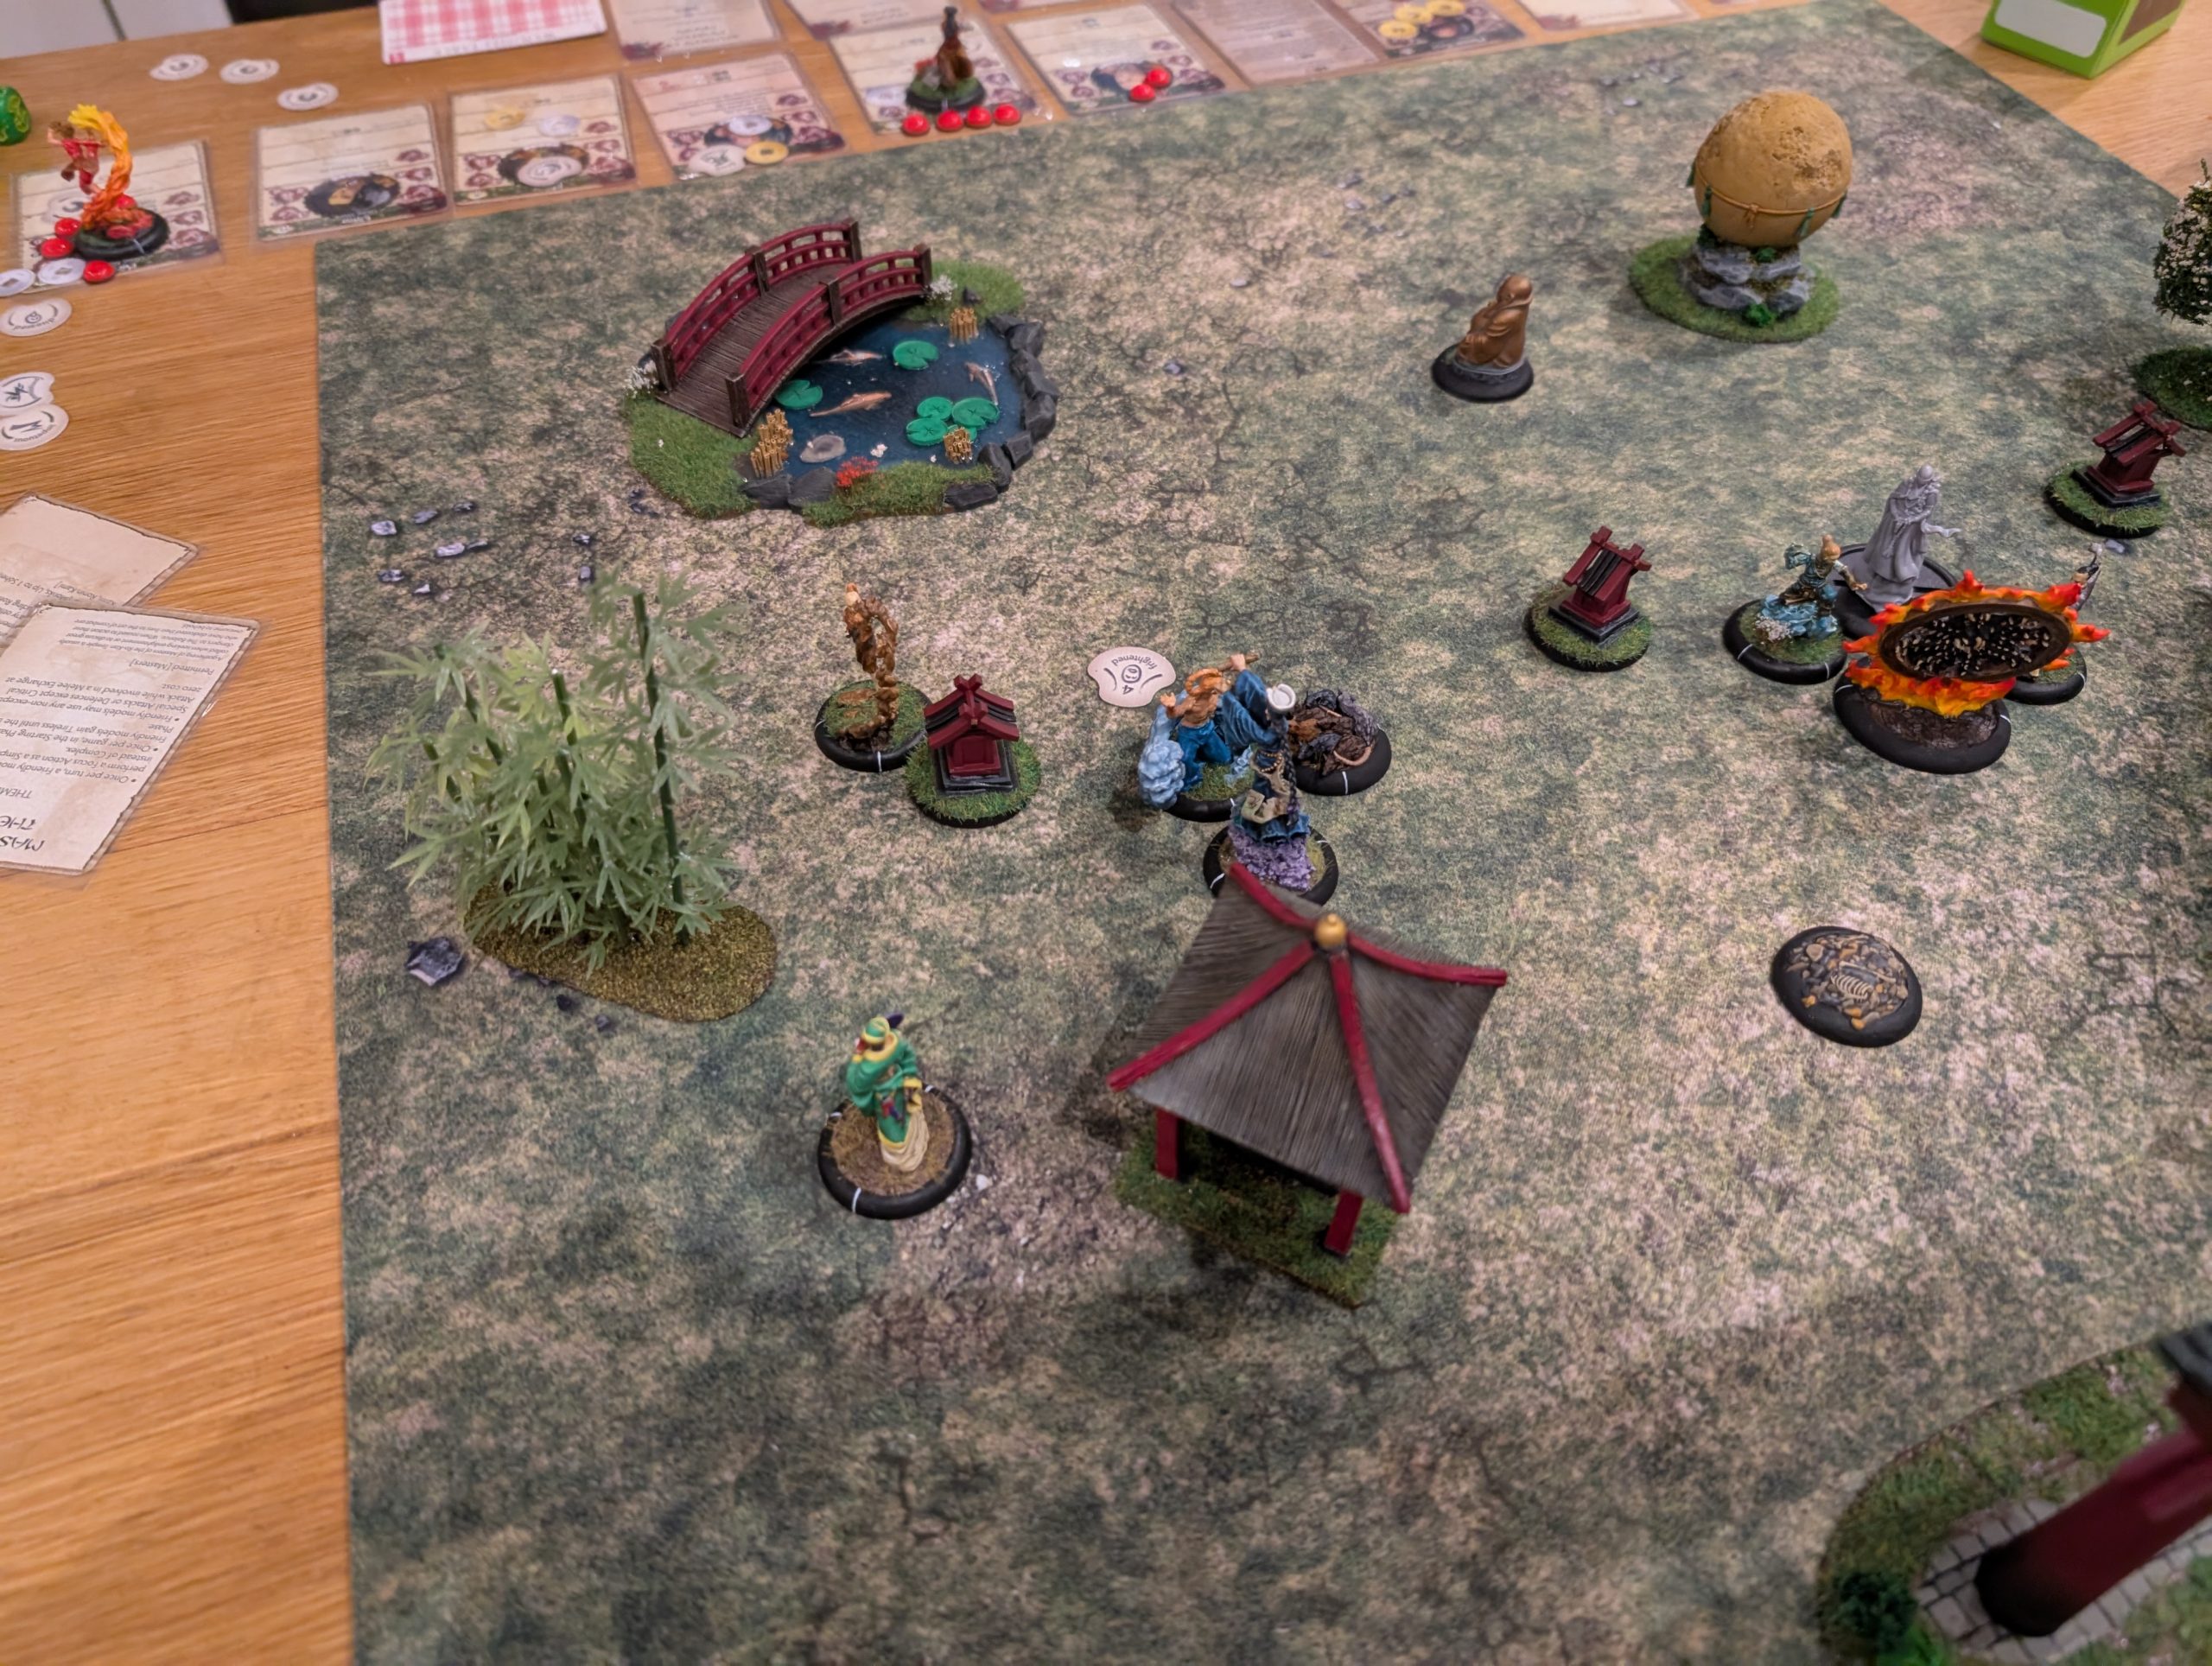
Below are the pre-game deployments. And as Rokuro gets a pre game scout move, I advanced him up the middle through the Tori Gate.
EDIT
There would be photos of the battle here, but for some reasons, the OTT site is blocking the uploads and giving me a ‘security breach’ web page. Apparently my photos are an attempt to derail national security by bringing down this site. This is a shame as they are very nice photos but if you’ve read this far, you’ll just have to use theatre of the mind to imagine the battle and the fun we had. If I figure out how to upload the photos without GCHQ getting involved, I’ll add them later.
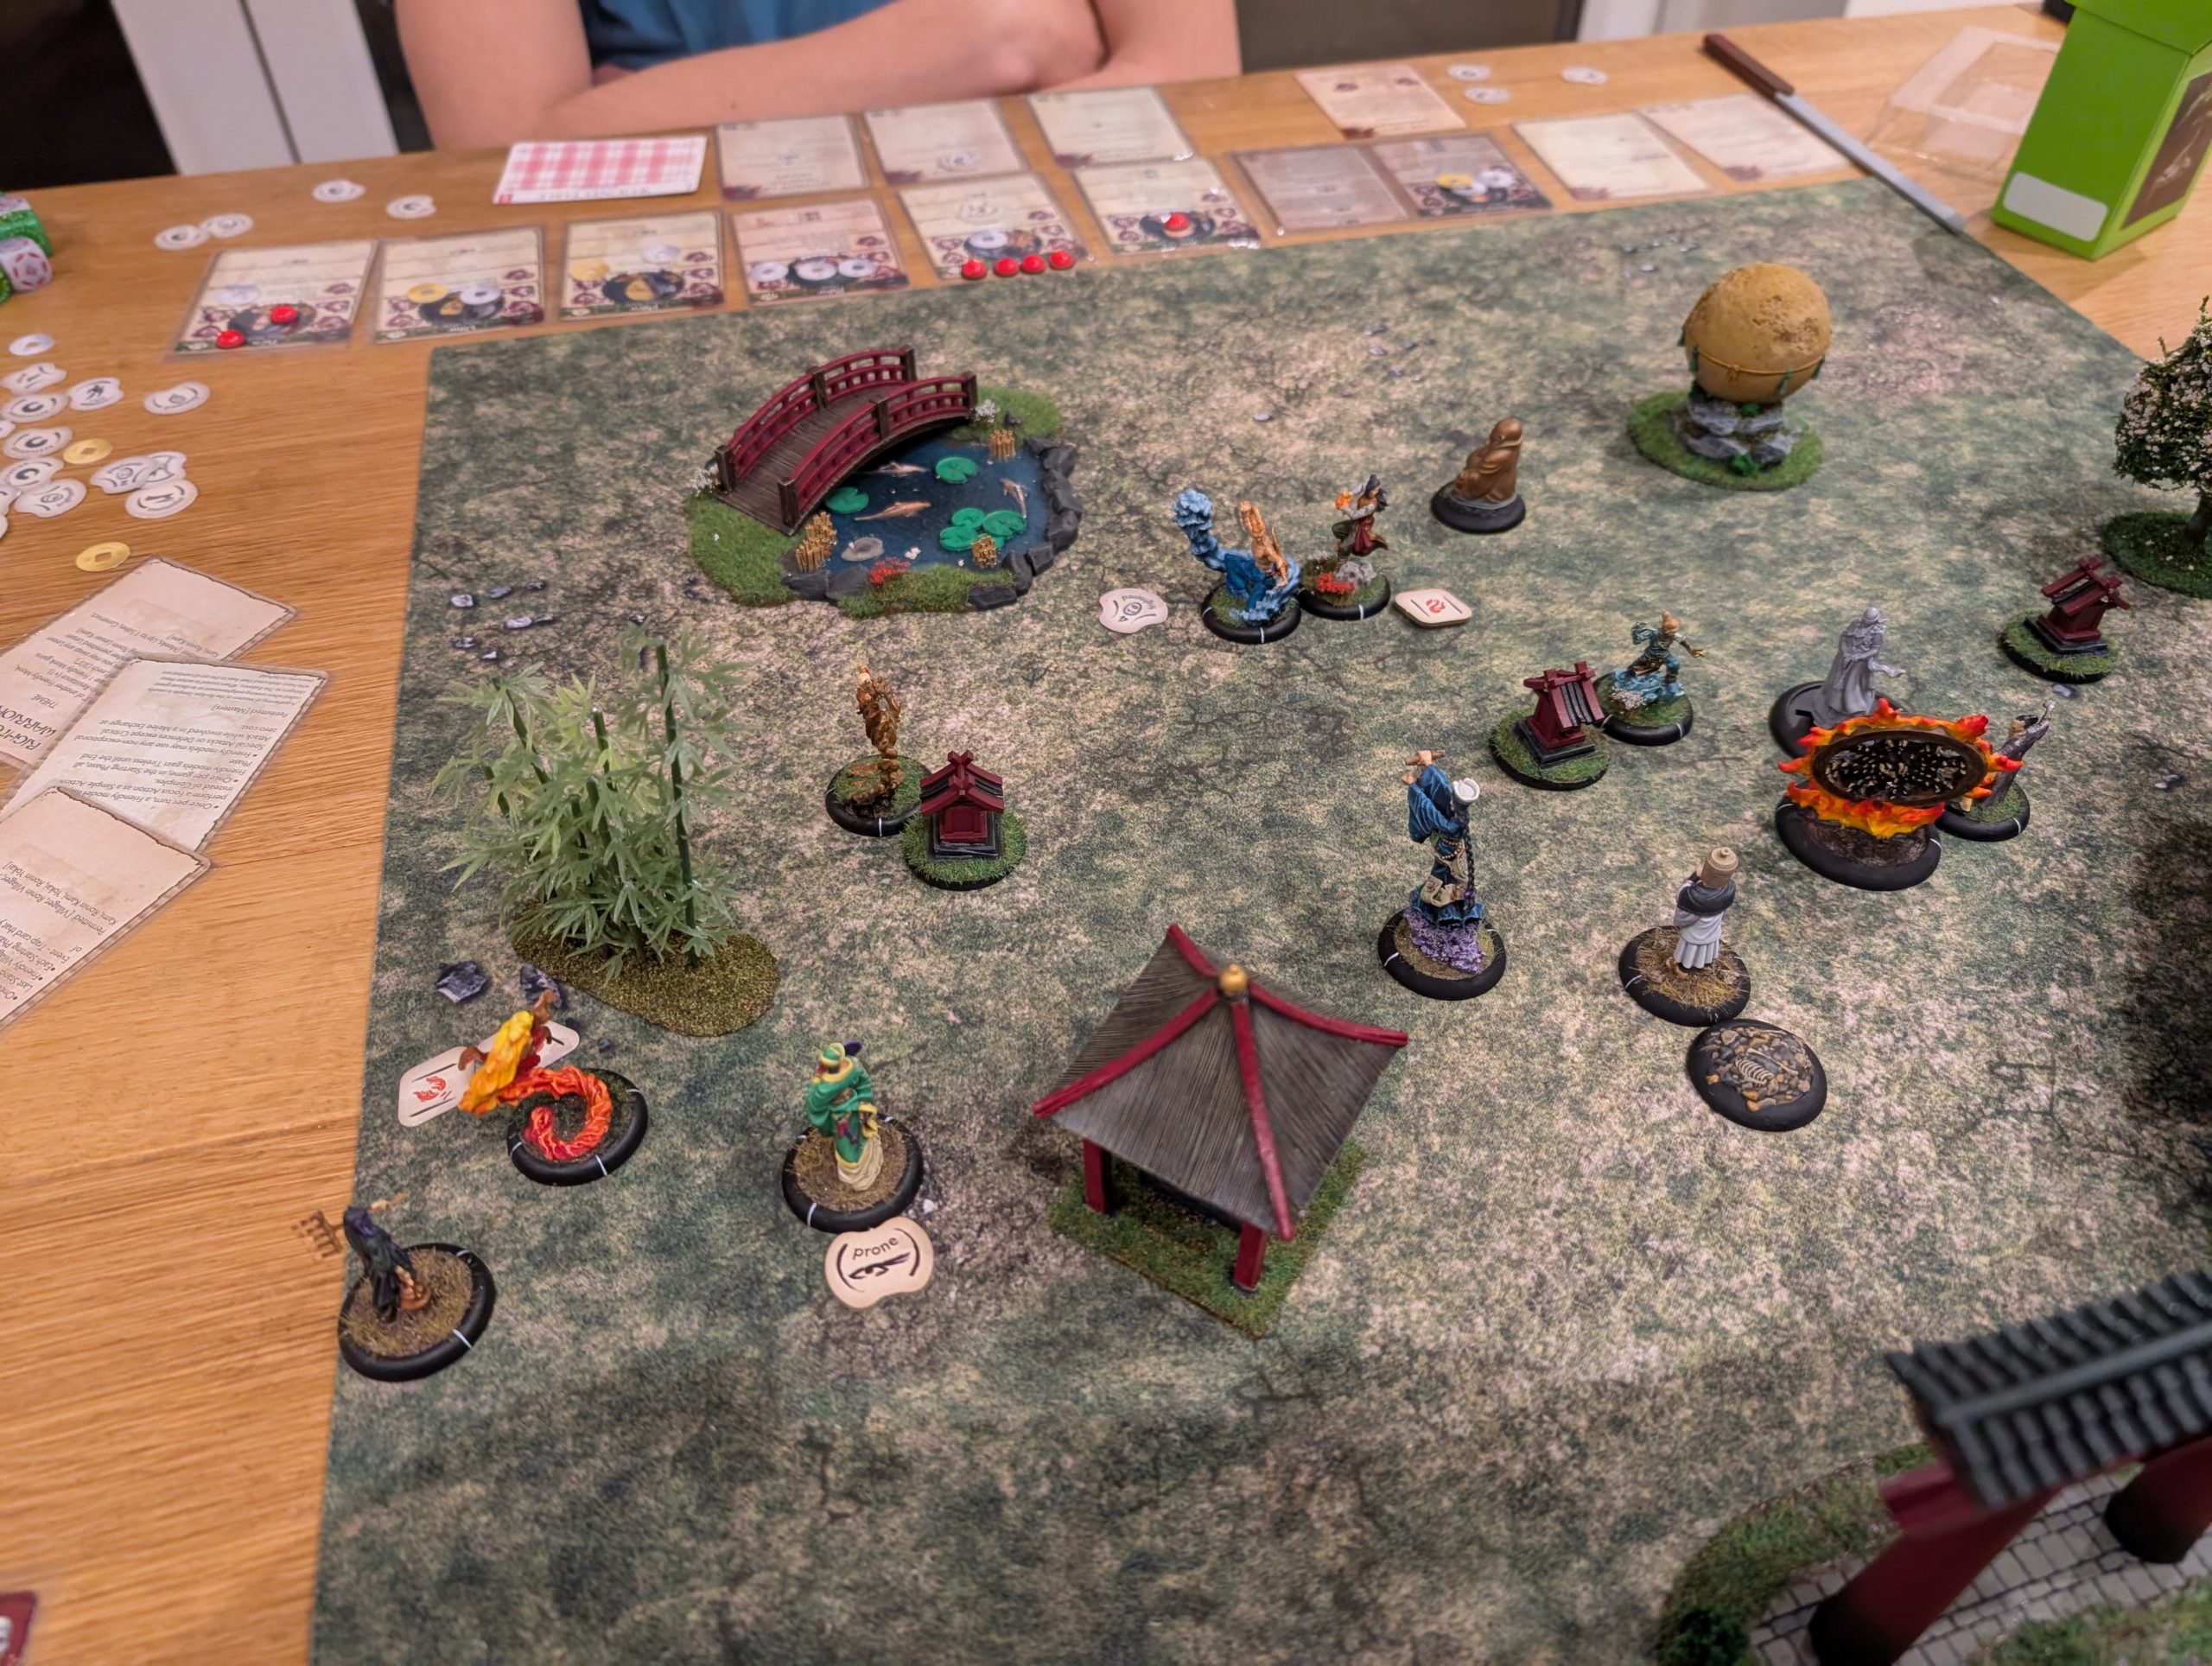
 GCHQ and OTT stop the world from seeing the deployment and Rokuro advancing through the Tori gate. We live in a nanny state and this must surely be the trigger for an uprising!
Turn 1
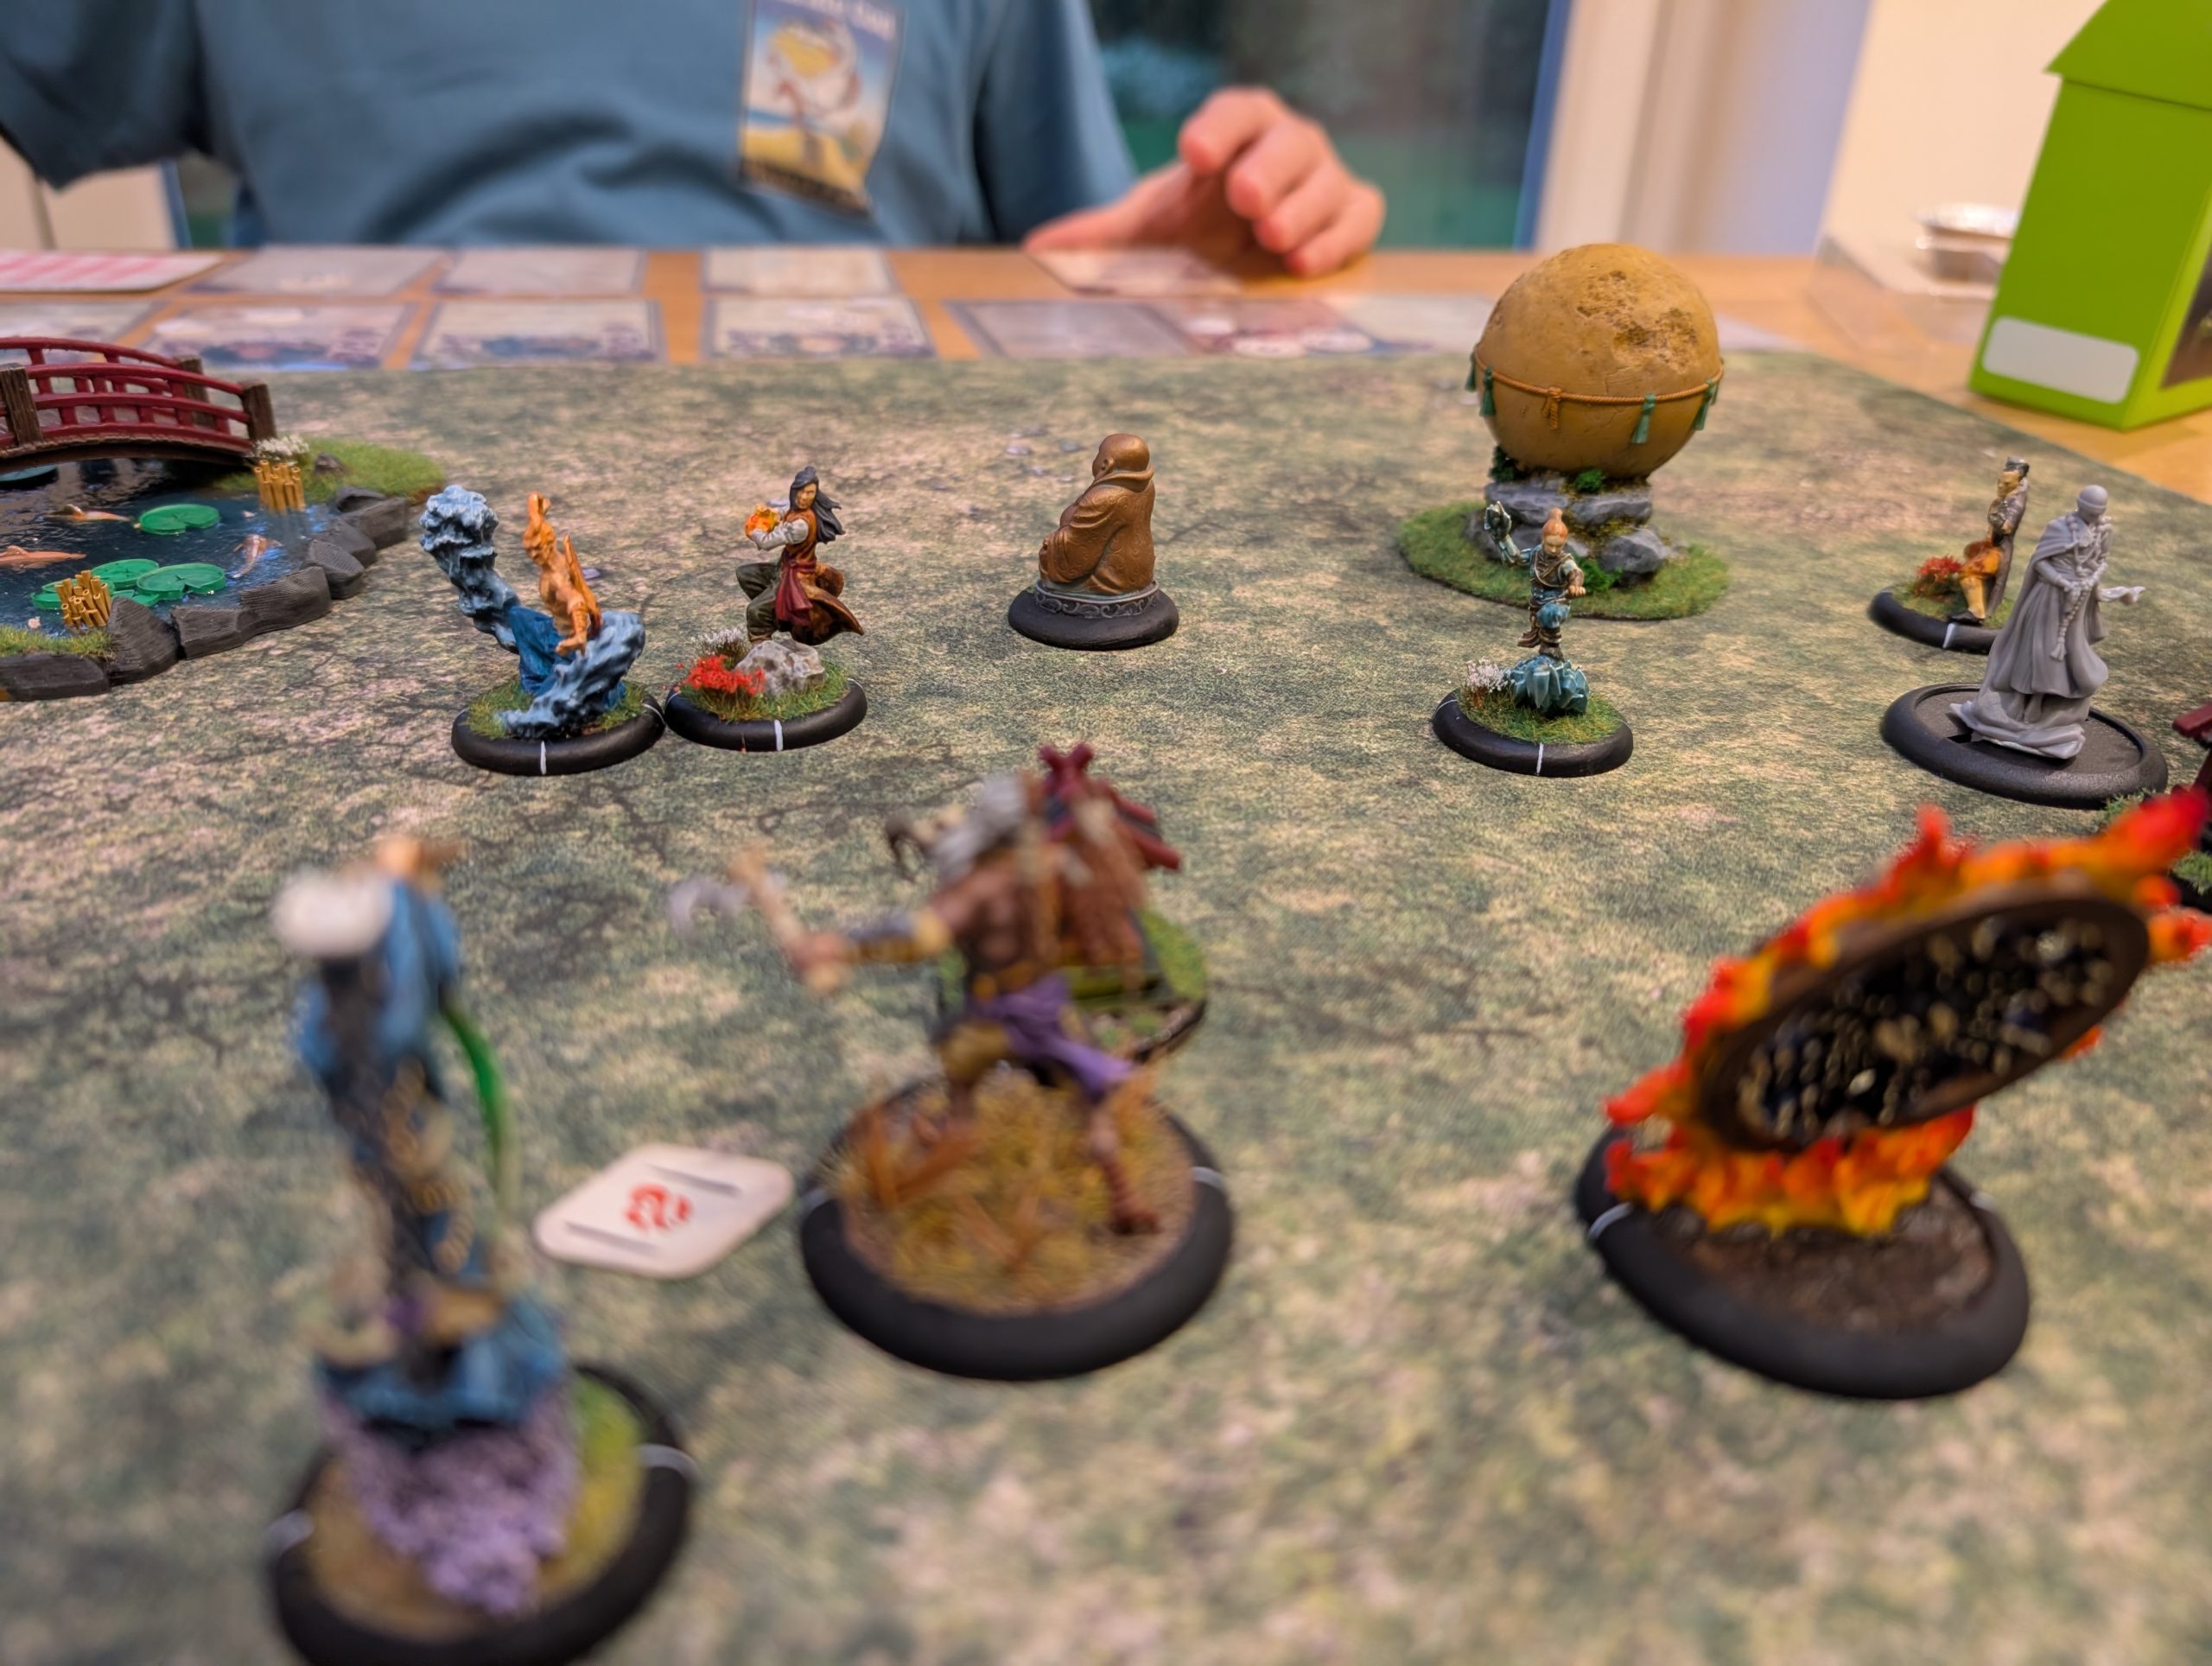
Most of turn 1 was the usual moving into position and getting into cover. However as Rokuro was deployed forward due to his scout rule, I looked to move him up the table to threaten an objective. This unfortunately put him in range of Saruka who used her Dance of Dragons Ki feat to launch a fireball toward the erstwhile Rokuro. This hit and while I was able to use some defences, it still caused Rokuro 2 fire damage.
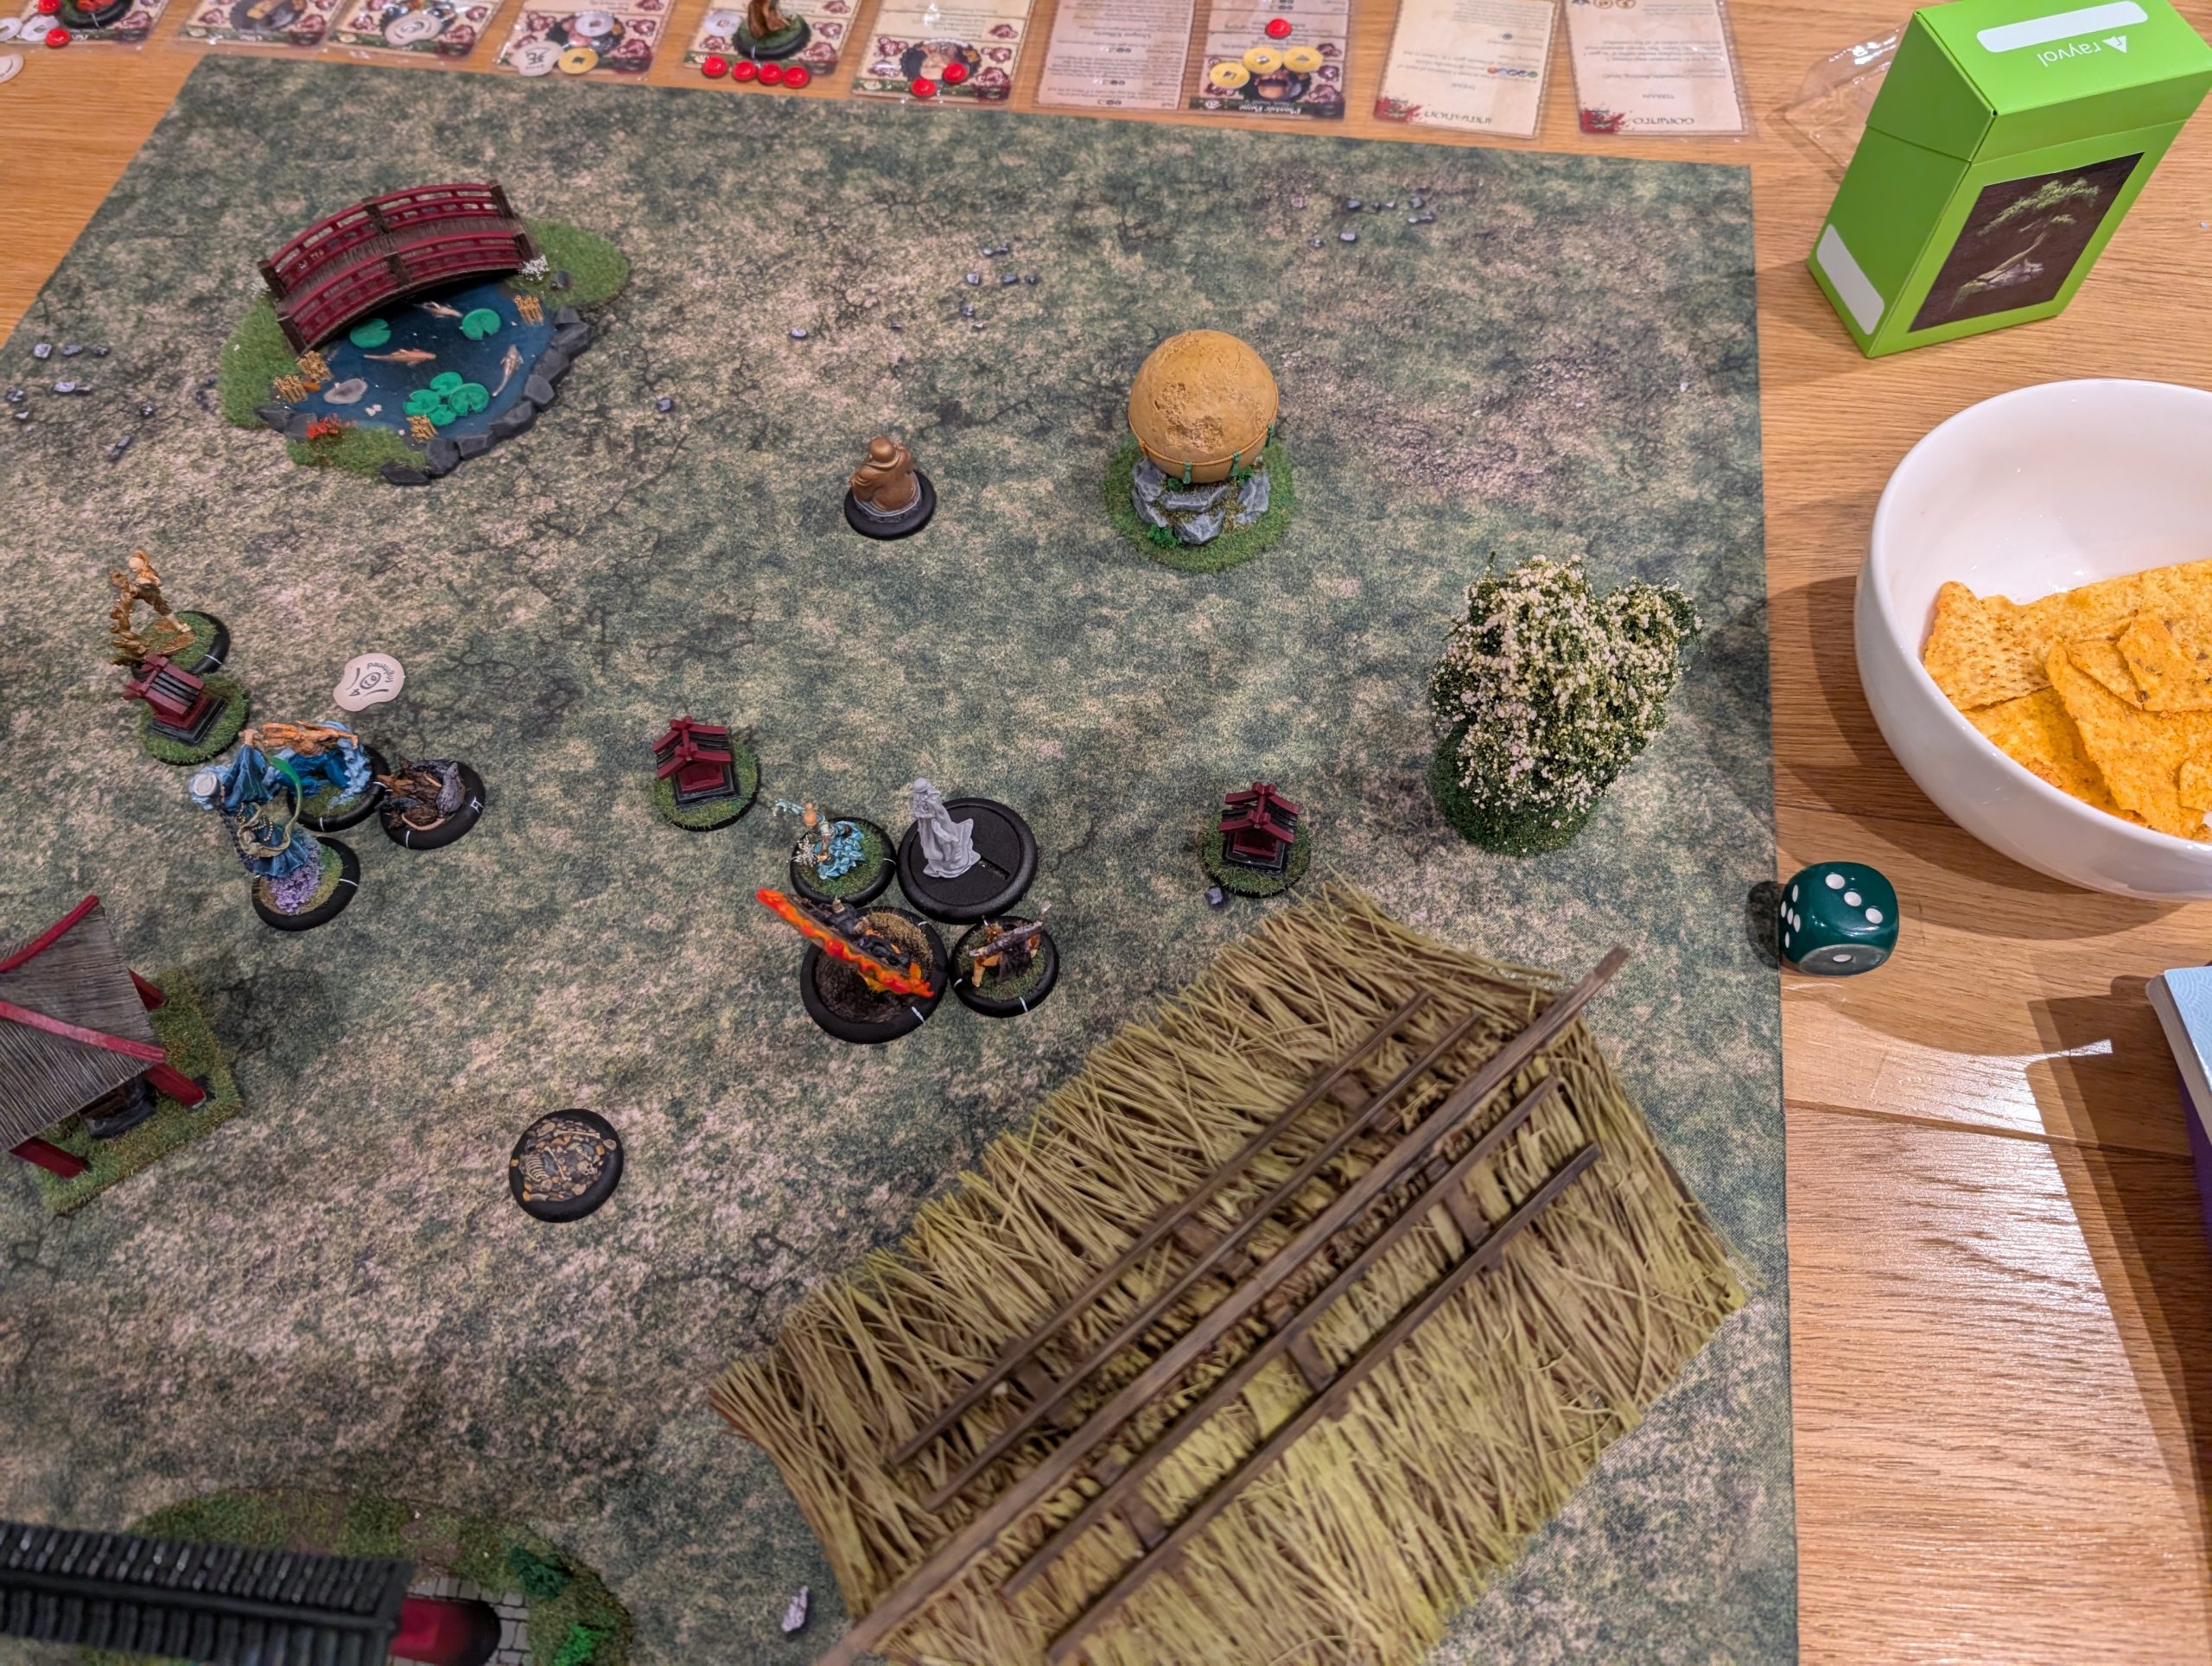
Apparently GCHQ and the OTT security filters are only worried about the setup photos, Turn 1 photos are not a national security issue.

Turn 2
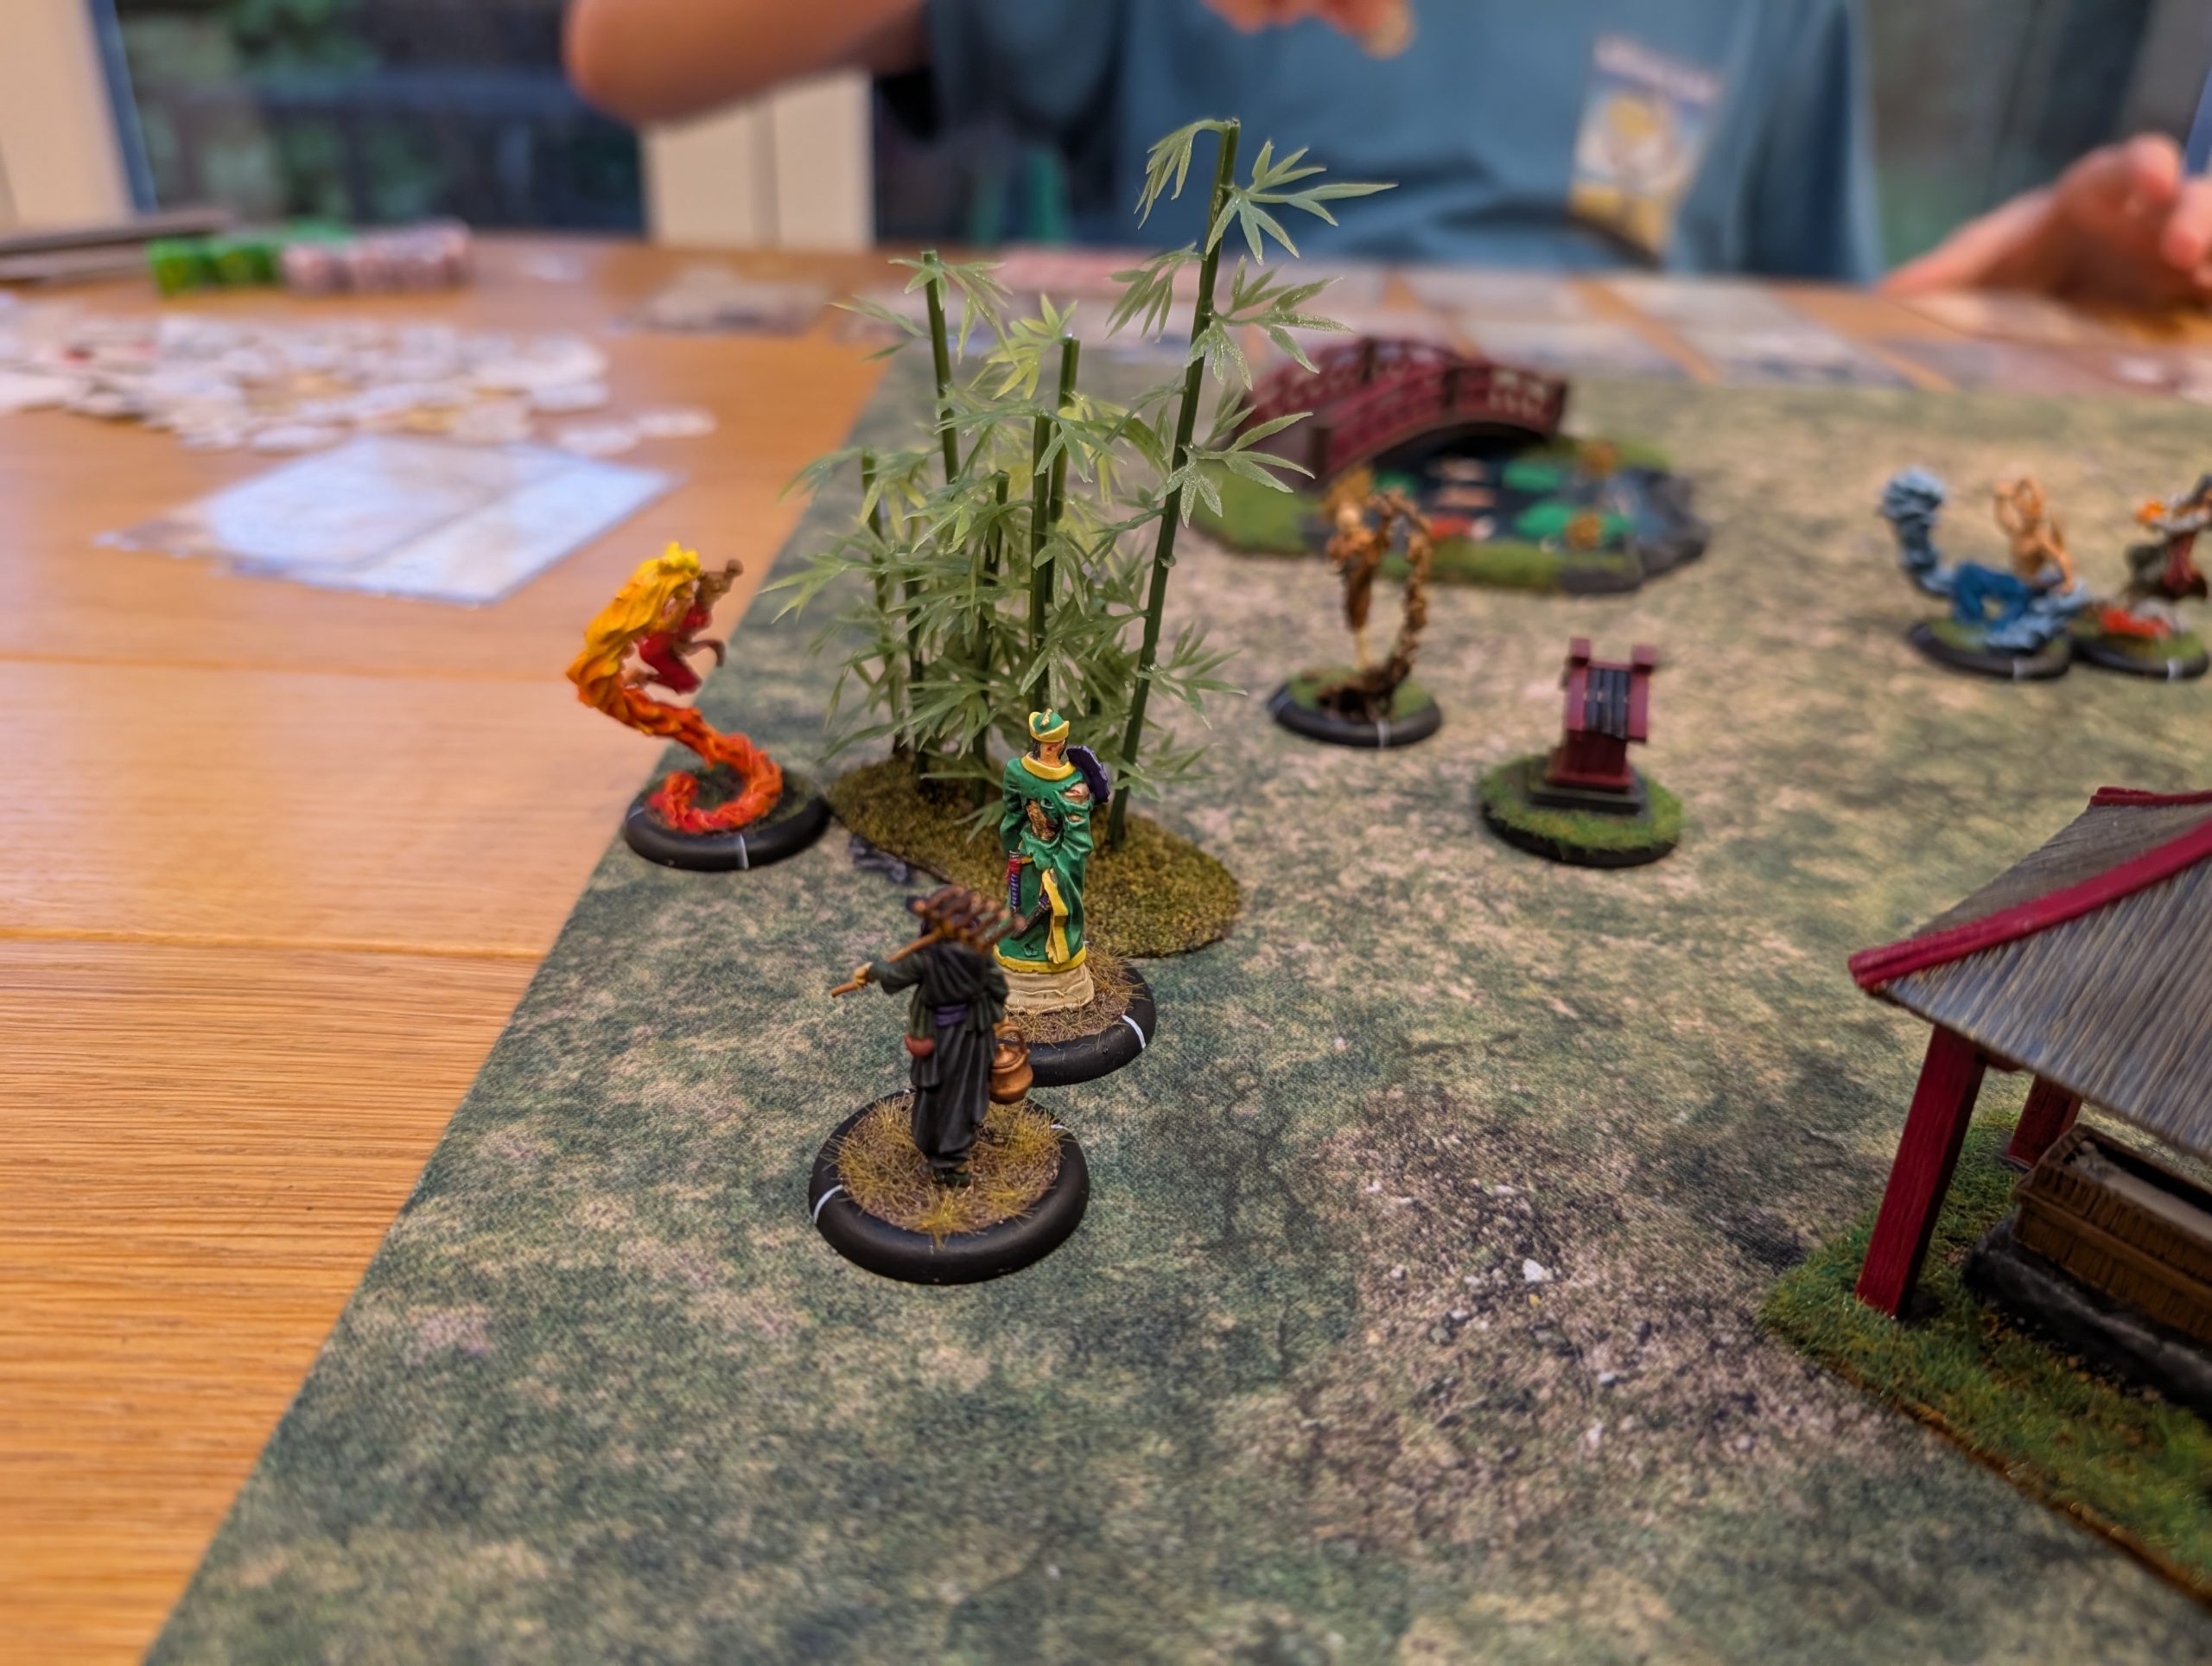
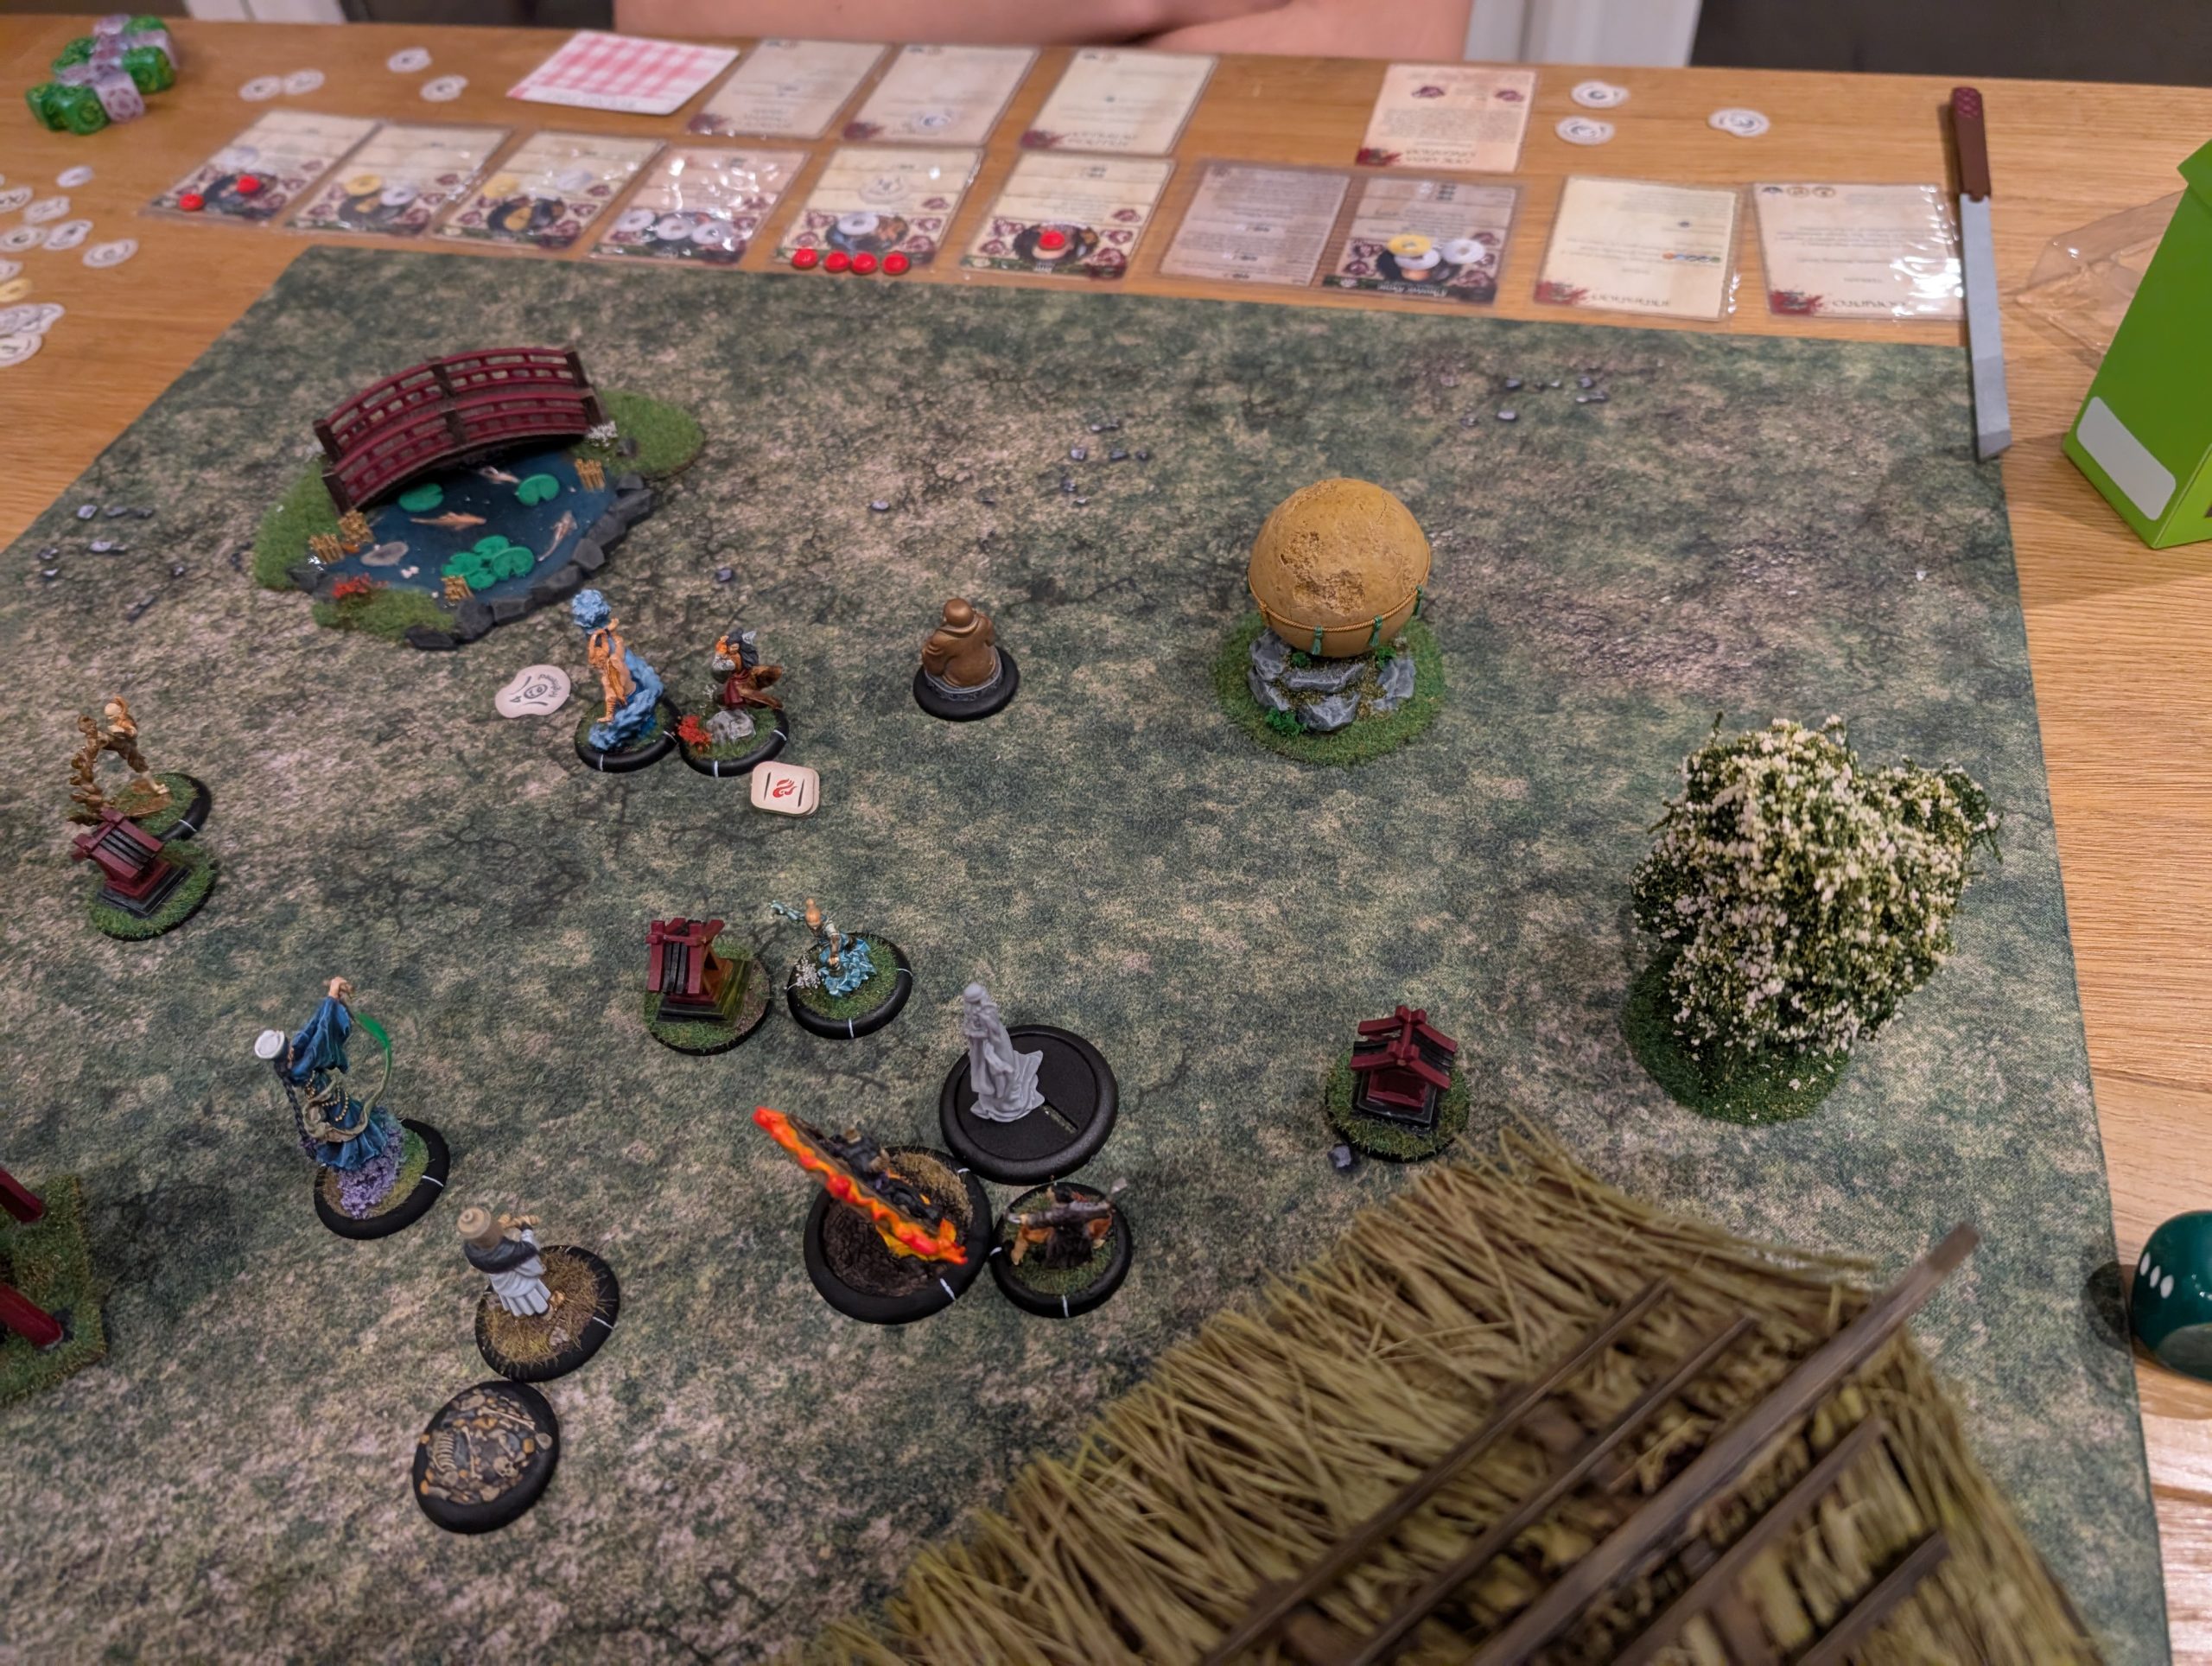
Turn 2 is where things really start to get interesting and this was no exception. Looking to lean heavily into my fire theme, I started with Ibara using his dark fire Ki feat to give Kira 2 fire markers (so no damage now, but at the end of the turn, you apply damage based on the markers on each model). In return, Saruka again uses her Dance of Dragons and Rokuro is burnt to a crisp (being a Tengu, perhaps this is a tasty chicken like crisp?). So first blood to my son and like similar battles, Rokuro gets it early – perhaps I’m being too aggressive with him.
Wanyudo uses its Soul Fire Ki ability on Saruka who gets 2 fire markers as well as a Ki block marker (meaning Saruka cannot generate ki in the next turn, which is very handy in stopping Saruka using Dance of Dragons again. In return, Saruka uses her last activation to Wait and remove the fire markers, so a handy way to tie her down with the net result being that Saruka still has the ki block marker.
Mo Ises tries to use his Obey ki feat but Kira is able to resist this.
Once again, Wanyudo Soul Fire’s Saruka and this time gets a level 3 fire marker. At this point I use my Crush the Oppressed event card which doubles all of the markers currently in play. This means that Saruka gets another level 3 fire maker and another Ki block and Kira picks up another 2 fire markers.
A blazing Kira moves into melee with Mo Ises and using a special attack pushes Mo Ises back 2” and leaves him Prone. Koju attacks Wanydo and manages to apply a bleed marker (I’m not sure how given that Wanyudo is a flaming wooden wheel, but there you go). If Koju remains in BtB with Wanyudo, he’ll get a fire marker next turn as standing next to a flaming wheel isn’t healthy.
Kiru now attacks Ibara. In defence, I roll 3 1s and Ibara gets slapped around taking 4 wounds. Still alive but not looking healthy.
Riku tries to attack Waku the Soul Collector but fails the Fear test leaving him Frightened and unable to complete the action. Waku uses his Dark Magic ranged attack and hits Riku handing out 2 fire markers. This forces Riku to use an activation to wait to remove the fire markers.
Yim finally attacks Wanyudo using his Fist of Iron Ki feat and does 2 wounds but takes a fire marker in return.
At the end of the turn, Wanyudo take a wound for having a bleed marker. Yim takes a wound for having a Fire marker. Saruka takes 4 wounds from the fire markers and still has a fire marker left. Riku takes 2 wounds from fire markers and still has 2 left. So overall, a fairly destructive round for my warband.
But the end of round 2 is a scoring round and my son controls 2 shrines so he gets 1VP. My enhancement card means I get a small rat swarm generated, so an extra model and an extra irritation for my son to deal with.
Turn 3
As Yim and Koju are in BtB with Wanyudo at the start of the turn, they both win themselves a fire marker each. Wanyudo loves the hot cuddles.
Riku attacks Ibara. I gamble here as Ibara has Reach meaning that he will attack first in combat and I put all of my melee dice pool into attack with the hope of getting a killing blow. I only manage 2 wounds and Riku is able to finish Ibara off.
I use Waku to give Riku a Death Sentence marker (meaning that any of my models attacking Riku will get an extra melee dice – Ibara could have done with this).
Waku then attacks Riku. Riku uses the Parry Ki feat and the combat ends with neither party managing to cause any wounds.
Sakura then gets into combat with Mokoti. This isn’t really a fair fight and Mokoti gets absolutely murdered. Things aren’t going well for my warband now.
At the end of the turn, Sakura and Kira both succumb to a fiery death with their remaining fire markers. Koju and Yim both take a further wound each from their fire markers.
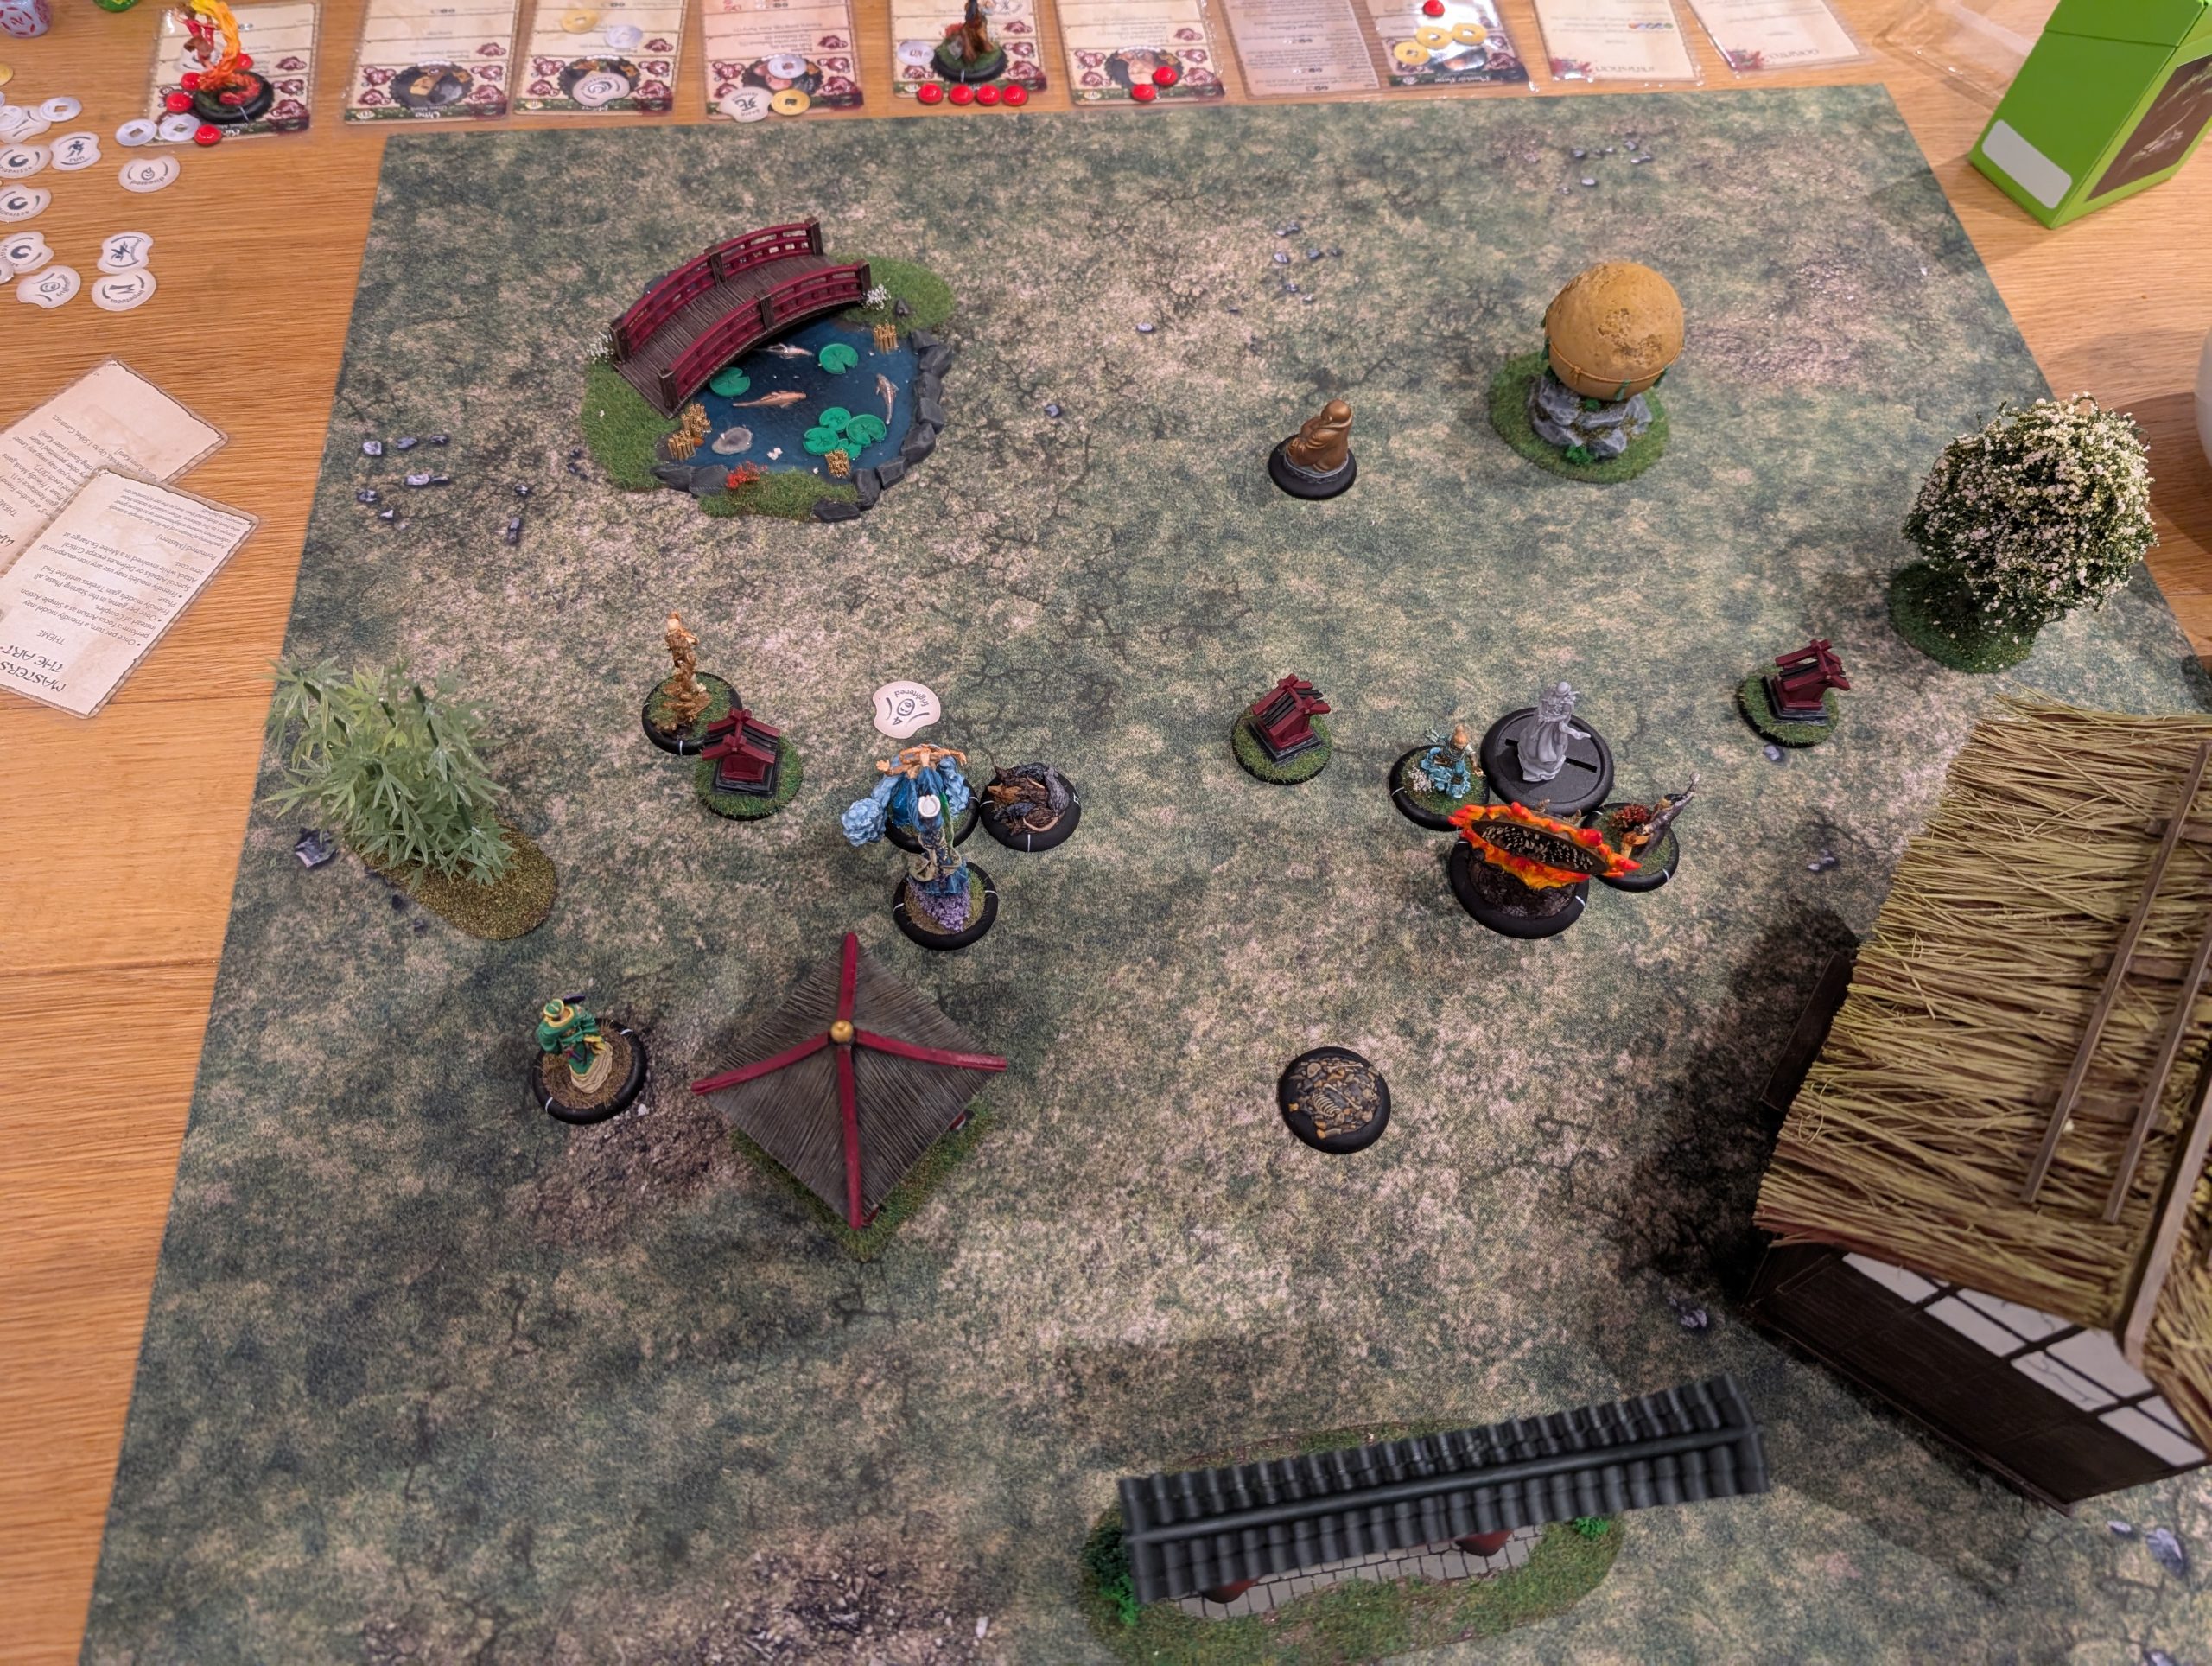
Turn 4
At the start of the turn, Koju gets another fire marker for being in BtB with Wanyudo. I activate Wanyudo first and use his Inferno ki ability that hits all models within 2” and gives each of them 2 fire tokens. But this isn’t going to be enough to kill anyone. It’s not looking good for me now and with Wanyudo and Waku locked up in combat, they won’t have enough activation points to get free and get to a shrine to turn them back to my side. The small rat swarm has the special rule of insignificant that means it can’t perform scenario actions, so isn’t going to help me win this scenario. It’s at this point that I have to concede, my son wins.


