
![O-12 Infinity Fast Response! Firebat Attack Wing Unboxing & Review [7 Days Early Access]](https://images.beastsofwar.com/2026/01/unboxing-corvus-belli-infinity-firebat-attack-wing-coverimage-225-127.jpg)


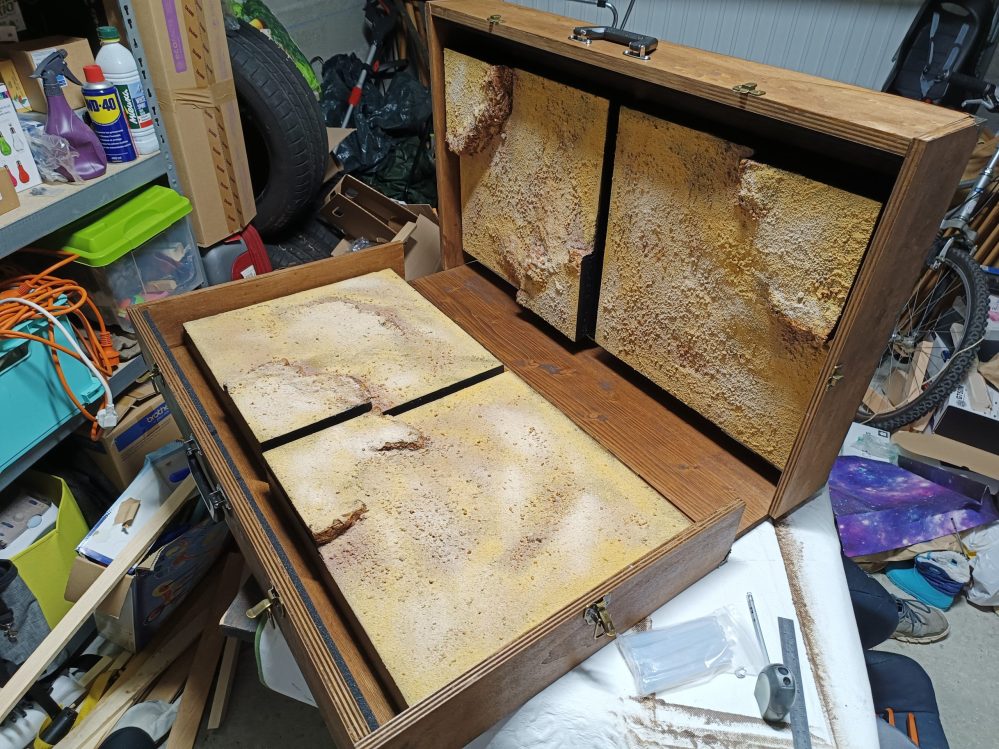
Portable Desert


First Creating the tiles
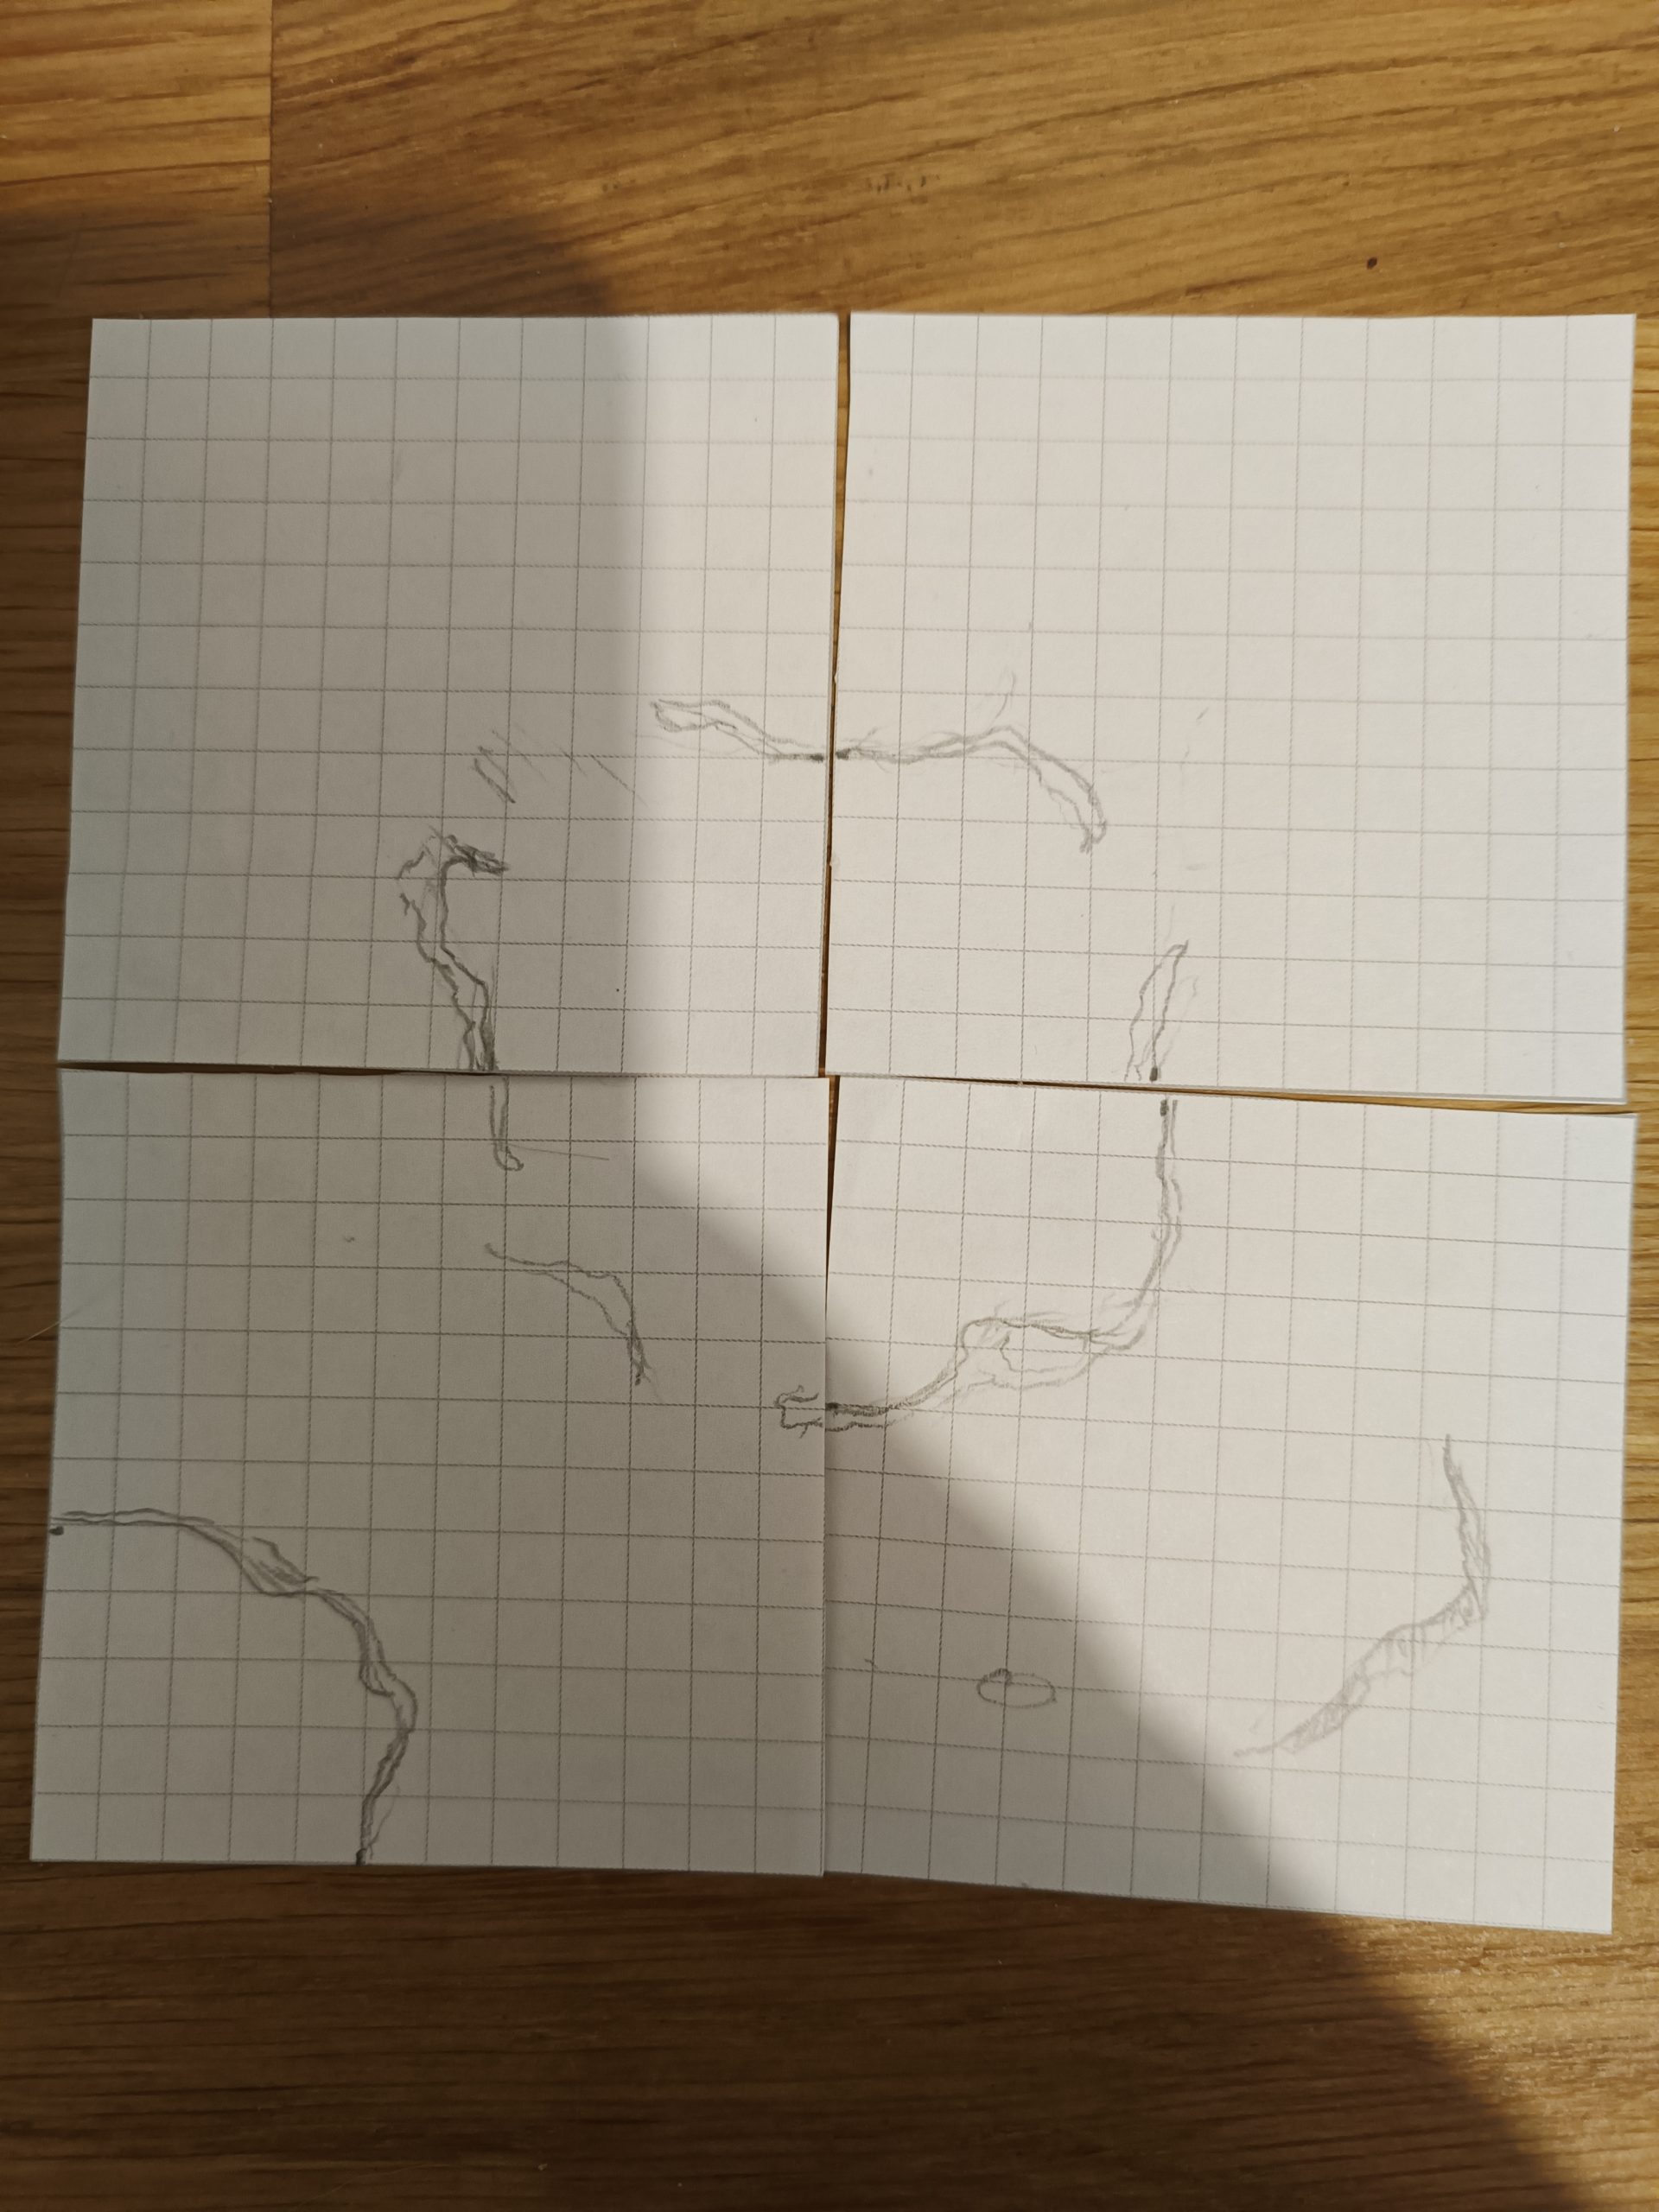
The first thing to do was to determine what the terrain would look like. I knew I wanted to make sand tiles to match the idea we had for the game. I wanted everything to be modular, with hills that vehicles could climb up. So I started by drawing on small squares of graph paper to get an idea of the potential dimensions of the hills and see how I could make the terrain as modular as possible.
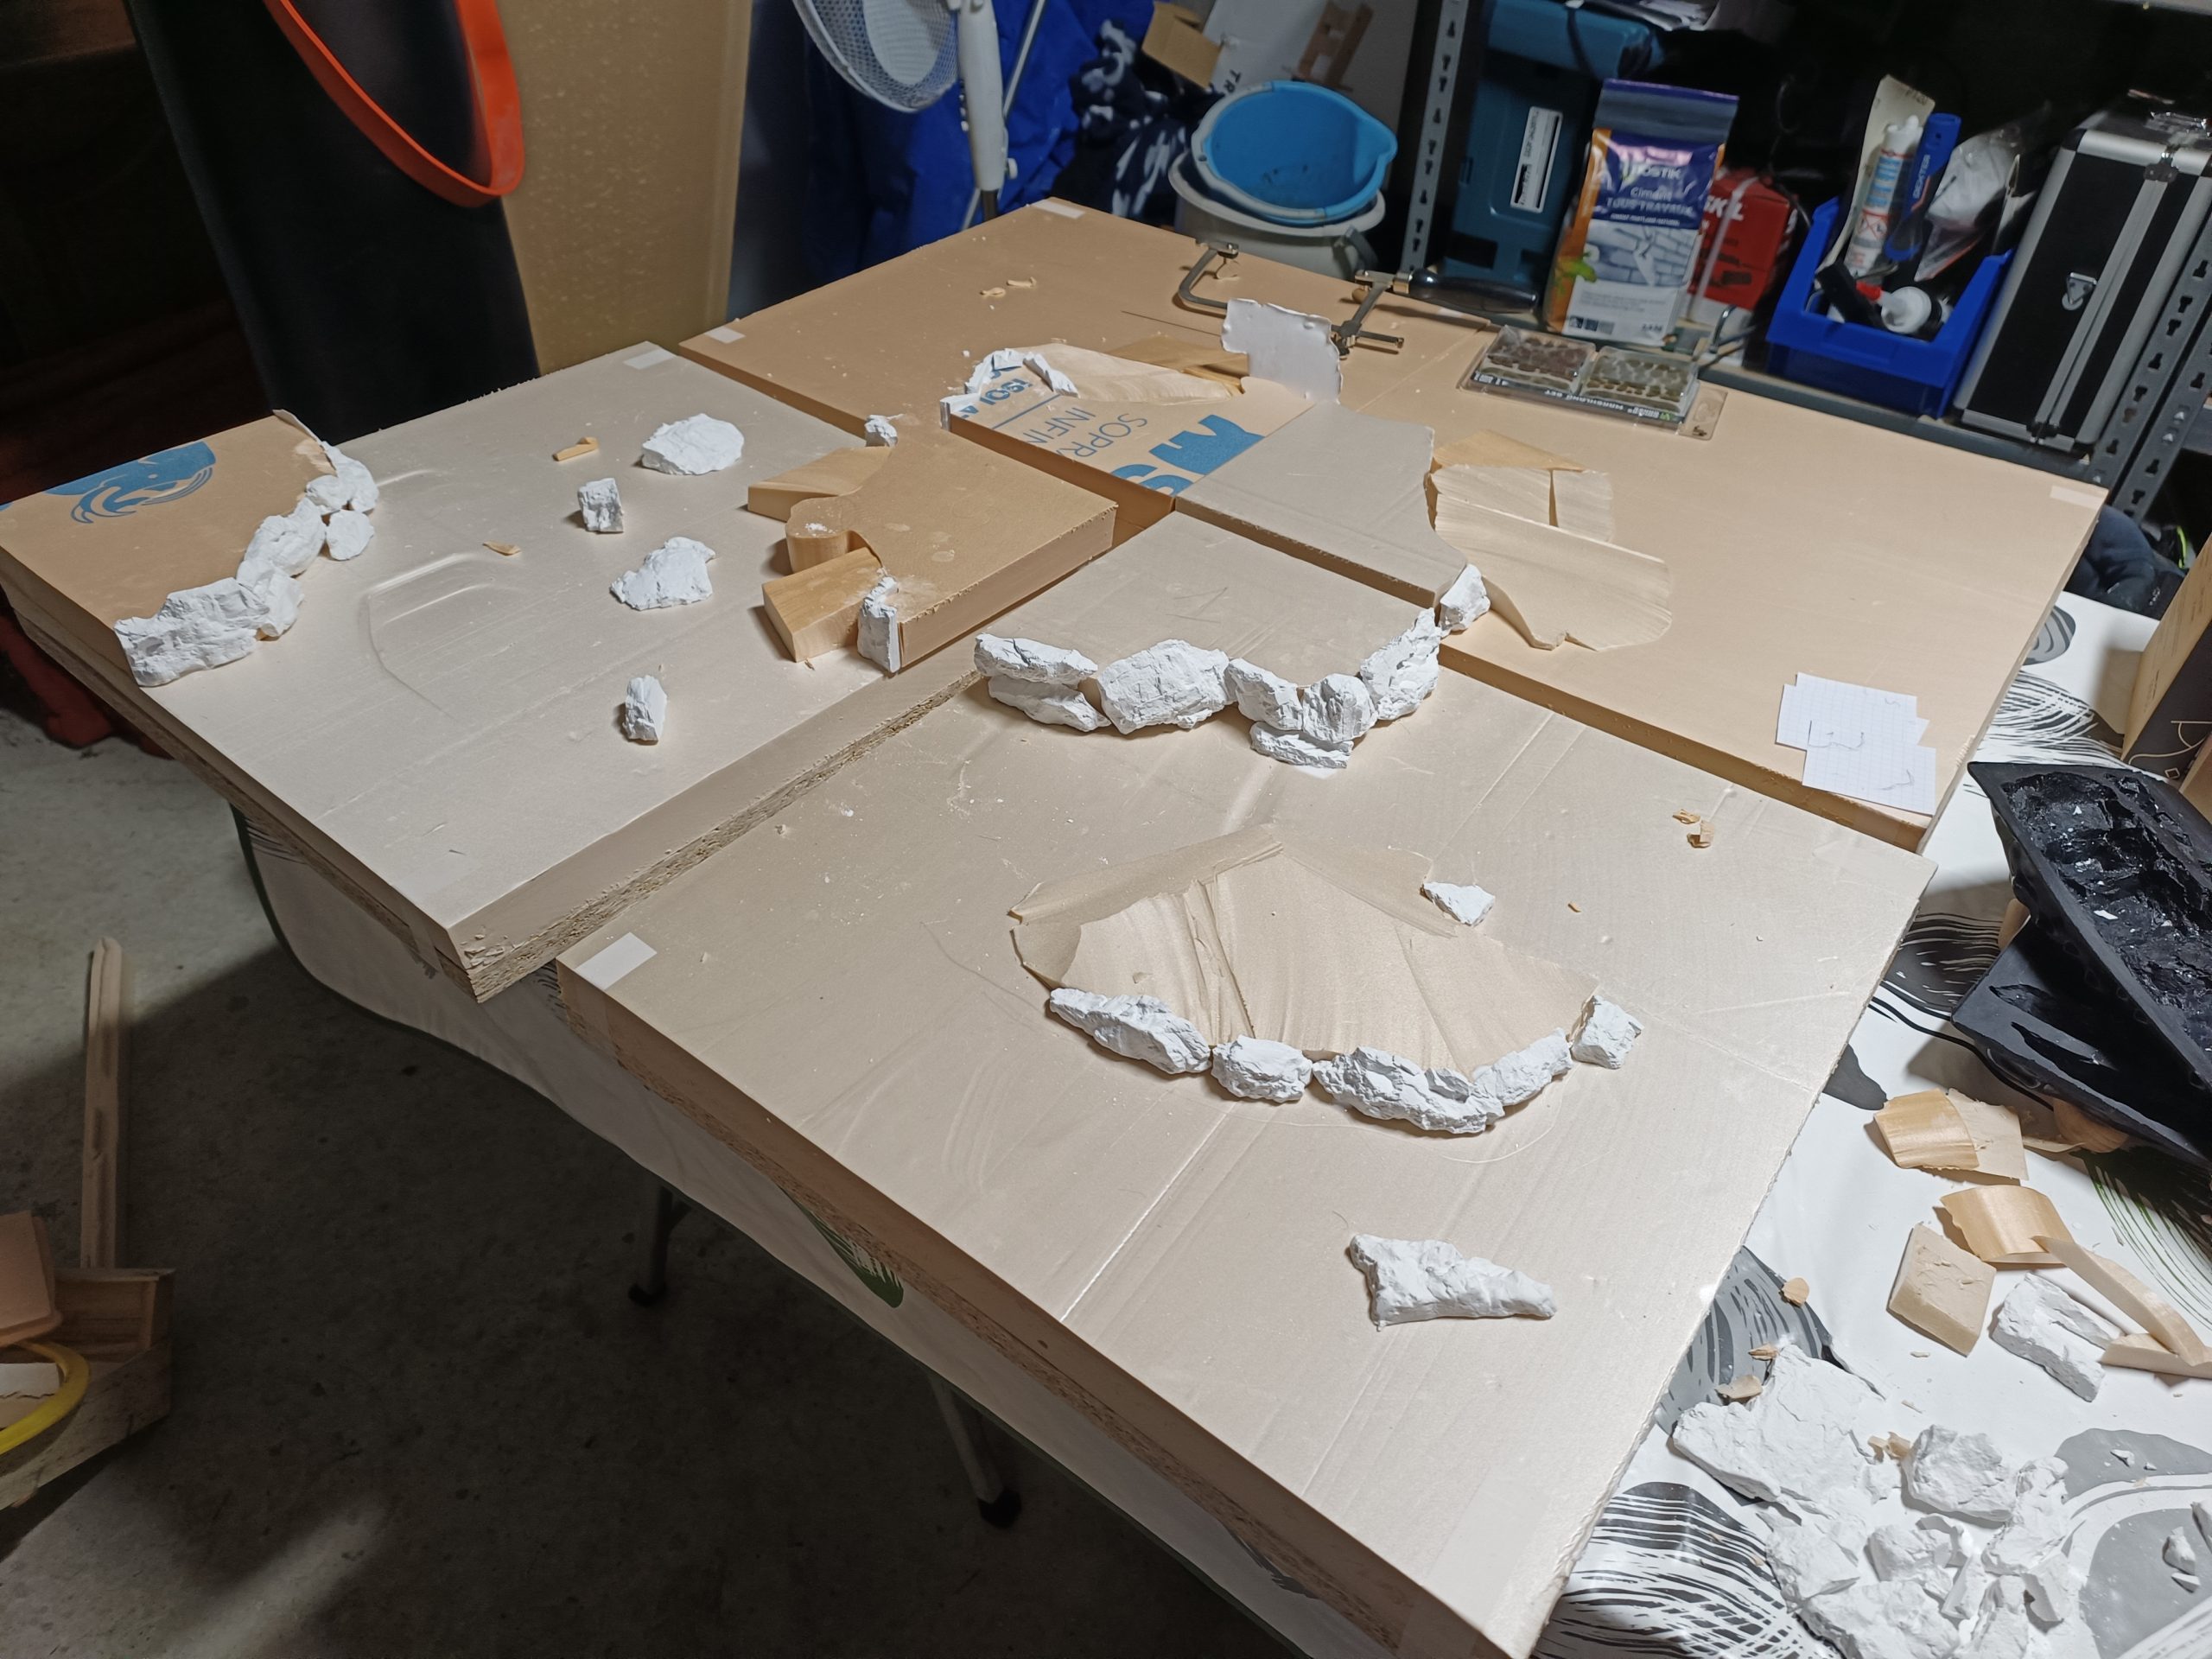
I then gathered all the materials I needed to make the tiles. The tiles are 45 cm square. They are made of an 18 mm thick wooden board, then a layer of polystyrene about 30 mm thick.
I cut and glued the polystyrene with PVA glue to create the main shapes of the hills.
By following several tutorials, notably those by Zorpazop on his Geonosis terrain, and Eric’s Hobby Workshop on desert terrain, I was able to learn different techniques for creating realistic scenery.
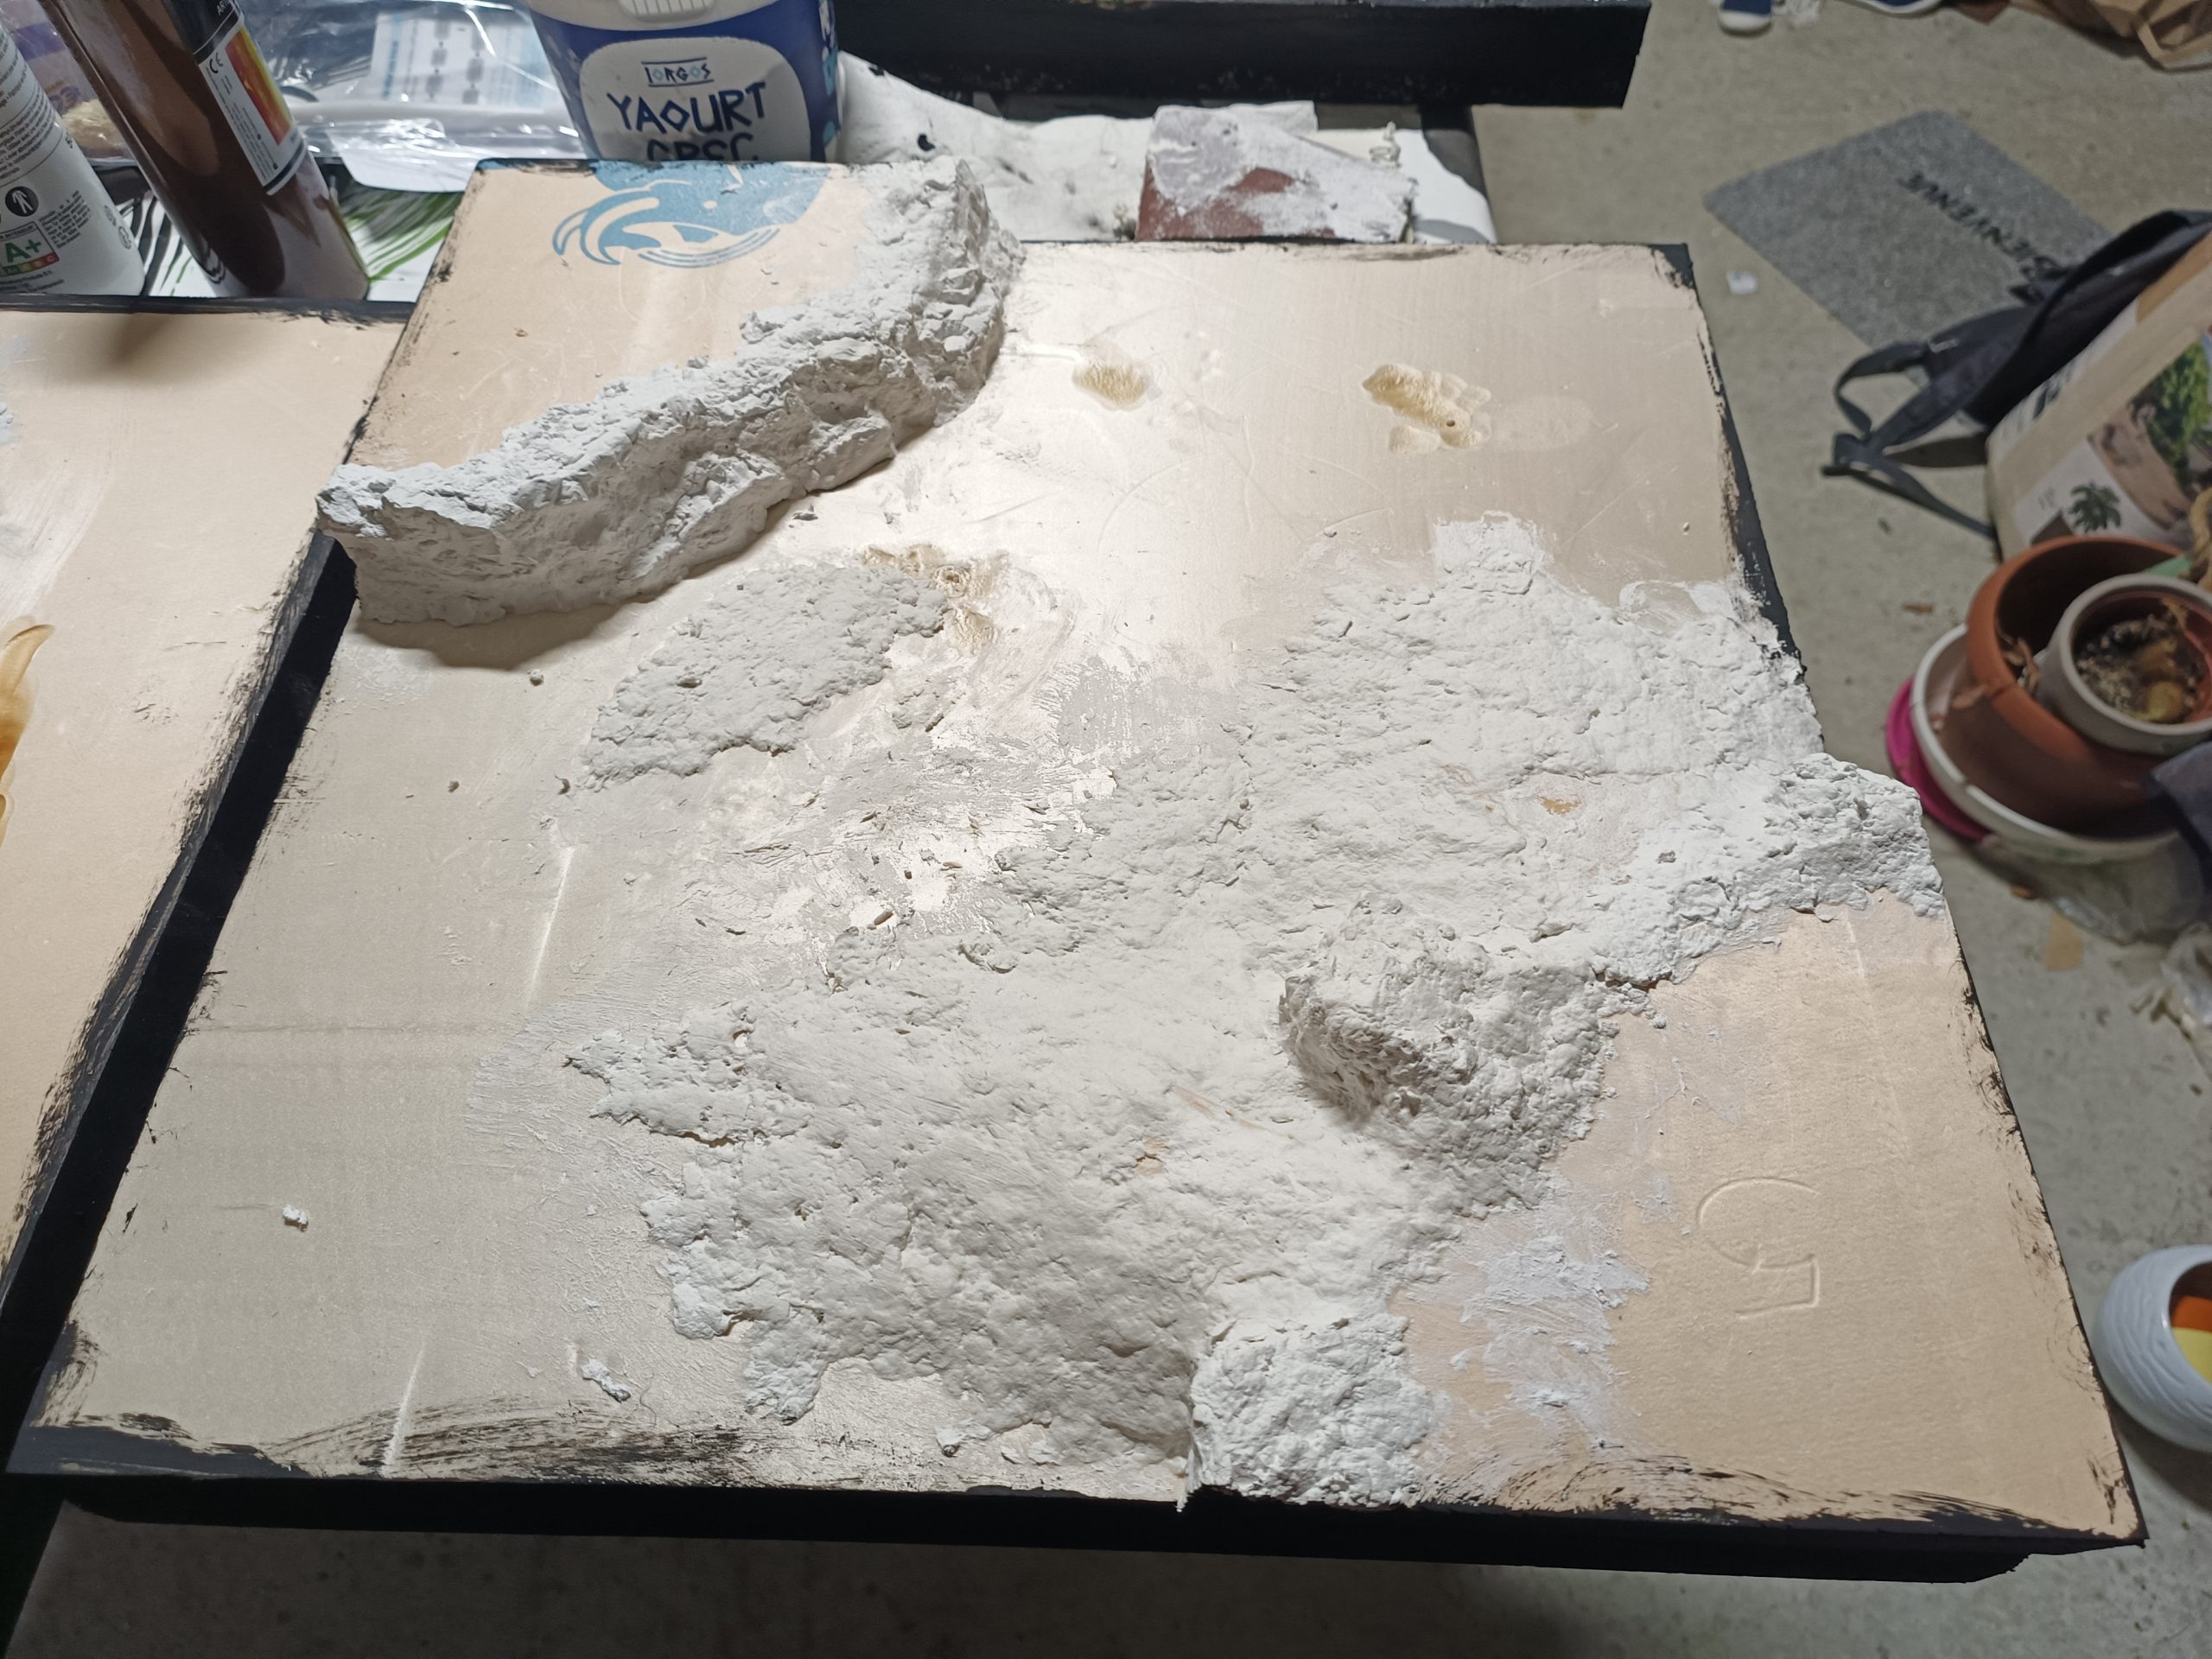
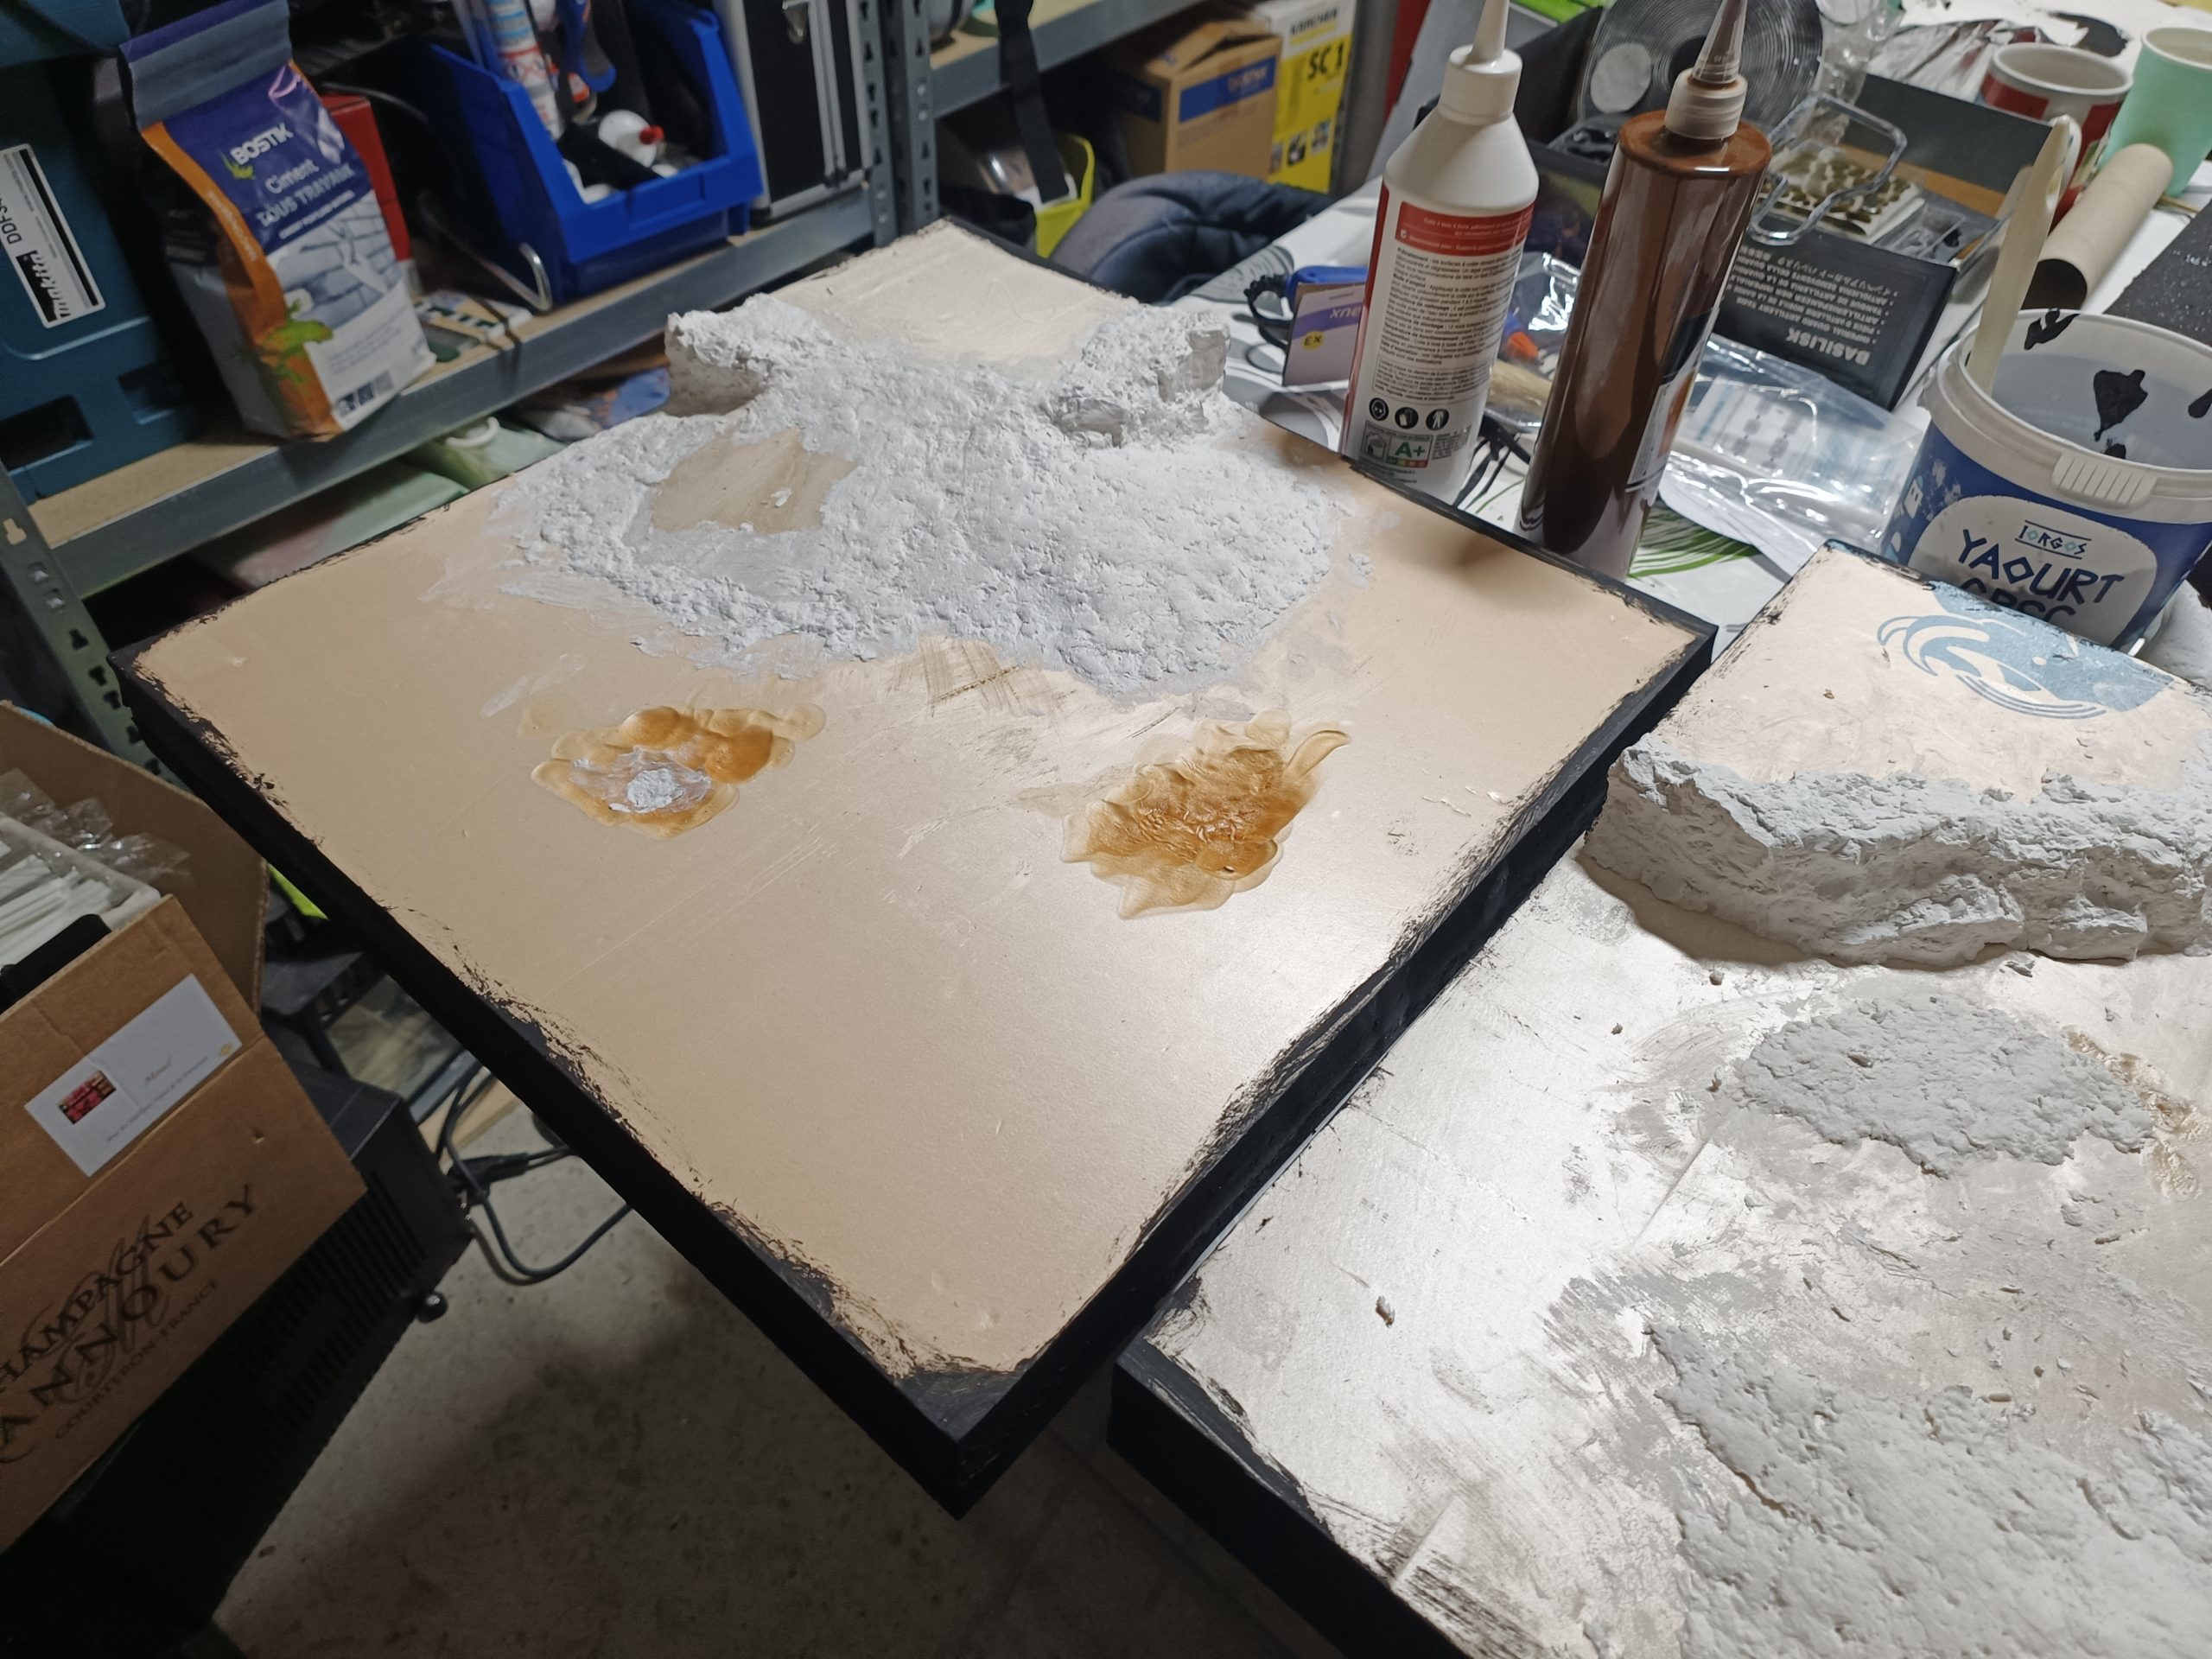
Following Zorpazorp’s advice, I molded rock faces to apply to the cliff sides. I was then able to add polystyrene scraps to make ramps for the vehicles to drive on.
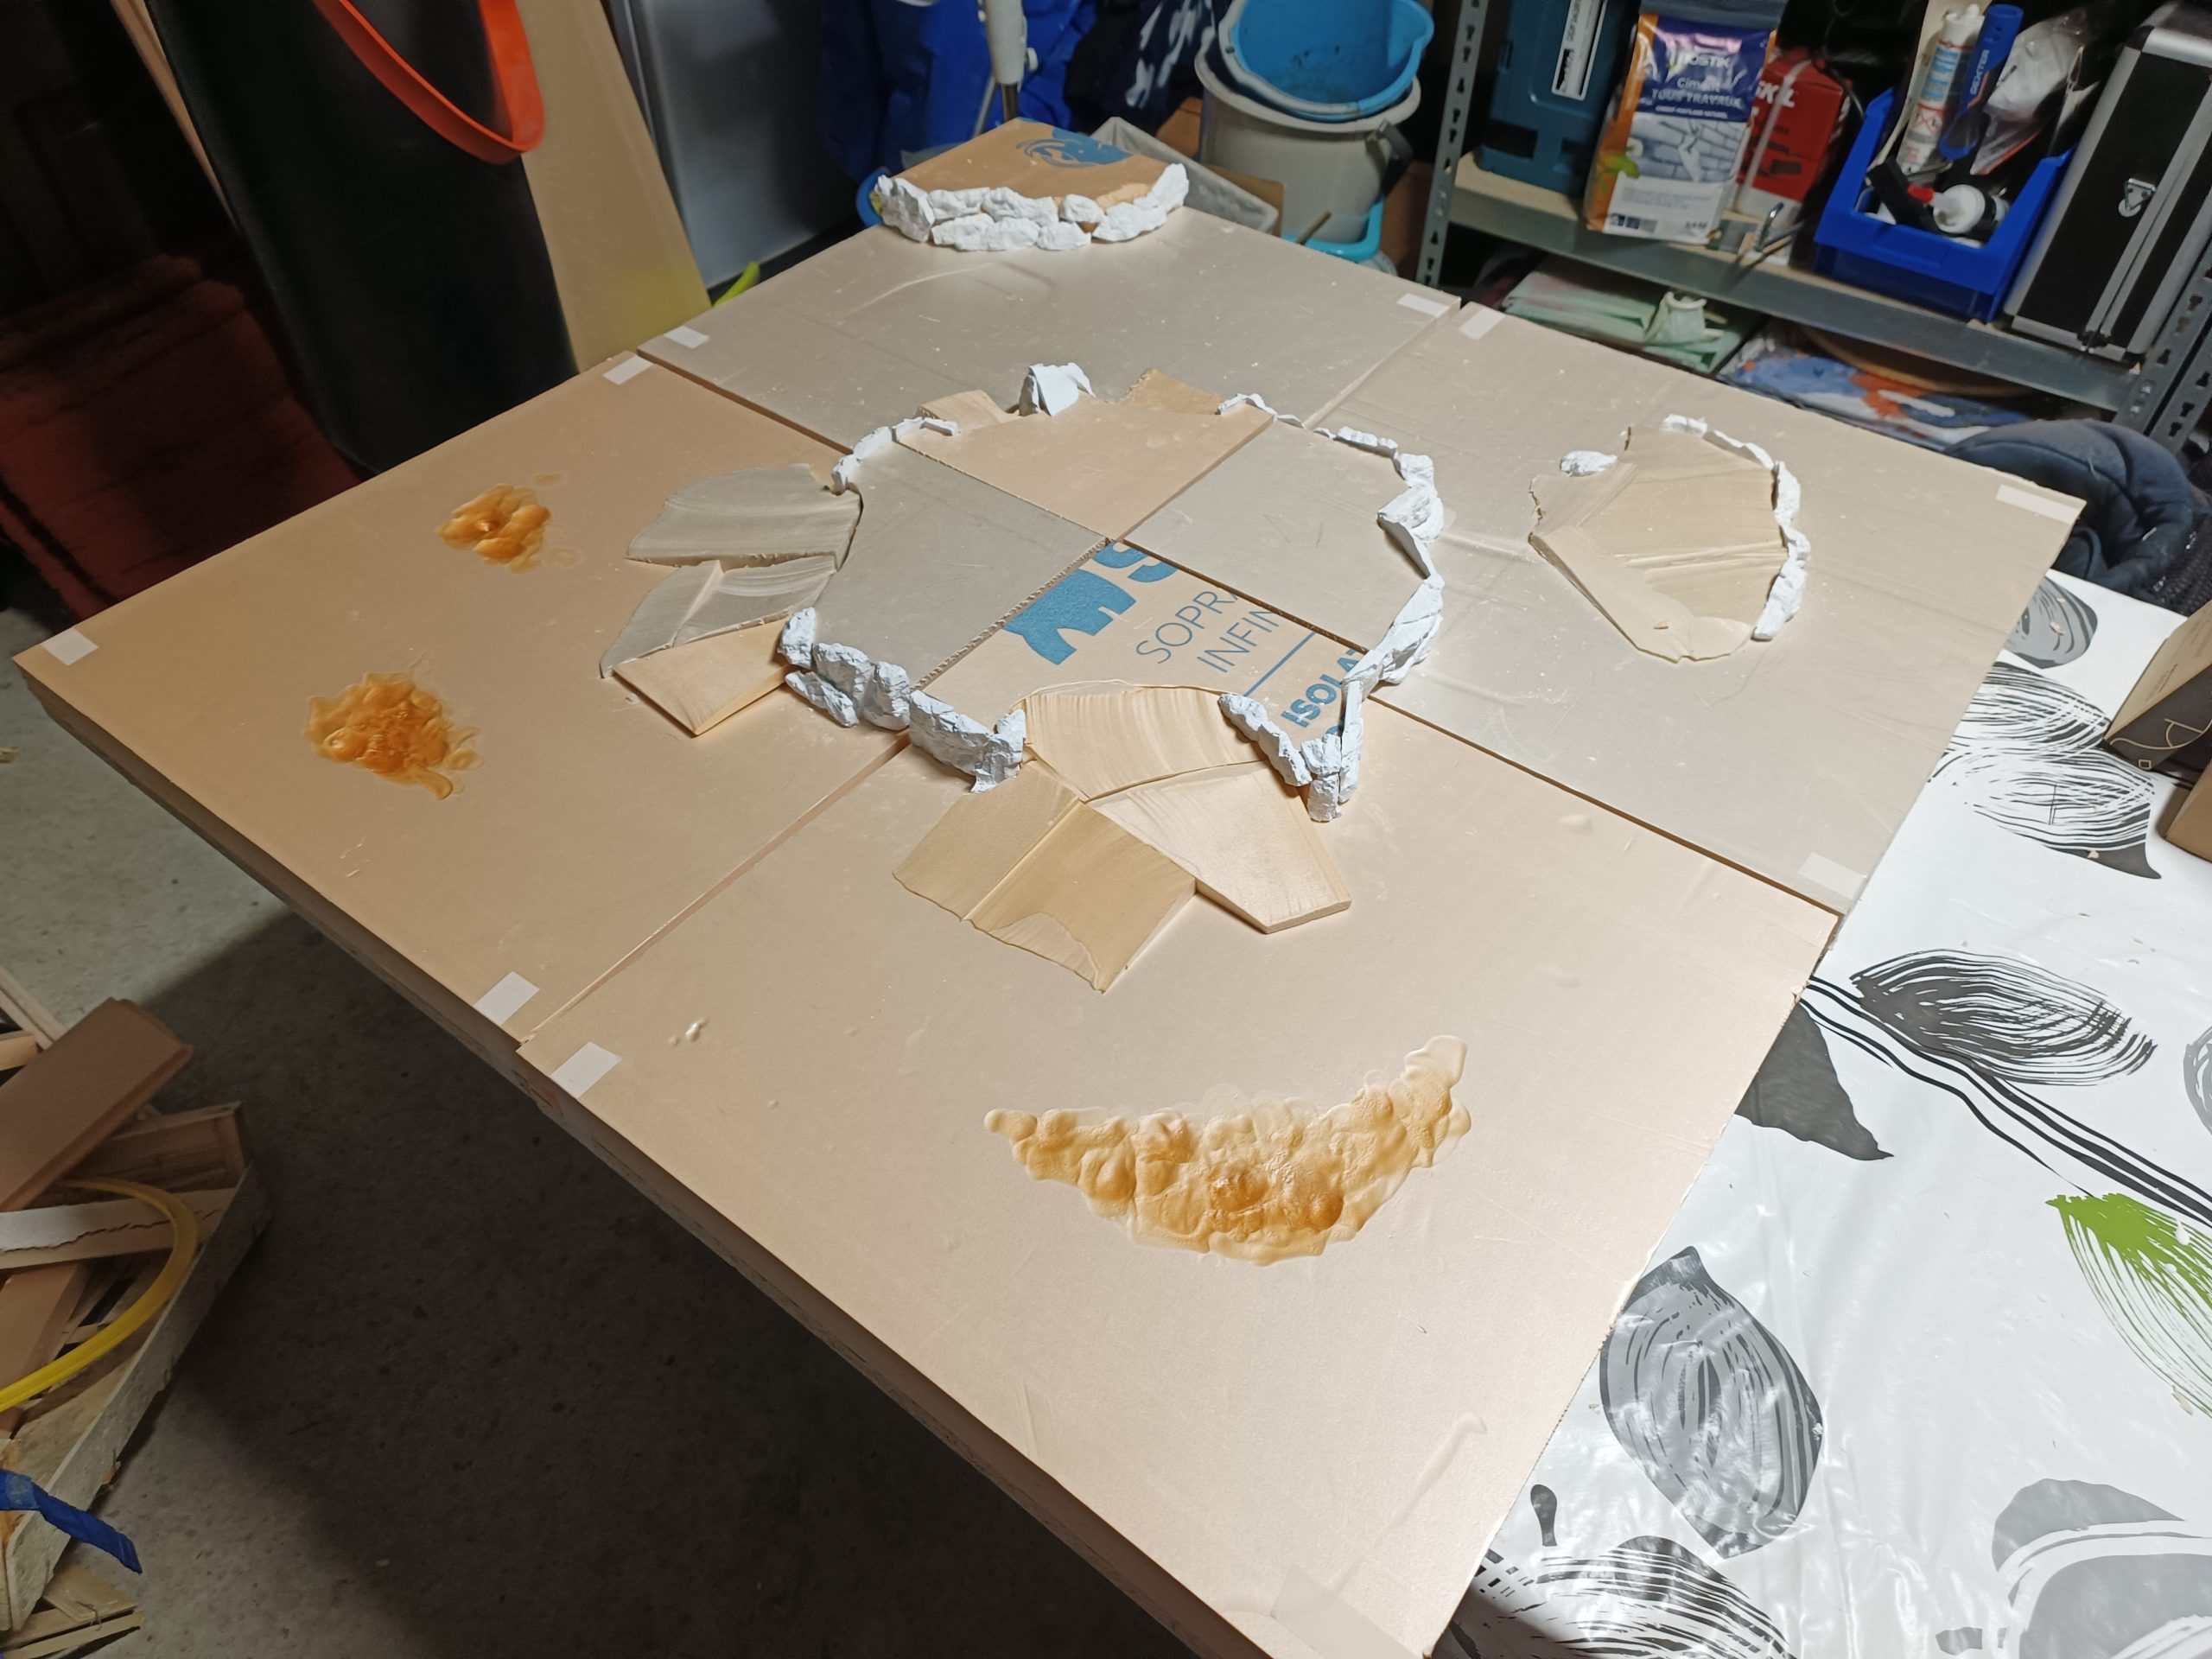
I also took advantage of the thickness of the polystyrene to melt it in certain places, creating real cracks in the terrain, which will make it less flat once textured.
Still following Zorpazorp’s advice, I apply a layer of modeling compound over the entire hillside to fill in any remaining holes and refine the slopes in a very natural way. The project begins to take shape at the end of this stage! Modeling compound is an incredible tool for working on rocky surfaces and soil. Its papier-mâché-like appearance and relatively long drying time allow you to work on your scenery thoroughly. Once dry, you can even sculpt it a little more and sand it down.