
![O-12 Infinity Fast Response! Firebat Attack Wing Unboxing & Review [7 Days Early Access]](https://images.beastsofwar.com/2026/01/unboxing-corvus-belli-infinity-firebat-attack-wing-coverimage-225-127.jpg)


A Green and Pleasant Land - Creating a Gaming Table for Barons War


A river runs through...
Now that we have a general idea of where table elements should be, it is time to place them down on the table one at a time and see how they interact. As a rule, i try to start with natural elements first. If I was planning on adding hills, I would start with them, but as I am trying to keep this table simple and flat, I will start with the river.
The modular river files I chose are from the printable scenery range – Wild River – https://www.printablescenery.com/product/wild-rivers/ I picked this set as it offers decent flexibility and could be used in a wide range of tables over wide variety of historical periods/fantasy settings. It is a little narrow but offers options for fordable spaces as well as integration with a water mill. Sadly, it dow not ahve a bridge and I created one by adding a bridge file to the river tile on my 3D slicing software (an easy 2 mn job, just make certain the rocks from the river edge do not protrude from the bridge…)
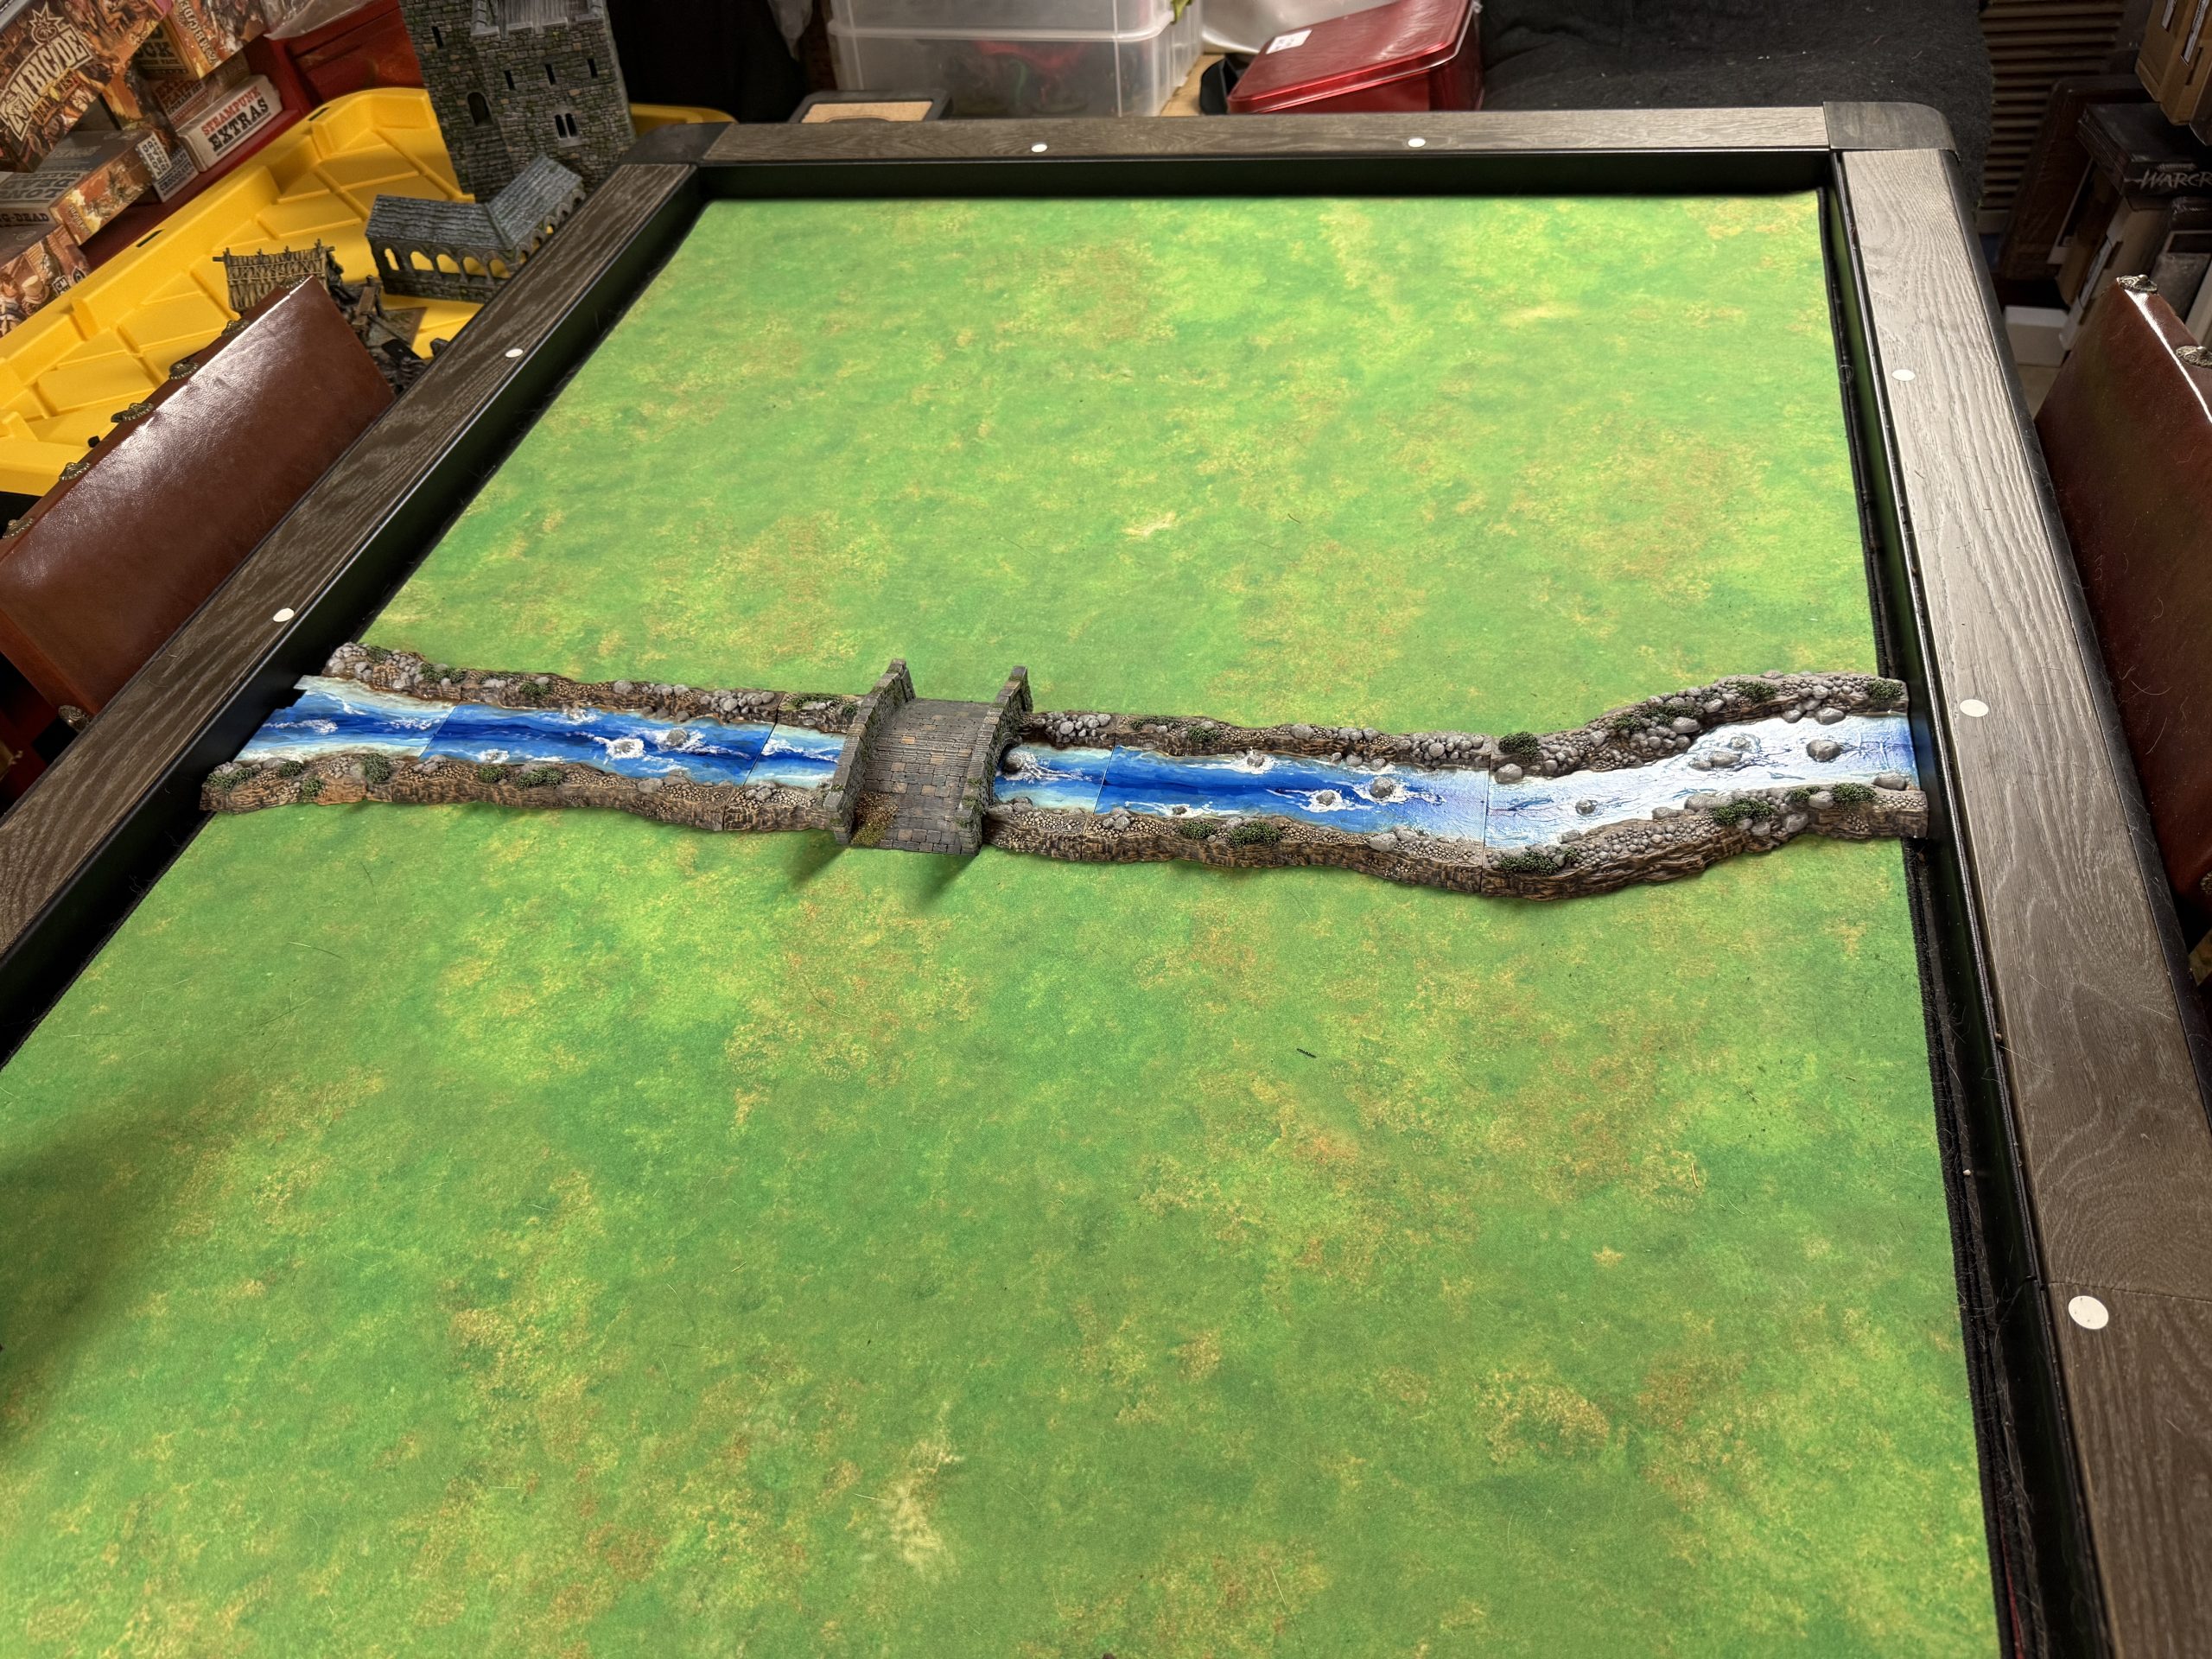 The river crosses the map on the second 'row' of the grid.
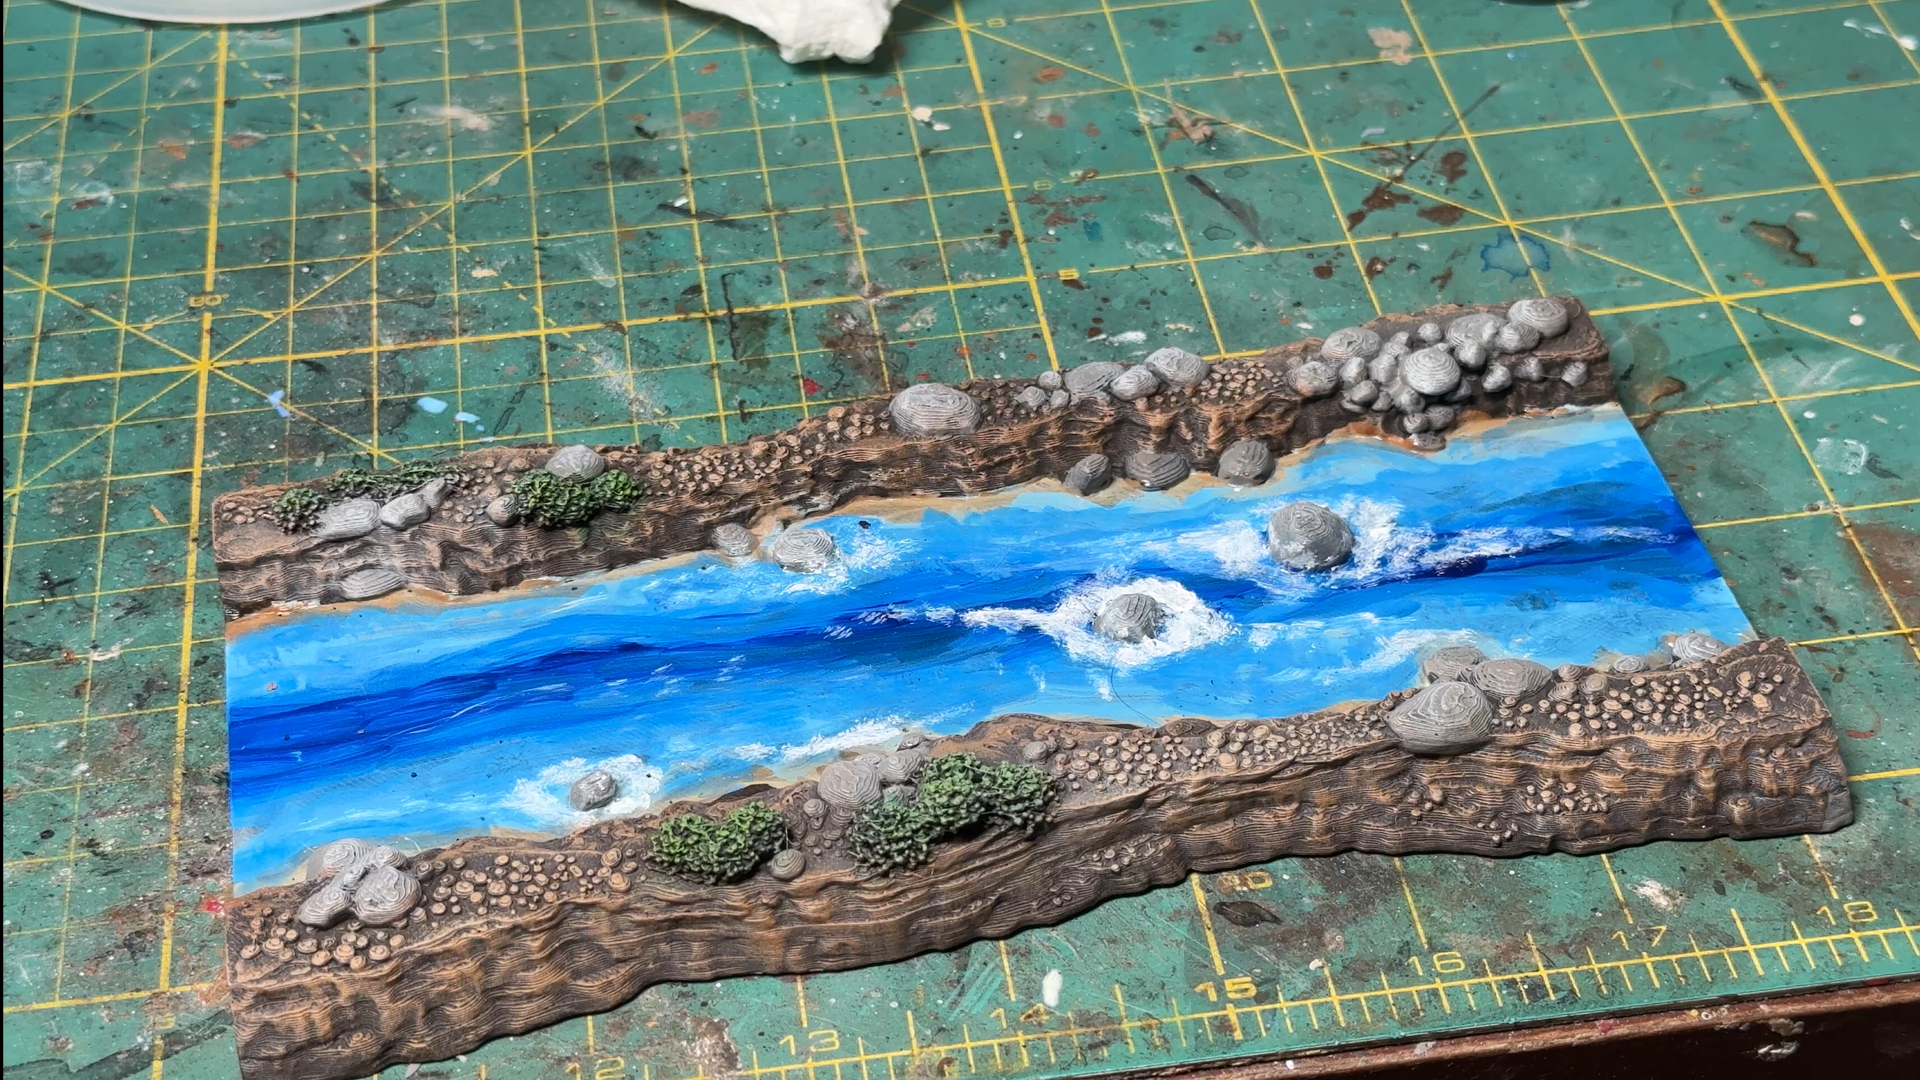
Let us take a look in more details at a river tile.
I painted it following these steps:
- Primed camo brown
- Dry brushed the banks in progressively lighter brown tones using craft paints
- Finished by painting the larger rocks in medium grey and dry brushed them light gray. The bushes were painted medium green and drybrush light green.
- For the water, I started with a craft paint dark blue at the center and added progressively lighter ‘bands’ on each side till I reached the banks with whitish blue color. I then wet blended roughly the blue’ bands’.
- I then used clear modge podge on the water and, once dry, applied Woodland Scenics water effect around the rocks, which dried clear. Once the effect was dry, I added white paint on and around it to reinforce the effect.