


![How To Paint Moonstone’s Nanny | Goblin King Games [7 Days Early Access]](https://images.beastsofwar.com/2024/12/3CU-Gobin-King-Games-Moonstone-Shades-Nanny-coverimage-225-127.jpg)


Truncated Trees Tutorial


Advancing Into The Deep Woods
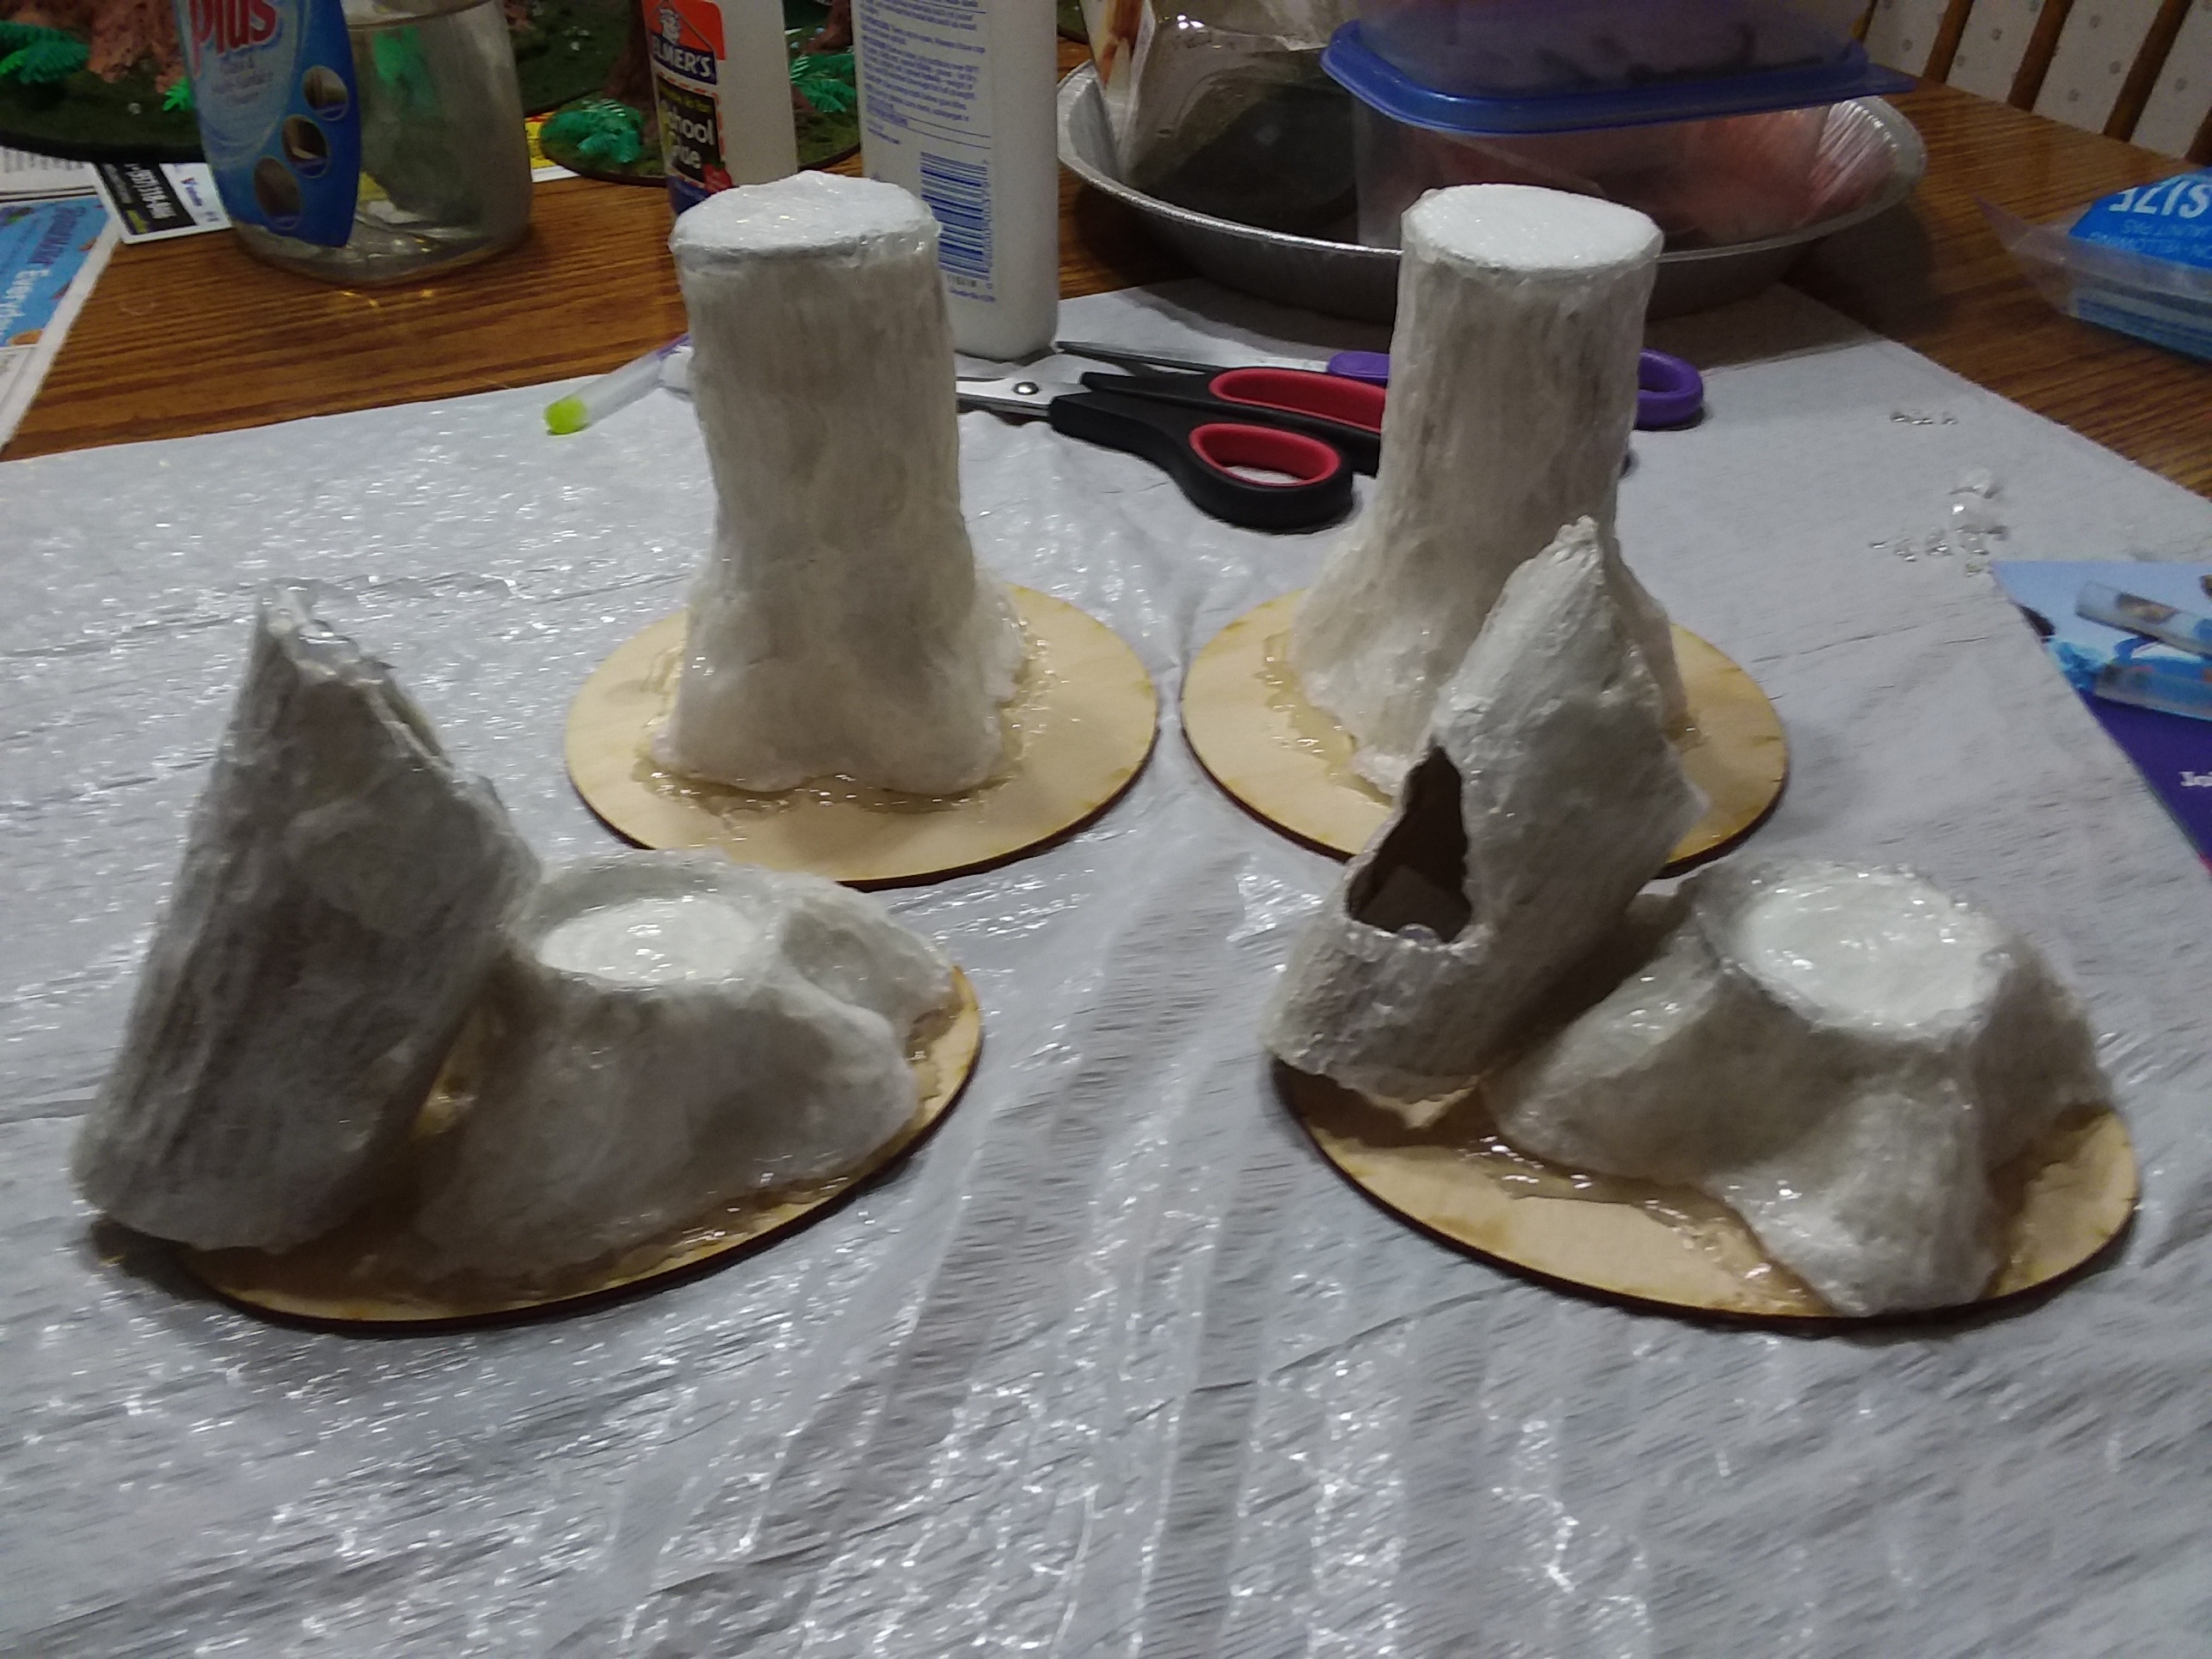 Completed Step 5
Now you want those bases. Start with a bit of white glue on the underside of the trunks and then position them on the base, give it a few minutes to start after you position it, then use the hot glue gun again to work around the edges of the base of the trunk to bind it solidly to the actual bases you want to use.
Try to blend them together, but it’s not necessary to go overboard with it. You will end up covering most of this with basing materials.
For the larger tree, you want to first paint the interior of the tunnel and enough of the actual base that you won’t be able to easily get after attaching it. You also want to work a bit around the entrances/exits of the tunnel, the texture works well to add to the look of it actually going into it.
For the stumps, don’t attach the logs yet, you’ll glue them in place after painting and possibly after basing depending upon what you want to do.
Let it rest overnight to let the glues cure as best as possible before the next step.
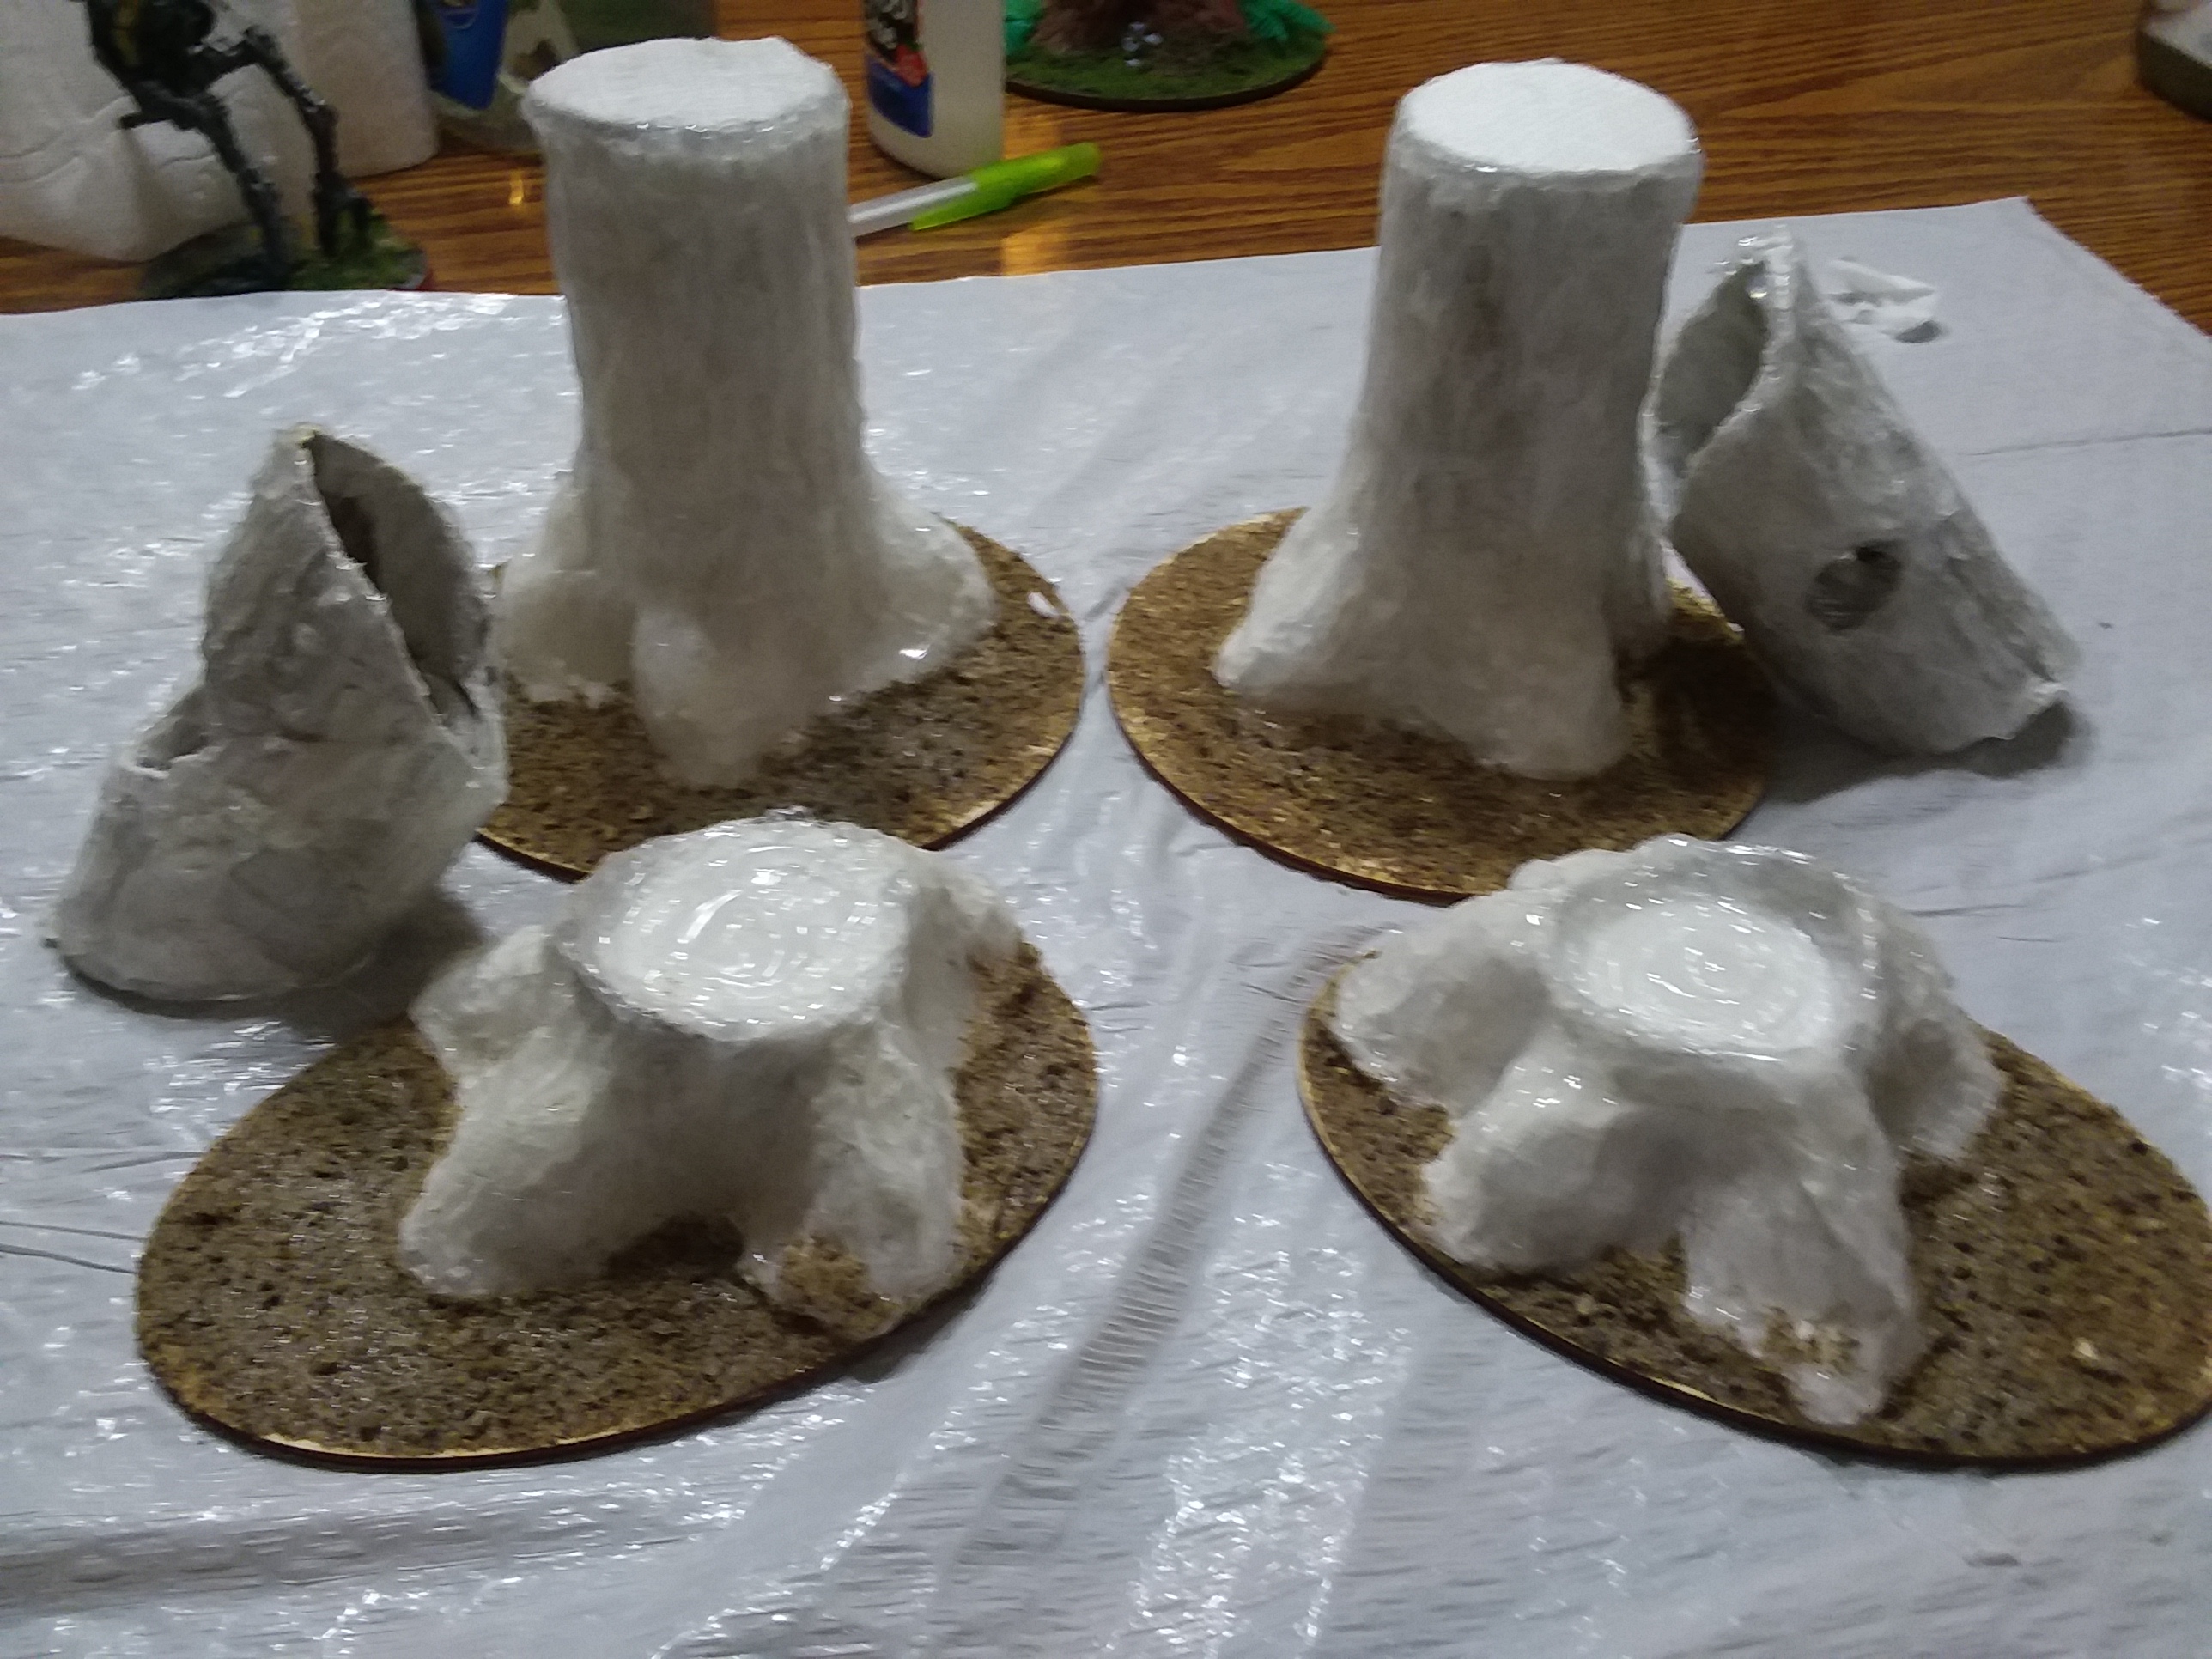 Completed Step 6
Now is when you do the normal basing, I’m going with white glue before packing on some dampened sand and then shaking off anything not attached. This is due to a friend talking about having used that and it seems to work better at making a bond to the sand. If it doesn’t work that well, I’ll switch back.
Once the glue is dry for the sand, I then use some super glue to attach aquarium gravel on top and let it rest for a bit after to make sure that the glue has fully set before priming.
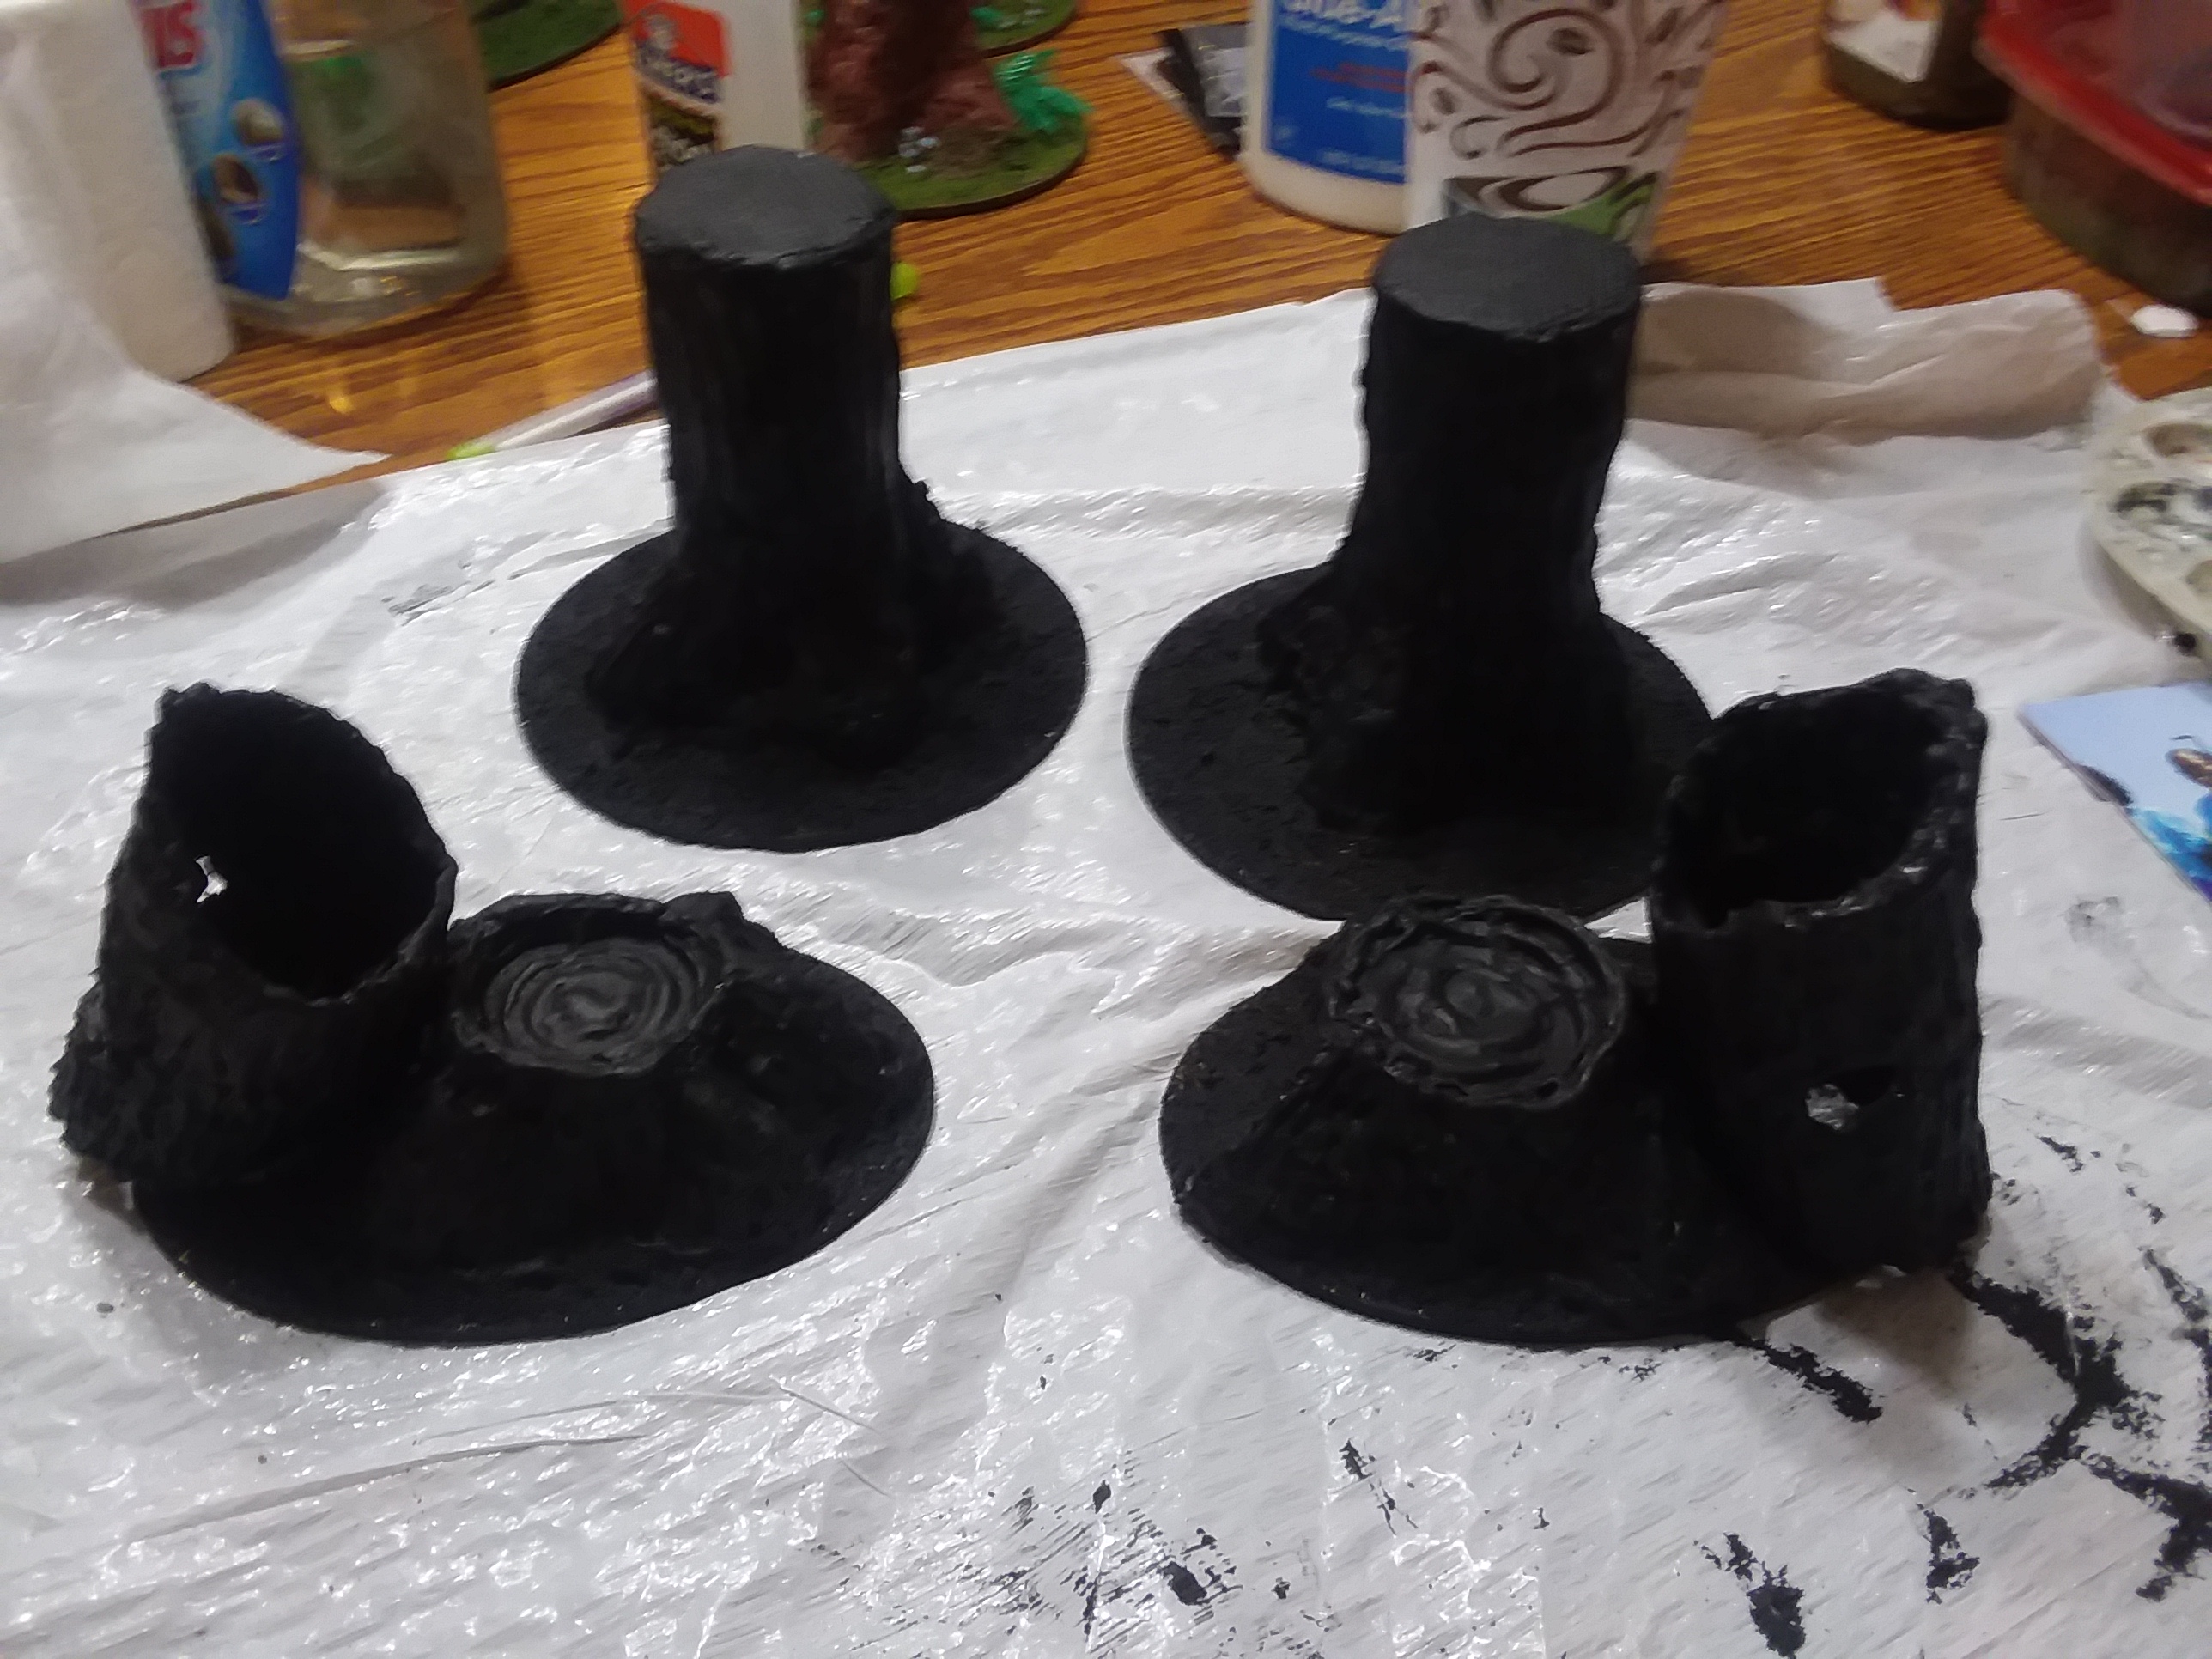 Completed Step 7
NOTE: From this step on, there are paints and other things that are more to match for your other terrain. There are a lot of options, I’m going to be stating what paints I’m using here, even though they aren’t specified in the list of materials.
For this I used a cheap, flat black, spray primer from Walmart. I went for an even coat, and then hit the underside of it as well. For the interior of the logs, you can then make sure you have it covered with some other flat black. Even if you don’t have a perfect match, it will work rather well for it.
You want full coverage though
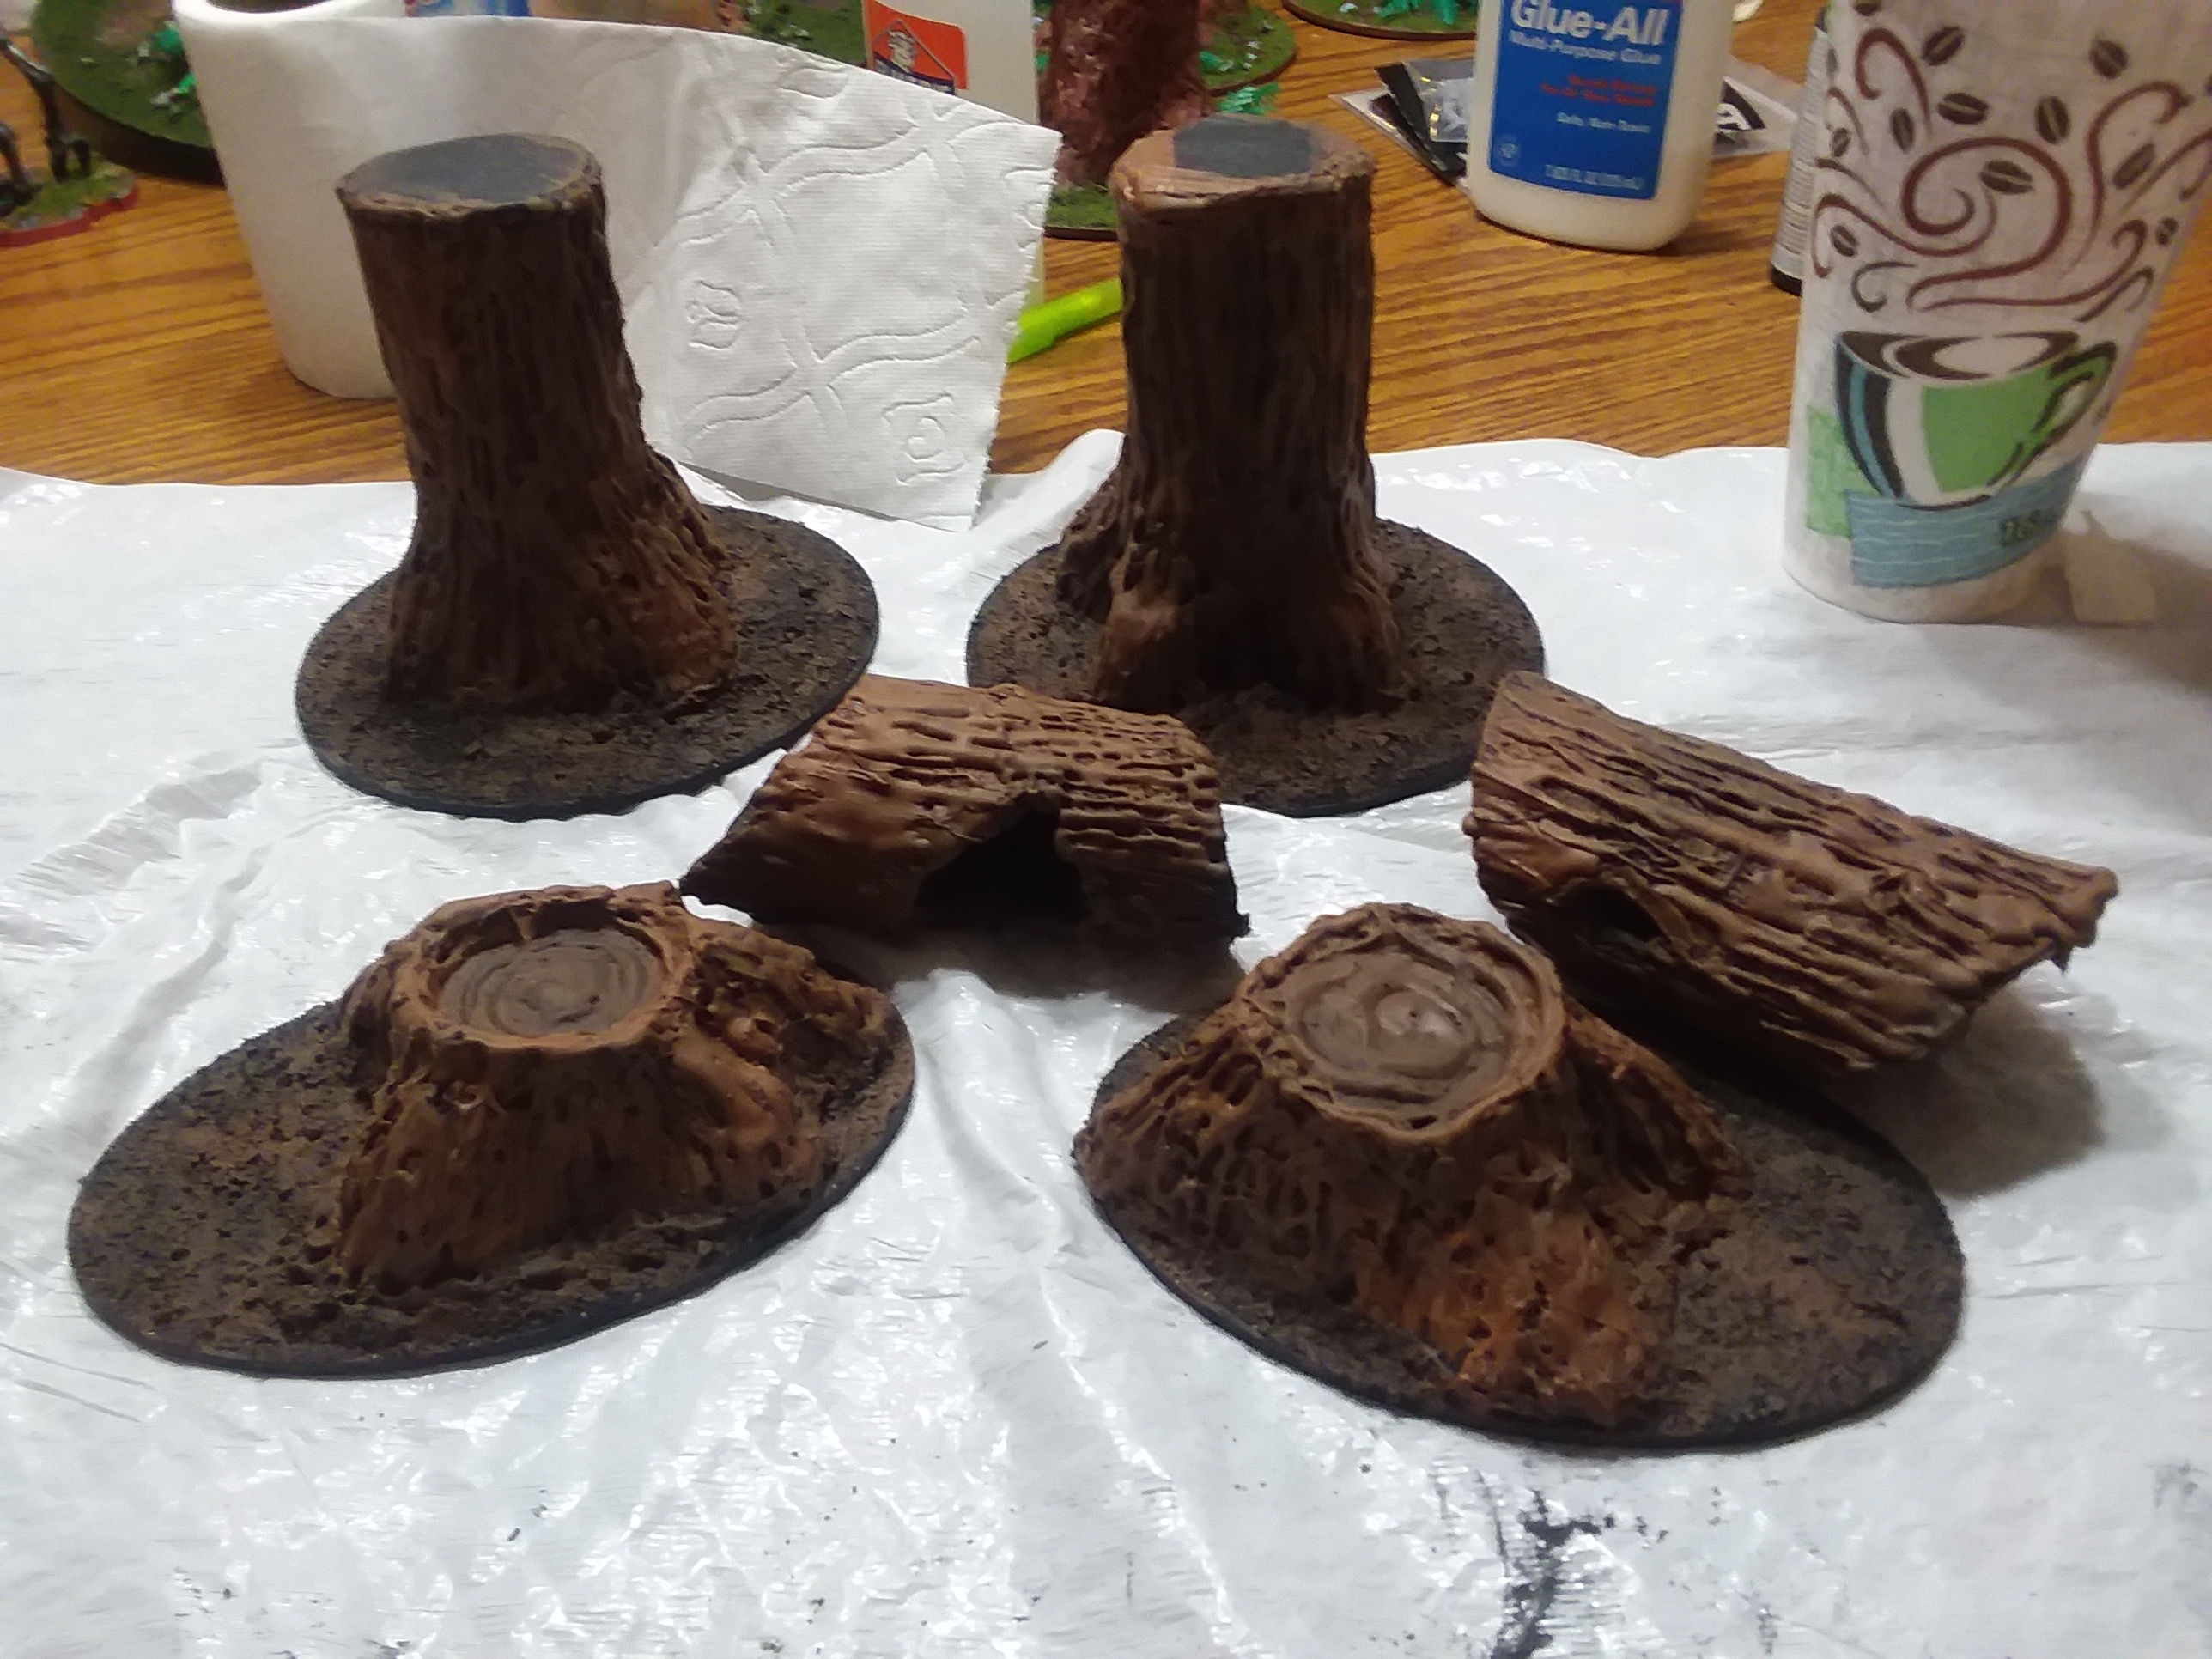
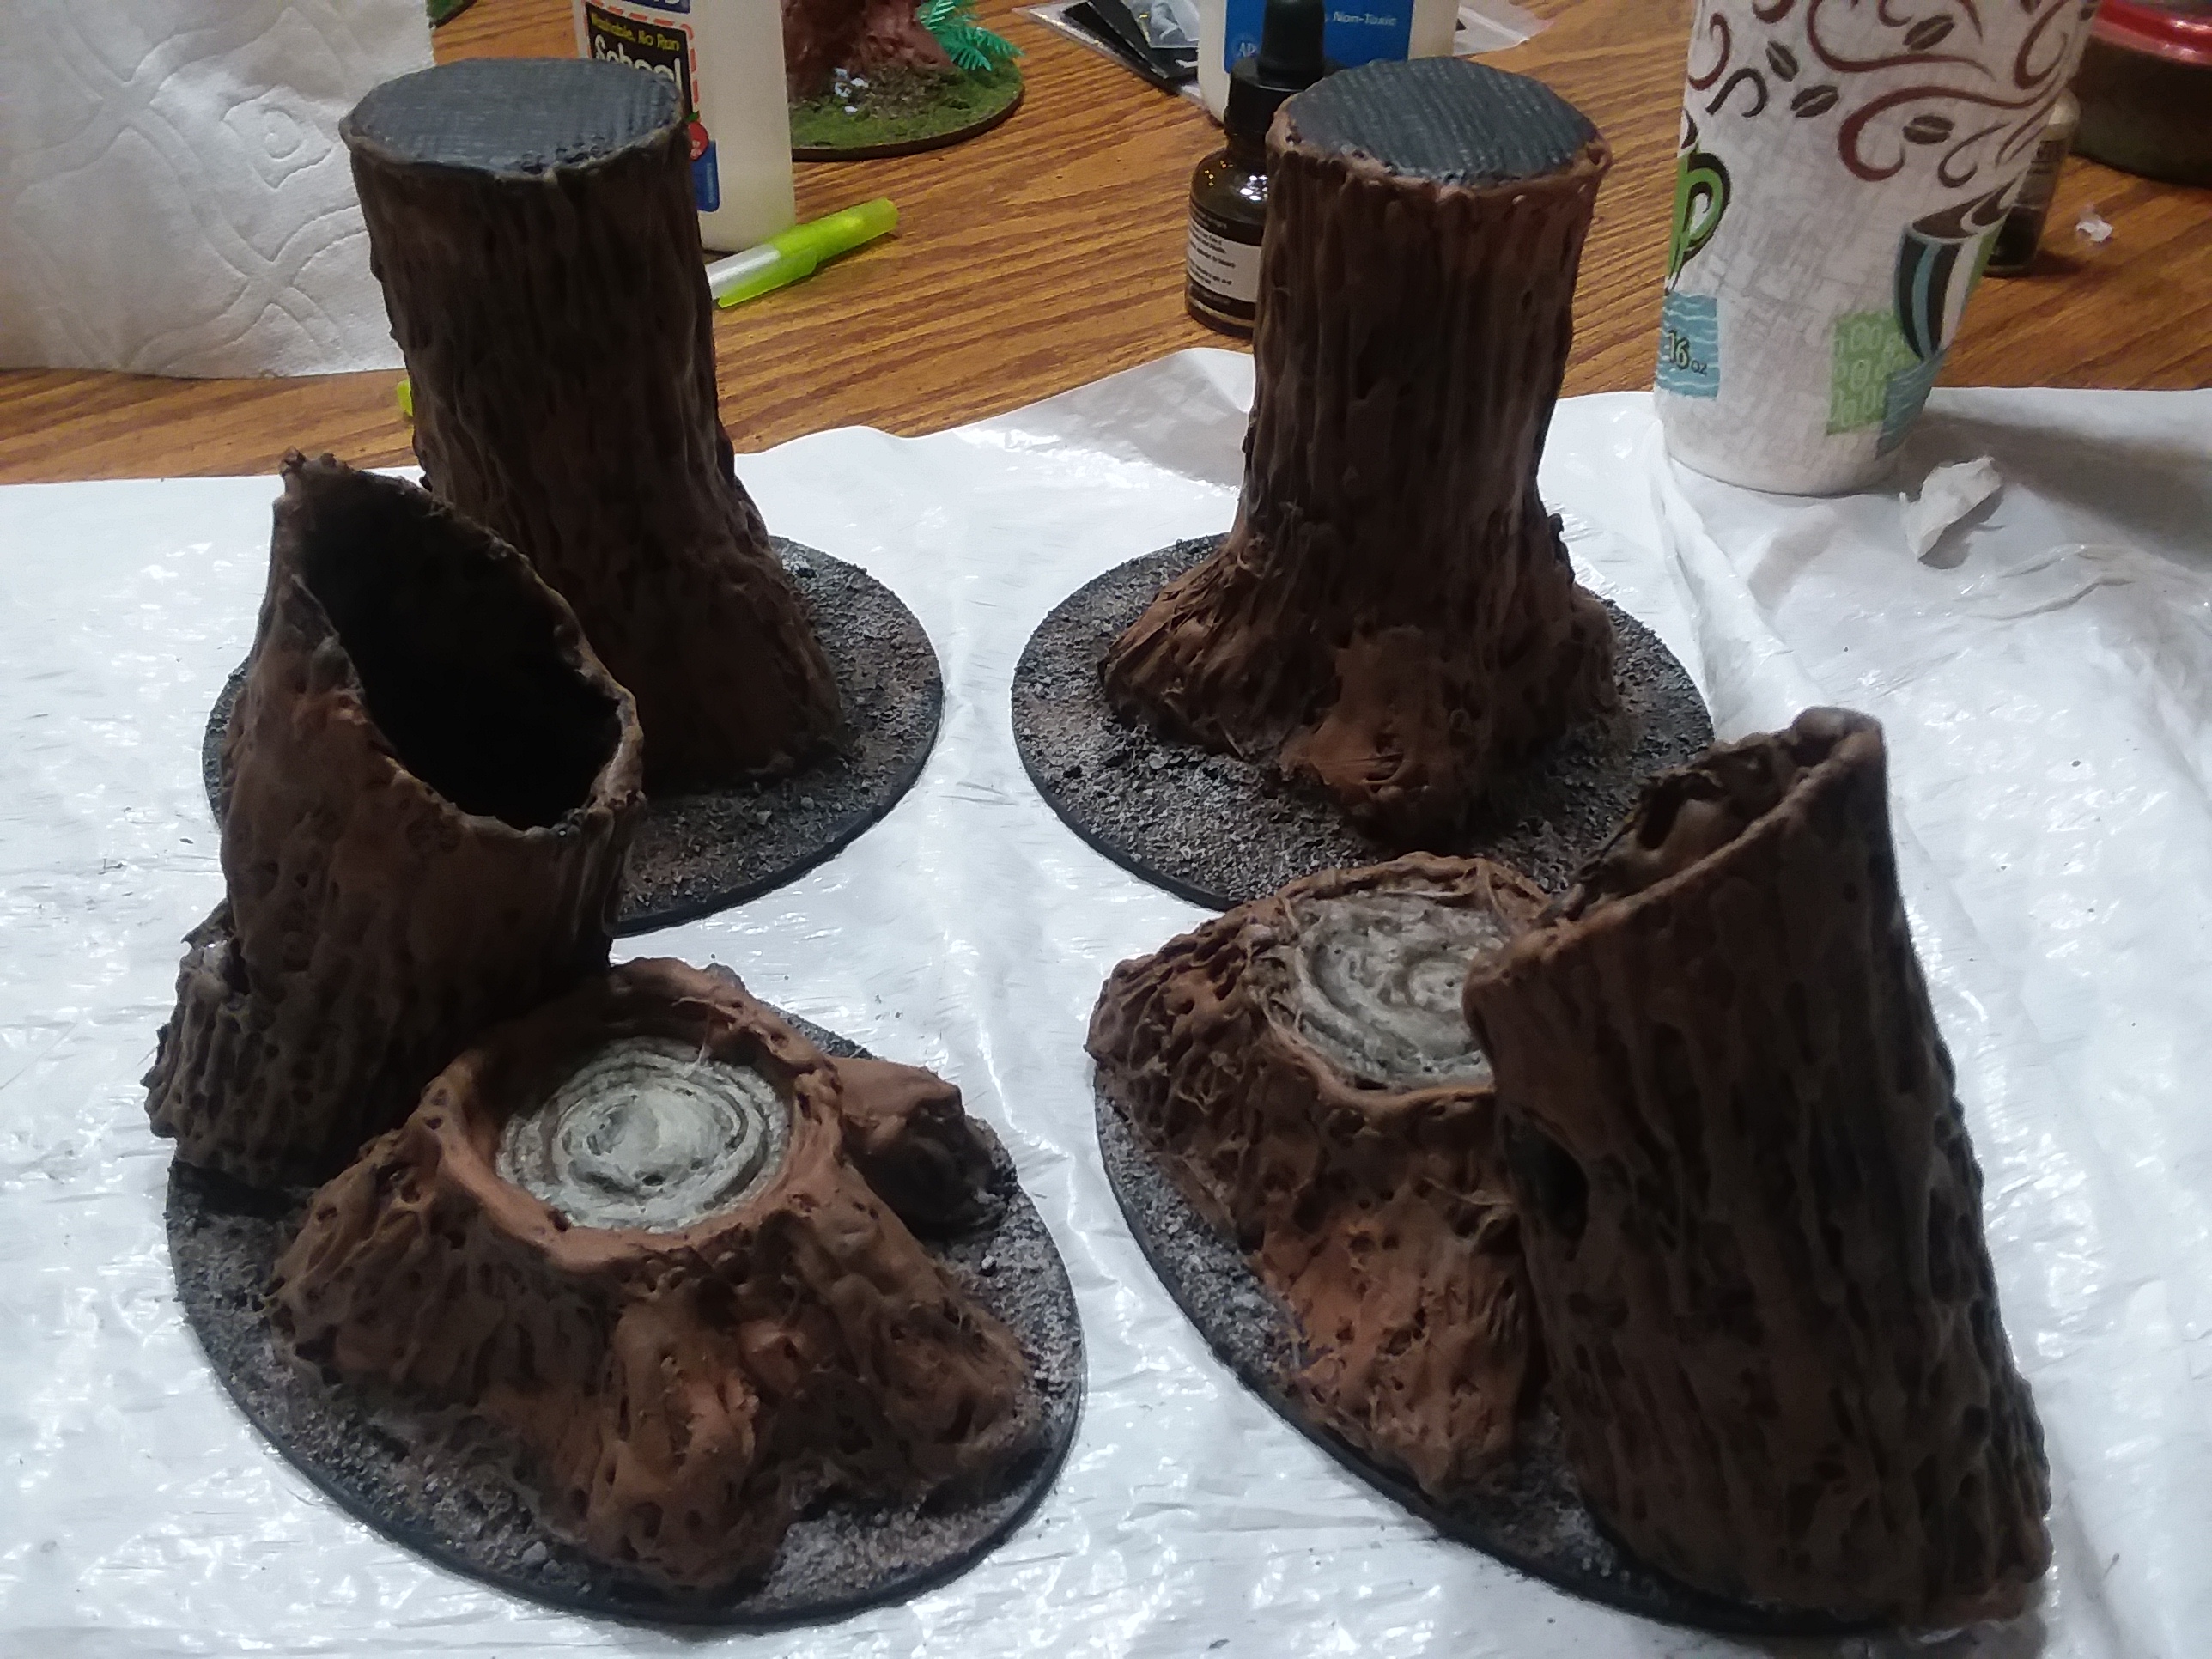
I used craft paints for the majority of the painting, it’s simply not worth it to use the model paints for something of this size.
First, I covered the wood and ground with a Coffee Bean, it’s a darker brown, and you don’t need full coverage since the black in the depths tend to work well for shading.
Then I mixed terracotta in with the coffee bean in about an equal amount of each. Using that, I hit everywhere with treebark with a heavy drybrush while the previous layer was still somewhat damp letting there be some mixes and gradiation.
While you want to go somewhat inside the logs with the drybrush, you don’t need to hit the full interior. You won’t be able to see it there.
Next I took some ivory and drybrushed the tops of the stumps and the ground. It worked rather well for a quick bit there.
Last, I took a bit of the black and cleaned up the tops of the complete tree trunks.
Then I used a bit of superglue to glue the logs in place on the stump bases, with my basing plans, this seems to be the best point to do that, but yours may be different.
After letting that cure, I sprayed it with varnish to protect the paint. It’s sitting over night now.
 Completed Step 9
This is the first flocking stage, it’s split up mainly because I add a bit between the steps and it takes a while for the glue to dry.
Basically cover the ground area with white glue and apply a layer of flock. I’m using a dark green.
Then with the logs, you can pick a few areas and spread a little bit of glue and add flock there for a more mossy look when we’re done with this part. If you don’t want to go any further, when it’s dry add some watered down white glue to the top of any flocked areas and let it dry to protect the flock layer, but I’ve got a few more things to add to this.
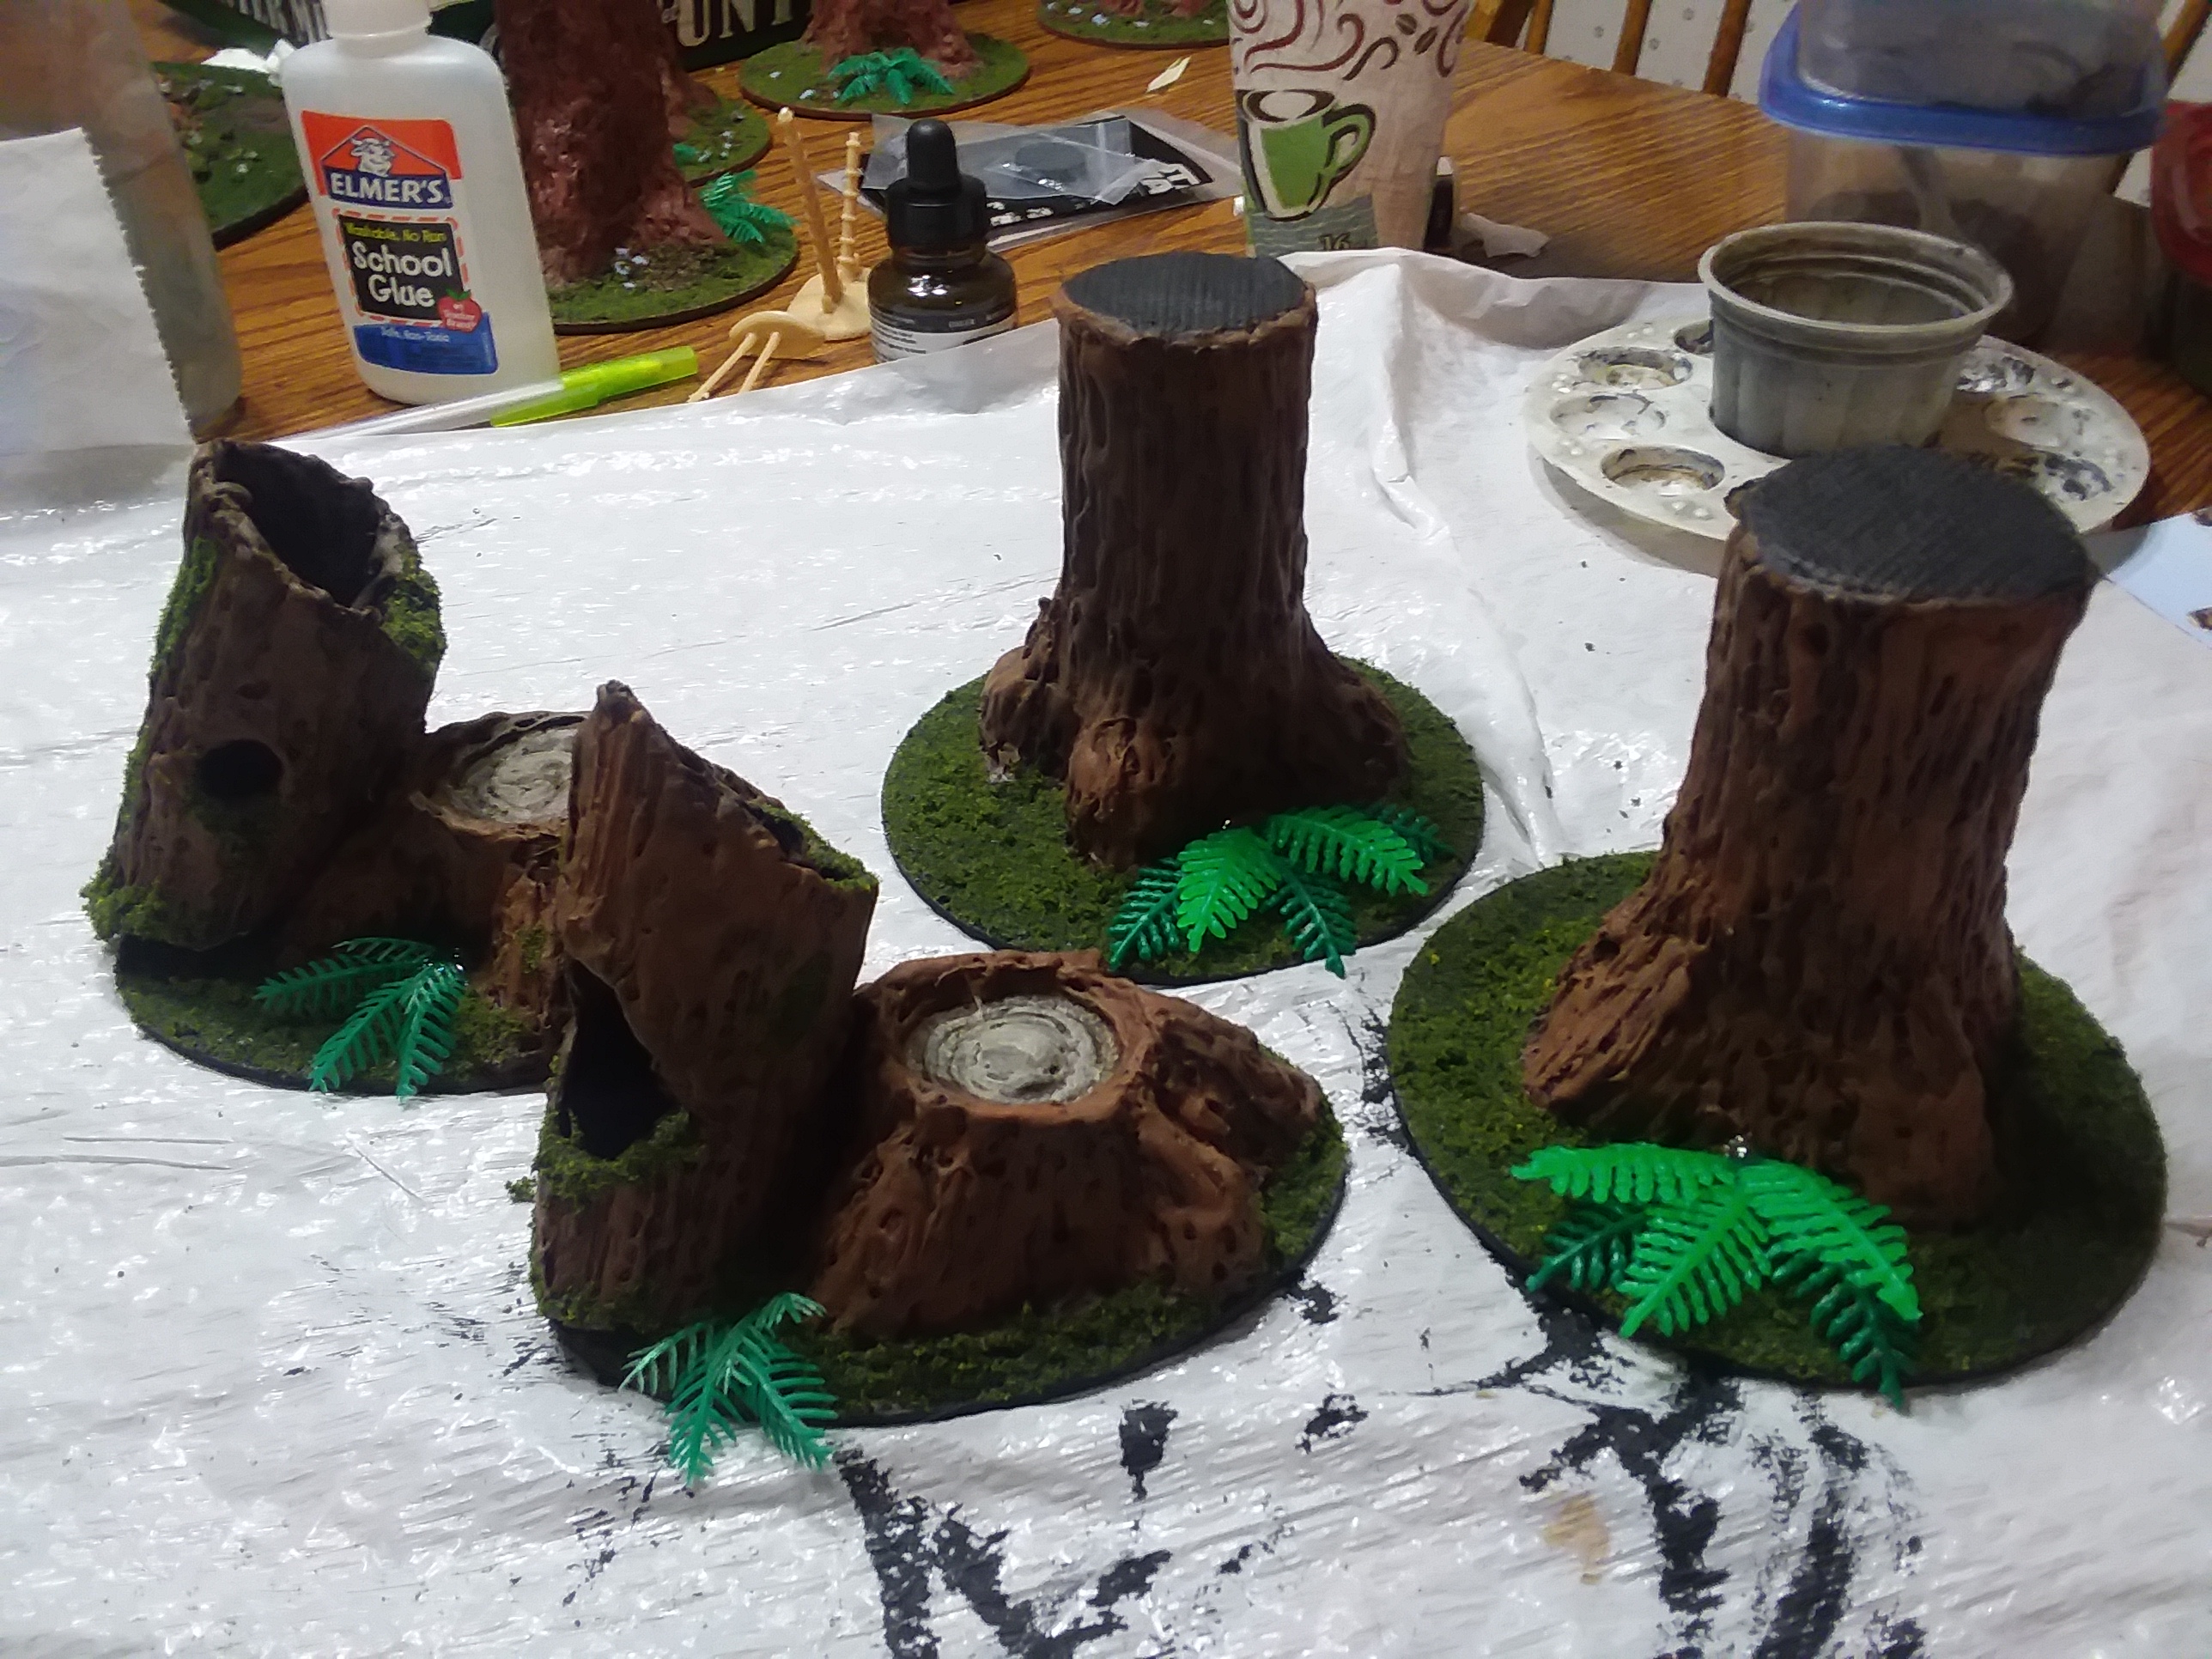 Completed Step 10
This is where you can add other things to the bases, I’m going for some ferns to match the rest of the terrain set.
They’re from the tops of some plastic palm trees where I removed the tops from and then separated the fronds. I hit them with a light drybrush of a dull green over the tops, but otherwise left them as is paint wise. I use a blob of hot glue where I want to attach the fern and then build the fern from the fronds I want to use. Don’t bother painting over the glue blob, that gets fixed in the next step.


This tutorial has been included in my miniature tree making resource database: https://alkony.enerla.net/english/the-nexus/miniatures-nexus/miniature-hobby/miniatures-miniature-terrain-scenery-making-trees-resources