


![How To Paint Moonstone’s Nanny | Goblin King Games [7 Days Early Access]](https://images.beastsofwar.com/2024/12/3CU-Gobin-King-Games-Moonstone-Shades-Nanny-coverimage-225-127.jpg)


Tallarn Desert Raiders


So it begins!
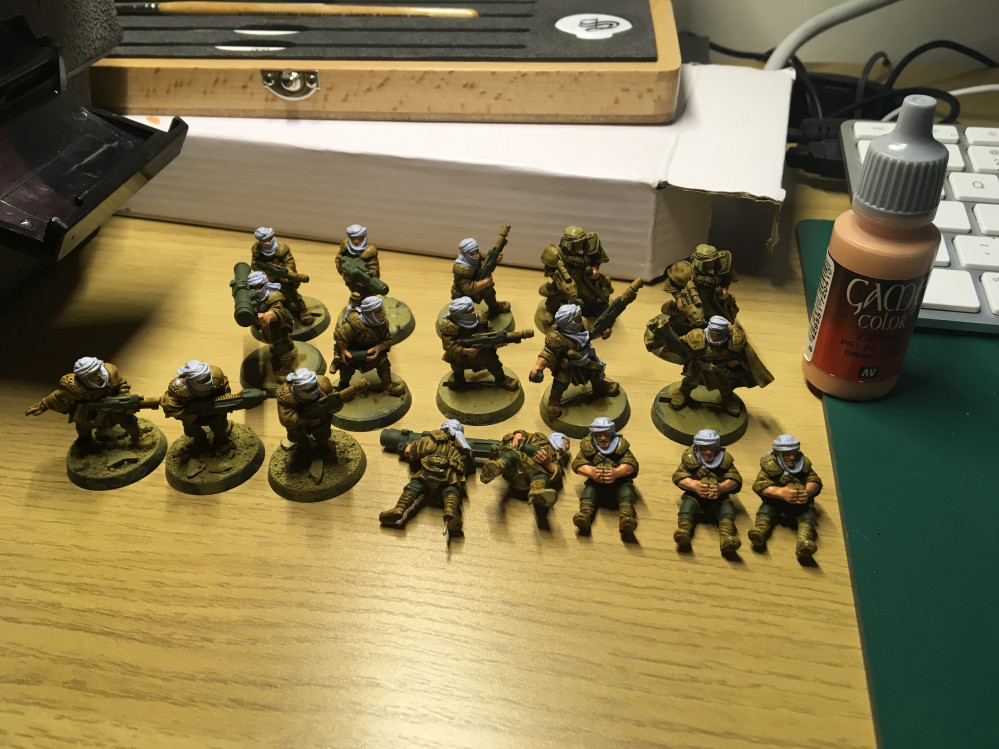
It’s getting to the point now where I have enough minis to actually be an army, not just a box of figures.
It’s probably not a good army, or even a big one, but it’s an army.
So I should probably start to do something with it!
 The force is coming together!
I’ve always loved the Tallarn Desert Raiders from the 2nd Edition codex and it’s this scheme I’m going to go for.
It won’t be exactly the same, but this is what I’m kinda aiming for.
Majority (if not all) of the guides for painting Tallarns also use GW paints, where the majority of mine are Vallejo, so some of the colours are just a best guess to see if they’ll match.
 The originals!
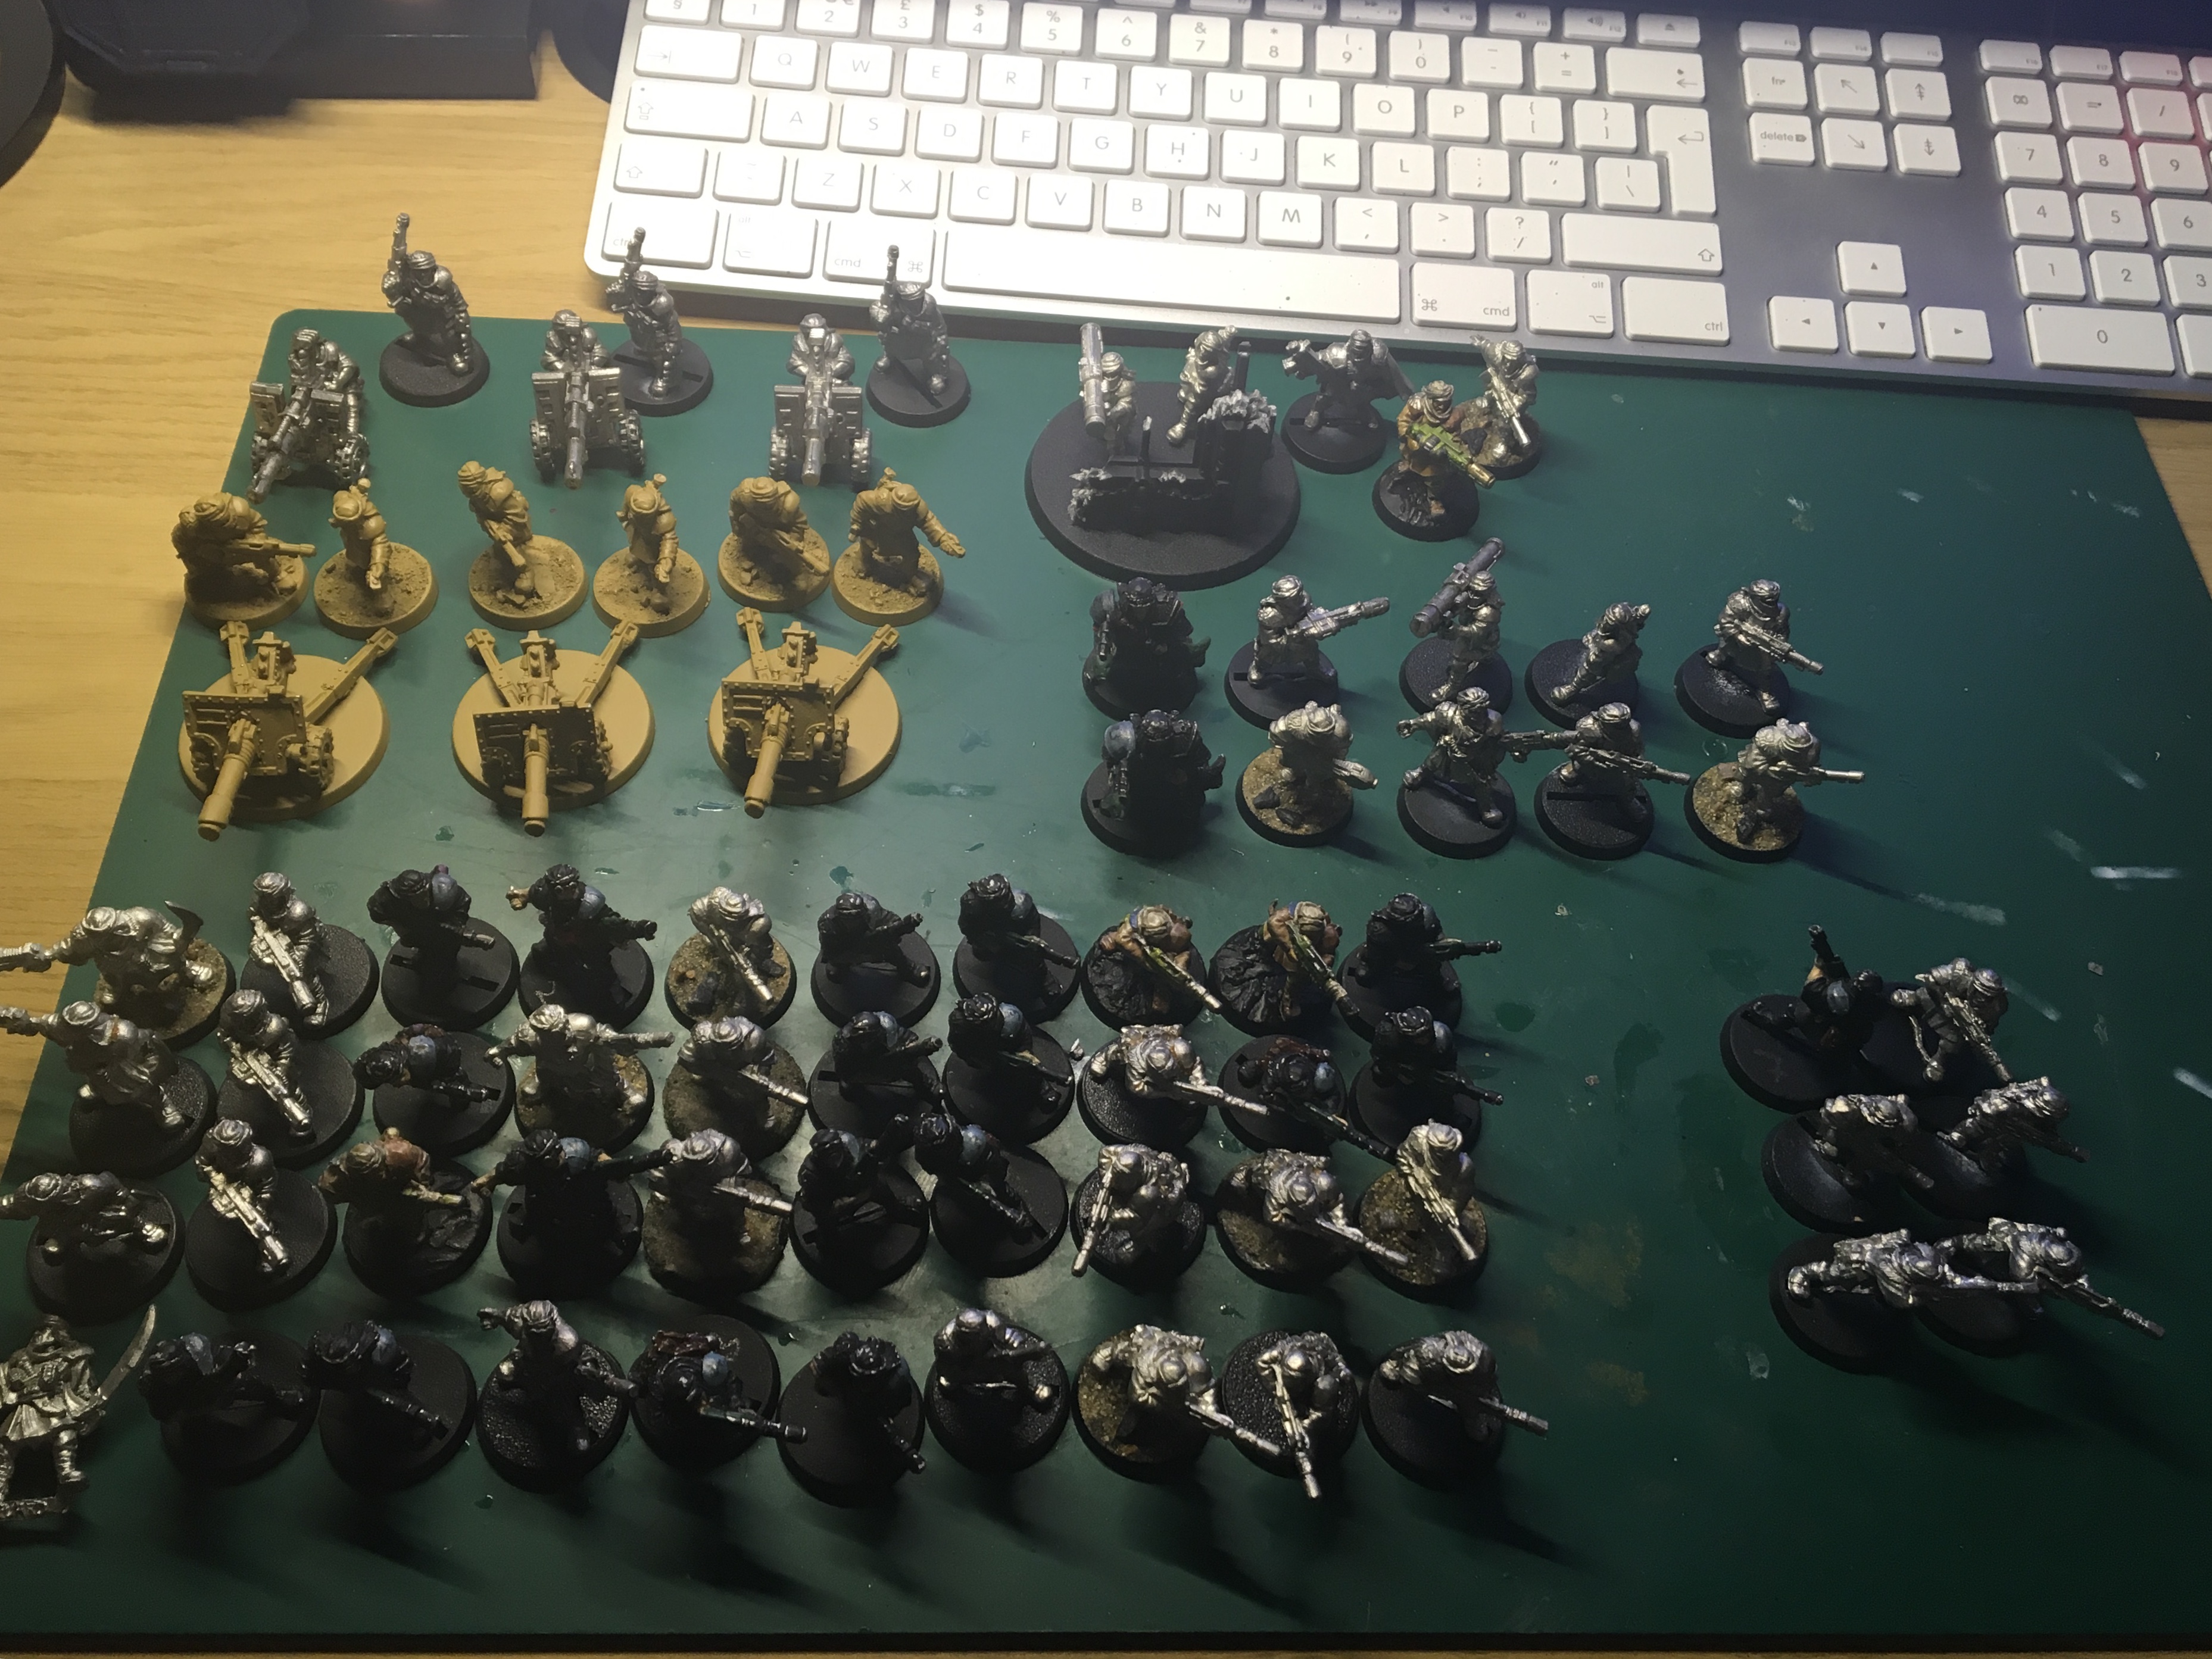
 So it would appear that I have 70+ troops now!
it’s time to strip old paint, and get things back to bare metal!
A lot of the minis I’ve purchased are obviously 2nd hand so a lot of them have been pre painted, I have stripped them using wilko paint stripper,
Then I’m priming the minis with my airbrush using Vallejo German Dark Yellow surface primer.
It’s a recent experience for me to use coloured primers, I’ve always been black/white or the occasional grey in the past! But these coloured primers from vallejo are fantastic!
Getting everything together a good couple of hours in the garage with the airbrush and everything is primed with the German dark Yellow.
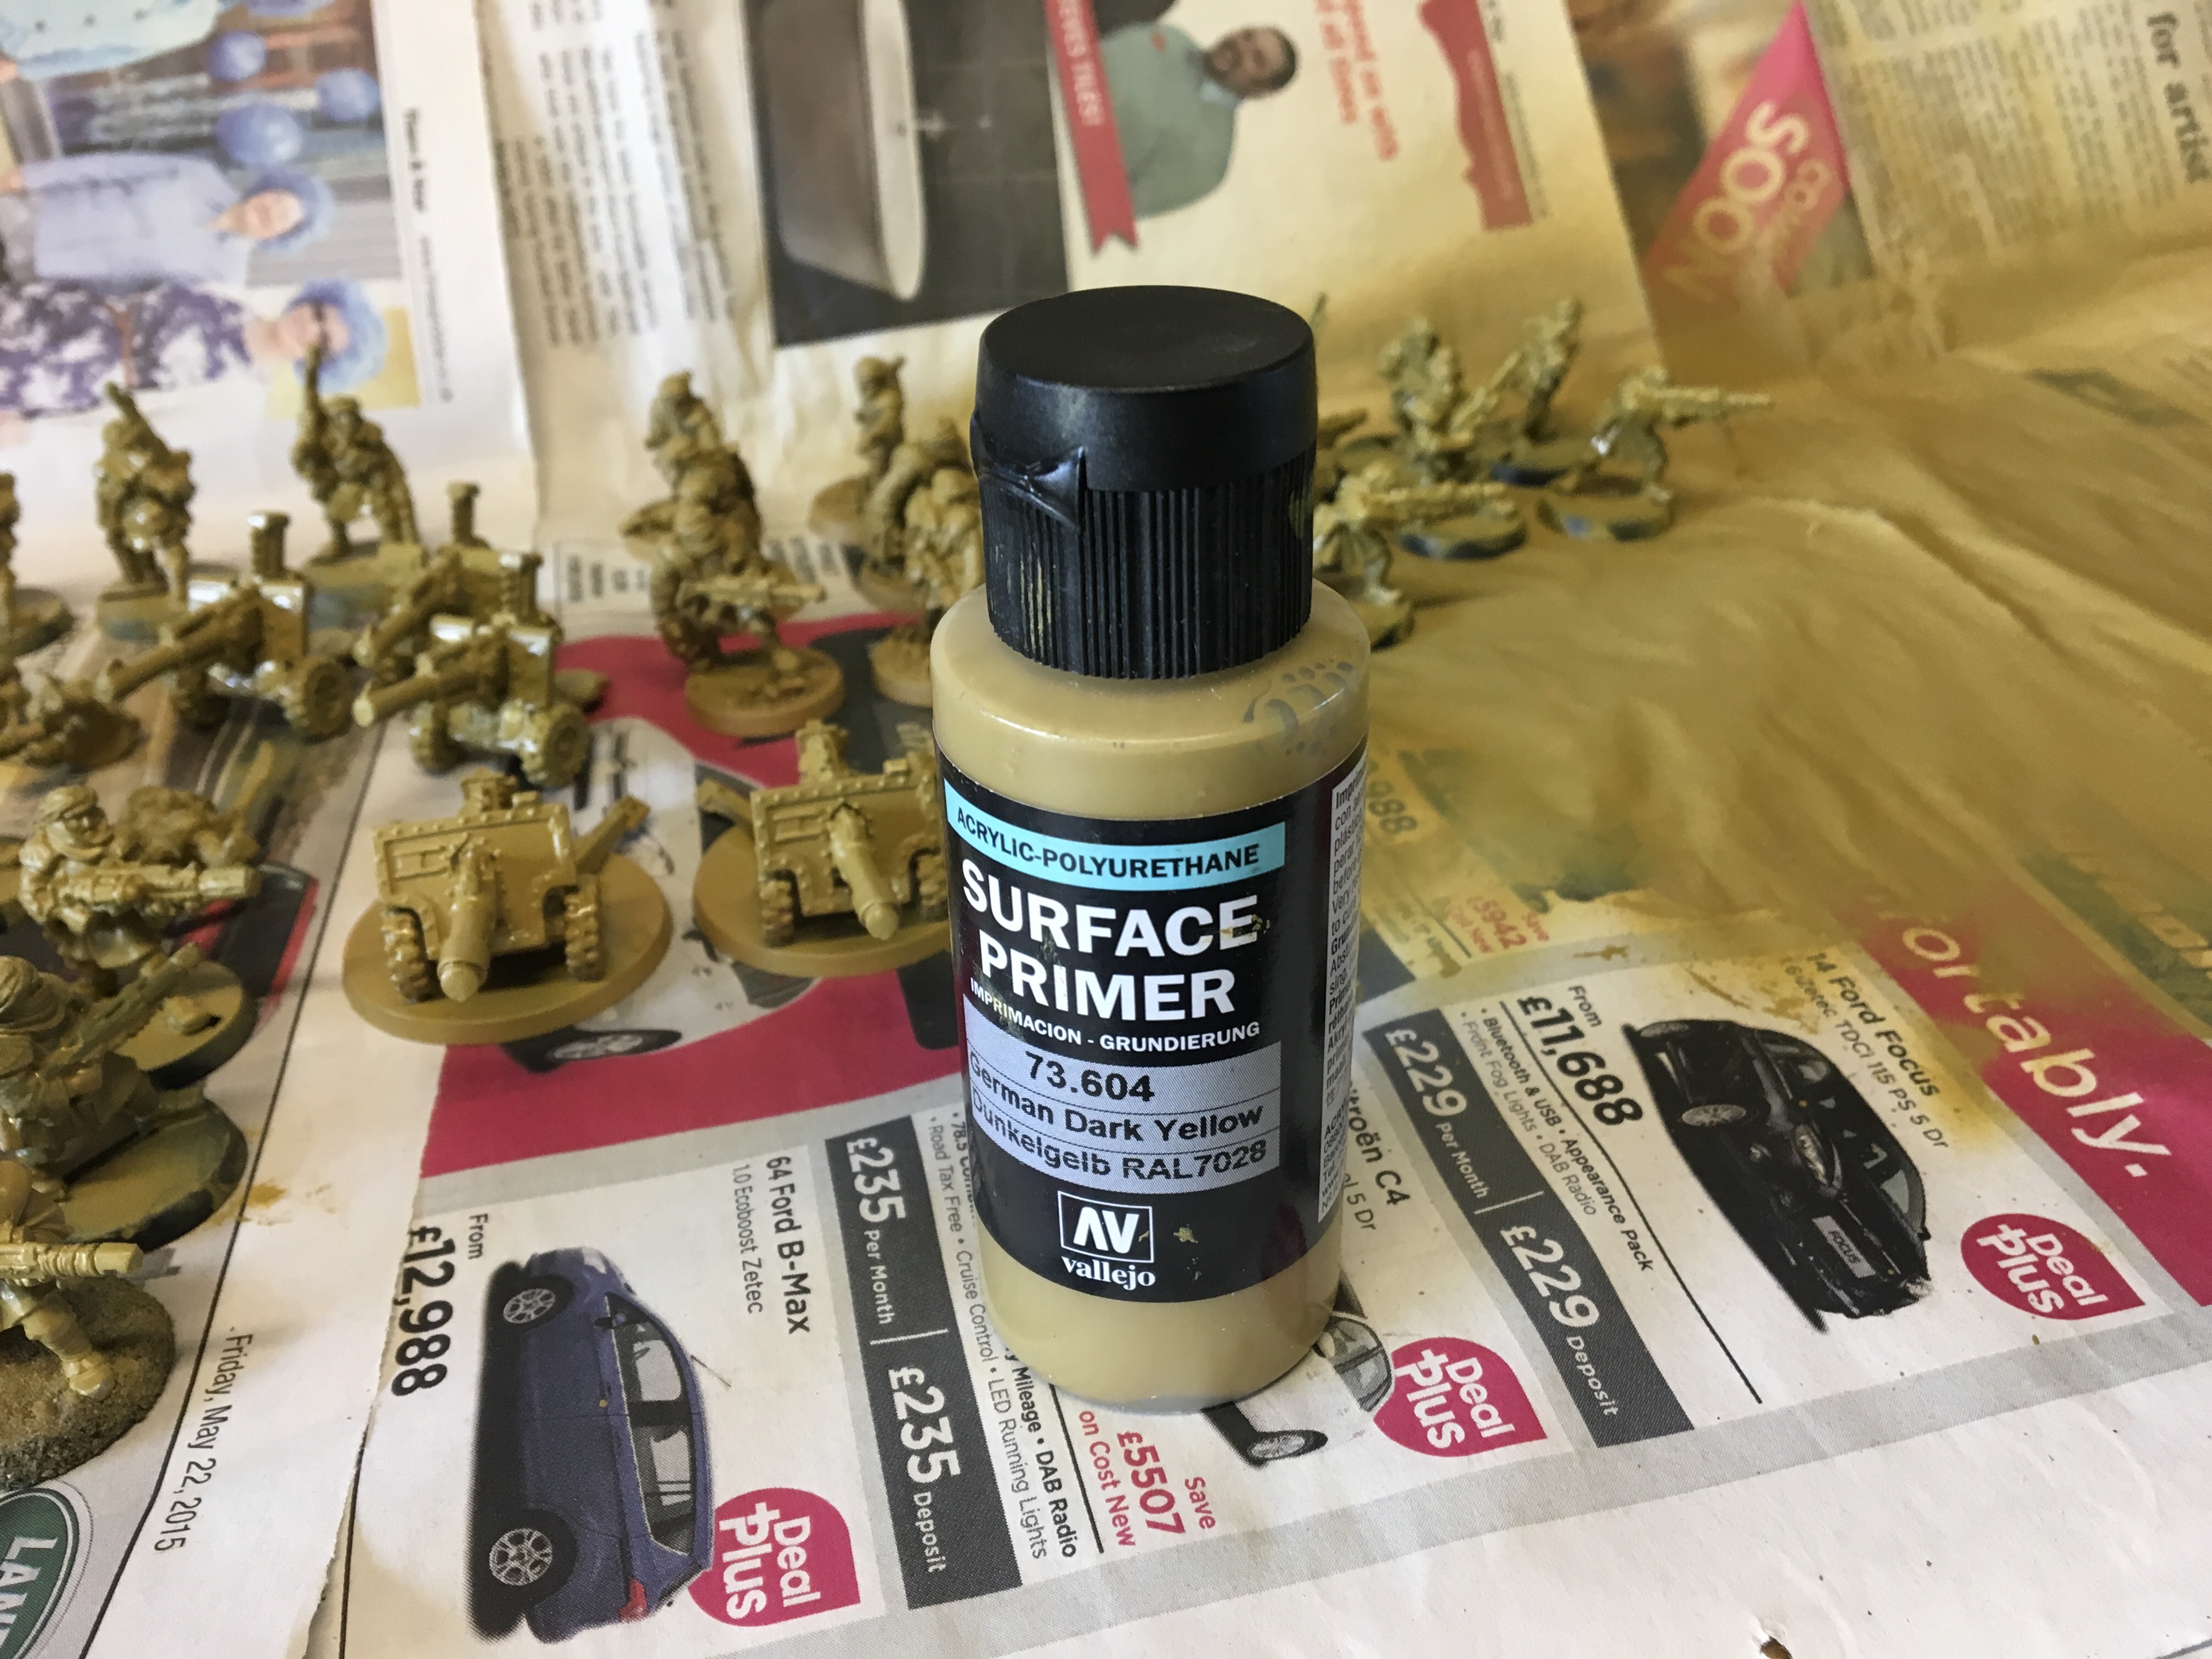 German Dark Yellow
 Everything Primed
Next step after priming is to give a heavy wash with Vallejo Sepia Shade.
I could have done this with the airbrush, but I feel a big brush does a better job for this.
So it’s back to the painting desk with a “tank” brush, and start to slap on the sepia shade nice and generously
 Post wash
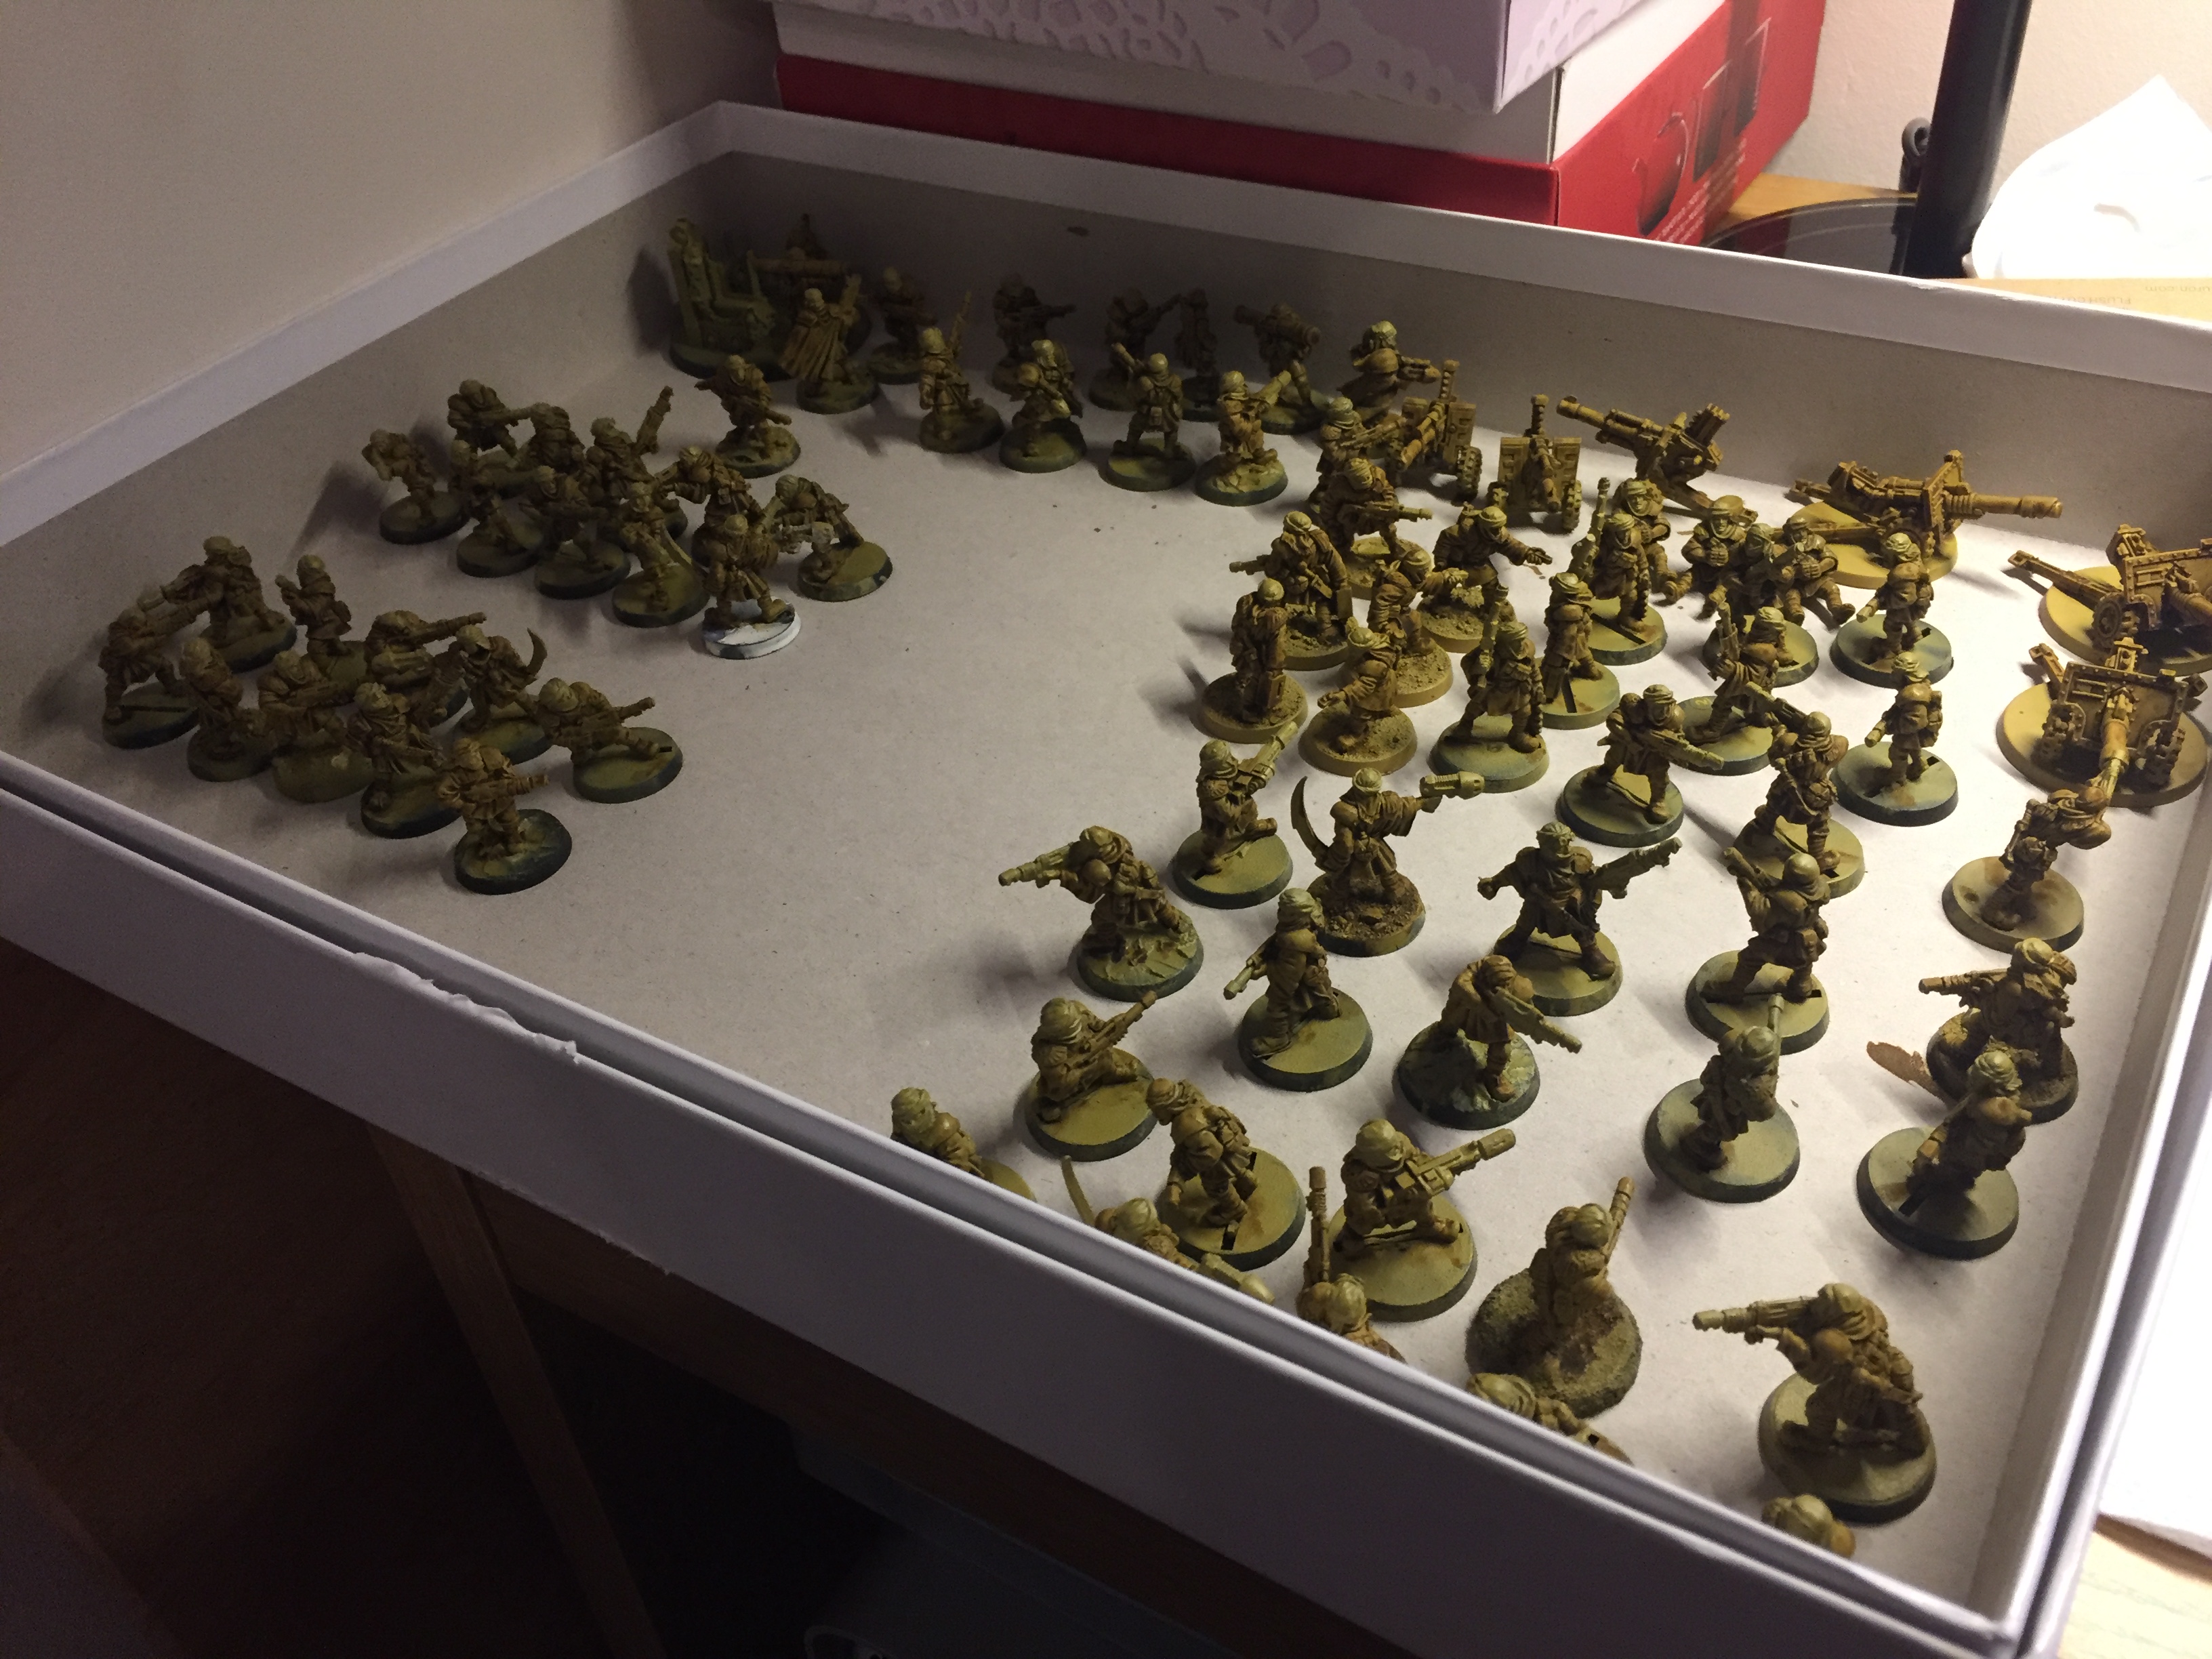 Everything Washed
Right,
The logical next step here is the first highlight on the smocks, sine I’ve done the basecoat then a wash… BUT. I’ve spent hours on this lot now, and doing this highlight won’t feel like (in my mind) to see a step forward.
So I decided to paint the shemaghs. Just so it feels like i’m taking a step forward.
This time I’m going to have to mix some paint,
I’ve painted these with a 1:2:1 mix of thinner, Ghost Grey & Azure all from Vallejo.
Pretty pleased with the resulting colour this has produced.
I tell you what though… painting 70 shemaghs is definitely enough for me!
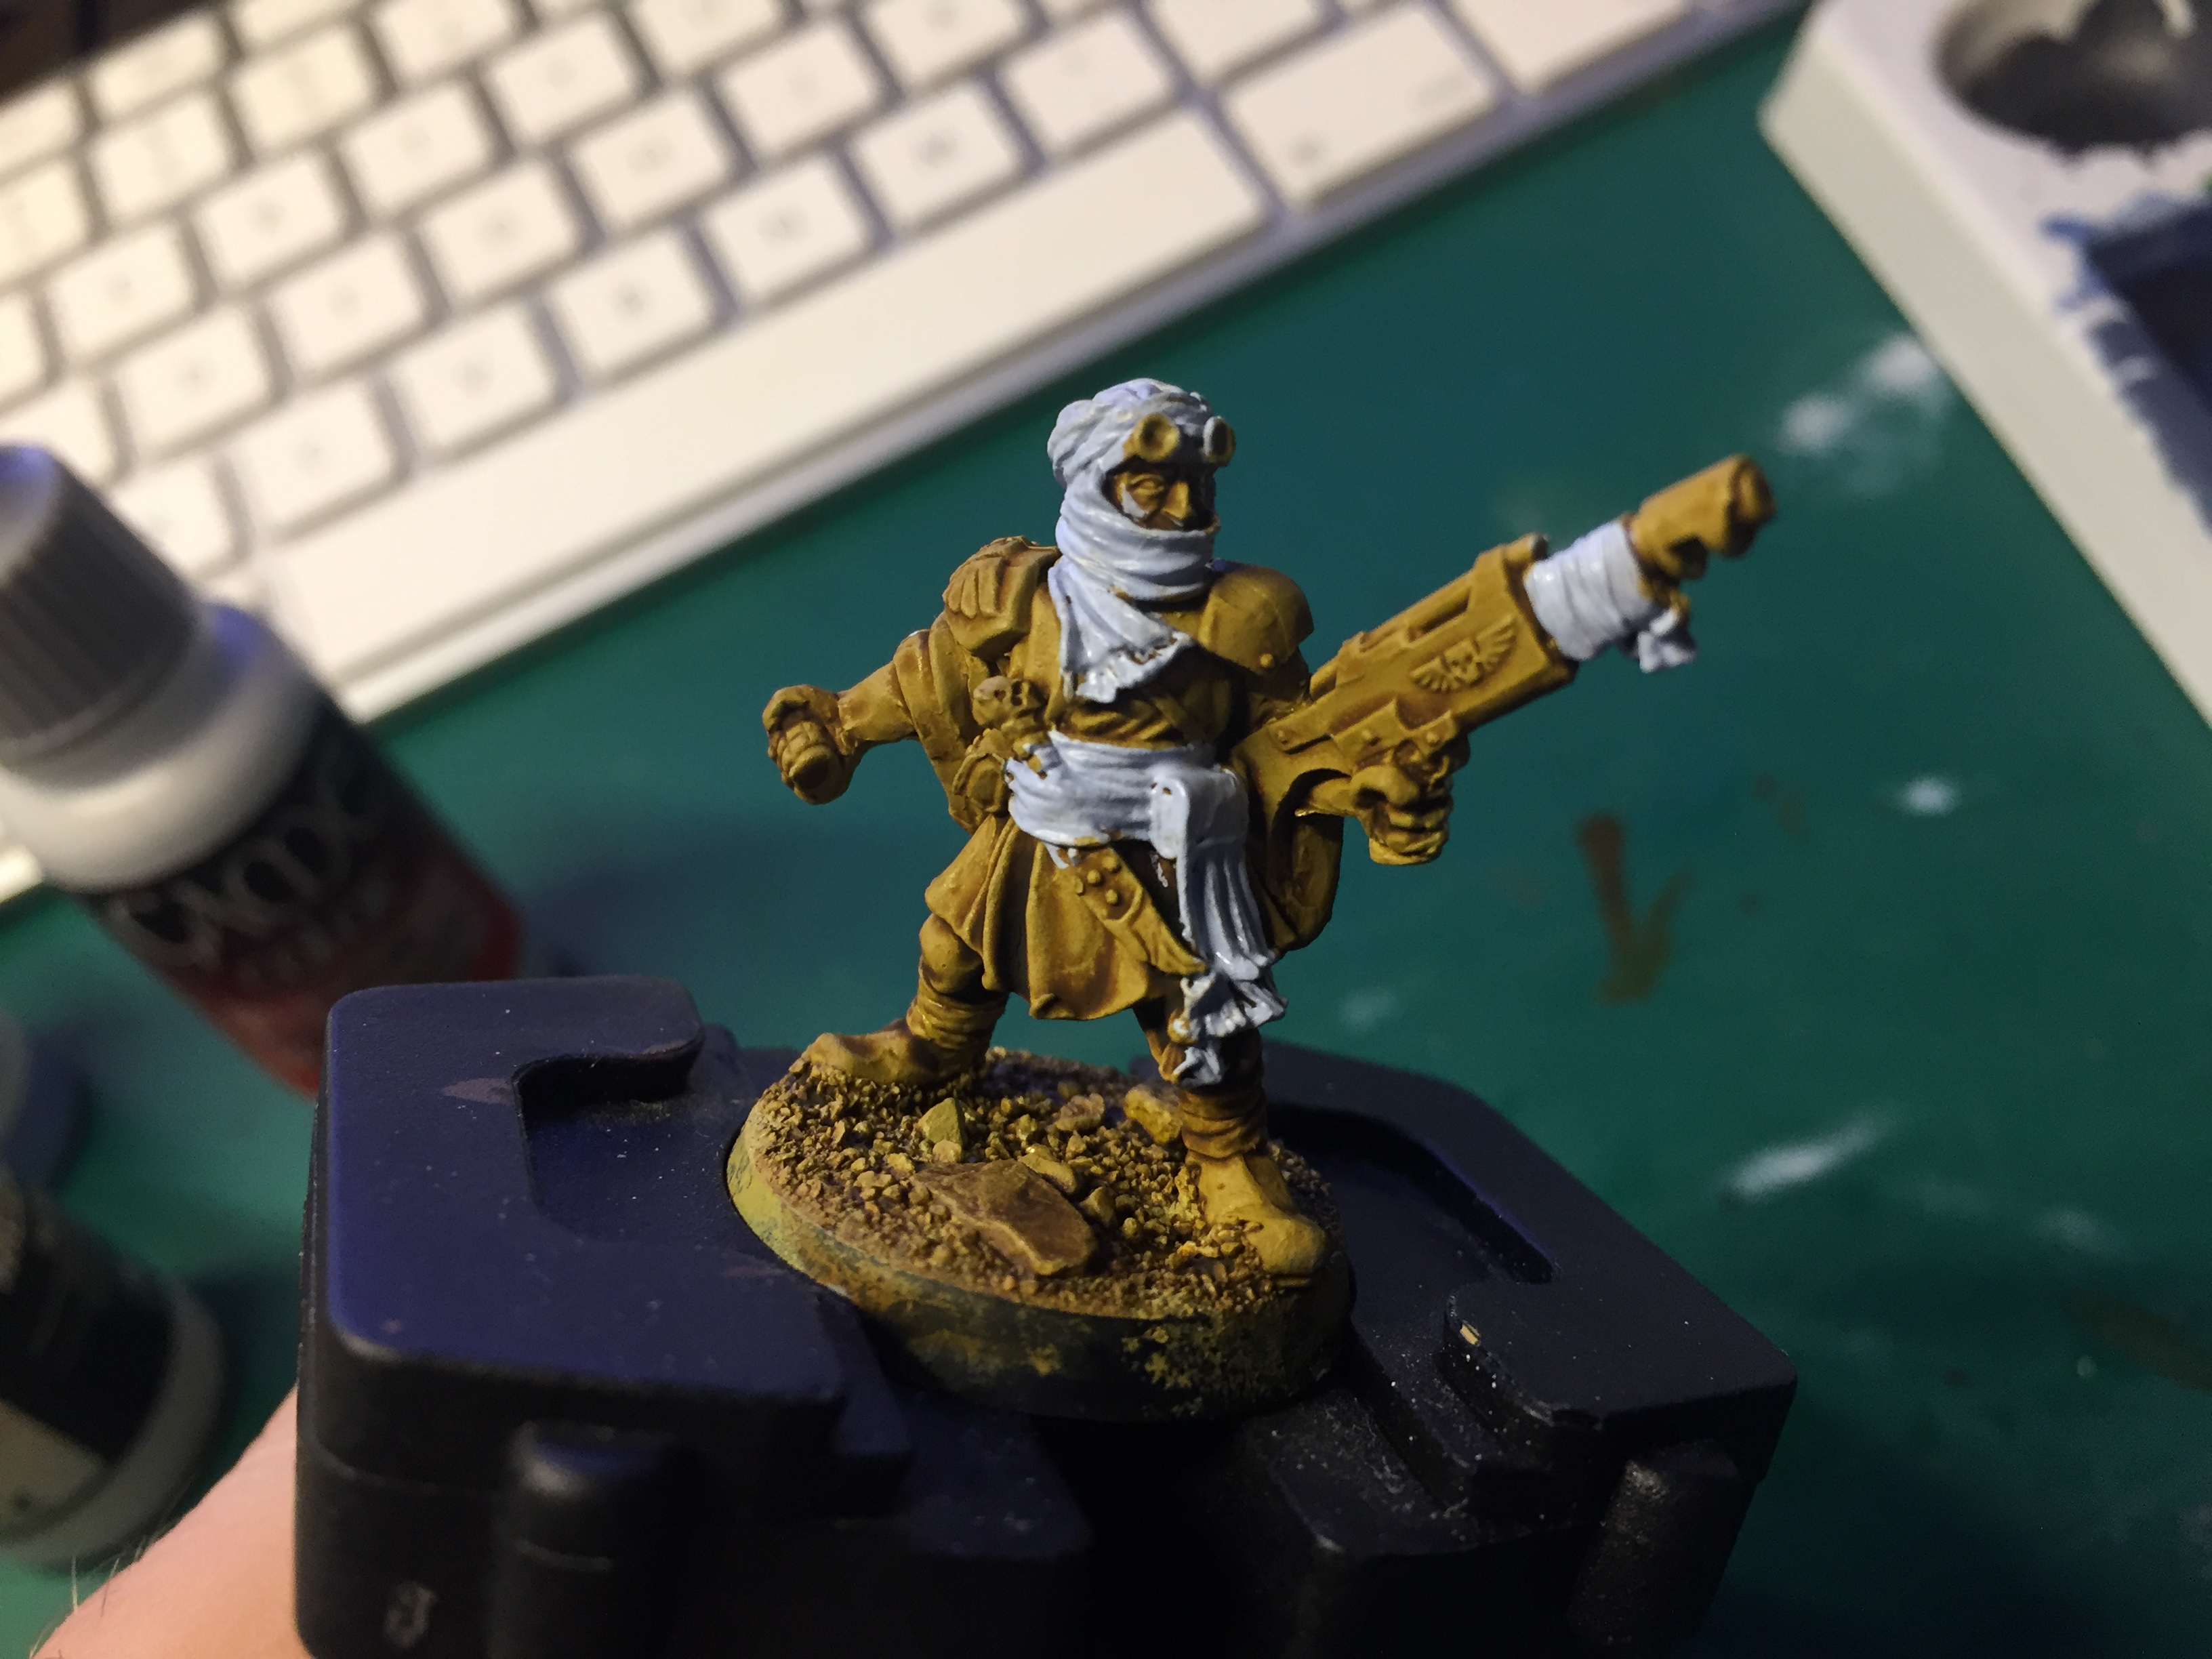 Painted Shemagh & sash


Leave a Reply