


![How To Paint Moonstone’s Nanny | Goblin King Games [7 Days Early Access]](https://images.beastsofwar.com/2024/12/3CU-Gobin-King-Games-Moonstone-Shades-Nanny-coverimage-225-127.jpg)


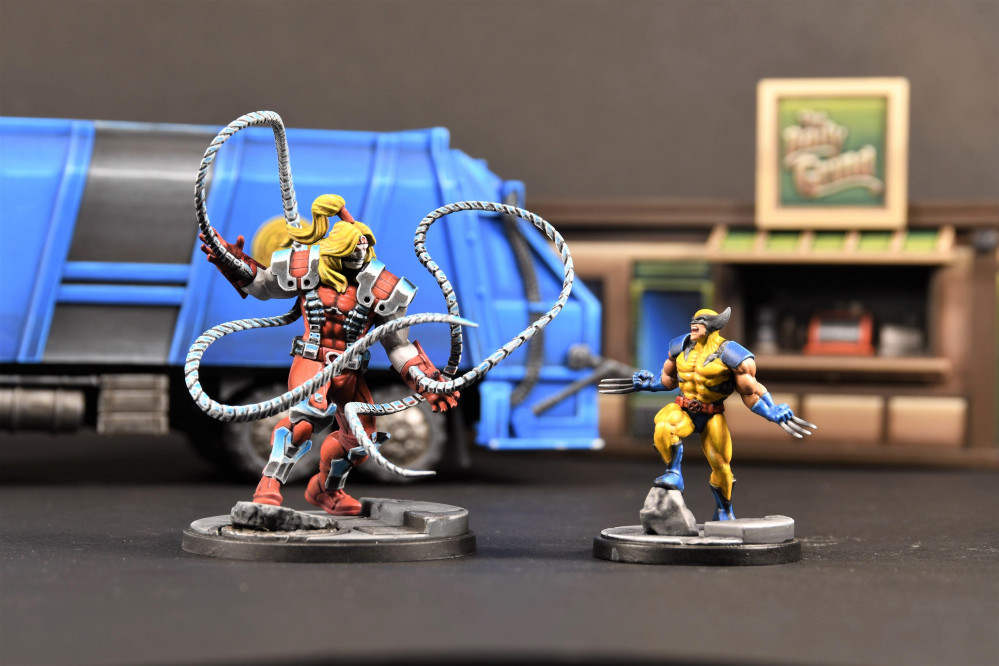
Marvel: Crisis Protocol


Iron Man Non-metallic Metal Tutorial, continued.
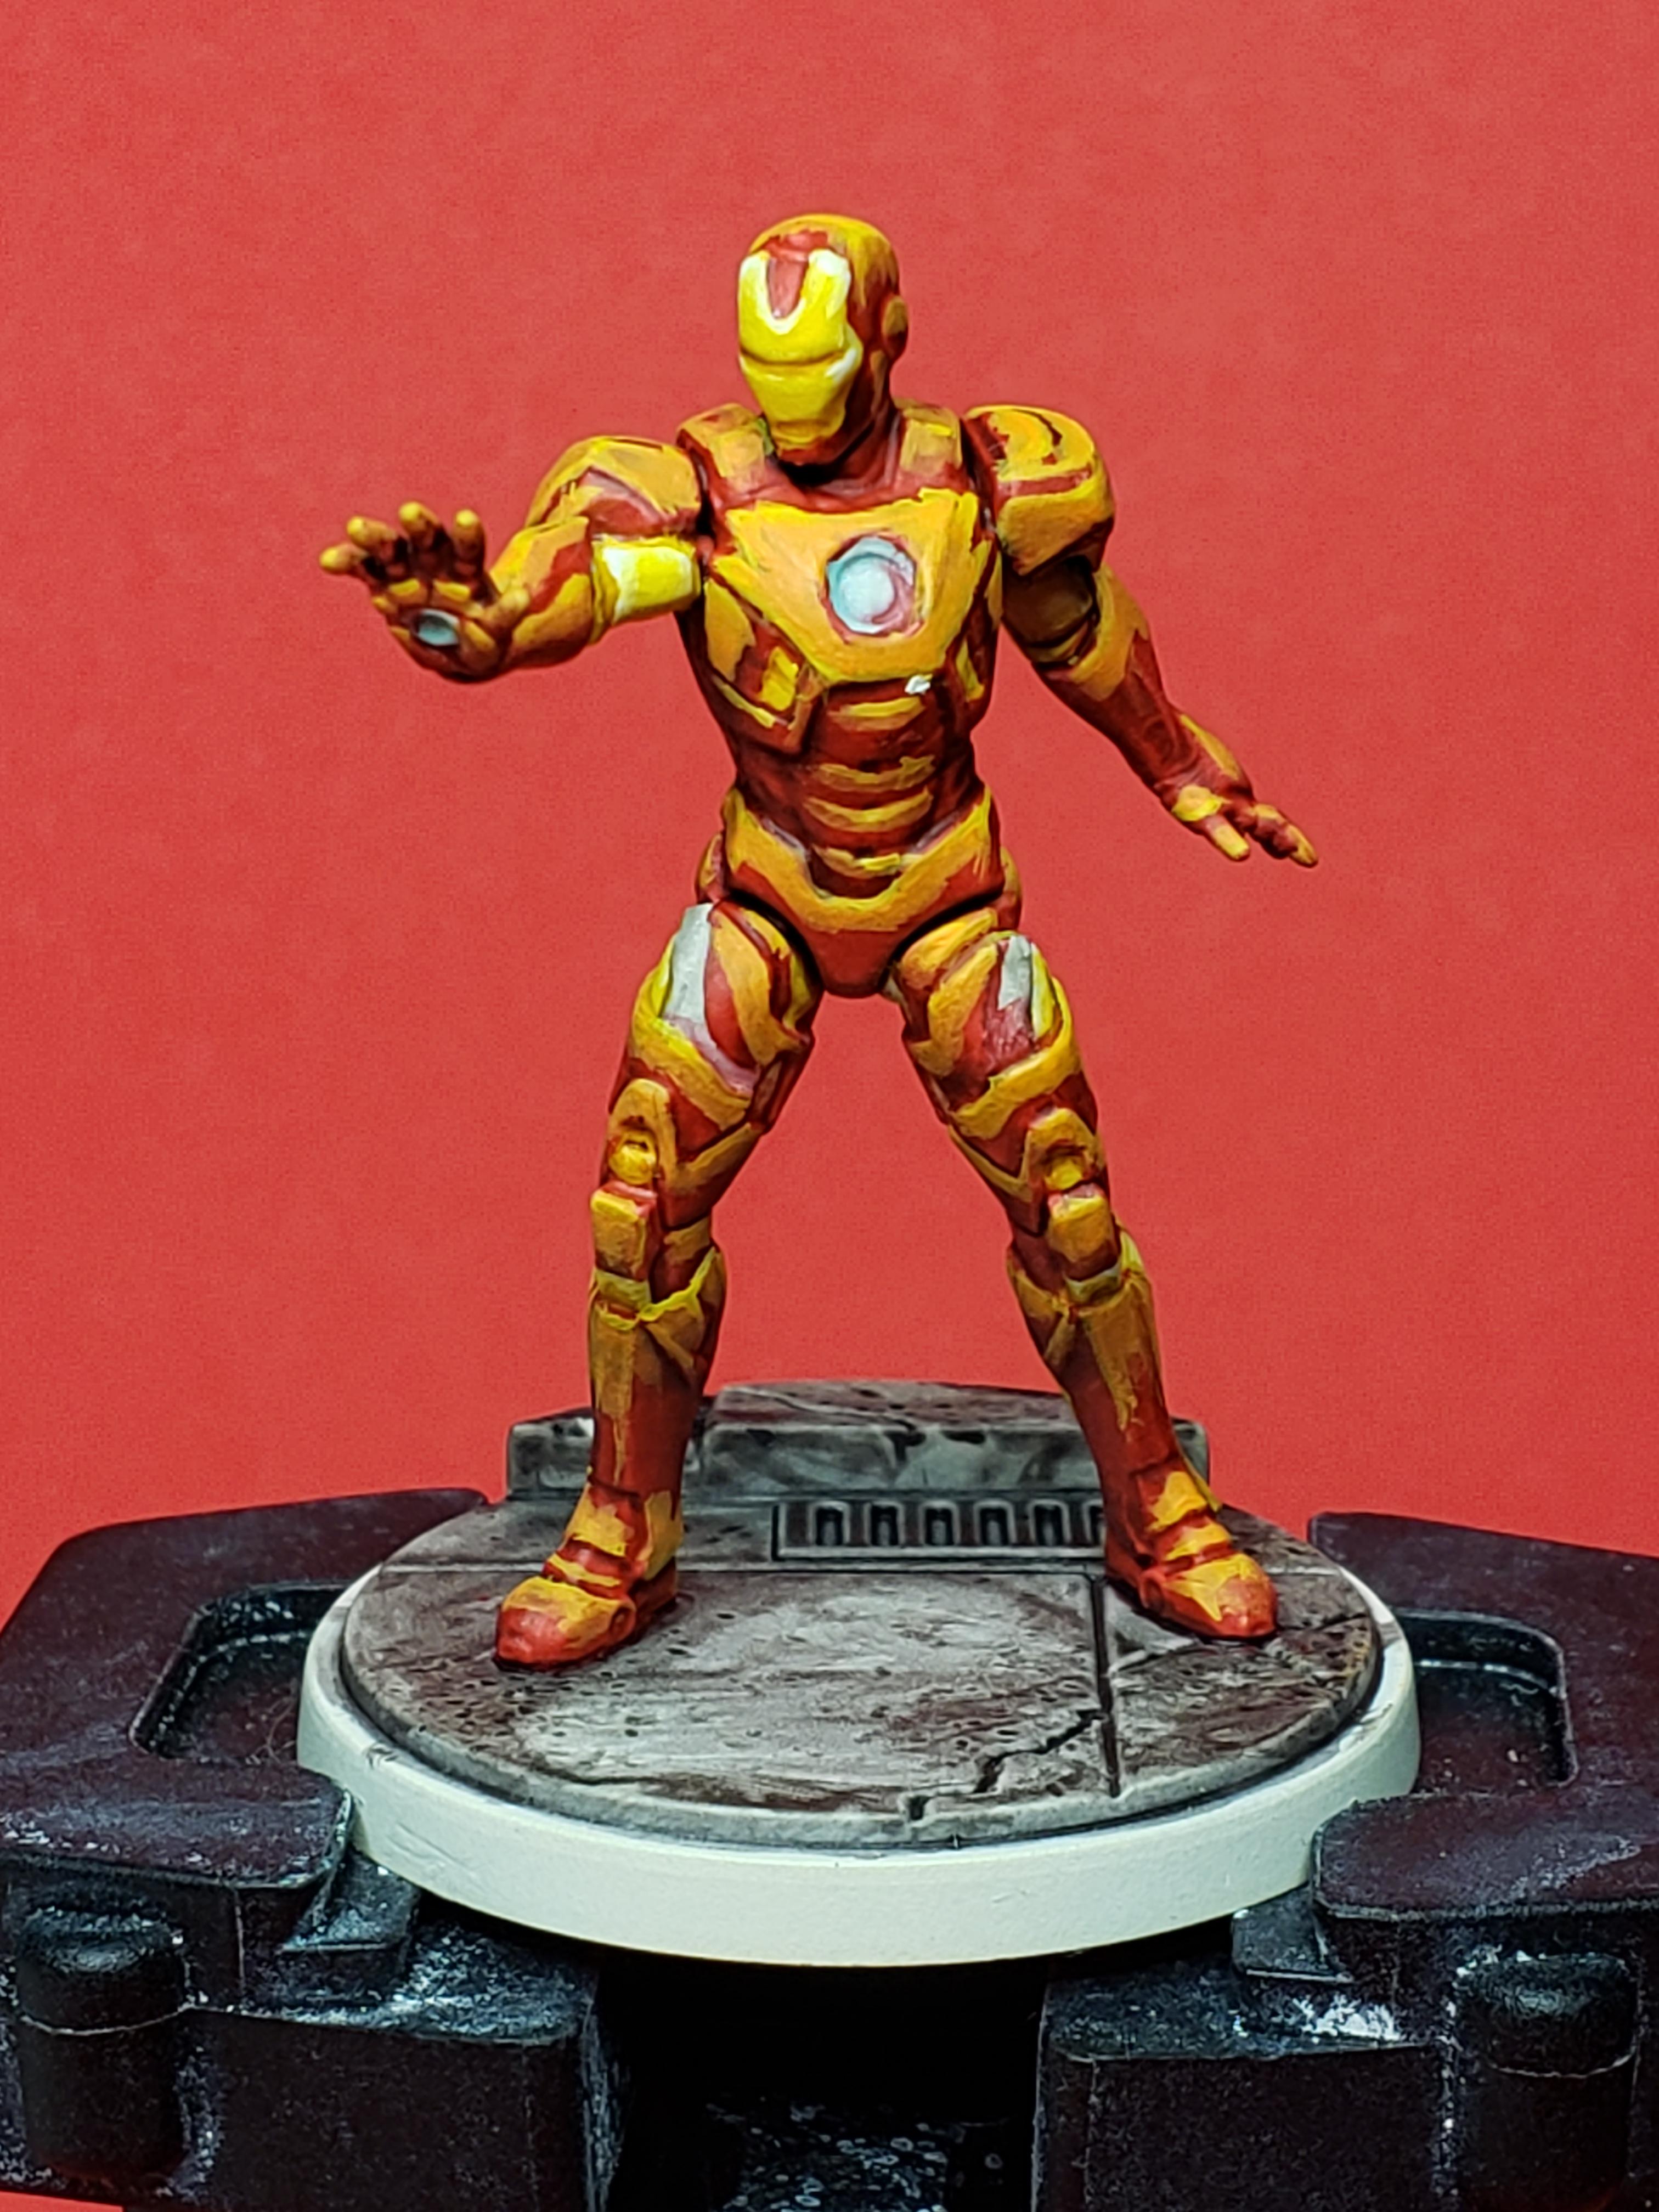 So this is step 2 on Iron Man, bringing in a mix of Fire Dragon Bright to the Flash Gitz Yellow to feather the bright yellow highlights into the red. As you can see, it still looks very, very terrible. Hopefully it'll look better and better as more layers get added in.
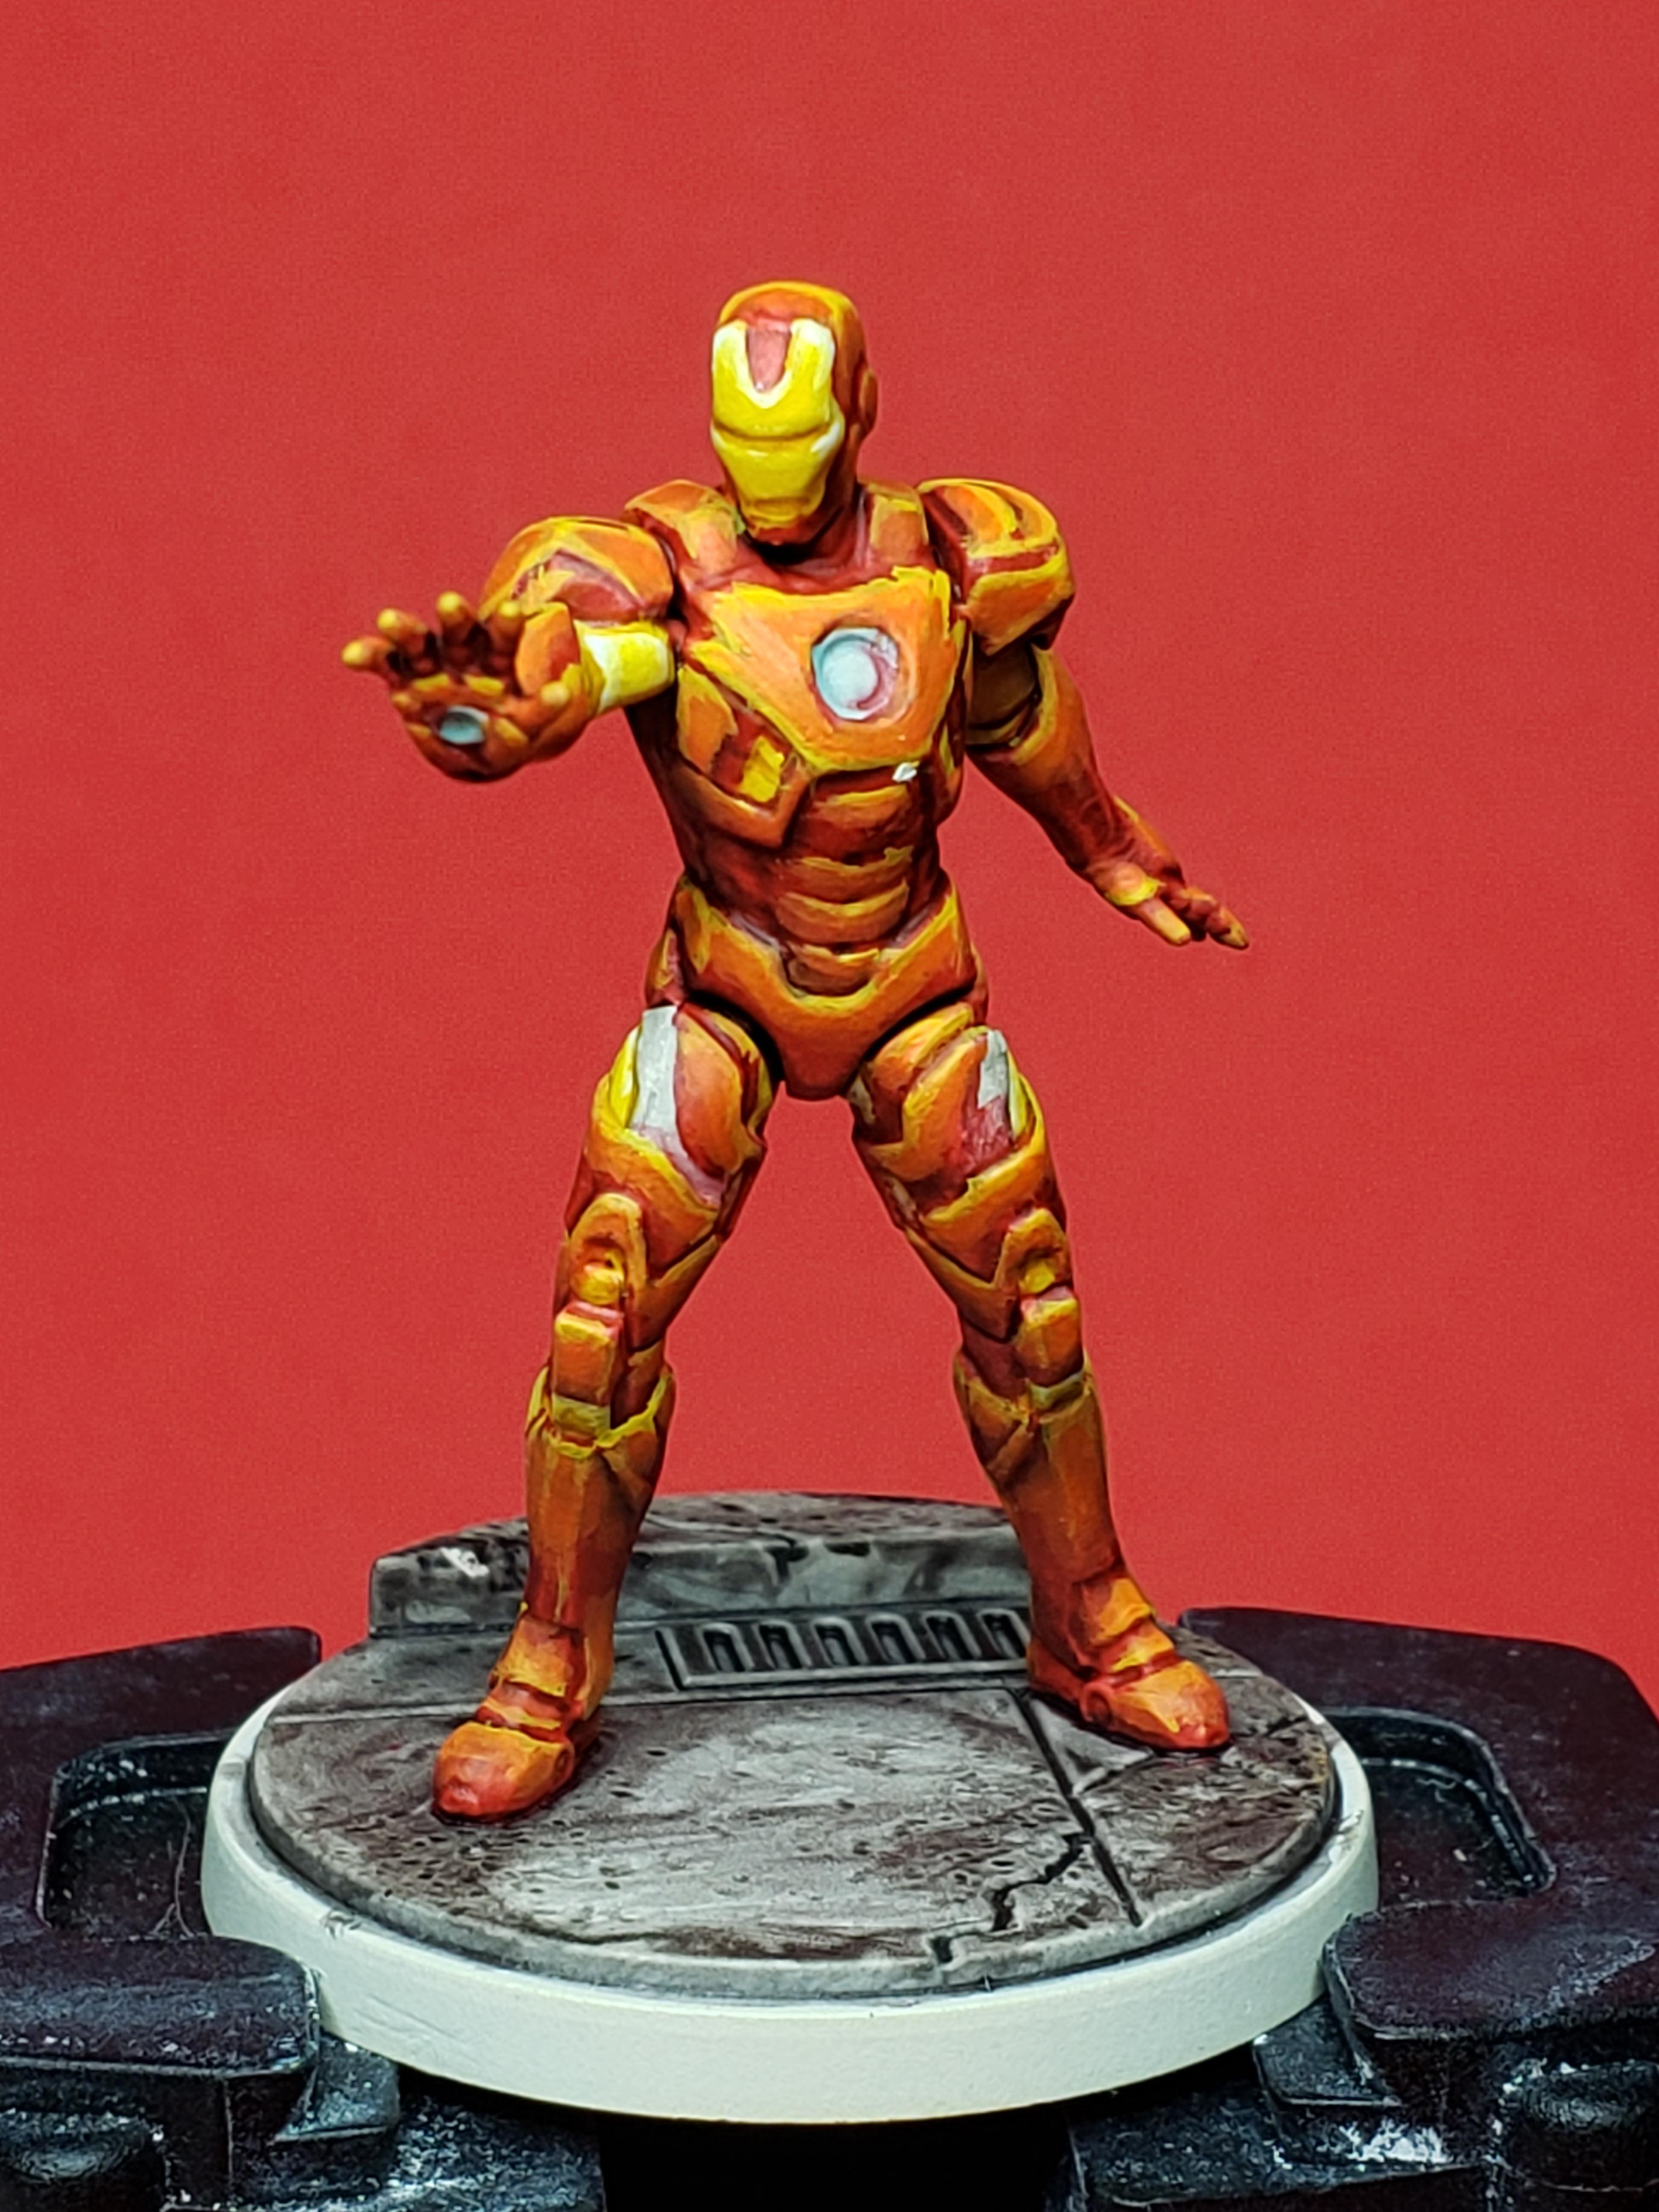 Step 3. This brings in Troll Slayer Orange to bring the highlights further into the basecoat. Now the miniature is starting to feel a lot better.
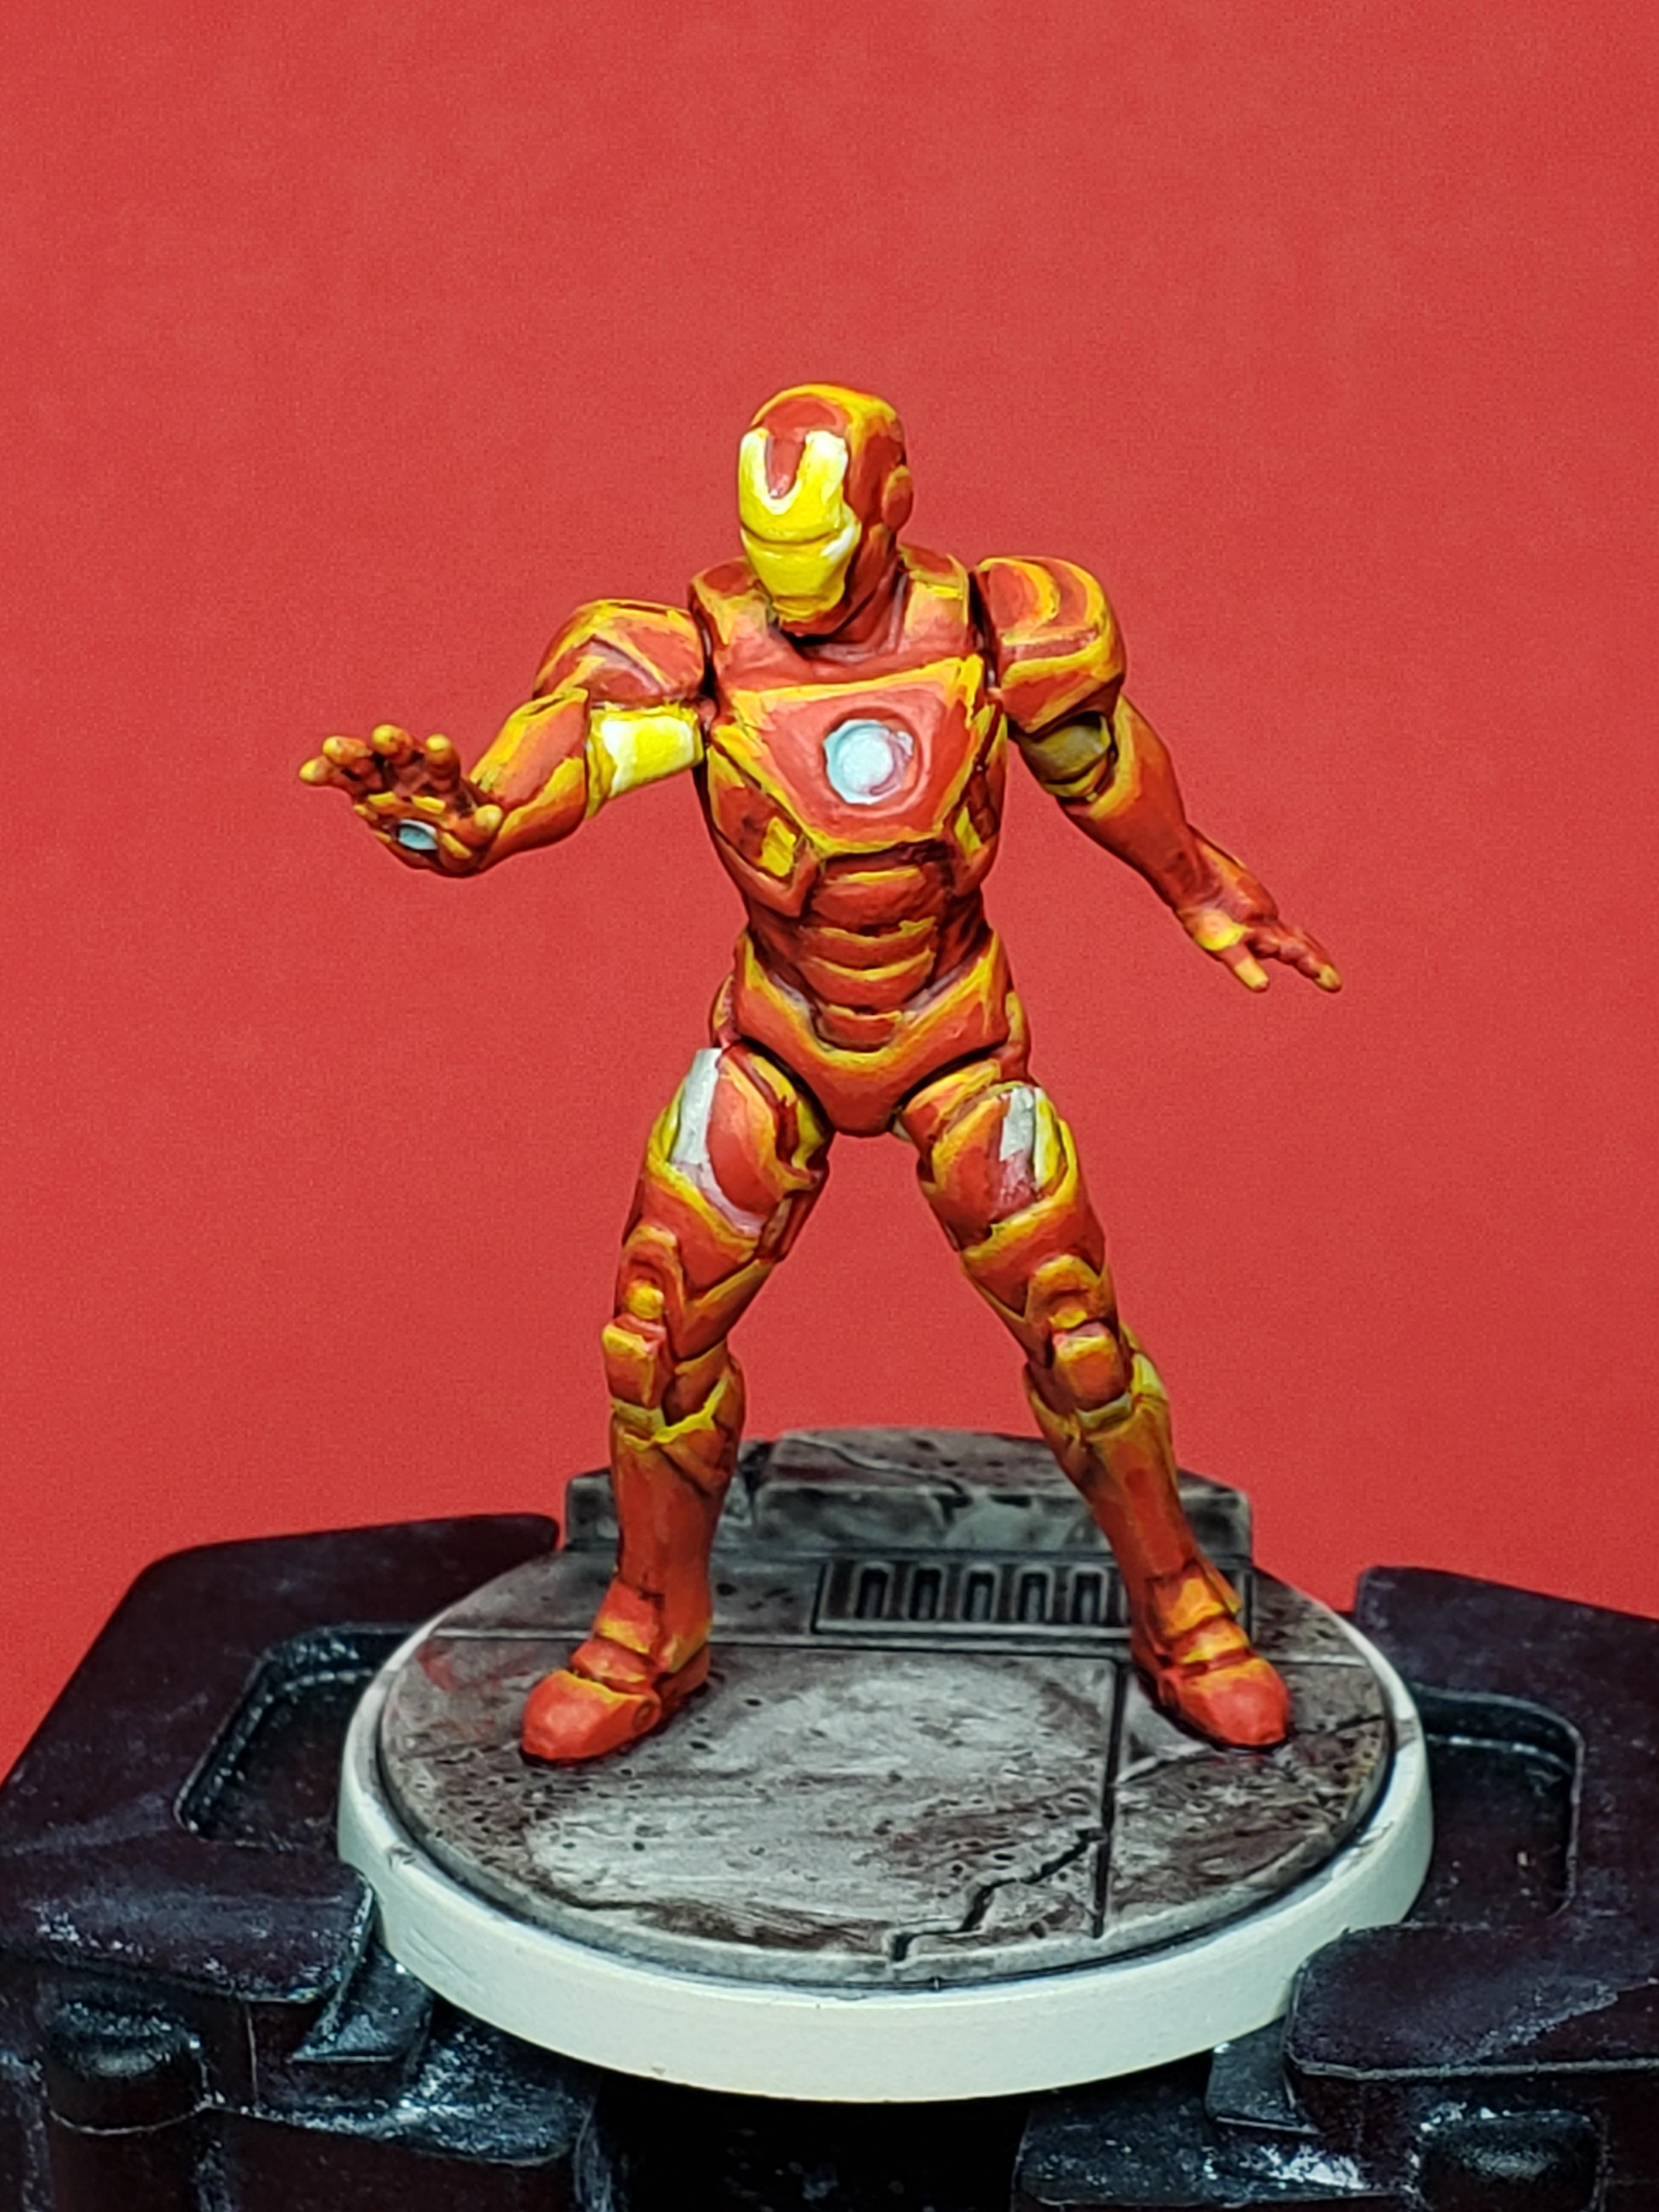 Step 4. This brings in a mix of Wild Rider Red and Evil Sun Scarlet. Now the extreme highlights are looking less extreme. Only real complaint I have with the model is that it is far less smooth than my normal paint jobs, but that's kind of what happens when you experiment with new techniques, so I'm chalking it up to a learning experience.
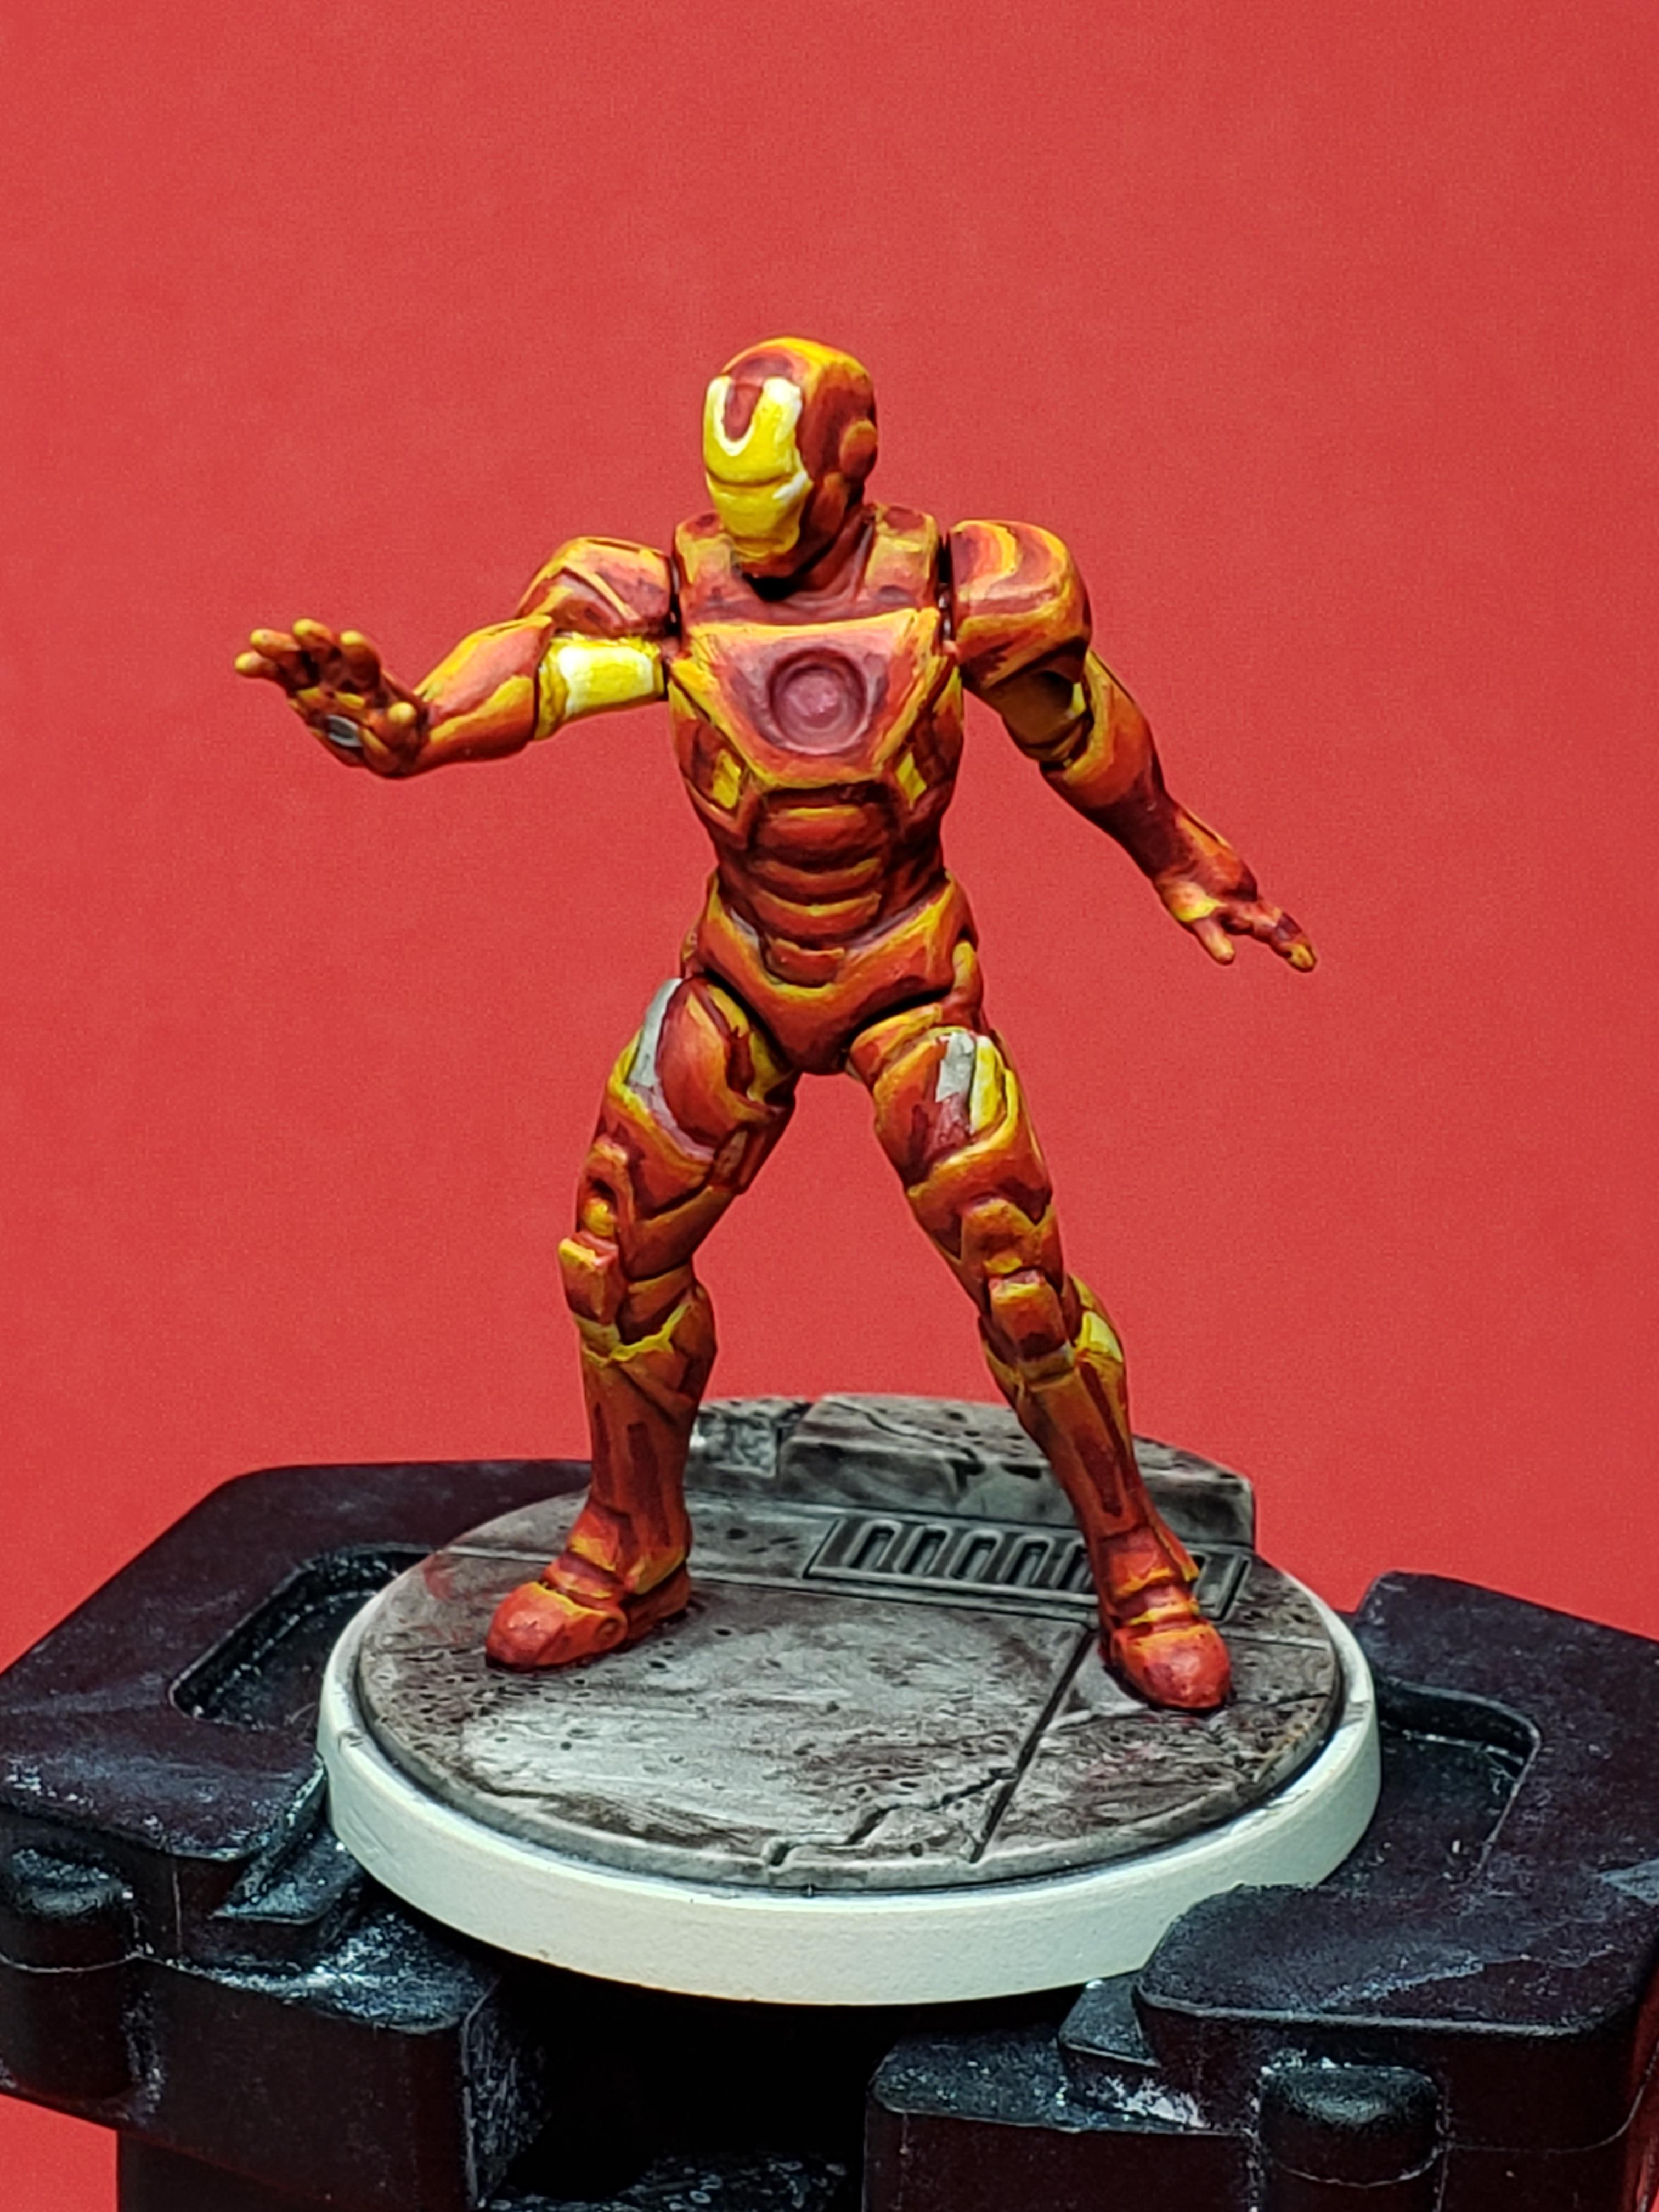 Step 5. Now I'm bringing in some Khorne Red to do some shading to tone down some of the orange-ness he had going on. Overall pretty happy with how he's turning out.
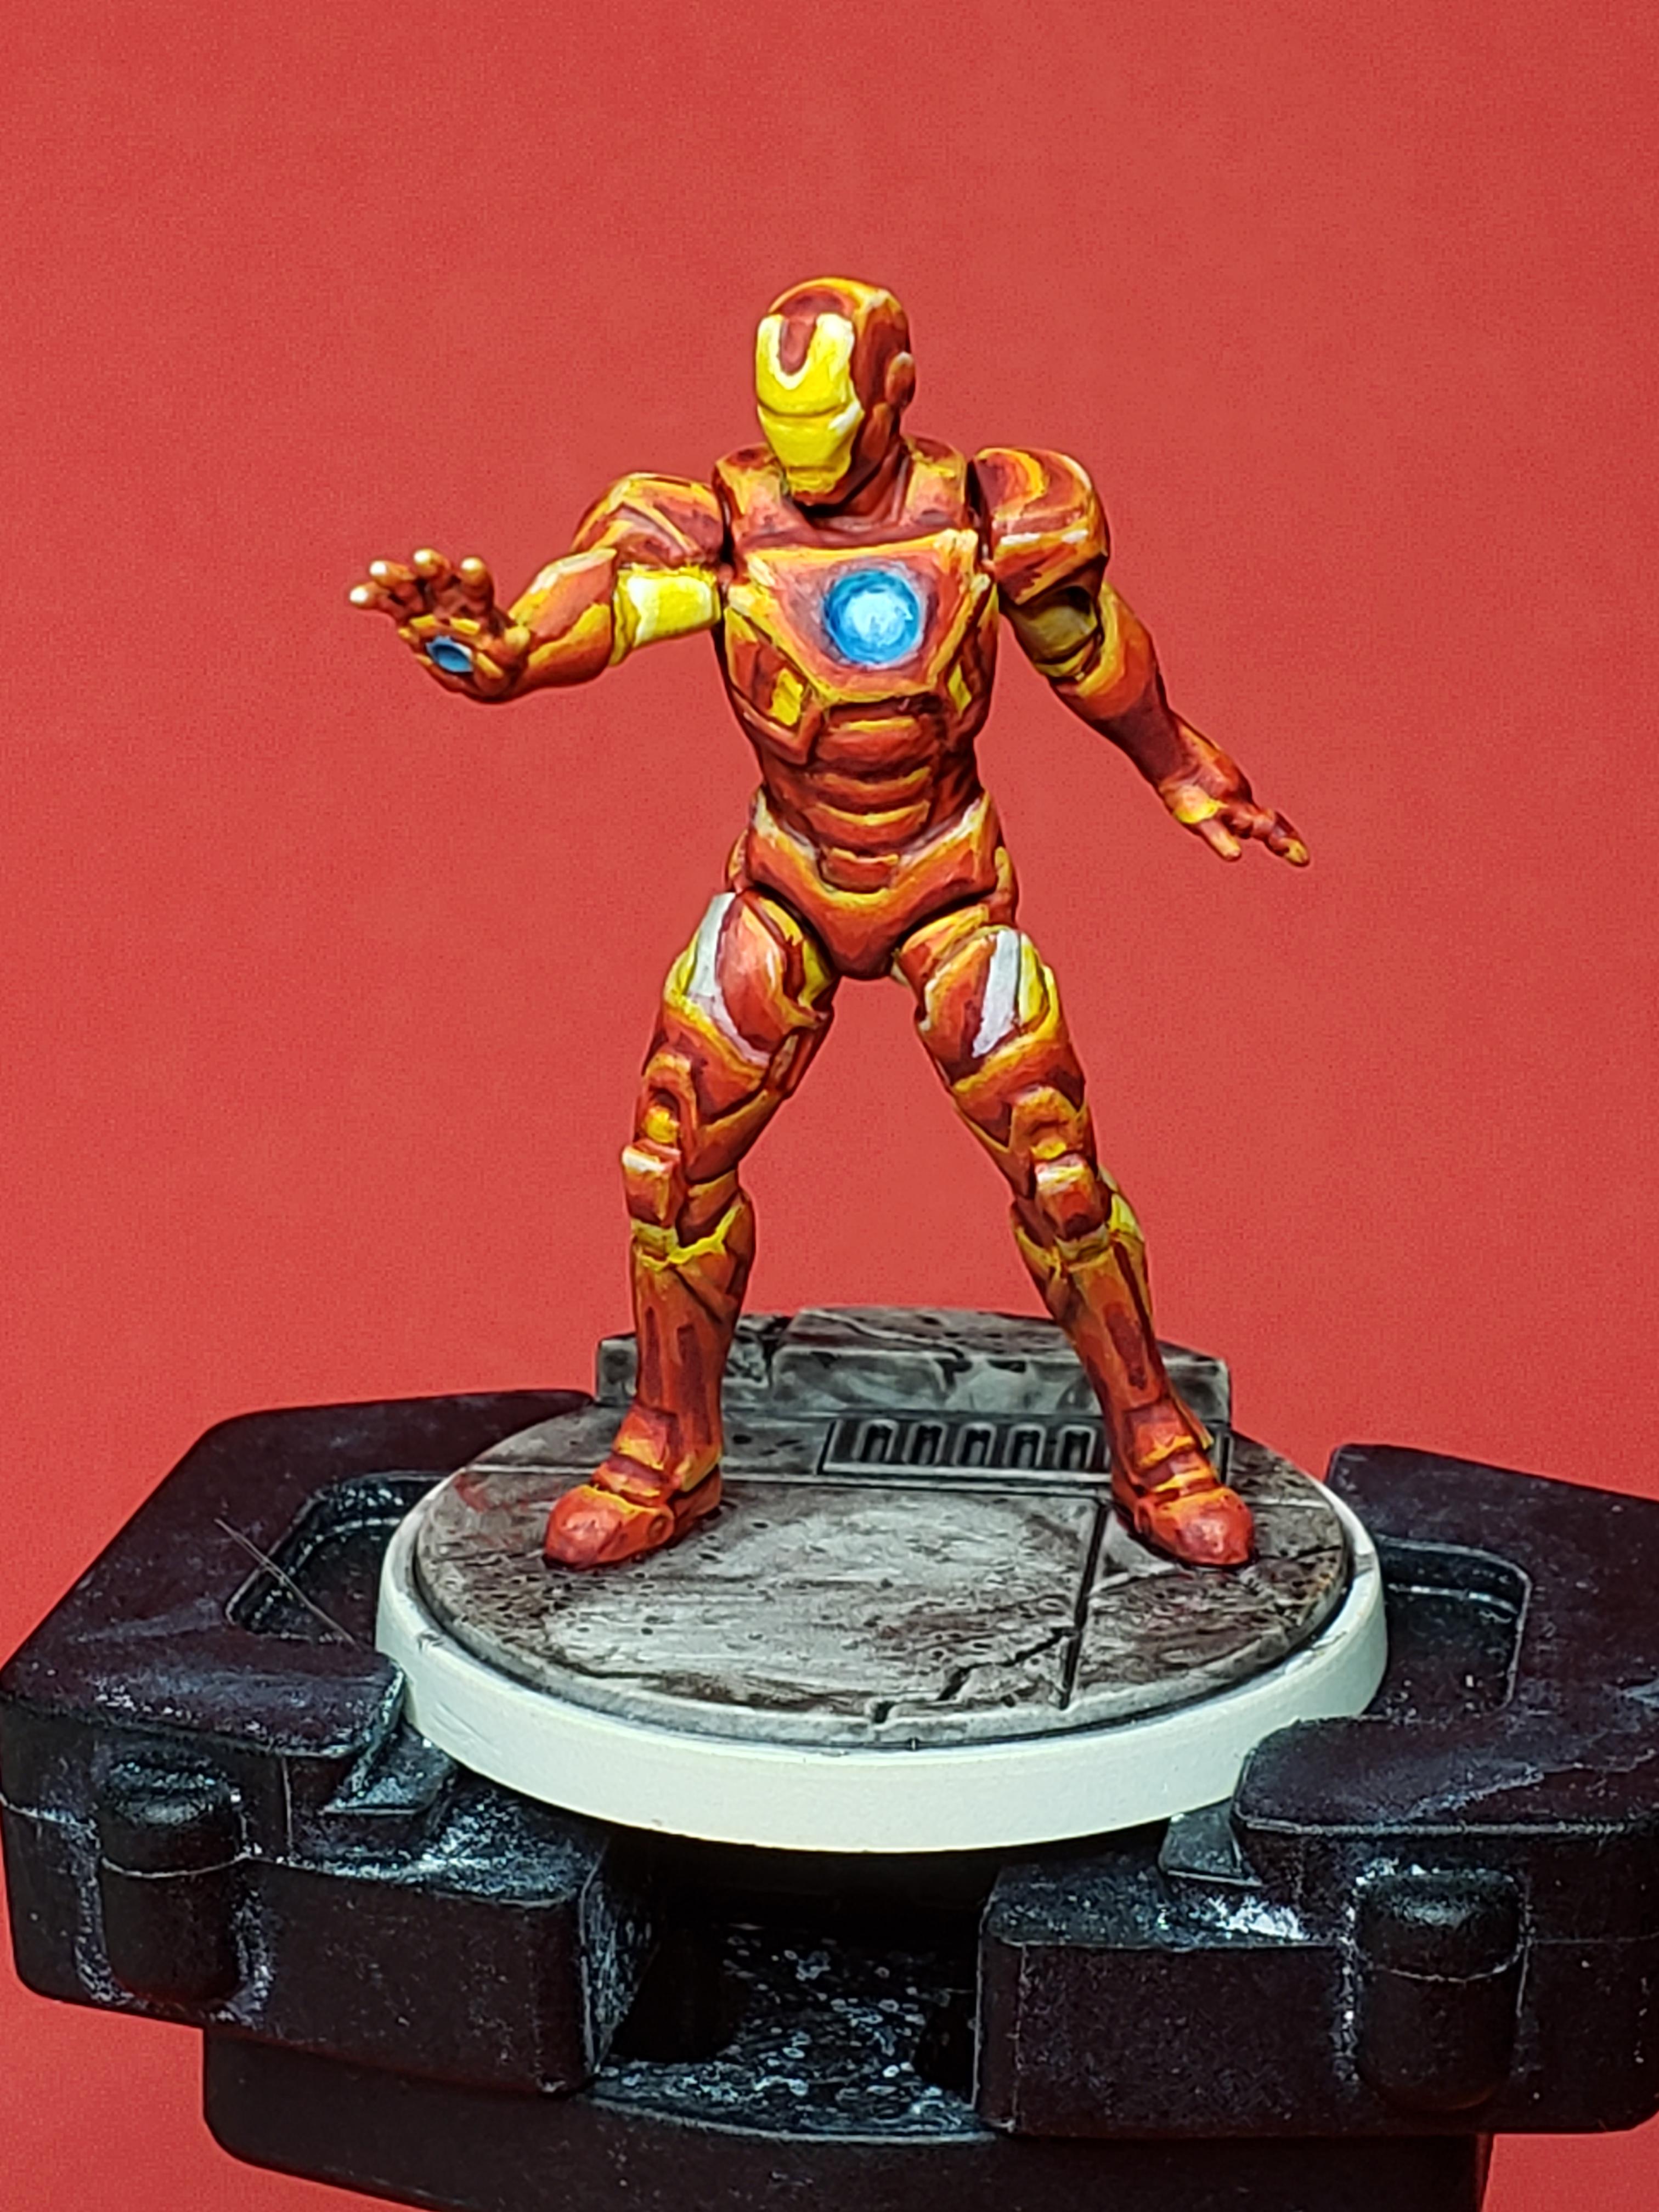 Step 6. Went in and corrected some small mistakes where highlighting would get covered up with my shading and finished up some small details like the chest light. Now all that's left is the base and he's done.


Leave a Reply