


Marvel: Crisis Protocol


Recommendations: 3180
About the Project
I've moved my project to my Wordpress blog. For anyone interested, it is here: https://moriartisminis.wordpress.com/
Related Game: Marvel Crisis Protocol Miniatures Game
Related Company: Atomic Mass Games
Related Genre: General
This Project is Completed
First few miniatures are ready for basing.


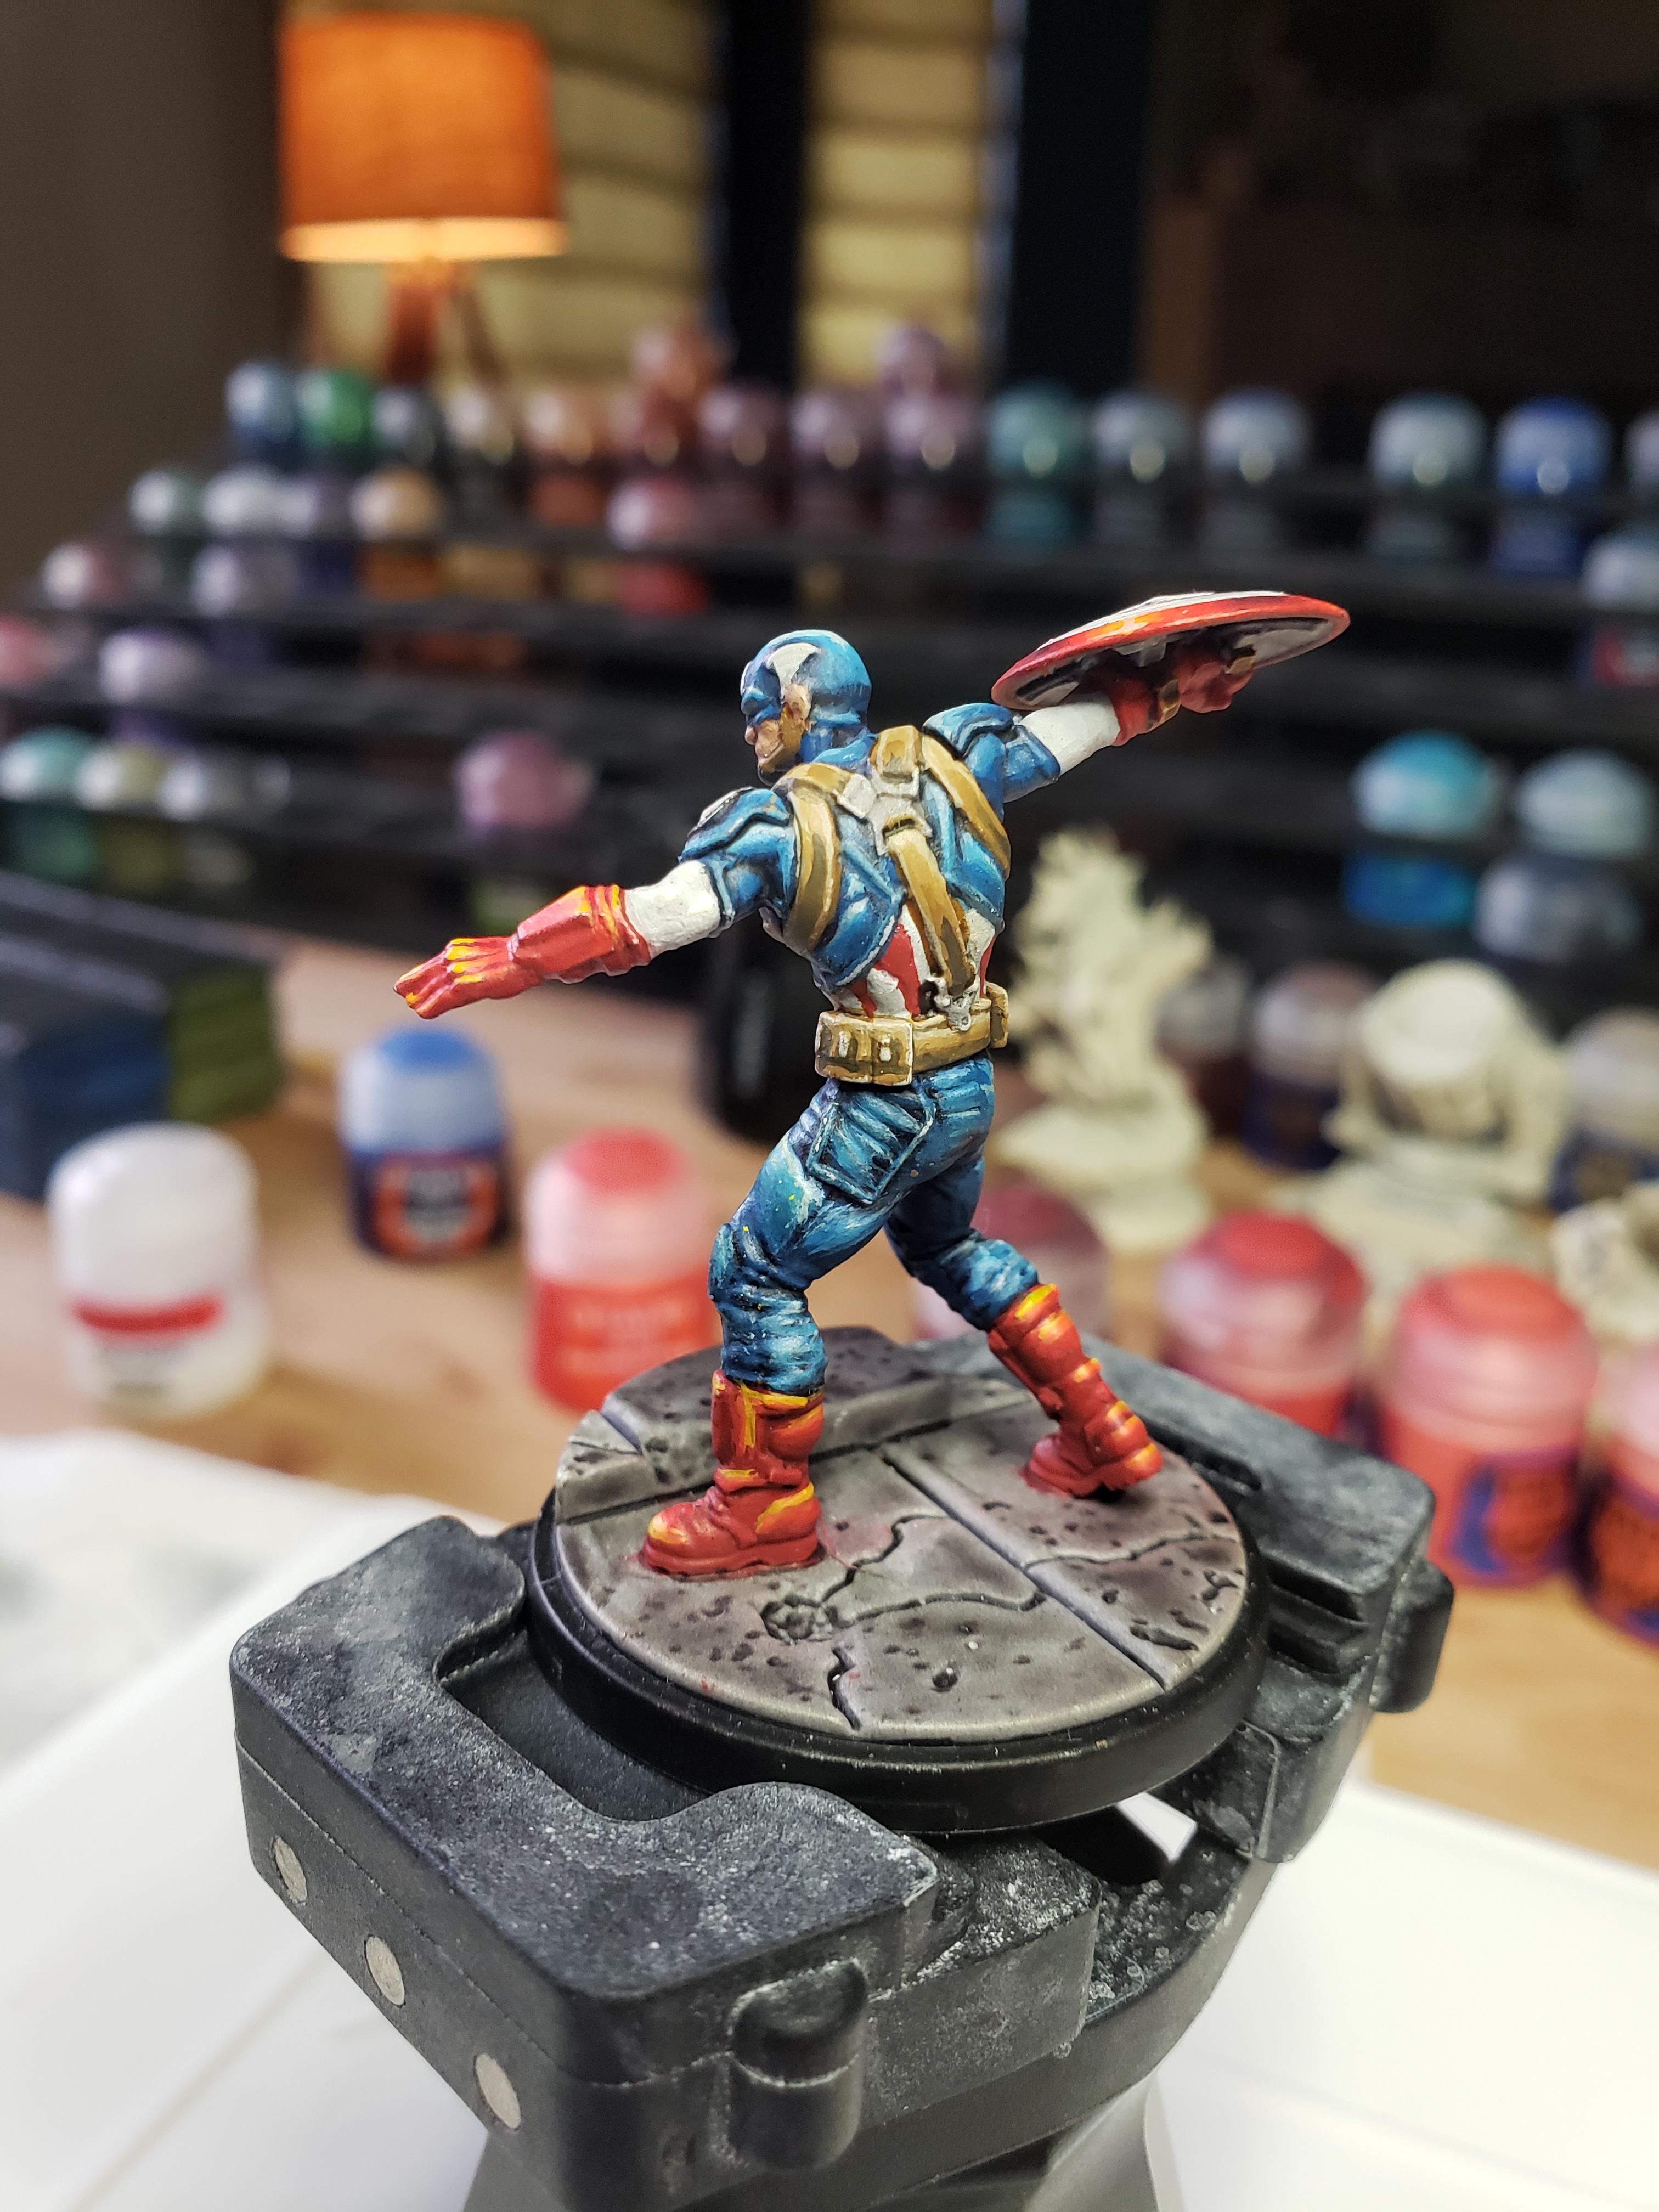
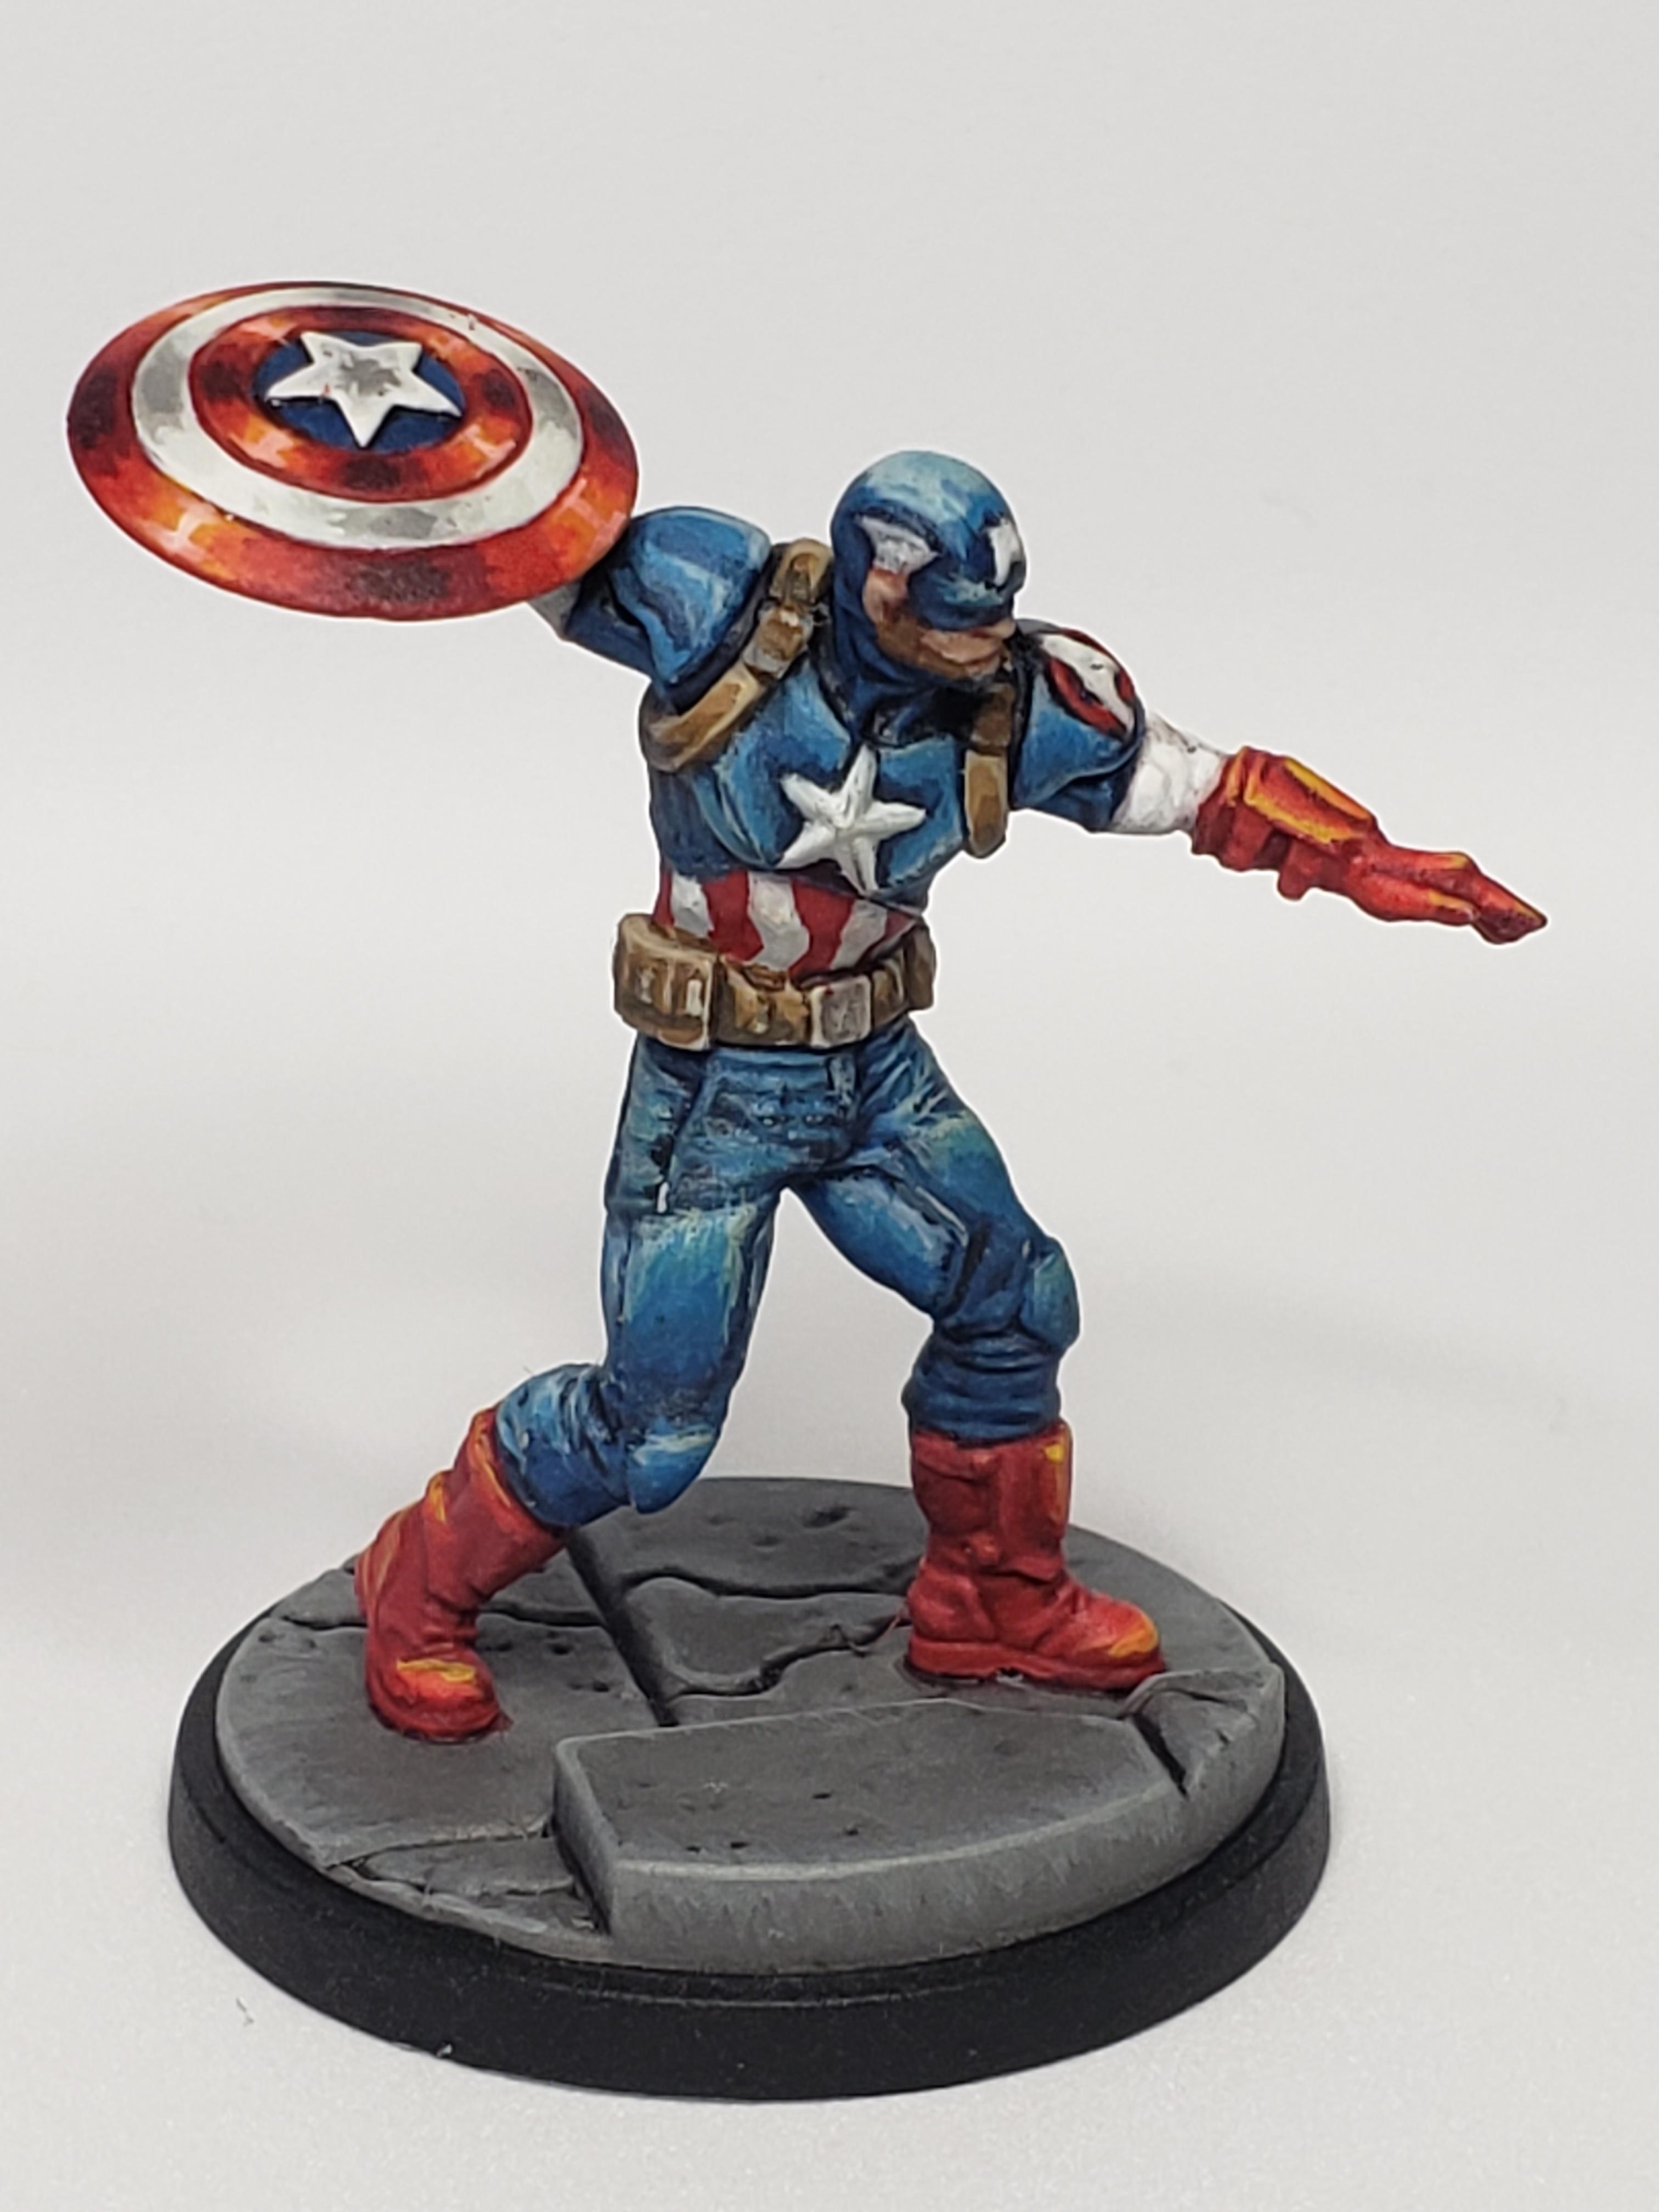
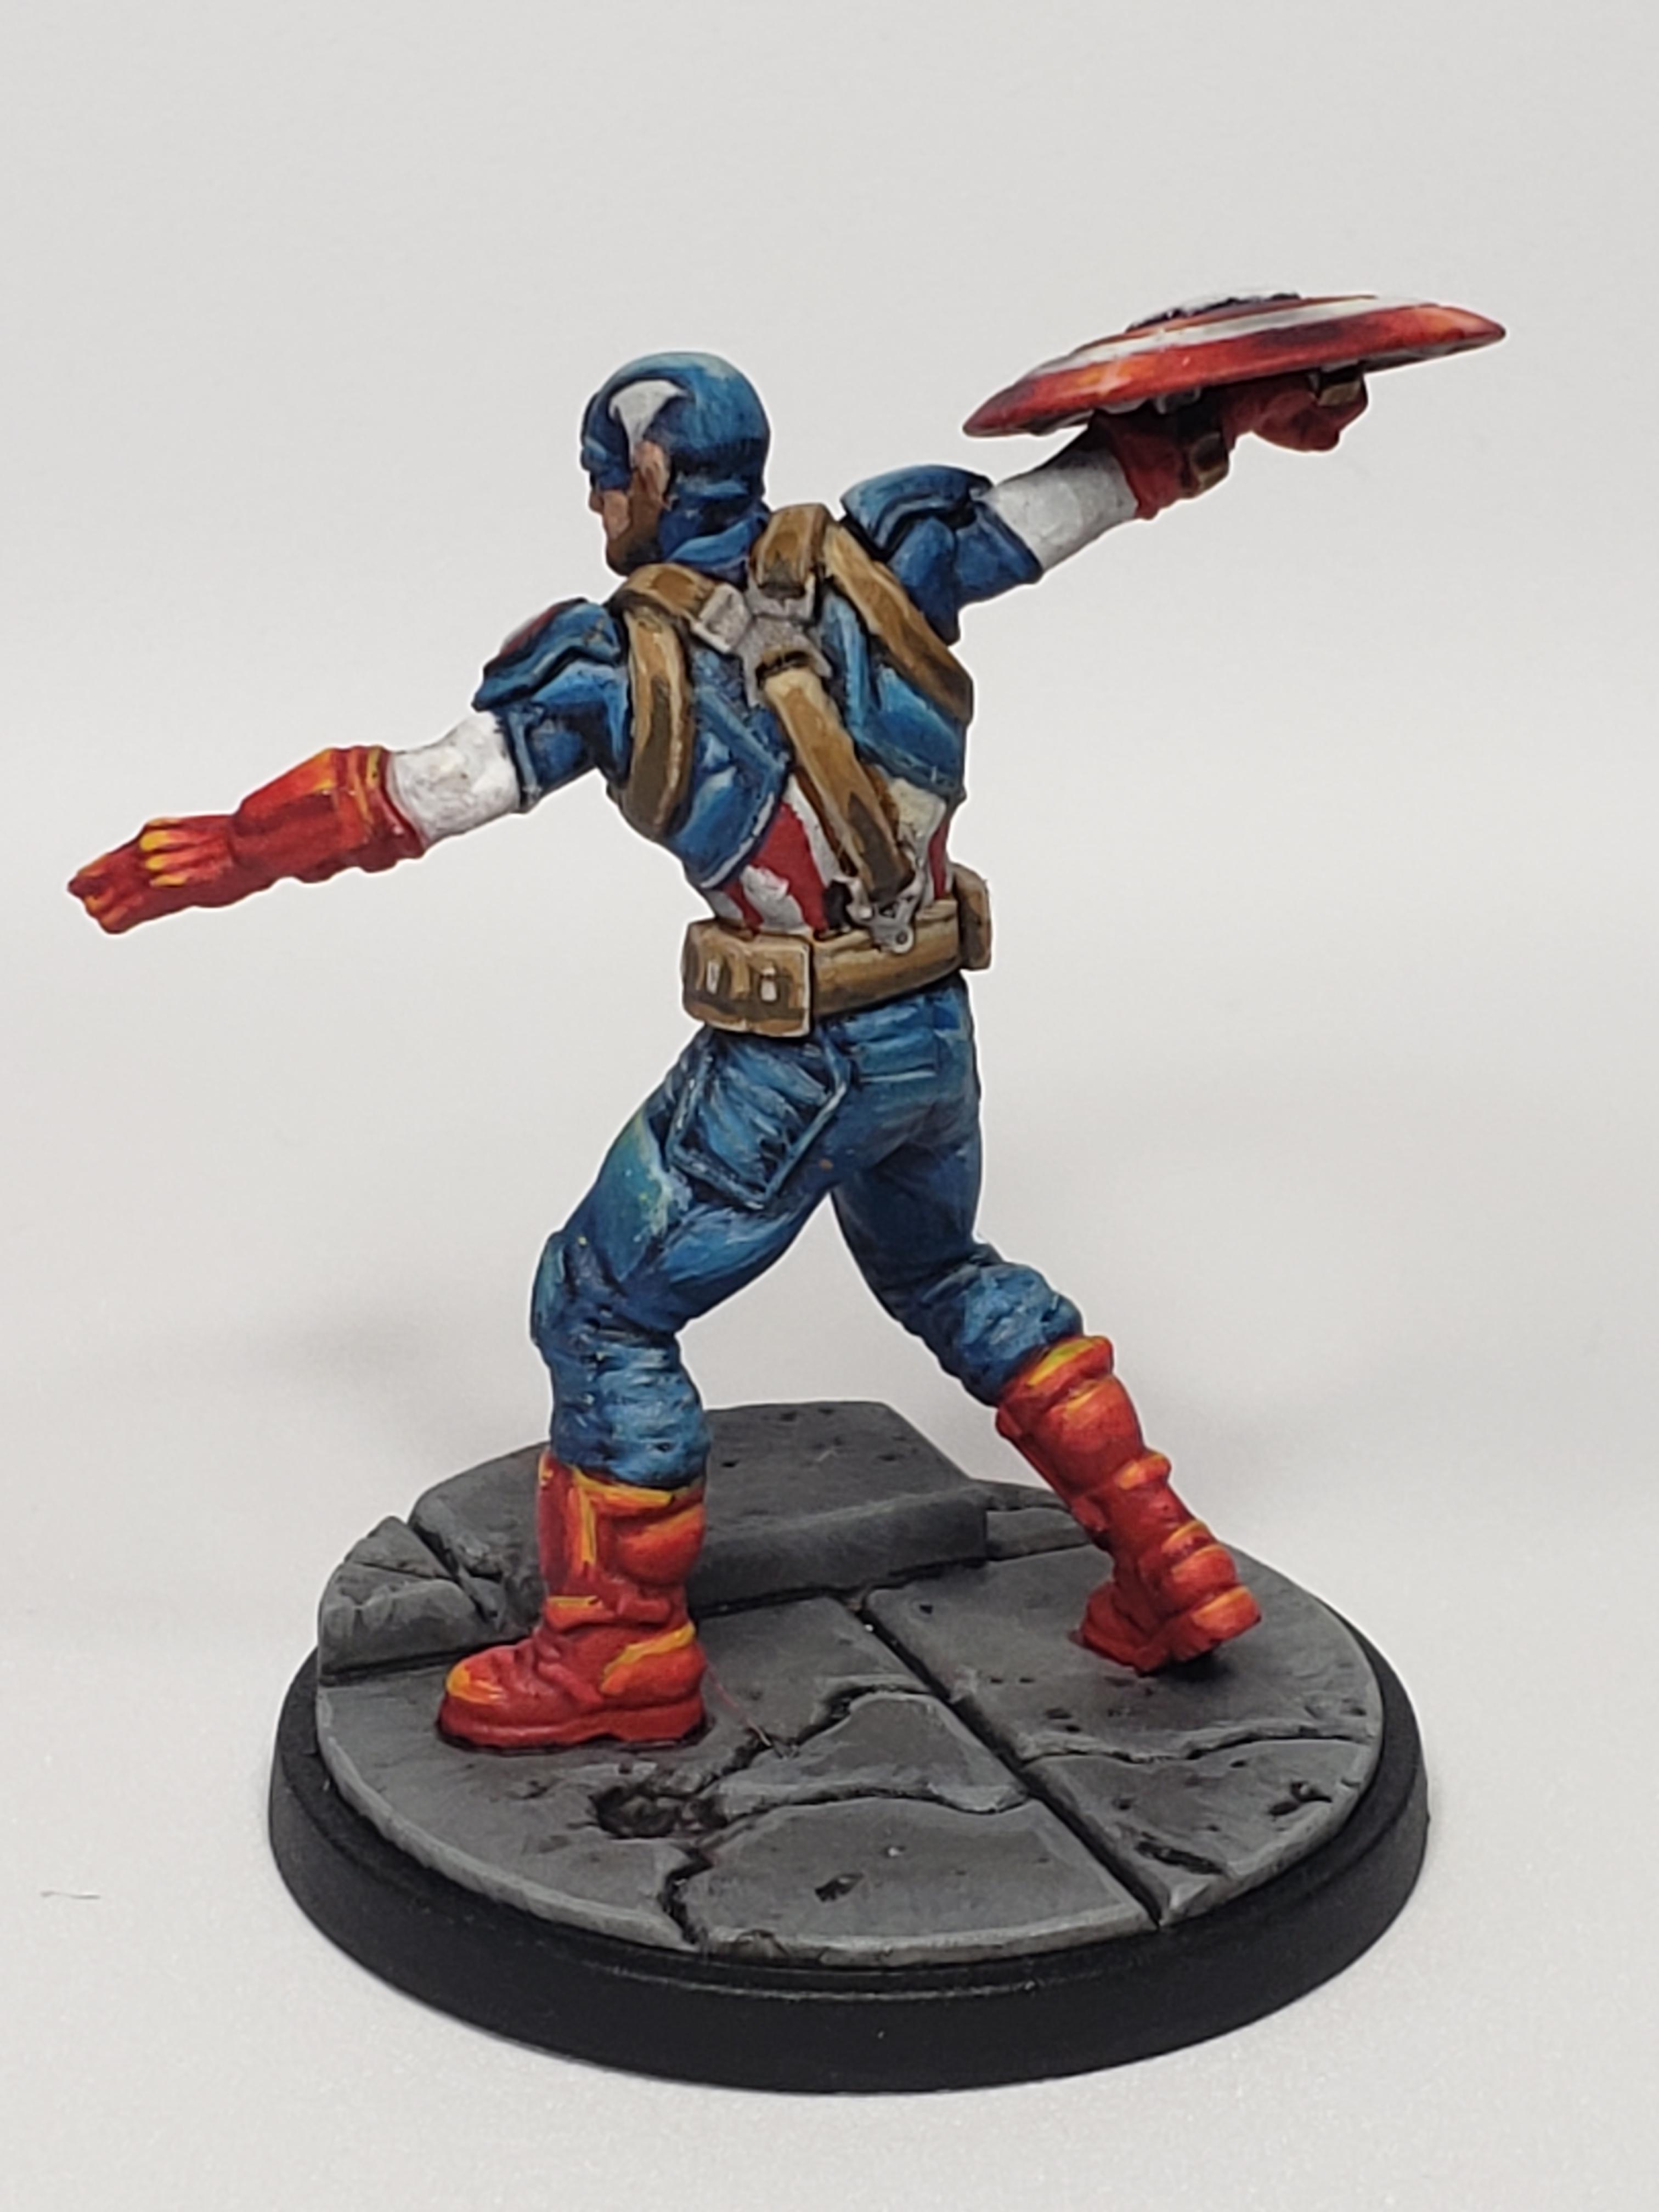
Finished painting Captain Marvel, Spiderman and Captain America. Bases are unfinished, as I plan on assembly line painting all the bases once all of the characters are complete.
With this project I’m trying to level up my painting by focusing on extreme highlights where I go all the way or almost all the way to white with all the main colors. It came out much better than I anticipated and I think it will be my standard going forward. I was particularly happy with how well it worked on Cap’s shield.
I’m currently working on Black Widow, which is proving a challenge due to the extreme highlighting on black. After that comes Iron Man and then I’ll switch to working on the Villains from the main box set.
These were all painted using contrasts over Corax White primer and then layering up/shading using equivalent GW paints/glazes.
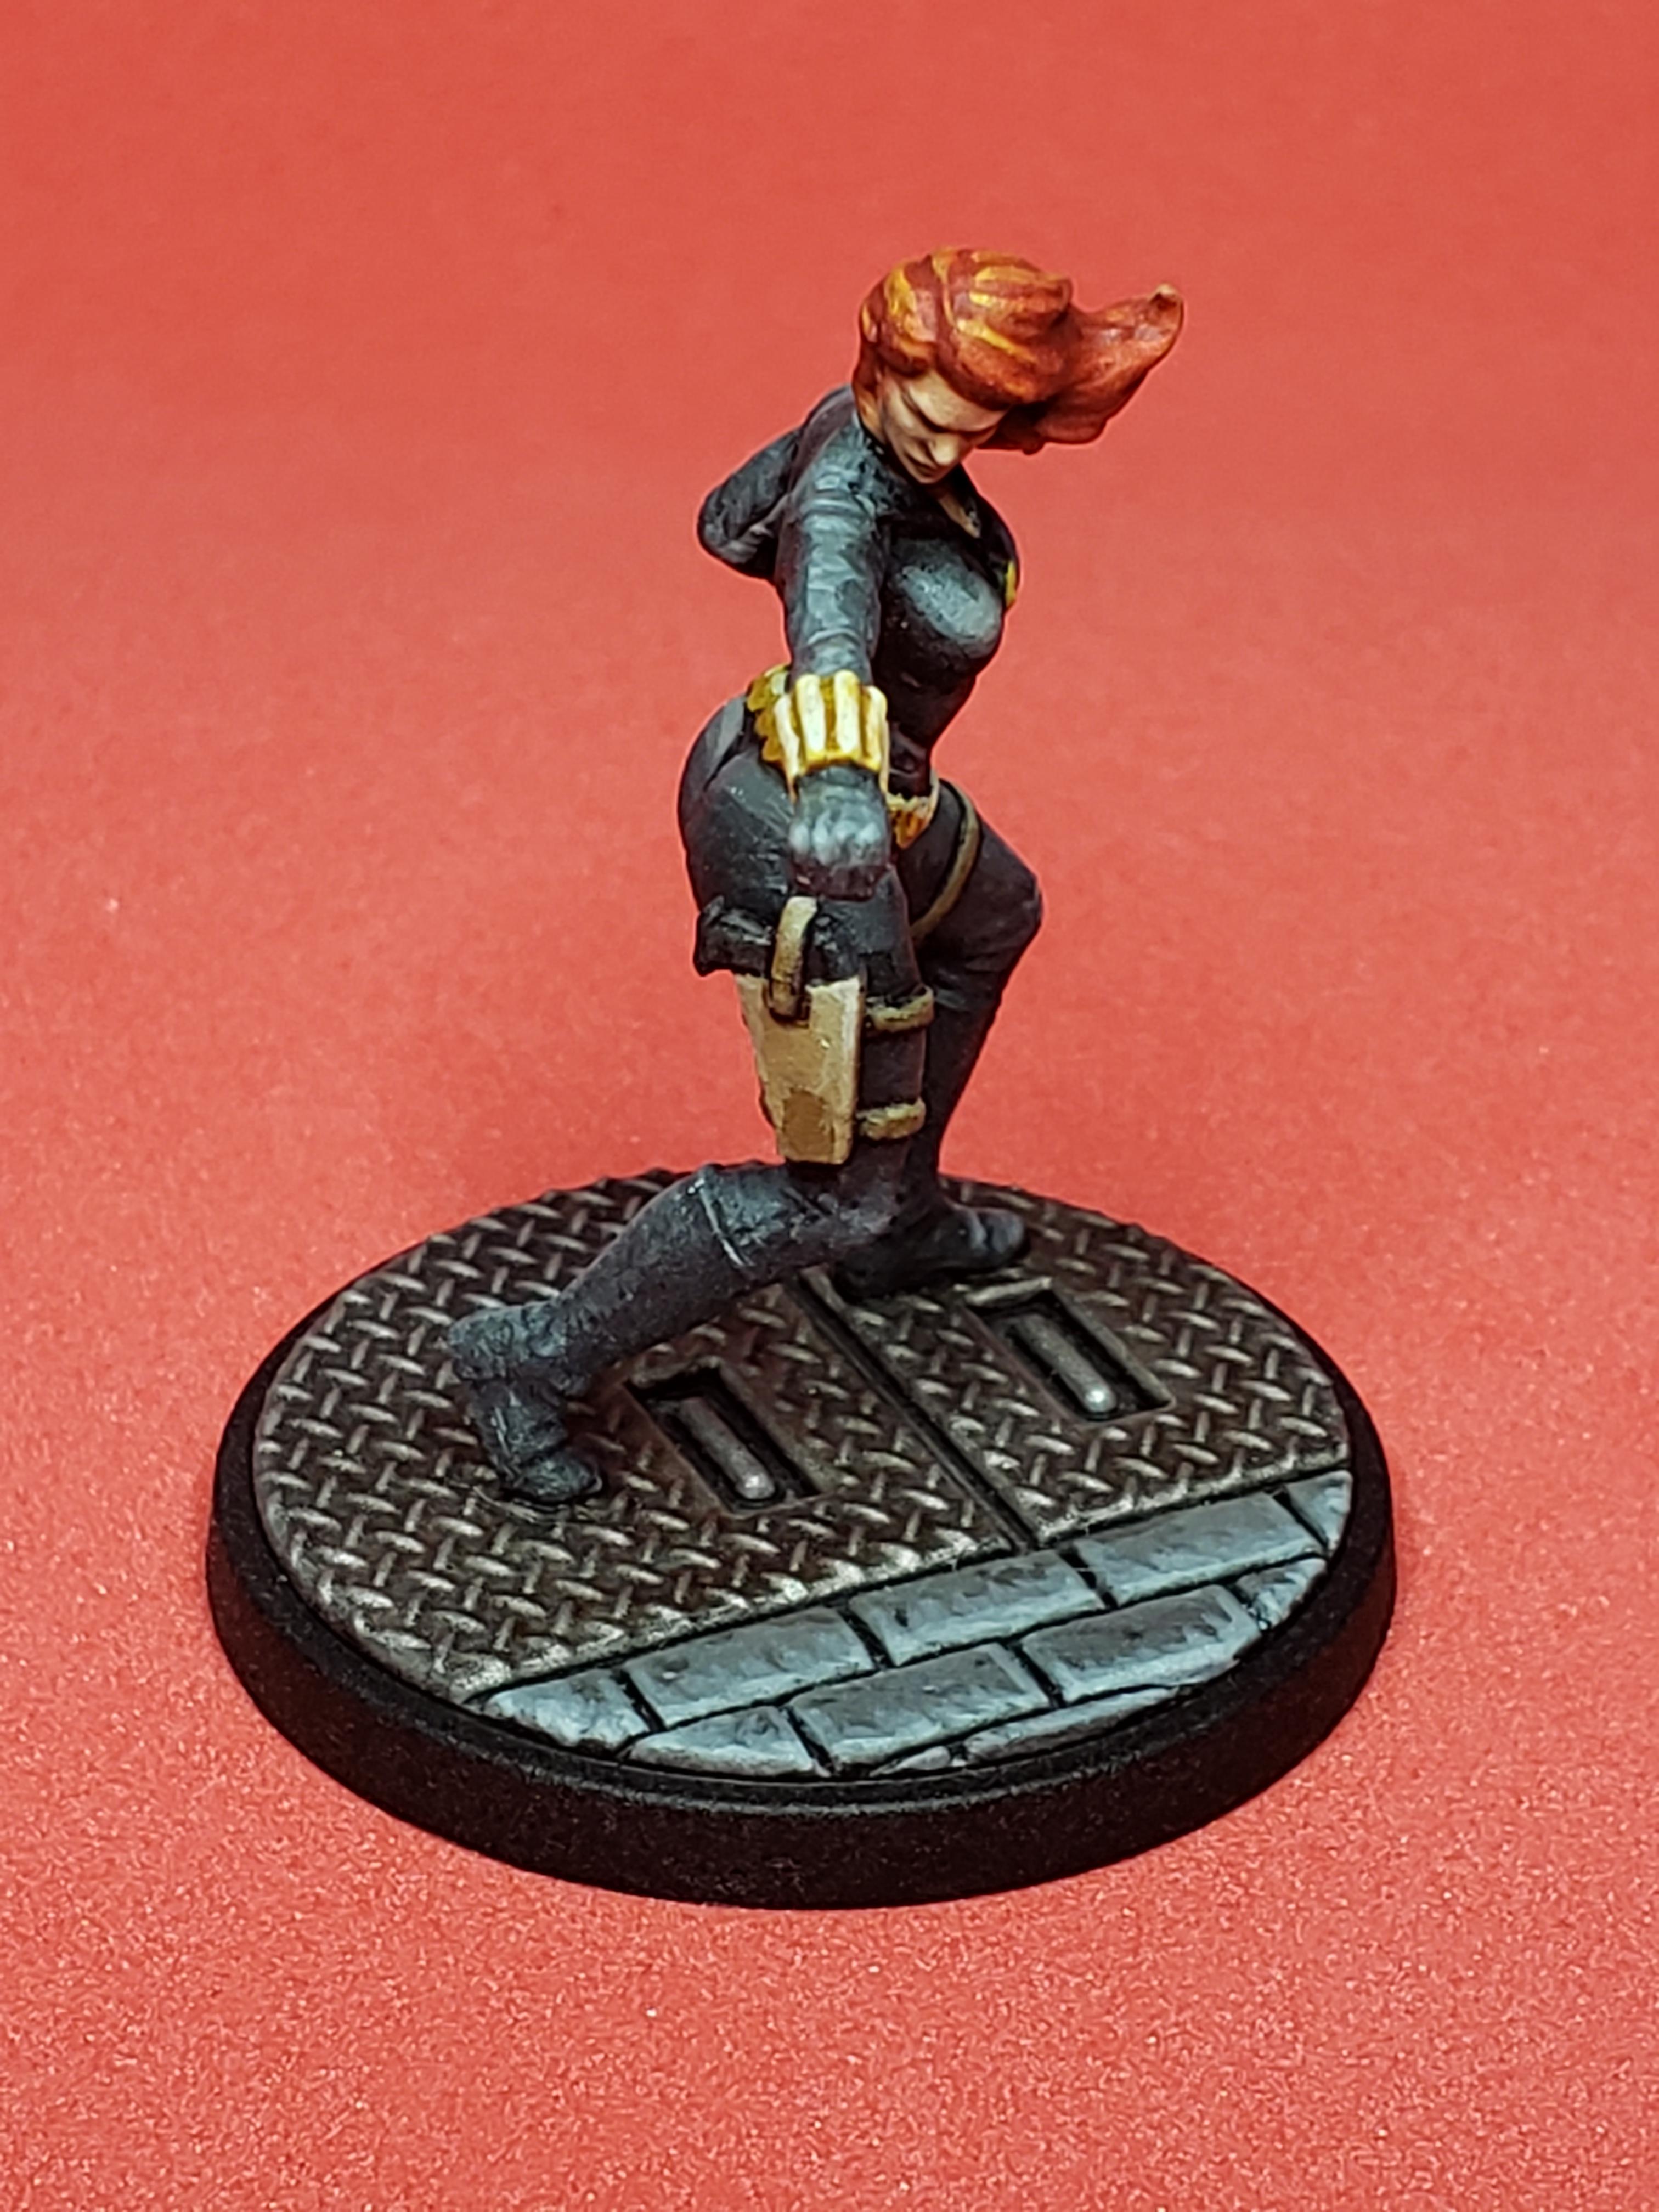
Black Widow complete. Work started on Iron Man.
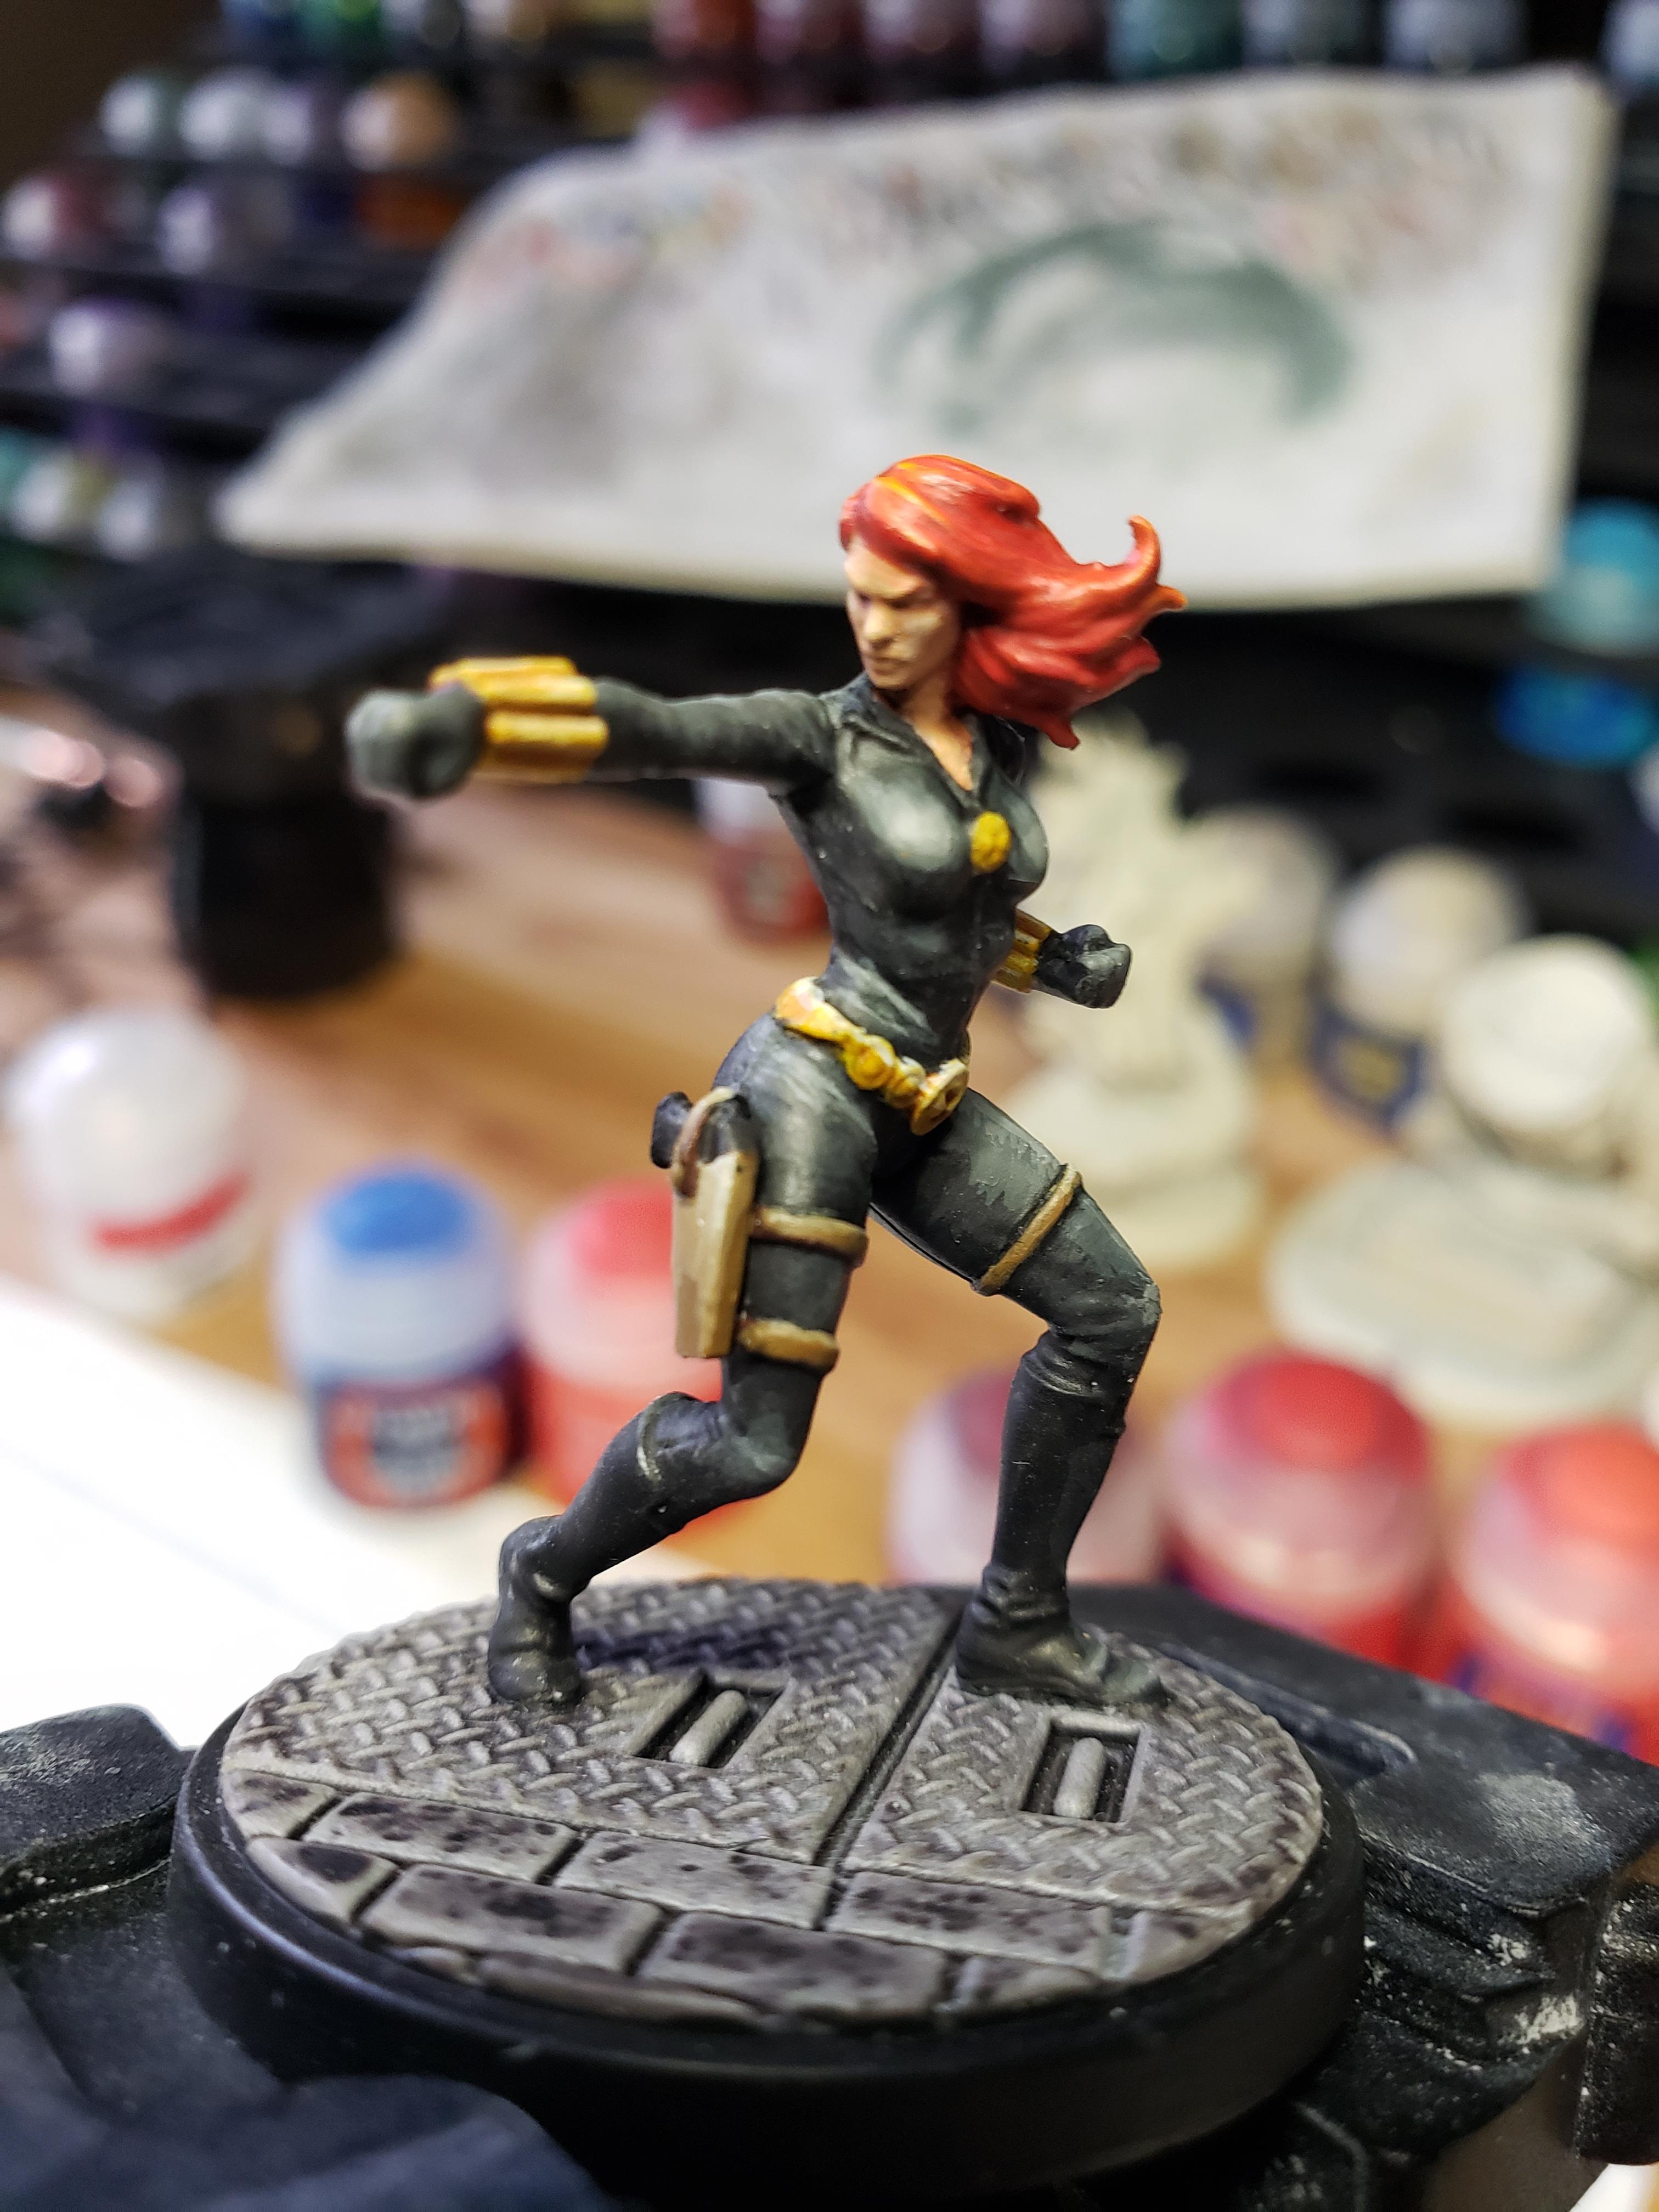

So Black Widow is complete, save for the base. This was much more challenging than the other 3 I’ve painted thus far and I’m far less happy with the end results. The extreme highlighting on the black is very difficult to make look right. I had to essentially redo the highlights a few times before I got it to this point. This is more of a me giving up it than it is me feeling like it’s done. Perhaps in the future I can revisit her when I’ve gotten in some more practice on this technique. For now I need to move on to other characters to prevent fatigue.
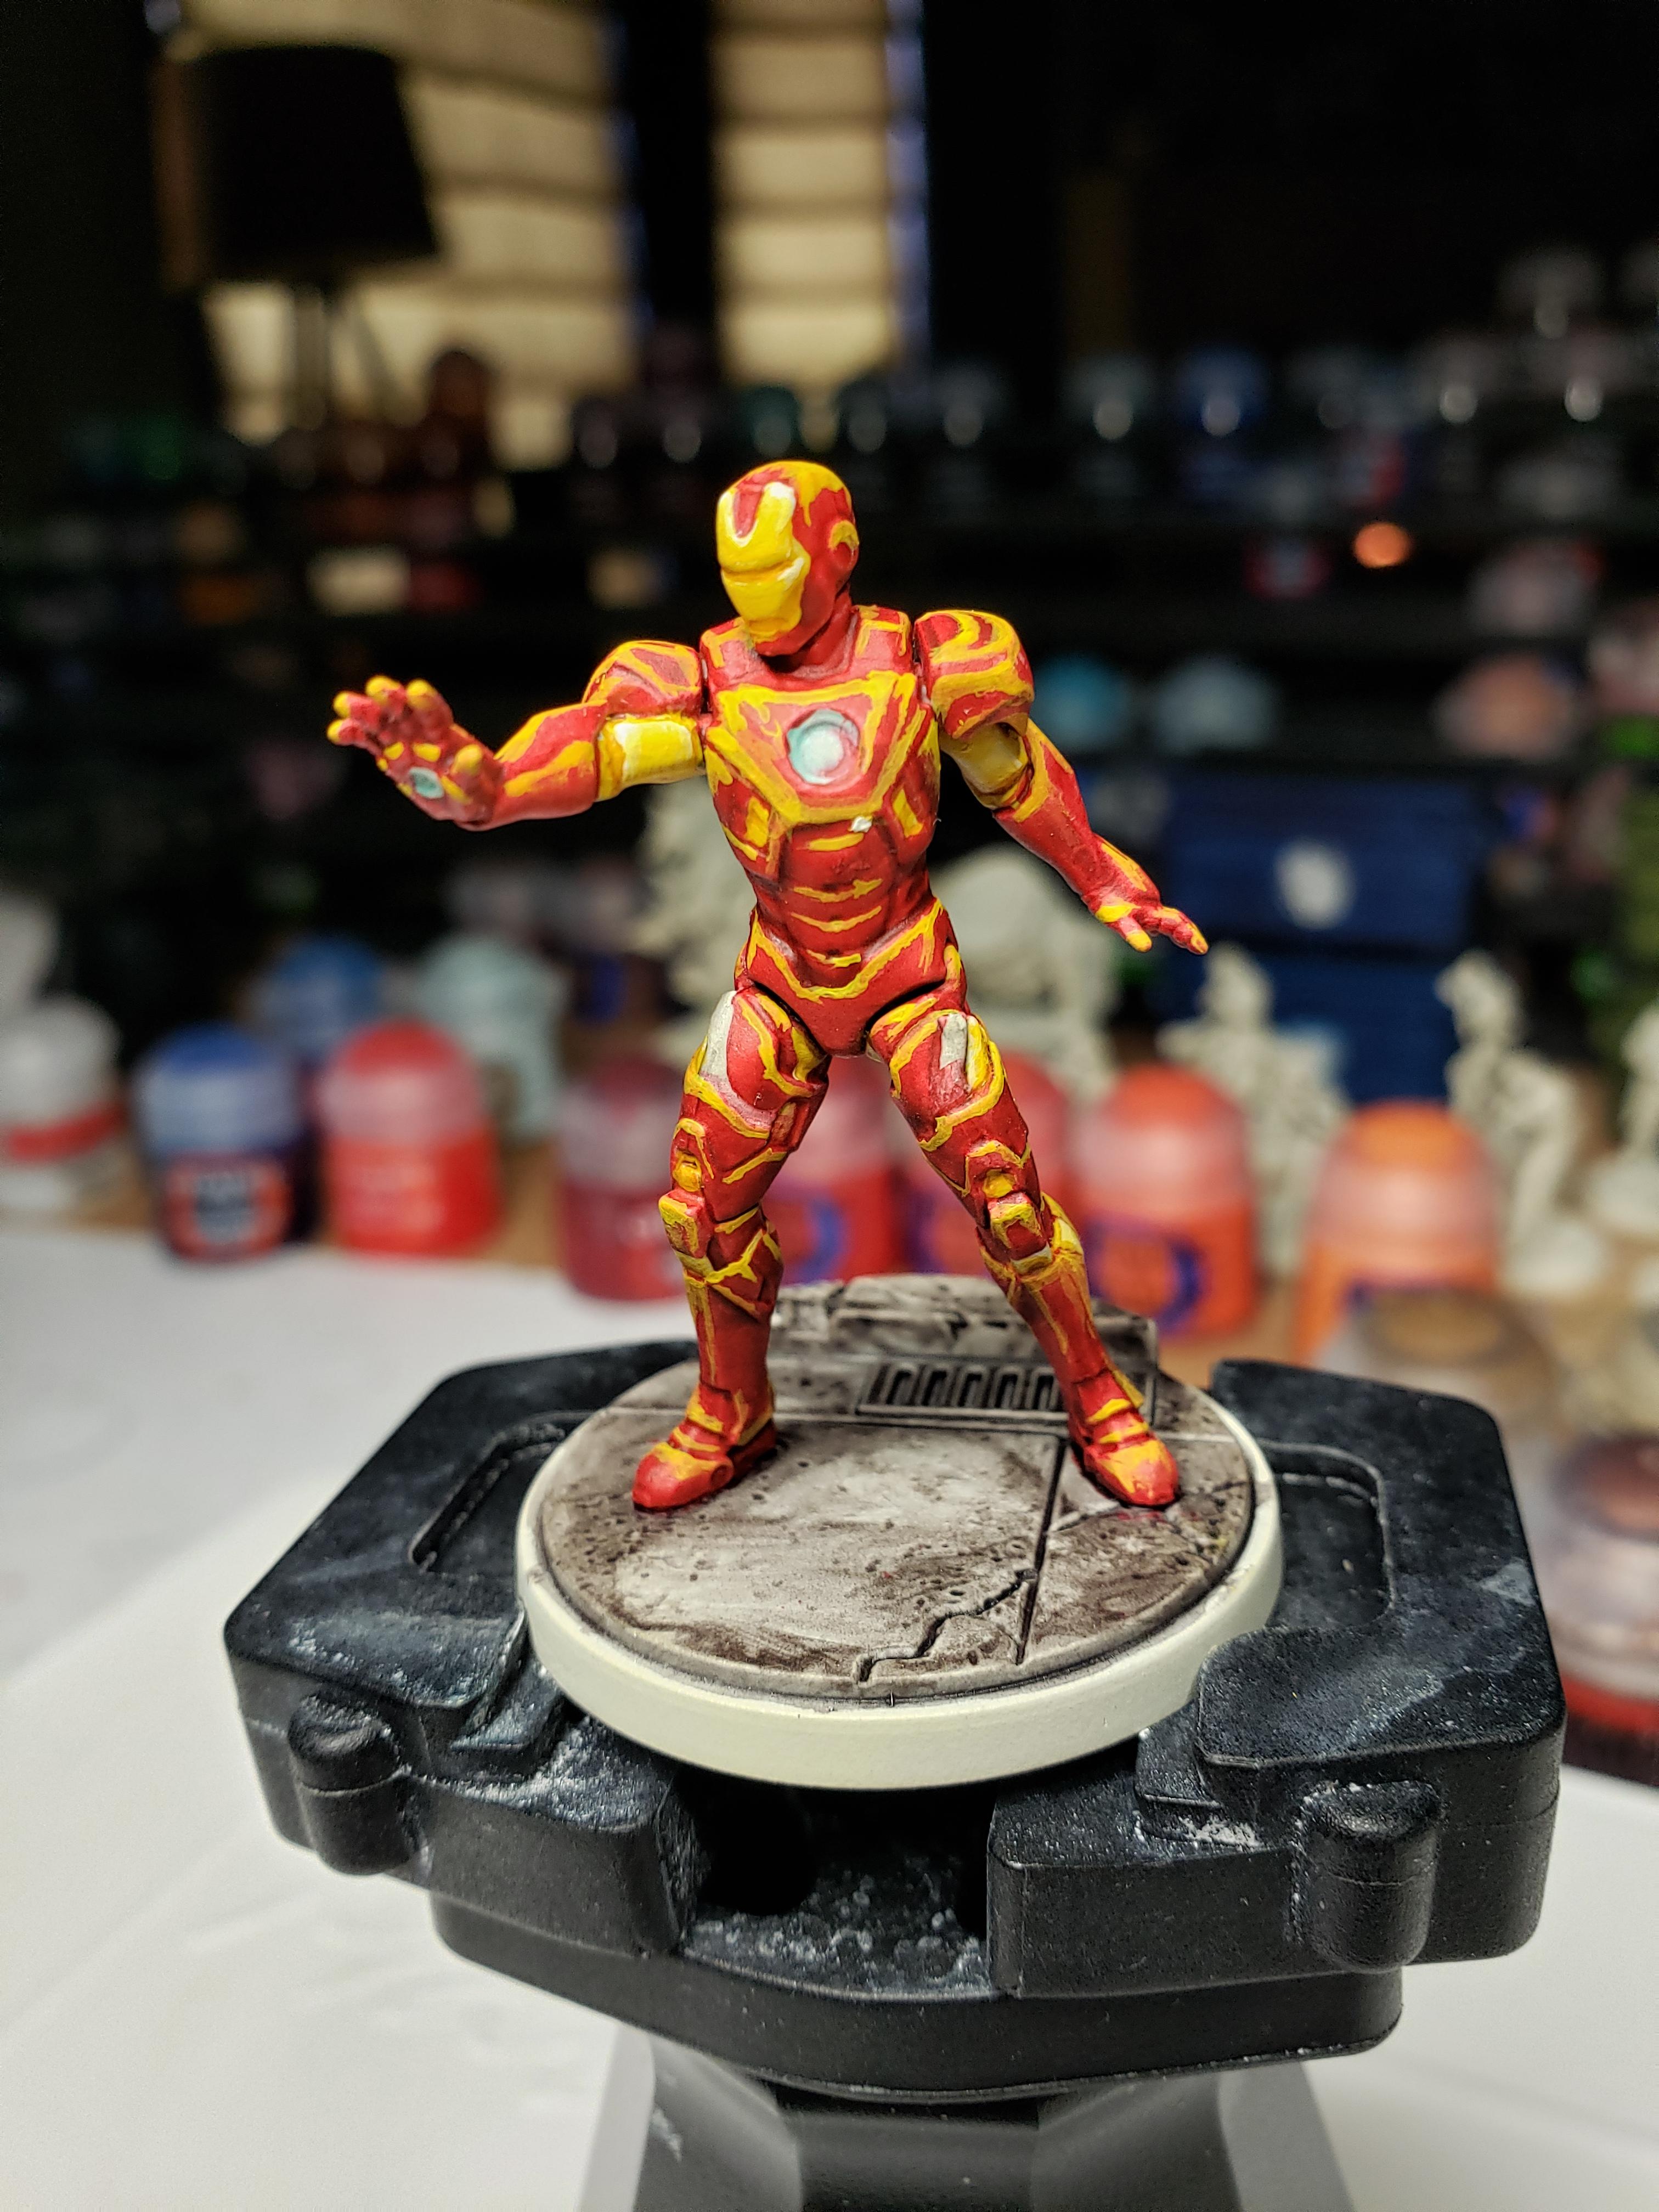
So to give everyone a better understanding of what this process looks like, I’ve taken a pic of Iron Man after the first step of highlights are complete. You start with the highest level of highlights and then you mix in darker colors and slowly fade into your base coat. As you can see in the photo, the first steps looks pretty terrible. I’m also new to this technique, so I’m sure that’s contributing to how bad Mr. Stark looks right now. I have to remind myself that it’s a process so I don’t get too put off on the progress I’m making on the model.
The next step here is to mix in a light orange to the yellow and paint all the yellow save for the most extreme edges. Then mix in a darker orange and feather into the base coat. Then continue doing this with darker and darker colors until you’re working with a dark red. If you prefer a different red tone you can do the same thing with white/pink instead of yellow/orange.
The next pic I’ll take of Iron Man will probably be after the next couple of layers are done to give an idea of how it looks as you progress with the technique.
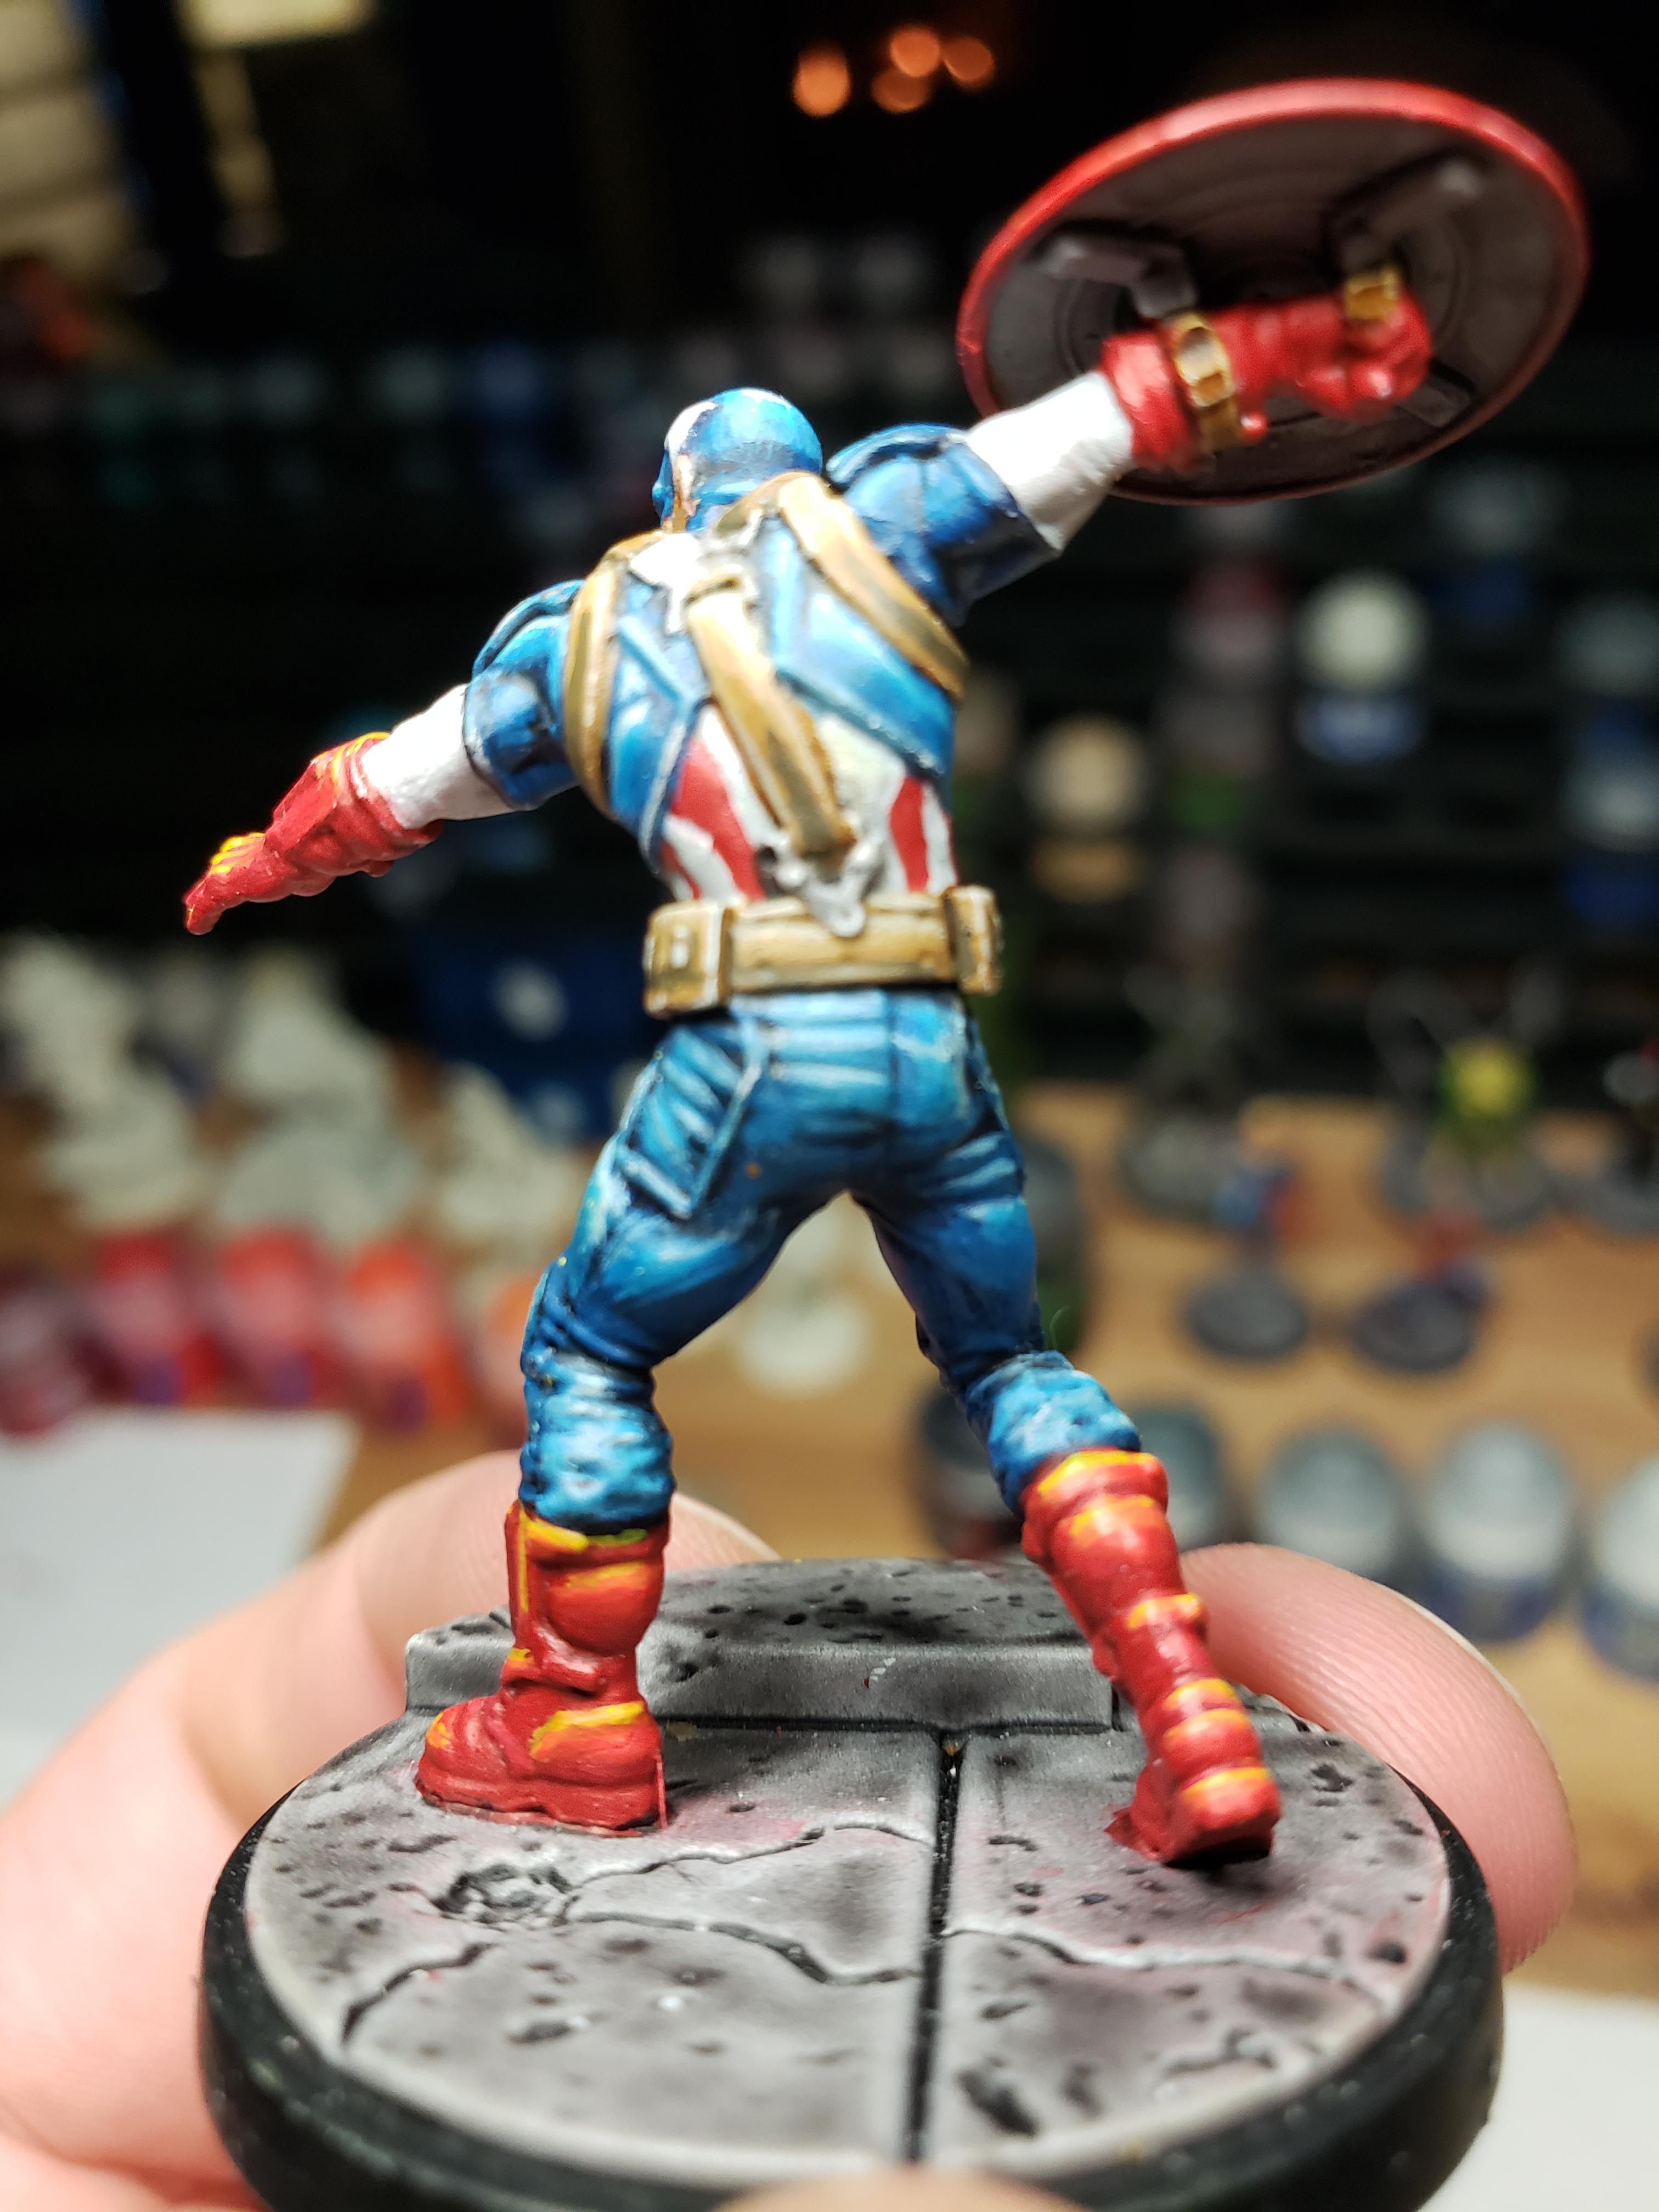
Finally, after popular demand I’ve included a pic of America’s Ass. God bless.
Basing completed and new pictures with a proper background.


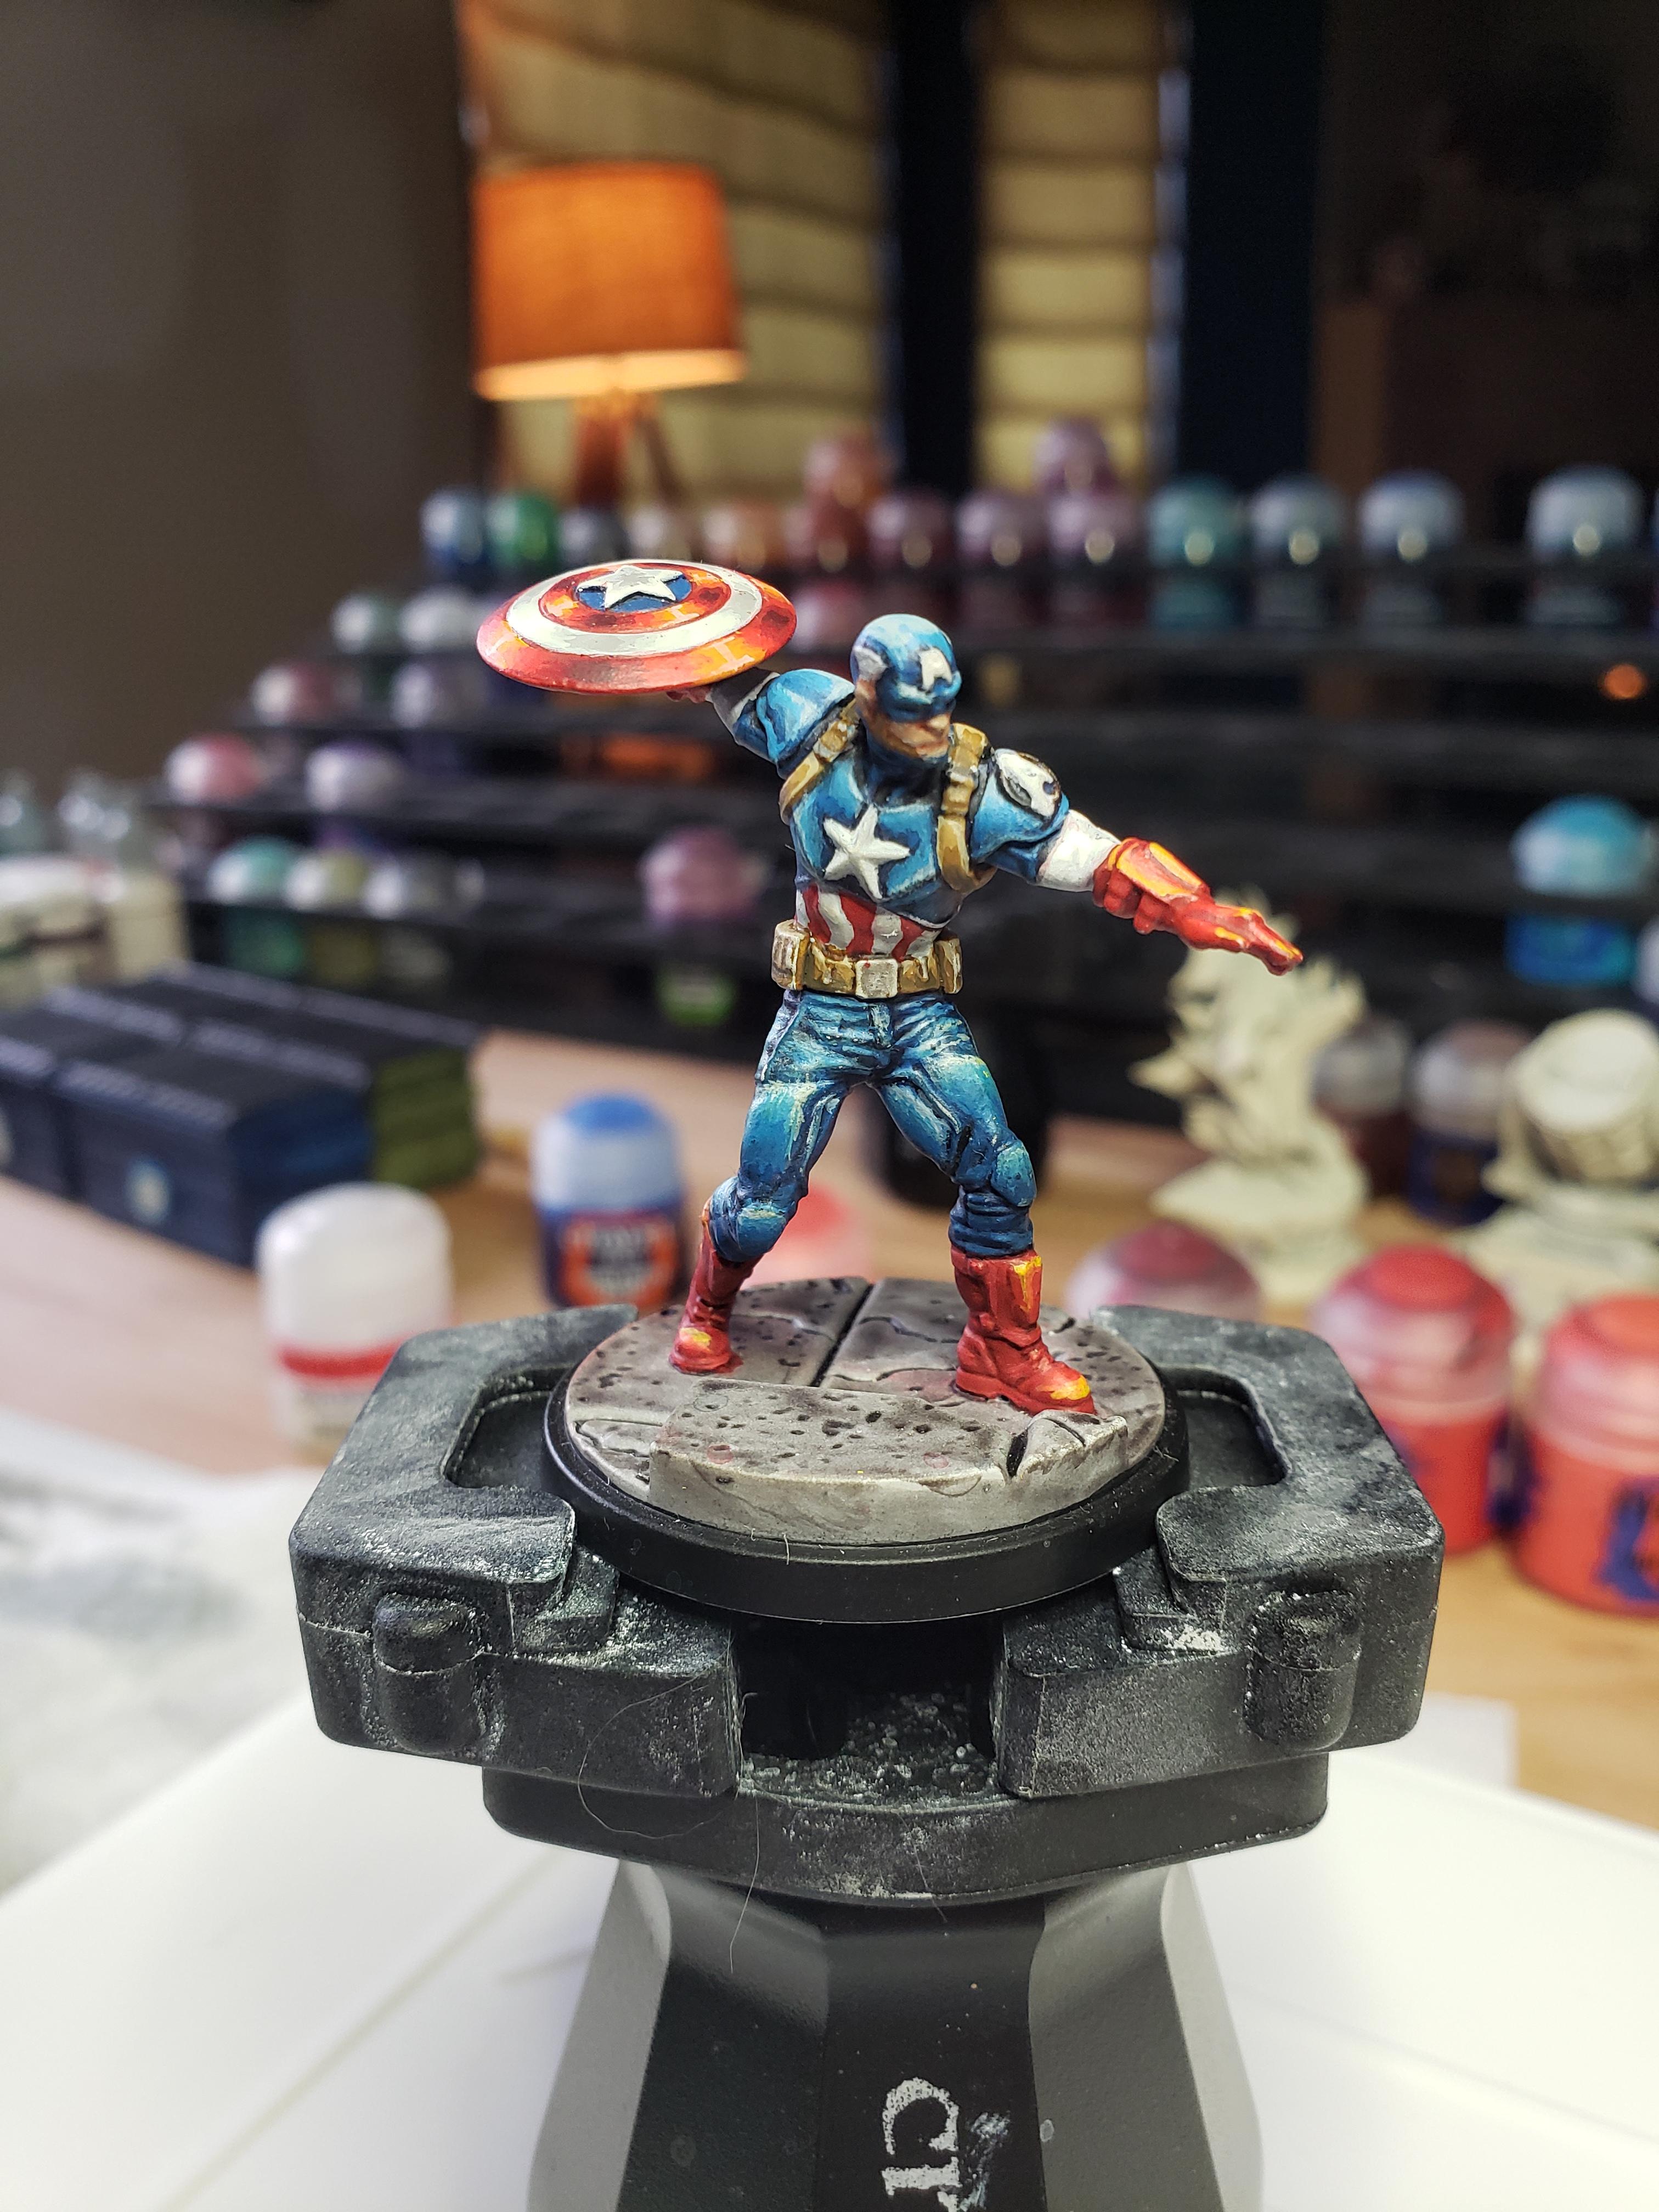
So in preparation for an online painting competition, I wanted to get the bases finished on the models I’ve already completed and get some new pictures taken with a proper background. After trying a black background, I found that it made the highlights on the models wash out too much. Tried it again with a white background and they look much better.
The only complaint I have with a white background is how it seems to highlight every single brush stroke and makes me very self conscious of my paint jobs. I’m trying to decide which of the 3 minis I want to submit for the paint competition. I’m thinking Captain America at the moment as I’m very happy with how his shield came out, but I have some time to think it over so we’ll see.
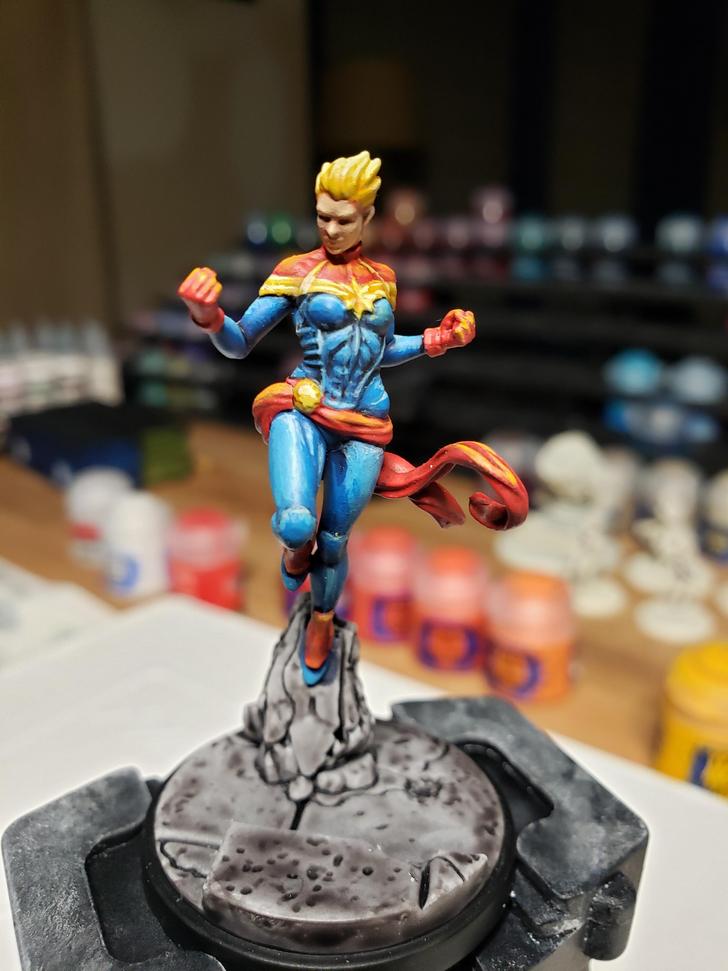
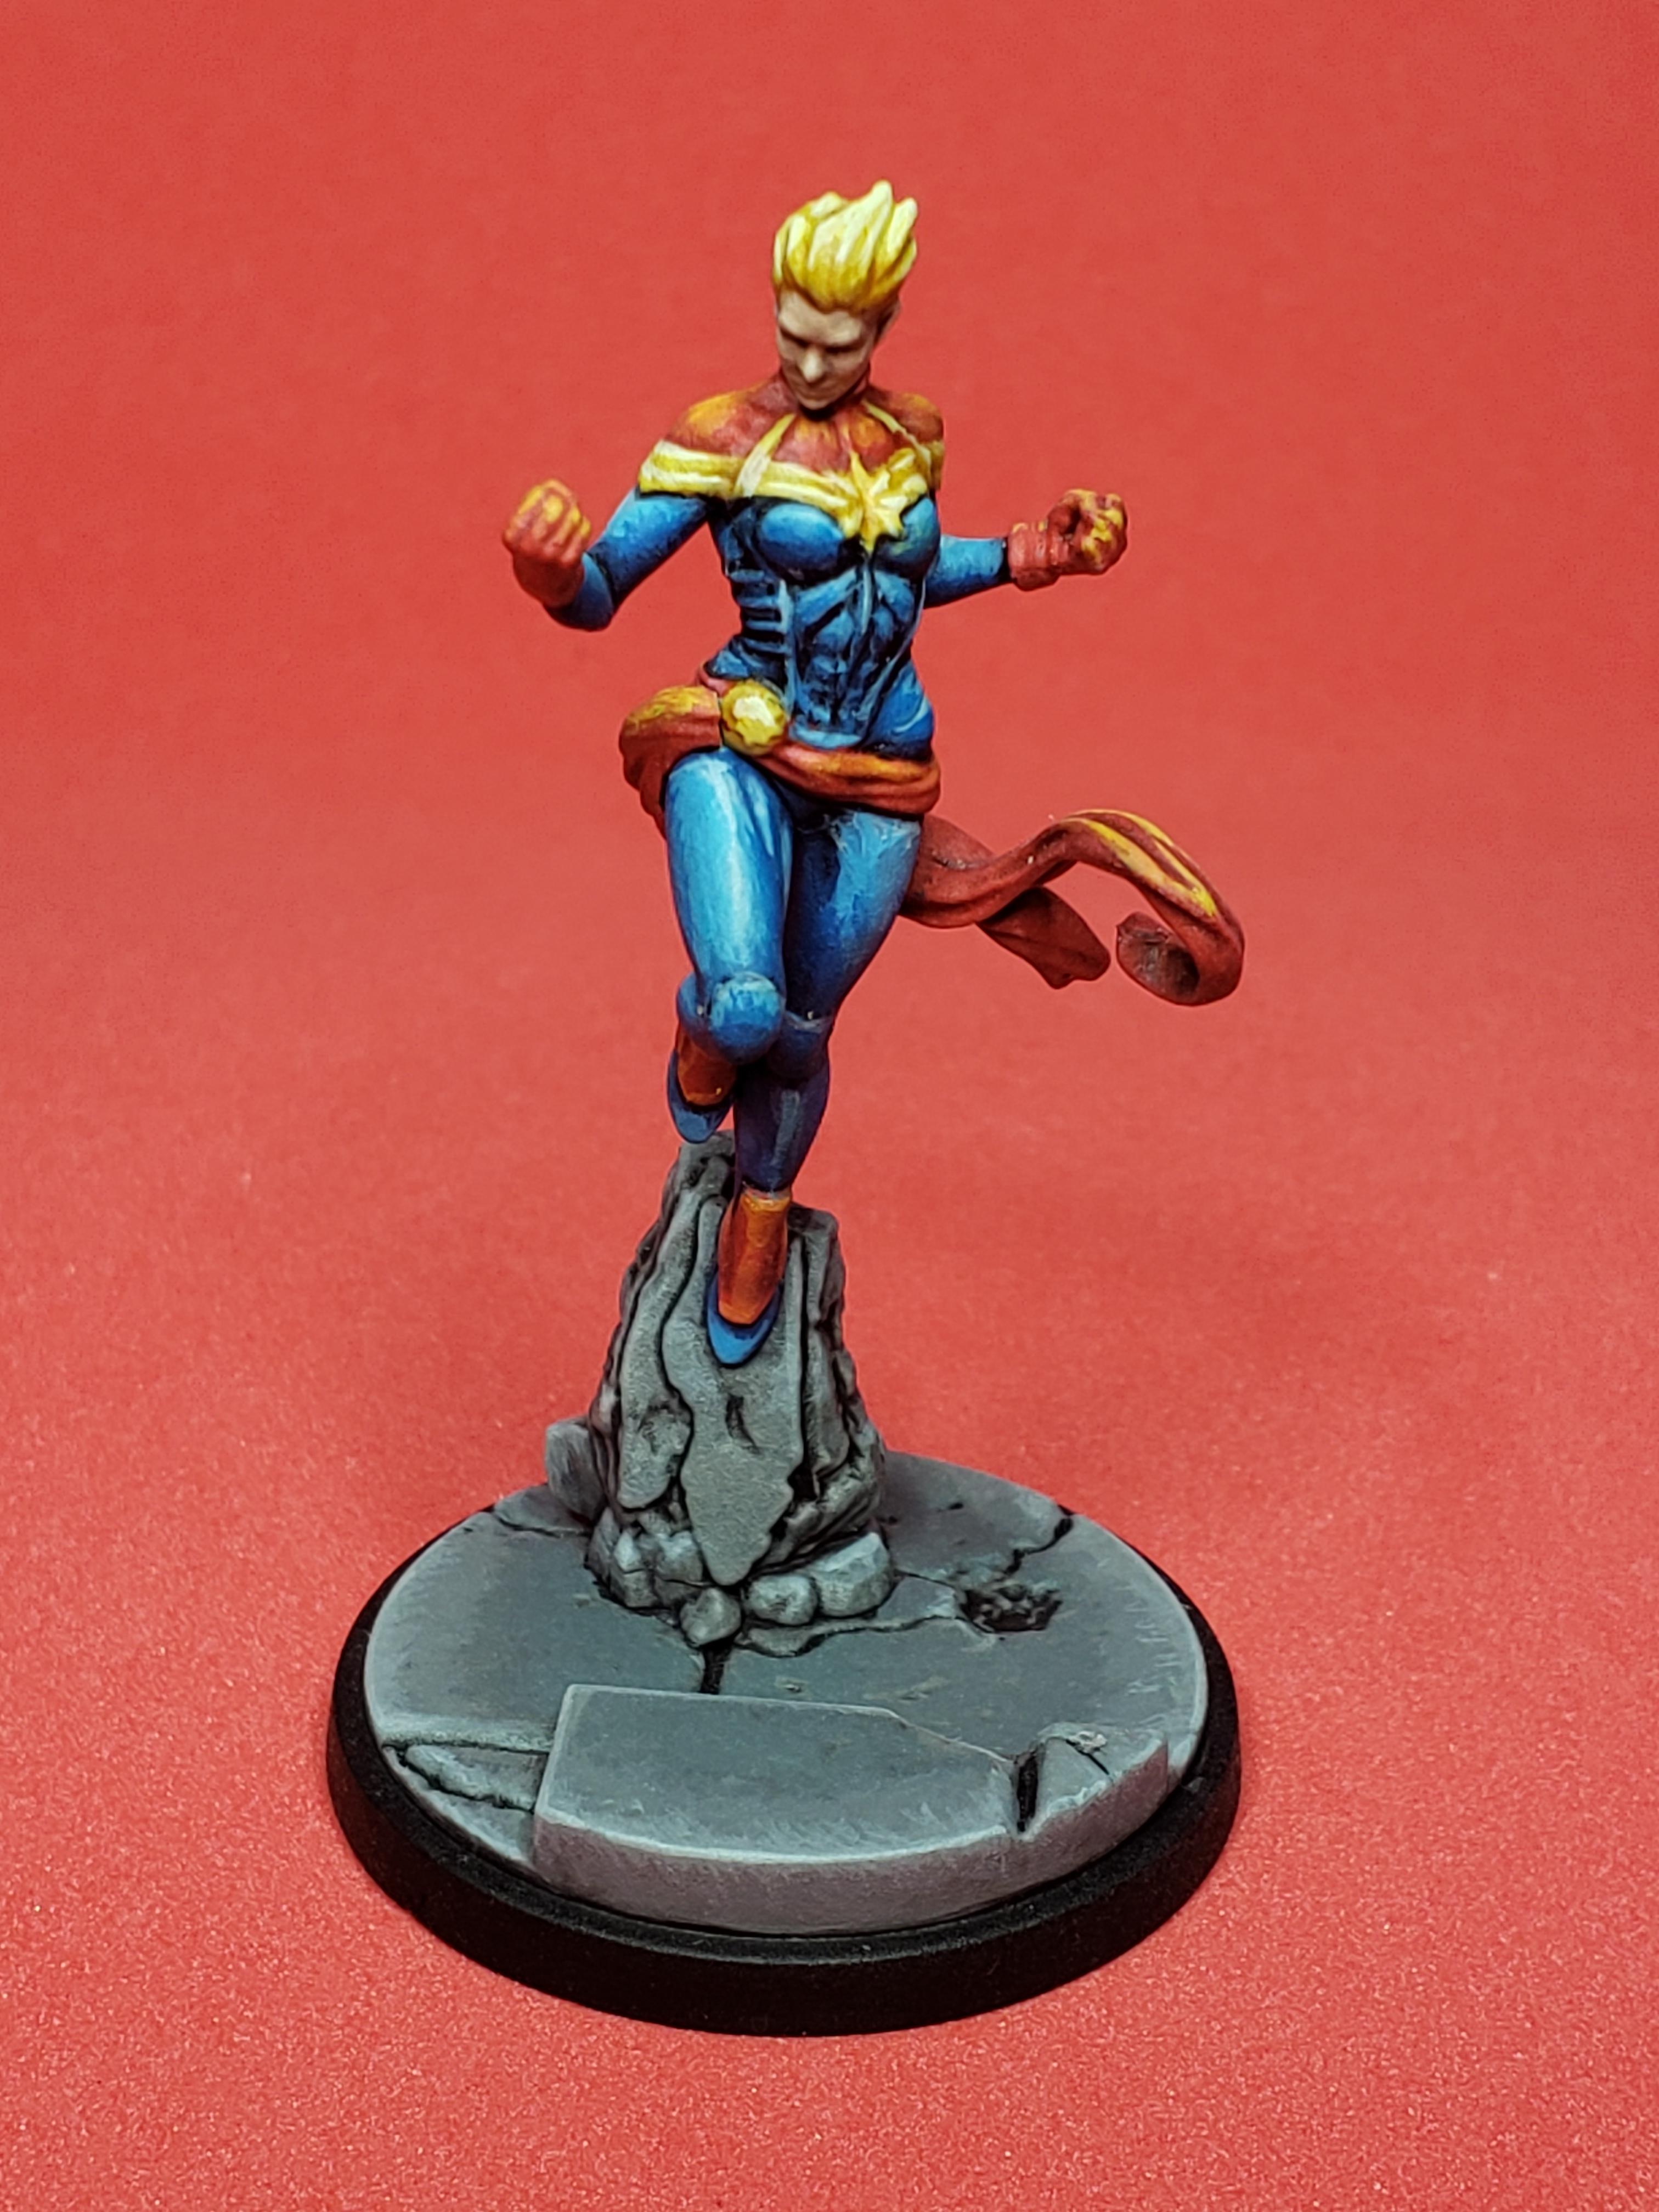
New Captain Marvel pics with proper background.
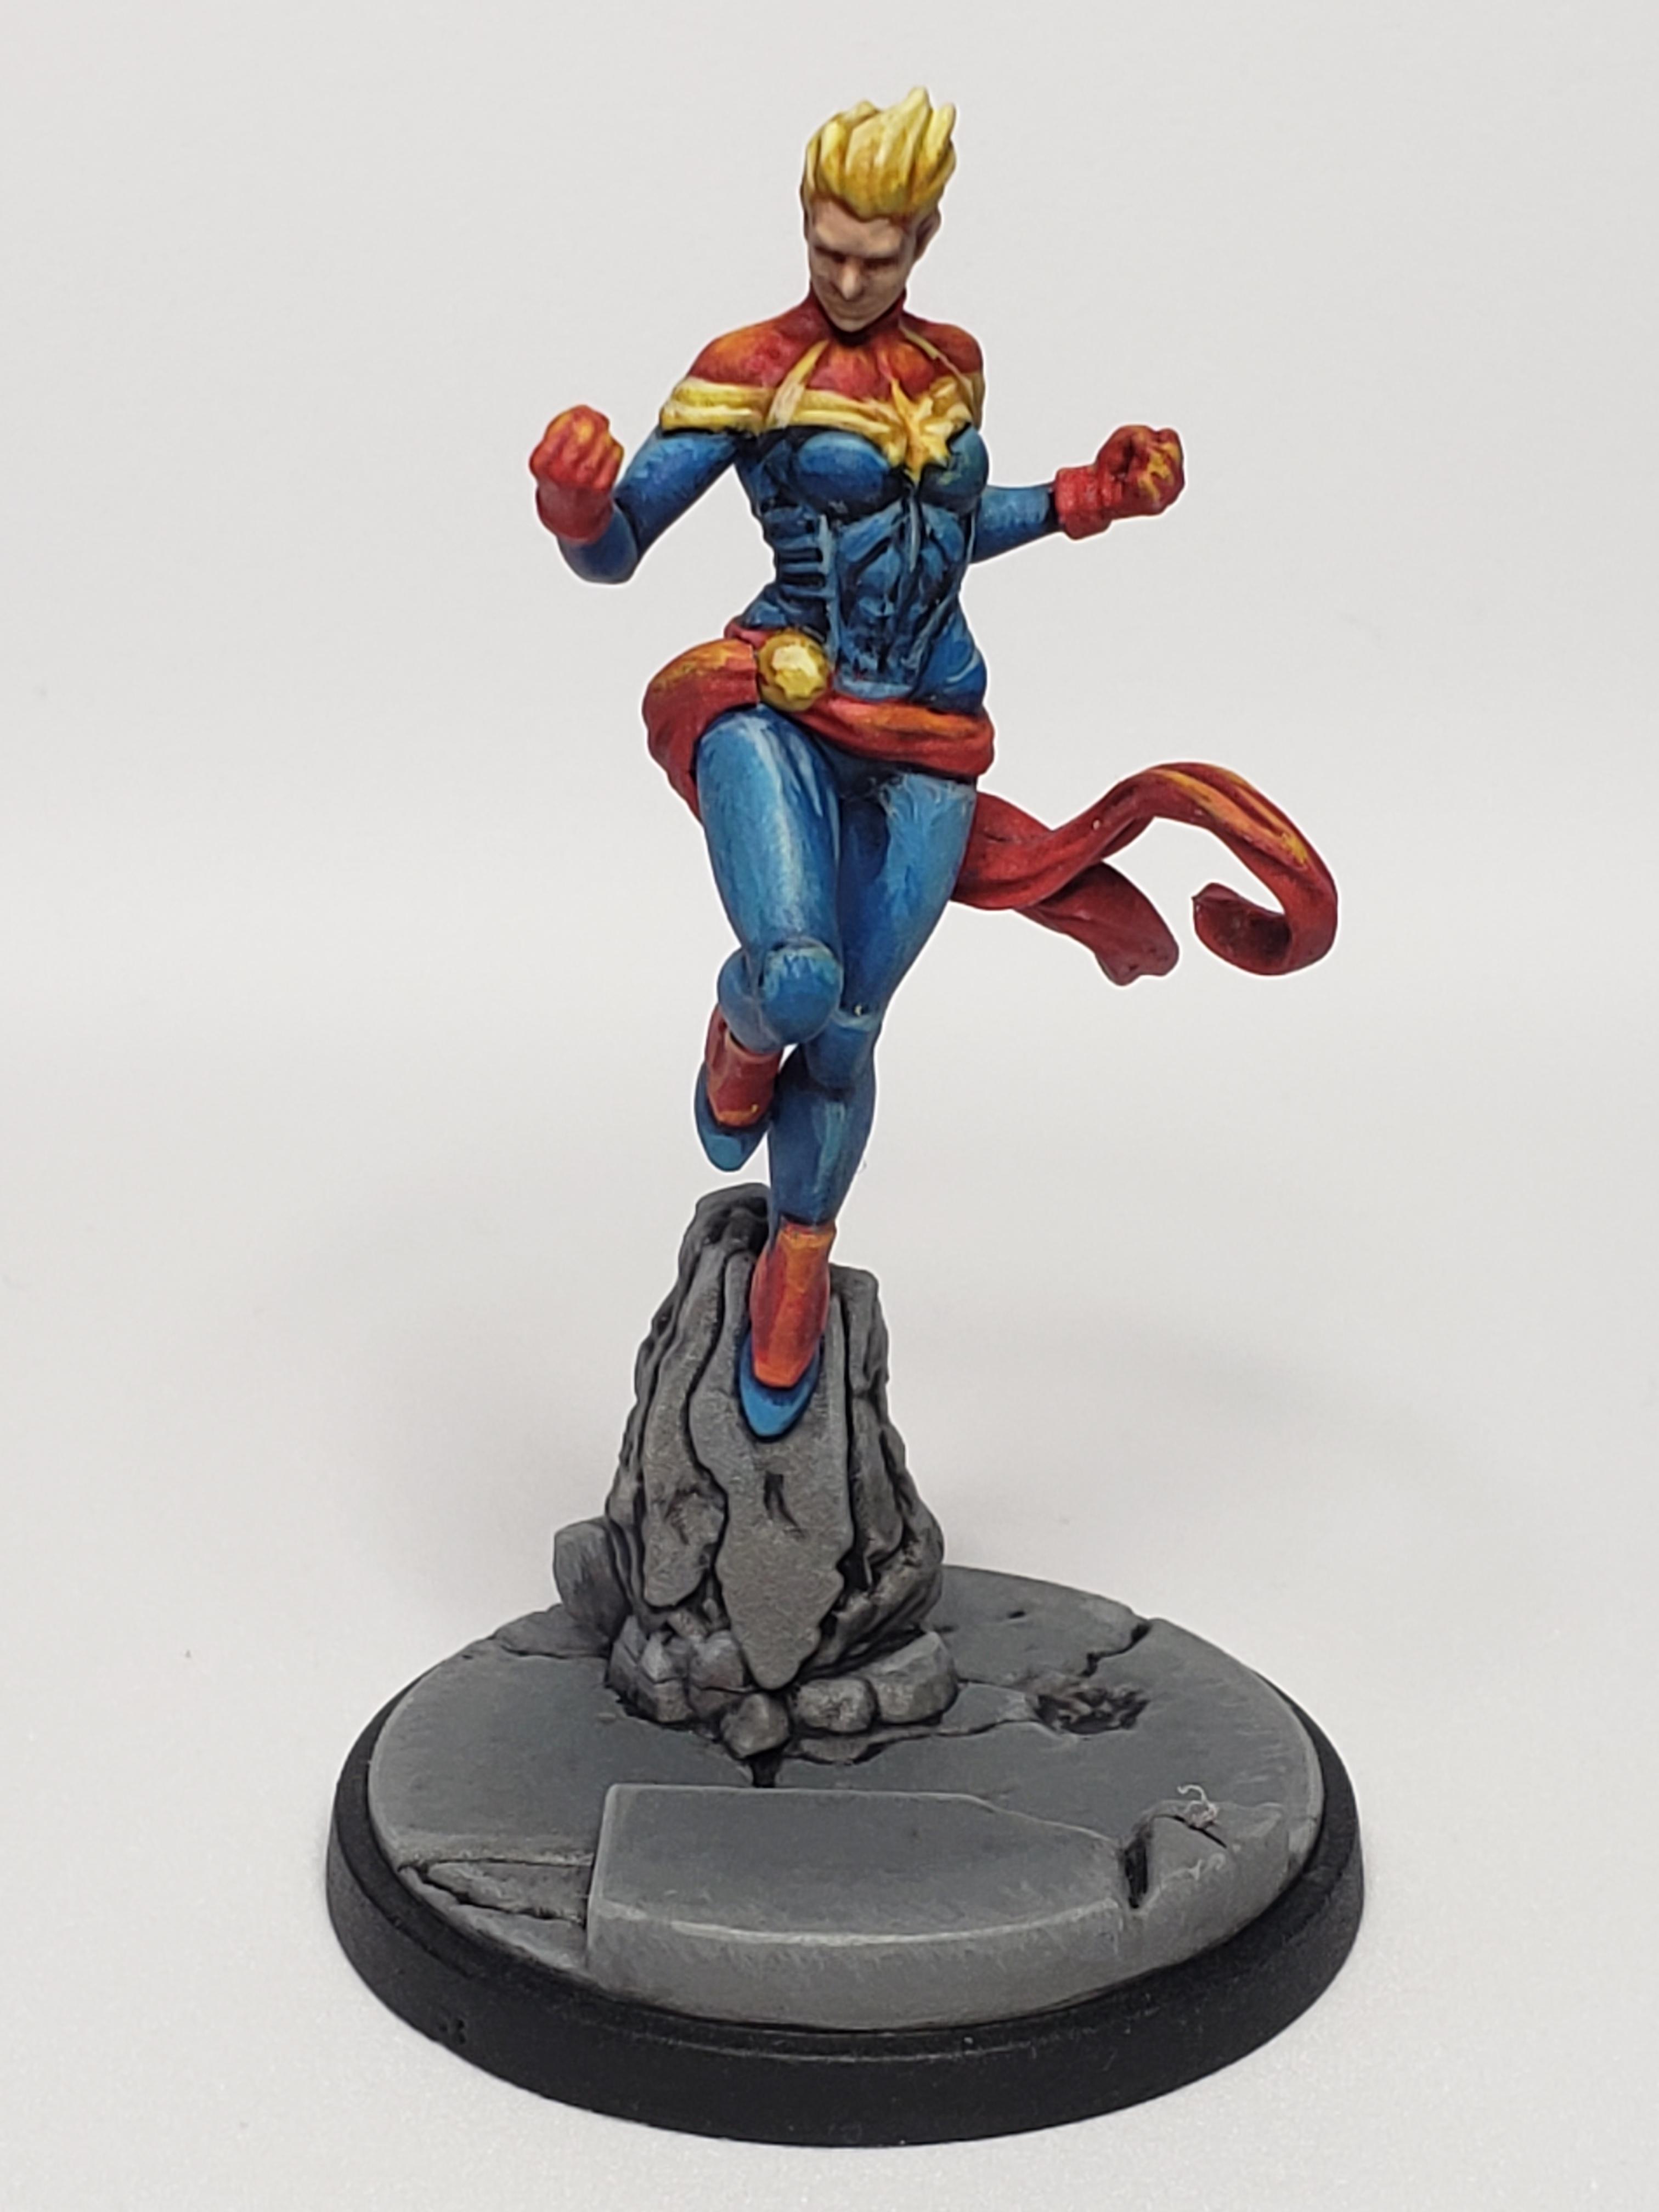
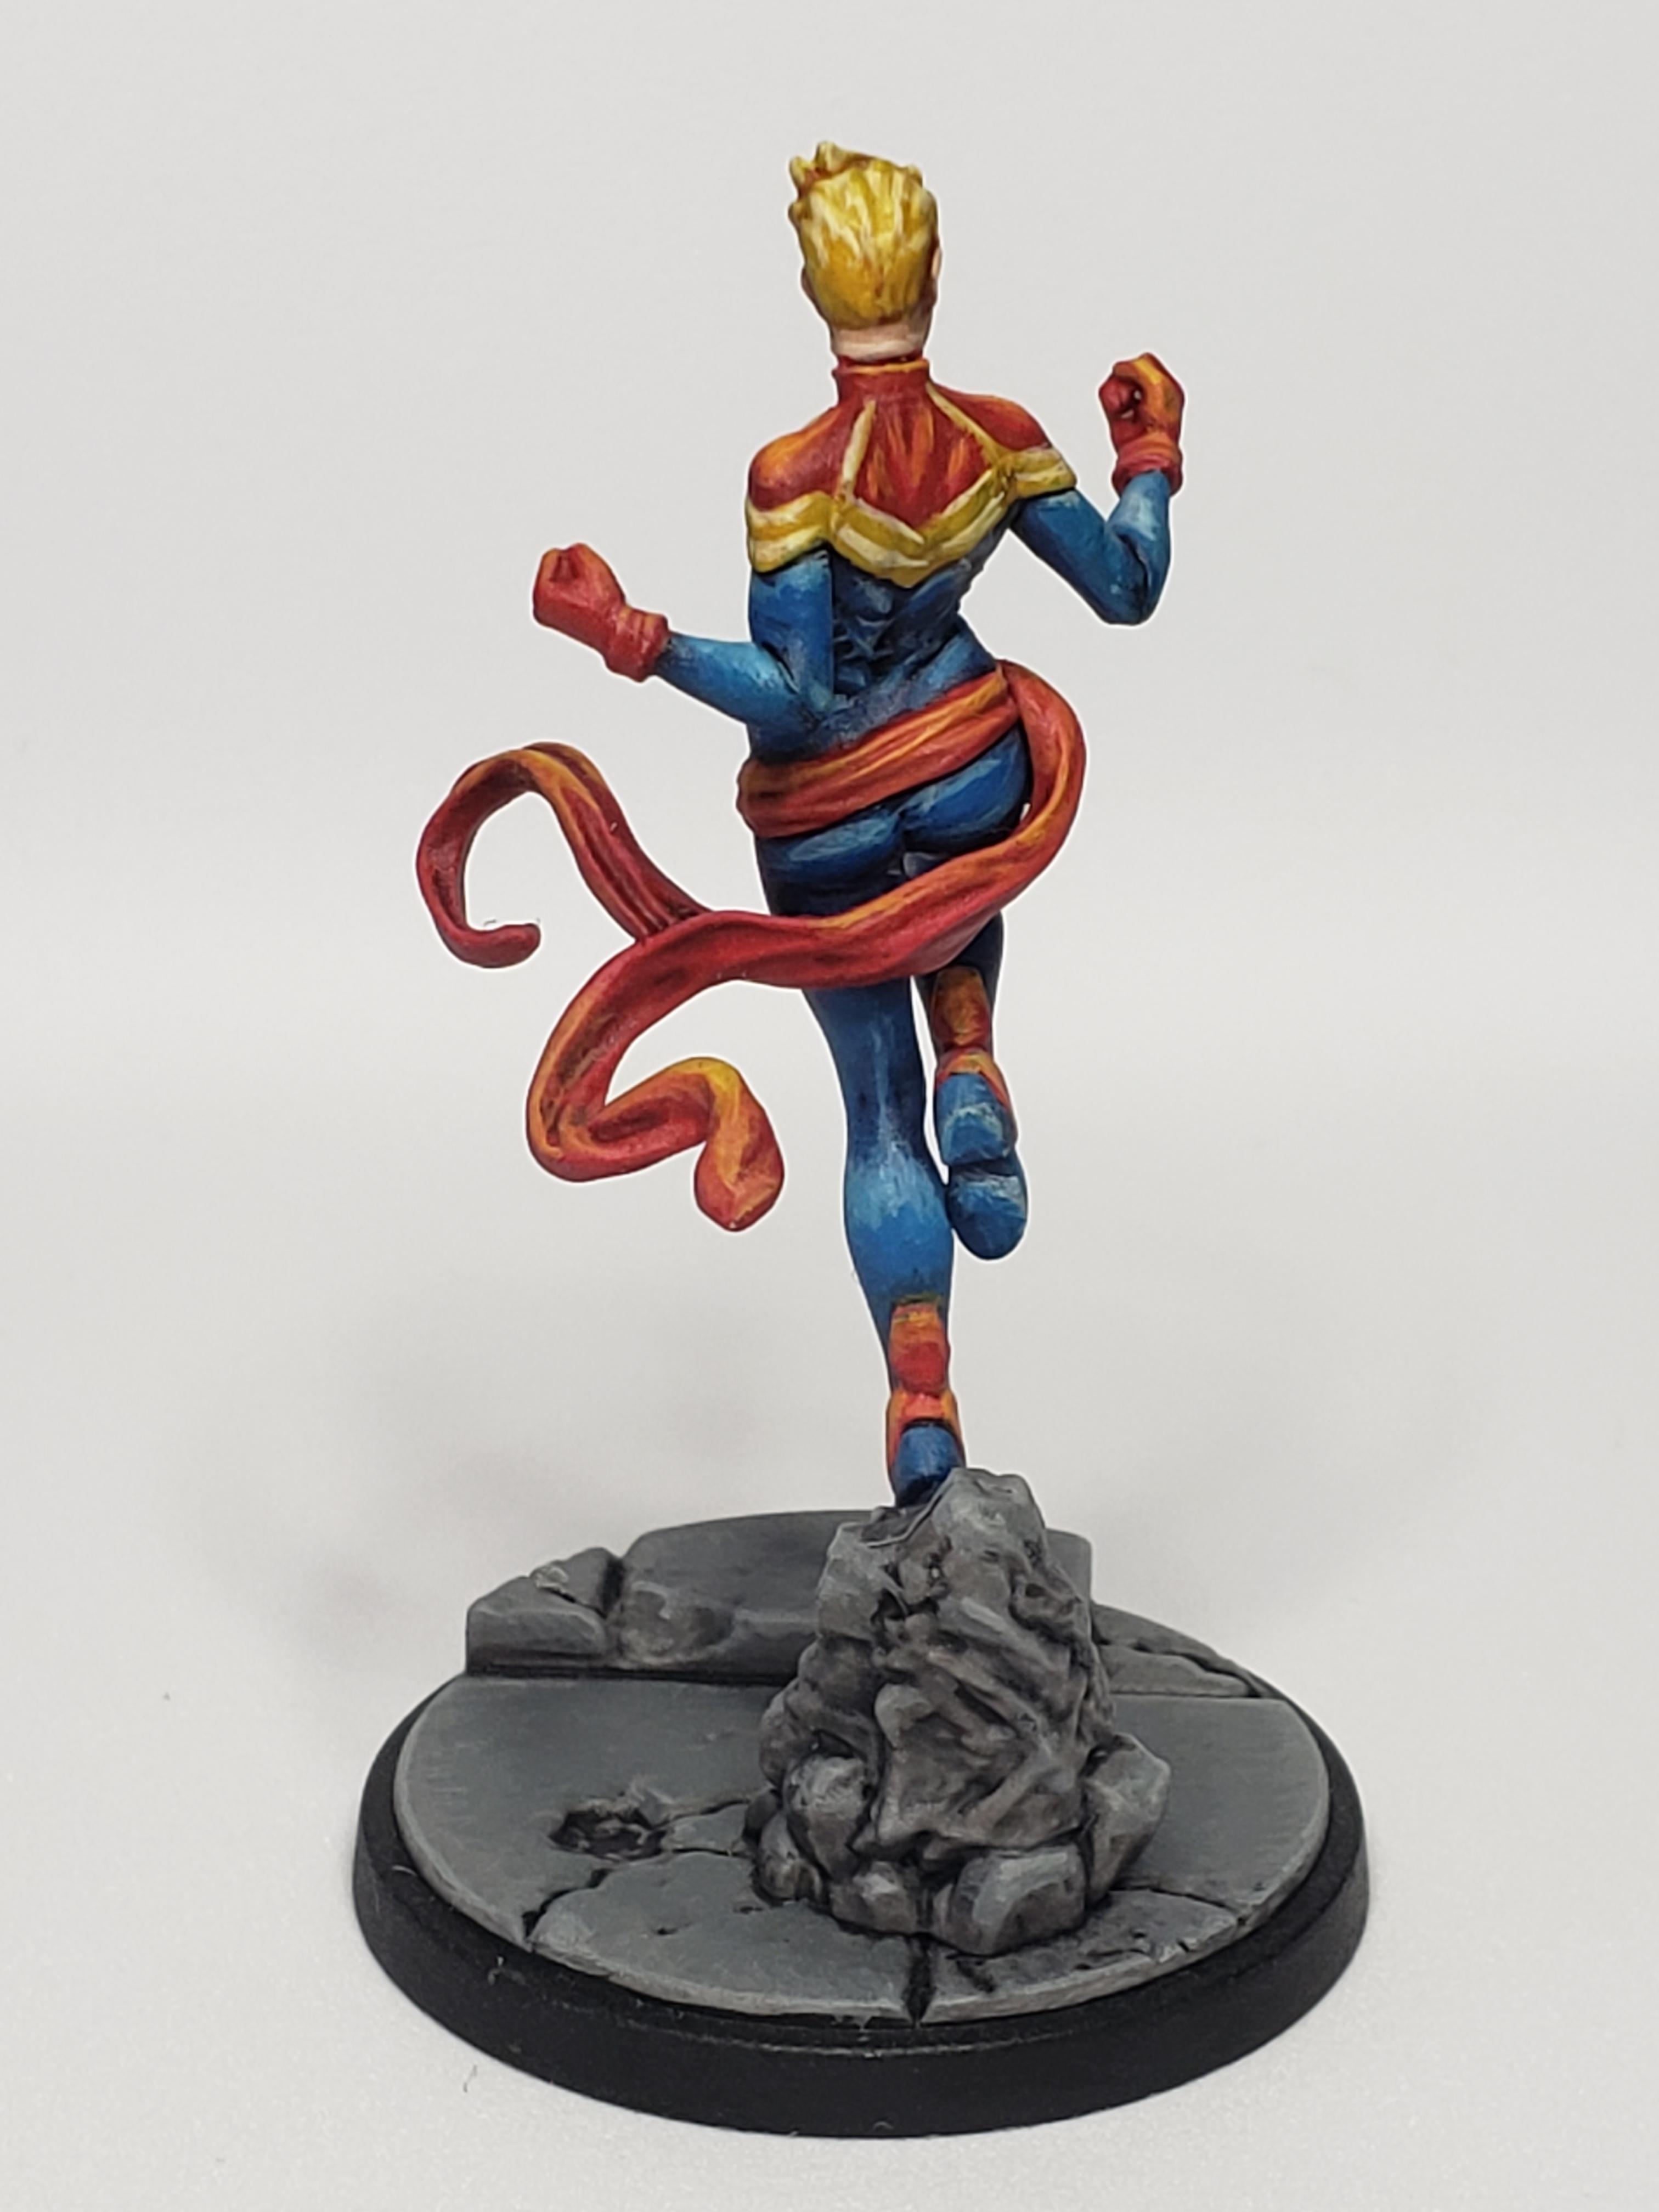
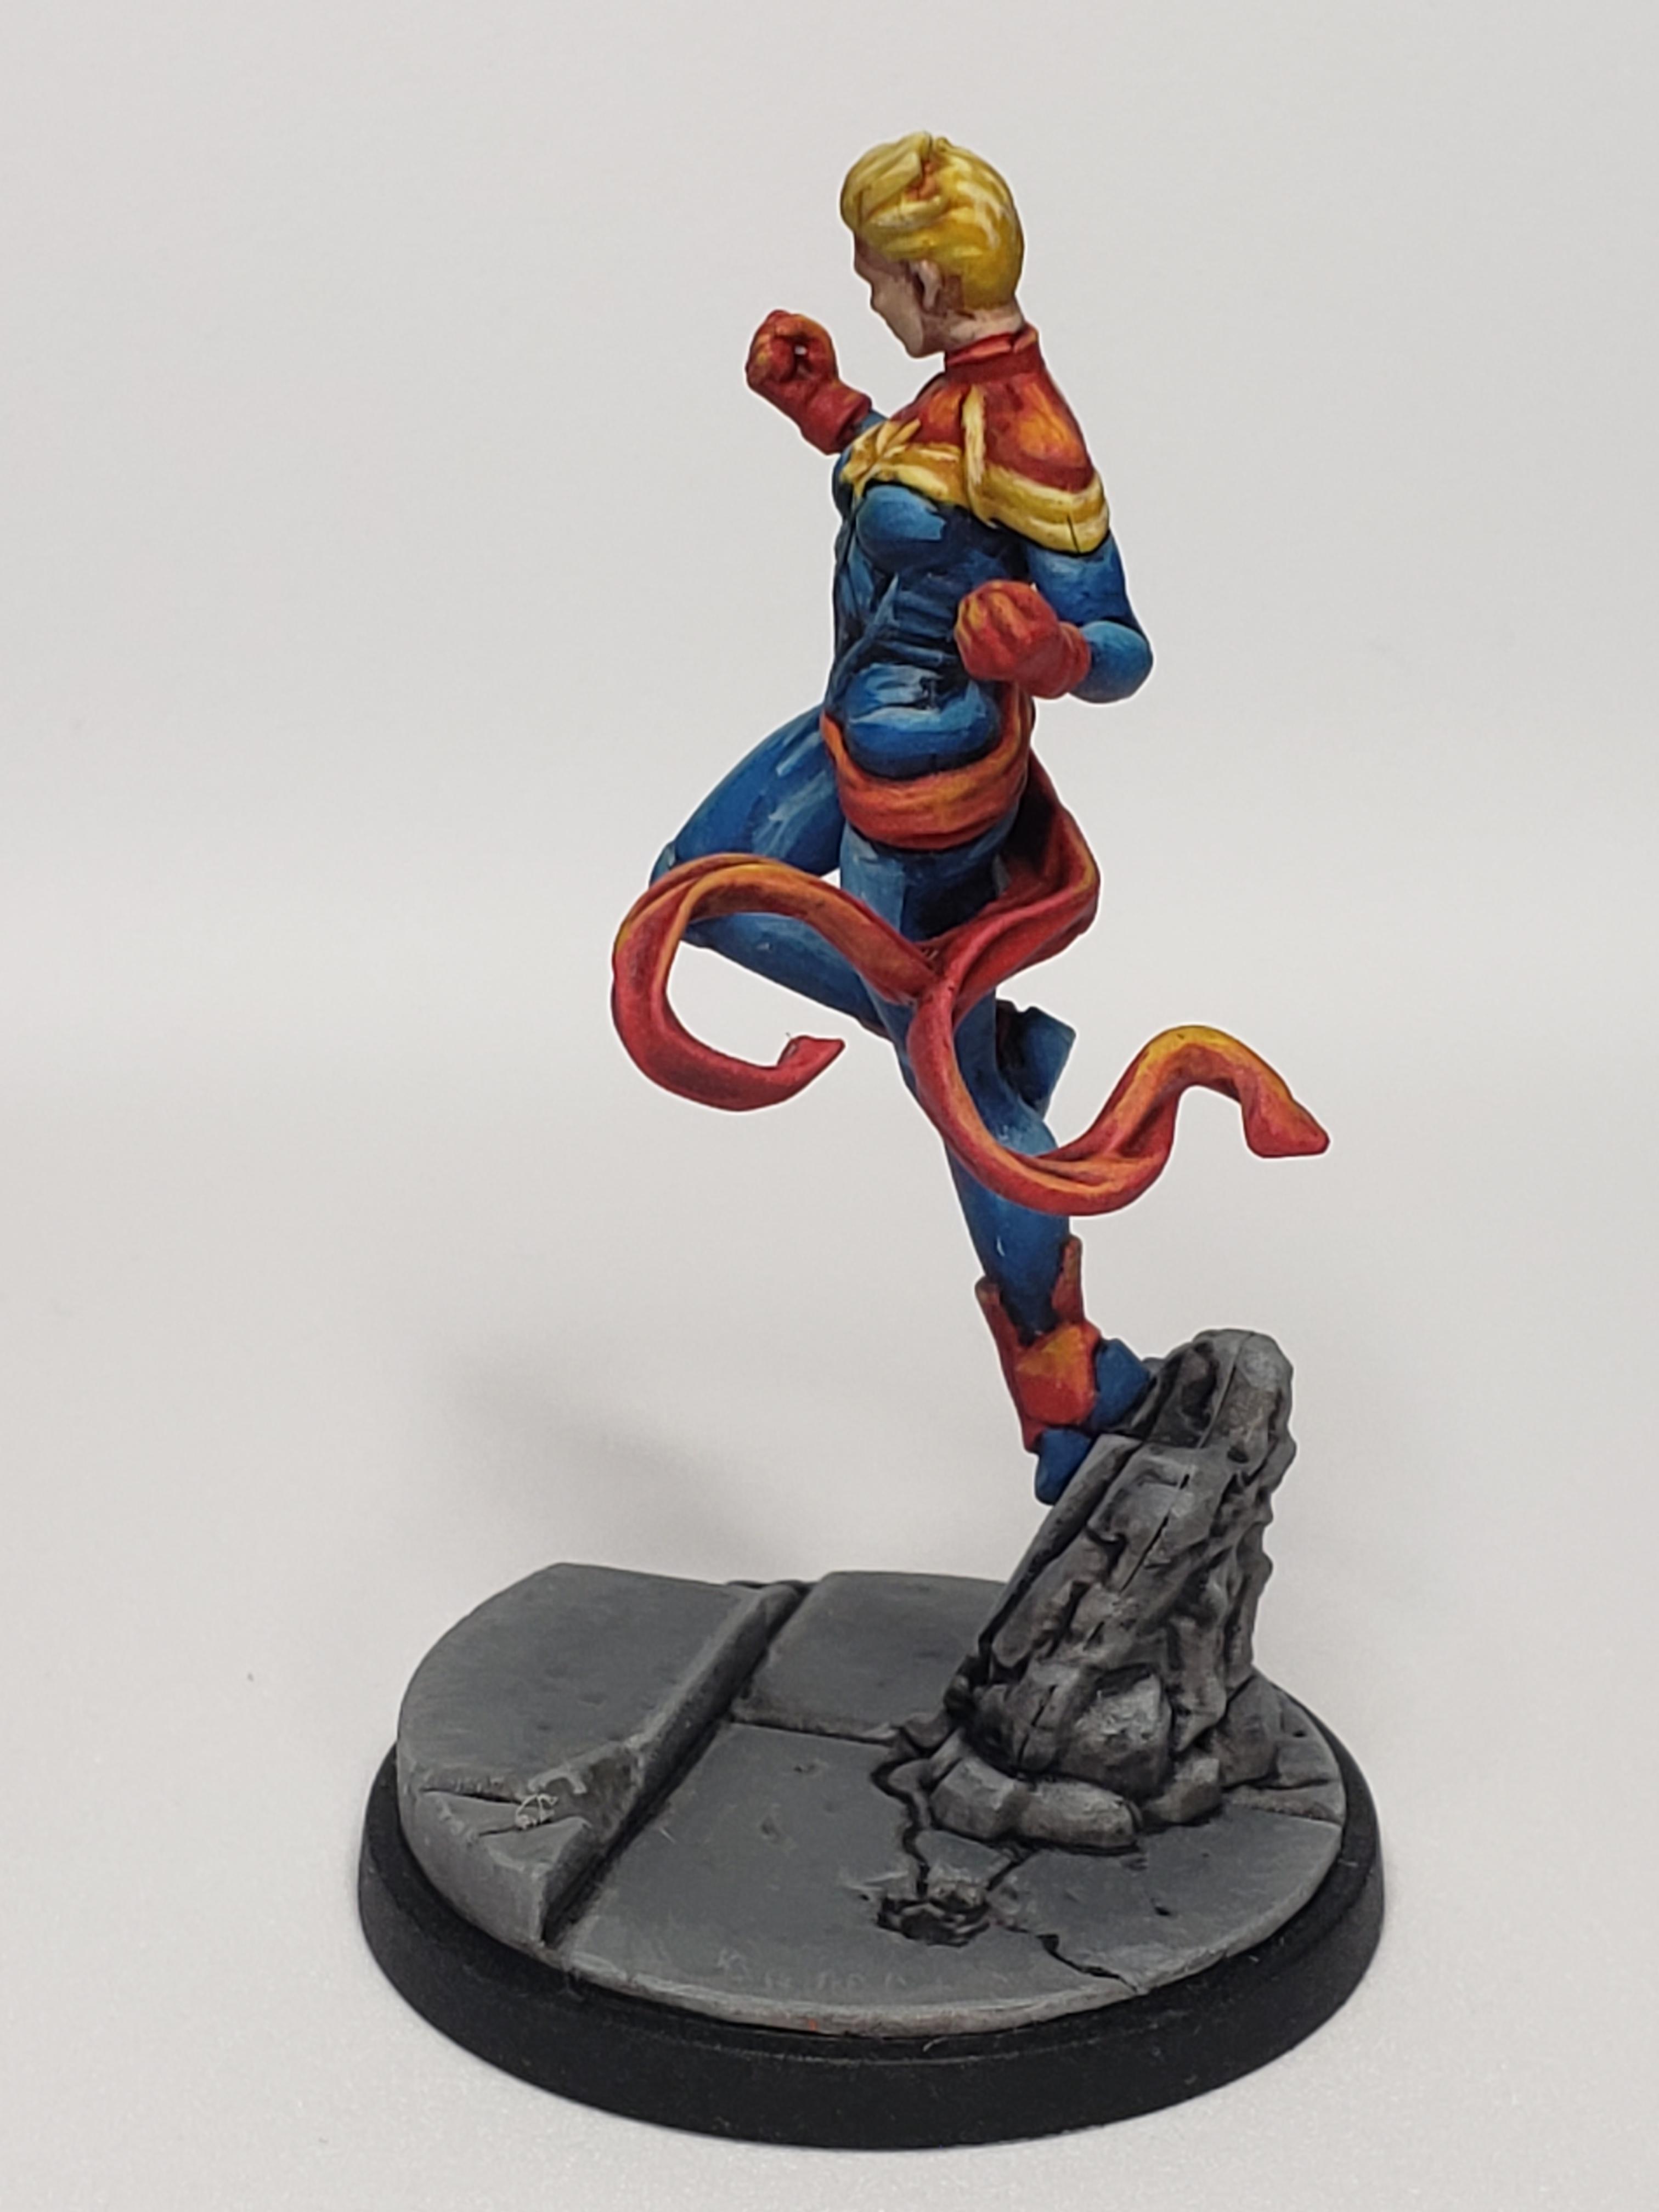

Tried out a white background for some more professional looking pics for a paint competition. The white background looks a lot better, but the amount of detail that shows up in the pics makes me a little self conscious. Trying to figure out which mini to submit to the contest. Would definitely appreciate any feedback on that.
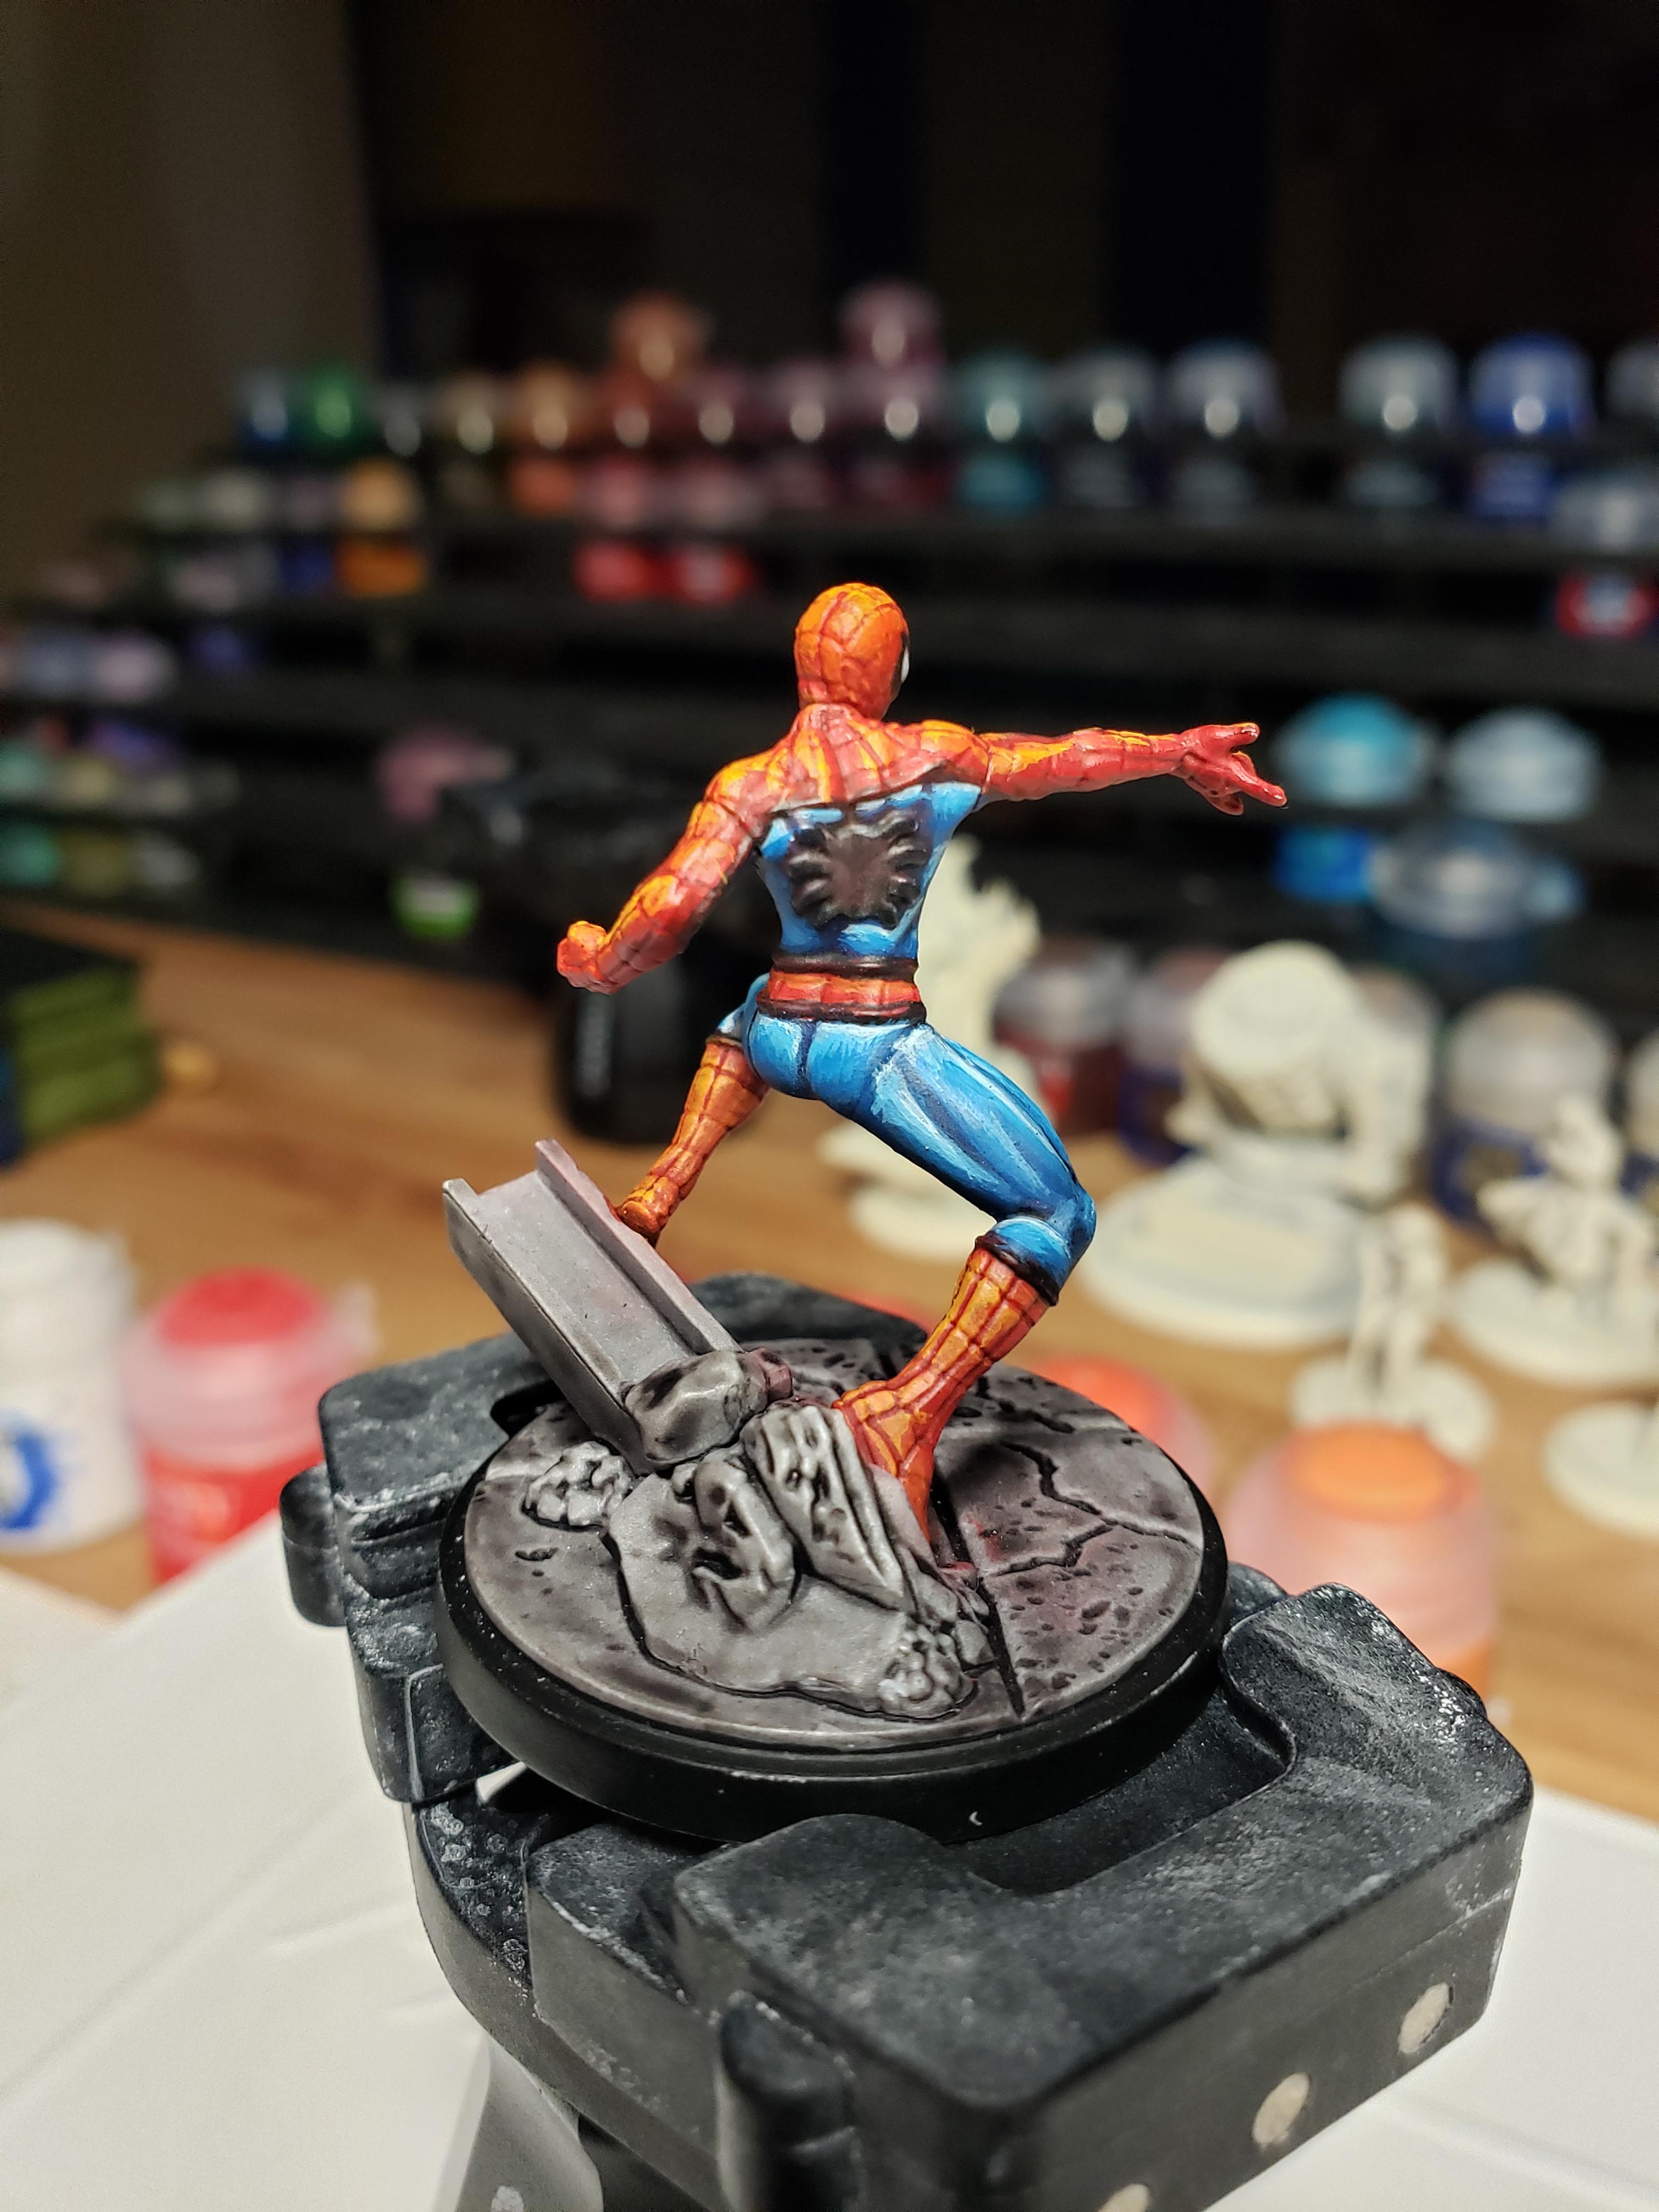
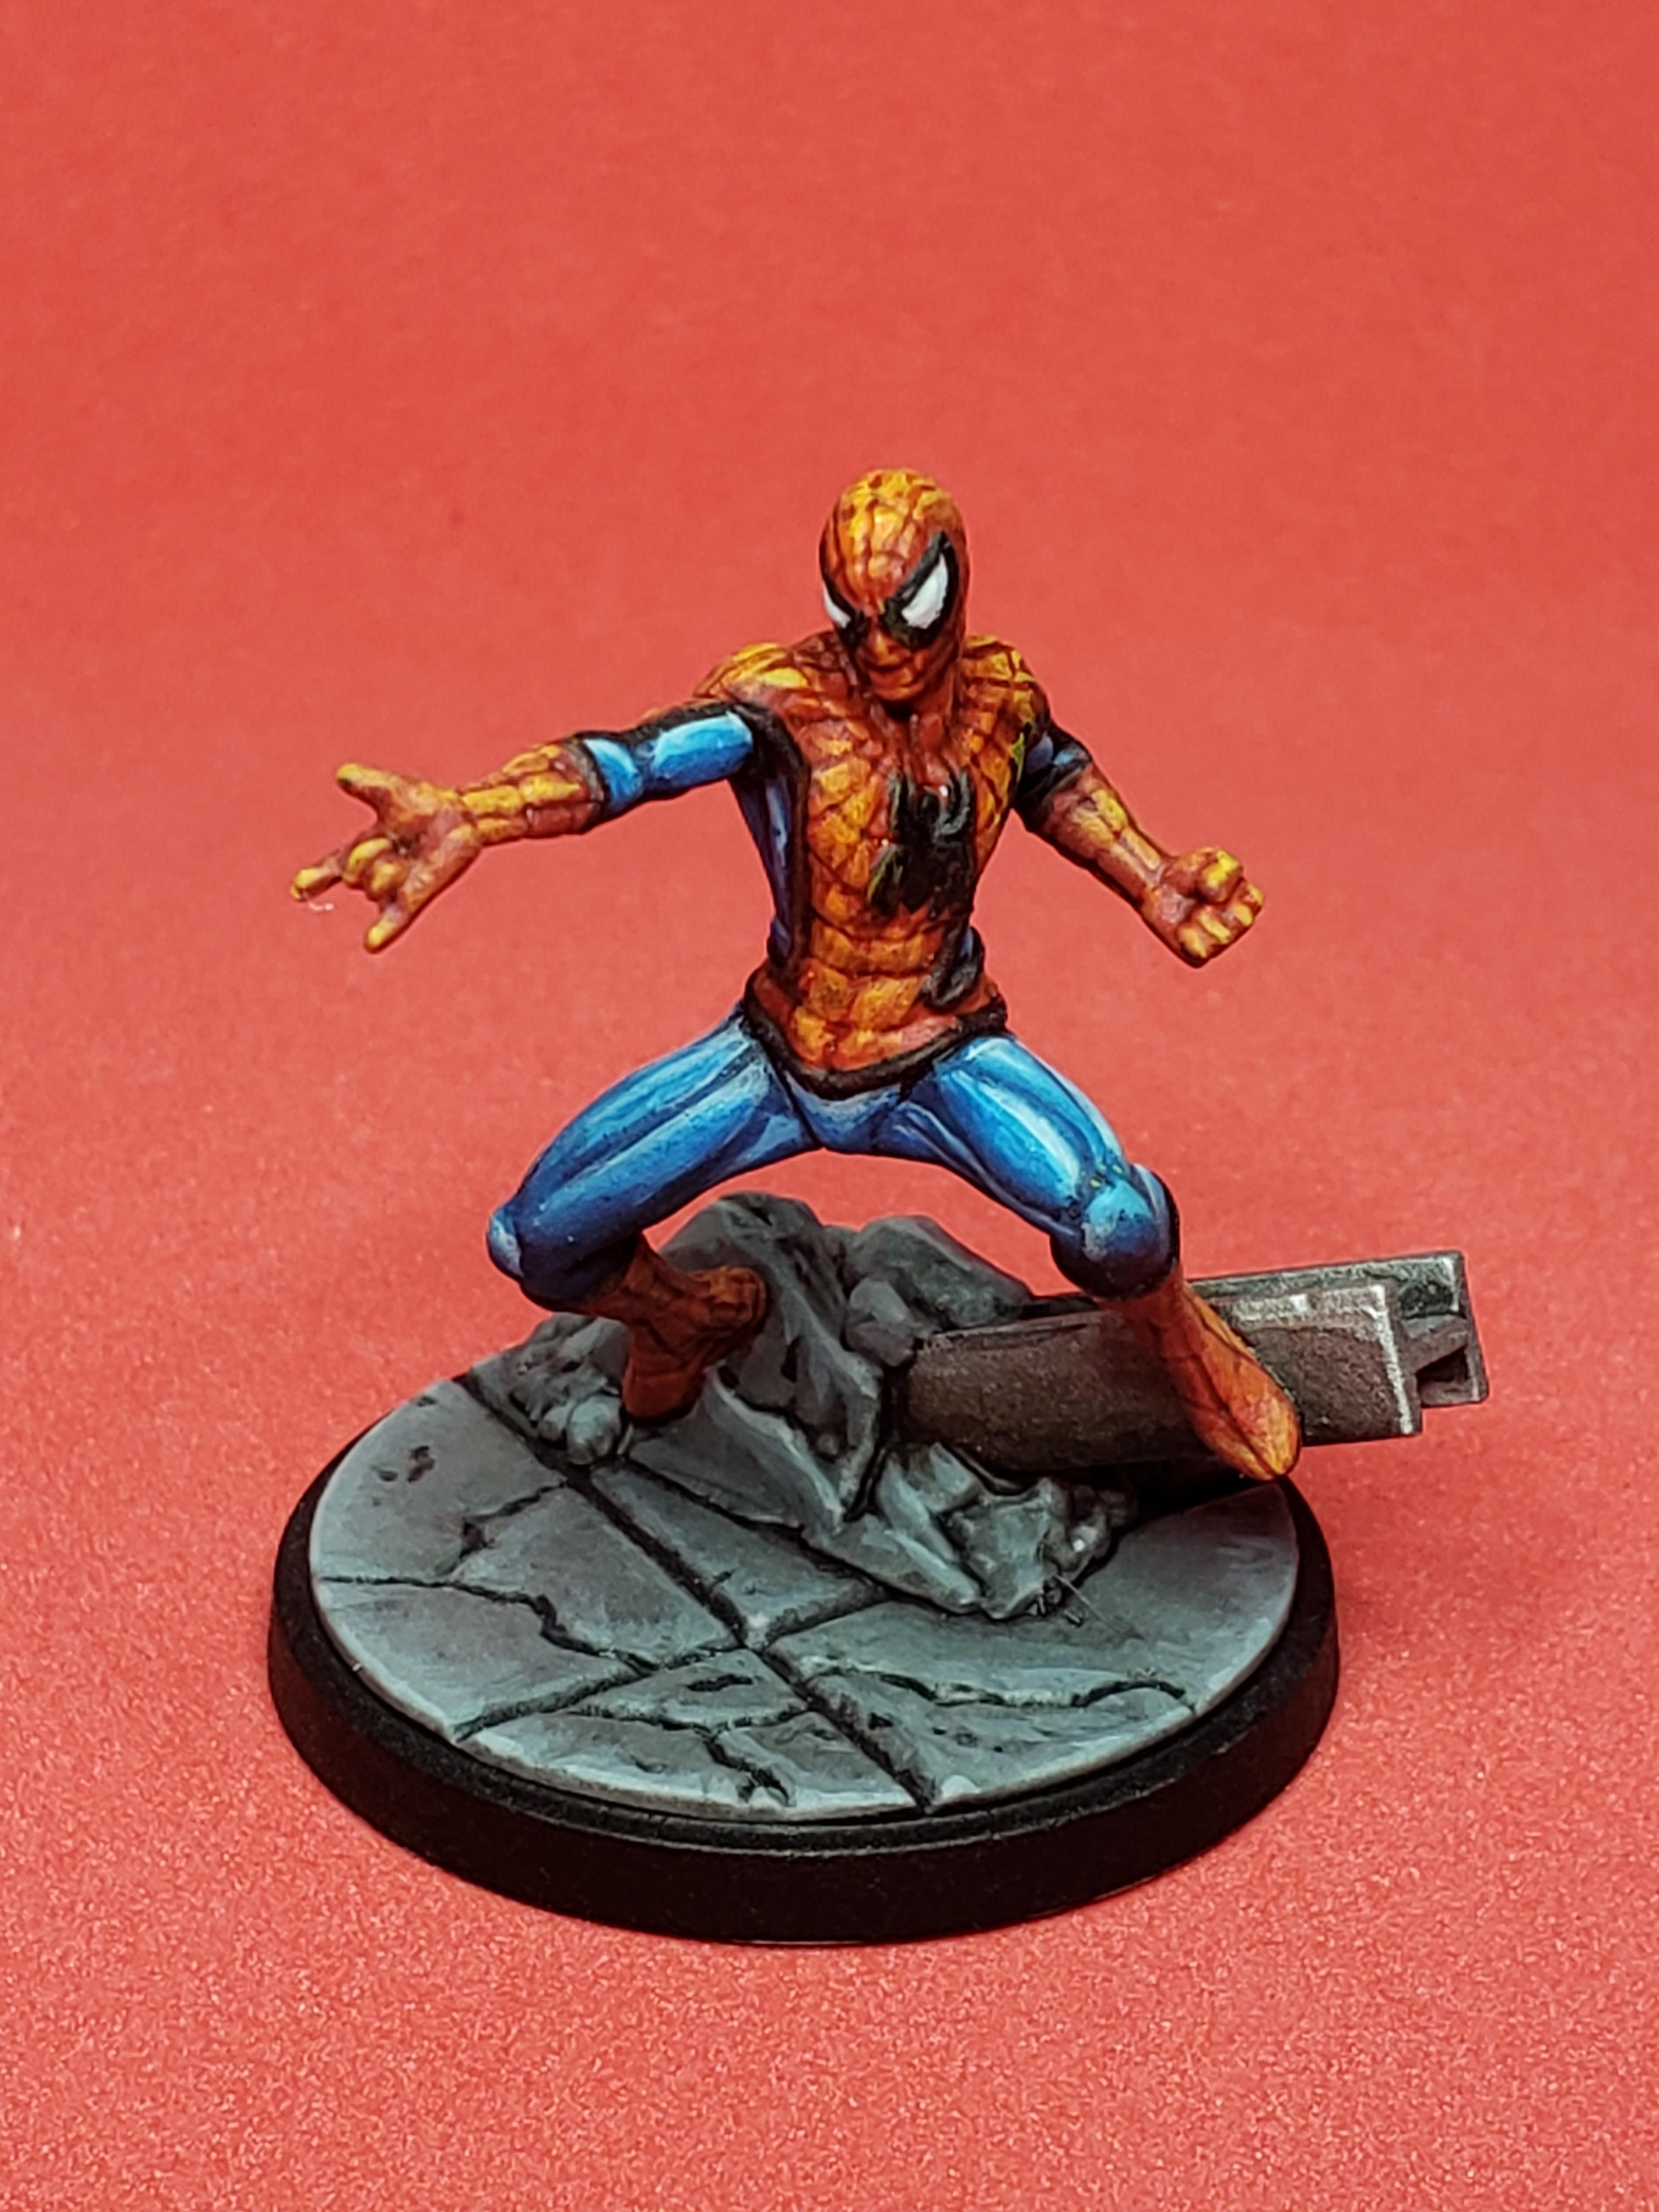
New Spiderman pics with proper background.
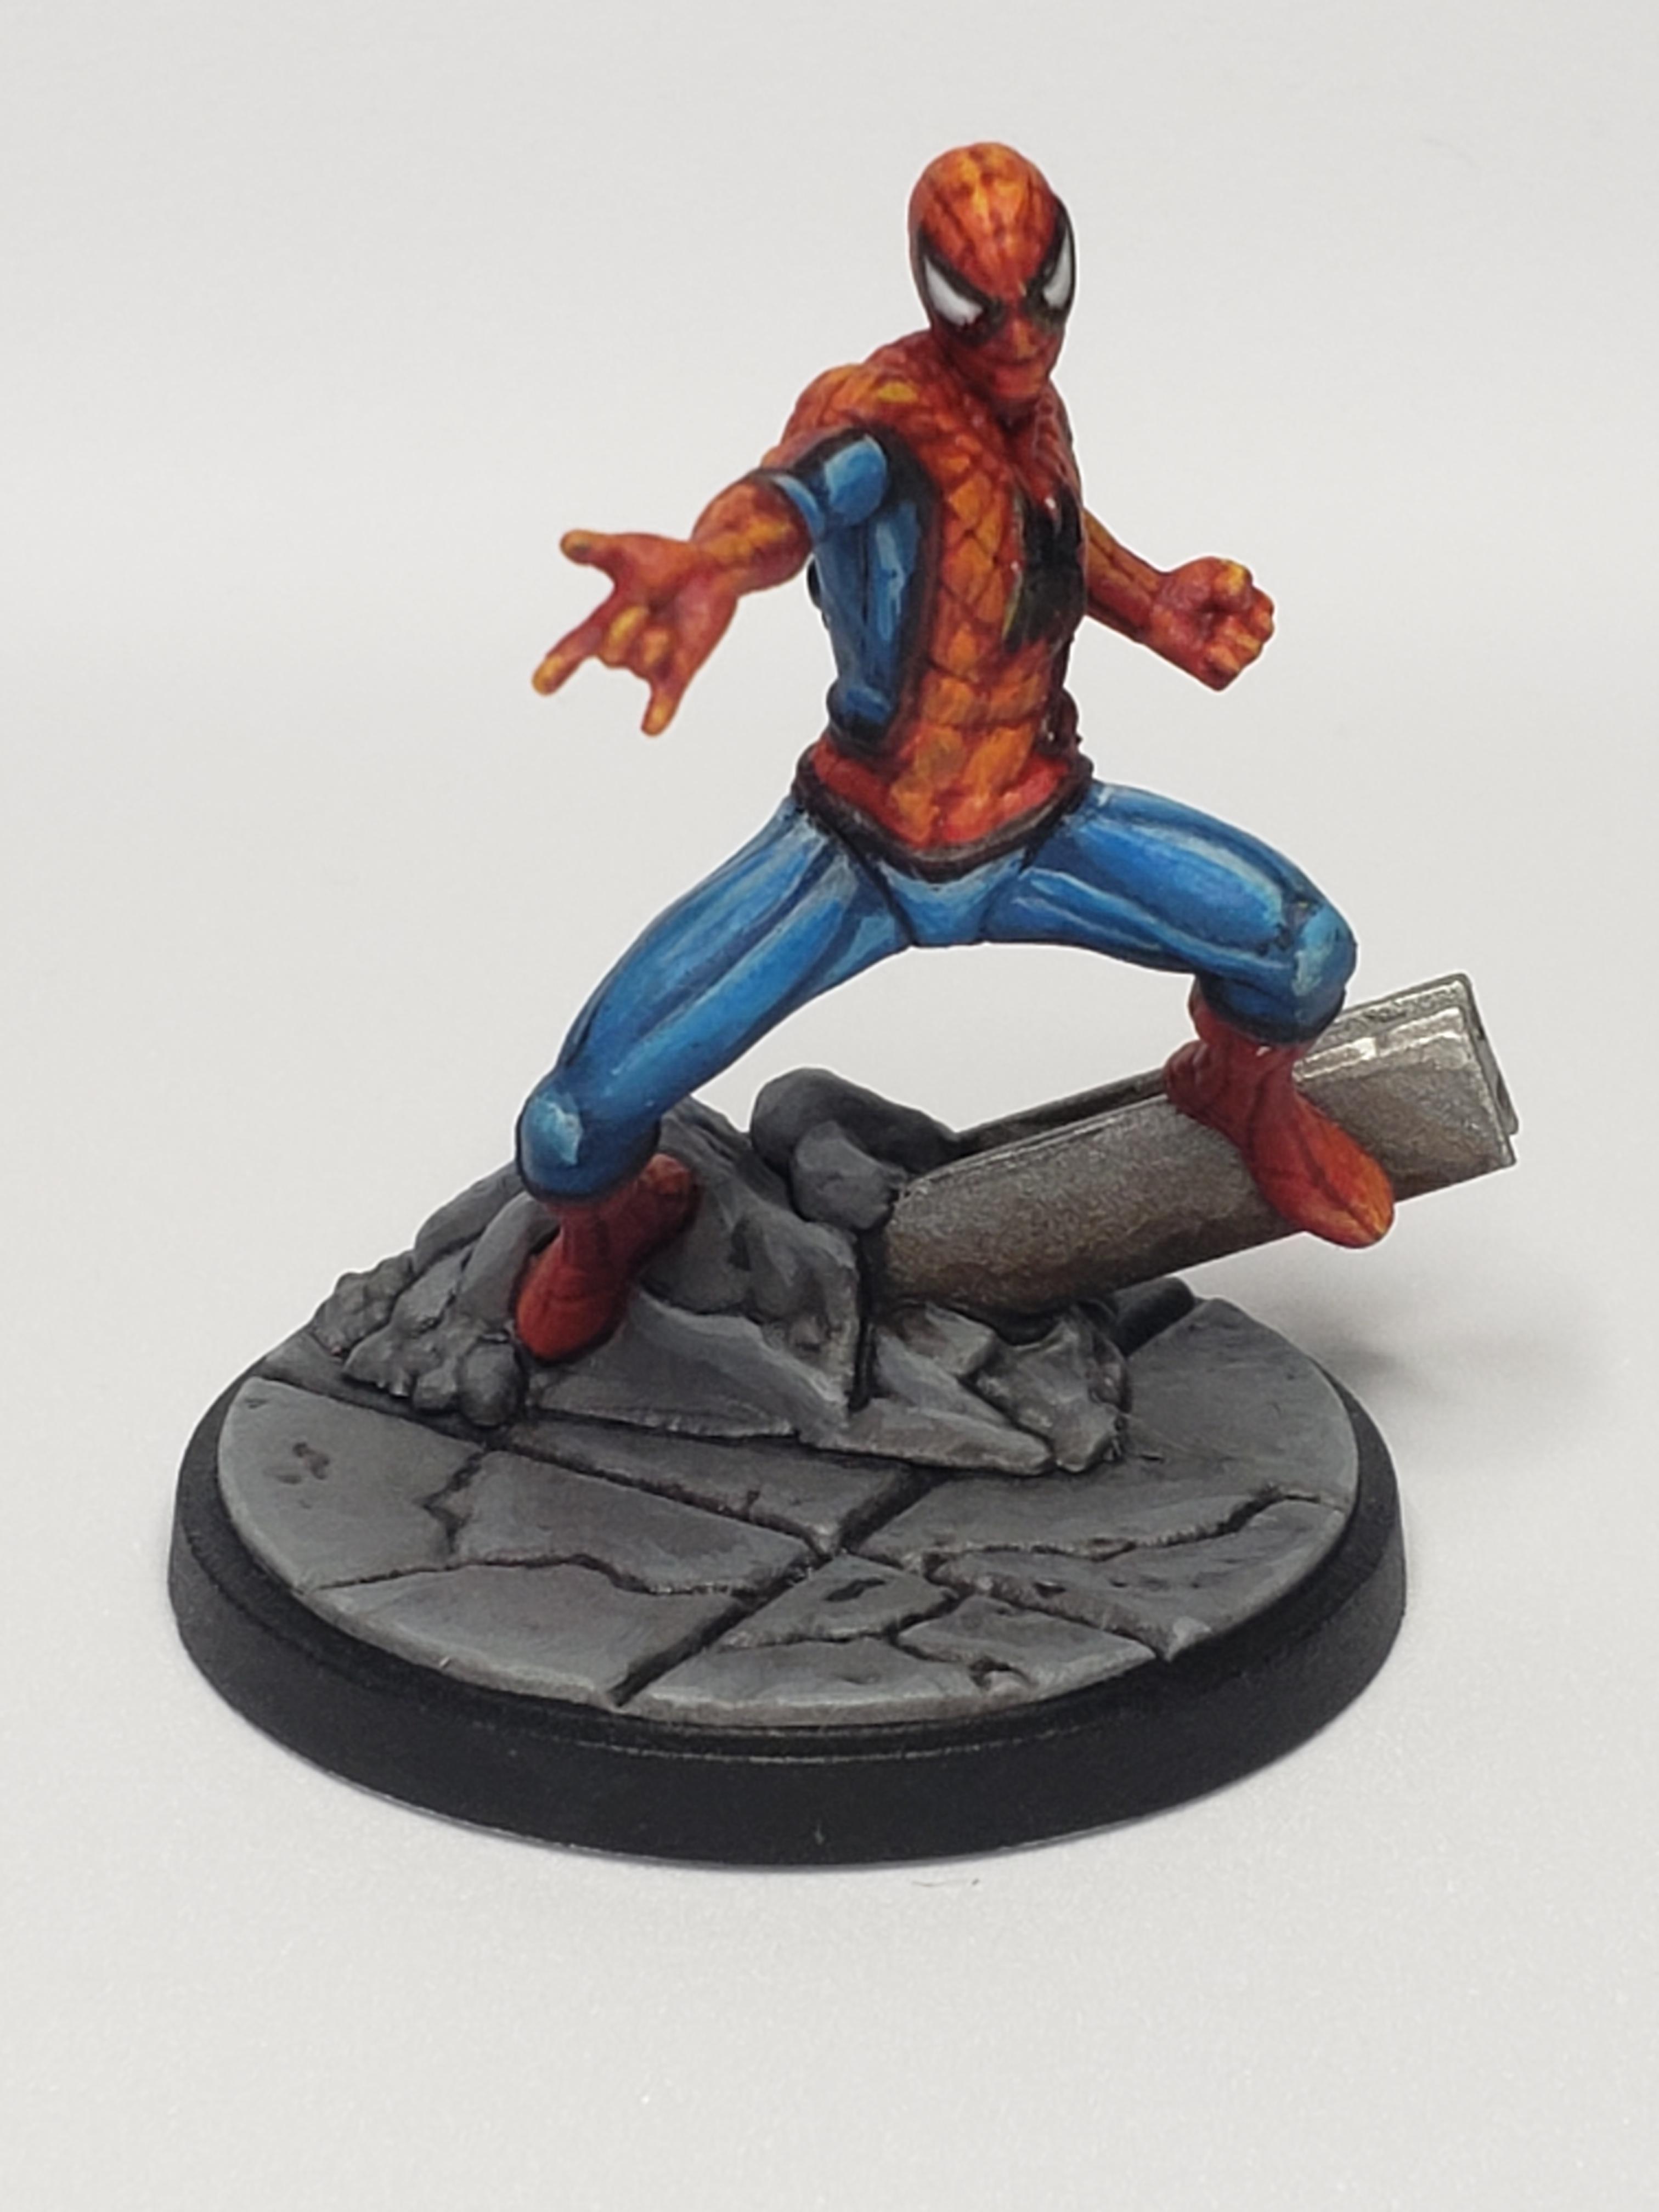

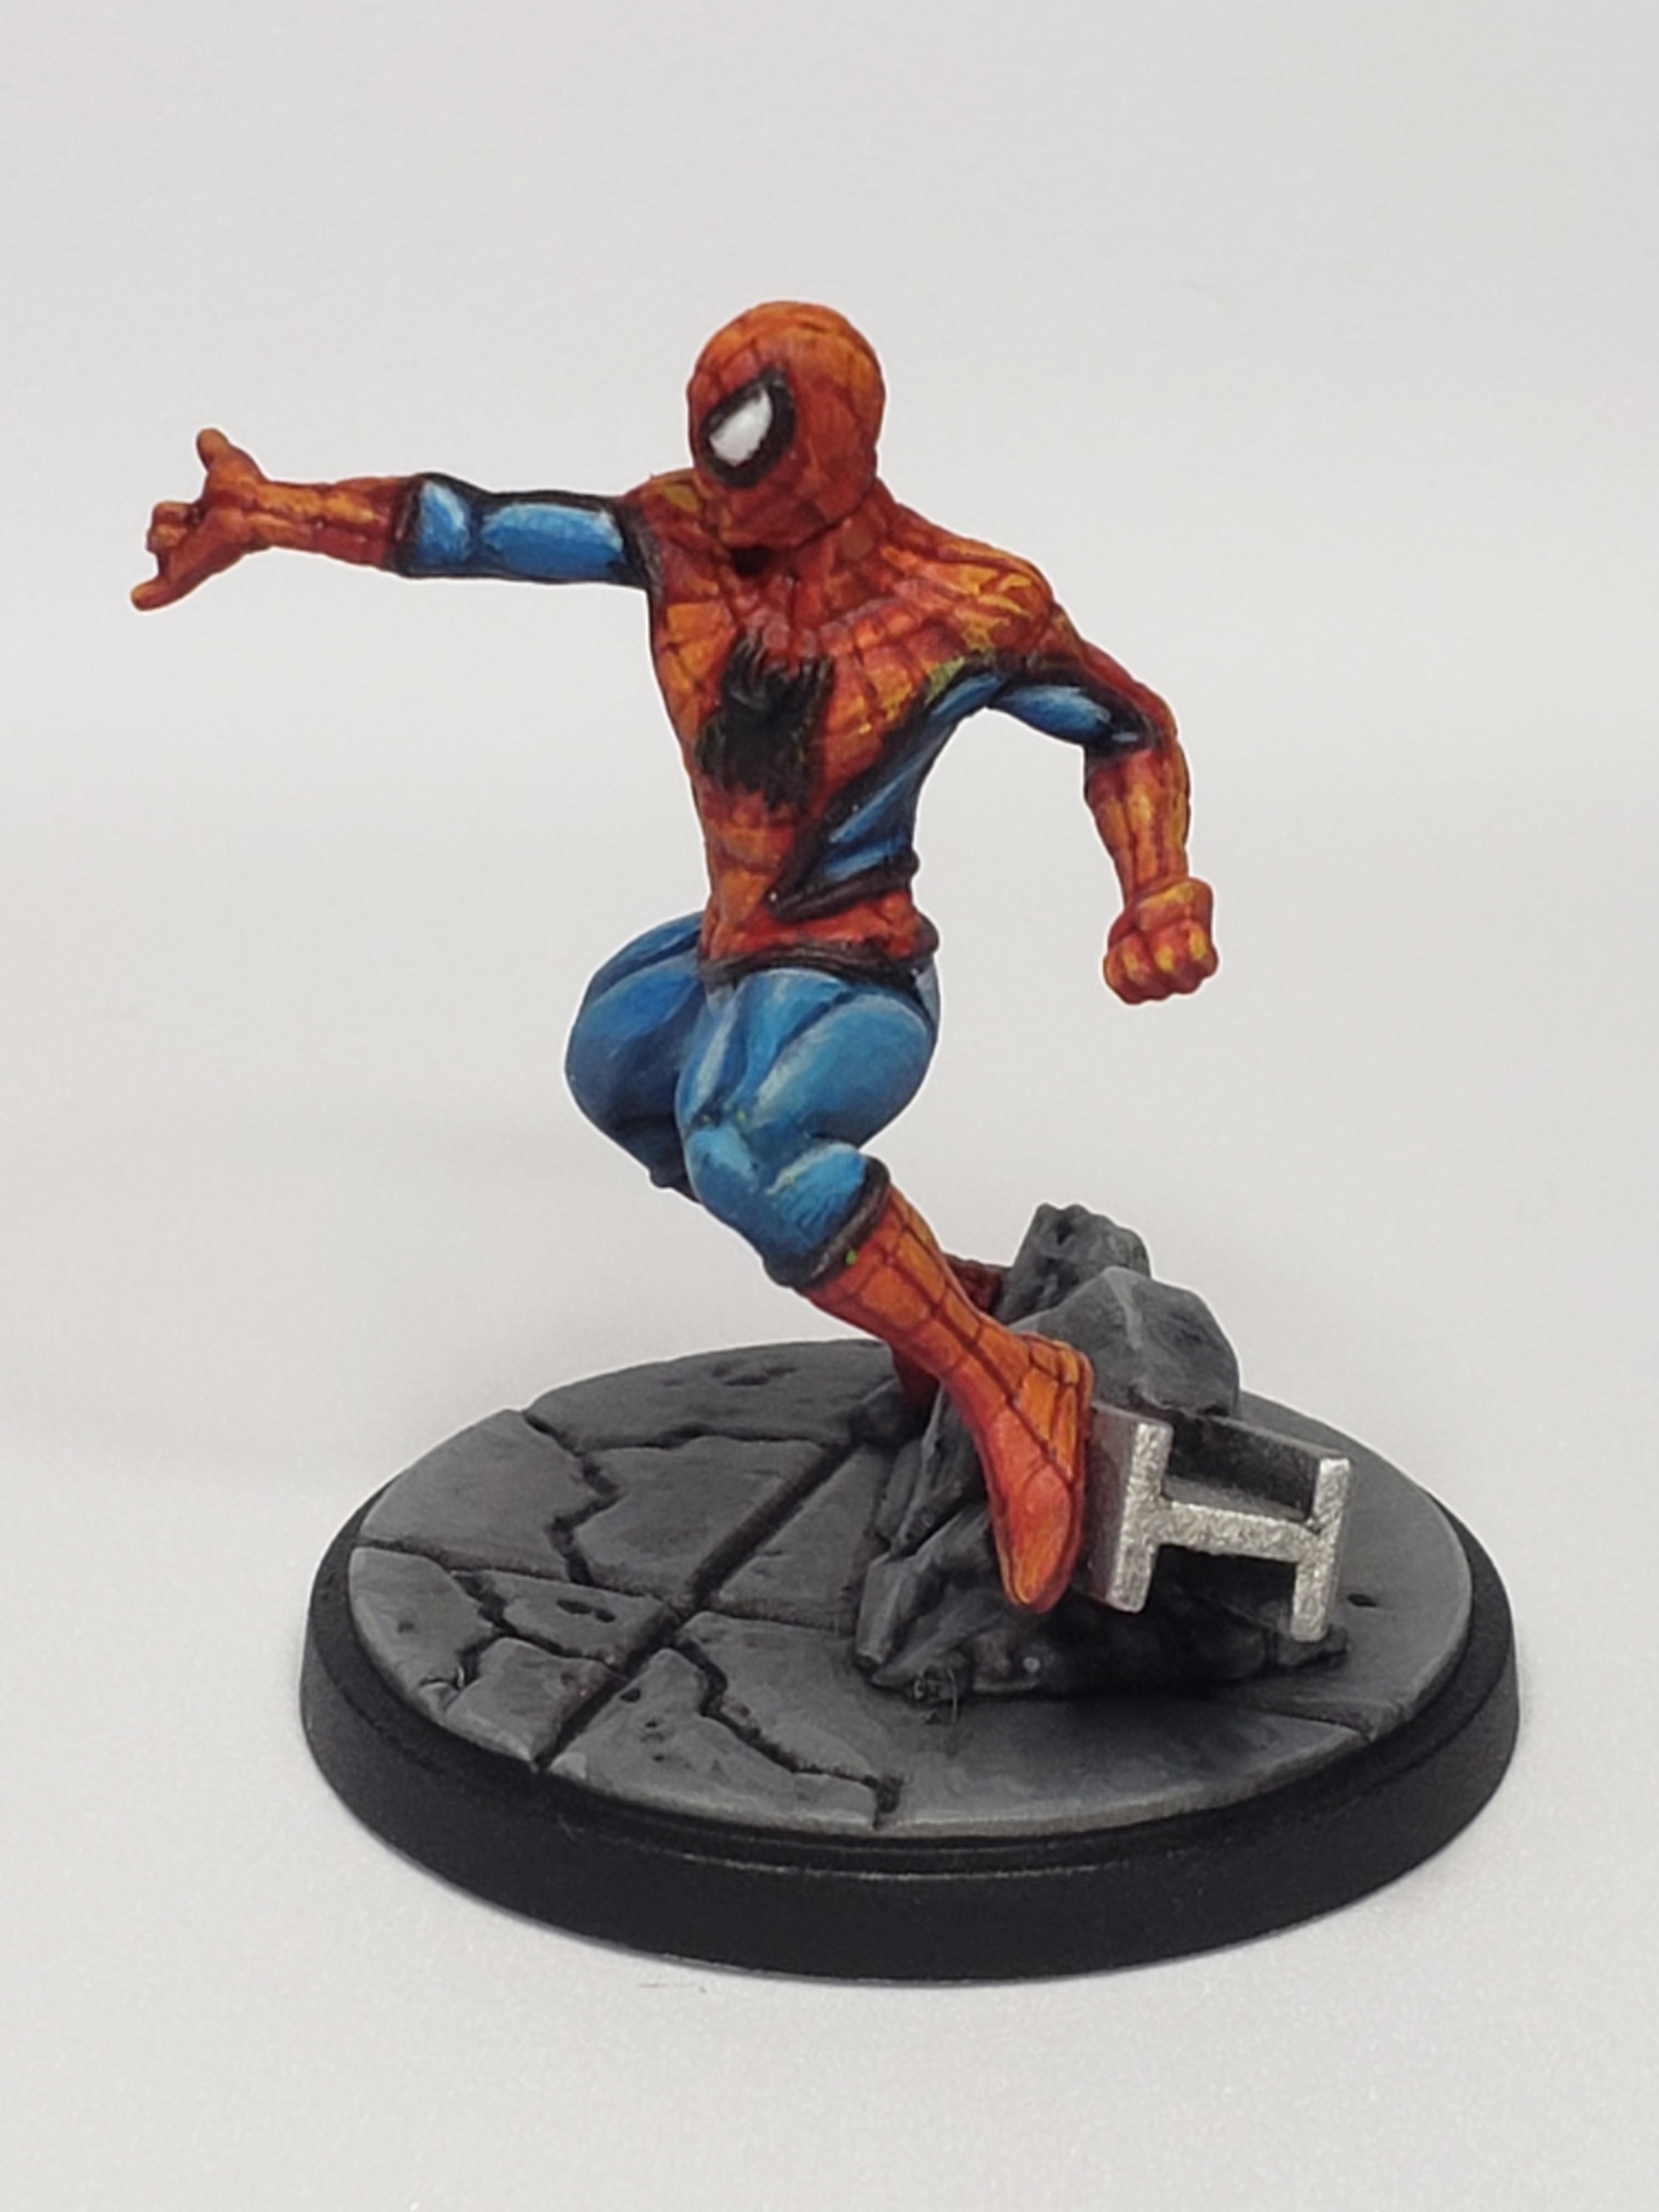
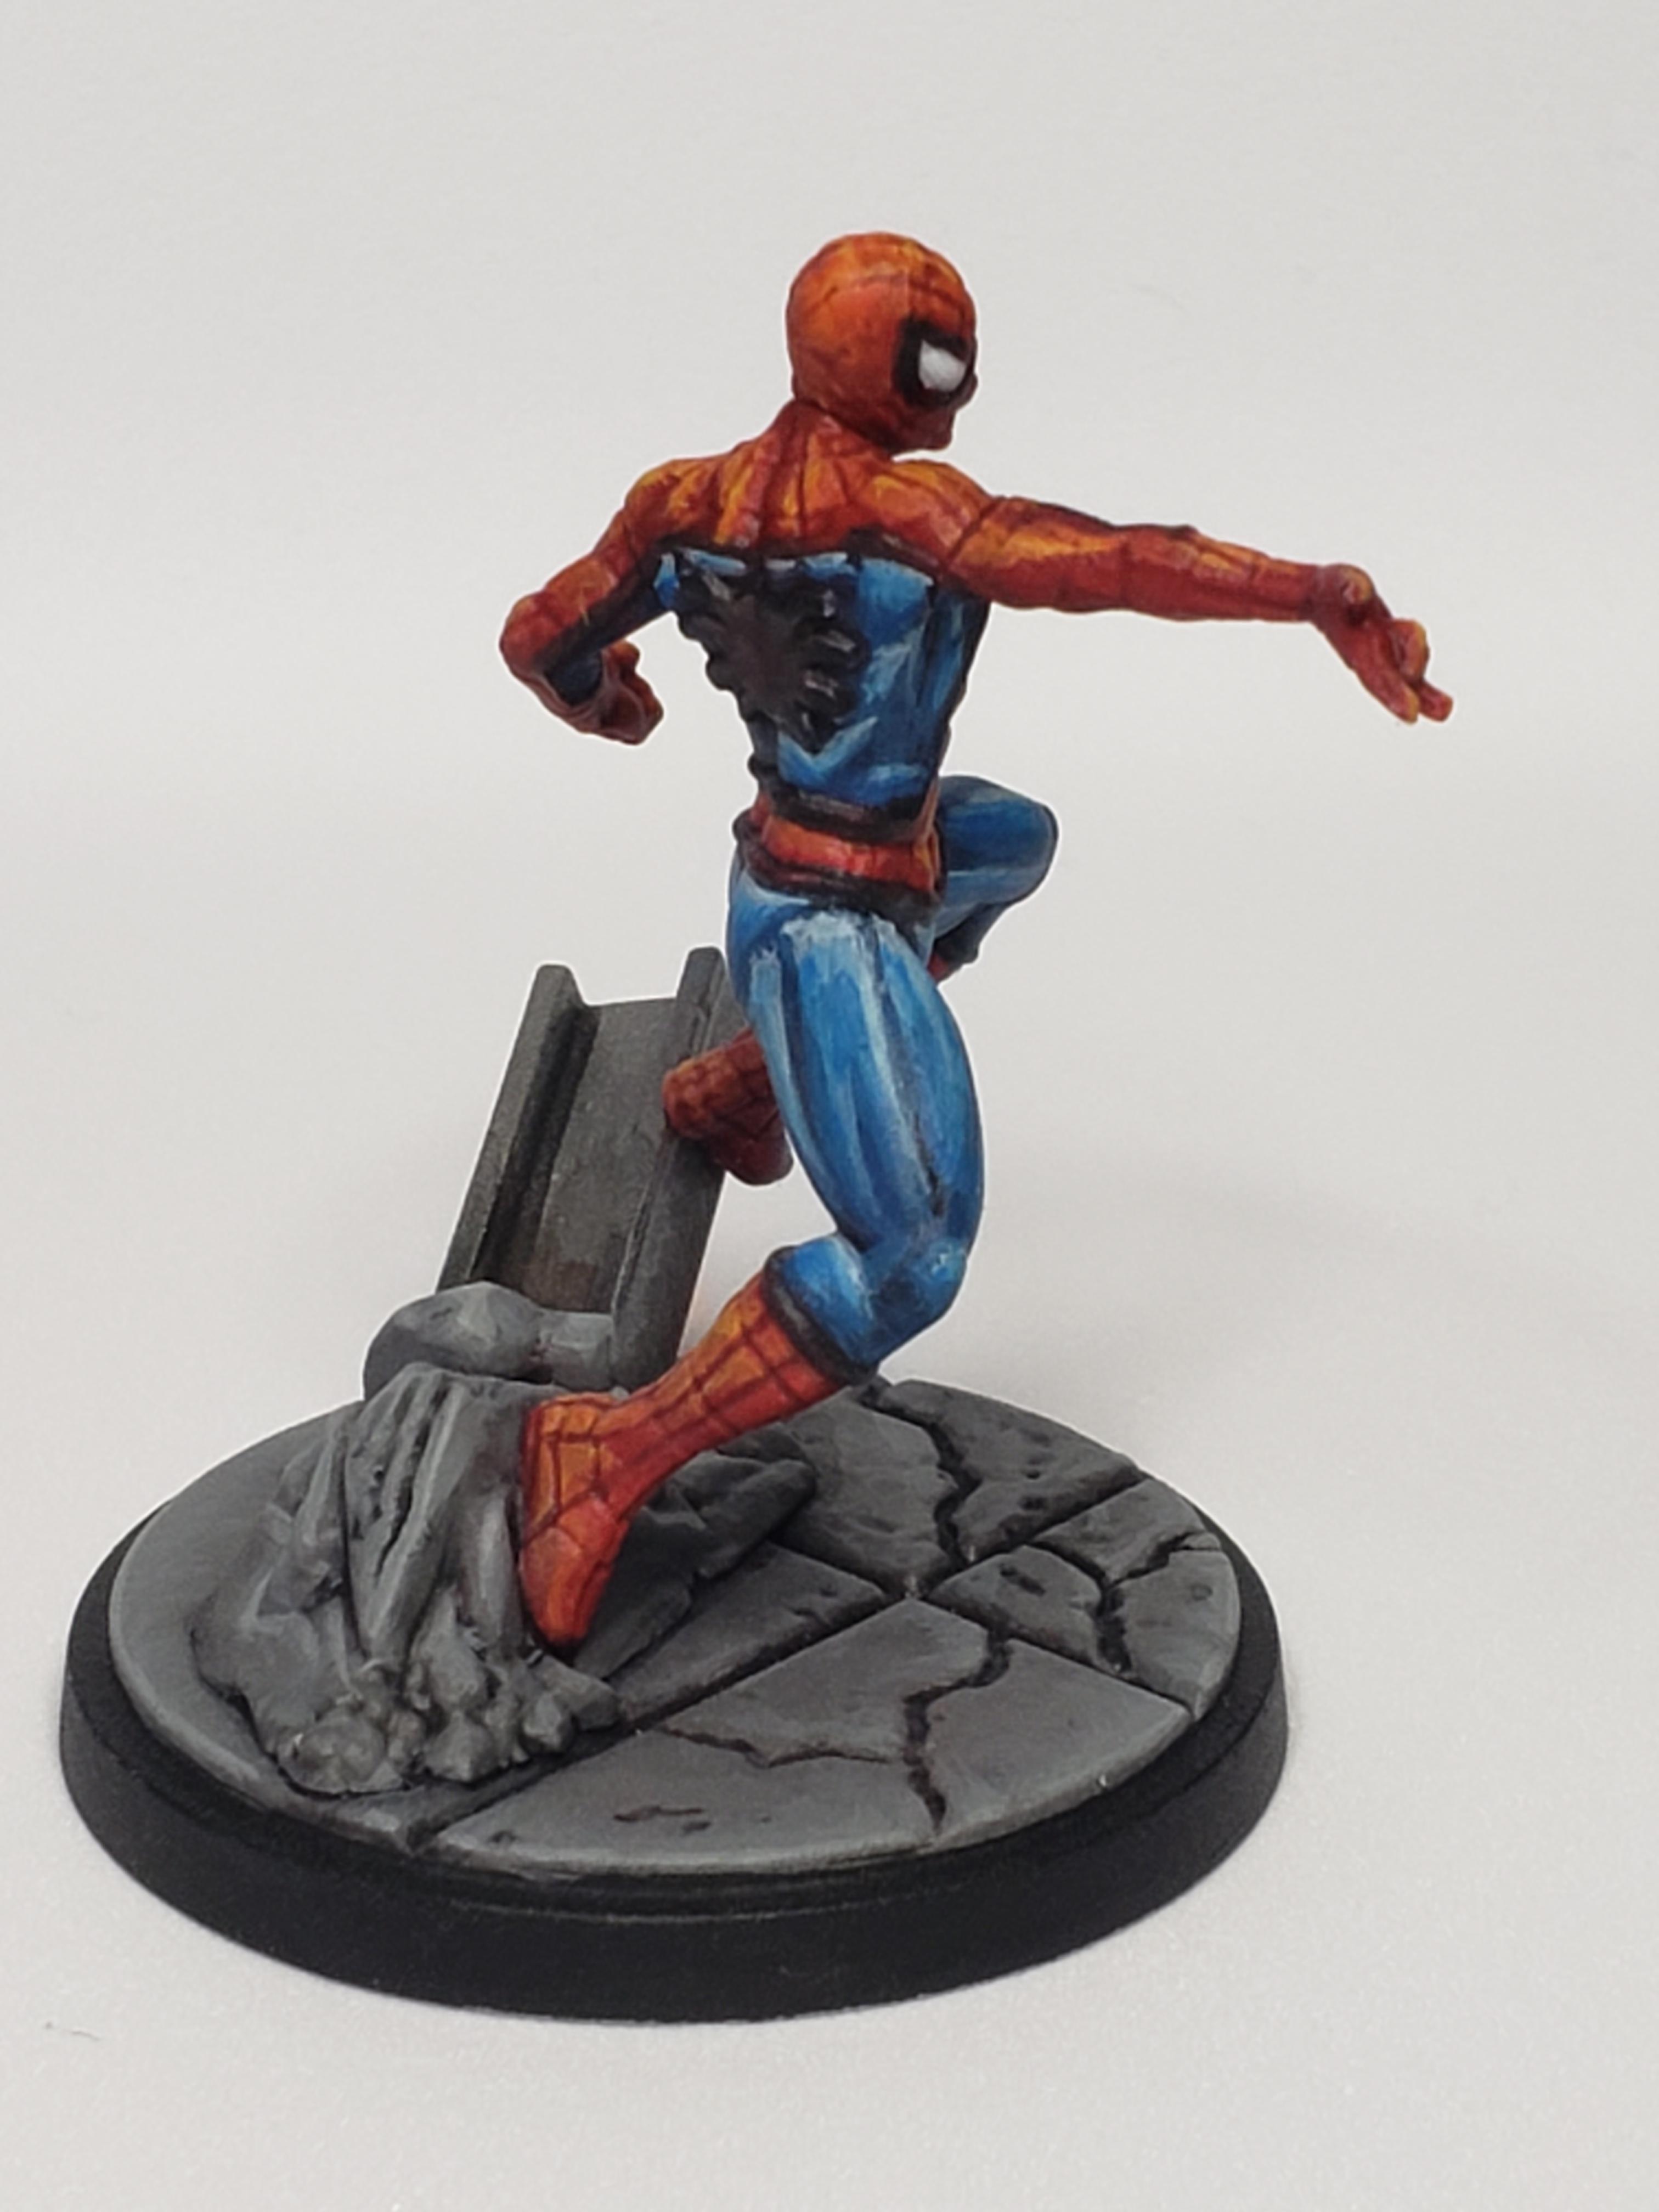
Tried out a white background for some more professional looking pics for a paint competition. The white background looks a lot better, but the amount of detail that shows up in the pics makes me a little self conscious. Trying to figure out which mini to submit to the contest. Would definitely appreciate any feedback on that.
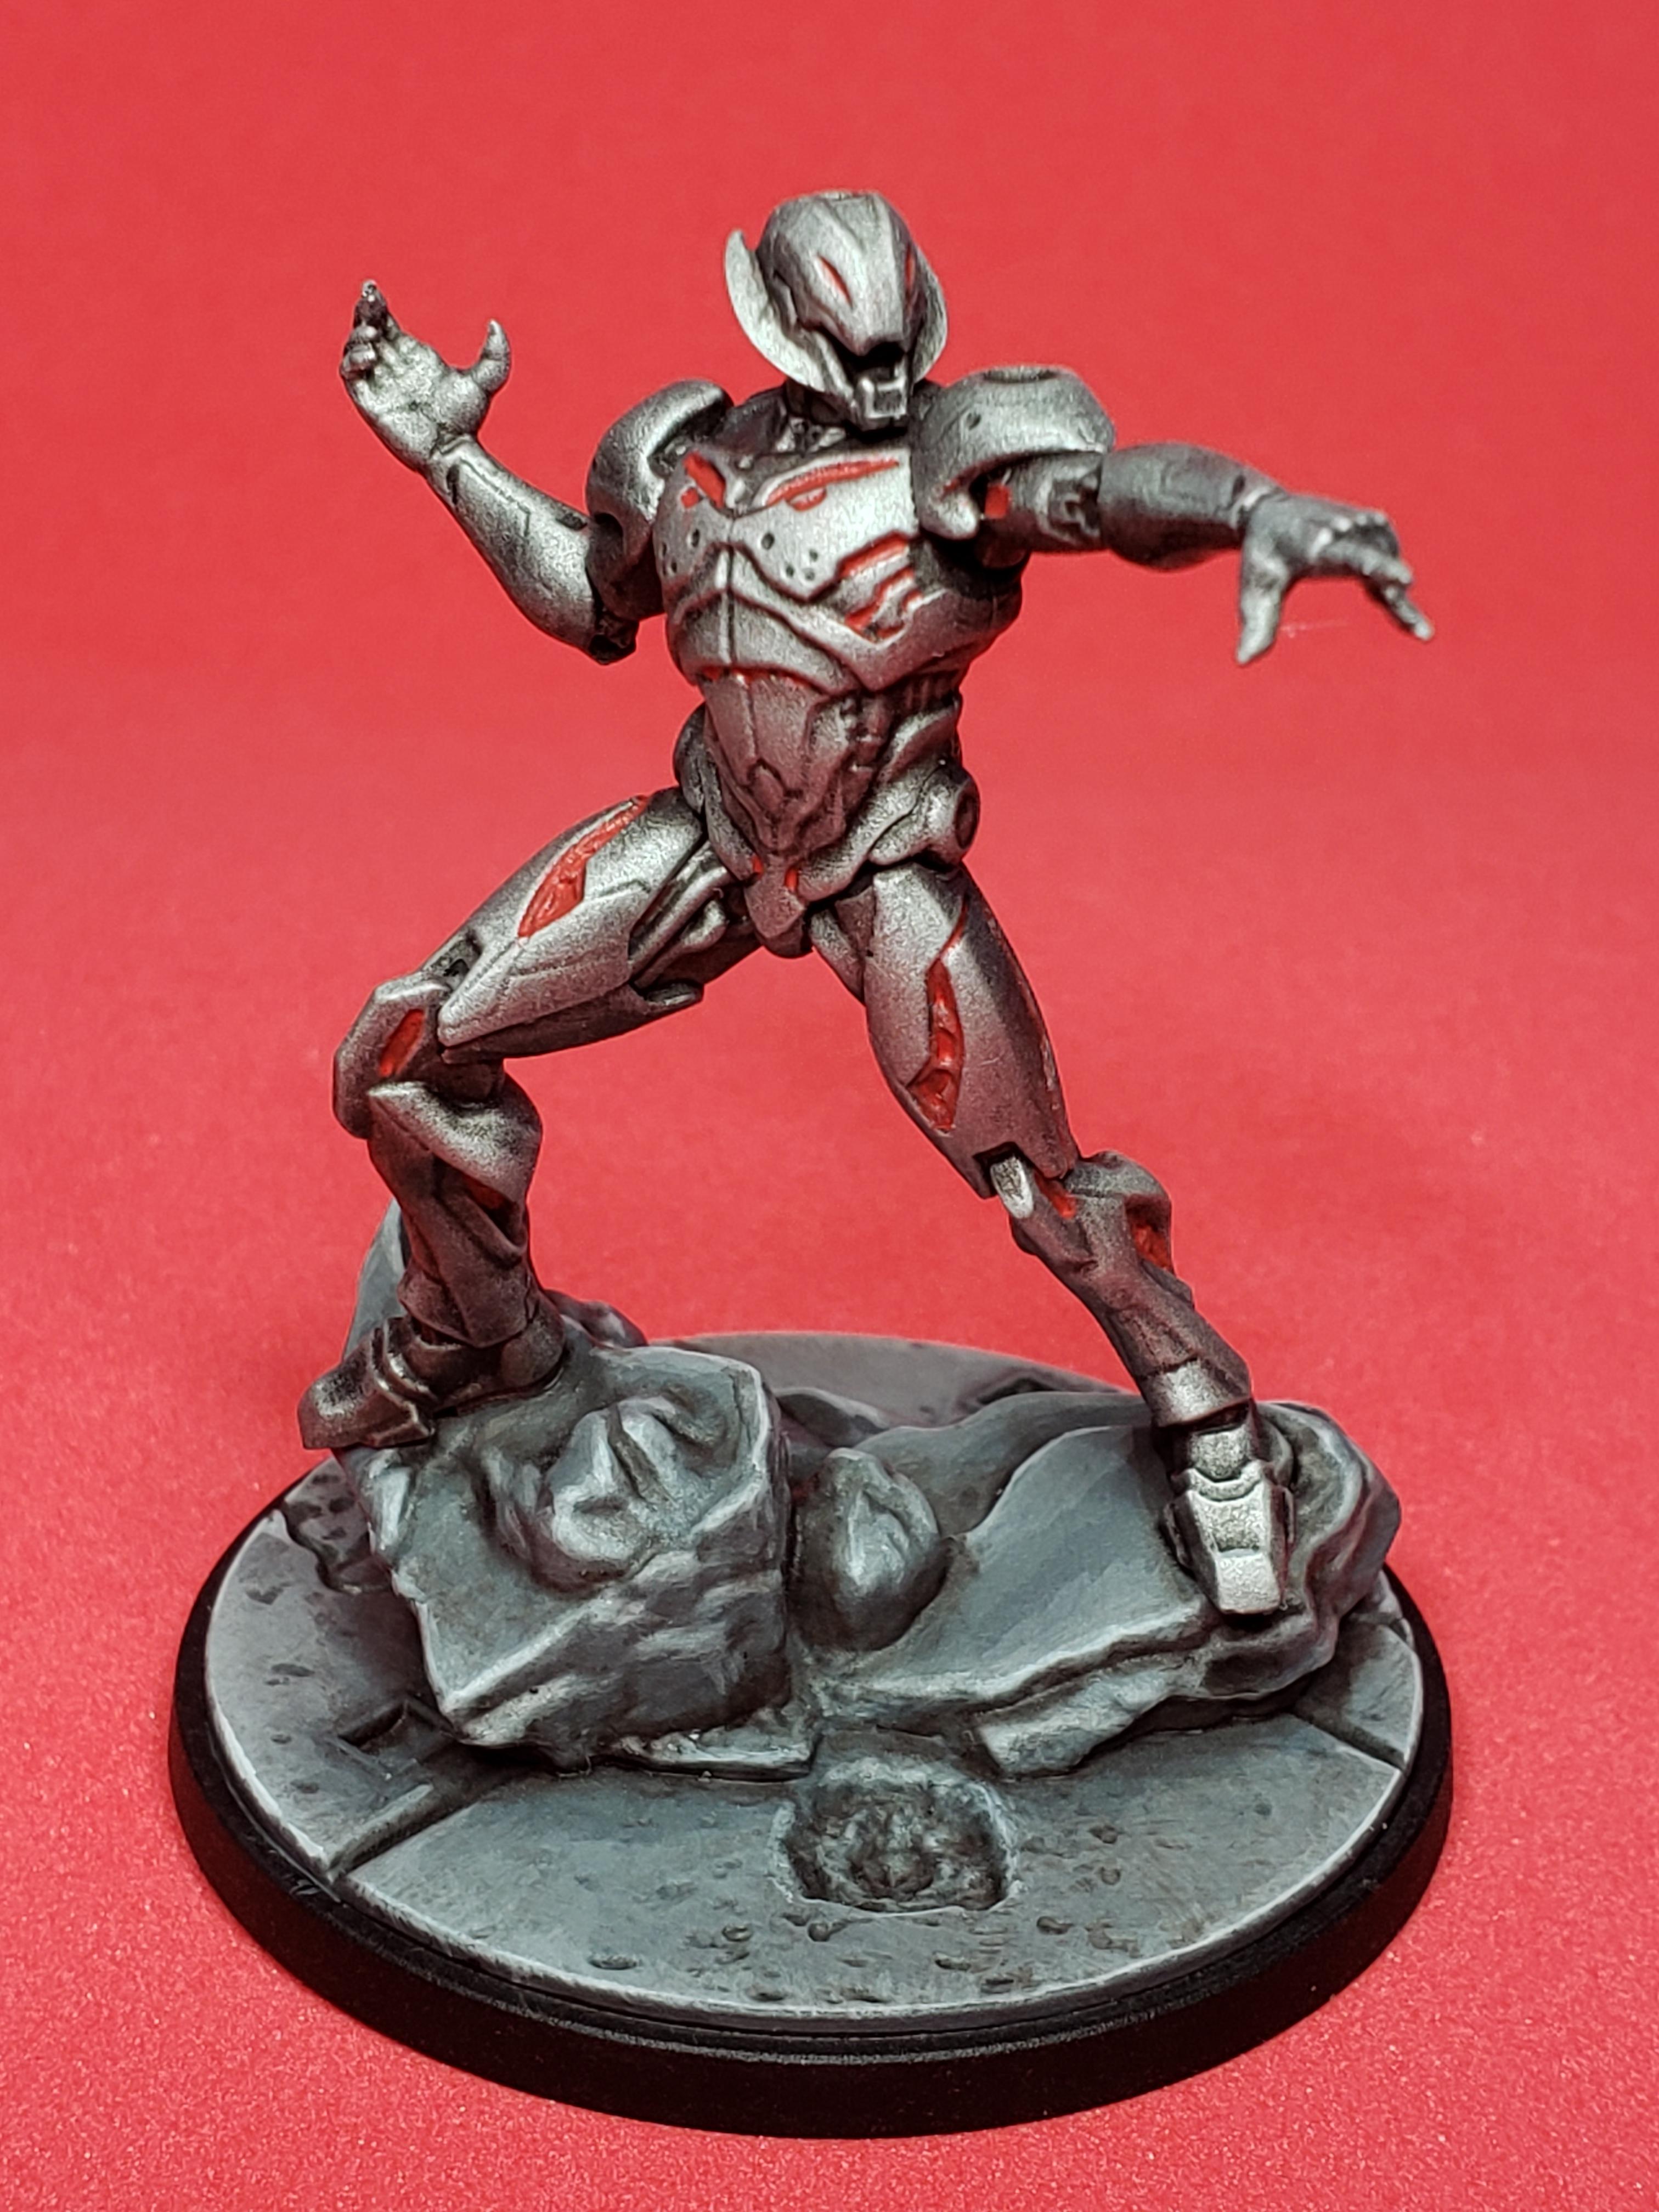
Ultron Complete
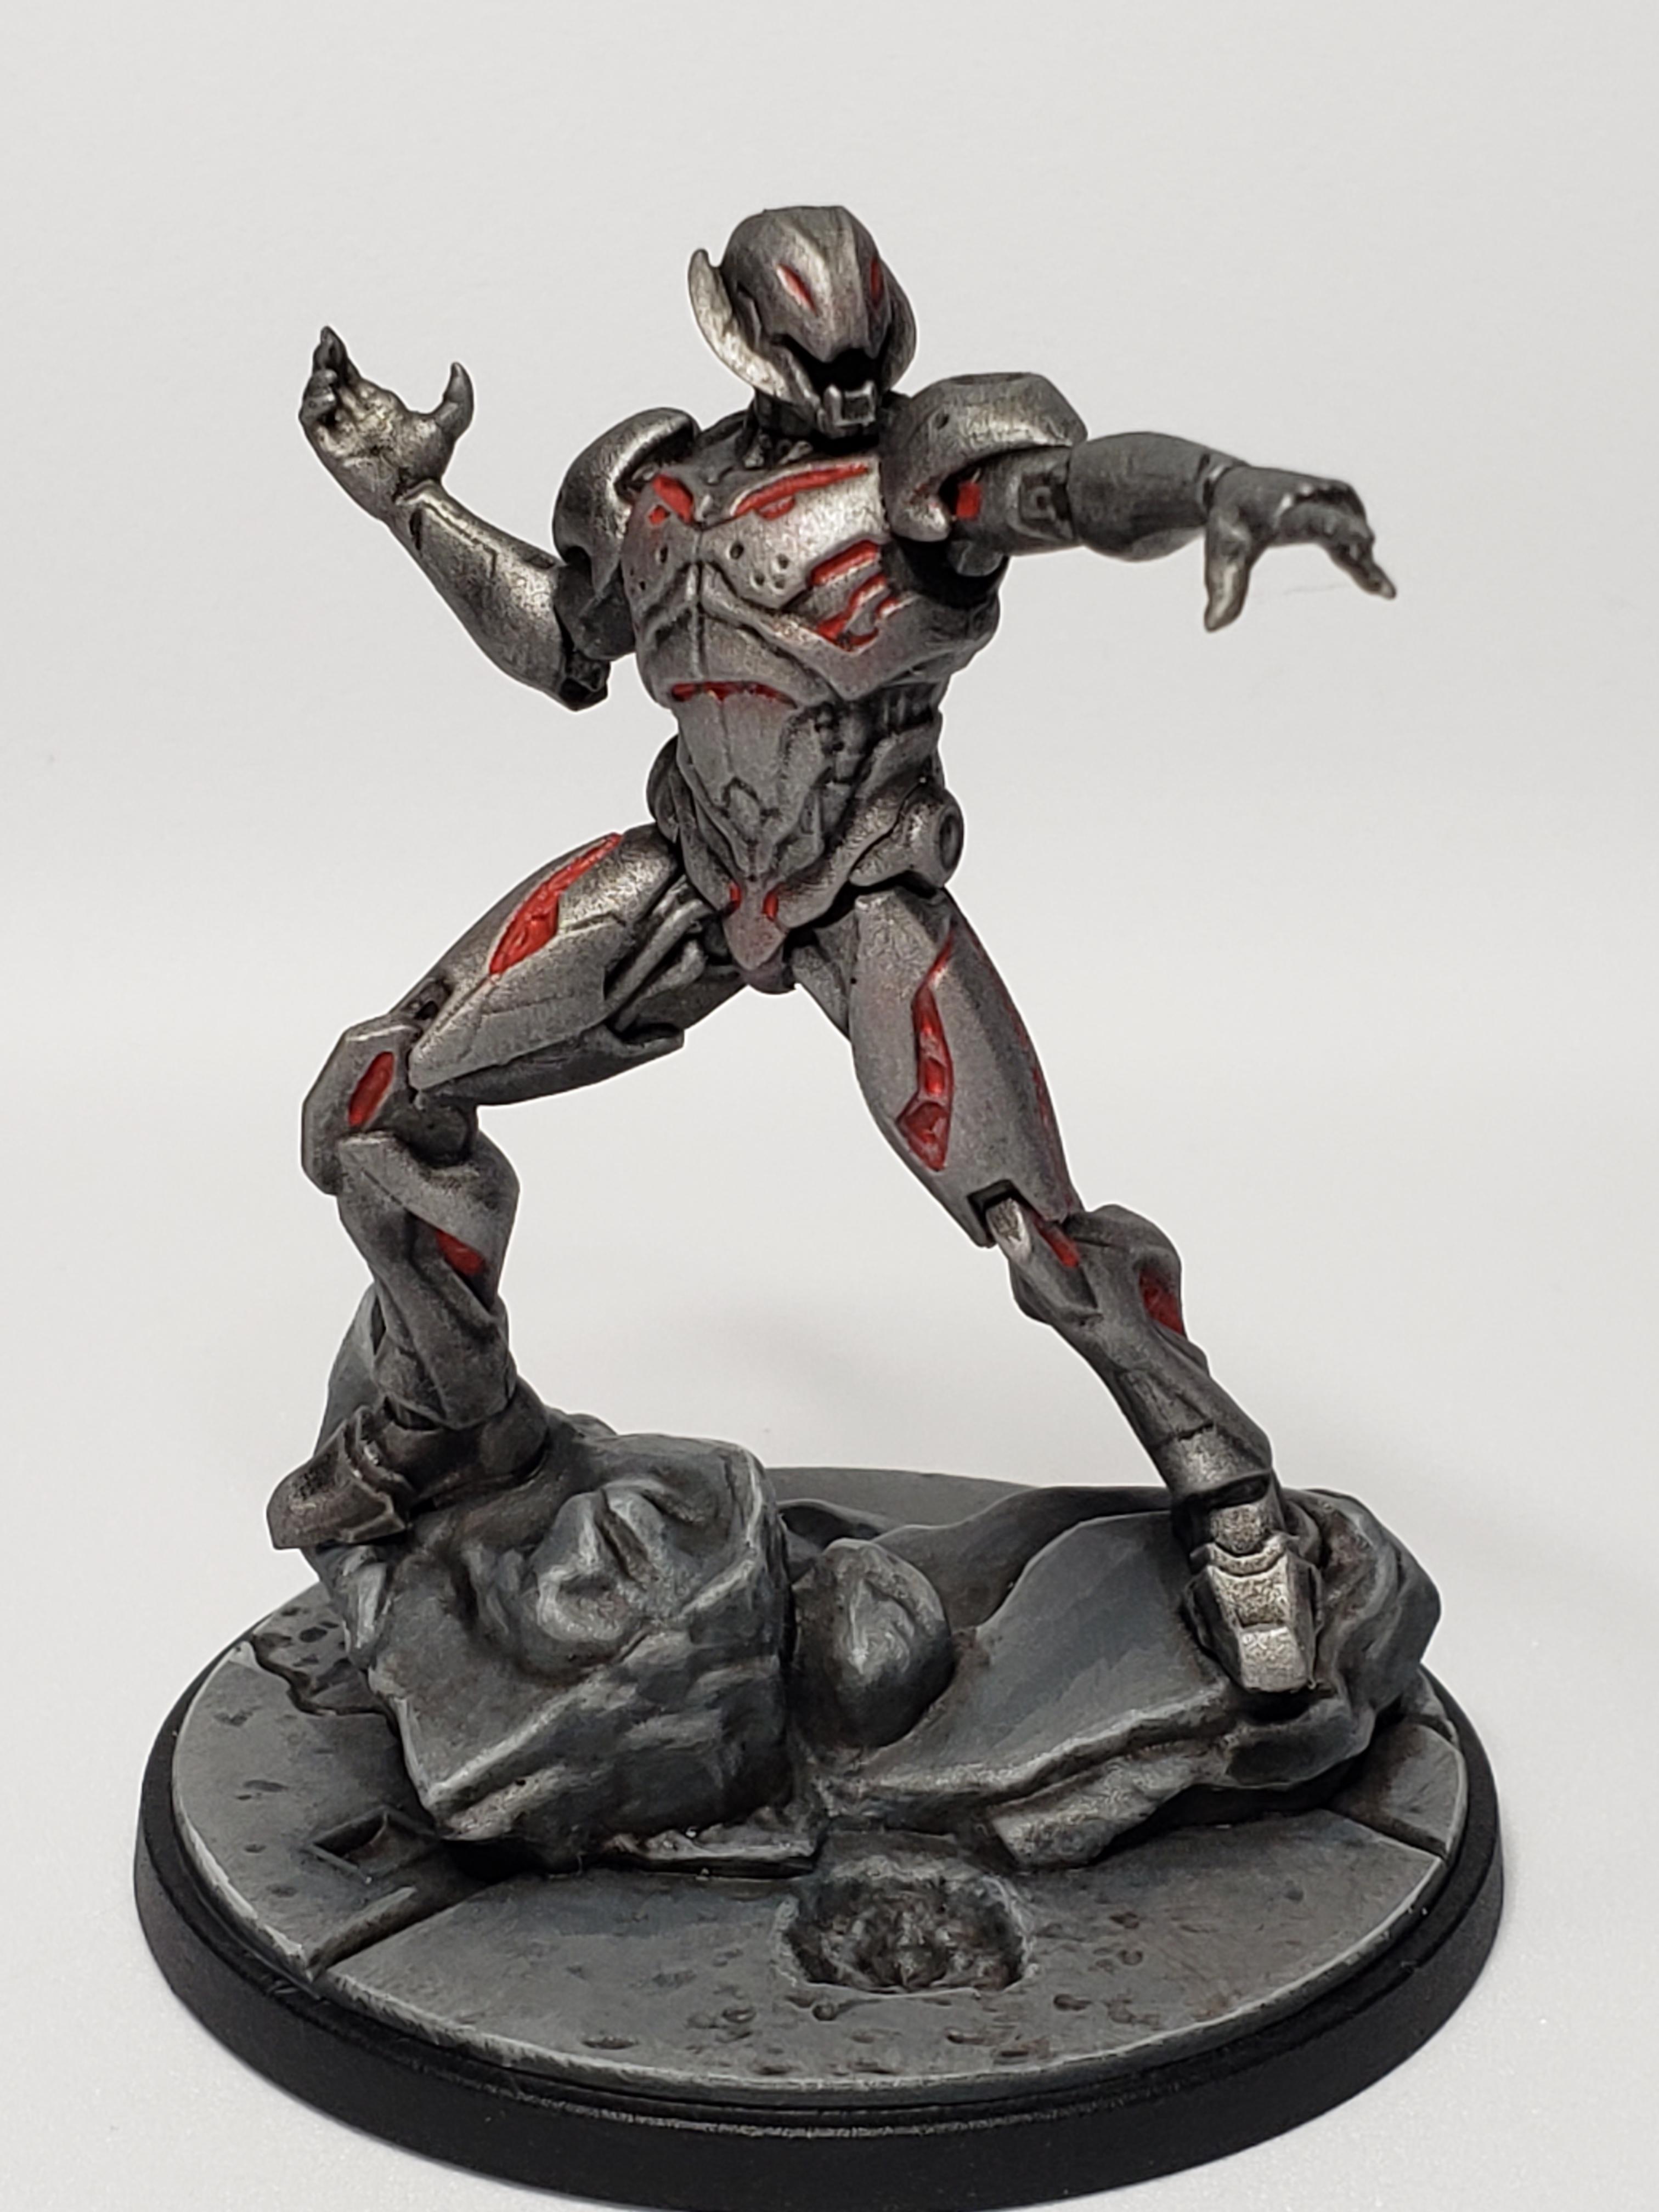
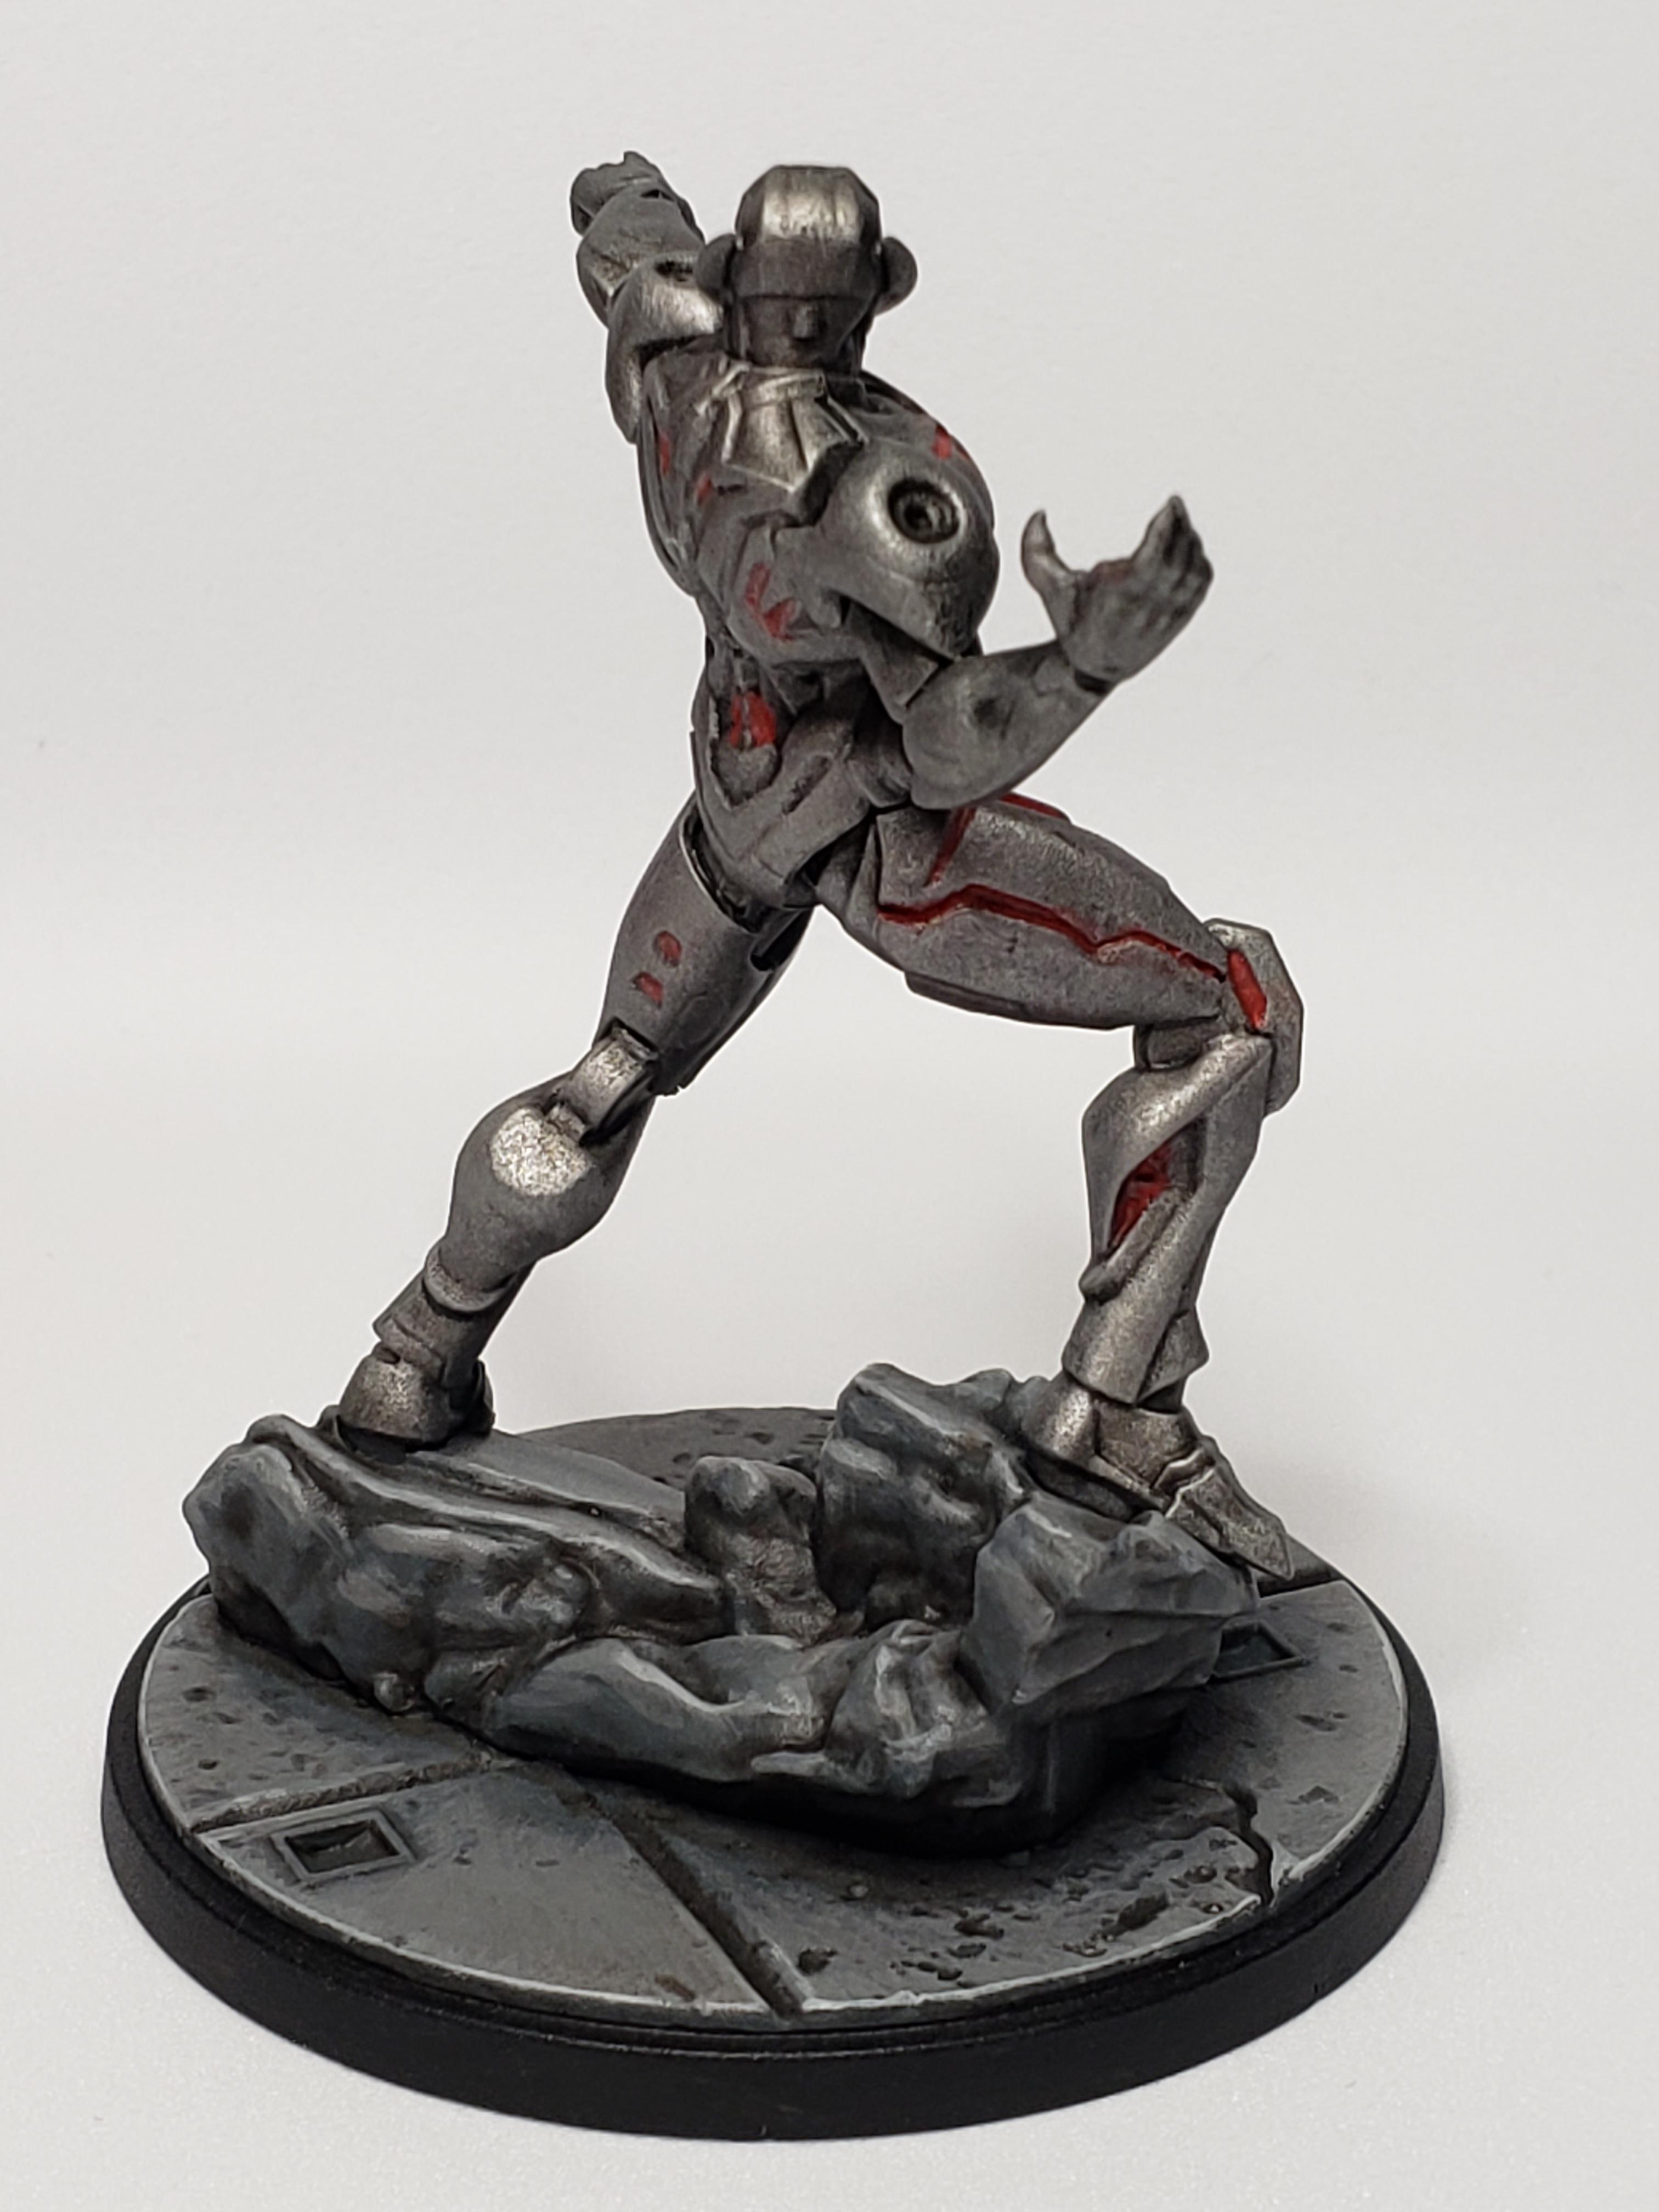

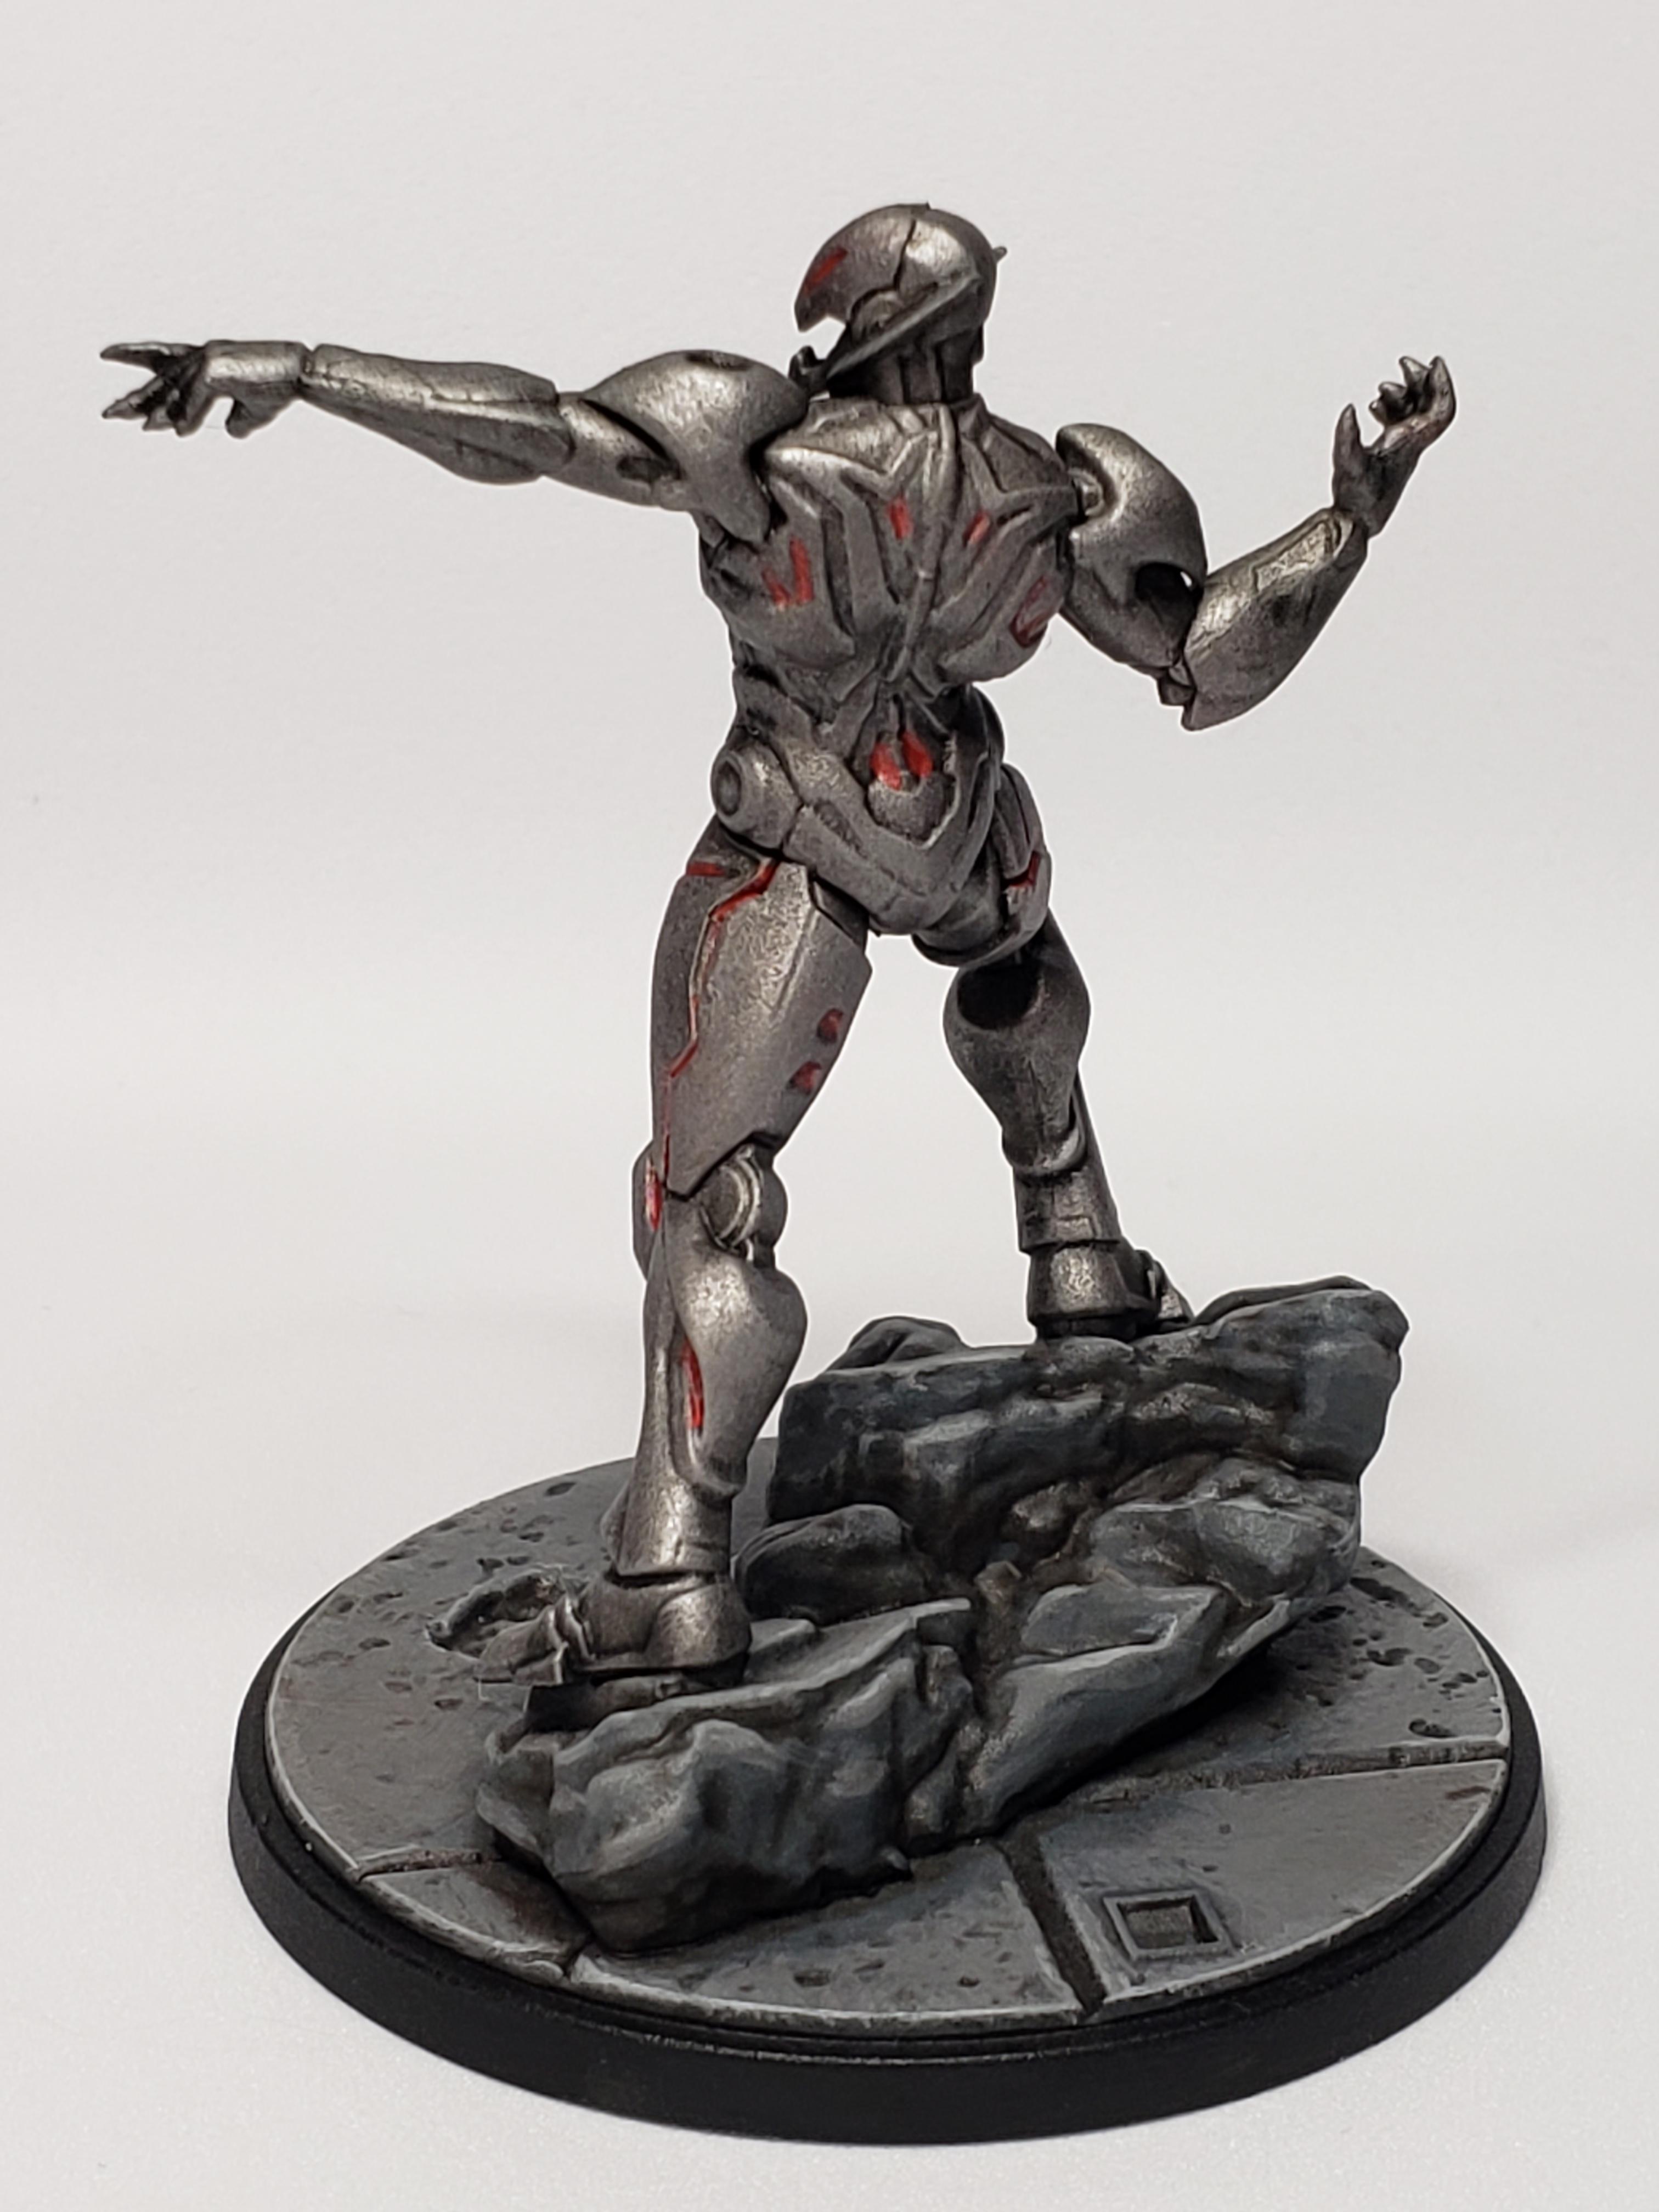
Finished up Ultron yesterday. The pics really don’t do him justice as his metallic looks very chalky in the picture. Not sure why. Perhaps the white background doesn’t look great with metallics. I’ll try to experiment later with different backgrounds and see if it helps.
Doctor Octopus Complete
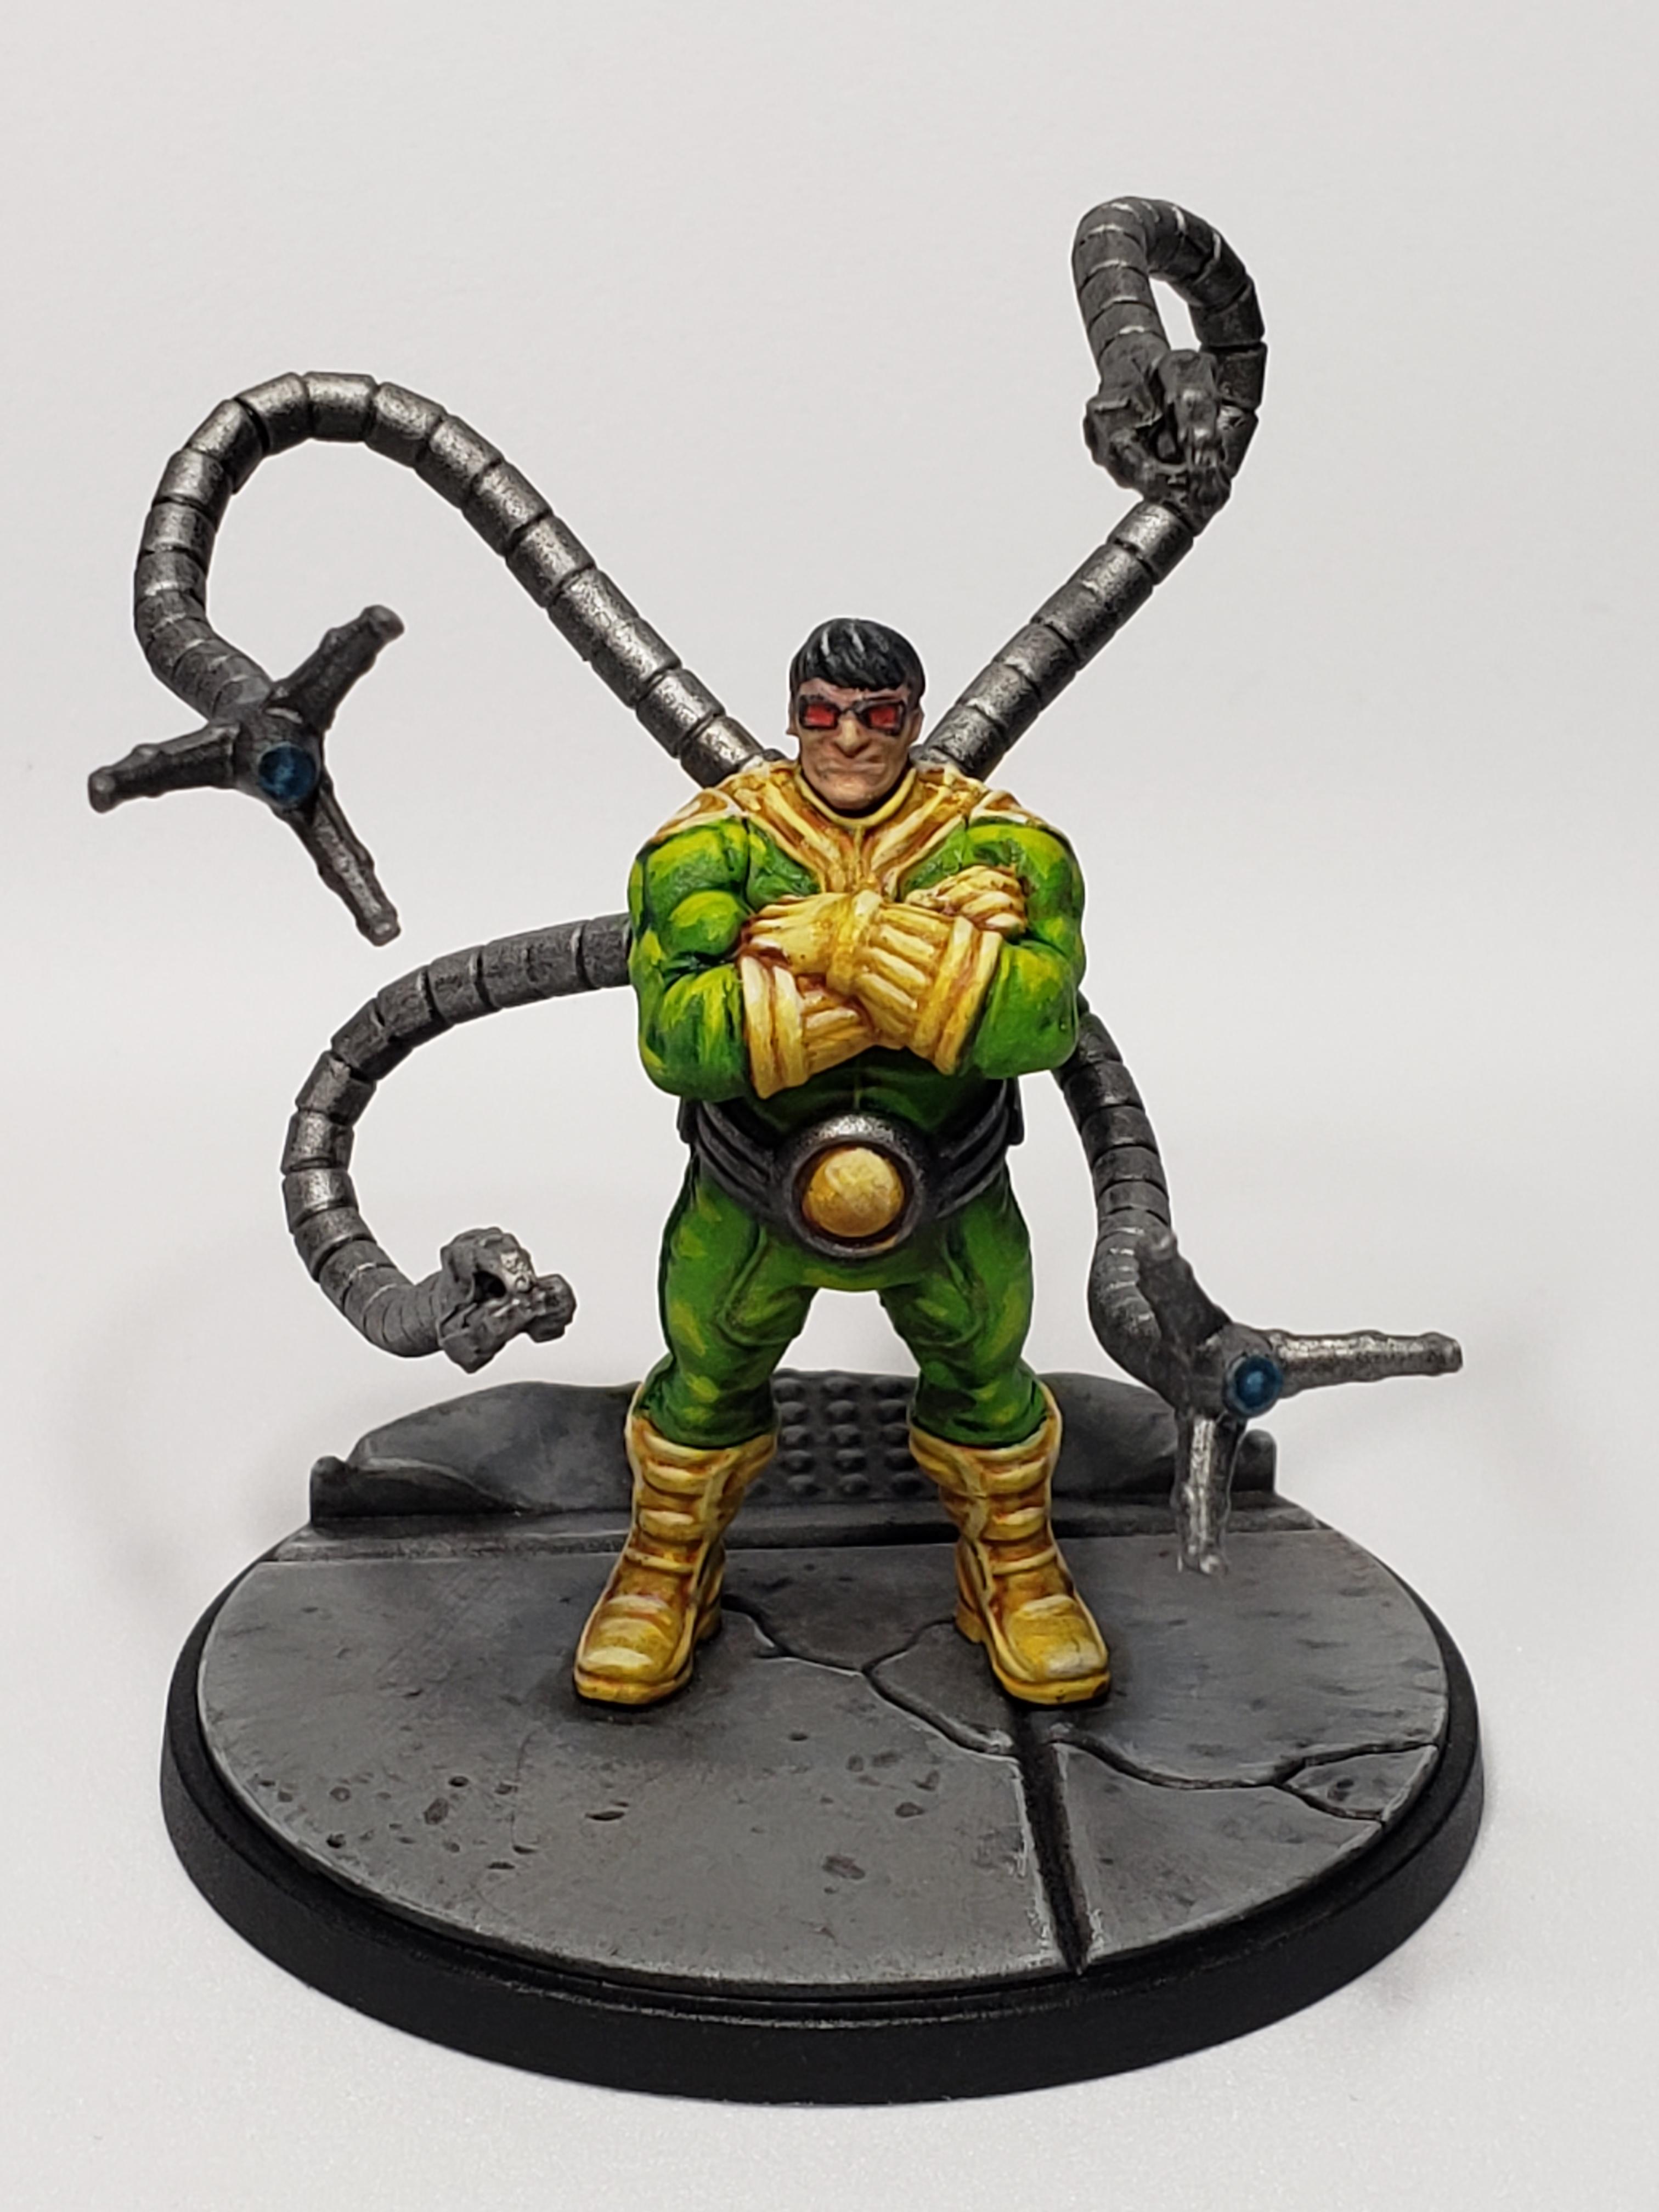
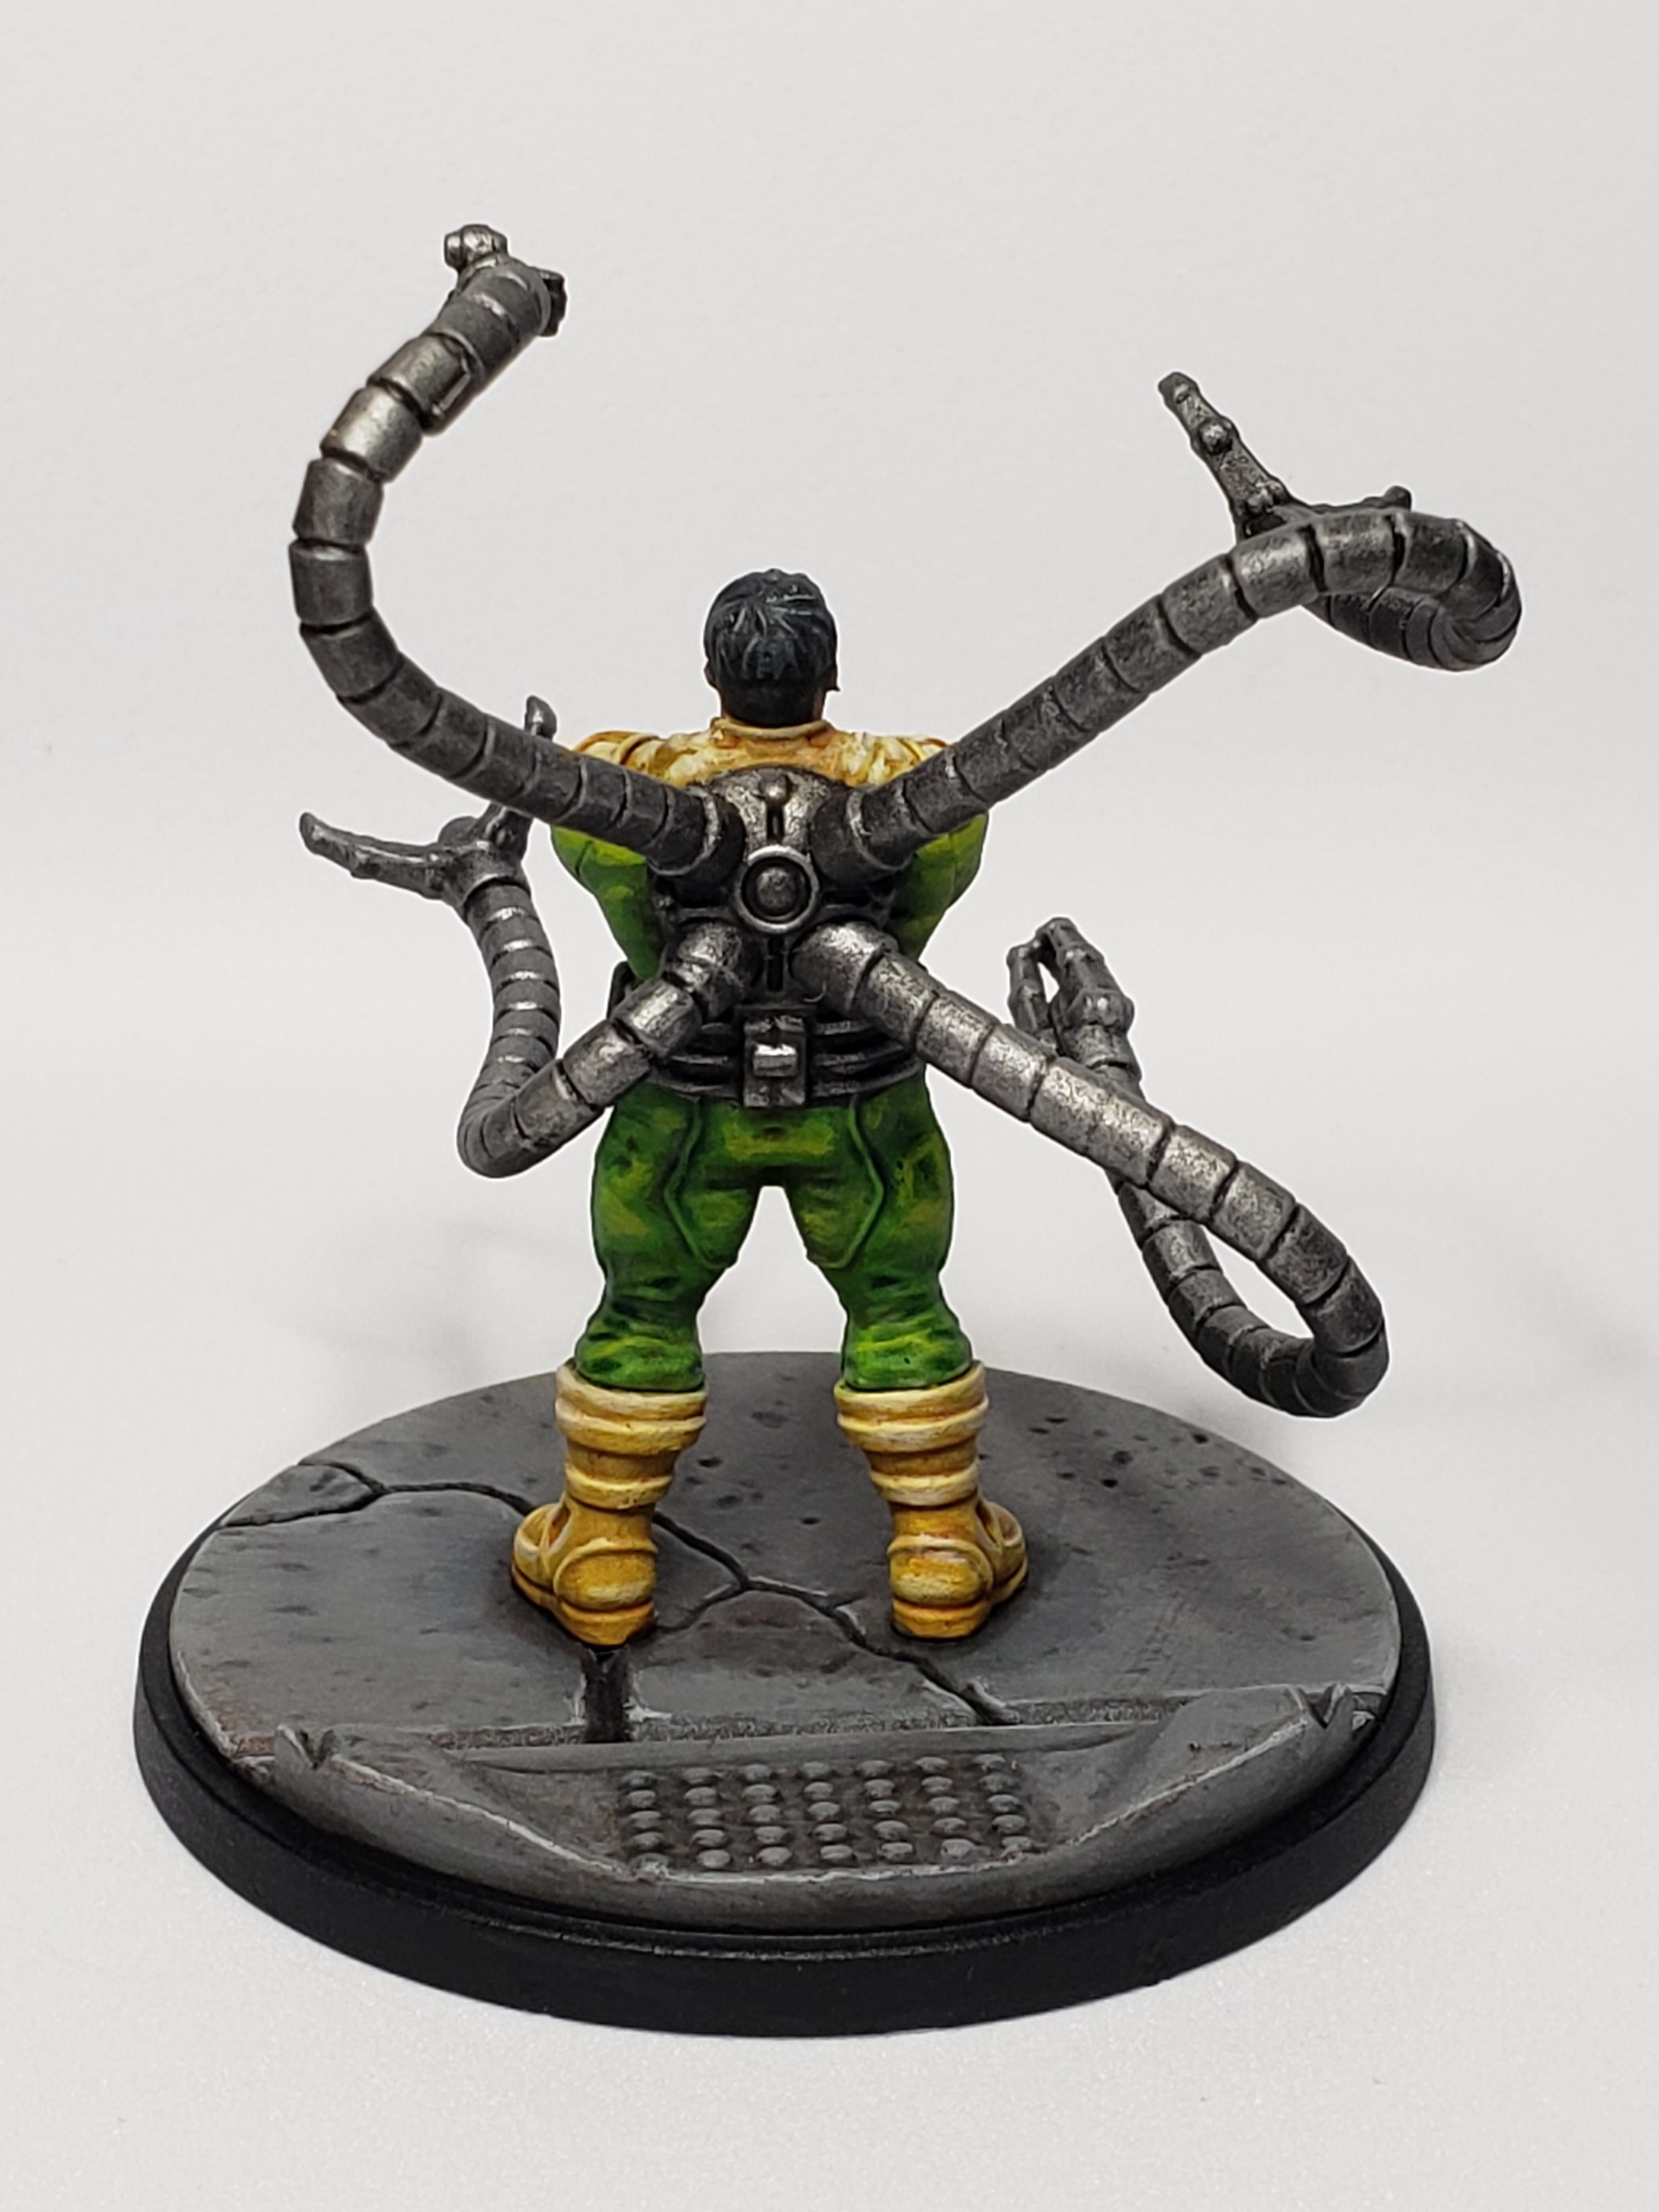
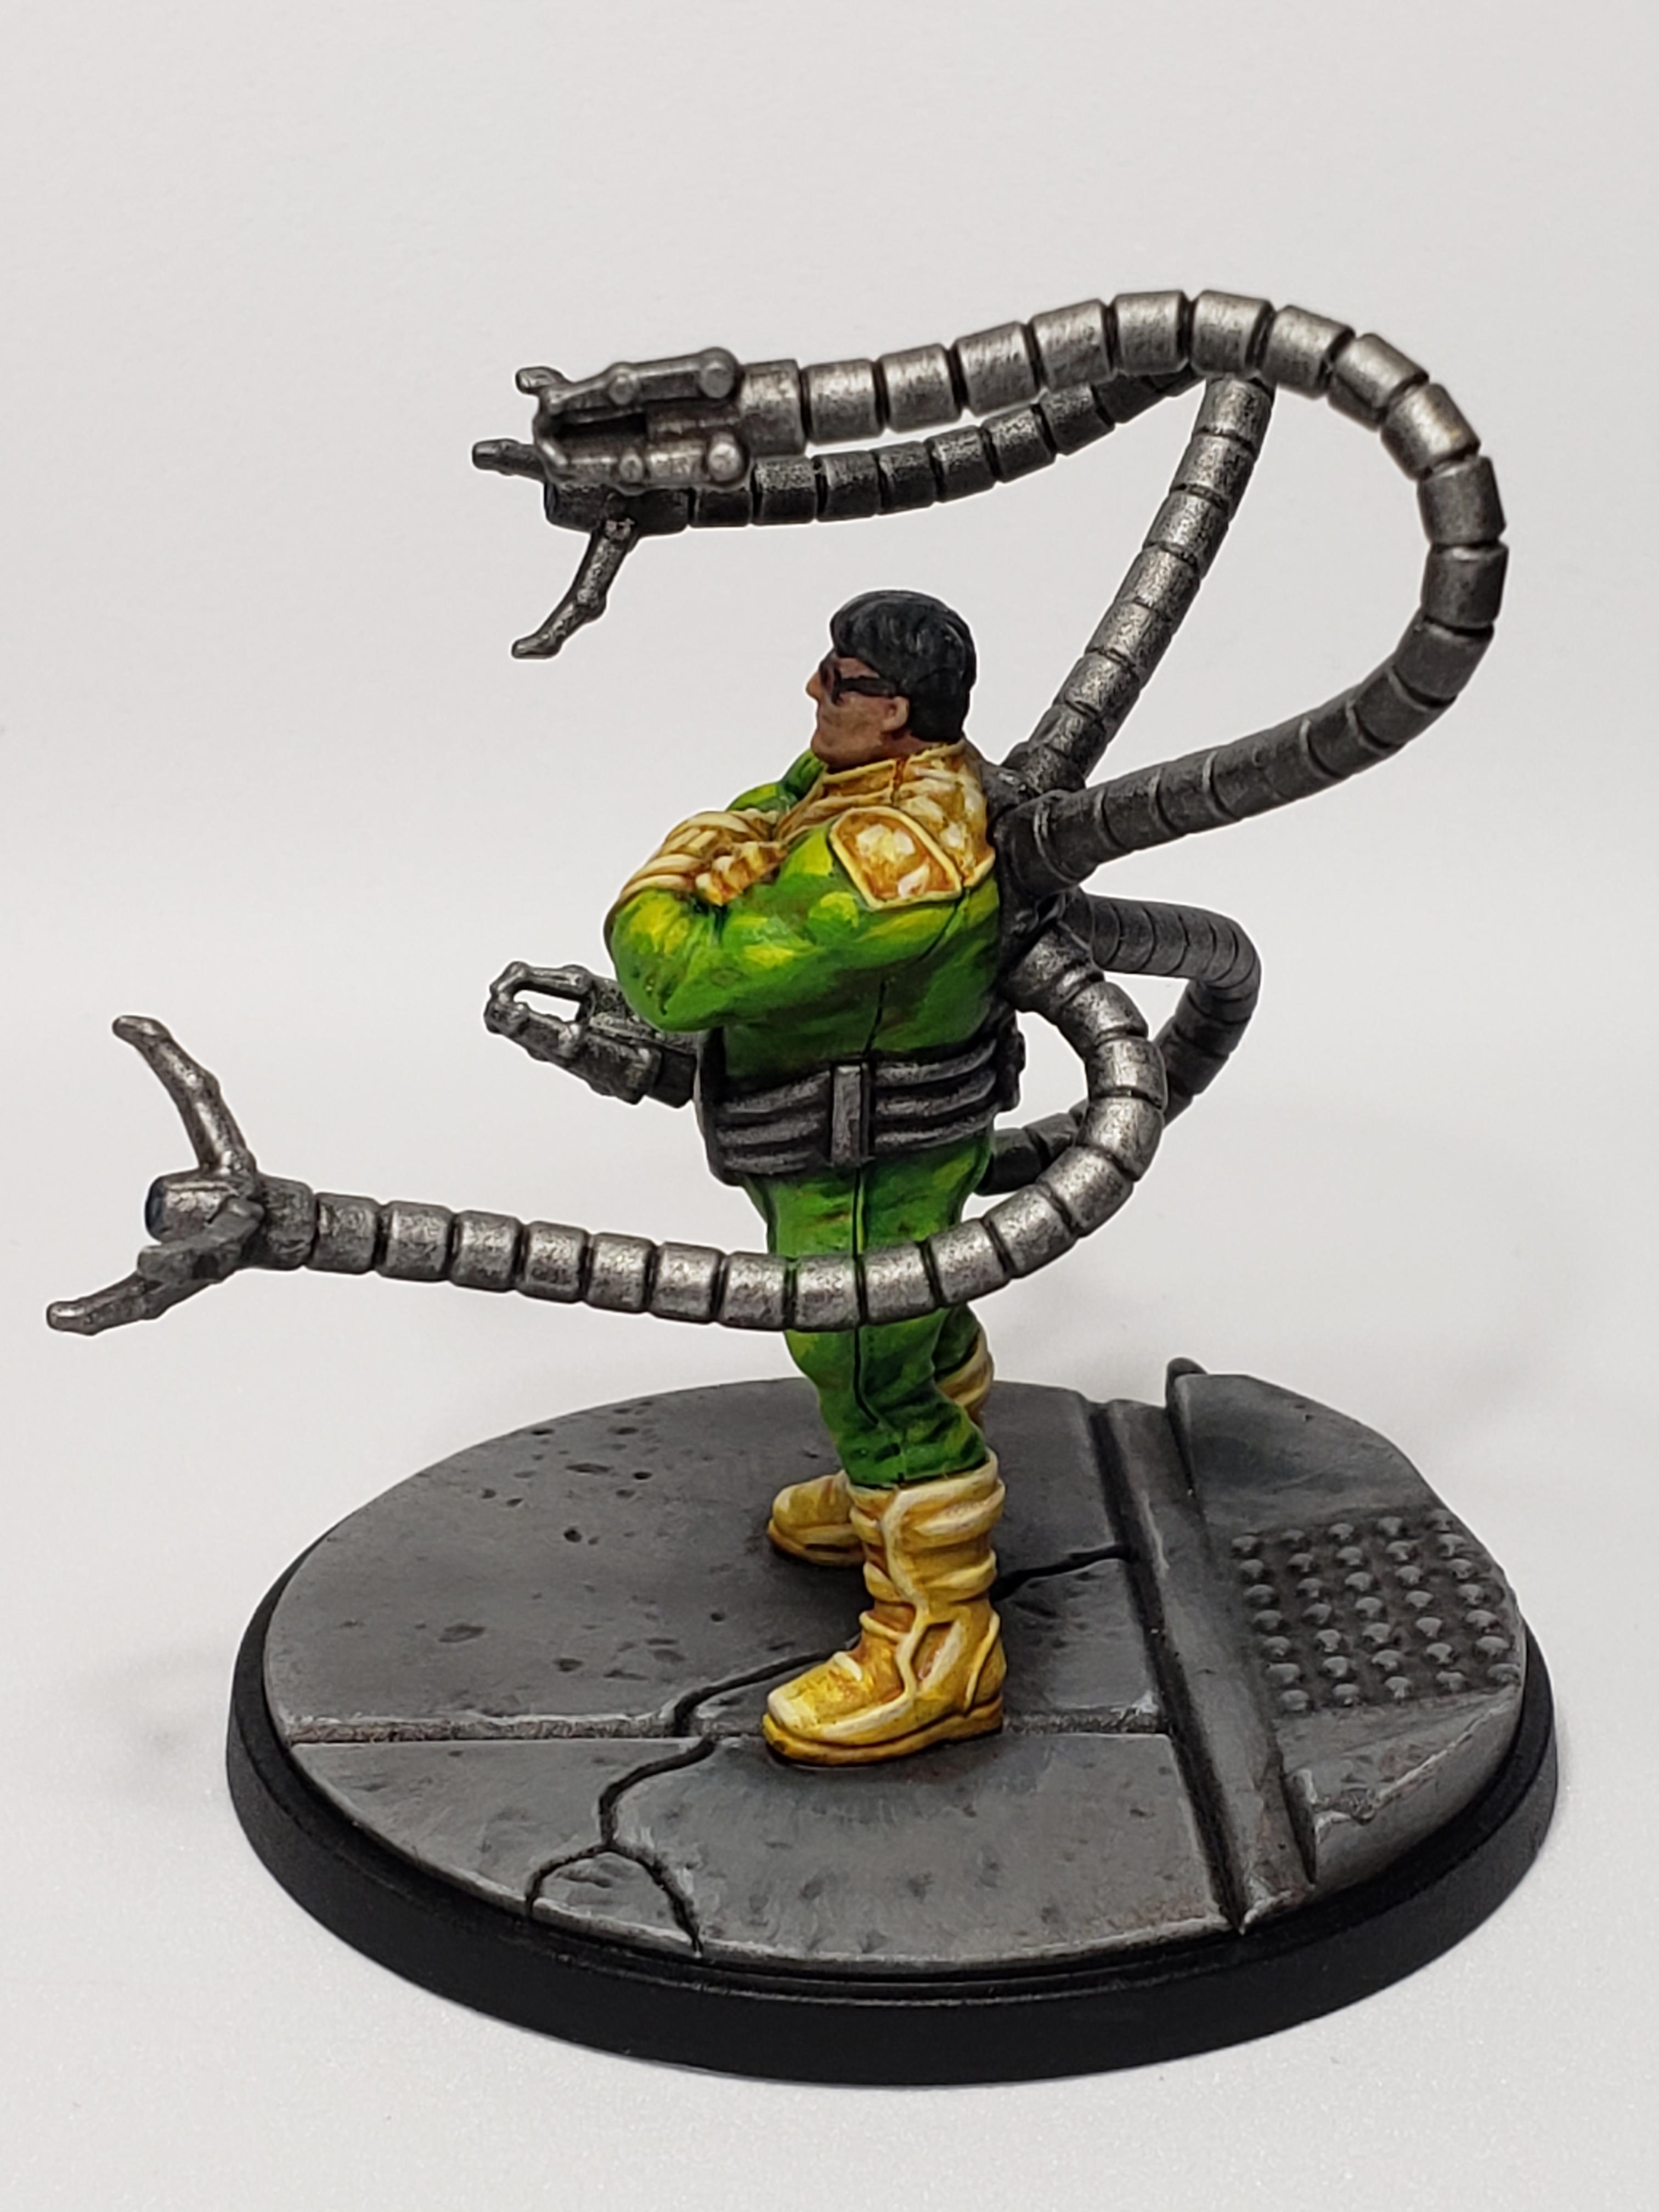

Finished up Doctor Octopus yesterday. Eventually I’m going to get back to Iron Man, but my motivation on him right now is low, so I’ve decided to get around that by focusing on other projects so that I’m not delaying progress. I’m getting ready to do Red Skull and Crossbones next.
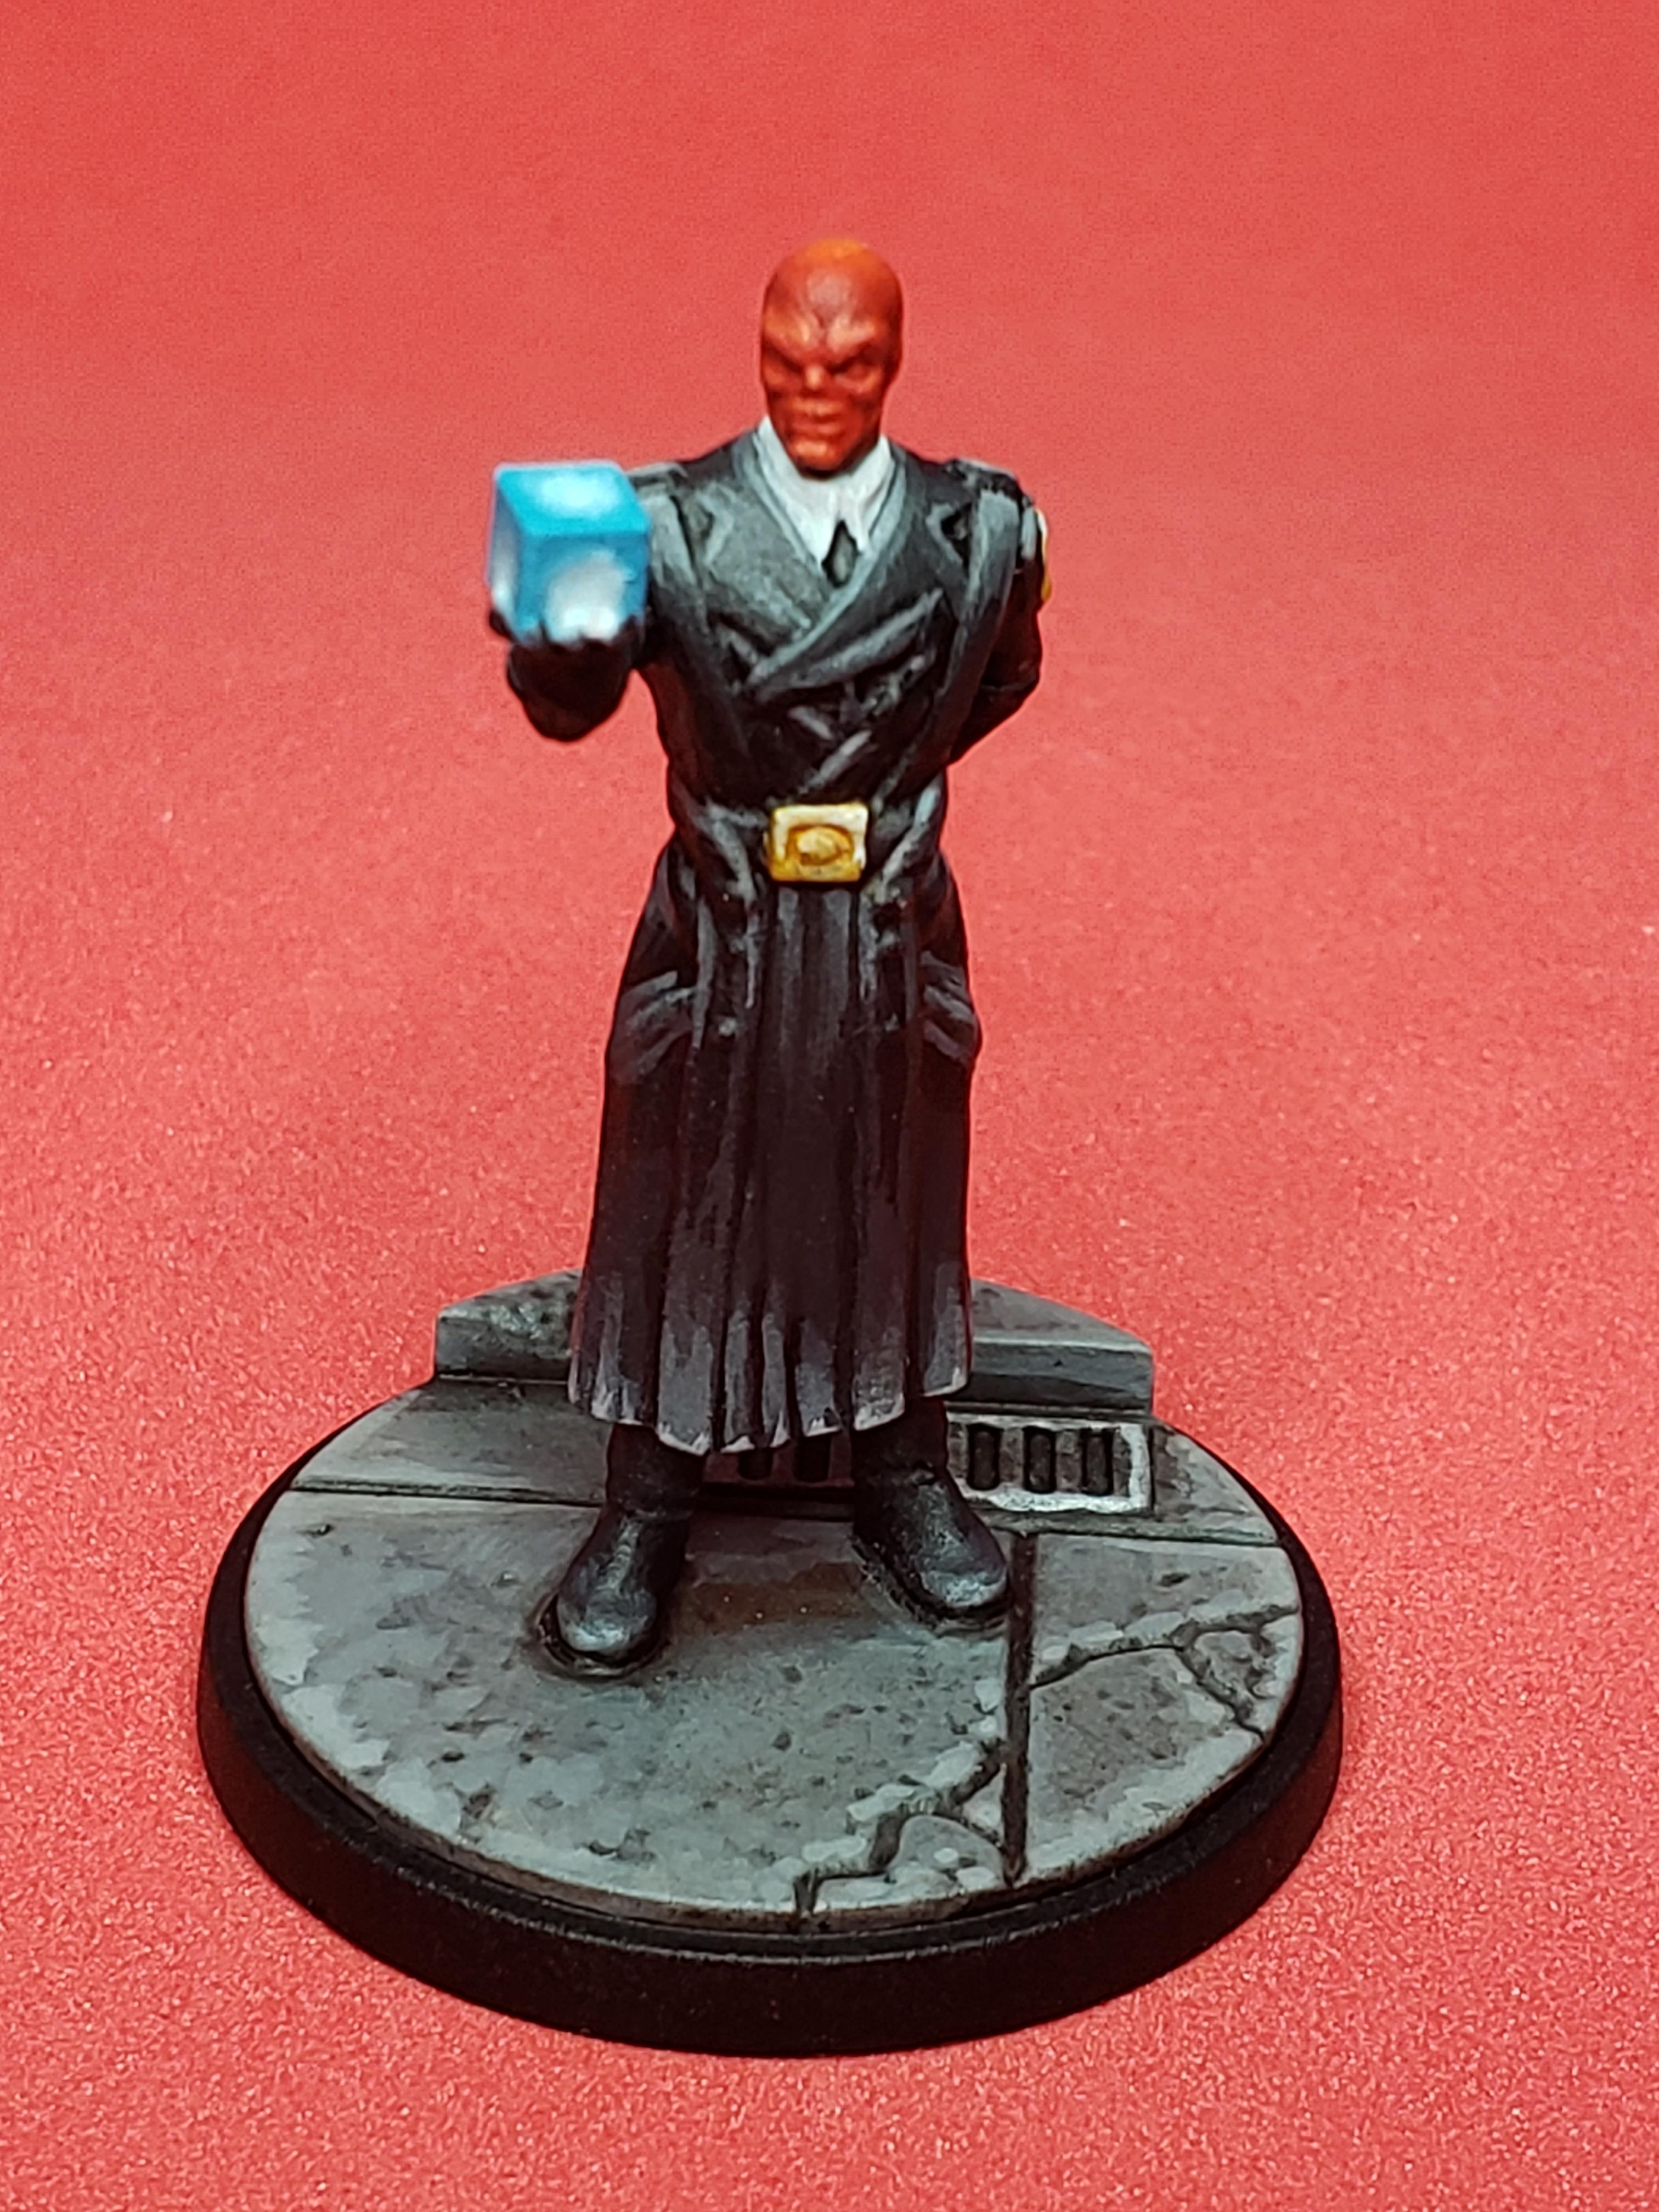
Red Skull is a go.

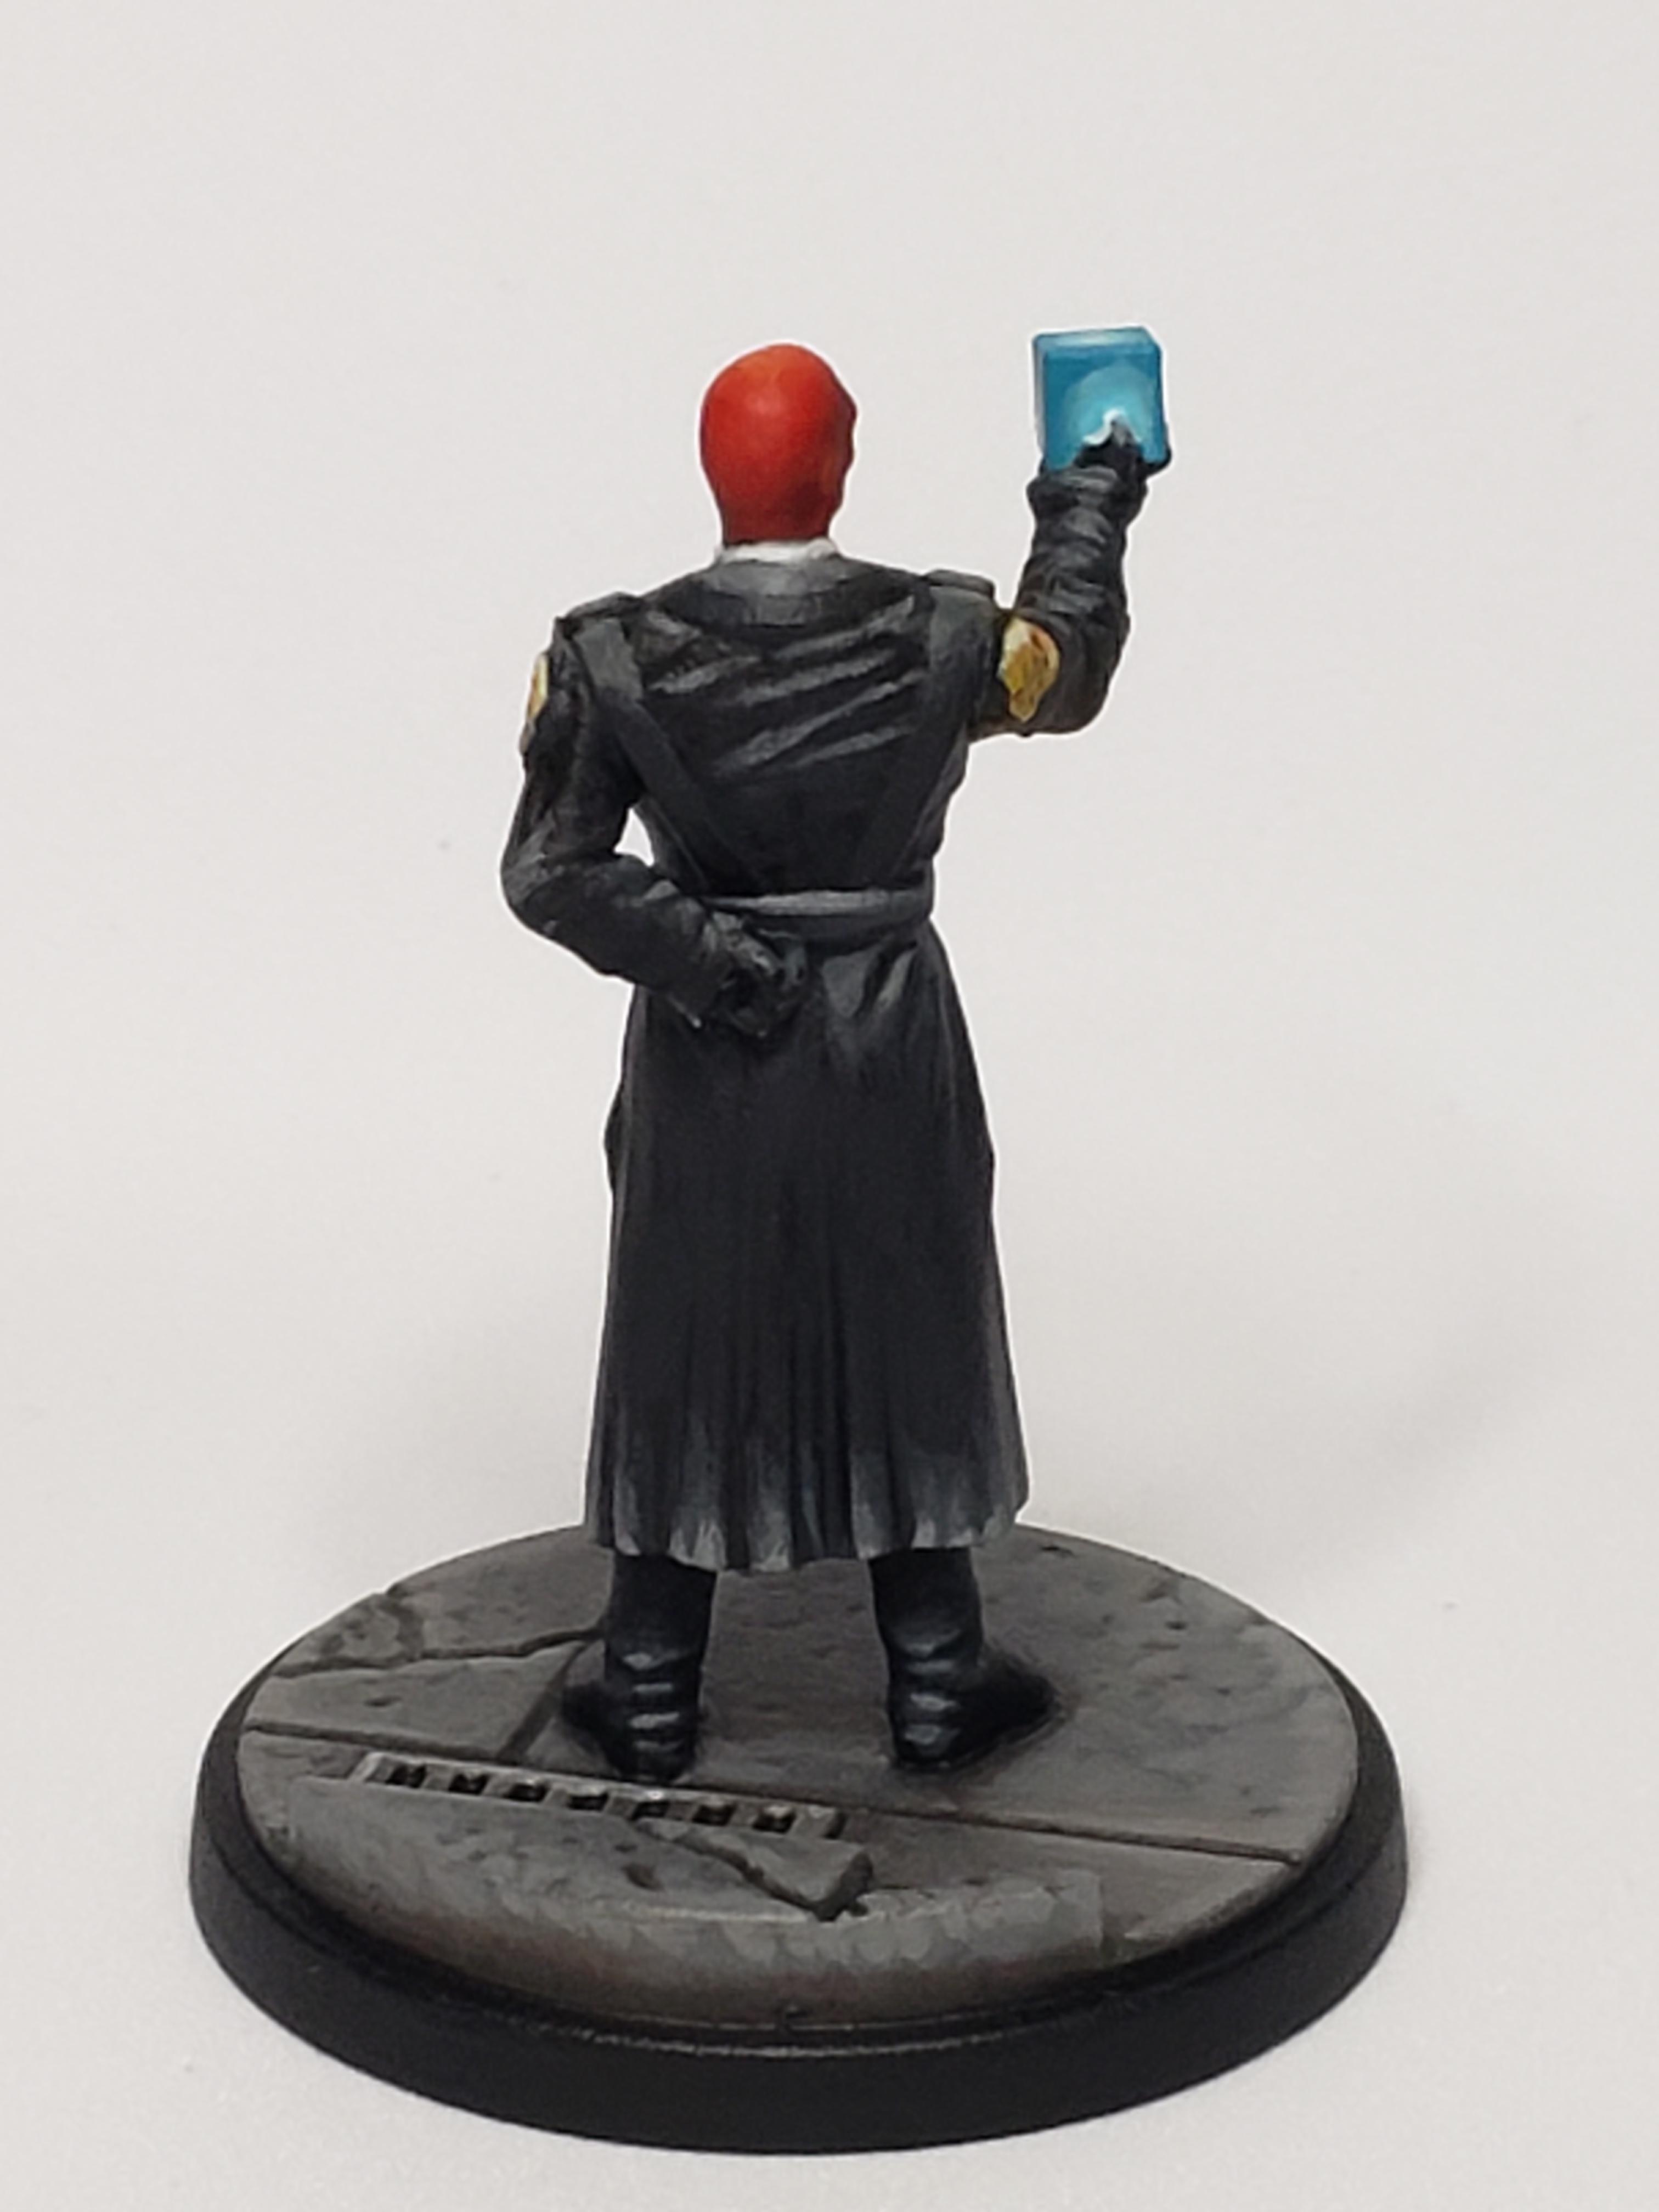
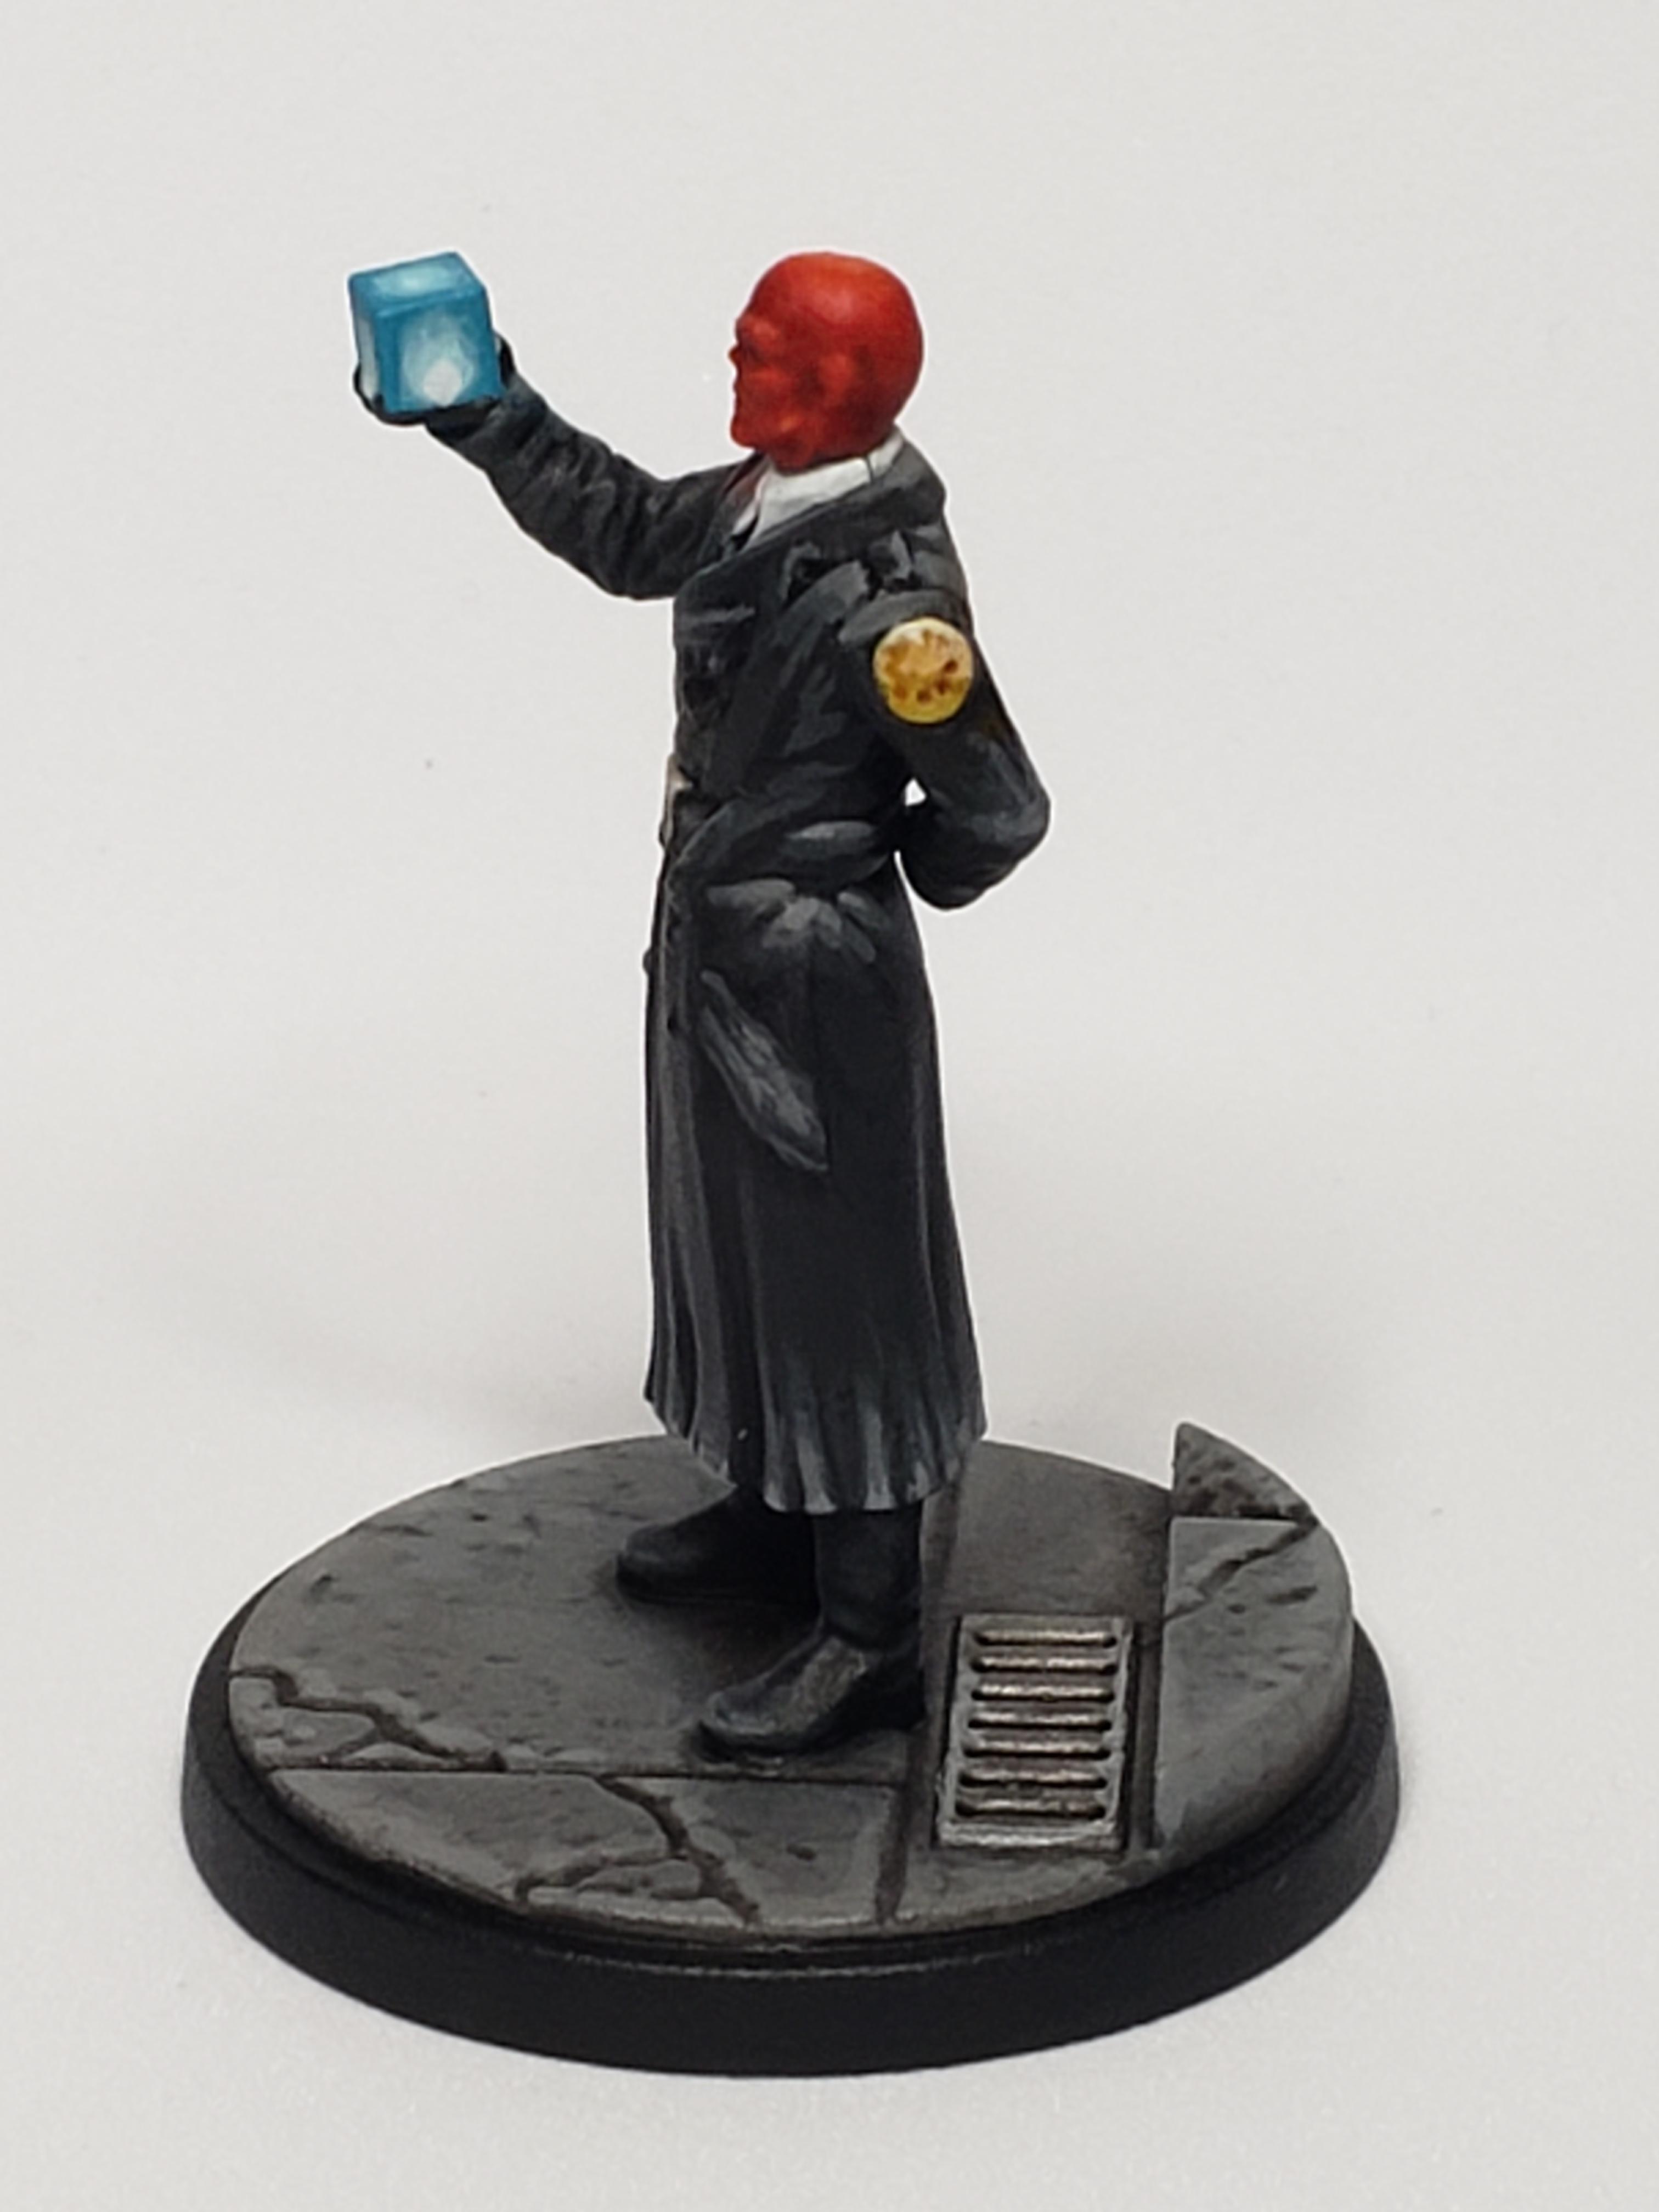

Finished up Red Skull. I really don’t feel the photos do it justice, but with a black background the highlights just get washed out. After I post these updates I think I’m going to experiment with some different backgrounds and see if I can find some kind of in-between that doesn’t wash out the highlights, but doesn’t make the highlights looks so harsh and sloppy.
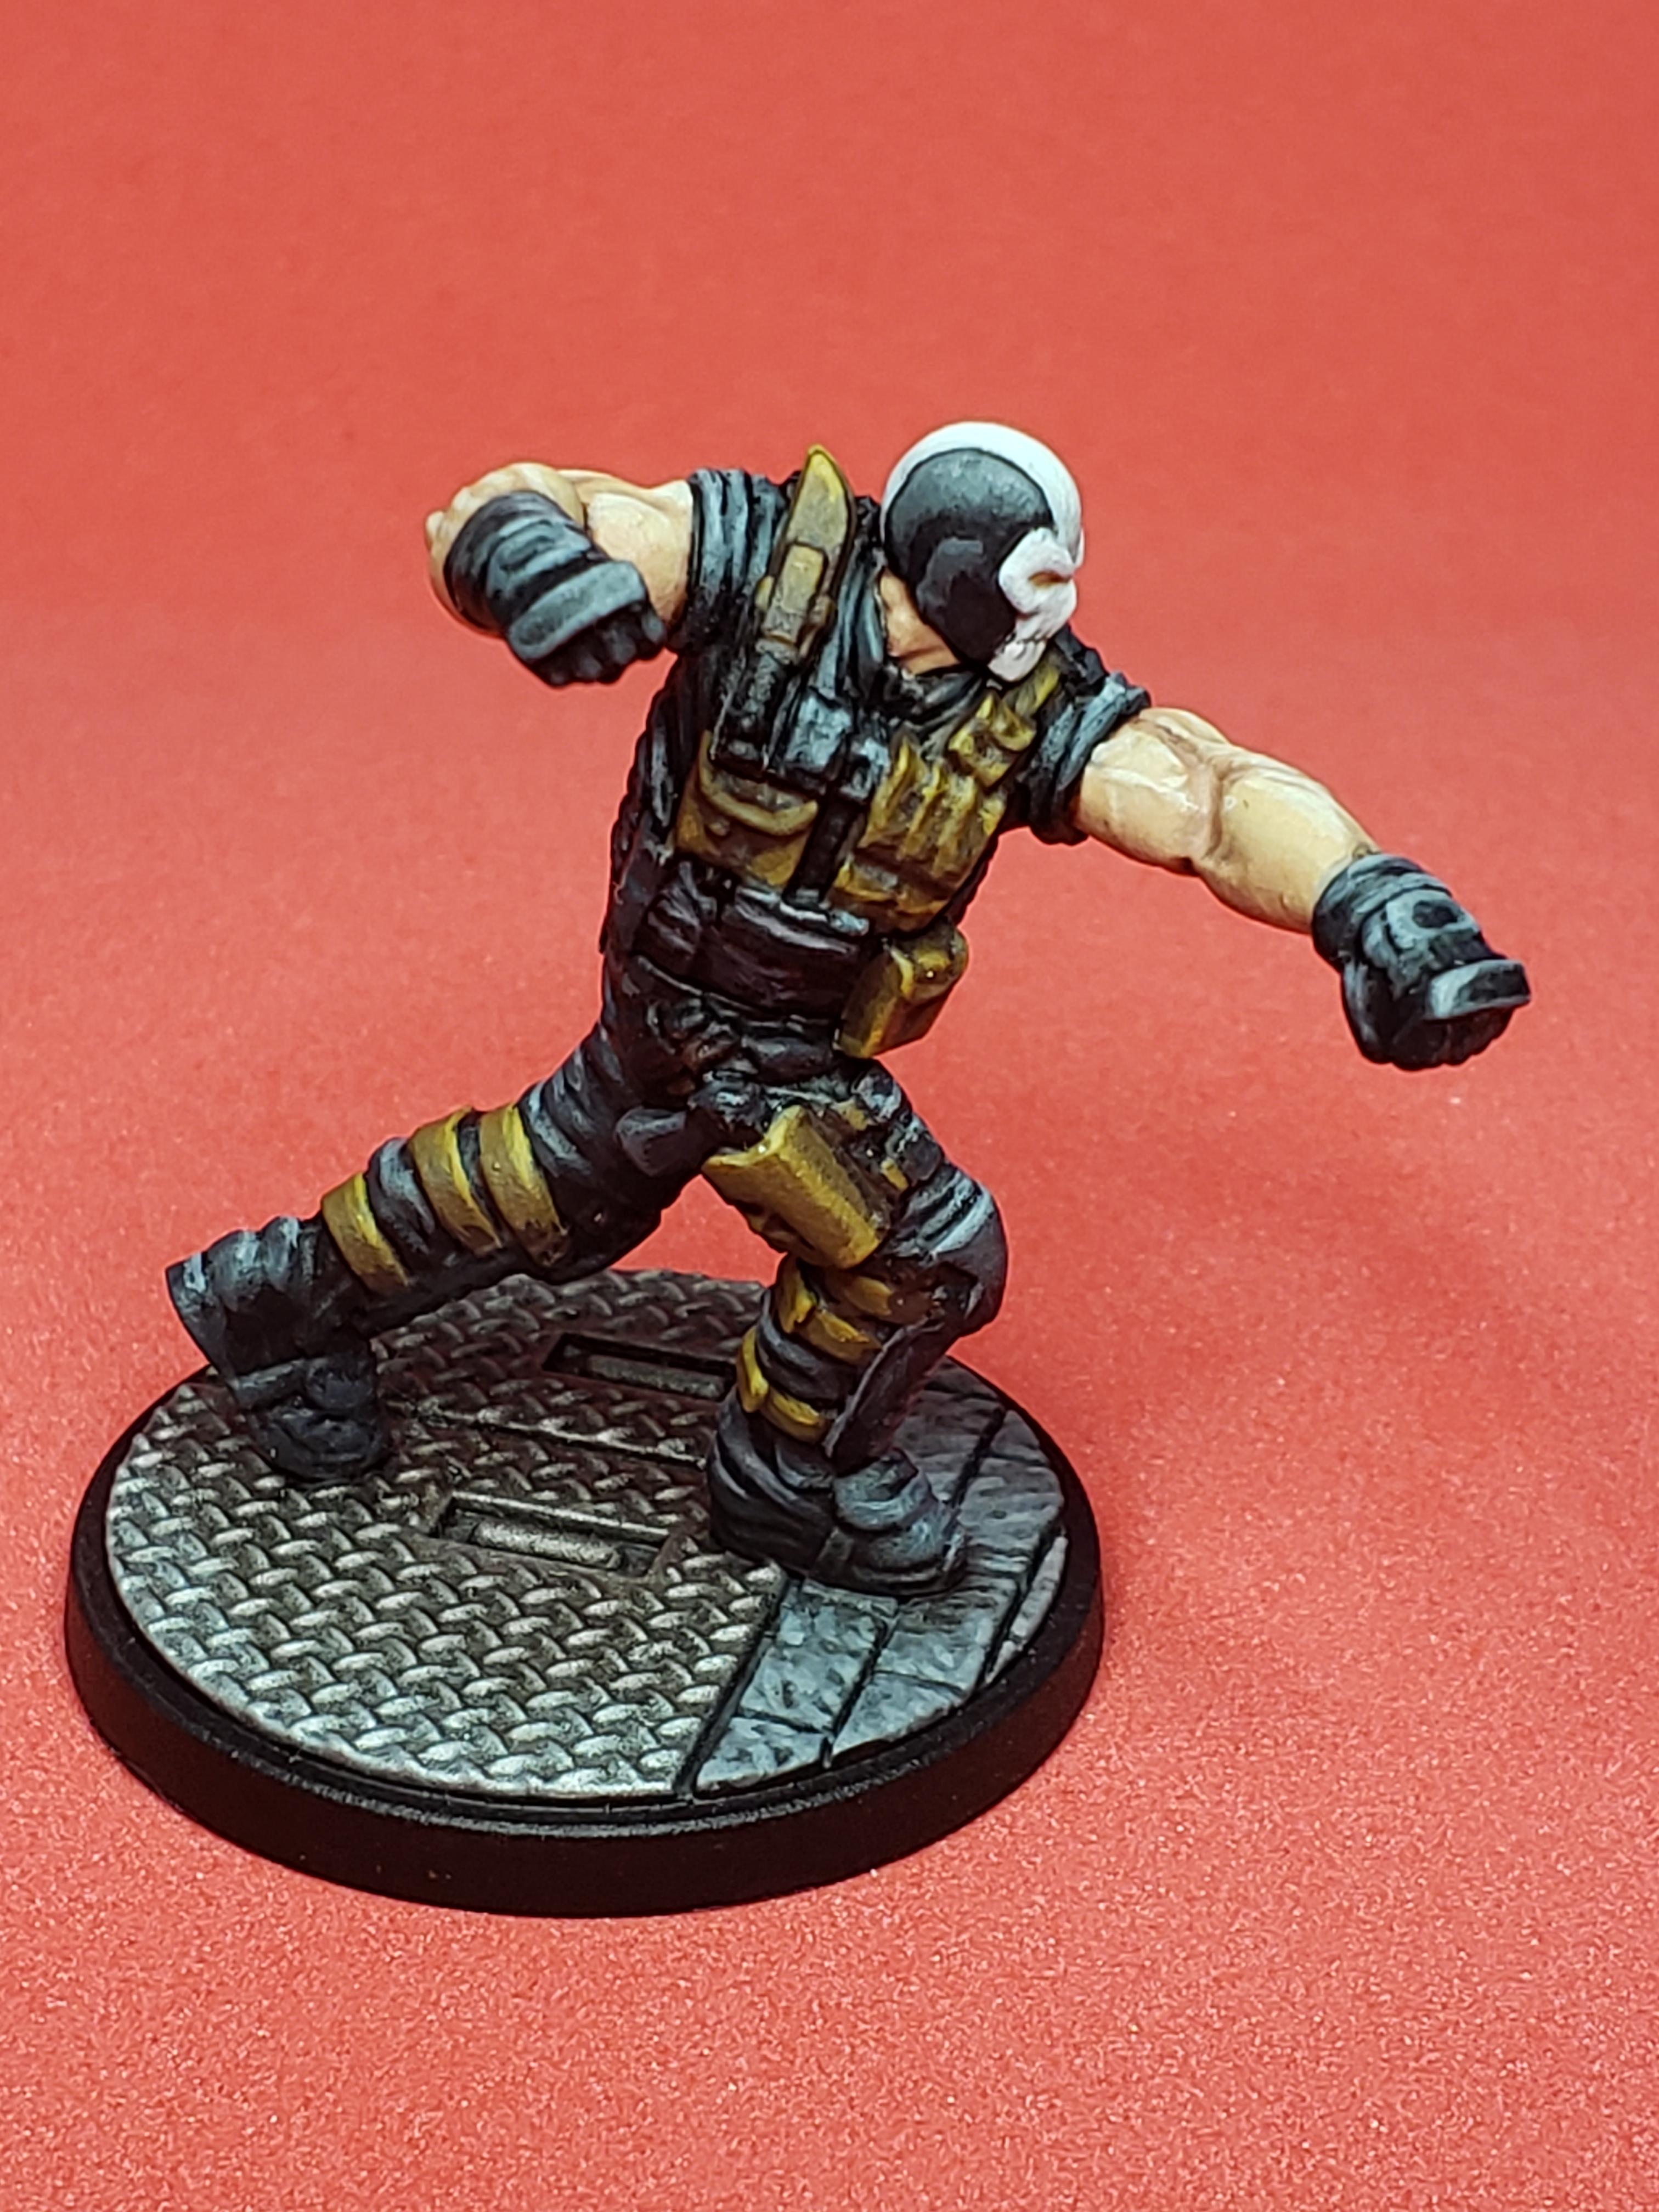
Crossbones ready to battle.
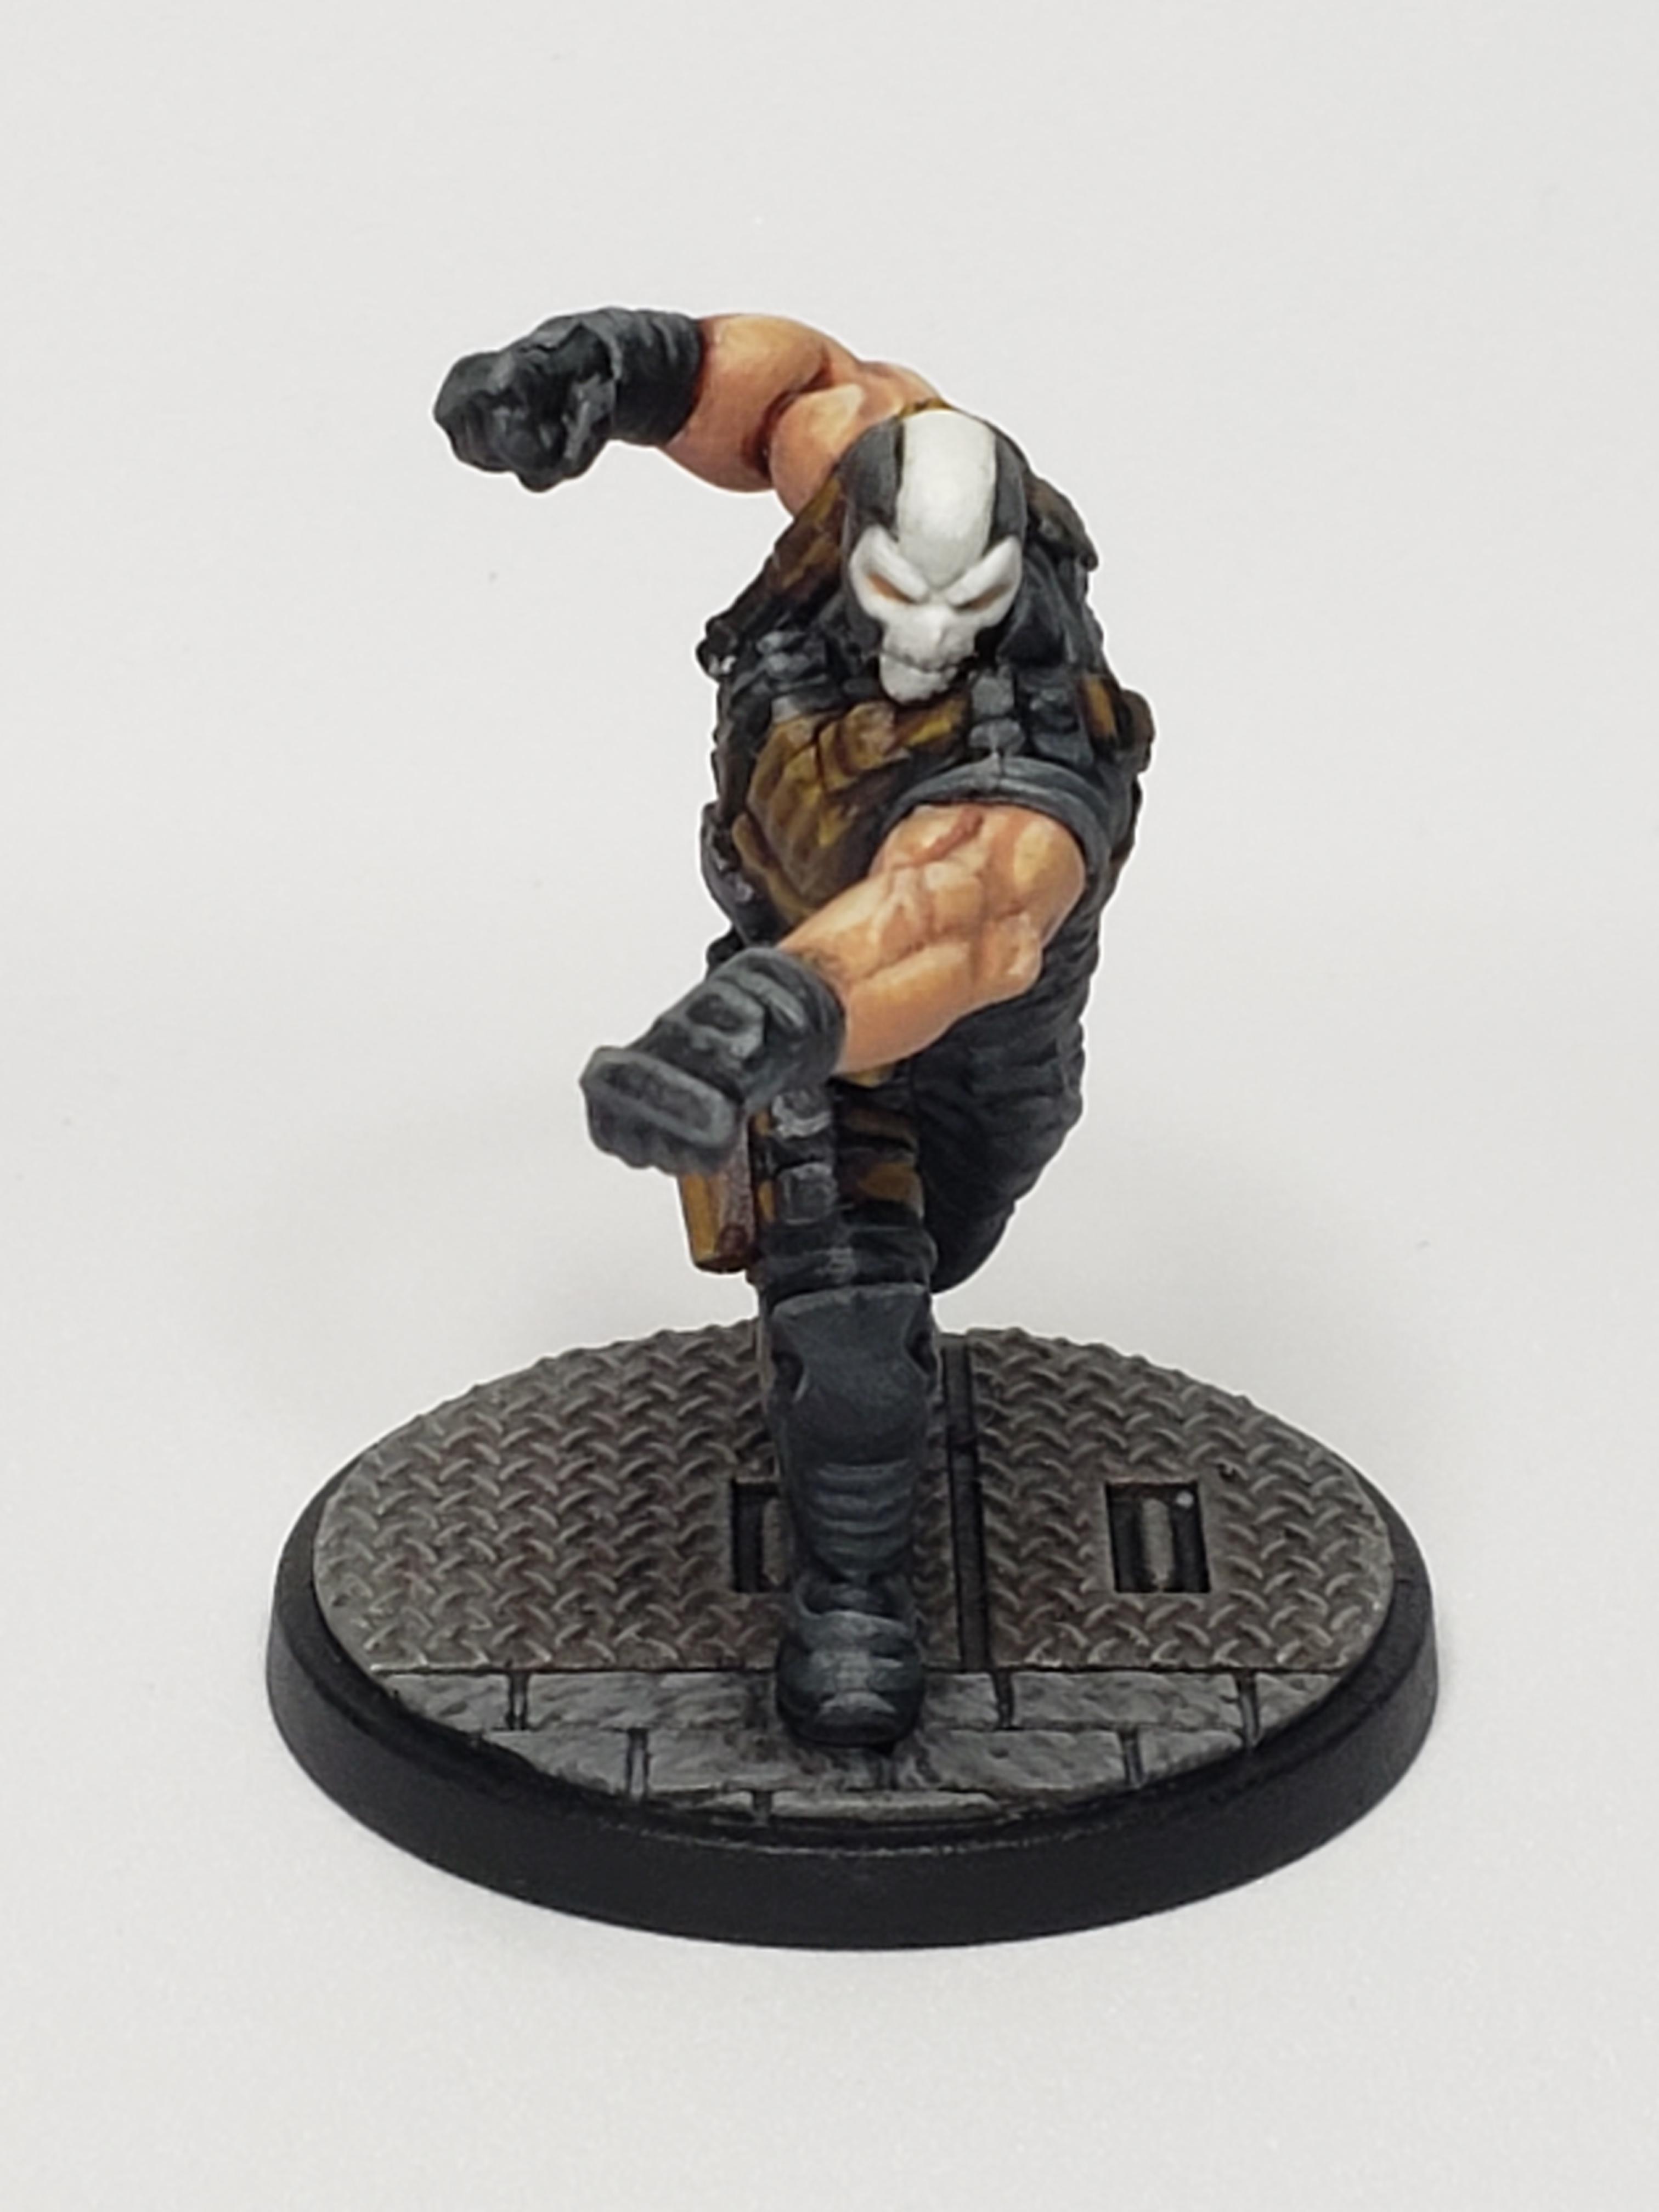
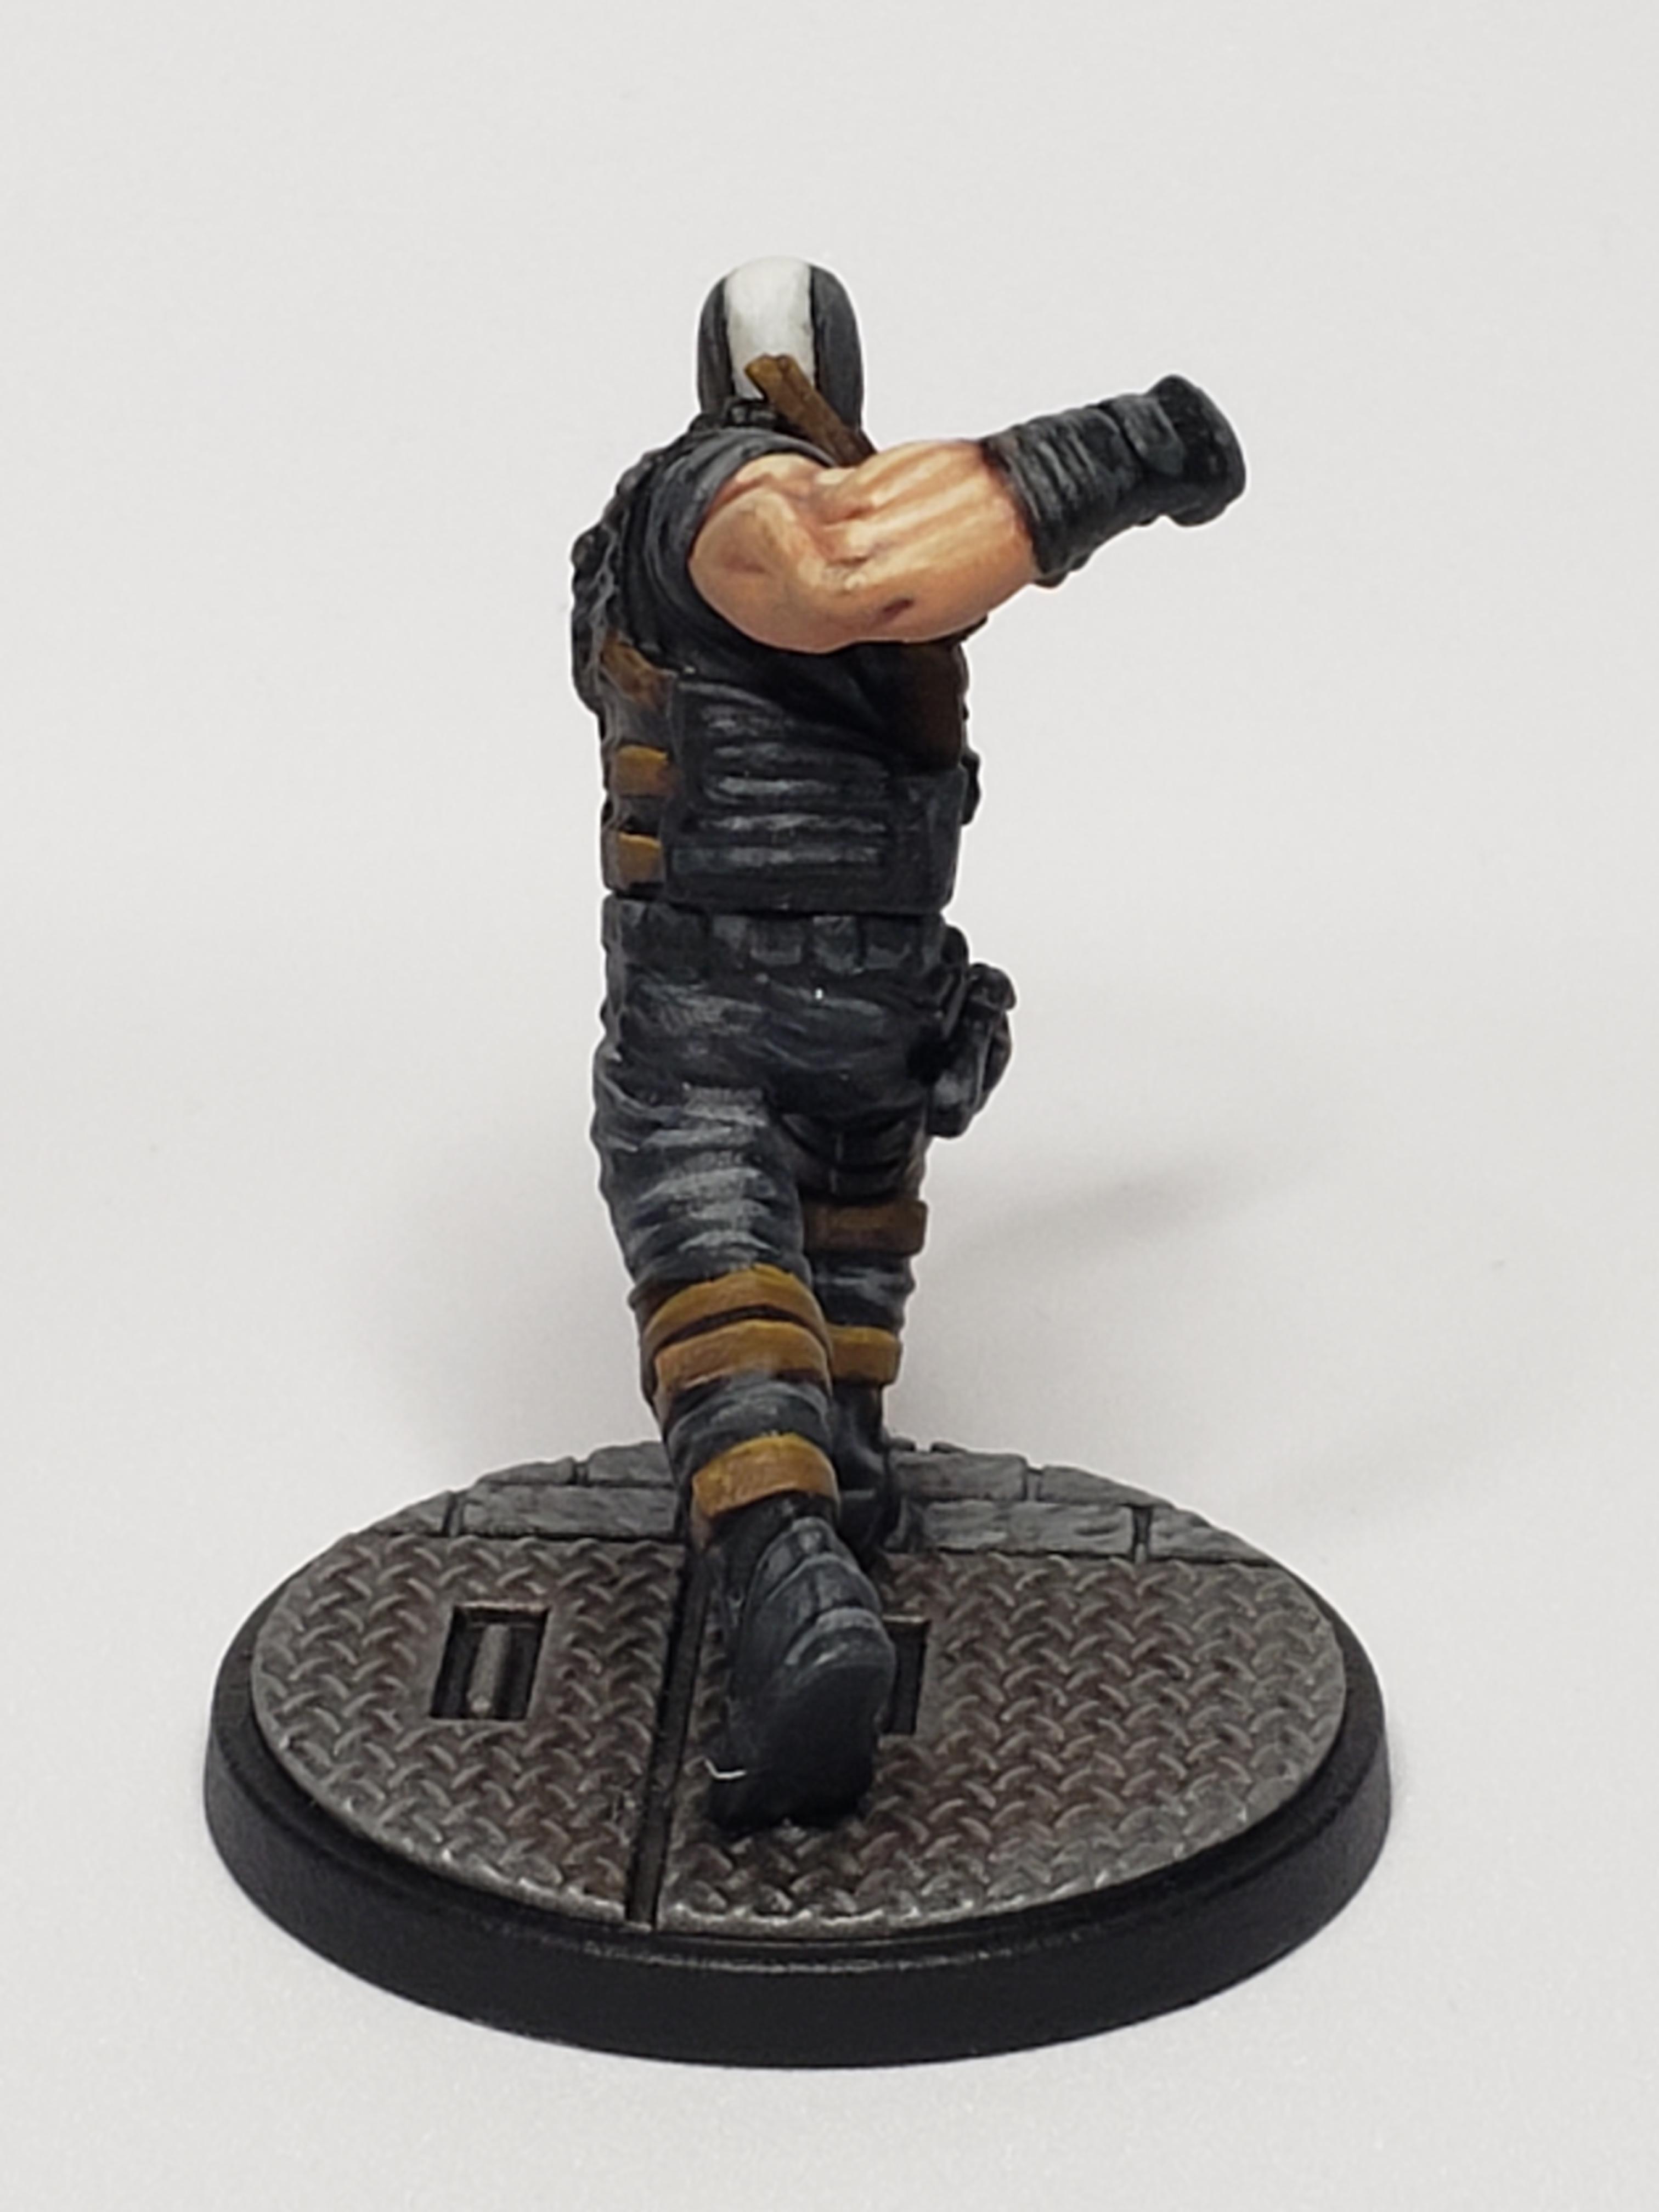

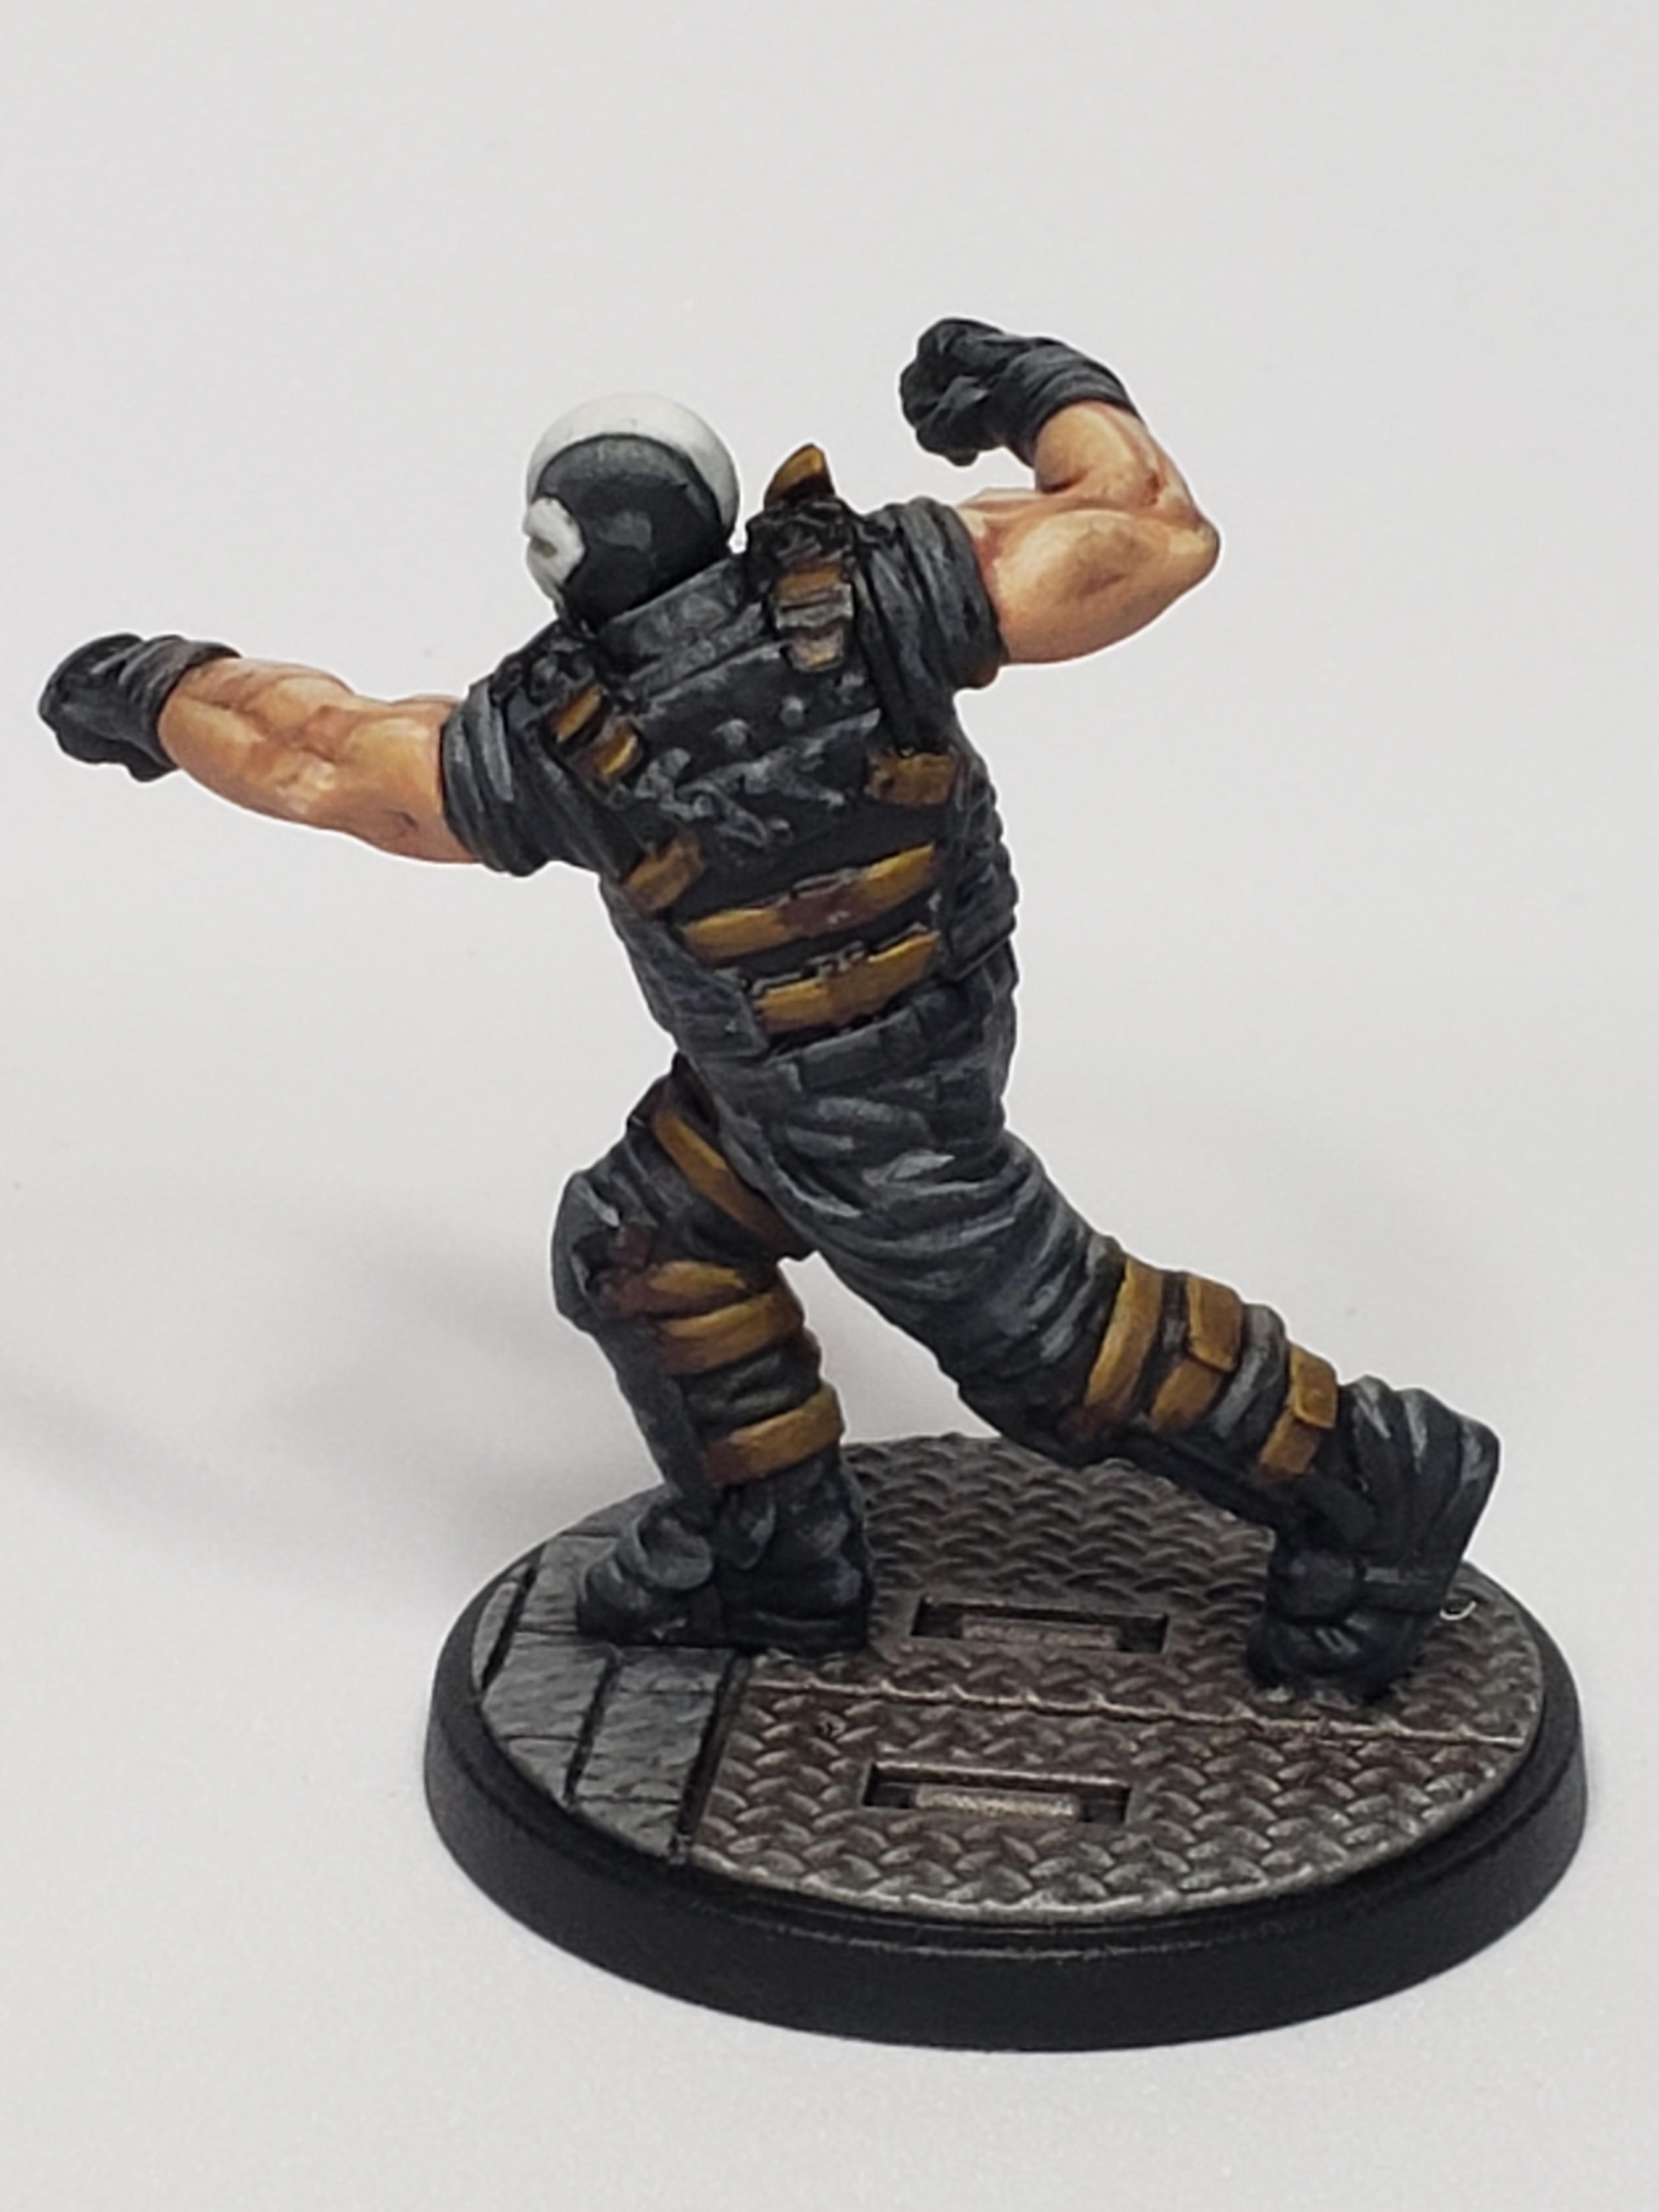
Crossbones is ready to go. I definitely prefer the white background to the black for photo purposes, but the white does such a terrible job of showcasing the highlights. It makes the whole thing look much sloppier than it looks in person. Either way, Crossbones is done. I’m getting a lot better at doing the extreme highlighting on the black. I think I’m going to revisit Black Widow soon now that I’m more comfortable with the color.
Baron Zemo is table ready.
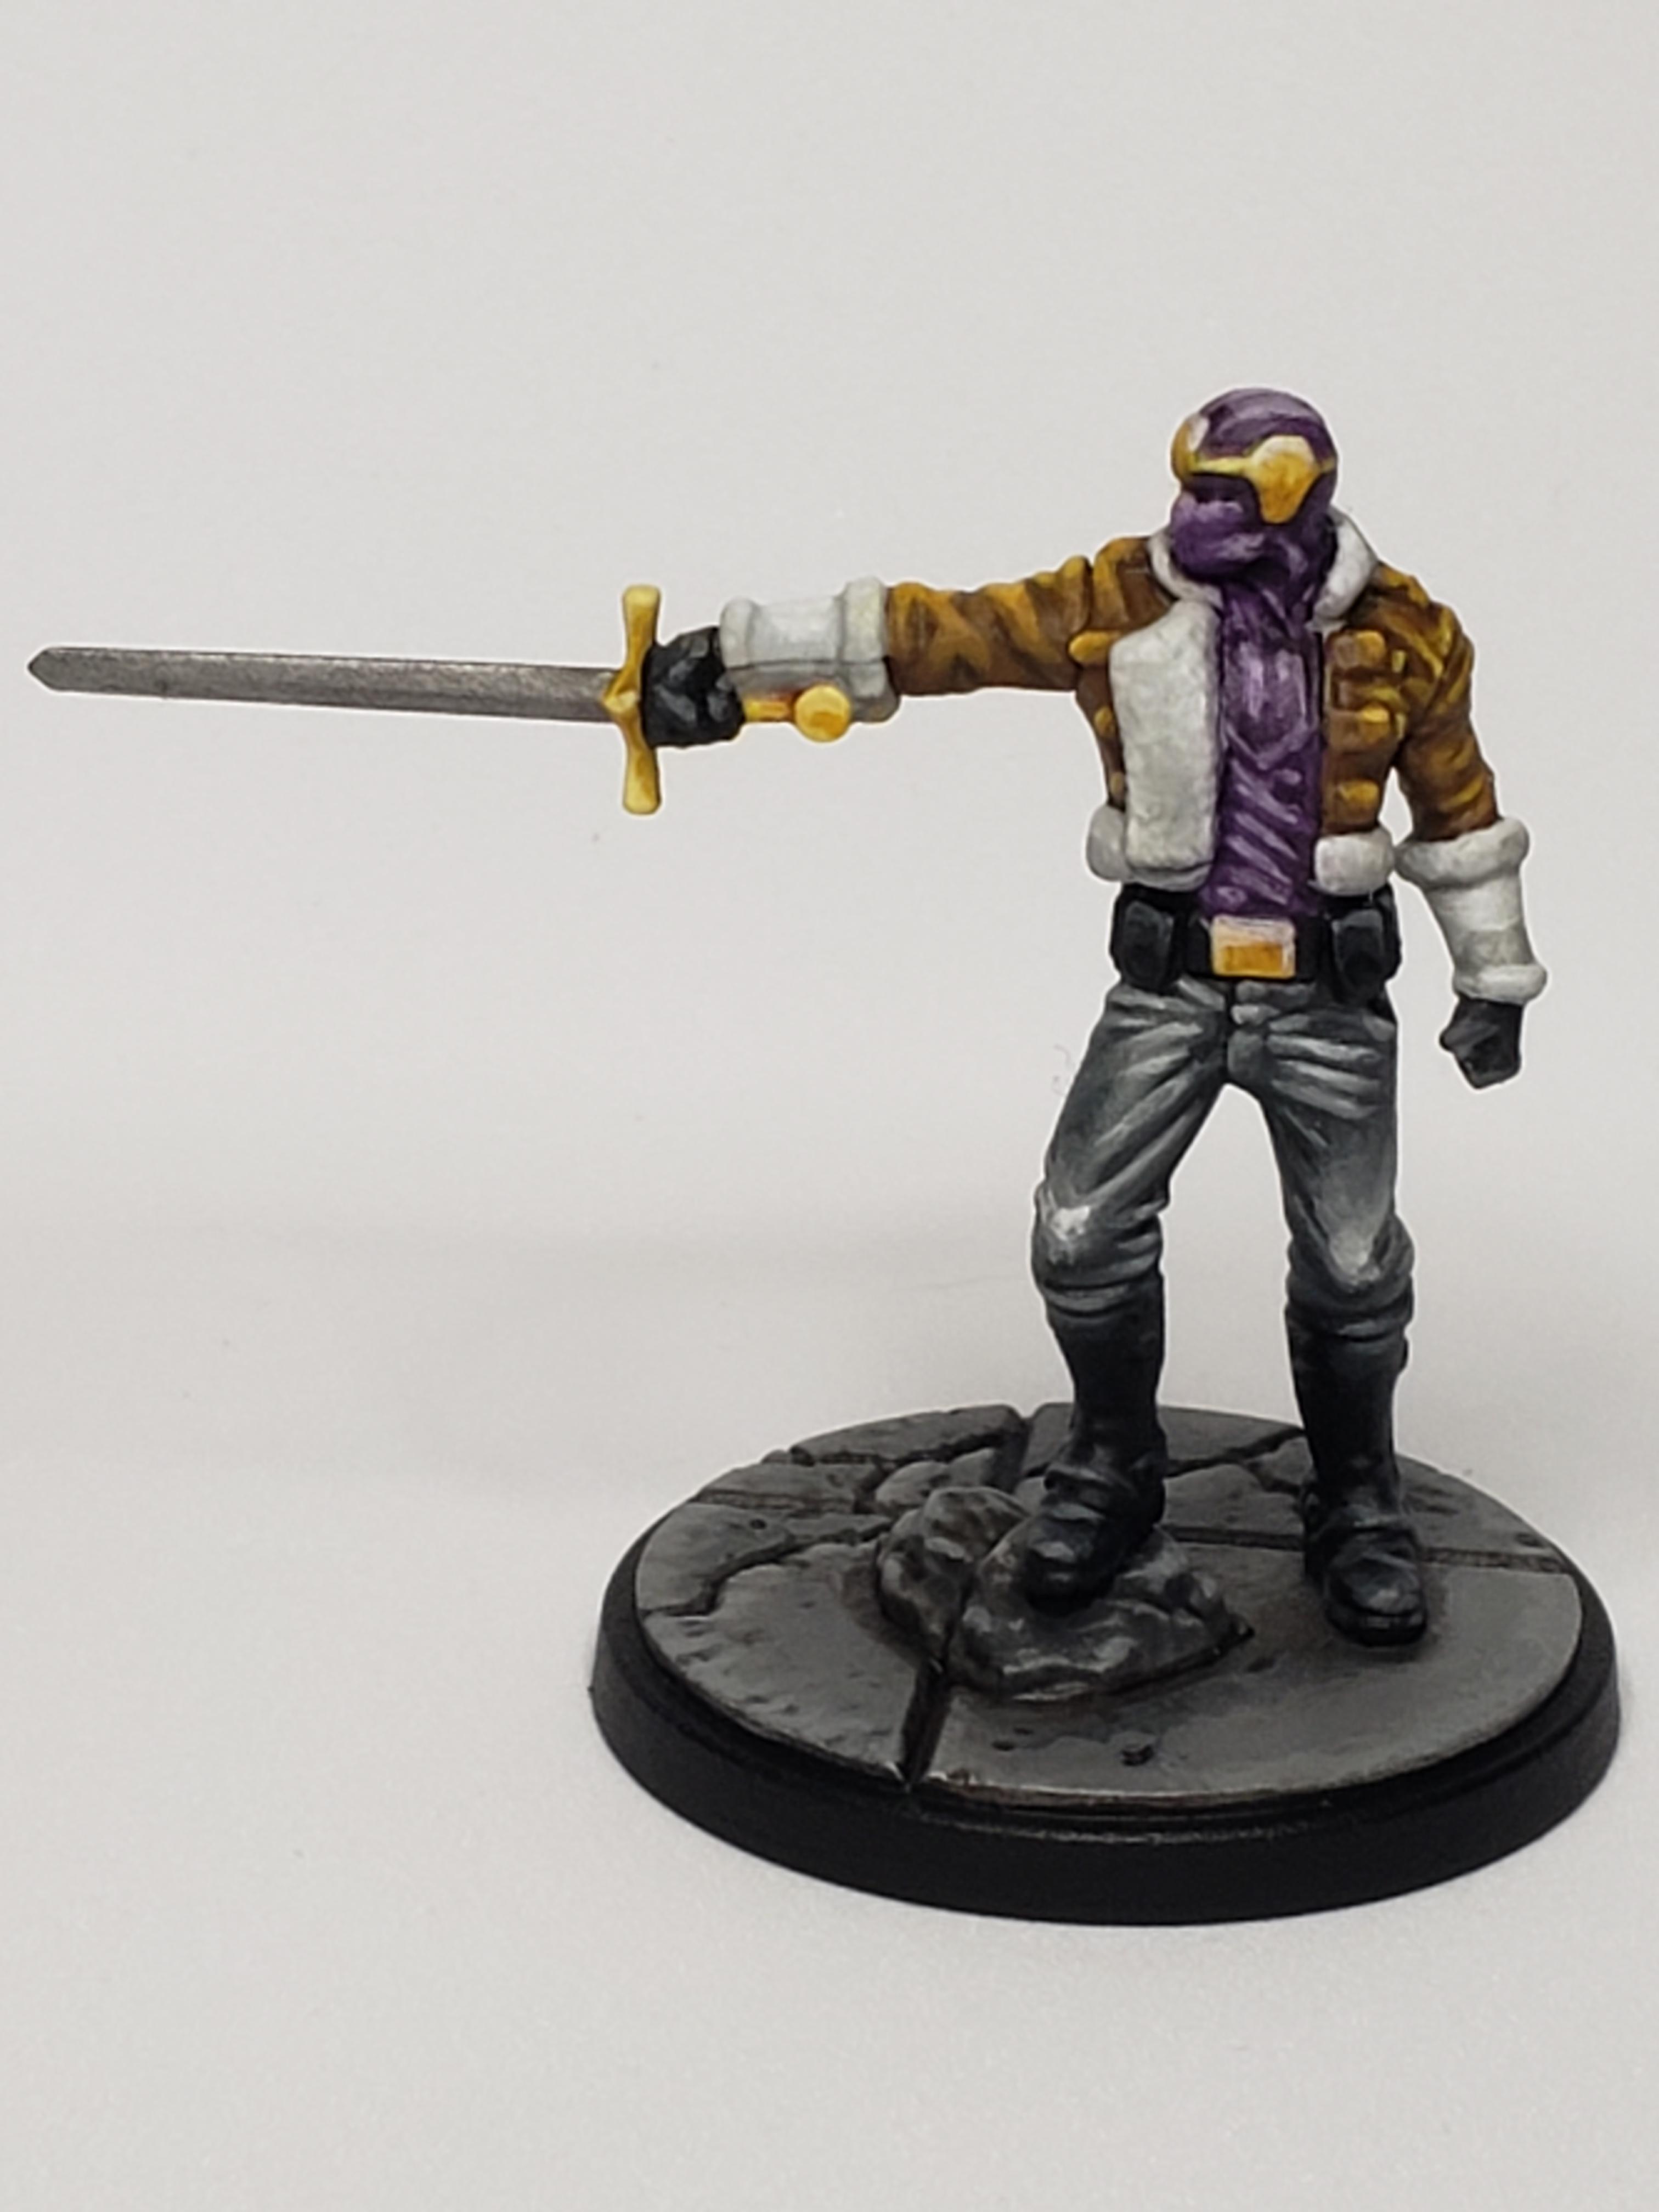
Baron Zemo is done. Still trying to find a good background for my photos. The white just makes all the highlighting look too blocky and simplistic. Will be experimenting with that later.
Red backgrounds are really helping

Tried out some different color backgrounds and red is definitely better than the white, black and grey backgrounds I was working with. It seems to have all the advantages of the white (brighter colors, more detail) with less of the muting of the highlights.


Generally speaking, I like the red background better, but I have noticed that some minis benefit from it much more than others, so I think from here on out, I’m going to test out different color backgrounds with each mini and use the one that gives the best results.
Iron Man Non-metallic Metal Tutorial, continued.
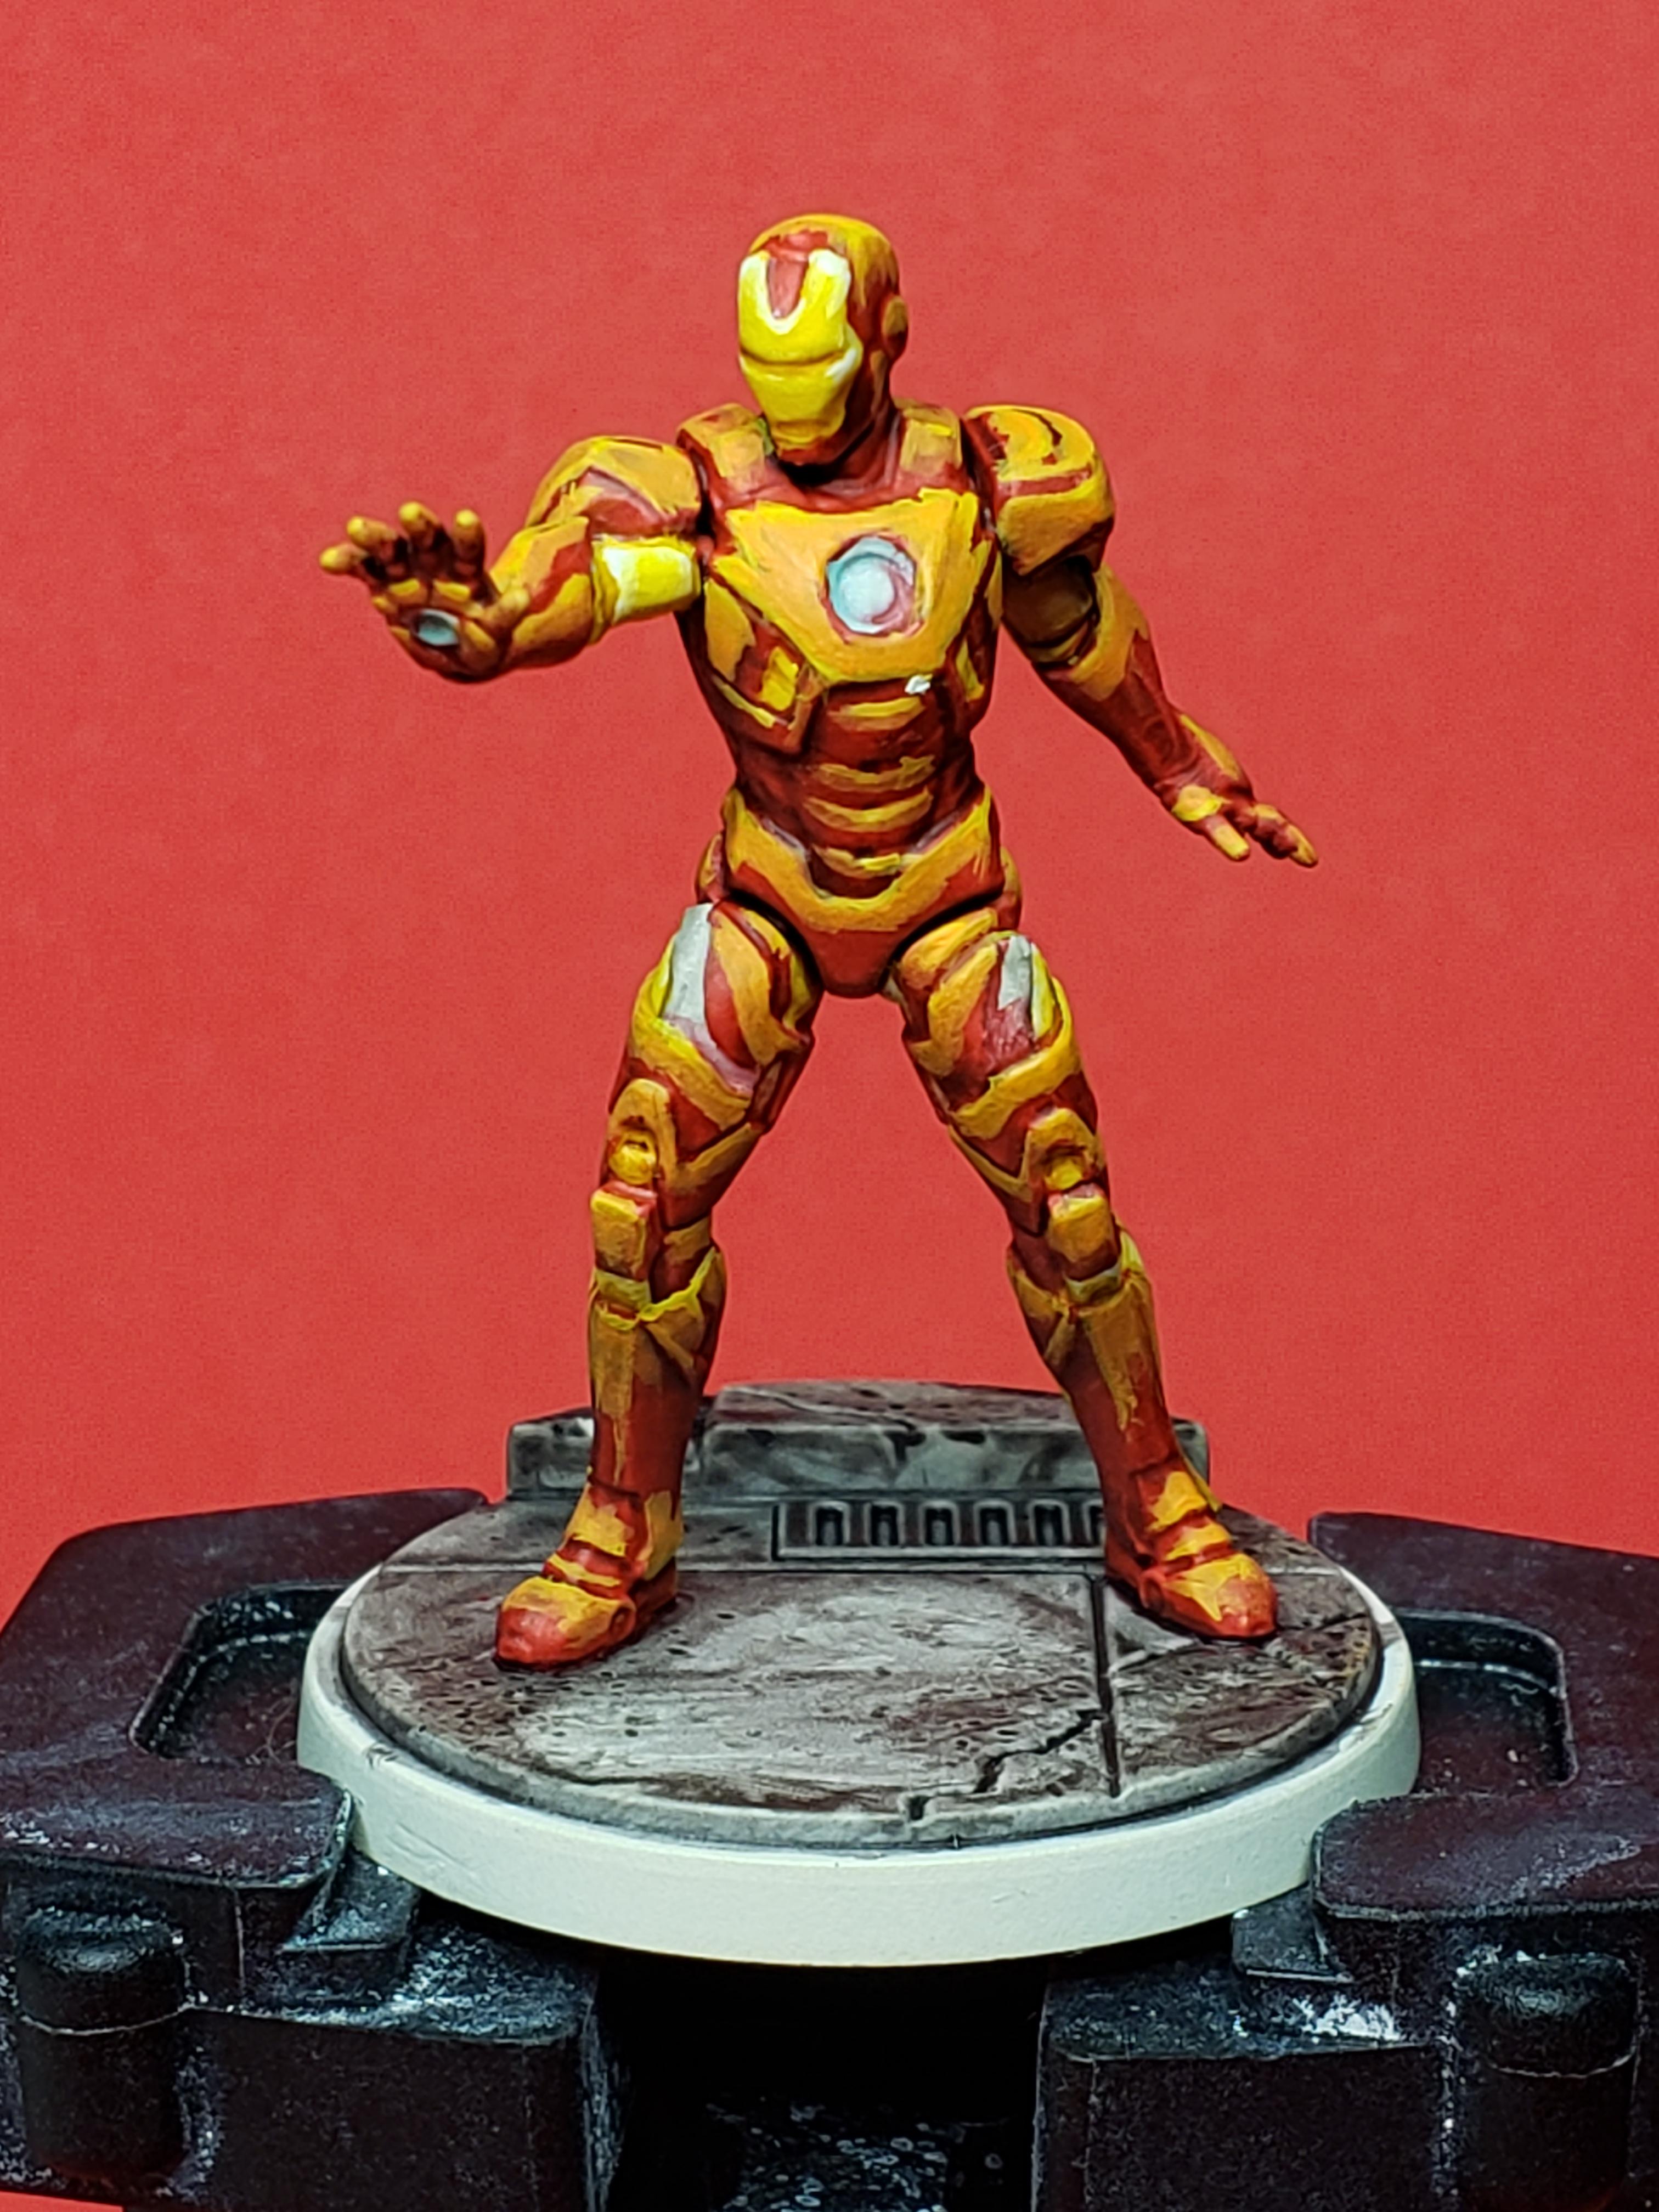 So this is step 2 on Iron Man, bringing in a mix of Fire Dragon Bright to the Flash Gitz Yellow to feather the bright yellow highlights into the red. As you can see, it still looks very, very terrible. Hopefully it'll look better and better as more layers get added in.
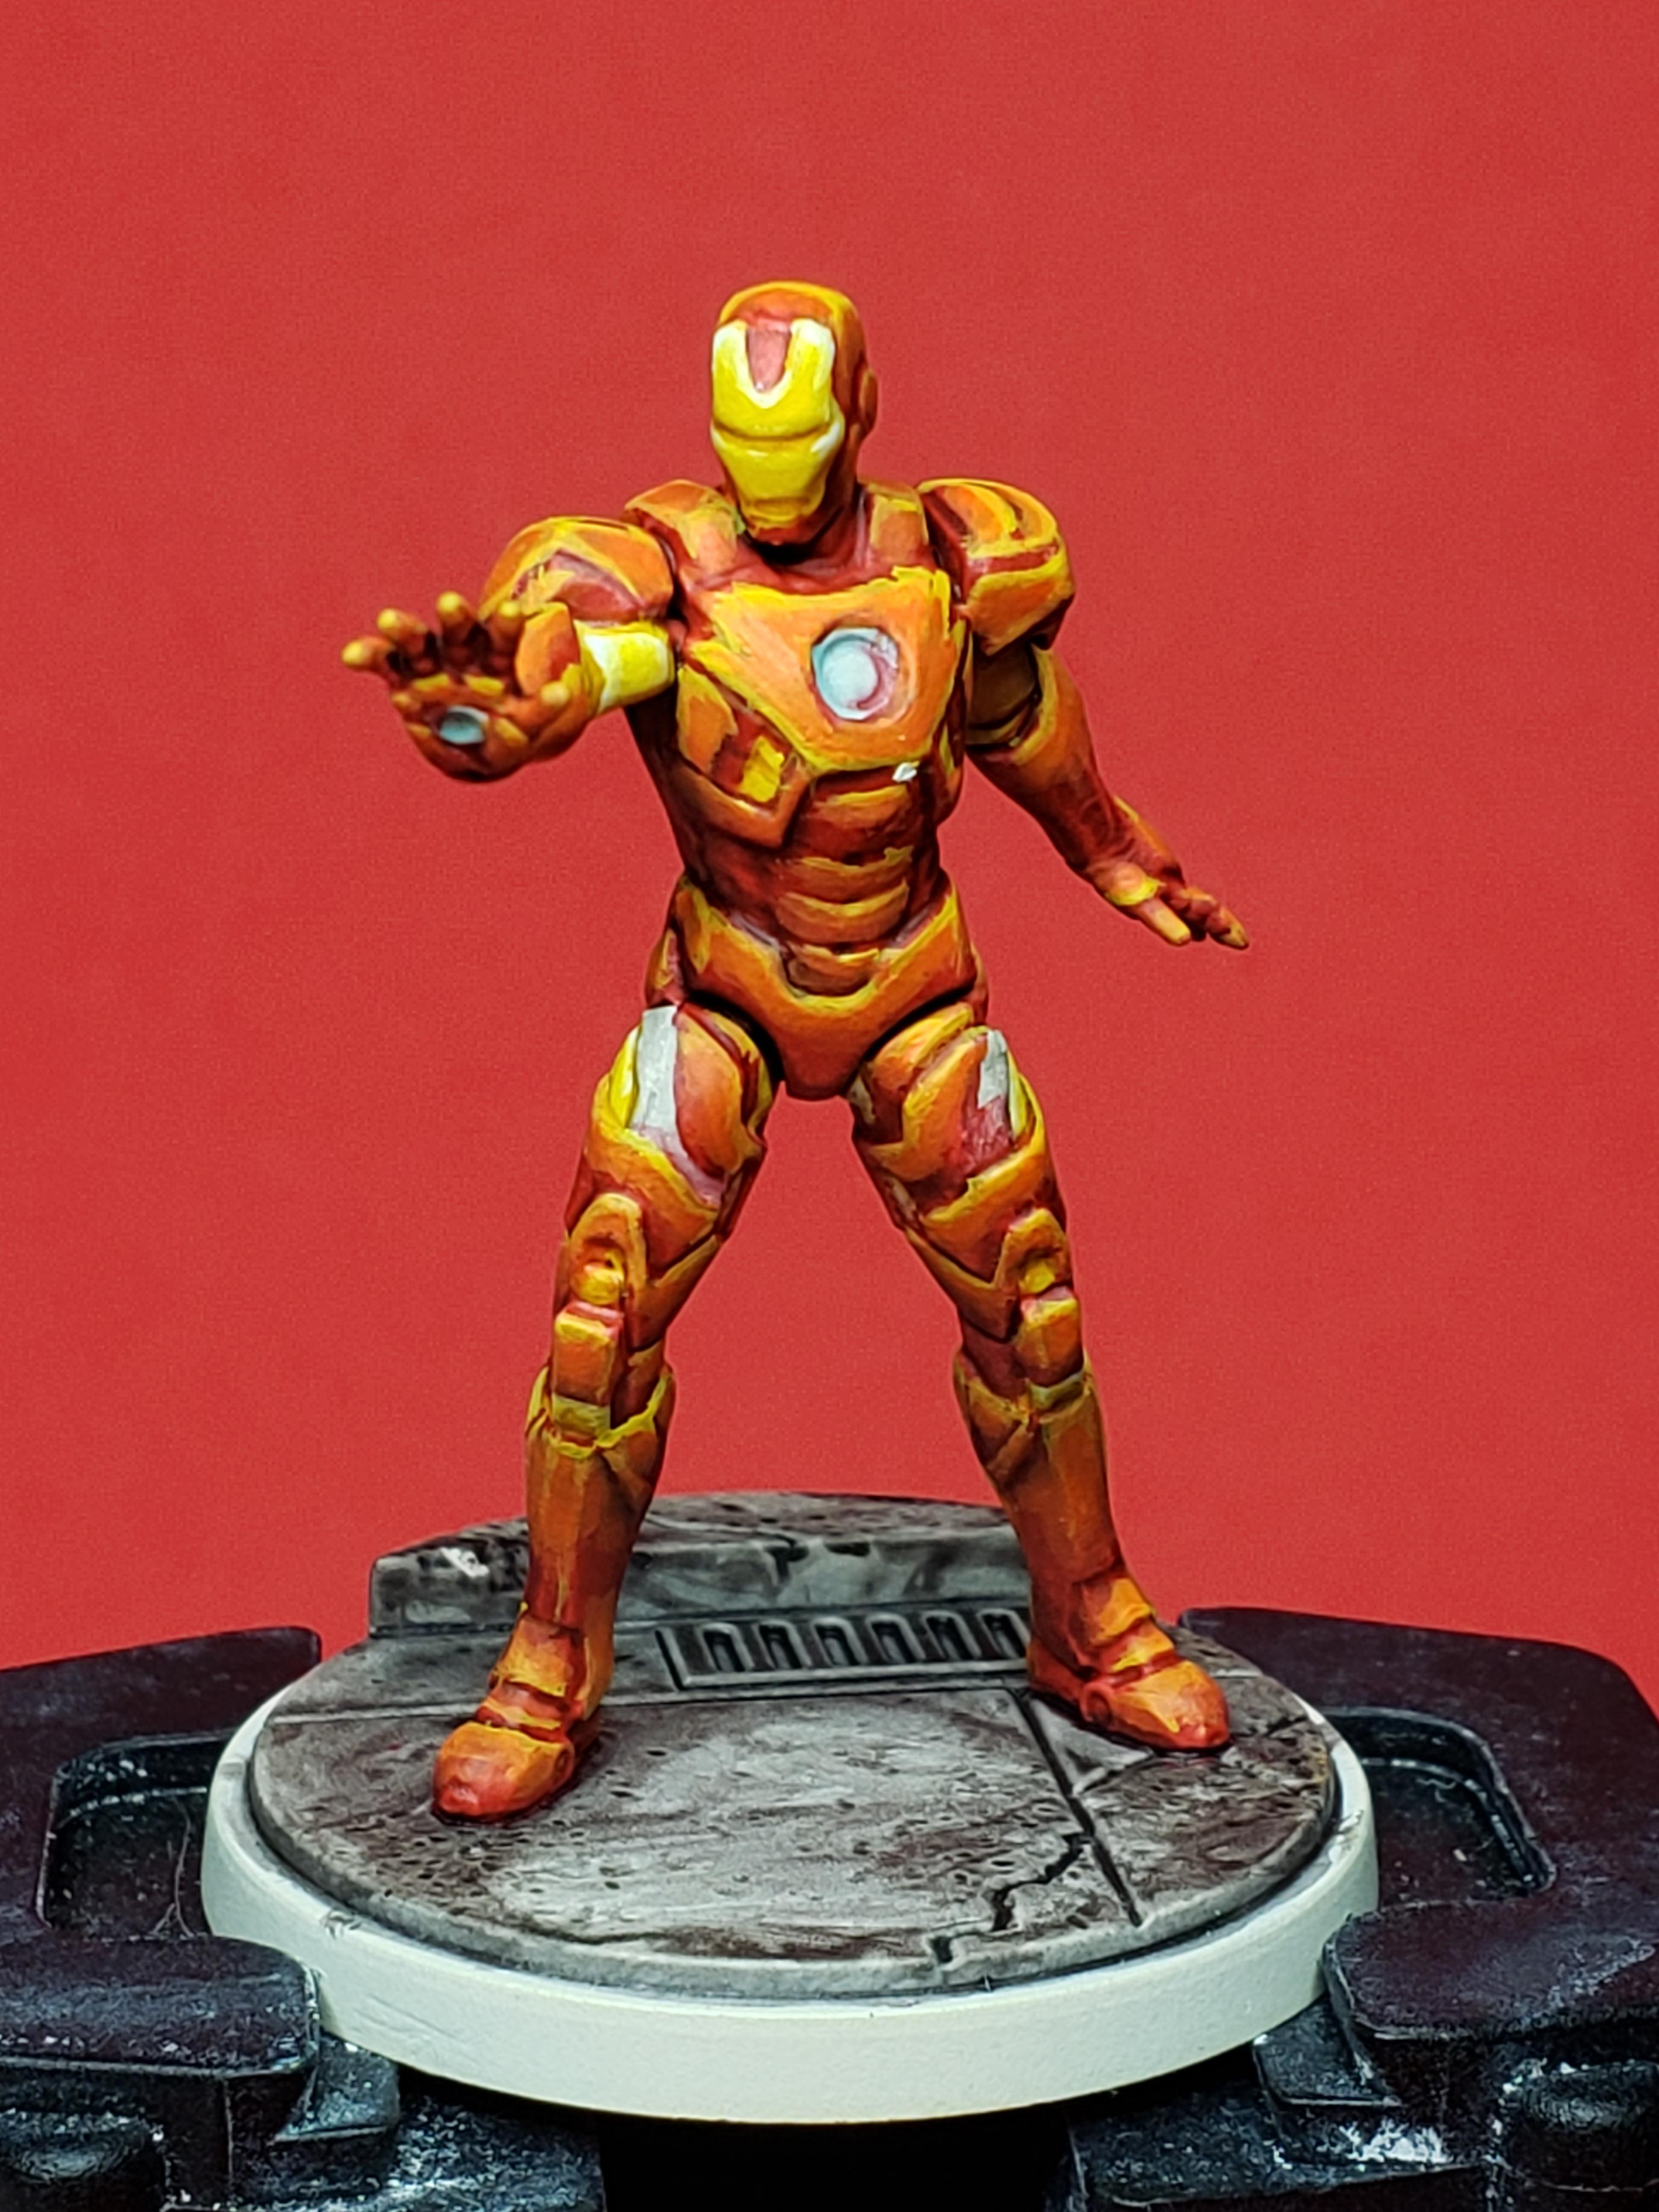 Step 3. This brings in Troll Slayer Orange to bring the highlights further into the basecoat. Now the miniature is starting to feel a lot better.
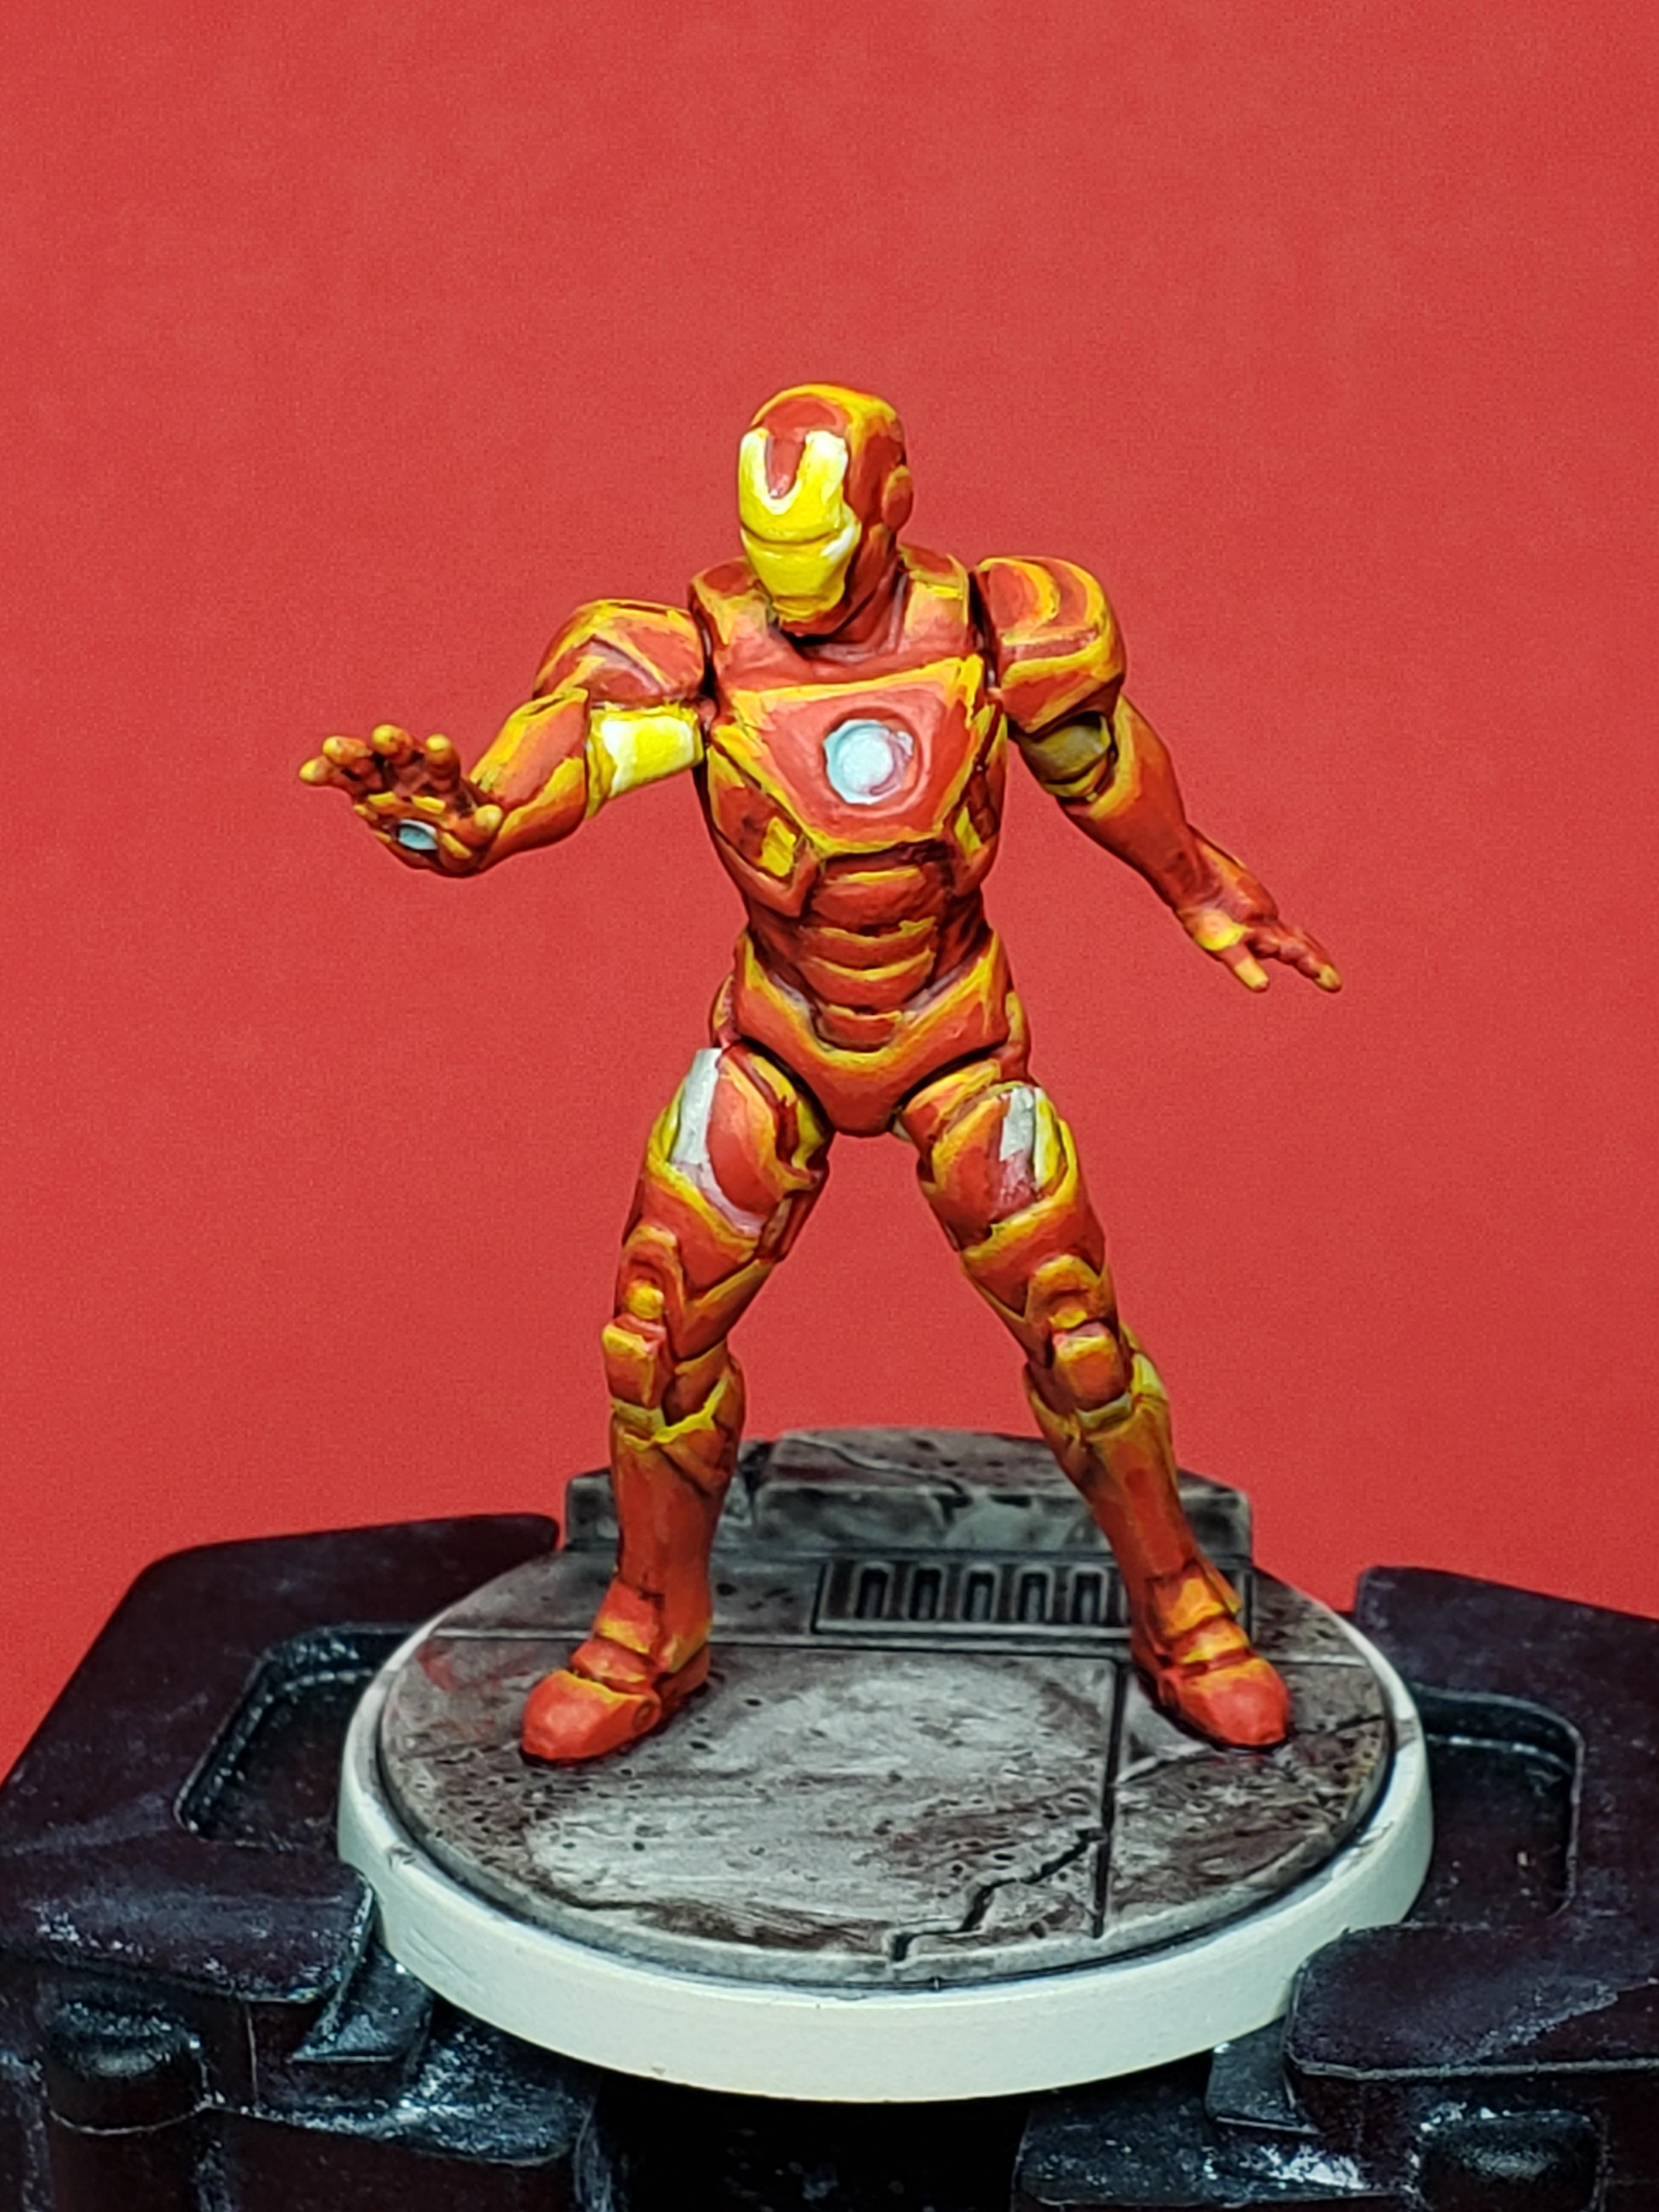 Step 4. This brings in a mix of Wild Rider Red and Evil Sun Scarlet. Now the extreme highlights are looking less extreme. Only real complaint I have with the model is that it is far less smooth than my normal paint jobs, but that's kind of what happens when you experiment with new techniques, so I'm chalking it up to a learning experience.
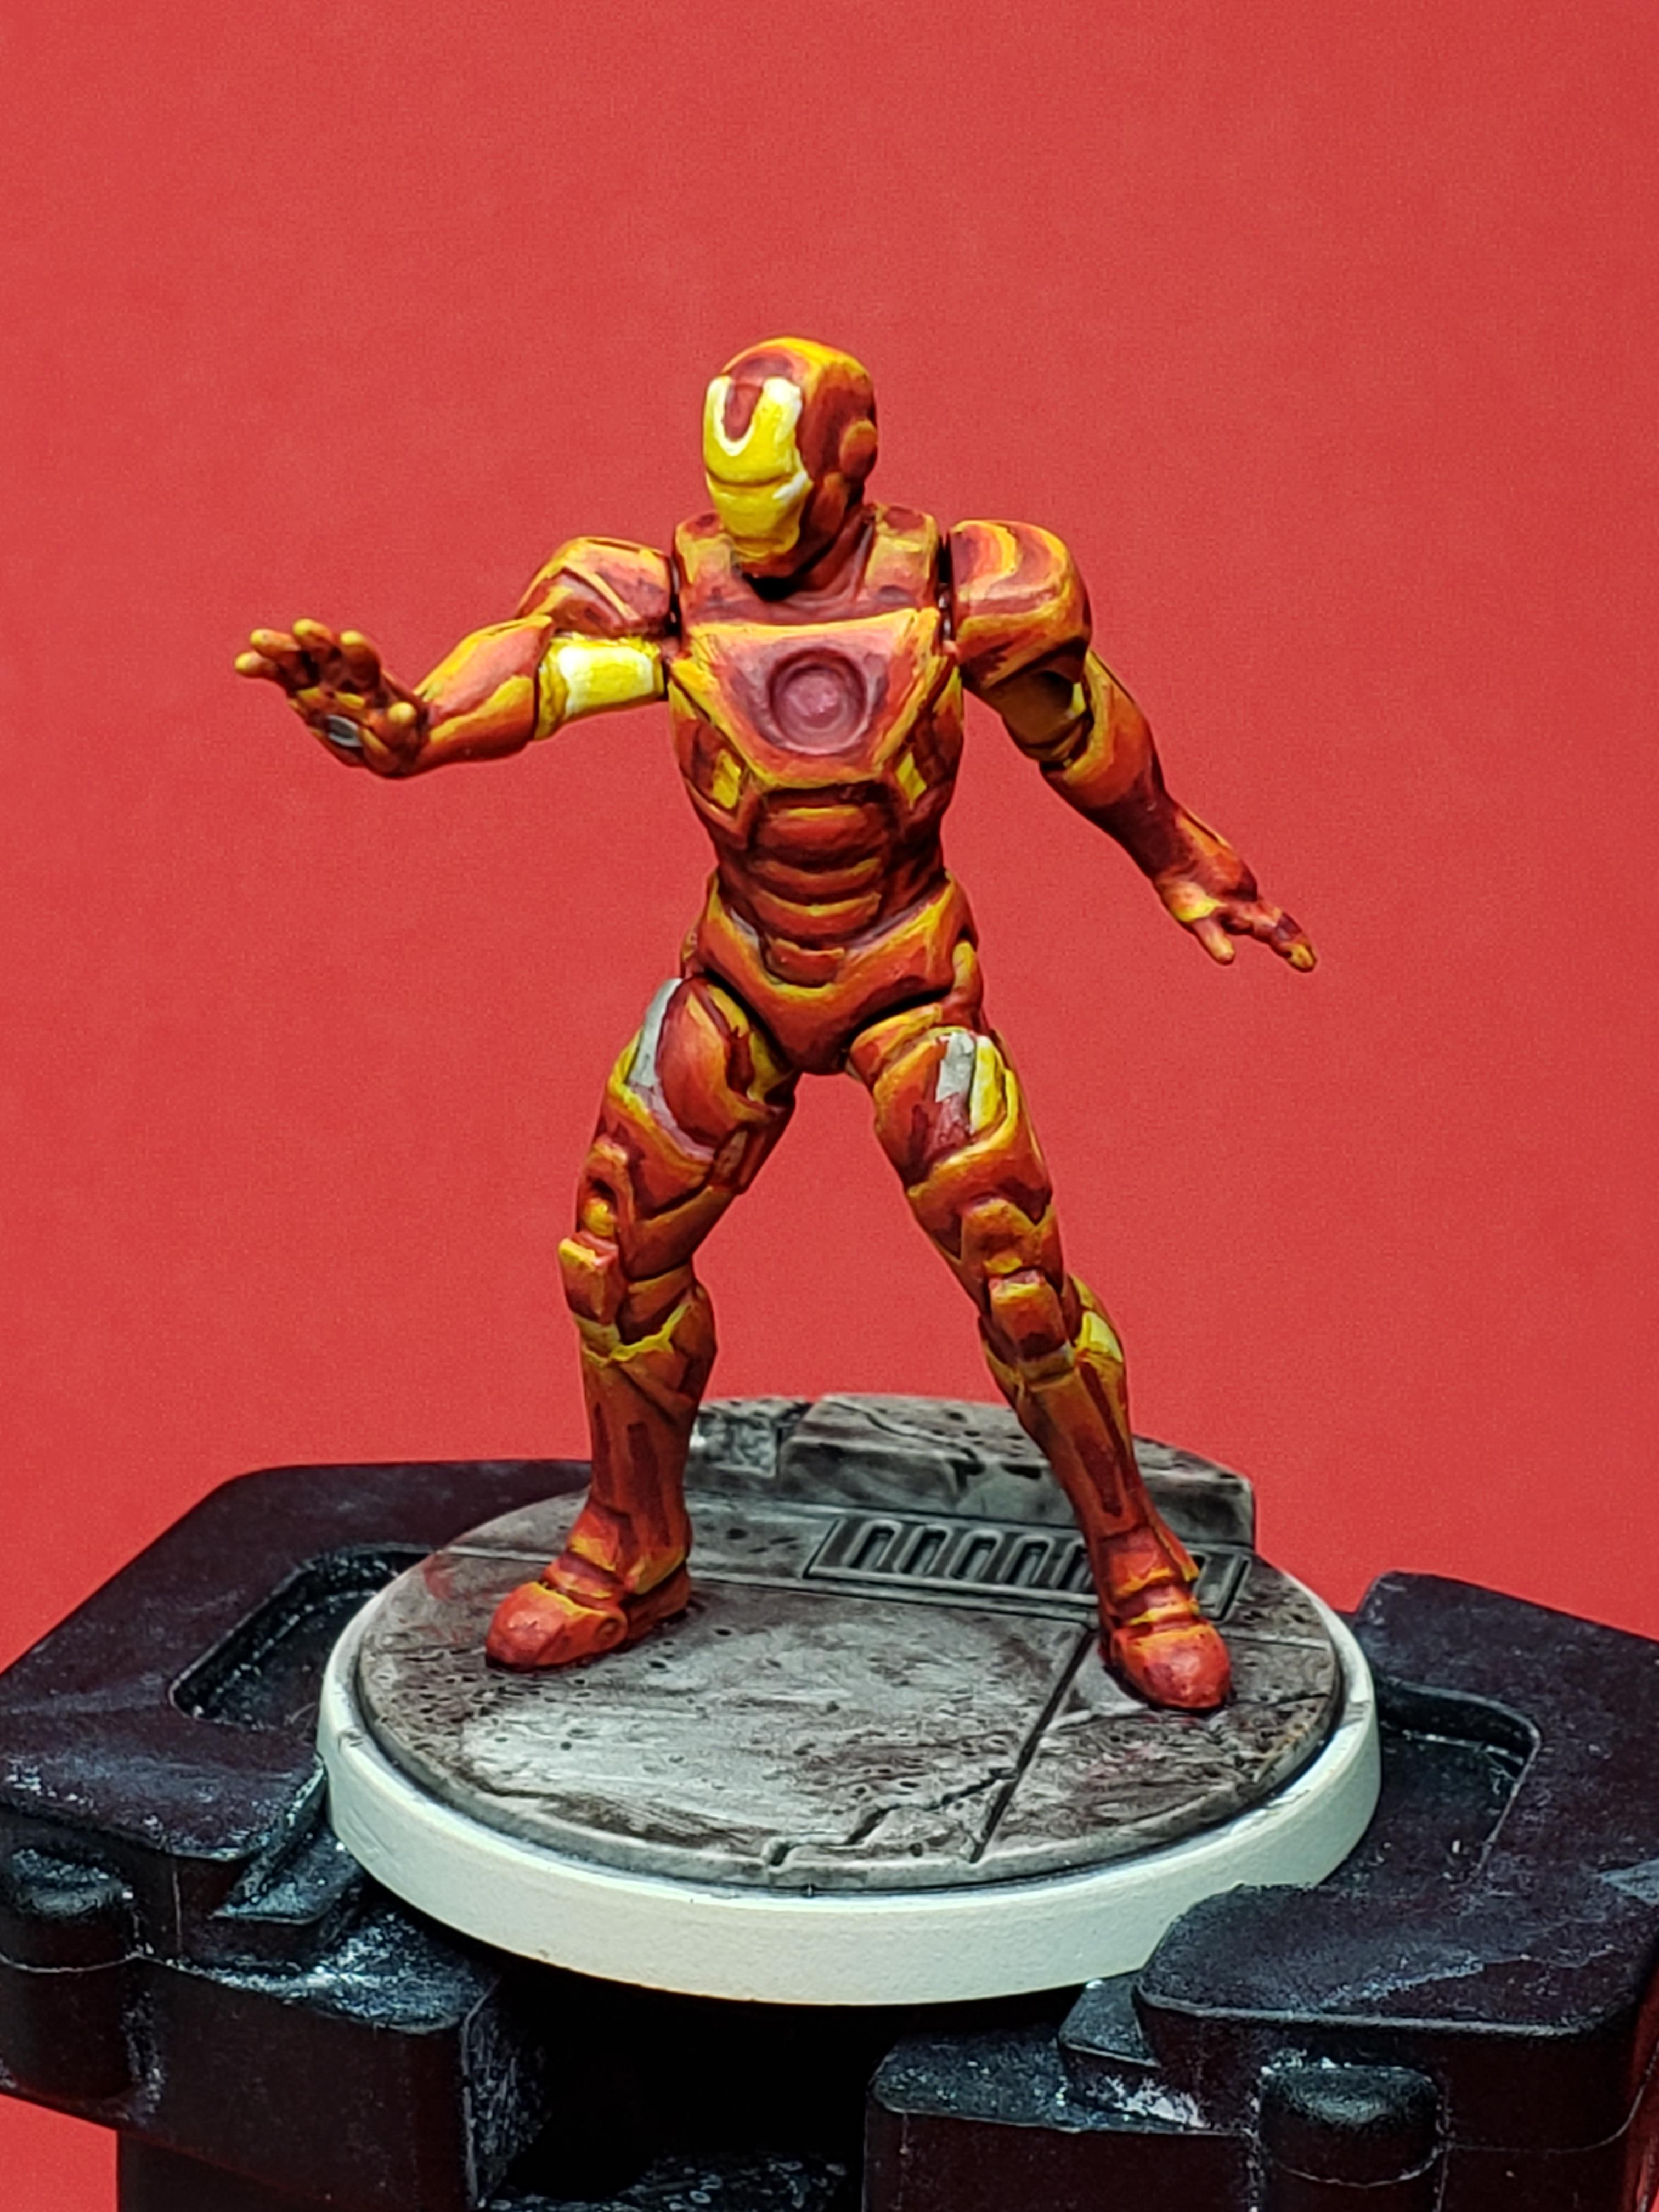 Step 5. Now I'm bringing in some Khorne Red to do some shading to tone down some of the orange-ness he had going on. Overall pretty happy with how he's turning out.
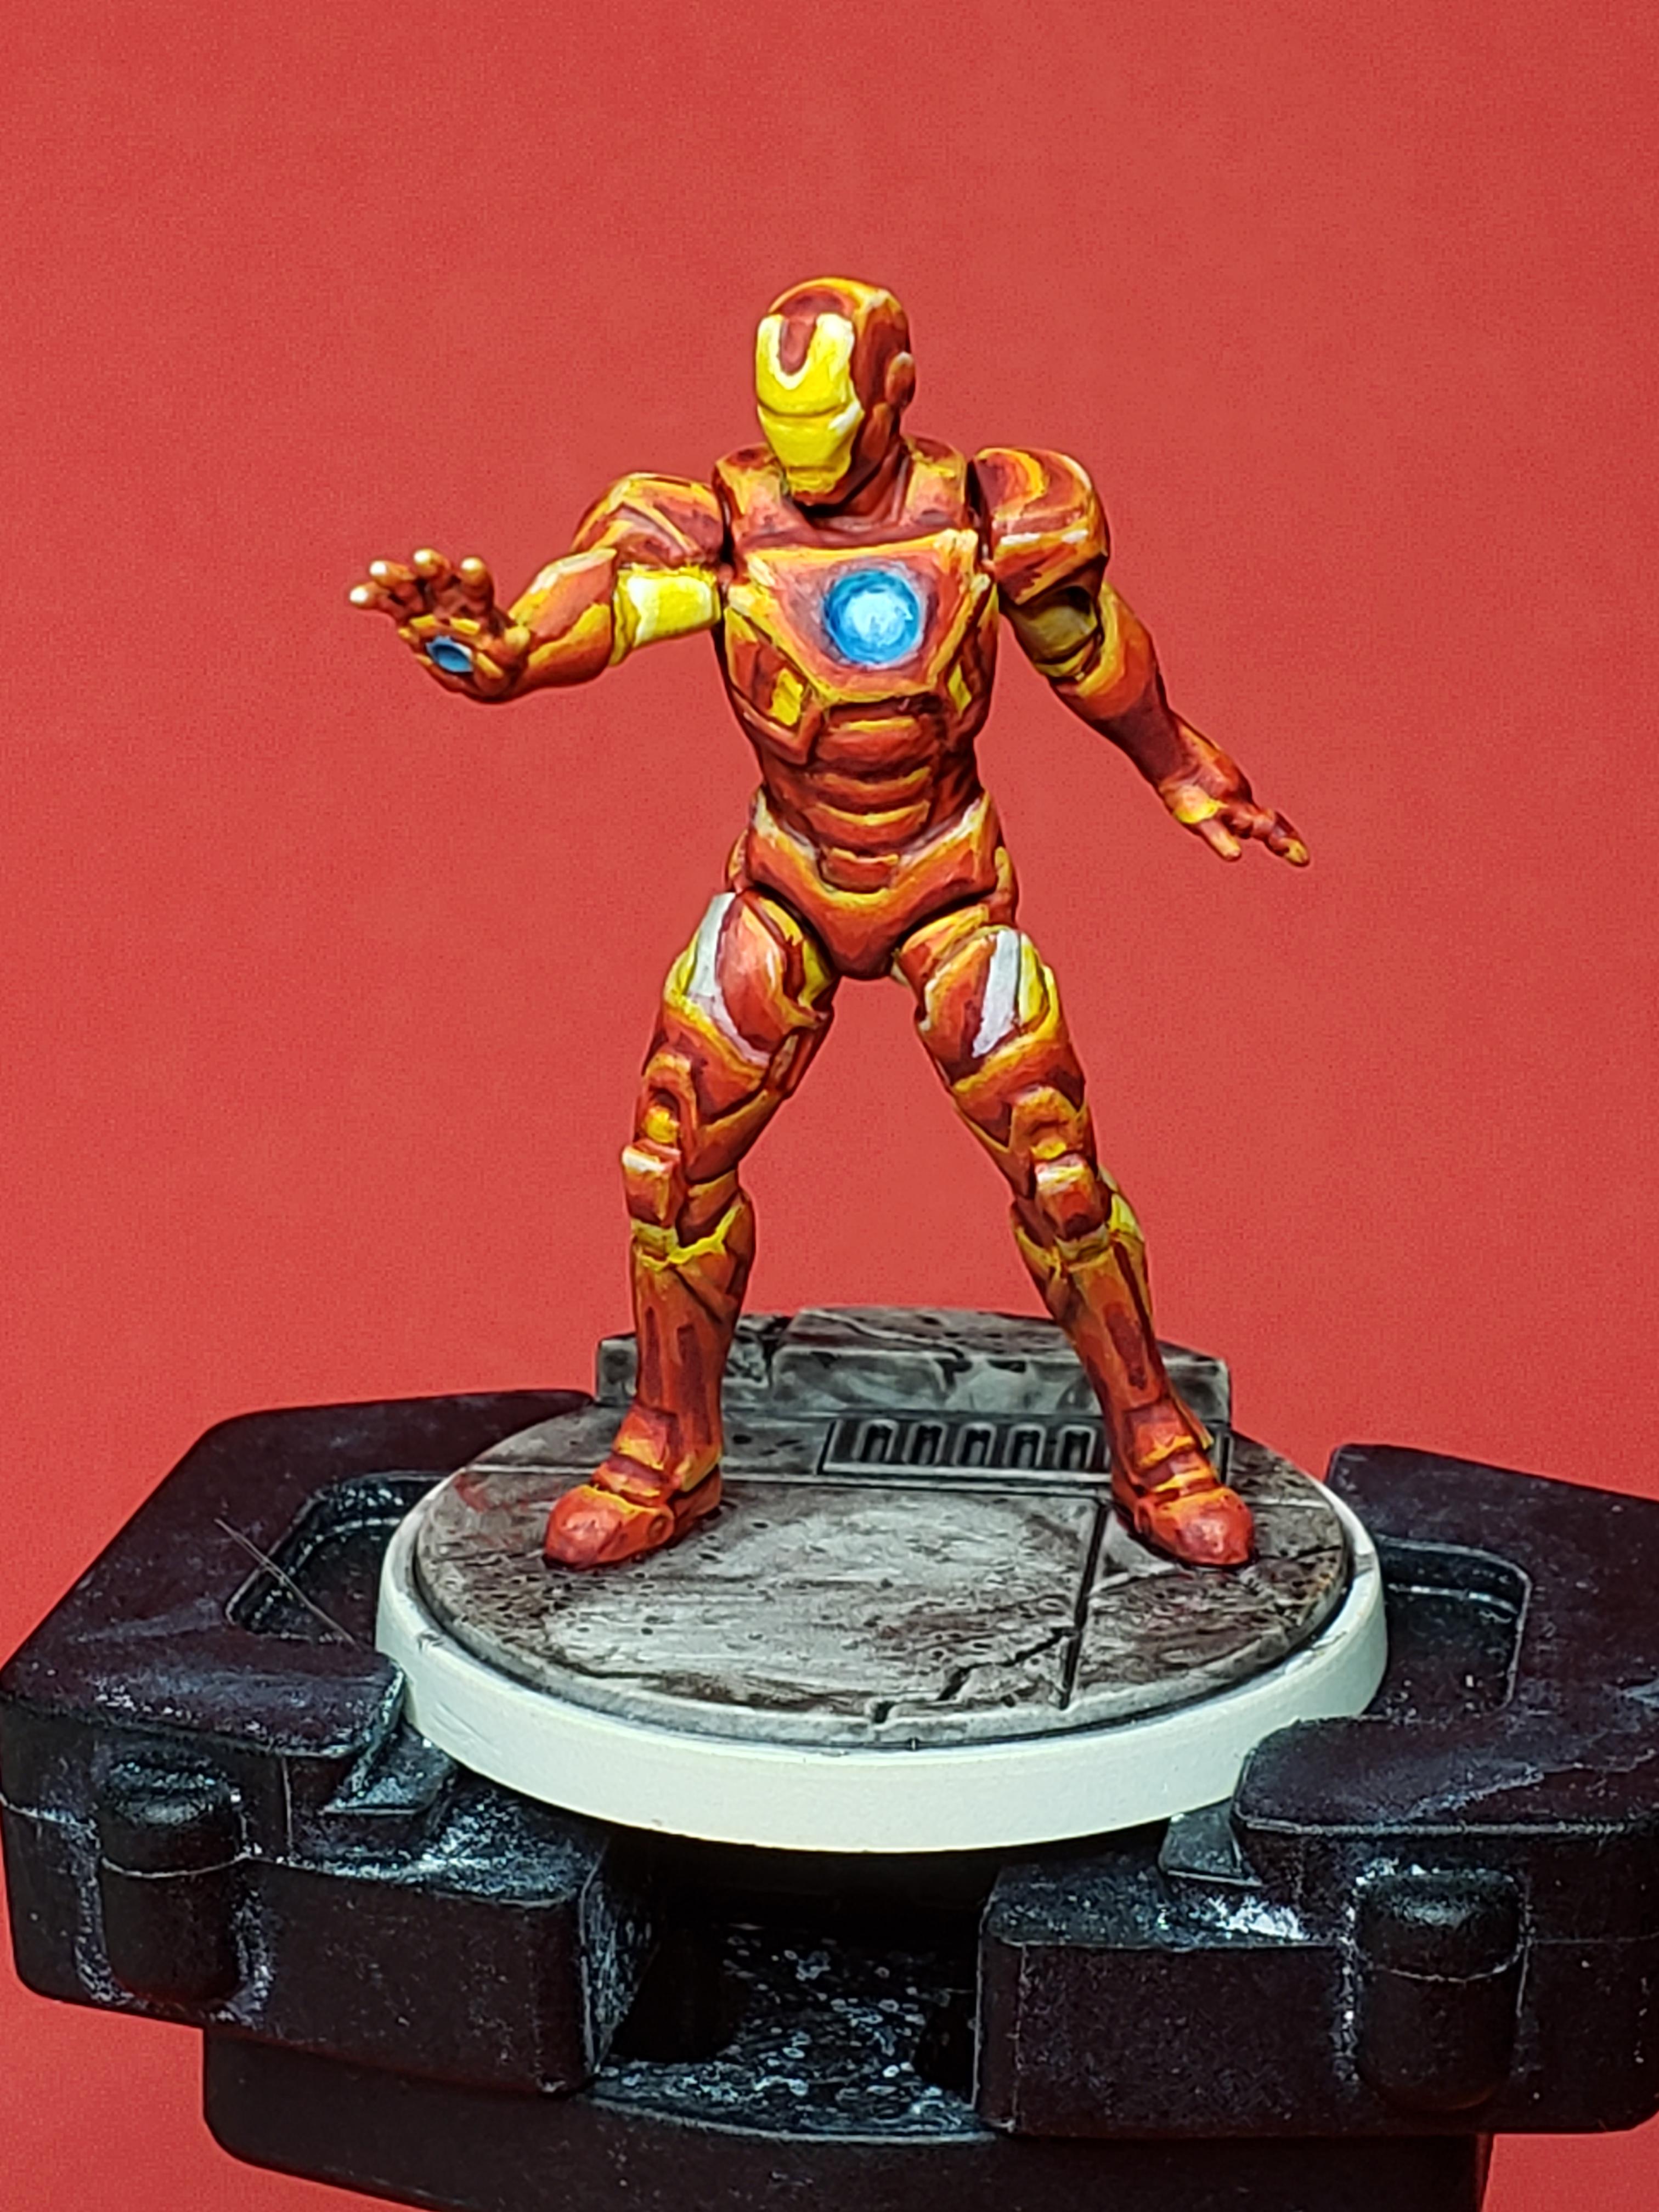 Step 6. Went in and corrected some small mistakes where highlighting would get covered up with my shading and finished up some small details like the chest light. Now all that's left is the base and he's done.
Iron Man - Finished Product


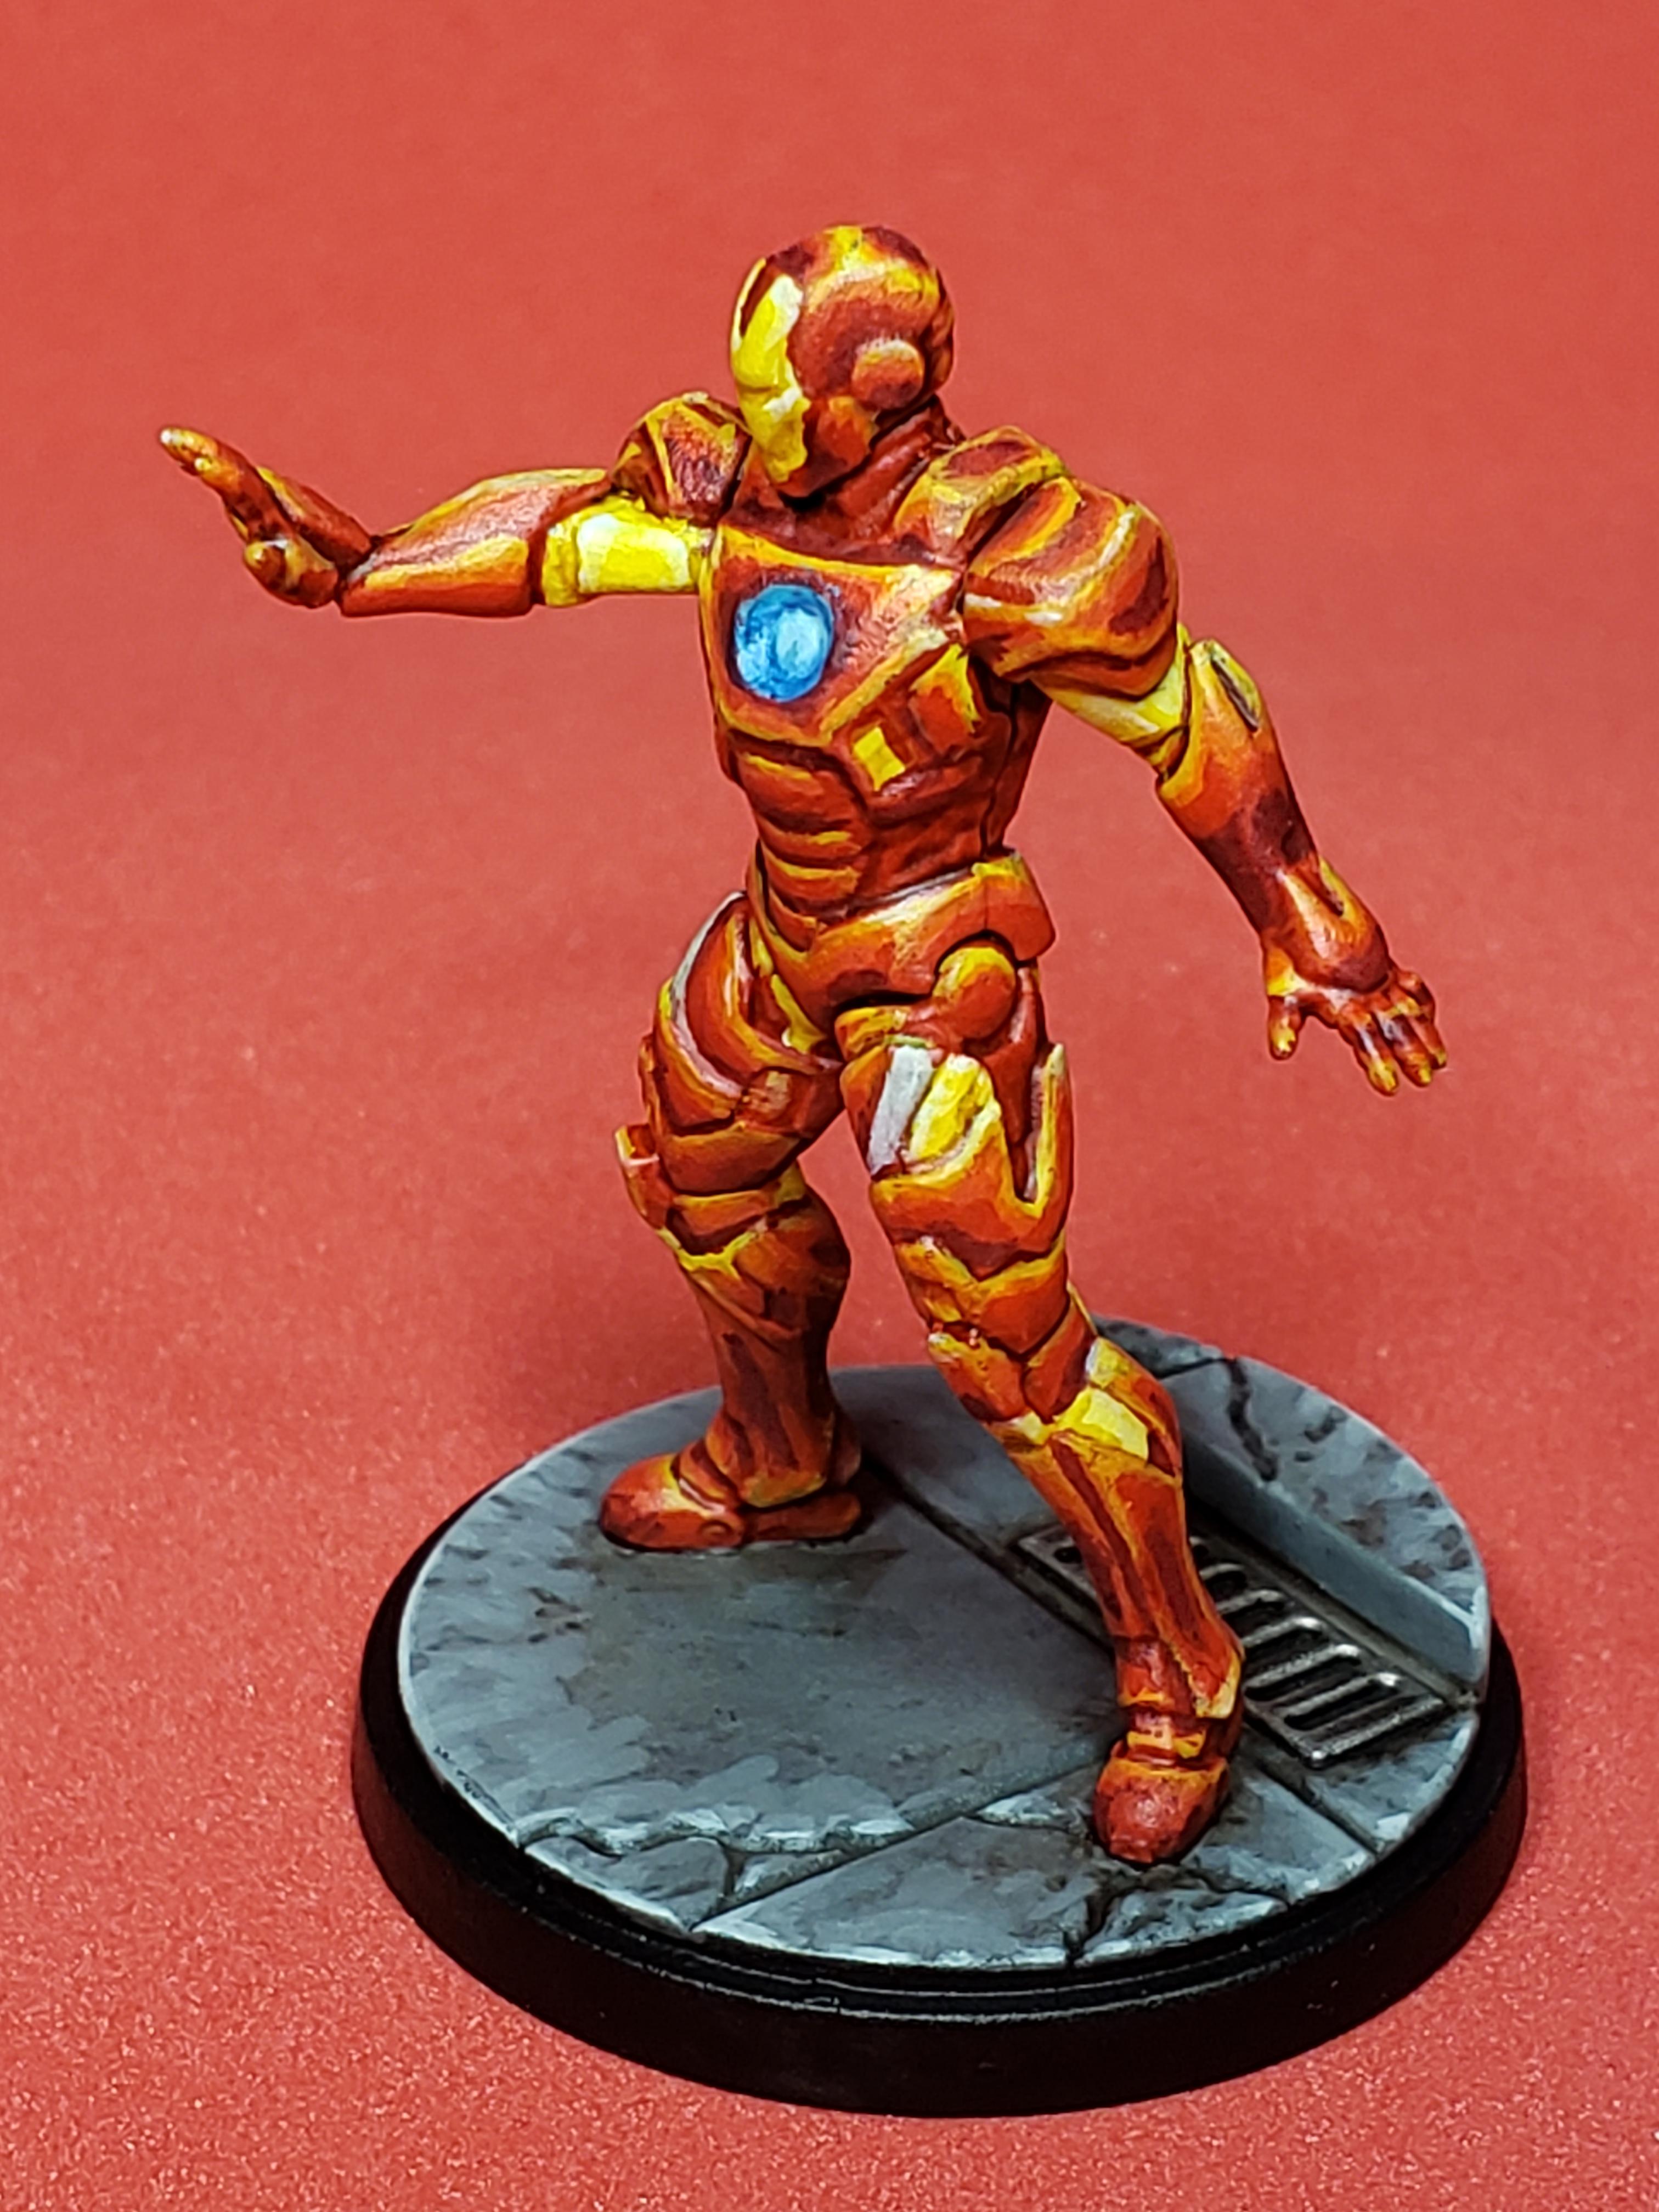
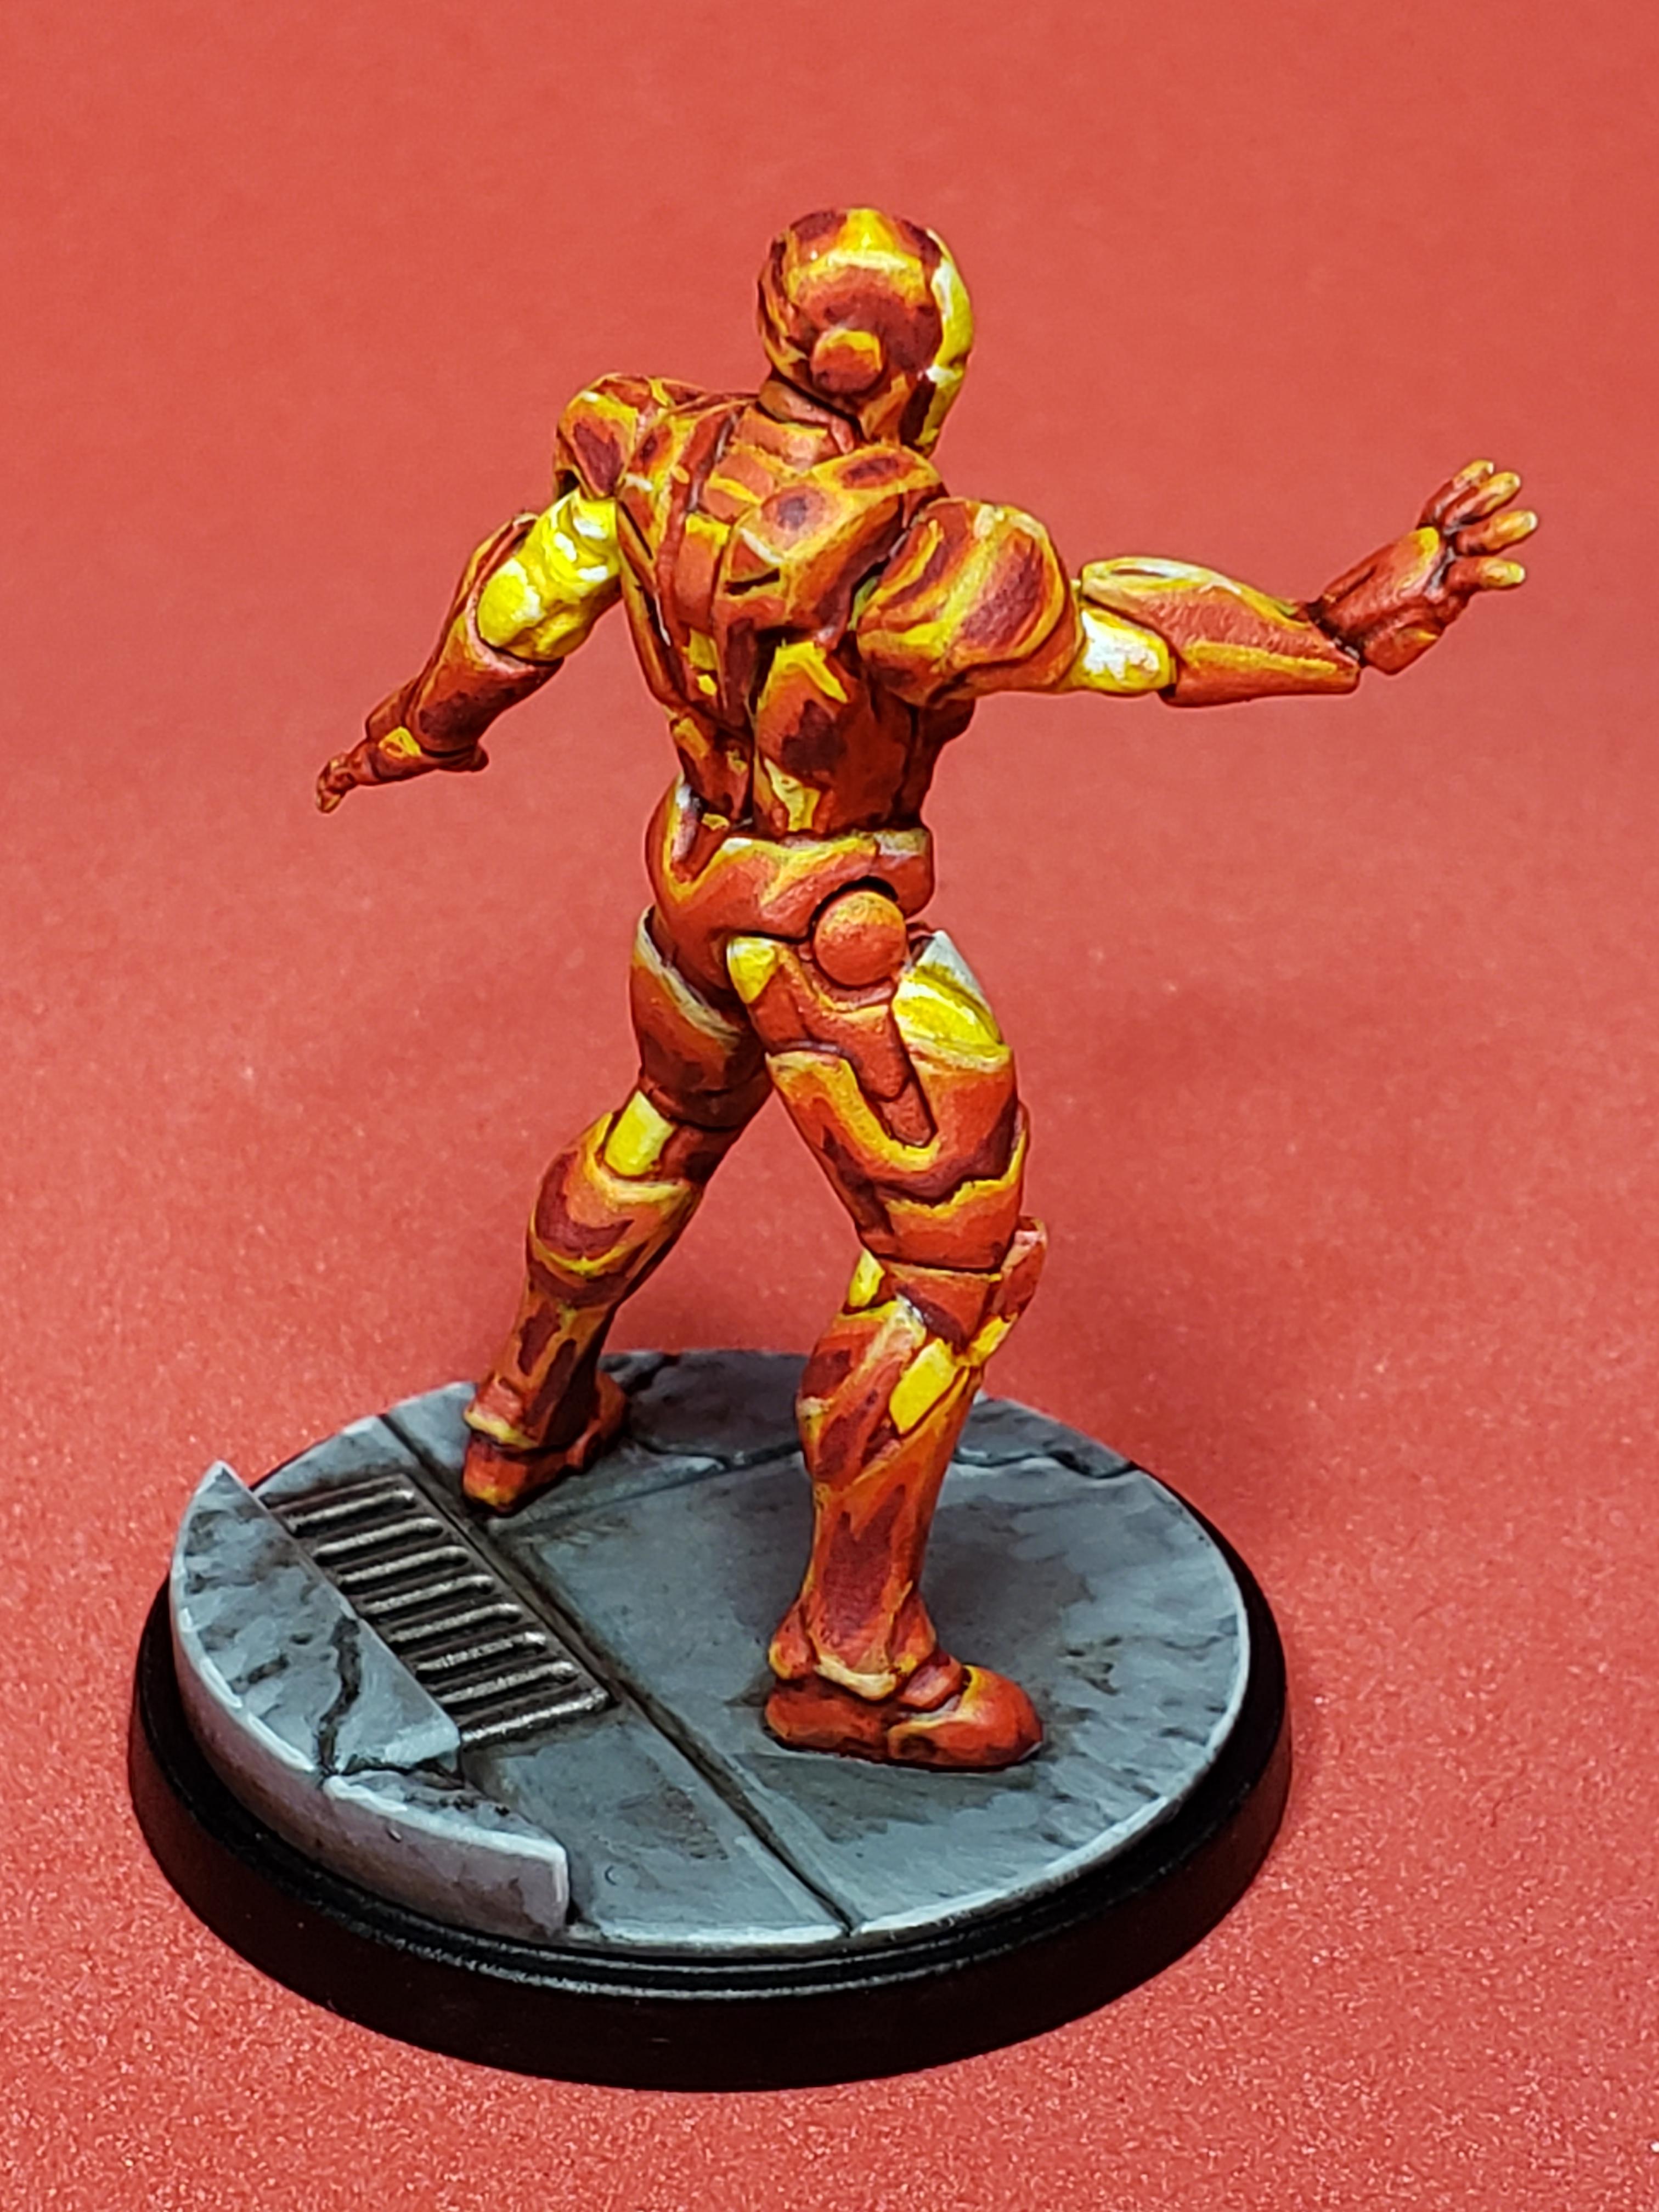
So here’s the final product for my Iron Man. I realized when I was nearly done that this is technically a Non-Metallic Metal paint job, which if you told me a year ago I would even attempt I would’ve laughed at you. Overall I’m fairly happy with the results. Honestly the photos don’t really do it justice. It looks much cleaner in person. I tried several different backgrounds for the photos and once again, none of them really worked as well as the red did.
I had an idea of using a background with terrain and a mat instead of using just a colored background. Now that I’ve finished my core set, I need to get the terrain painted up anyway, so this is a good excuse to focus on knocking out some terrain. Once I do that, I’ll try some pictures of my painted minis with a gaming background and see if that helps better capture their paint jobs.
I’m going to start with the scatter terrain and then move onto the vehicles and buildings, so the next update should be some scatter terrain.
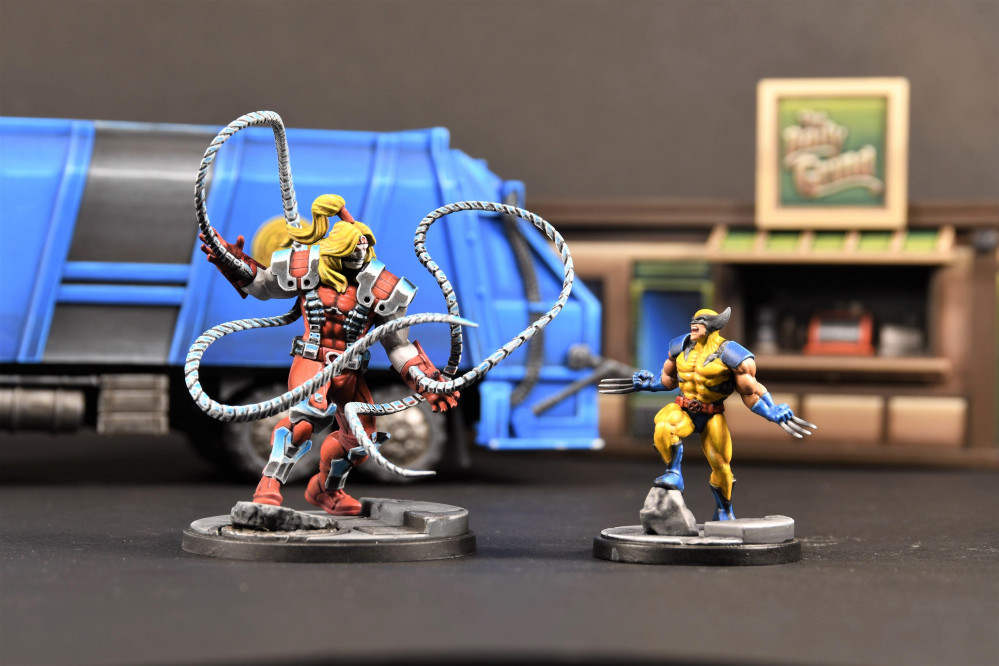
Terrain is on its way. First stop, taking out the trash.

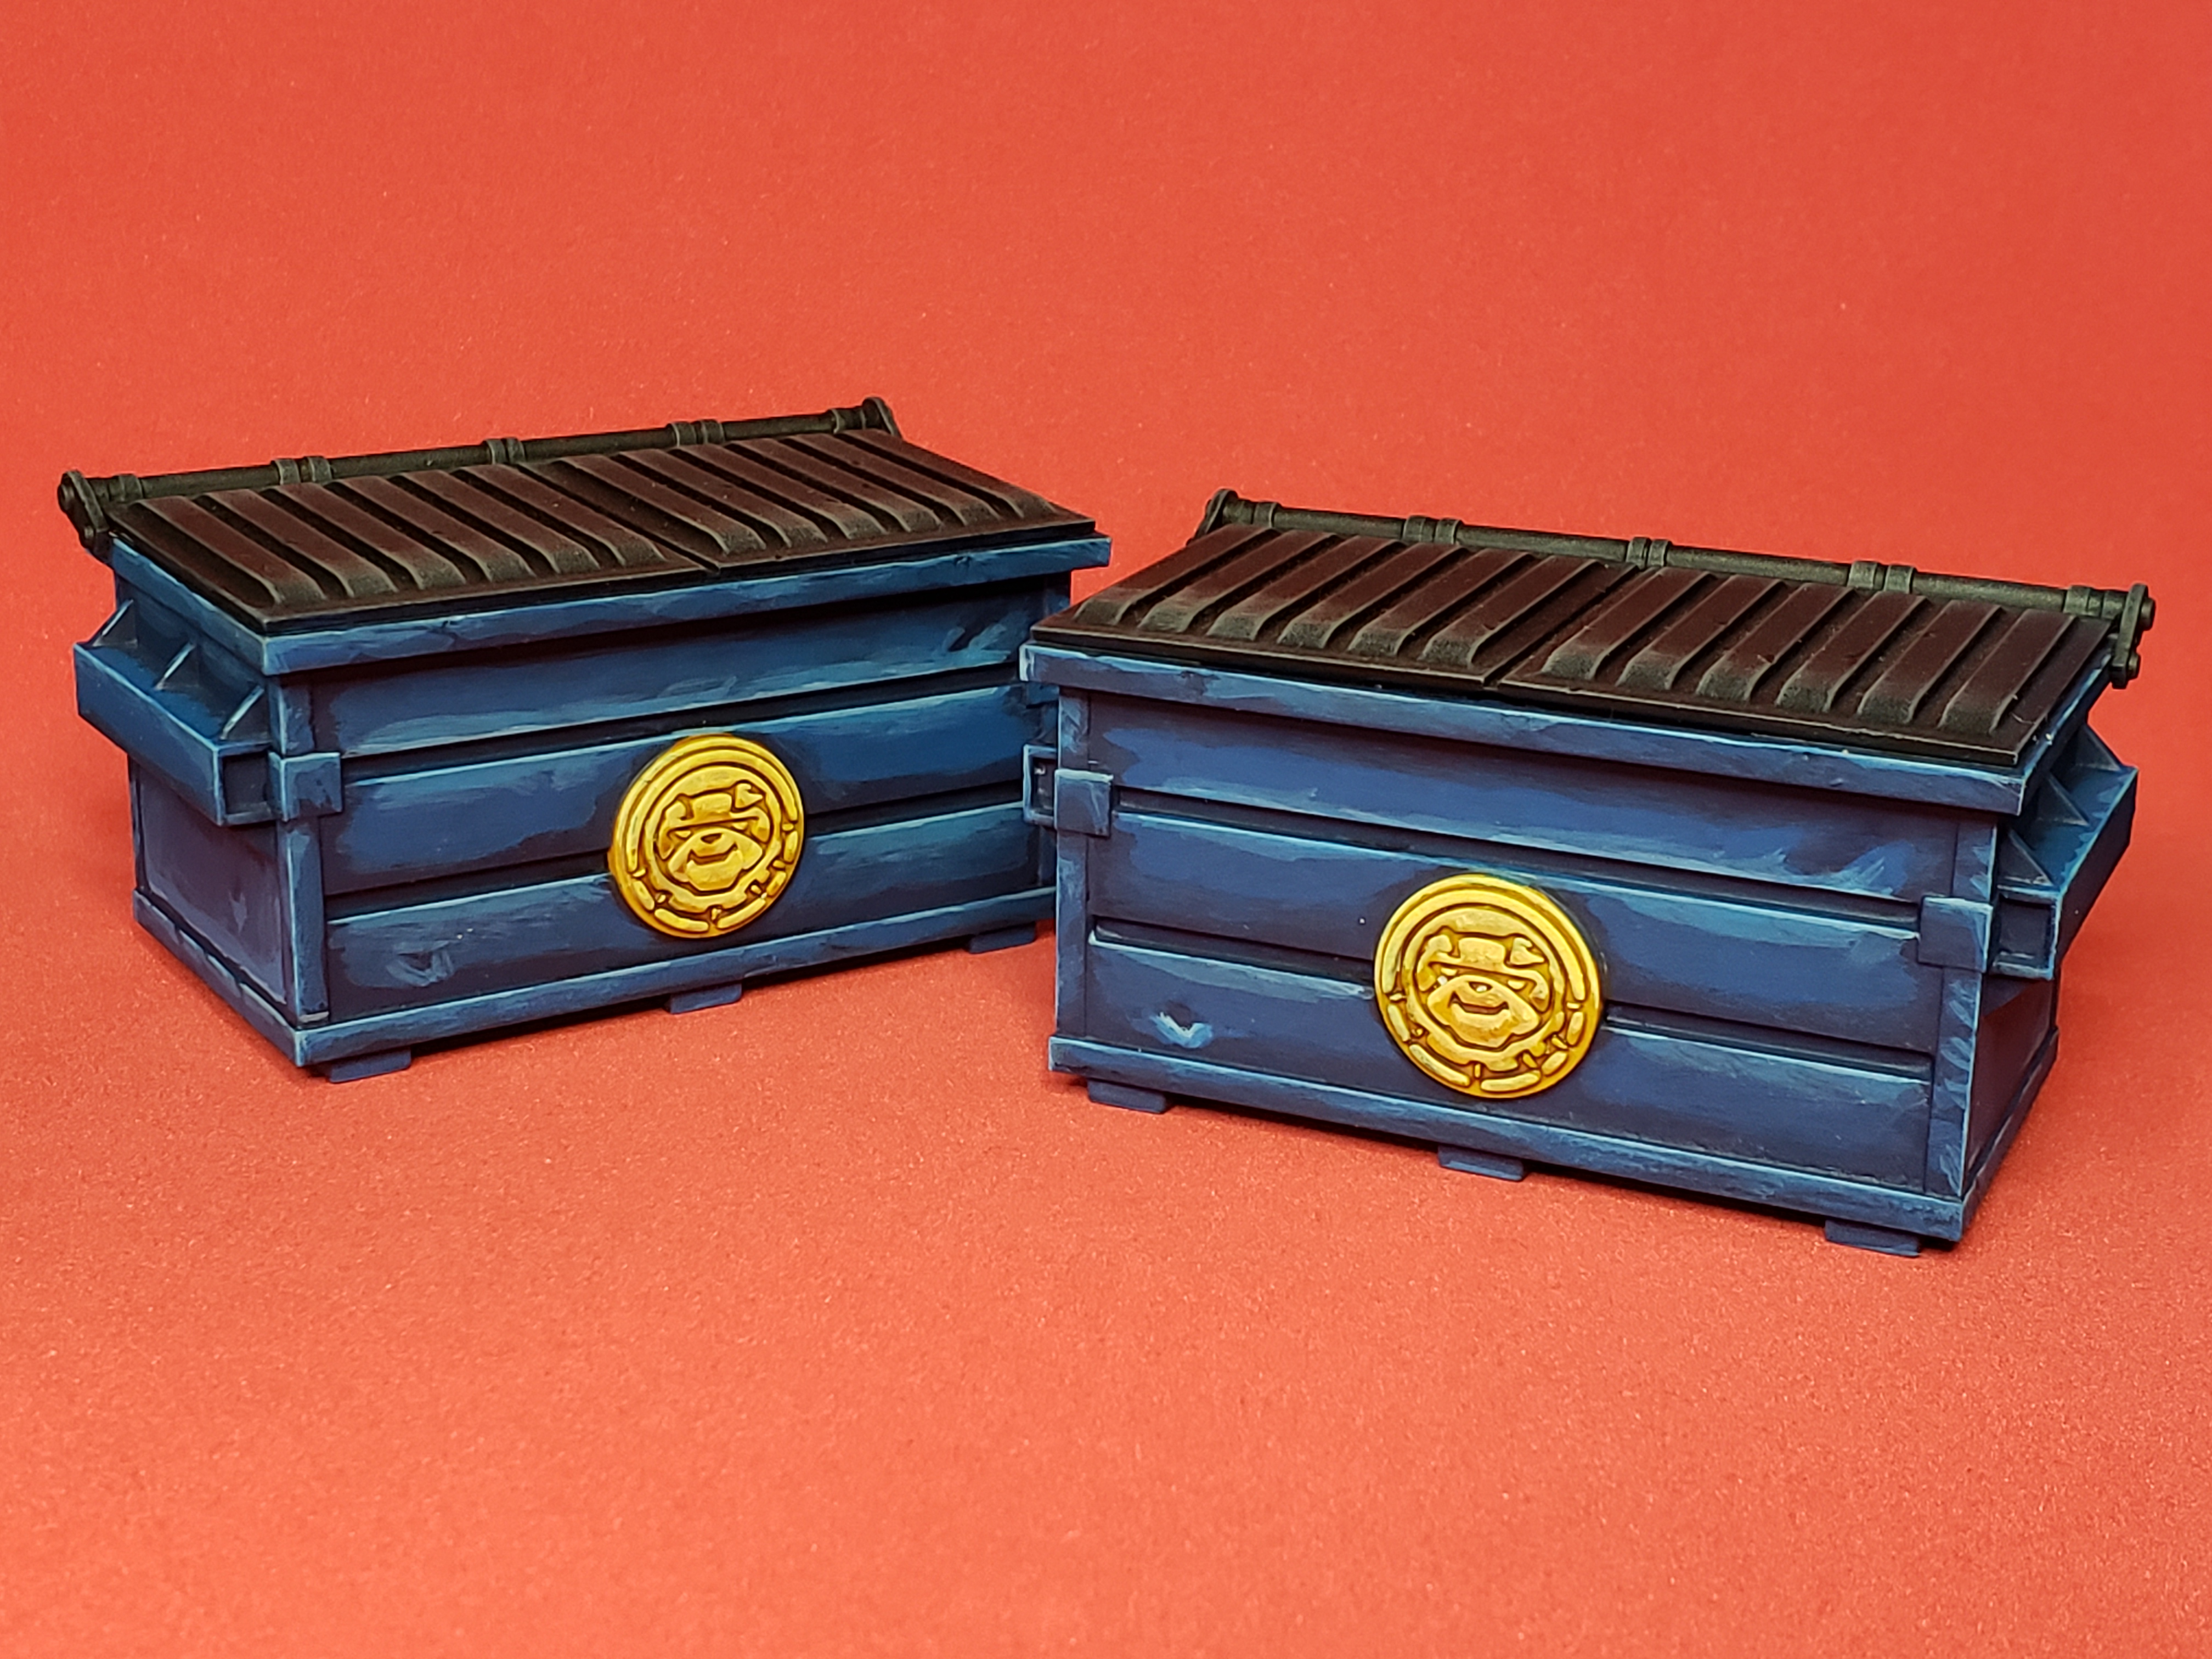
Dumpsters are ready to go. Really happy with how these came out. I’m thinking of bringing in some more highlights on the yellow logos and on the green dumpsters as I think the blue dumpsters kind of outclass them, but for now these are perfectly acceptable for tabletop, so I’m happy.
Captain America took Gold!!!
So I just got word back on the painting competition and it turns out my Captain America won gold! This put him in the top 3 of the competition for that category with another gold medalist with an incredibly smoothly painted Captian Marvel and with the overall winner of the competition, who painted an amazingly well detailed M.O.D.O.K. complete with NMM gold.
As proud as I am of my work on Cap, I had no idea it would do this well, so this pretty much made my weekend.
Hobby wise I’ve been working on the Wave 6 of the Walking Dead minis (progress is on that blog), but once those are complete, I’m back to knocking out terrain for MCP, then the plan is to post new pics of the minis with proper backgrounds. Then, finally, I’ll be able to start working on all the expansion characters I’ve been itching to get to.
Range Rulers complete
 Finished the range rulers now that I'm finally done with Wave 6 of Walking Dead minis. Next up I'm going to do the movement sticks. These were really fun to paint and I'm really excited to start getting games in.
Movement Tools Finished
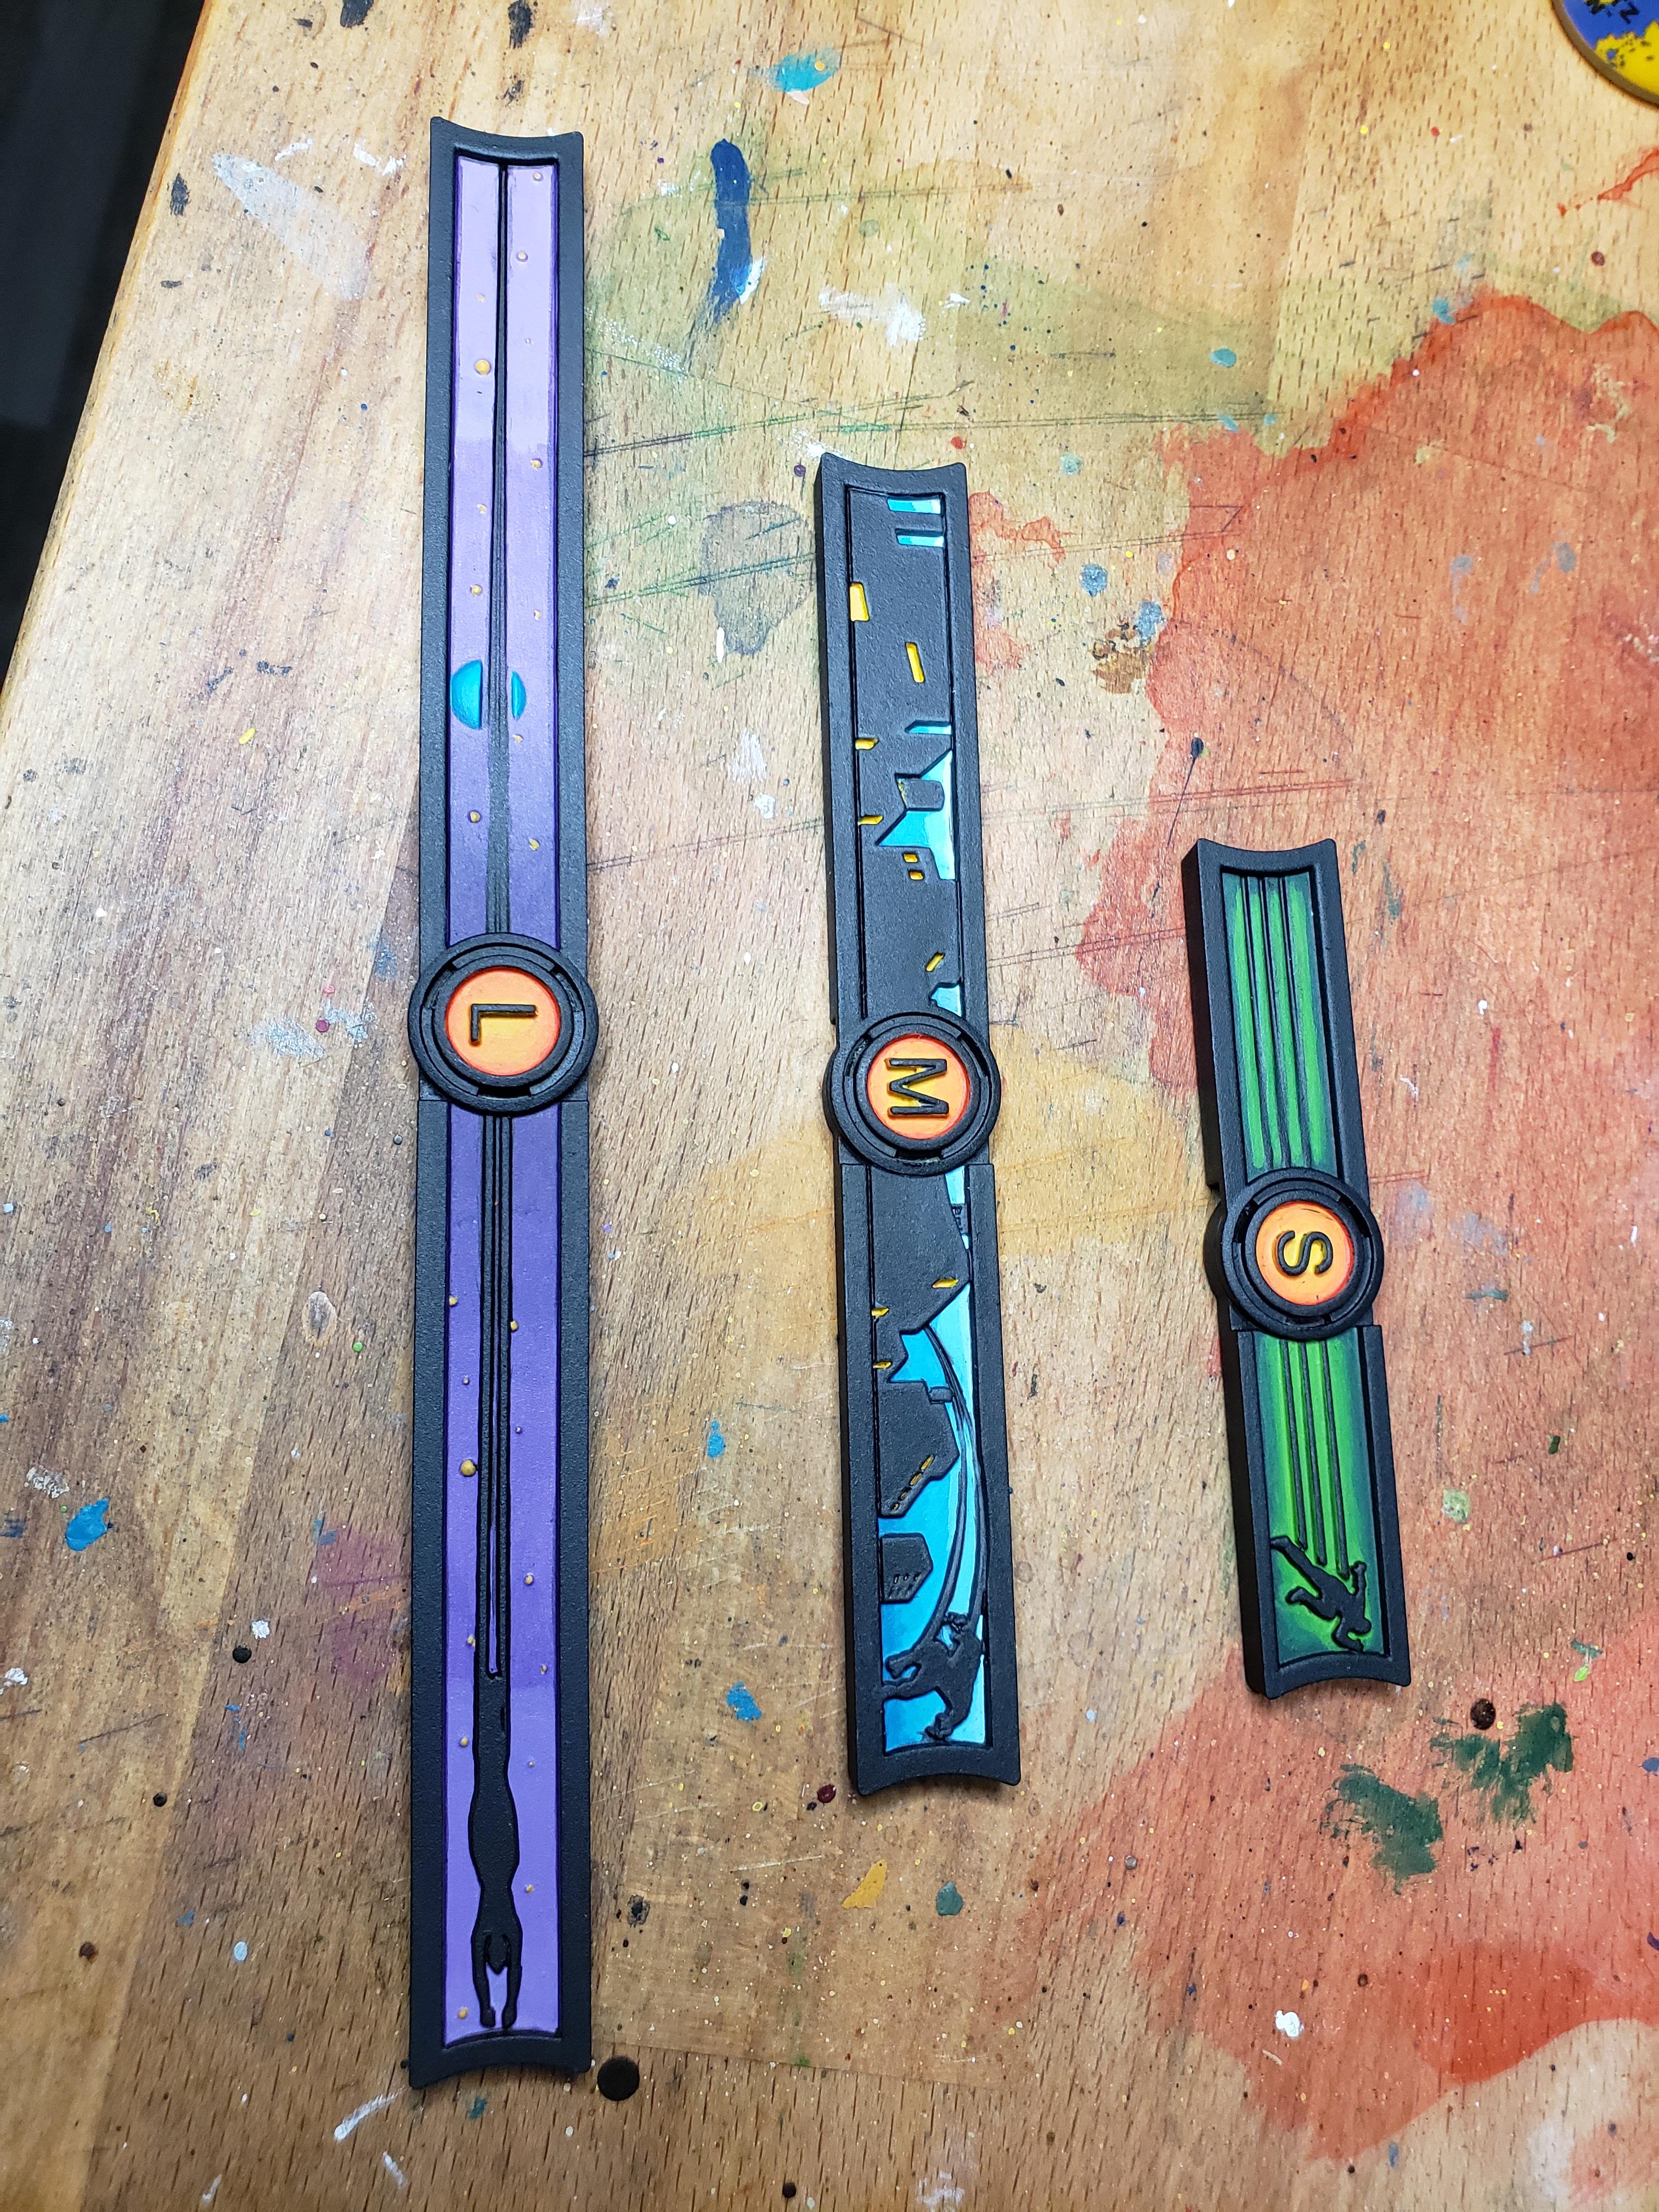 Found a color scheme for my movement tools. Pretty happy with how they turned out.
Thor, God of Hammers complete
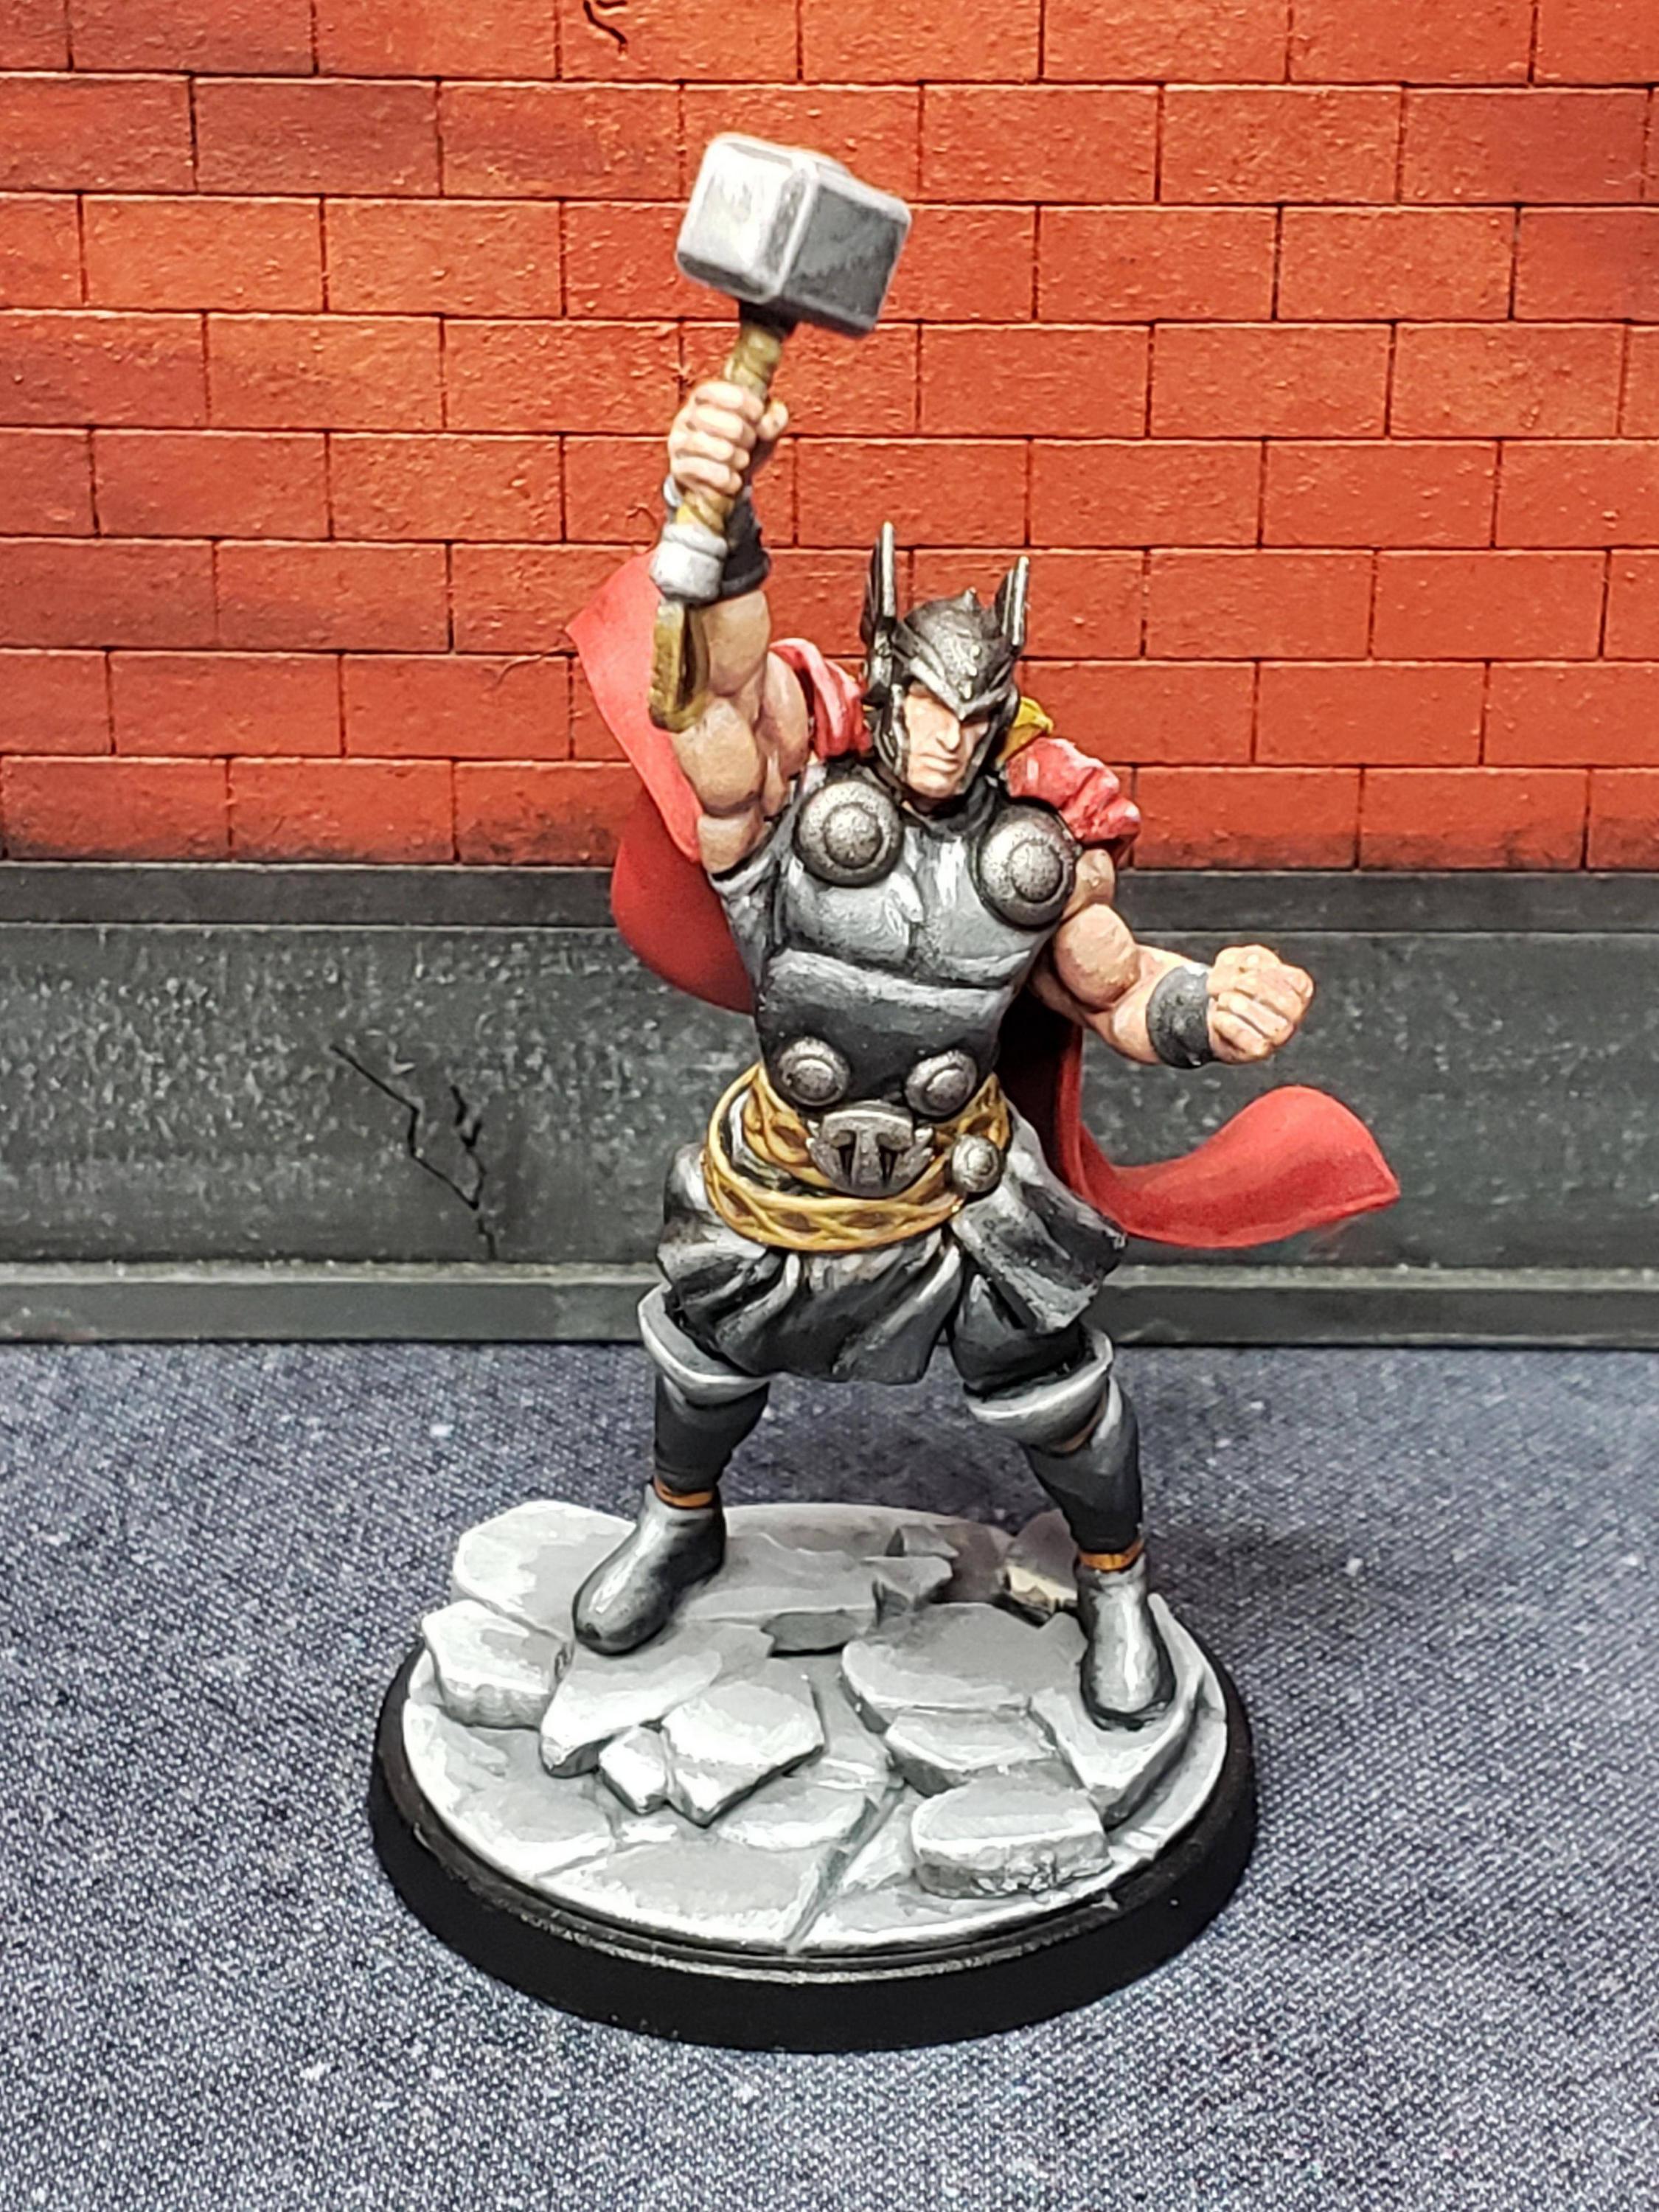
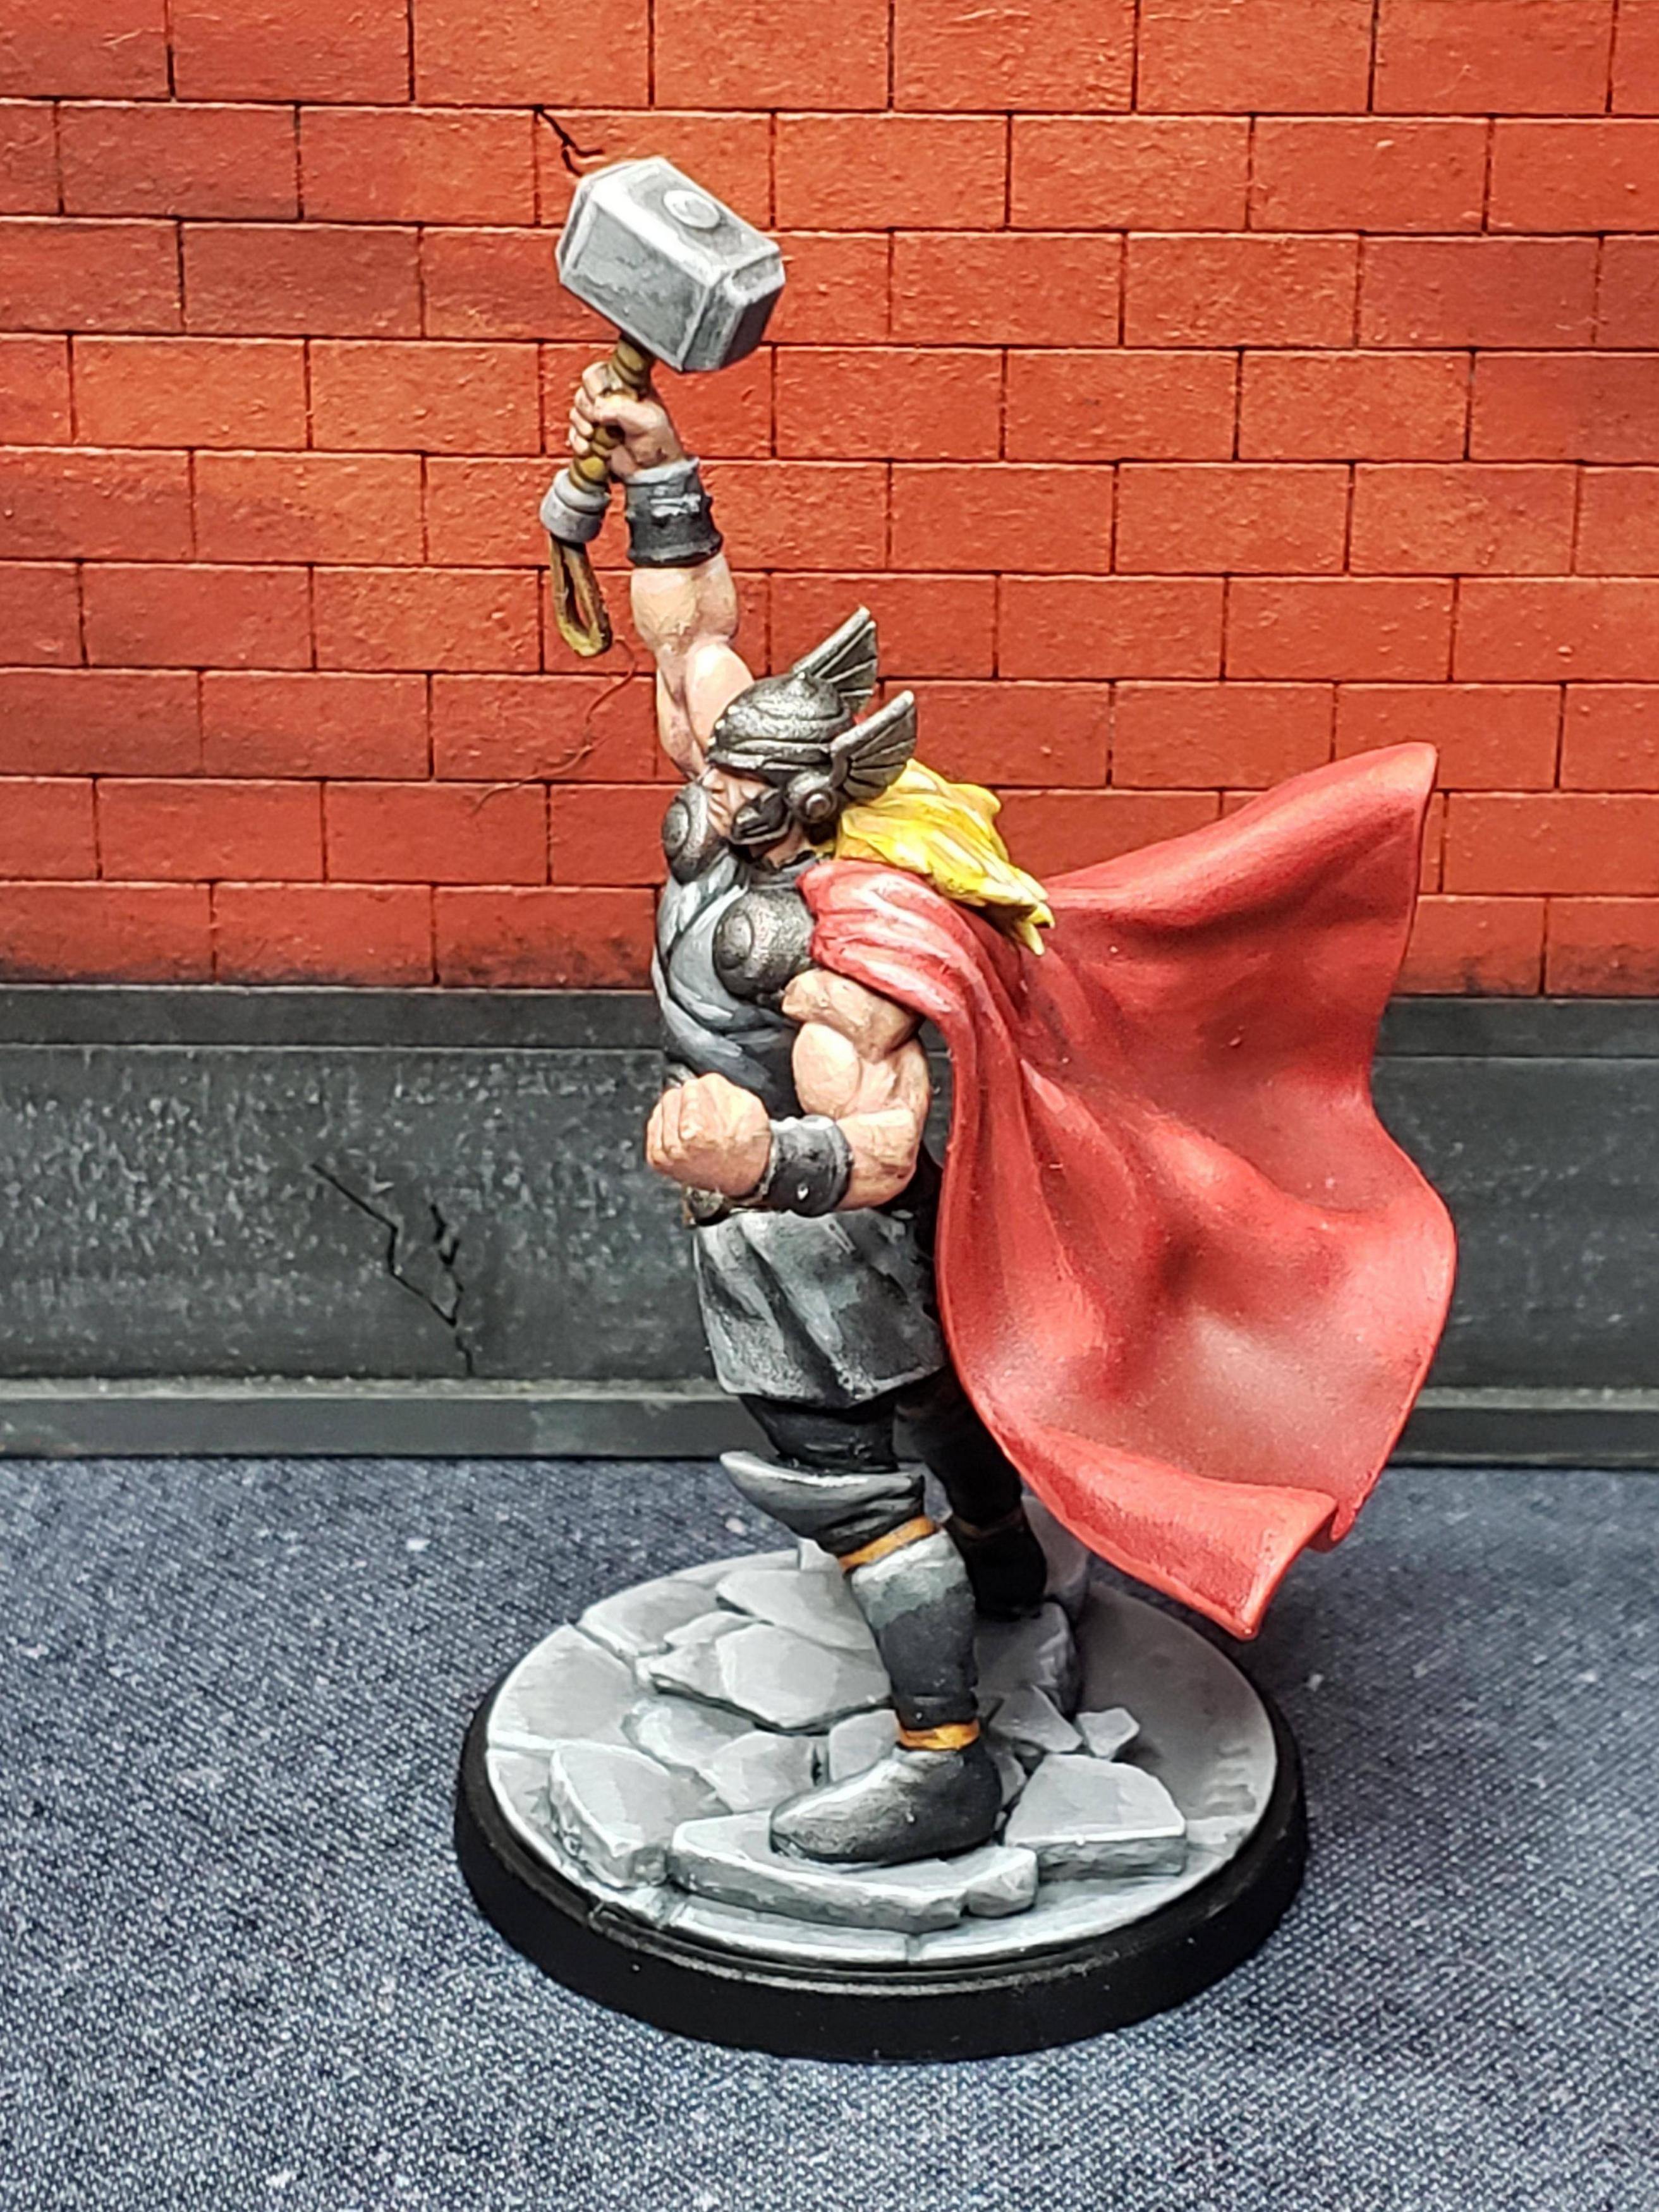

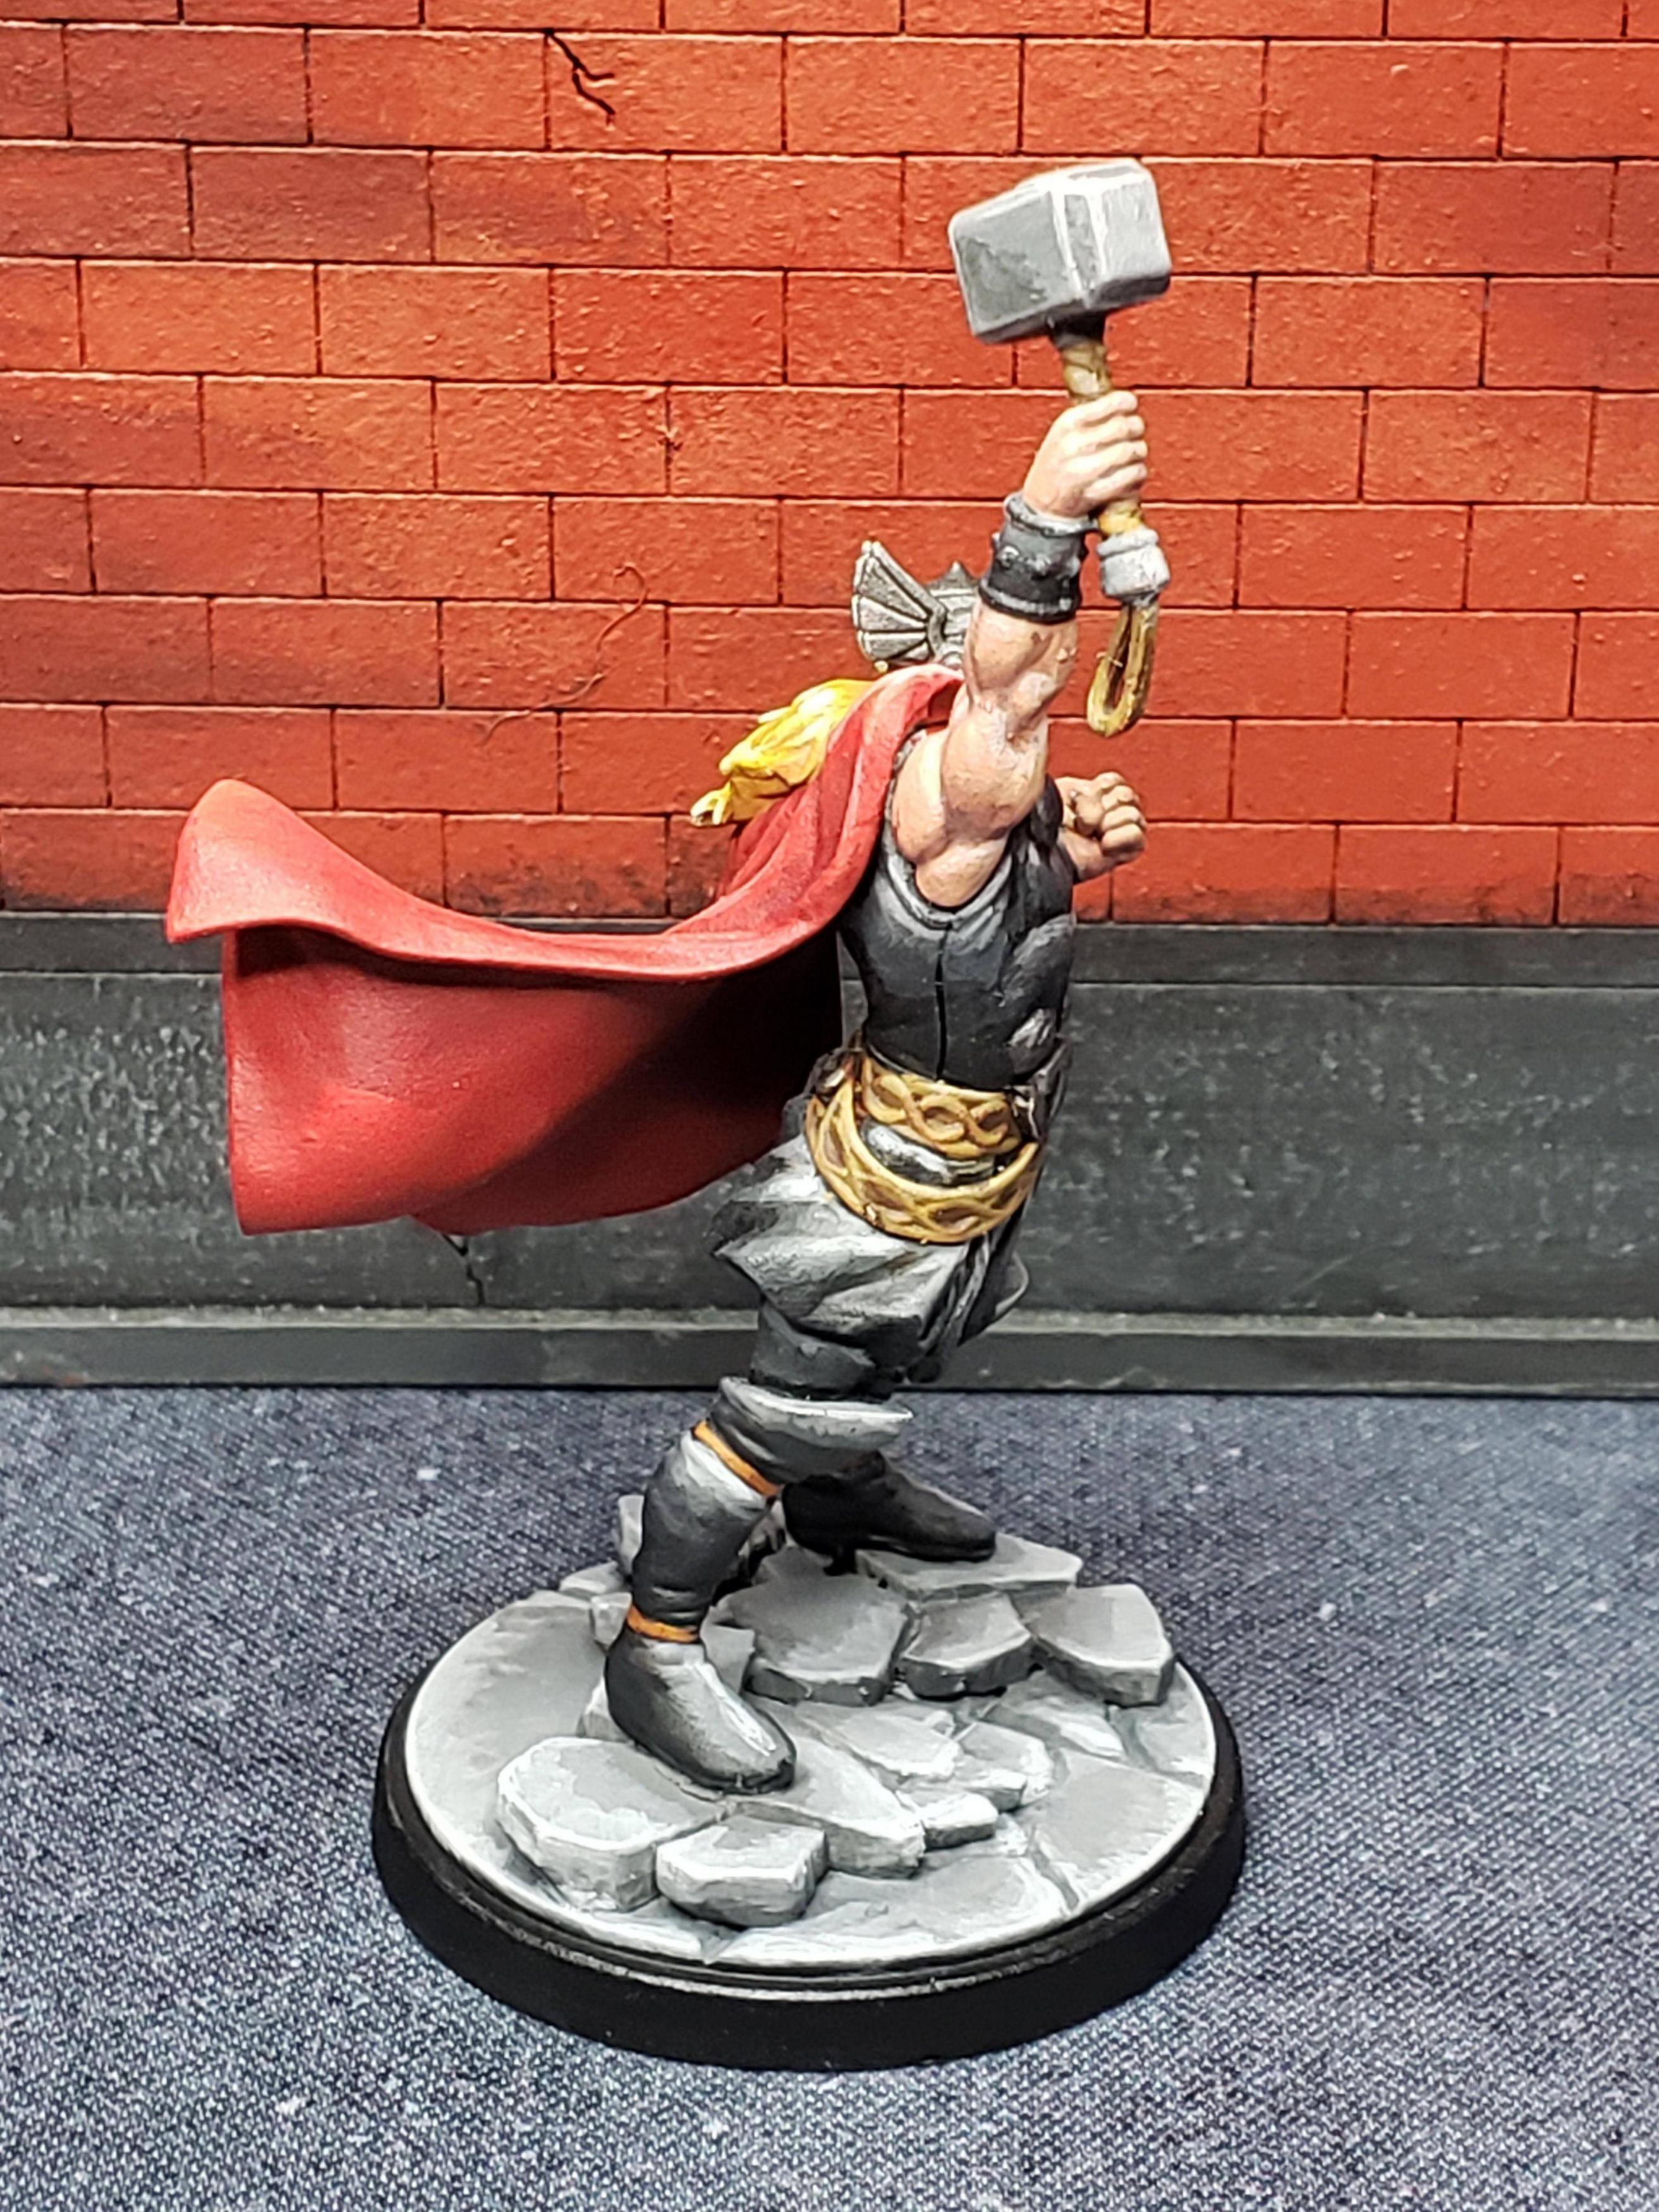
So I finished Thor this week. Pretty happy with how he came out. I am getting more and more comfortable with this technique on black. I’m definitely going to have to revisit Black Widow eventually, but I still have Black Panther and Venom to practice on, so I’ll probably wait until they’re done before I do that.
Vision complete
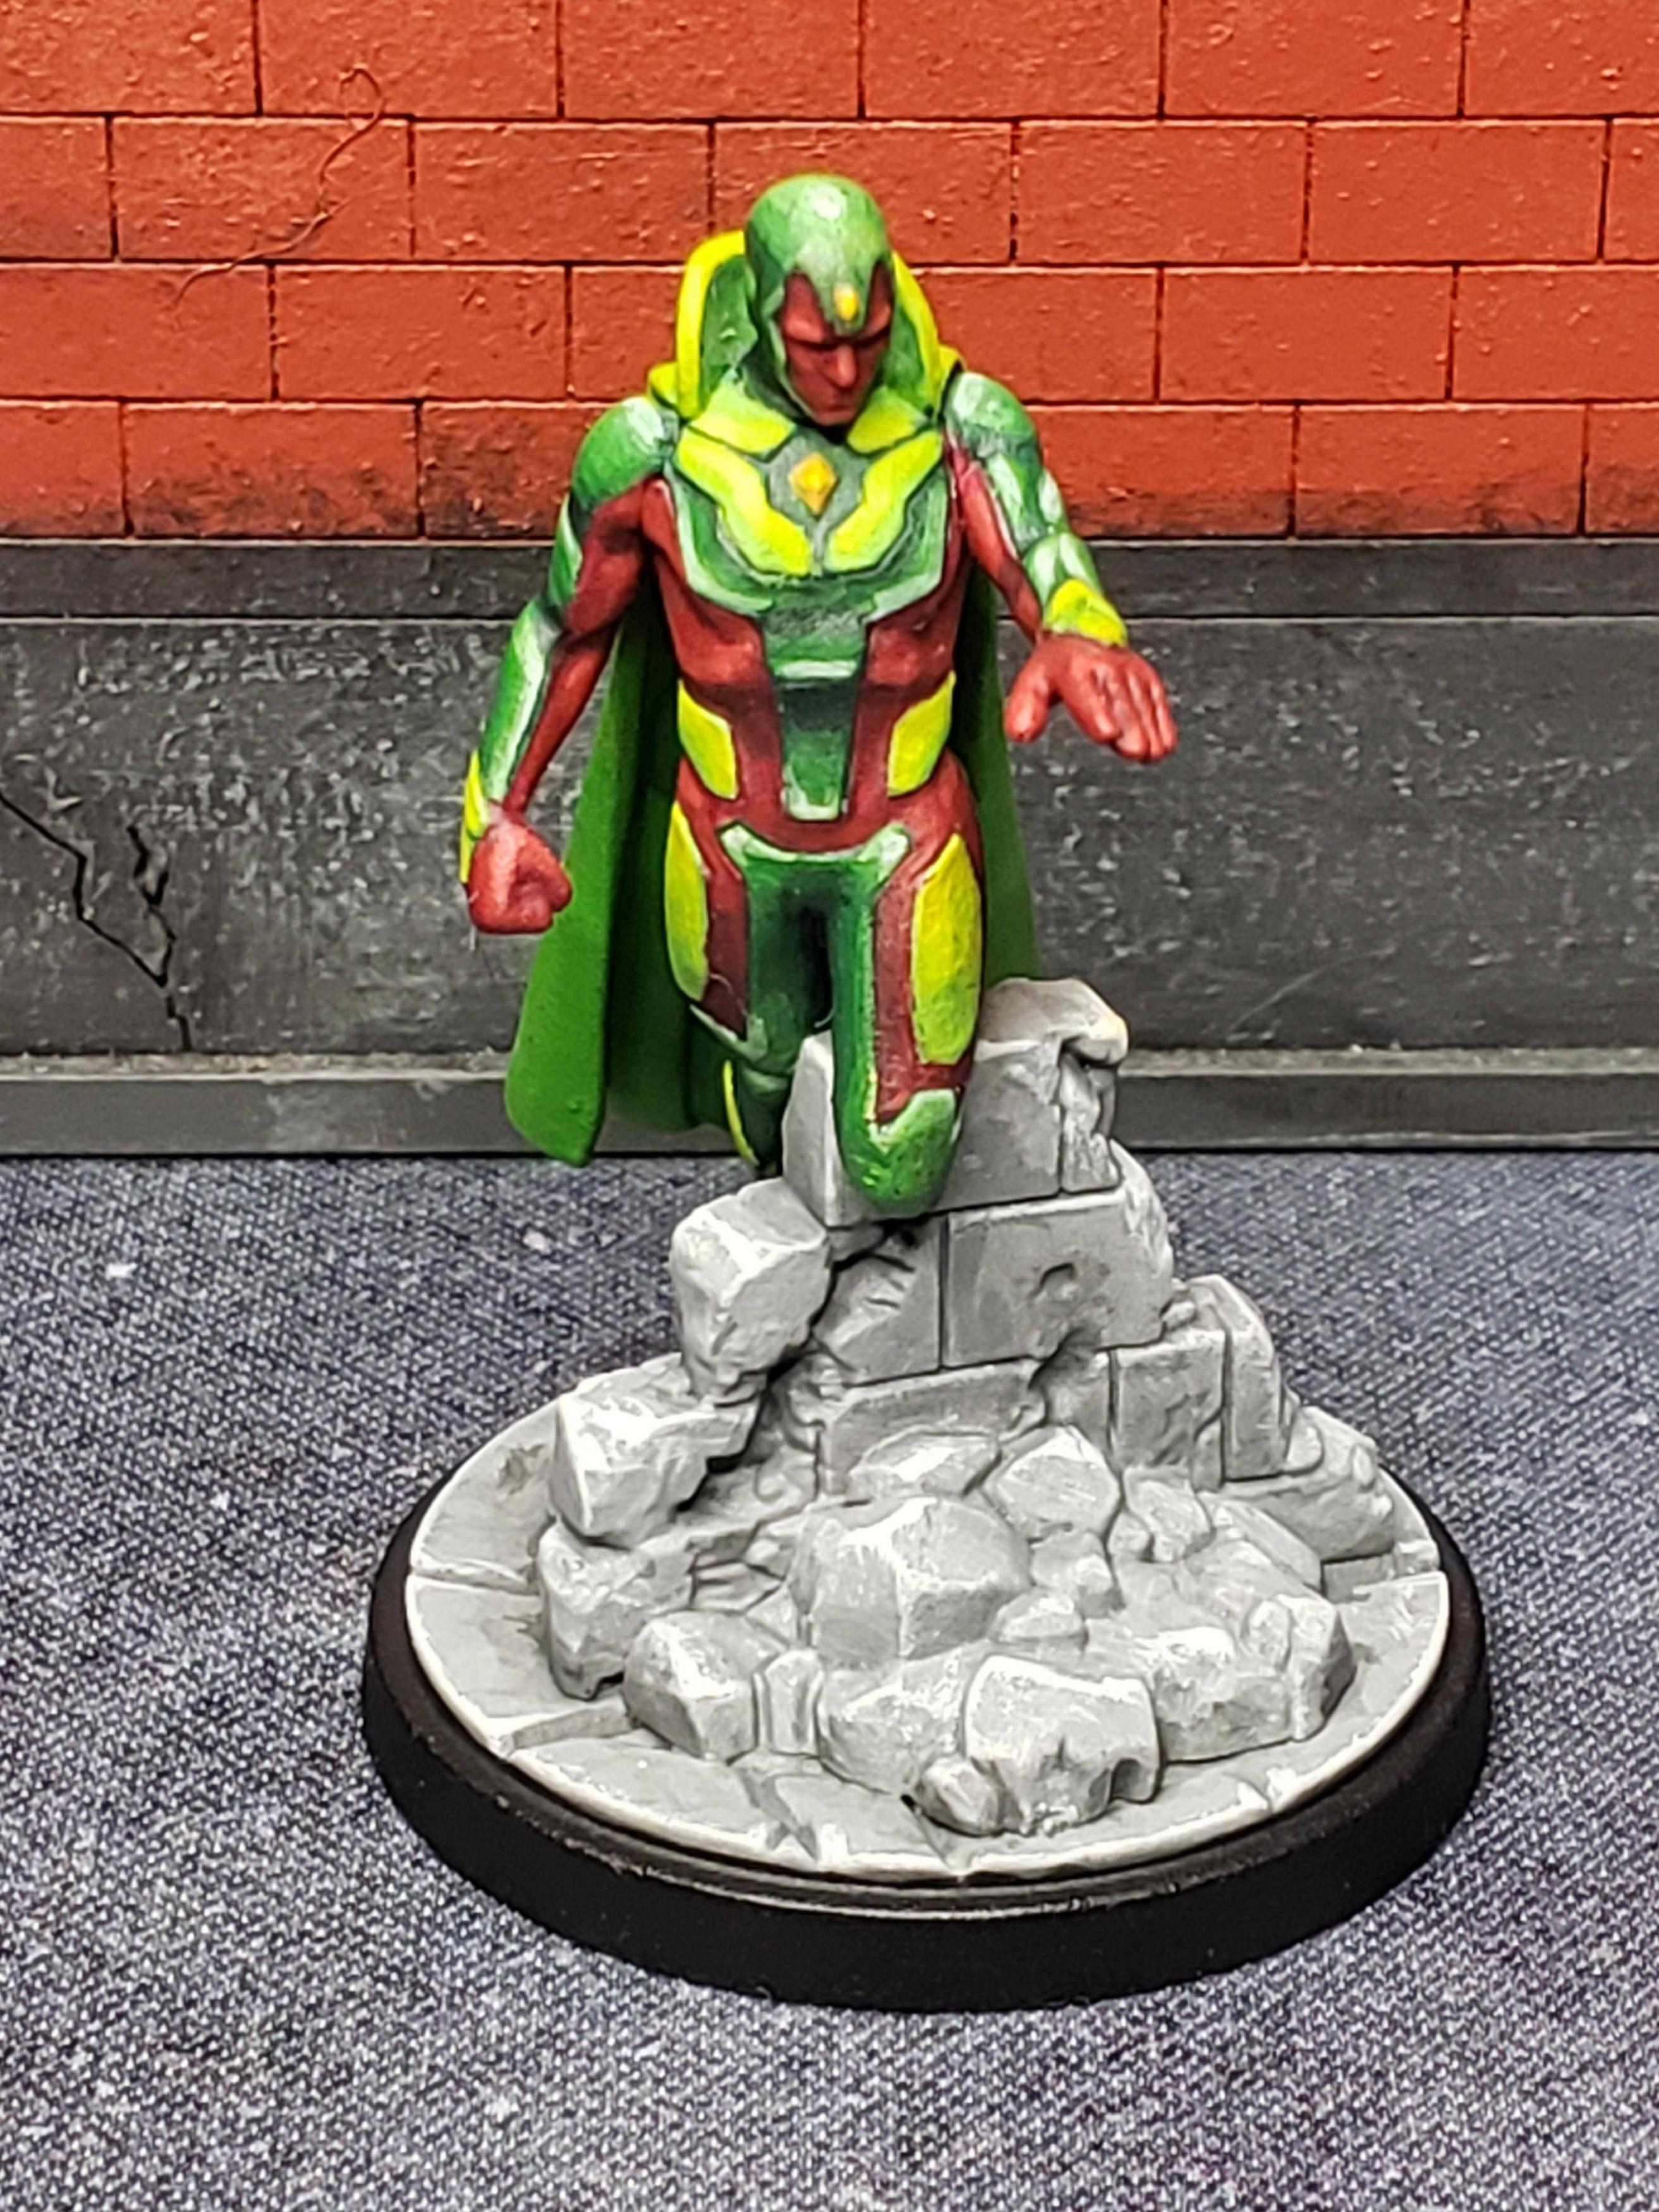
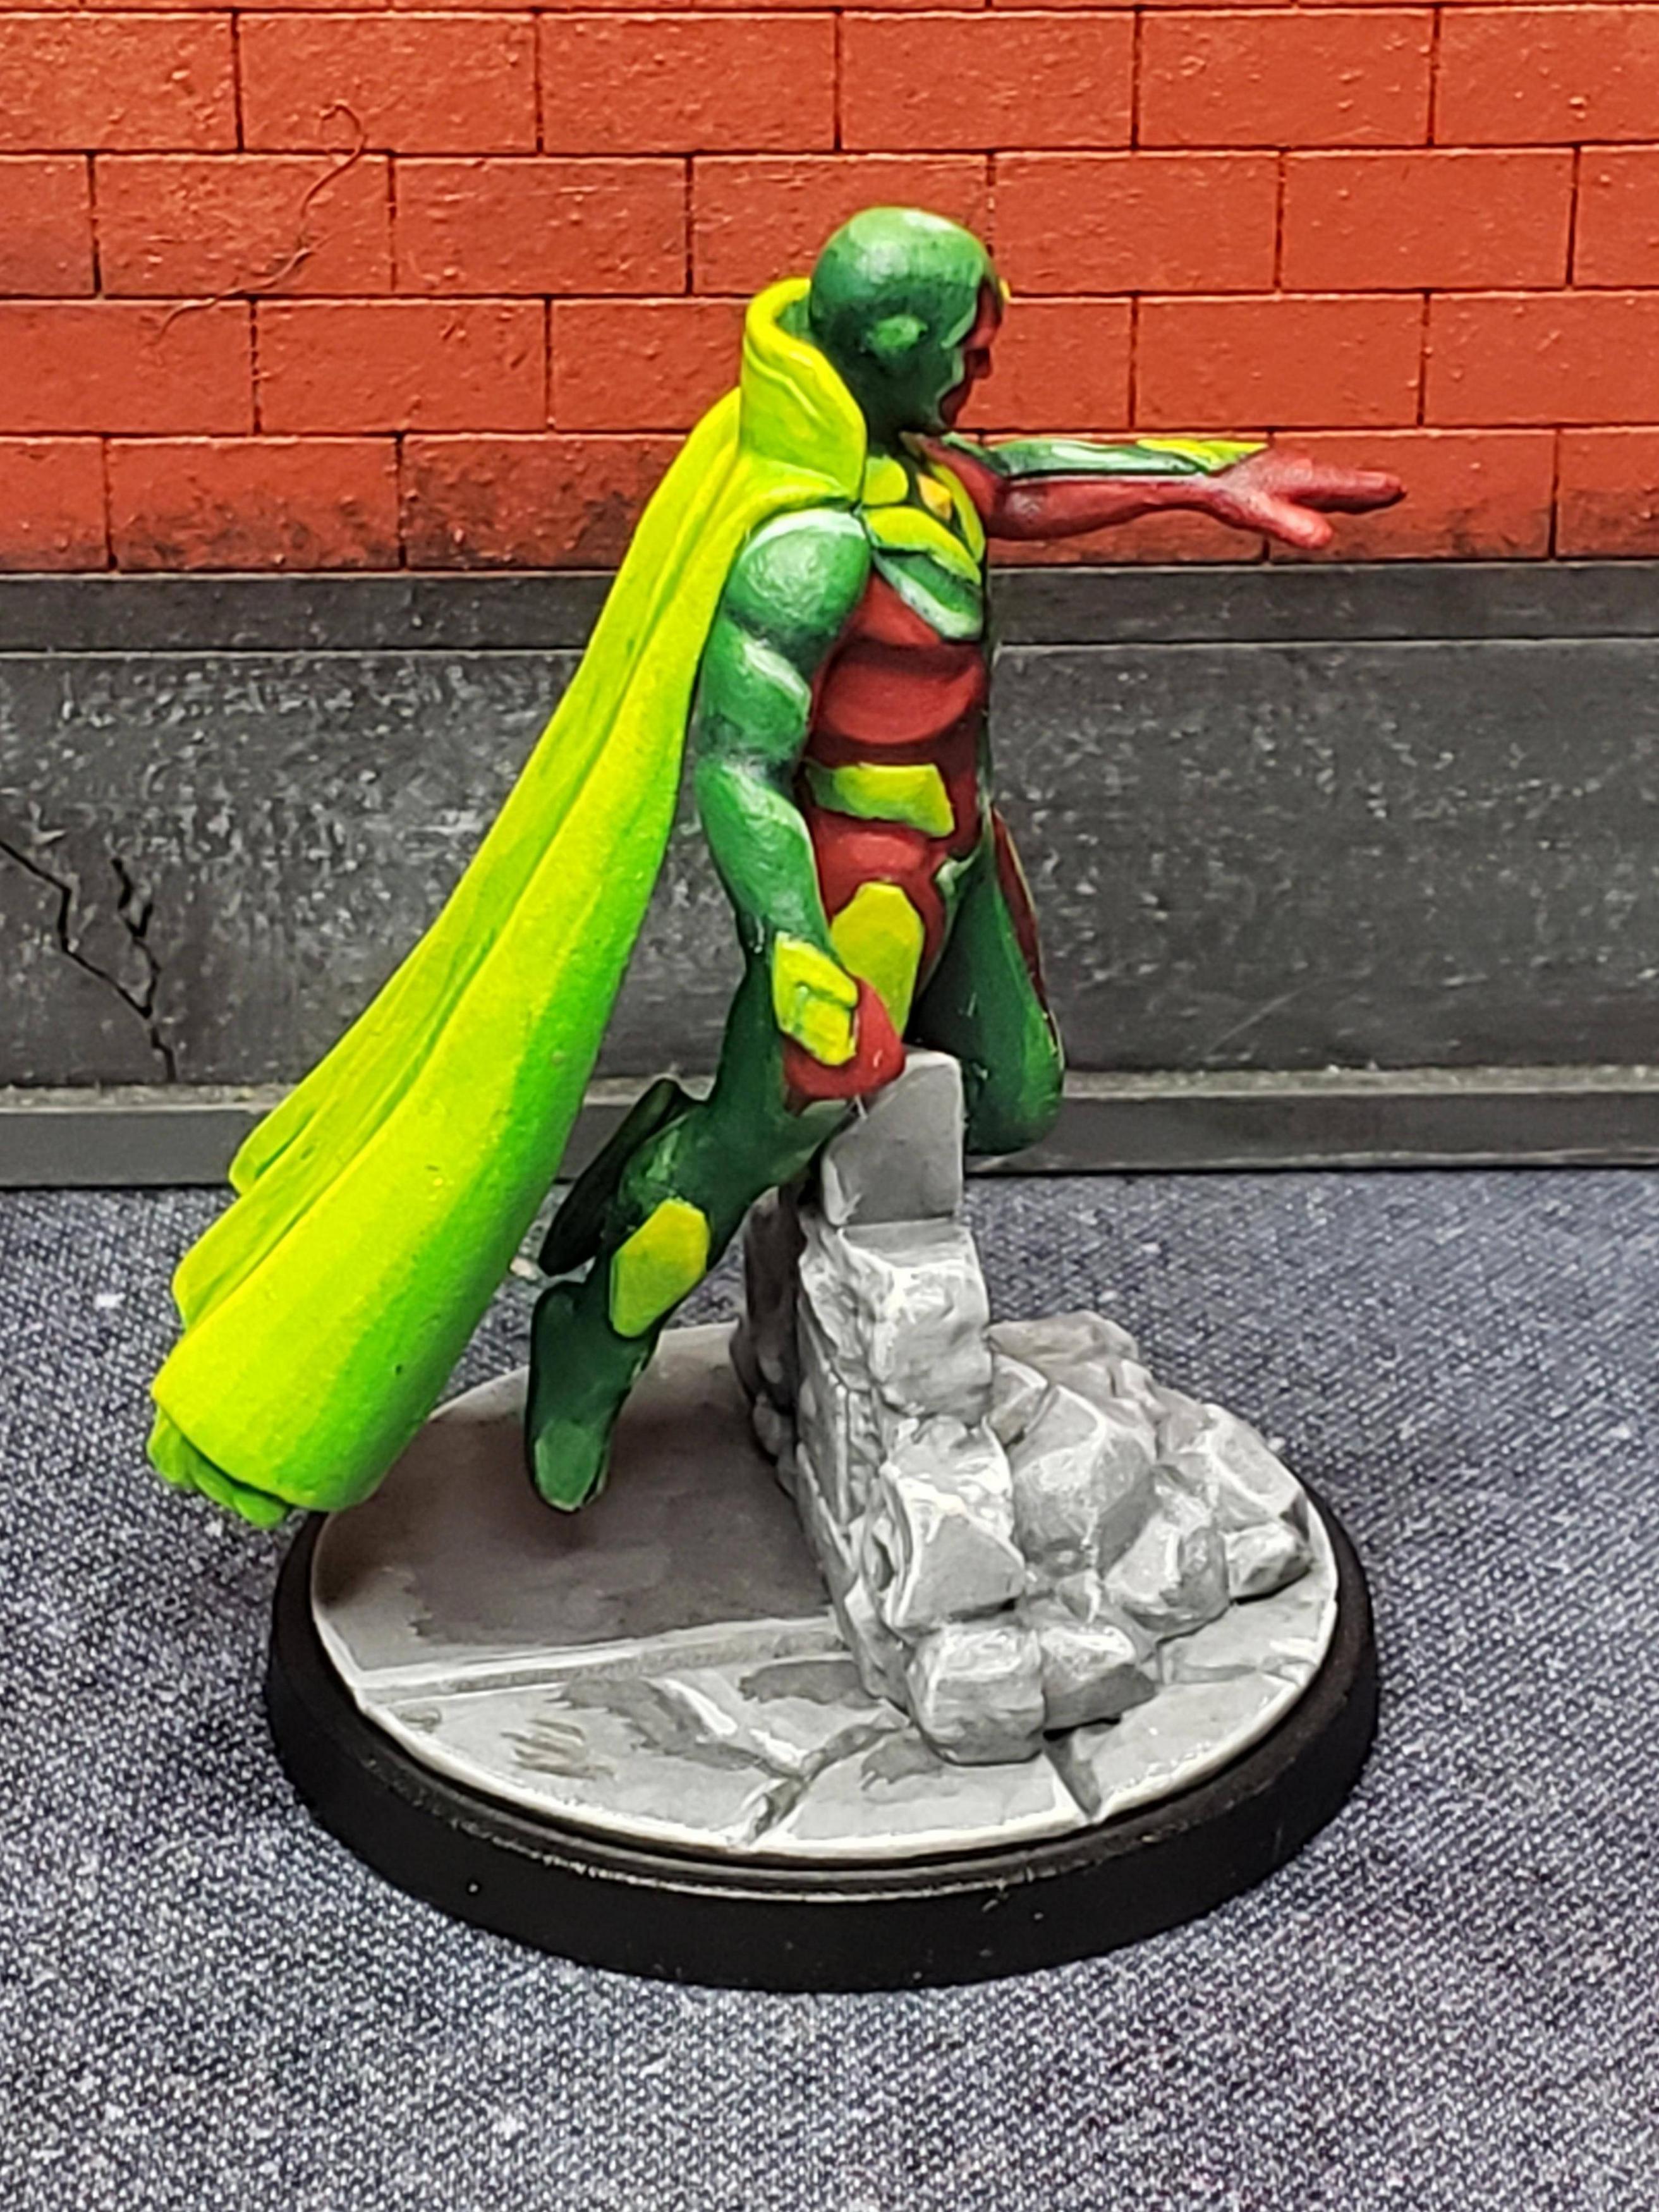

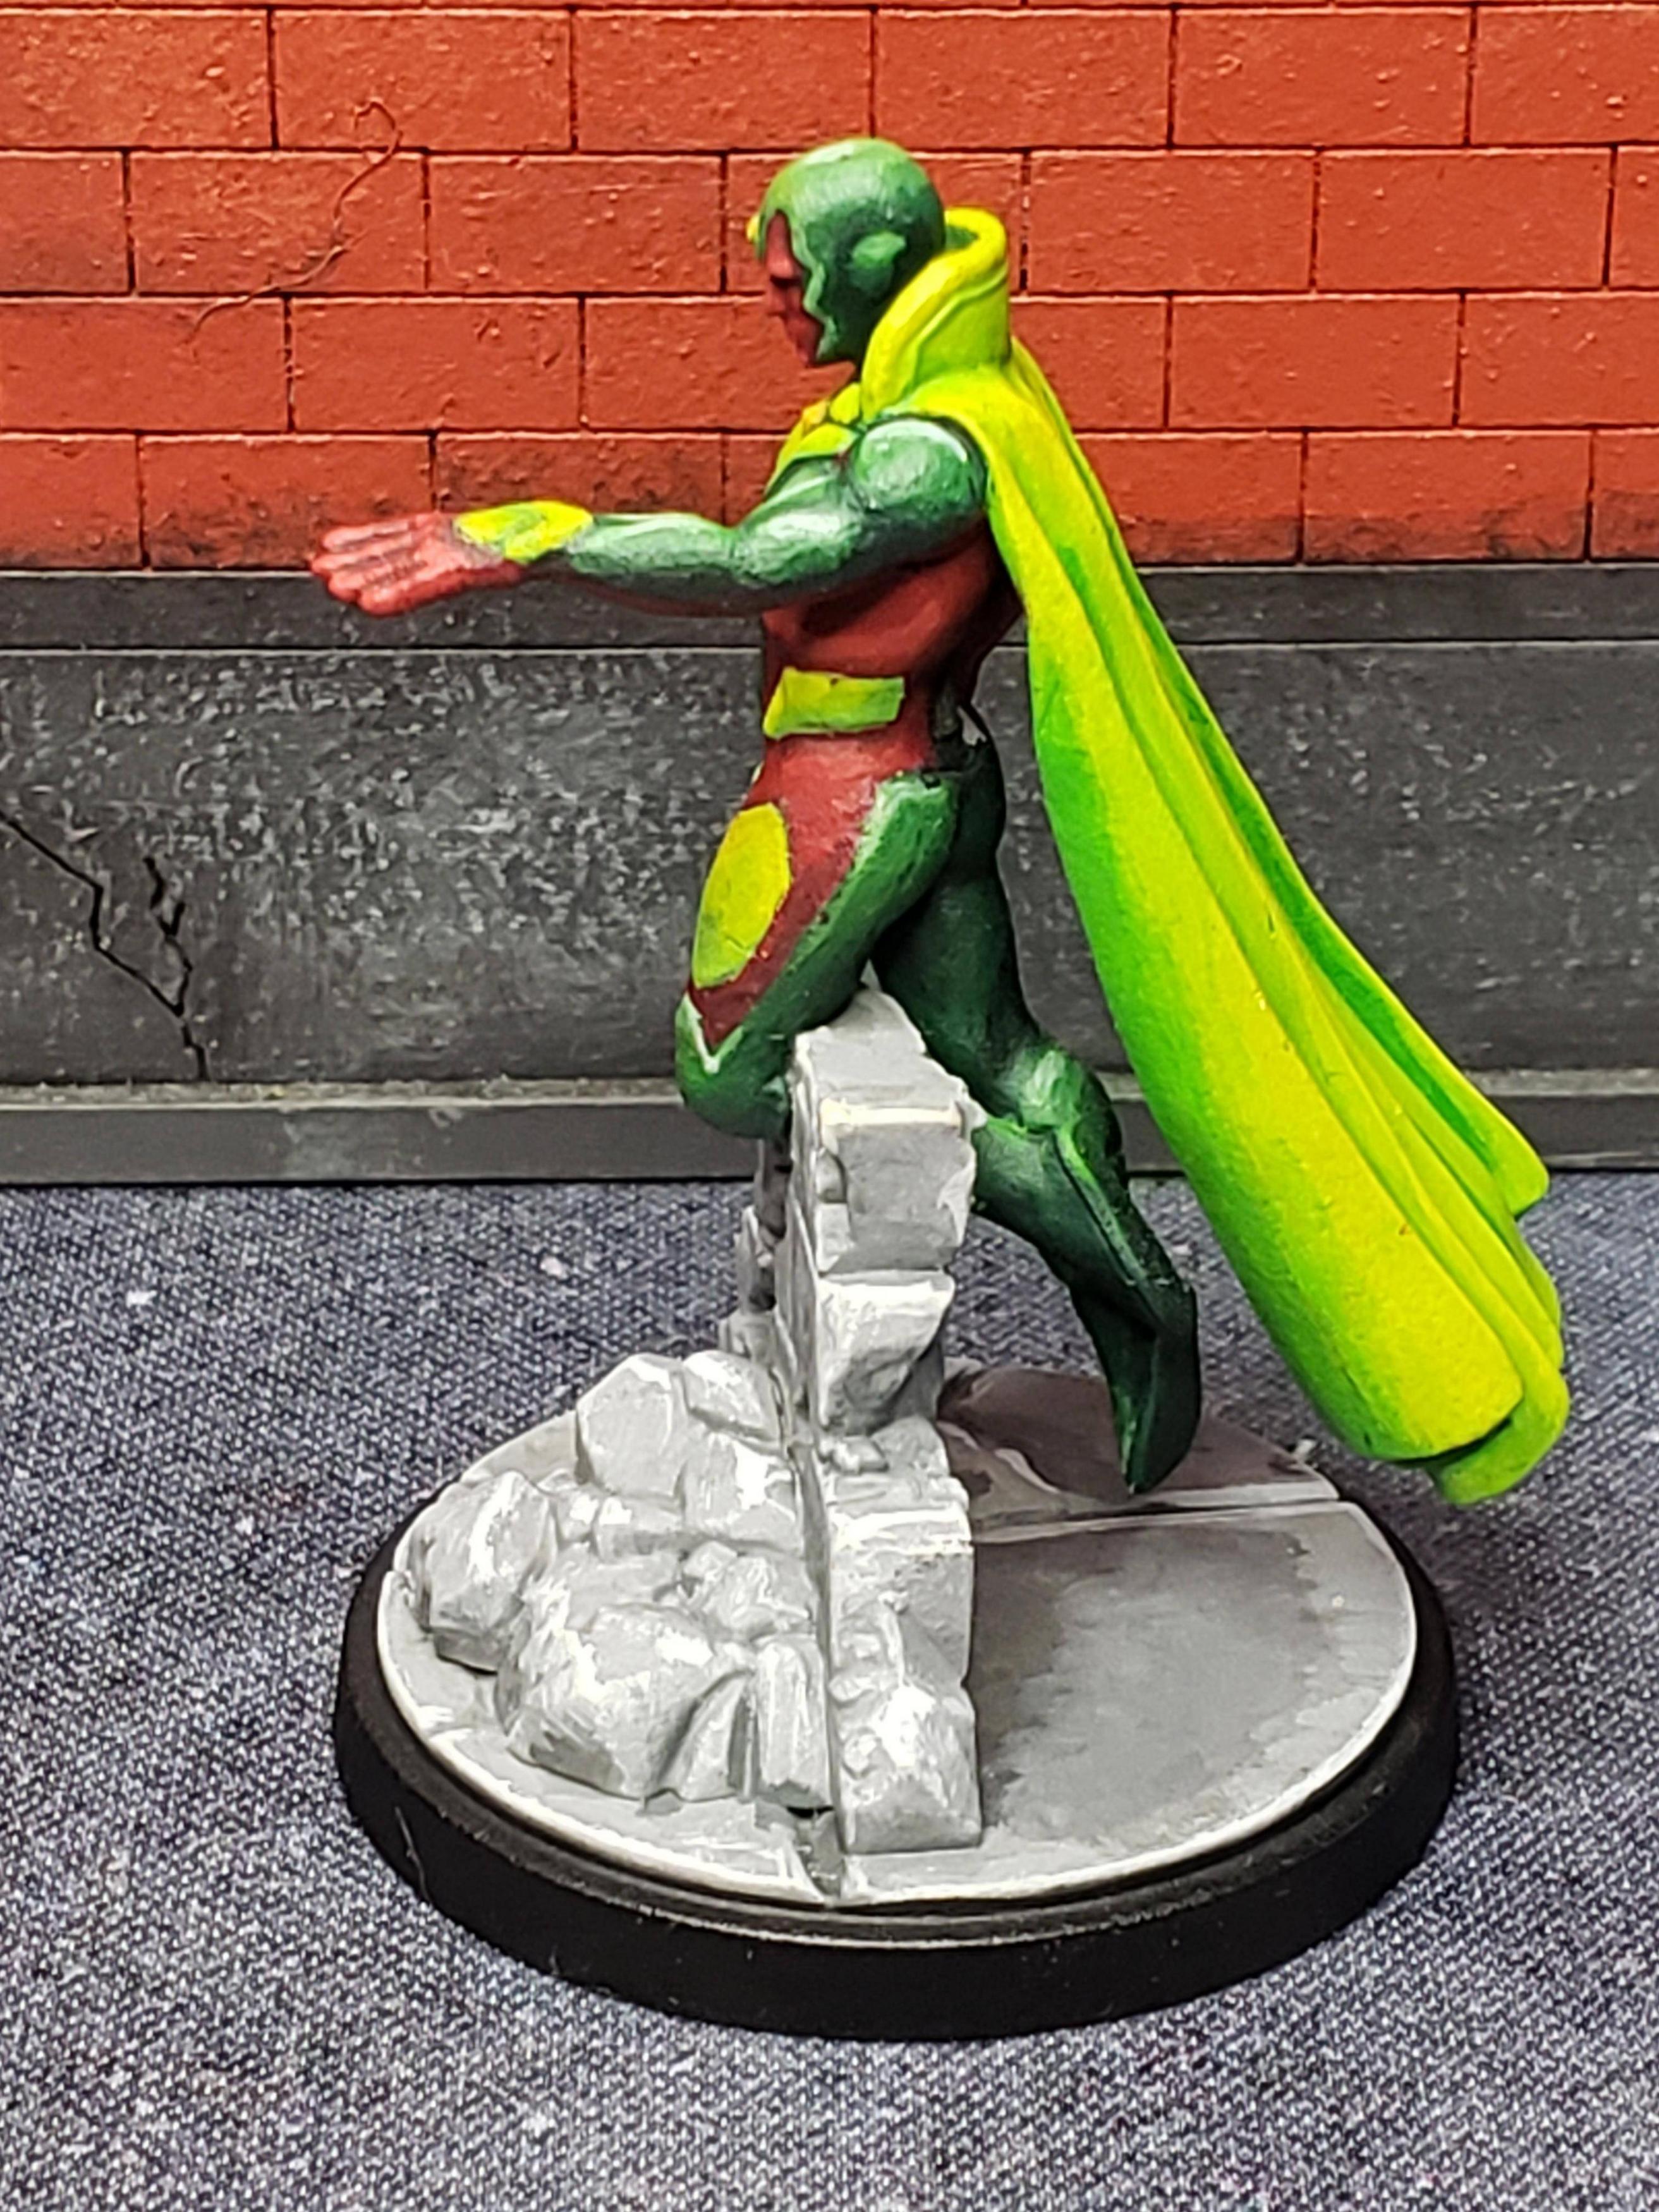
Got Vision completed this week as well. He was really fun to paint, although to anyone reading this that hasn’t completed him yet, definitely paint him before gluing his leg to the brick wall, it made it a lot easier to get to all the details. I really like how colorful he was. On retrospect I might want to bring some of the colors up a little bit (the light green, for instance). But overall I’m happy with him.
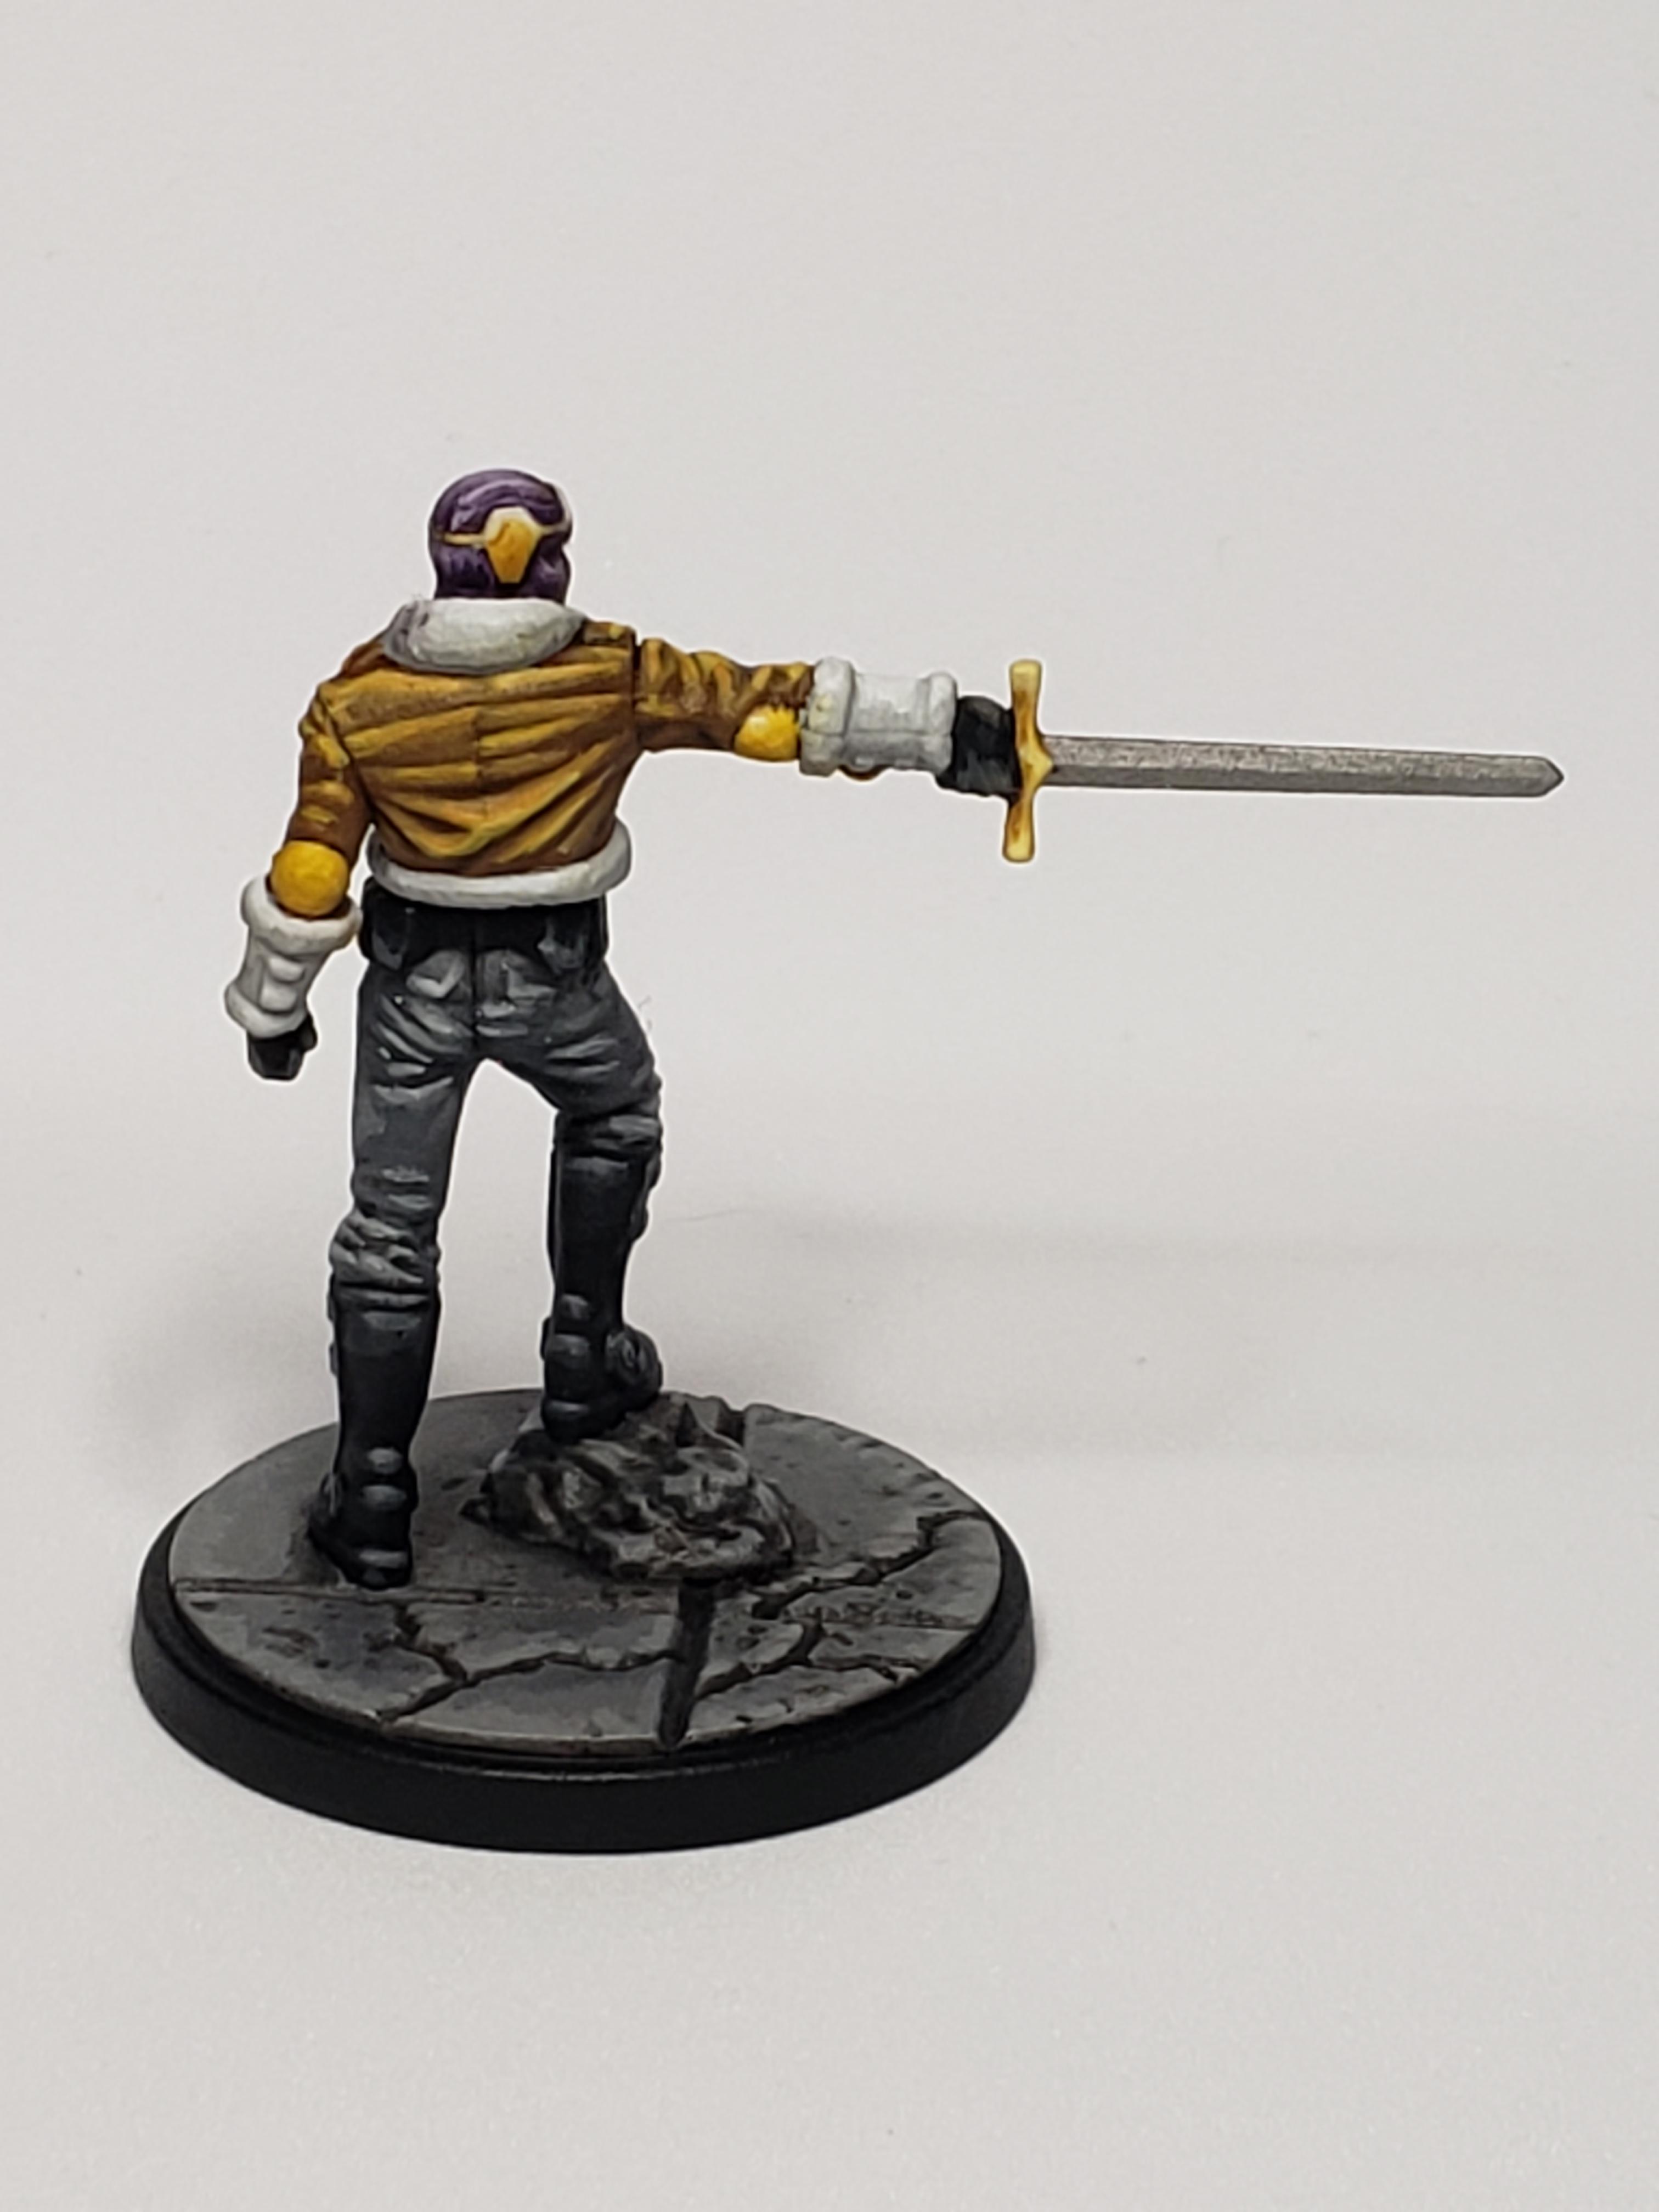
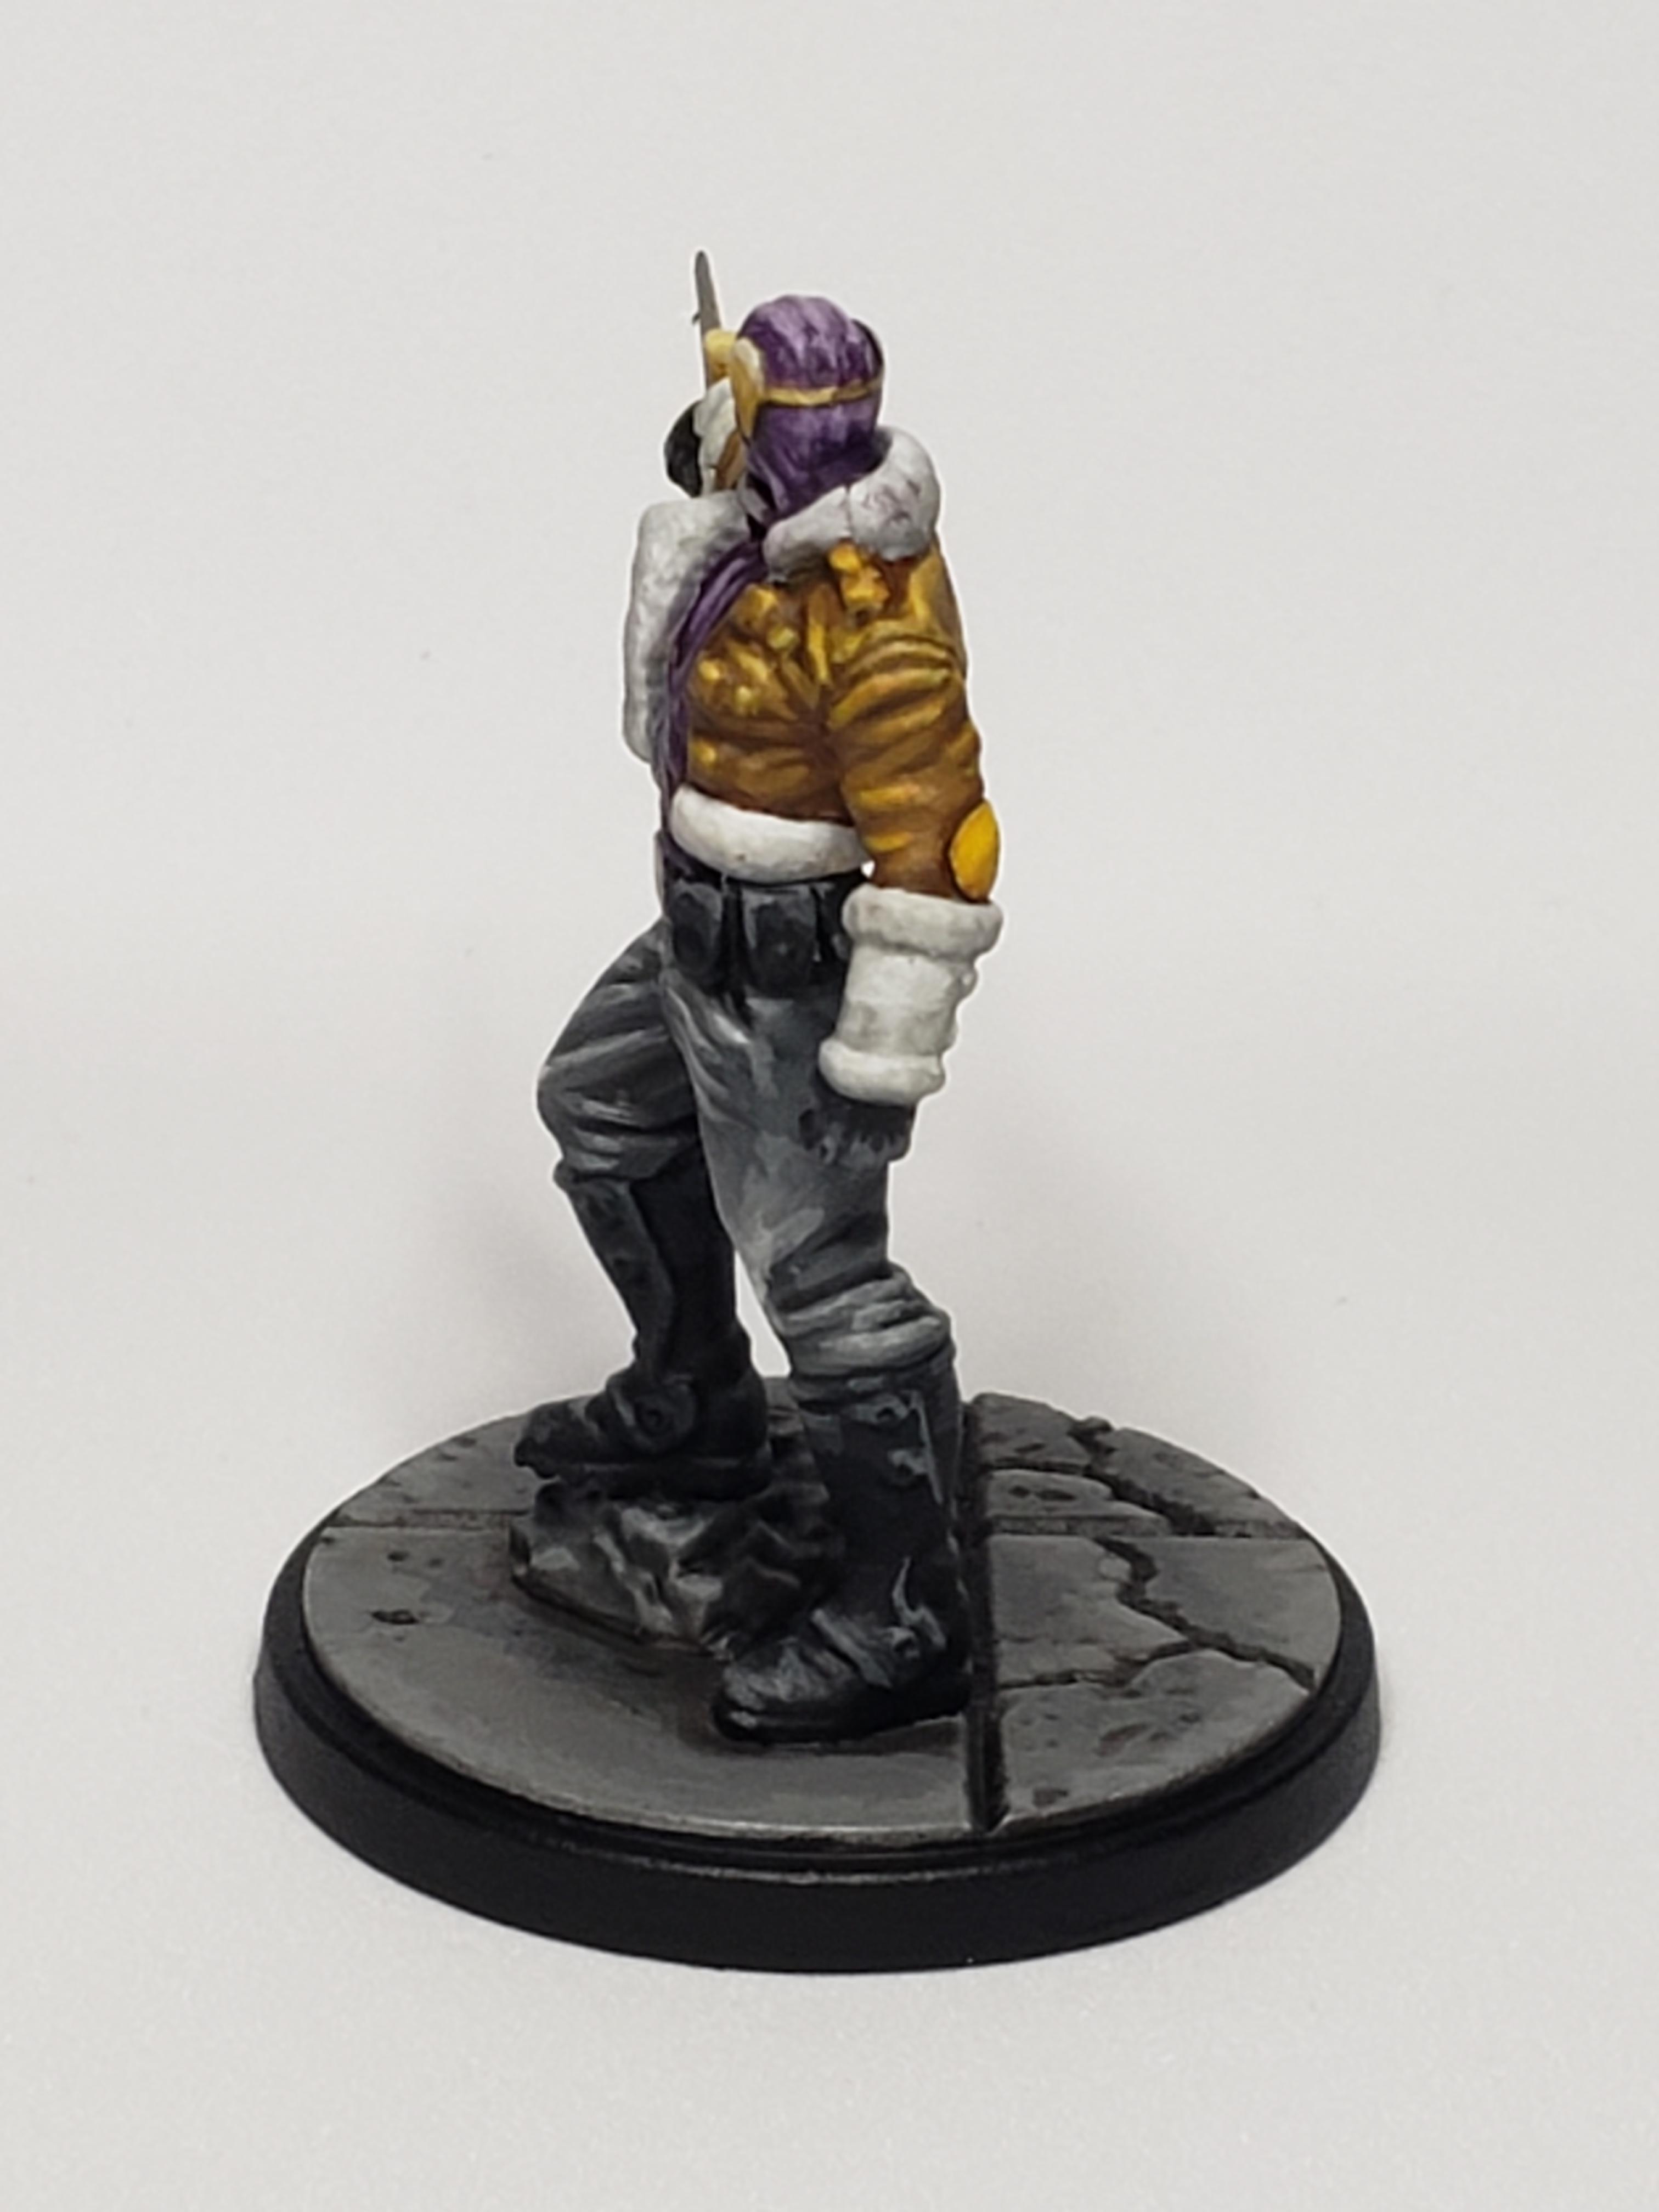
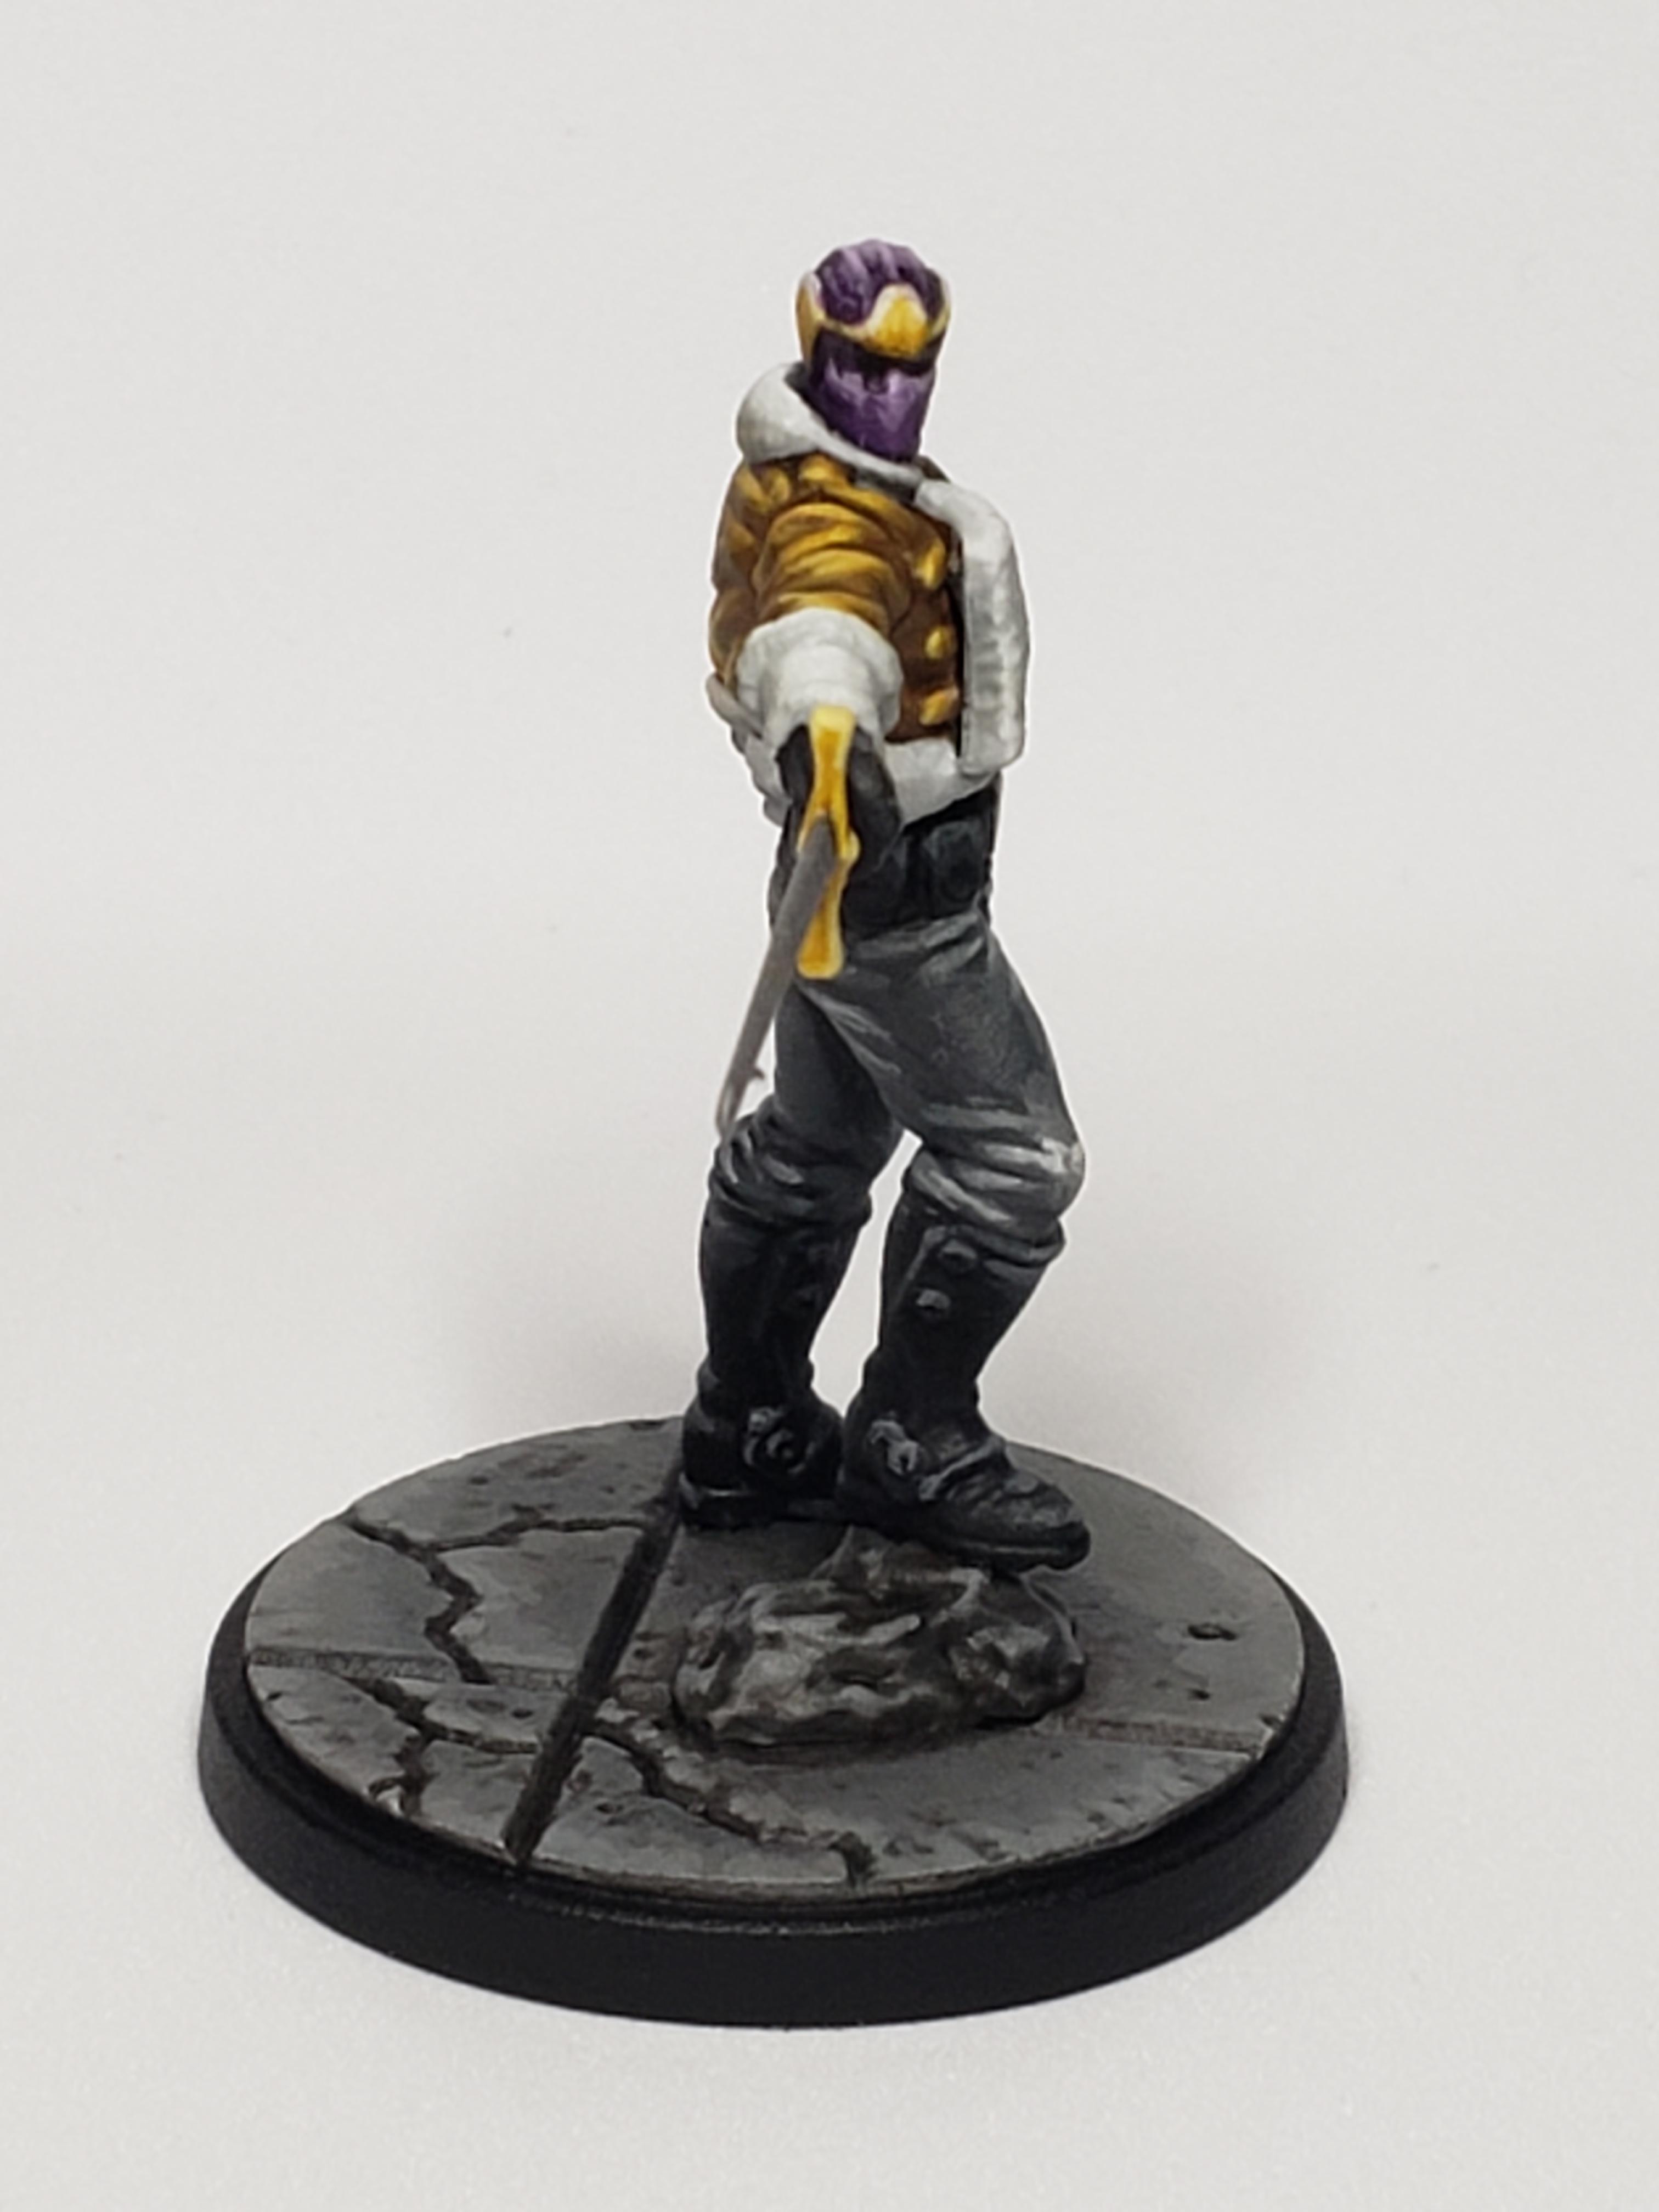
Winter Soldier is a go
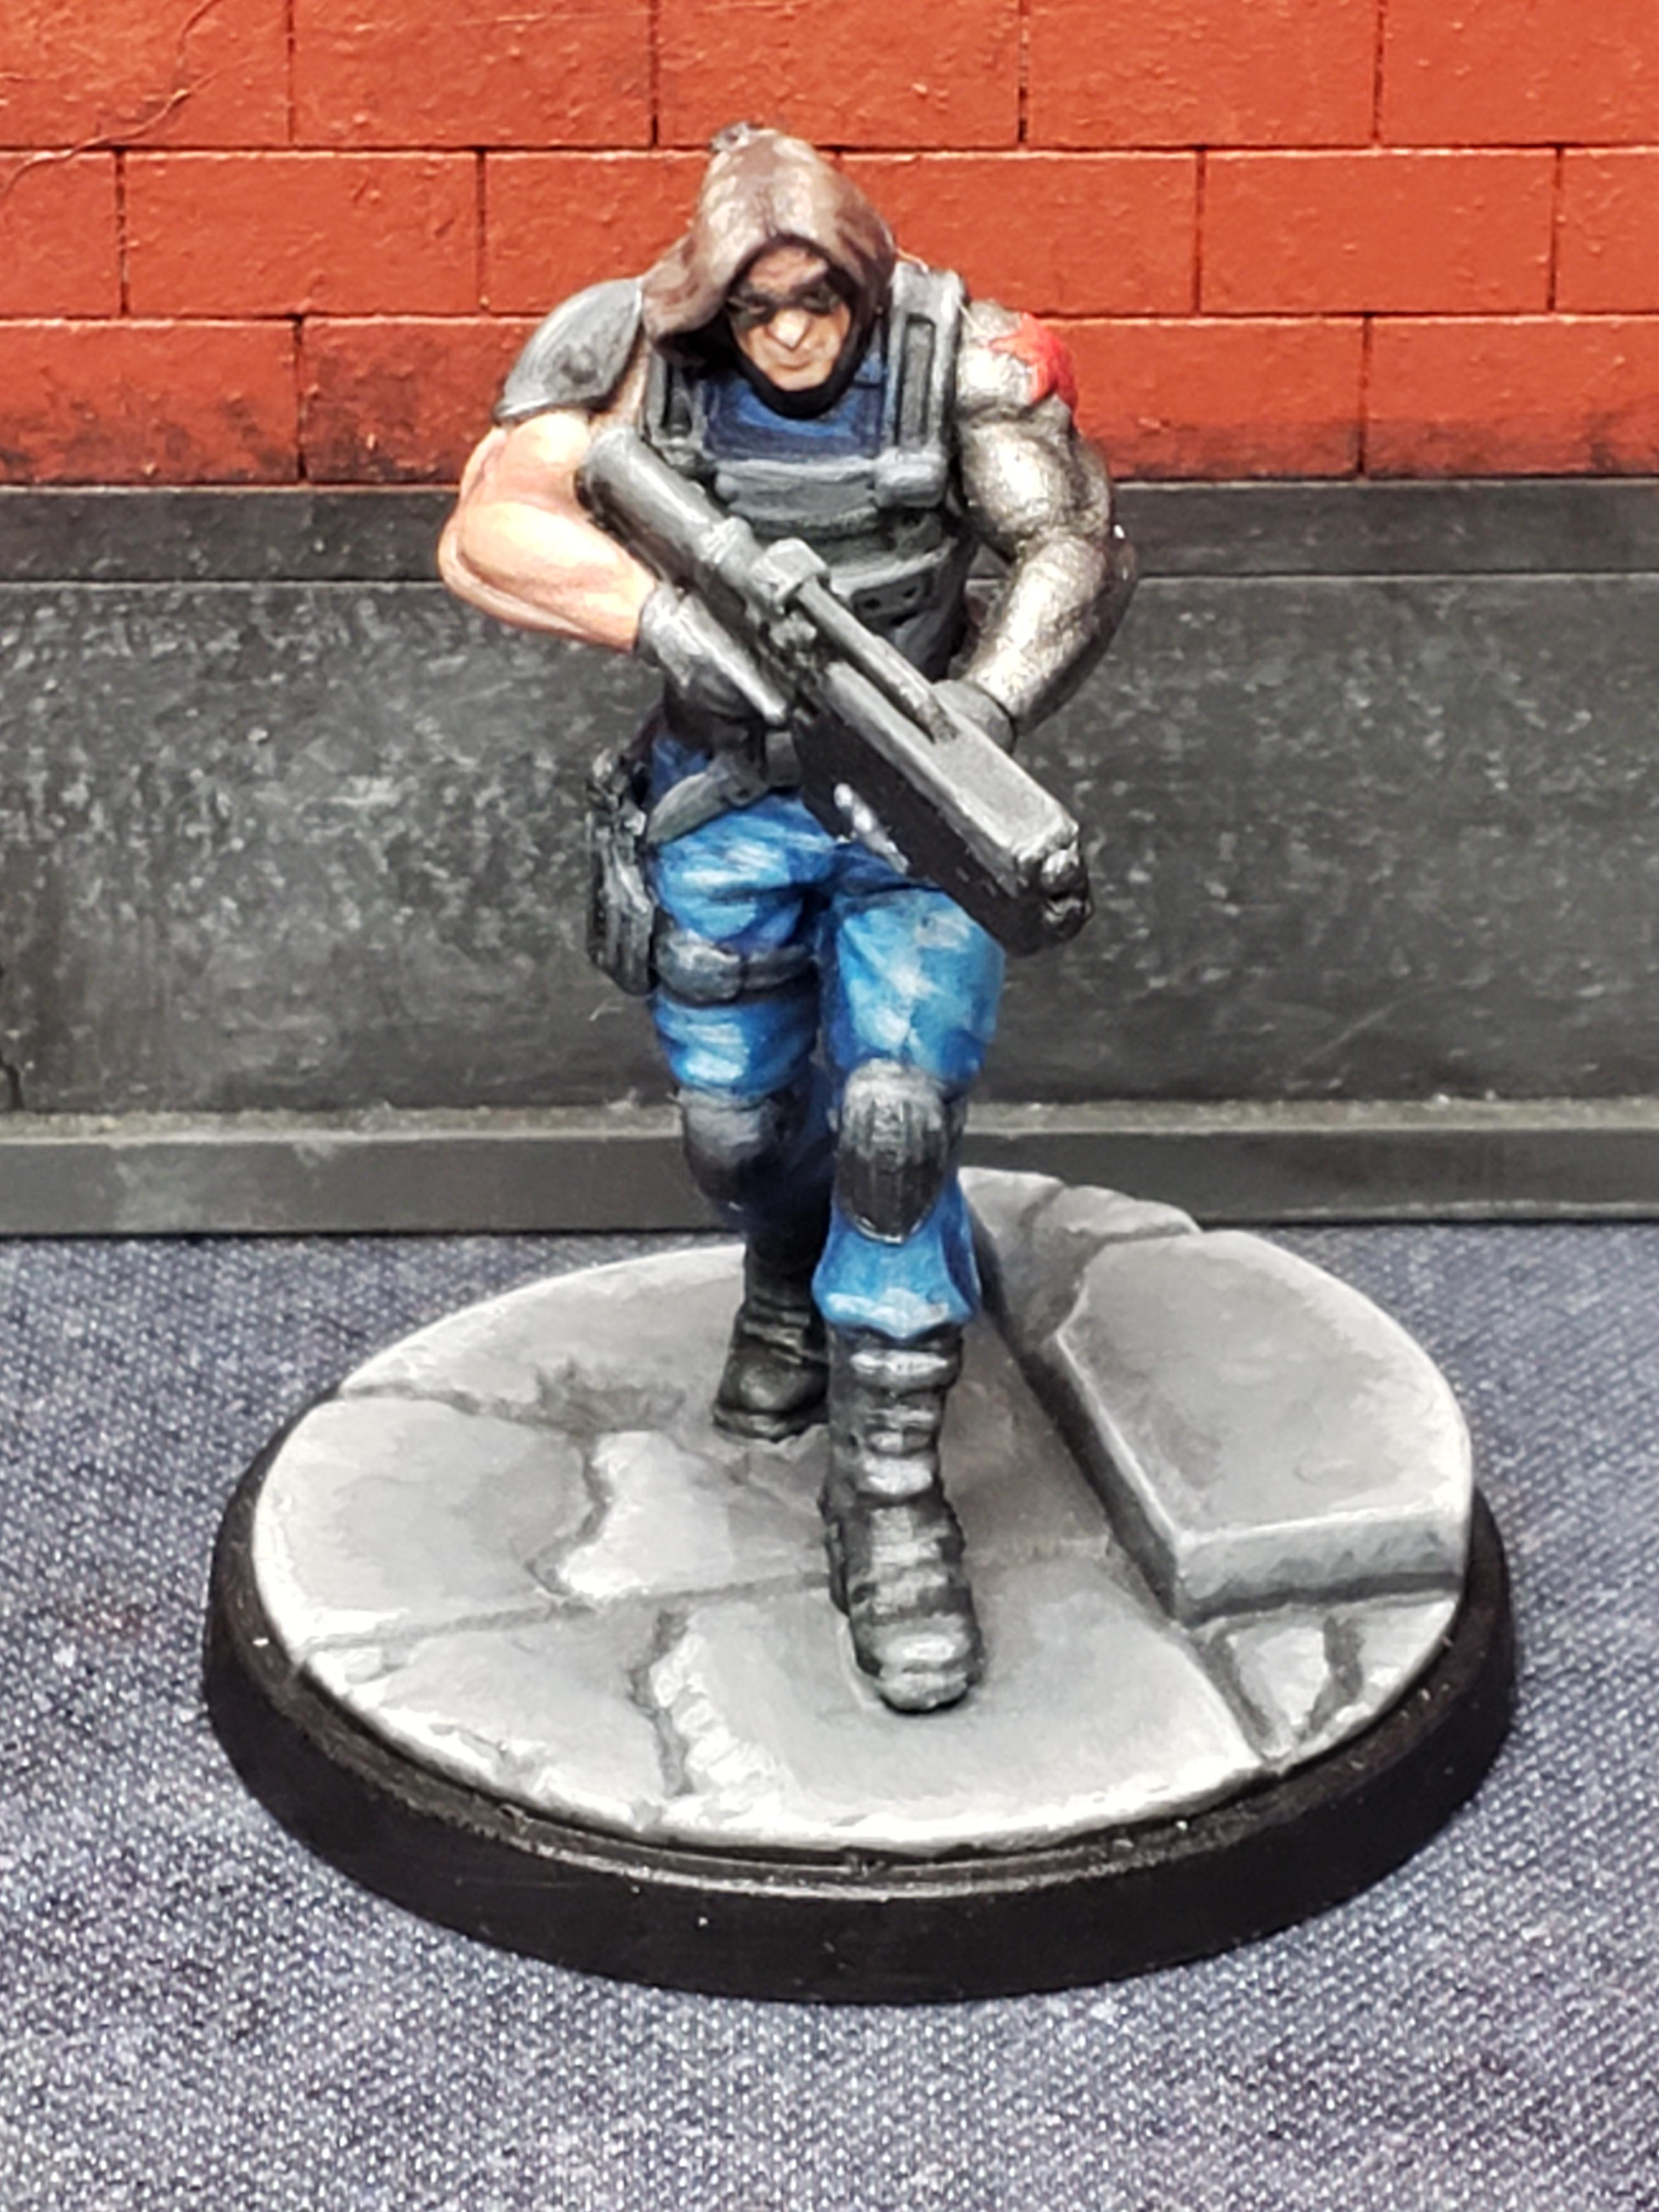

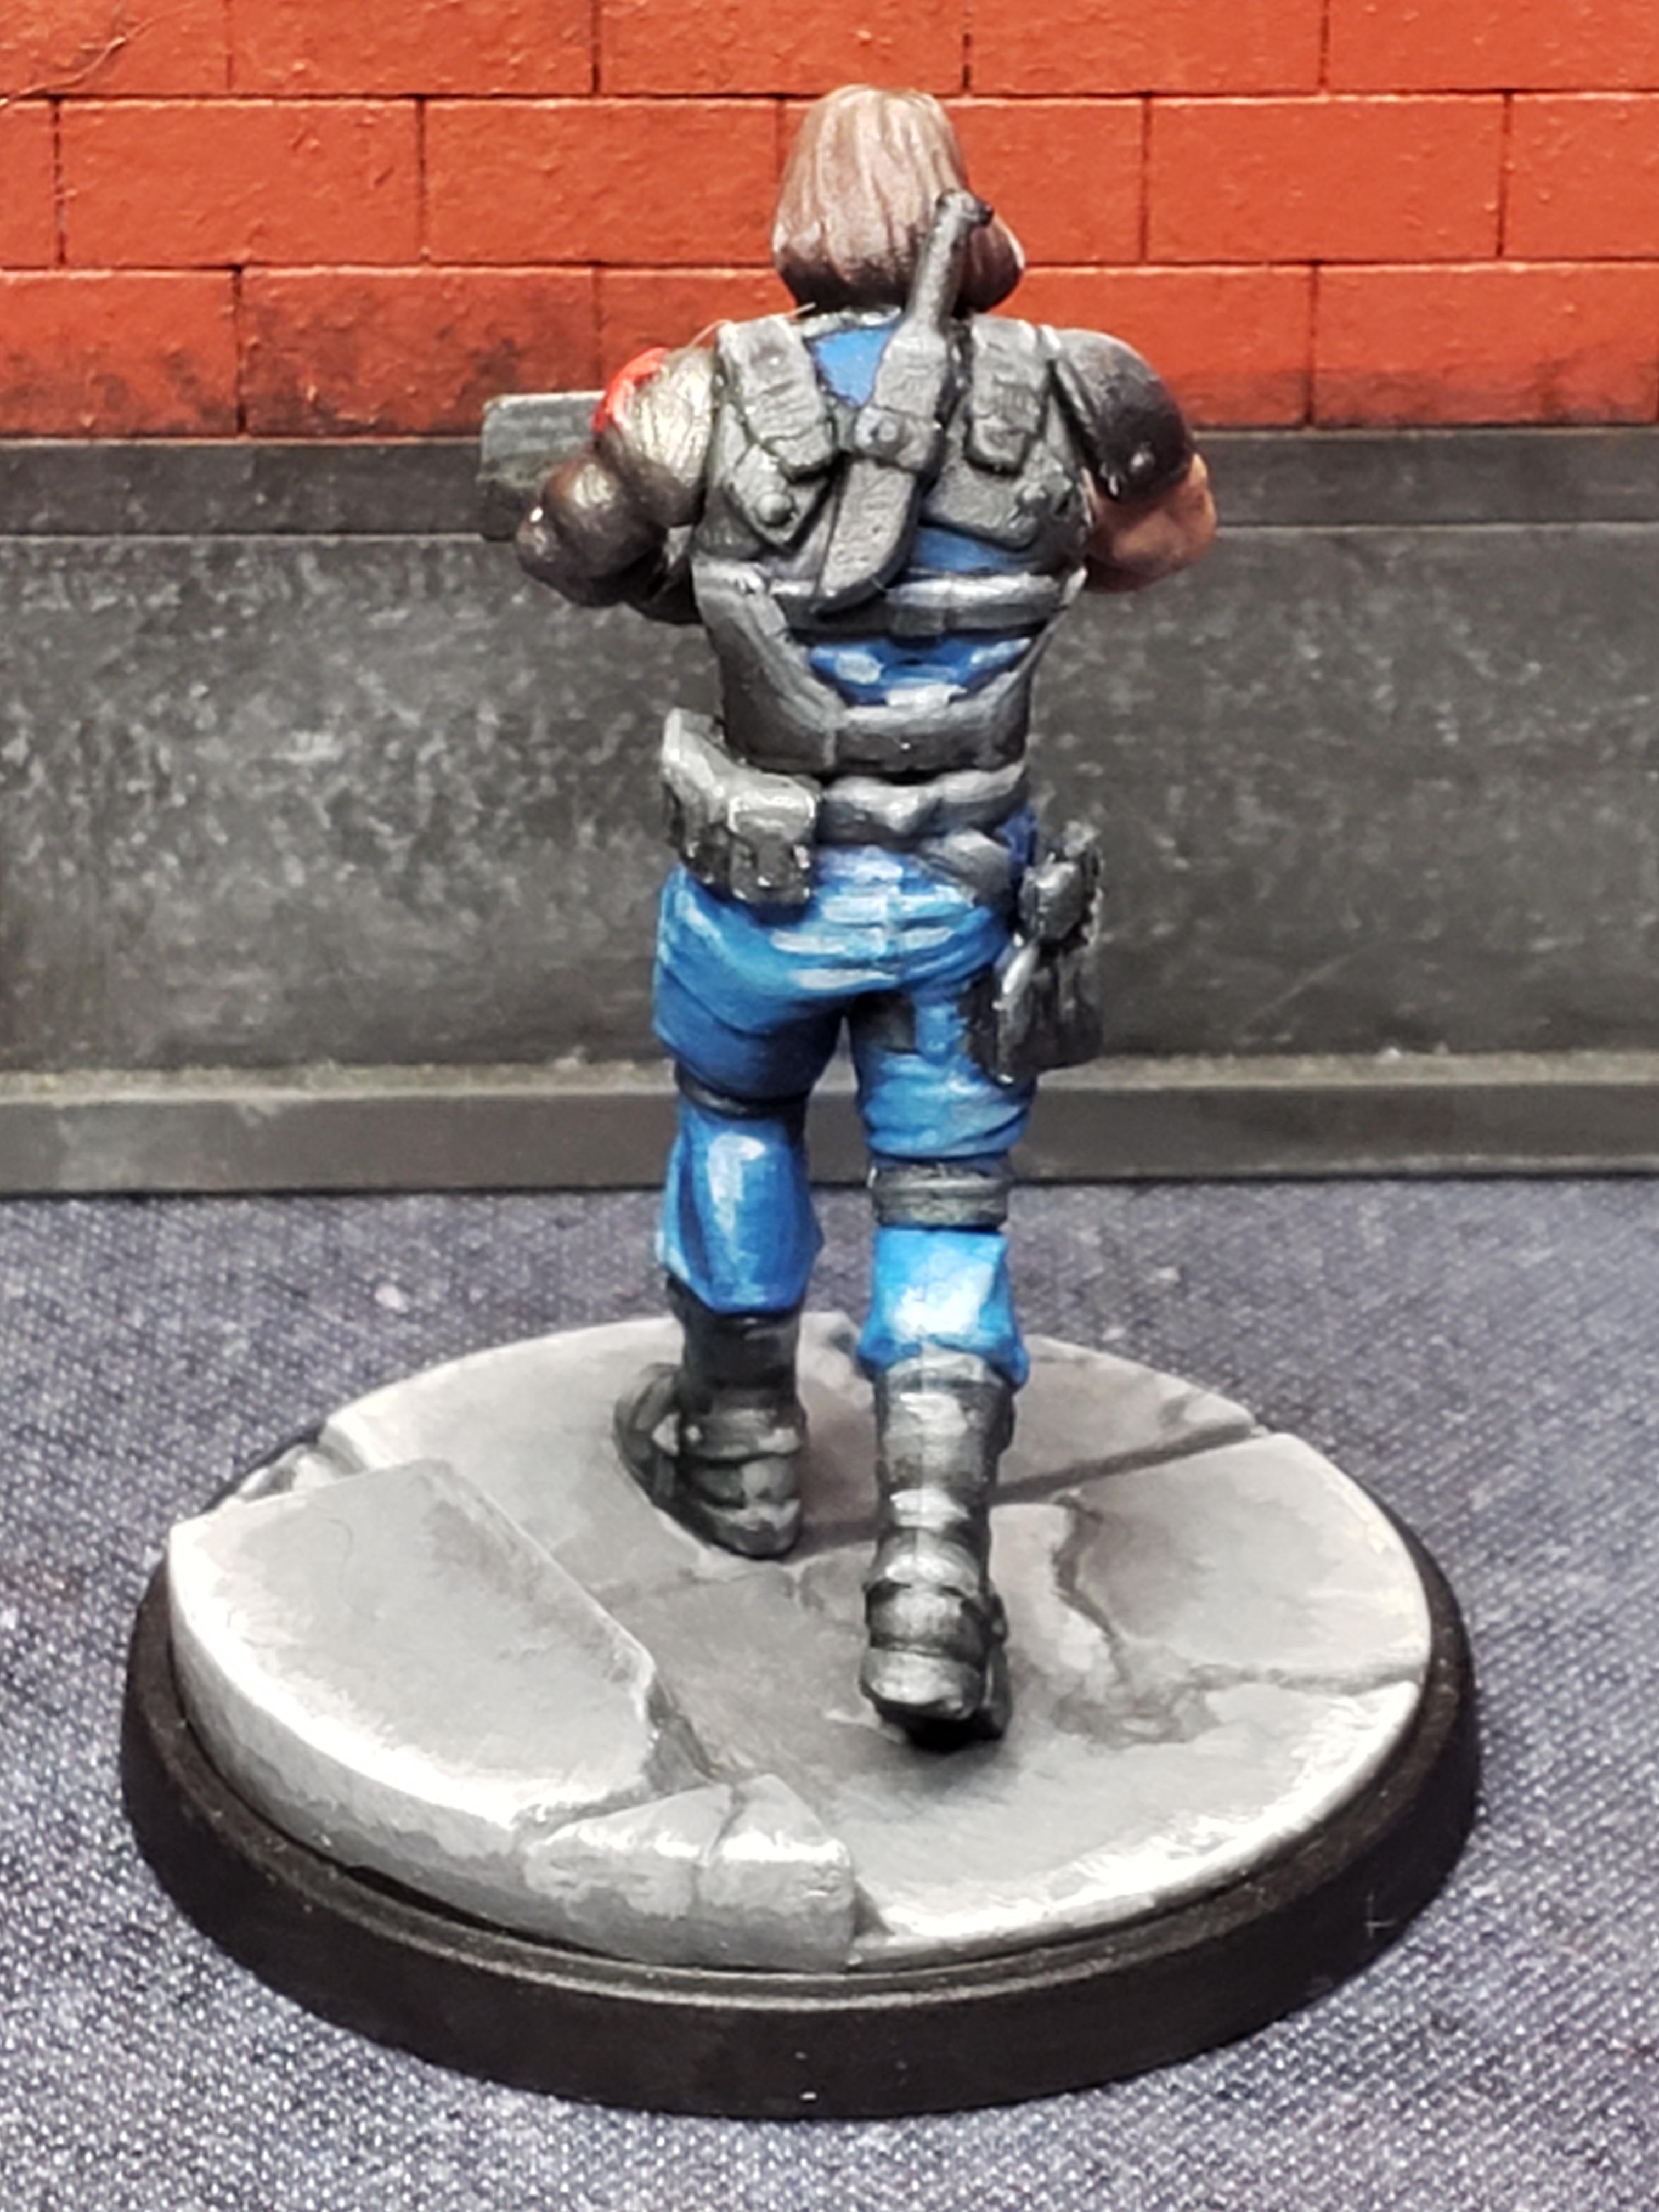
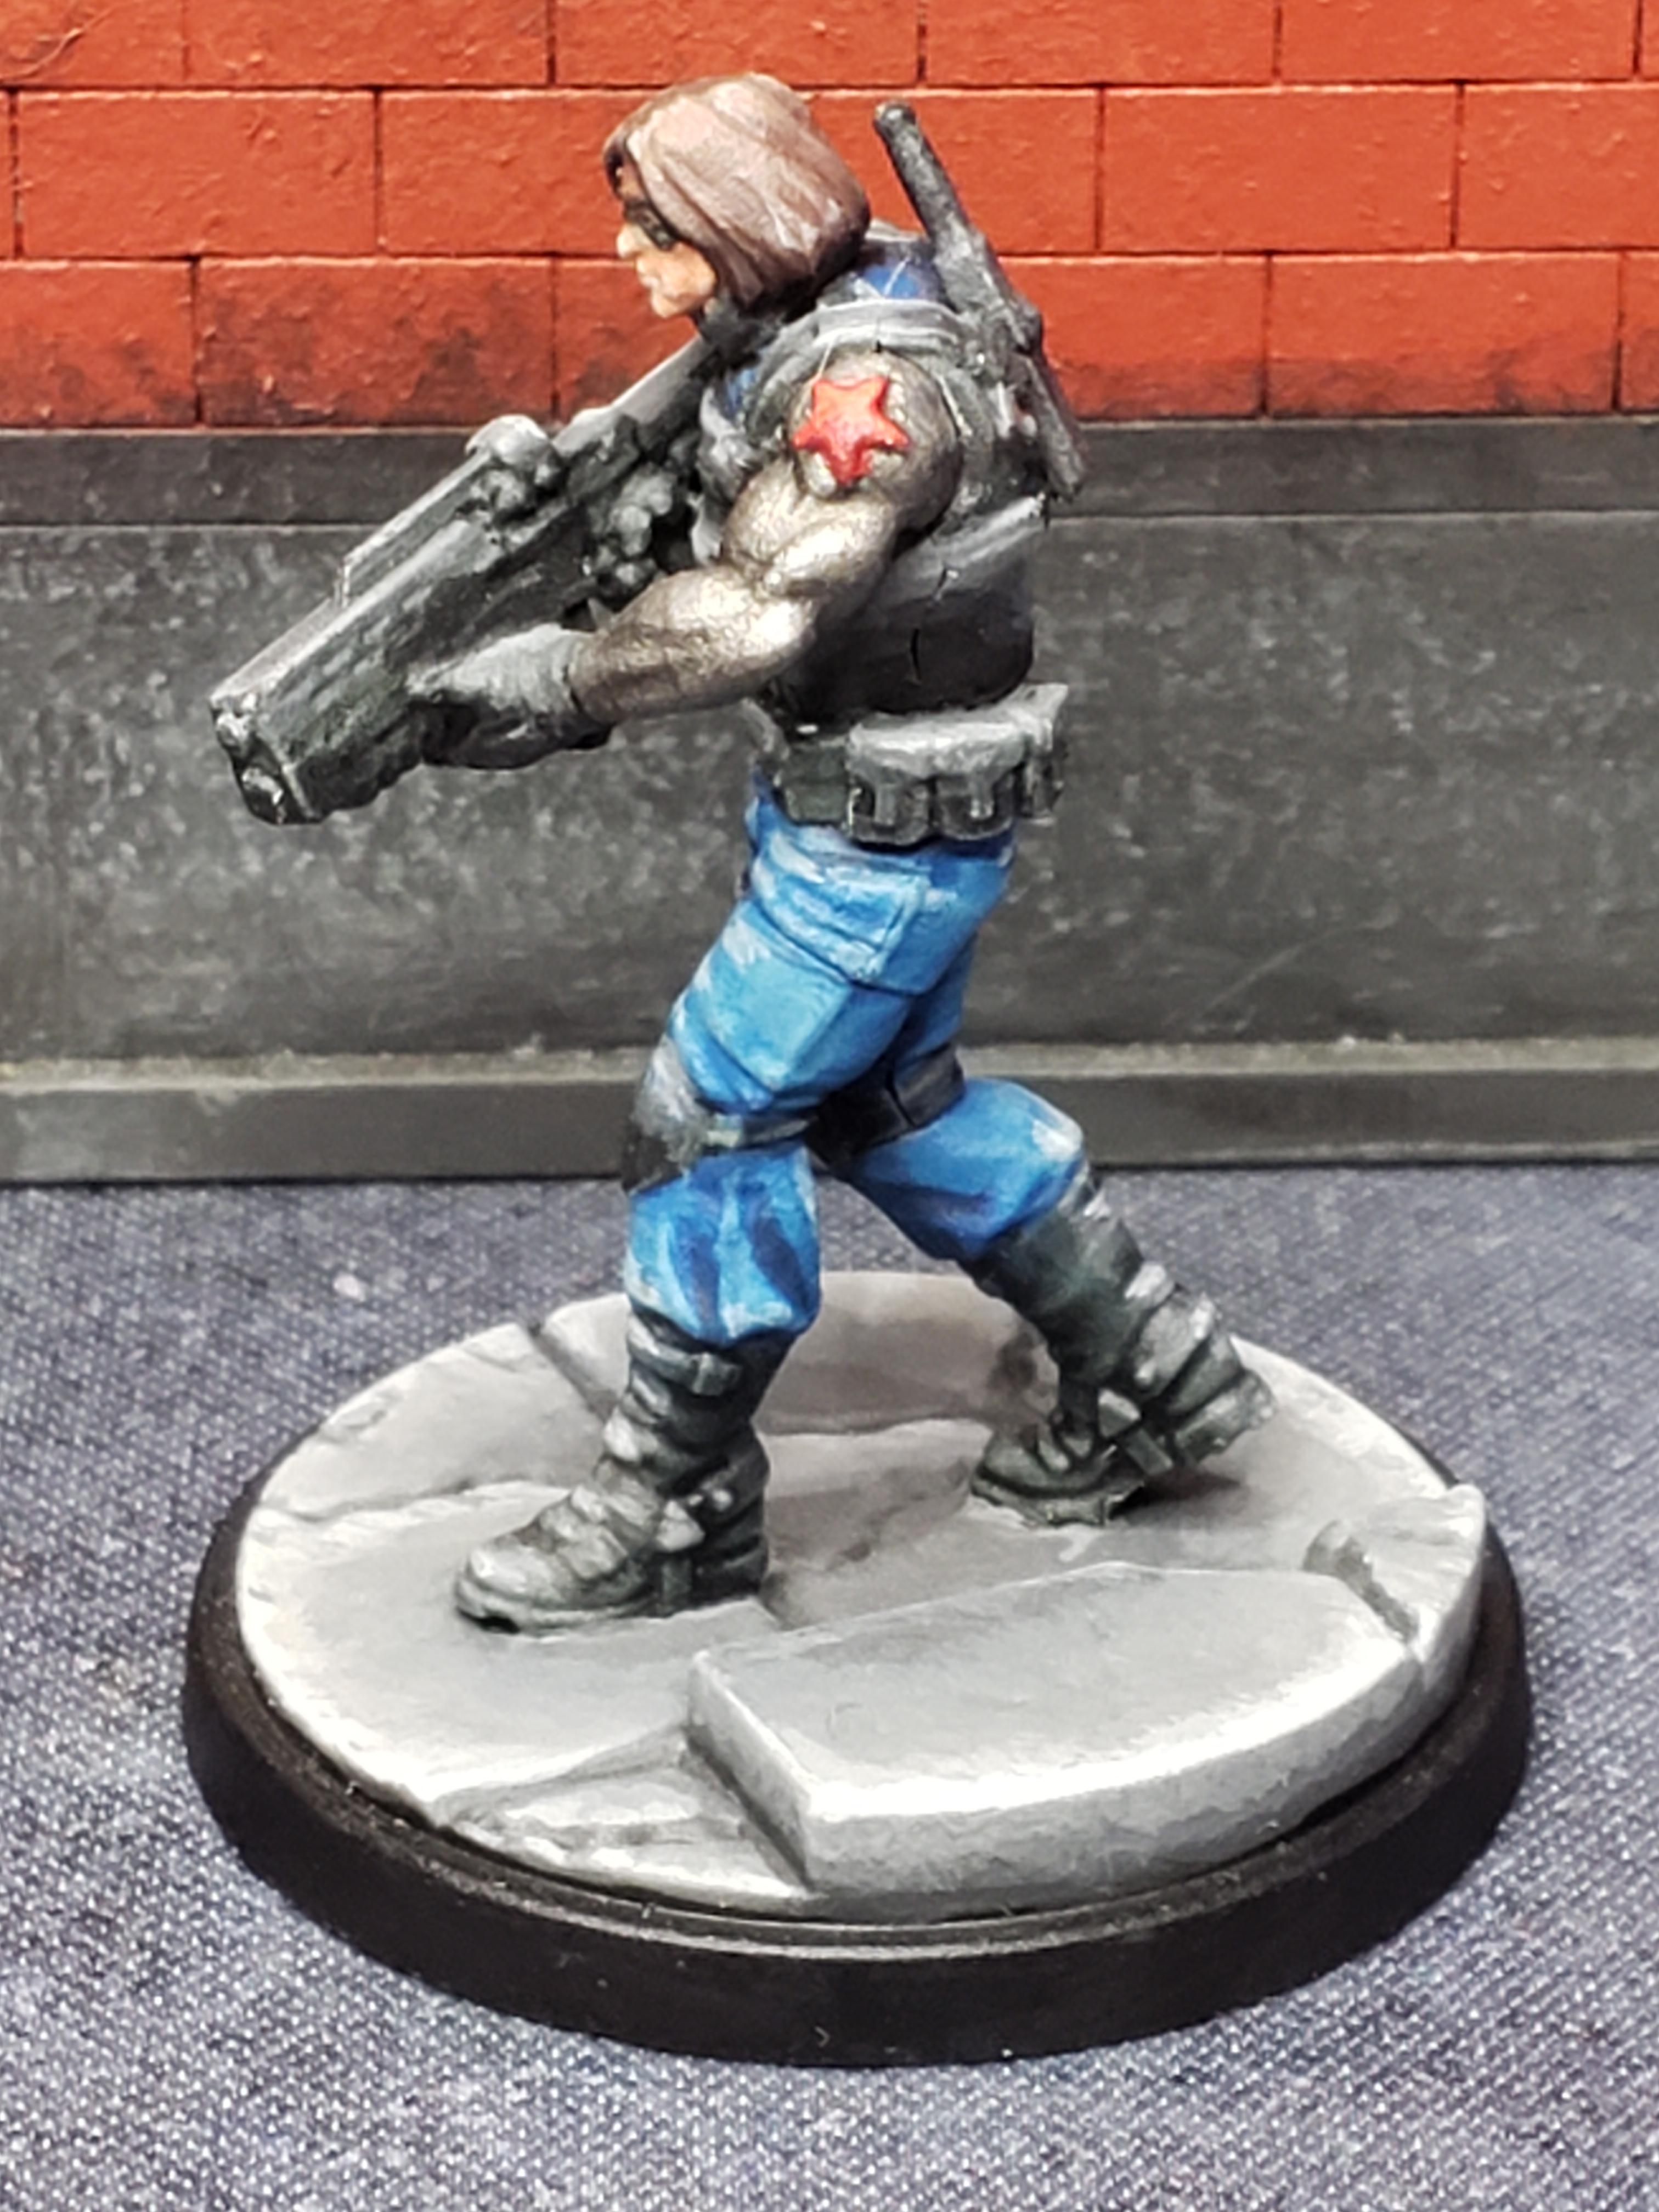
Finished Winter Soldier this week as well. He was tricky to paint as his pose makes it difficult to discern where light should be falling and where it shouldn’t, so doing on overhead lighting scheme is counterintuitive. Either way, I’m pretty happy with the end result.
Next up is Black Panther, then I’ll probably move on to Hulk so that all the Avengers are finished.