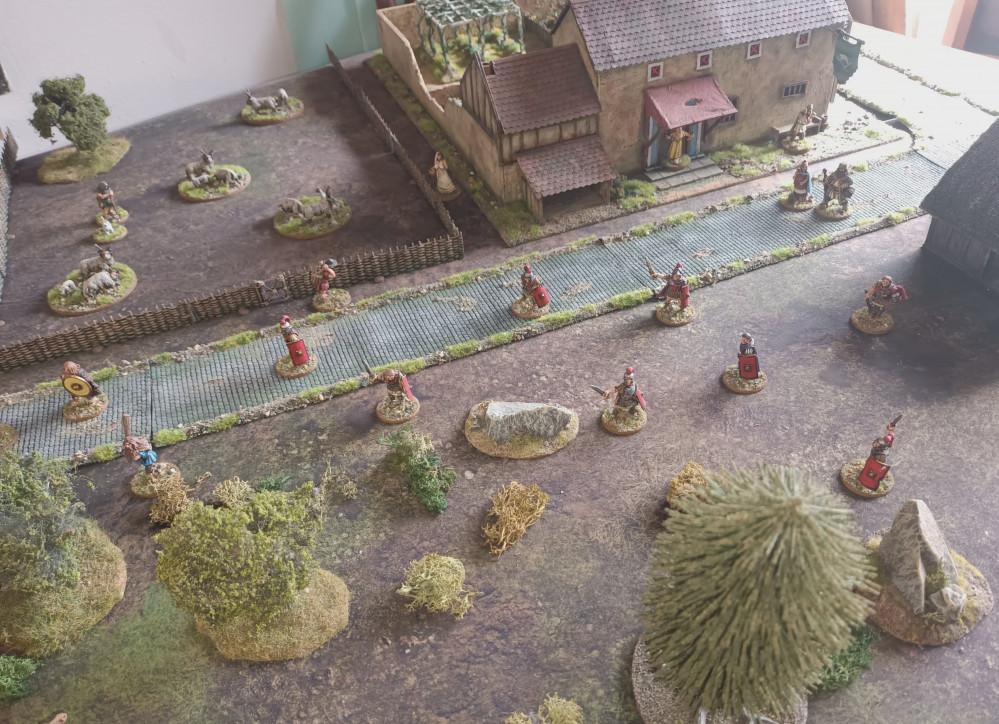
Cohors Cthulhu
Returning to the Project
Having backed the Cohors Cthulhu Kickstarter from Modiphius I bought some figures and dug out my unfinished Roman Inn from Aarrissa Precision and decided to finish it providing as much as a tutorial as possible.
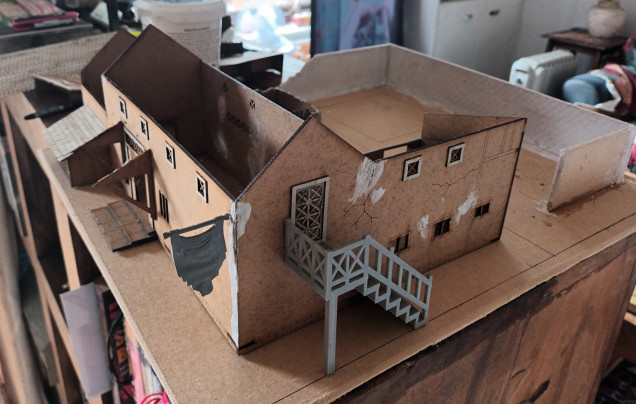
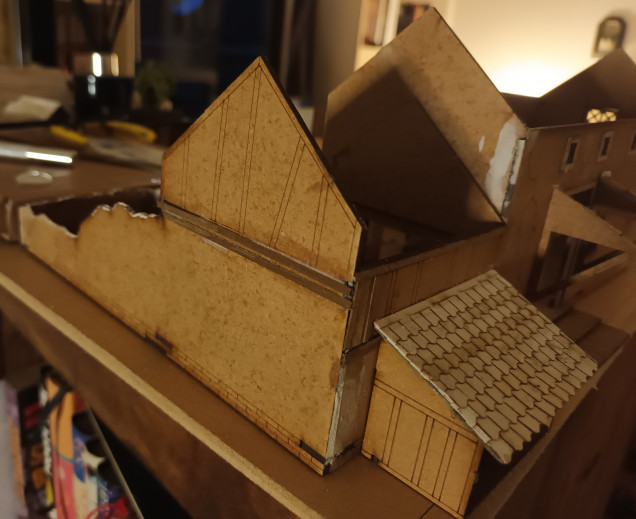
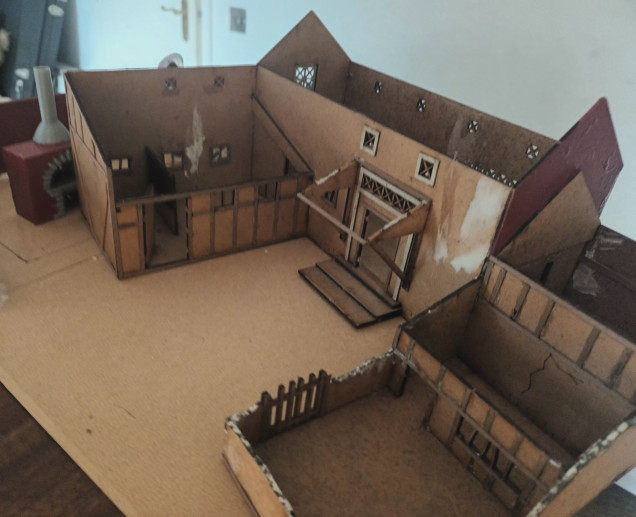
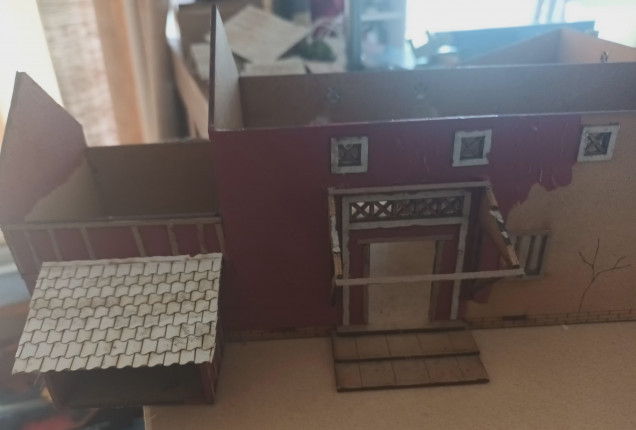
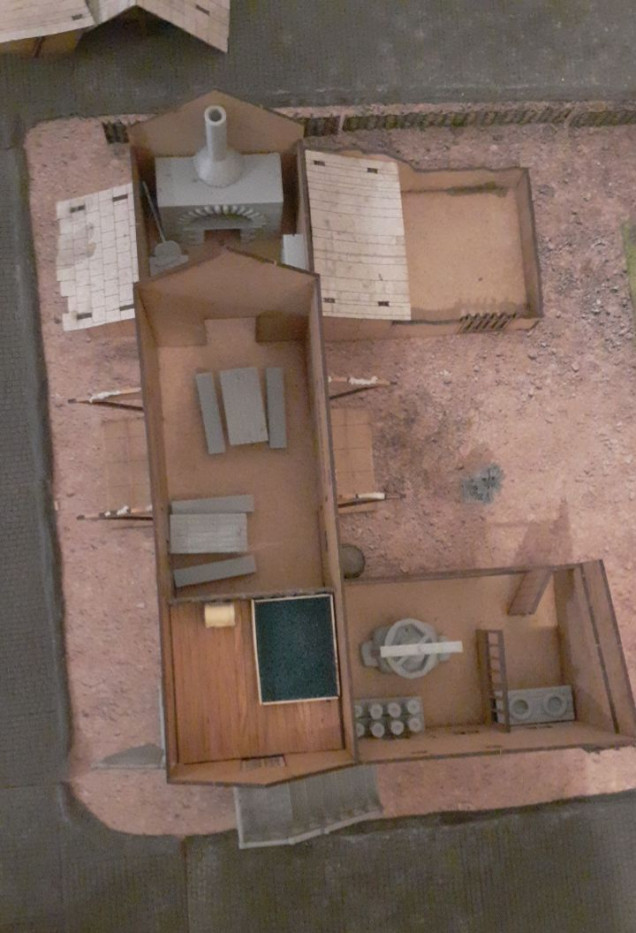 The Inn as it is before restarting. I have cut a baseboard from hardboard, chamfering the edges with a Stanley knife and sanding block.
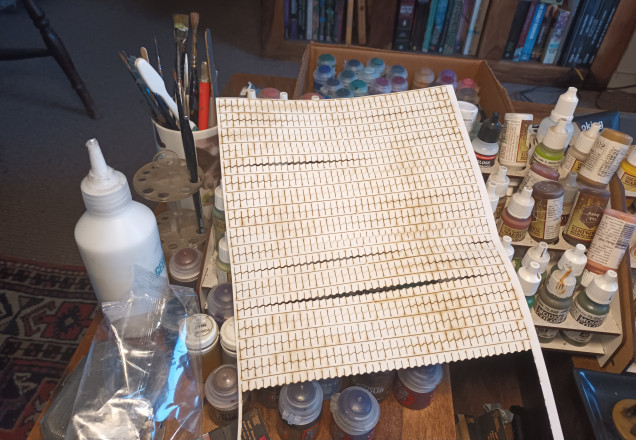
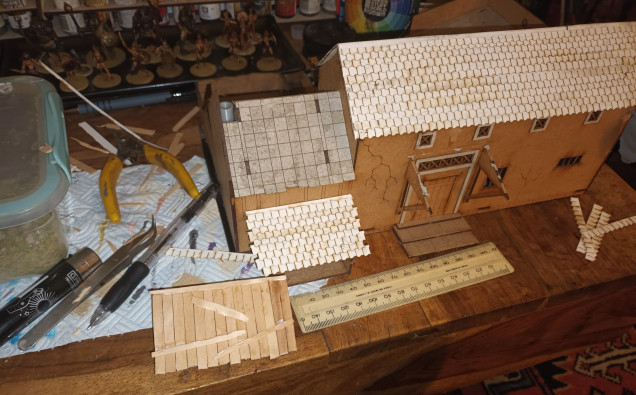 Glueing the tiles, I found it best to overcurrent the strips, and then trim once the glue had dried.
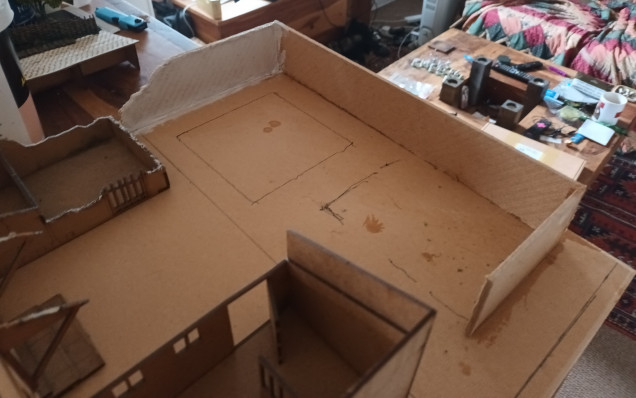 I made the walls of the garden from offcuts from the baseboard, I had to plaster the textured side of the board.
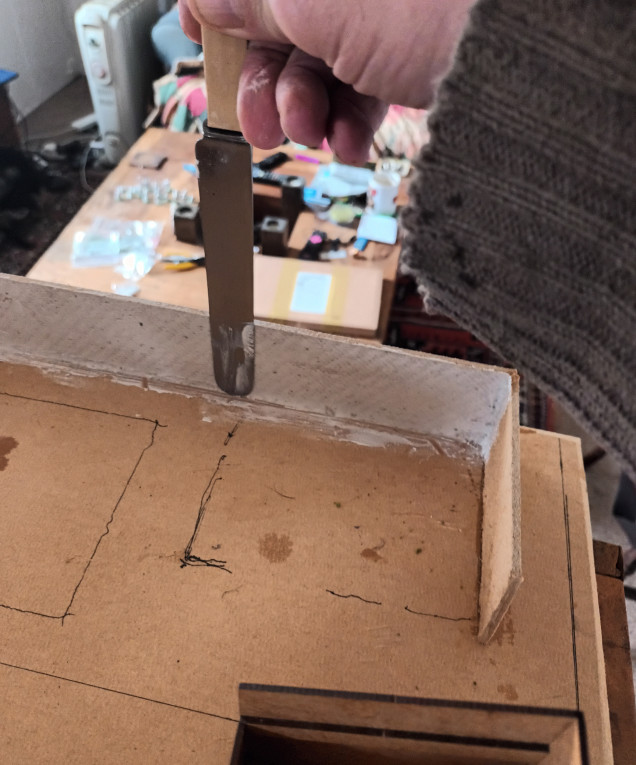 I found a large fat dinner knife perfect for plastering the walls. I also plastered all the corners and join marks on the building and walls. Once dry i sandpapered all the polyfilla.
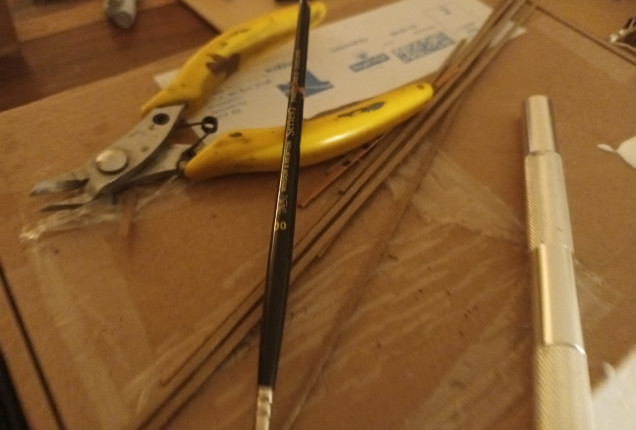 The raw materials for adding the wooden beams to the building. I used a mixture of 4mm planks from Cornwall Model Boats Company and the thin veneer you can find in cigar boxes for the thicker beams.


![How To Paint Moonstone’s Nanny | Goblin King Games [7 Days Early Access]](https://images.beastsofwar.com/2024/12/3CU-Gobin-King-Games-Moonstone-Shades-Nanny-coverimage-225-127.jpg)




Leave a Reply