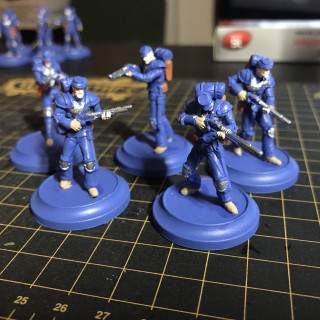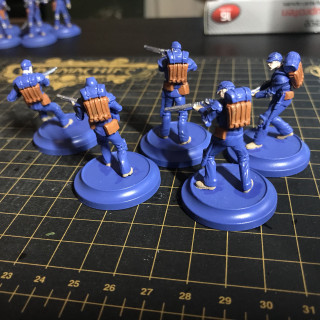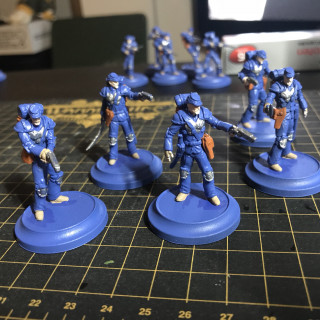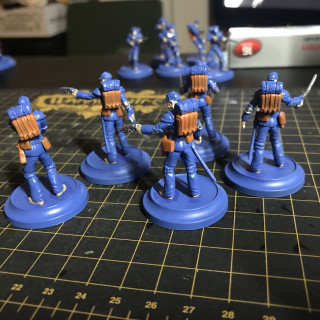
Painting – WWX Union Force Expansion One
Recommendations: 372
About the Project
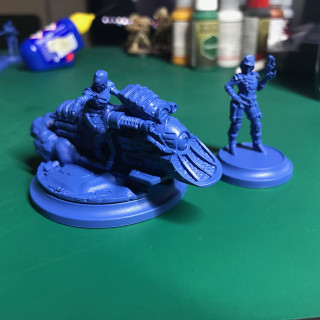
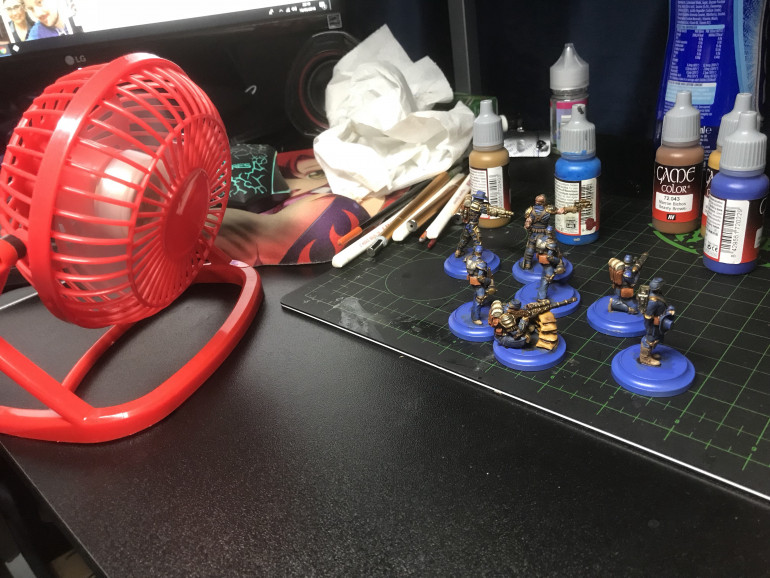
As requested from the Hobby Hangout, I'm firing up my WWX painting project, I'll be painting up the No Surrender Starter set for the union, I'm planning to go through the full process of painting this force, so stay tuned :) Time for an update: I've picked up an expansion for my WWX forces and will be painting them up asap :)
Related Game: Wild West Exodus
Related Company: Warcradle Studios
Related Genre: Western
This Project is Active
Back To Painting - Light Leather & Darker Leather
So that’s me back to normal after Gen con and ready to get back to painting, for this one I’m combining two steps and I’d say that’s what I’ll do for all my other videos in the project, so this one will be the Light and Dark leather for the minis.
A Painting Video Experiment - Stage One Silver
So I thought I’d give some video painting a go and see what kind of quality i can get and I’ve also tried a free video editor for my phone.
What do you think folks?
Firing The Project Back Up
time to get back at it, I’ll be experimenting with some video content in this next set of updates but may go on hold with Gen con coming up soon.
Final Touches - It's All About That Base
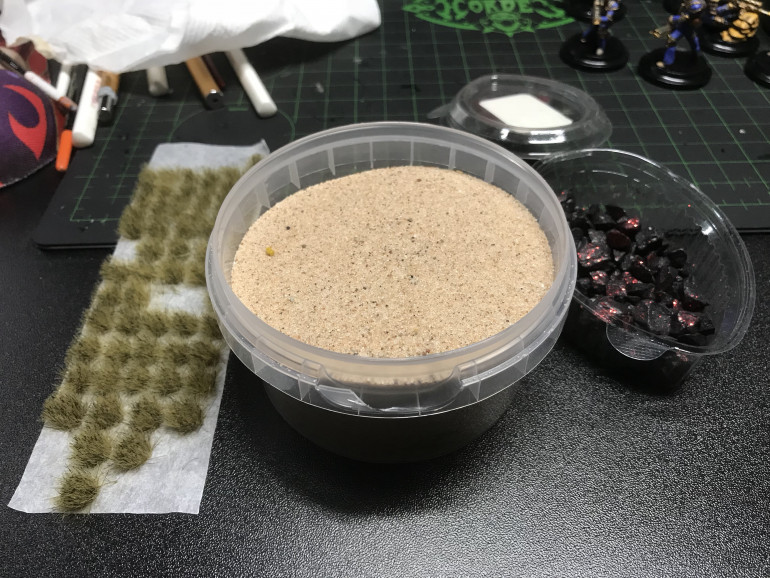
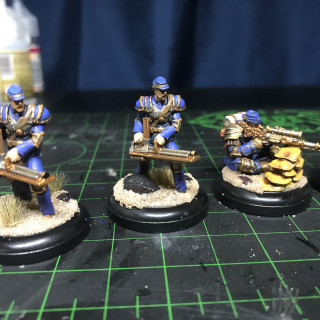
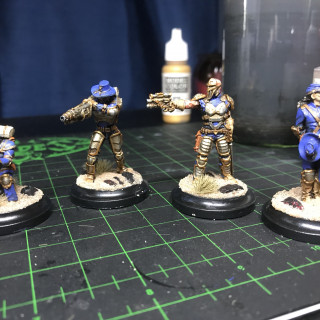
time to finish up the project by adding the basing, I’ll be useing some basic sand, some grass tufts & I’ve found some really nice black stones with red flecks through them that i think will work as raw RJ10-27 so really happy with them.
Thanks everyone for following along and for all the recommendations.
Time To Think About Expanding My Forces
So as I close in on the end of this project I’m starting to think what might be a cool adition to the force, currently there are four things that are catching my eye.
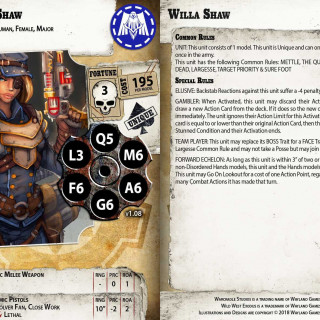
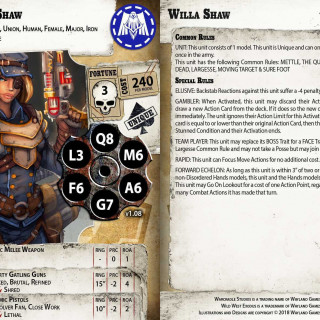
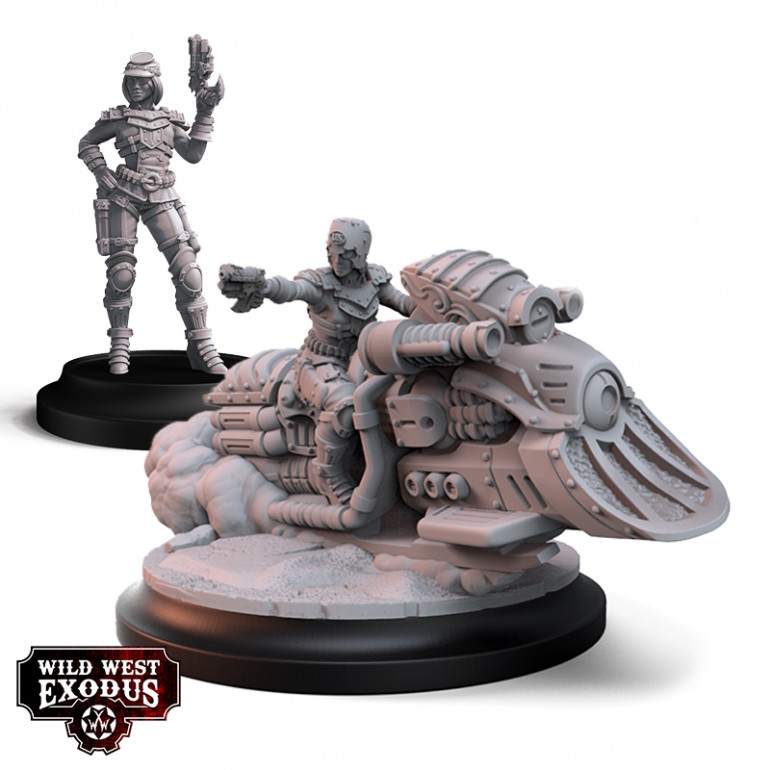
My first choice is Willa Shaw for two reasons, one she’s a really cool miniature, and two having a second Boss unit that i can also use as a face is a good way to look at adding more fire Power and Fortune to a force that runs a little light on that resource.
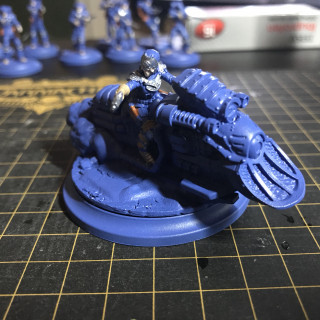
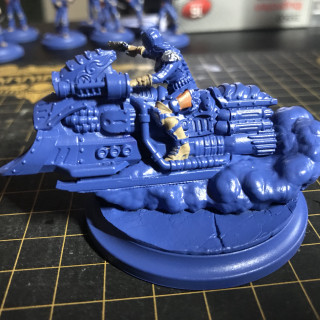
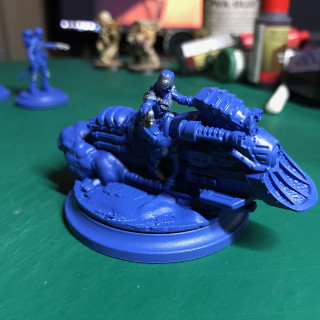
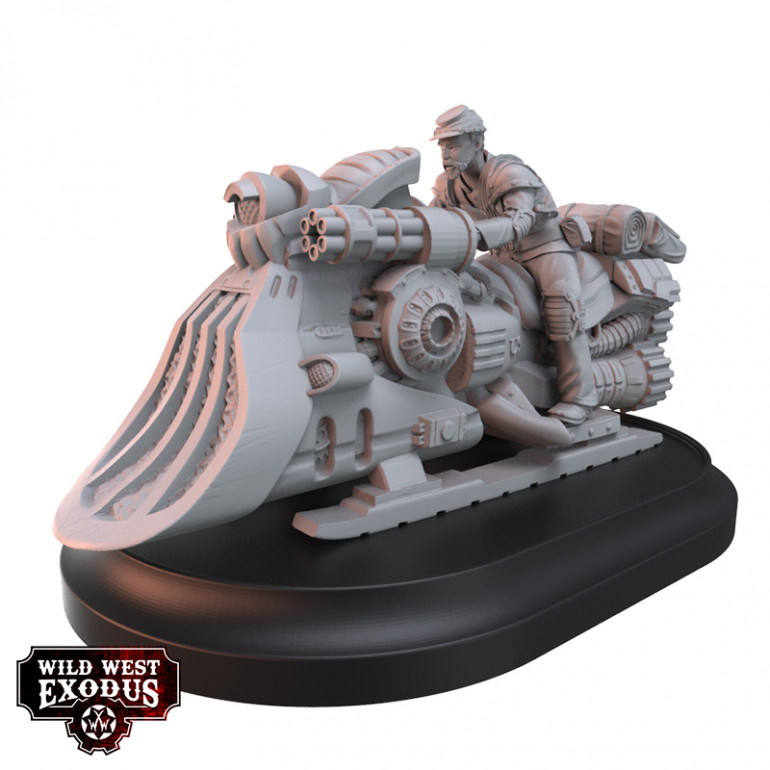
The second unit that i think might be a nice adaiton would be a unit of three Iron Horse Cavalry, again they are really cool minis and would add some serious firepower to my forces.
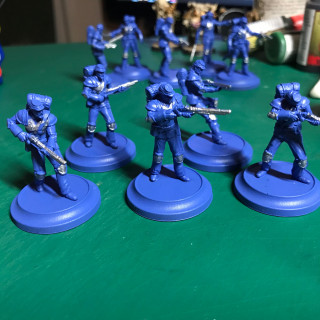
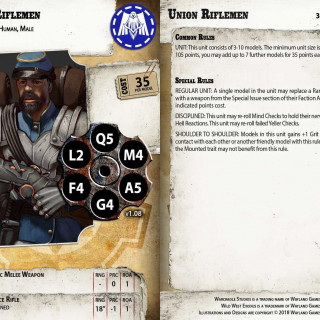
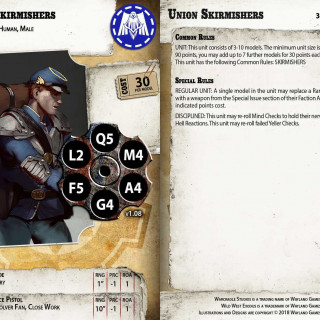
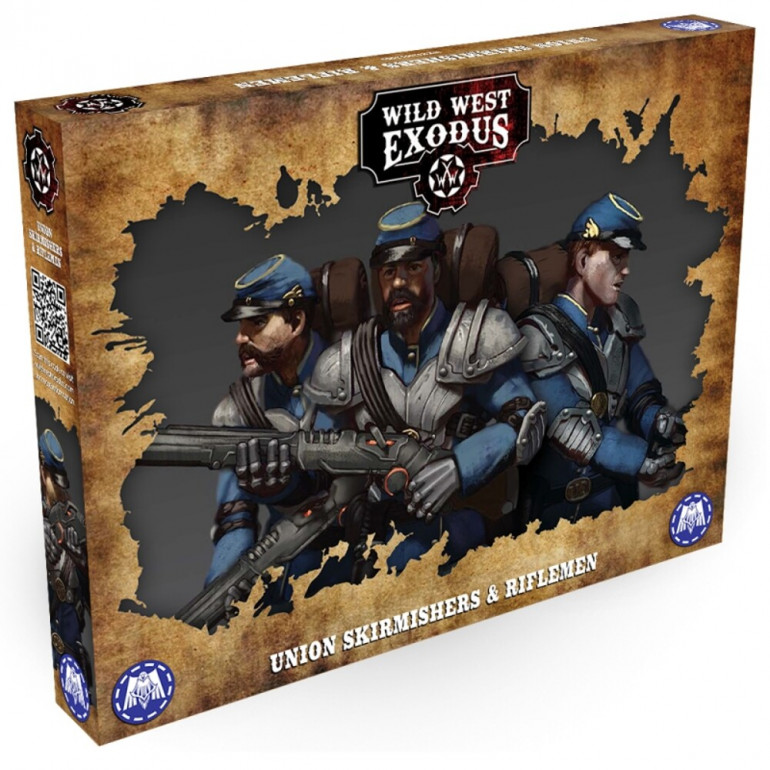
Third would be the Skirmishers and Riflemen box, sometimes you just can beat getting boots on the ground, they’ll offer a good mix Hands that i can use for objective games or do what i always do and run them into the nearest building to bunker down and become a pain for my opponent.
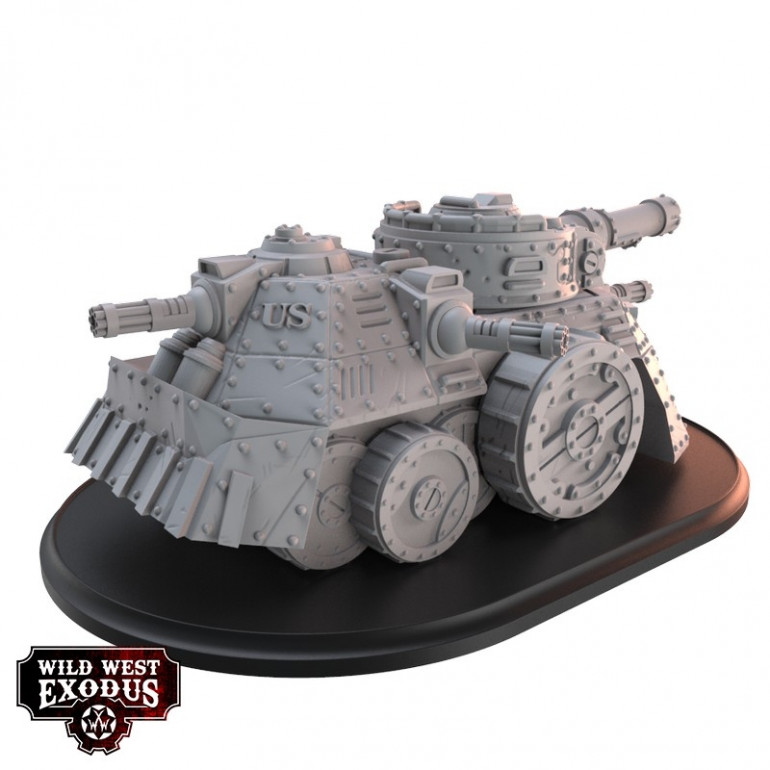
Ok ok… I know I wont be able to use it in my games till I have pretty much everything else I’ve shown here built, painted and based, but lets be honest…
It’s a friggin tank!
Final Step Of The Painting!
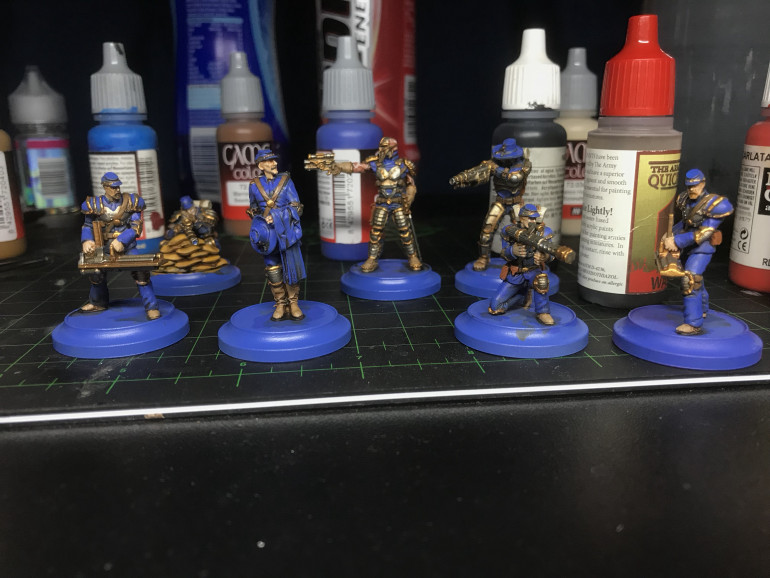
Right folks, time to add that one extra detail i had a feeling i was gonna need on this project and that’s to take all the colours I’ve used so far and give each mini a little love and bring back some of the more vibrant parts.
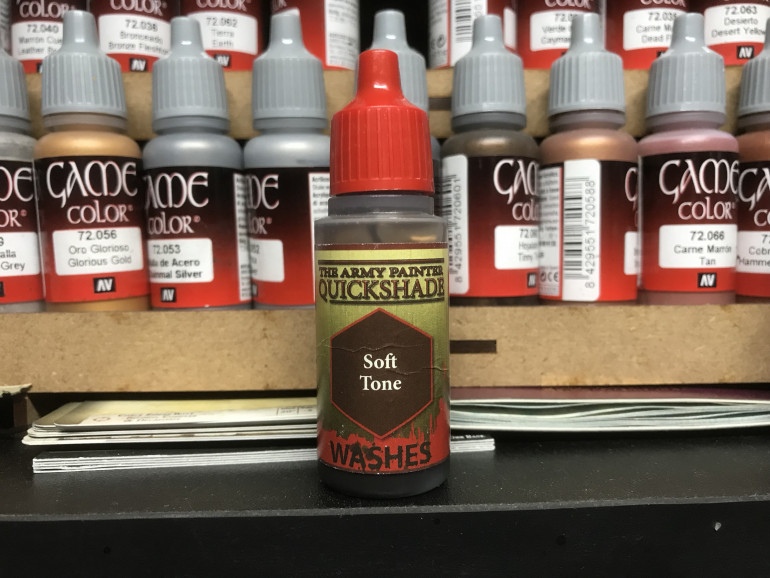
Ready To Get Some Soft Tone down on The Lot.
Time to tie it all together, I always aim for a tabletop standard of painting so normally this would be my final step in my painting, this time however i think I’ll do at least one more step but we’ll get to that later.
right time to be impatient and cheat with the drying time.
Time To Brighten The Sandbags
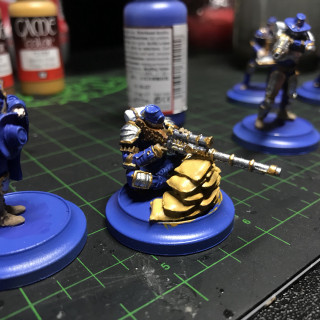
So I’ve decided to add a lighter colour to the tops of the sandbags, I’m hoping this will give them more of a rough sack cloth look.
Wood & Sandbags To Finish Up The Night.
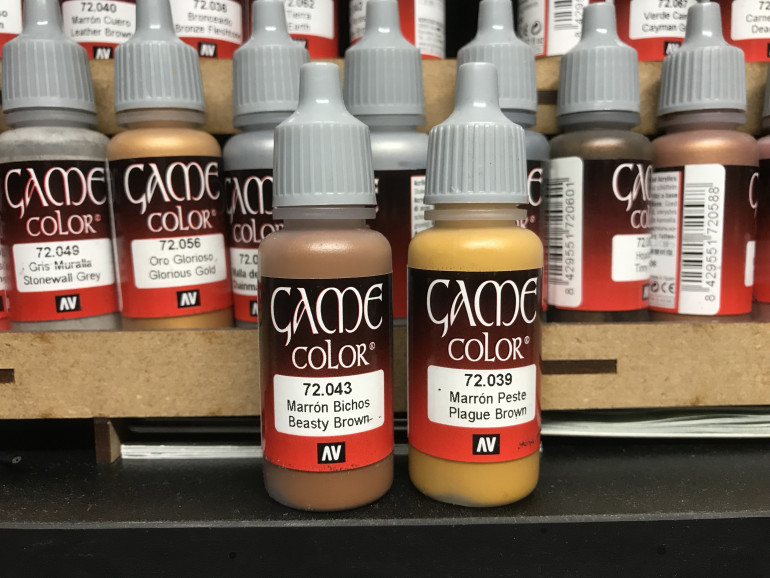
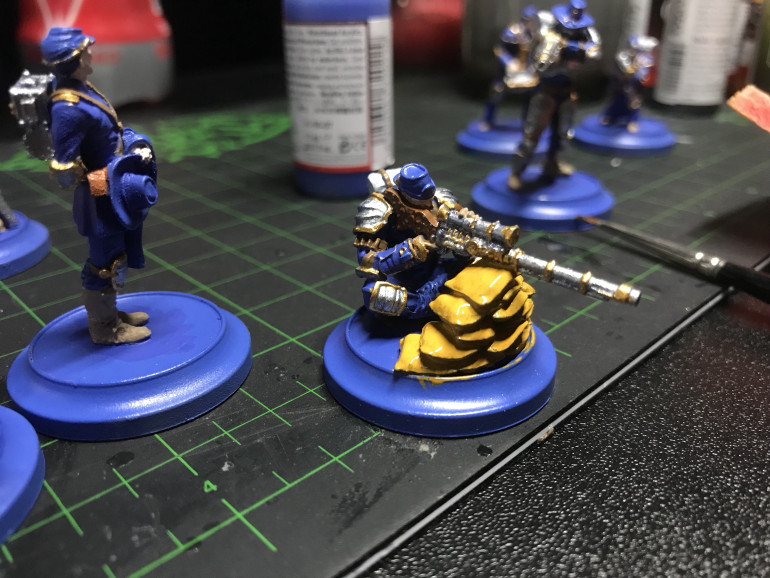
Last thing to do today is get some of the single details on Hopkins. The wooden stock will need a touch of gold when its dry and I’m debating if i should add a lighter colour to the sandbags.
An Evening Of Gold
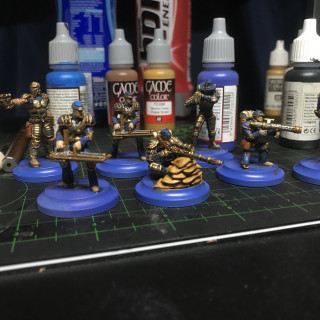
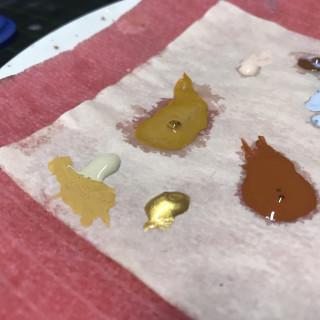
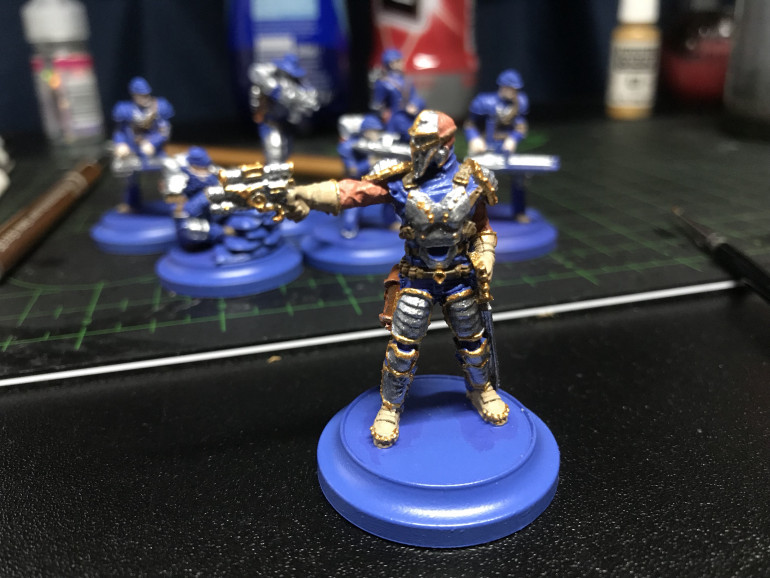
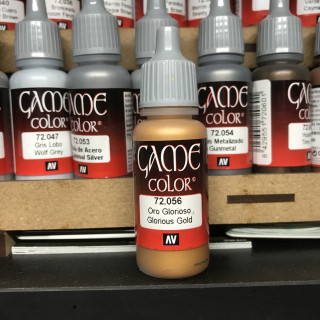
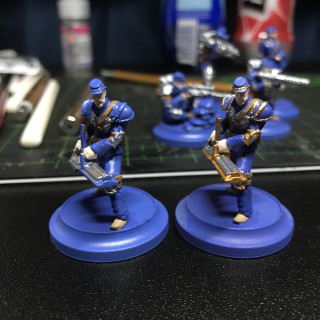
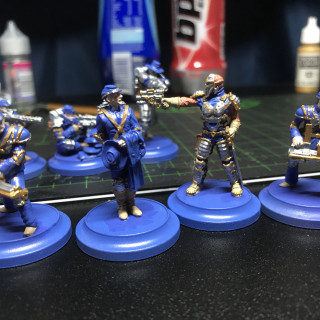
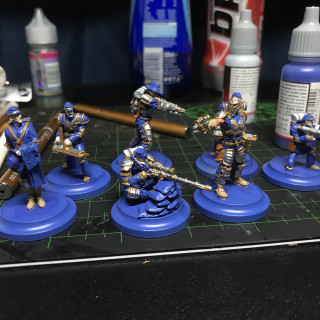
time to get some of the detail work done with the Union, Im adding gold the the higher edges and the weapons of the miniatures, I’ll be revisiting them later to add some dark tin.
Final Update for Day 2 - Bedrolls, Straps & Burnt Skin.
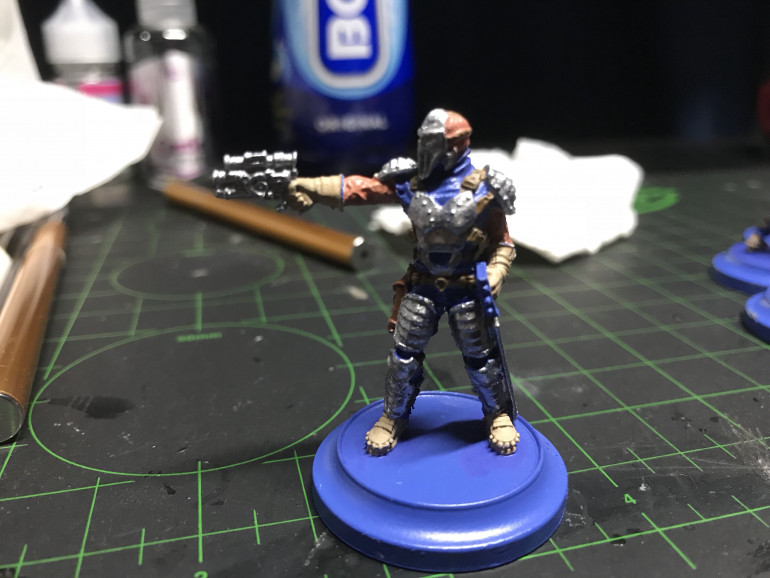
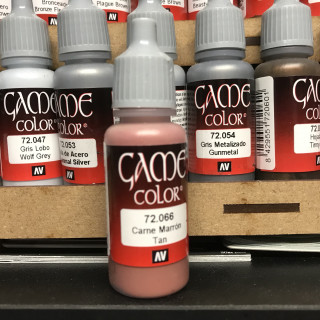
I’ve pushed on this evening, taking care of the bedrolls painting them with a light grey, adding a darker brown again for the straps and doing a little experiment with the scar tissue for Grant with some Tan.
A second type of leather
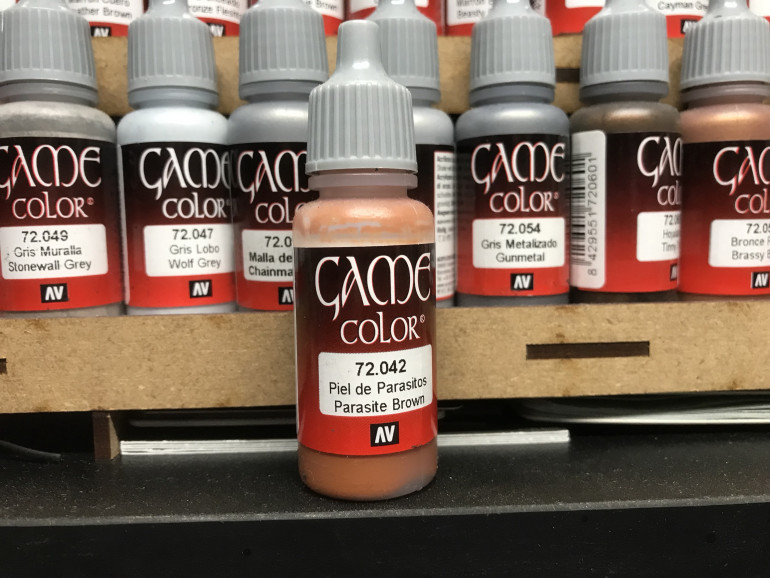
I always find that if you want you minis to look good a simple trick is to change up the colours of the same type of material in this case leather, light for the boots and gloves, then a darker shade for the main backpacks and pouches then perhaps an even darker shade for the strapping.
Boots and Gloves
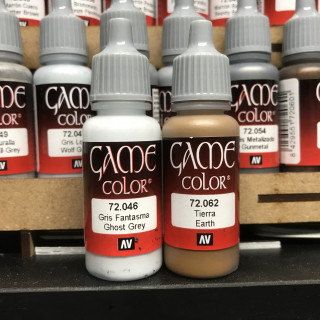
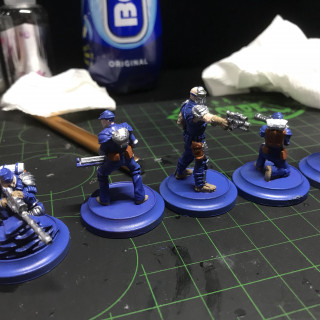
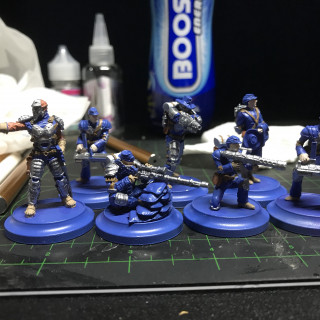
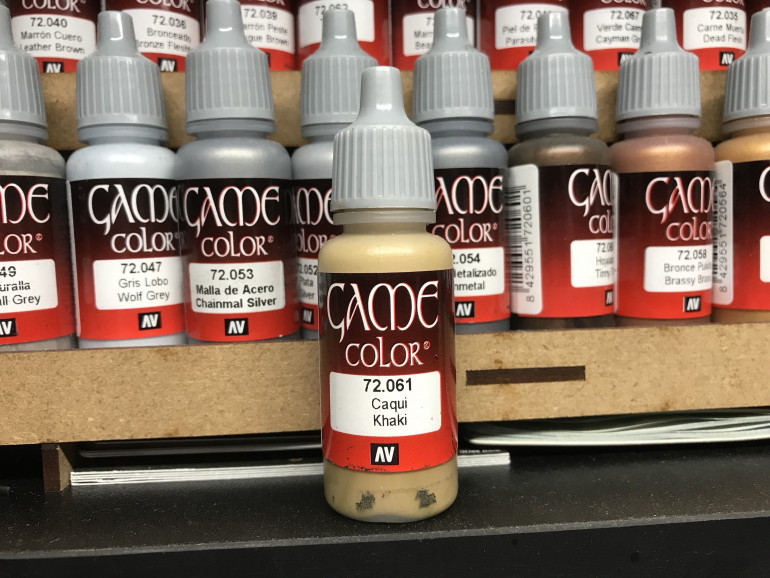
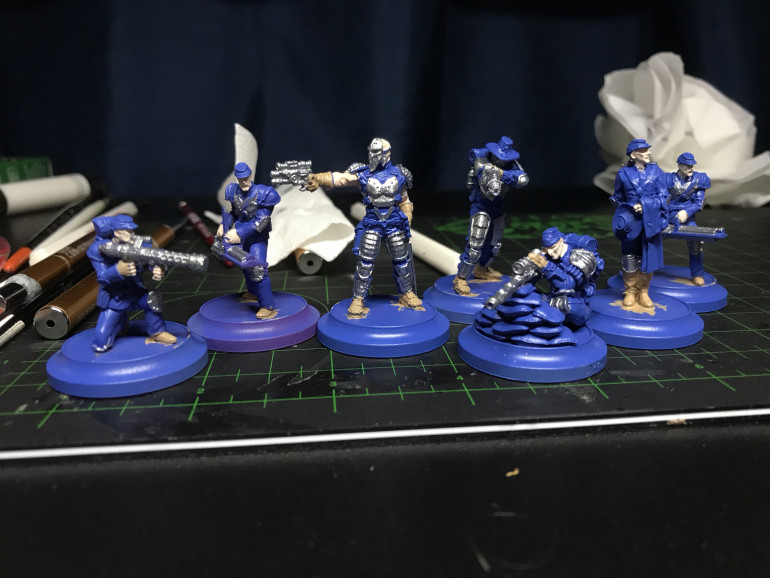
final entry for the day taking a little Khaki for the boots and gloves on the minis, also making a final pass over them to clean up any points where i’ve overstepped.
Next up the first skin tone
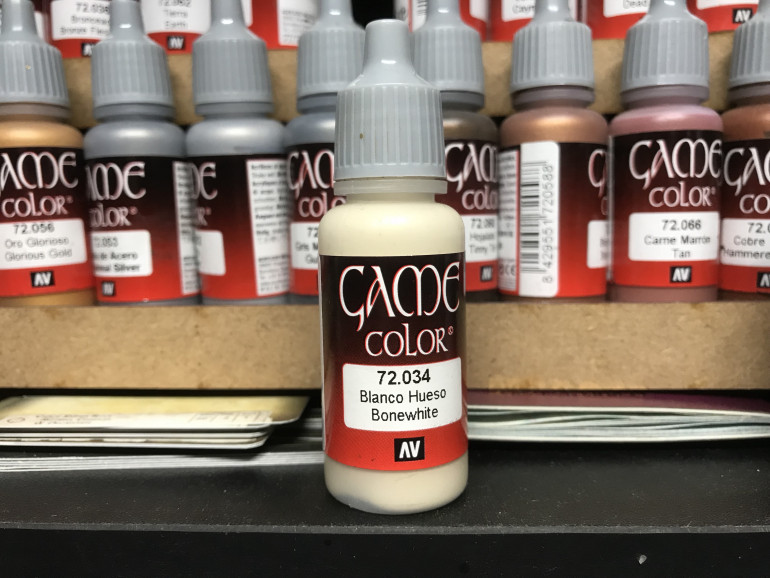
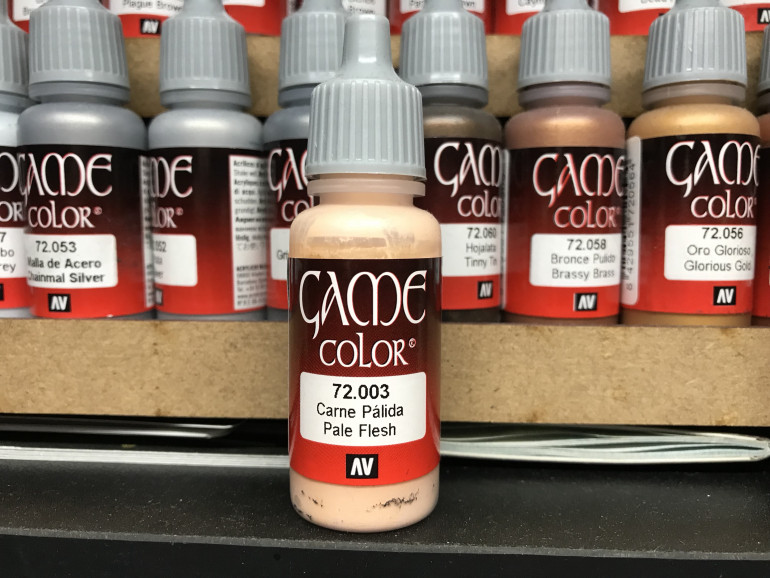
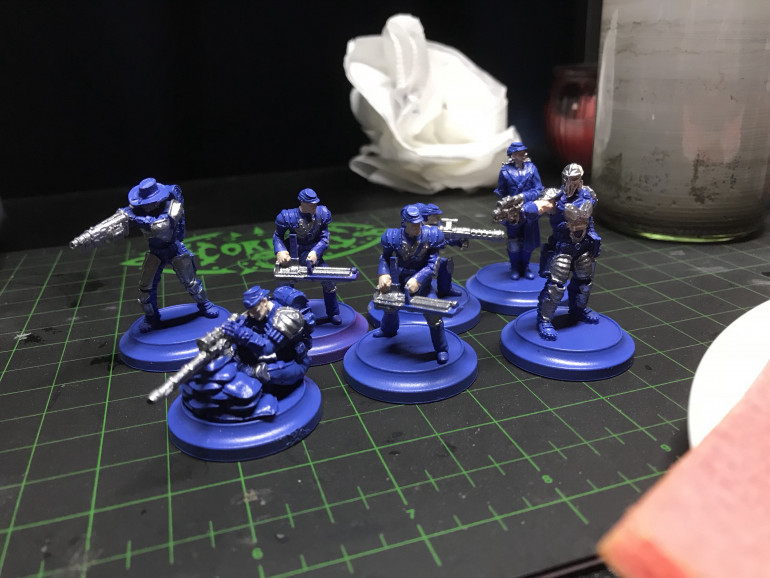
I always alike using Pale Flesh from Vallejo, i always find that it darkens and then takes highlights really well, when it comes to the was step I’ll be using Soft tone from The army painter but lots to do before we get there.
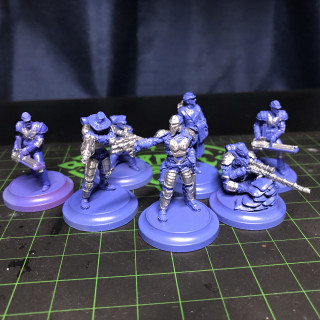
Step one Primed and ready for paint
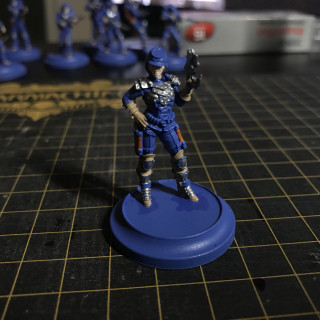
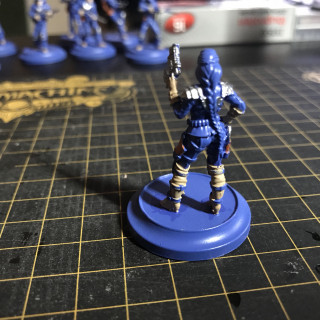
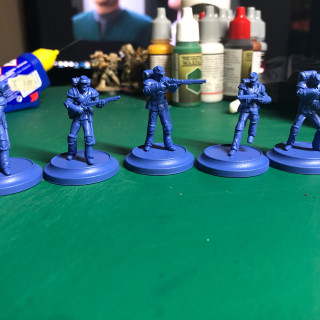
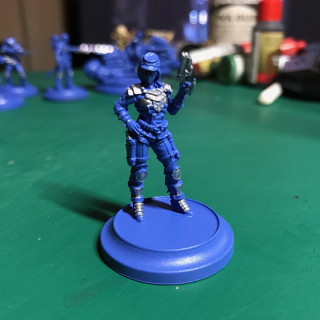
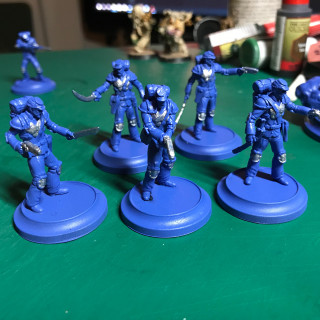
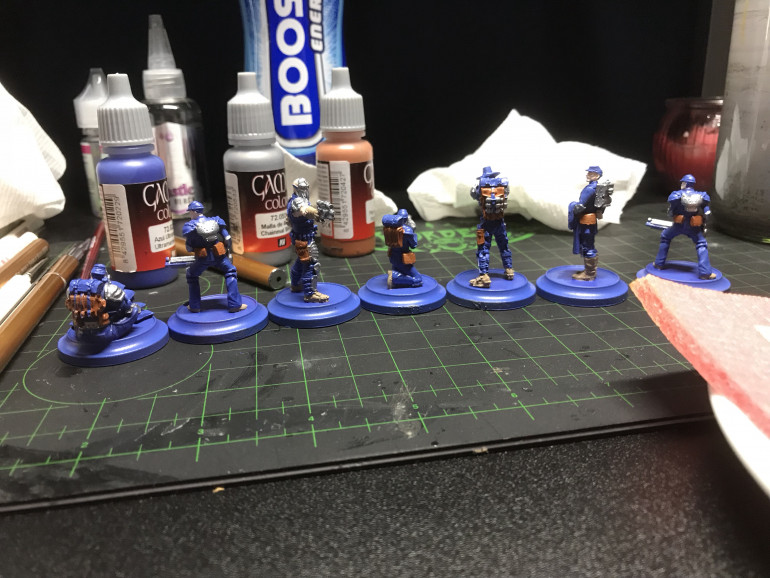
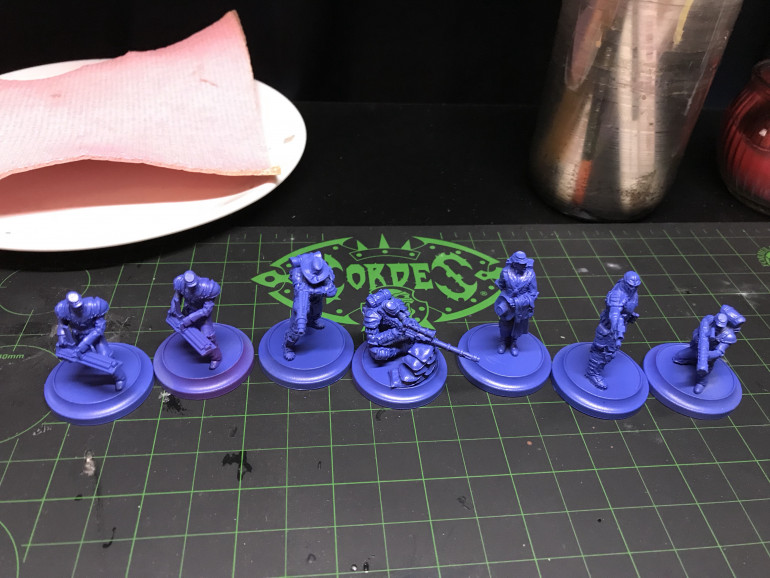
I’ve Primed the set in Ultramarine blue from The Army Painter to get a nice deep shade of blue to work up from.
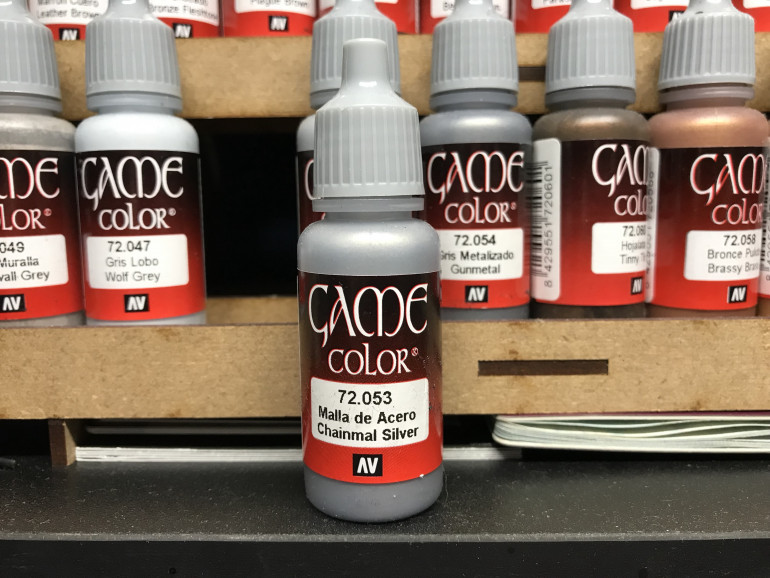
First things first then, time to start picking out the block colours and i think I’ll start with a nice Chainmail Silver from vallejo .
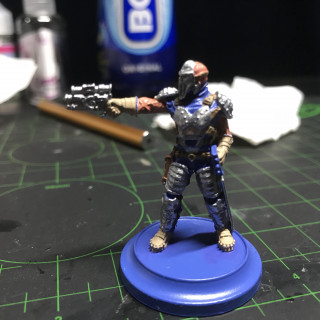
The first results are looking promising


![How To Paint Moonstone’s Nanny | Goblin King Games [7 Days Early Access]](https://images.beastsofwar.com/2024/12/3CU-Gobin-King-Games-Moonstone-Shades-Nanny-coverimage-225-127.jpg)


