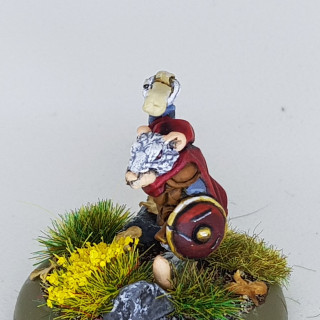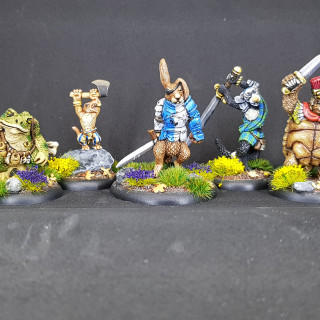
Not another Burrows & Badgers project
Recommendations: 462
About the Project
Yes, another B & B Project! I've been hooked on these minis and started with one so It's time to start a project log.
Related Game: Burrows & Badgers
Related Company: Oathsworn Miniatures
Related Genre: Fantasy
This Project is Active
2 years later!
I can’t believe that it has been over two years since I painted anything Burrows & Badgers.
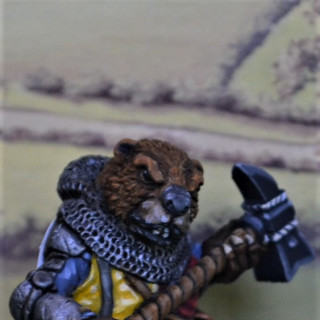
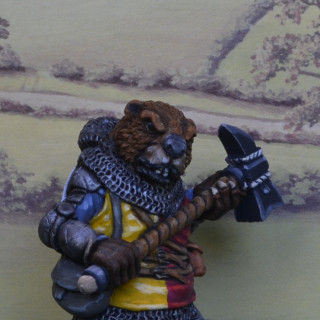
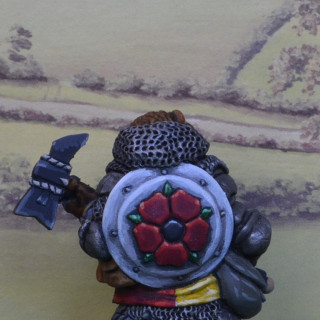
So … Here’s a big, hairy beaver.
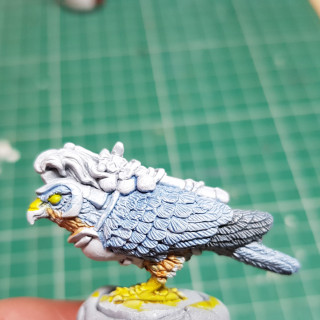
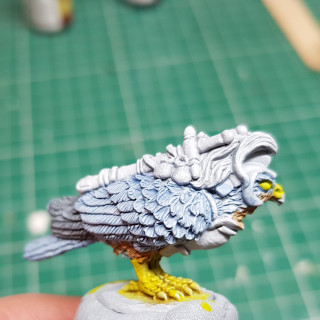
WIP Sparrowhawk
I’m working on the sparrowhawk. I have got this far using a very light grey base and thinning the paint to a level that it is nearly a wash. I’m now undecided if I should do more to the feathers. Maybe a light drybrush and/or a darker pin wash to the outline of the individual feathers? Or stop there?
Opinions and ideas please!
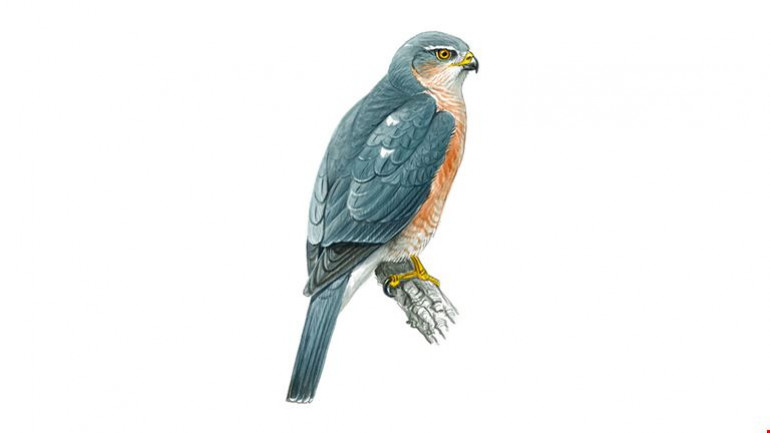
And here’s the main image I am using as a guide for the colouring.
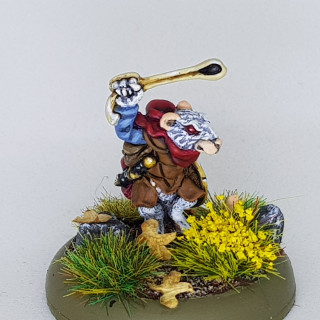
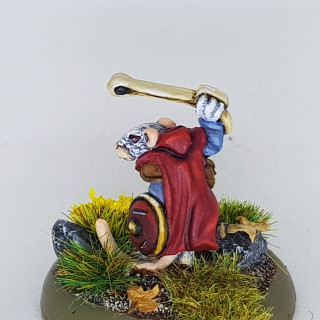
Benjy mouse
Quite a simple job on this little mouse though I am persisting with NMM and hopefully improving slowly.
I’m planning on putting together a post on how I am doing the bases and took some pics while doing this one.
This rabbit aint running!
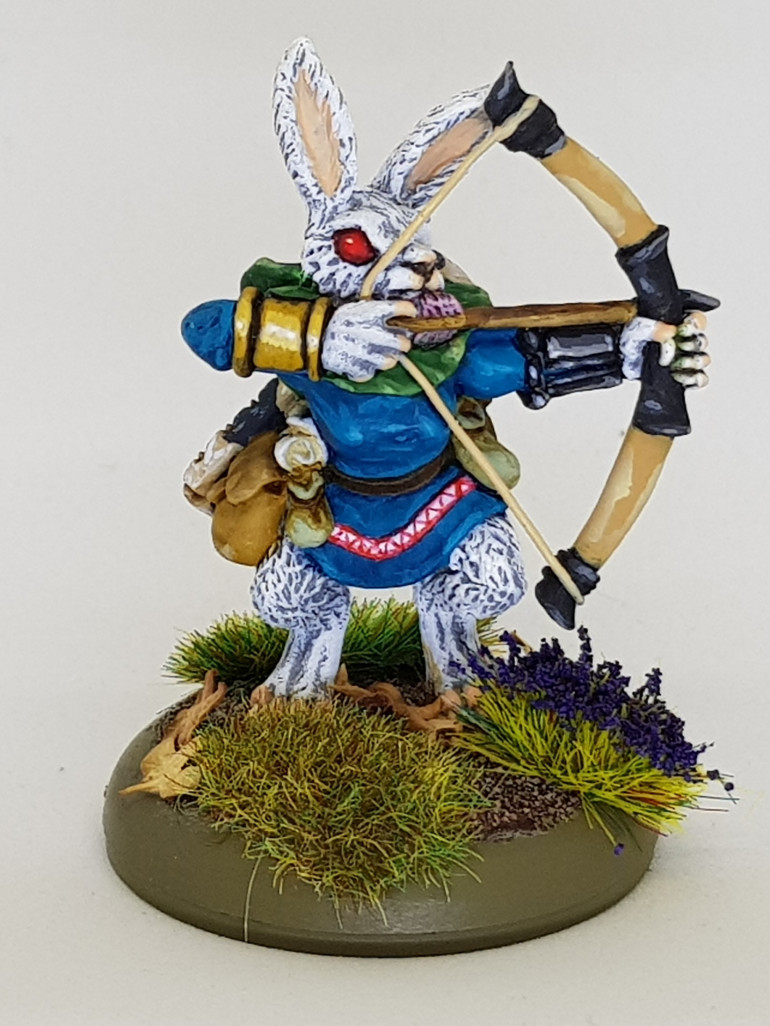
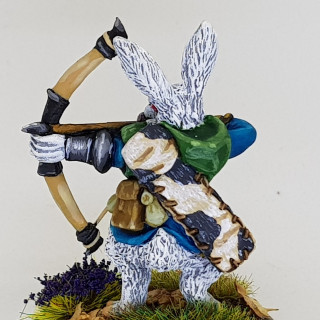
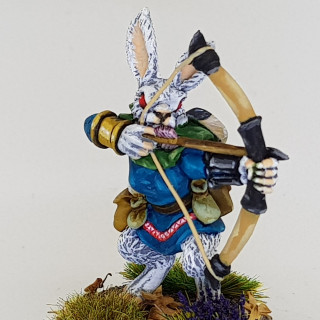
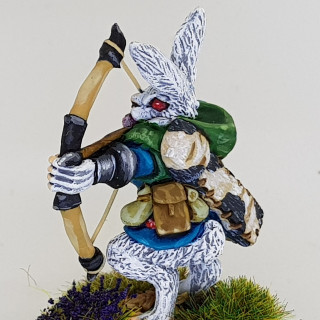
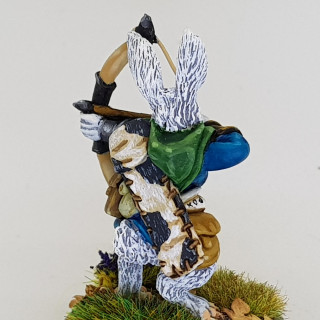
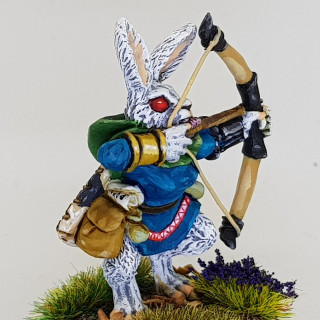
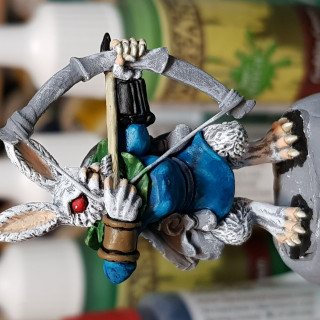
Flopsy the rabbit archer is finished! I have done the arrow case in a cow skin look. Do cows exist in the B&B universe? Are they massive or roughly the height of the other animals? No idea but I think it looks ok.
I have been through and painted all the base edges in Russian uniform. This colour was chosen as it shouldn’t jar too much with green or brown based game mats. I have also added magnetic washers to the bases, more to follow on why I have done this and my storage plans.
Rabbits & reinforcements!
Finaly started on the Rabbit archer (damn work getting in the way), I’ve gone with an albino look. I am trying out some turquoise on the clothing inspired by John’s stormcast eternals.
And for those of you who were hoping that this project would come to an end soon, sorry, reinforcements arrived from Oathsworn yesterday. As a bit of a twitcher I’m looking forward to getting stuck into the sparrowhawk.
I’ve bluetacked them to the bses as I need to run through a bit of solo play because I’ve signed up to a tournament on the 29th so I need to try and get the rules through my thick skull 🙂 Wish me luck, I’m gonna need it!
Next up, rabbit archer
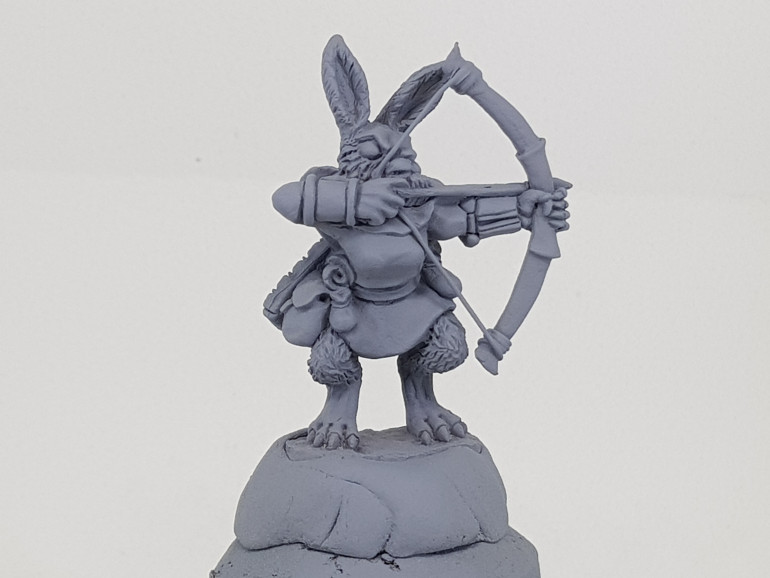
I have no missile troops painted so far so on to this rabbit archer.
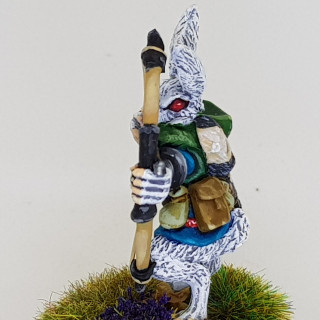
I have started by adding a bow string by drilling a small hole in the right hand and using some fine copper wire as the bow string wrapping it around the bow arms and holding it in place with some supper glue. I think the model looks better with a string added at this scale especially as the mini has an arrow knocked.
I have yet to decide on a colour scheme for the rabbit fur but am edging towards white, am I crazy? Google image search is your friend when painting animals!
A new photo box
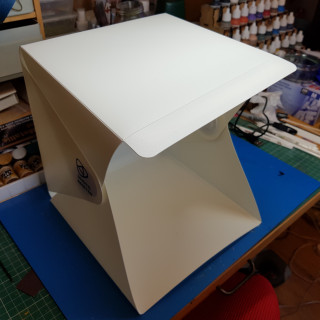
I got a new photo box delivered today. £7.99 on amazon (other selling sites available). I thought for that price it was worth a go. Previously I have been using a cardboard box with the sides and top cut out and replaced with tissue paper.
This one folds down nicely and has magnetised flaps with an LED light bar built into the top with black and white backgrounds.
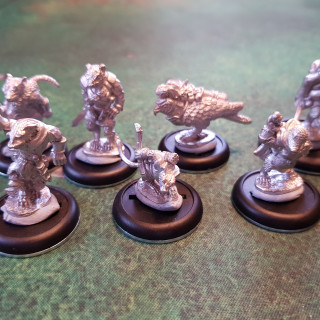
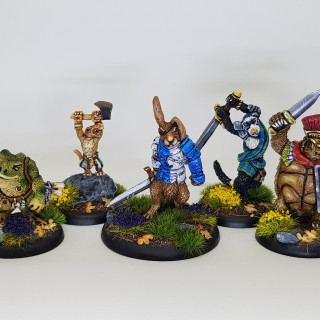
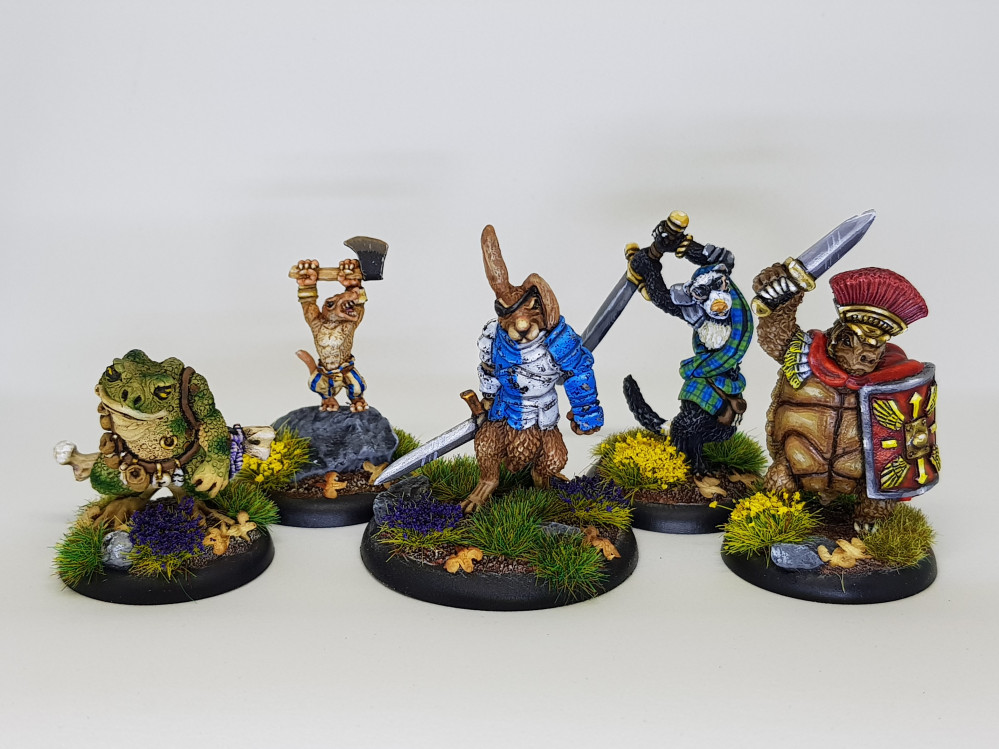
So to try it out I got the gang together!
I think that the white backdrop comes out better. I used an additional LED lamp to light from below.
Sorry, nothing new today but I thought I’d try out my new toy!
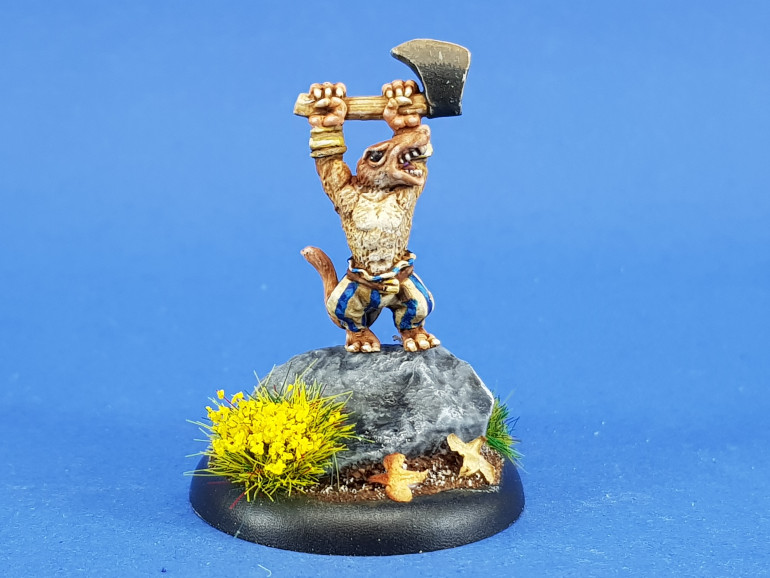
Shrew-zerker
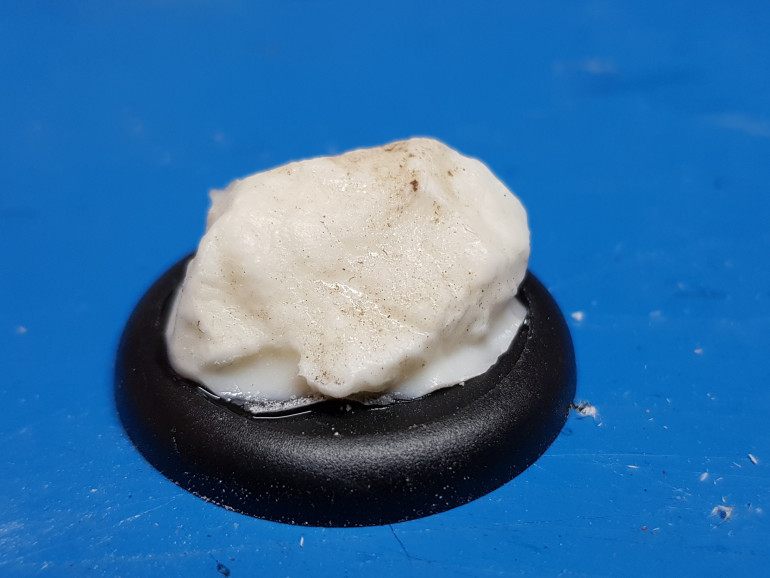
I got the shrew-zerker painted during hobby night live. I put plenty of WIP pics up on the hobby night thread so won’t duplicate here but I do have some pics of how I made the base.
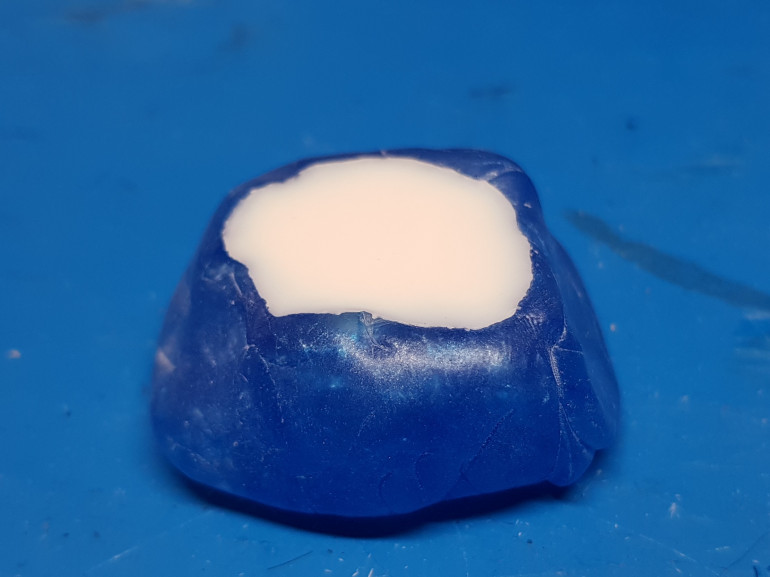
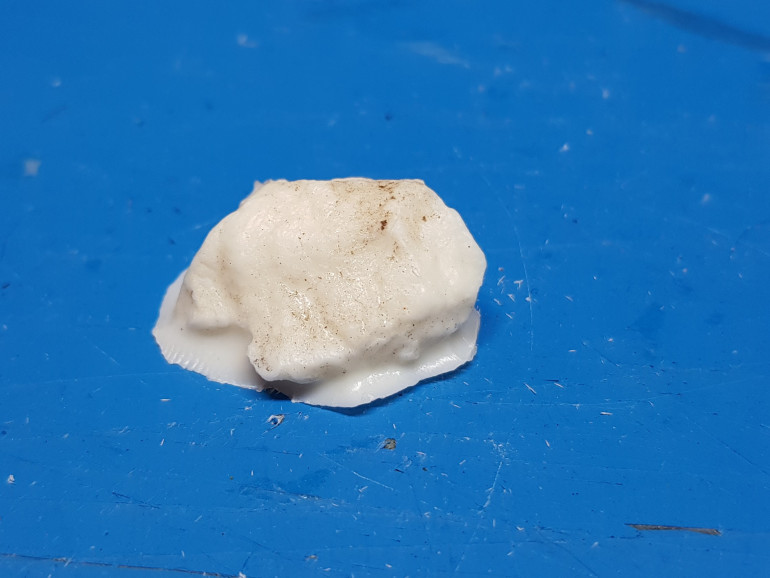
I thought the shrew would look good stood on a rock. I would normally just use small real rocks for basing but as I would need to pin the shrew’s feet for strength I decided it would be best to cast my own from resin.
1st job was to find a suitable looking rock to fit the base!
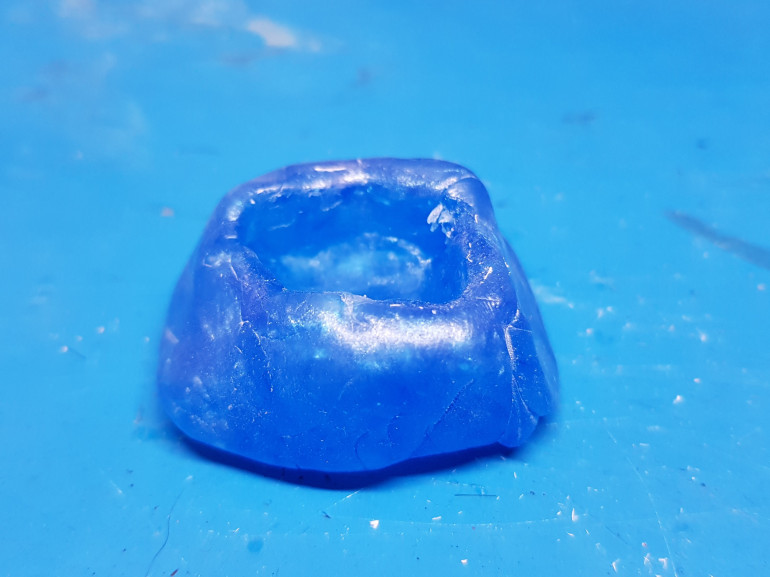 Once I had chosen my rock I made a mould using blue stuff. Blue stuff is malleable after soaking in hot water so I could form it around my rock then remove the rock when cooled.
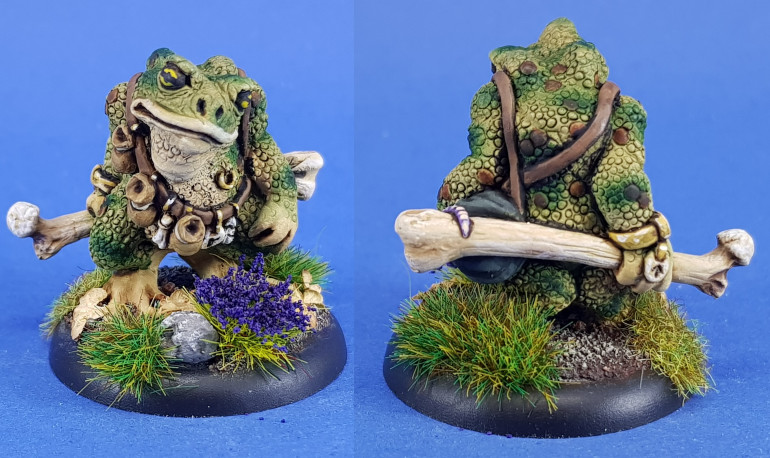
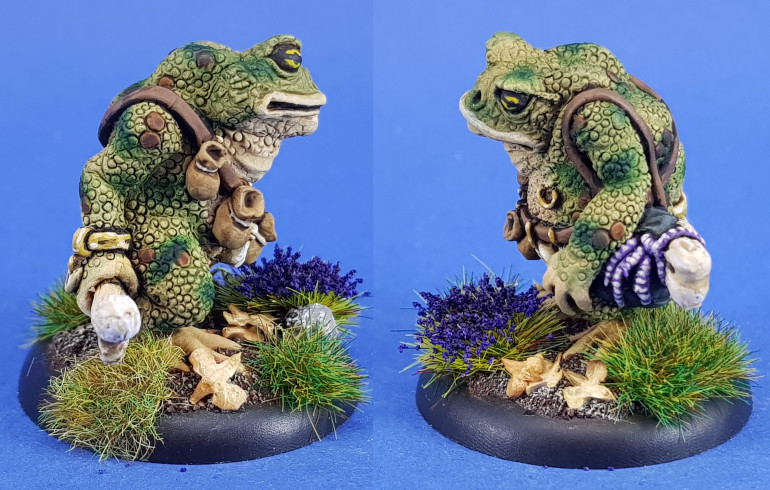
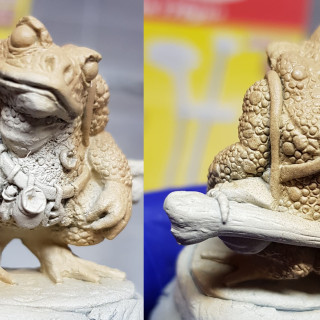
Bofo the toad mage
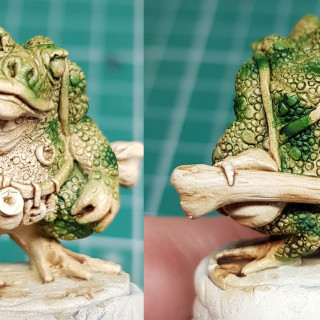
The finished toad. I love that his lunch of worms are trying to escape his bag
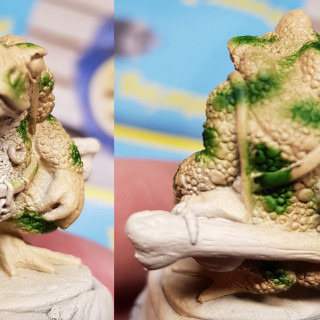
Toad skin
After an undercoat the whole mini was airbrushed with a base coat of AP Skeleton bone mixed with white.
The darker back parts were airbrushed in AP desert yellow.
The green patches were airbrushed in a thinned down Vallejo German cam dark green
The whole mini was then washed in Light tone wash followed by a wash of green on the darker back parts.
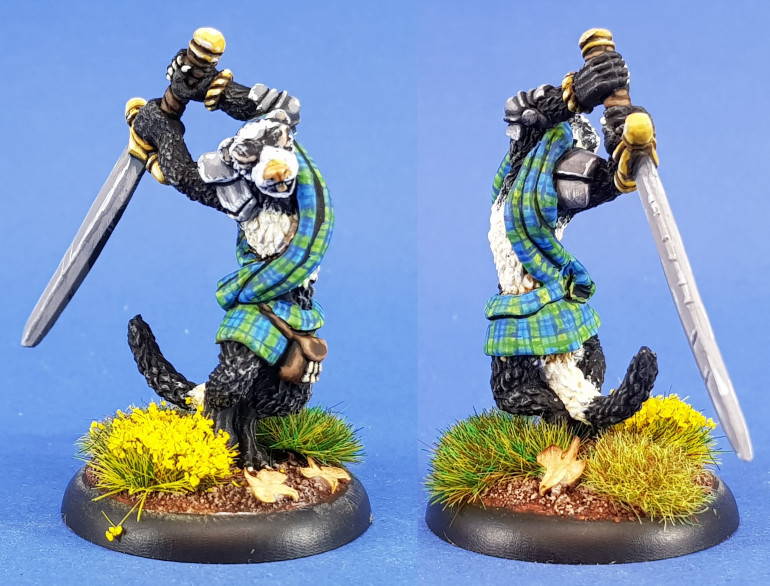
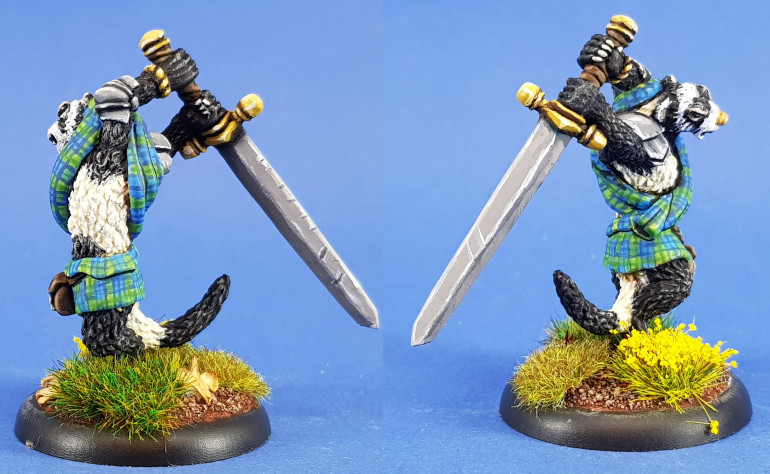
Ferret clan warrior finished
All done with the Ferret. I still need more practice on the NMM but he’s ok for now. I’m going to be working on a toad mage next and seeing how far I can get with the skin using the airbrush.
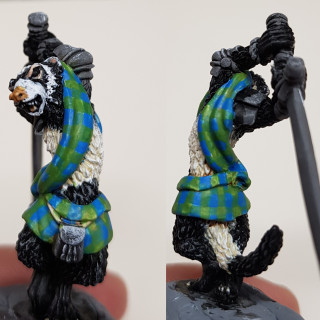
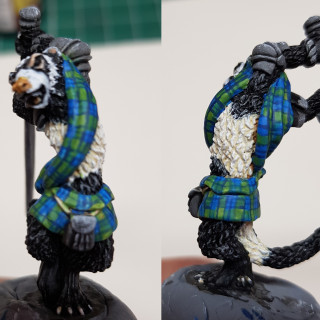
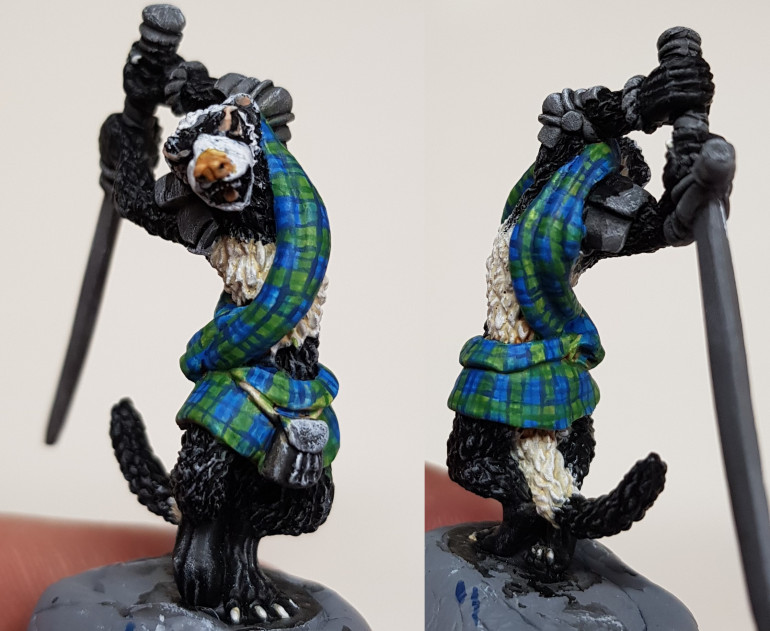
Tartan (F***ing Tartan)
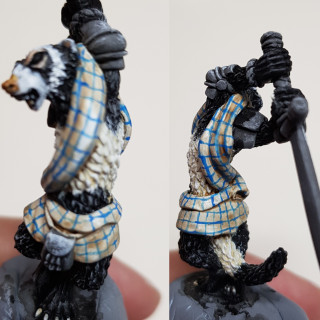
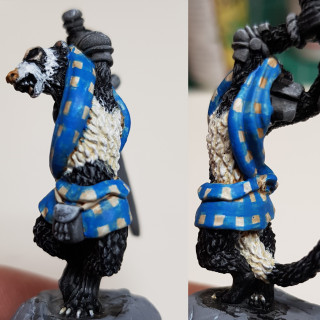
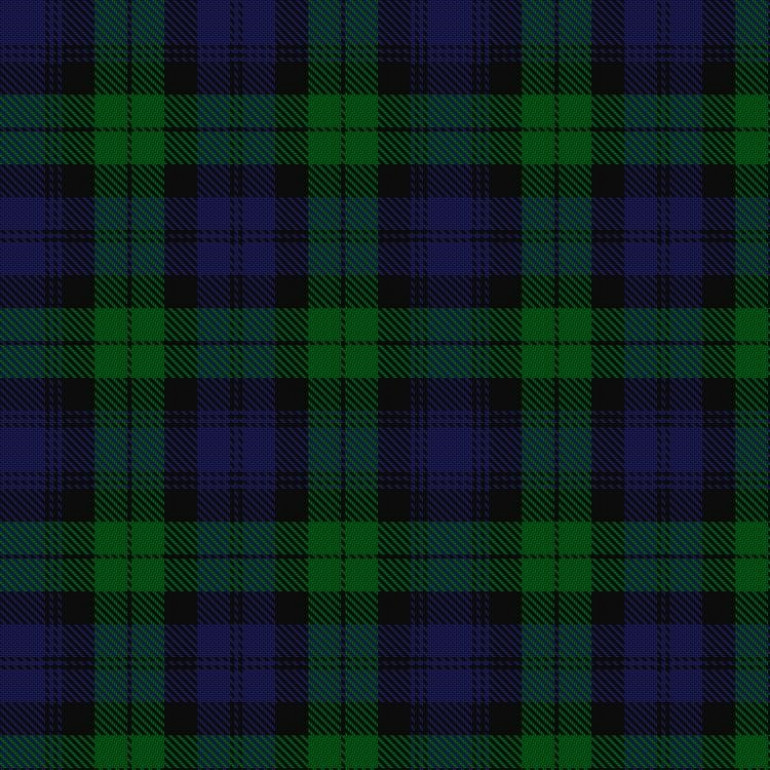 I decided to paint the clan ferret wearing tartan loosely based on the Black Watch tartan. So I started with a bit of youtube research and devised a plan!
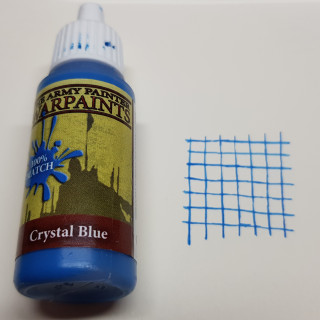
Time to test the plan on paper:
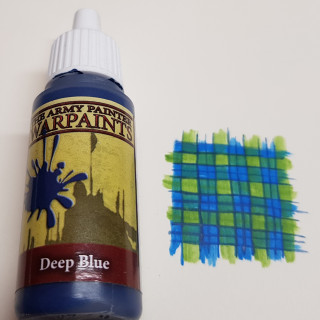
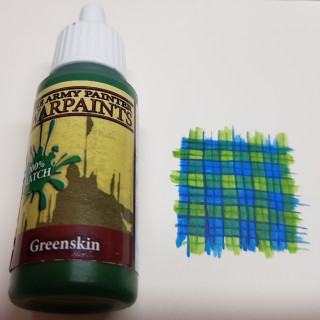
1 Lay out a grid of AP Crystal Blue.
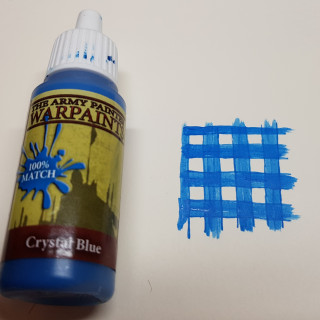
2 Paint in alternate horizontal and vertical stripes in AP Crystal Blue.
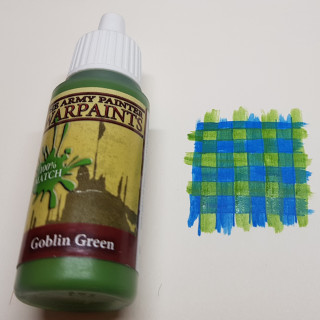
3 Paint the other horizontal and vertical stripes in AP Goblin Green, a nice thin coat so that the blue still shows through.
4 Paint a thin line of AP Deep Blue down the outside and centre of each horizontal and vertical blue stripe.
Paint a thin line of AP Greenskin down the centre of each horizontal and vertical green stripe.
Now time to see how this translates onto the miniature. I started with a base of white washed with soft tone in a hope that this shading may show through but that didn’t work out.
I’ll admit part way through I was wondering what I had let myself in for! On the mini the squares painted blue with the green over the top didn’t come out as well as on the paper and if I did it again I’d probably paint those squares in separately. Once I started the lining it didn’t turn out as bad as I thought it was going to and I still have most of my marbles!
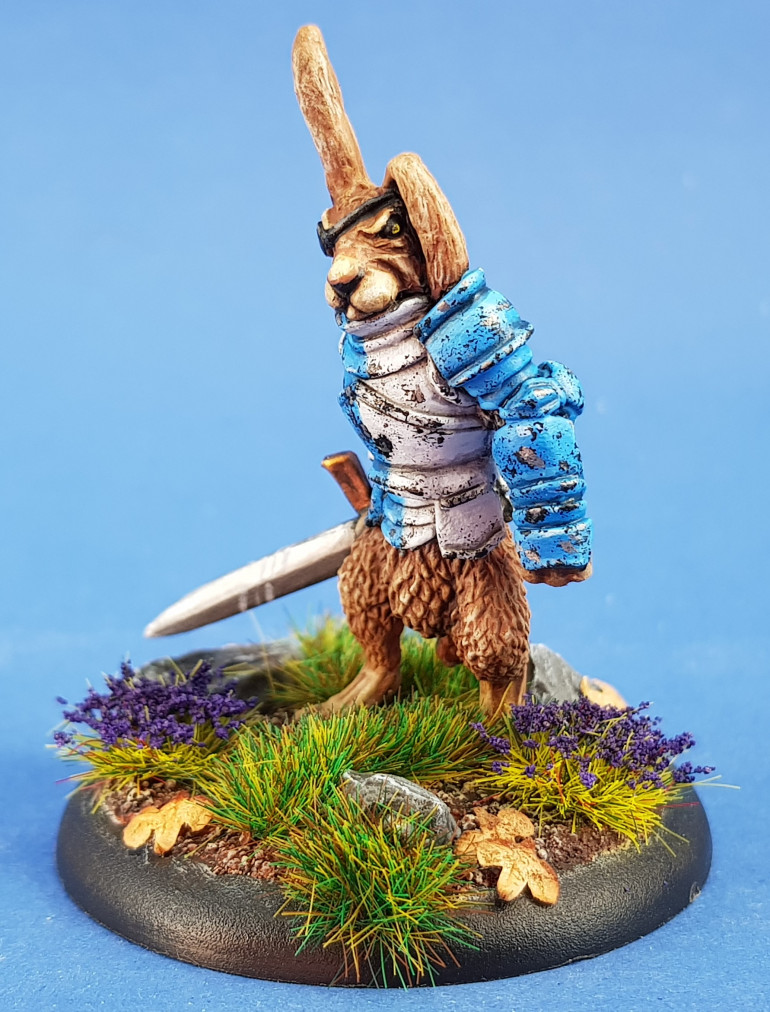
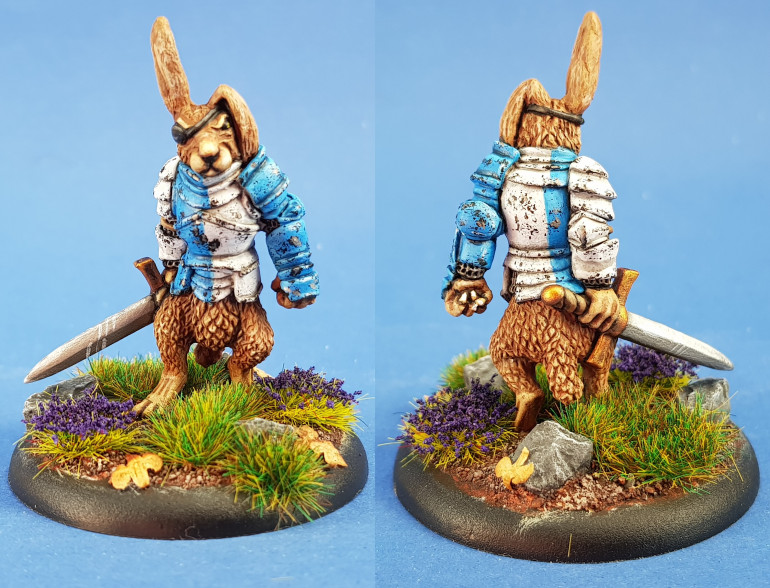
That's one mean bunny!
I managed to get the hare finished with a push last night and the sun drying the layers of the basing in record time today.
The armour was roughed up using a 50/50 mix of mahogany and black. I gripped a tiny bit of rough sponge in some forceps and dabbed it on. Then the same with some gun metal in the larger patches.
Today I are mostly been working on the armour!
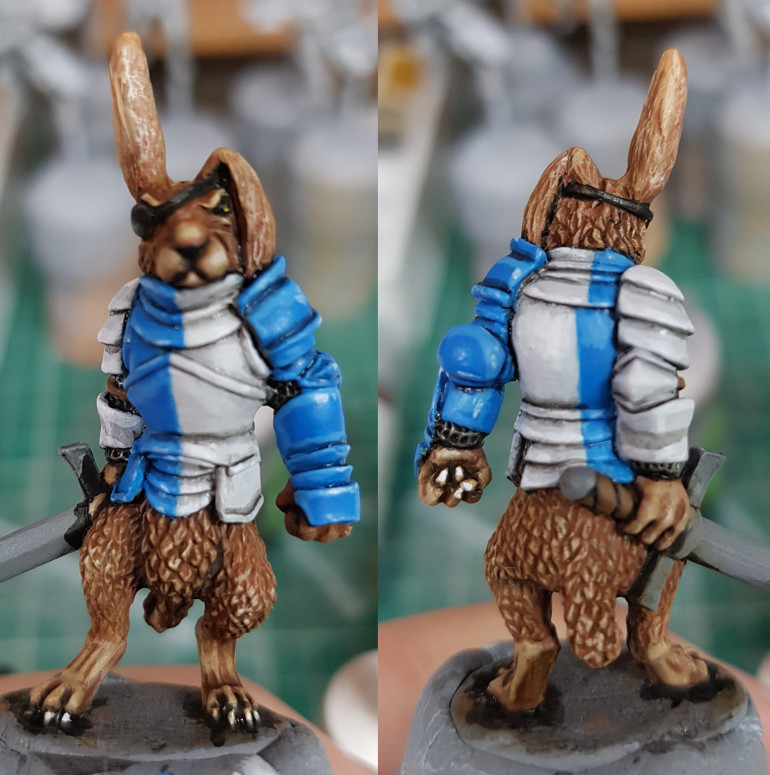
Had some time before work today so I have moved on with the armour, also repainted the nose.
Working on a hare
What do you paint after a tortoise? A hare of course.
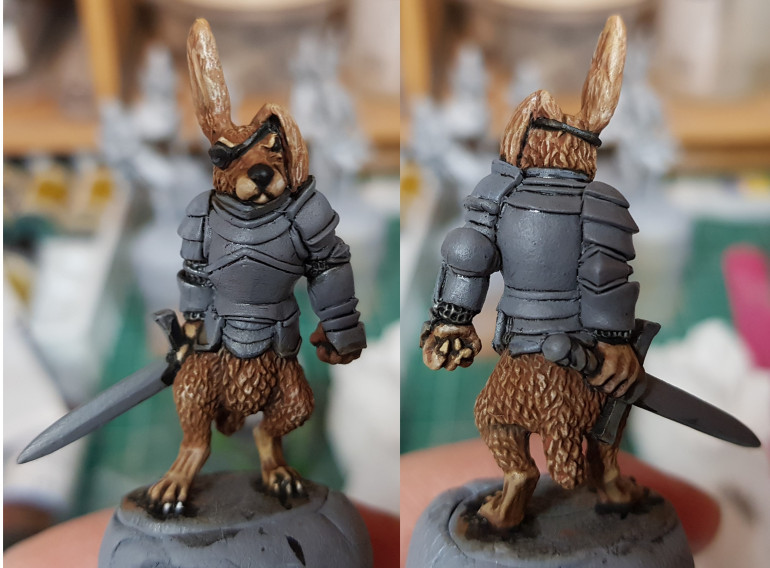
I’m probably going to make this fella my leader, he looks mean enough. I have removed the raised chalice from the front of his armour and been working on the fury bits. Just realised I have done the nose wrong (all black, more like a dogs nose) so I’ll have to re-do that. As yet I’m not sure how to achieve the eye colour. Suggestions?
I’m planning on painting the armour in a blue and white painted look with battle damage.
1st Mini
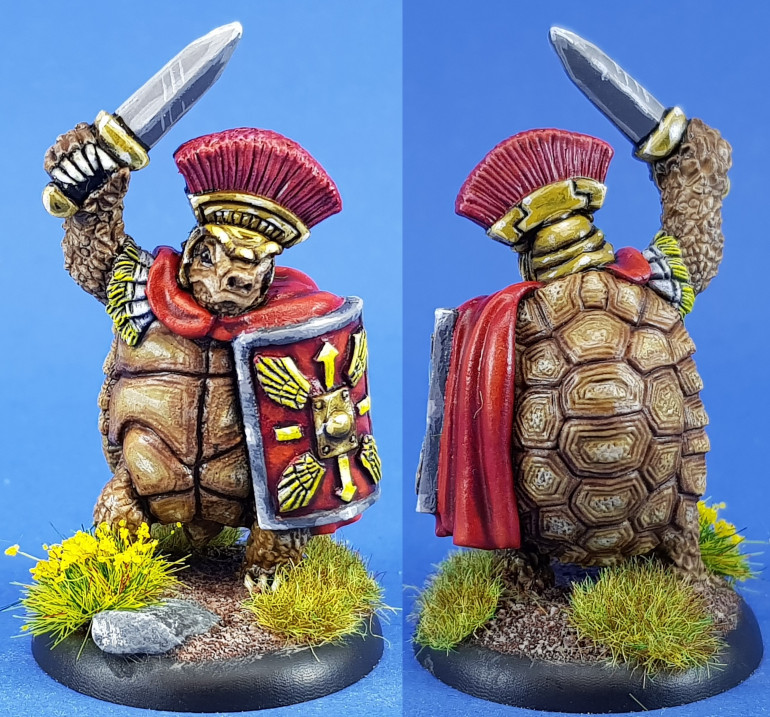
I really didn’t know how this was going to come out never having painted tortoise shell before. I started with a thin coat of army painter Desert yellow, then working in decreasing bands around the panels, monster brown, leather brown and oak brown. The whole was given a dry brush with skeleton bone and a soft tone wash. I then pin washed dark tone into the deeper gaps and around the edges.
I have tried NMM on the sword, helmet and shield using vallejo’s NMM set. I need more practice and advice is welcome!
Enjoyed painting this guy so onto the next.


![How To Paint Moonstone’s Nanny | Goblin King Games [7 Days Early Access]](https://images.beastsofwar.com/2024/12/3CU-Gobin-King-Games-Moonstone-Shades-Nanny-coverimage-225-127.jpg)


