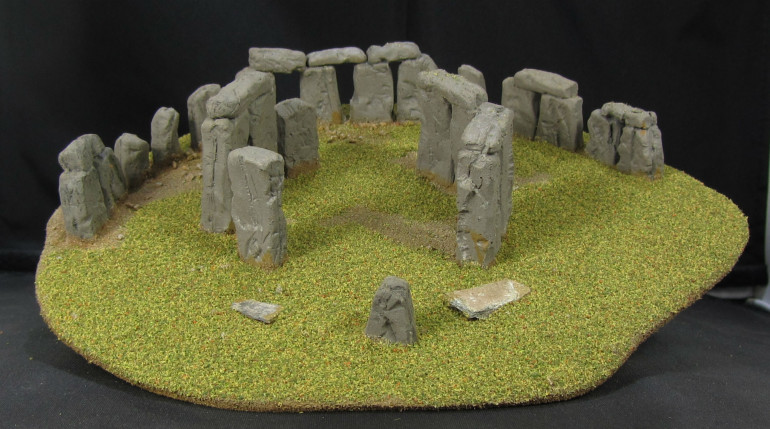
Tiny Epic Stonehenge
Recommendations: 62
About the Project
A quick run through of how to take a toy model kit and make some useable terrain in a short amount of time (hopefully).
Related Genre: Historical
This Project is Completed
Day 1
I started off with a toy model kit of Stonehenge. I bought this one at the Stonehenge visitor centre but it is widely available in bookshops and on Amazon. It is called ‘Build your own Stonehenge’ and is published by Running Press in their Mega Mini Kits range.
The kit comes as a set of precoloured plastic stones, approximately 10mm scale I suppose although no official scale is given, it is a toy after all. There is also a small jigsaw puzzle which shows the layout and a book which combines some basic historical information with some mythical associations and fantastical speculation about aliens, great stuff.
What I want is a terrain piece to go with my ancients 28mm armies. I have Celts and Bronze Age Europeans so a stone circle should fit right in.
I needed a base. The kit comes with a small jigsaw with a numbered layout marked on it, the numbers corresponding to ones stamped into the bottom of the stones in the kit. I put the jigsaw together, laid out the stones in the correct formation and then transfered them onto an mdf base. This one is 2mm mdf which has been cut slightly larger than the size of the jigsaw puzzle and then had the edges sanded to help it blend onto the table.
I used a spare miniature to check the layout of the stones to make sure I could move easily through the terrain. They were a bit tightly packed when using the given layout distances so I moved the outer circle further away from the inner. I debated changing the formation of the stones but decided to go with the “accurate” layout.
The stones were then superglued to the base.
Now to texture the base. I painted a heavy duty PVA onto the base. I pressed a couple of bits of slate that were approximately the same size as some of the stones into the glue. Then a layer of sand and small stones was sprinkled on.
This will need to dry for a couple of hours so more of this project tomorrow.
Day 2
And so onwards with some paint. A coat of 50/50 watered down Vallejo Earth over the sand and stones. Once dry this is swiftly followed by a light drybrush of Vallejo Bonewhite.
I have decided to go back to flock for general basing having been a static grass only chap for some number of years. I will add static tufts once the general flocking is done.
Firstly I mixed up some flock. I like a variety of colours in the mixture as I’m too lazy to do a number of different layers and build up colour density that way. Therefore I went to the local railway model shop and came home with a haul of Woodland Scenics flock and an empty canister shaker. I then mixed half a big bag of Earth Blend Blended Turf with half a small bag of Fine Turf Burnt Grass and a fifth of a small bag of Fine Turf Weeds.
I looked at the model and decided the stones needed a lift. I decided on a dry brush with my usual stone colours of Vallejo Cold Grey and Vallejo Stonewall Grey over that. Once this was done I covered about three quarters of the base with thinned PVA glue leaving some random pathces to represent bare earth and then scattered a liberal coating of the flock mix over the top.
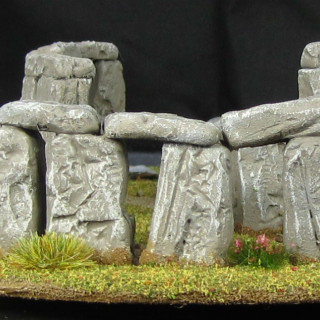
Then some static tufts to finish off. I’ve selected some Tajima1 mixed size tufts in Battlefield Mix and Moss, alongside some purple flowers from miniNatur.
We are done. I’ll probably seal it with a few squirts of Testor’s Clear Coat tomorrow once the glue has gone off properly.
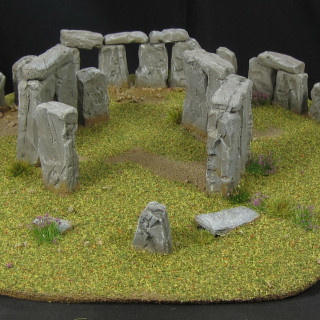
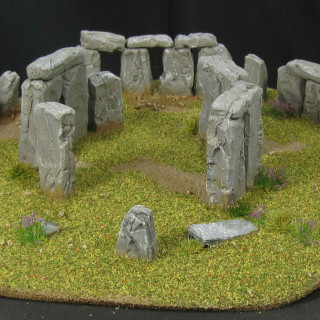
I’m very happy with the final effect. I’ve included a nice druid (Veran who is Wargames Illustrated’s current show special miniature) for scale. I had fun making this and I hope you enjoyed this Project. Thanks for rating and commenting.
Day 3
Finished. The whole model has had a coat of Testor’s Spray Lacquer. As expected this helps to bring up the contrast in colours used and generally improves the look and usability of the piece. Thanks for looking in.
And by request (thanks @coxjul ) here is a shot showing the piece with some models for scale. From left to right a Gripping Beast Arthurian spearman, Foundry’s King Arthur and GW’s LotR Saruman. It is small, but perfectly formed and I think it works really well as a generic henge to help easily place the board mentally for players without doing too much explaining verbally, like any good terrain should.


![How To Paint Moonstone’s Nanny | Goblin King Games [7 Days Early Access]](https://images.beastsofwar.com/2024/12/3CU-Gobin-King-Games-Moonstone-Shades-Nanny-coverimage-225-127.jpg)


