Let Slip A Dog Of War
Recommendations: 149
About the Project
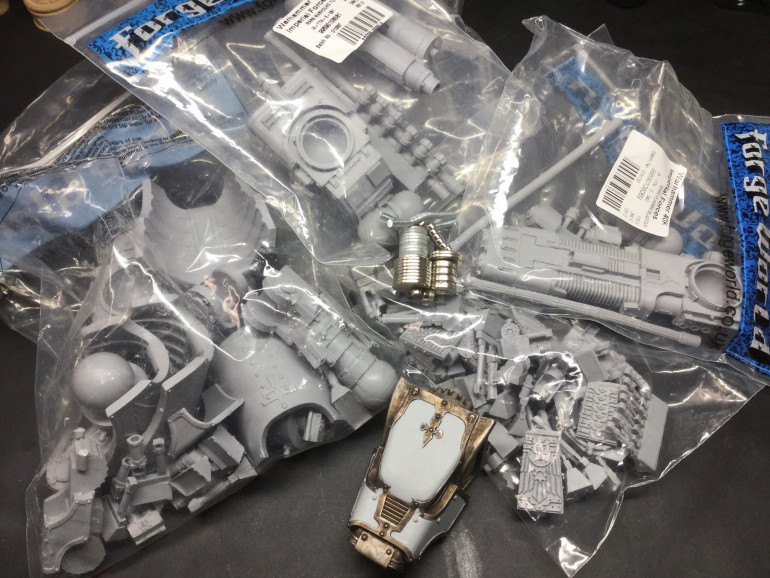
And we start yet another project blog! This one however is going to all about a single 'character' model. Just one. A nearly orphaned Warhound Titan from an all but extinct Titan Legio. I bought her about 2 years ago and she's been sitting in the FW bags ever since. Finally decided it was time and set about thinking what to do. Although it says 'miniature building' as the project type, this project blog is going to be waaaaaaaay more than just that. I have a folder of little bits of scrap paper where I've scribbled little bits of background/fluff/narrative and story passages involving and about her. From time to time little bits of narrative and the like will also creep into this blog. Here is where Crepusculum Ira or Twilight's Bitter Ire will come to life and walk forward again. I'll try and include every step along the way; from magnetising and building this beautiful beast, to painting, weathering, freehand work as well as composition, build and work on the diorama that will eventually house her. I'm hoping to dedicate one Twitch stream per week when I can to work on this mighty project which you will be able to catch here - https://www.twitch.tv/januinevision So grab your holy unguents, sacred wrenches, a couple of servitors and step on in and marvel at how unfethingbelievably slow I am at this!! Enjoy Jan
Related Game: Warhammer 40,000
Related Company: Forge World
Related Genre: Science Fiction
This Project is Active
Oils n Plasma!
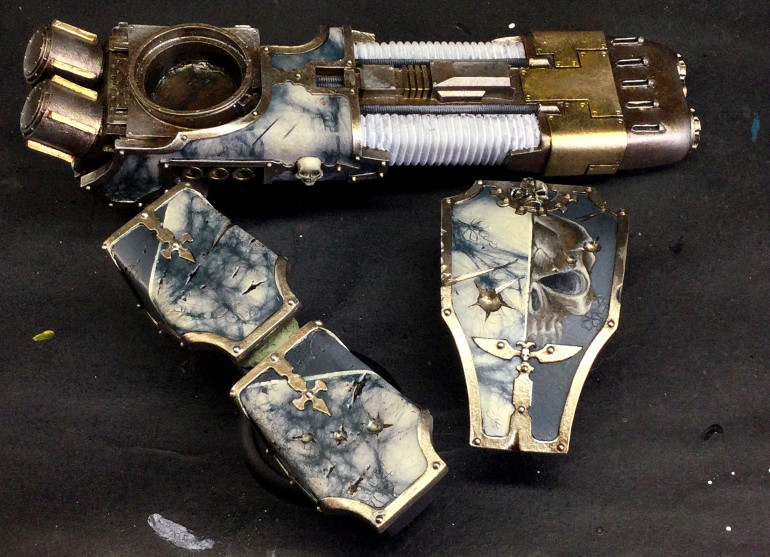
Work continues on the Warhound! A few of the bits and jesus there are a lot of them were ready for next stage. Rather than wasting a shitload of time and cash on GW’s overpriced washes, I decided to give oil washing a bash. Not something I’ve tried before but ah well – why not!!
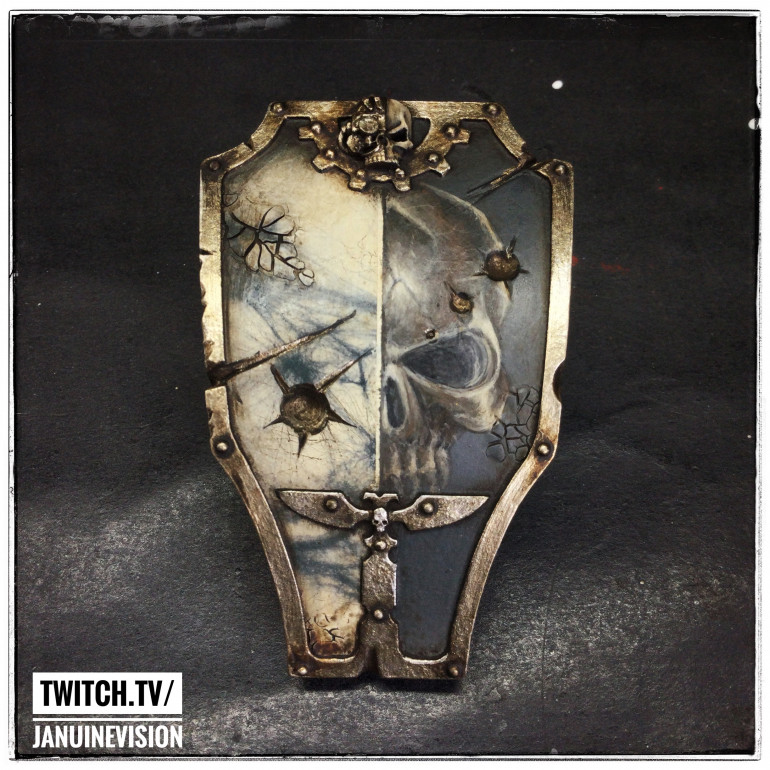
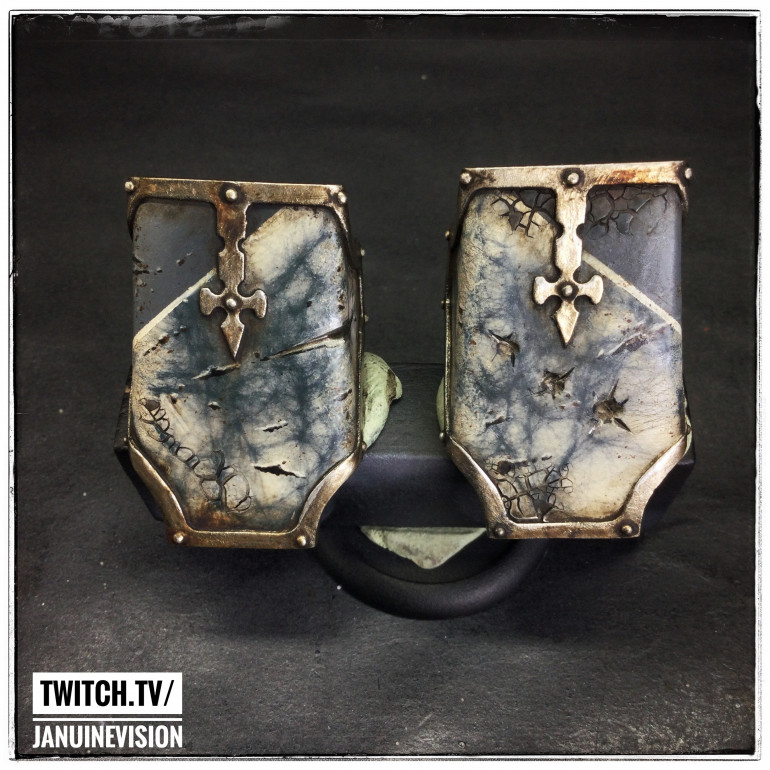
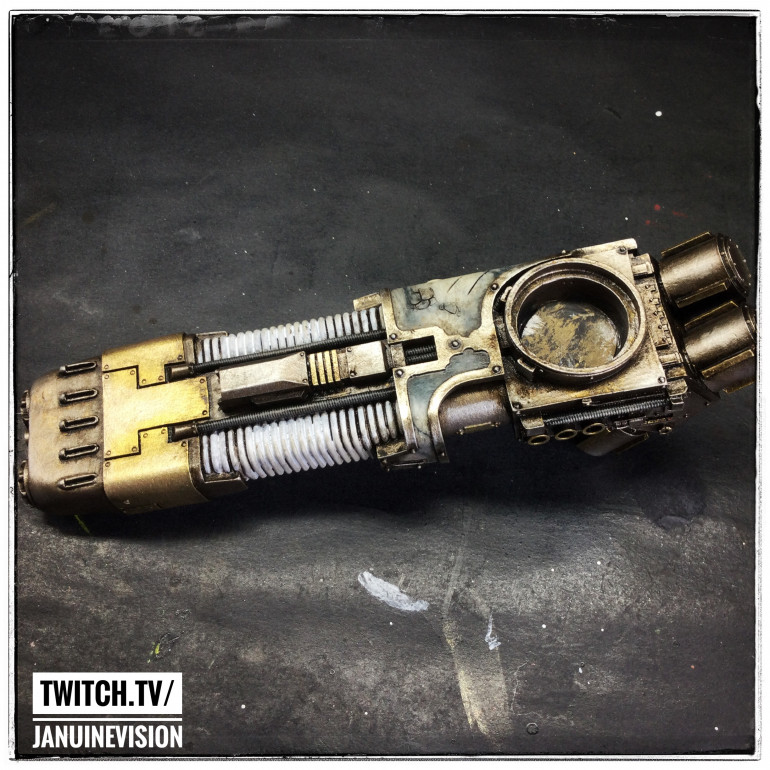
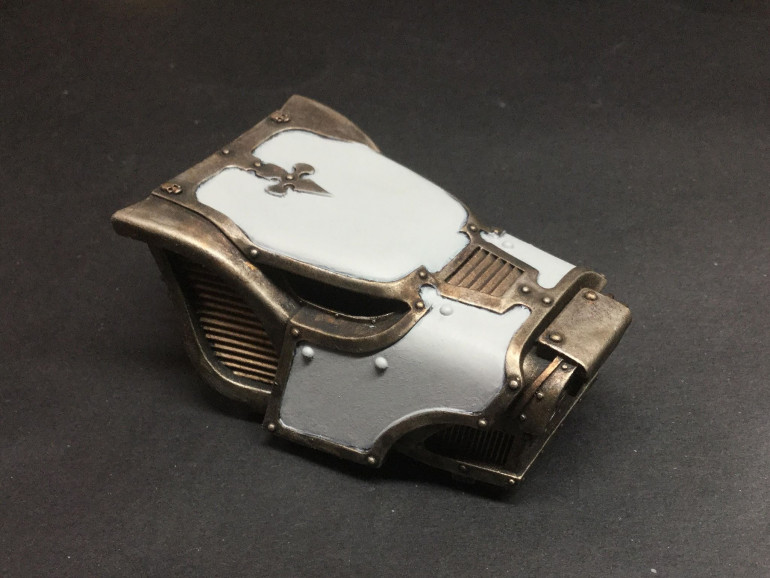
2 thigh panels, the coc… crotch plate and the plasma blast canon were up for it.
Mixed up a wash with equalish parts of lamp black & burnt umber from W&N with odourless mineral spirit and had a wee bit of neat burnt sienna on the side to blend into the wash as i went.
Didnt have any makeup sponges to hand so i cut up one of those yellow kitchen sponges to wipe off the excess later.
Slatthered the wash on with a cheapo Lidl oils brush and then took off the immediate excess with a chunk of sponge and left it be for an hour or so.
After an hour or thereabouts I removed more of the wash with sponge and odourless spirit and then feathered n tidied up any streaking with a brush.
Think they came out rather nicely. God smokey aged battleworn look. (none of that parade ground clean n perfect pish here!! )
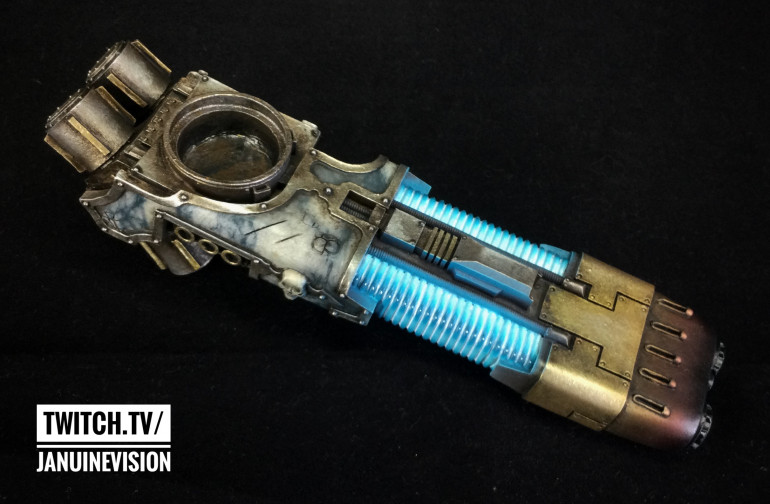
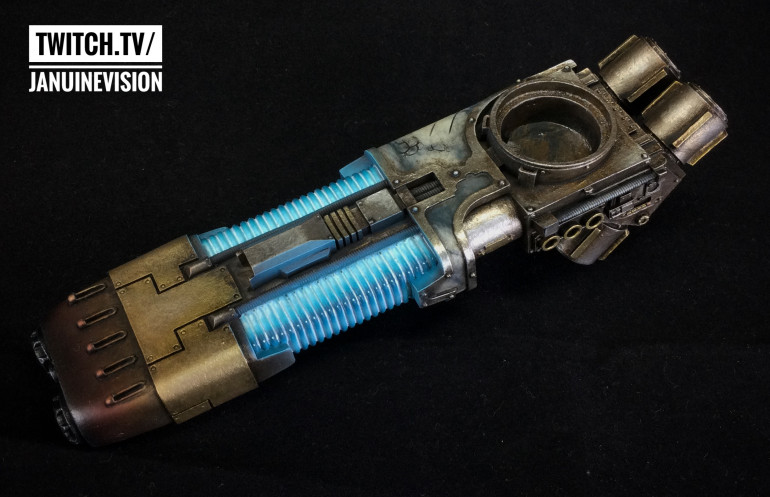
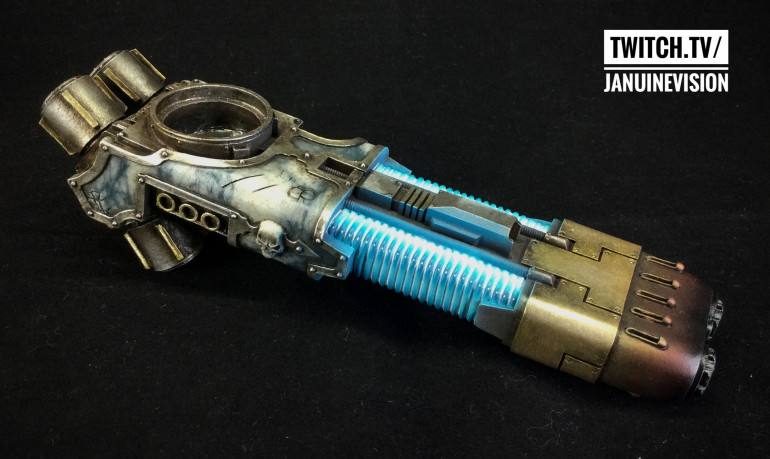
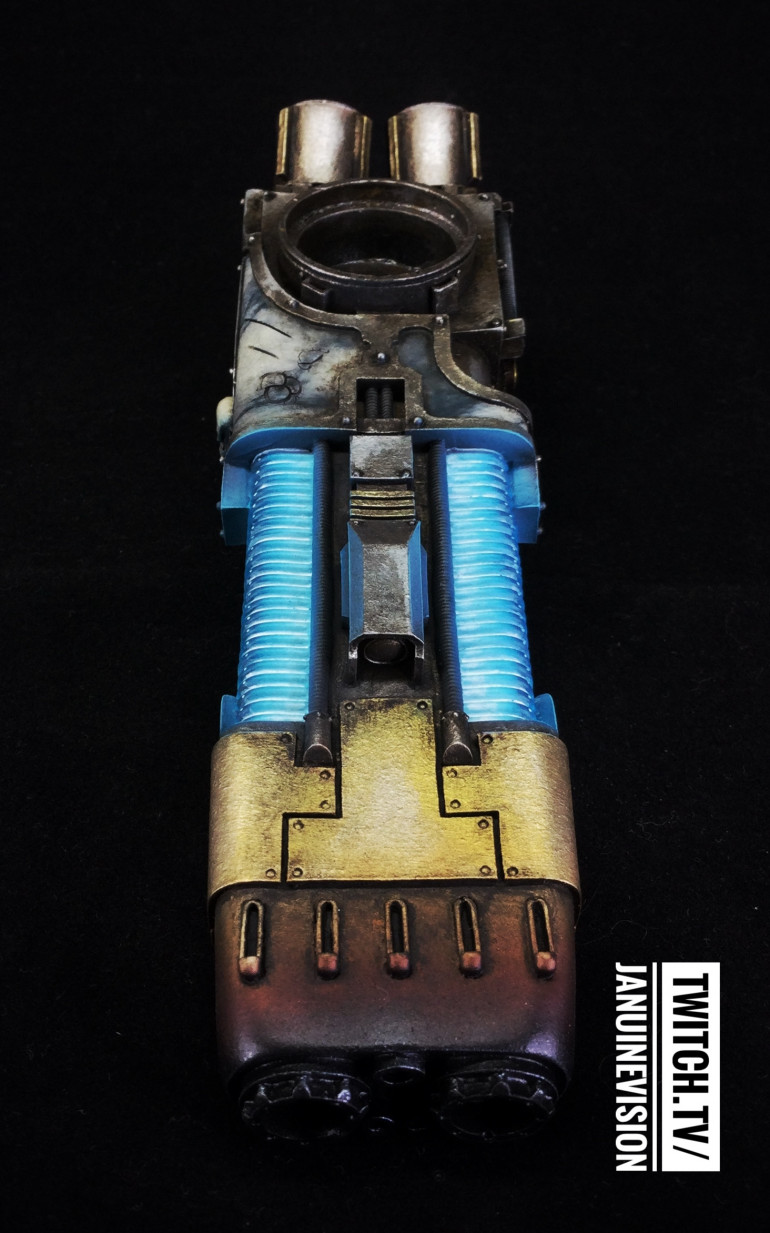
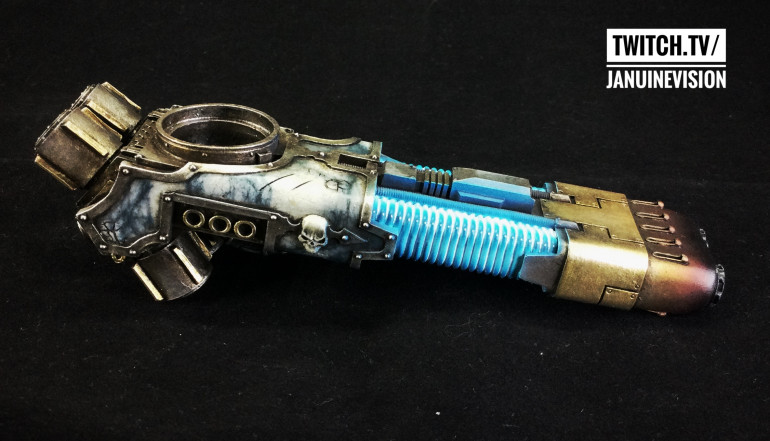
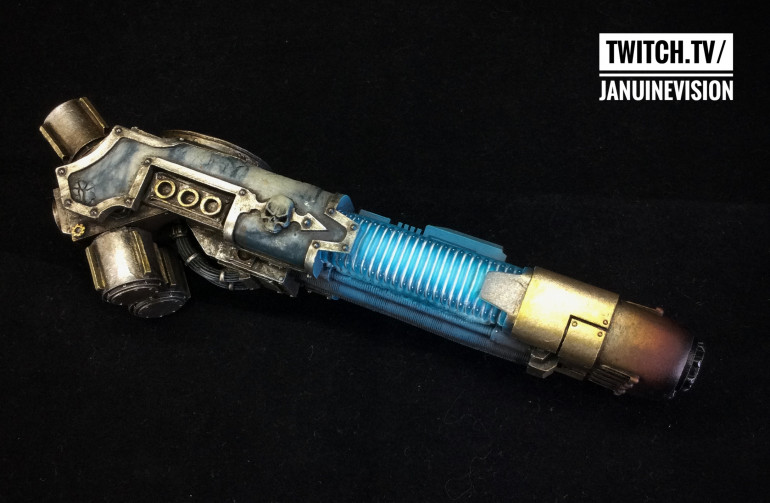
After leaving the oil washed plasma gun to dry/cure fully for about a week twas time to tackle the bloody plasma coils. Plasma on a smaller mini like a skitari or heaven forbid a space marine is easy enough but on a titan’s plasma gun……. bit trickier as flaws show up so much more easily but had to be done.
Paints use (from light to dark): Kimera white, DR white ink, GW Baharroth blue, S75 Adriatic Blue, VGC Turquoise, S75 Caspian Blue, AK3G Anthracite
Used a mix of airbrush and W&N S7 #1 brush on it. Happy how it came out in the end but twas a right PIA as a workup!!
I am actually still working on this......... just...... very........VERY...... SLOWLY!!
Right……… RIGHT!! This behemo….. bohmoe……. bloody big fecker of a model is actually still being worked on beleive it or not!! And a lot has been done. really!! There is a digusting amount to still do…… but there has been progress dammit!!
So here we go – progress on ‘The Dying of The Light’ Warhound Titan from the least amount of work done to the most!!
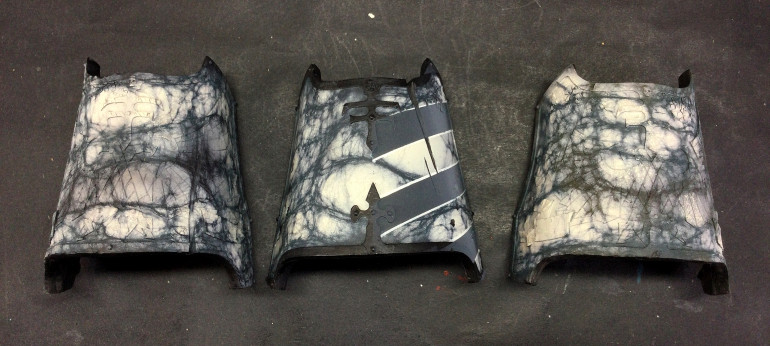 Greaves/Shin plates. Marble done......... nowt else! Yes, I know there are 3. The fourth of the four plates you get was a trial piece for ..... stuff.
 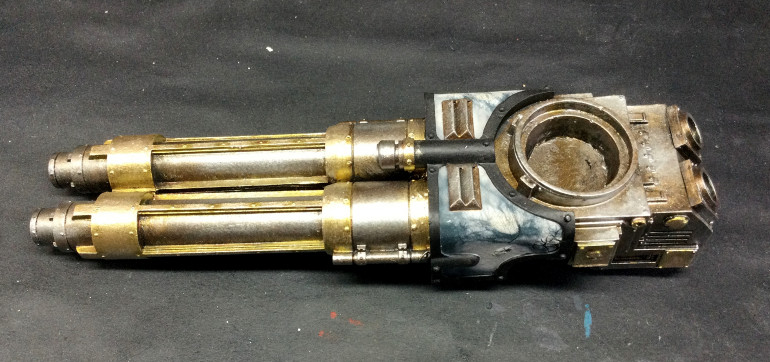 Dirty great big twin laser shooty all the damn space wolves gun thingy - Metals are done, marble is done and the trim is blacked in. Magnetised for attachment to the shoulder as well.
 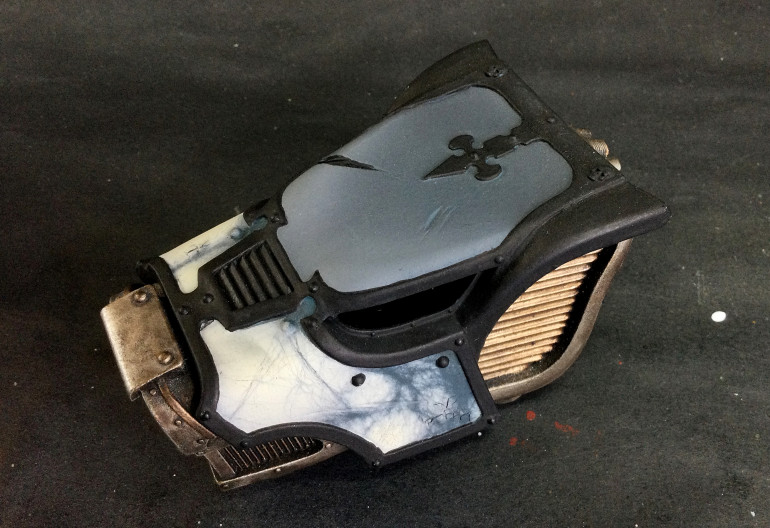 Head canopy plate - marble and block colour done. Base metals also done. Need to think of a freehand design for that blank area..........
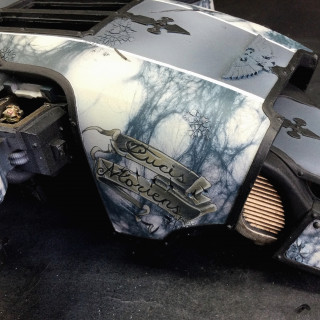
 The main body’s top canopy carapace plate. Marble and panel done and freehand too!! Oh the progress!!!!
Finally to the pieces I’m currently working on. The plasma shooty blaster cannon gun, the cockplate and two thigh plates. These have had their marble done, base metals, trim metals and even some freehand. The marble has been sealed with satin varnish as the next step is something I’ve never done before – Oil washing.
The marble effect was done with airbrush and is therefore thinner and more fragile than brushed on paint. Remember that 4th shin plate I mentioned – well when i tested oil wash removal on that plate, it lifted some of the marble effect so being extra careful this time around.
Fingers crossed it all goes well and doesnt arse up all the work I’ve done so far!!
God Engine Revisited!!
Well alrighty then!!! Its only been …………… 3 and a half years since I worked on/posted progress on the Warhound!!
Time to dig him back out and get stuck back in!!!
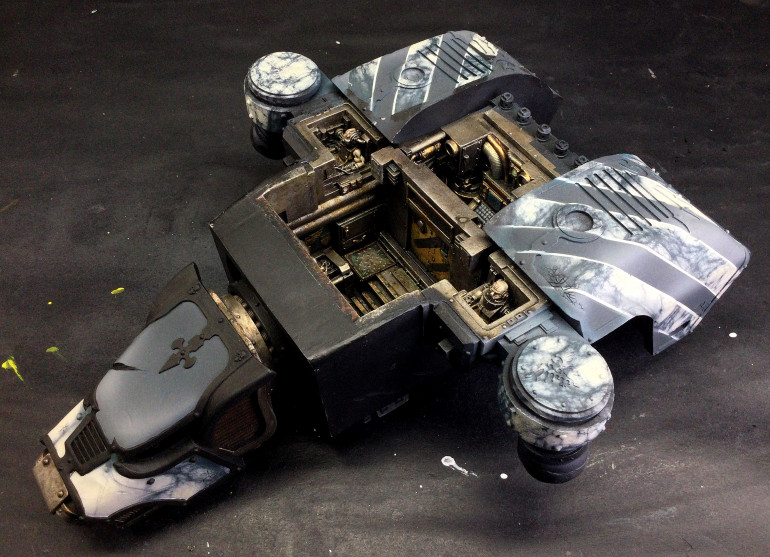
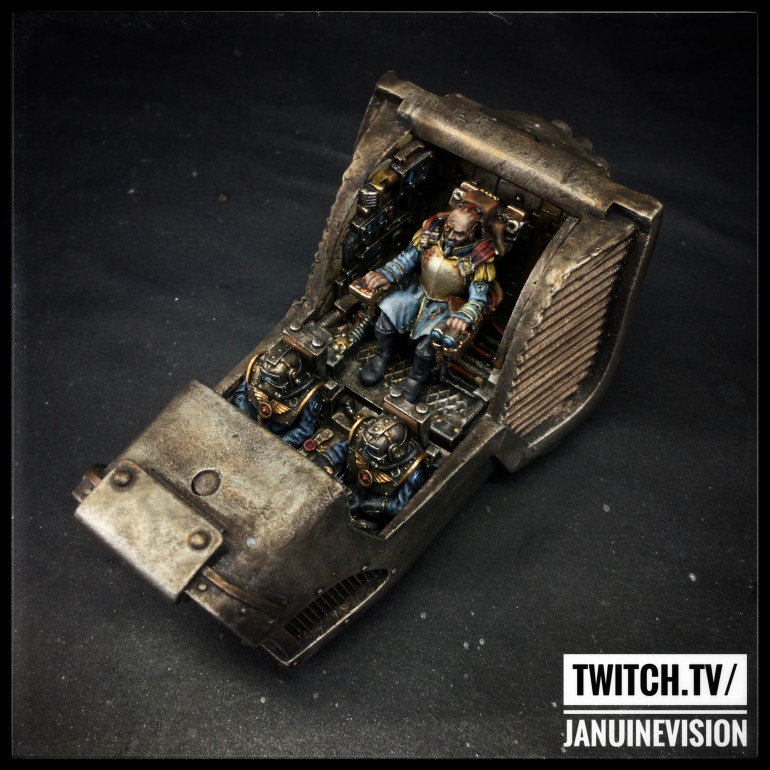
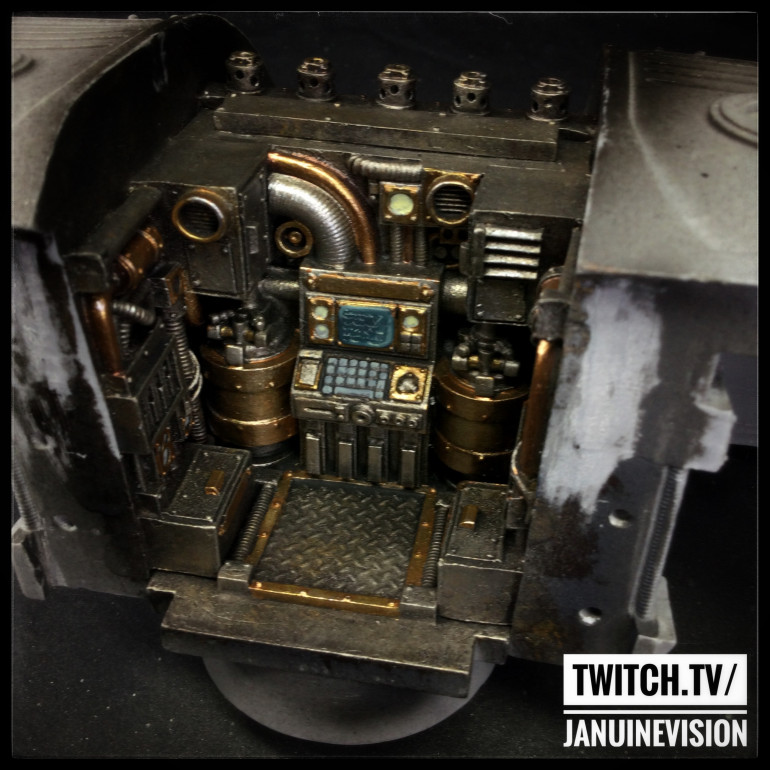
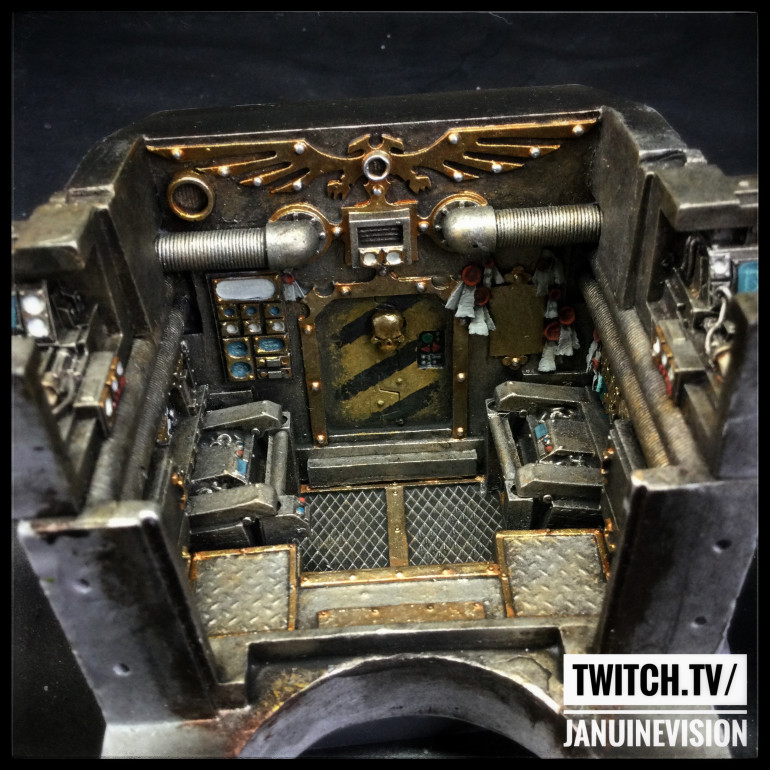
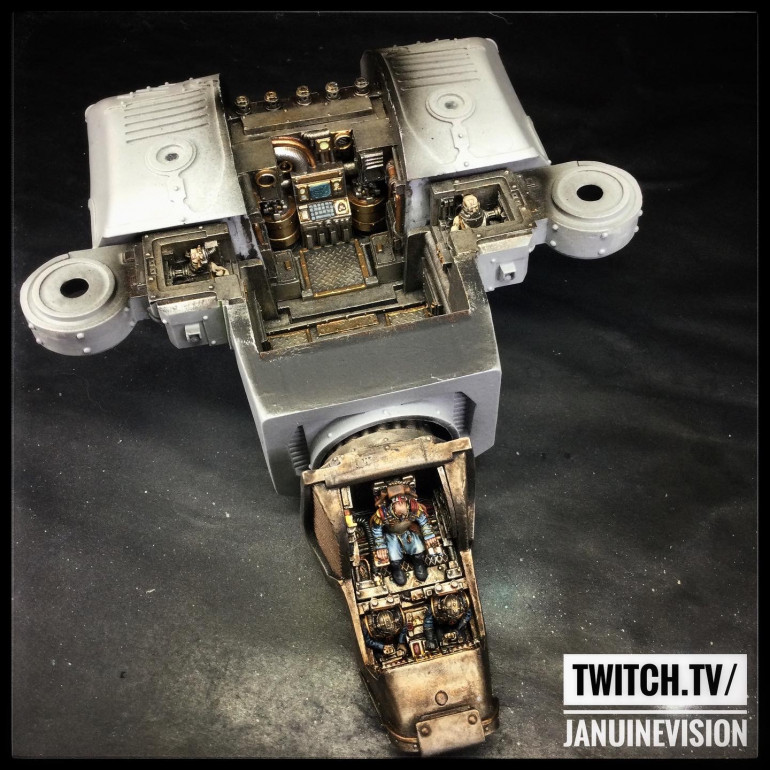
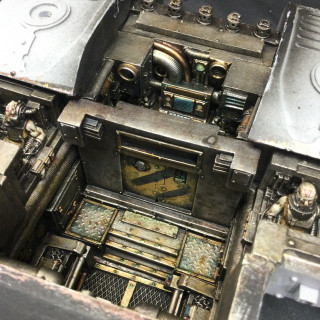
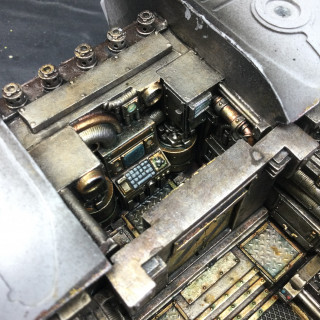
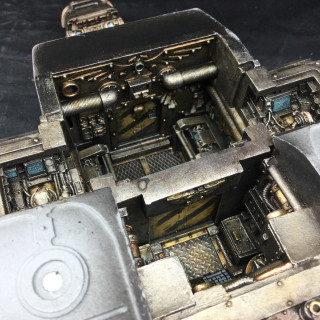
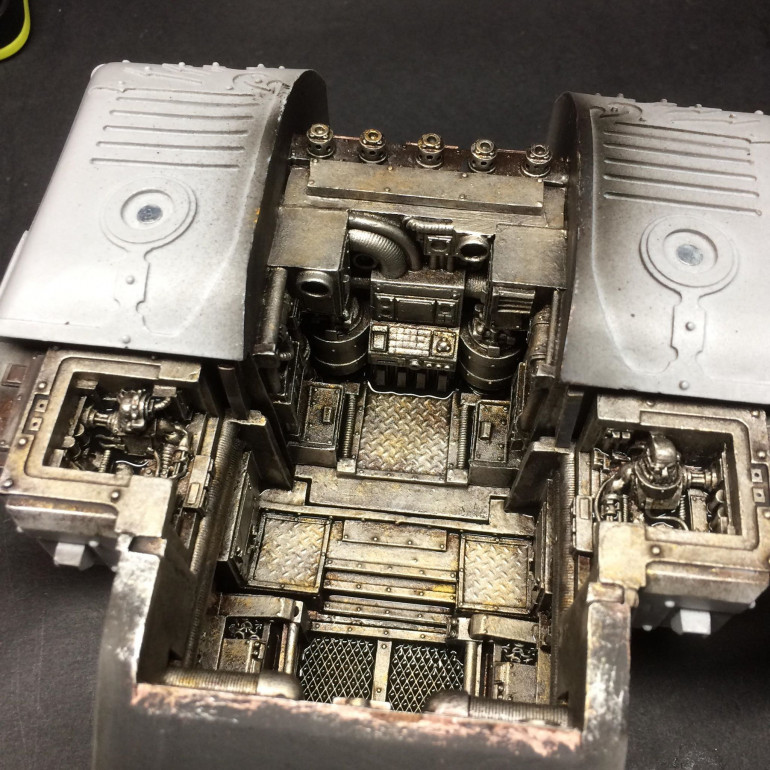
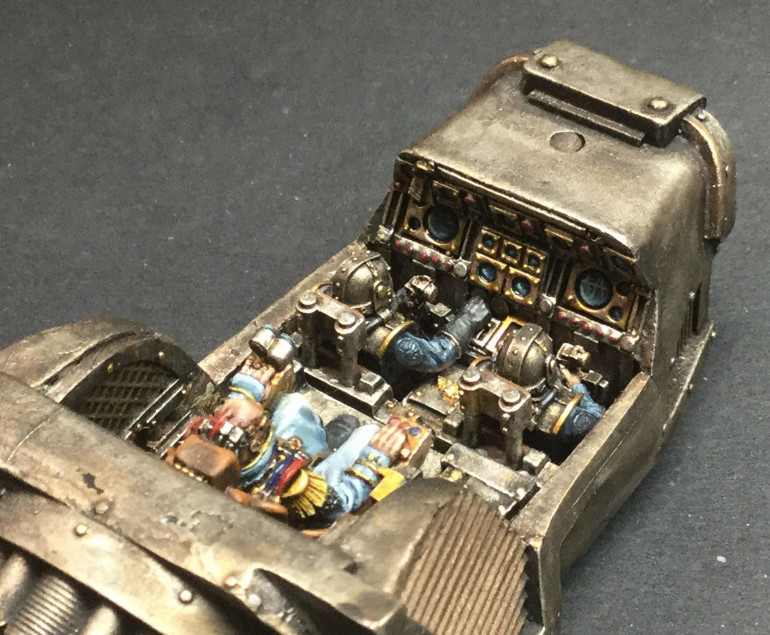
The interior(s) are now finished : Cockpit, enginarium and ……… elevatorium (?) vestibule place….. thingy!!
With the interiors finsihed there was just the intervening door to be painted up and twould be time to break out the pins and the 2 part epoxy and get the upper body assembled – first a wee check to make sure it all goes together keenly and tightly……….
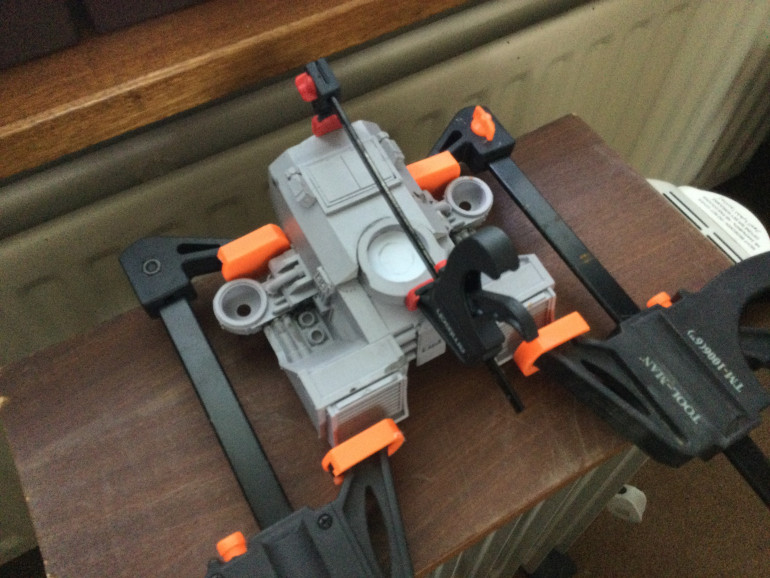
This being a Forgeworld cast of course meant it didnt………. a few snips, cuts n sandings later and we got the pieces to lock in together as good as it was gonna get. Pins, Epoxy, Trigger clamps and a Twitch stream later………..
And it’s solidly together!!!
Coming Together.......Wear a damn mask!!!
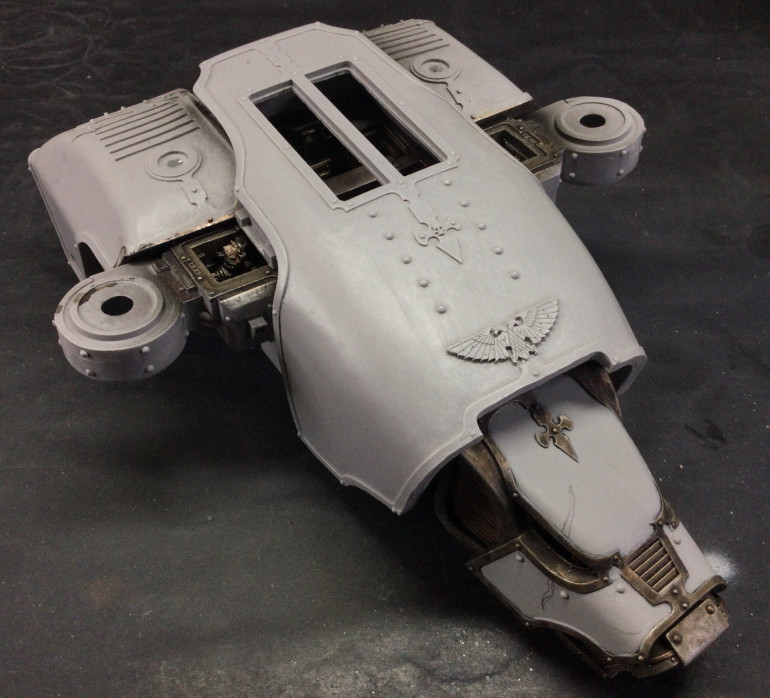
So the upper body is finally coming together….. literally. After a lot of sanding, drilling, pins, more stinky epoxy and some colourful language…… the upper body sub-assemblies are now built and the base metals done. So let’s have a wee look.
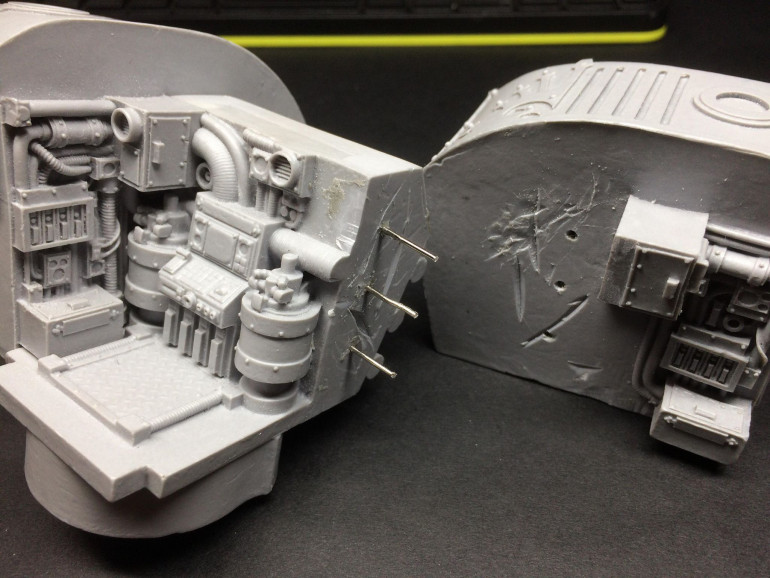 Attaching the left and right carapace parts to the rear body piece. These are heavy pieces so little bit of pinning overkill is called for. 3 pins per side and then I use a dremel to score into the resin surfaces so the epoxy has more to grip to. With both left and right carapaces in place, pinned and a nice layer of El Stinko epoxy mixed the rear body sub-assembly went back into the trigger clamps for 20 hours
With the two main body sub-assemblies pinned, built and epoxied twas time to think about a few wee other details and also think about the eventual joining of the two upper body components
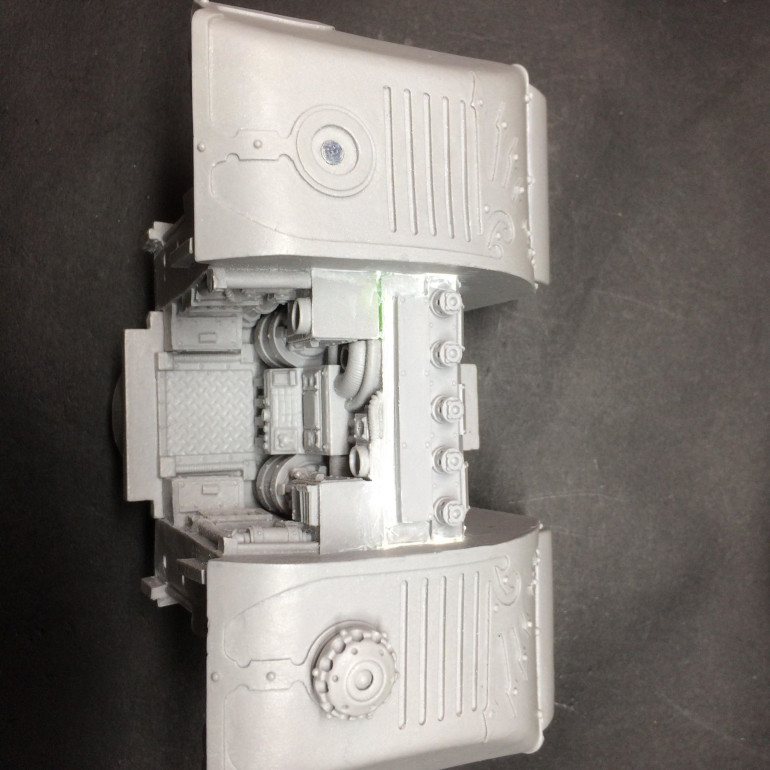 First up - magnetising of the two void shield emitters and attaching the reactor exhausts and main vents.
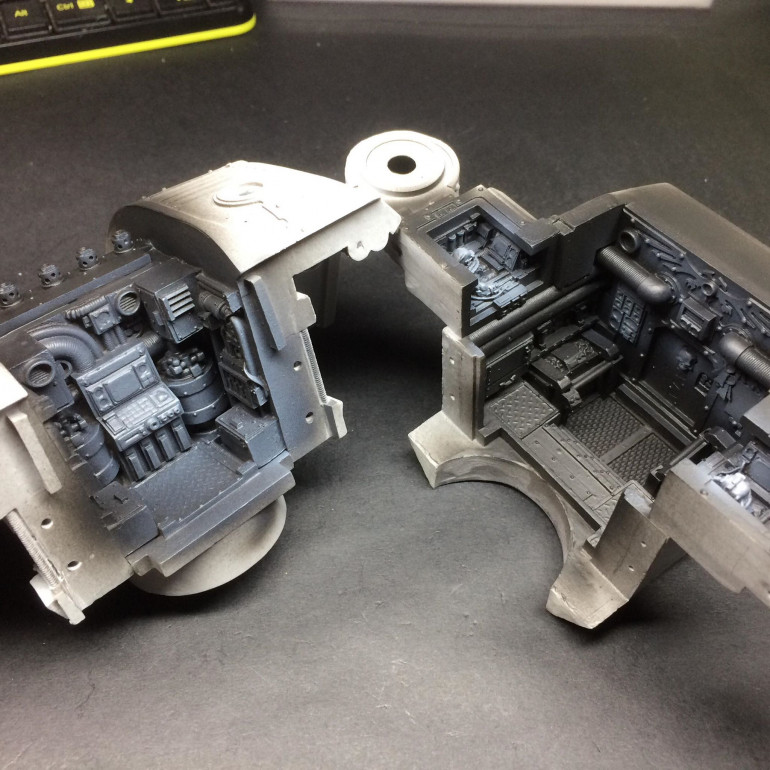
 The two upper body sub-assemblies are going to be left apart for the interior painting for obvious reasons of getting brushes into little teeny tiny areas and crevices. However, need to make preparations for when the interior is fully painted and the two upper body pieces need to be assembled… Pinning time!!!
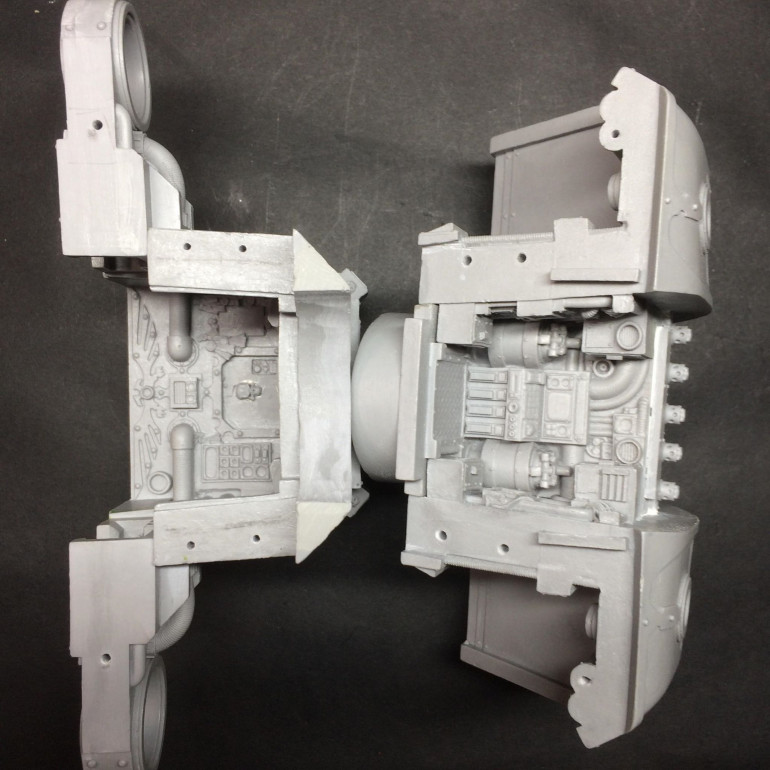 Pin holes drilled into both sides. 6 in total. To make sure the pin holes line up we use a pilot pin. I drilled all the holes on one side and then one by one put in a pilot pin ( a pin that drops down into the hole and peeps out only about a mil or two) push the two halves together and then drill the corresponding hole where the pilot pin leaves a mark. The cut 6 pins, dry fit them and make sure the two halves go together keenly and in line
With all the building done for the minute -It’s time to move onto the painty painty for the interior. Plan is to do a foundation metal work on the entire interior and then work on details and the like.
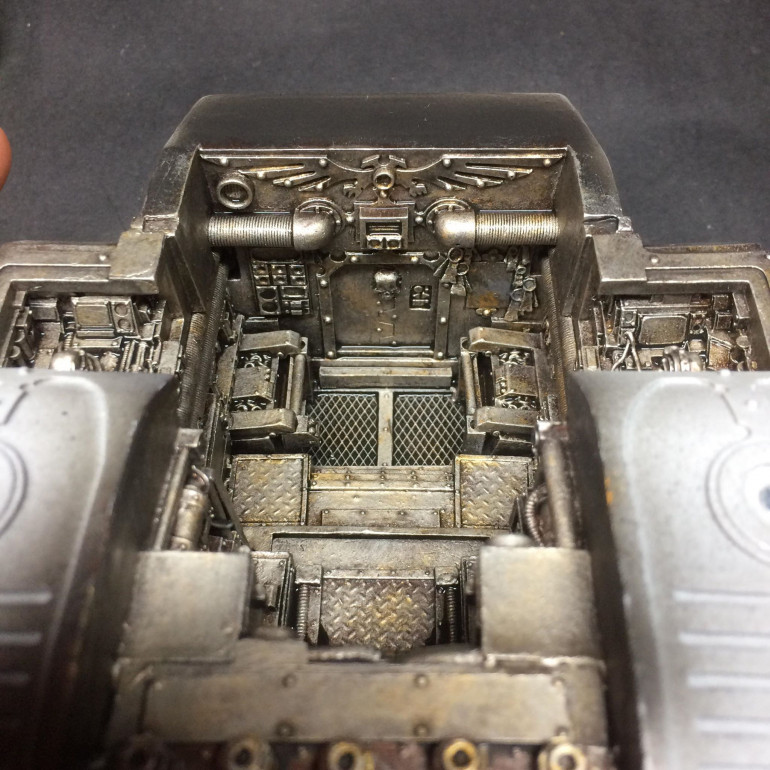 Basic metal workup down and then washed with some mag-mix. The basic metals workup I do give an old, weathered and well used metal foundation and uses three different metallics - a bronze, a rich gold and then a medium silver/steel. There are two video tutorials of this workup up on my YouTube channel if folk are interested - https://youtu.be/BMQeFxBrrrc In the video I used Darkstar Metals but Warplock Bronze, Retributor Armour & Iron Breaker from GW are what I used on the interior of the Titan here. Work continues on the Titan every Wednesday on my Twitch stream www.twitch.tv/januinevision
 Magnets, Drill bit things n stinky epoxy
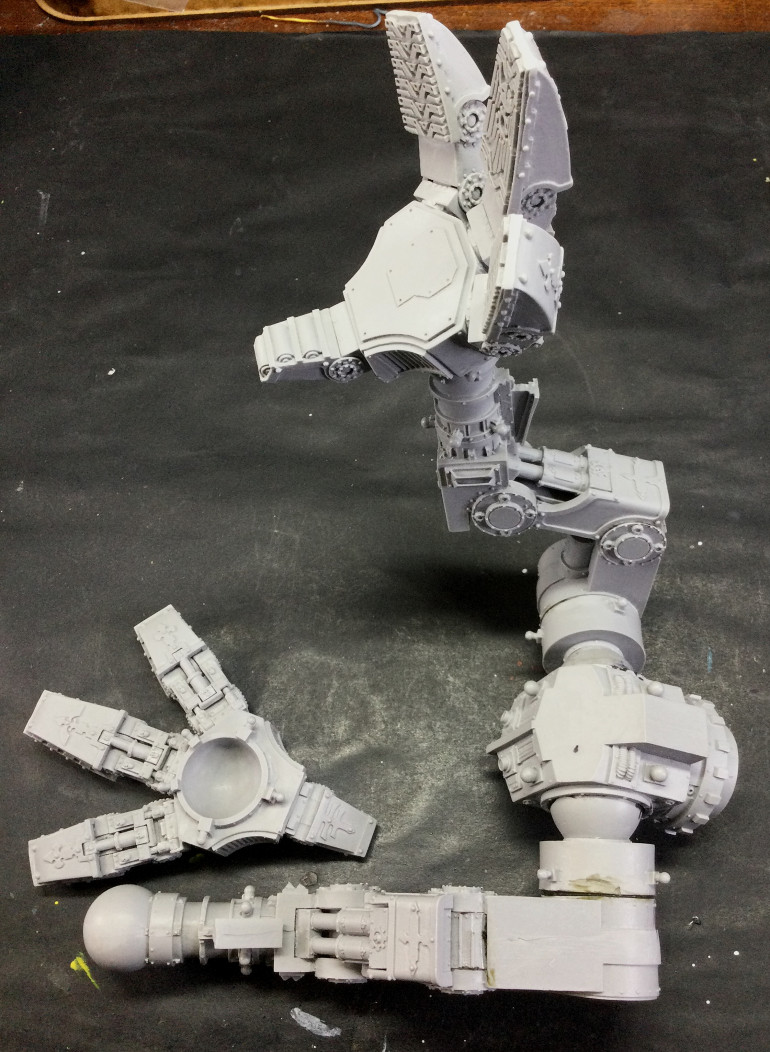
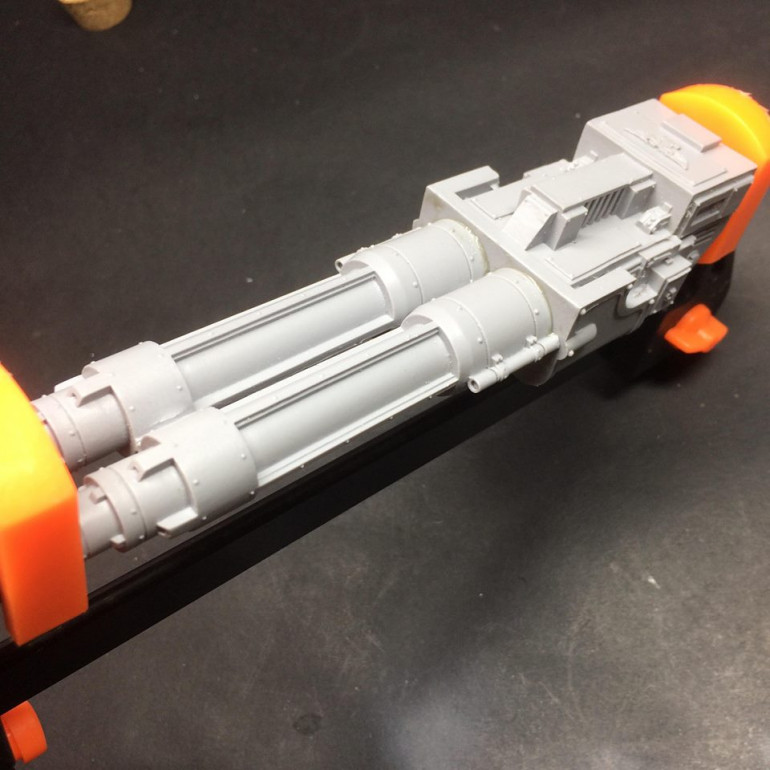
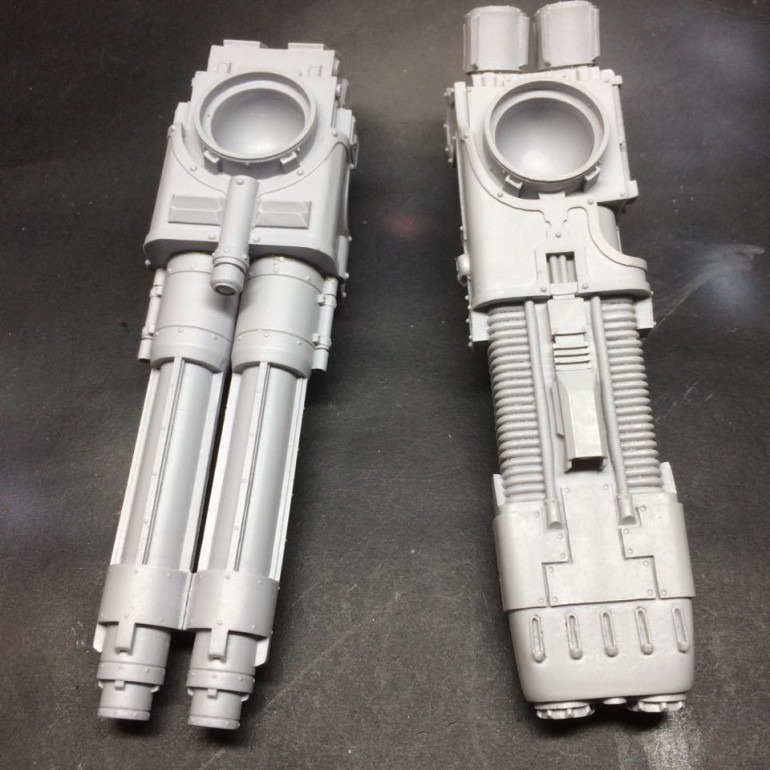
Guns are done……..ish. I haven’t done the magents and joints that will actually fix the gun arms to the shoulders yet as that wont be done till much later for posing reasons. but got the guns put together to this point. The Plasma blastgun just really needed the plasma cannisters at the back stuck in/on but the turbo laser needed the barrels attached to the cannon body. Long pins, 2 part expoxy and a trigger clamp to the fore.
While getting the carapace/body prepped and ready for assembly and considering what sub-assemblies to paint it in there is a magnet job that needs done early on. The waist and hip join.
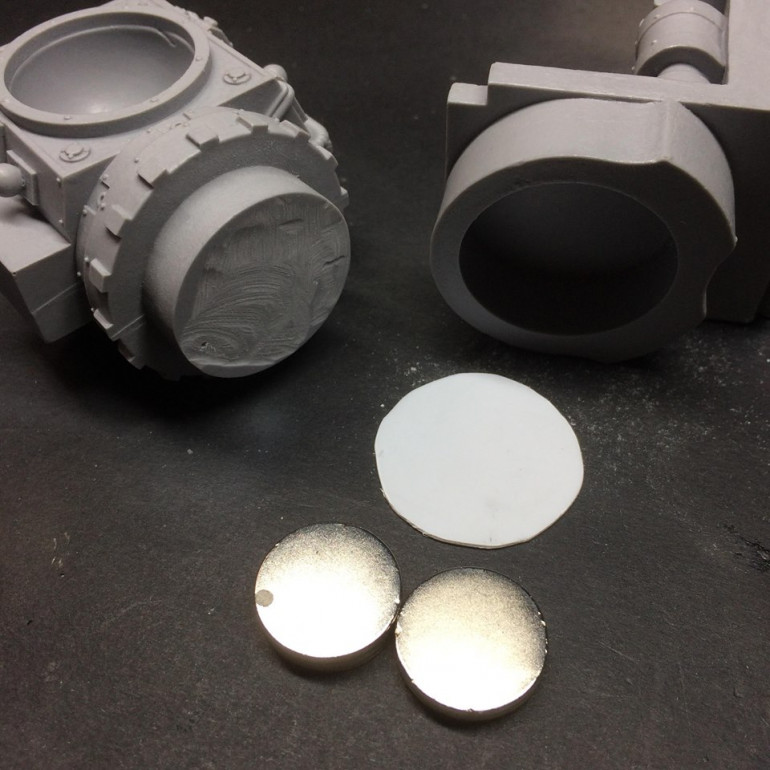 This comes in two pieces - the piece on the right forms part of the main body construction and the piece on the left house the ball joints for the legs. You can see how they lock in together.
 The magnets for this need done now before the waist recieving socket piece gets built into the upper body pieces.
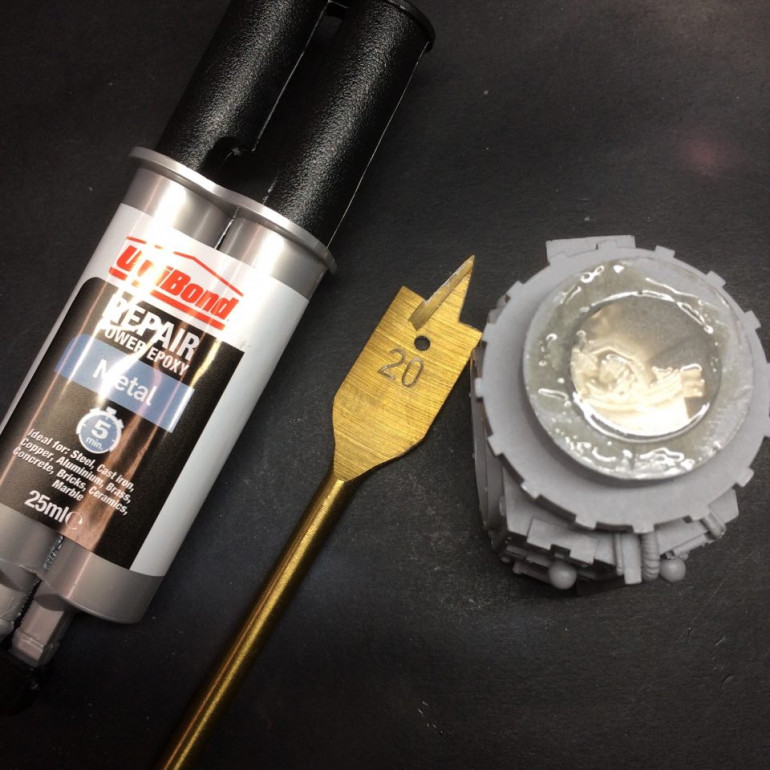
So we’re are going with a stack of 20mm disc magnets. 4 in the hip section and 2 in the waist. I can drill deeply into the hip part as its really thick but not so much into the waist.
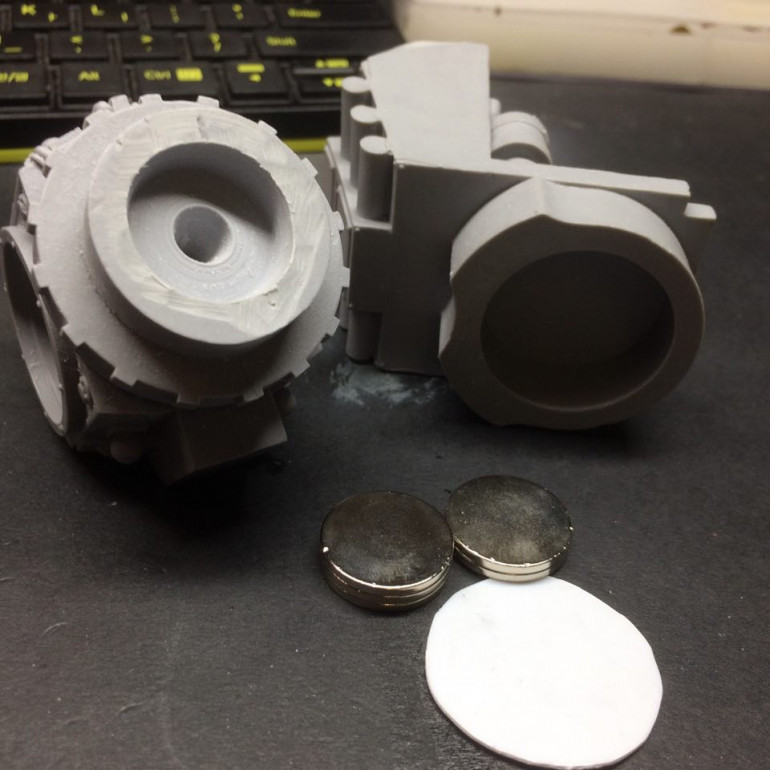 Using a 20mm spade bit I drilled down into the hip piece (Wear a bloody mask and have a dustbuster on hand - this is resin and is a big no bueno for the ol' laughing sacs)
 The circular piece of plasticard will seperate the magnets in the two sections. Reason for this is if magnets smack against each other too harshly when joining they can shatter. And as I am using 6 very strong magnets that is a possibilty when linking the two sections. A plasticard divider lessens that danger of happening.
I used a two part epoxy. strongest i could find. Now, usually I would use nothing less than JB Weld, however finding JB Weld over here in Ireland is not the easiest thing and I couldnt be arsed ordering it off the internet and waiting. This Unibond stuff should do the trick but if you have access to or can easily get JB Weld – go for that everytime when asssembling large heavy resin builds.
So – hip magnets are set in and epoxied both to each other and into the drilled chamber and now we just need to wait 20 hours for the epoxy to fully cure and then I can position and glue the two waist magnets in.
I promise the next bits to come are much more exciting!!!!!
From scattered beginnings
And so with many prayers and blessed hymns to the Omnissiah we may begin and see where we are so far. …… Not very far!!
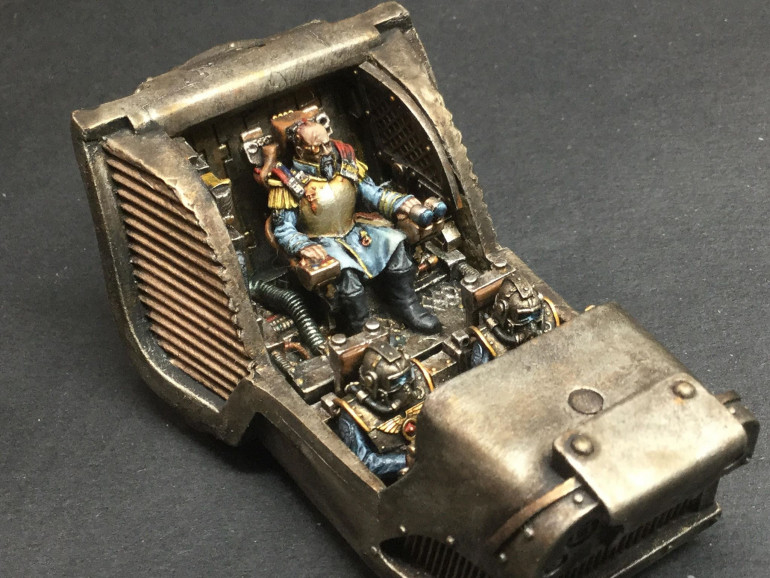
About a year ago I did make a start of sorts and painted some of the crew of ‘Bitter Ire and the cockpit. I also magnetised the cockpit canopy and the neck joint so the head can be detached from the main body. In charge in his command throne we have the Princeps and seated in from of him the two moderati. The outside of the head has barely begun and just has primary basecoats for now.


![How To Paint Moonstone’s Nanny | Goblin King Games [7 Days Early Access]](https://images.beastsofwar.com/2024/12/3CU-Gobin-King-Games-Moonstone-Shades-Nanny-coverimage-225-127.jpg)


