


3rd Armoured Division Savlar Chem-Dogs


Recommendations: 93
About the Project
3rd Armoured Division Savlar Chem-Dogs I’ve always been a fan of tanks and can count around 20 various Leman Russ variants in my collection. Over the Easter vacation and somewhat inspired by the ‘Spring Clean’ initiative on Beasts of War, I decided to finish off my command tank that had been sitting on a shelf collecting dust having been built and undercoated black. Now, I'm adding more tanks that having been hanging around to be built, some of which have been on my shelves for years... This is my 2019 Spring Clean project... but as an army it will never end being added to...
Related Game: Warhammer 40,000
Related Company: Games Workshop
Related Genre: Science Fiction
Related Contest: Spring Clean Hobby Challenge (Old)
This Project is Completed
3rd Armoured Division Savlar Chem-Dogs – Tank A- Solar Auxilia Dracosan Armoured Transport – Painting Part 4
3rd Armoured Division Savlar Chem-Dogs – Tank A- Solar Auxilia Dracosan Armoured Transport – Painting
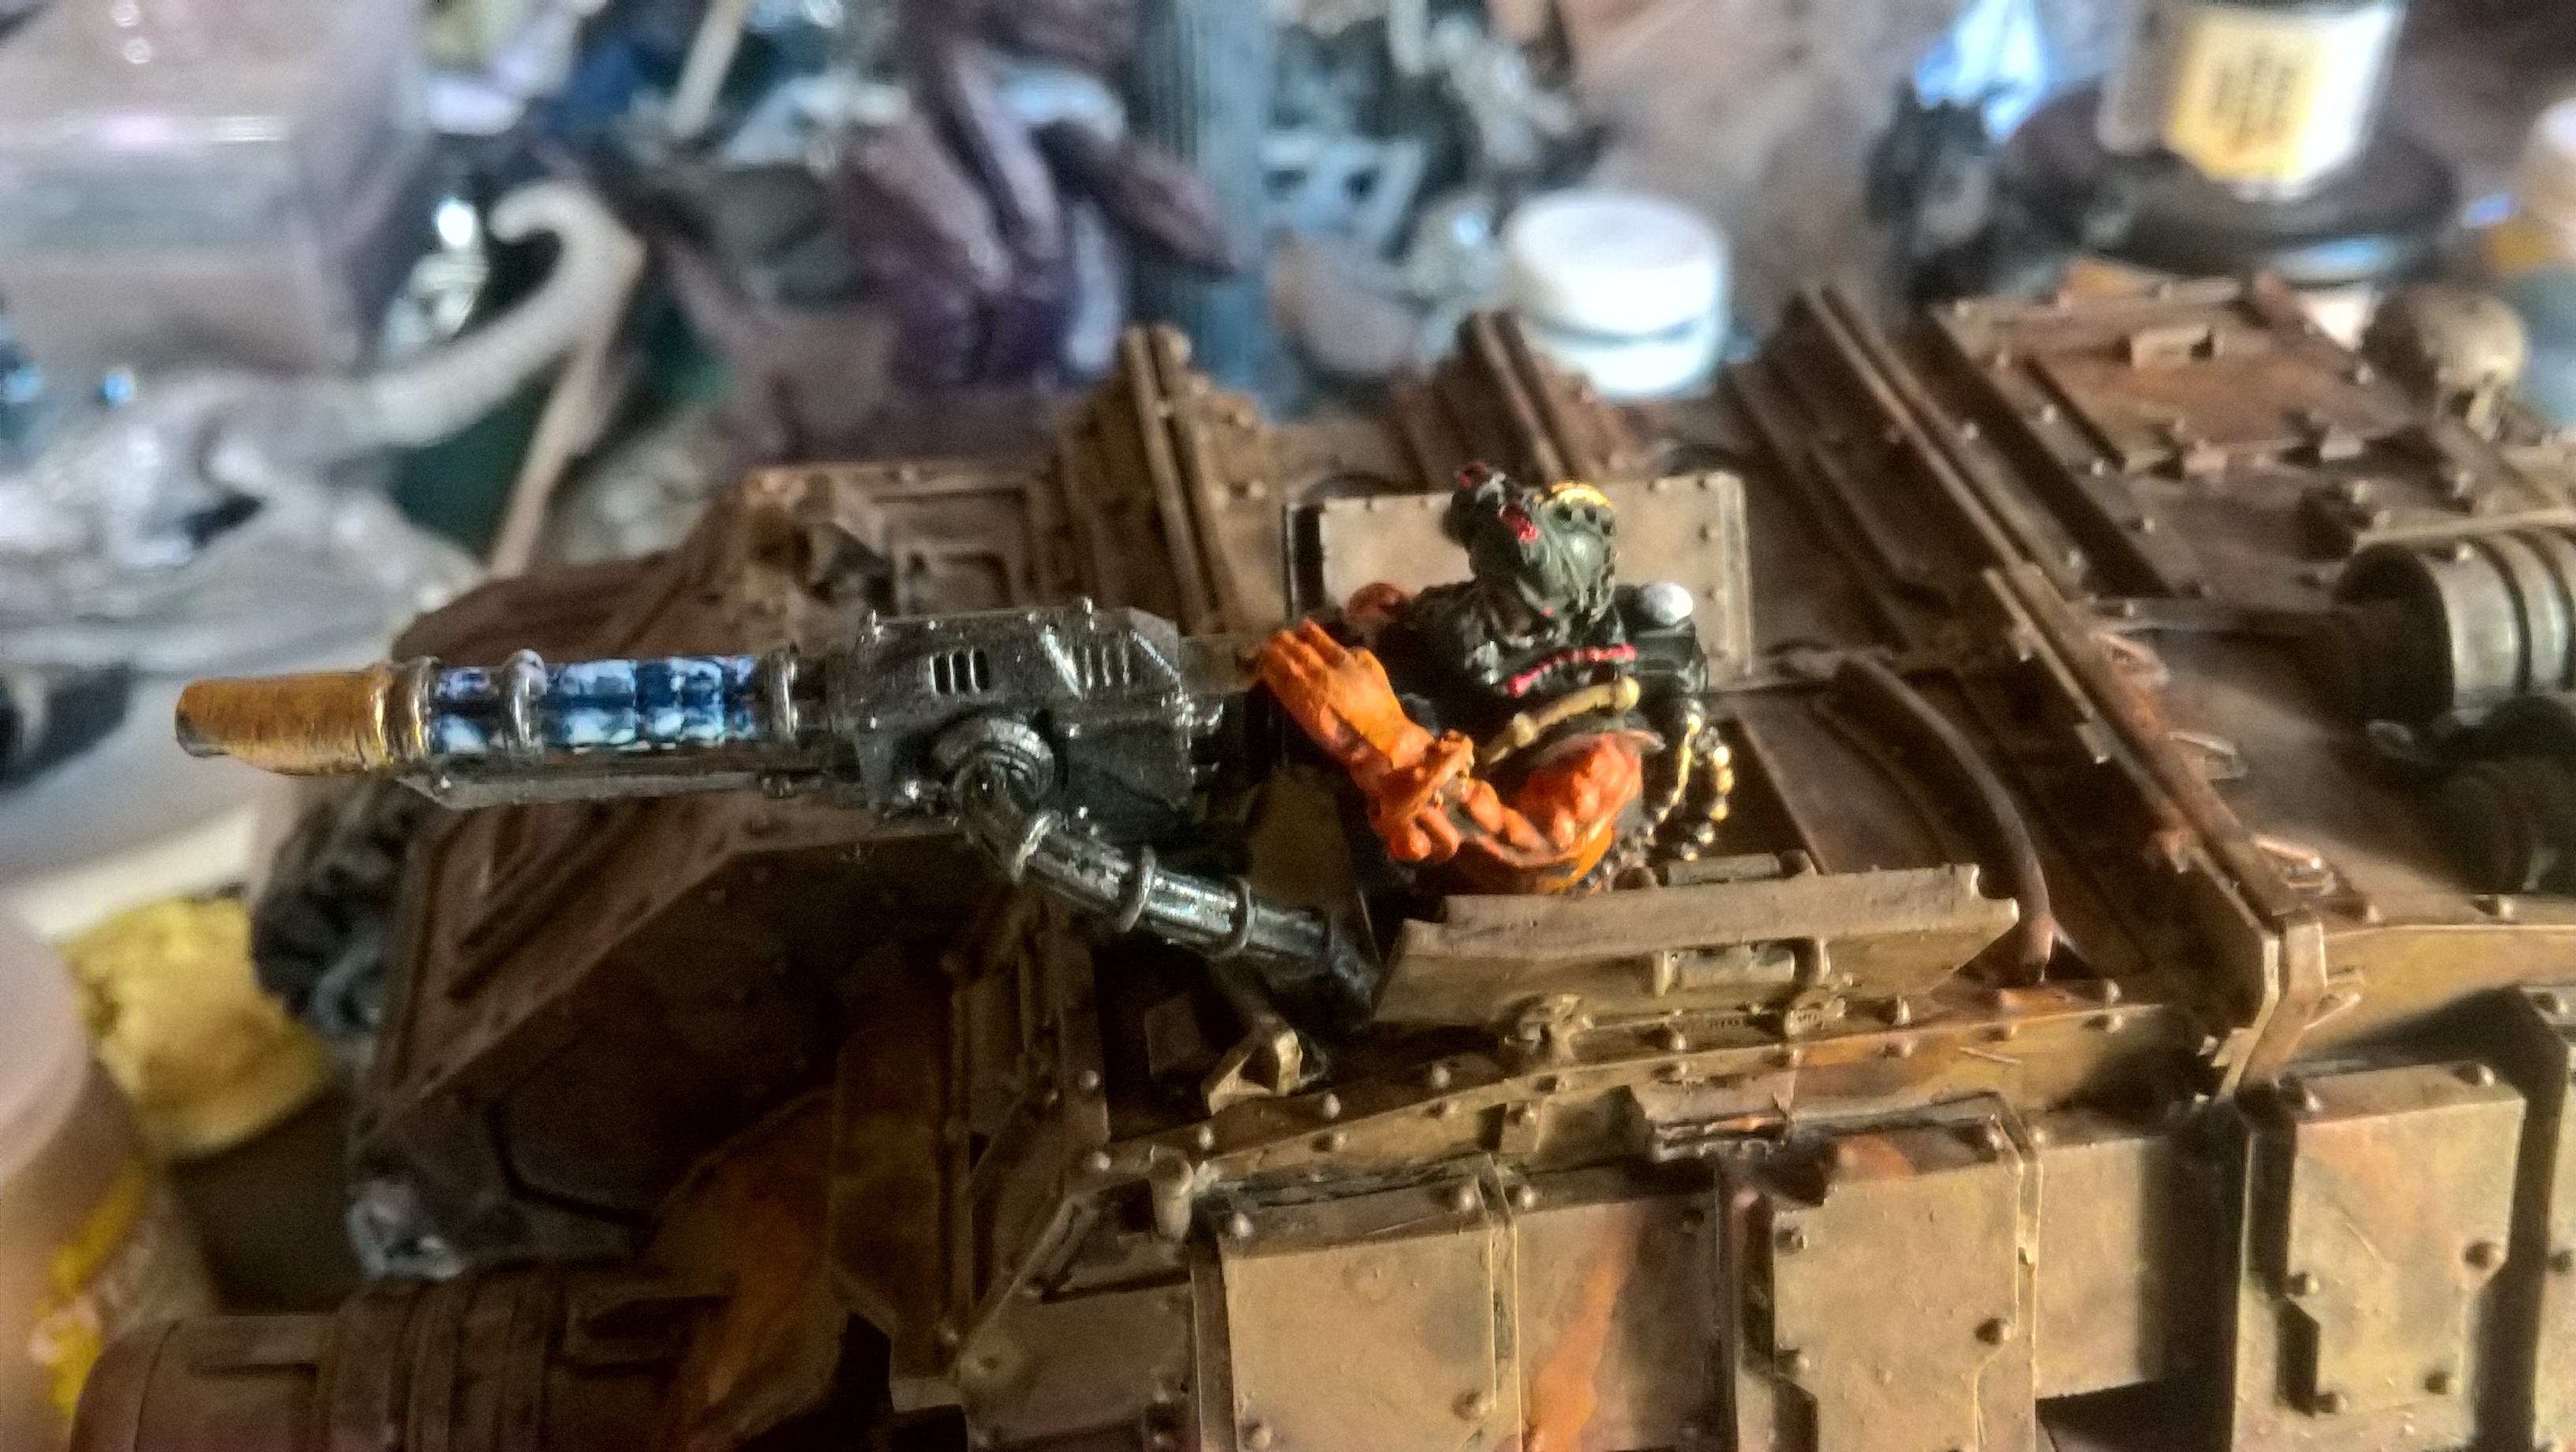
Stage 4 – Fine Details for Gunner and Tracks
Time to paint up the gunner. Here, I used a fine detail brush with a point to paint the gunner primarily with Troll Slayer Orange, but also used Leadbelcher, Chaos Black and Shining Gold for highlights. The exposed face was Cadian Fleshtone and the whole of the gunner was washed in Reikland Fleshshade. It was also time to paint up the tracks using Leadbelcher and the multi-laser using Leadbelcher, Shining Gold, Space Wolf Grey, and Drakenhof Nightshade.
Time Elapsed:
60 Minutes painting gunner
30 minutes on tracks
30 minutes drying time

3rd Armoured Division Savlar Chem-Dogs – Tank A- Solar Auxilia Dracosan Armoured Transport – Finishing Details
3rd Armoured Division Savlar Chem-Dogs – Tank A- Solar Auxilia Dracosan Armoured Transport – Finishing Details
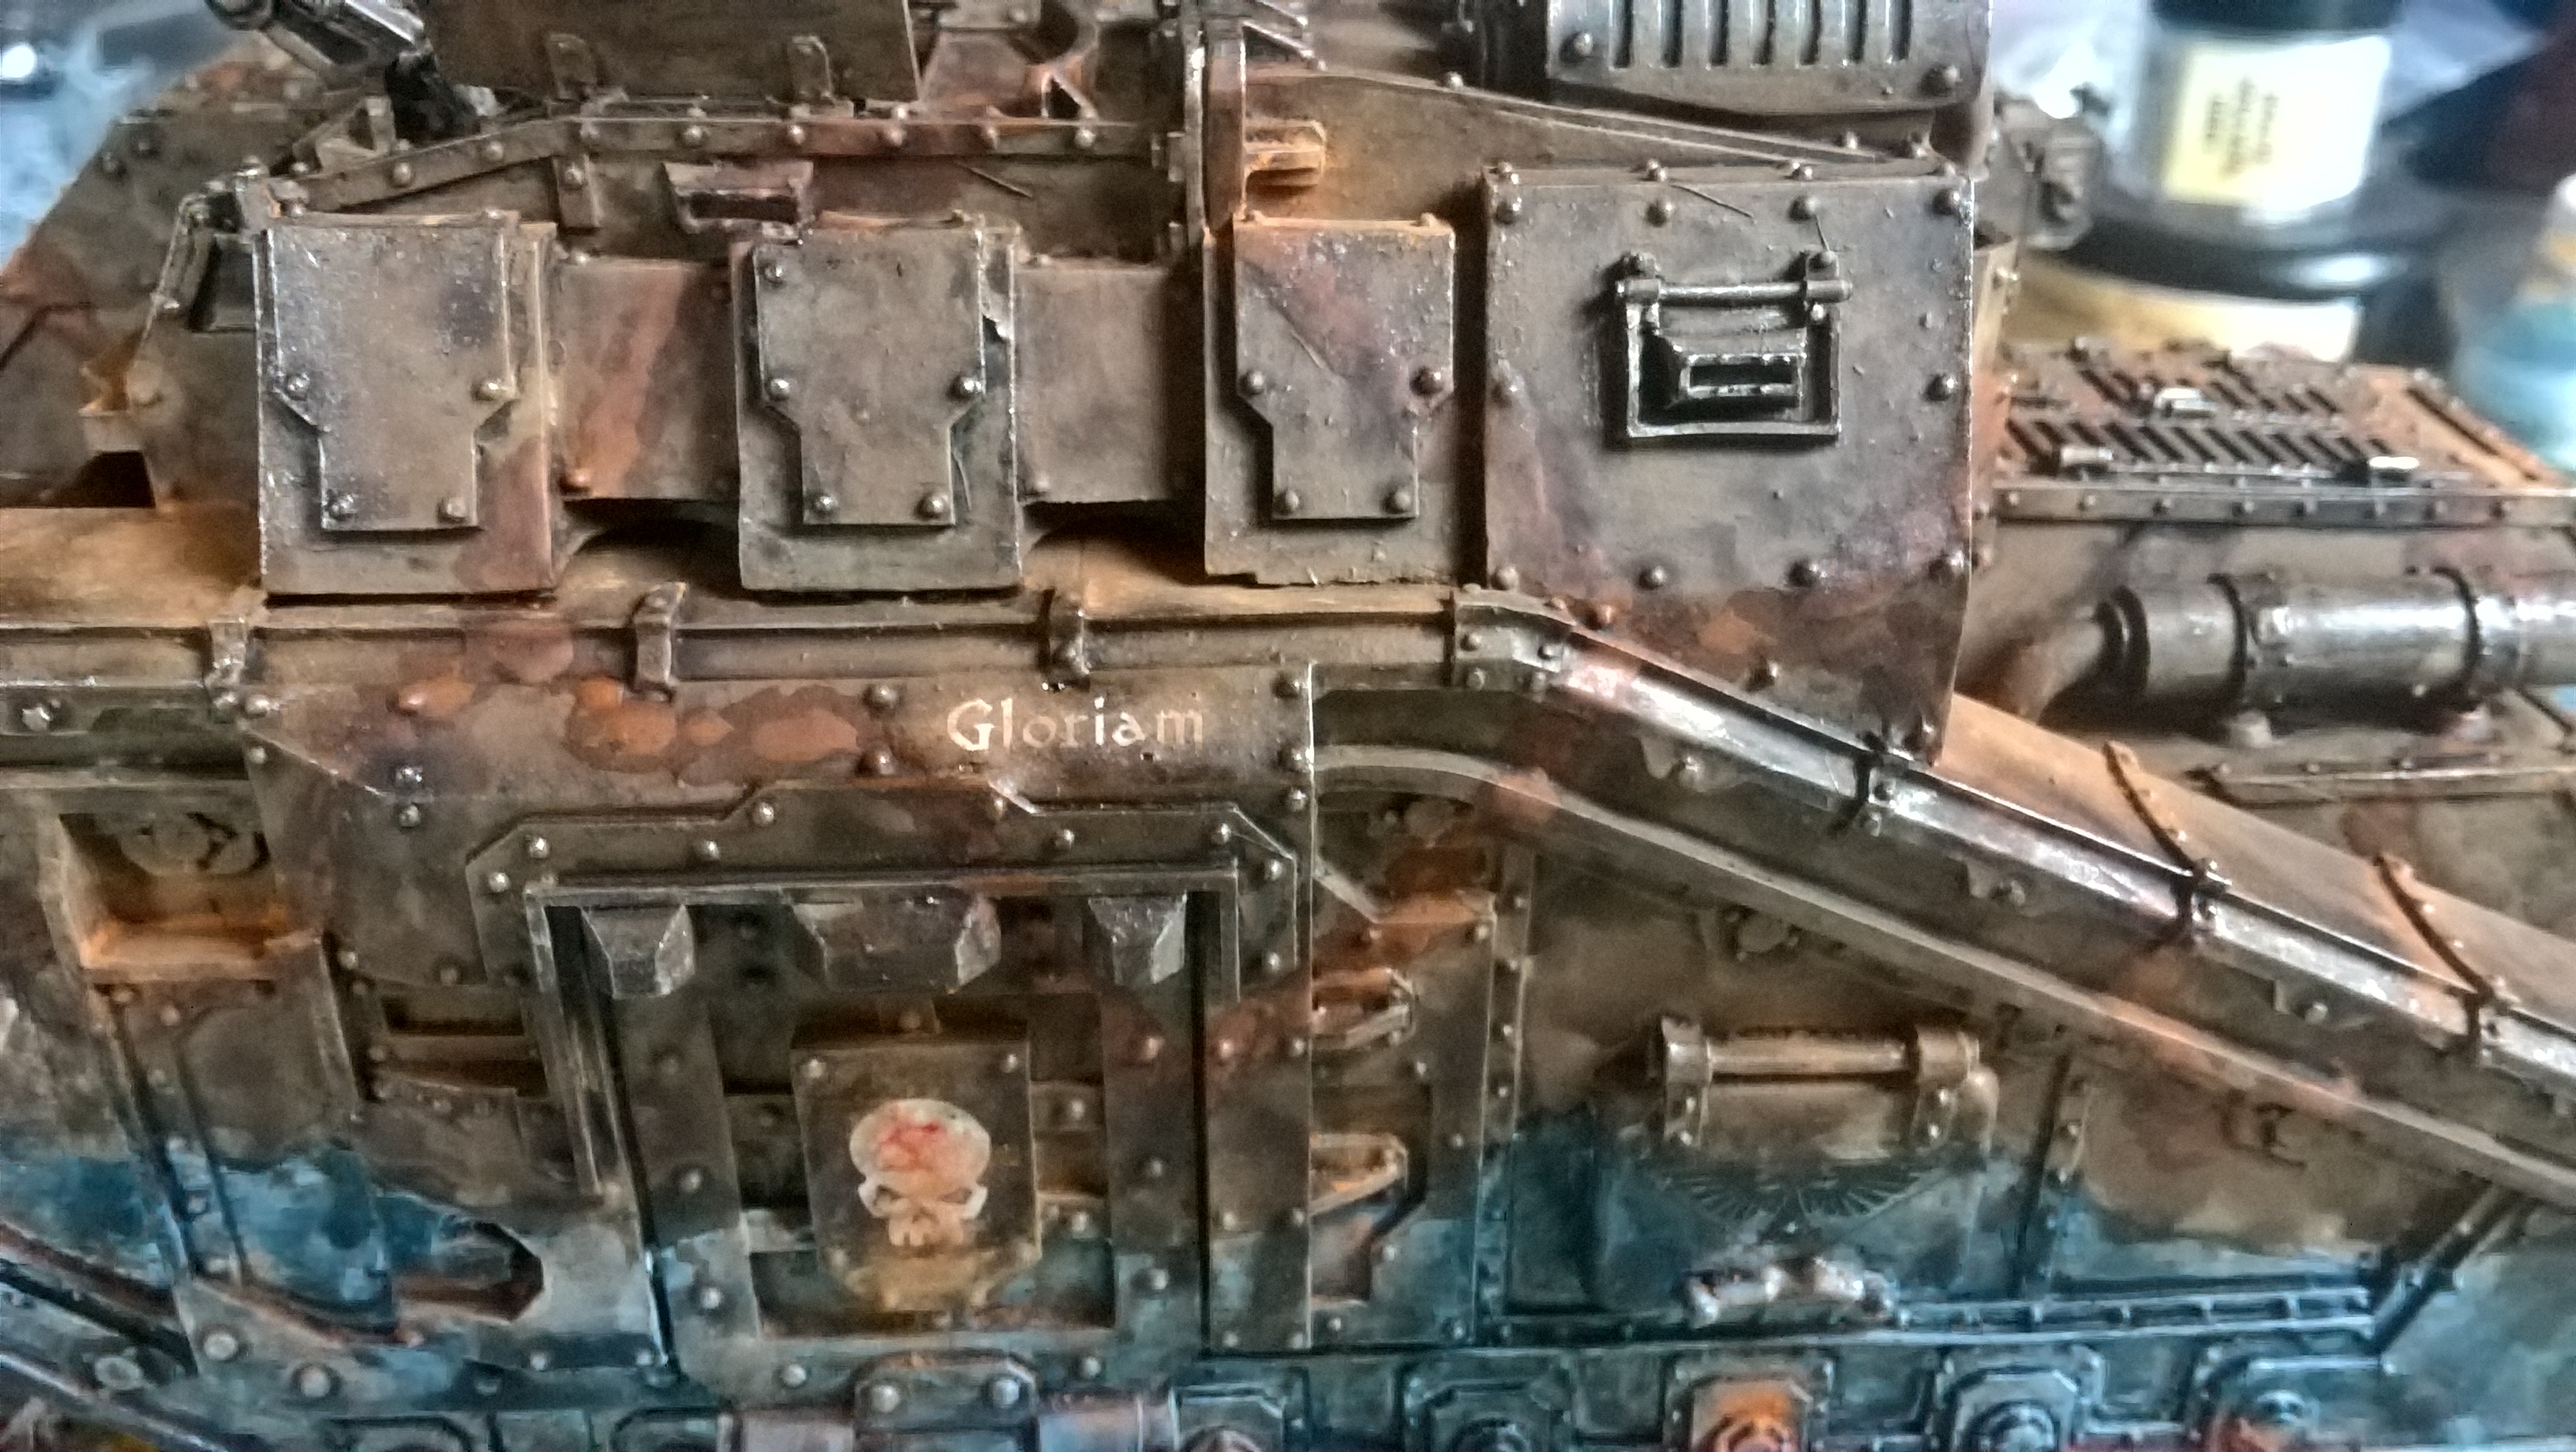
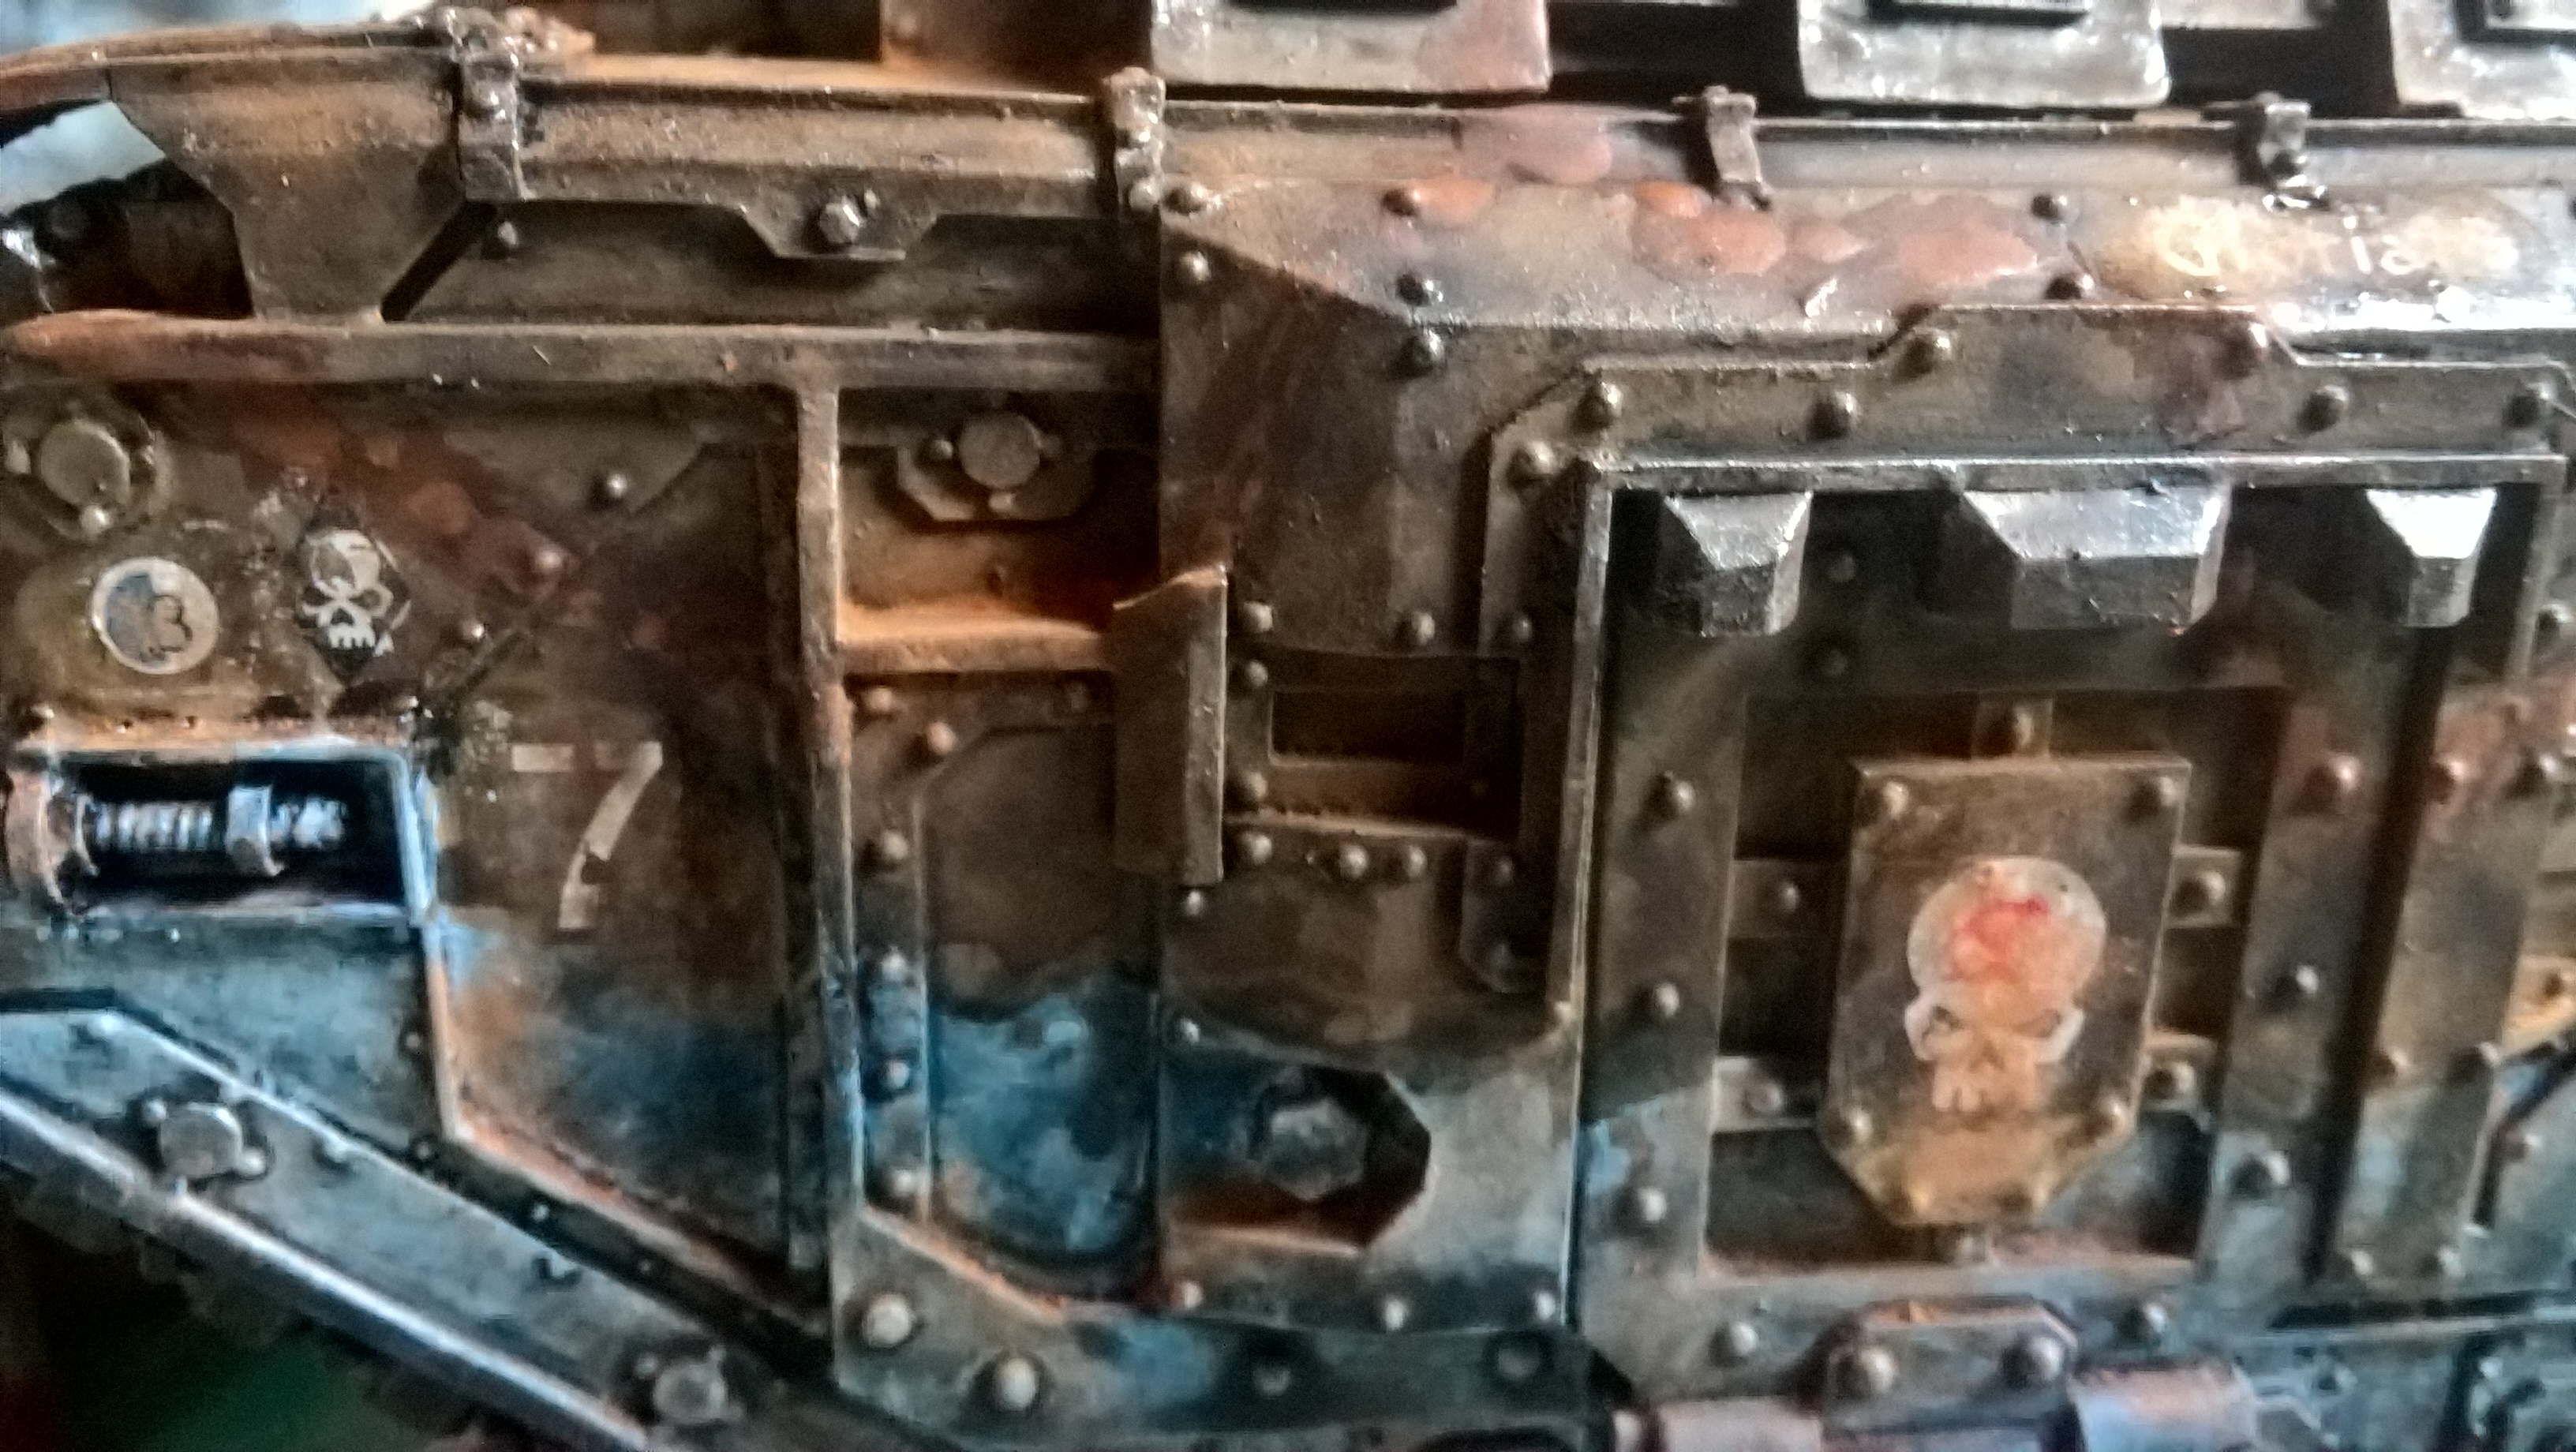
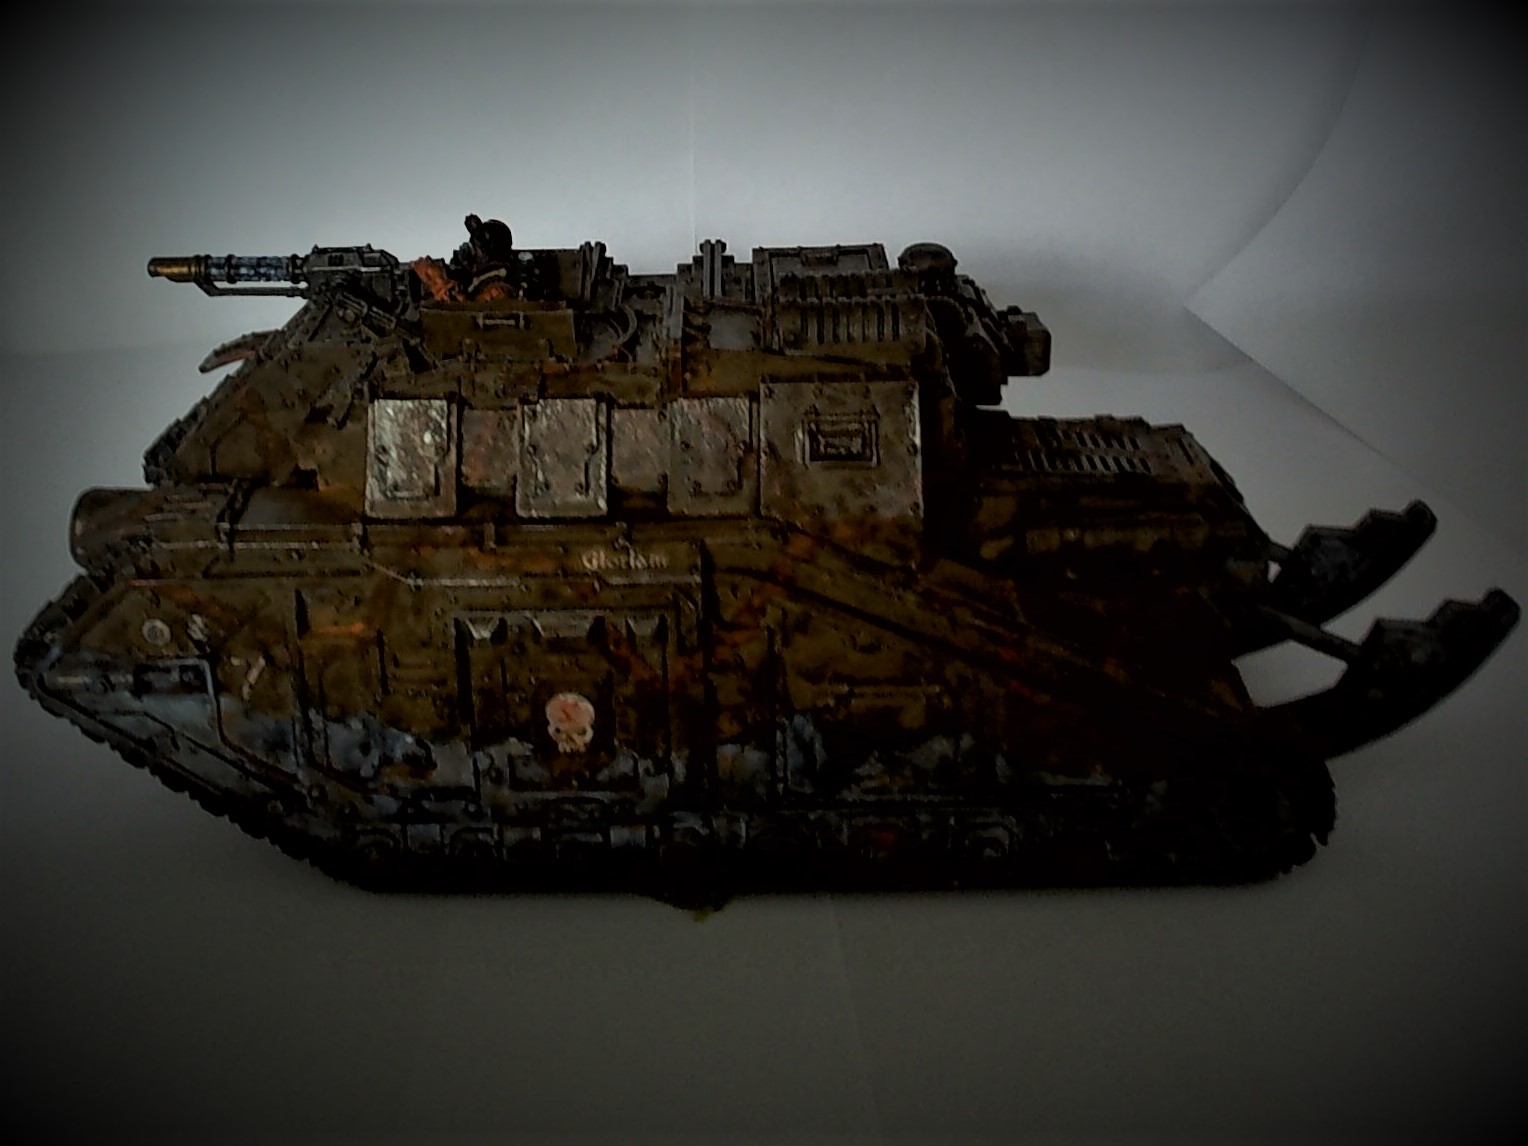
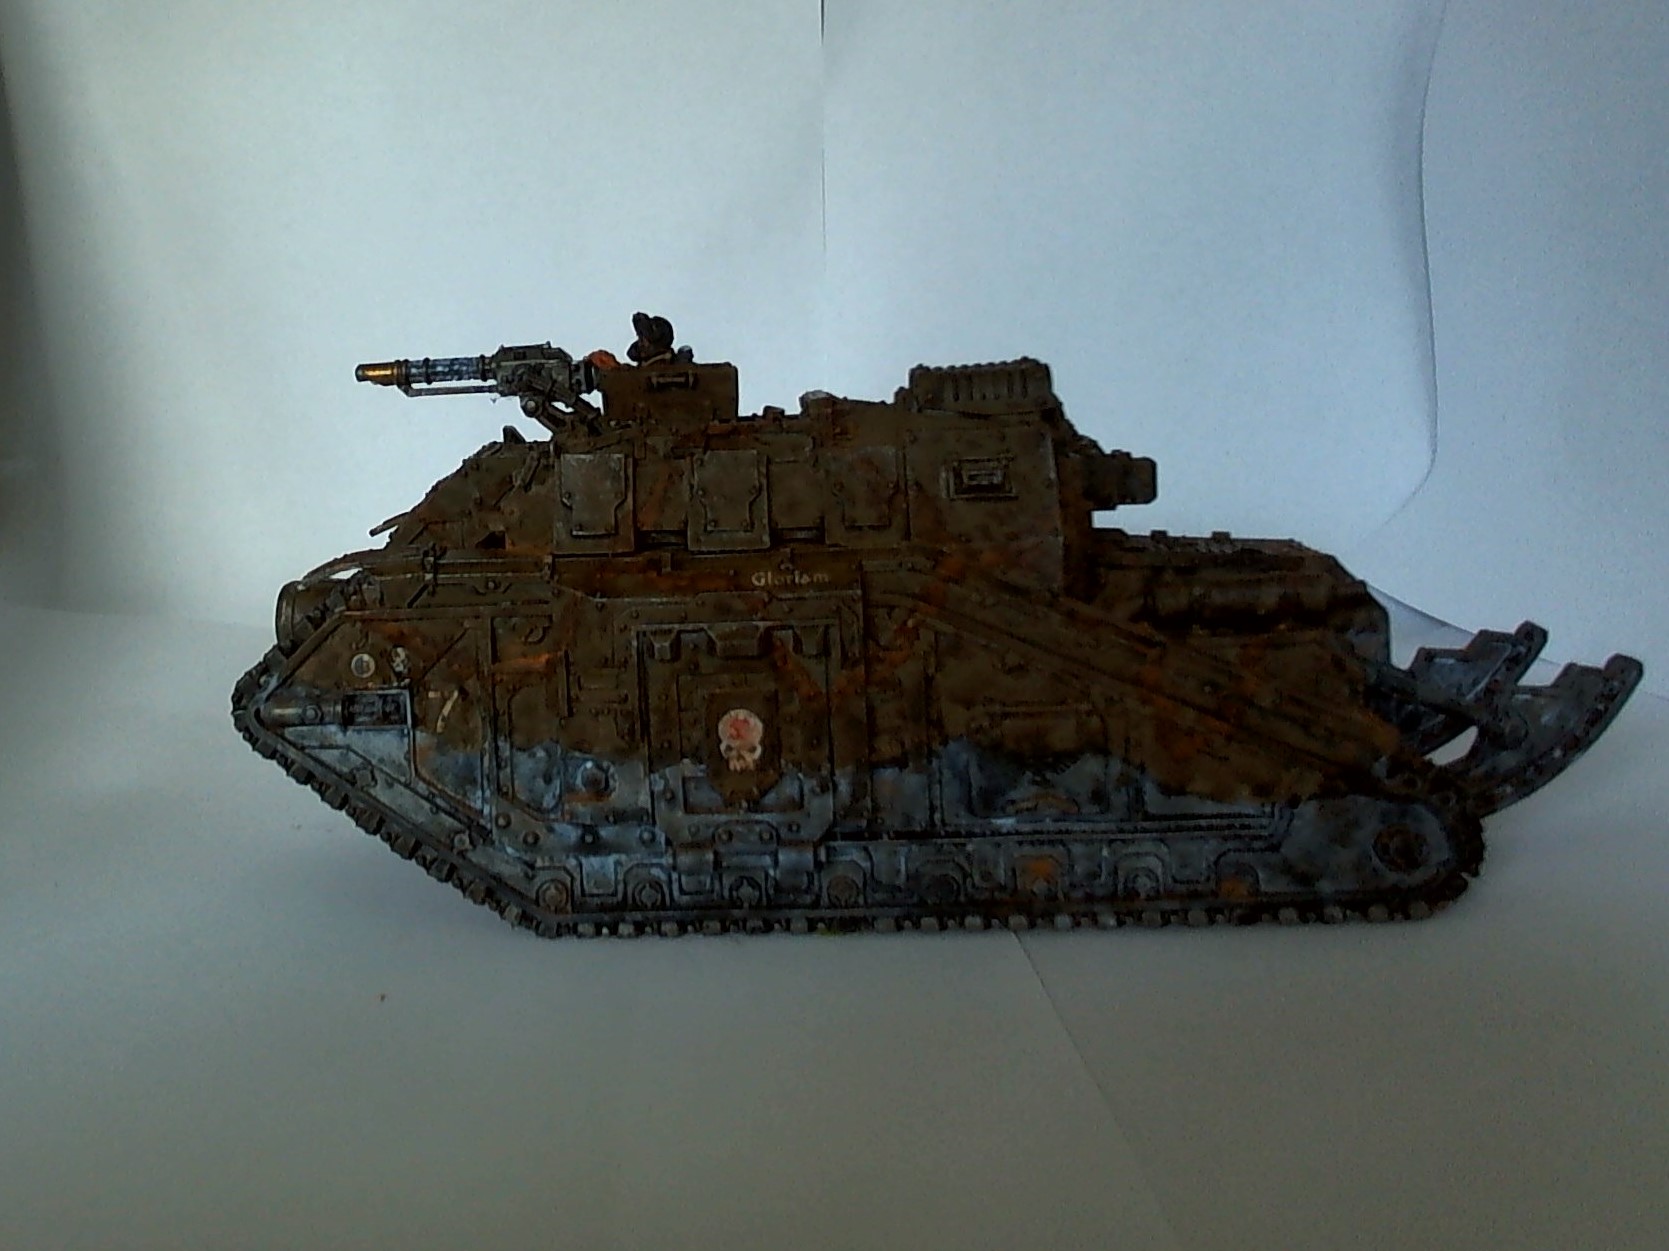
Transfers: Tank Number and Large Skull Image came from the Imperial Guard Transfer set. NB no transfers come with Forgeworld kits, so you need to use transfers from other kits or buy separate transfers from Forgeworld. I had considered purchasing the Solar Auxilia Transfer set but the price was rather steep, and I don’t think they are available anymore (?). Anyhow, I have so many tanks, I’ve always got leftovers. I’ve tried to discover what the various symbols mean, but in the various chat forums there appears to be no common consensus except choose ones that you fancy. Smaller skull images and ‘Glorium’ came from the Cadian Infantry Transfer sheet. Make sure you use clean water for the transfers, and cut down to size before floating off. I also found that a sharp-pointed dental tool is useful to drag the transfer off your brush onto the tank. I paint a ‘ardcoat layer over the transfer to help adhere them and leave to dry.
Wash: Dirty the dried transfers using Agrax Earthshade.
Weathering: Using the corner of a sponge dab Leadbelcher and/or Chainmail paint lightly onto raised edges of the tank to highlight scrapes. For rust – Use Weathering powder to dry brush around the areas likely to suffer wear and tear. Varnish Spray to seal the vehicle.
Time Elapsed:
60 Minutes Transfers (inc varnish)
30 Minutes Drying time
10 Minutes Wash
30 Minutes drying time
45 Minutes weathering (inc varnish)
30 Minutes drying time

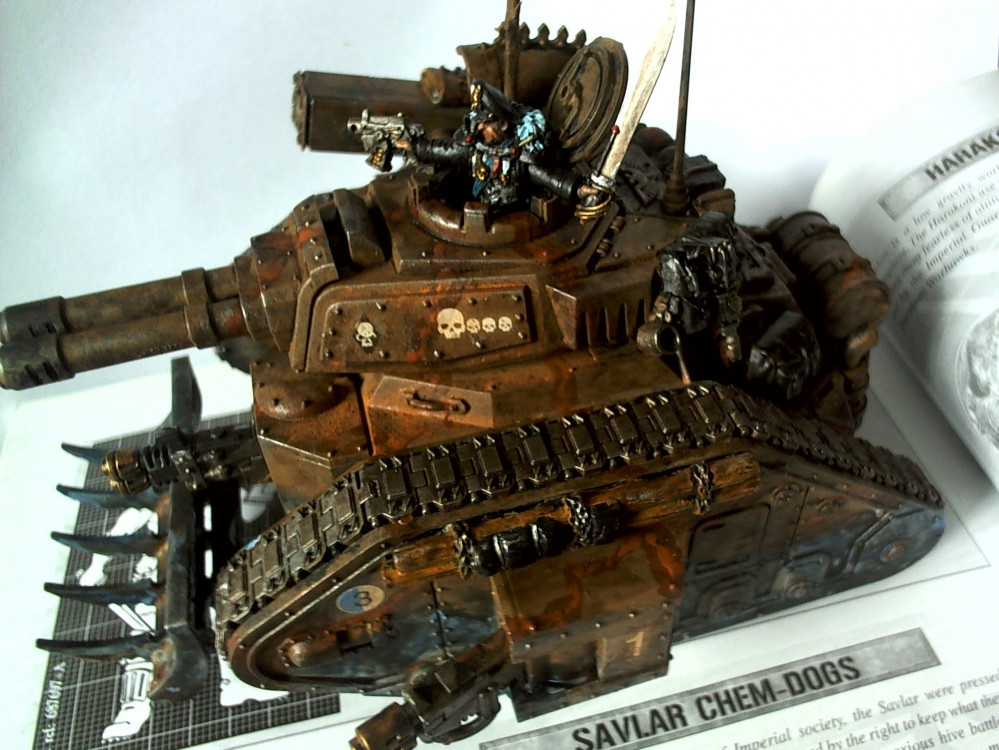
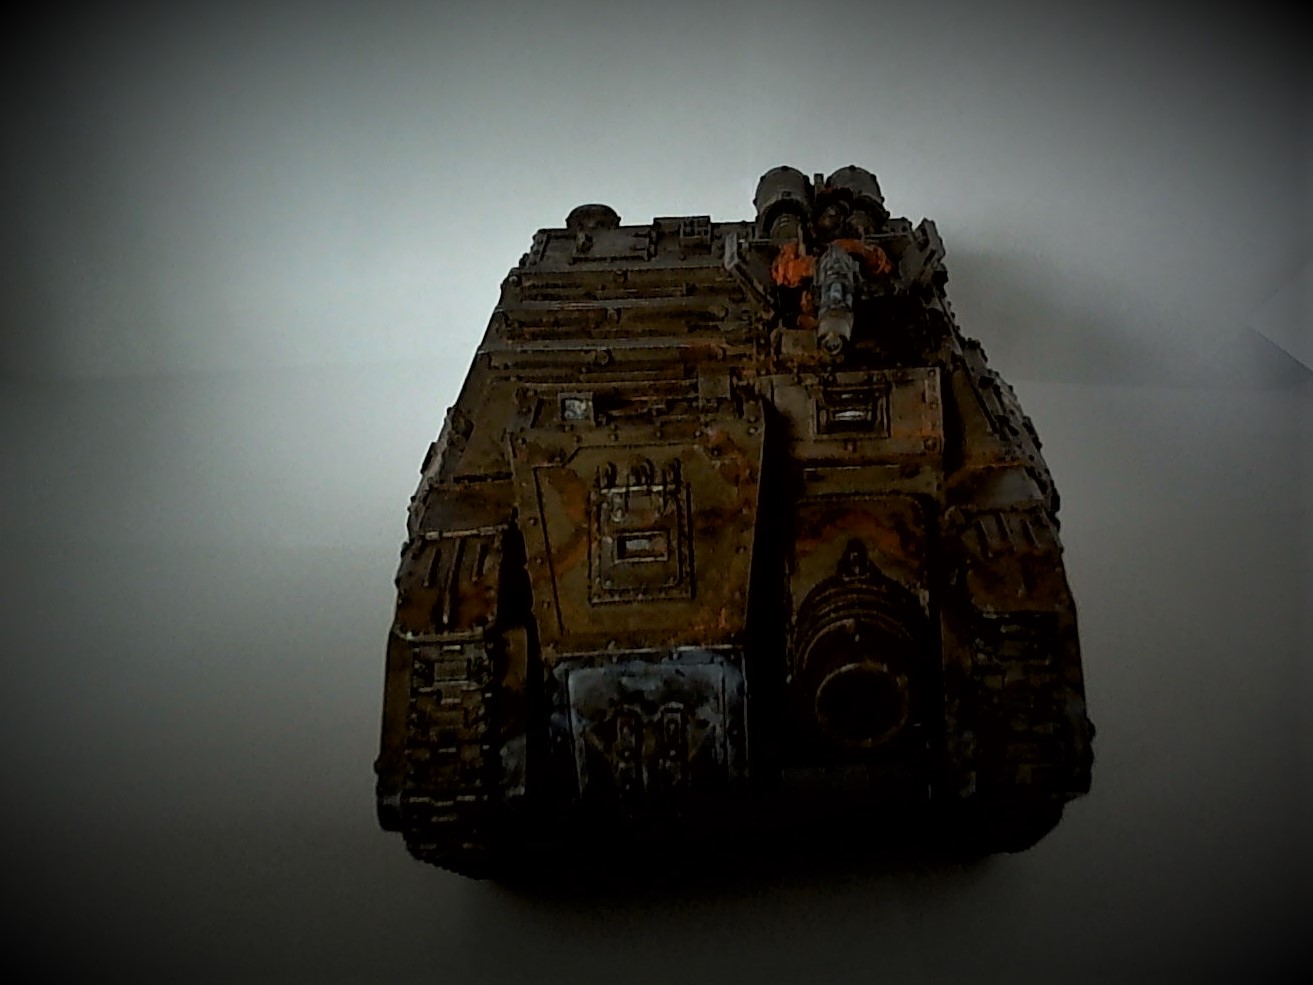
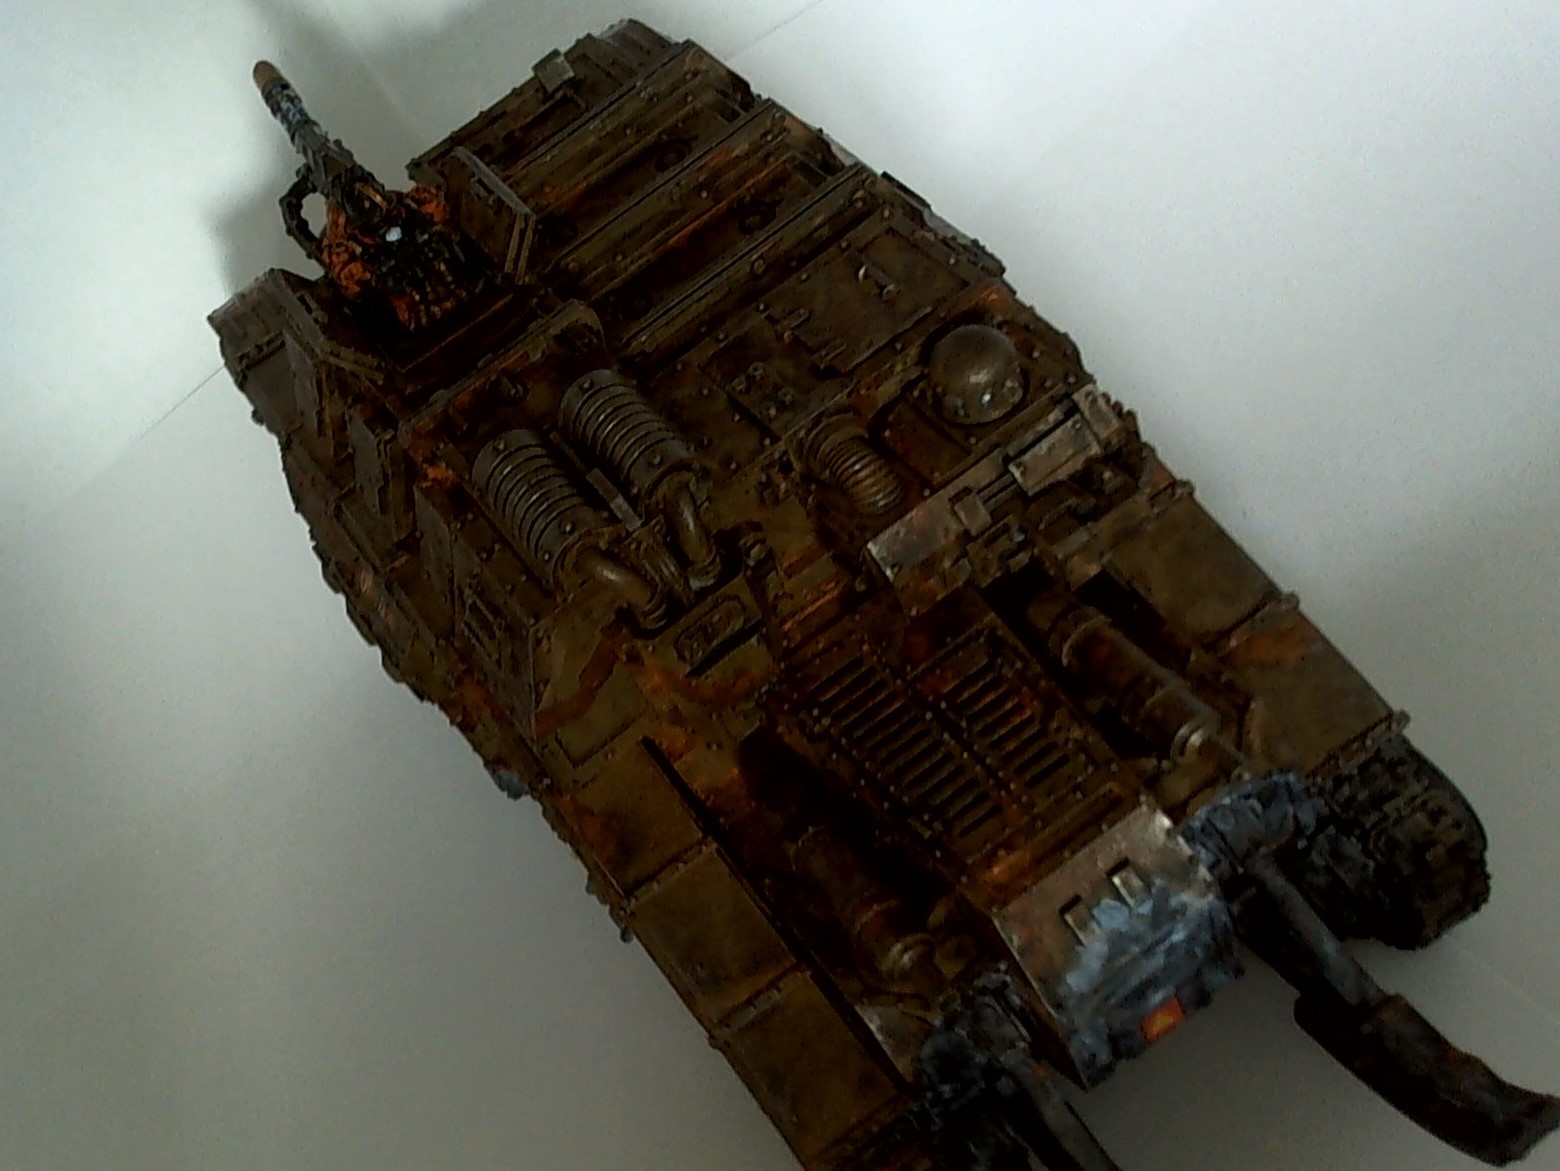
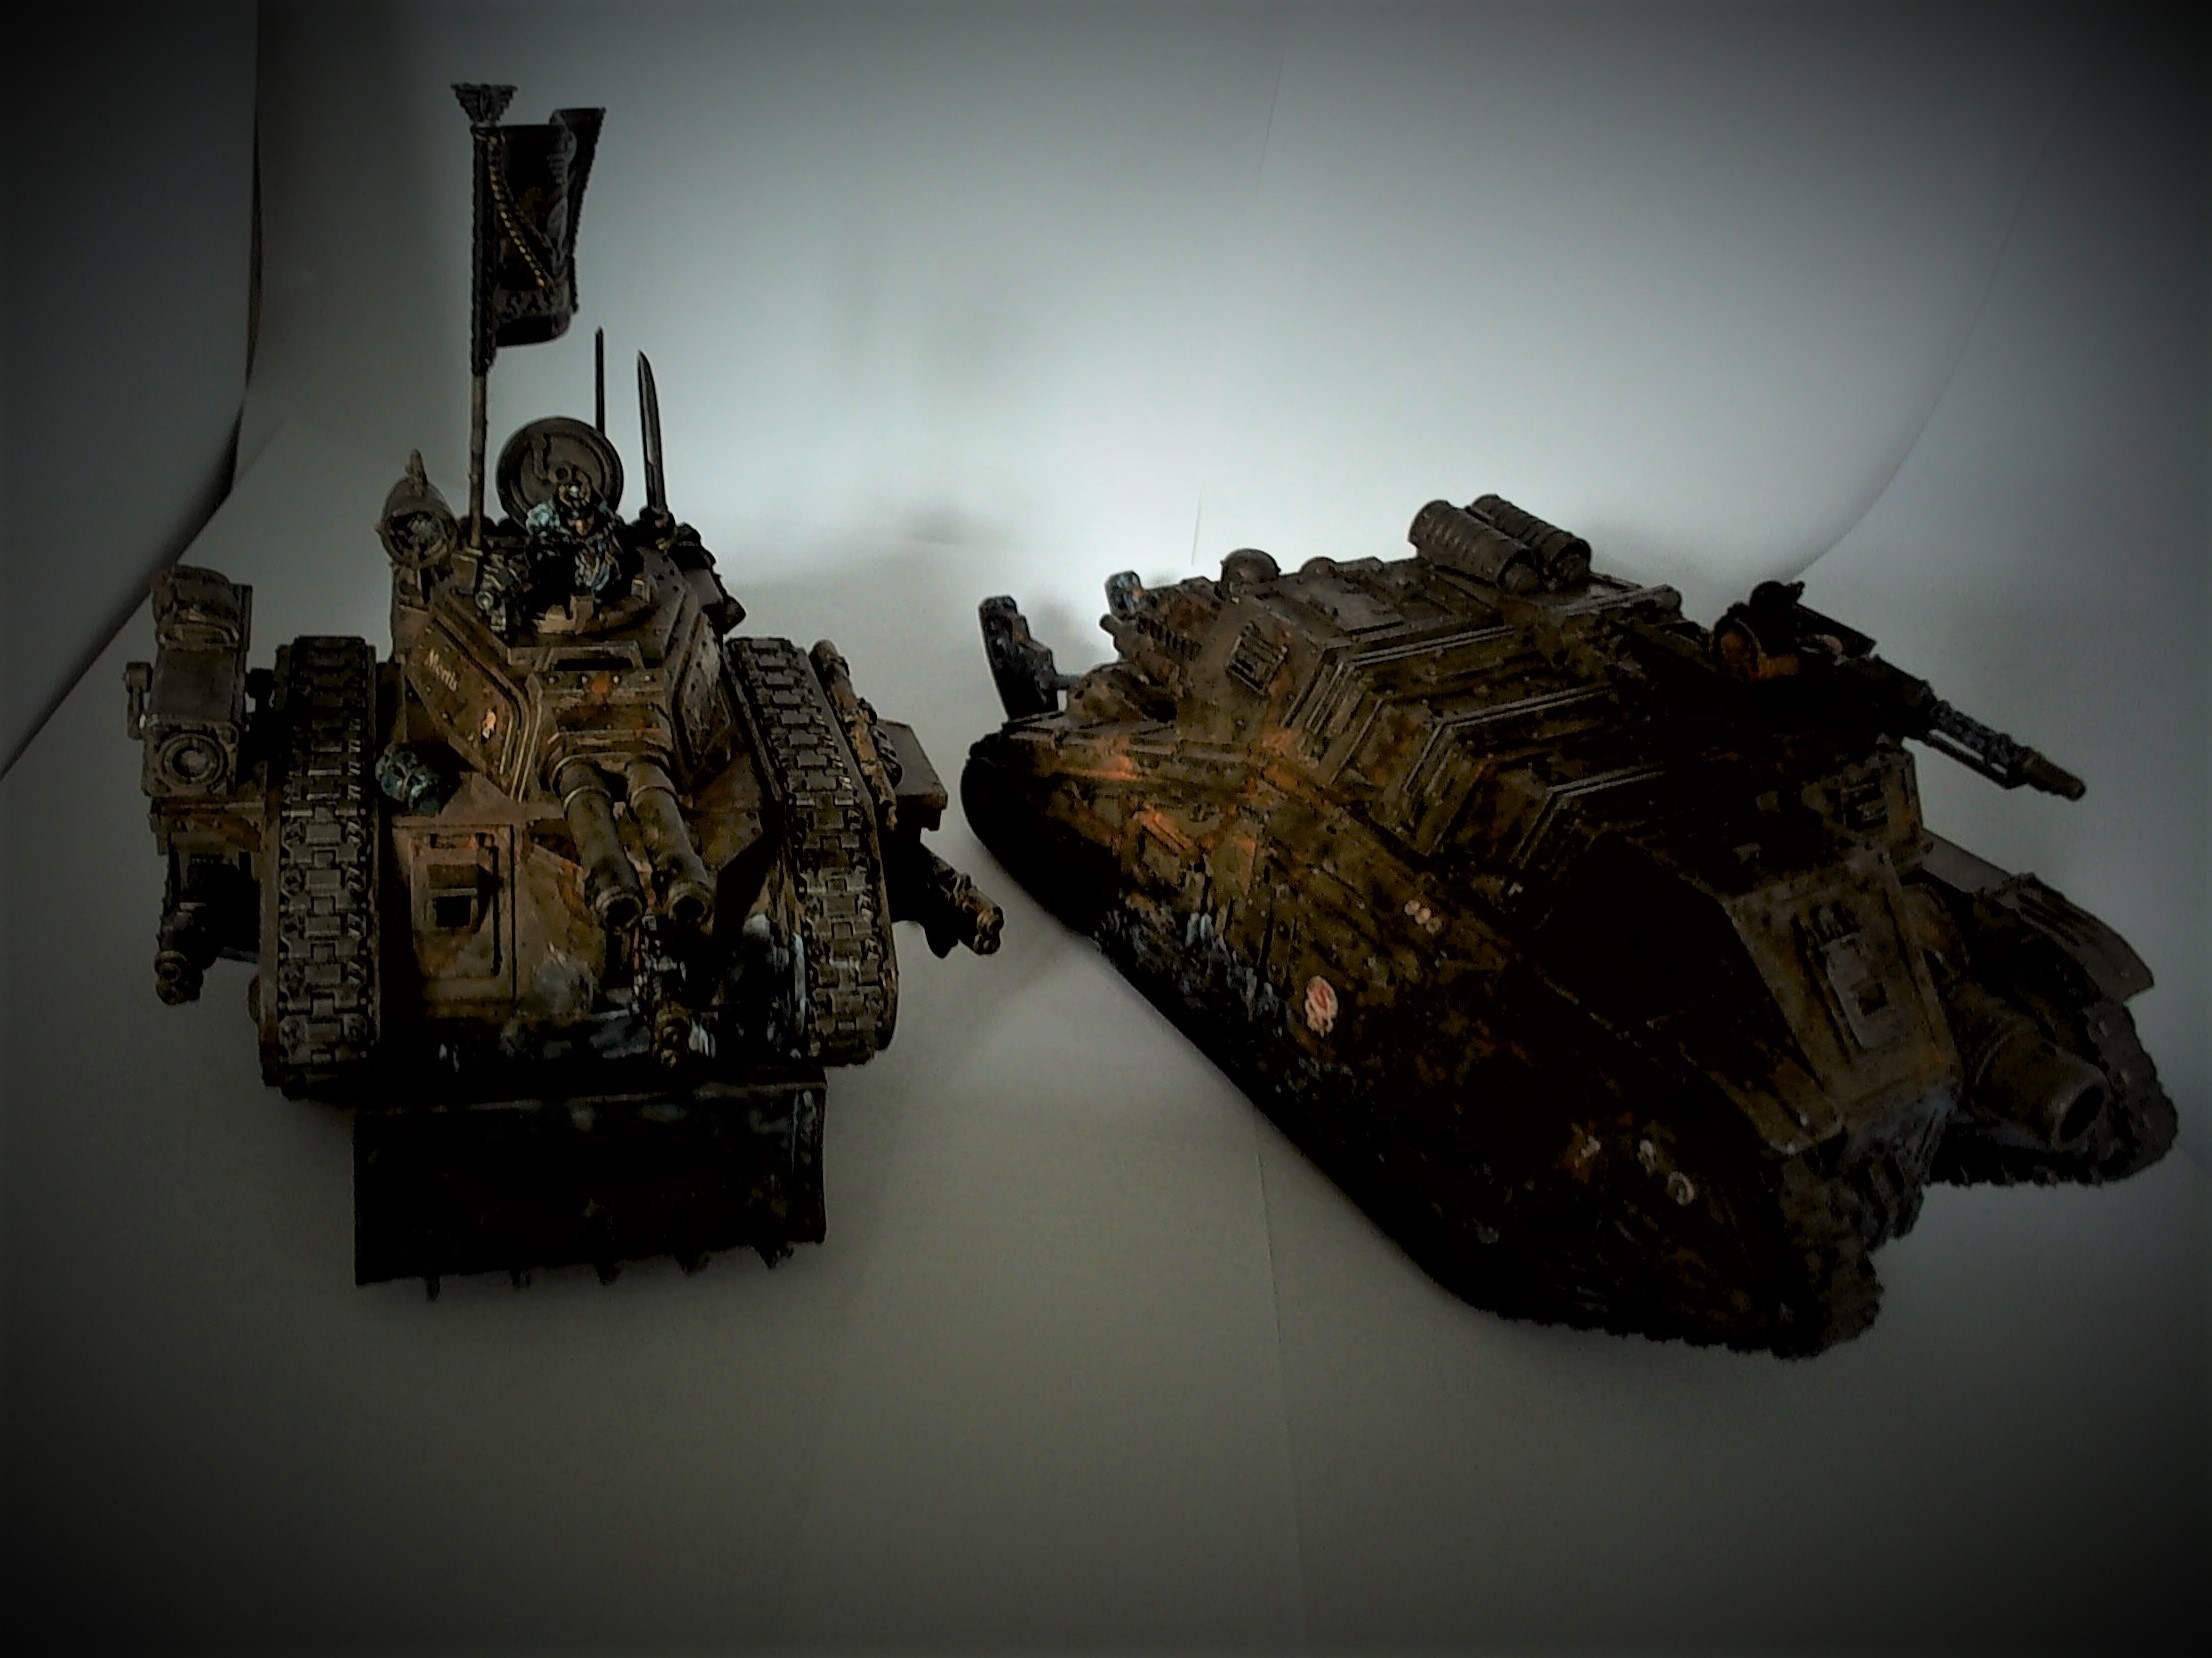
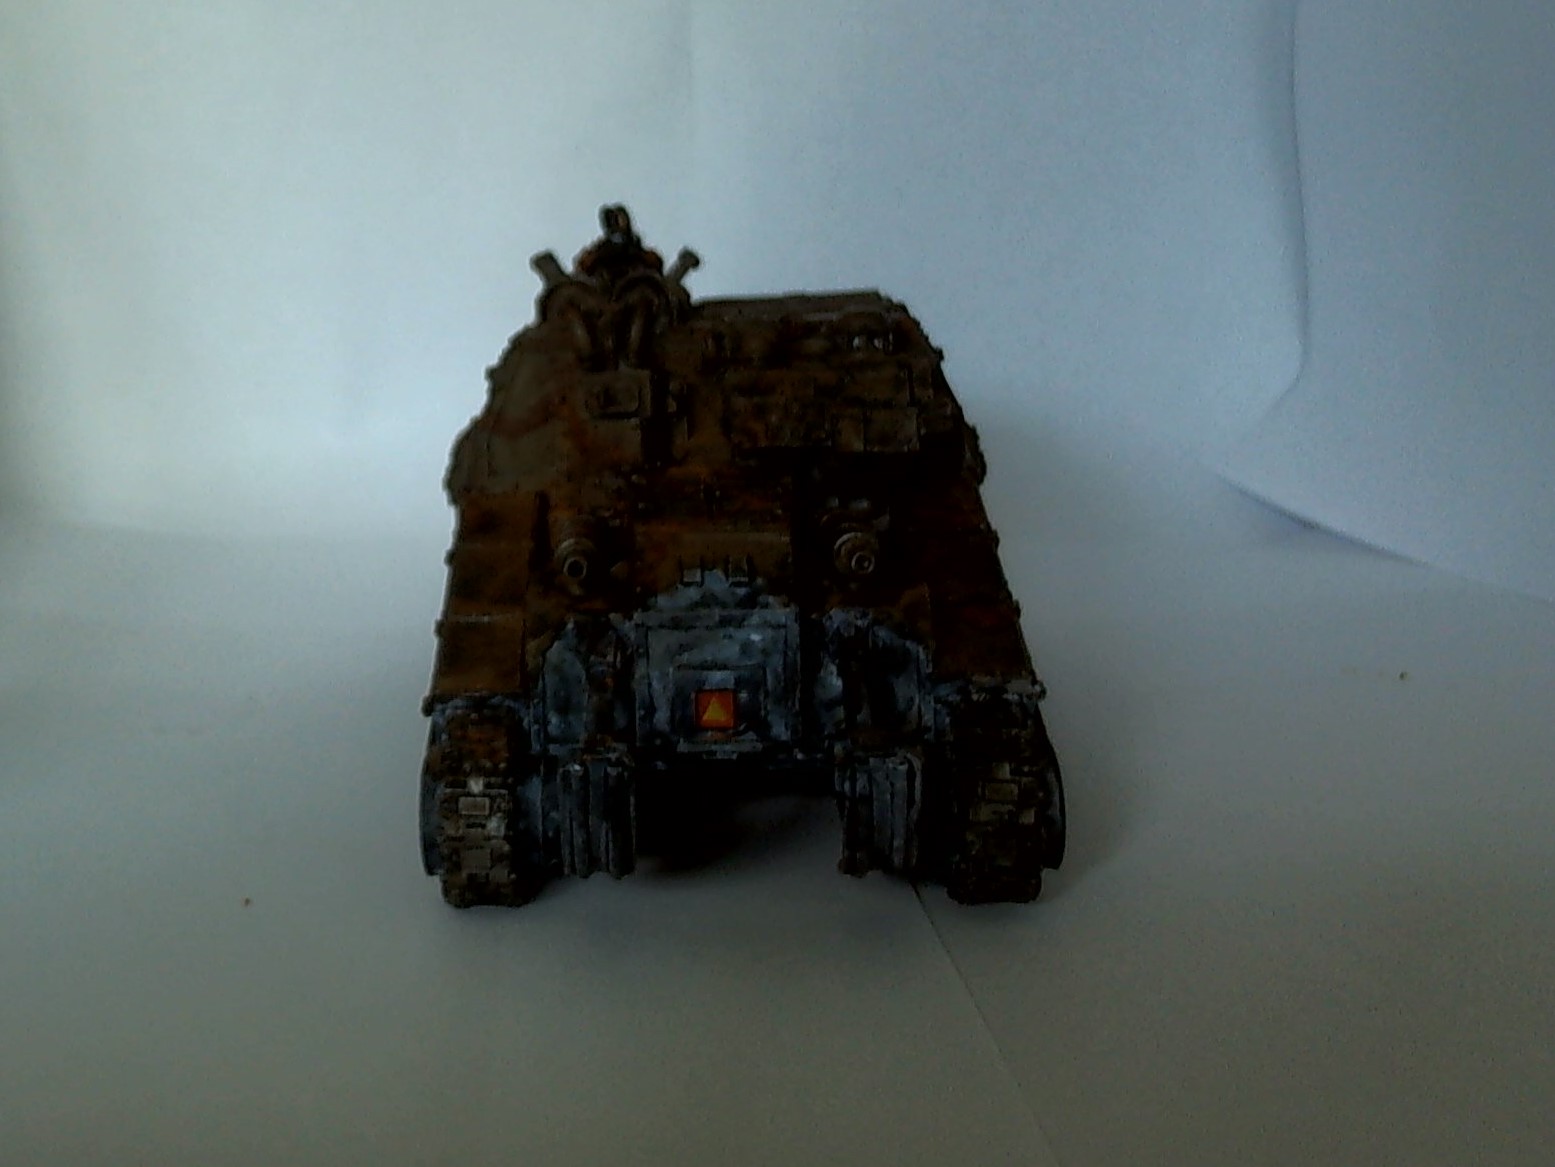
3rd Armoured Division Savlar Chem-Dogs – Tank A- Solar Auxilia Dracosan Armoured Transport – Finished
The finished tank! (Finally). Next up the Basilisk…
 3rd Armoured Division Savlar Chem-Dogs – Tank A- Solar Auxilia Dracosan Armoured Transport
  3rd Armoured Division Savlar Chem-Dogs – Tank A- Solar Auxilia Dracosan Armoured Transport
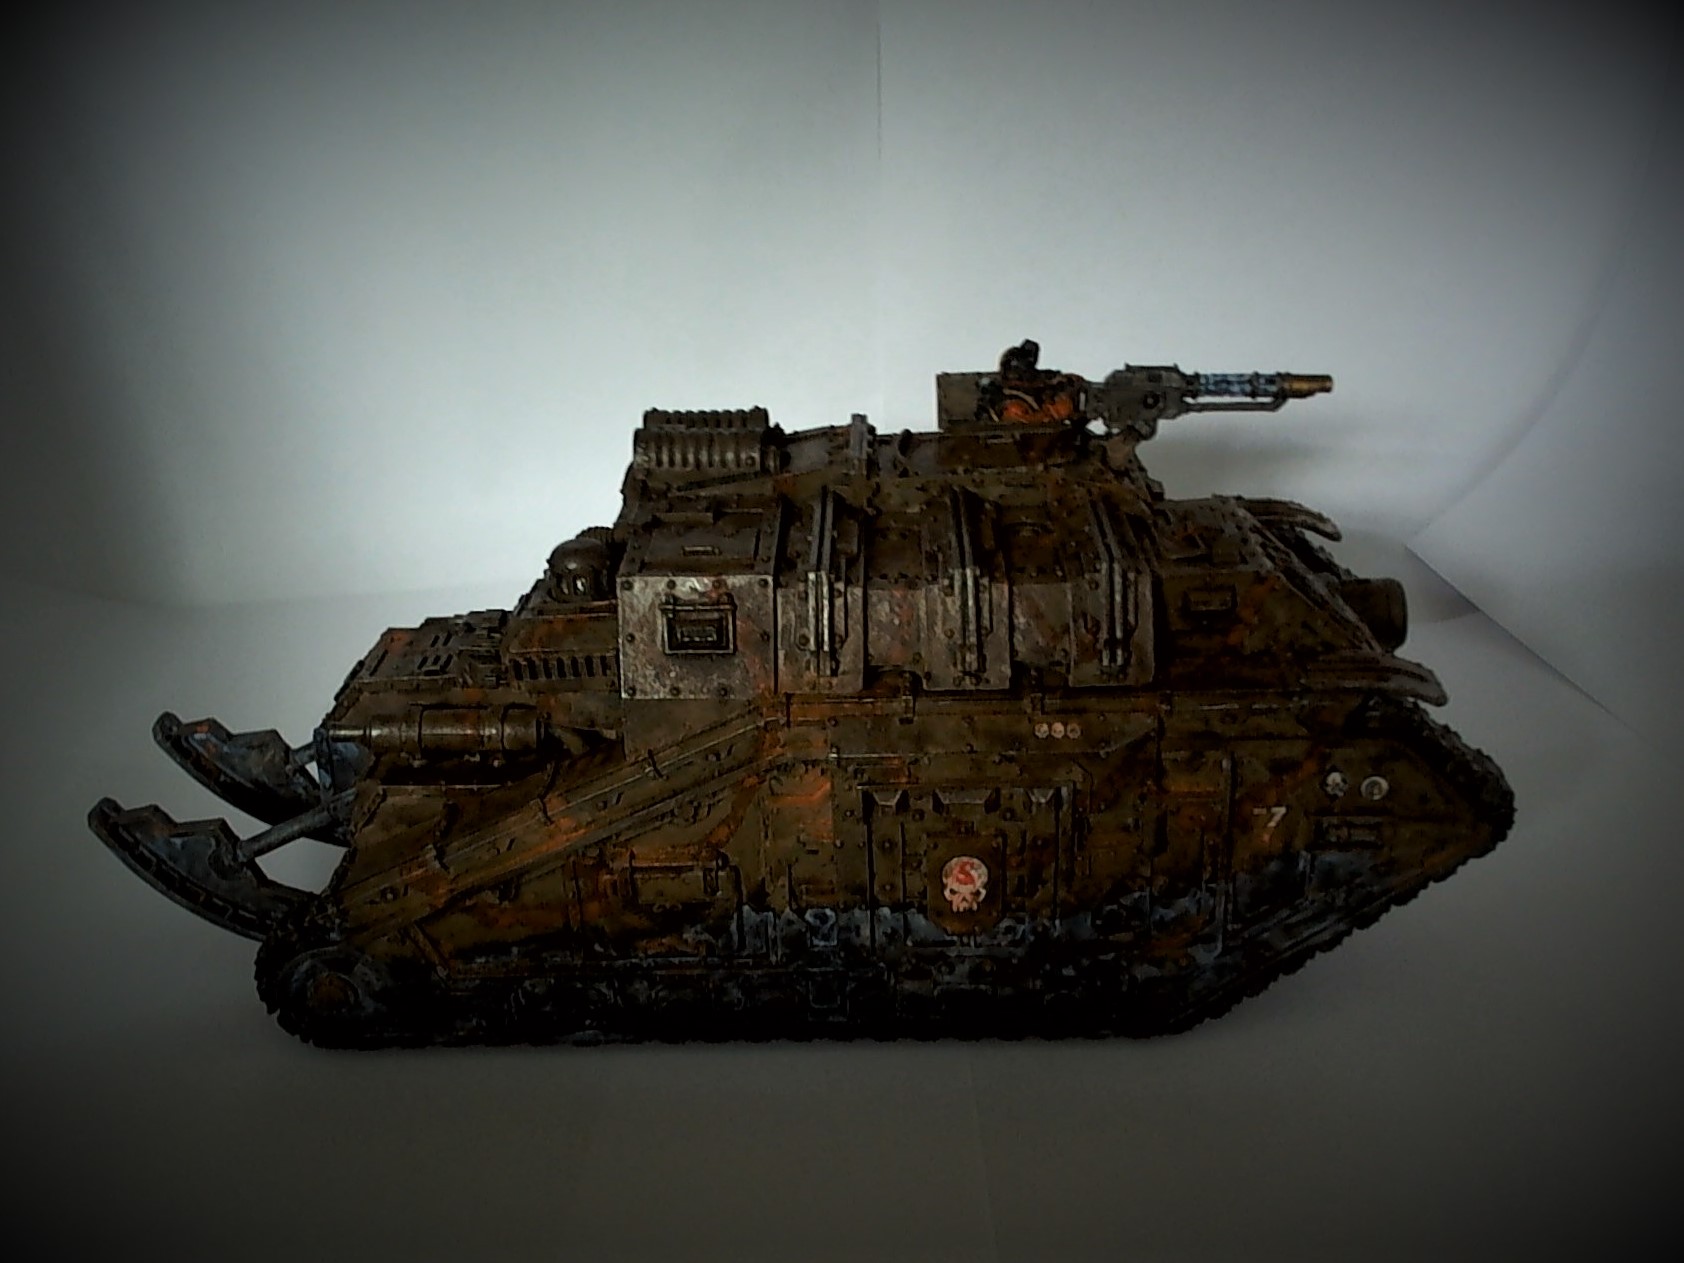

3rd Armoured Division Savlar Chem-Dogs – Tank B - Solar Auxilia Basilisk - Unboxing
3rd Armoured Division Savlar Chem-Dogs – Tank B – Solar Auxilia Basilisk – Unboxing
Time for the next tank…
Time Elapsed:
5 Minutes unboxing -(I can’t wait!)
NB: This time I will just get on with building it as per instructions and then do the paint job following my chosen palette as before and then show pictures at the end of the process.
I’m on a roll…
 Basilisk in a Box - but not for long!
3rd Armoured Division Savlar Chem-Dogs – Tank B - Solar Auxilia Basilisk – Finished in ONE Weekend
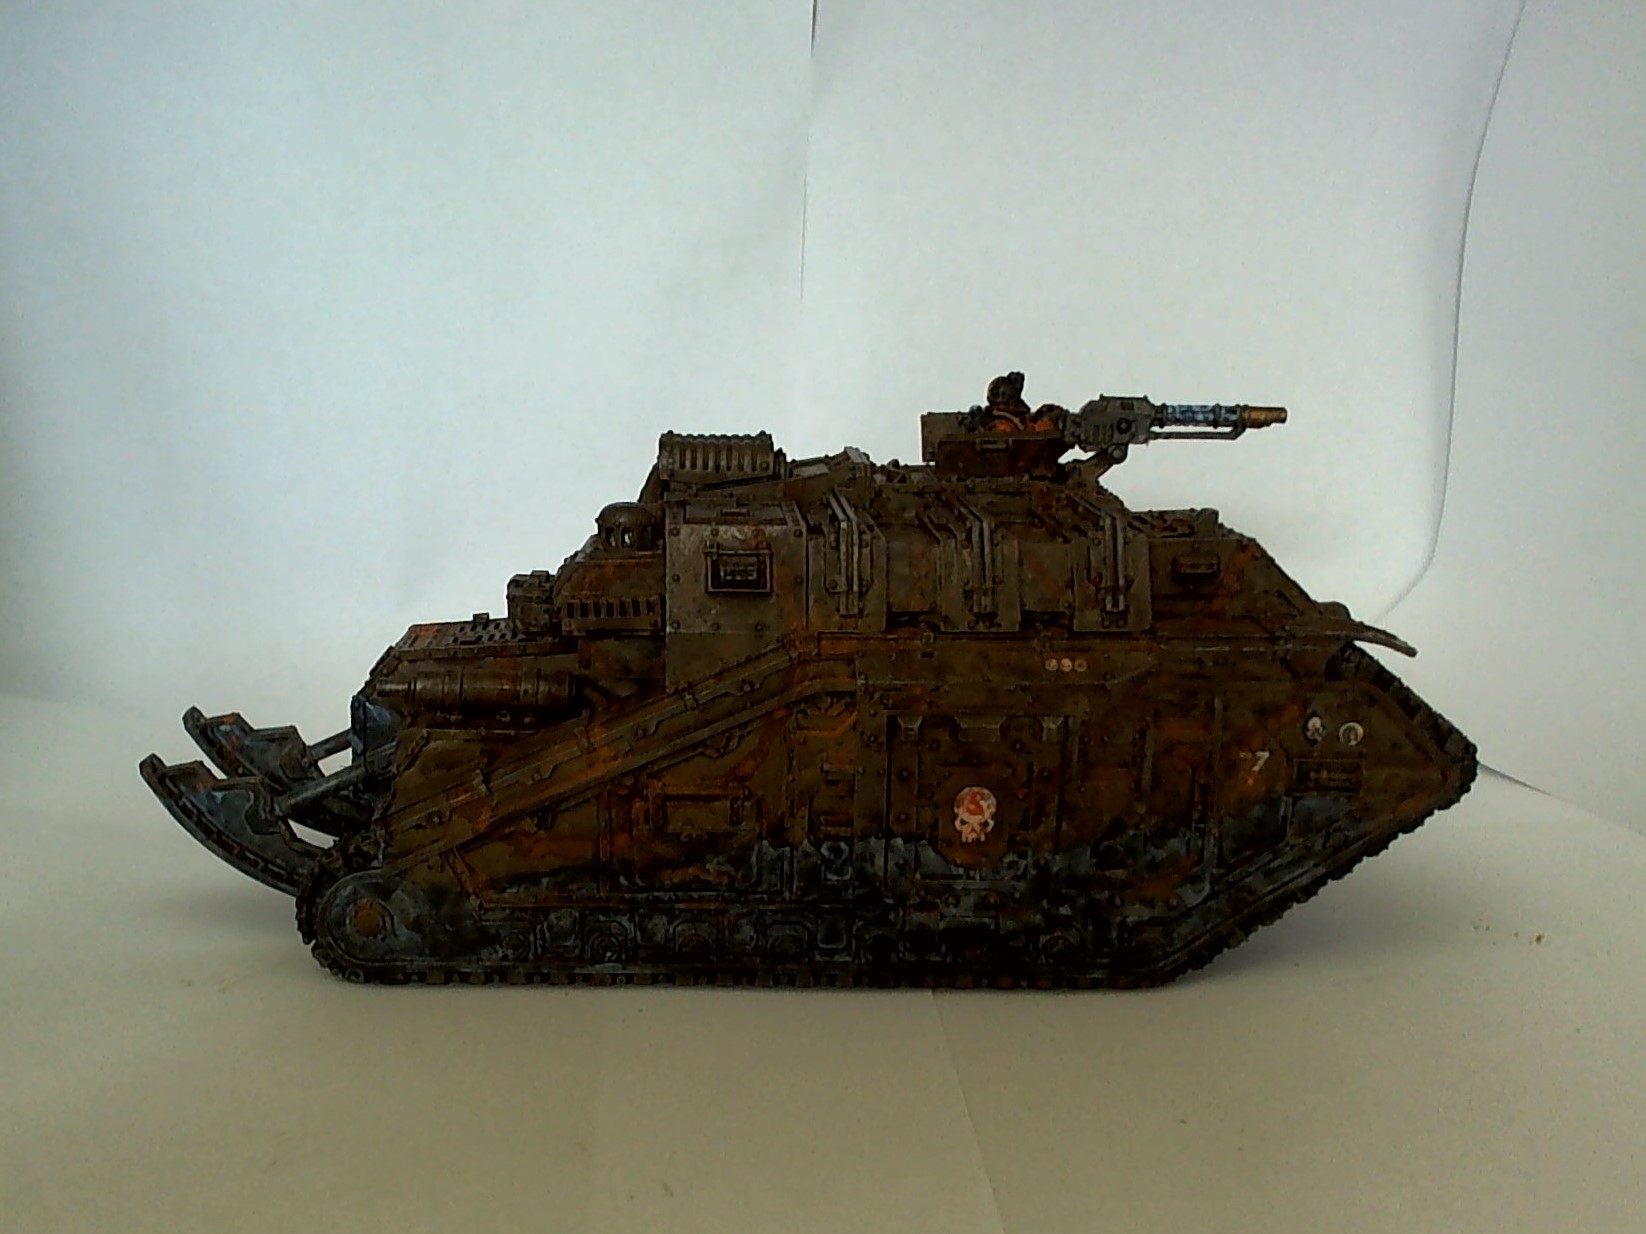
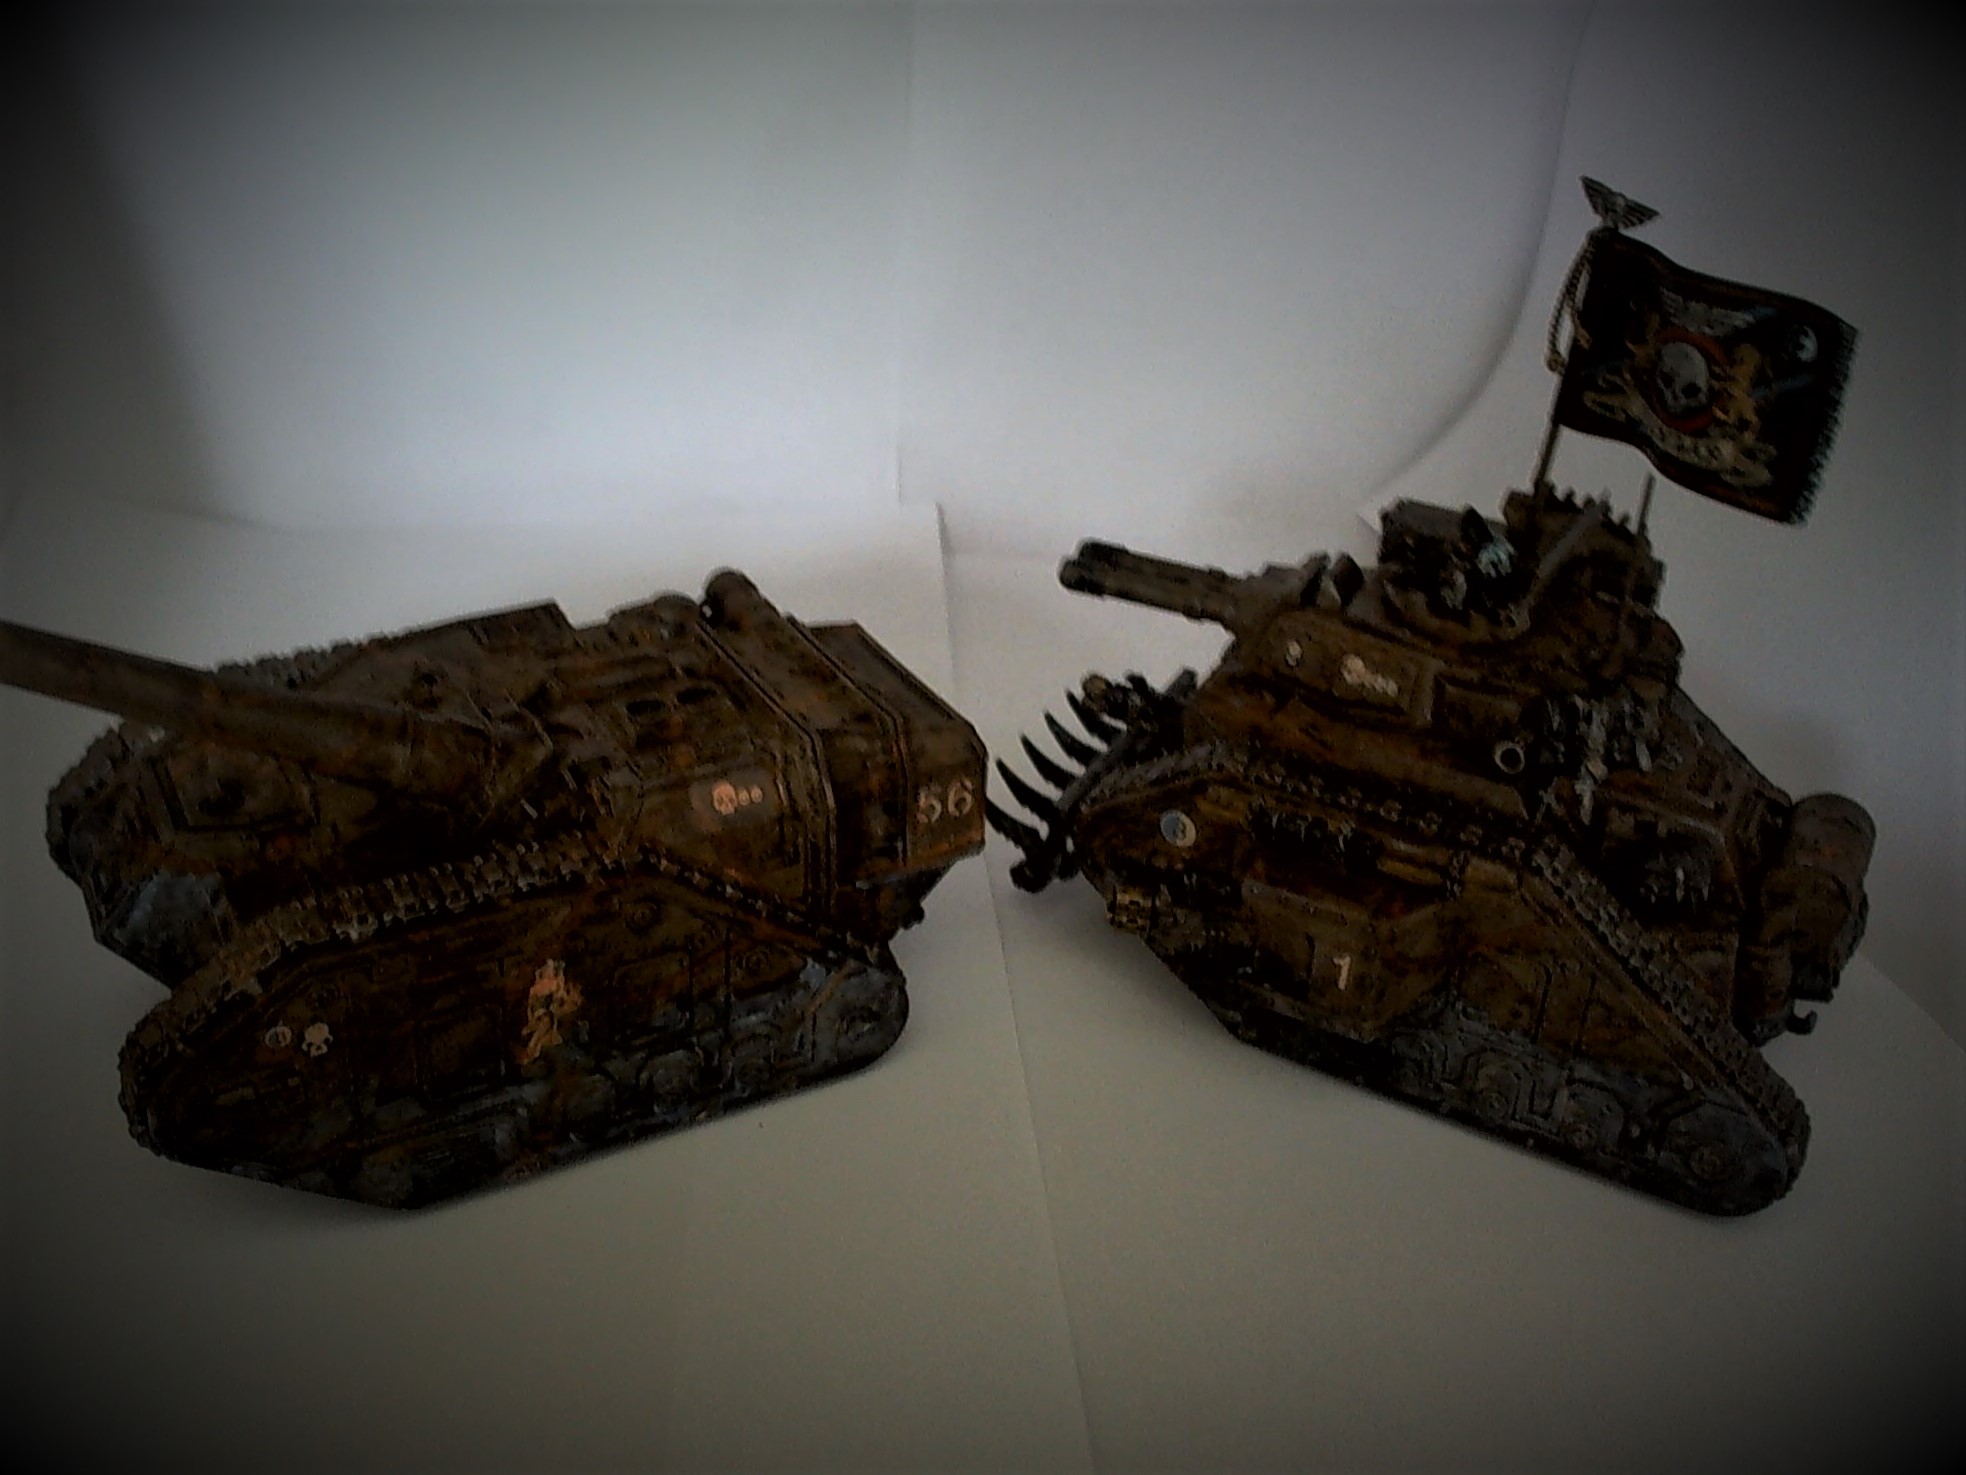
3rd Armoured Division Savlar Chem-Dogs – Tank B – Solar Auxilia Basilisk – Finished in ONE Weekend
I said I was on a roll and so after a couple of hours preparation and construction, I took about 12 hours over the weekend to paint up this Basilisk. I’ve opted for no gunner for this tank, because although you get a different gunner from the Solar Auxilia Dracosan Armoured Transport, as I’ve got two of these tanks, I’ll use the guy for the second tank – I might make it a Medusa rather than Basilisk. For this tank, I’ve found a Sargeant Harker miniature and once painted up and mounted standing over the hatch, it will provide a heavy bolter option as a gun…
The side image is a Gil Evren .jpeg reduced in size and stuck to the side. So… no my freehand is not that good 🙂
Time Elapsed:
2 Hours Construction (inc cleaning resin components)
12 Hours painting (Stages 1-4 as before)
 Savlar Chem-Dogs Basilisk
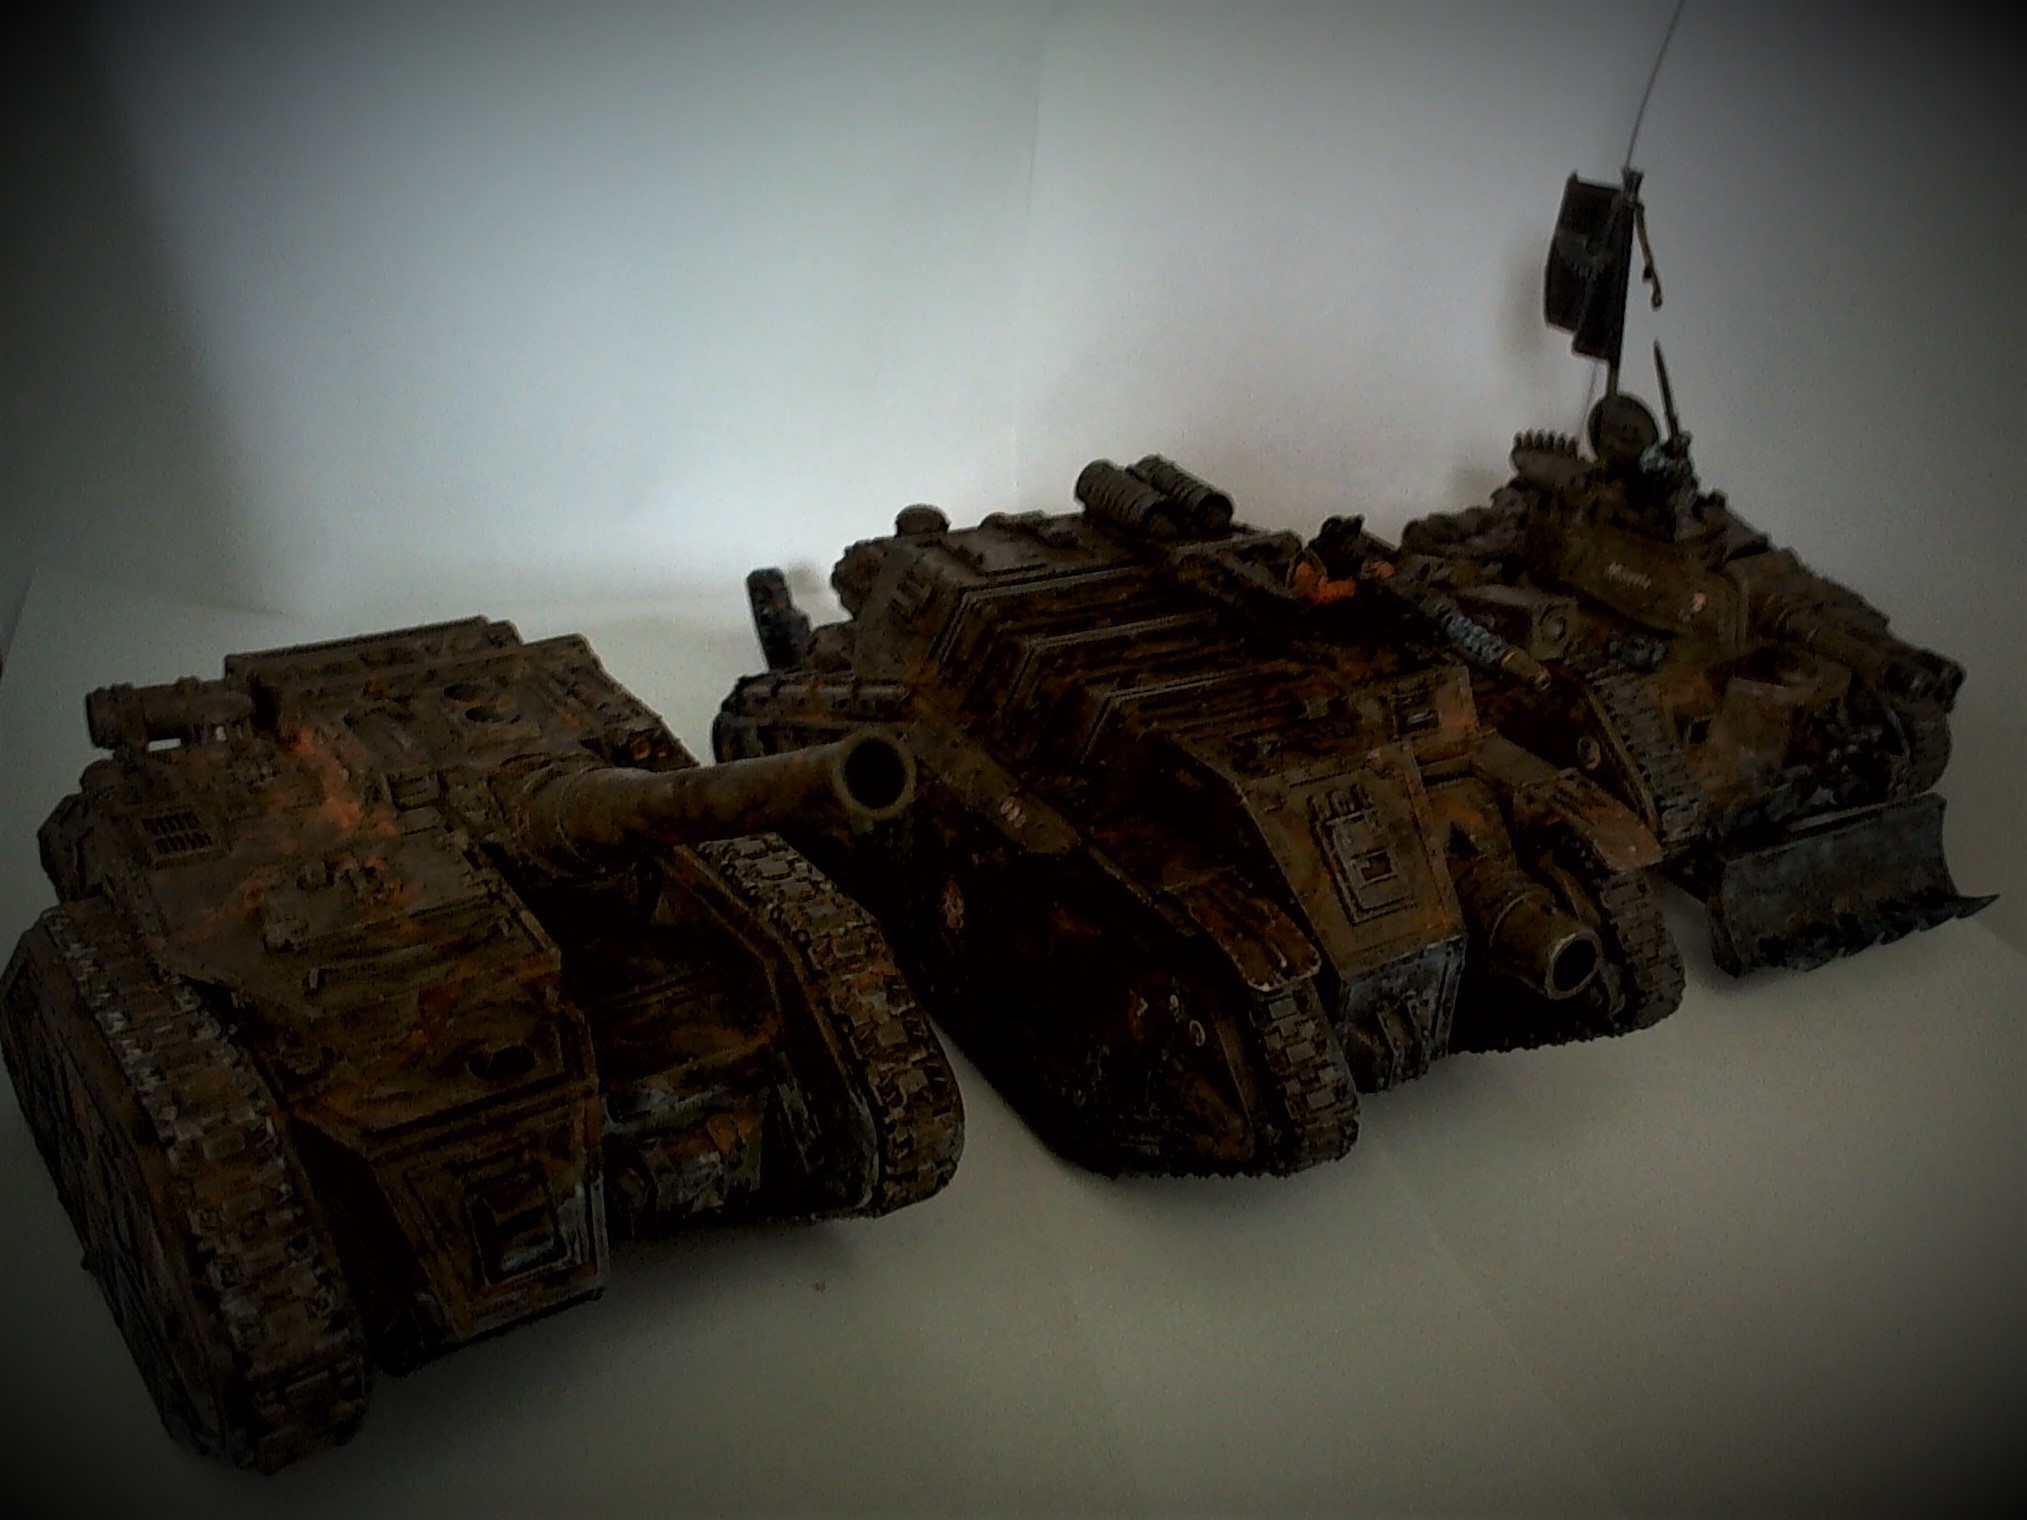
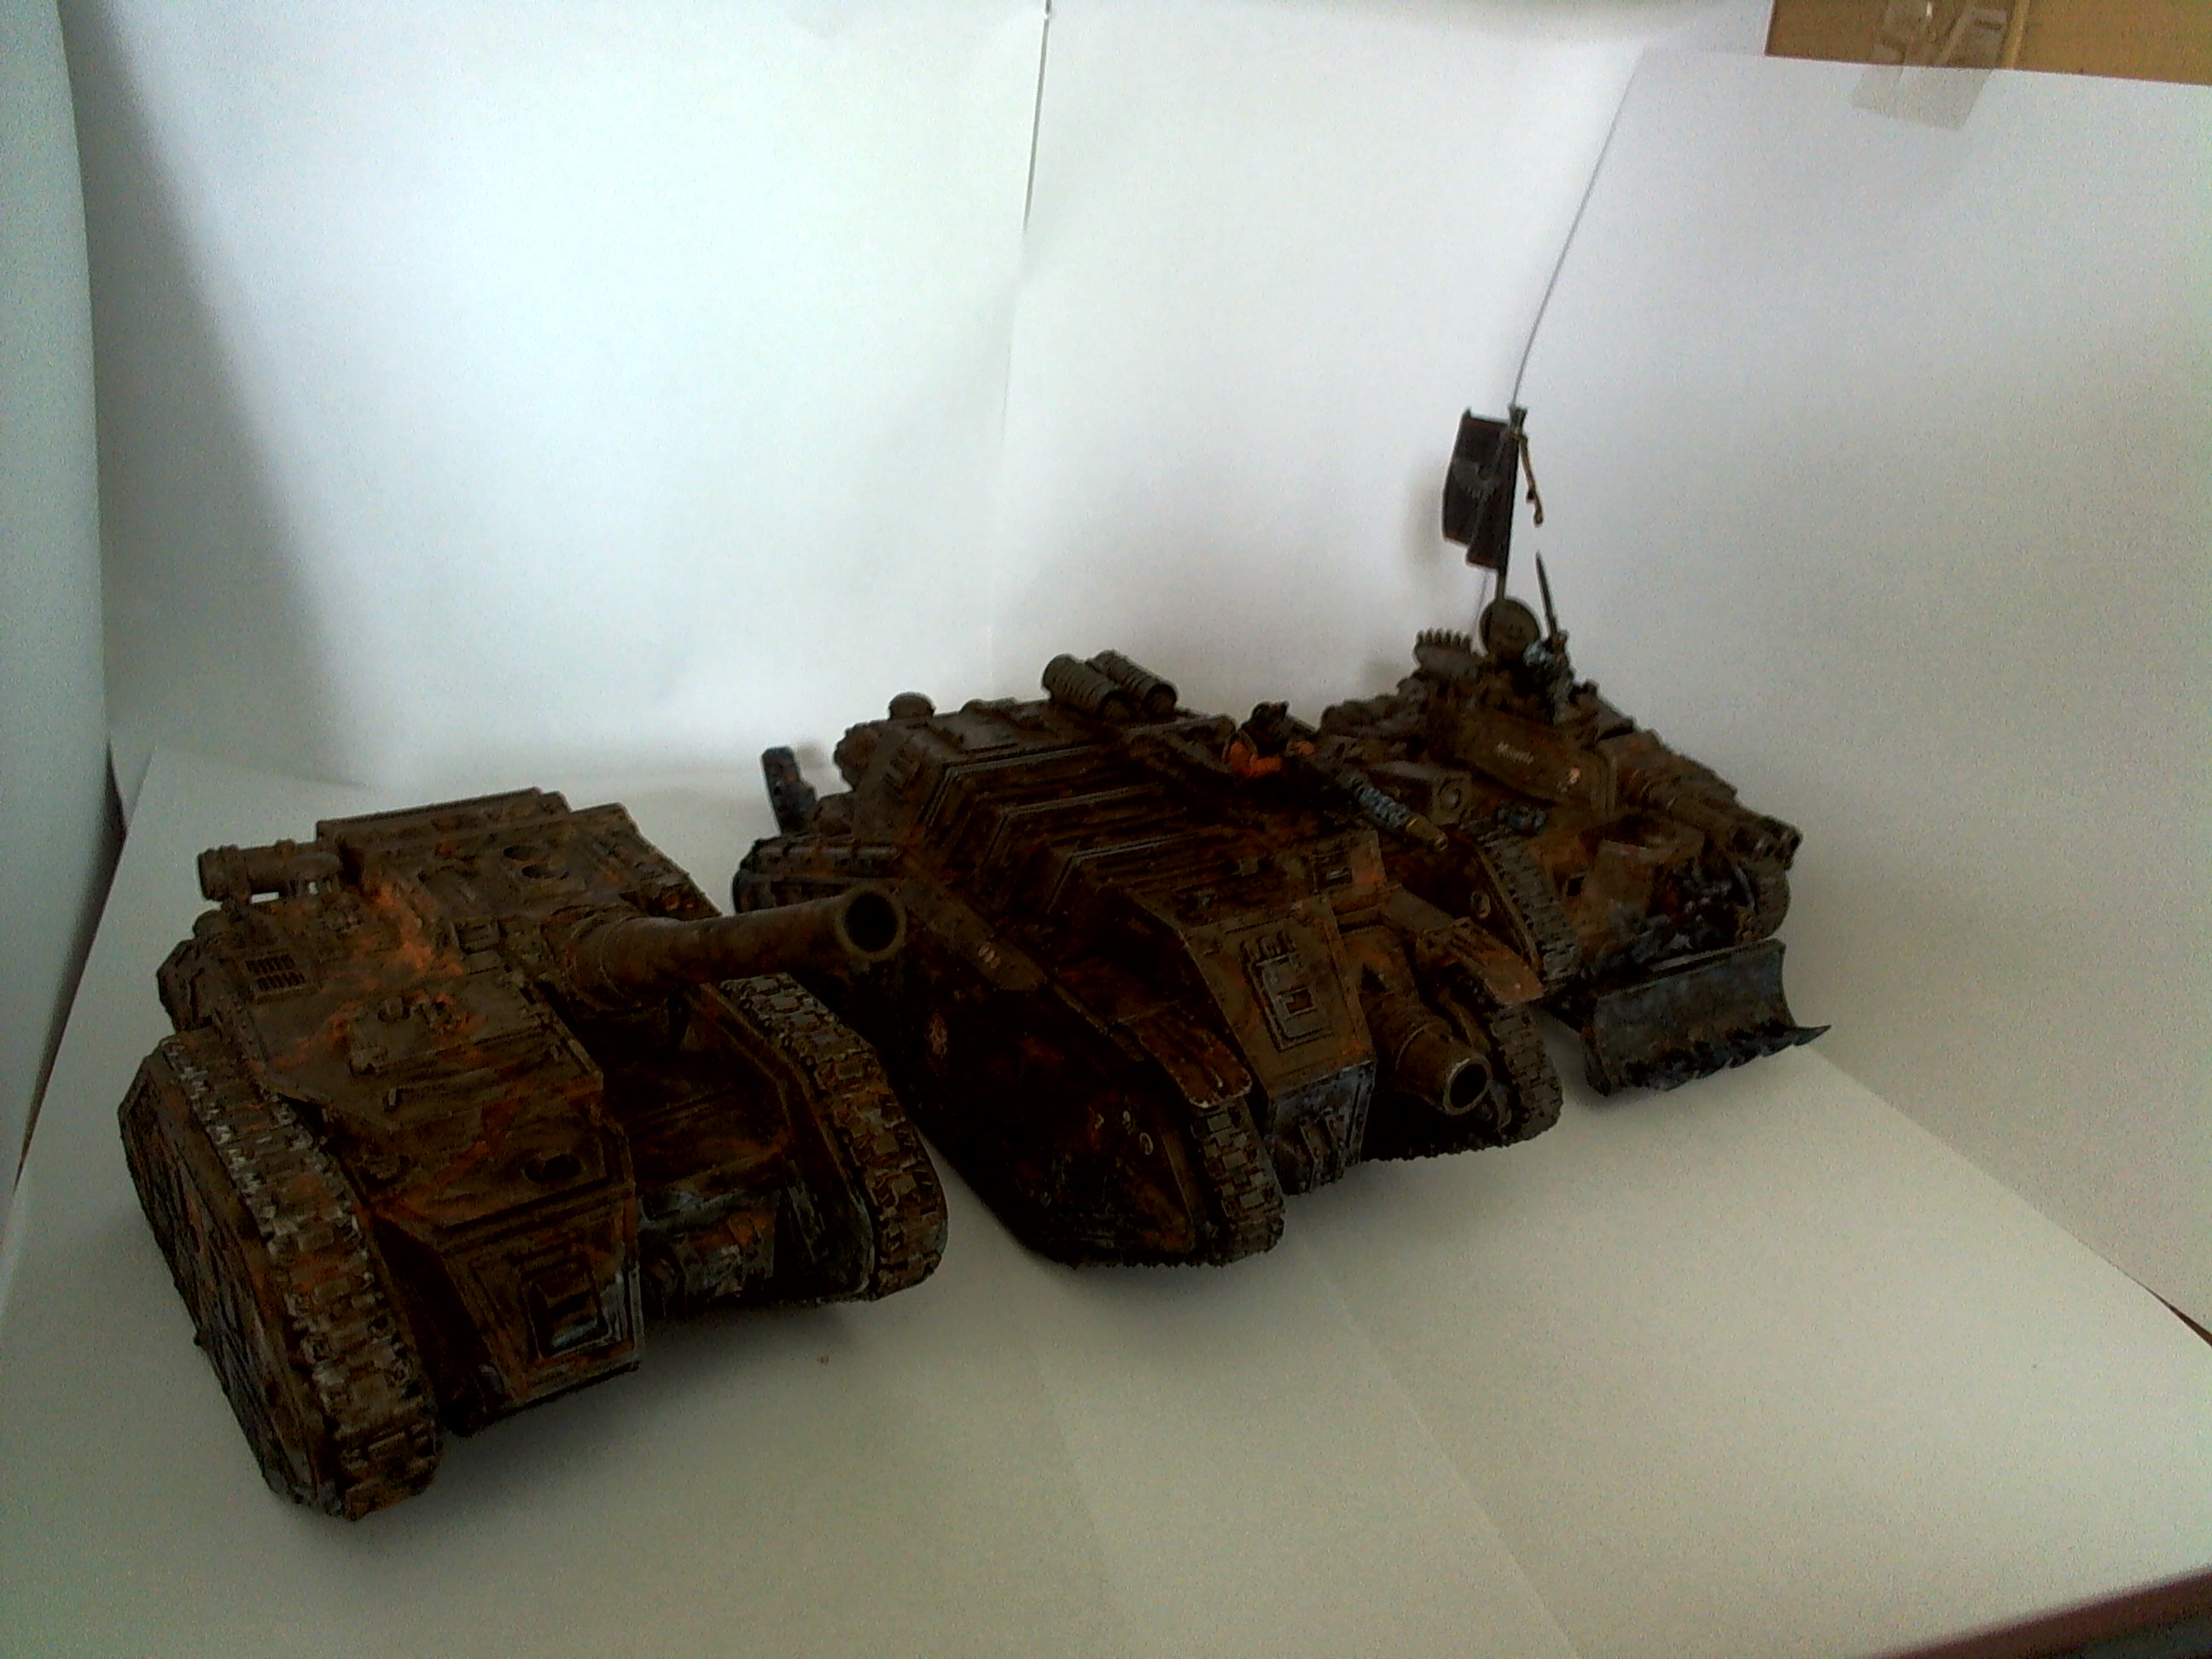
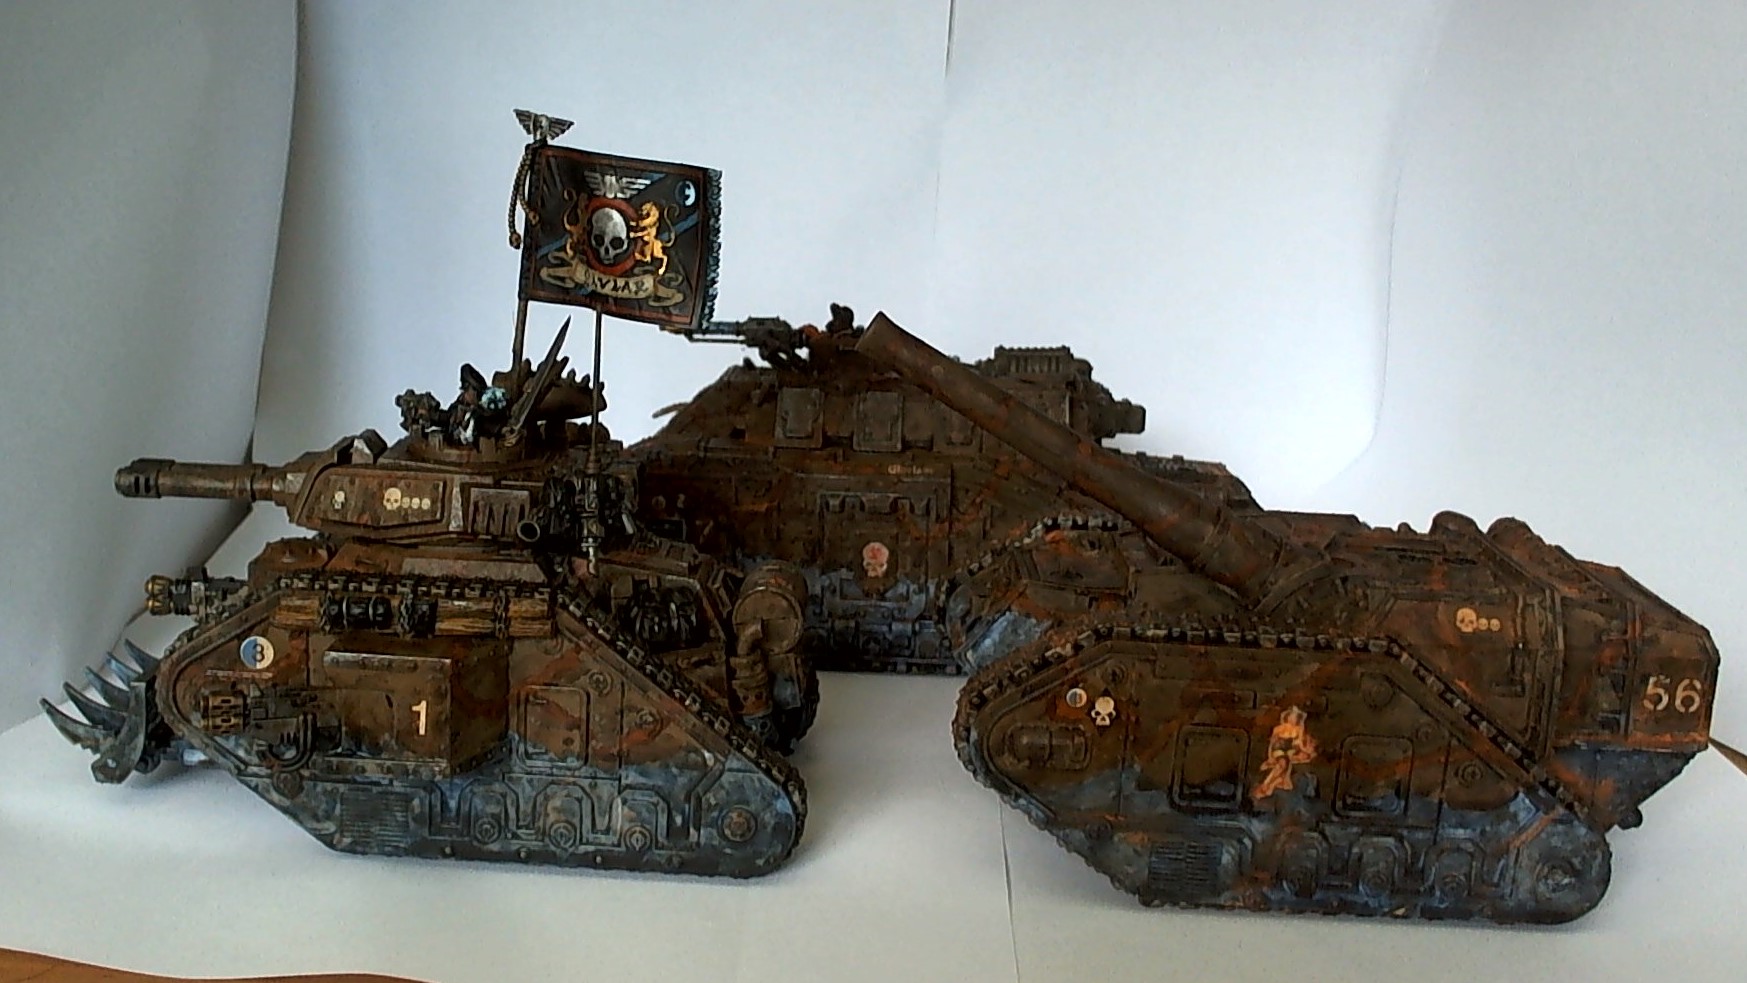 3rd Savlar Chem-Dogs Tank Division Grows
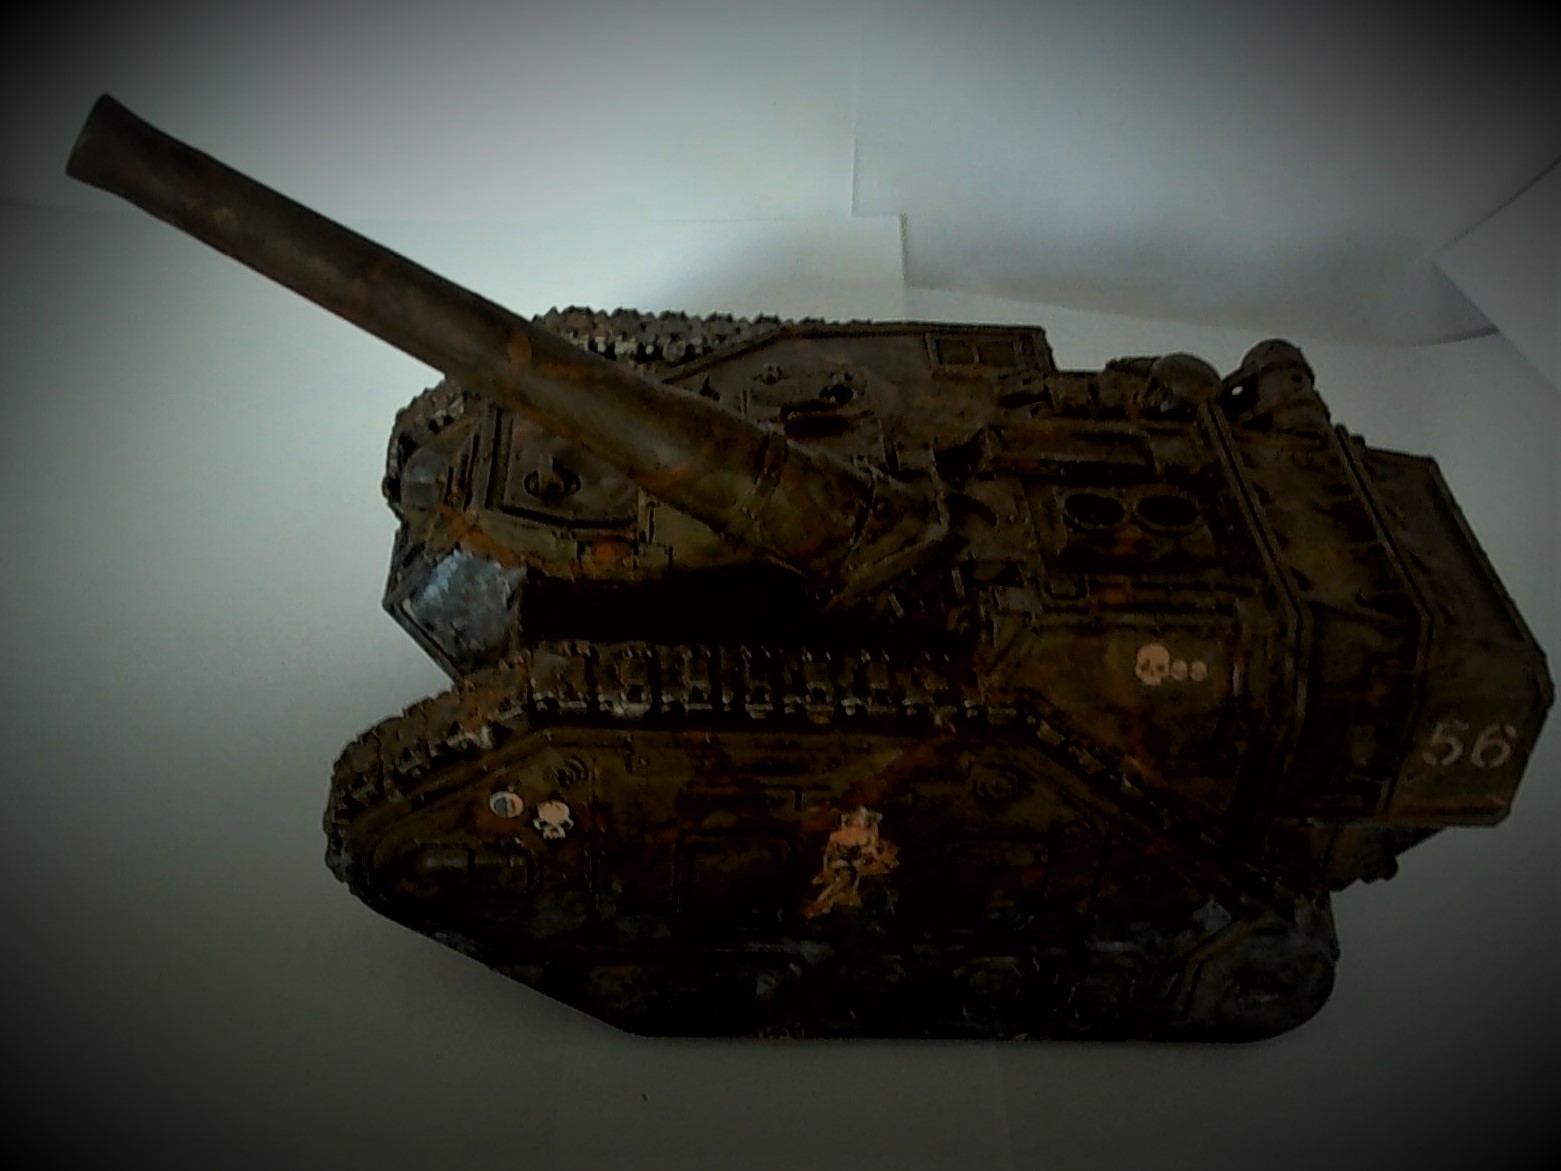


3rd Armoured Division Savlar Chem-Dogs – Tank C - Vanquisher
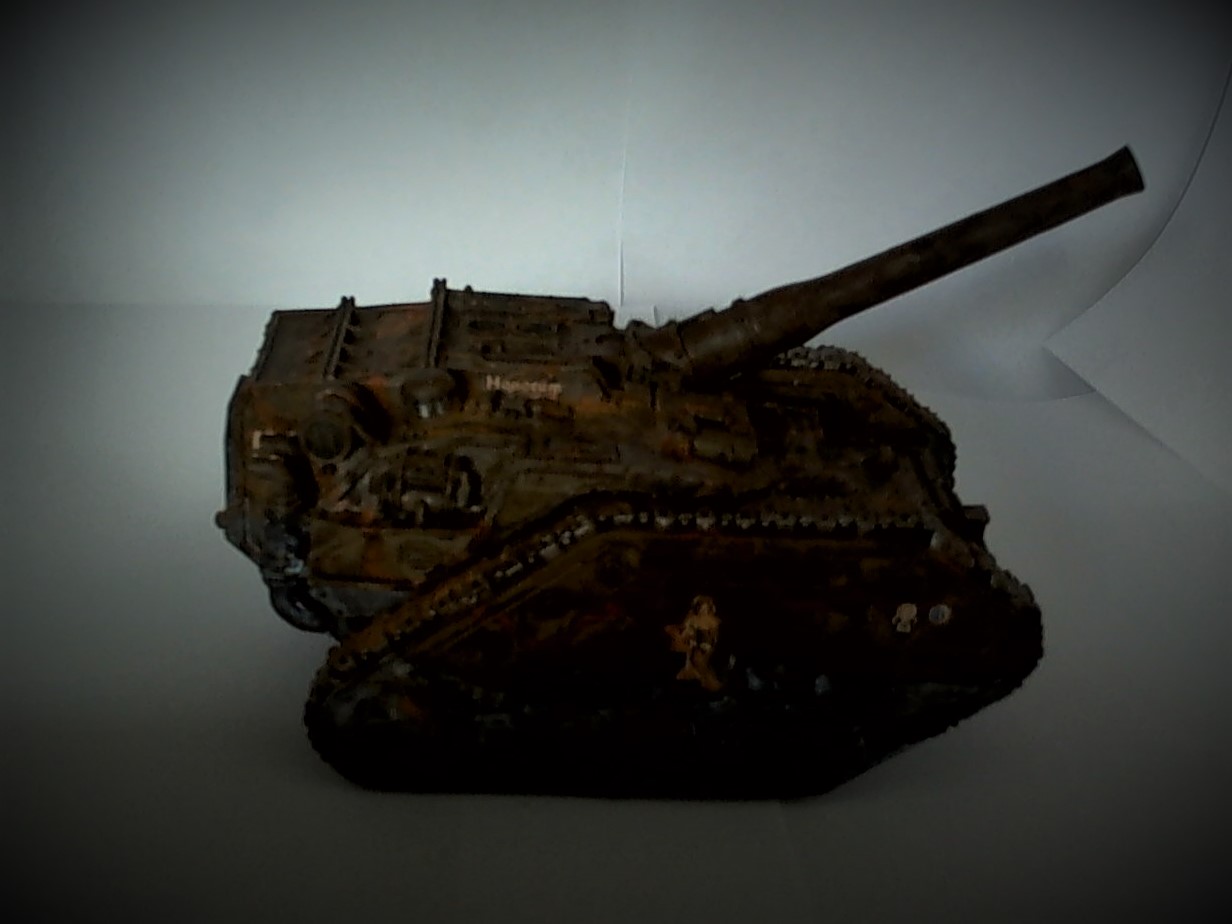
3rd Armoured Division Savlar Chem-Dogs – Tank C – Vanquisher
I’ve run out of Graveyard Earth Citadel Paint and the only ‘original’ pot on eBay is at an extortionate £15. Fortunately, the equivalent colour Steel Legion Drab is much reasonable at £3… so a couple of pots ordered. I’ll wait till they arrive before tackling the second Basilisk.
However, as I’m still on a roll, I wanted to do a little experiment and repaint and old tank in Savlar Colours, but using a white undercoat and substituting Snakebrown Leather as an alternative base colour. I imagine that the 3rd Armoured Division Savlar Chem-Dogs will be cobbled together from other units and the tank crews would attempt to match the colour schemes as best they could with supplies. Alternatively, the Quarter Master has ordered the wrong shade and will be summarily executed by the Commissar who is on the horizon…
So Forge World Vanquisher to repaint and customise.
Time Elapsed:
6 Hours (inc respray of undercoat)
2 Hours (Sniper and camo netting)
I’m quite pleased with how it came out, so will apply the same techniques to a Leman Russ Punisher next.
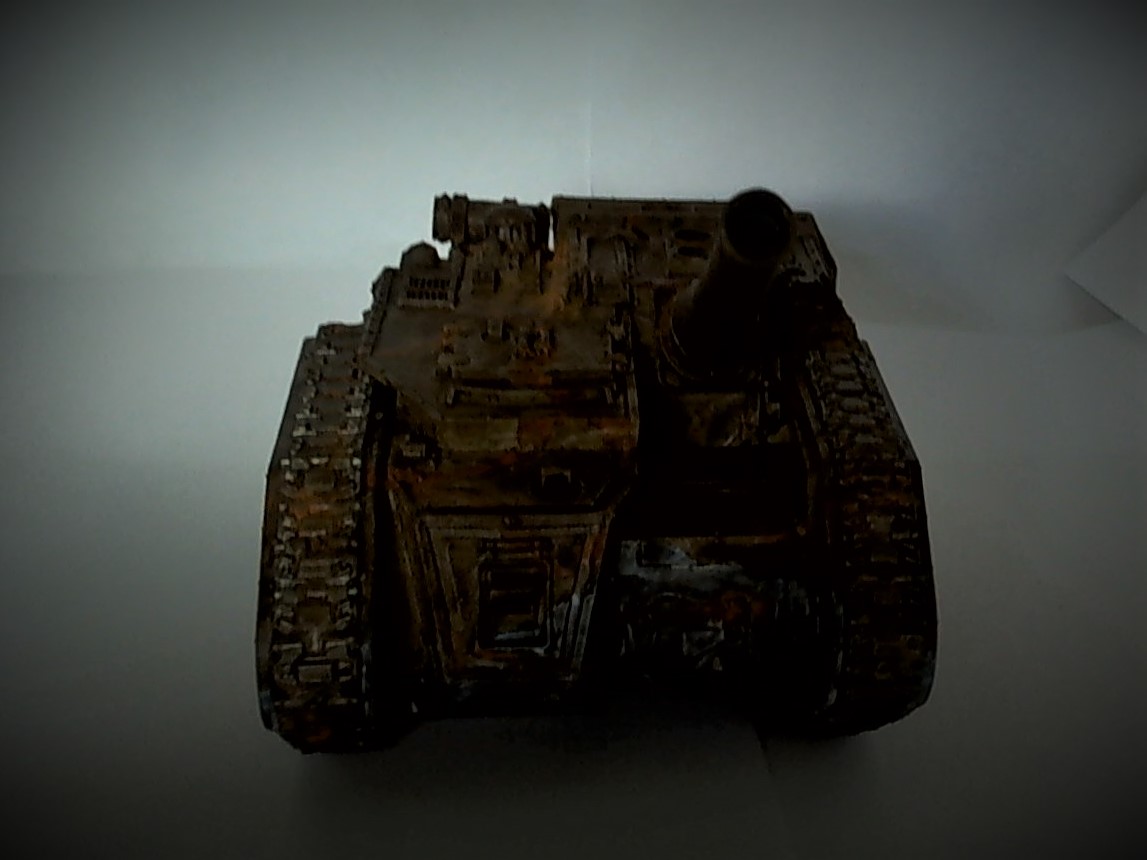
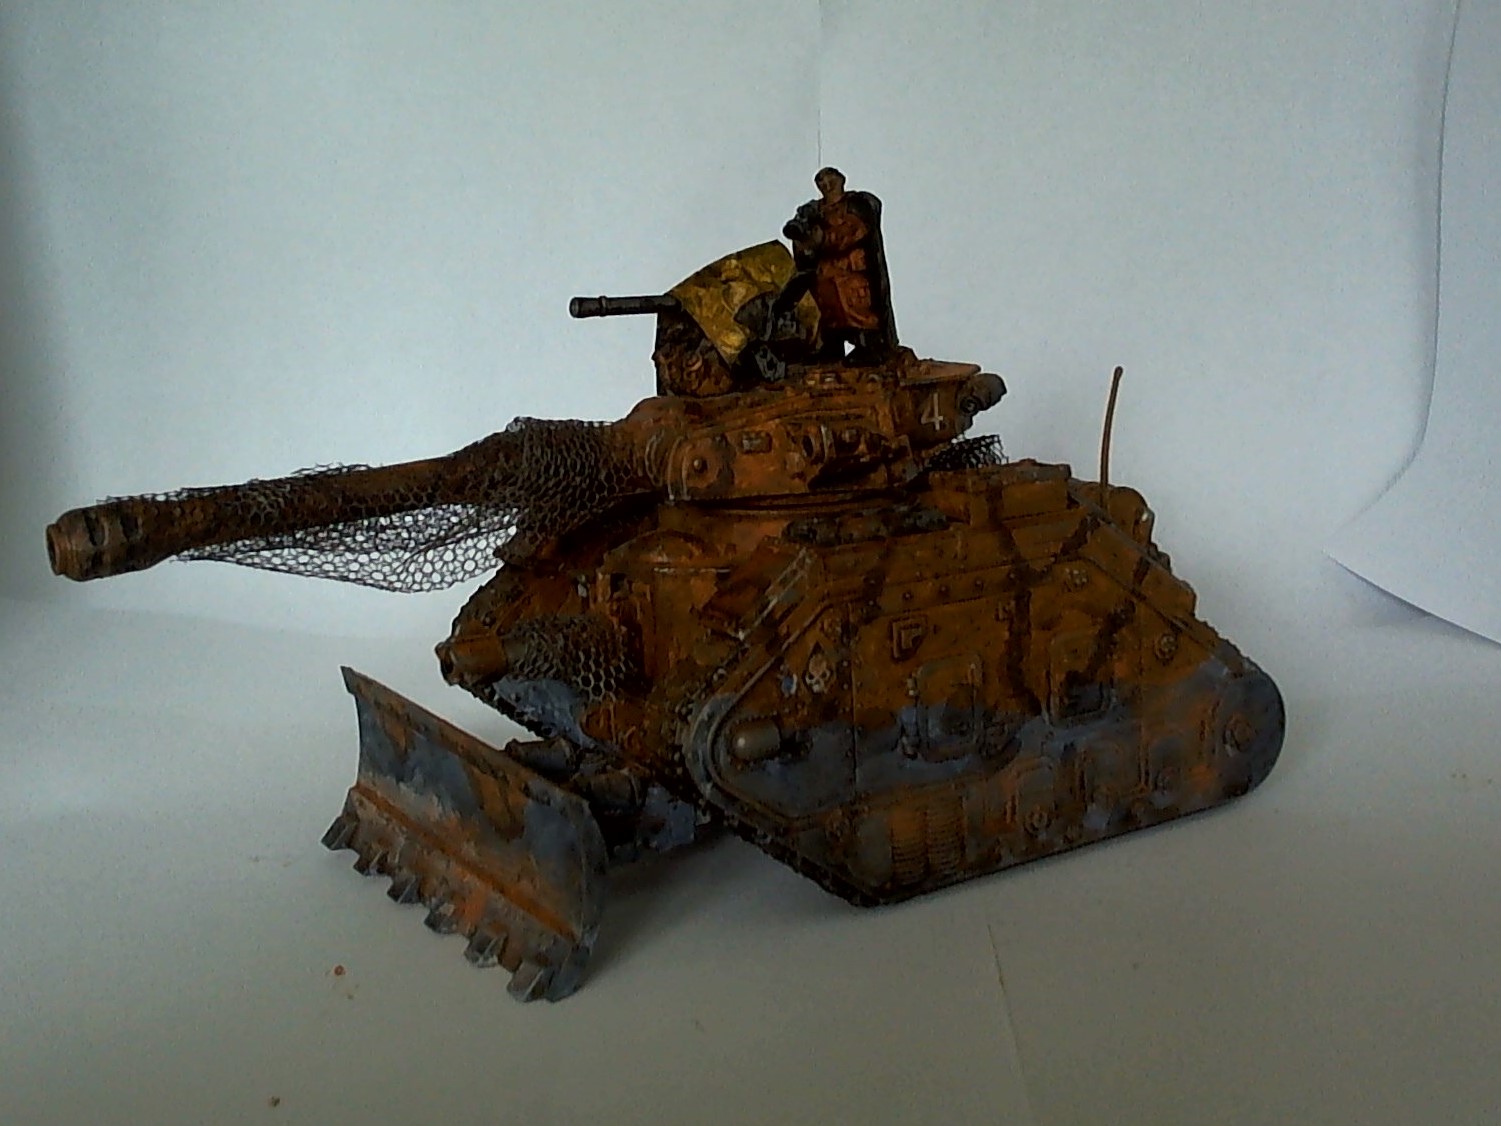 Savlar Chem-Dogs Vanquisher


